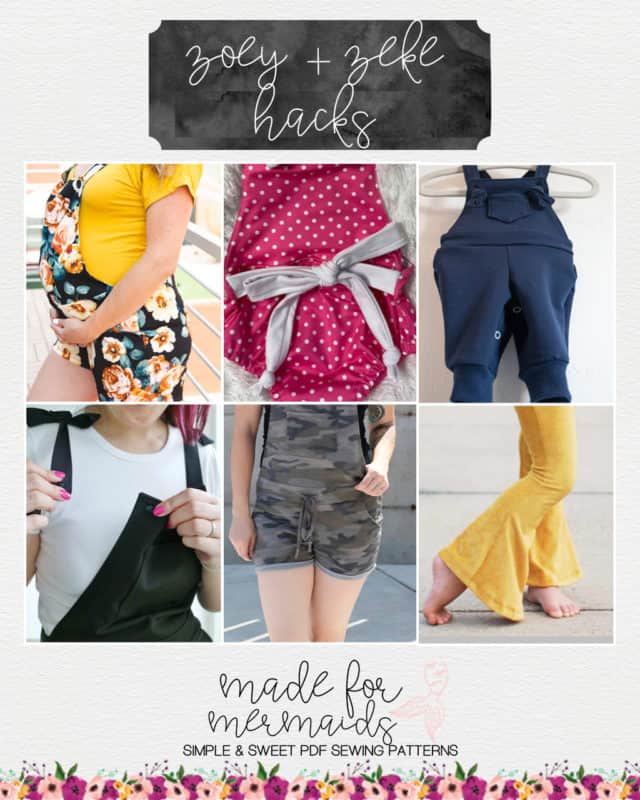
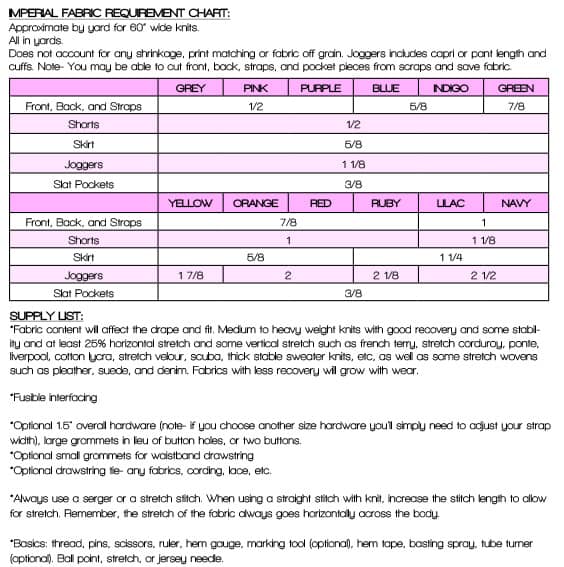
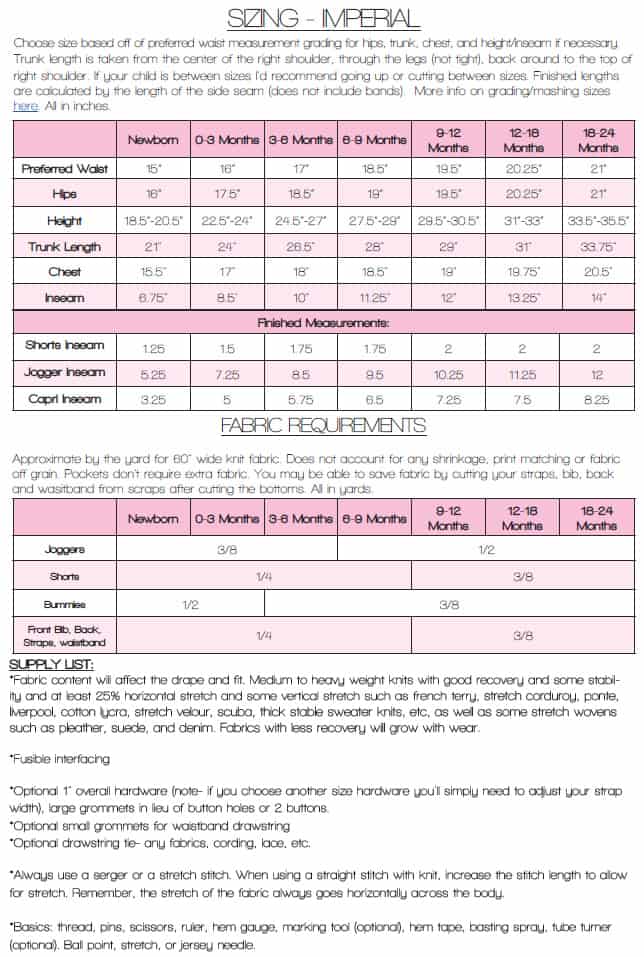
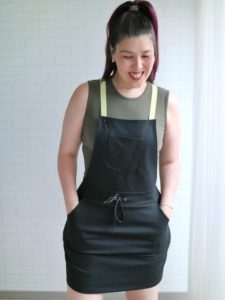
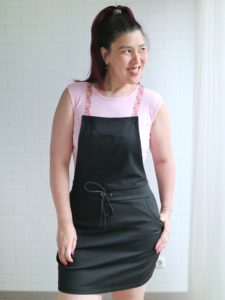
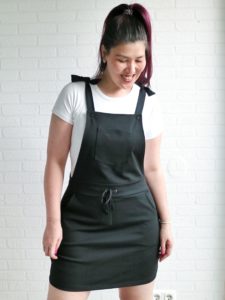
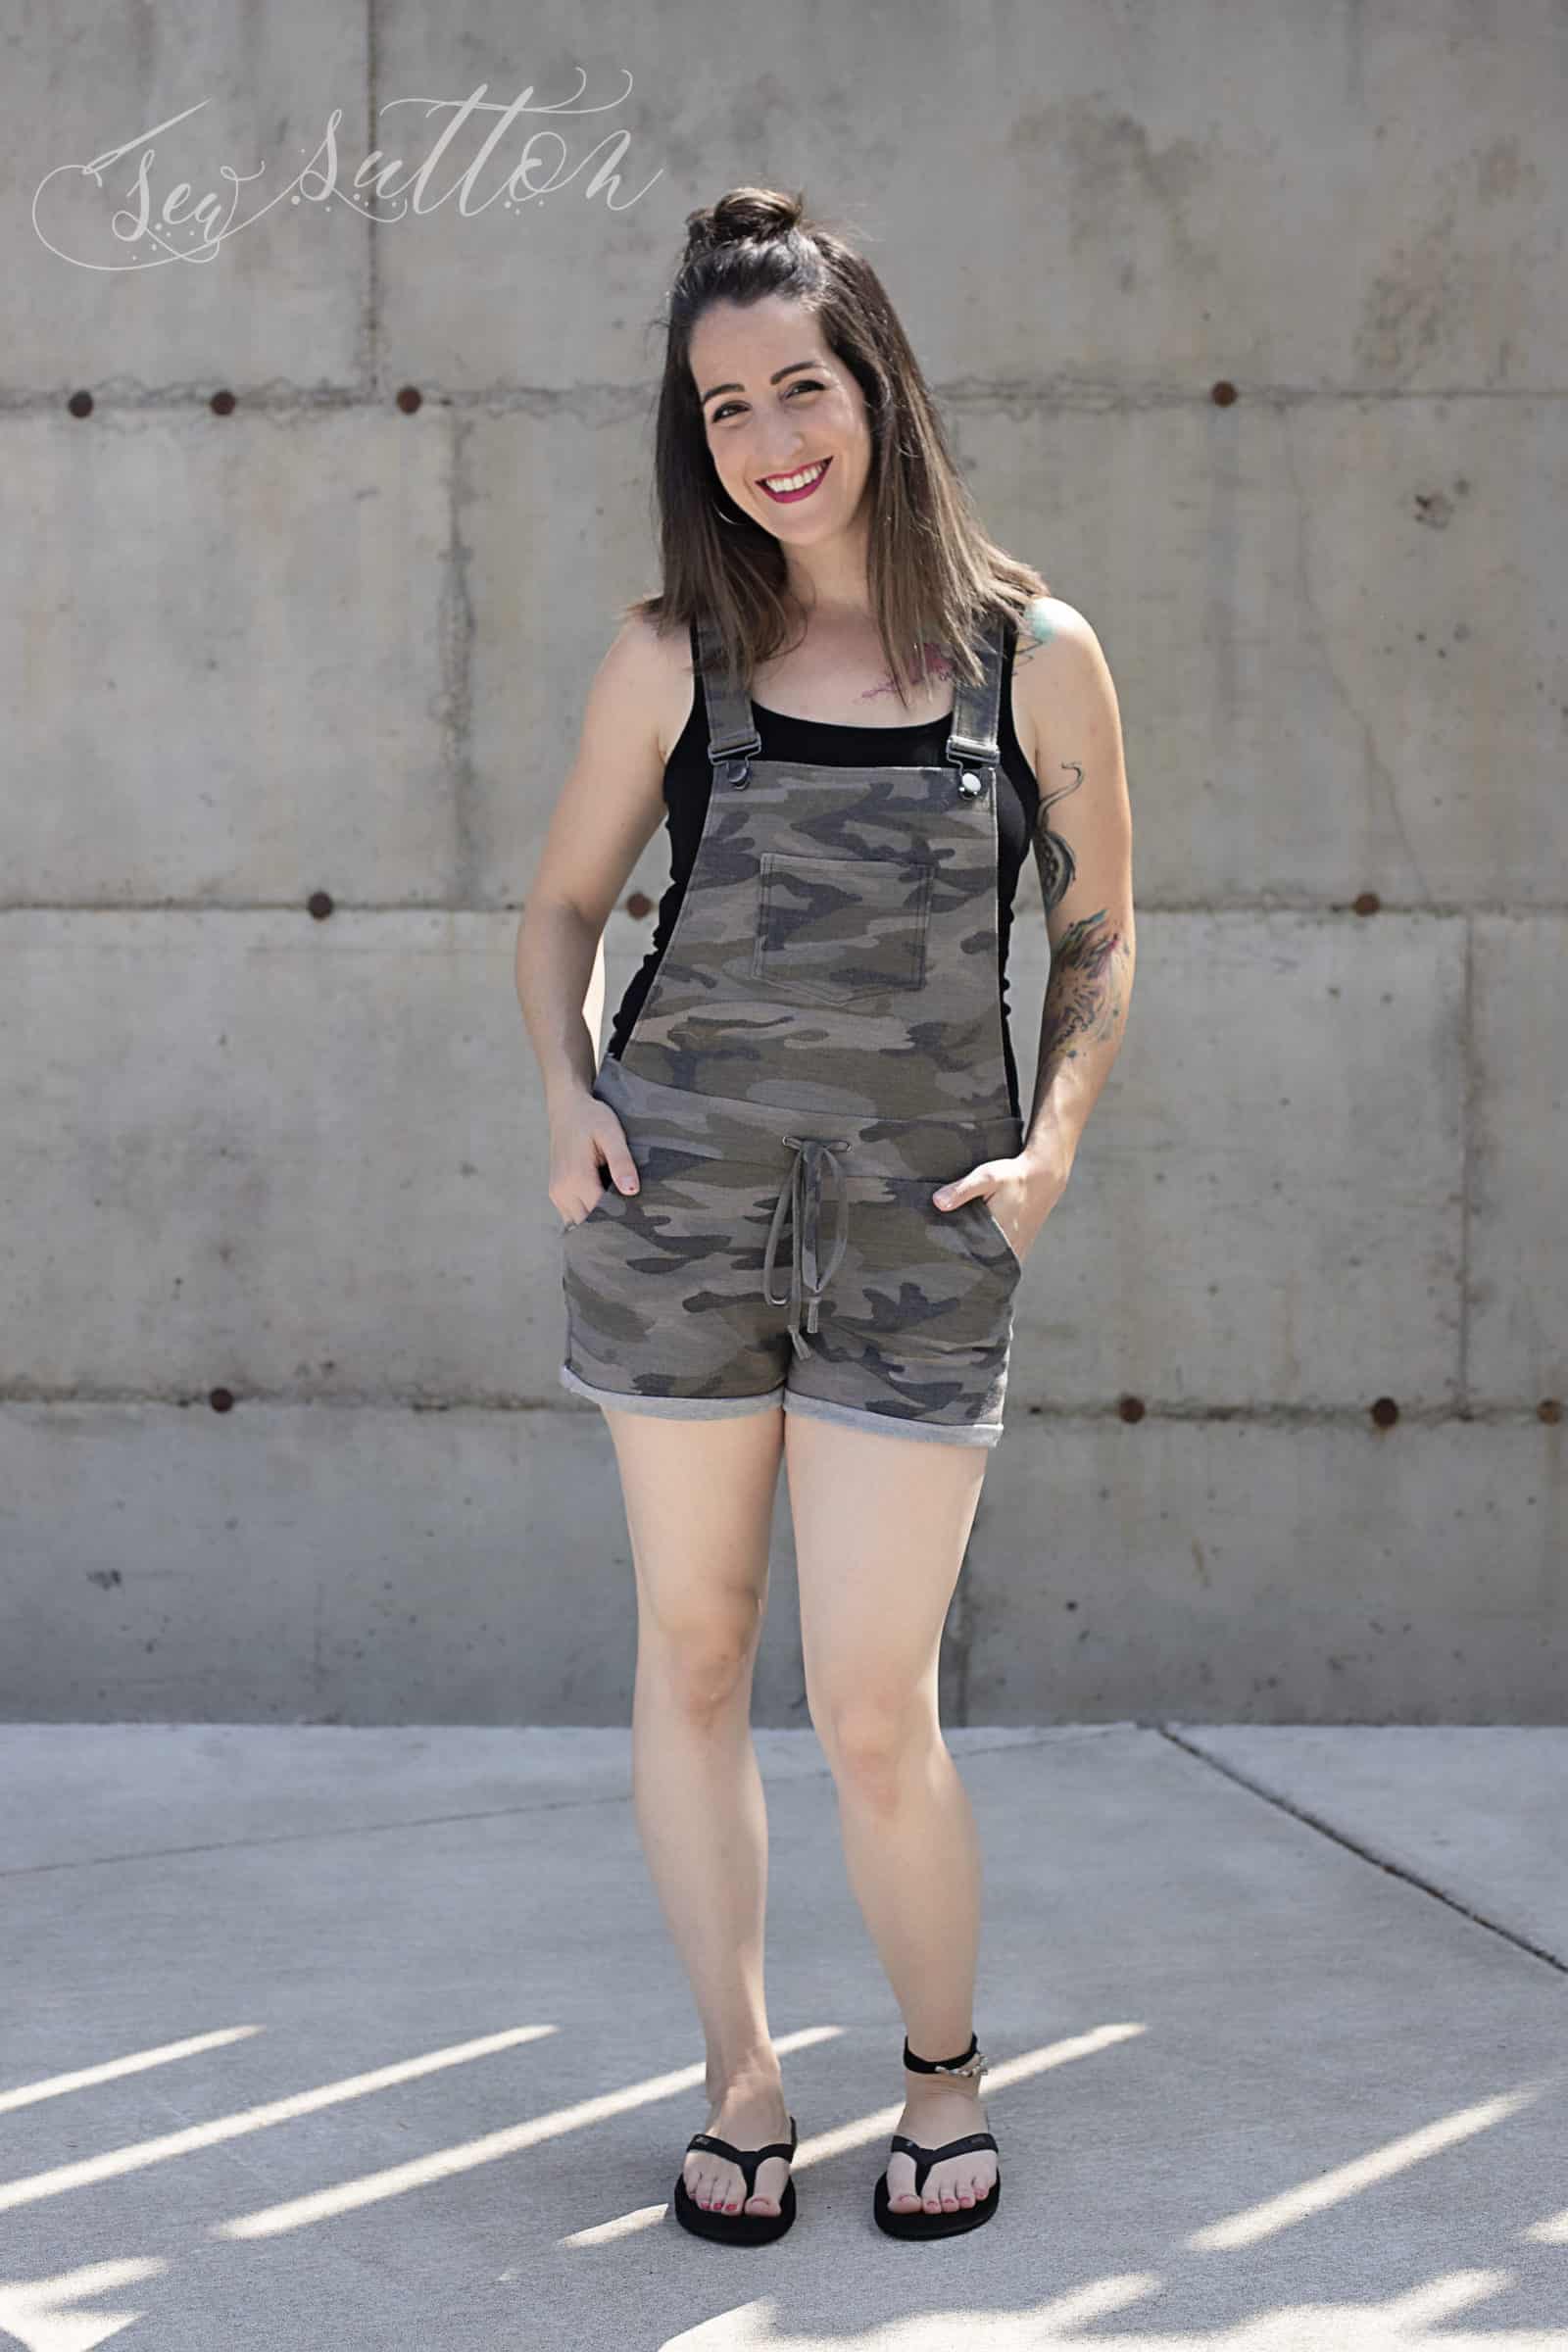
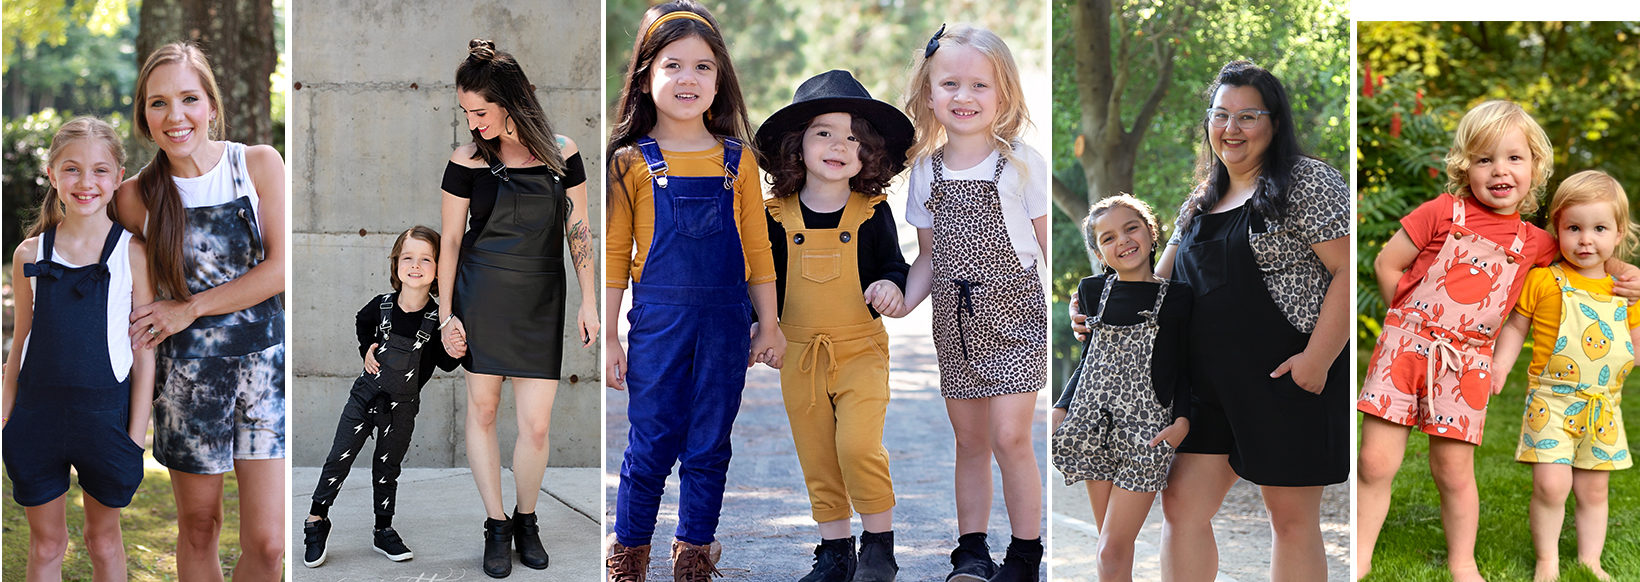
Michelle is making dreams come true for our overall-loving hearts! The Zoey + Zeke Knit Overalls are designed for medium to heavy weight knits with good recovery and a bit of stability; fabrics such as French Terry, stretch corduroy, Ponte, Liverpool, cotton lycra, stretch velour, scuba, thick stable sweater knits, etc. are all great options for Zoey + Zeke. Depending on the fabric, stretch wovens such as pleather, suede, and denim may work as well!
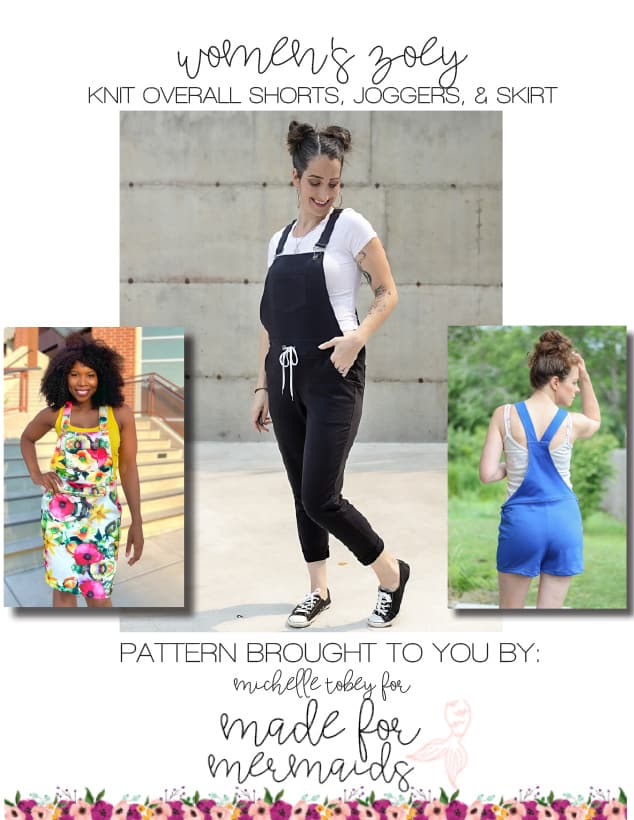
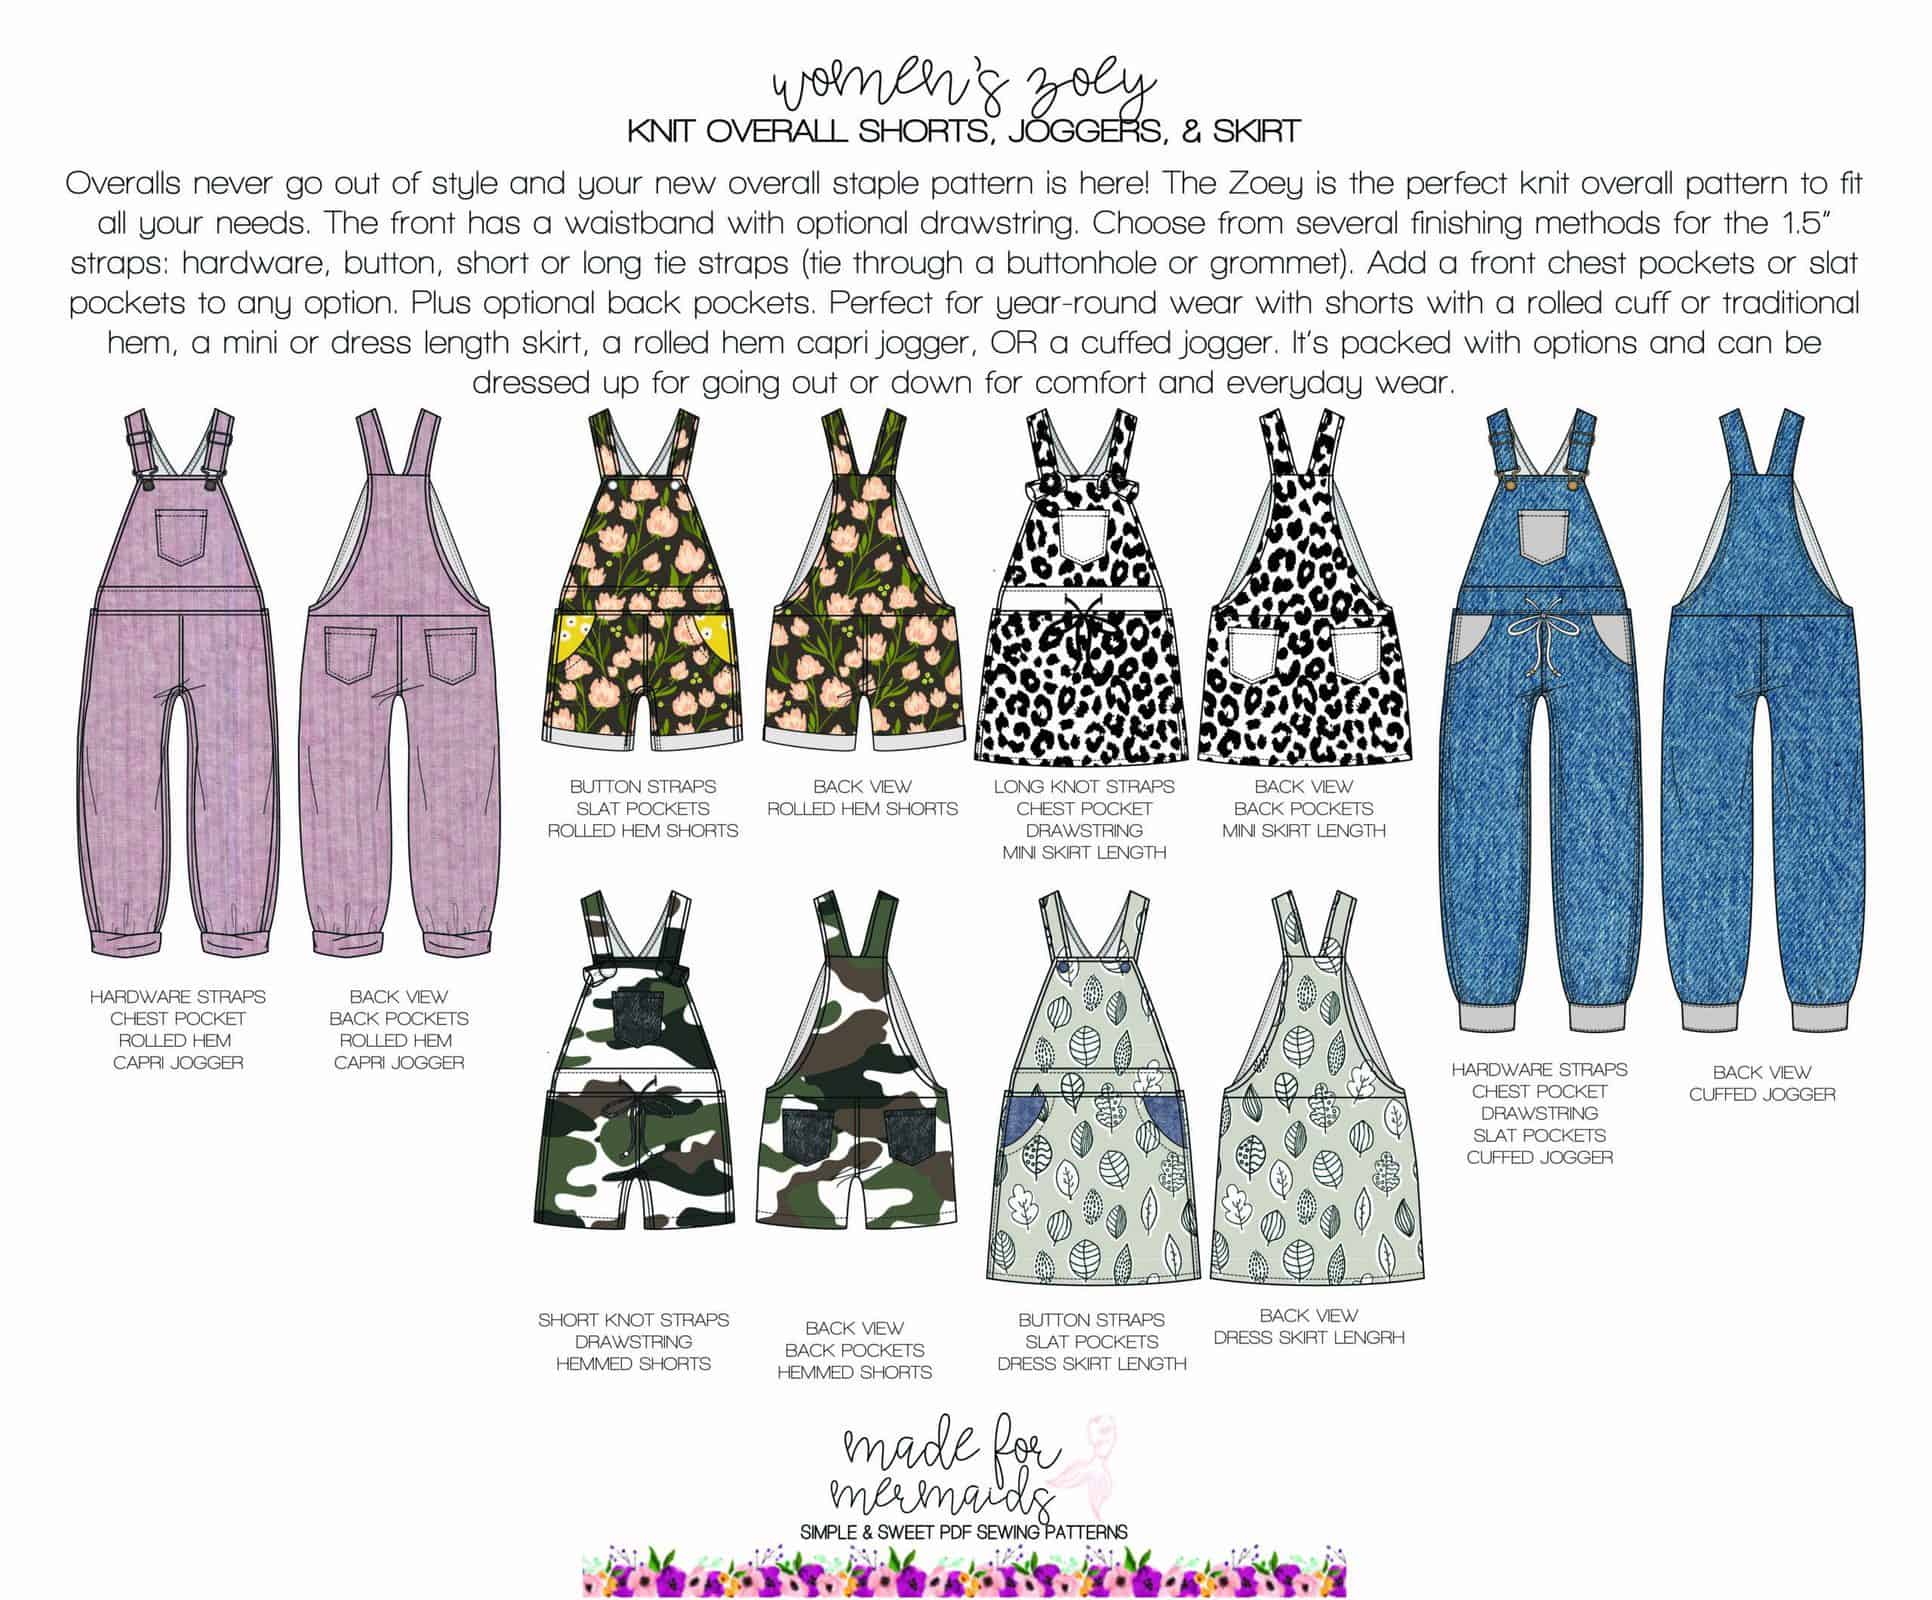
The Women’s Zoey Pattern features the following options:
- front waistband
- cuffed jogger, rollem hem capri jogger, shorts (regular hem or rolled raw-edge hem), or skirt
- back pockets, slat pockets, and/or chest pocket
- waistband drawstring
- several options for finishings – hardware, button, short or long knots through buttonholes or grommets
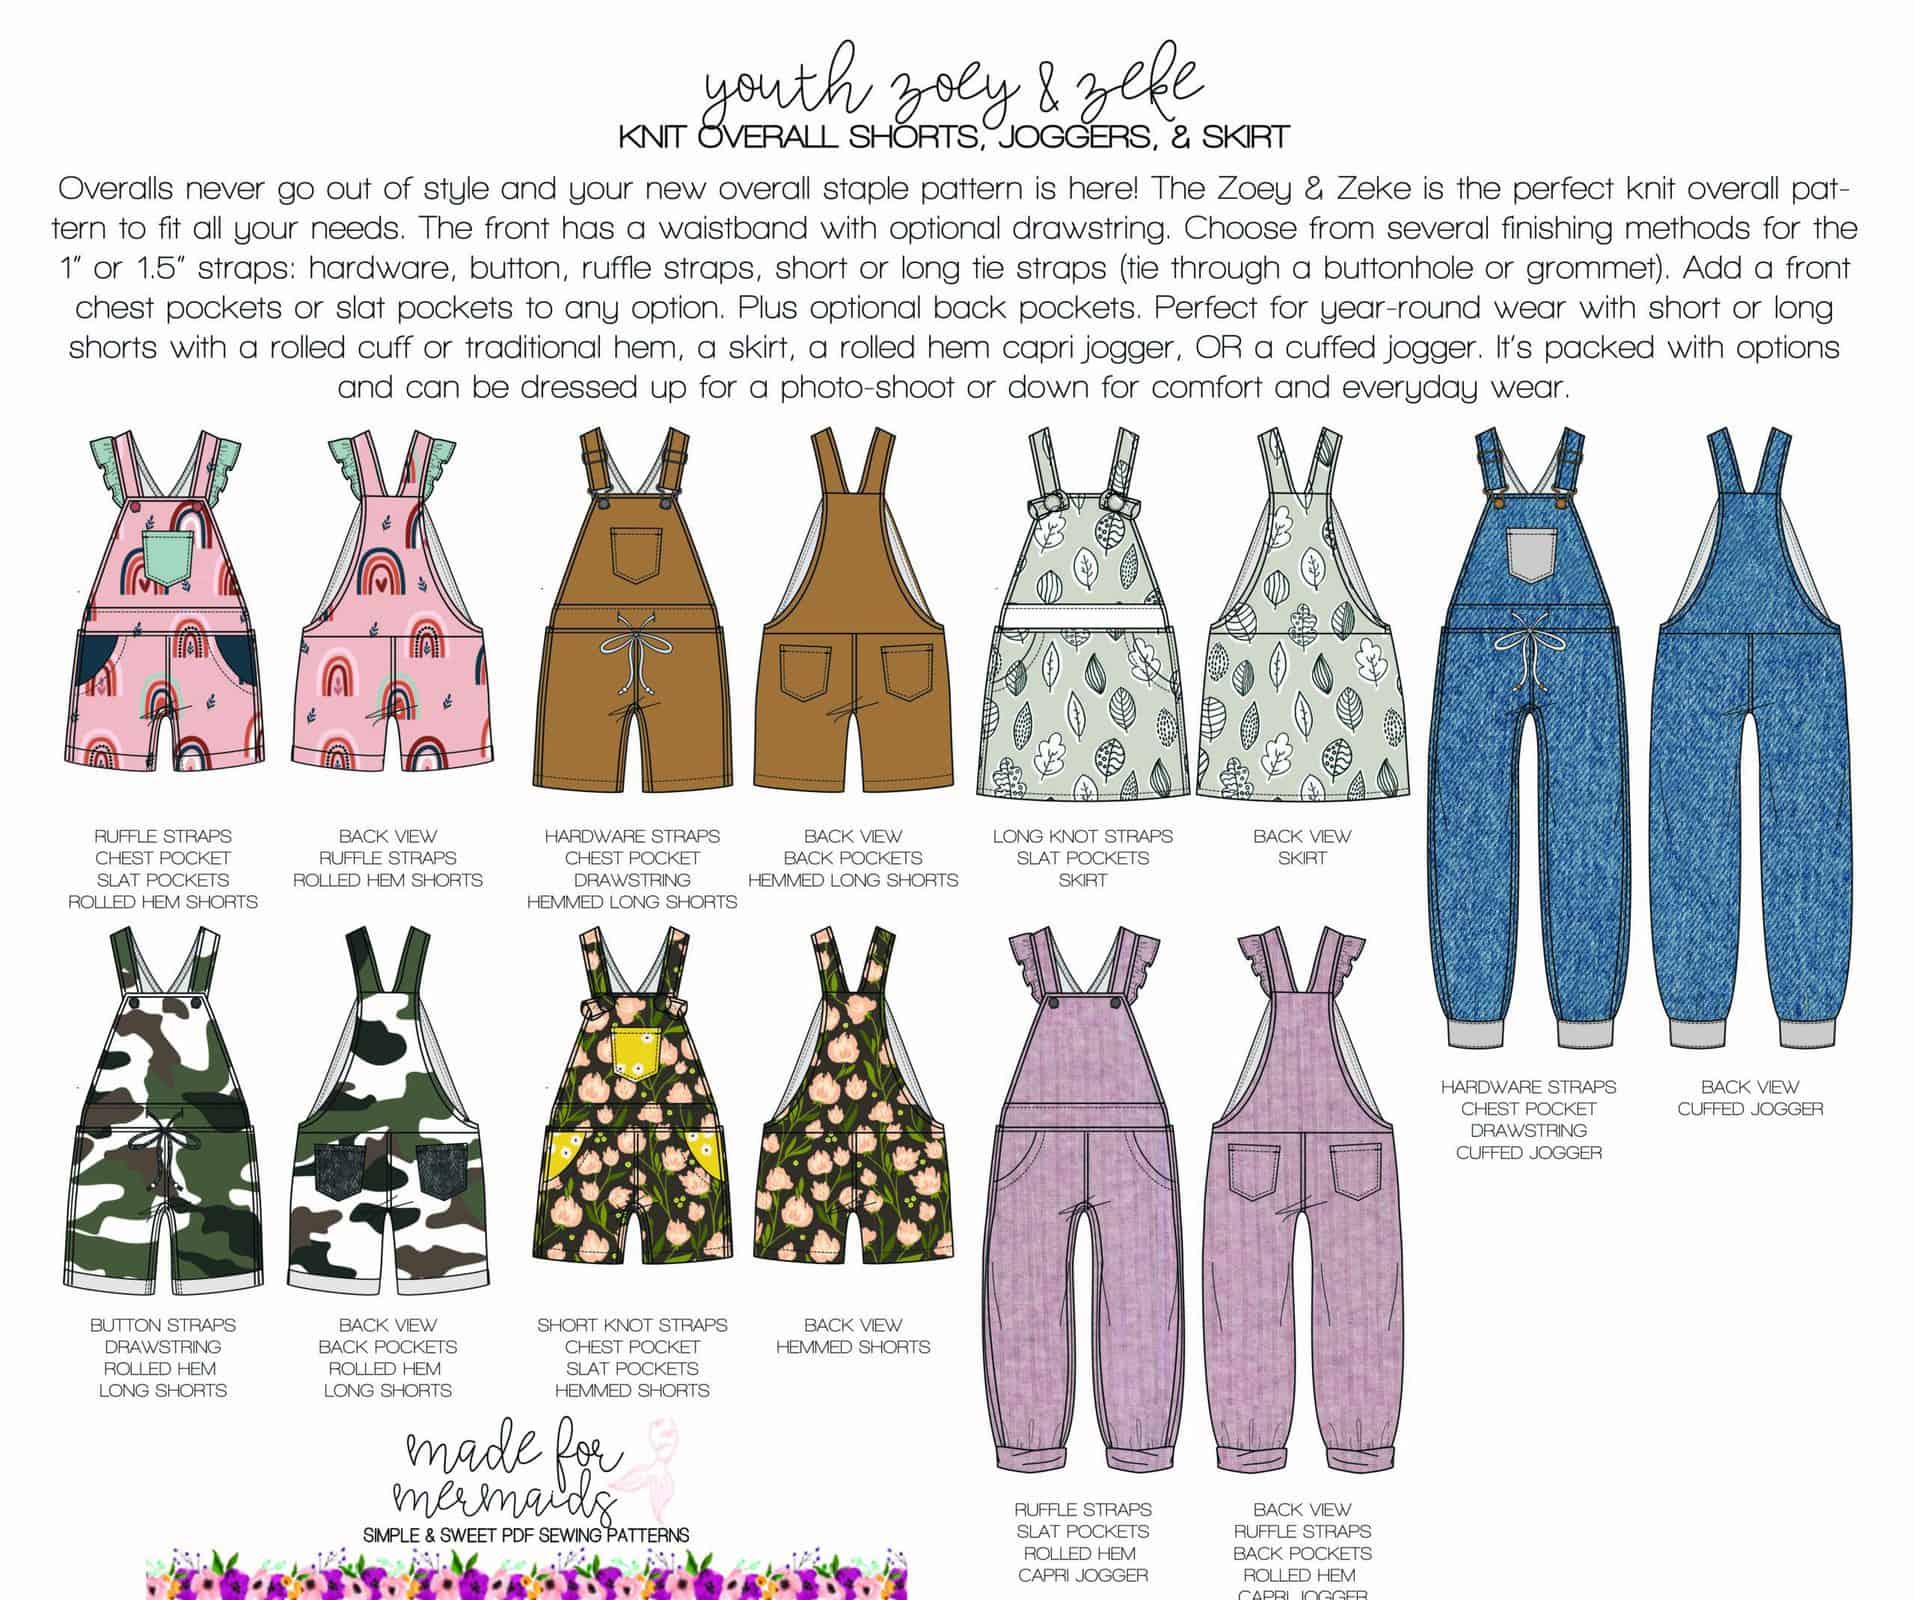
The Youth Zoey + Zeke Pattern features many of the same options, with a little more fun added:
- front waistband
- cuffed jogger, rollem hem capri jogger, shorts (regular hem or rolled raw-edge hem), or skirt
- back pockets, slat pockets, and/or chest pocket
- waistband drawstring
- several options for finishings – hardware, button, short or long knots through buttonholes or grommets
- ruffle straps – works with button option only!
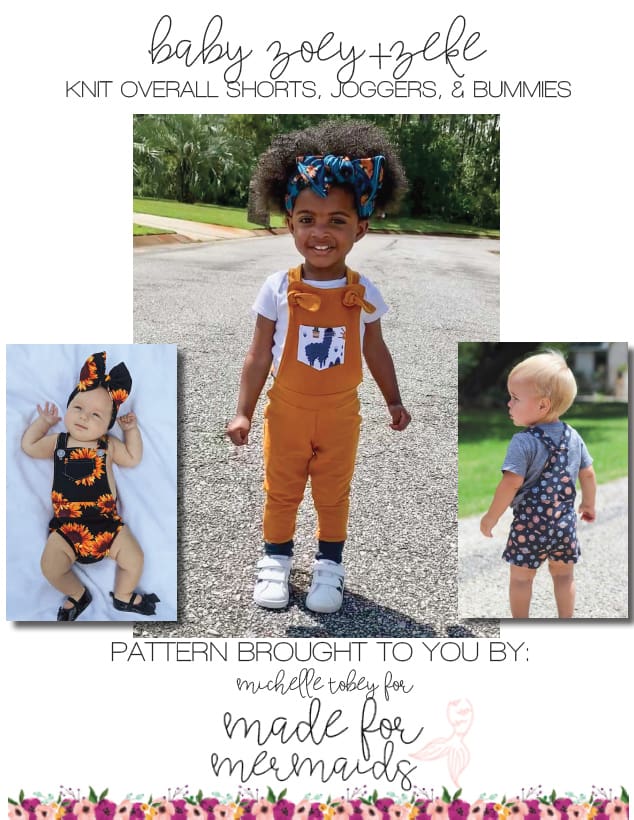
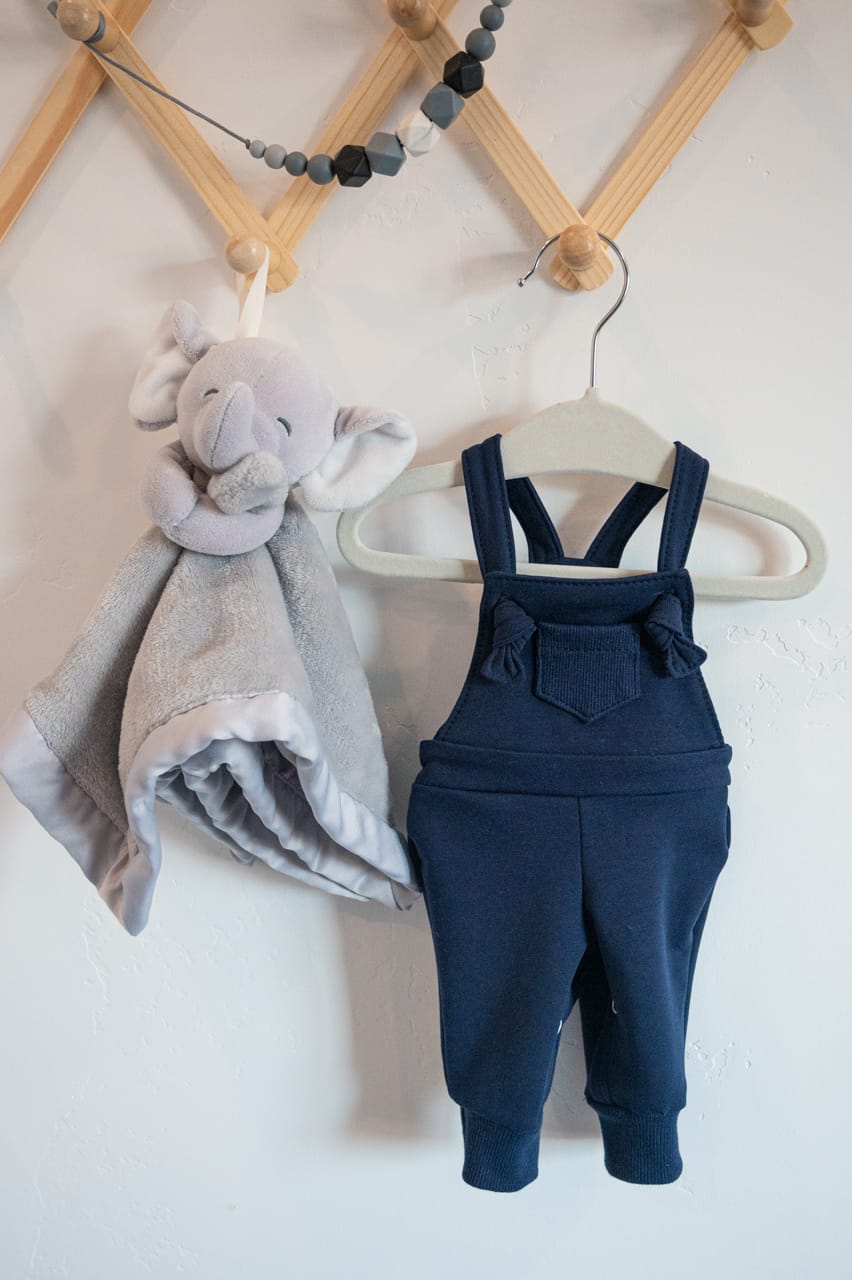
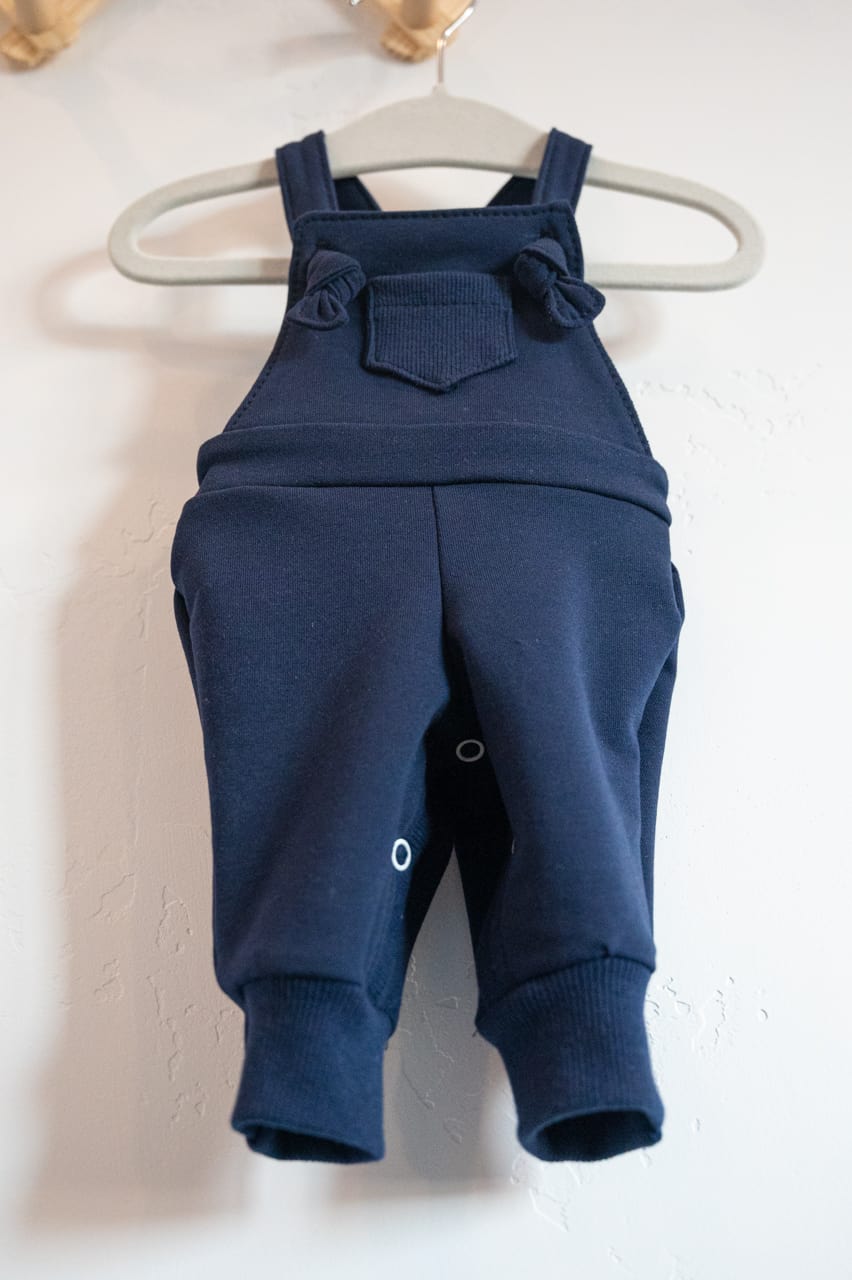
Finally, the adorable Baby Zoey + Zeke Pattern includes everything below:
- front waistband
- cuffed jogger, rollem hem capri jogger, shorts (regular hem or rolled raw-edge hem), or bummies (finished with elastic or leg bands)
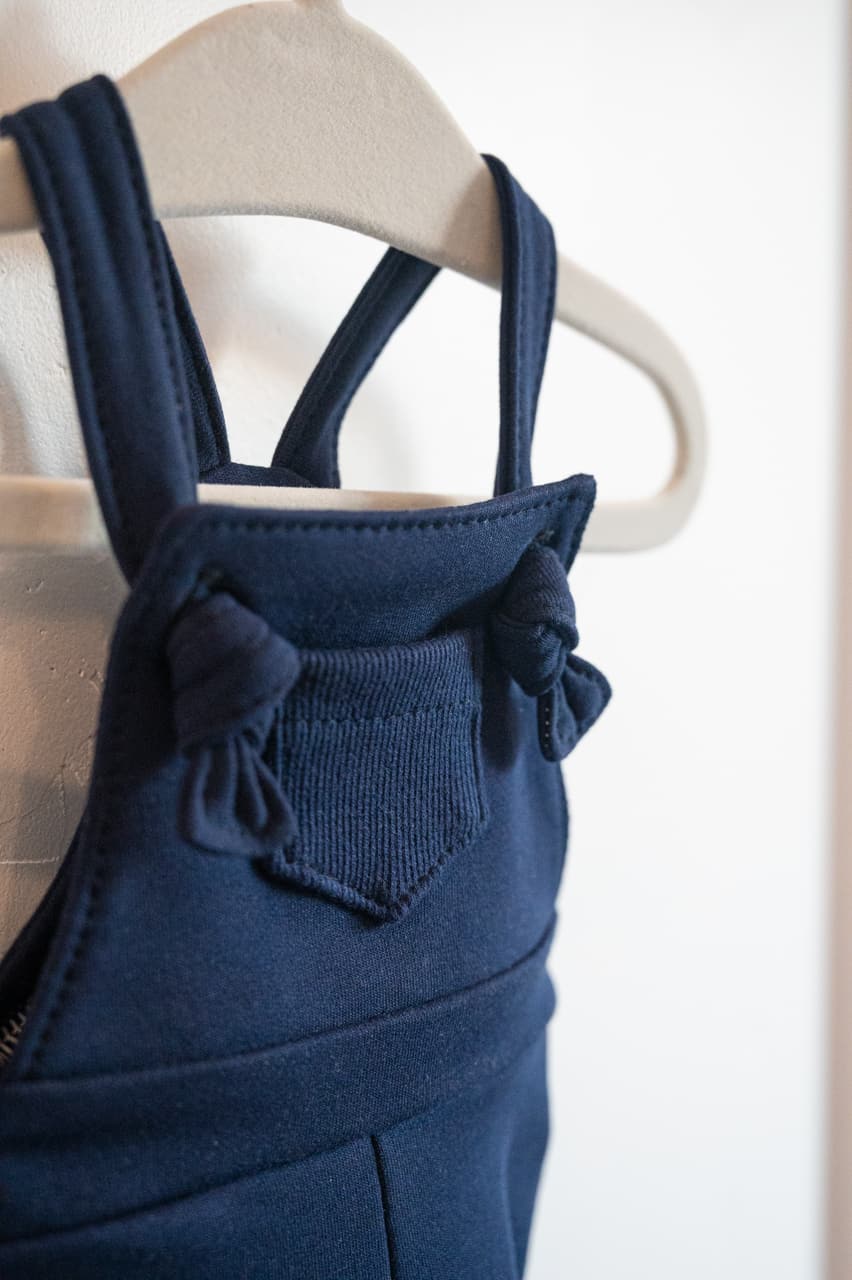
- back pockets, front patch pocket, front heart patch
- waistband drawstring
- several options for finishings – hardware, button, short or long knots through buttonholes or grommets
Bailey + Zoey Mash
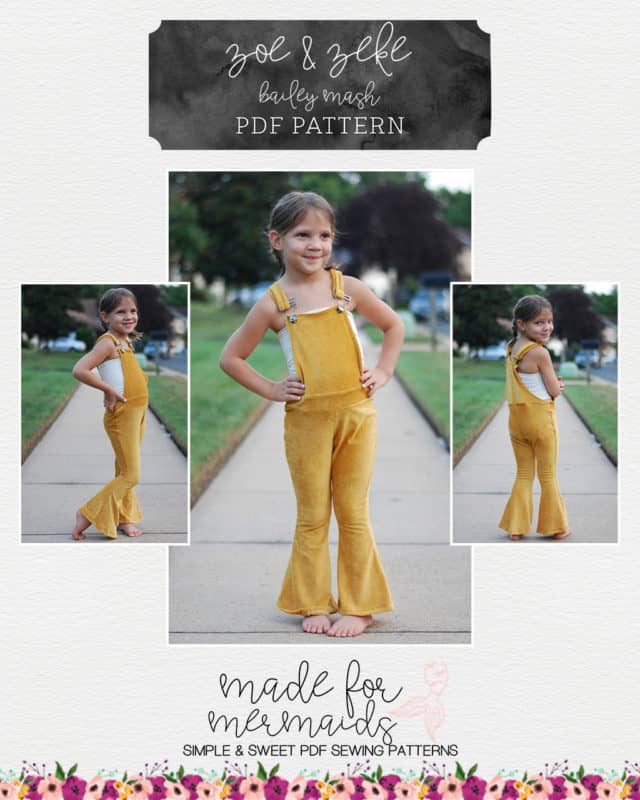
Love Zoey/Zeke but also love the Bailey Bell Bottoms?! We’ve got a super simple mash for ya!
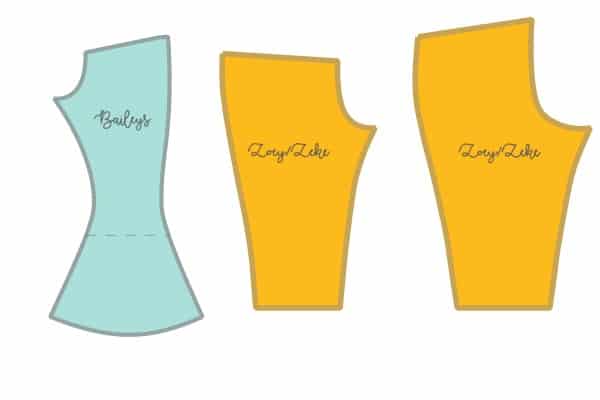
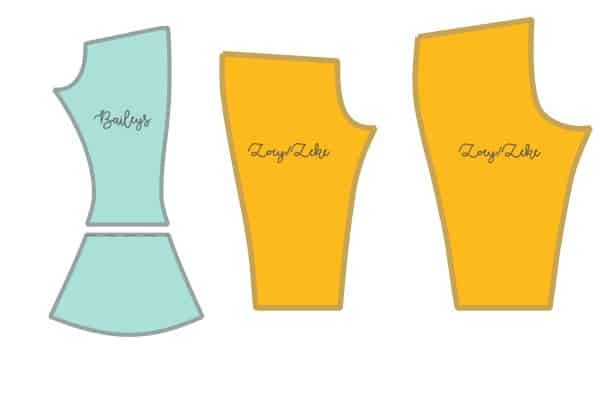
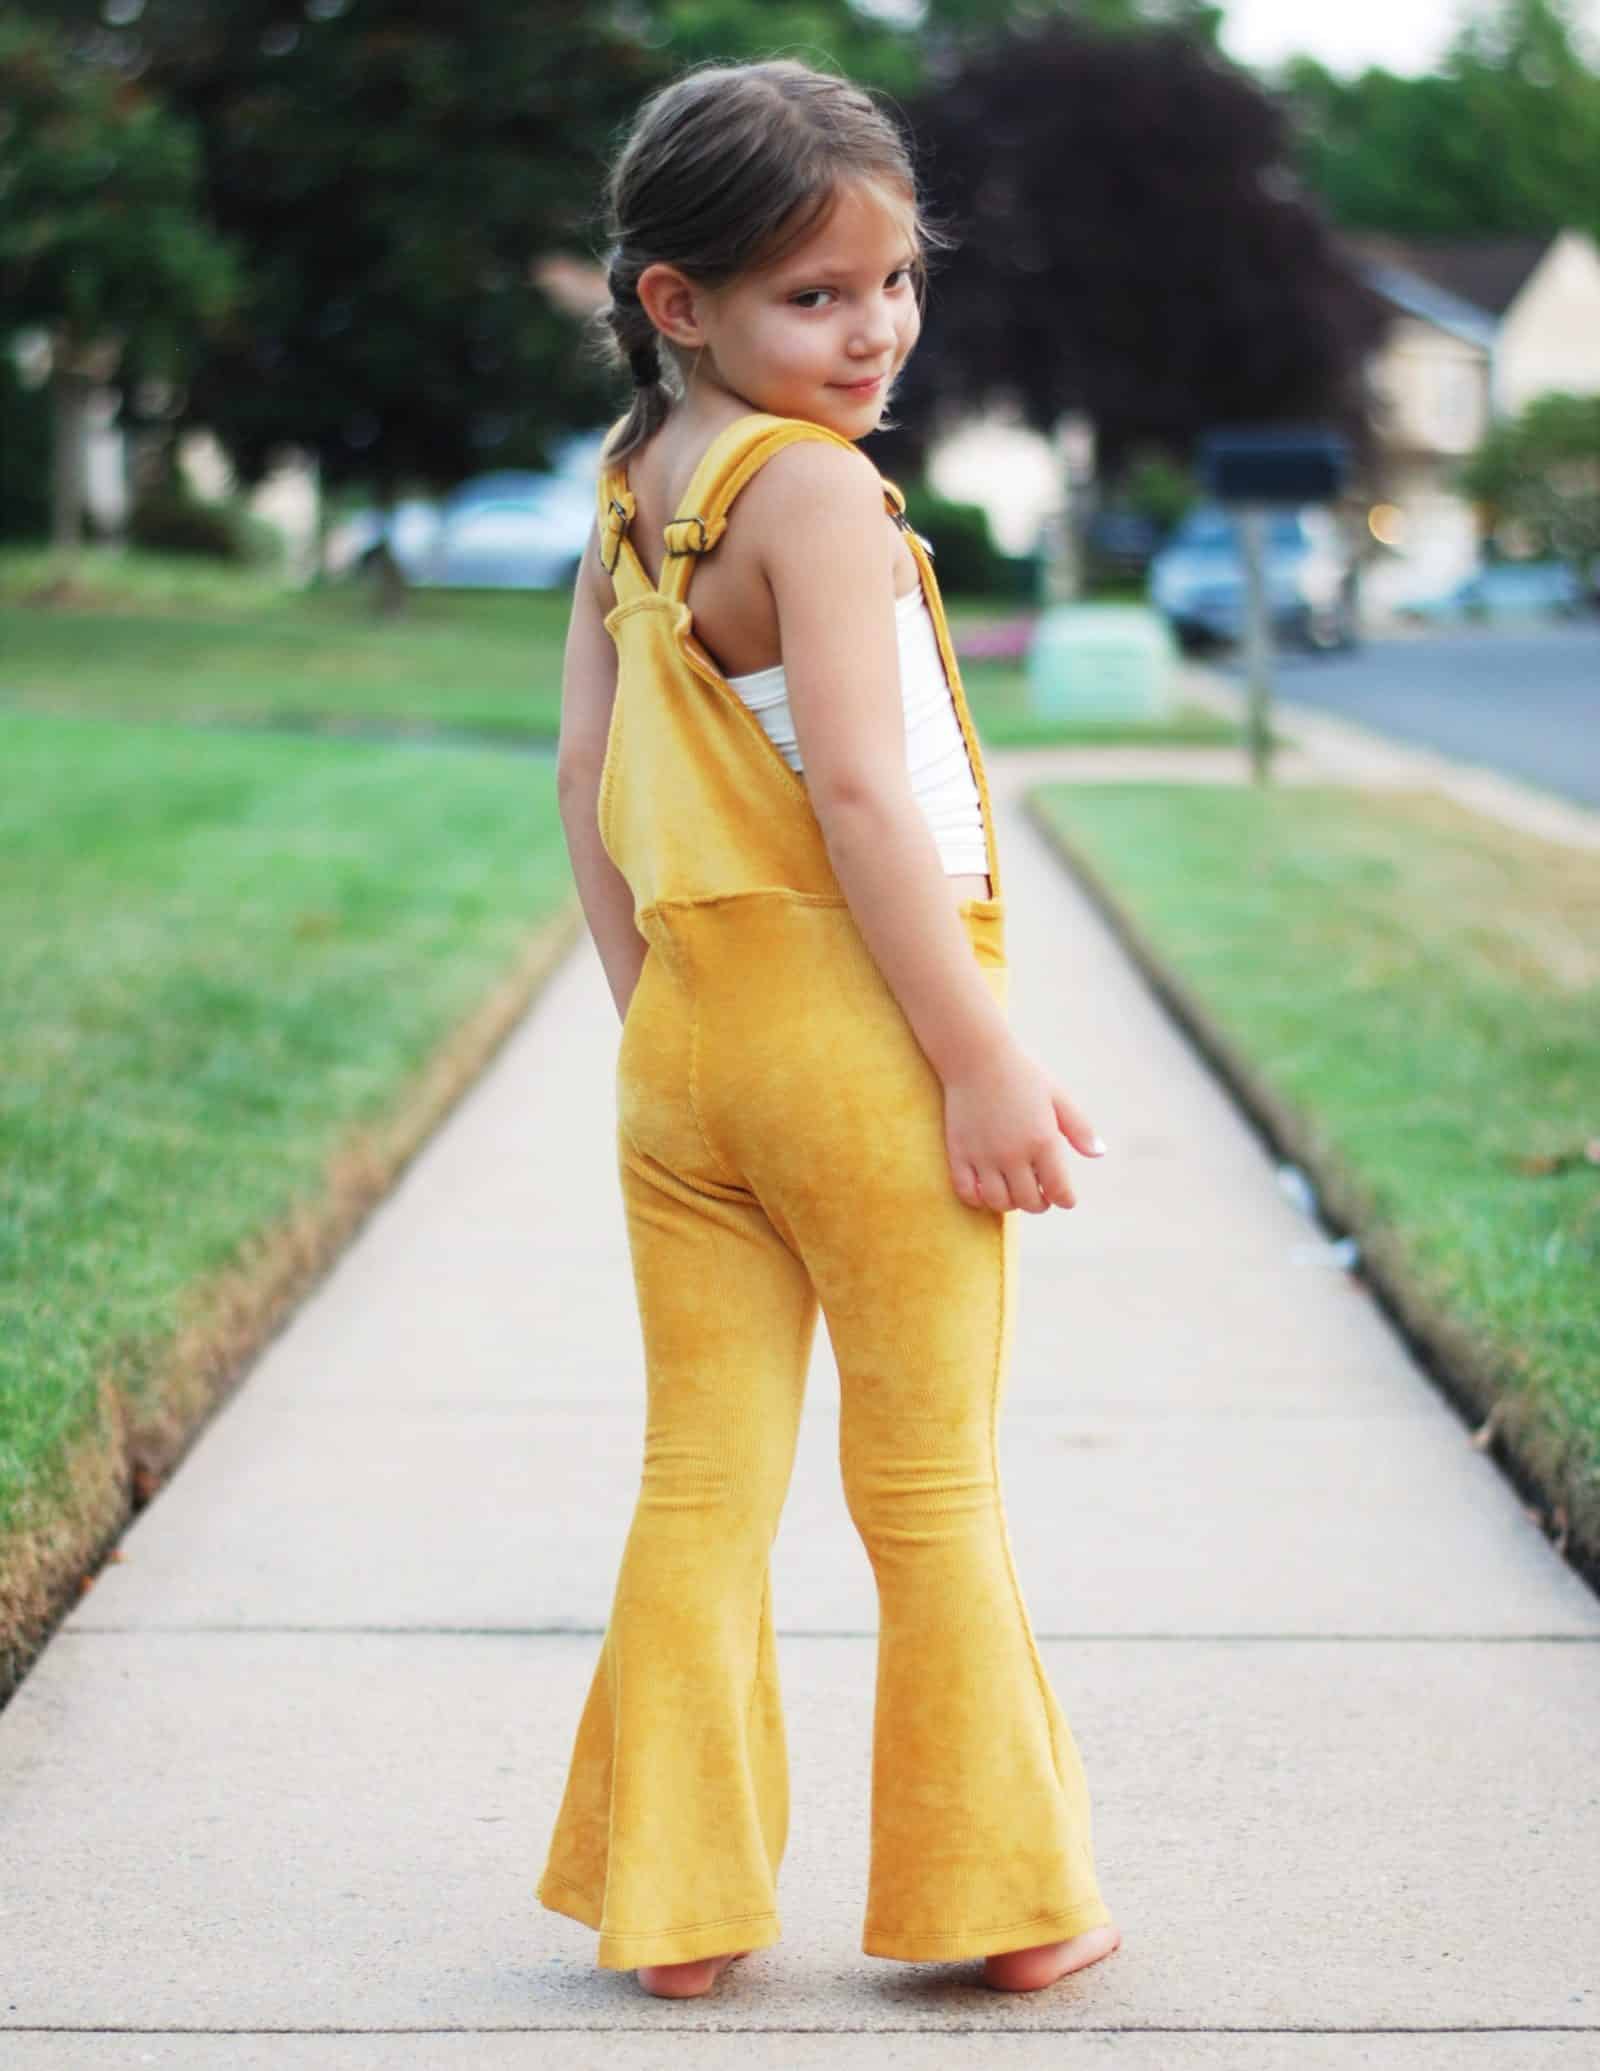
First up, grab both your Zoey/Zeke and Bailey patterns in the size of your model. We really just need the bell part of Baileys, so I just cut it off at the “gathered bell cutline”. You can use both the front and back leg bell pieces, but they’re very similar in shape and size, so if you only feel like cutting out one, that’ll still work!
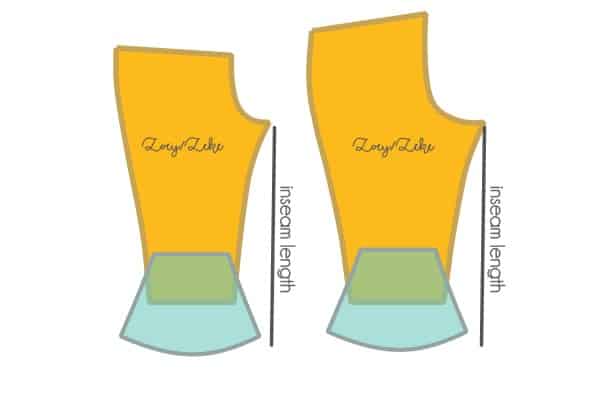
If you haven’t measured your model’s inseam yet, now is a good time to do so! My daughter here has a 17.5”ish inseam, and I made her a size 4. Then I just laid the bell pattern over the bottom of the Zoey/Zeke bottoms until it aligned with the length of her inseam (we’ll lose an inch to hemming, which is perfect for wearing with shoes…. which we couldn’t find the night we took pics… REAL TALK PEOPLE! Sometimes shoes aren’t found in time, it happens lol)
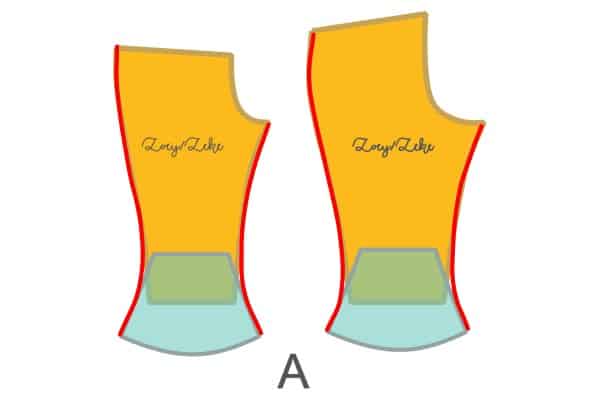
Once you’re happy with the length of the bottoms, it’s time to cut! Now, the bottoms on Zoey/Zeke are more relaxed than Baileys. If you want just a slight flare at the bottom and keep the relaxed leg, just smooth out that line between the bell and the leg piece, using the leg piece as your guide. [A]
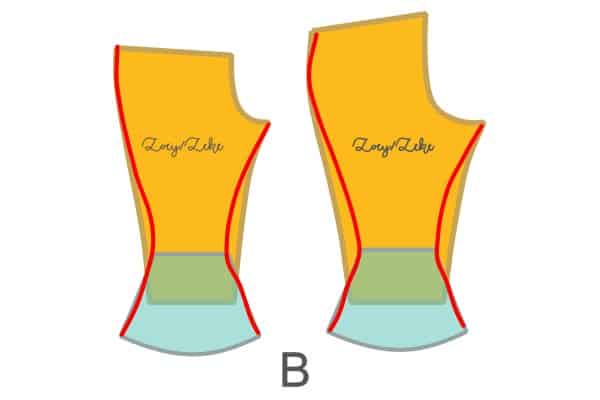
If you want a more dramatic bell, you can use the bell as your guide when smoothing the curve back into the leg. I basically just followed the curve up until I got to about the thigh area, then I finished cutting the Zoey/Zeke bottoms to complete it! Easy peasy! [B]
That’s it! You may now proceed as normal with the construction of your Zoey/Zeke pattern!
Stay groovy!
~jess
Ribbon Straps Hack
Hi!
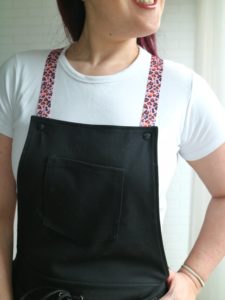
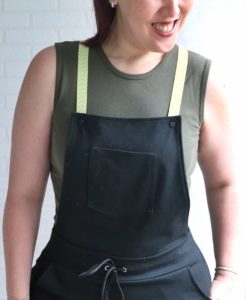
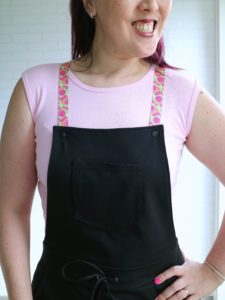
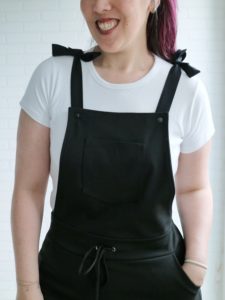
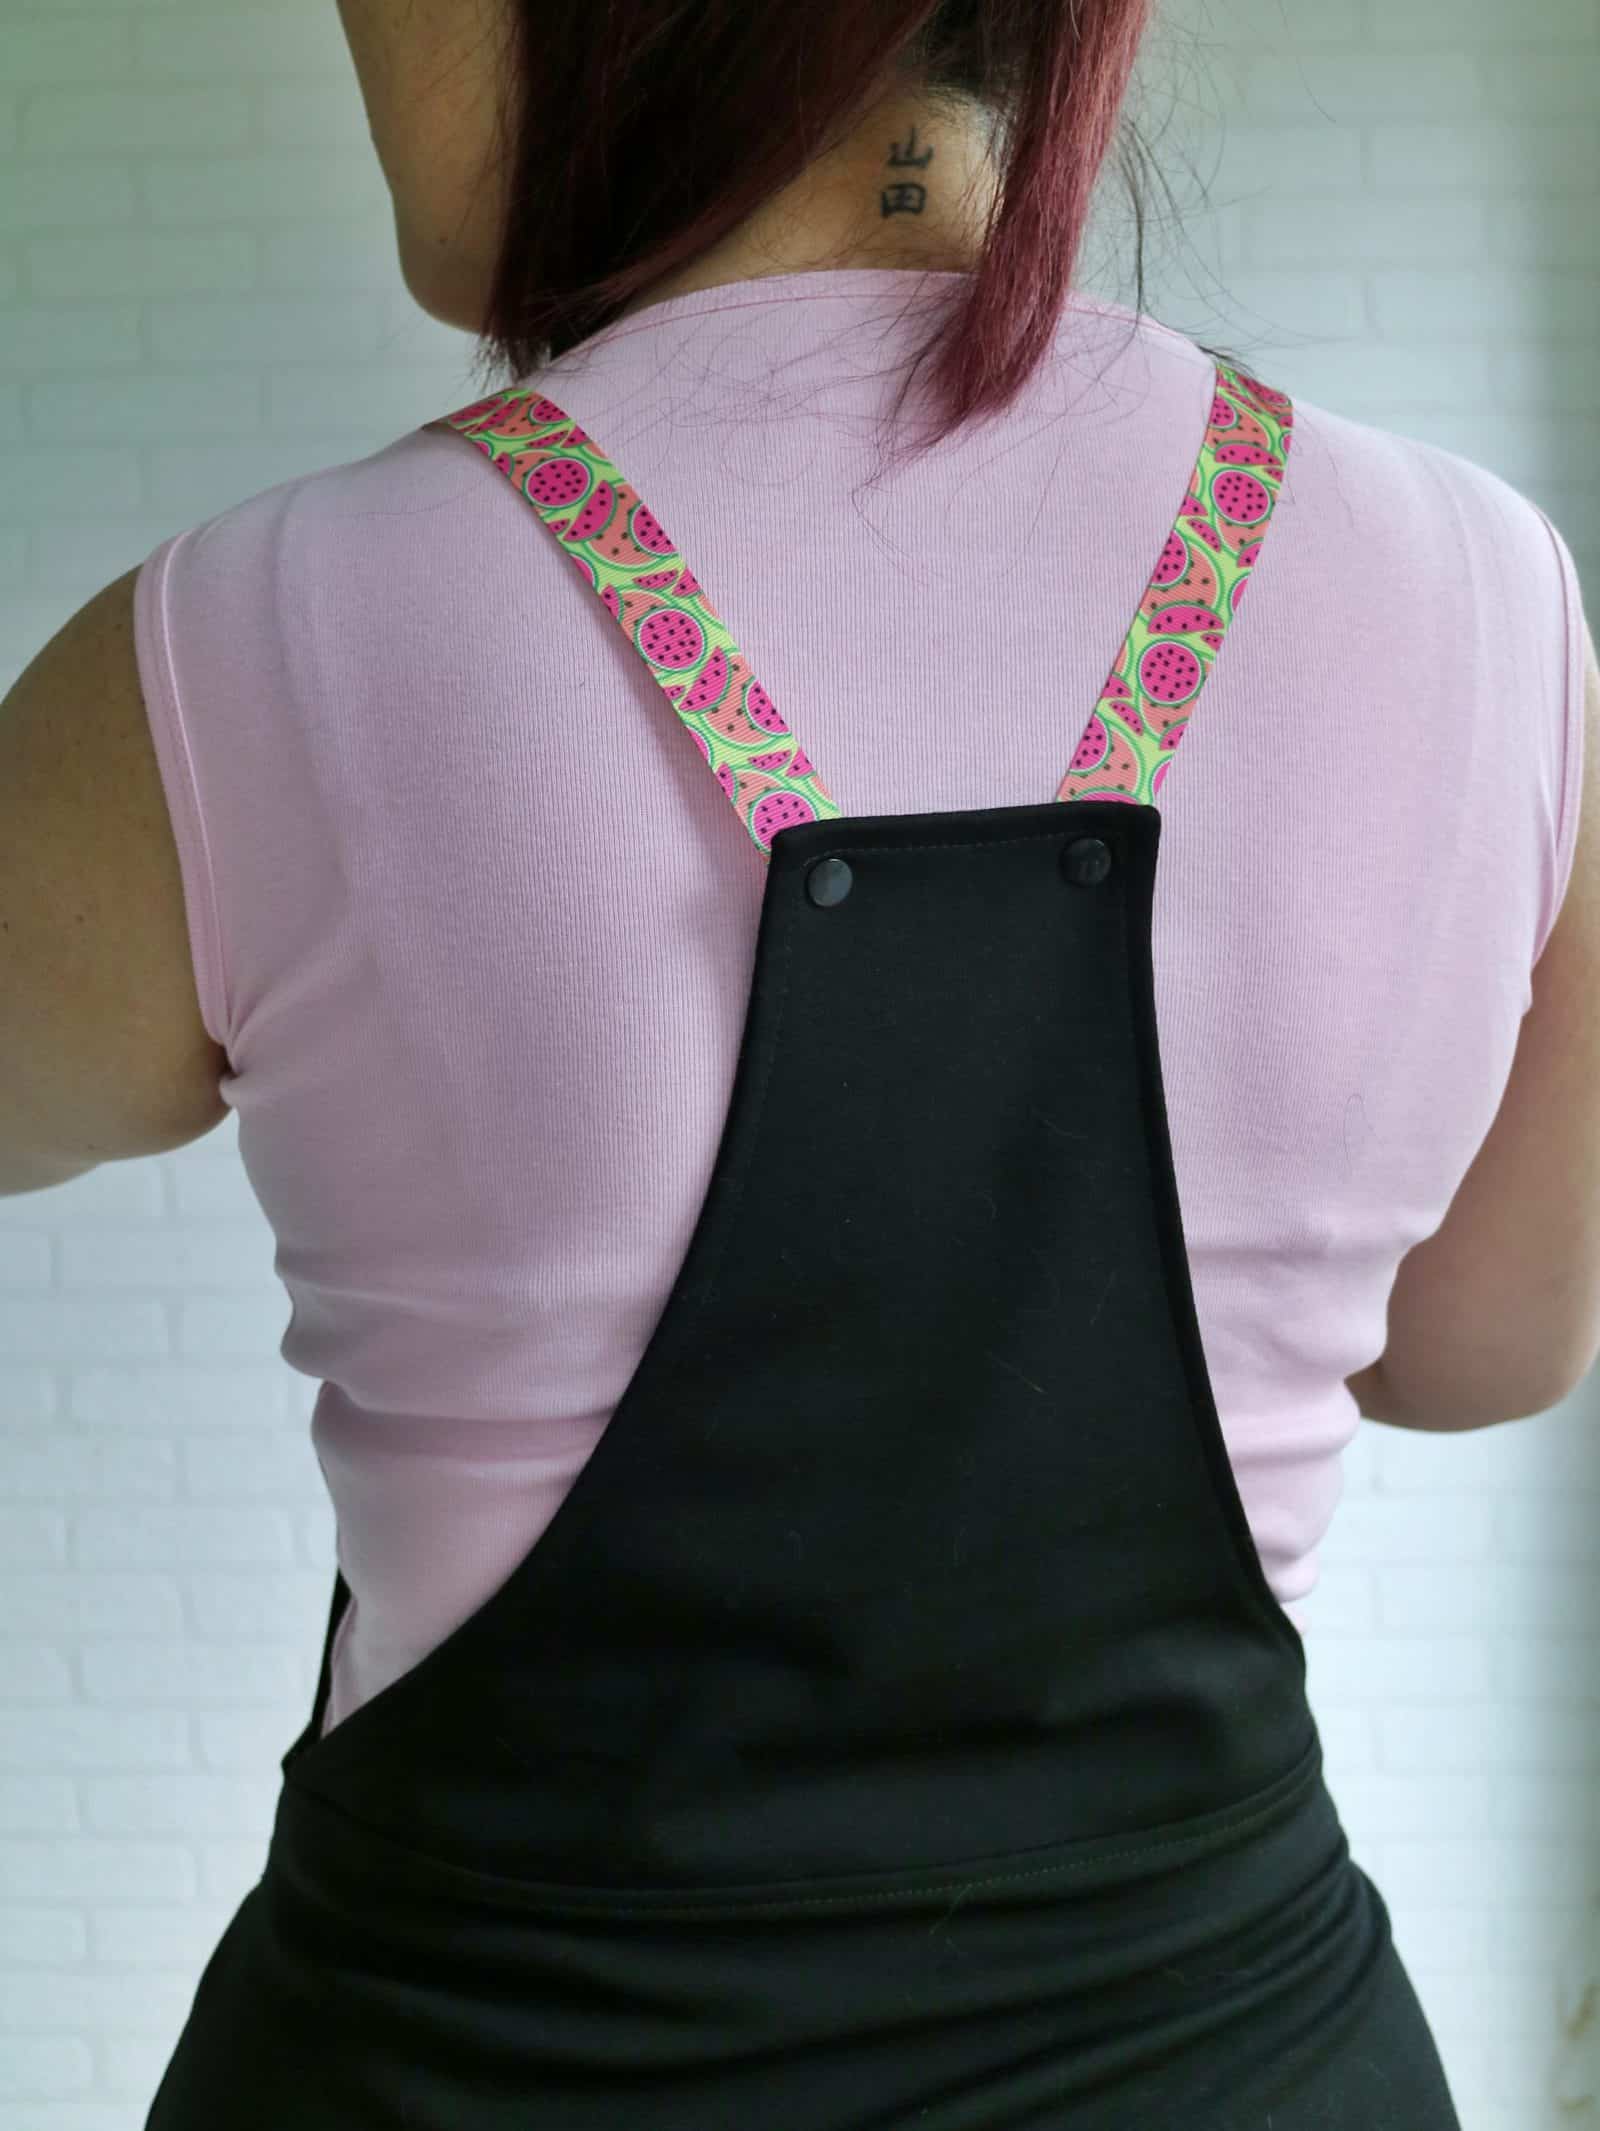
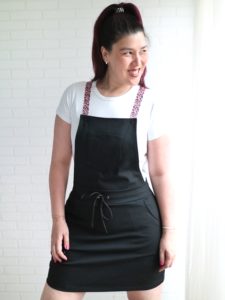
Livia here to share a little fun Zoey hack with you: Using ribbons instead of straps.
It’s such a cute way to personalize your overall, with the bonus fact that it’s a lot faster to cut a ribbon than to sew straps. 😛
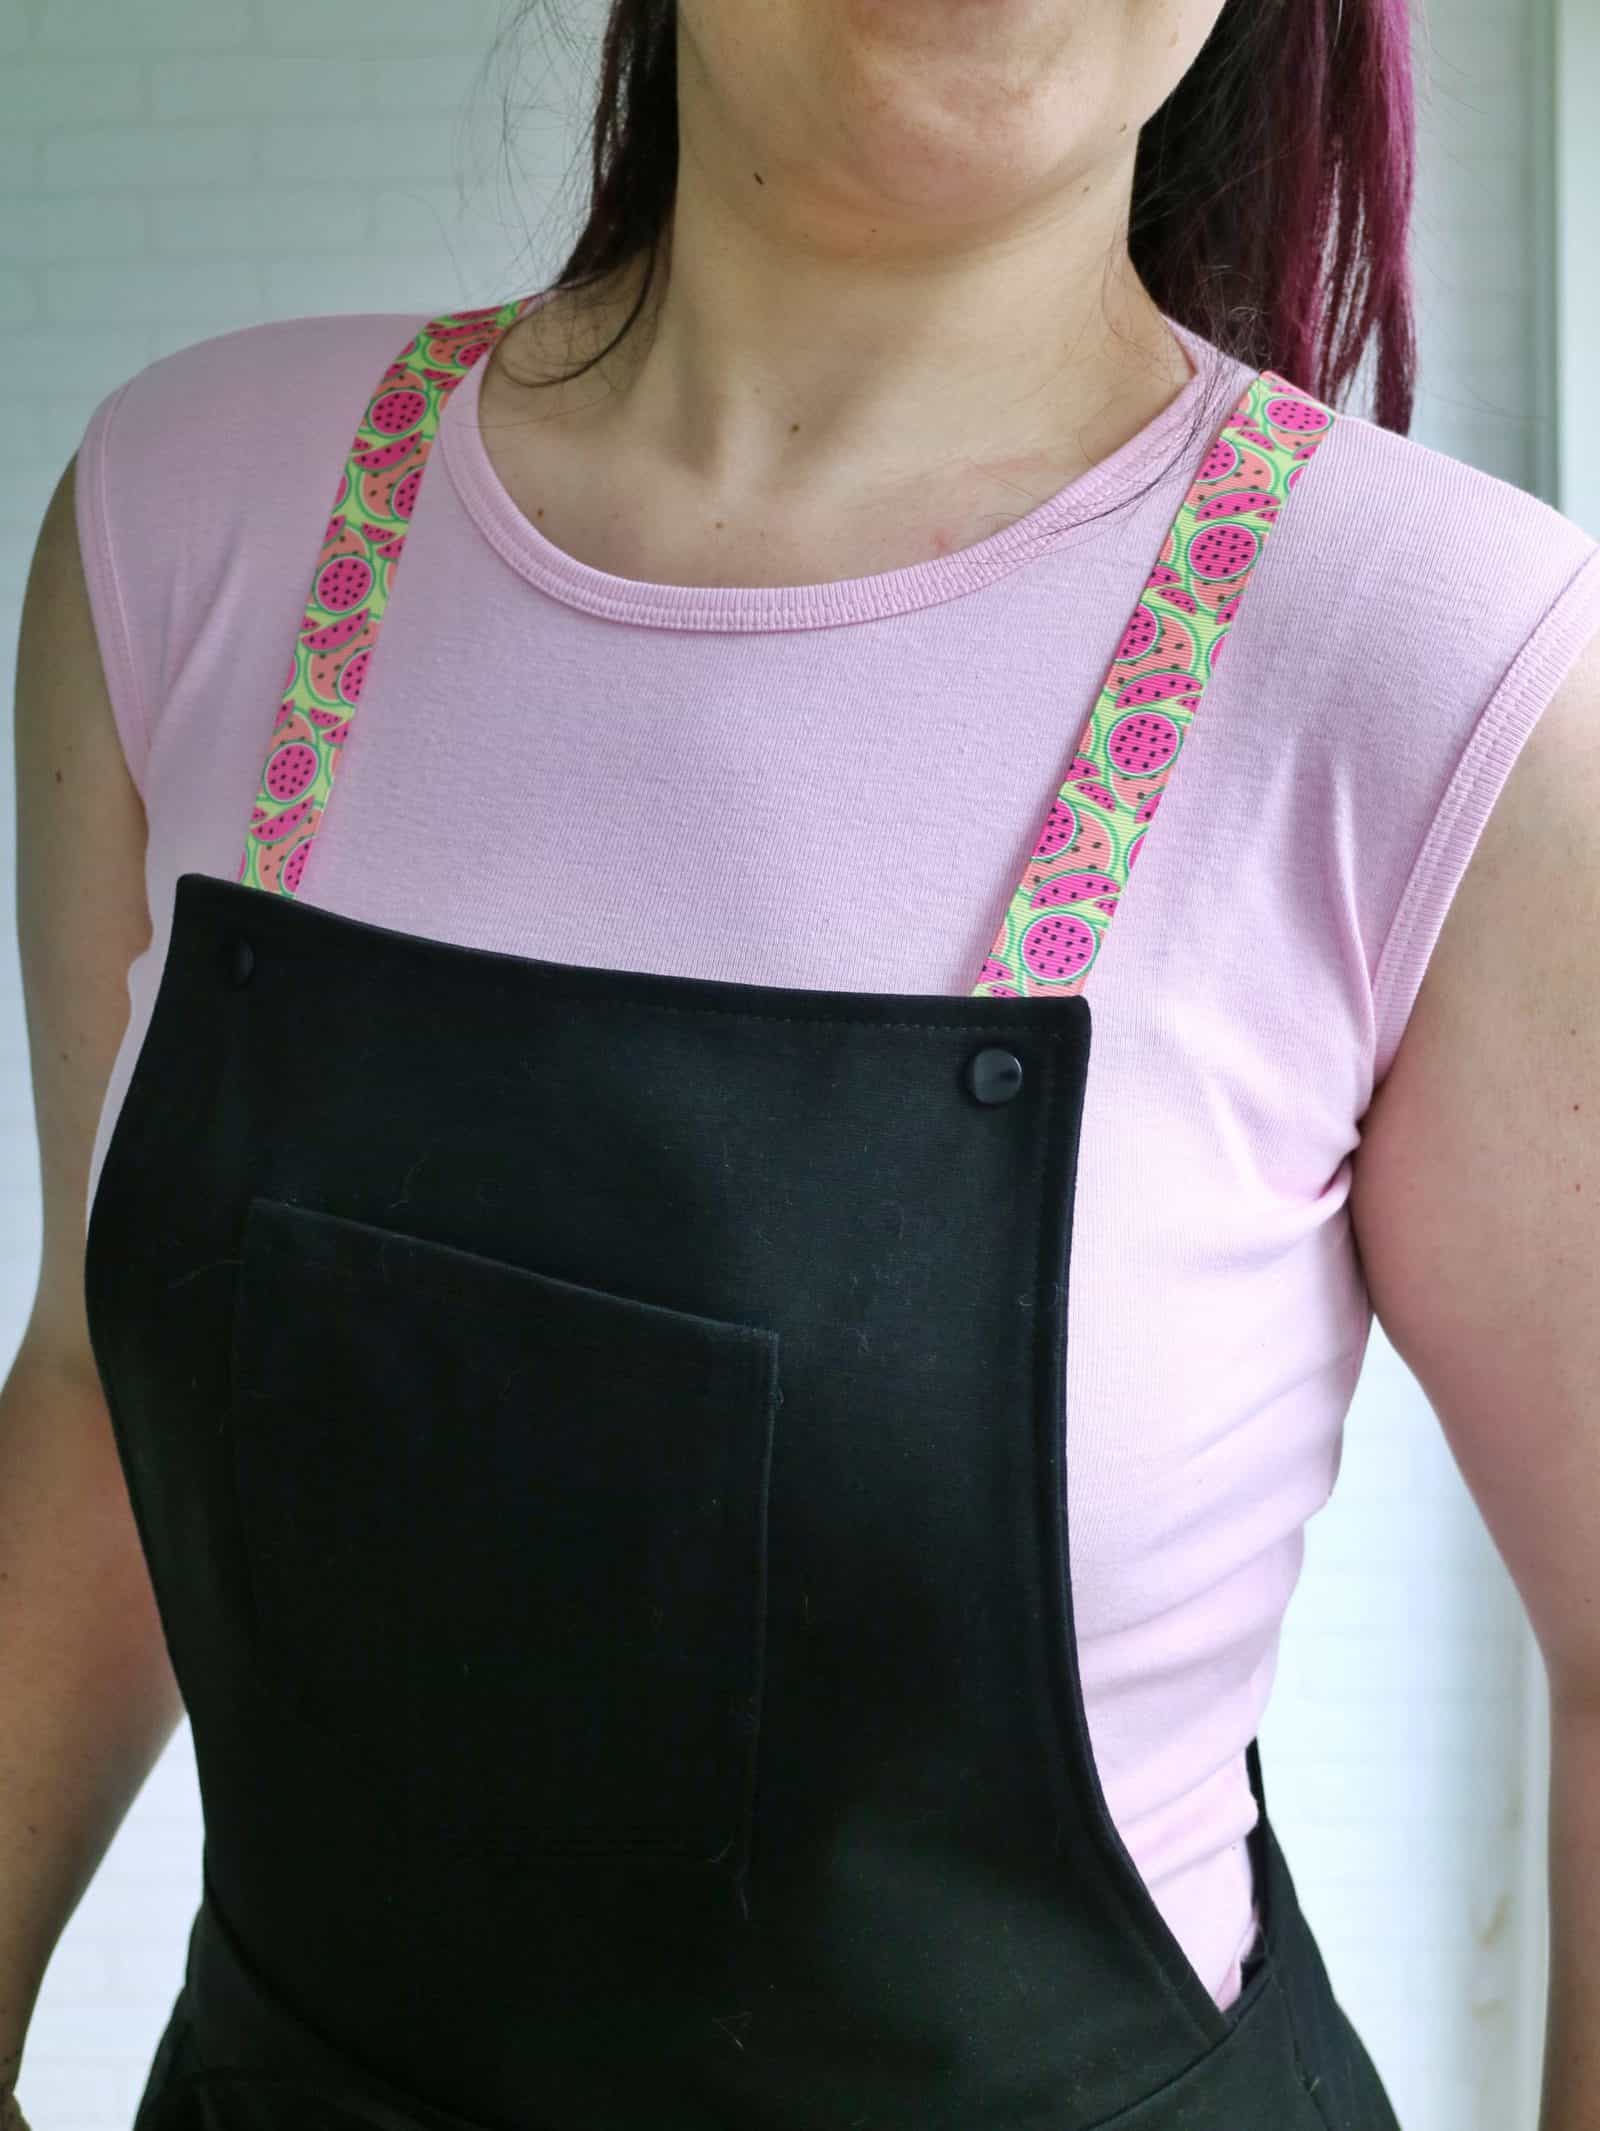
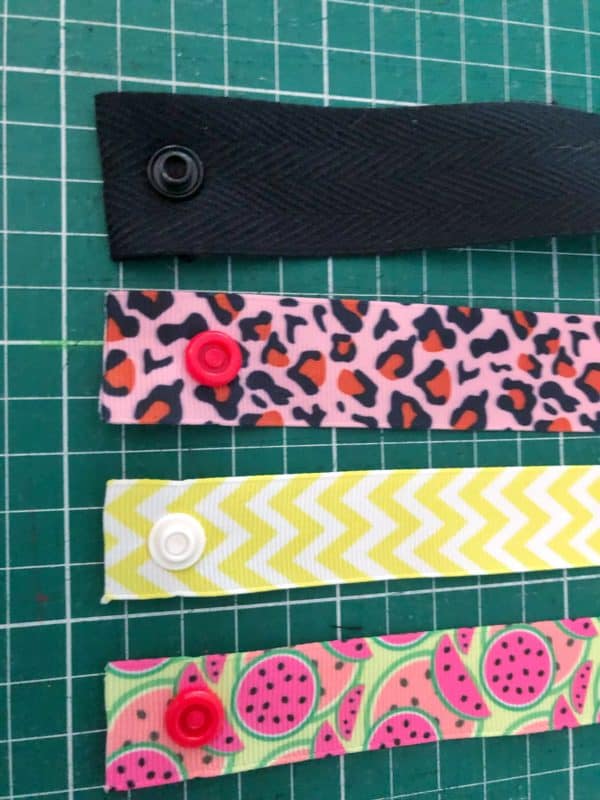
This is such a simple hack that, if you’re indecisive like me, the longest and most difficult step is choosing the ribbon. And as I was contemplating my choices it hit me that if I make them interchangeable, I don’t have to pick just one!
What you’ll need:
- Zoey pattern
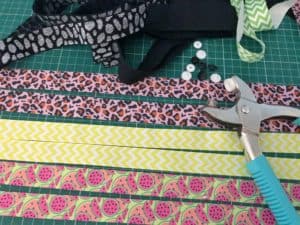
- ribbons
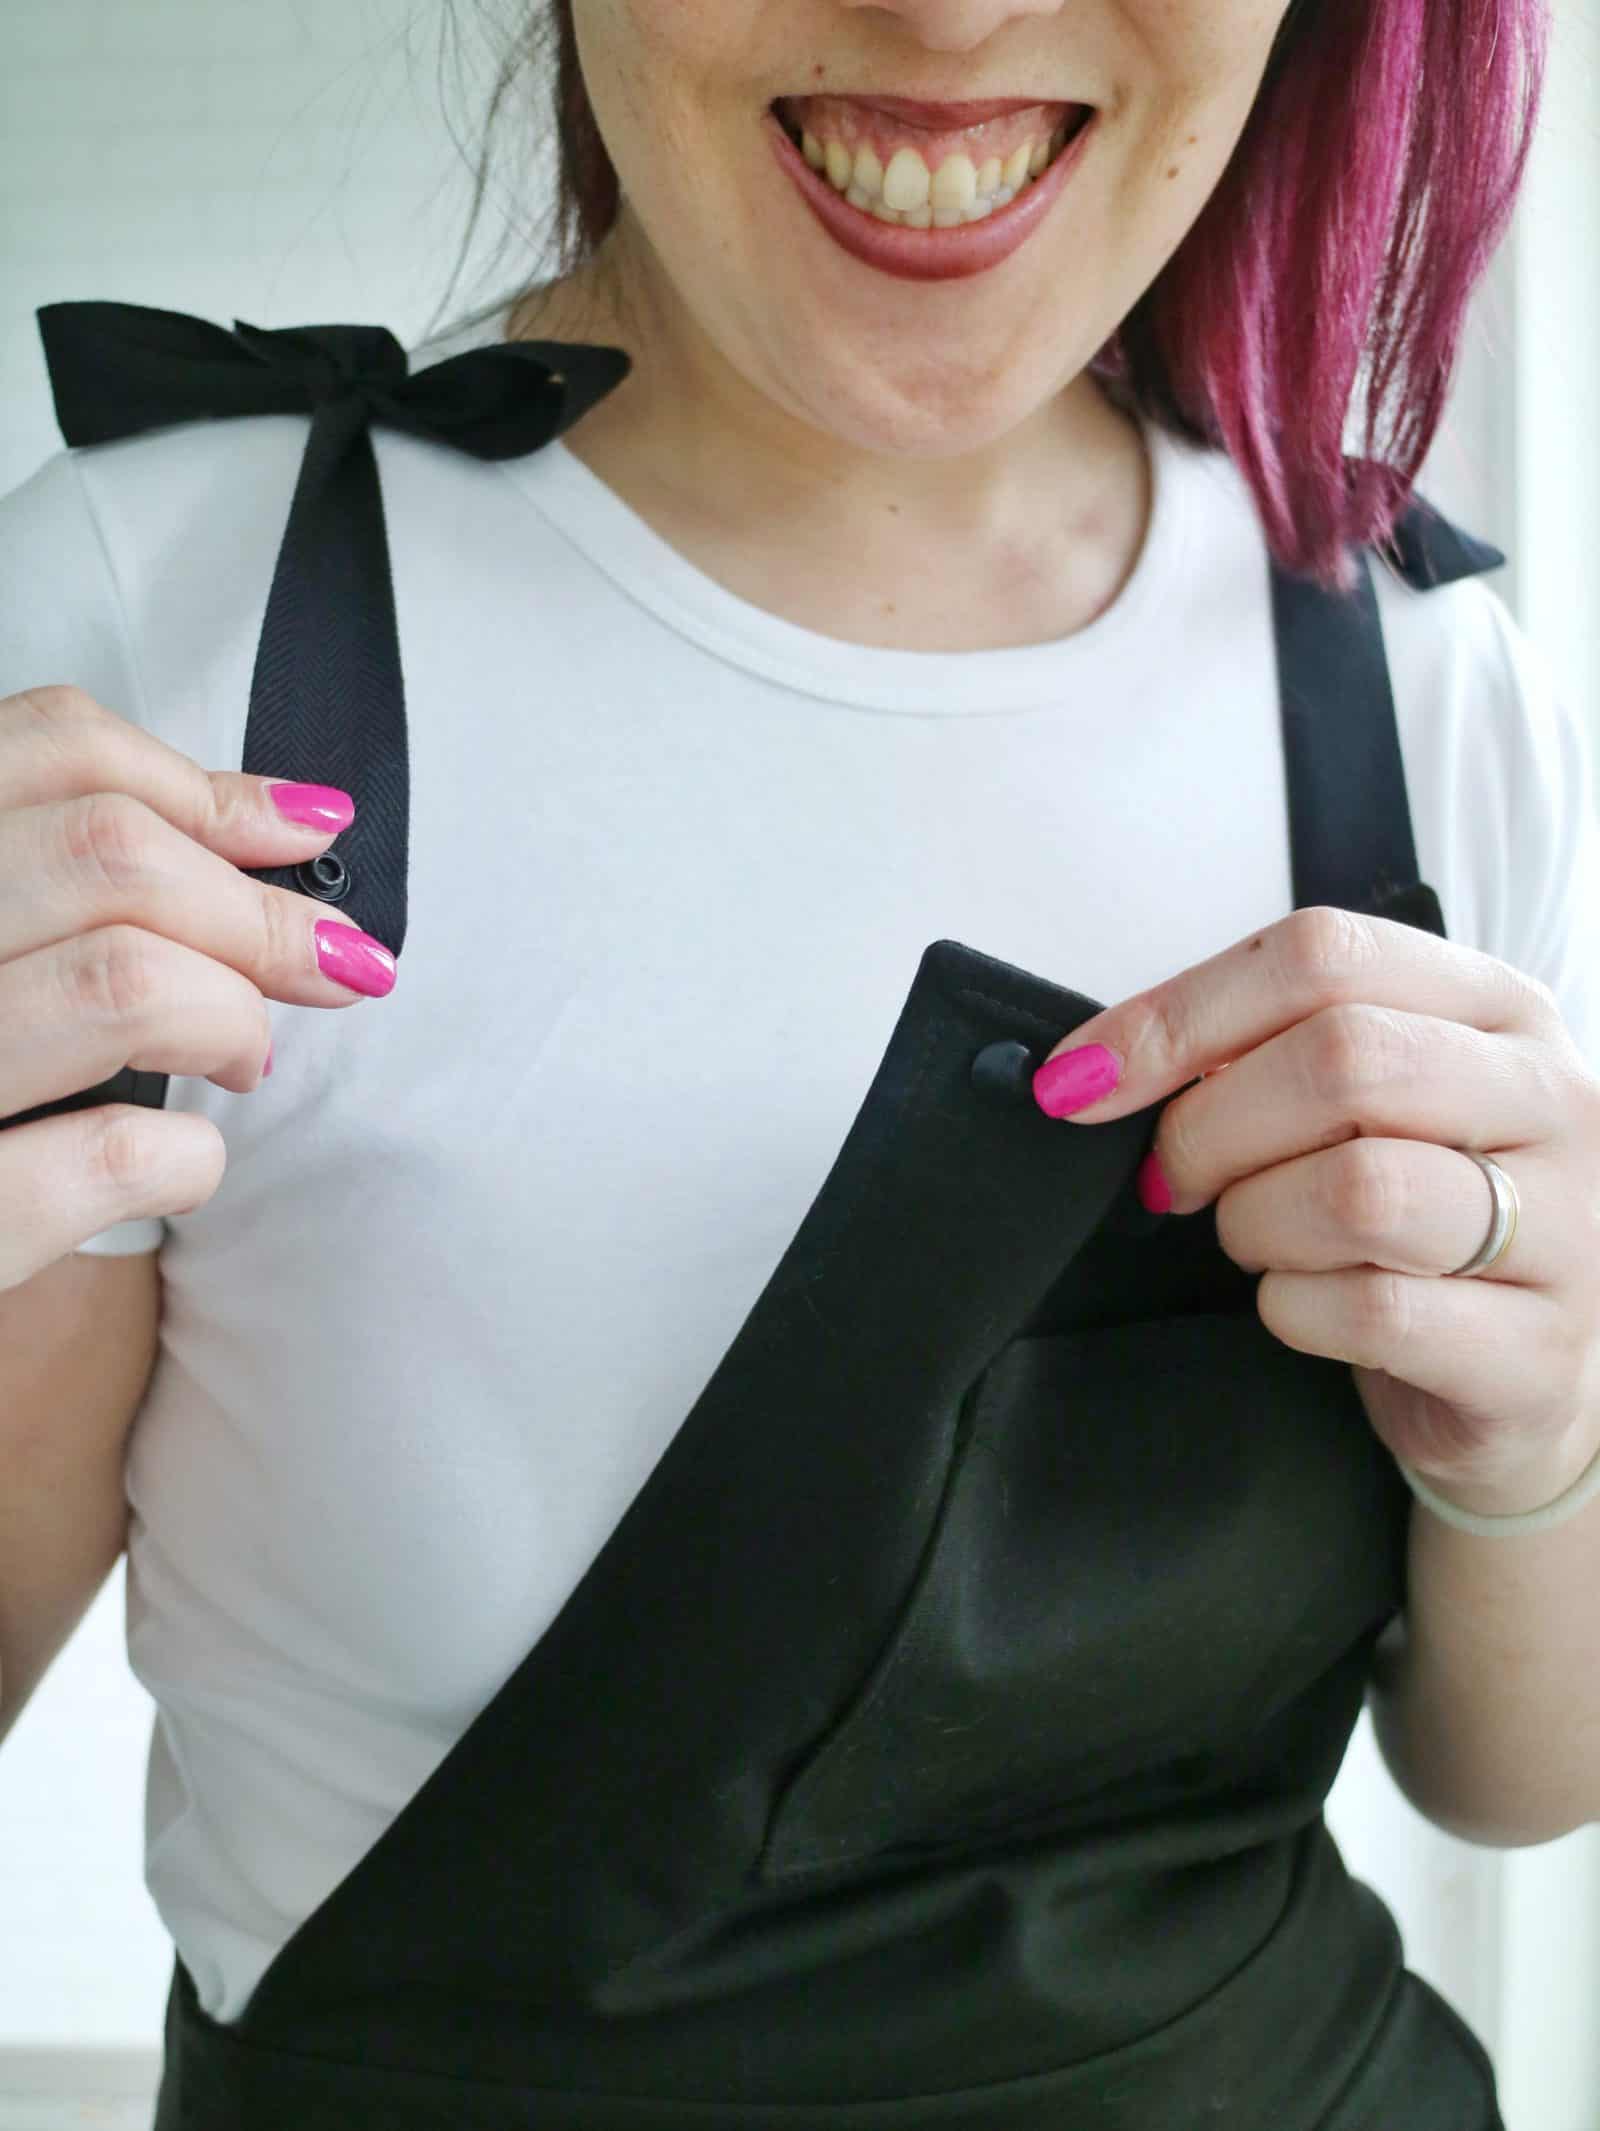
- snaps (or alternatively, velcro)
The steps for this are super simple:
- Sew Zoey according to the pattern, skipping the straps.
- Try it on and measure the strap length you’ll need. Cut 2 pieces of each ribbon accordingly.
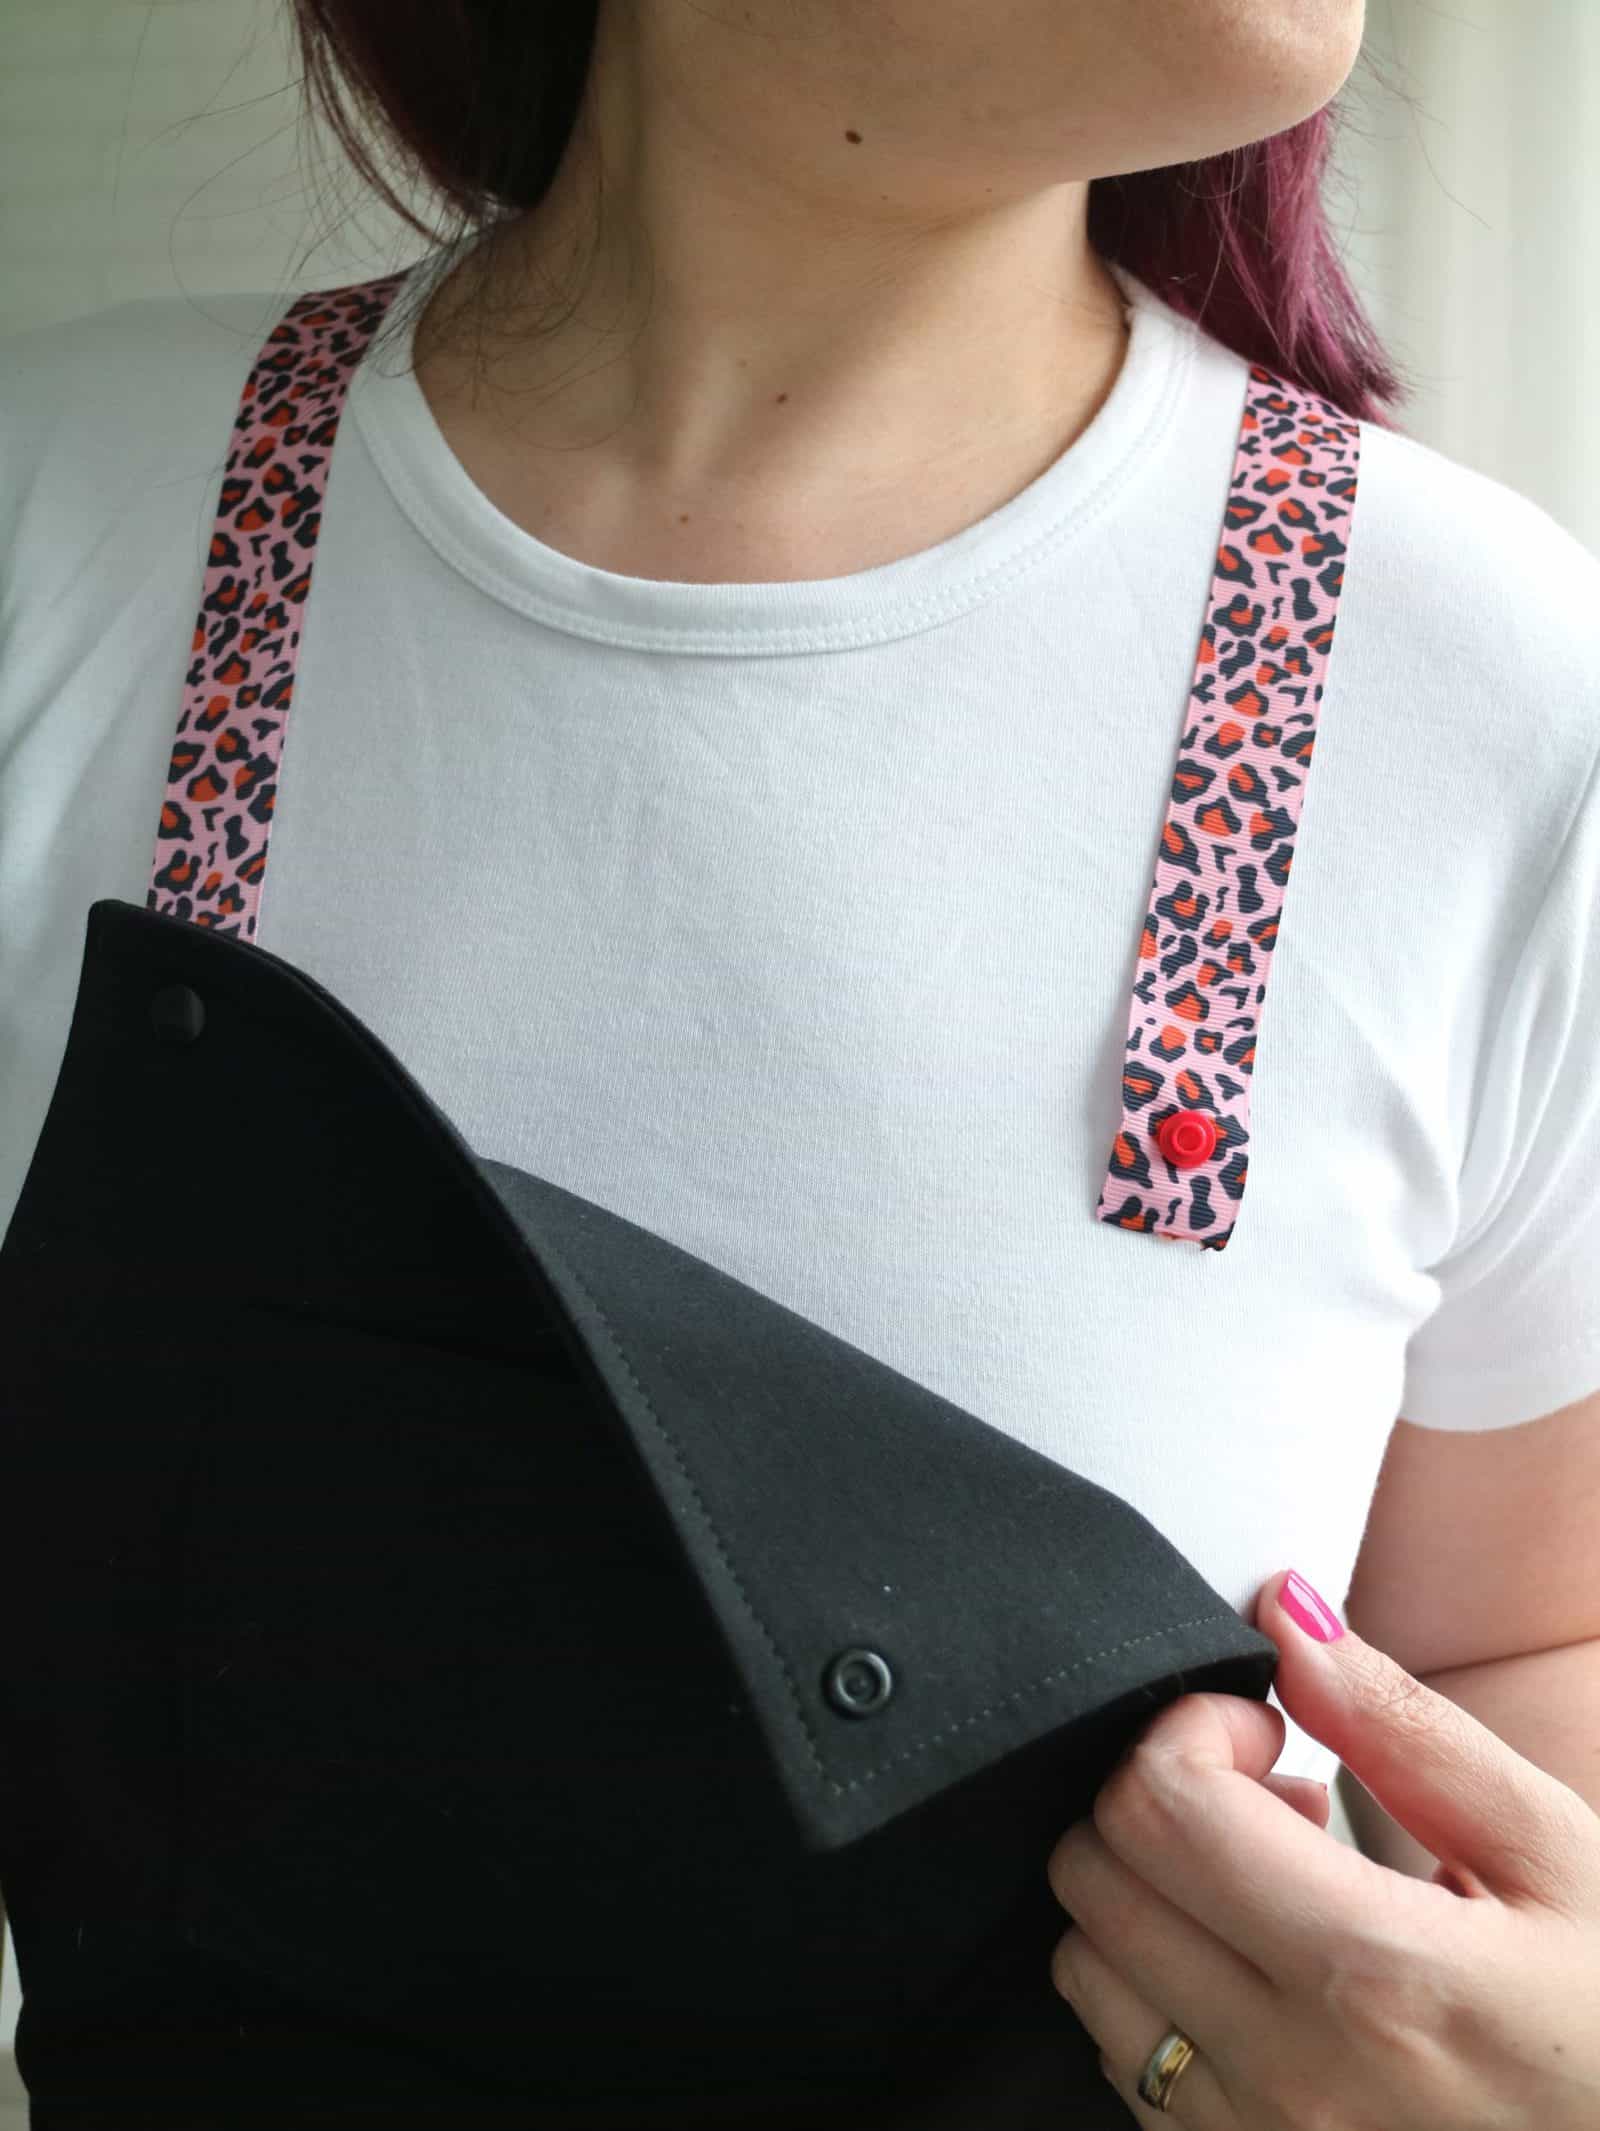
- Apply snaps to the corners of the center front and center back. The exact location will depend on the width of your ribbons.
- Apply snaps to both ends of each ribbon. The smooth side of the snap will be on the wrong side of the ribbon, male and female parts will be on the right side of it.
- Alternatively, you can cut 4 pieces of ribbon add snaps to only one end of each and tie it at the shoulders.So cute!
Now, if you’re not interested in having multiple straps and just want a simple substitution, don’t need to do much, hacking-wise. Just follow the instructions but using ribbon (or cords) instead. I’d avoid the buttonhole without a button option because most ribbons won’t have enough bulk for the knotted option.
Another simple straps mod would be to have them fixed and eliminate a closure altogether
For that, simply repeat Step 3 with the front bodice as well. The only difference is that you’ll keep the straps parallel to the center front and not angle it. You’ll then sew the rest as per instructions. You’ll have both centers front and back attached via the straps but that won’t interfere with the construction.
Well, this is it from me today.
If you give this hack a try I hope you have as much fun as I did, and if you have any questions feel free to give me a shout. <3
-Livia
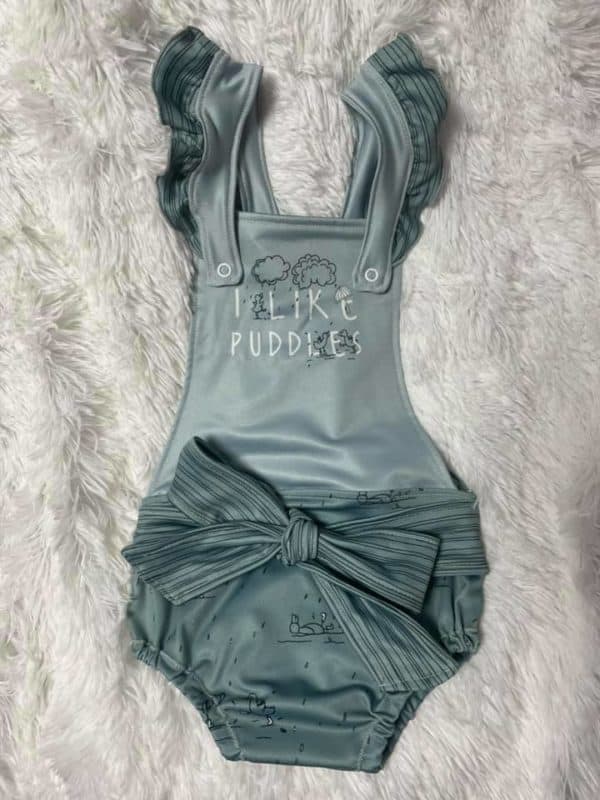
Bow Belt Hack
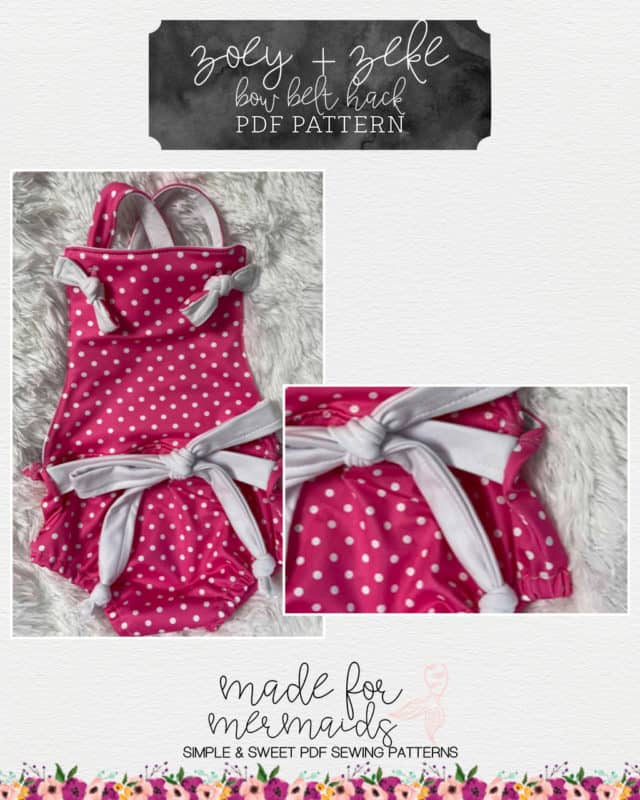
Want to spice up your Zoey+Zeke overalls a little more?? Check out this adorable bow belt hack!
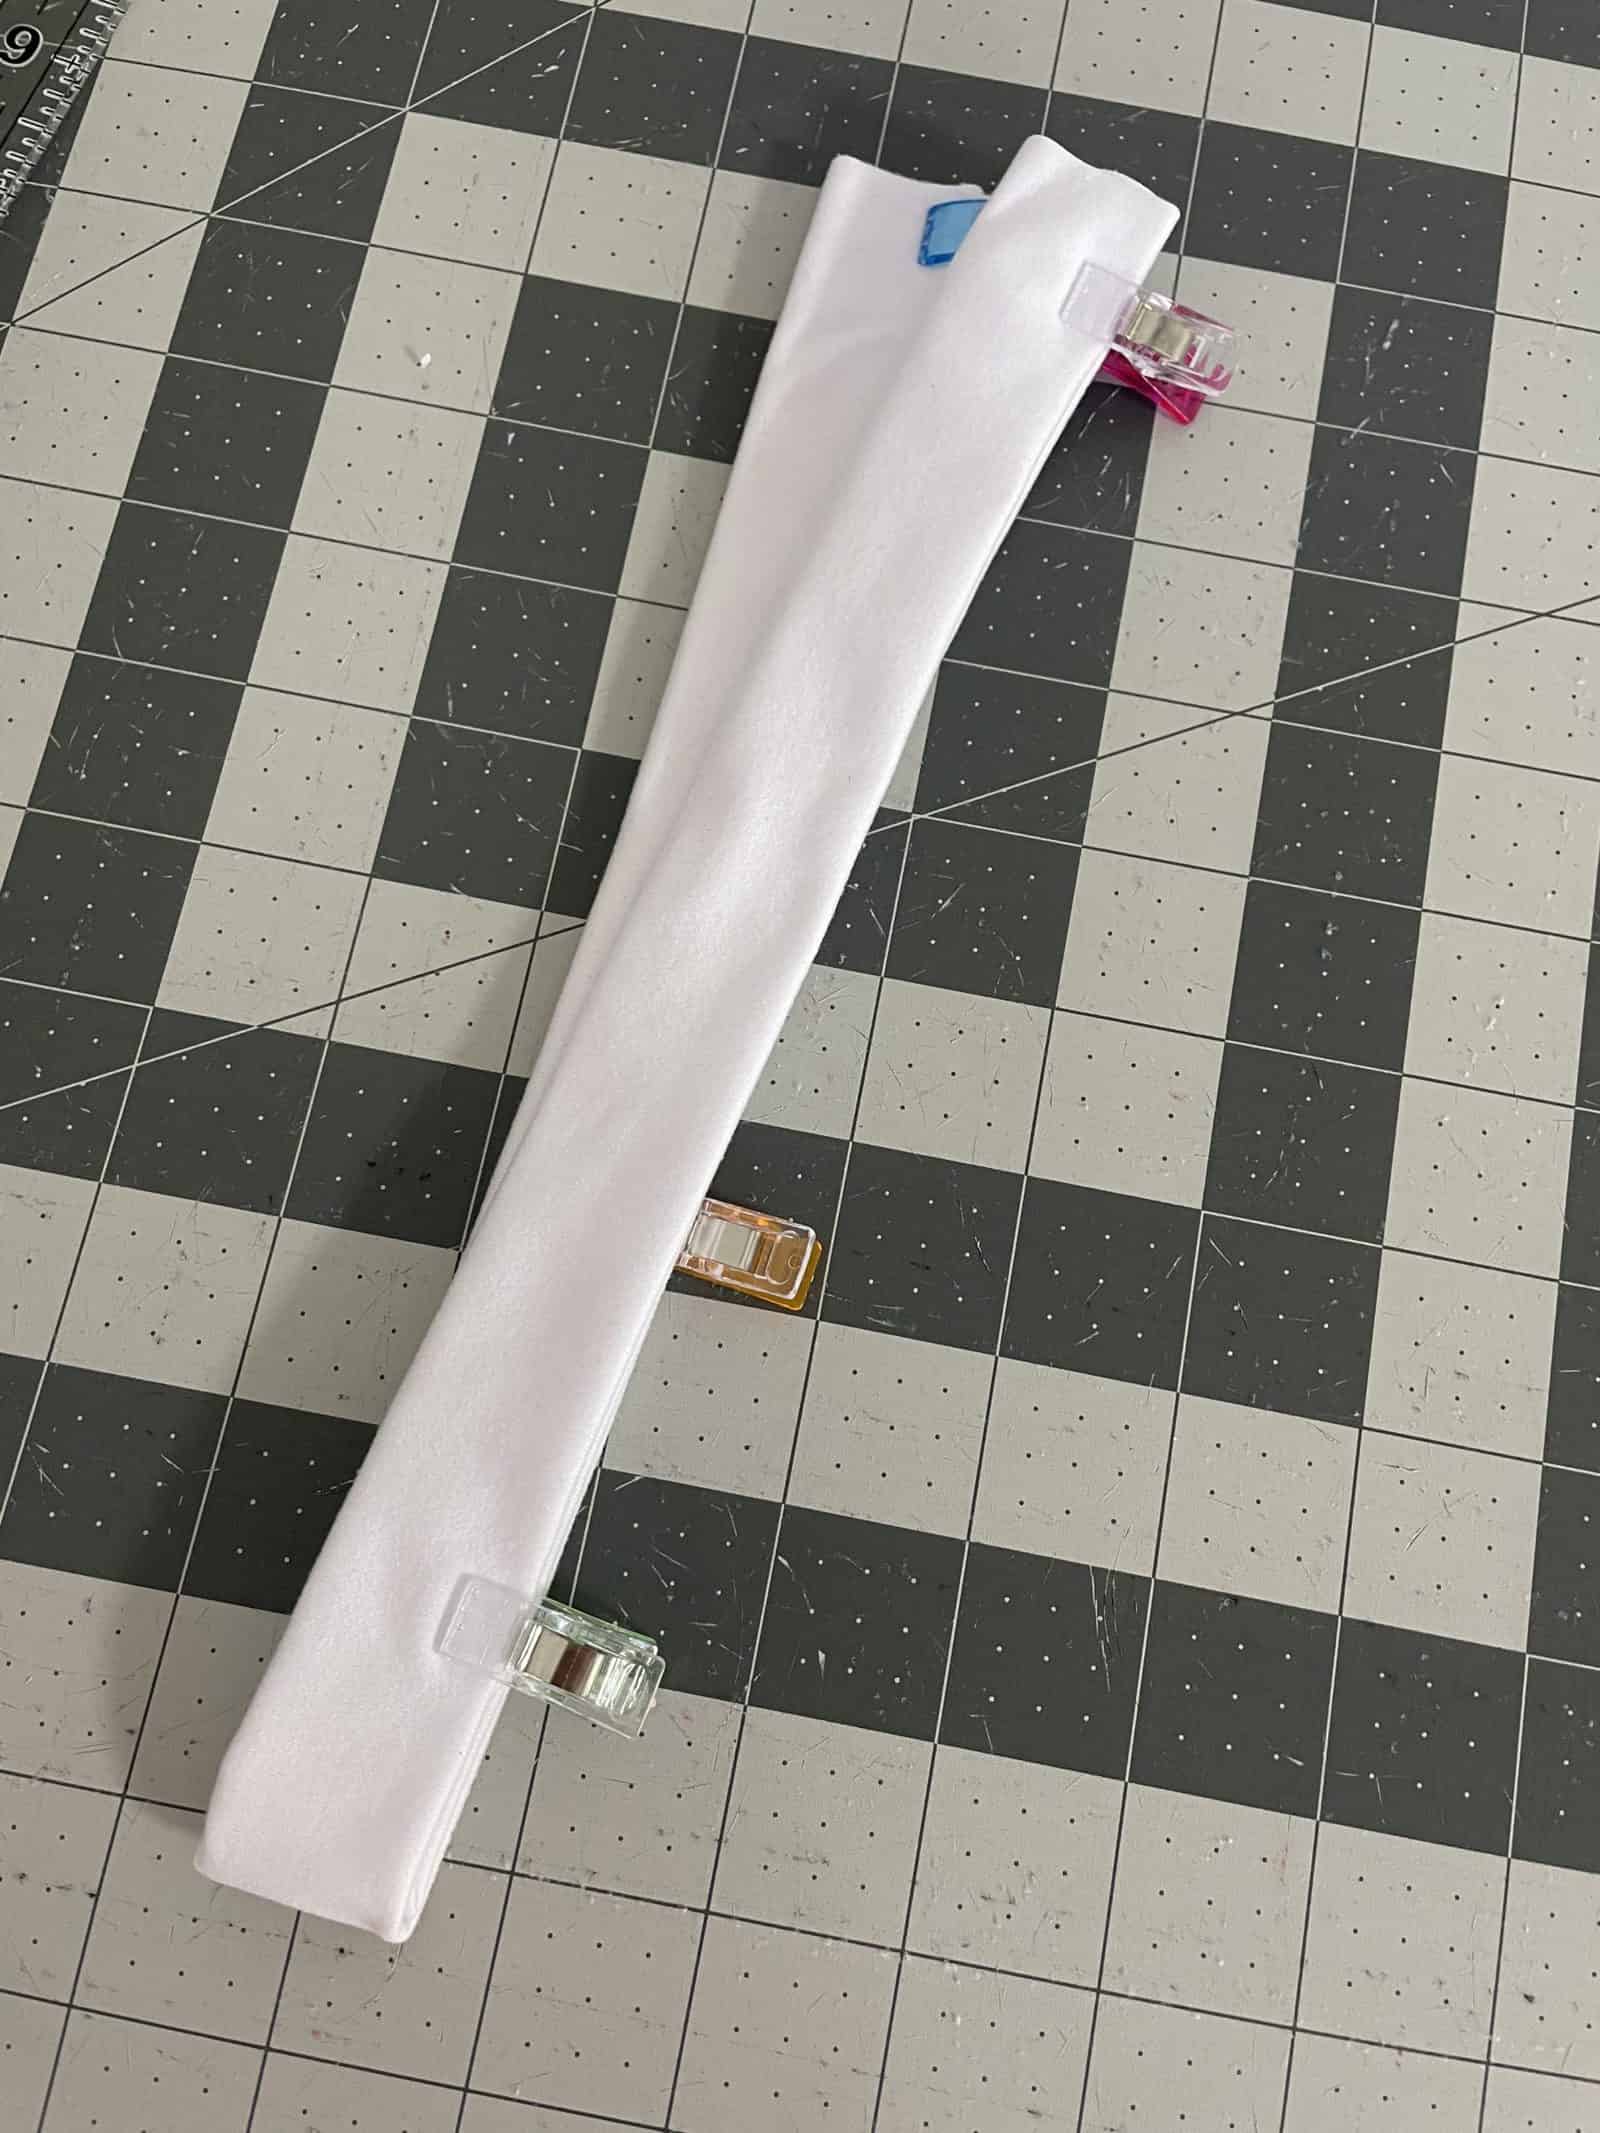
You’ll need to decide on strap lengths and then measure them out – I did 4.25″ x 21” for the 18-24 month size. Straps can be trimmed later on.
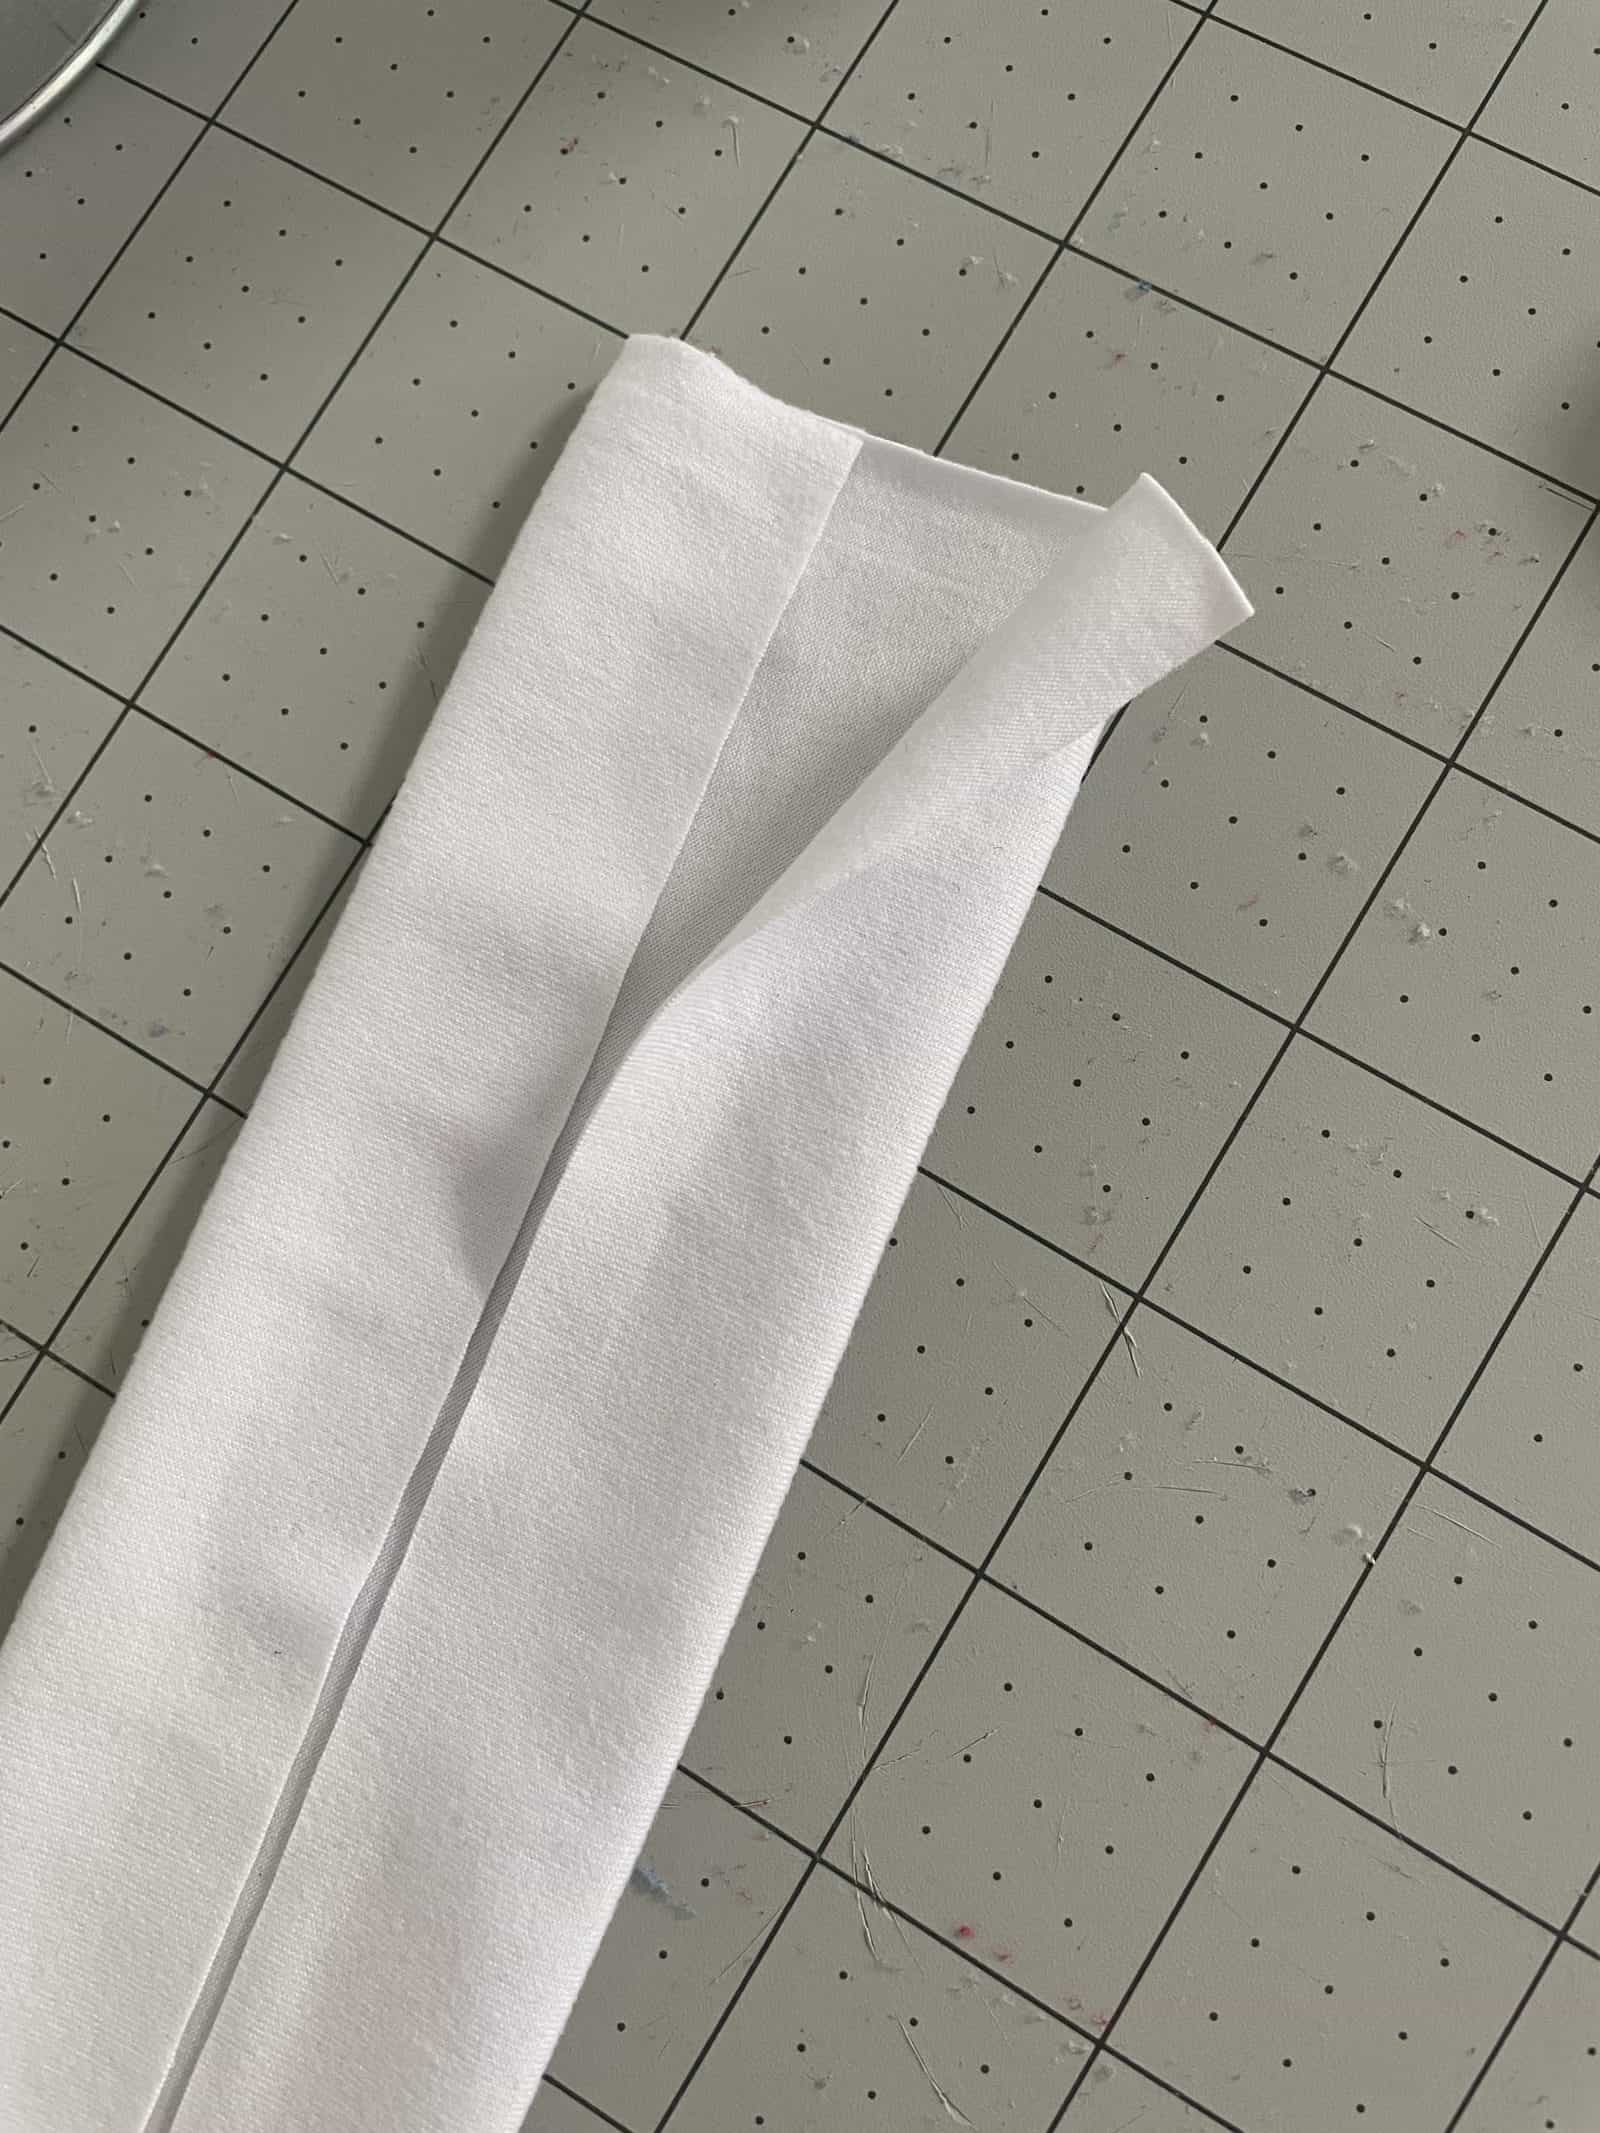
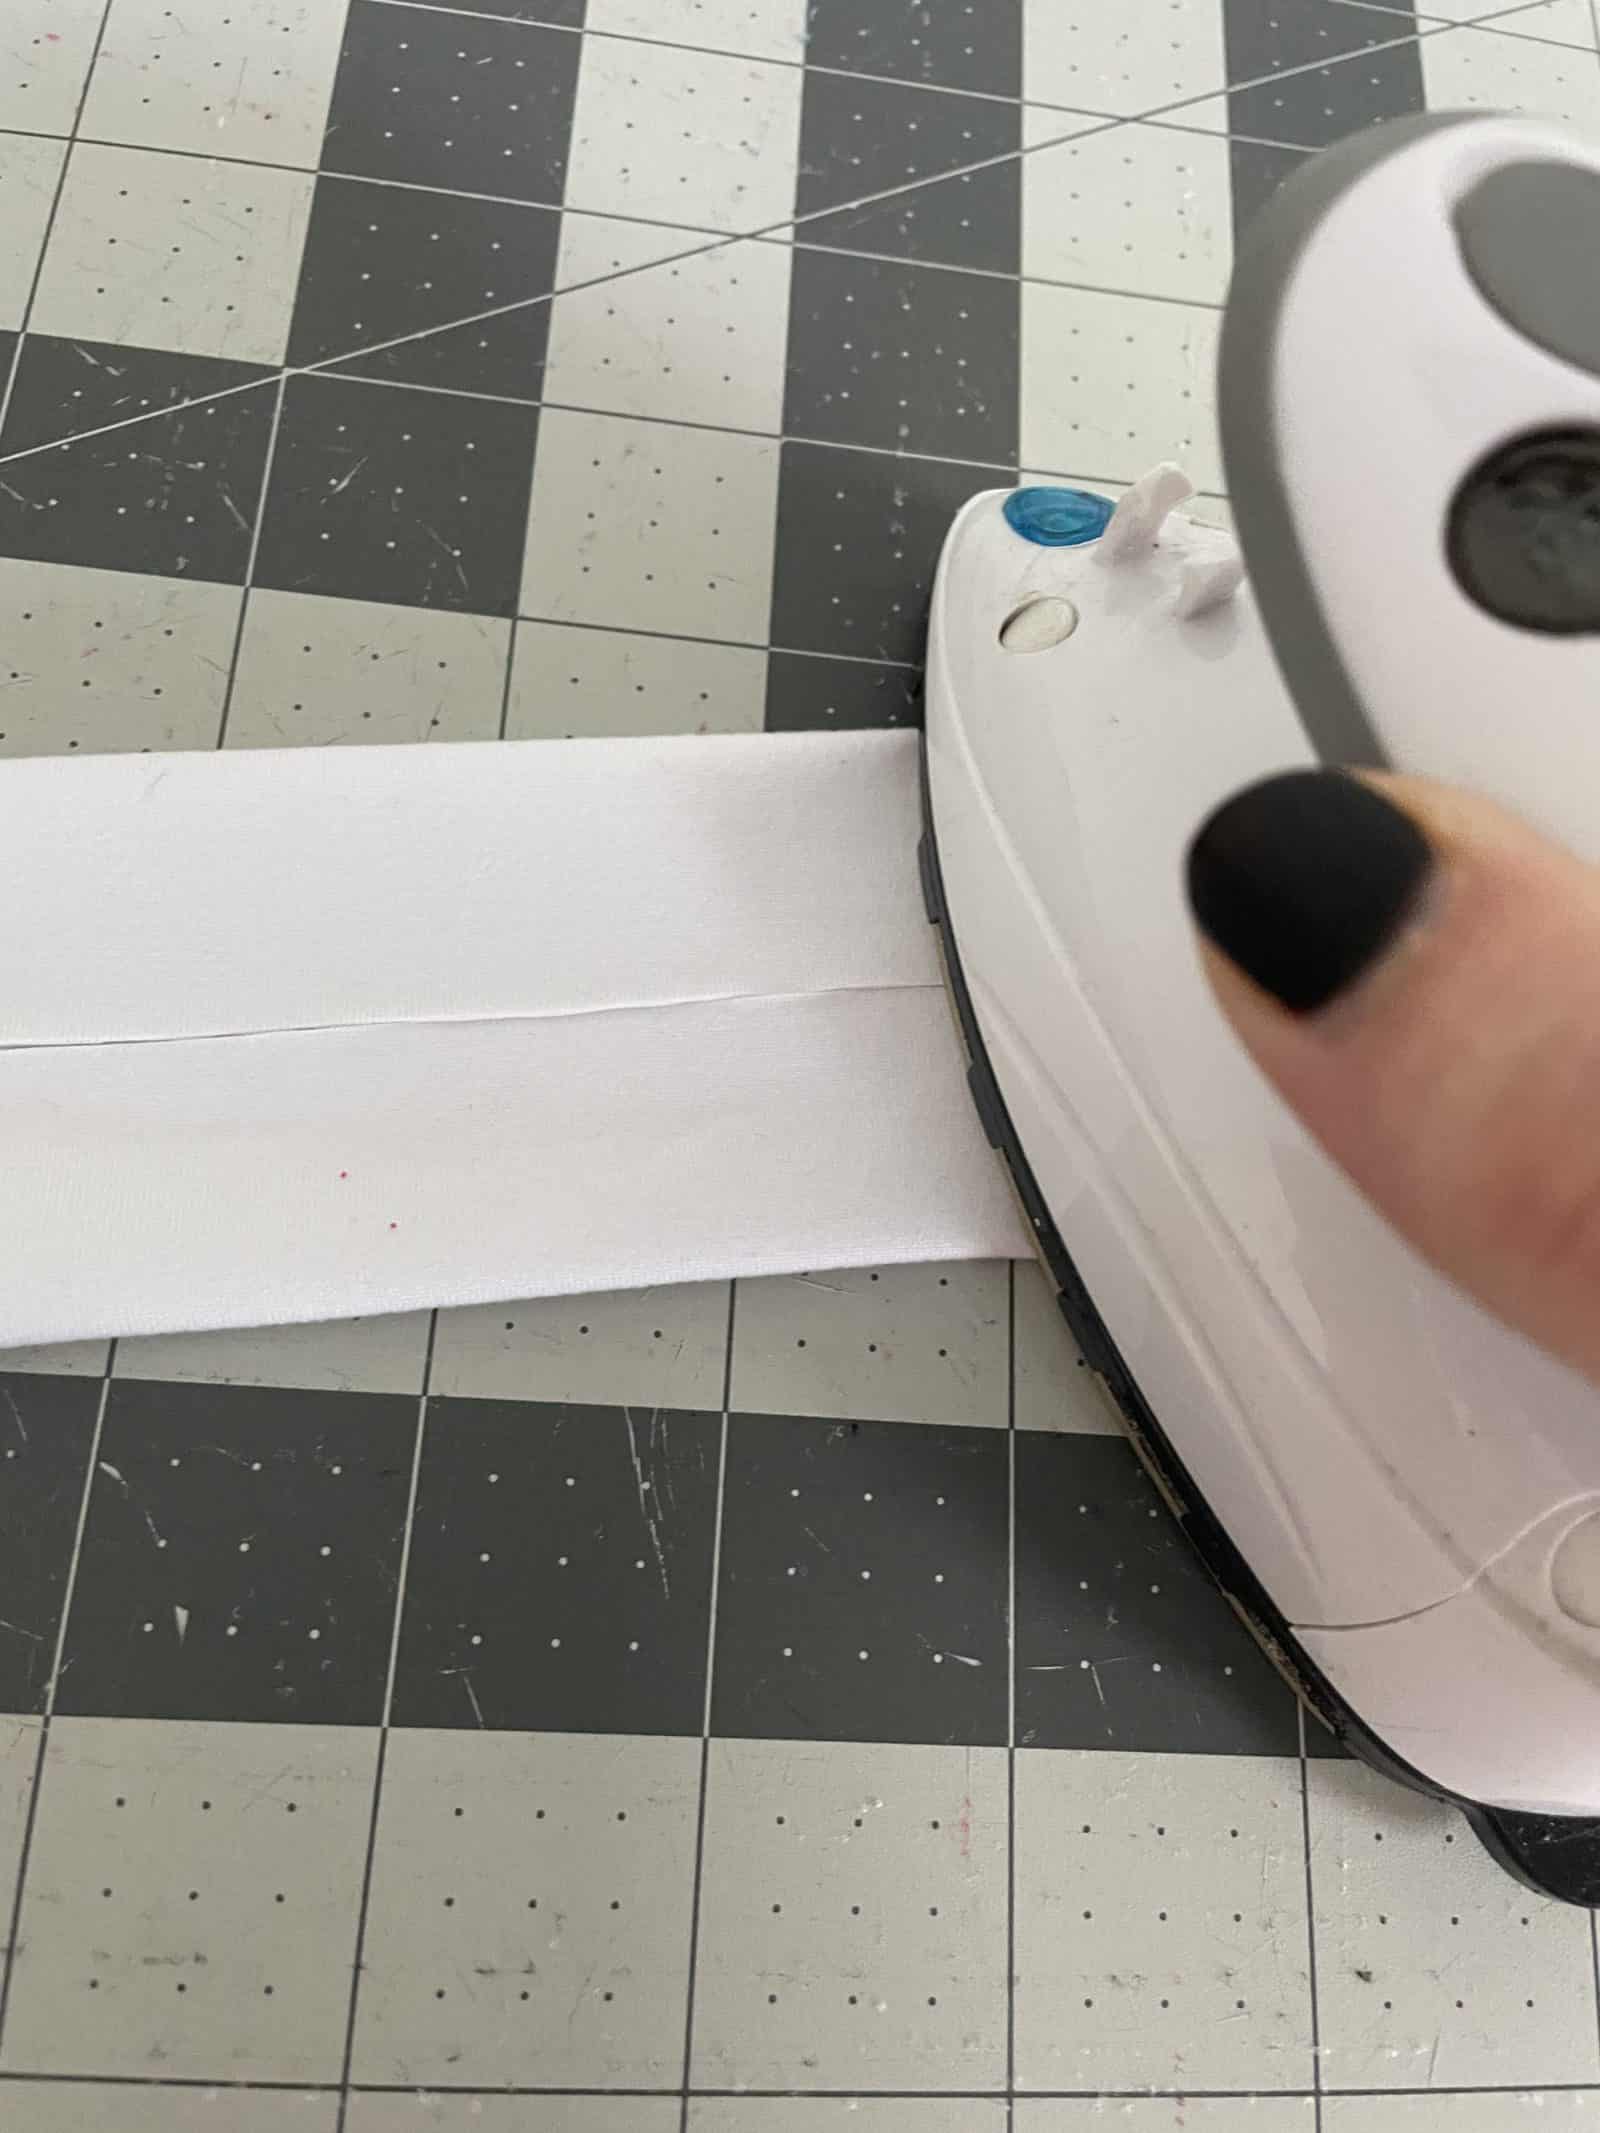
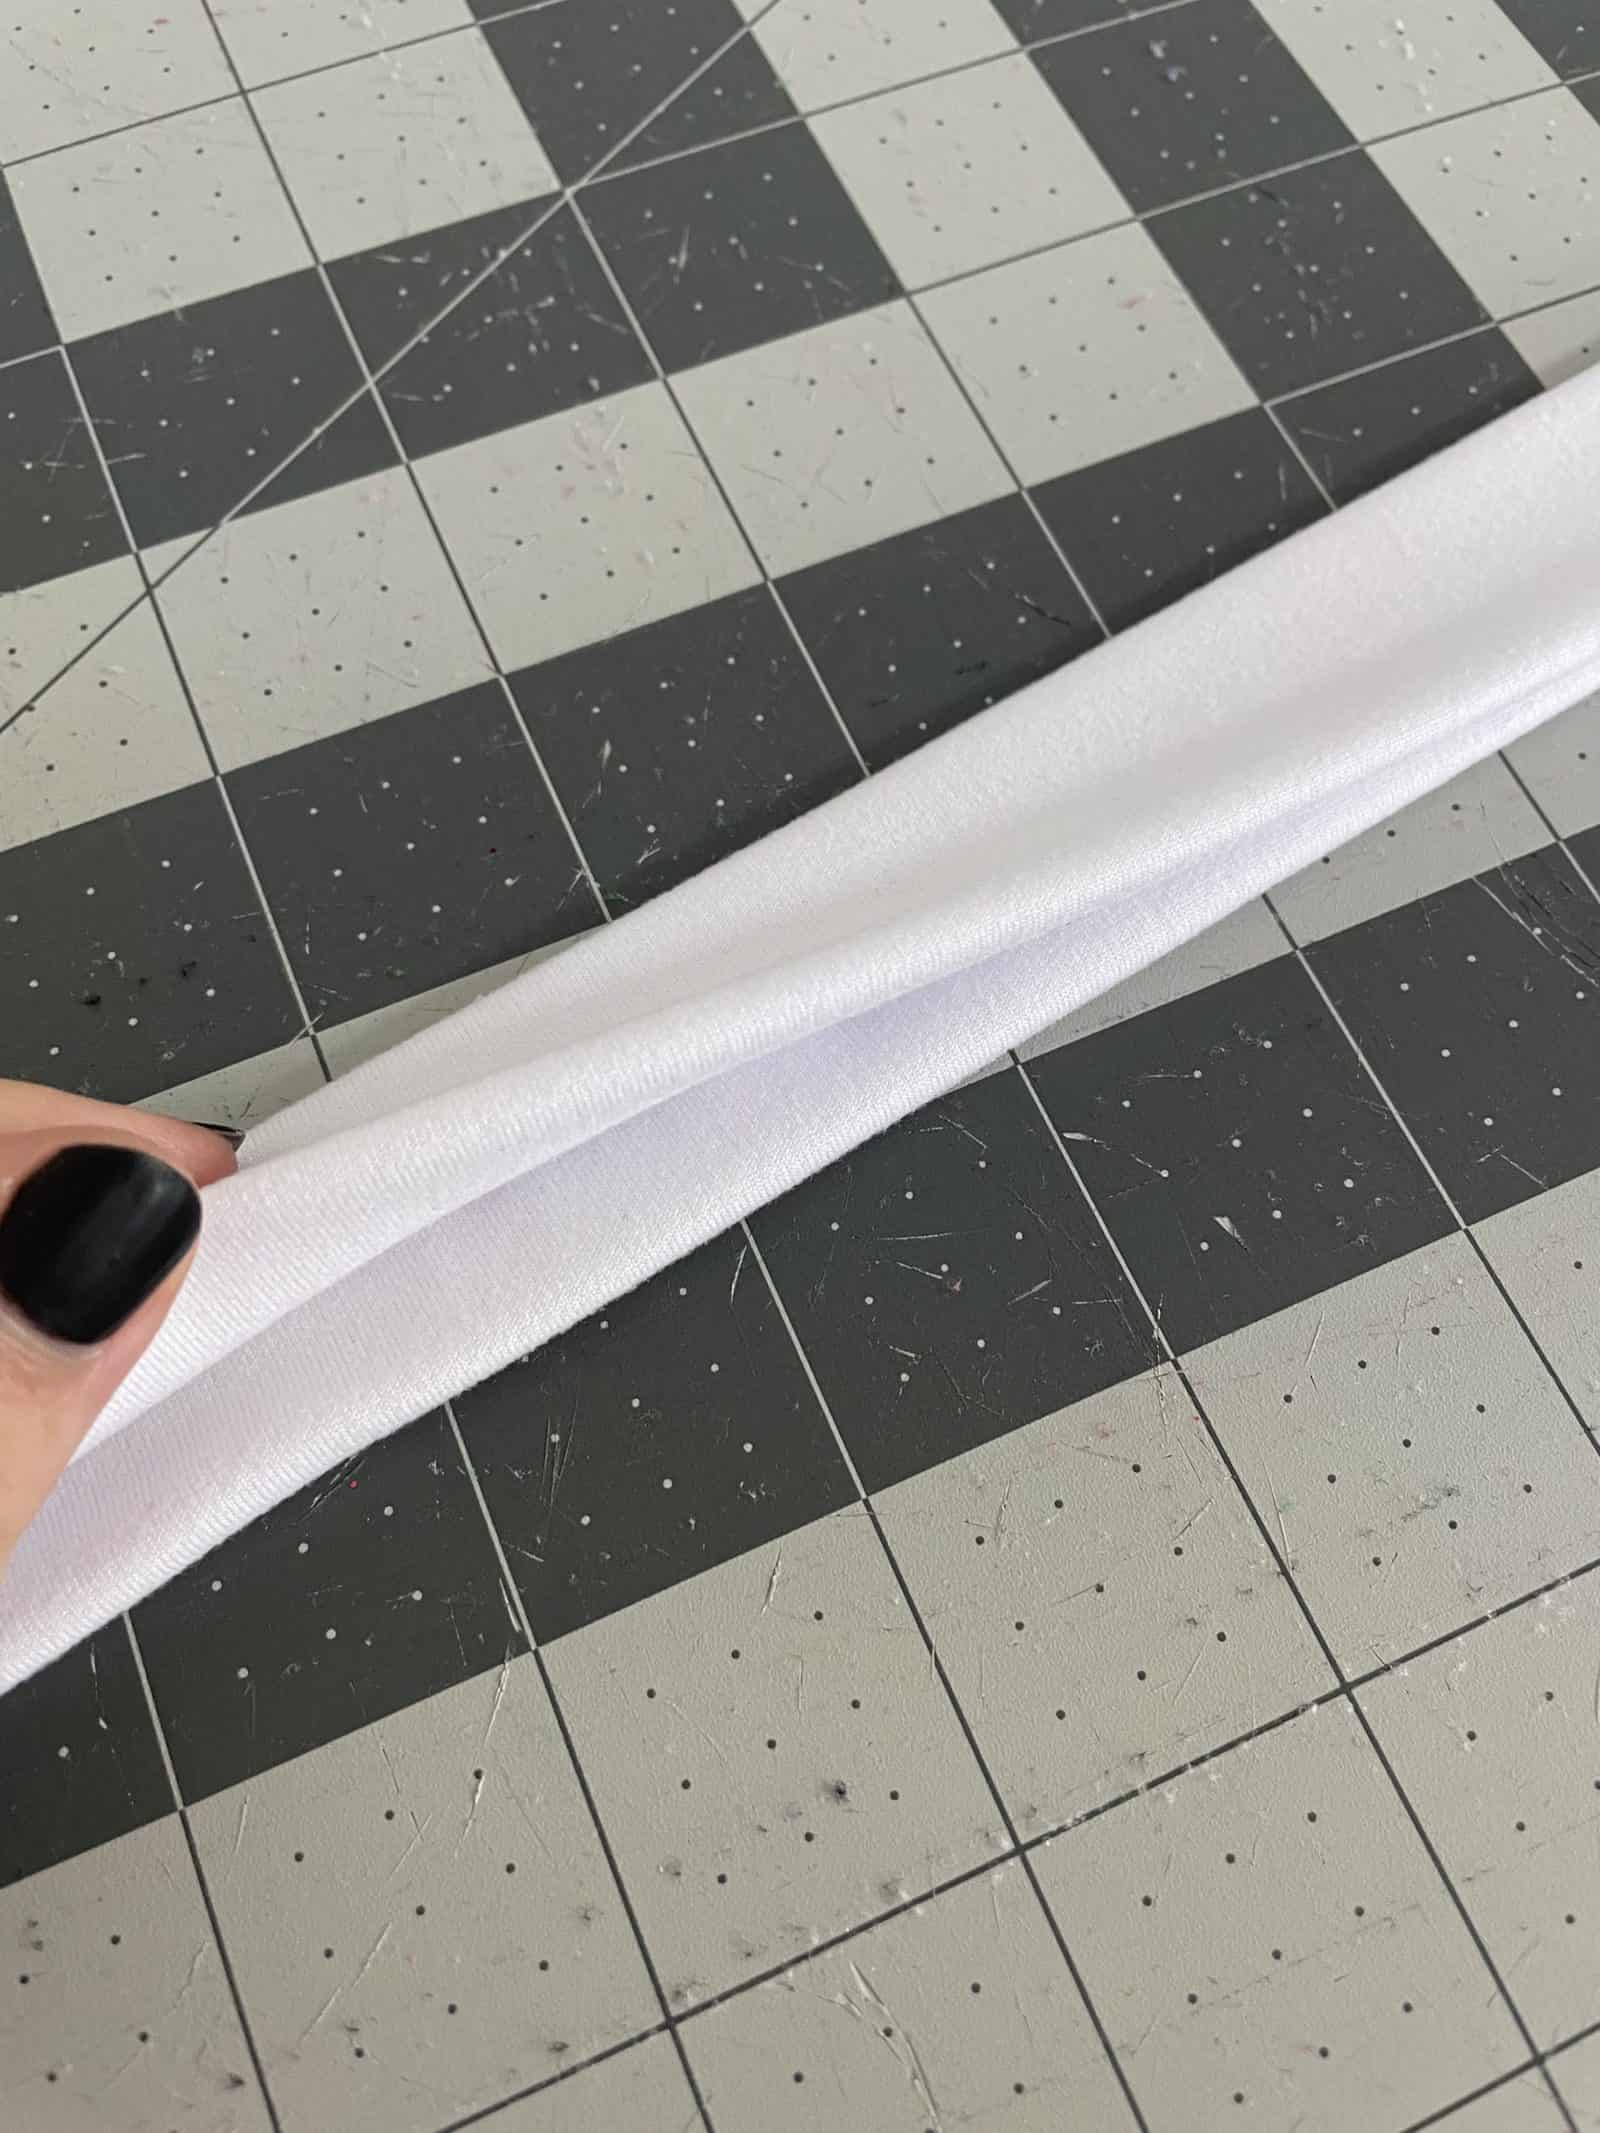
Fold each side in about an inch like you would binding and press. Fold in half length-wise and press again. Clip or pin into place.
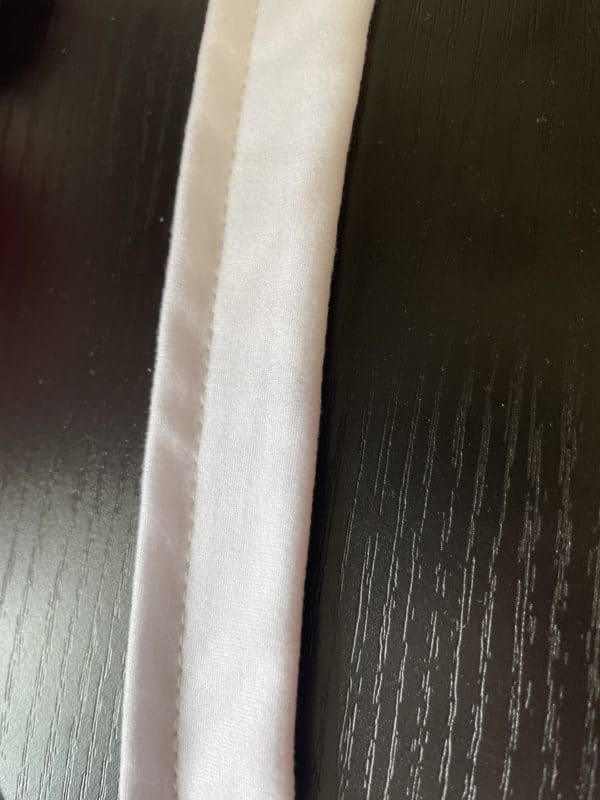
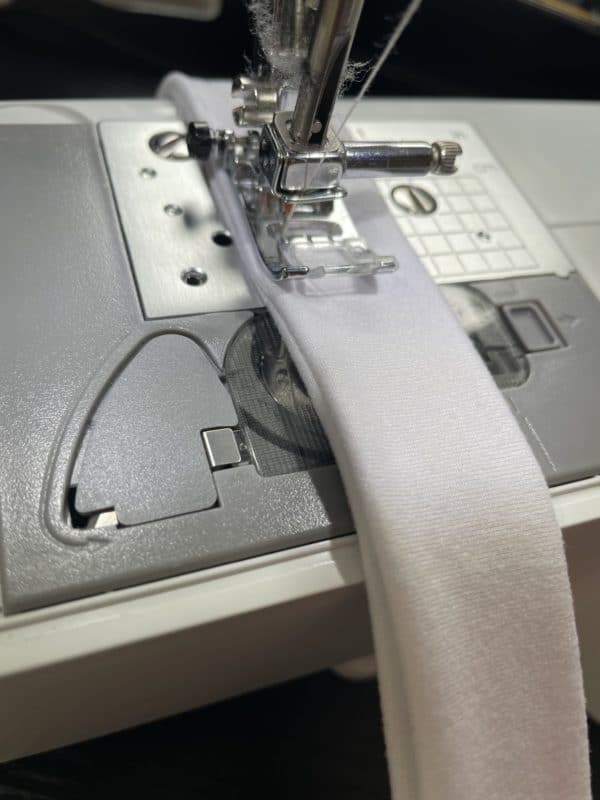
Topstitch on the opposite side of the fold.
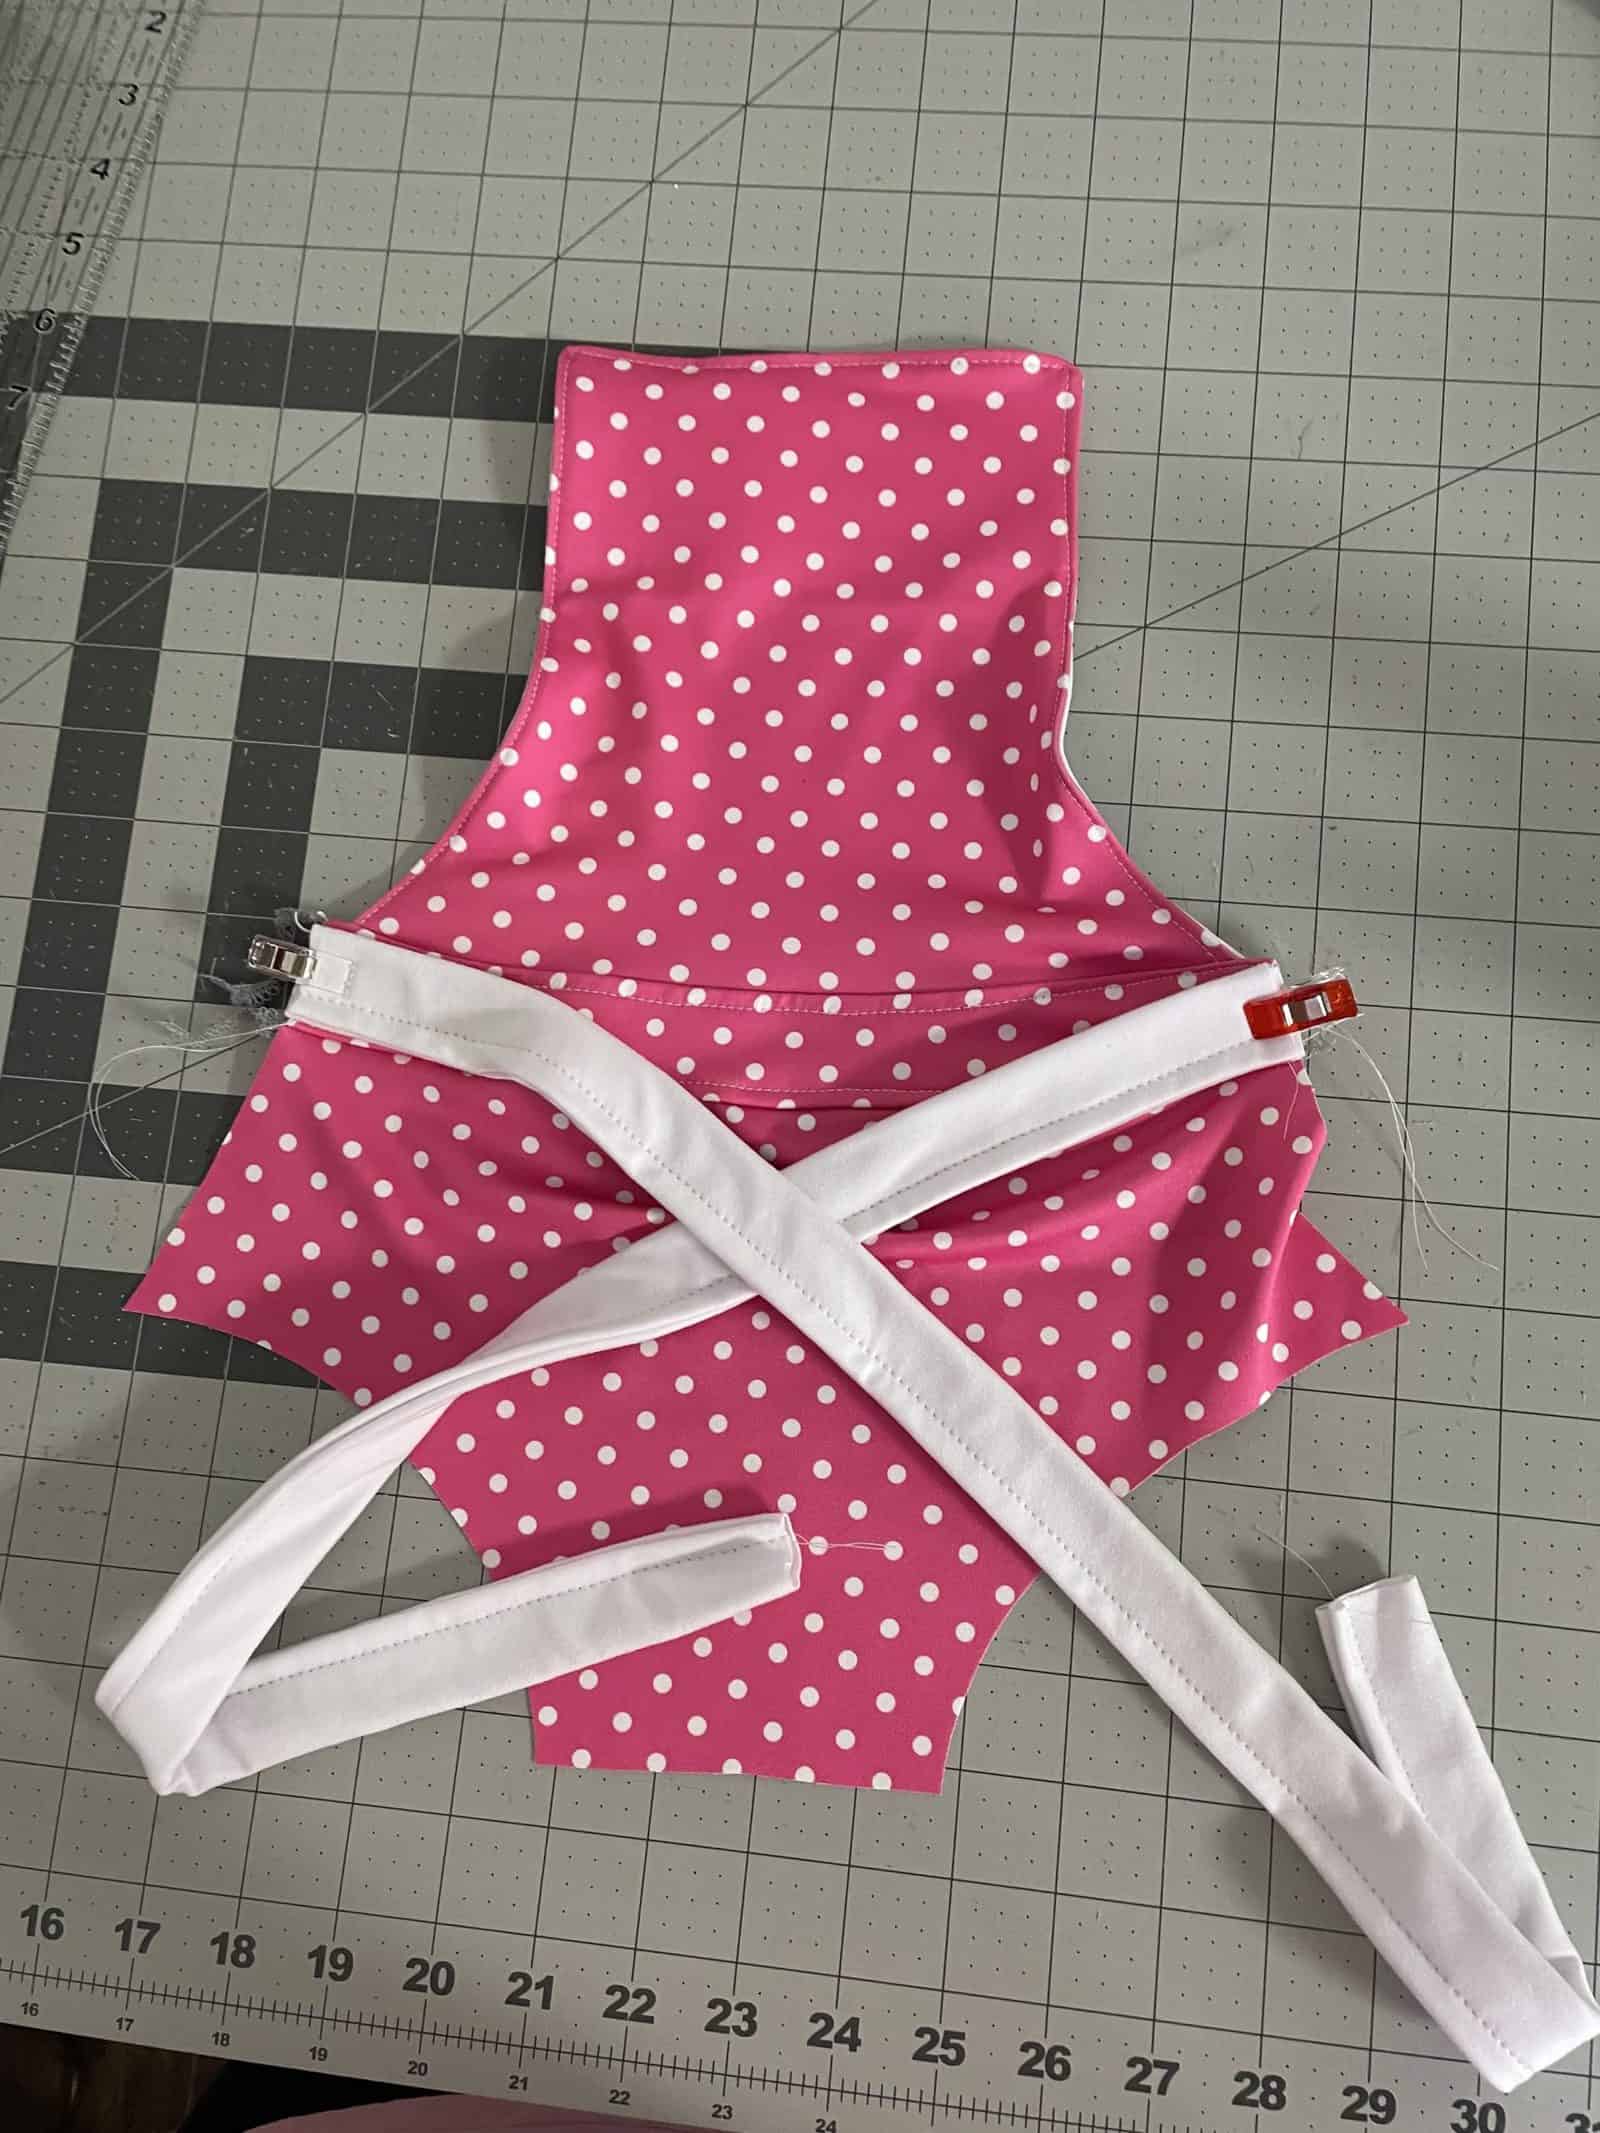
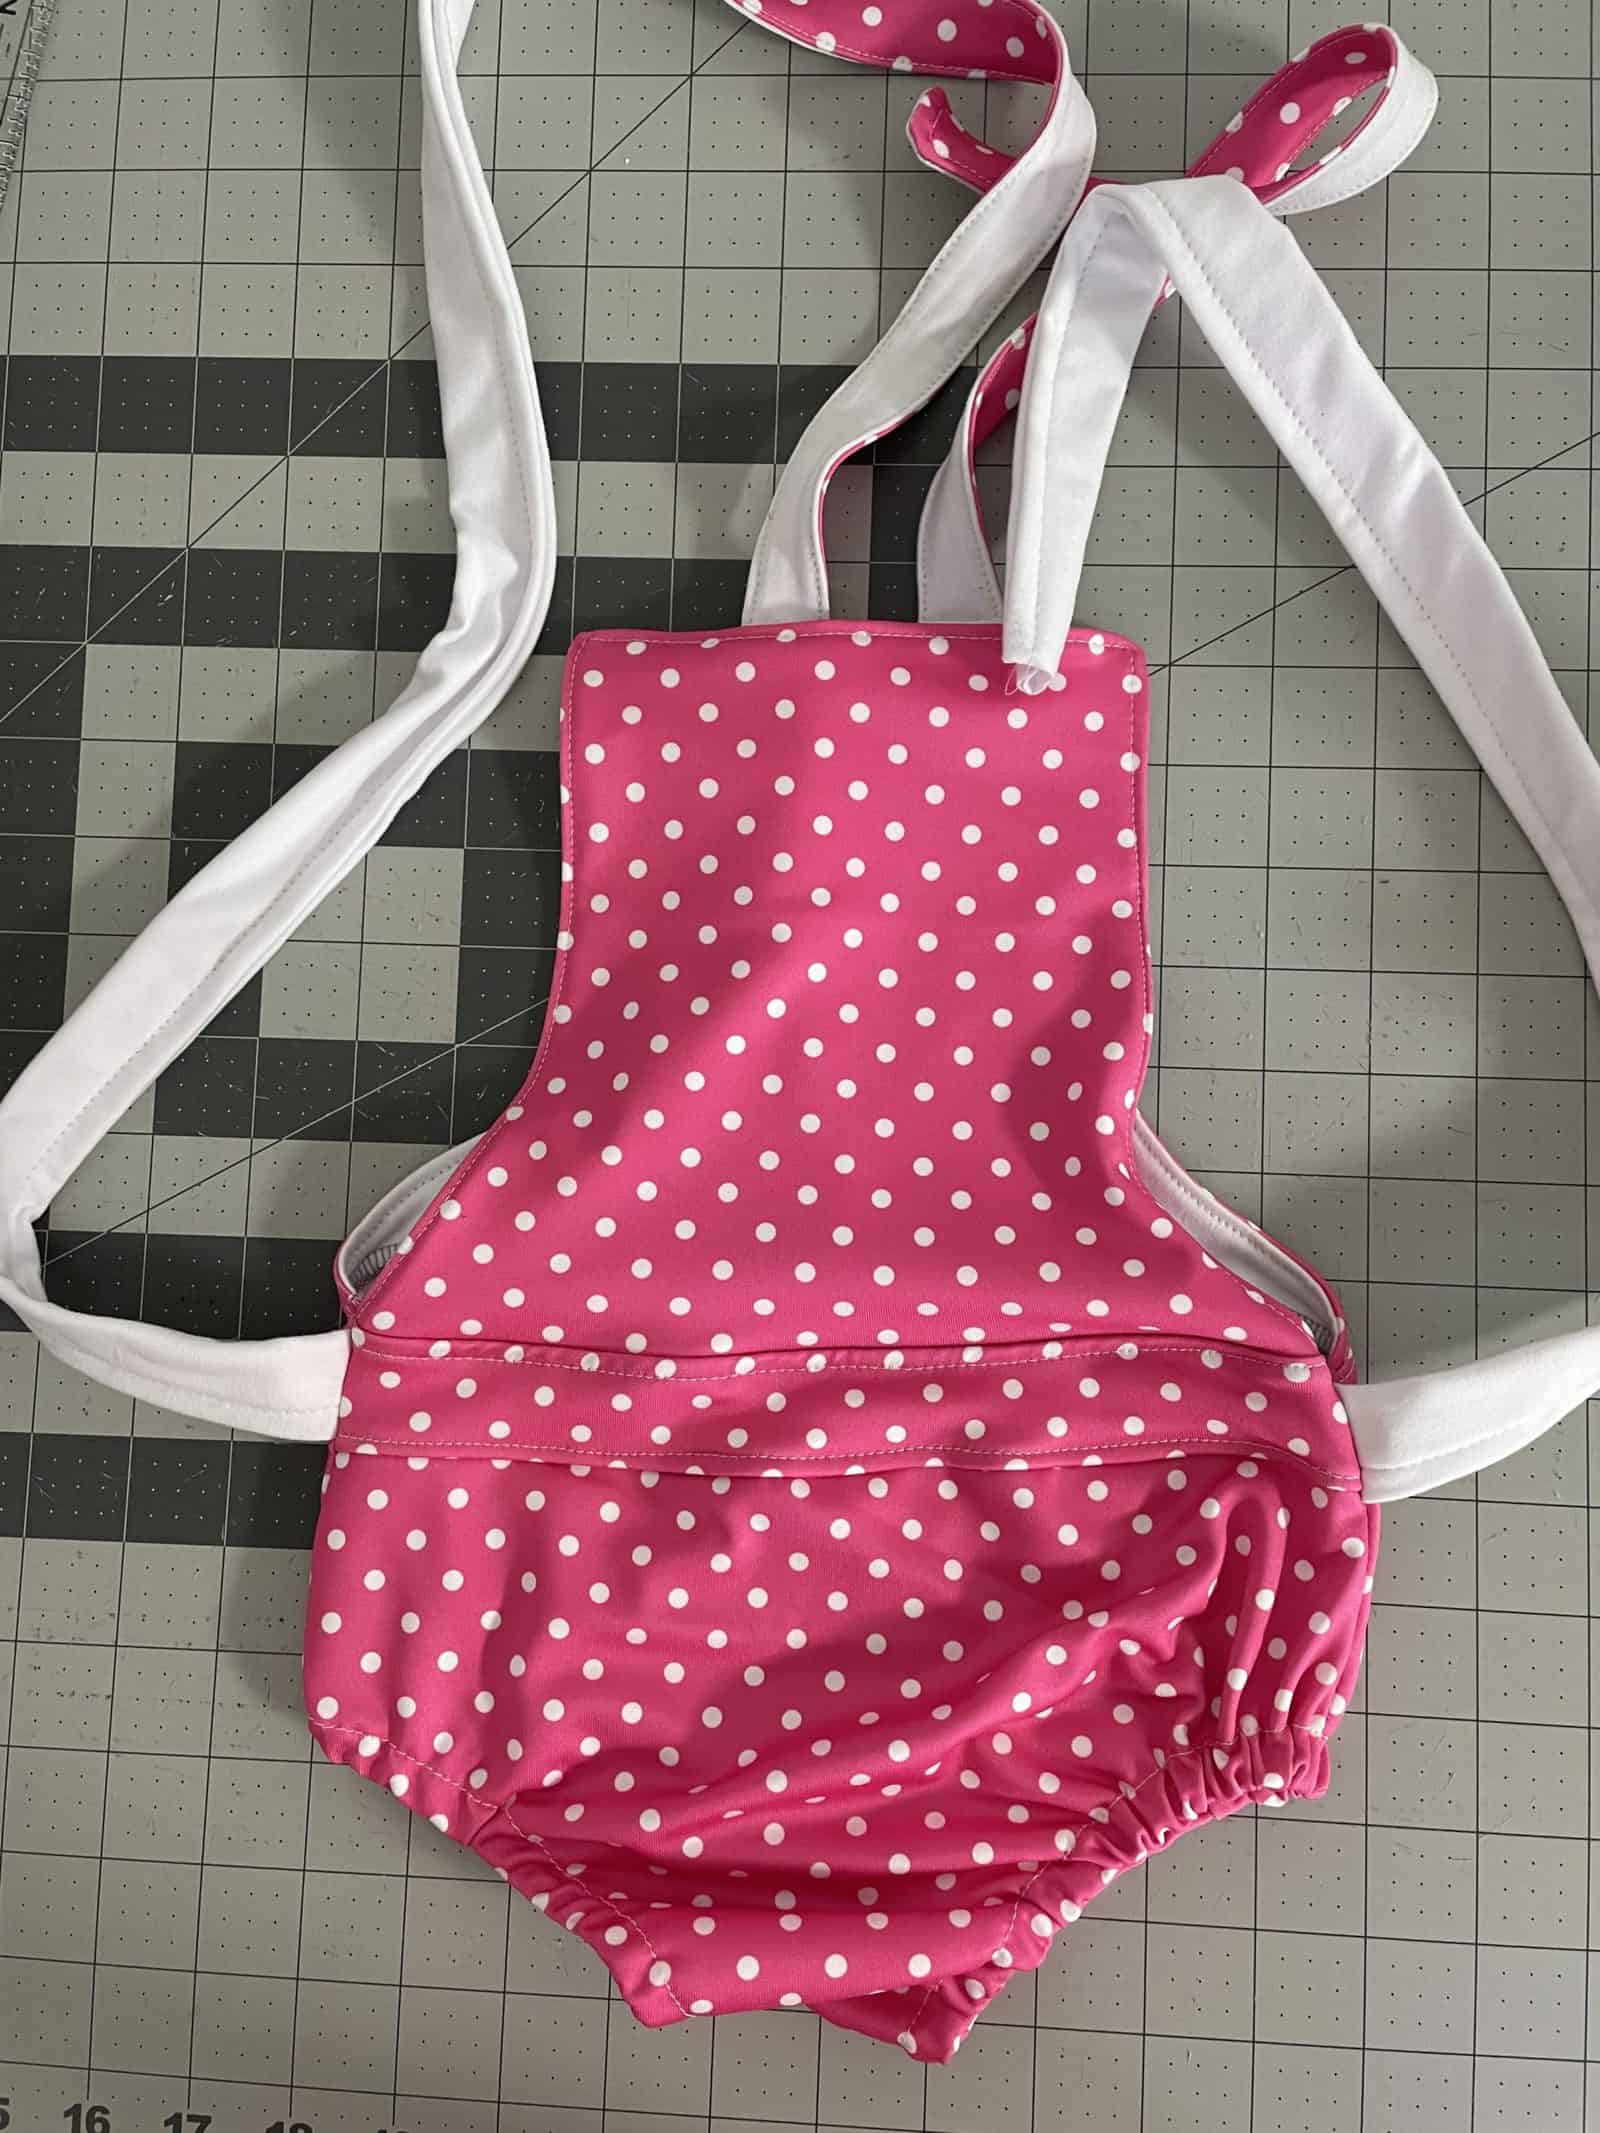
Before sewing front and back pieces together, attach bow straps along the edge of the waistband pieces. Once sewn it should look like this:
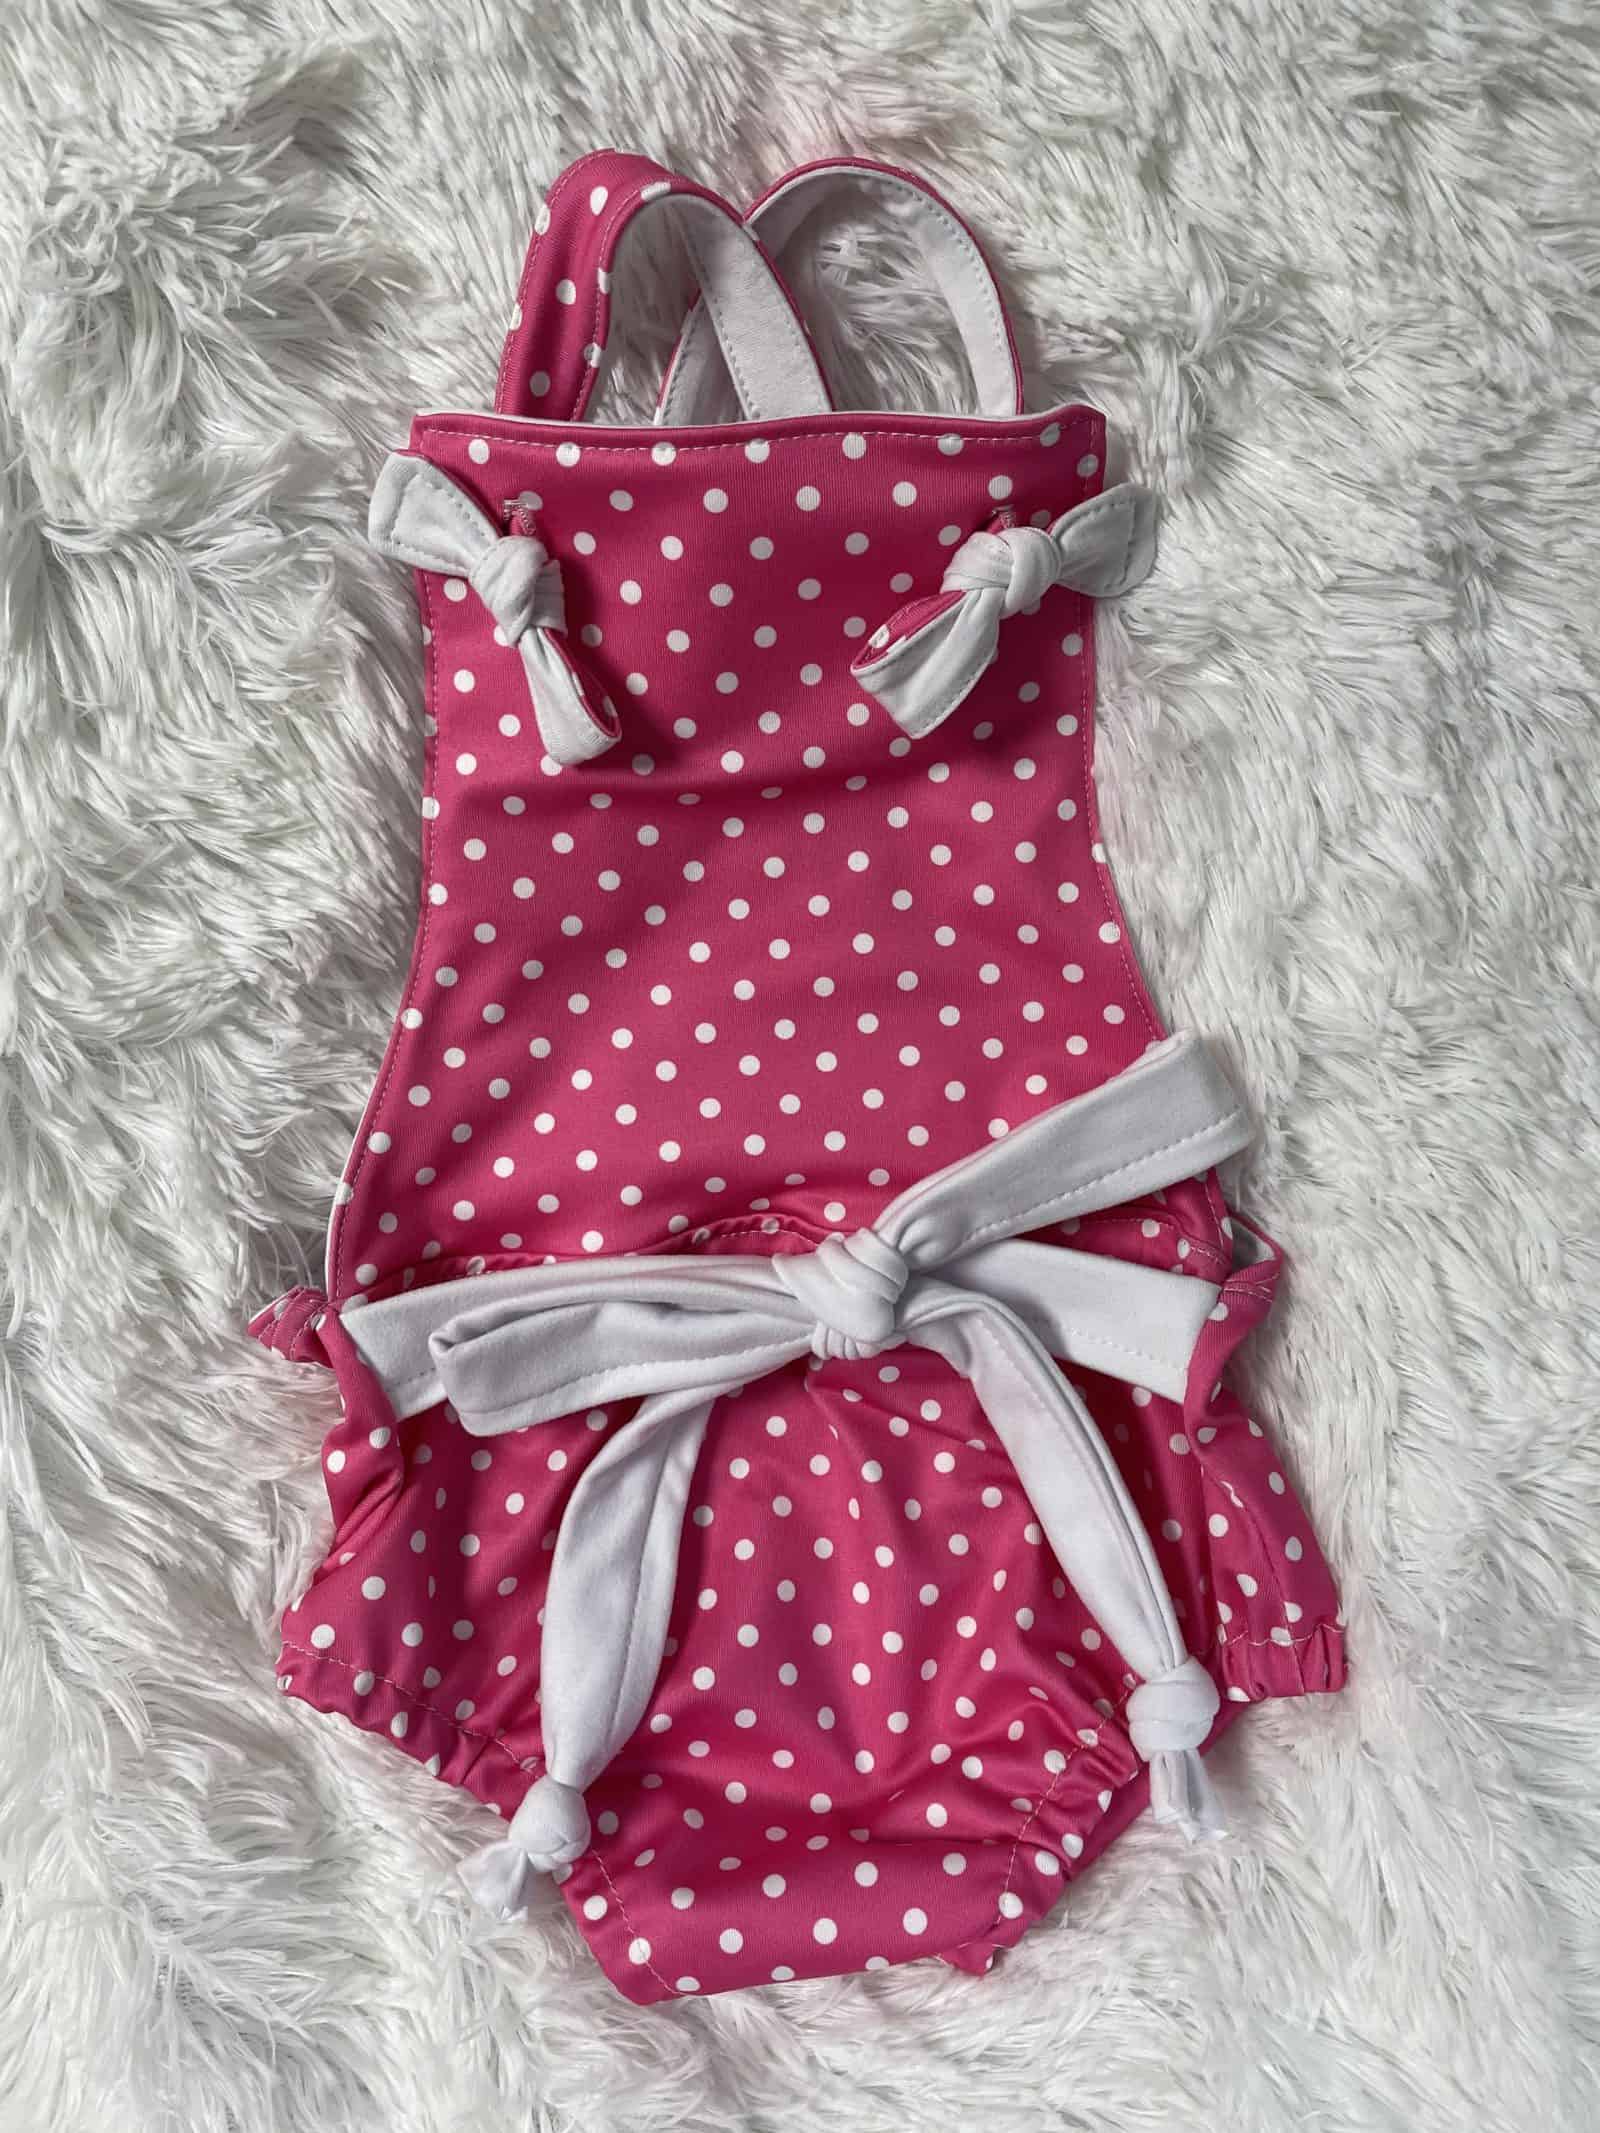
Tie the bow to the desired length. Trim off excess. Make sure you are trimming off the same amount on each side to keep it even. Tie a knot once finished or topstitch. The bow can be tied on the front or back.
So cute!! Enjoy!
– Tiffany Choquette
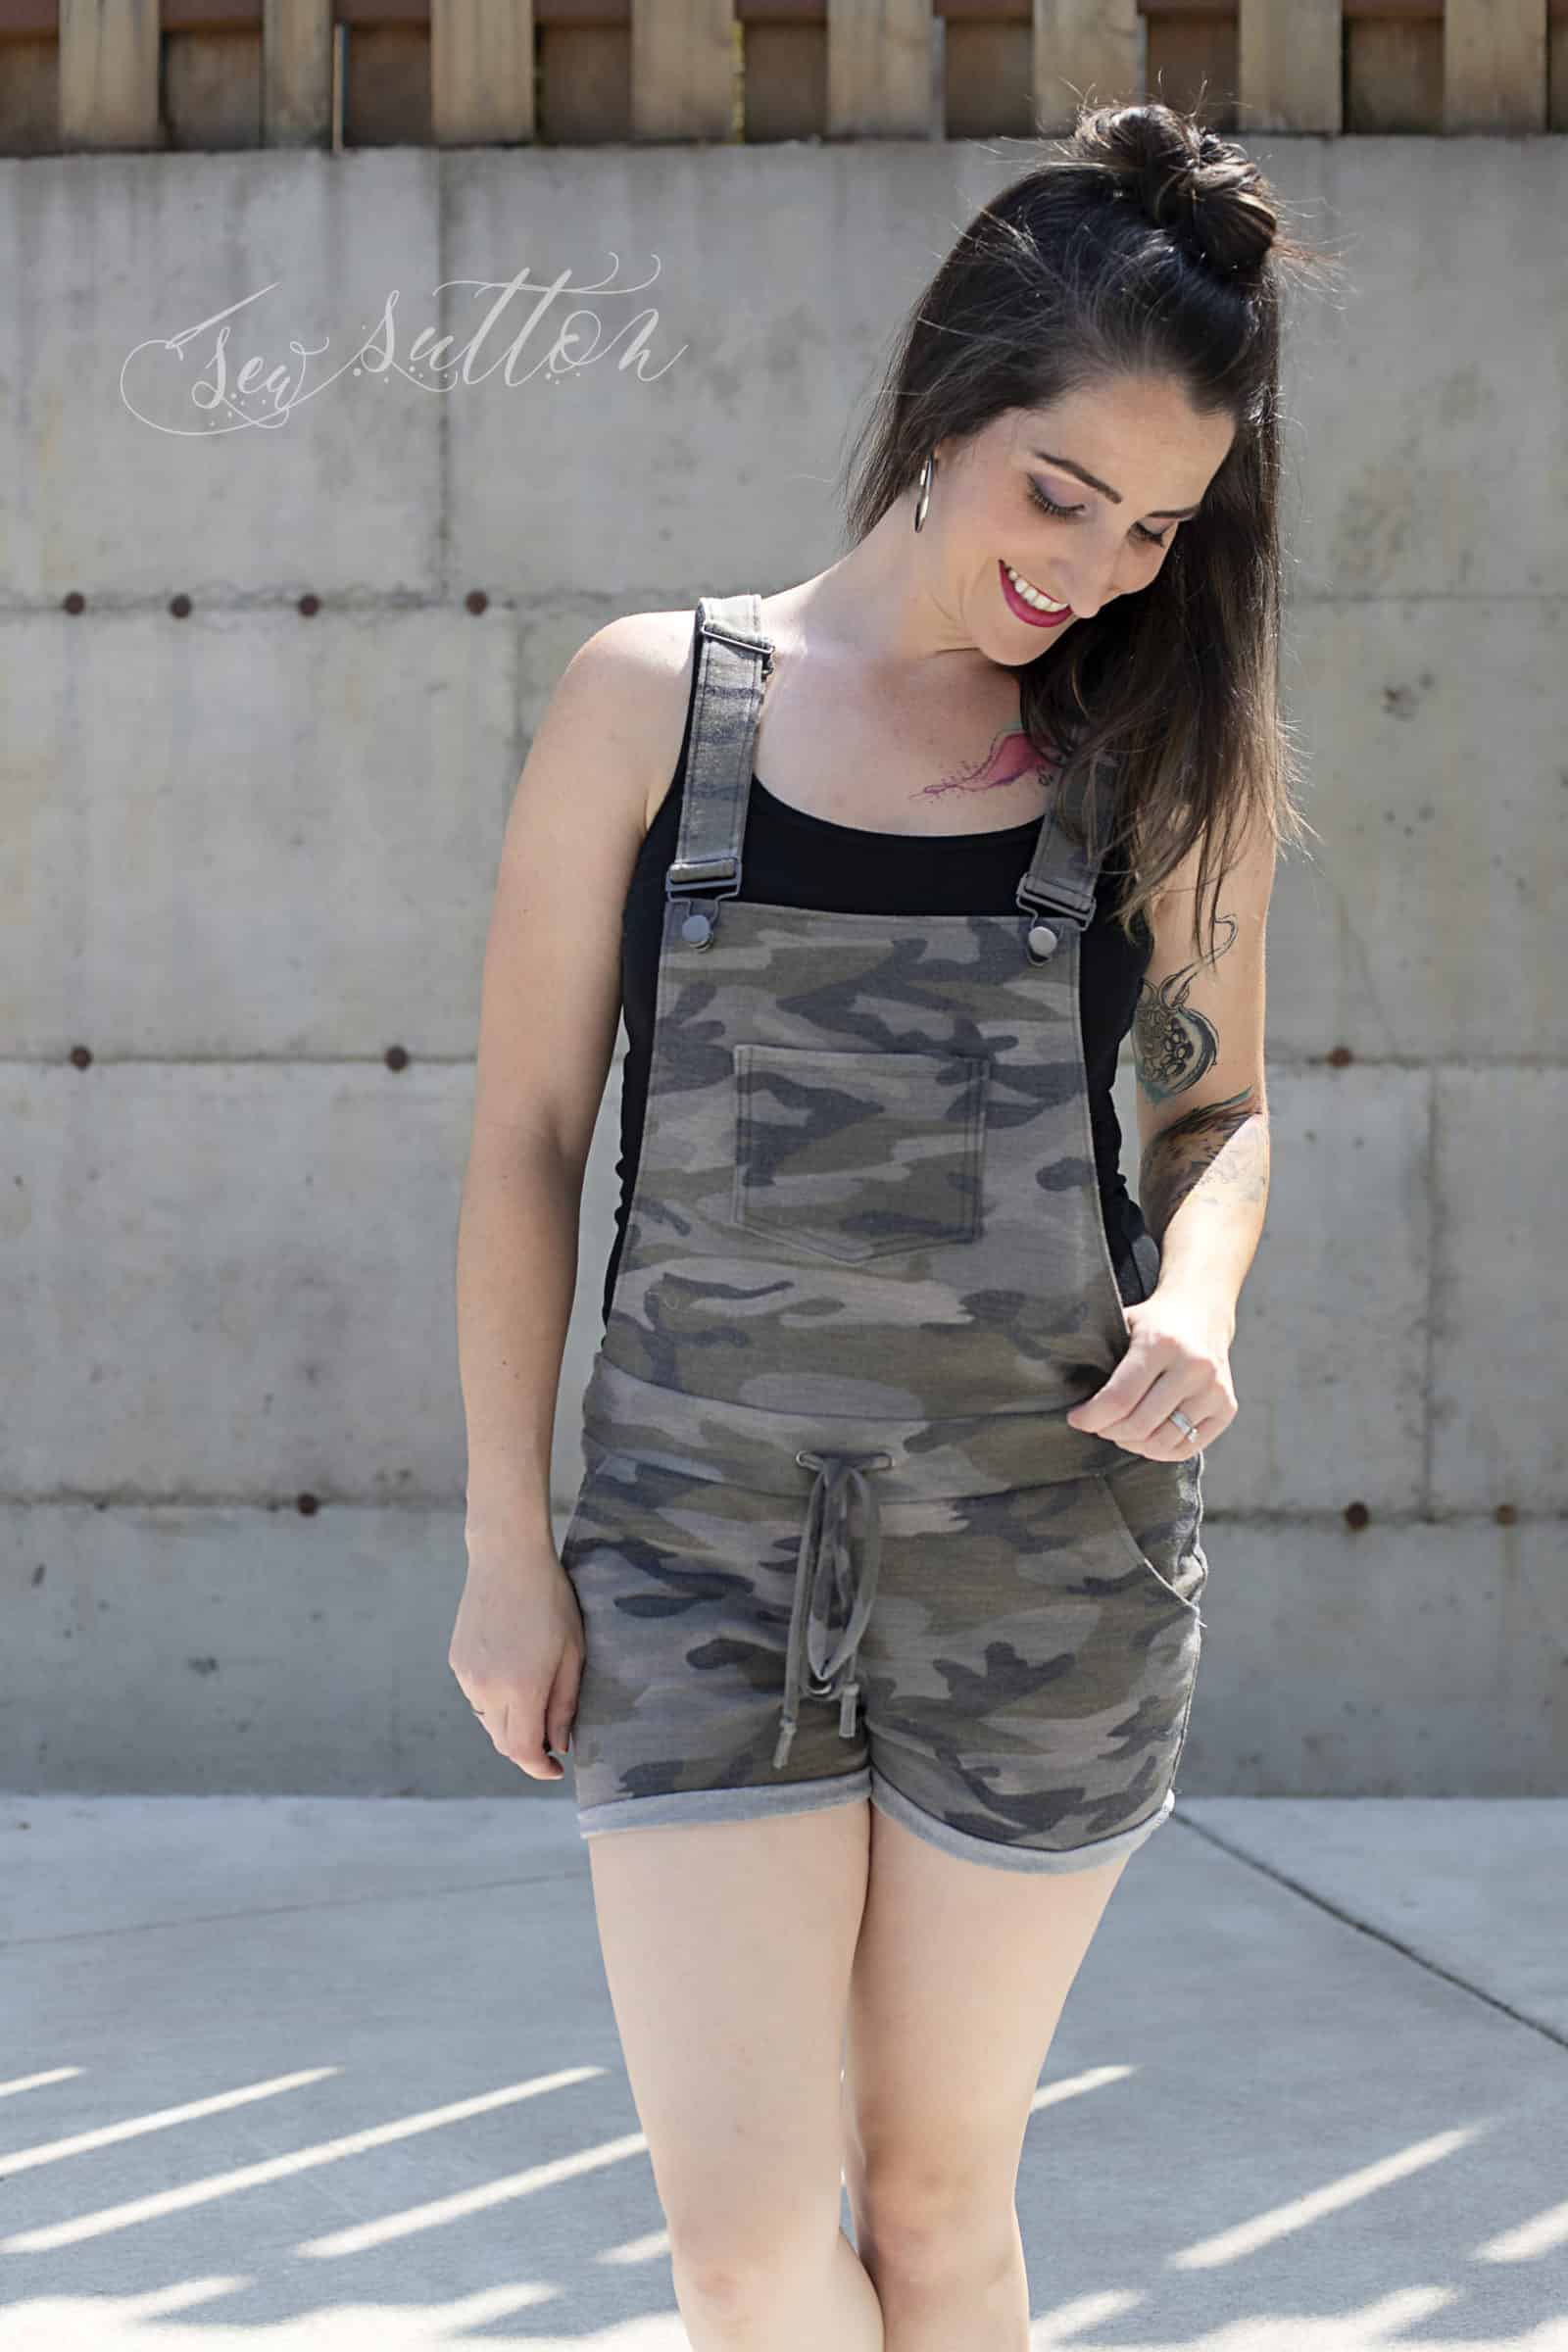
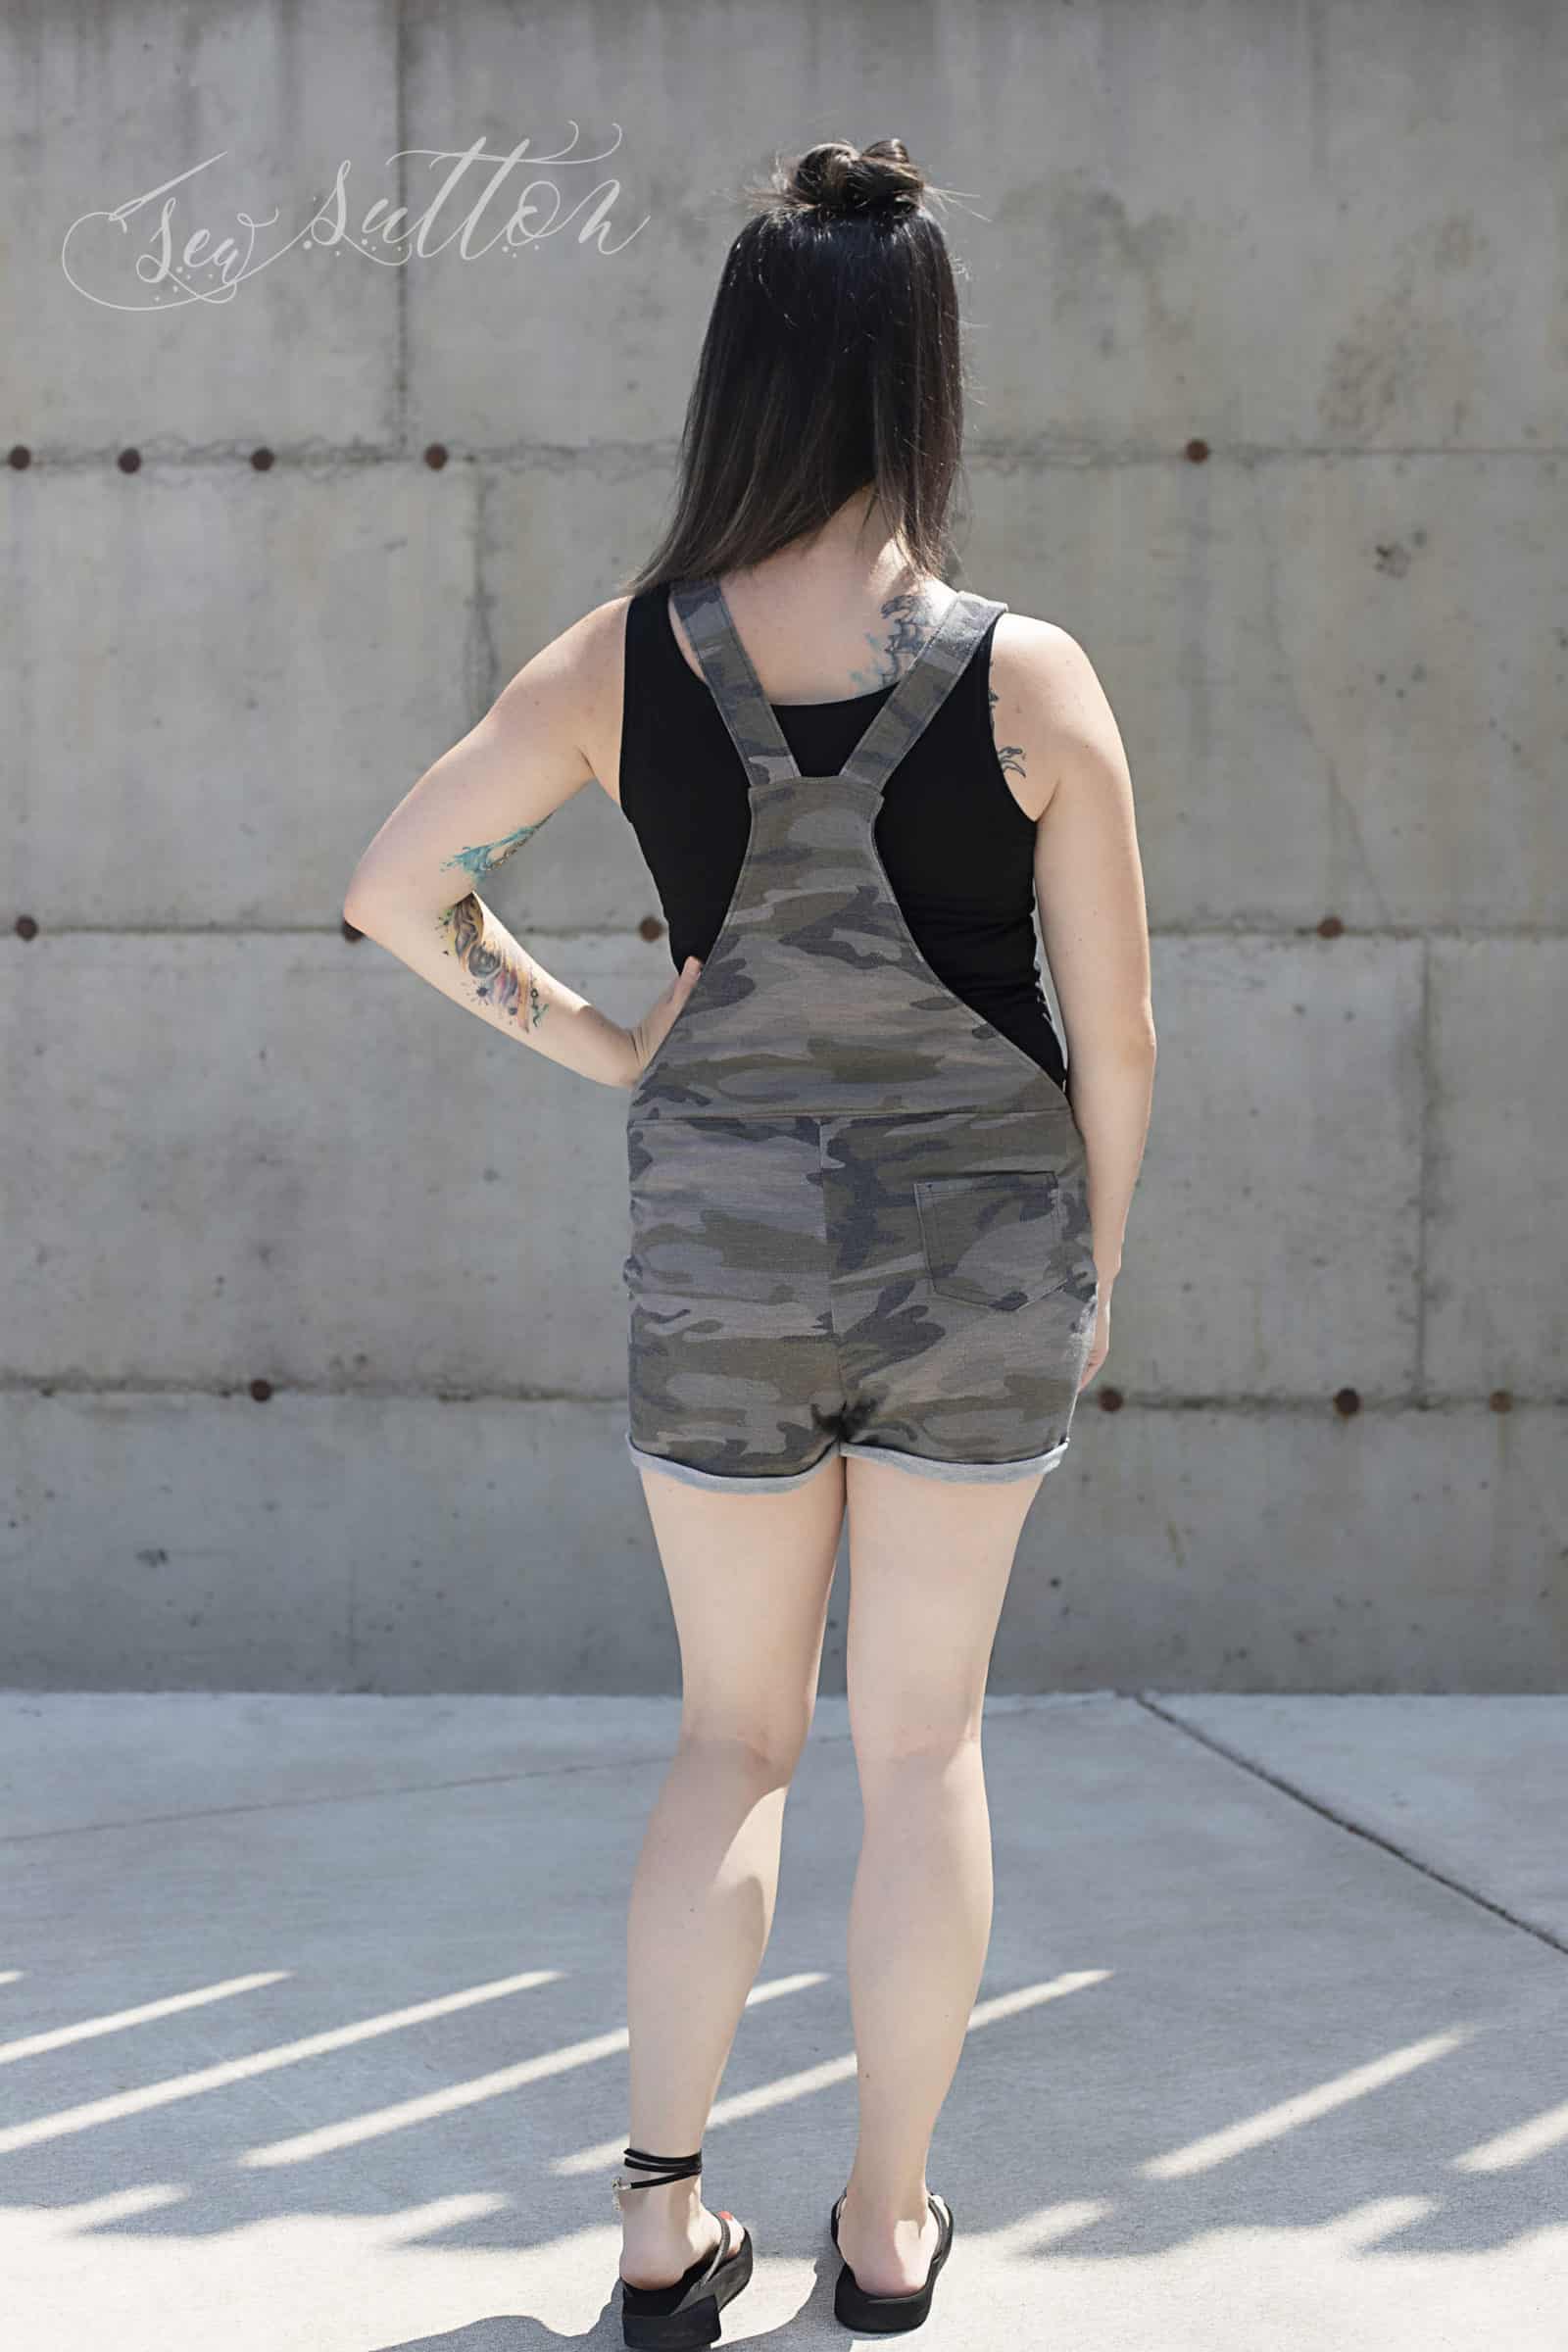
Slim fit short
Love the new Zoey + Zeke shorts but wanting a trimmer look?? Check out this SUPER easy hack on how to get the look!
The only changes you’ll make are when cutting out your pattern. All of the construction will remain the same.
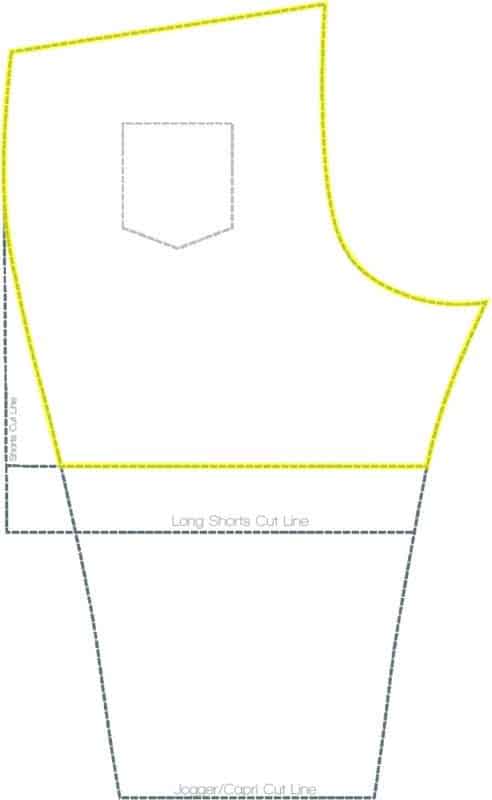
When putting your pattern piece together and cutting it out, instead of cutting the side seam along the shorts cut line, you’ll follow the jogger’s line until you get to the shorts cut line for length. The yellow outline is an example of how you’ll cut your pieces.
Use this for your new pattern piece, sew your Zoey + Zeke as directed in the tutorial, and you are done! Easy peasy slim fit shorts hack!
Super cute but a totally different look! Can’t wait to see what you create!
Happy Sewing,
–Michelle
Snap Placket Hack
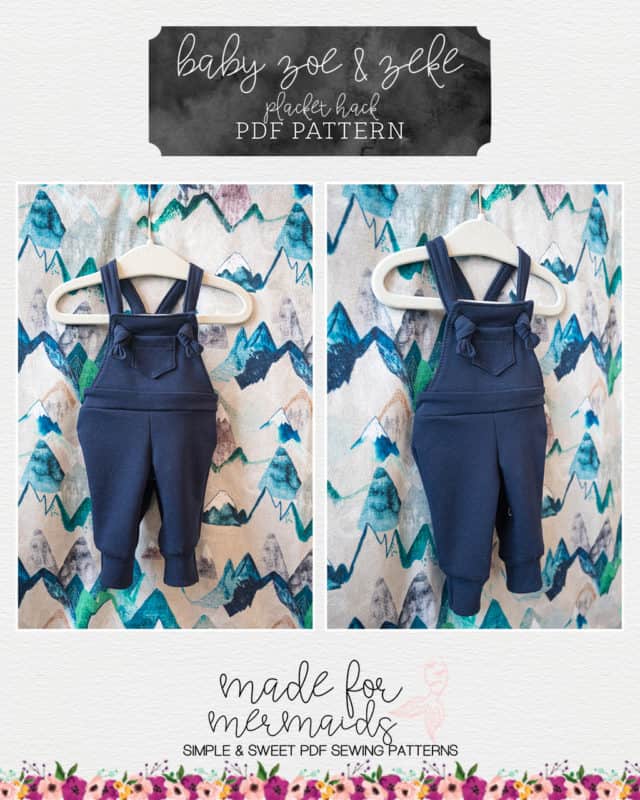
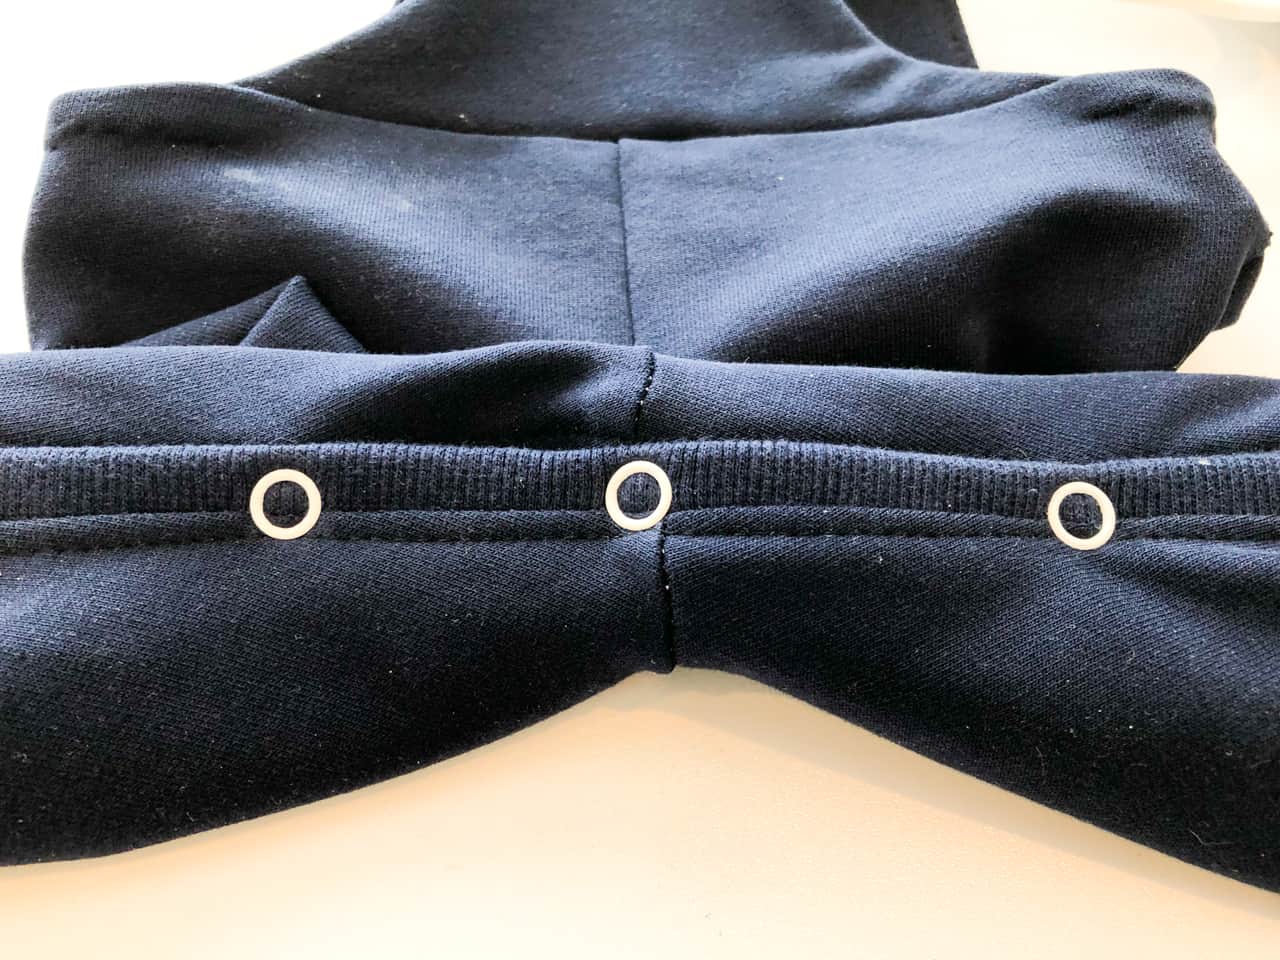
Here’s how to hack your baby Zoey + Zeke Overalls to have a snap placket, which comes in super handy when you have babies in diapers! This hack is for the jogger view, but you can also check out this post if you are working on the bloomer view.
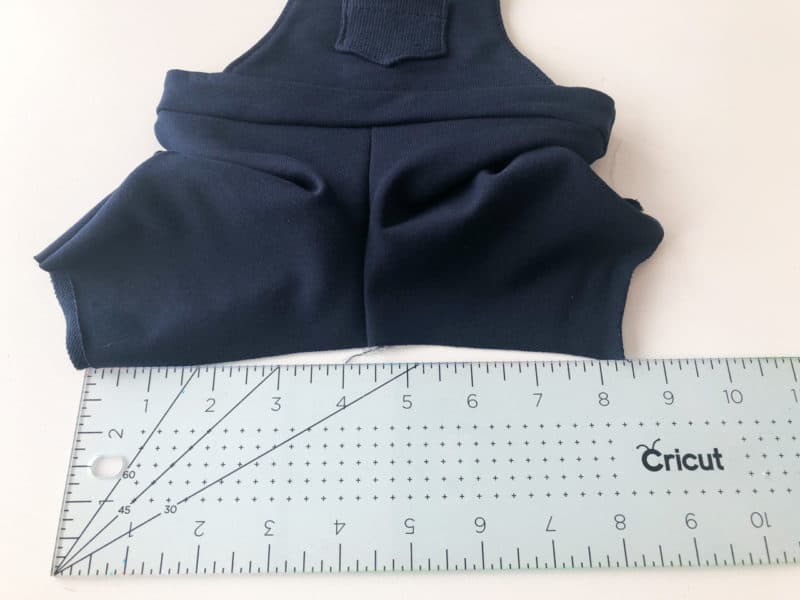
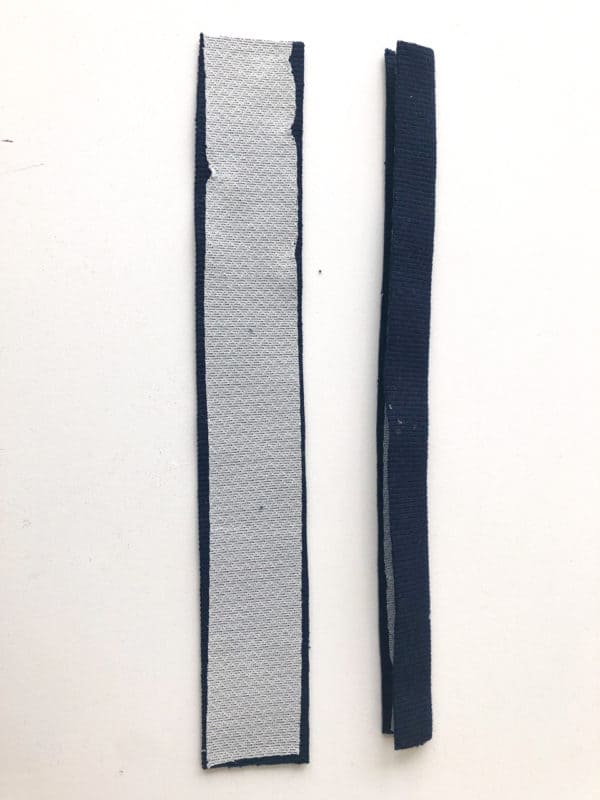
Assemble your overalls until almost done, stopping just before you sew the inseam and add cuffs. Measure your inseam and cut two pieces of fabric the length of your inseam, by your desired snap placket width. For my newborn size, the width of my snap placket piece is 1.25 inches, so you can see at the end that this is a very skinny placket. I would recommend 1.5 inches for ring snaps, and potentially larger for plastic snaps, depending on the size of your snap.
*Note that if you make a particularly wide placket, you will either want to add a bit of width to your cuff or trim a bit from your pants inseam, to compensate for the change in overall circumference. This is basically so that you don’t have to over-stretch your cuff when adding it. Where we are working with a fairly thin placket here, I didn’t find a width adjustment necessary.*
Add interfacing to the wrong sides of both of your snap placket pieces, and iron in half lengthwise.
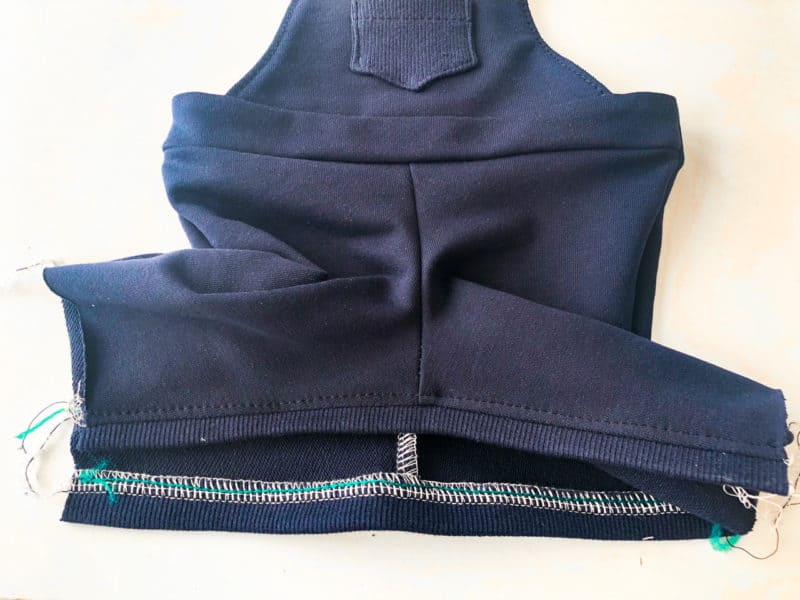
Next we will sew the placket pieces RST to the inseams with a 1/4 inch seam allowance, and topstitch. I highly recommend topstitching to keep your placket nice and flat, as well as sturdy.
Then, place the front placket on top of the back, overlapping only the visible placket part, and baste. Basting is necessary to then add your cuffs without the legs moving around.
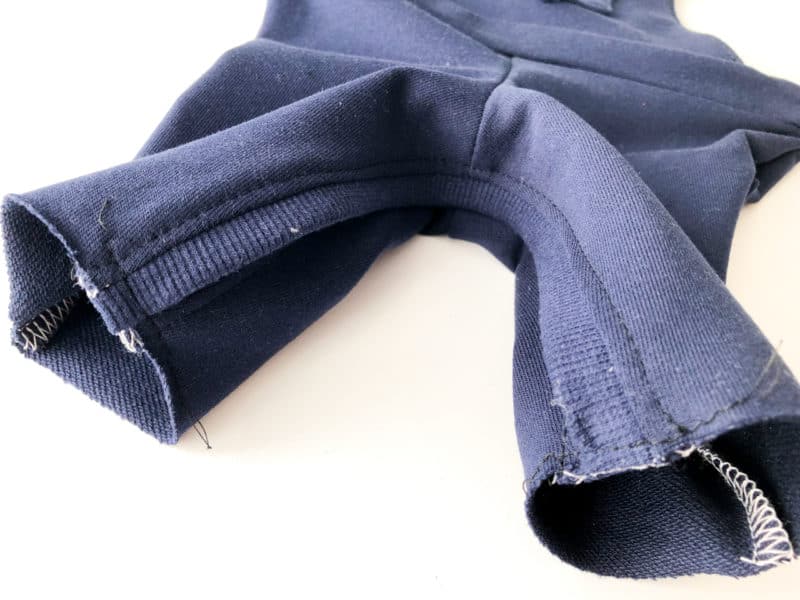
Add your cuffs, and thread serger tails if necessary. Finally, go ahead and add your snaps, and you’re all done!
Hope you all enjoyed this hack – I can’t wait until my little one gets here to model these cute Zoey + Zeke Overalls!!
-Sonia
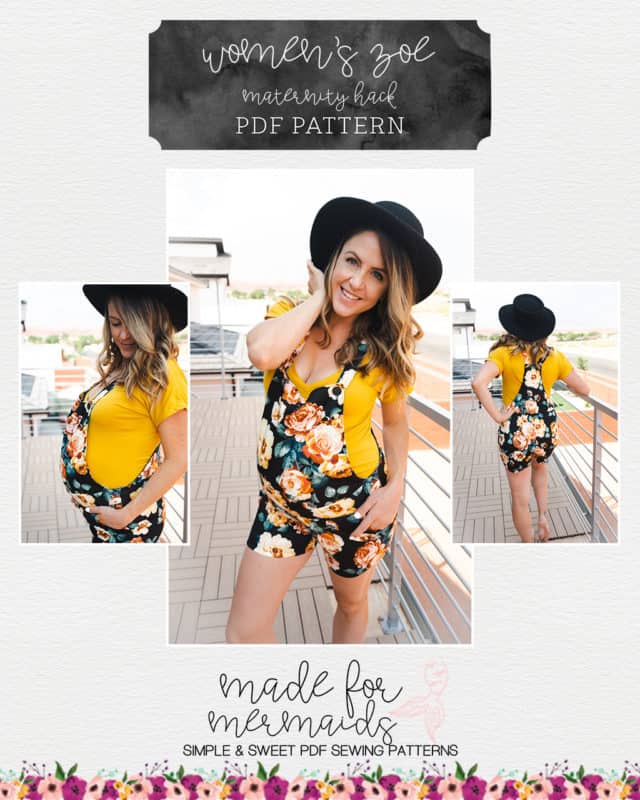
Maternity Hack
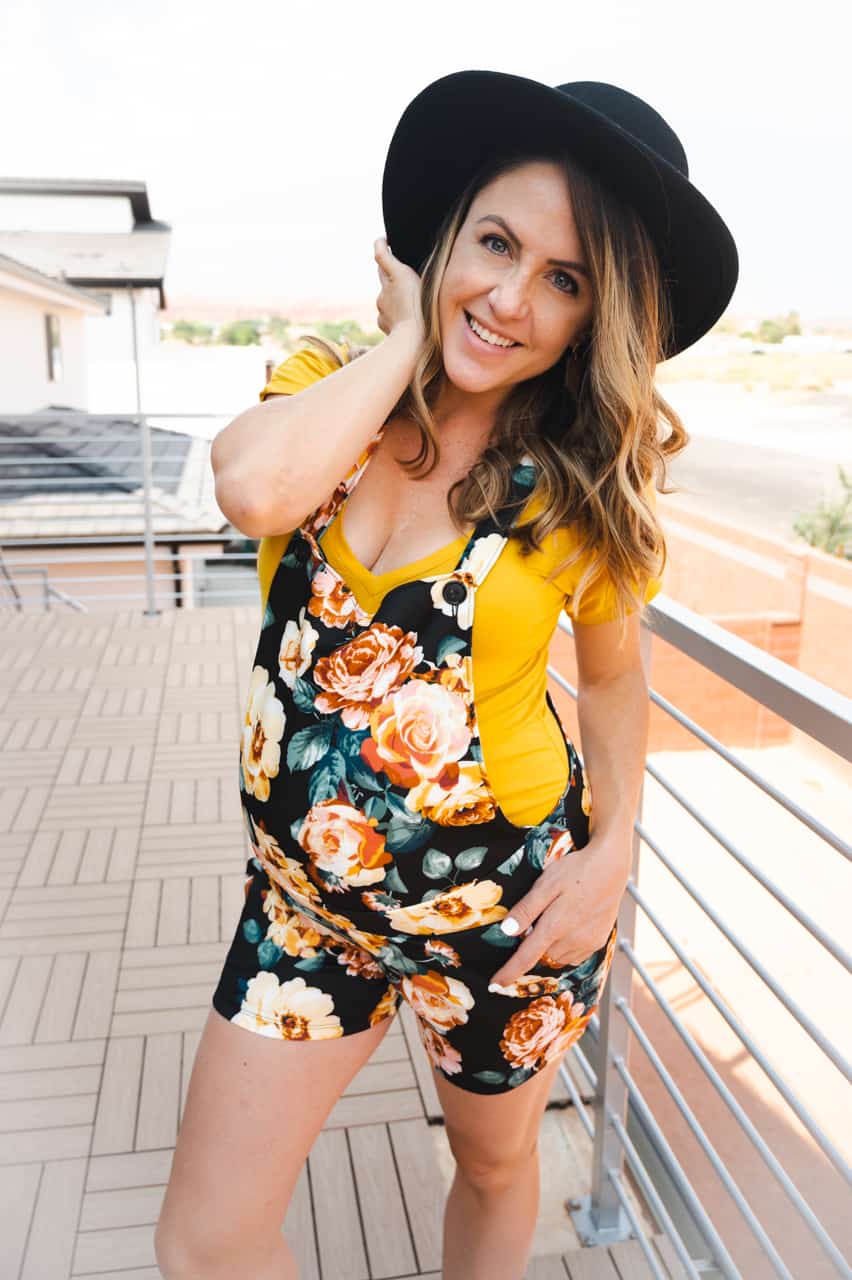
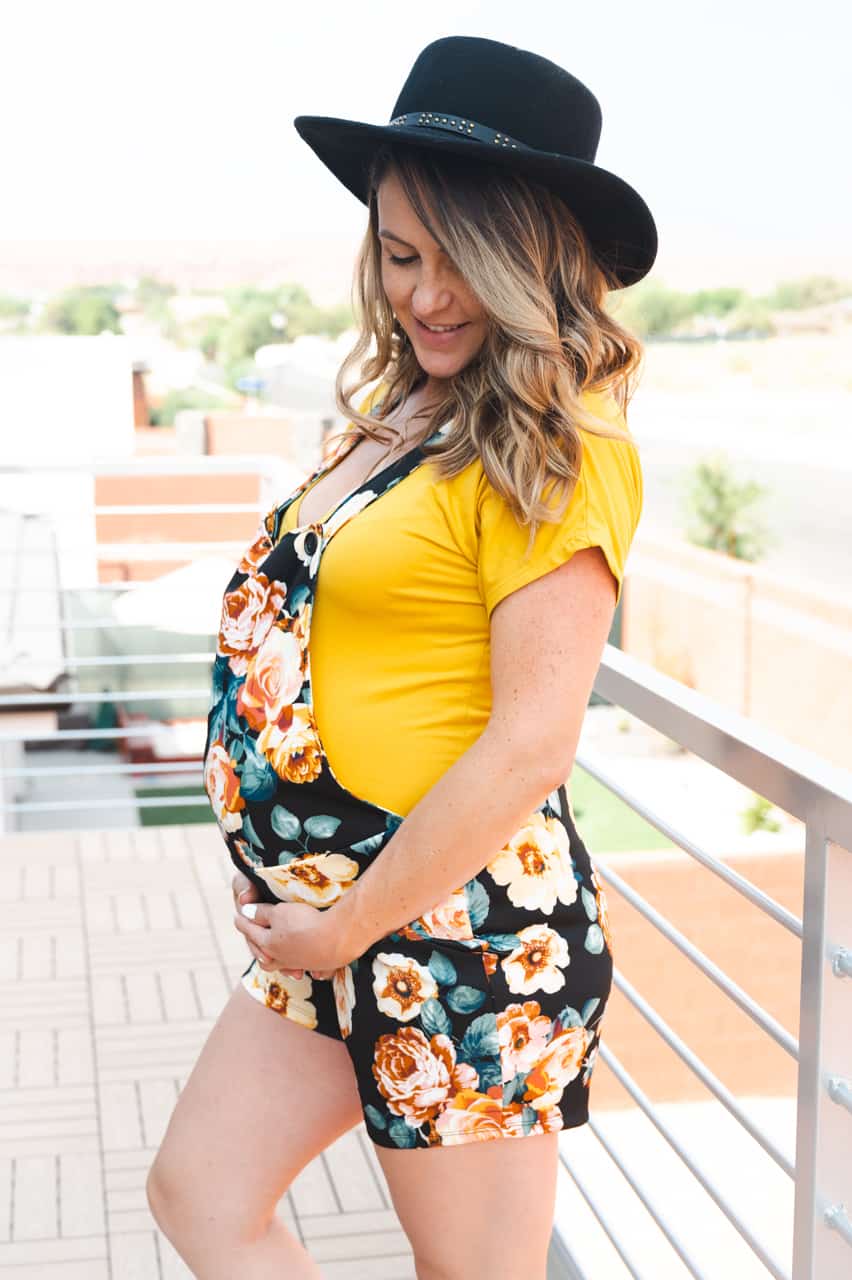
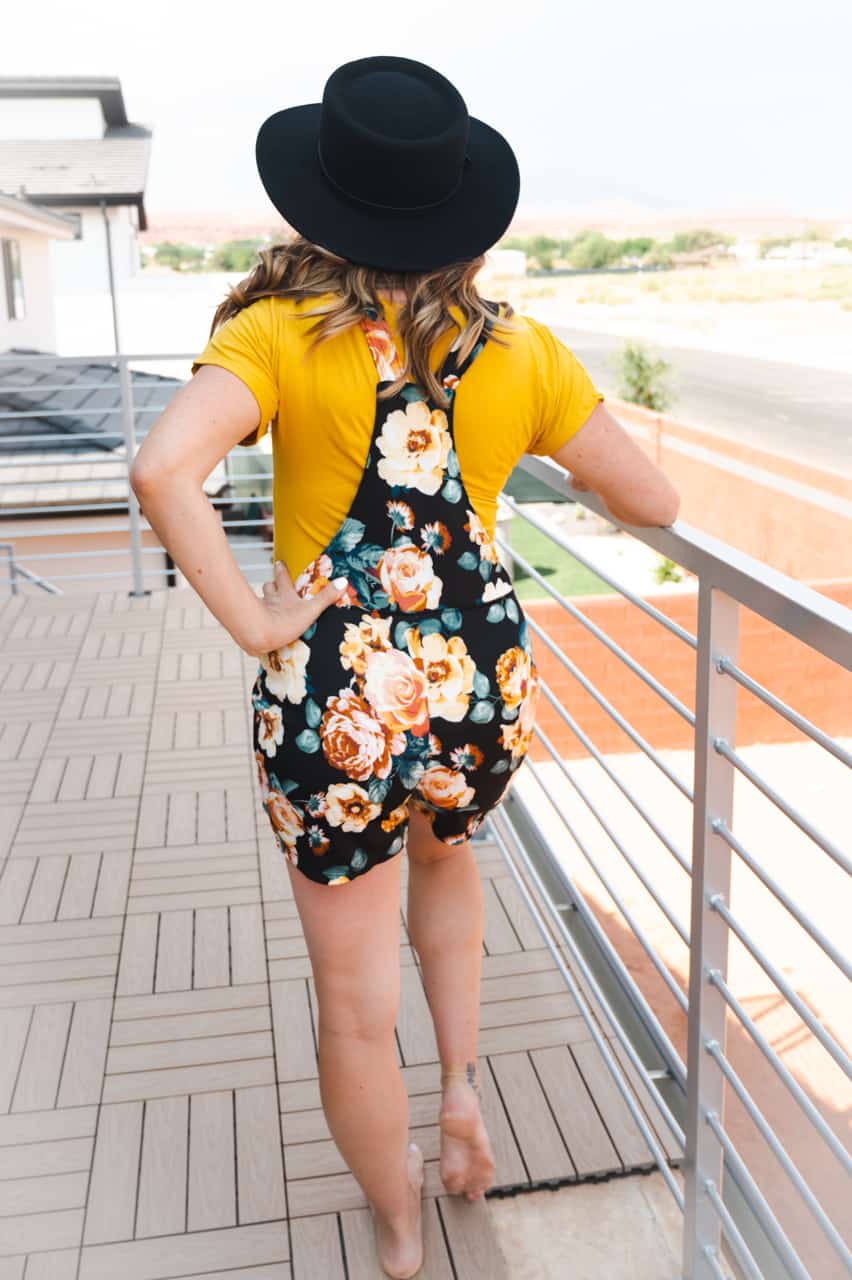
Overalls are such a cute maternity style, so here’s a fun hack to show you how to adjust the waistline of the Zoey overalls for maternity! In this hack, we are scooping the waistband underneath the bump for a more flattering maternity style. For reference, I did grade my pattern pieces to my current (maternity) measurements.
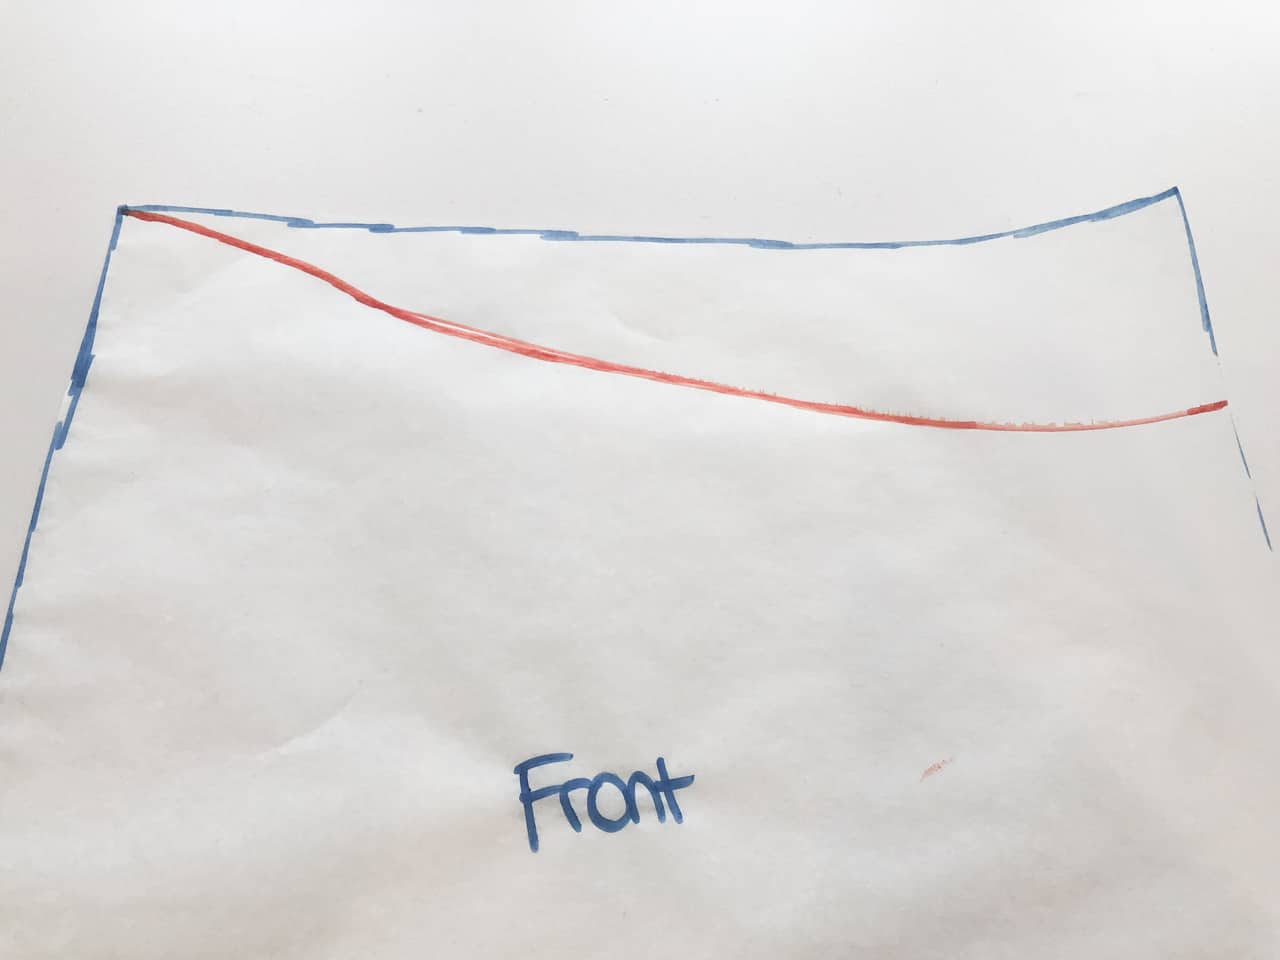
Using the front pant piece, markdown 2 inches on the inseam side. (You can adjust this depth to your preference; 2 inches worked well for me but you may wish to scoop lower or higher depending on how you carry!) Use a French Curve or hand draw a curve from your 2-inch mark to meet the side seam, as we are only adjusting the front. You can see in the third photo that I made a slight S-curve going back up to the side seam, to ensure a nice smooth transition to the back pant piece.
Next, temporarily fold in the inseam .5” to remove the seam allowance. Place your waistband piece along the top to ensure it is about 1:1 with your new waistline curve. This ensures that we are not stretching the front waistband; as you can see it is originally a 1:1 ratio. If your adjustment looks like your waistband might be too short, I would add width to your waistband. Mine matched up well so I left the waistband piece as-is.
Trim the excess from your pattern piece to reveal your new front pant piece. Save this piece, as we will then add it to the bottom of your front chest piece. This ensures that your curve matches up! Trim the excess that extends beyond the front chest piece, as the chest piece does not extend all the way to the side seams.
You now have your two new pattern pieces, adjusted for a lower waistline to scoop under a baby bump!
Finish construction per the Zoey tutorial. Enjoy your new Zoey overalls!
-Sonia
We can’t wait to see what you create, and how you decide to style your Zoey or Zoey + Zeke Overalls! Don’t forget to share with us on FB or Insta.












Leave a Reply