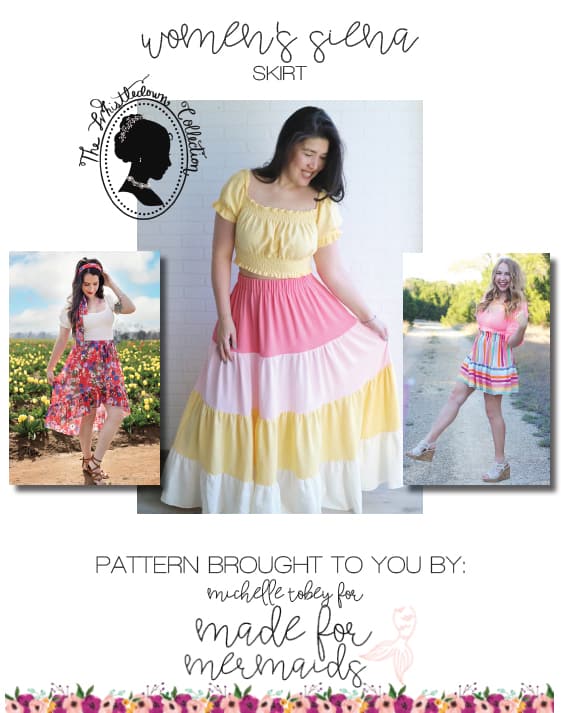
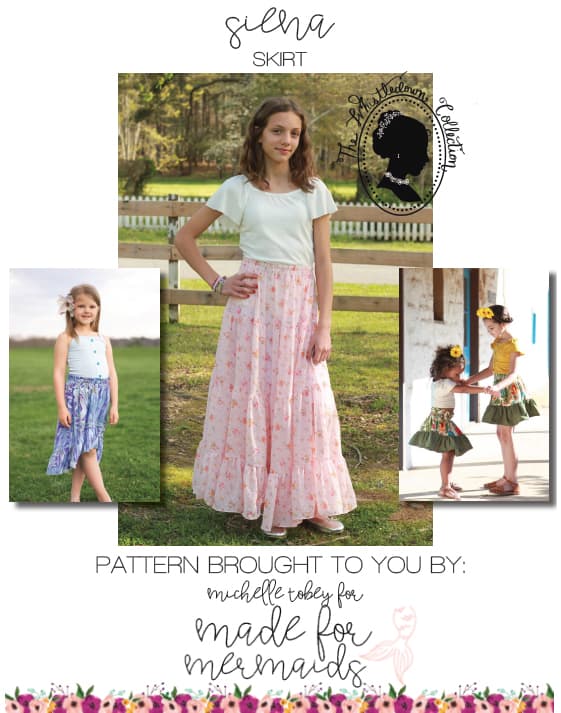
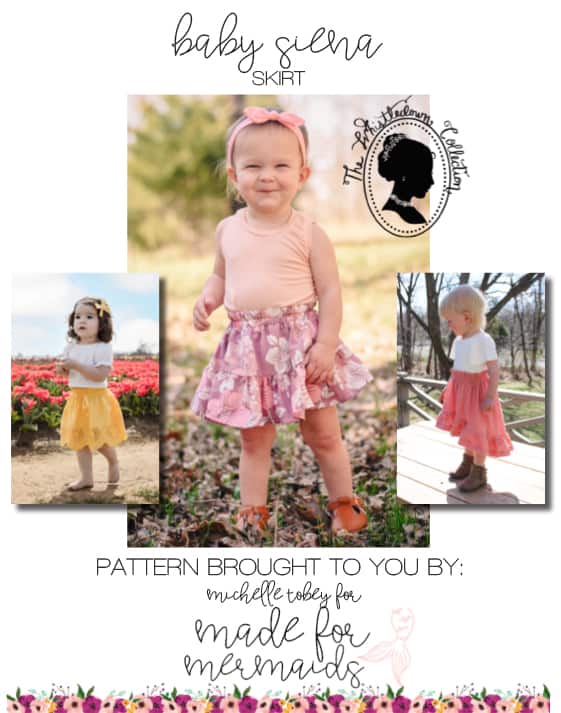
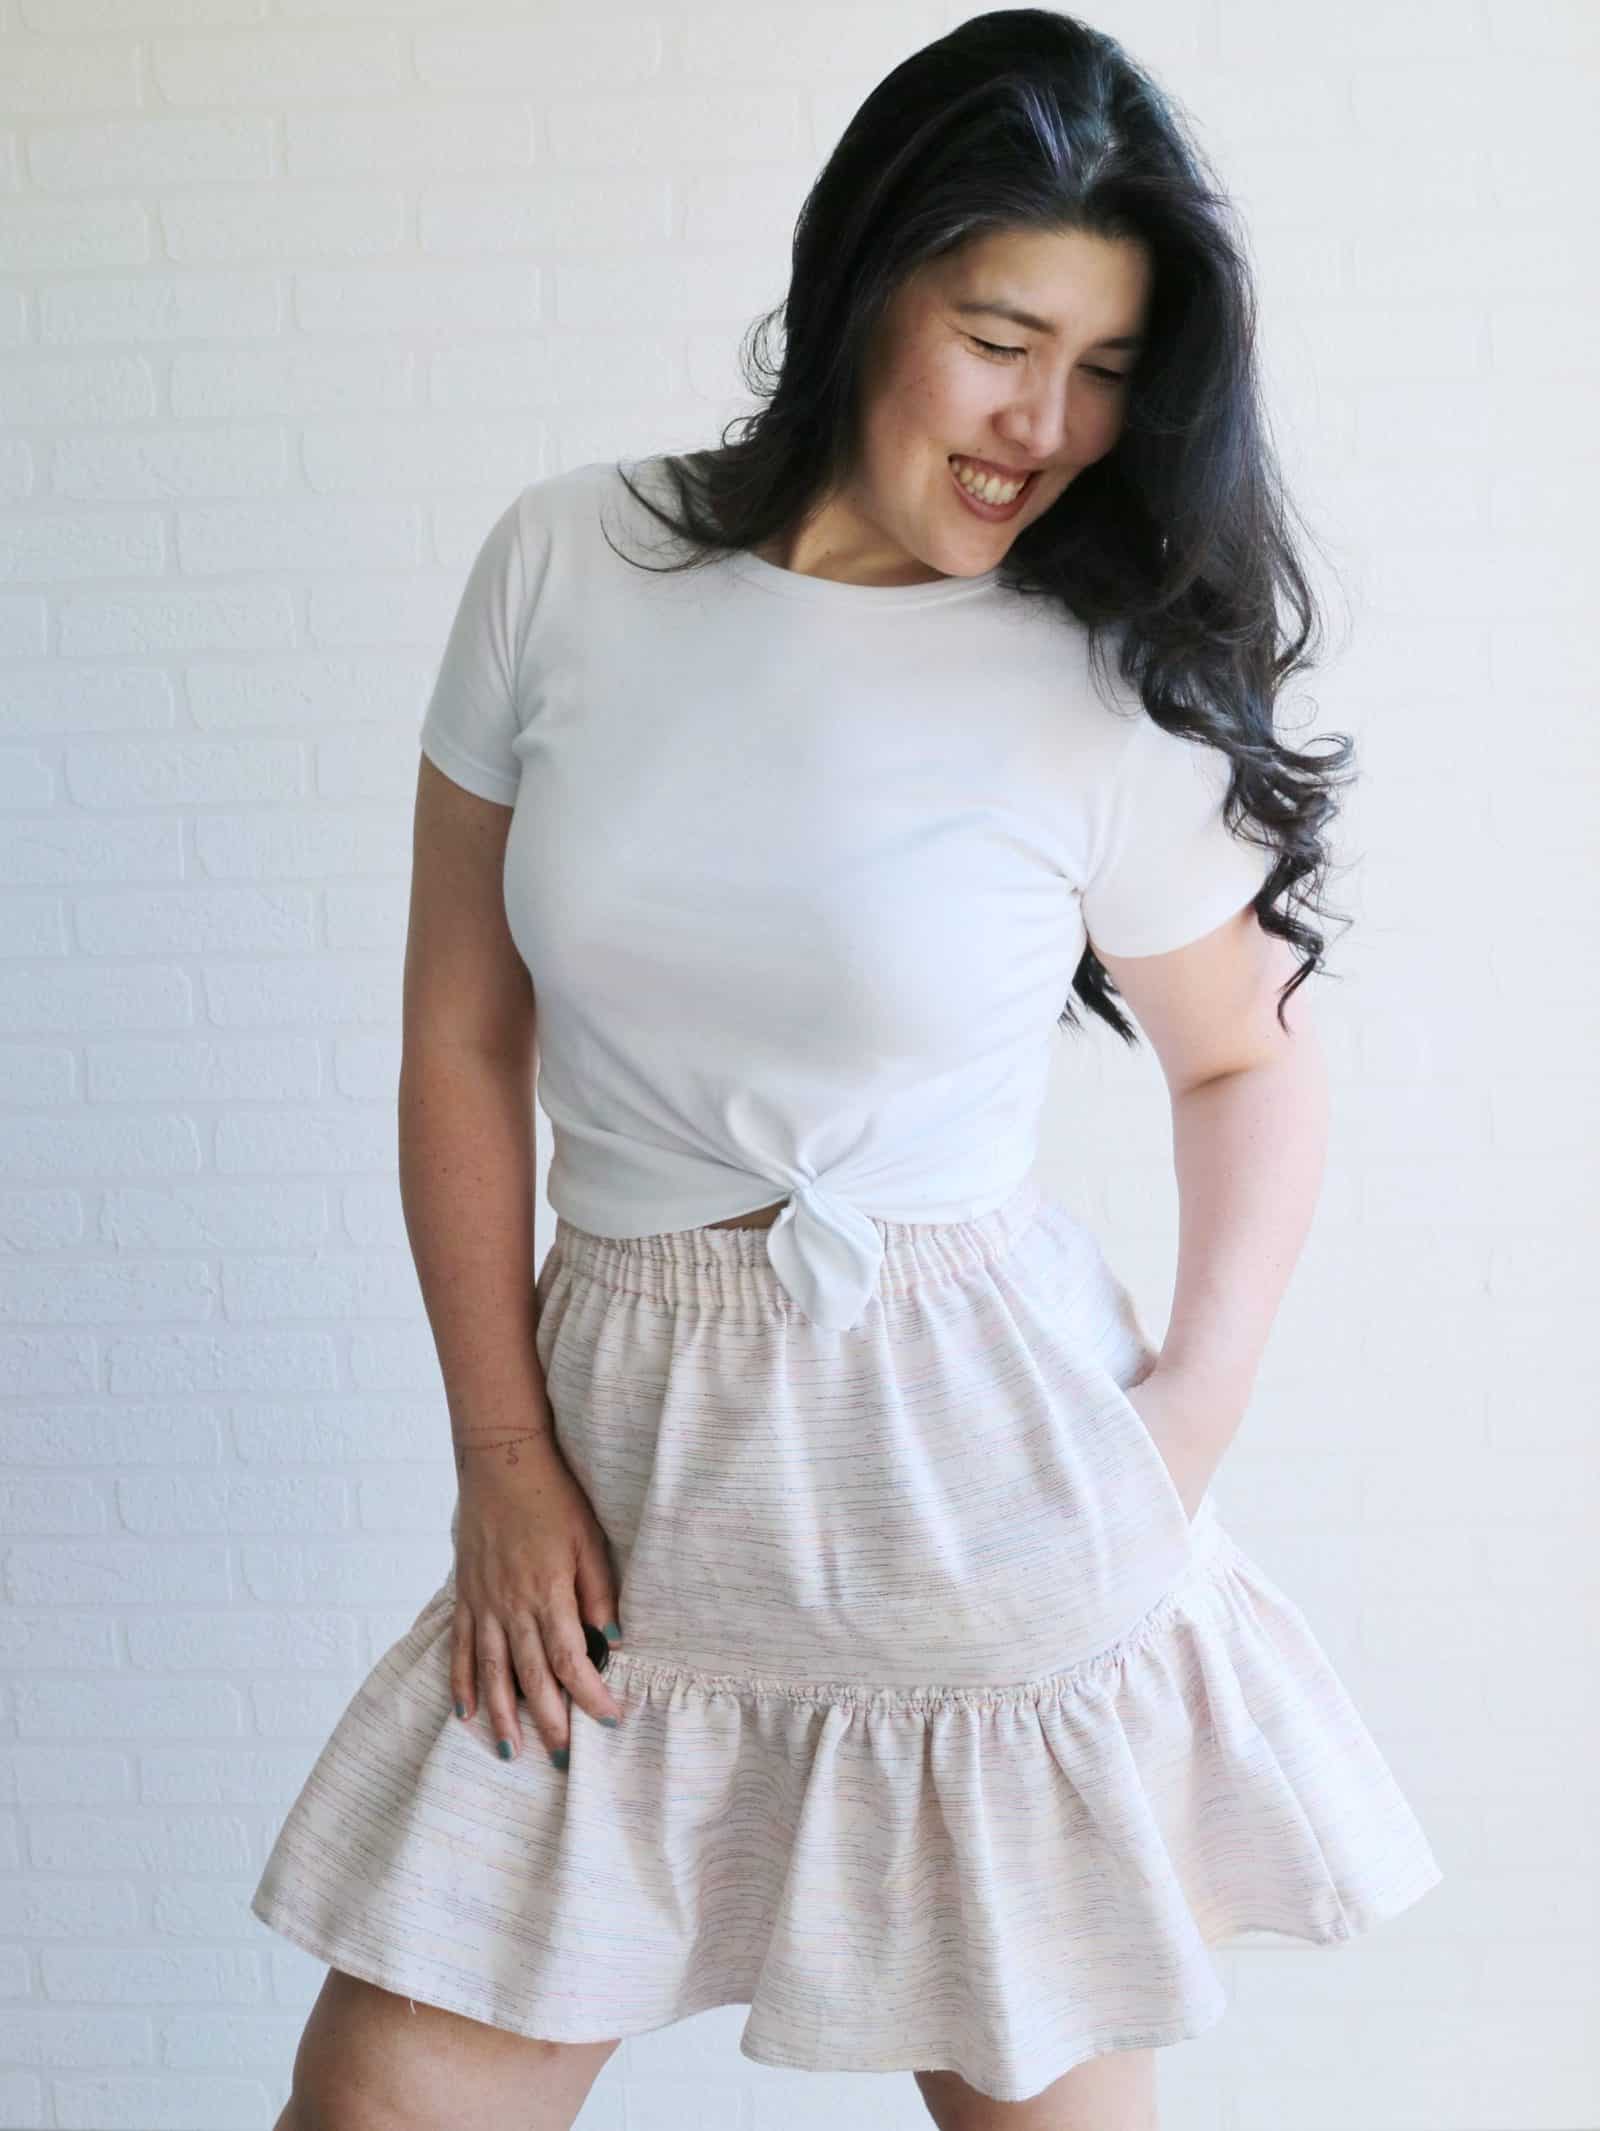
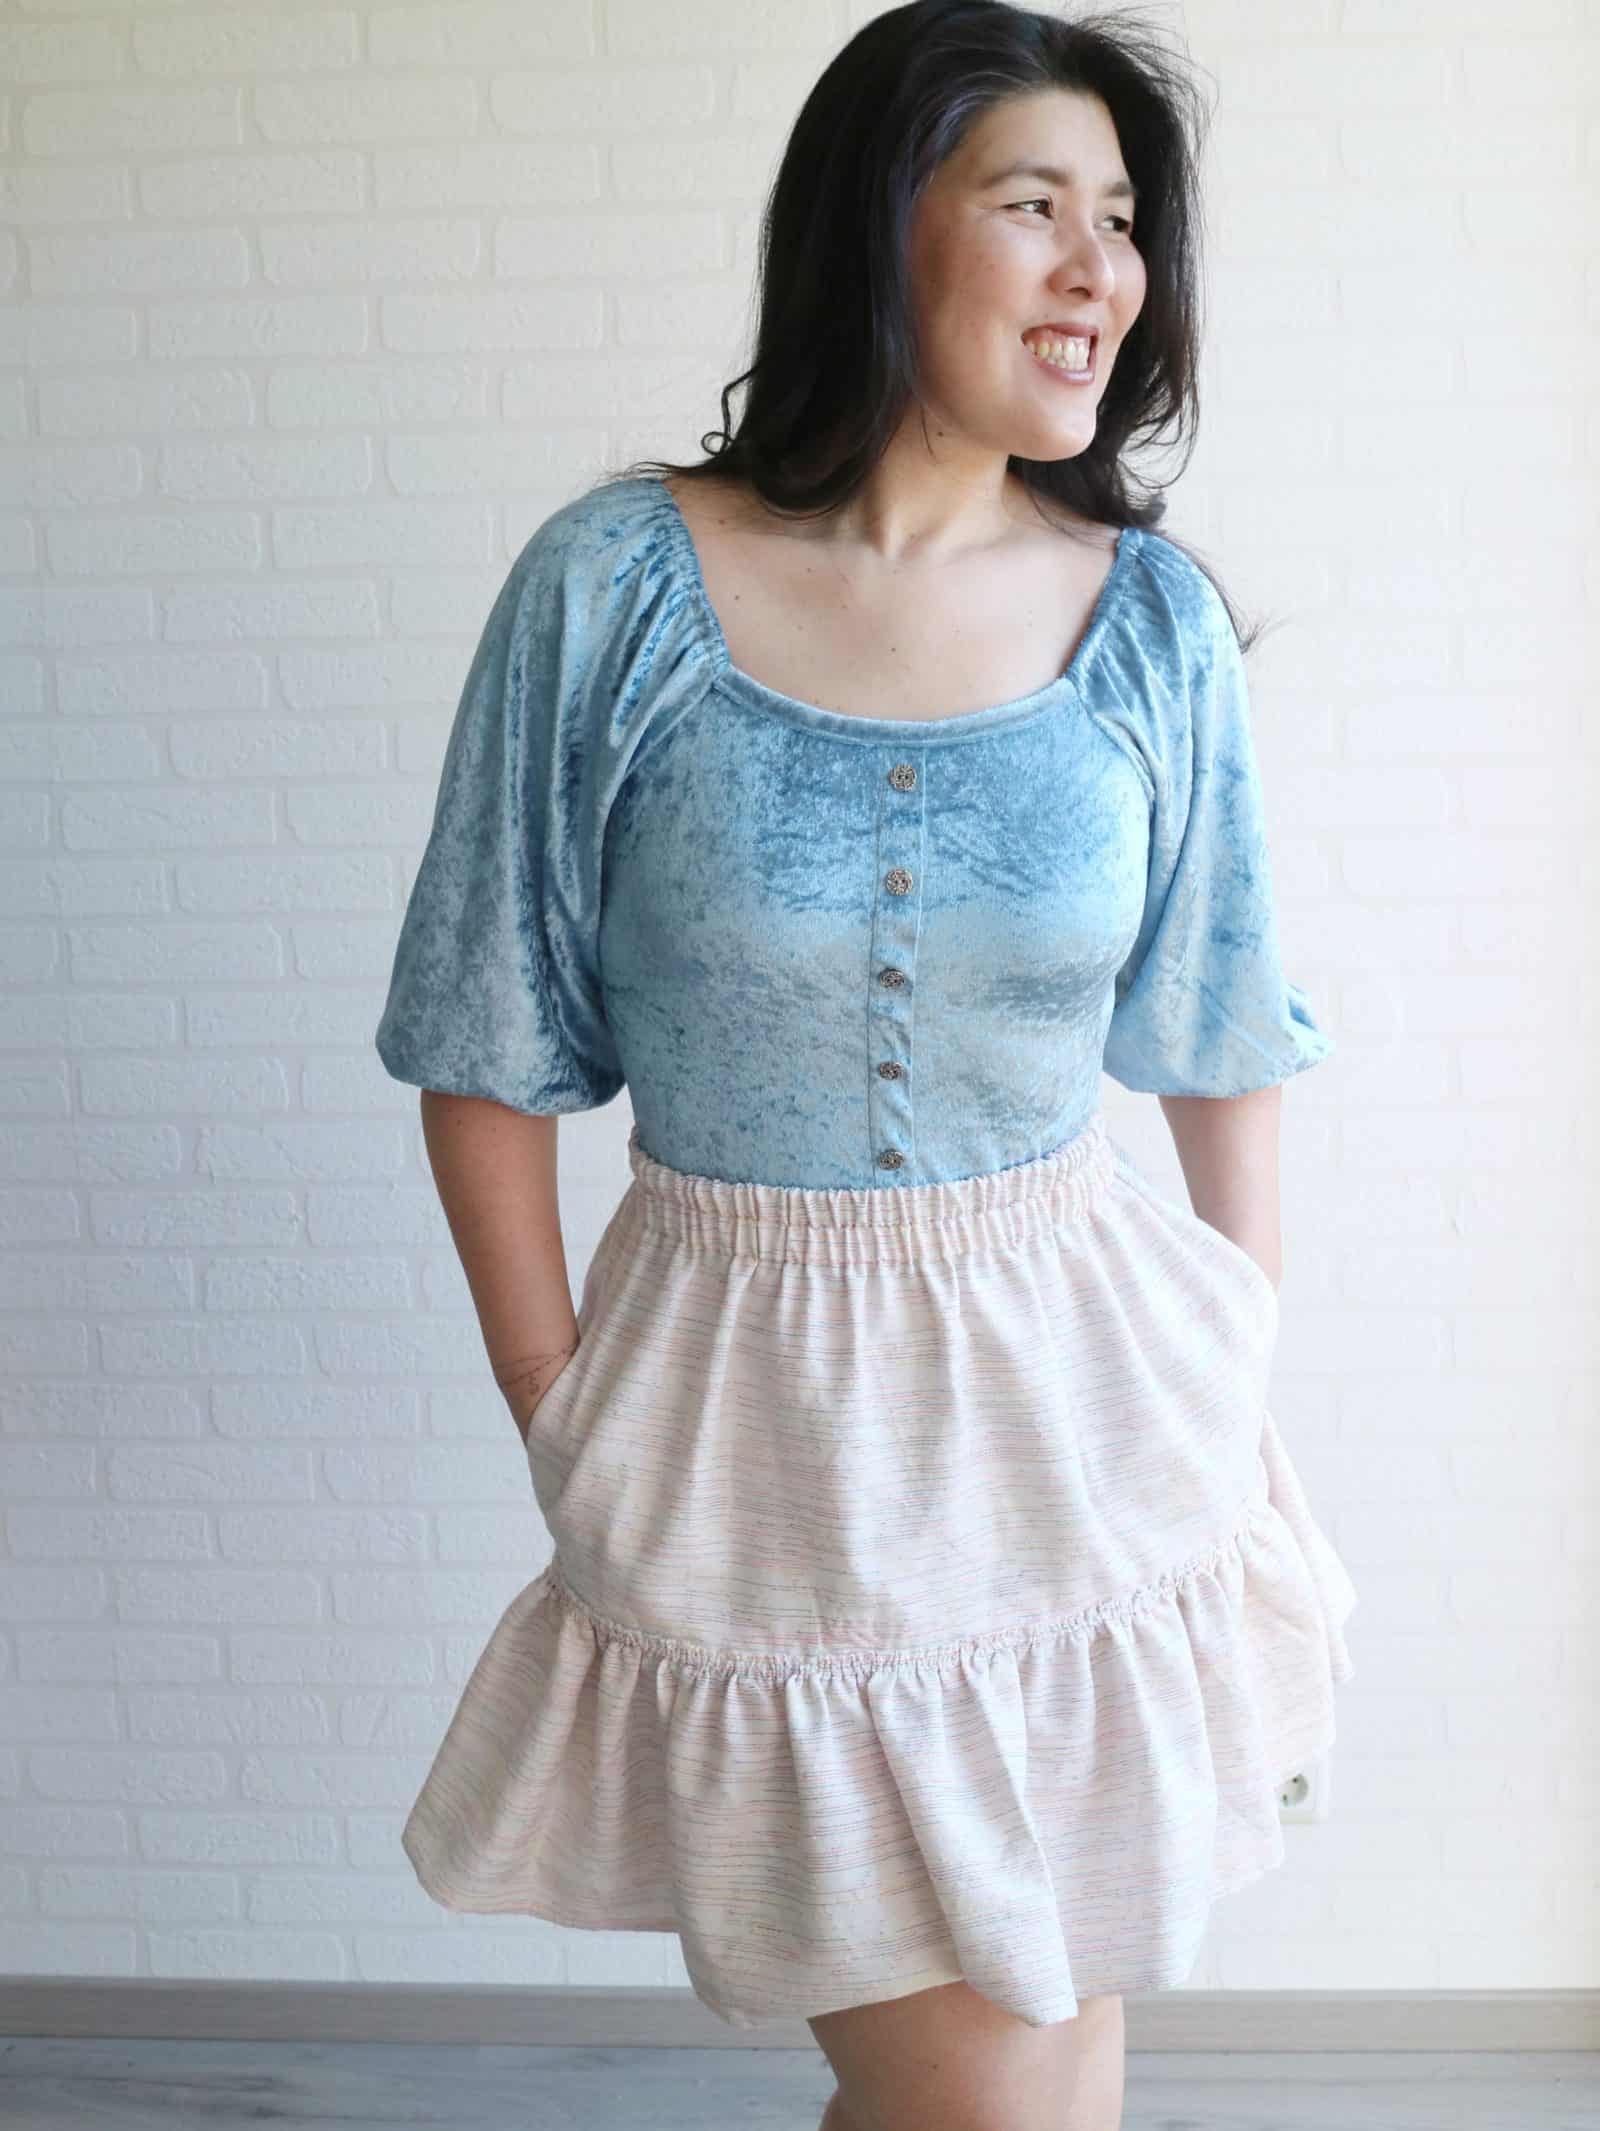
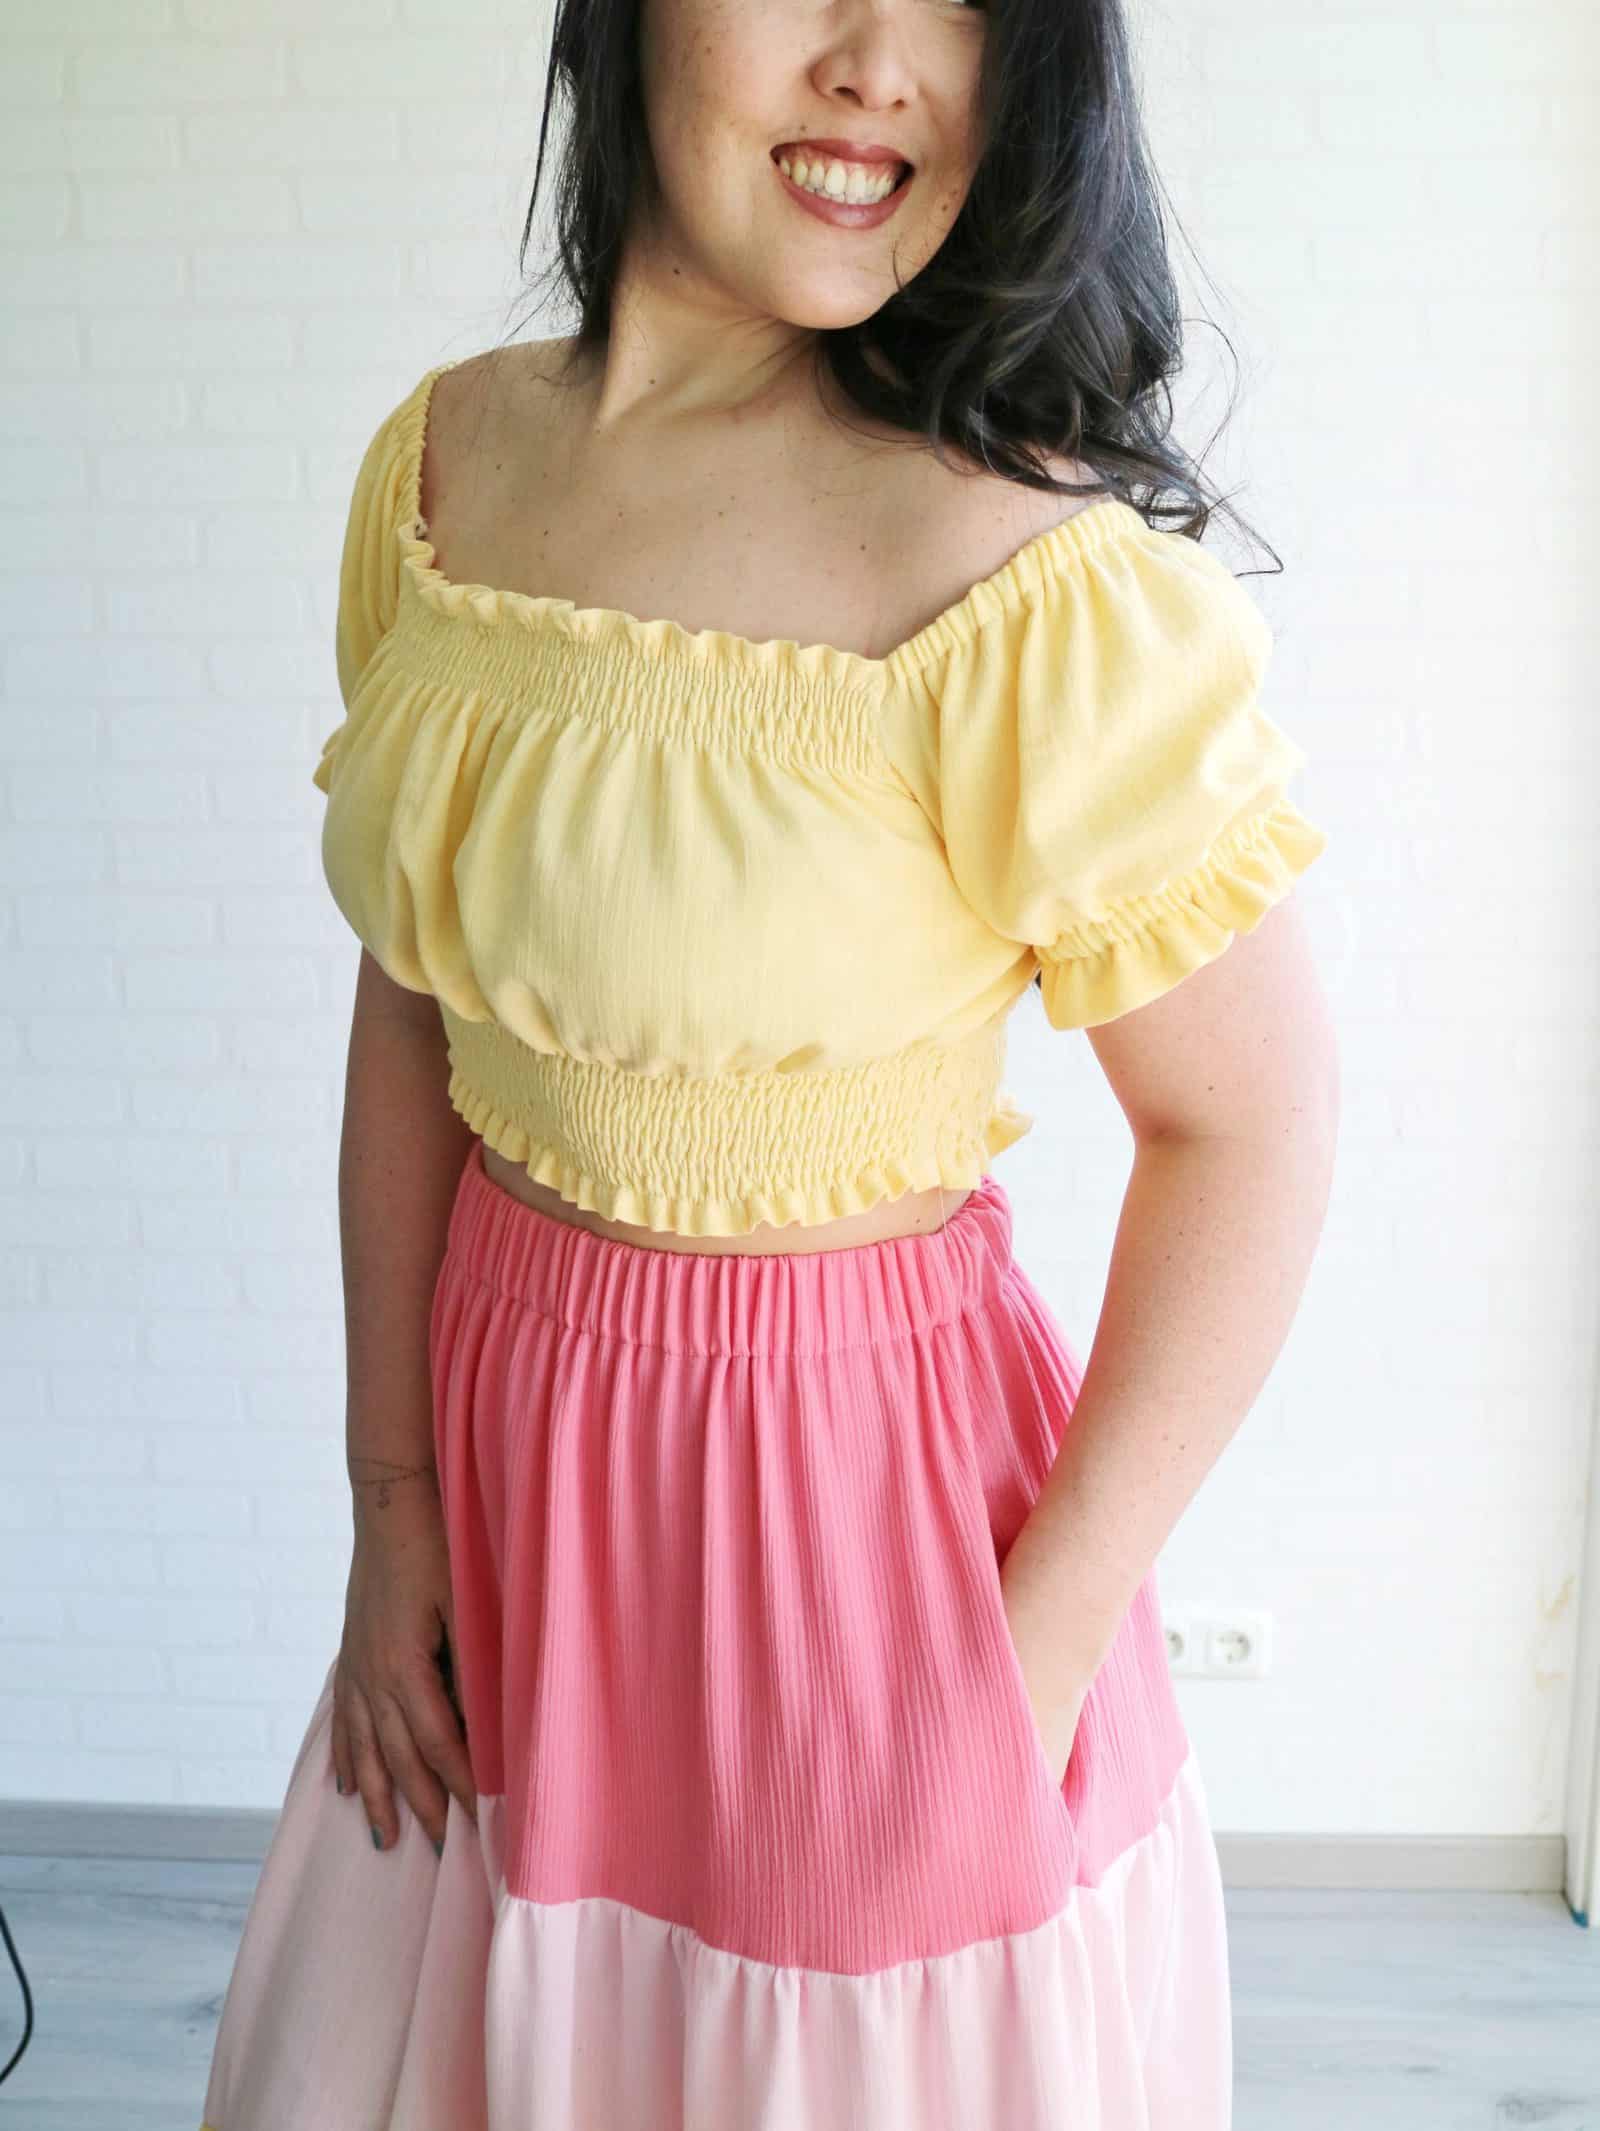
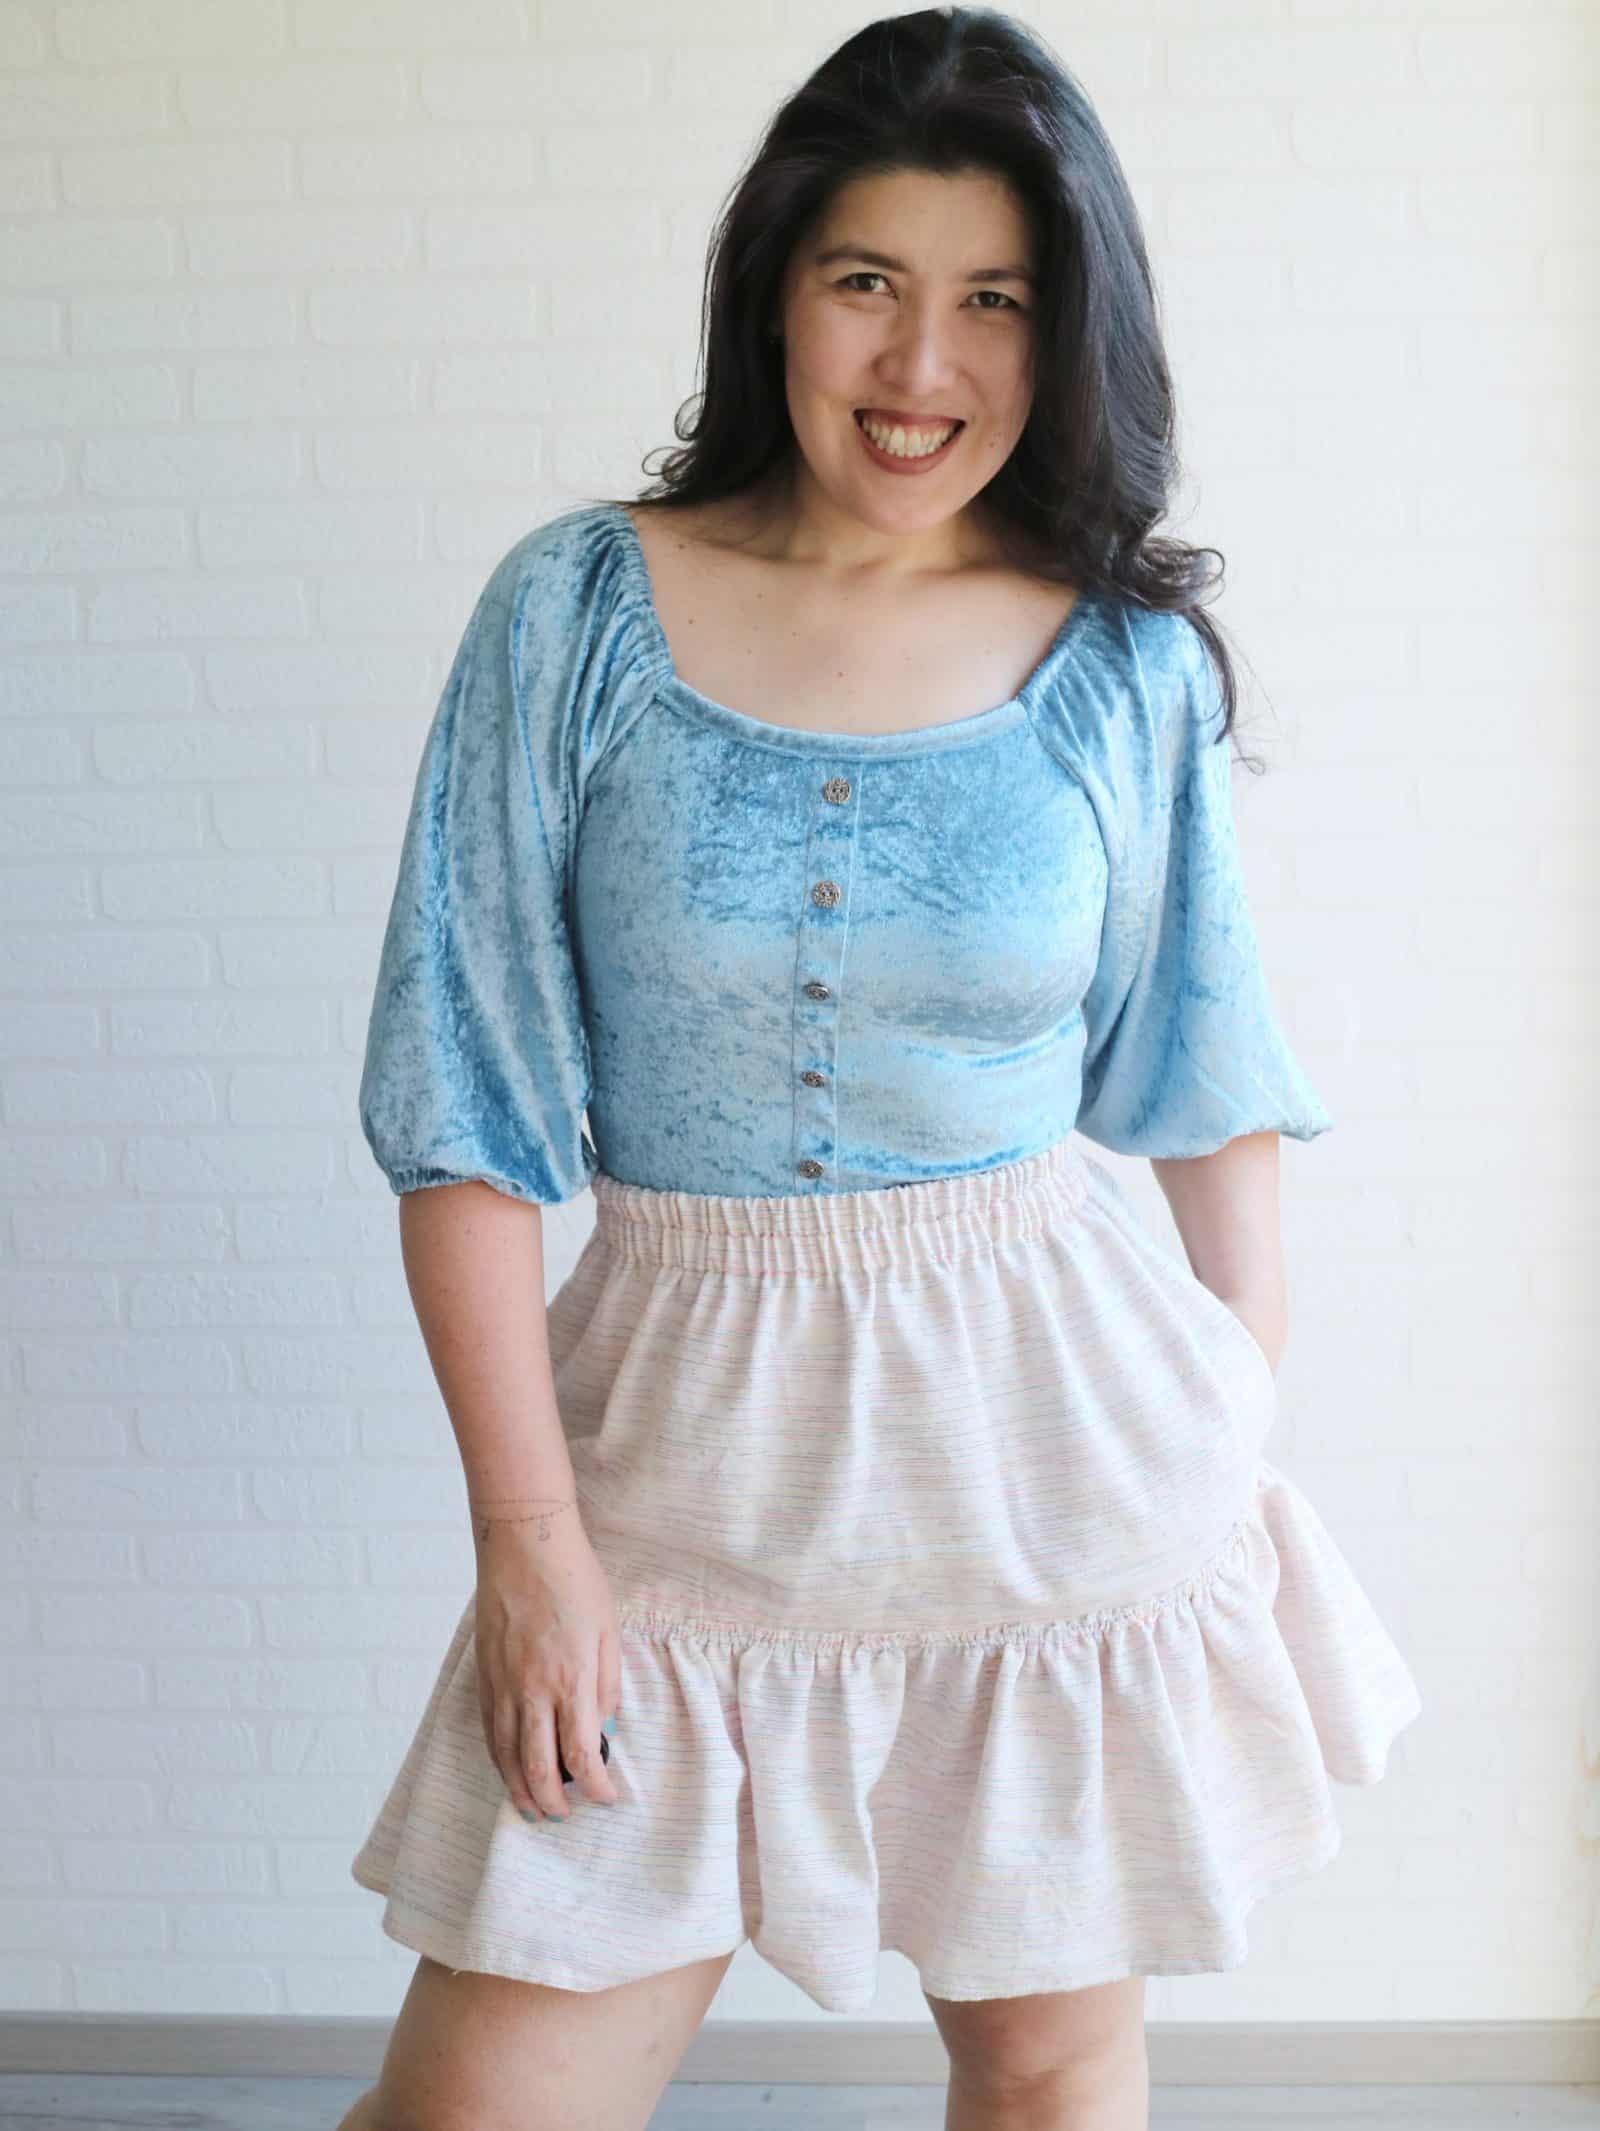
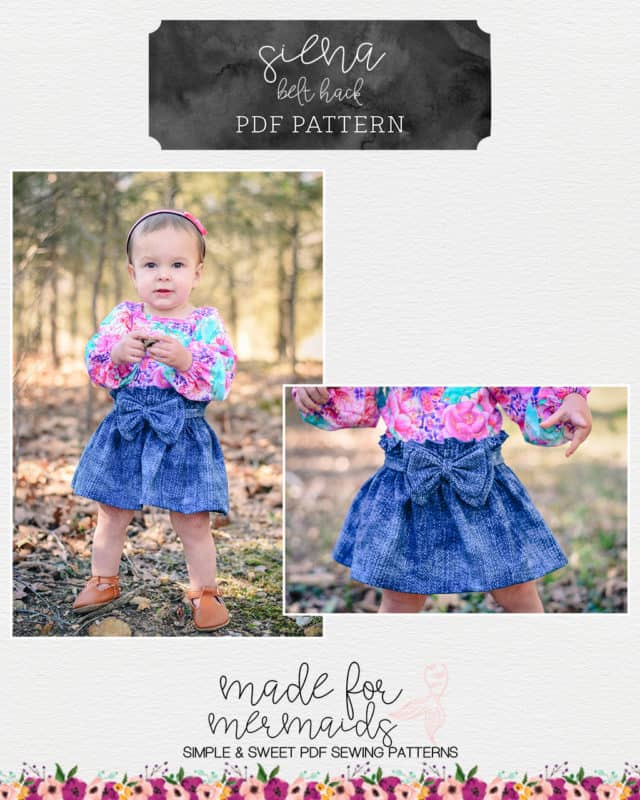
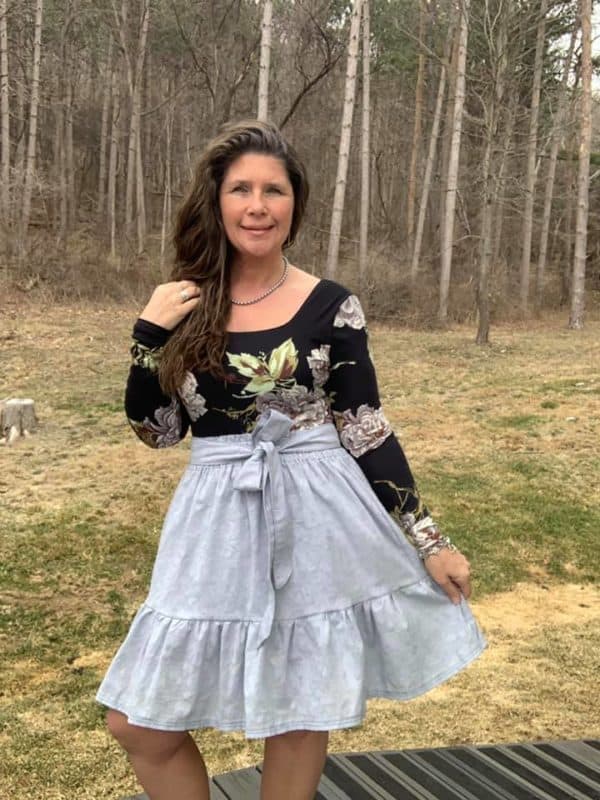
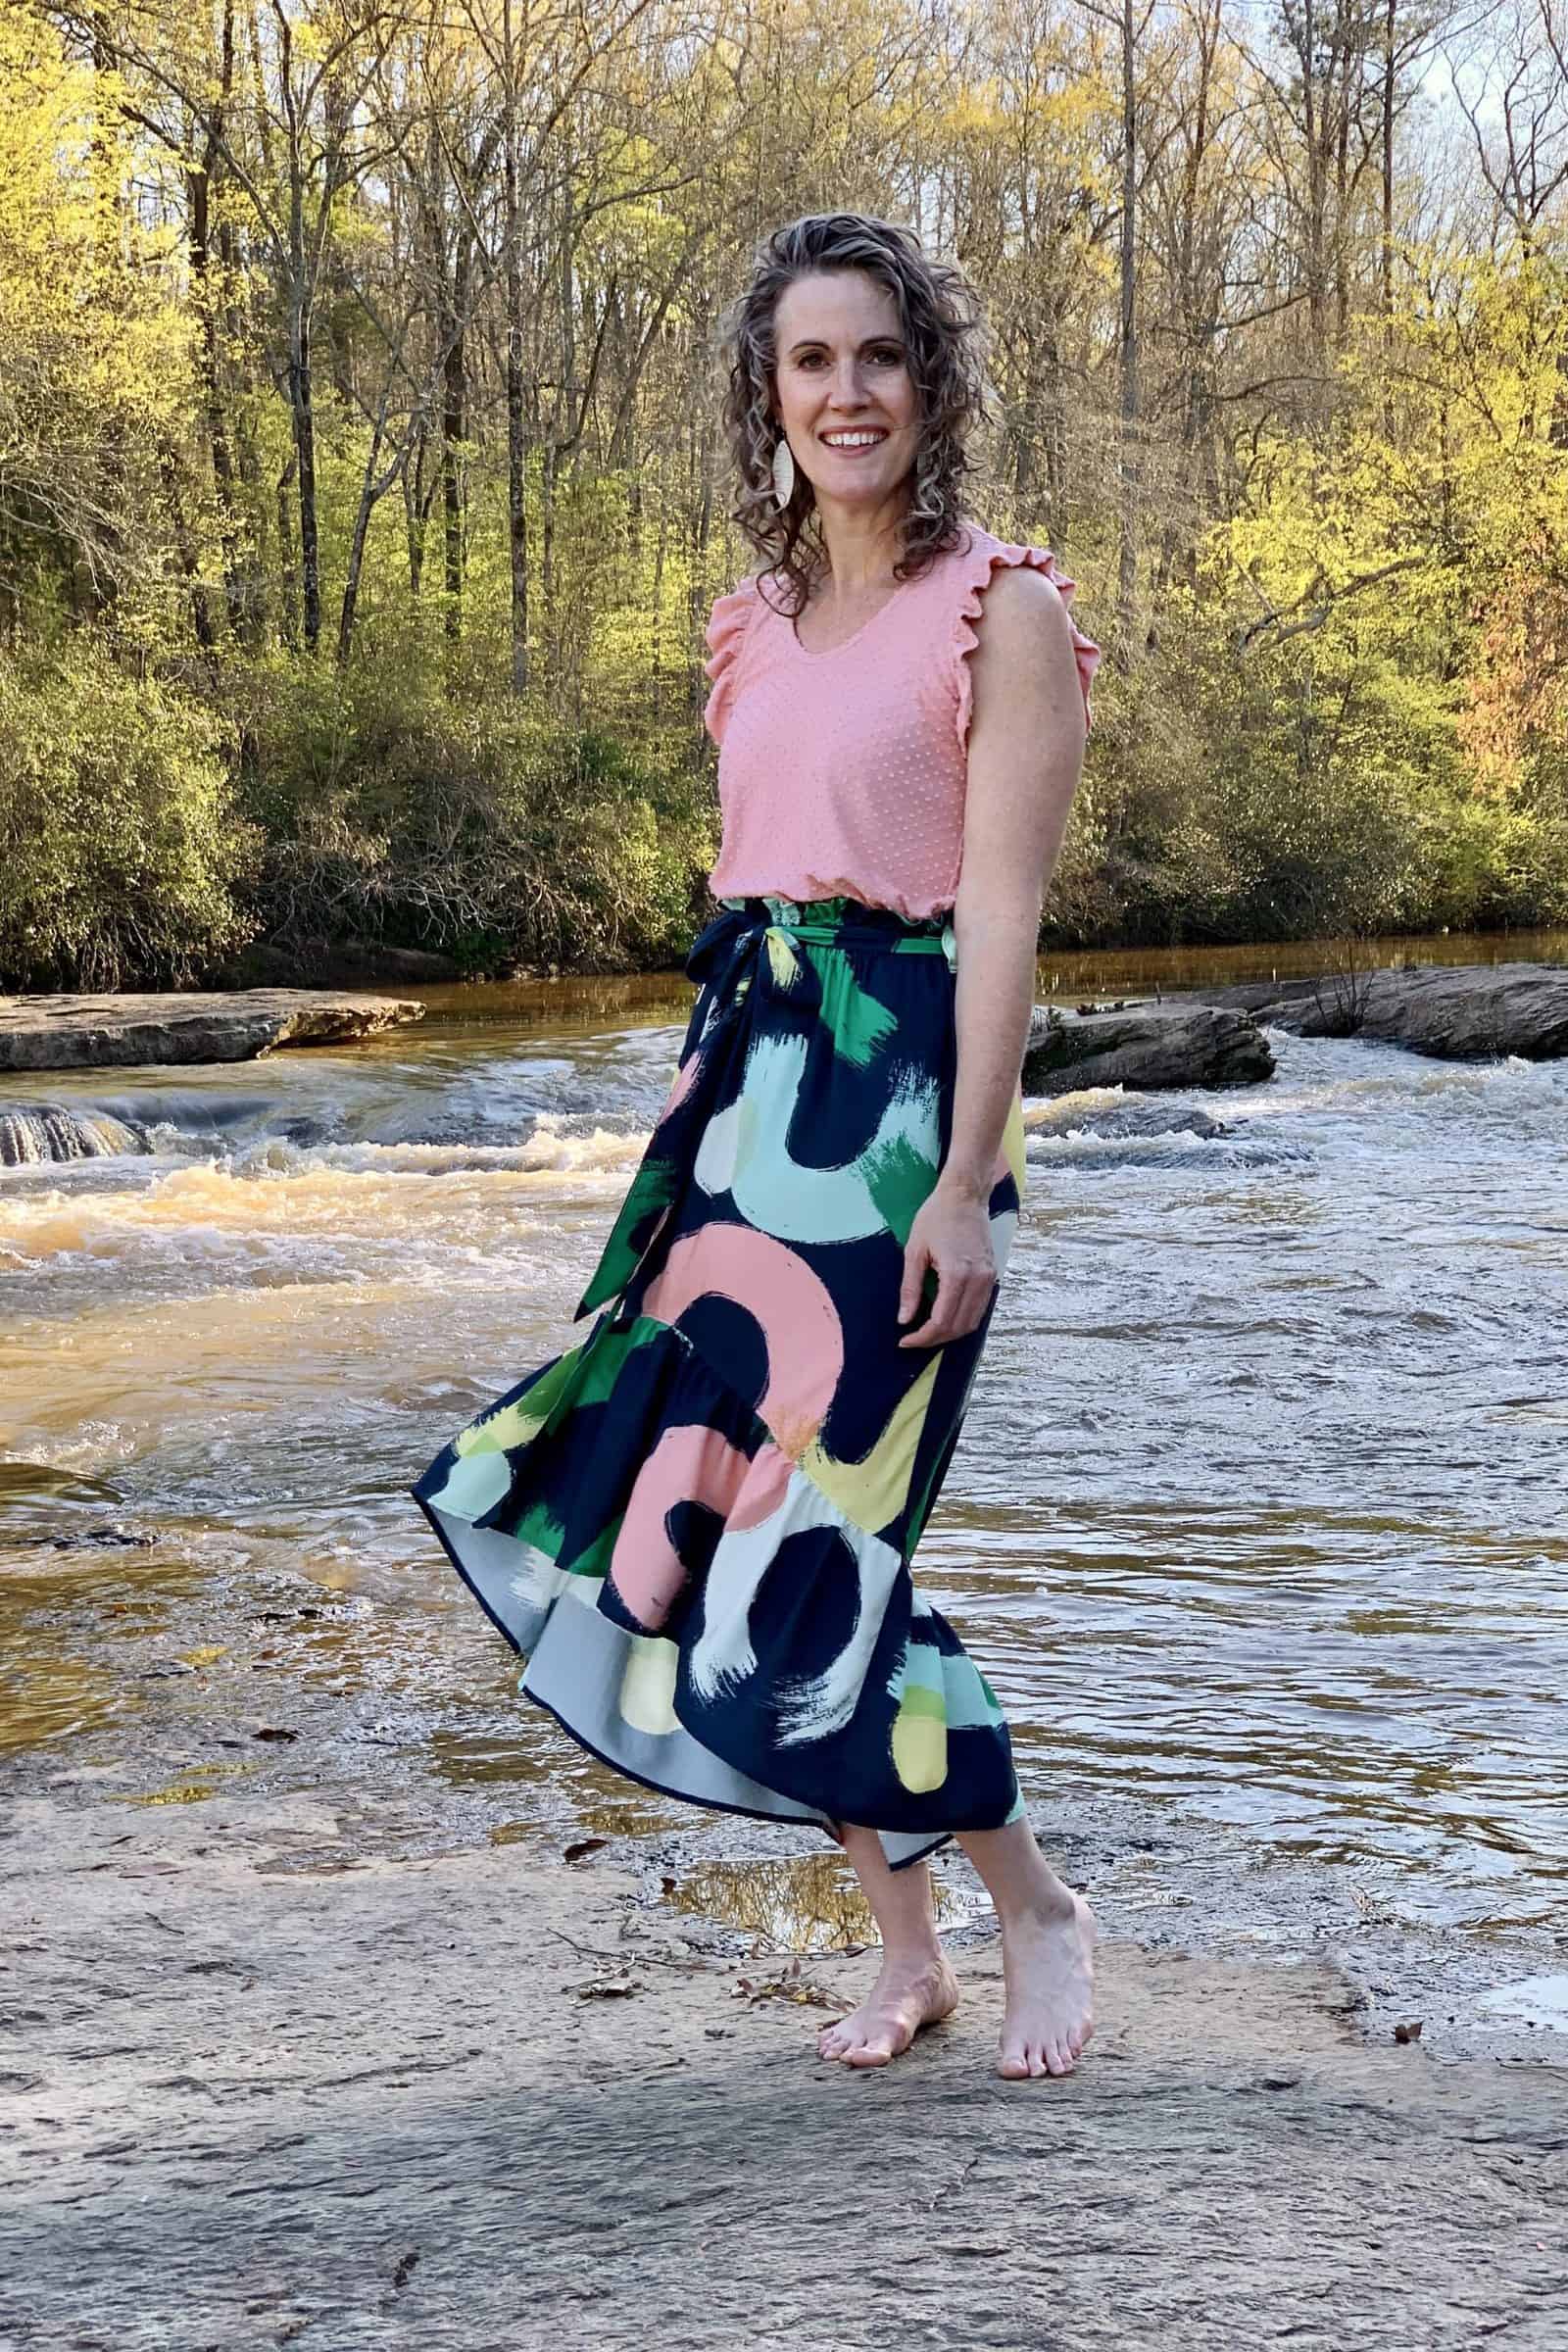
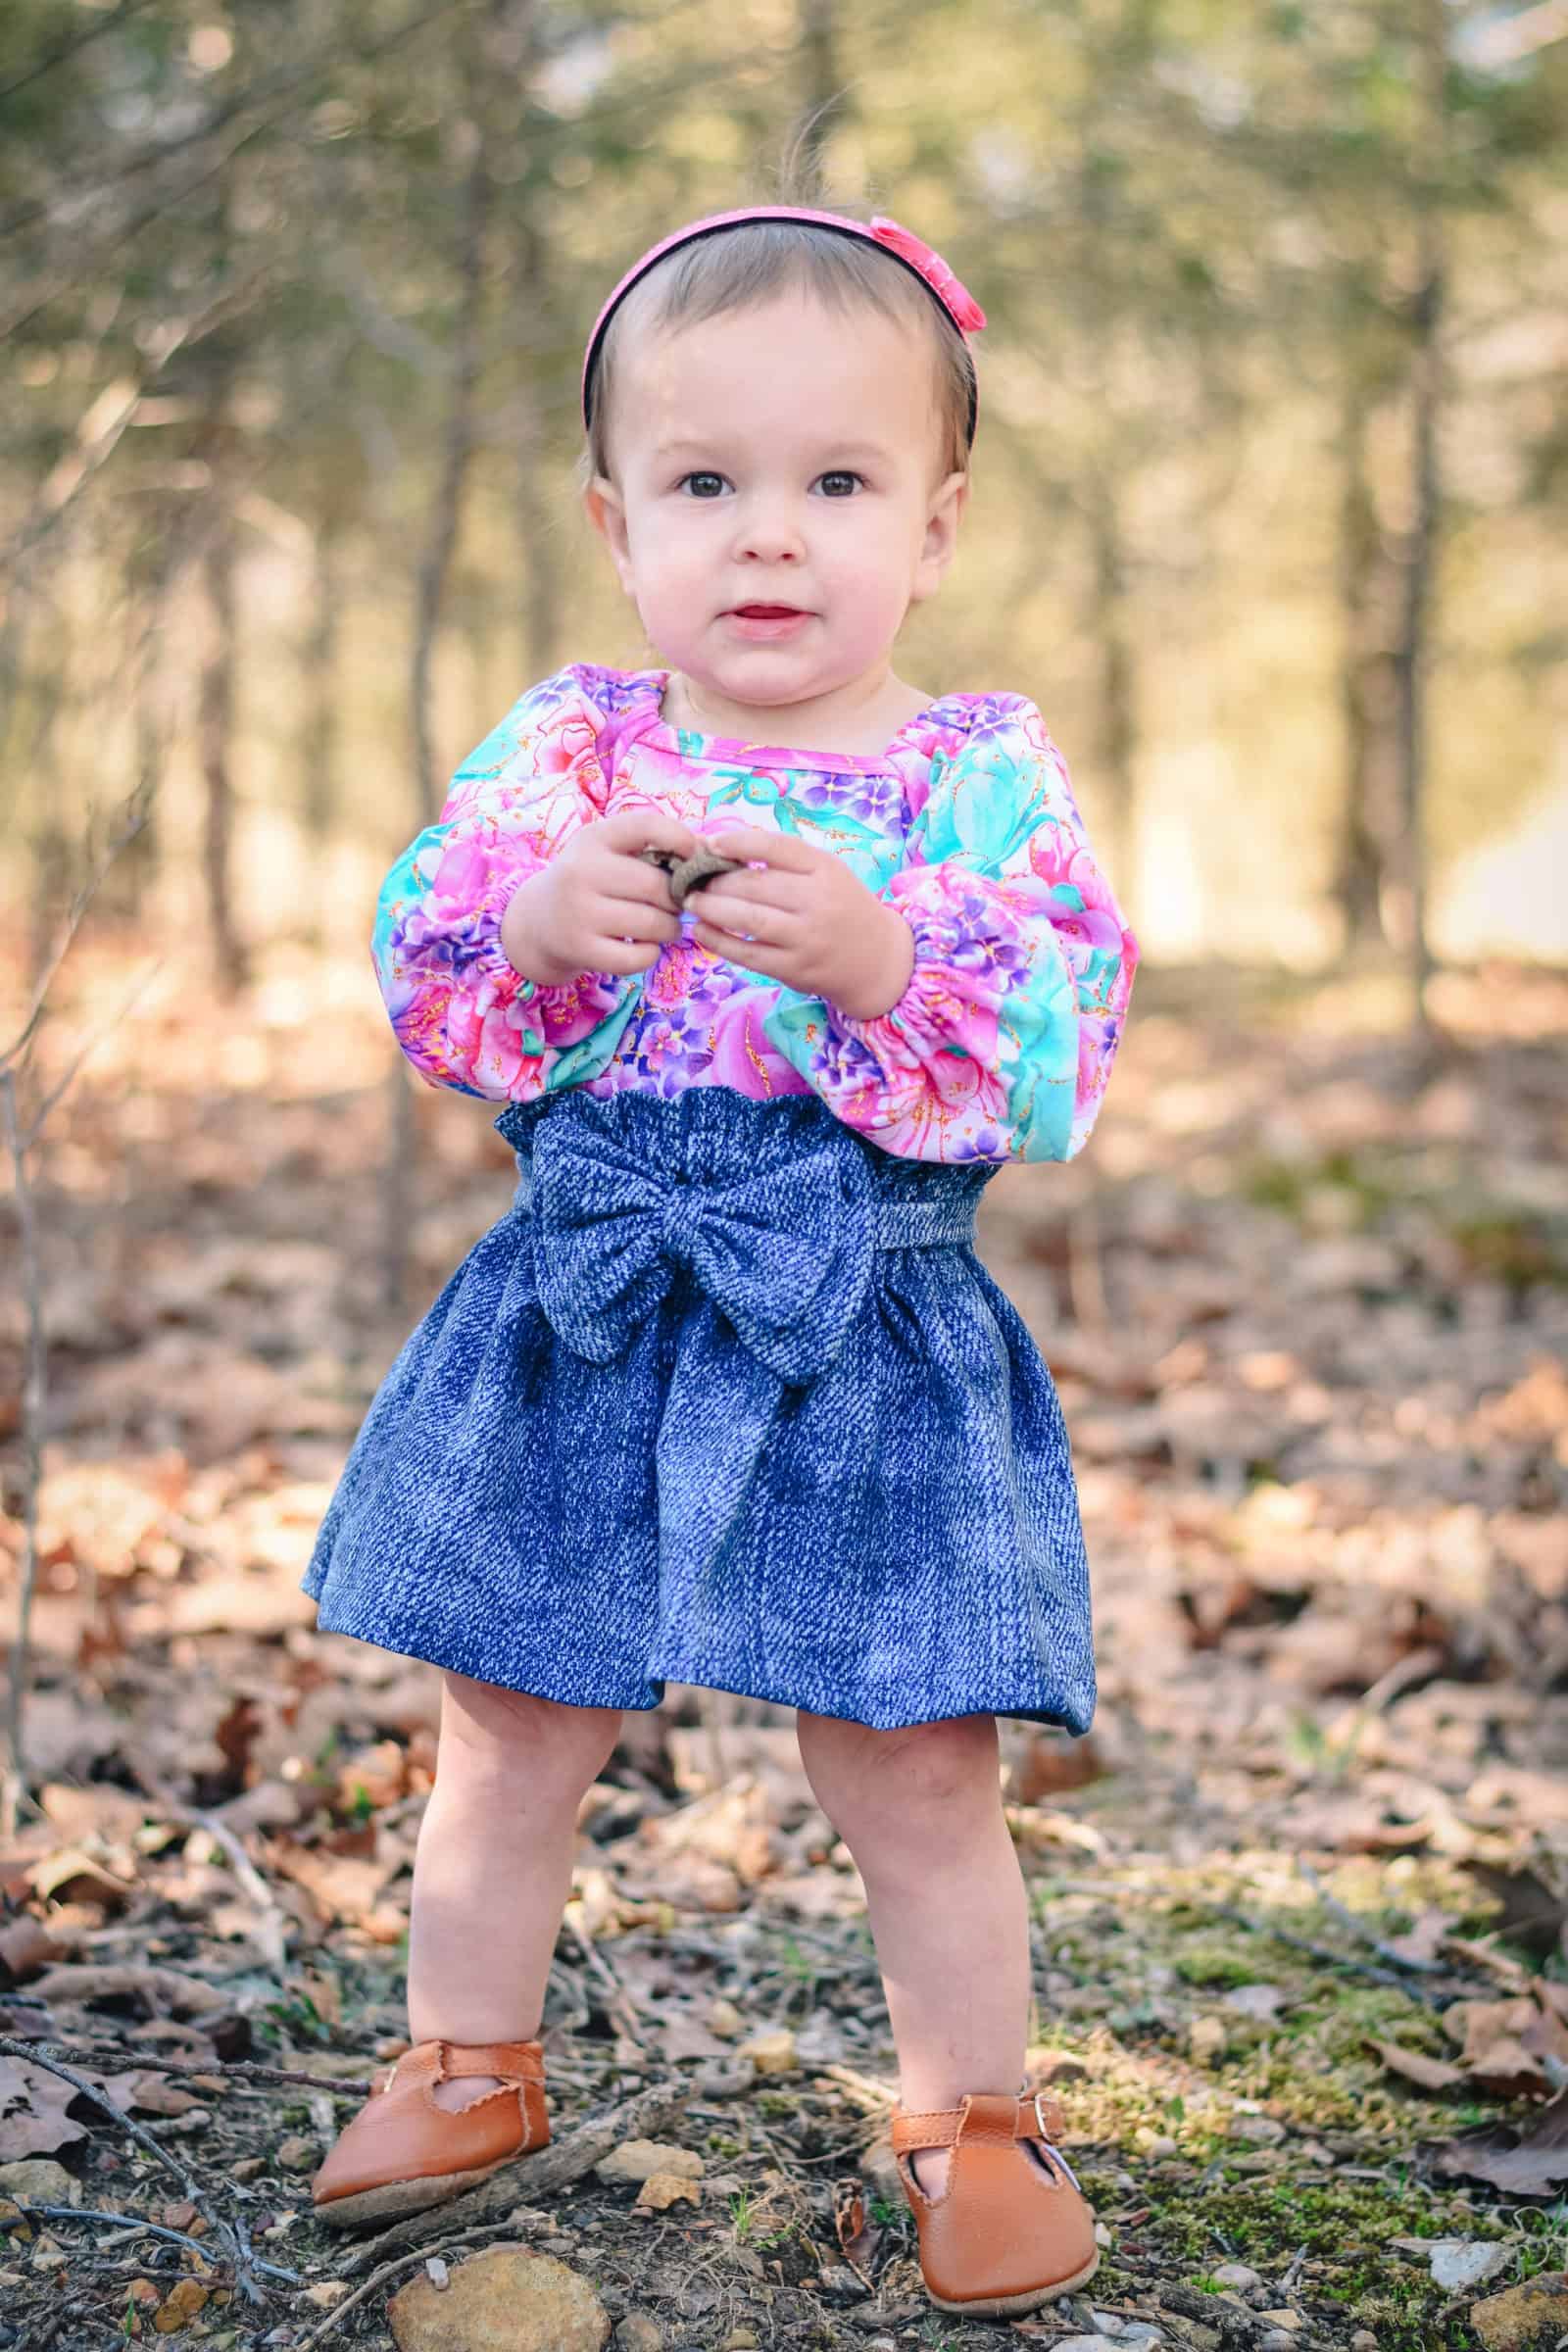
The Siena skirt is next up for the Whistledown Collection! It’s so, so cute, perfect for spring and summer, and is available in Baby, Youth, and Women’s sizing!!
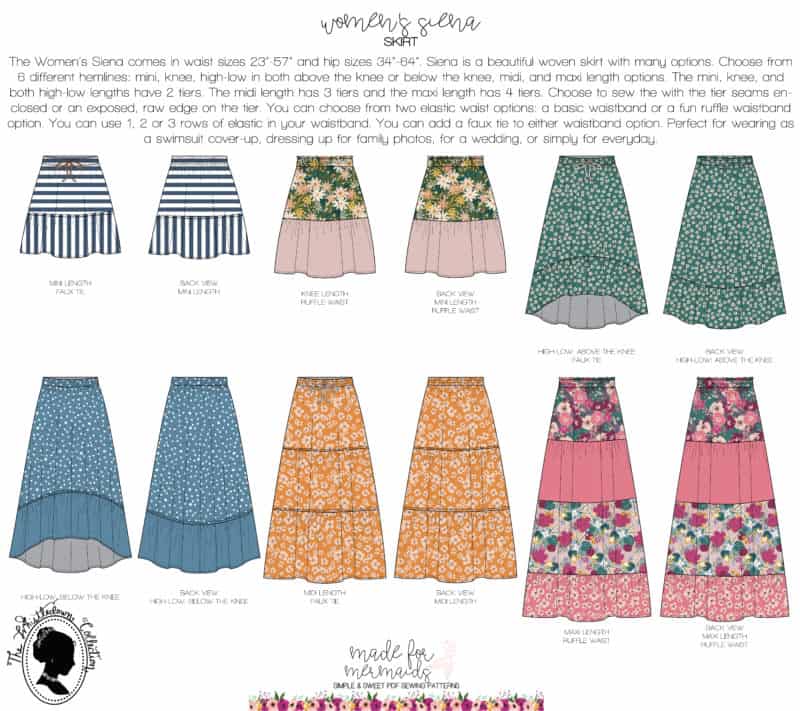
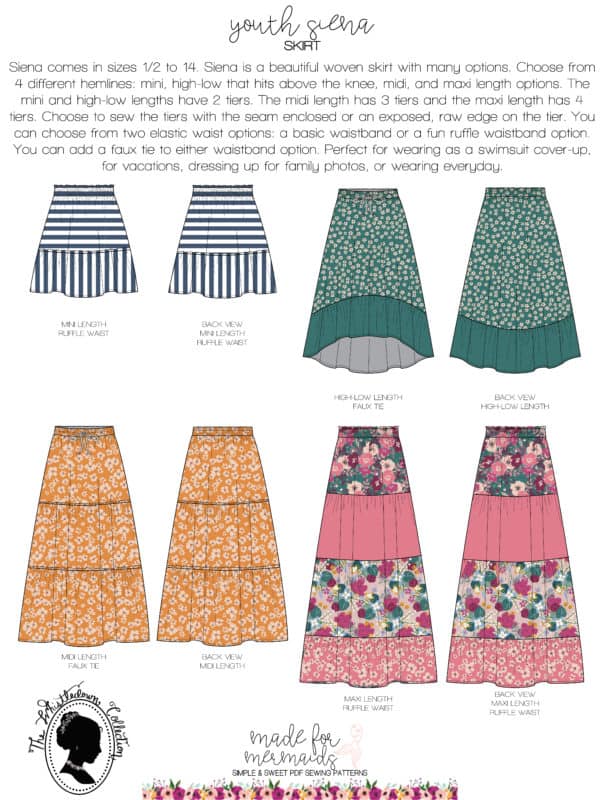
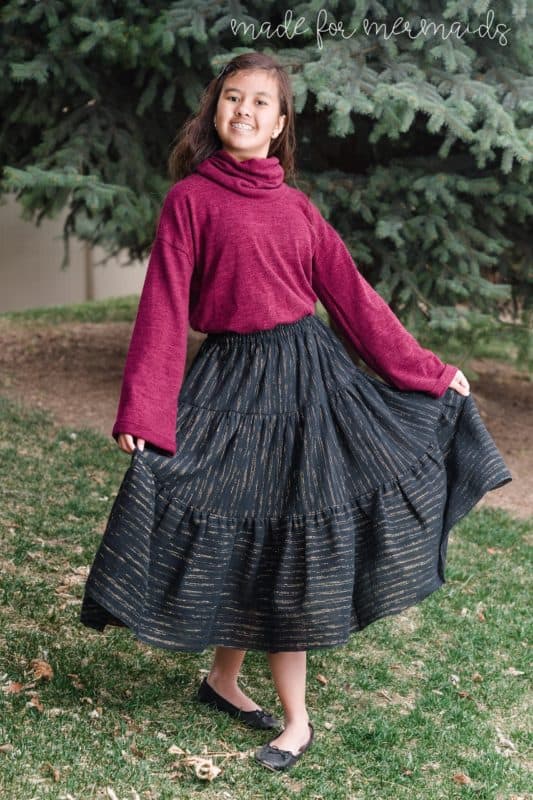
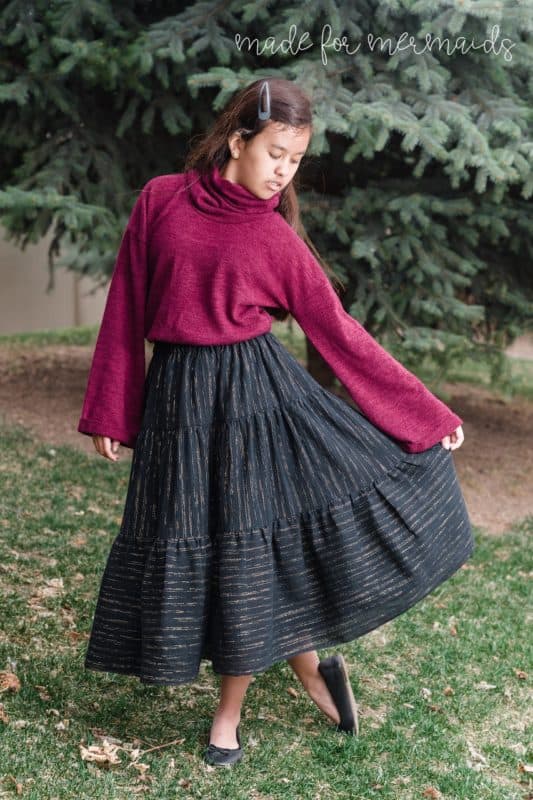
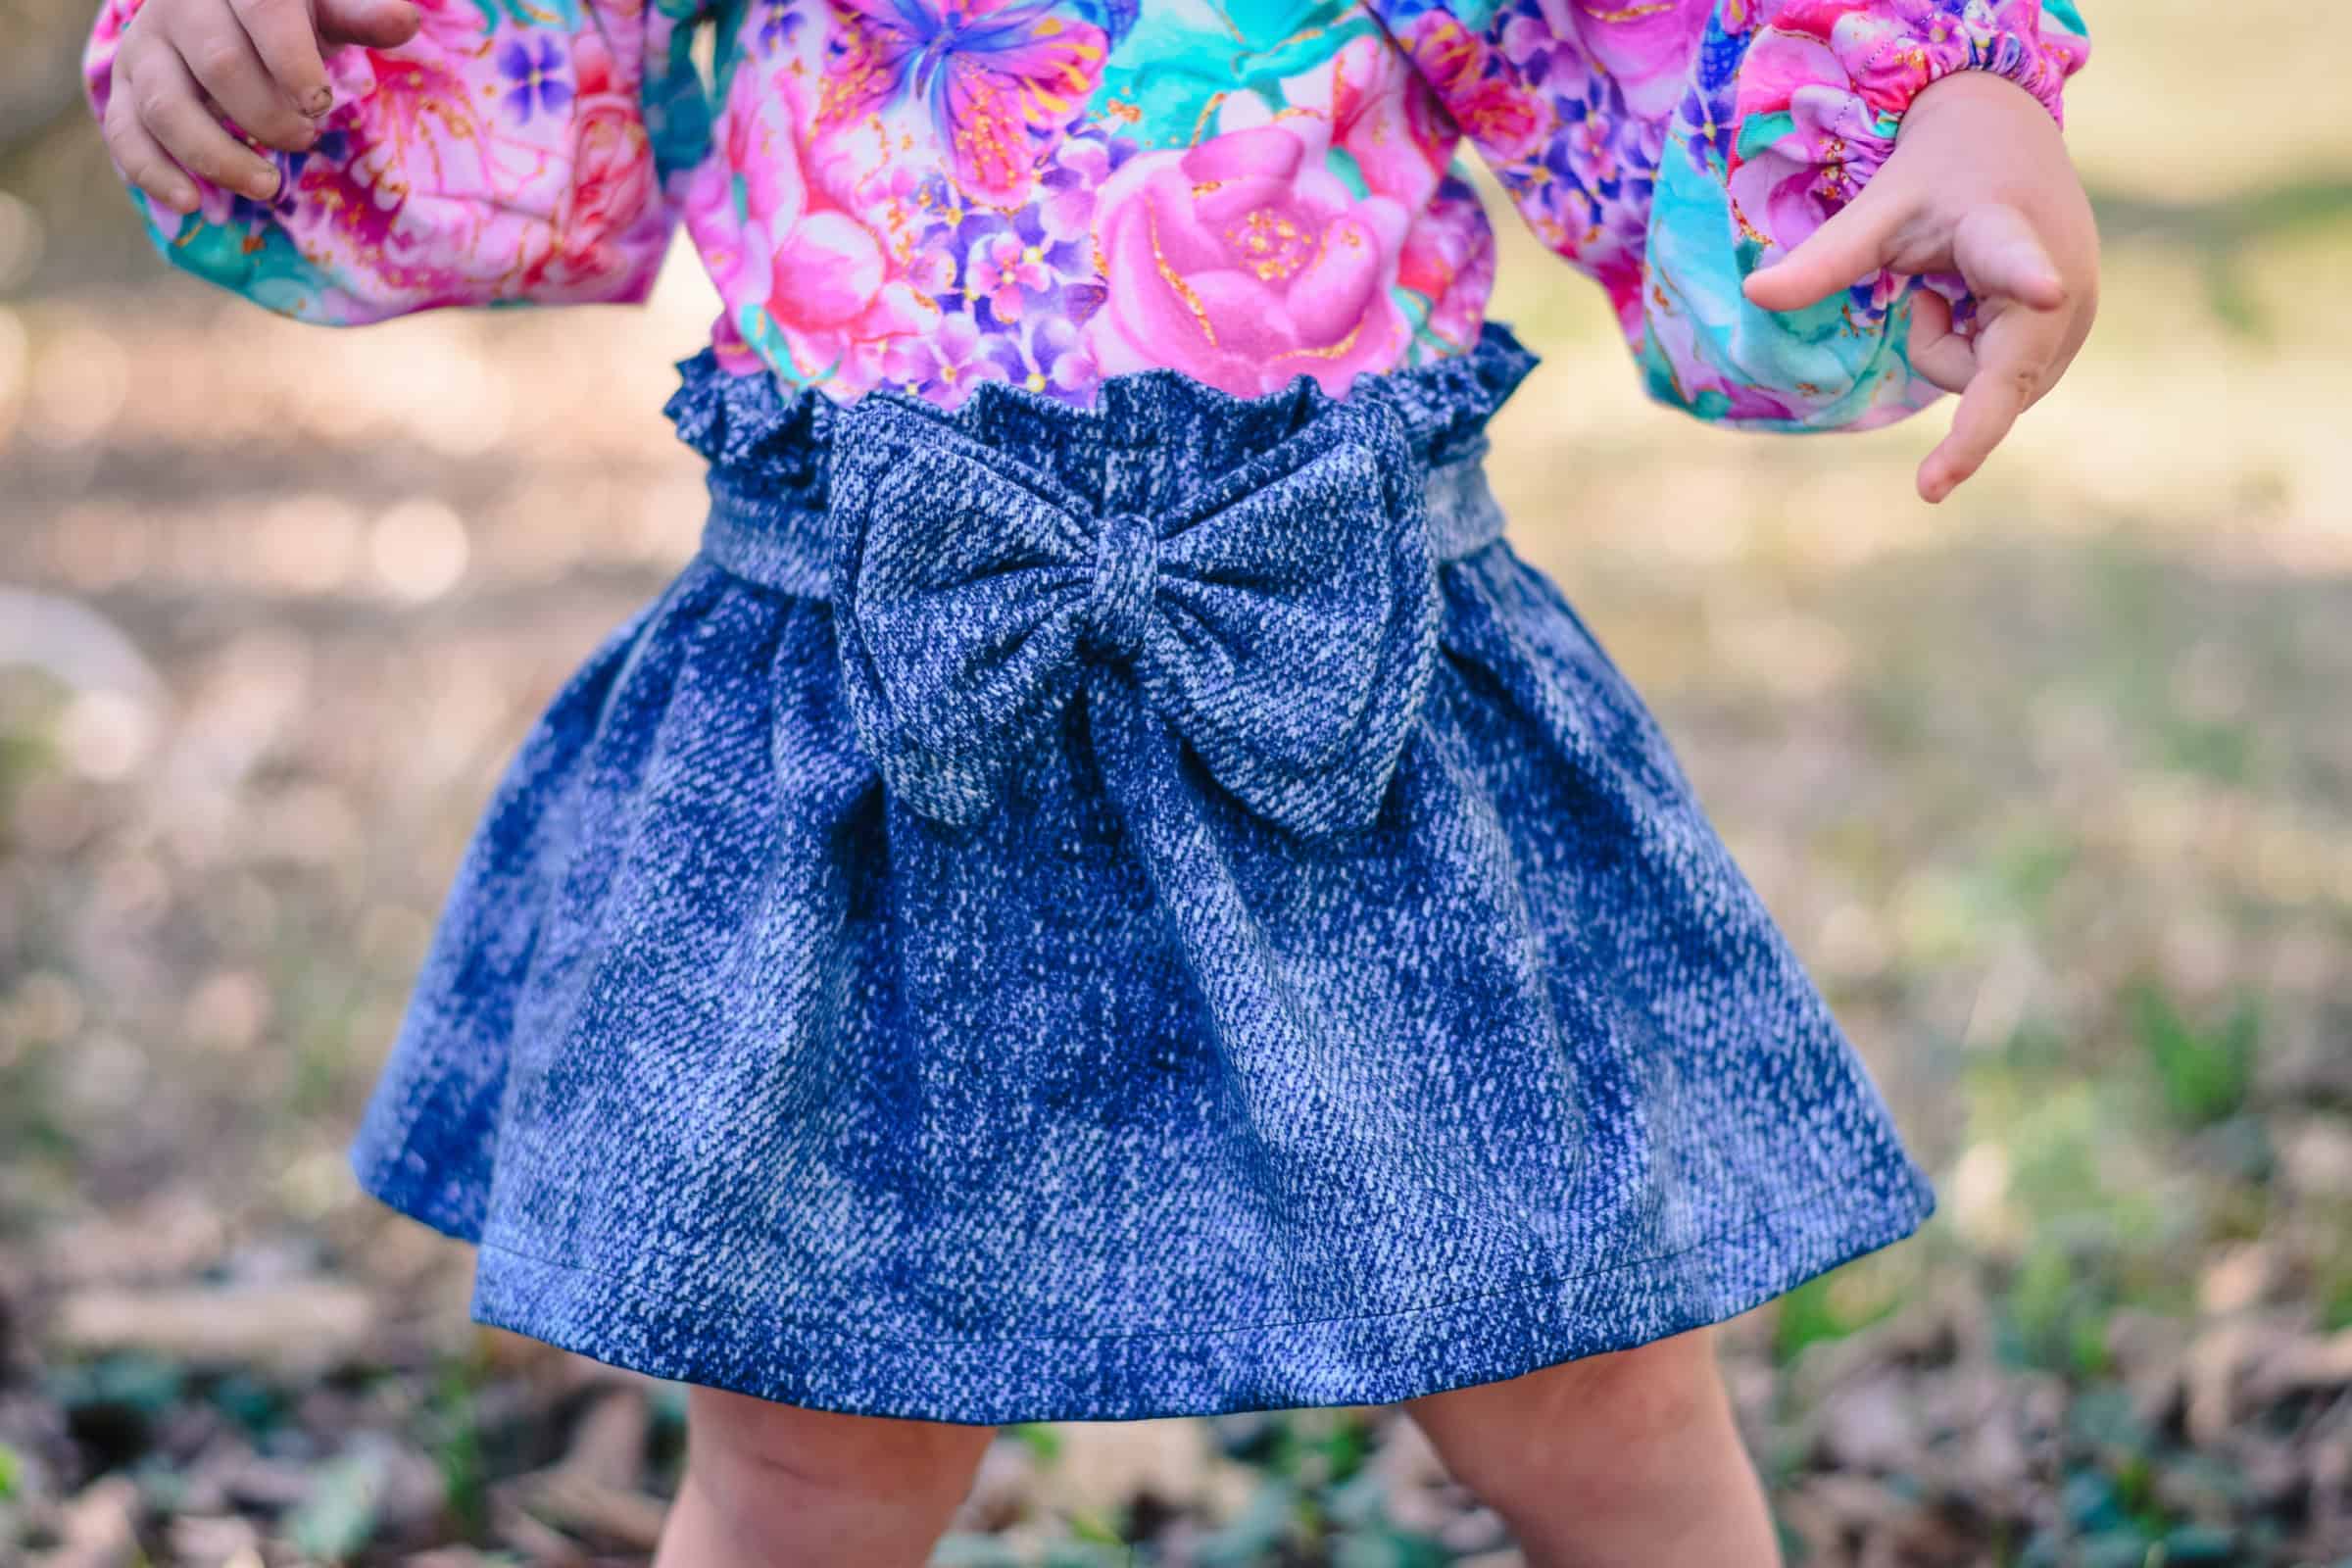
Siena is a woven skirt pattern packed with options. Women’s features a mini length, knee length, high-low above or below the knee, midi length, AND a maxi option! As usual, things got a little carried away in testing 😉 Youth has a mini, high-low above the knee, midi, or a maxi option. Baby Siena includes a basic skirt, two-tiered skirt, high-low, and a built-in bloomer option.
All three Siena patterns include an optional ruffle waist, a faux tie, raw-edge (exposed edge) construction instructions, and several different options for elastic!
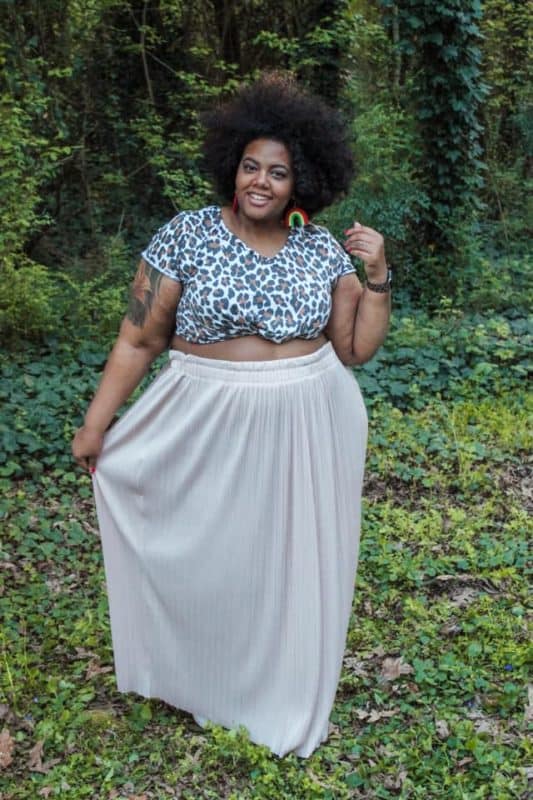
Siena is the perfect skirt for all seasons, and nearly every occasion, from beach vacay to date night, a wedding to backyard lounging! Our beautiful testers absolutely nailed it; be sure to check out the tester album in our FB group.
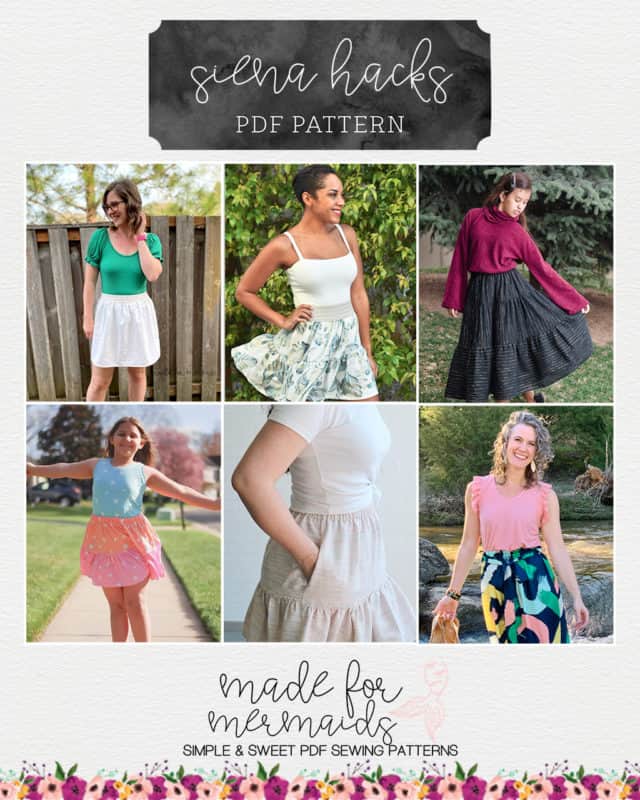
On top of everything already included in the patterns themselves, our team has several simple and cute hacks for you to try out. Which one are you going to tackle first???
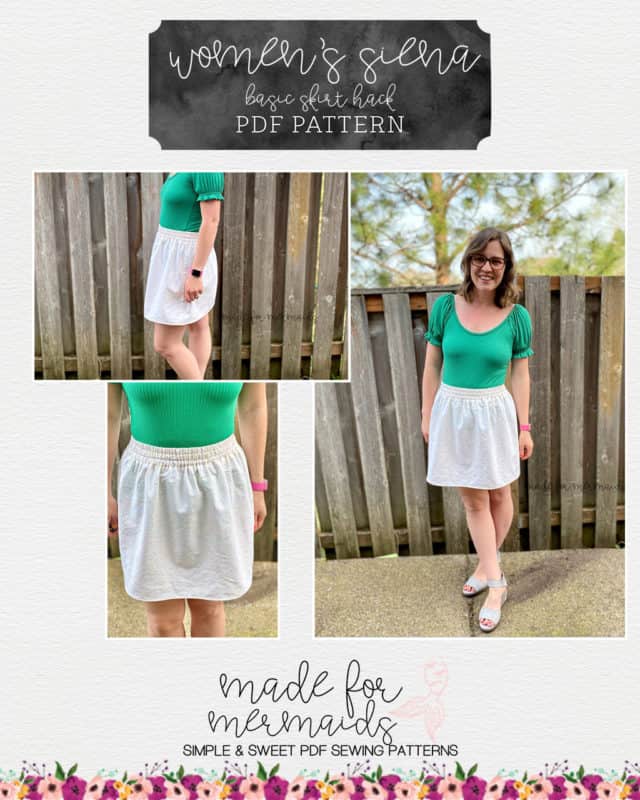
Basic Skirt Hack
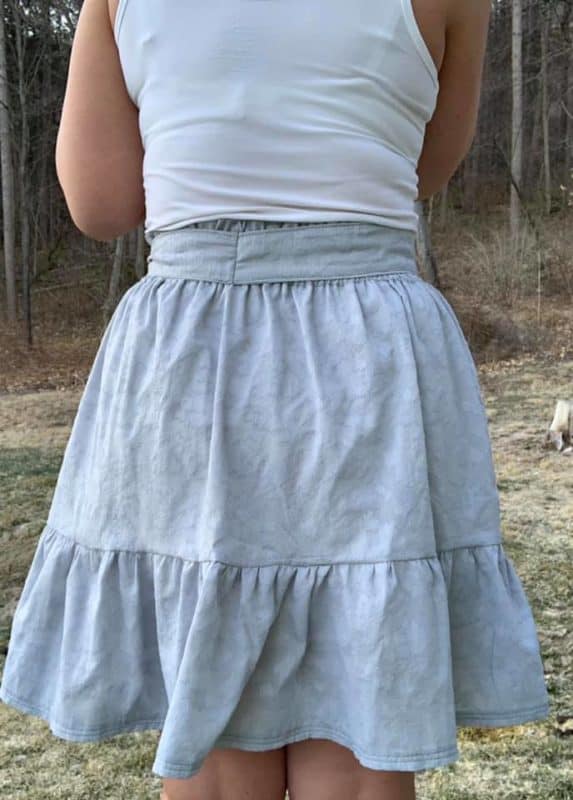
I’m all for making my life simpler, so a simple woven skirt sounds like a great idea to me! For this hack, I’ve removed the tiers from the mini length to have a solid skirt. You can do this same process with either the Regular or Ruffle waist; just make sure you add the correct measurements.
To start, find what size of Siena you should be making based on your natural waist measurement. Note: If your hips fall two sizes higher than your waist, it’s recommended to choose the next waist size up for your pieces but still using your measured natural waist for your elastic. In this example, I measure between Blue and Indigo for my waist and Blue hip. I’m calculating my new skirt pieces based on the size Blue, but using Indigo elastic length.
To calculate the new pattern pieces, take a look at the cut chart on page 9 of the tutorial. Decide if you want the Regular or Ruffle Waist. Add the Mini First Tier Length + Mini Second Tier Length of either the Regular or Ruffle Waist. Then, subtract 1″ from that total for the seam allowance added for attaching the tiers.
For the size Blue Regular waist, the calculations are as follows:
12″ (First Tier) + 9.5″ (Second Tier) = 21.5″ – 1″ (seam allowance) = 20.5″
You’ve now calculated the length of your new pattern piece. Use the width of the first tier of the size you selected above (size Blue for my example) and cut 2.
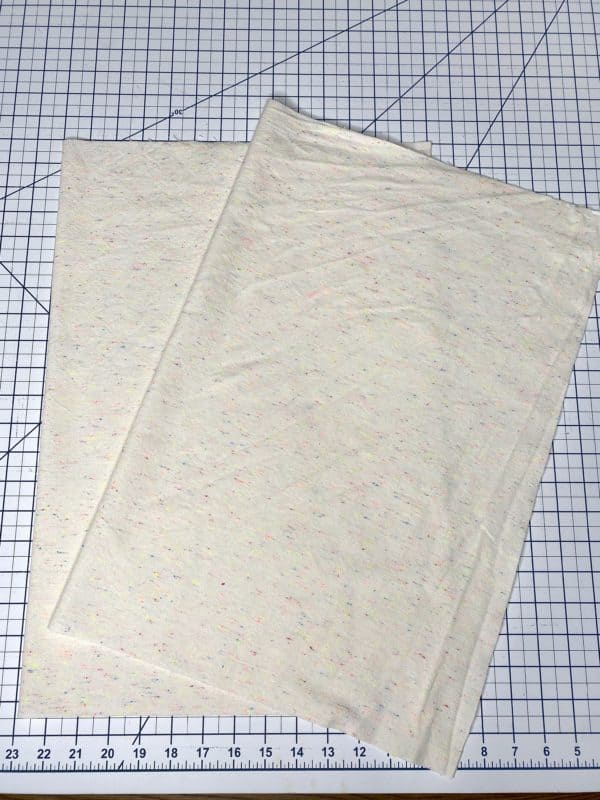
My new skirt pieces for the size Blue Regular waist were each 20.5″ x 28″.
Construct according to the tutorial, skipping the directions for gathering and adding the other tier. ~Katie
Knit Hack
Hey all! Jess here! Are ya lovin’ Siena yet??
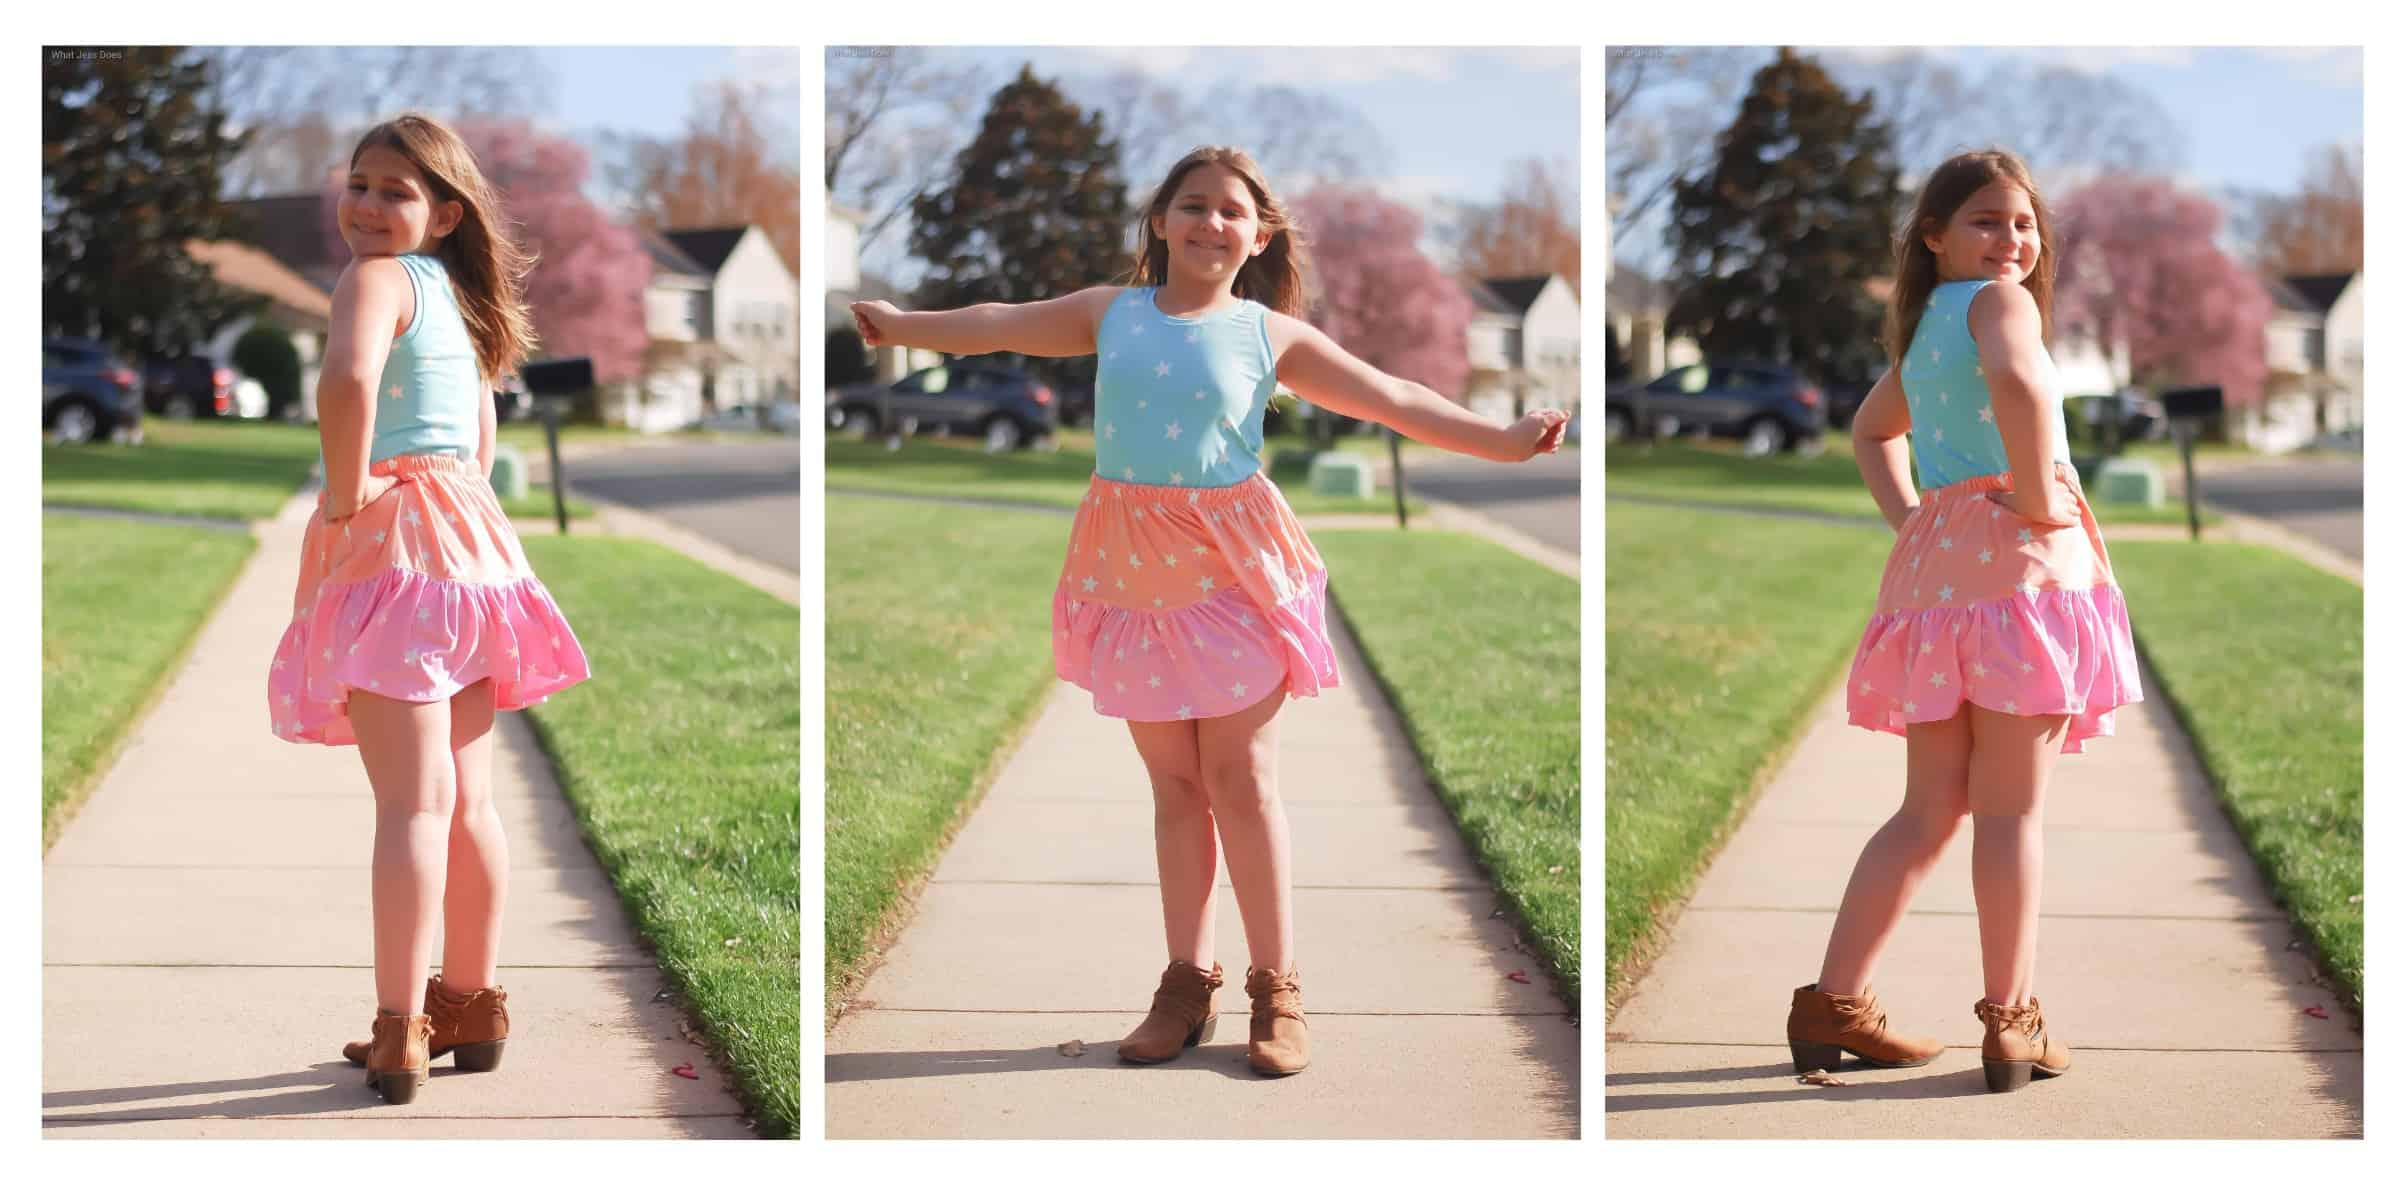
I’ll be honest, when I signed up to test Siena, I hadn’t realized it was a WOVEN pattern! After kicking myself for the oversight, I powered through and made my muslin for the test and it was much better than I expected (and I’ve made more since then!!). But, knits are my JAM! So let’s talk about making Siena outta knit!
Okay, first! Fabric!
Fabric choice is important. You want something drapey and lightweight, as there are a lottttt of gathers! Double brushed poly (what I used), single brushed poly, lightweight cotton spandex, modal spandex, viscose jersey are some good choices to get ya started. If you have a knit that’s very heavy or sturdy, like liverpool/bullet, ponte, scuba, etc, it’s not going to gather as nicely and could weigh down your skirt. It might be okay for a mini, depending on the weight, but worth keeping in mind for longer lengths!
Also, something without a lot of vertical stretch is going to hang more closely to the patterned length. The more vertical stretch the fabric has, the lower it will hang, so keep that in mind when cutting your tiers!
Secondly! Stabilizing.
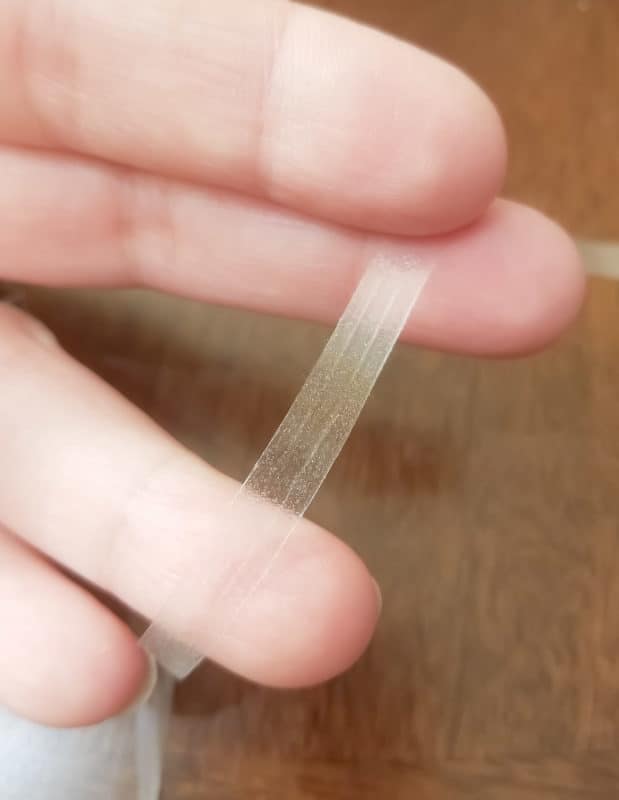
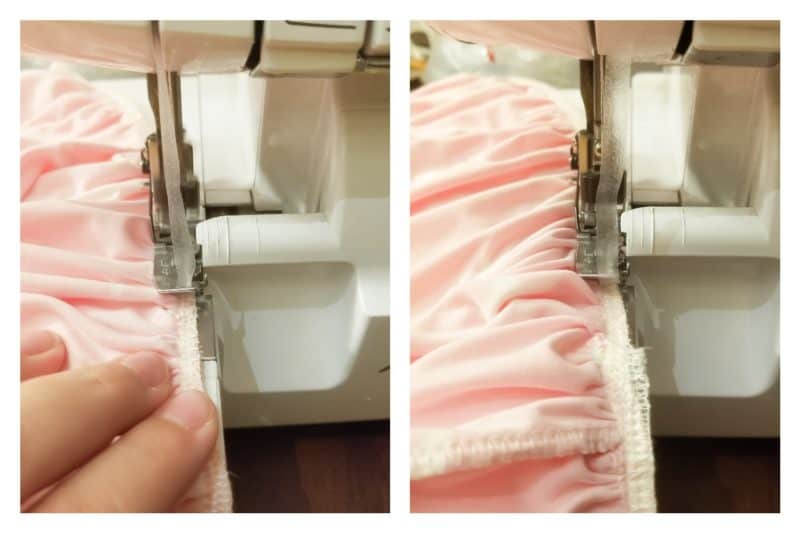
For a little extra support keeping your gathers looking MARVELOUS, we highly recommend stabilizing your seam with clear elastic (or whatever your stabilizing notion of choice is!). I bought a bag of 500 yards of this clear elastic on Amazon relatively inexpensively, so I use it for everything that needs a lil’ extra support. I cut and gathered my tiers according to the pattern, and serged them together. Then I turned my blade off and went around again to add the elastic. If you have a hole in your presser foot, you can feed it through that to serge on, or just put it under the foot and attach that way, whichever you prefer!
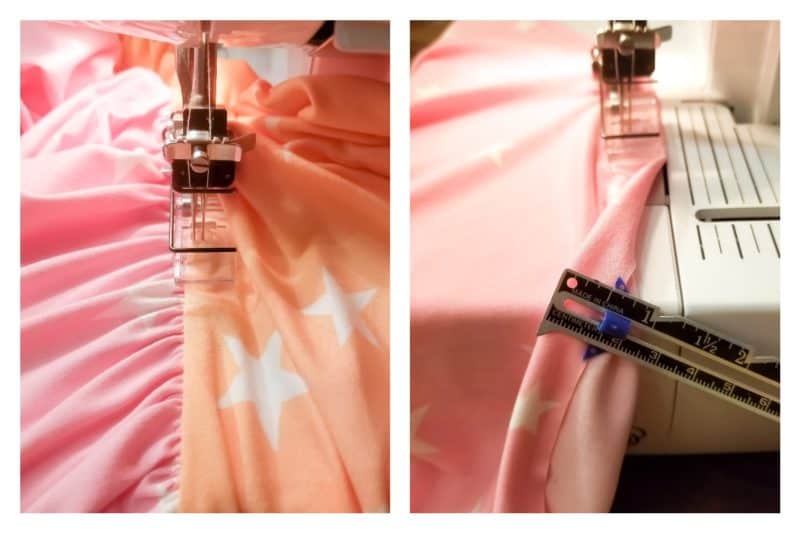
After that, just topstitch, as usual, flip-up .5″ to hem (or however you desire to finish your hem!) and you’re good to go!
One last note for ya. You may find that you need a tighter waistband for a knit skirt, especially a midi or maxi length! The best way to measure is to use your model–exercise your elastic well (stretch it and allow it to relax several times), wrap the elastic around their natural waist to the length that is snug, but not super tight. If you don’t have your model available, generally the length you need is about 2″-4″ shorter than the natural waist measurement (but not all elastic is created equal, so you may have to adjust if your elastic is more stretchy and doesn’t recover as well.)
Hope this helps streeeeeetch your love for Siena even further!
Til next time!
~jess
Exposed Elastic Hack
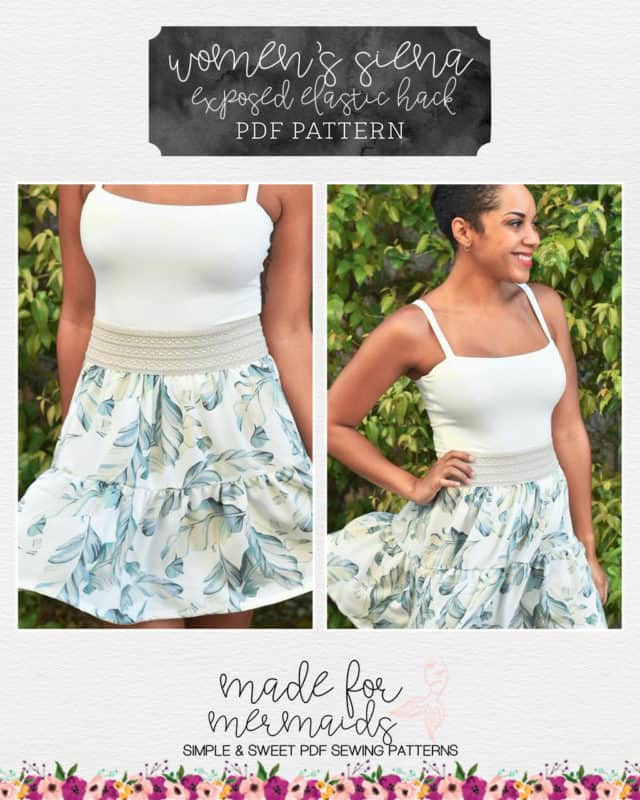
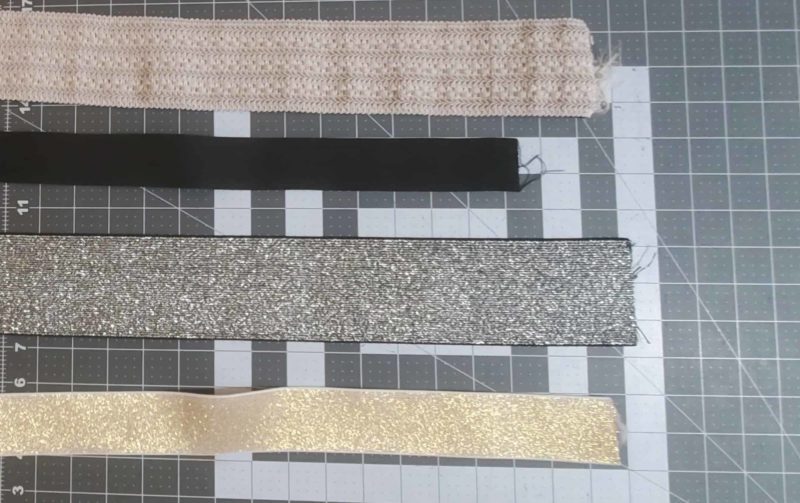
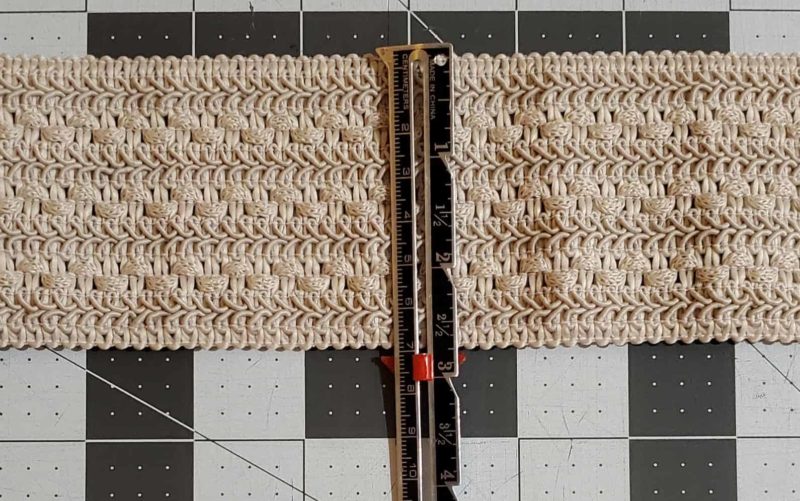
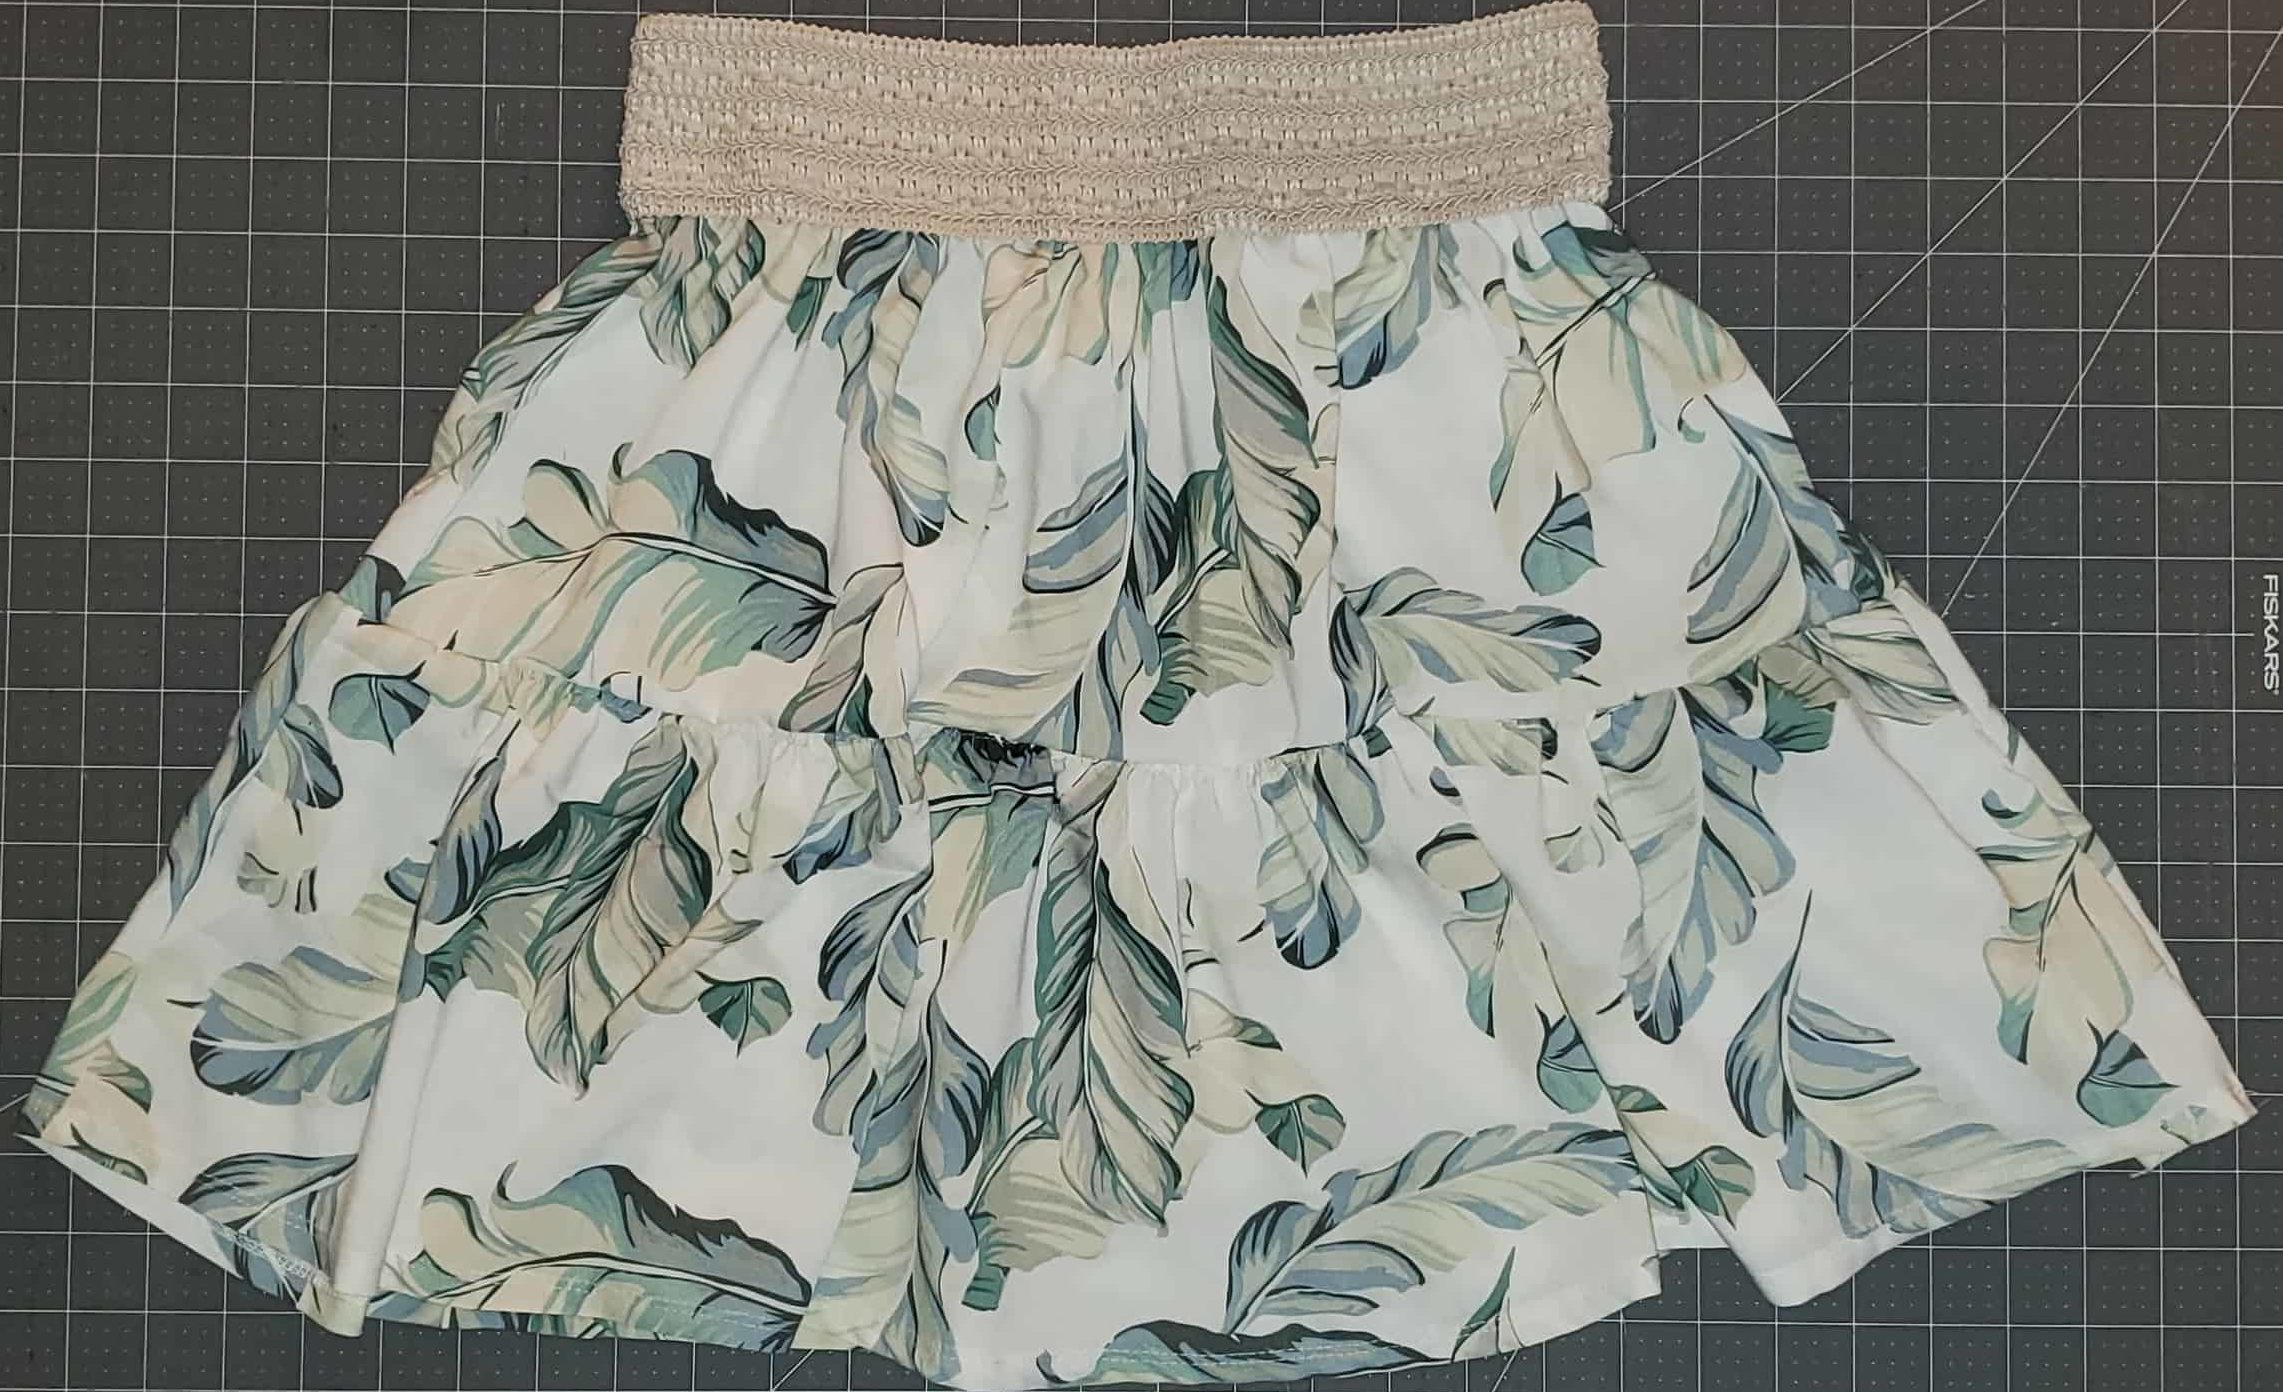
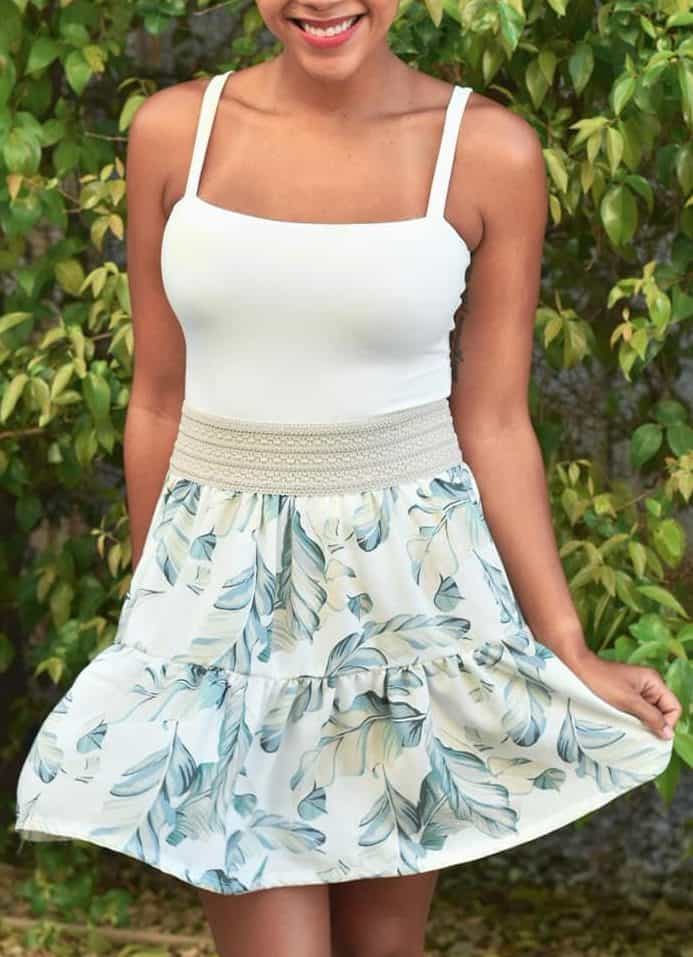
Siena is the perfect excuse to buy all of those wide, pretty elastics! You know, the embroidered ones, the ones with glitter, or designs. You will need it to be at least 1.5 inches wide. The elastic I chose is 3 inches wide.
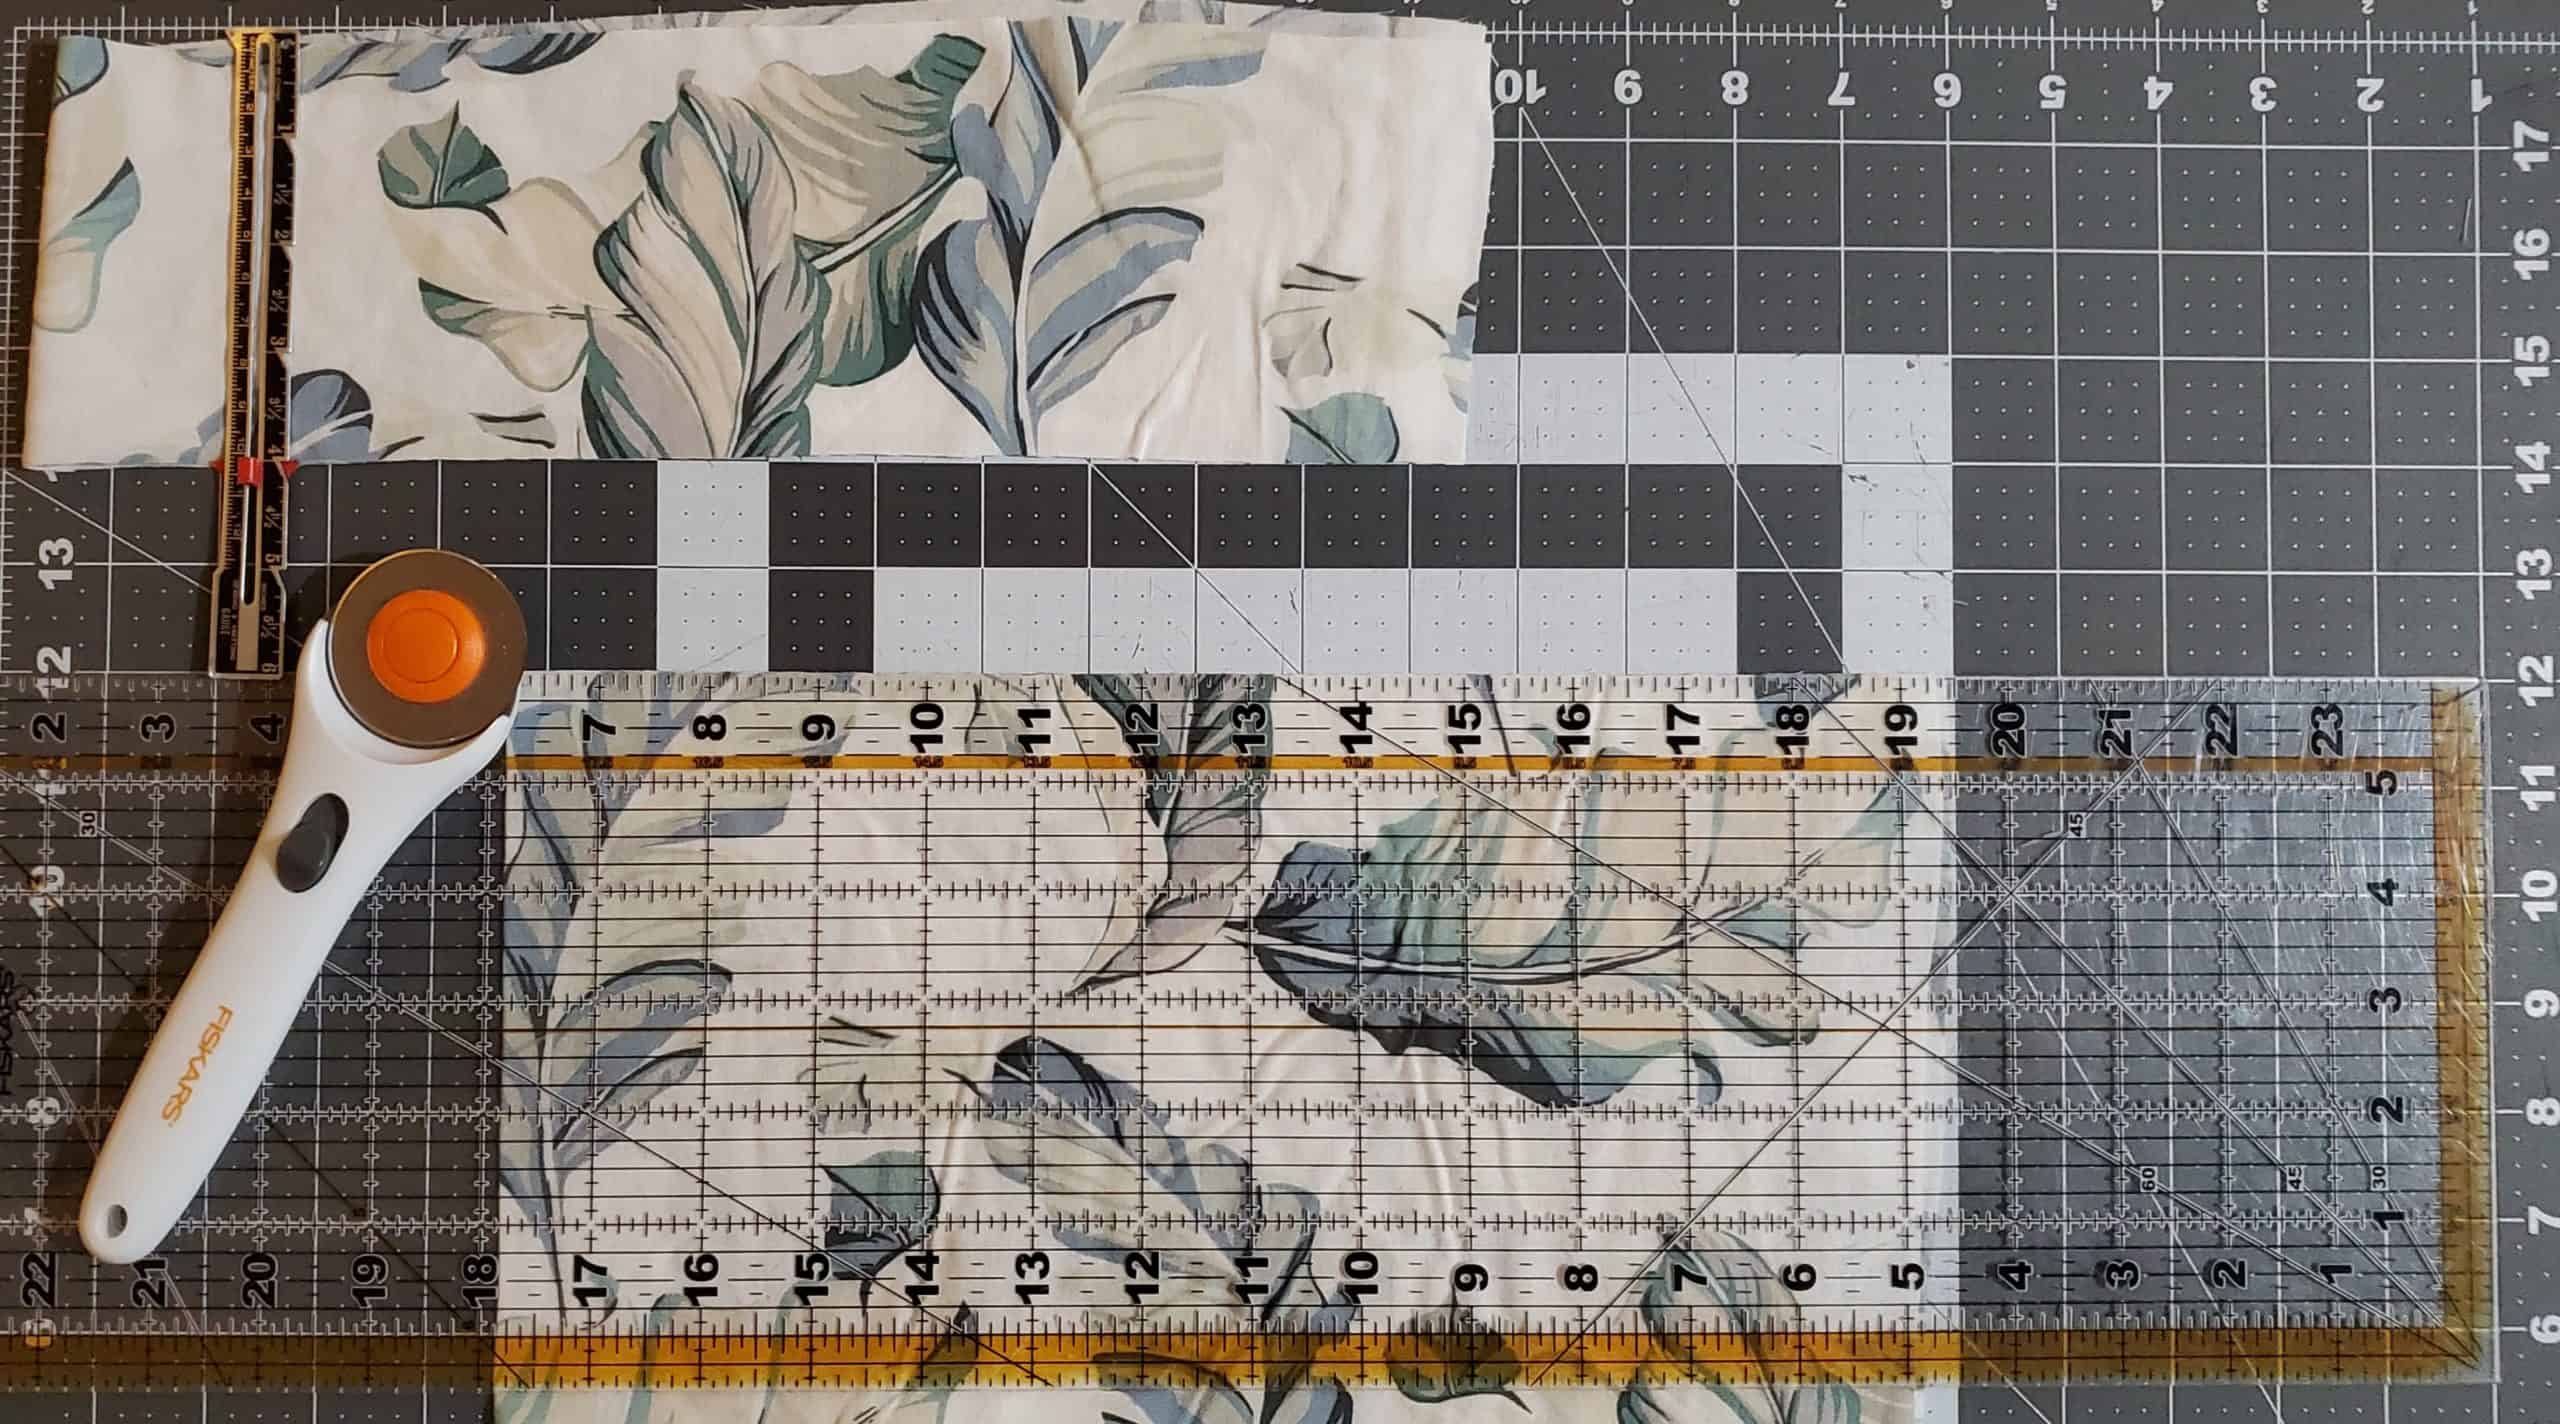
Now, you’ll take your main skirt (tier 1) pattern piece and remove anywhere from 3.5 to 4 inches from the top edge of the basic waist cutline. Be sure not the use the ruffle waist cutline. Basically, you are removing the section that the tutorial instructs you to press down and make into casings. (I use a projector so I’m showing you with my actual fabric not a paper pattern piece)
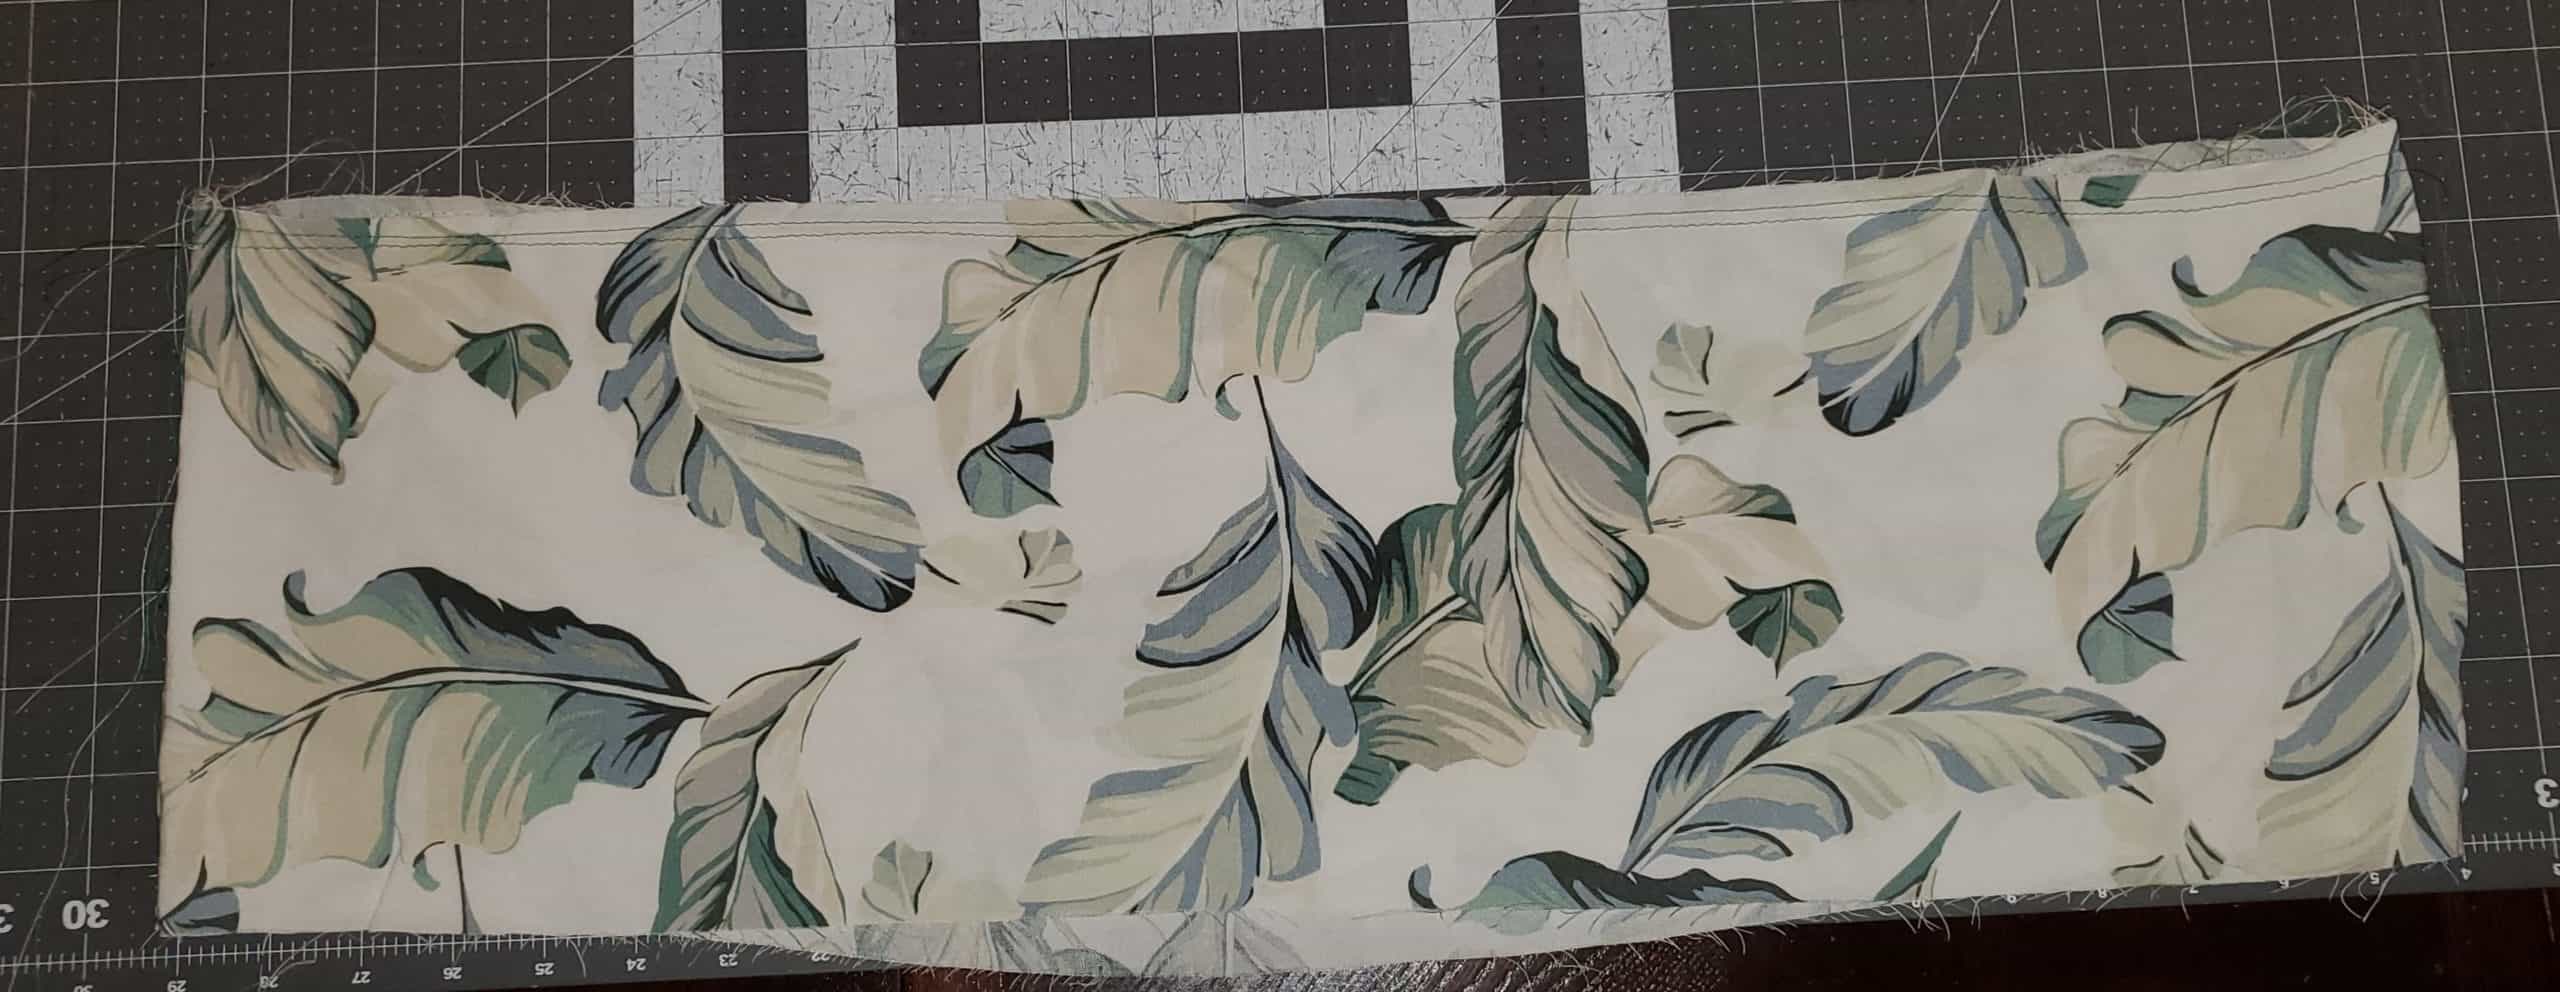
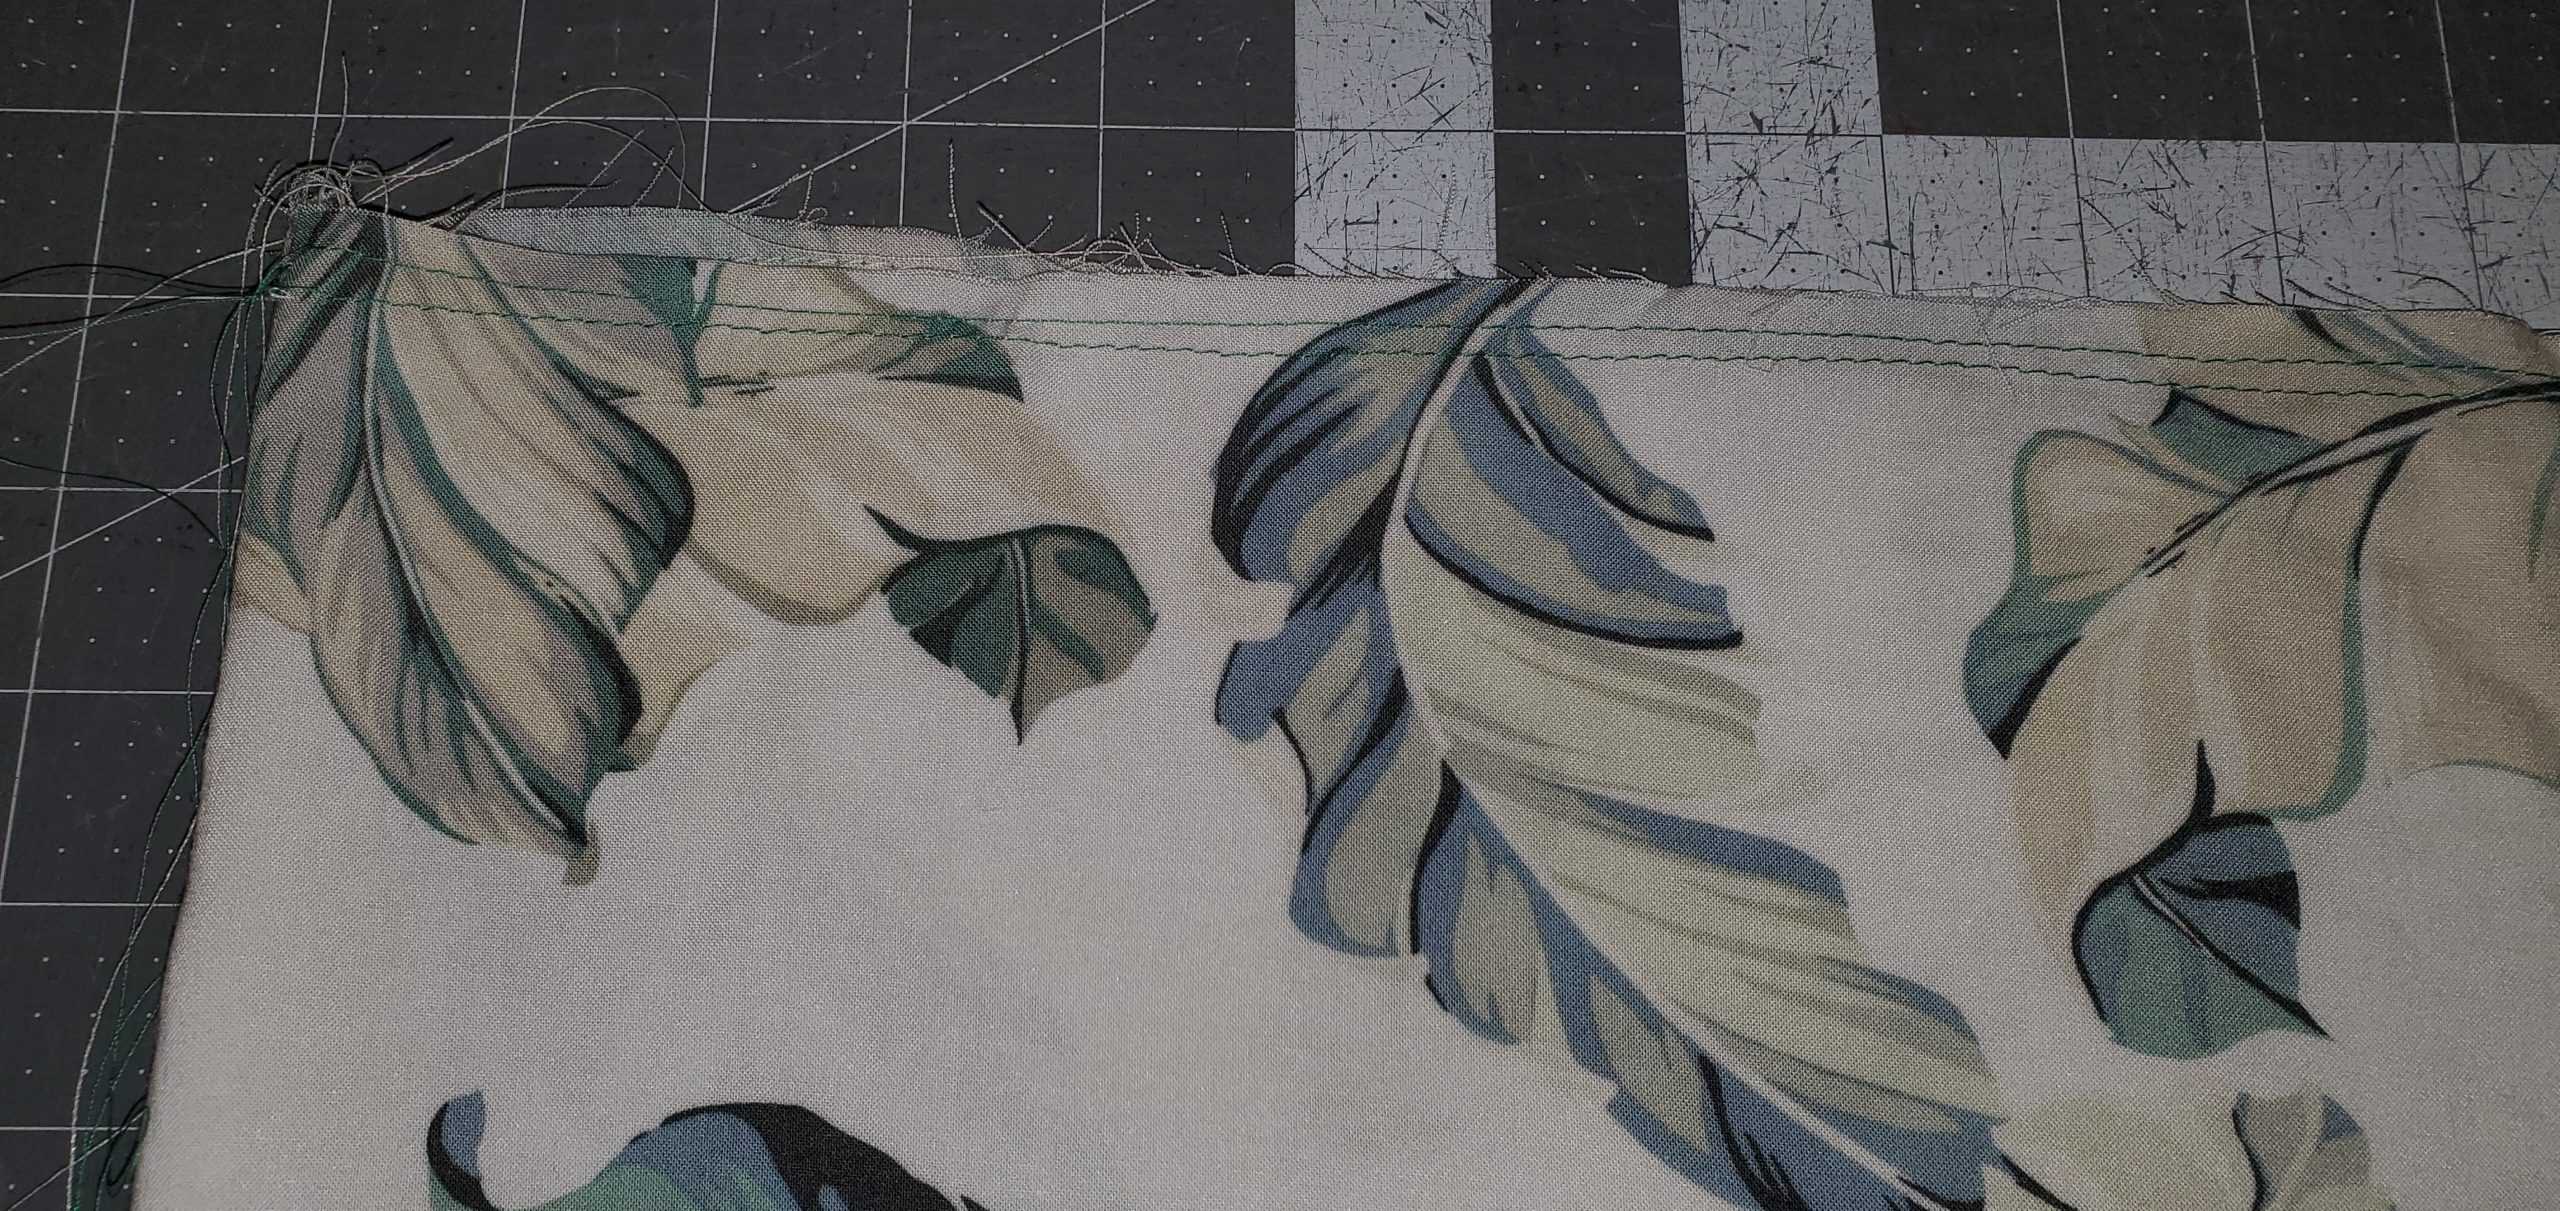
Finish constructing your main skirt pieces by sewing your side seams and finishing the top, raw edge with a serger or zig-zag stitch to prevent fraying. (Don’t be like me and skip this step or there will be regrets!)
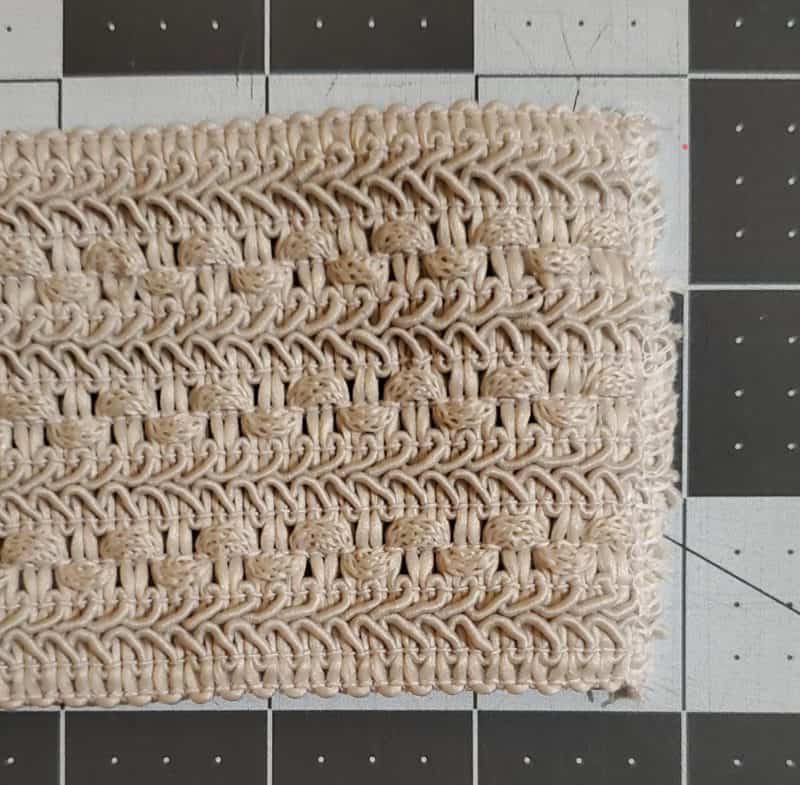
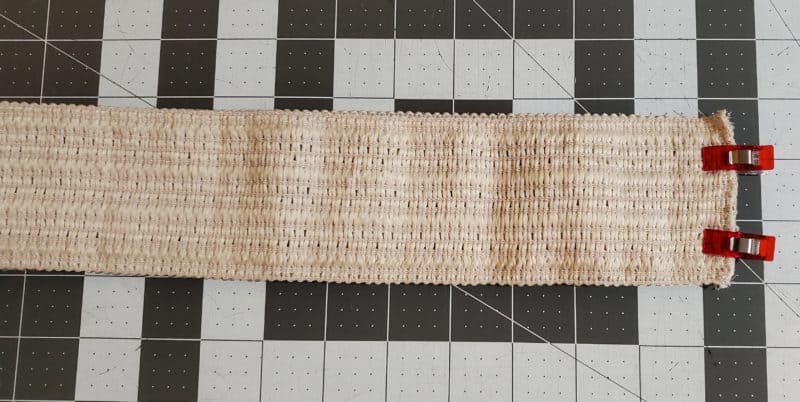
Take your wide elastic and cut it the same size the pattern calls for your size. If your elastic frays like mine, finish the short edges of your elastic with a serger or zig-zag stitch.
Fold your elastic in half with right sides together, matching the short edges.
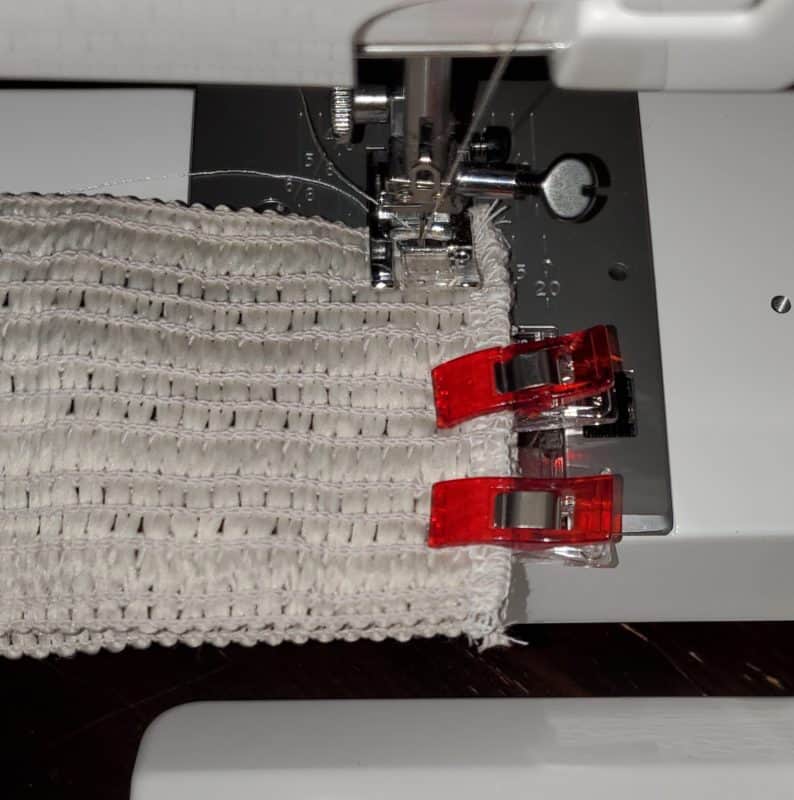
Stitch together with your REGULAR SEWING MACHINE with a 1/2 inch seam allowance.
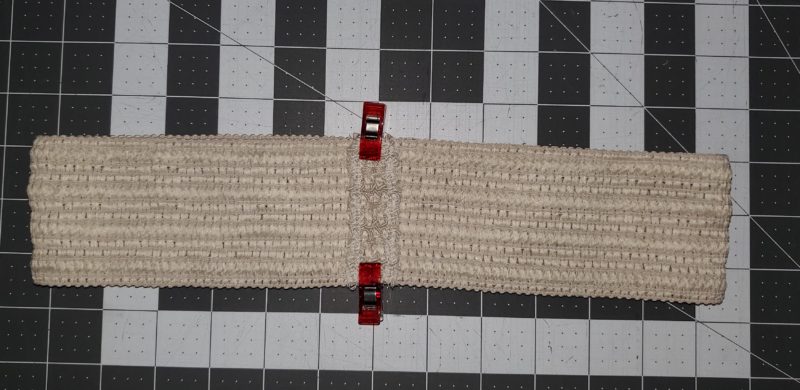
Press/finger press your seam open.
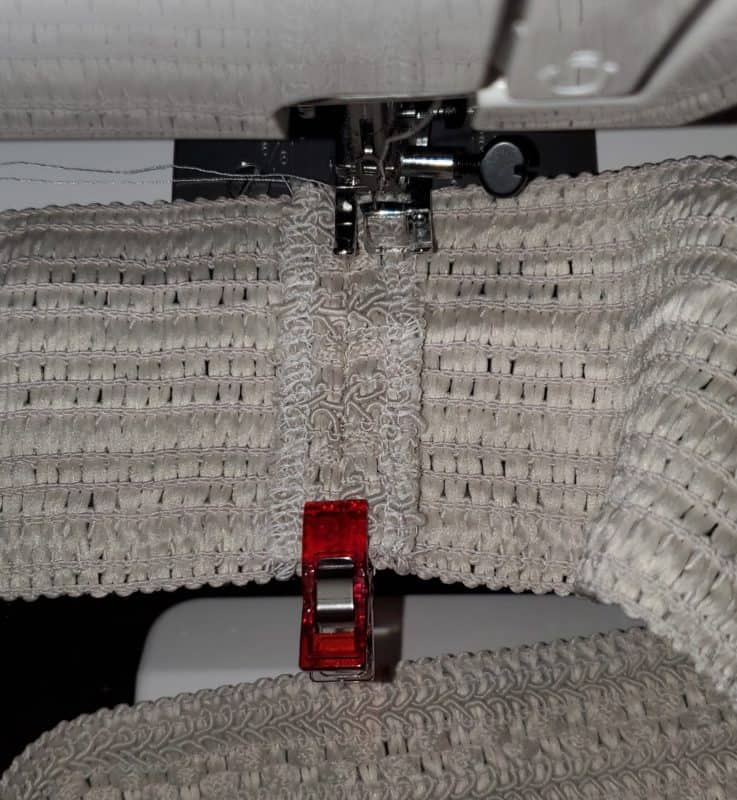
Stitch down each side of the seam allowance, close to the edge to secure the seam allowance in place.
Take your main skirt and run two rows of gathering stitches across the top edge that you previously finished with a serger/zig zag stitch.
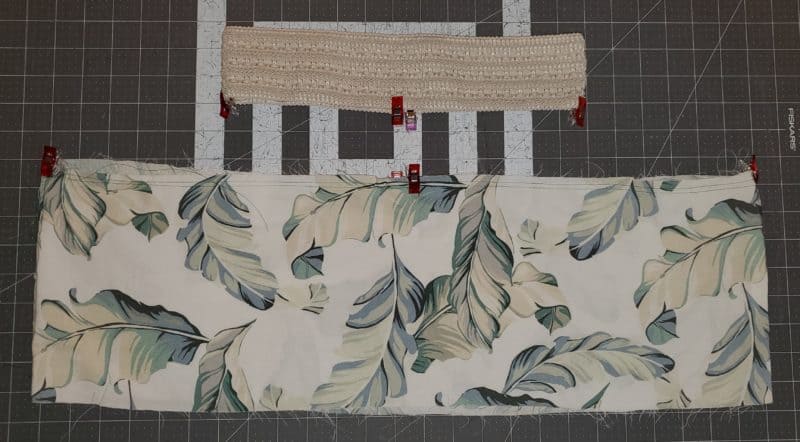
Now, you’re going to quarter both your elastic waistband and your main skirt.
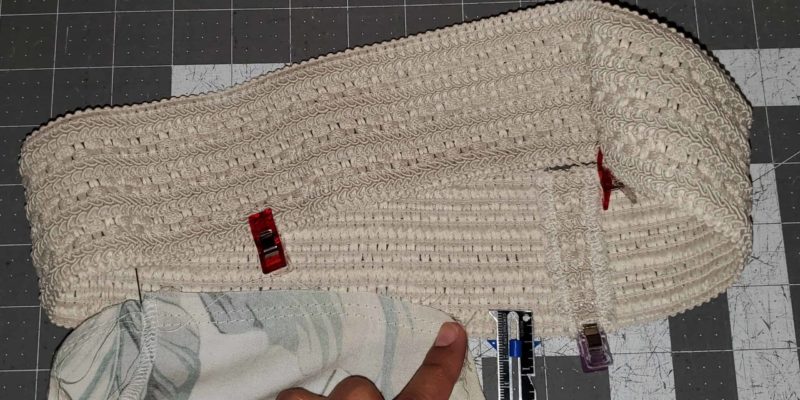
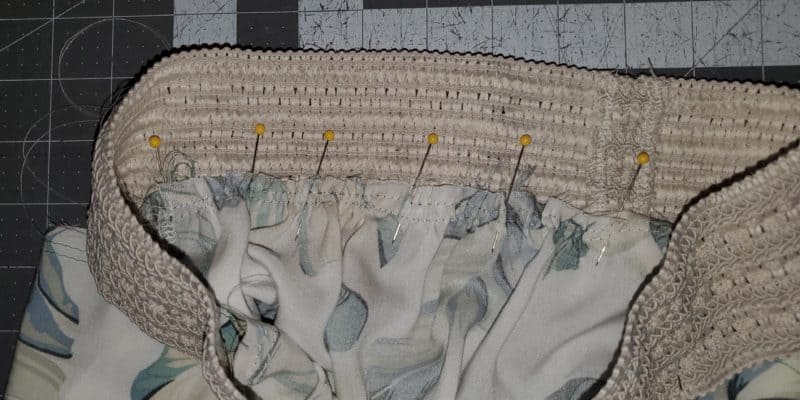
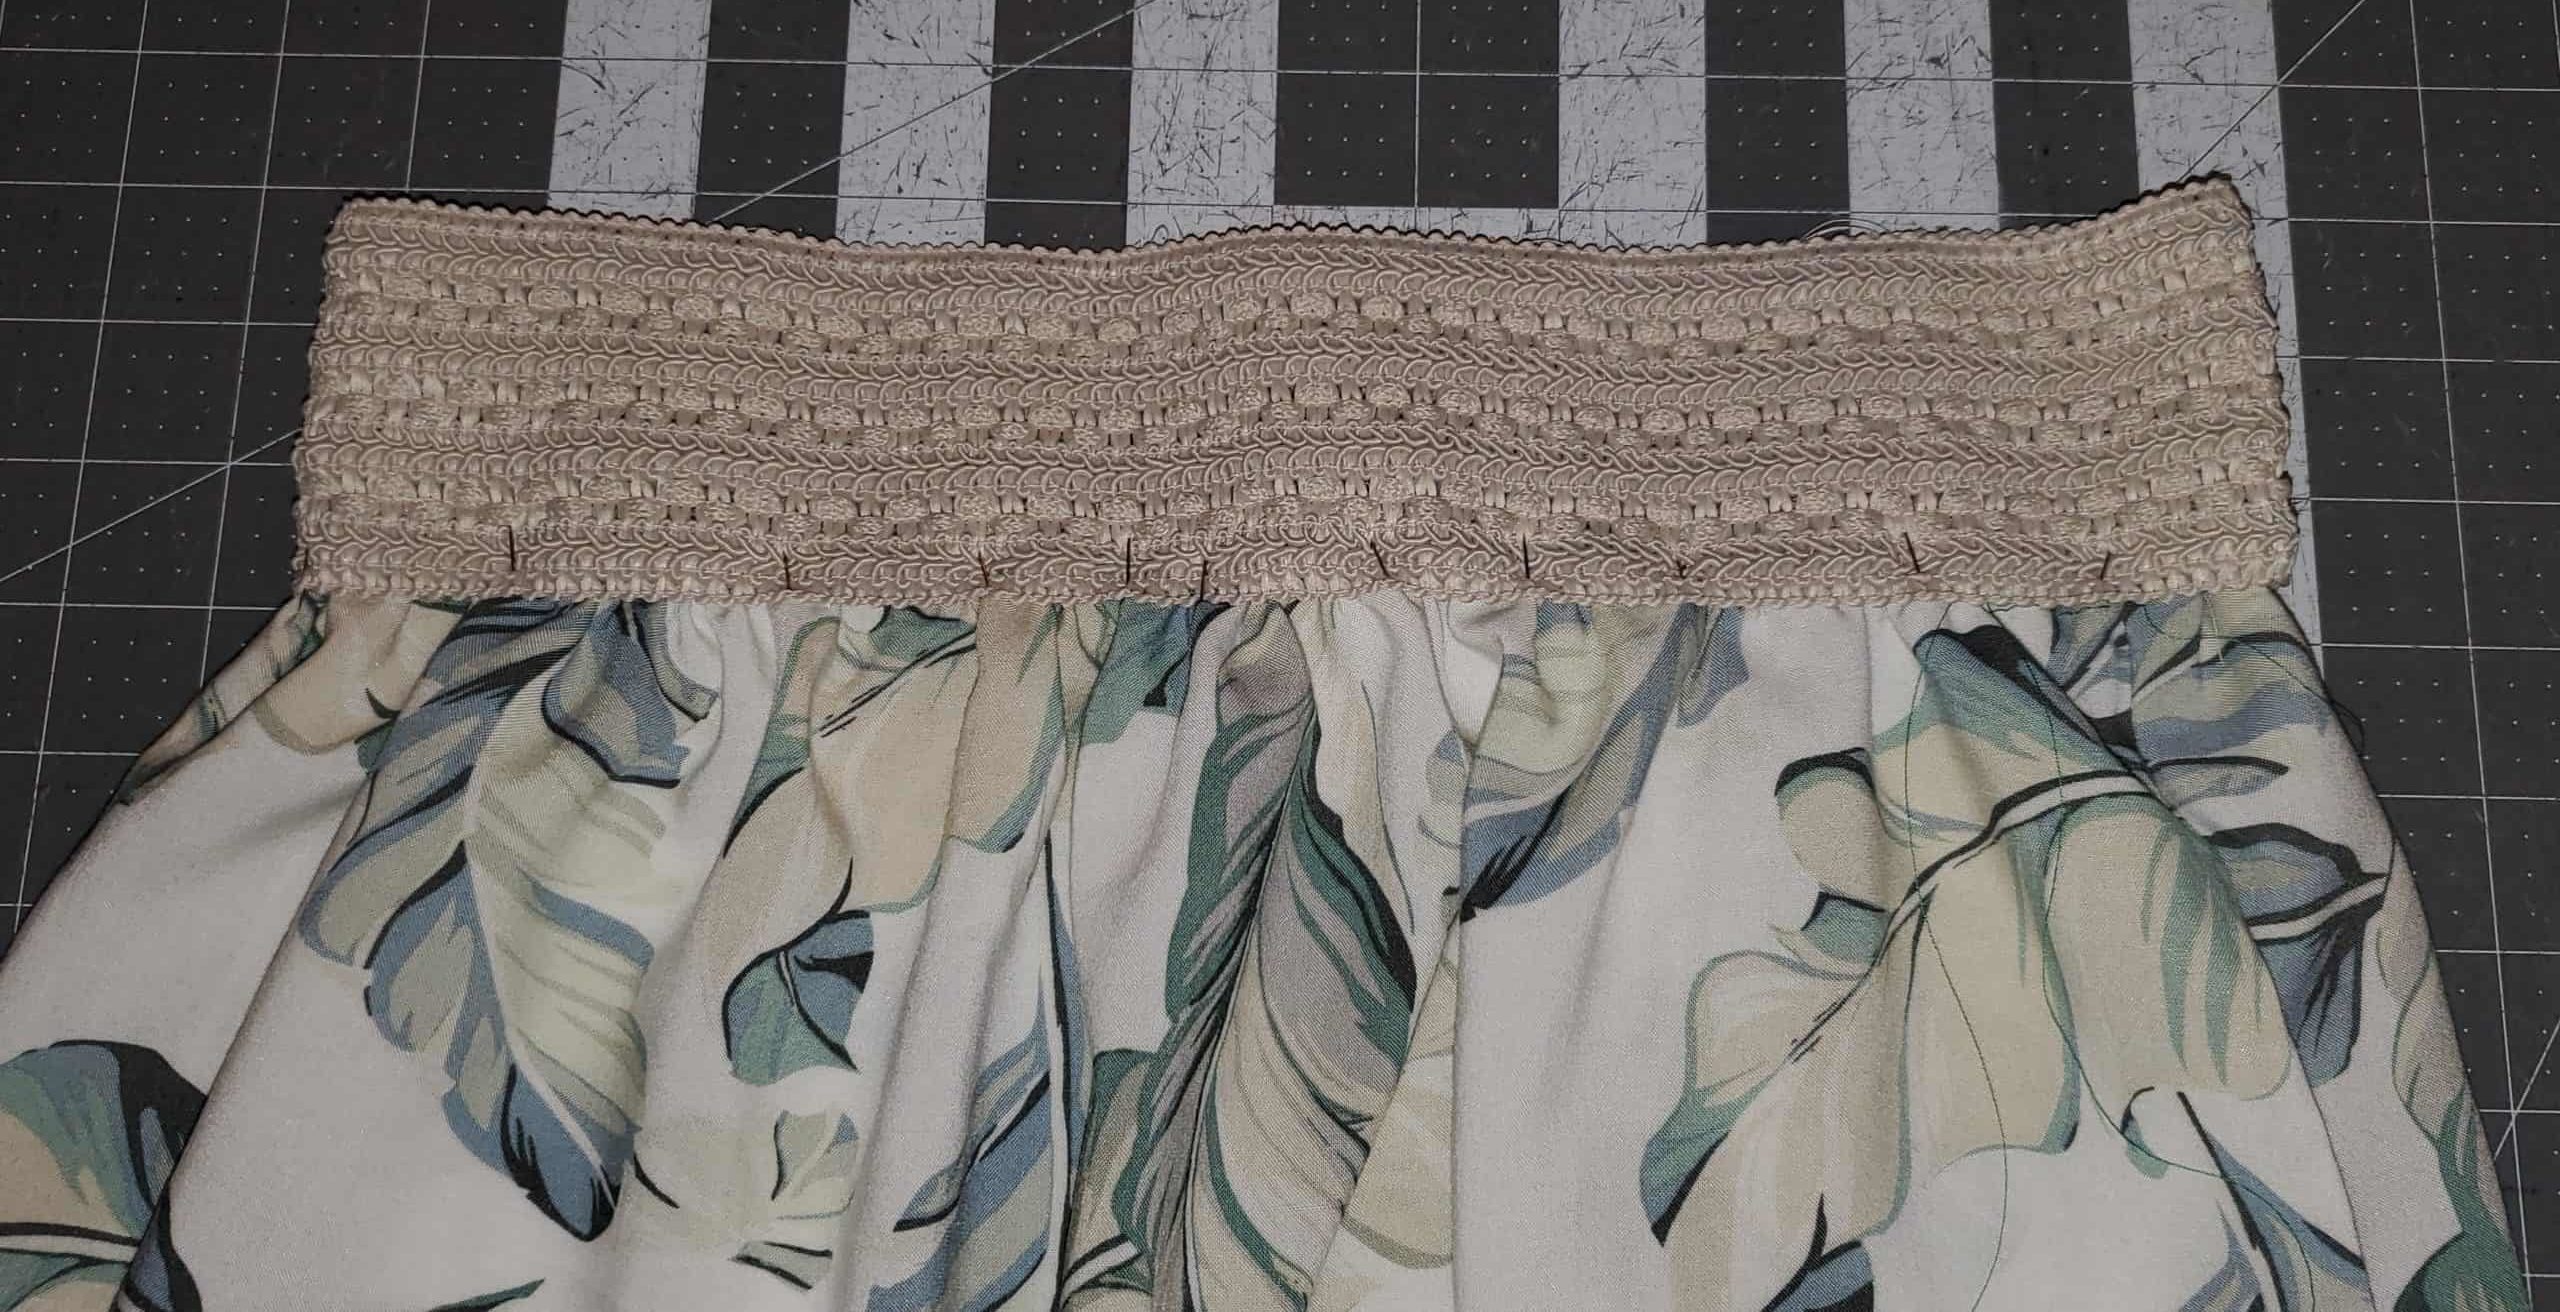
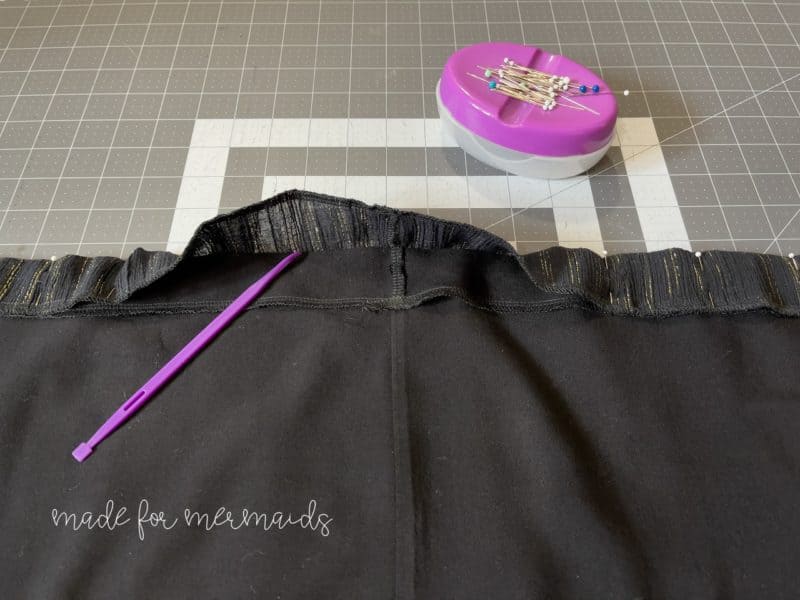
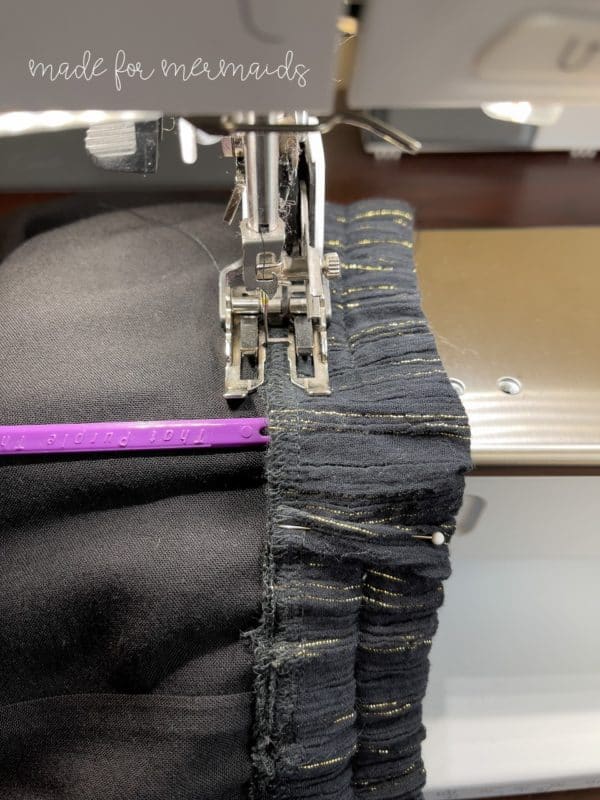
Place your skirt right side up and your elastic also right side up. Put your elastic over your skirt so the right side of your skirt’s top edge is to the wrong side of your elastic’s bottom edge. You want them to overlap 1/2 inch. Gather your skirt to match the width of your elastic, matching quarter points. Pinning in place as you go, making sure to keep them overlapped 1/2 inch as you make your way around.
- Right Side View
- Wrong Side View
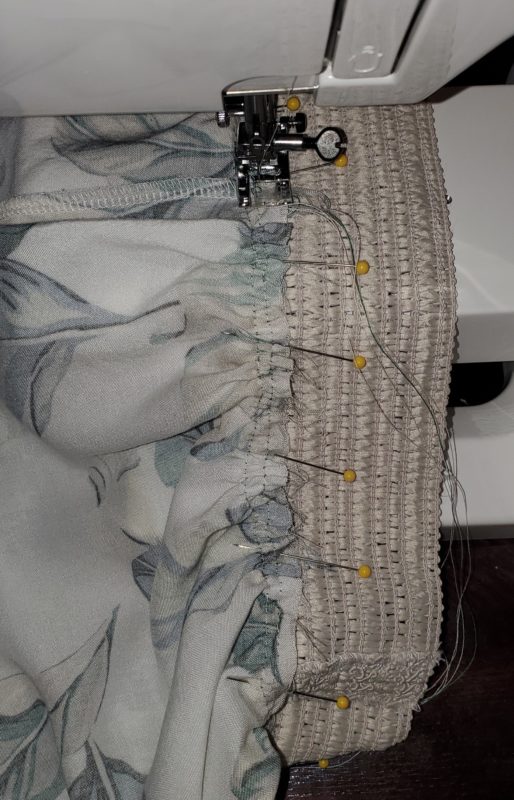
Stitch the elastic to your main skirt within the 1/2 inch overlap, using your desired method, either a wide zig-zag stitch on your regular machine or a coverstitch. ***Note*** it is recommended to stretch the elastic while stitching, using both hands; one hand pulling from the front, and one pulling from the back simultaneously. This is to prevent popping stitches when you put the finished skirt on!
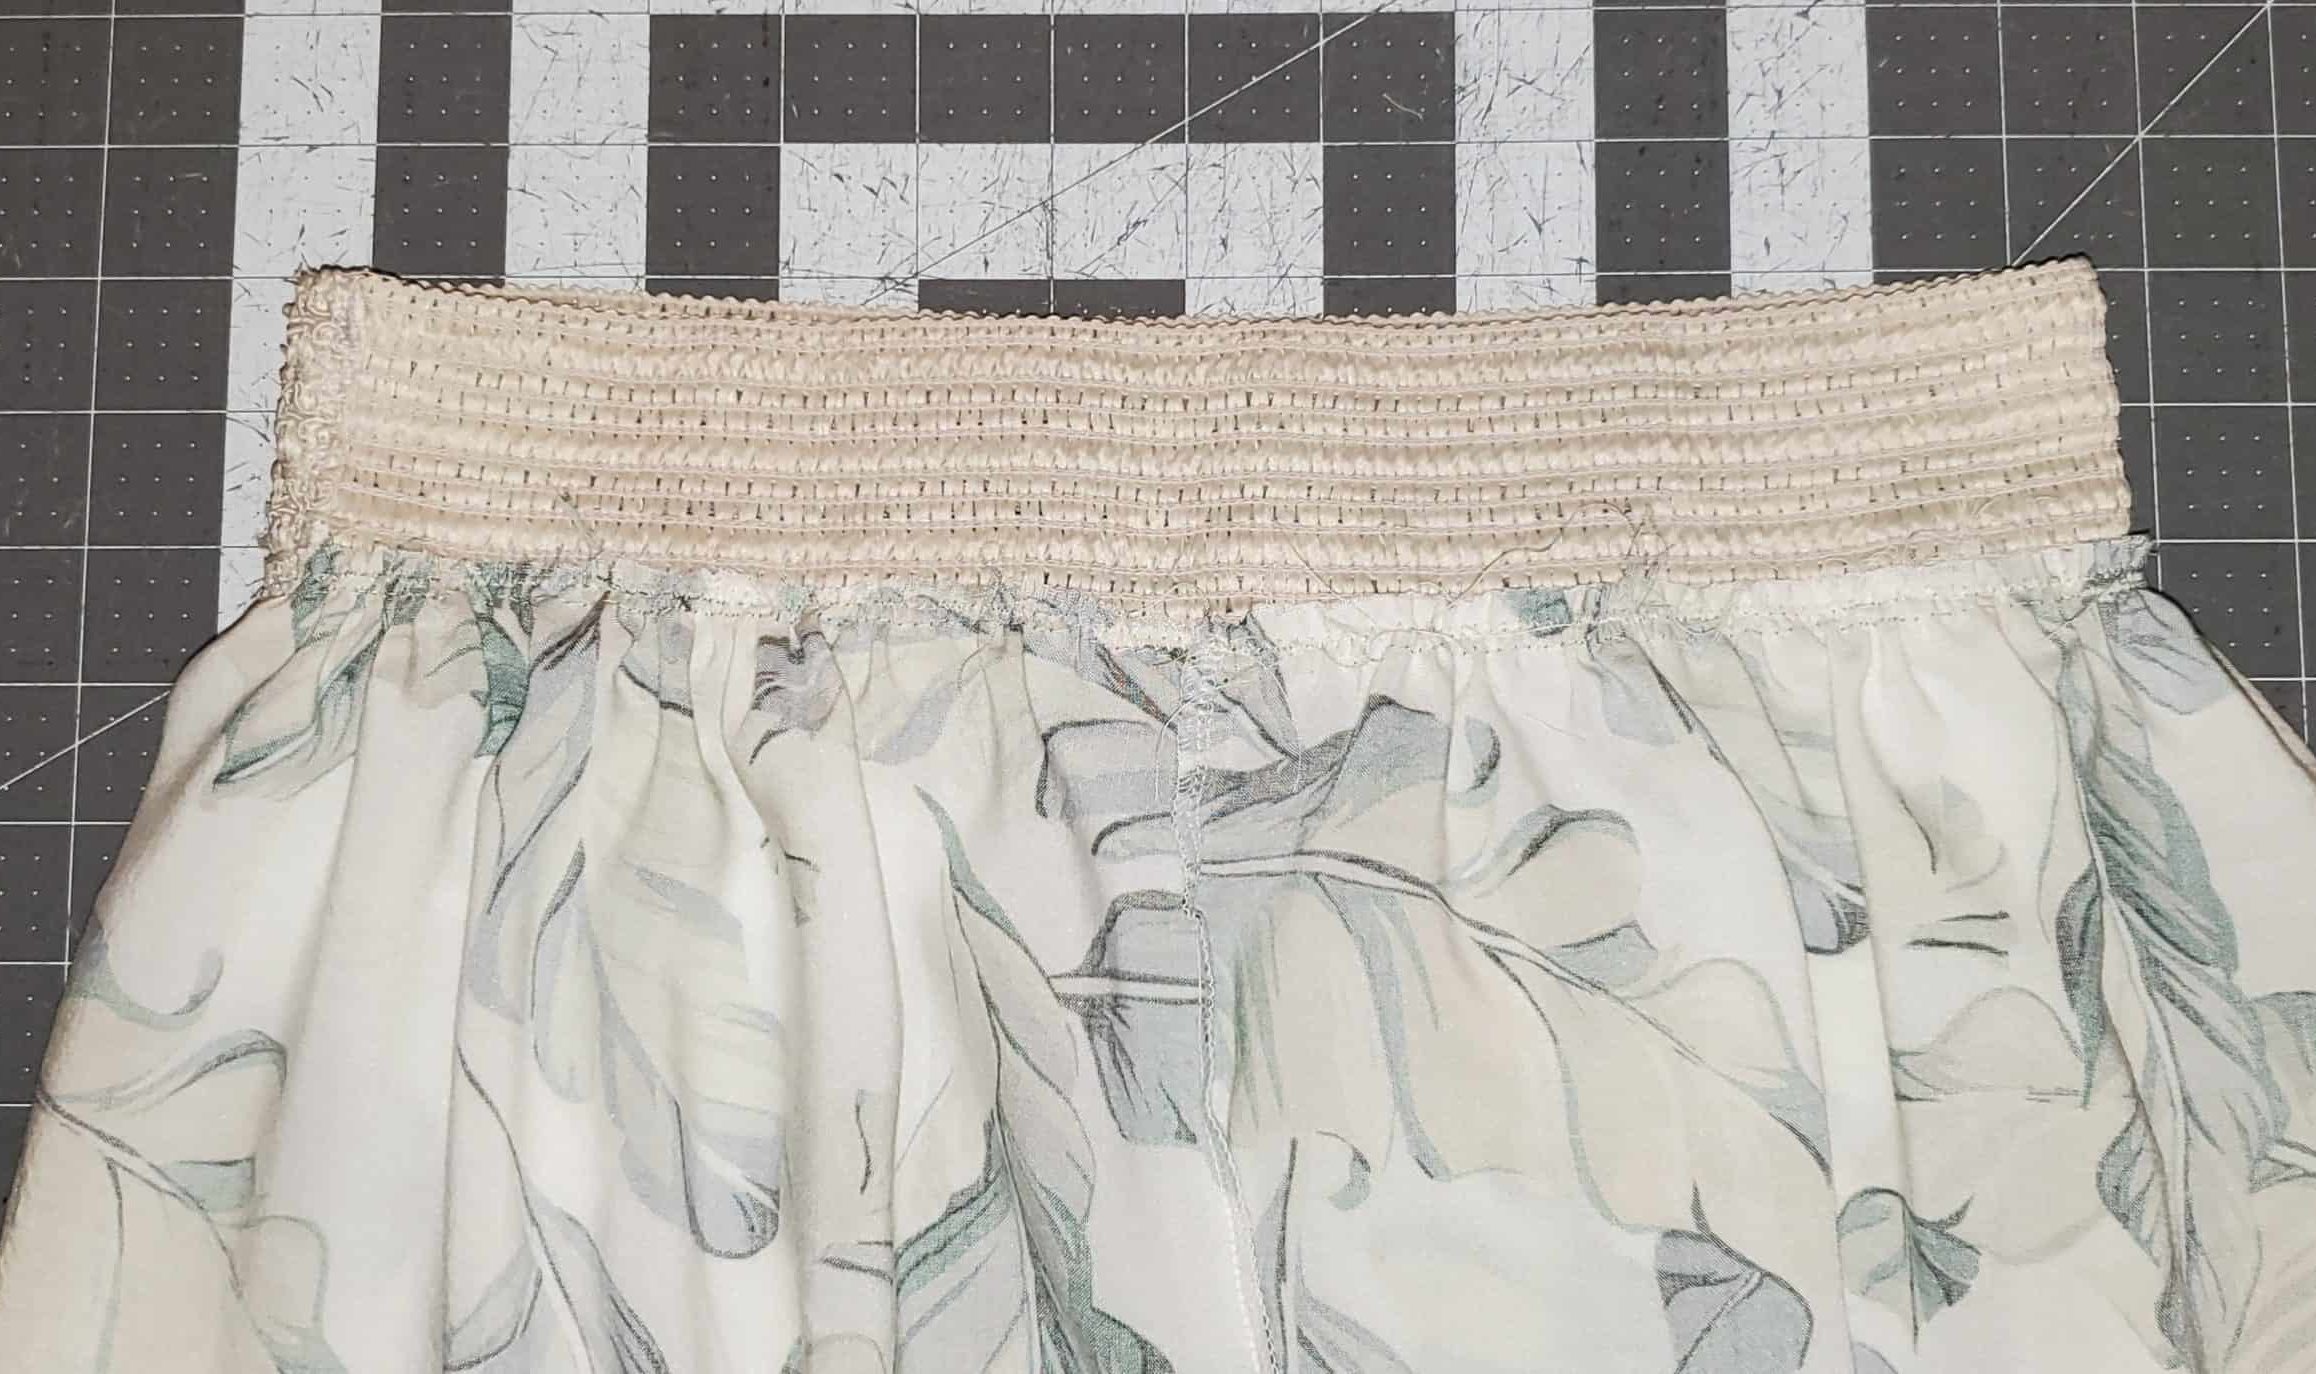
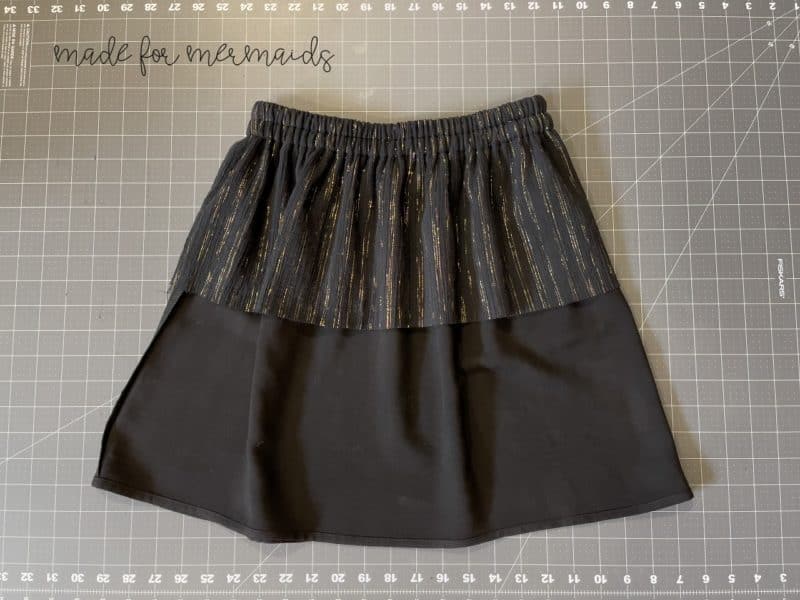
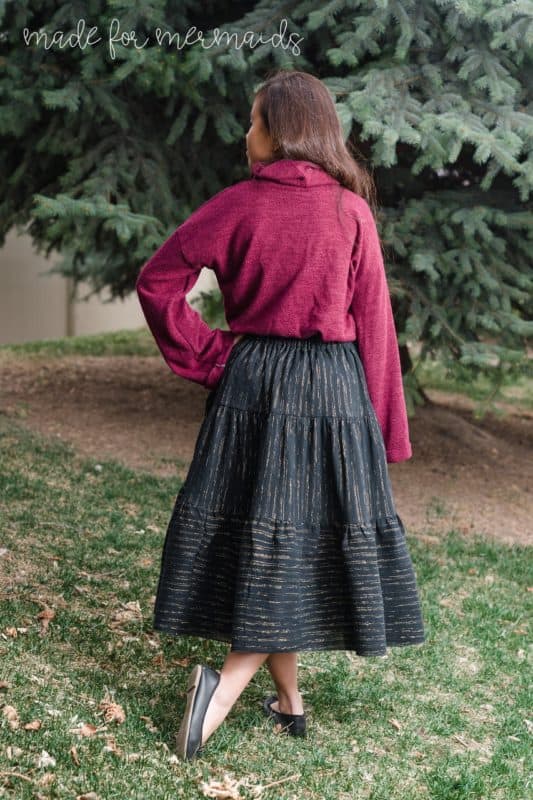
It should look like this when you’re finished! You can now finish the rest of your skirt by attaching the rest of your tiers and hemming, then it’s all done!
I hope you loved this easy modification to this gorgeous pattern! Have fun shopping for all the wide, pretty elastics! -Stephanie
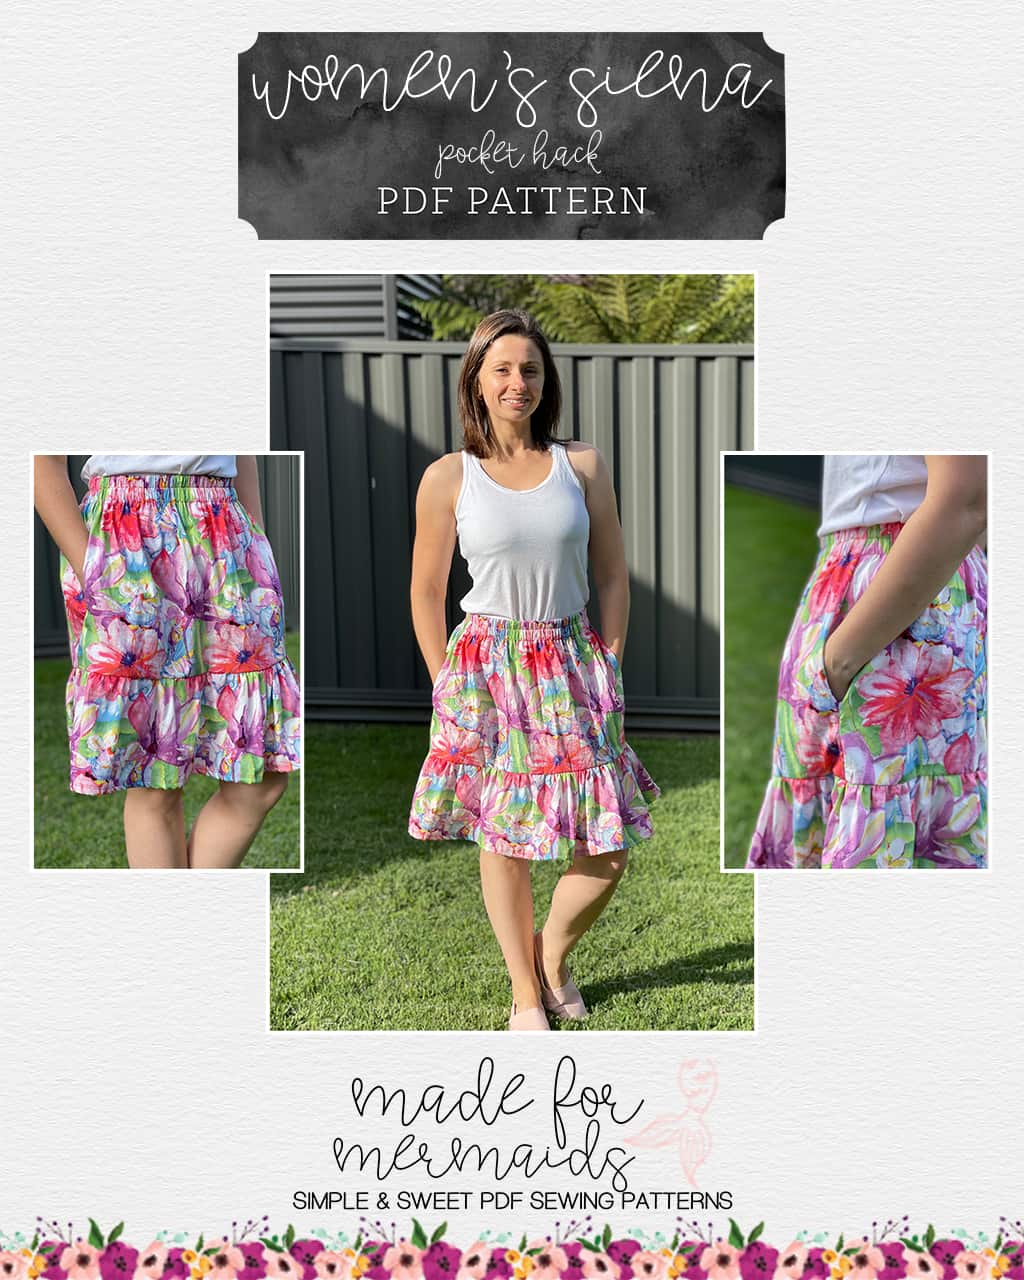
Pocket Hack
Hi everyone,
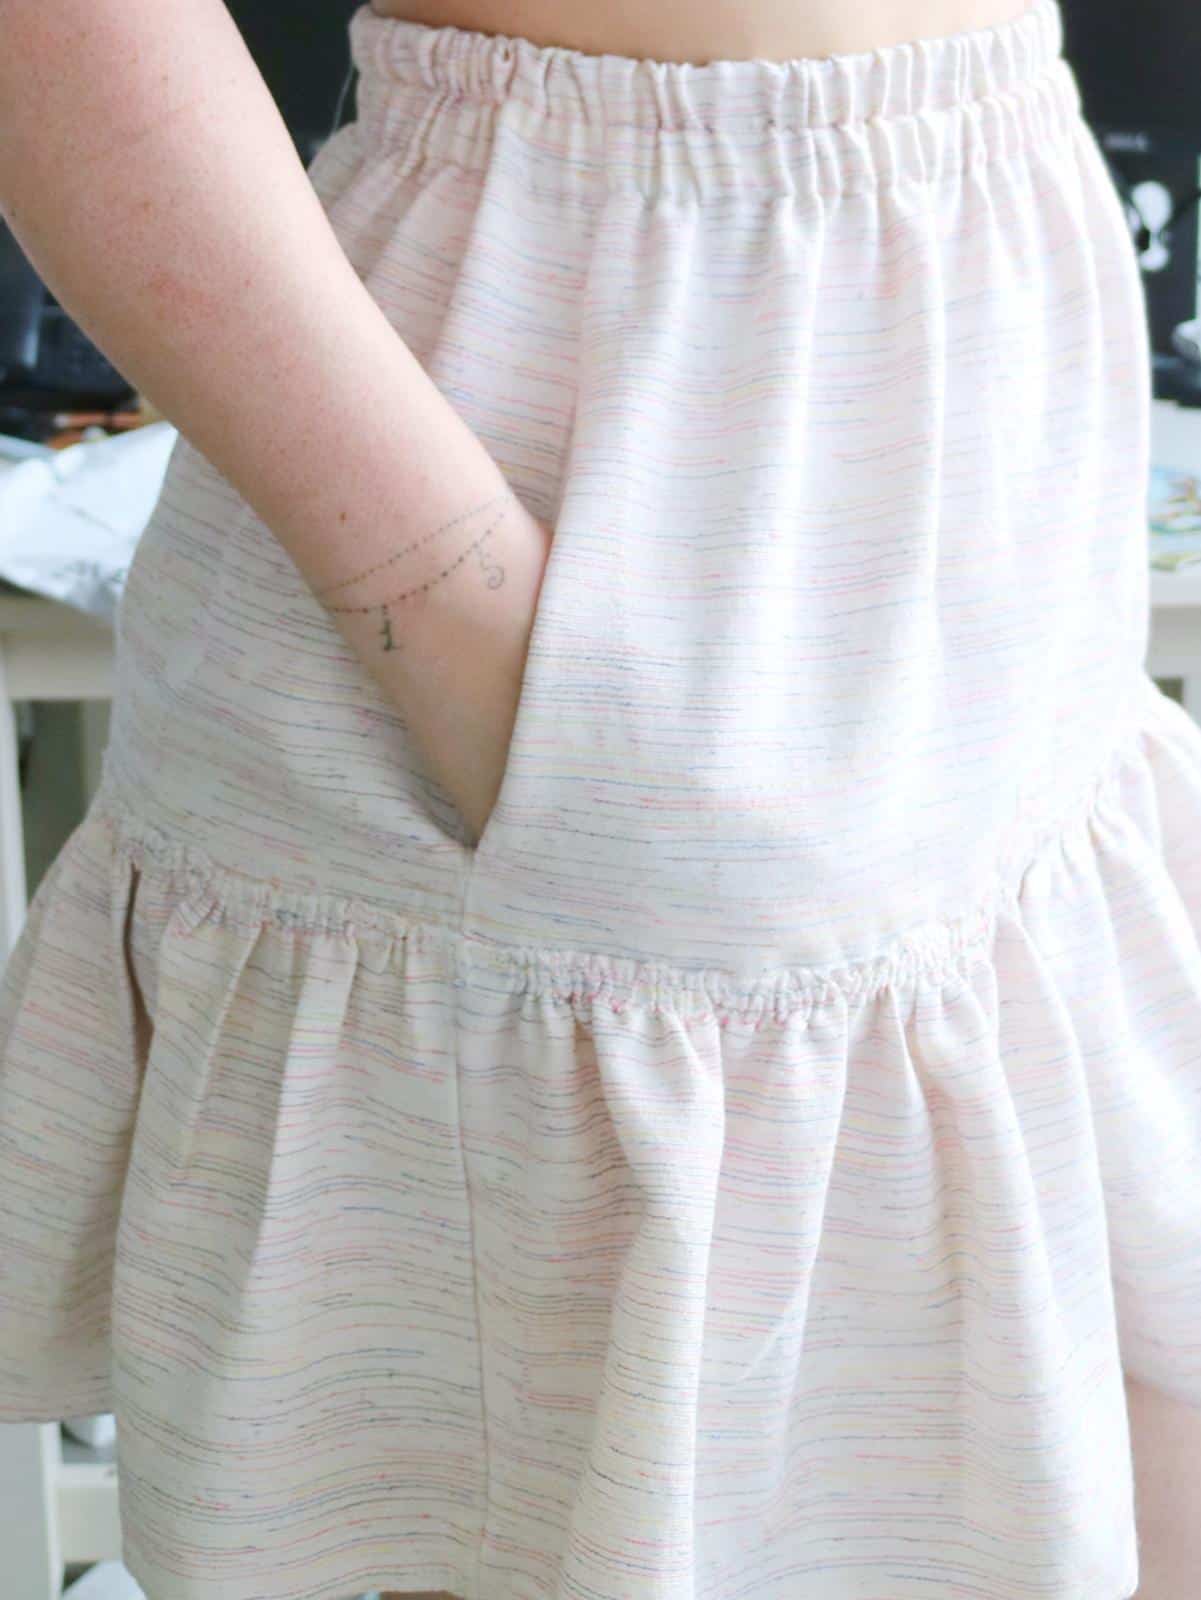
Livia here and today I’ll be sharing with you how I added pockets to the Siena skirt.
It’s super simple and won’t add a lot of extra sewing time to your project.
What you’ll need:
- Siena skirt pattern
- a pocket pattern piece (I used the one from Reese)
For this tutorial, we’ll be working only with the main skirt piece.
Step 1 – Preparation
- Cut 4 pocket pieces (2 mirrored pairs) and finish the edges with your preferred method. I used a serger, but you can also use a zigzag stitch or pinking shears;
- Do the same thing for the side edges of your skirt pieces;
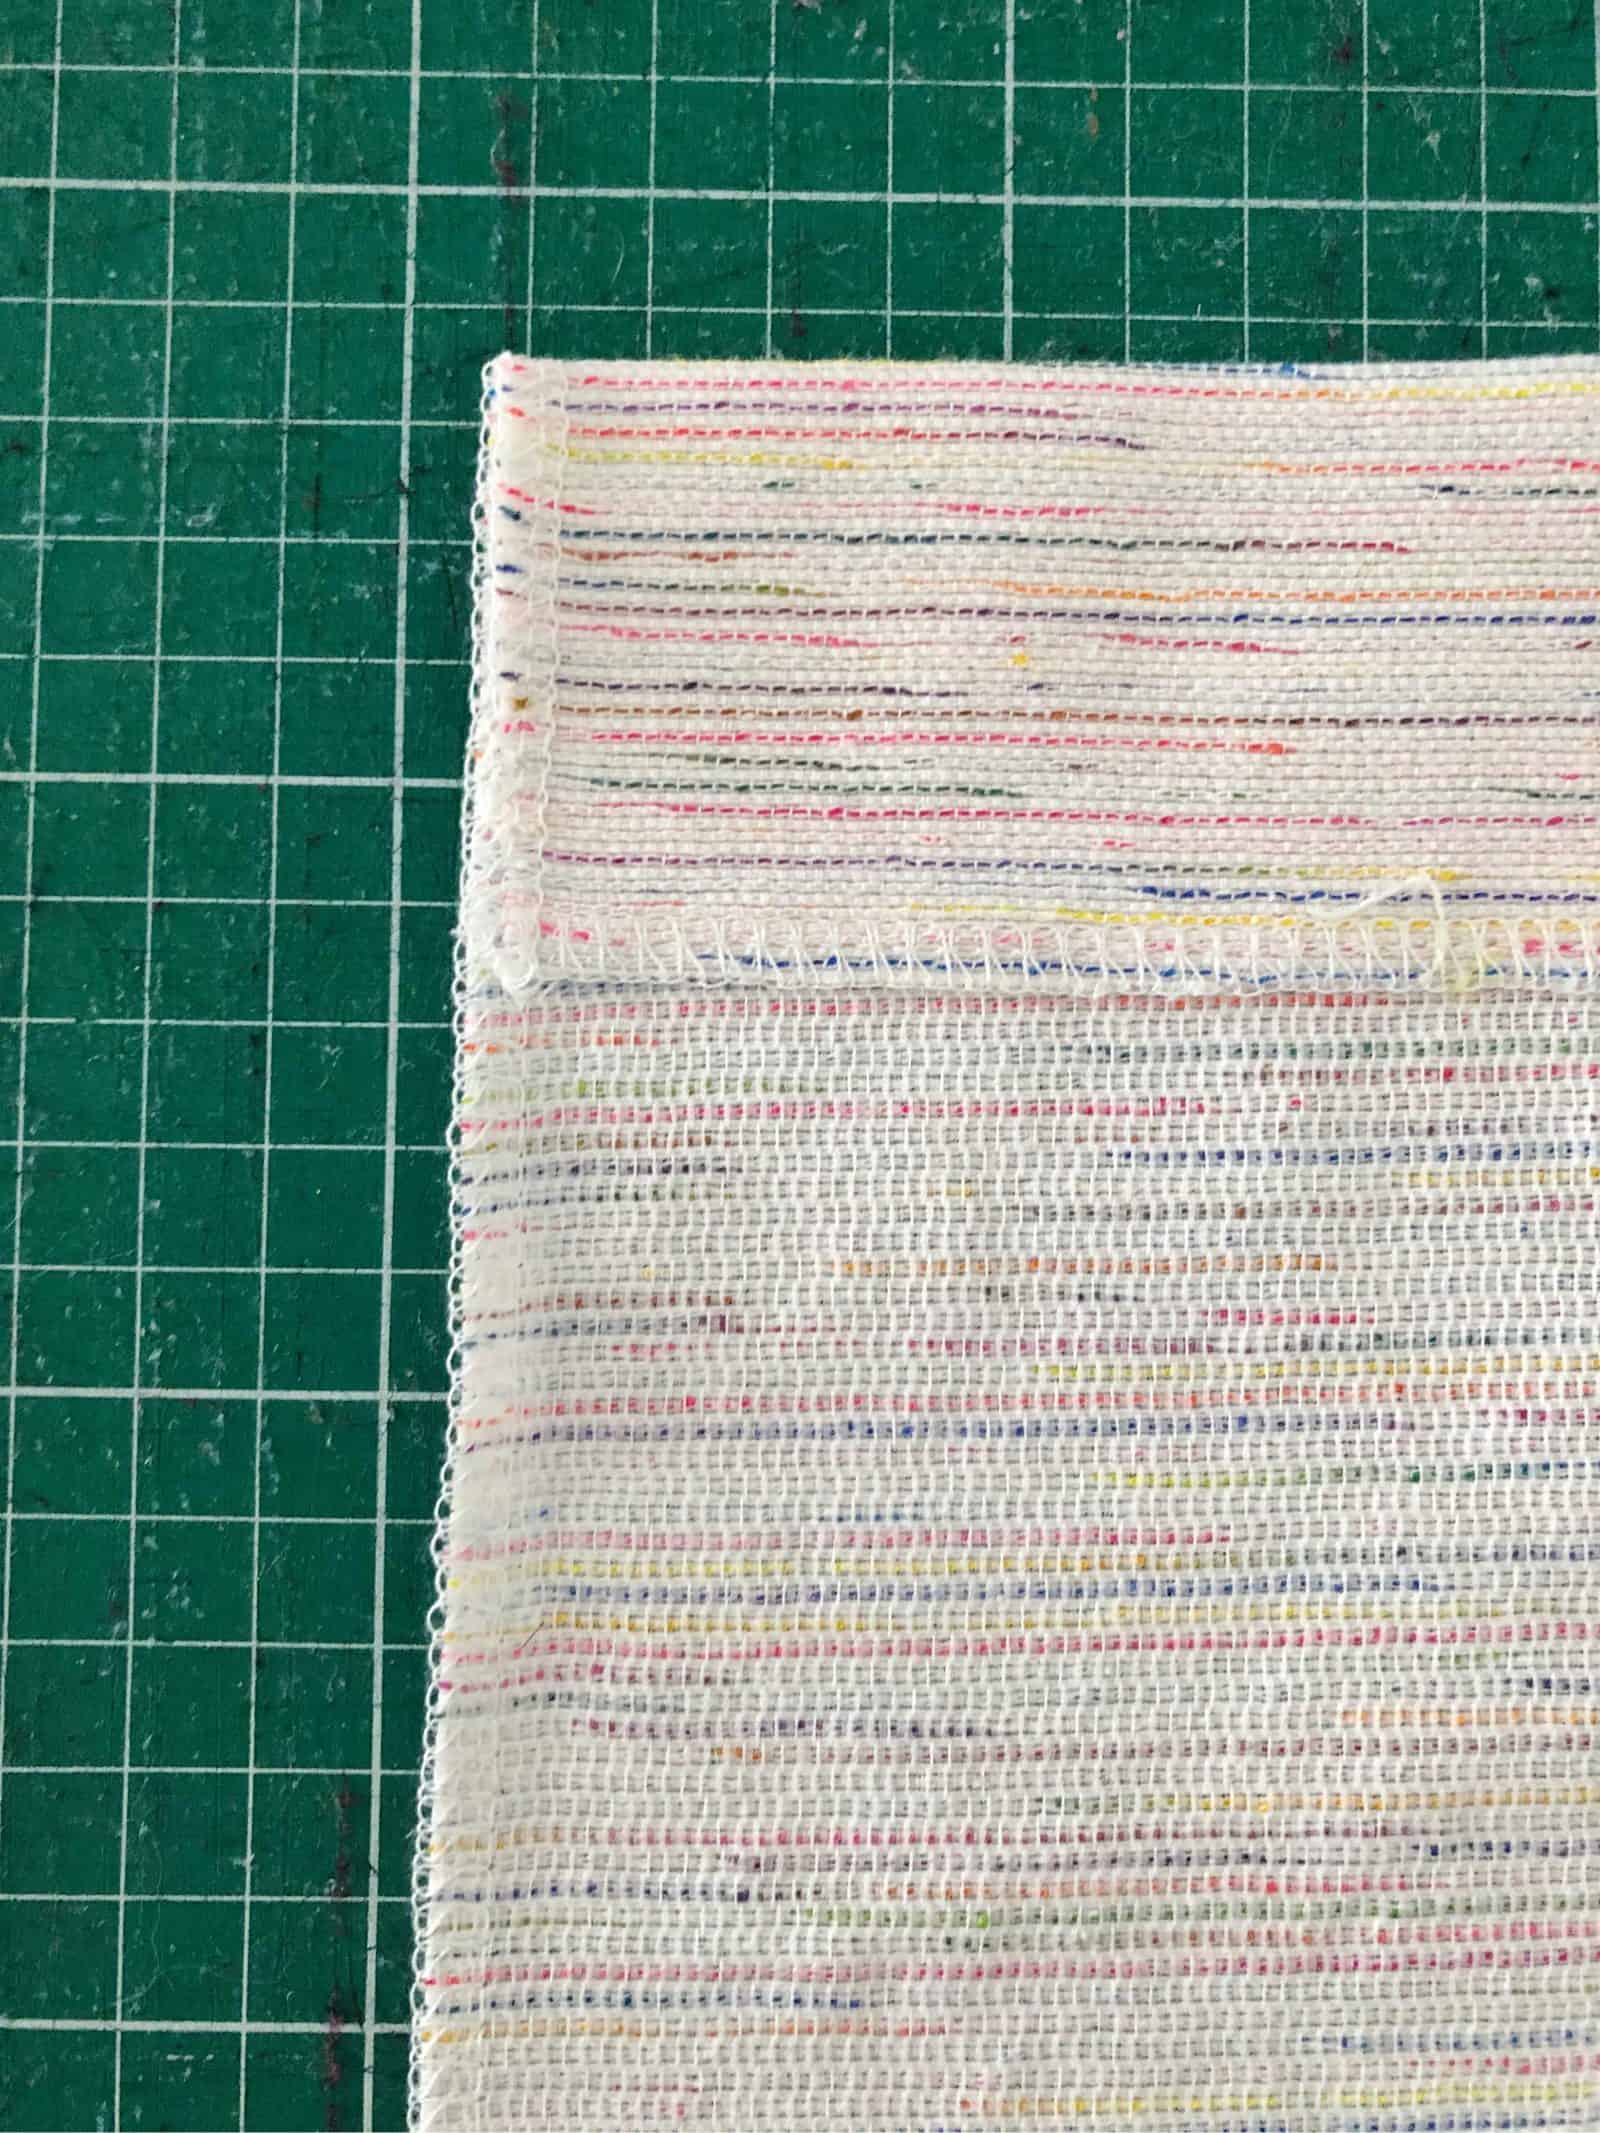
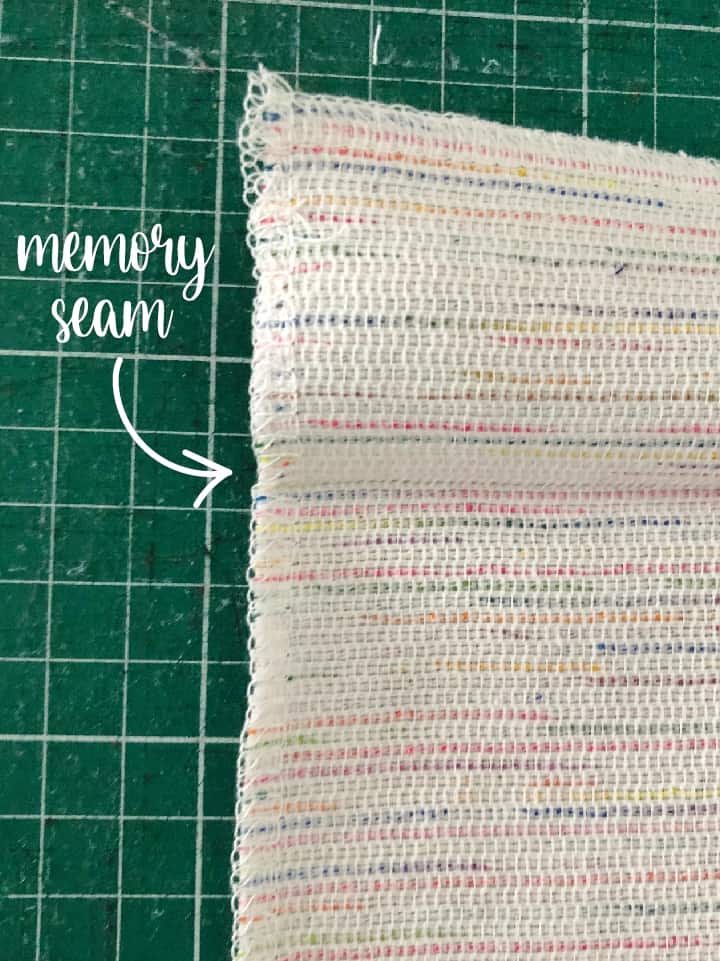
- Fold and press the waistband of both front and back main skirt panels according to the measurement stated on the pattern. This will create a memory seam.
Step 2 – Pocket placement
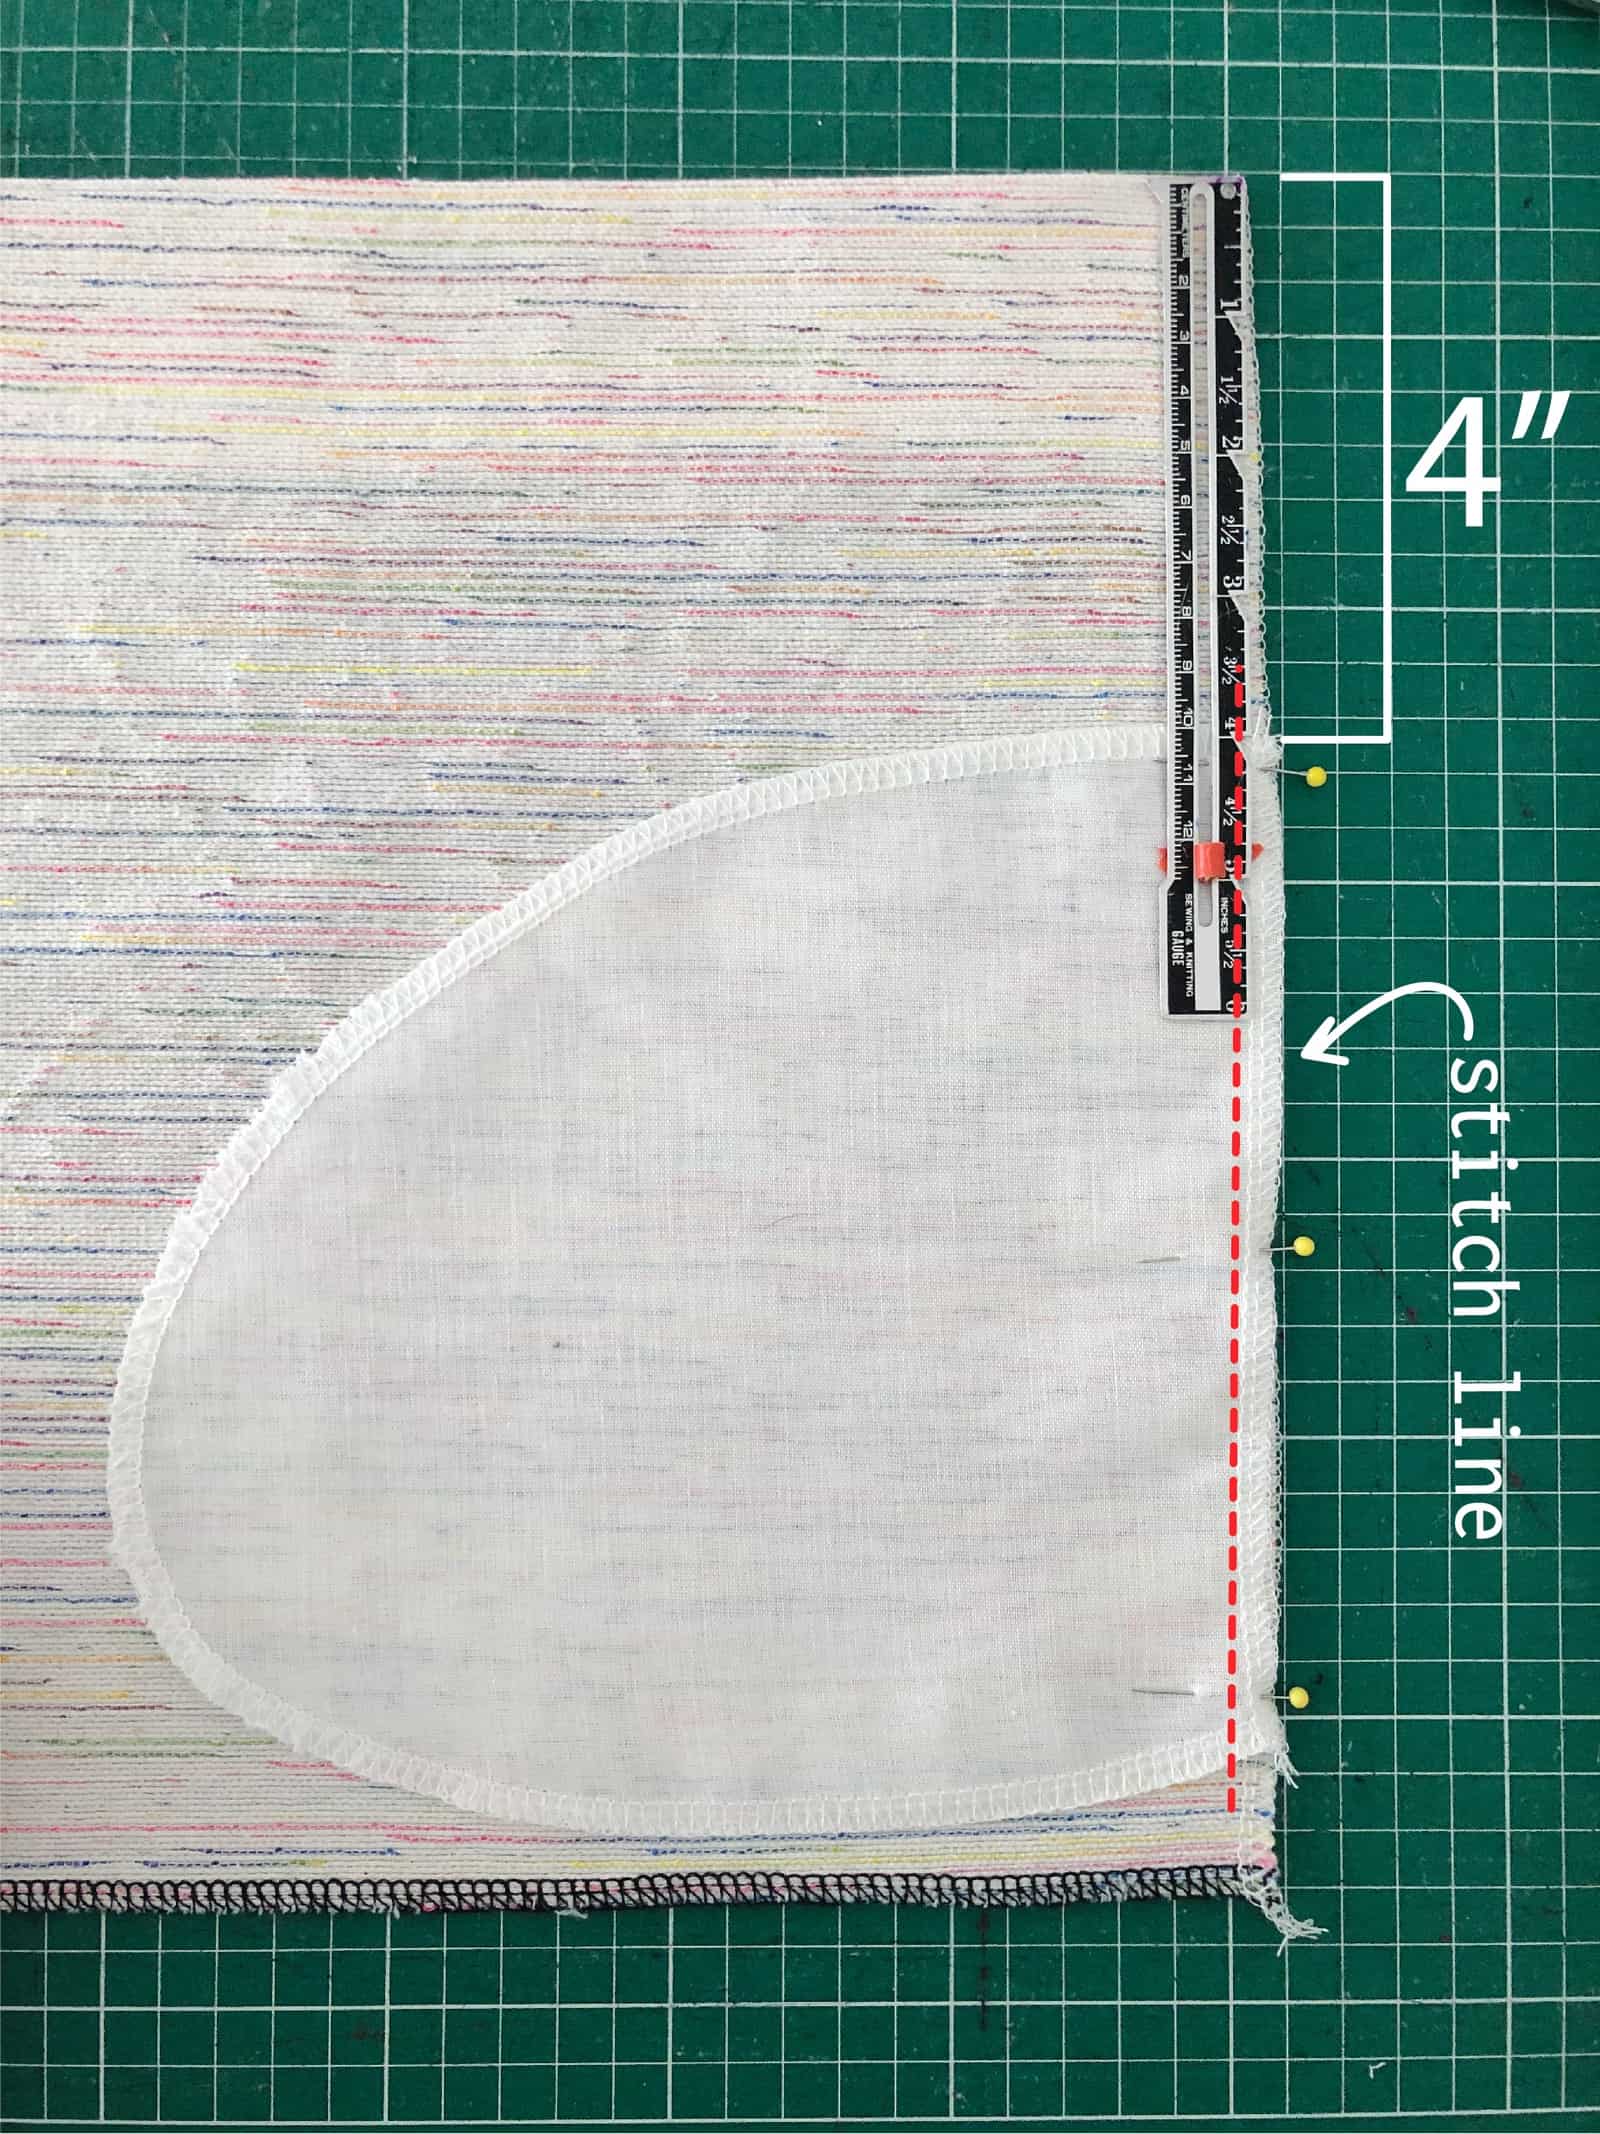
- The placement is a matter of personal preference. Just hold the front panel against you with the memory seam folded down and measure the height where the pocket would feel comfortable to you. Mine was 4 inches;
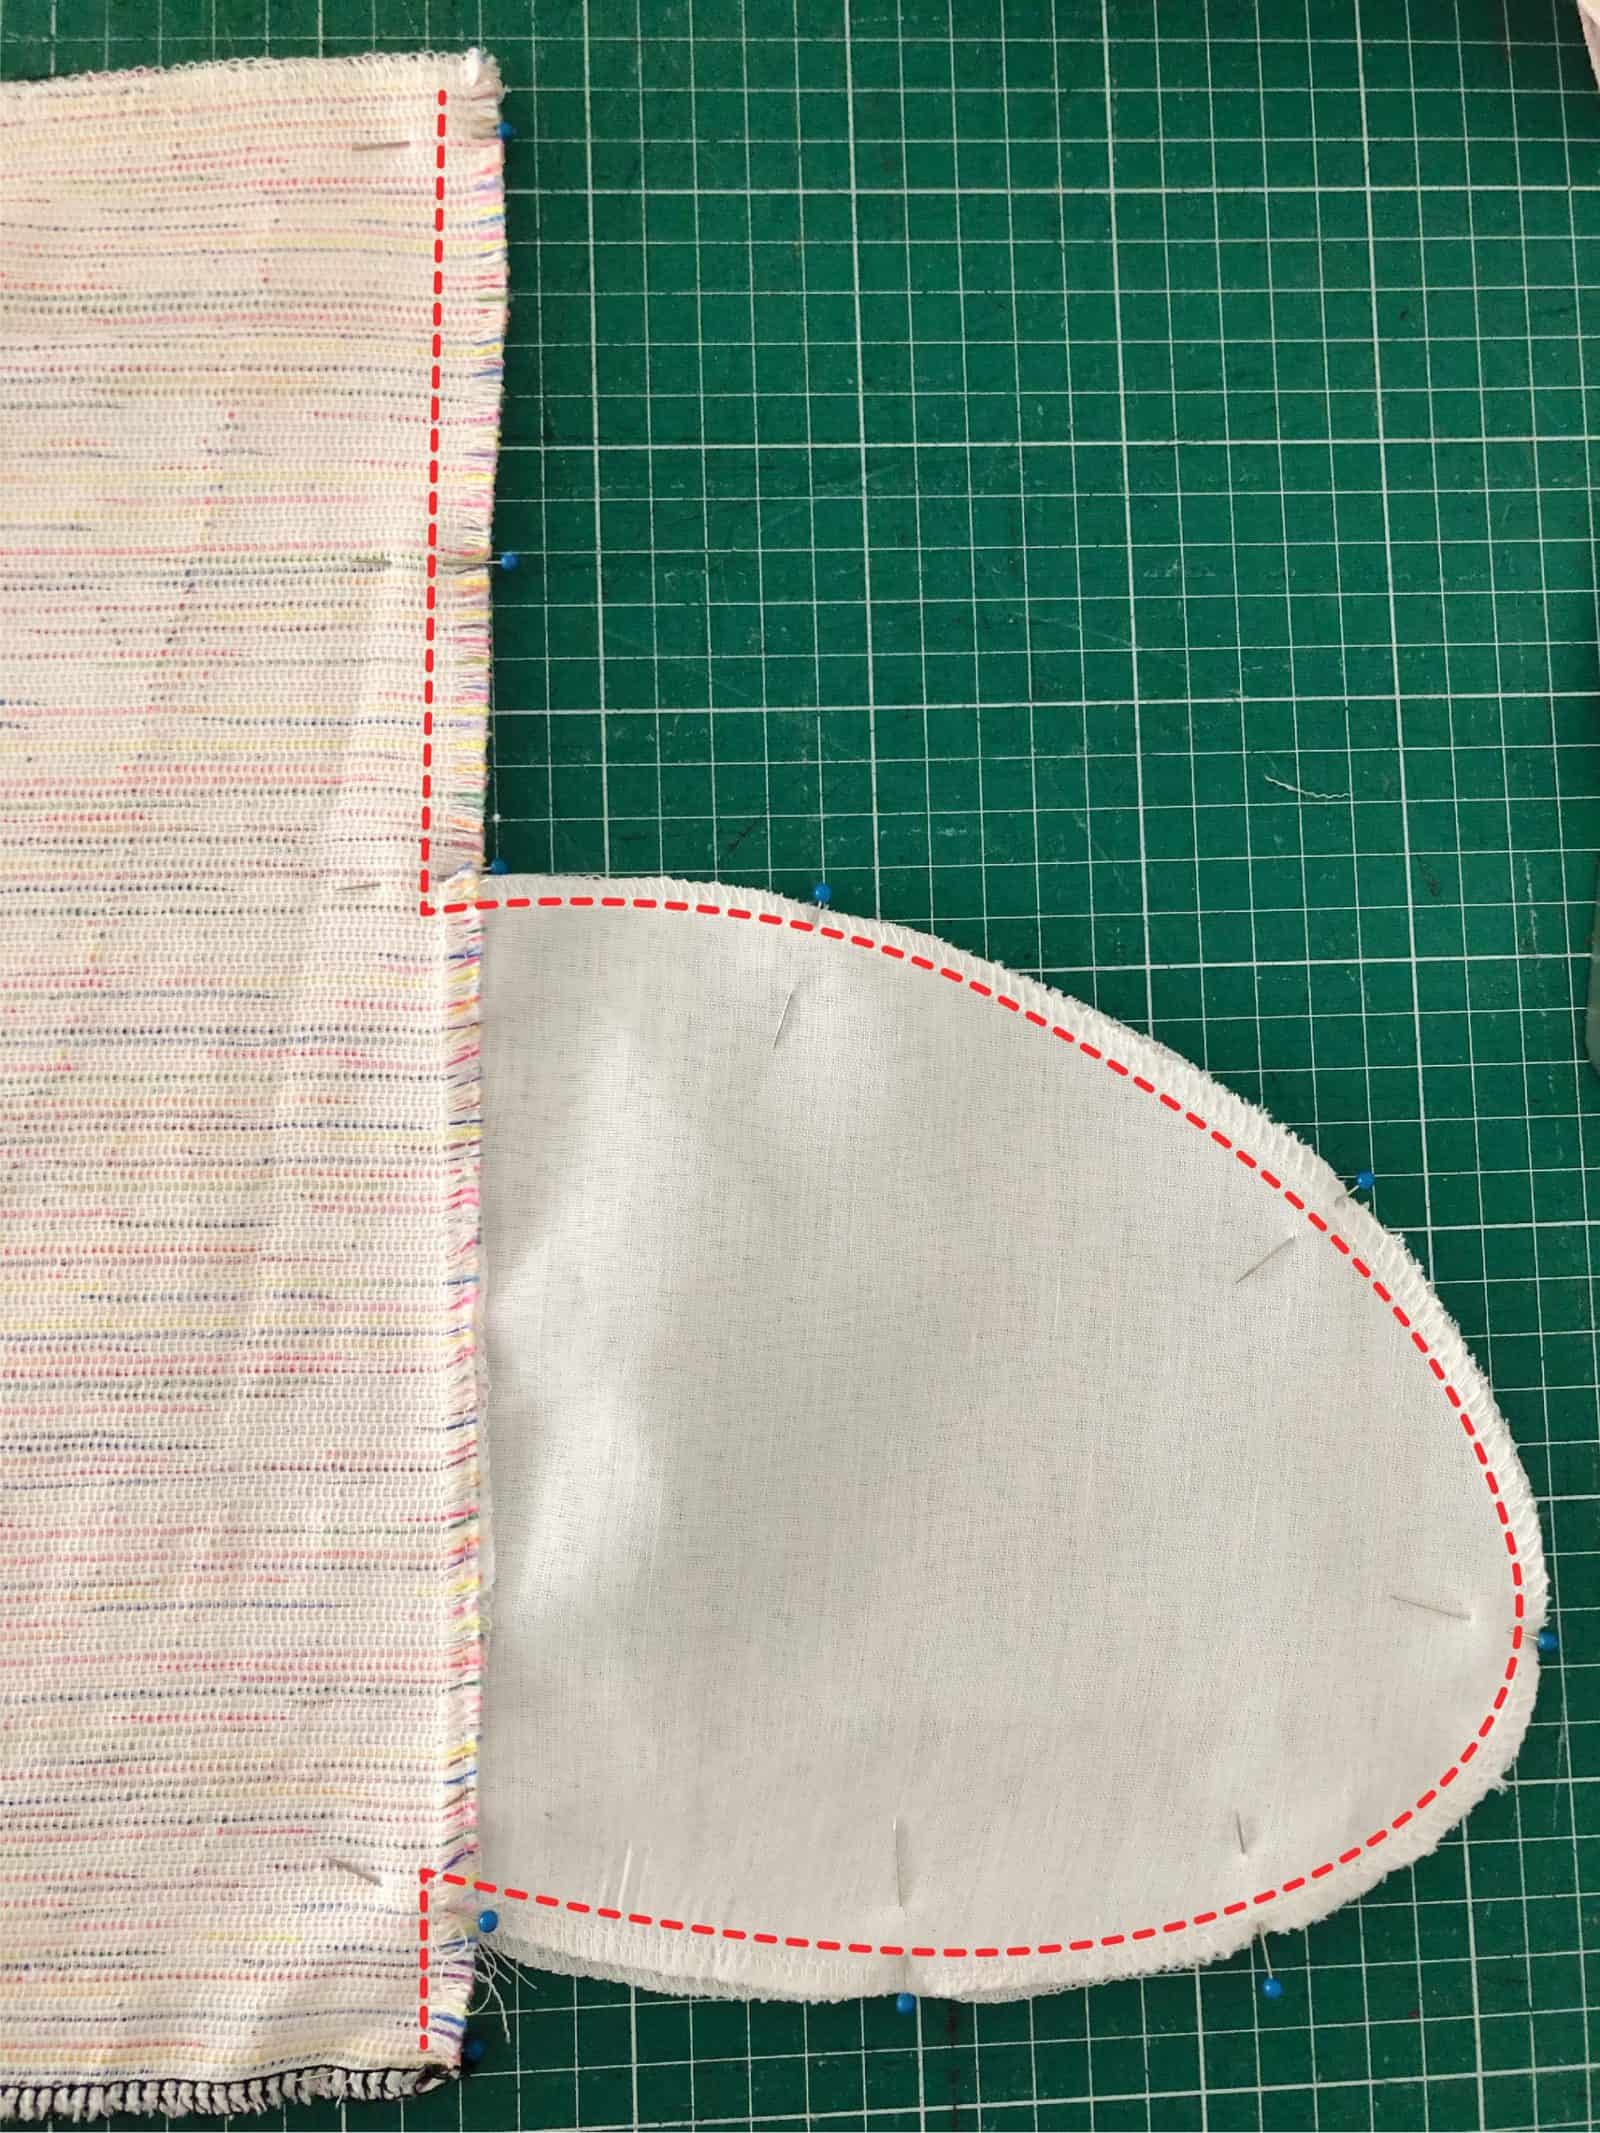
- Pin the pocket along the side edge of the pattern piece, and sew it in place;
- Press the pocket away from the skirt and understitch it to the seam allowance to secure it.
- Repeat for the other 3 pocket pieces.
Step 3 – Assembling the main skirt
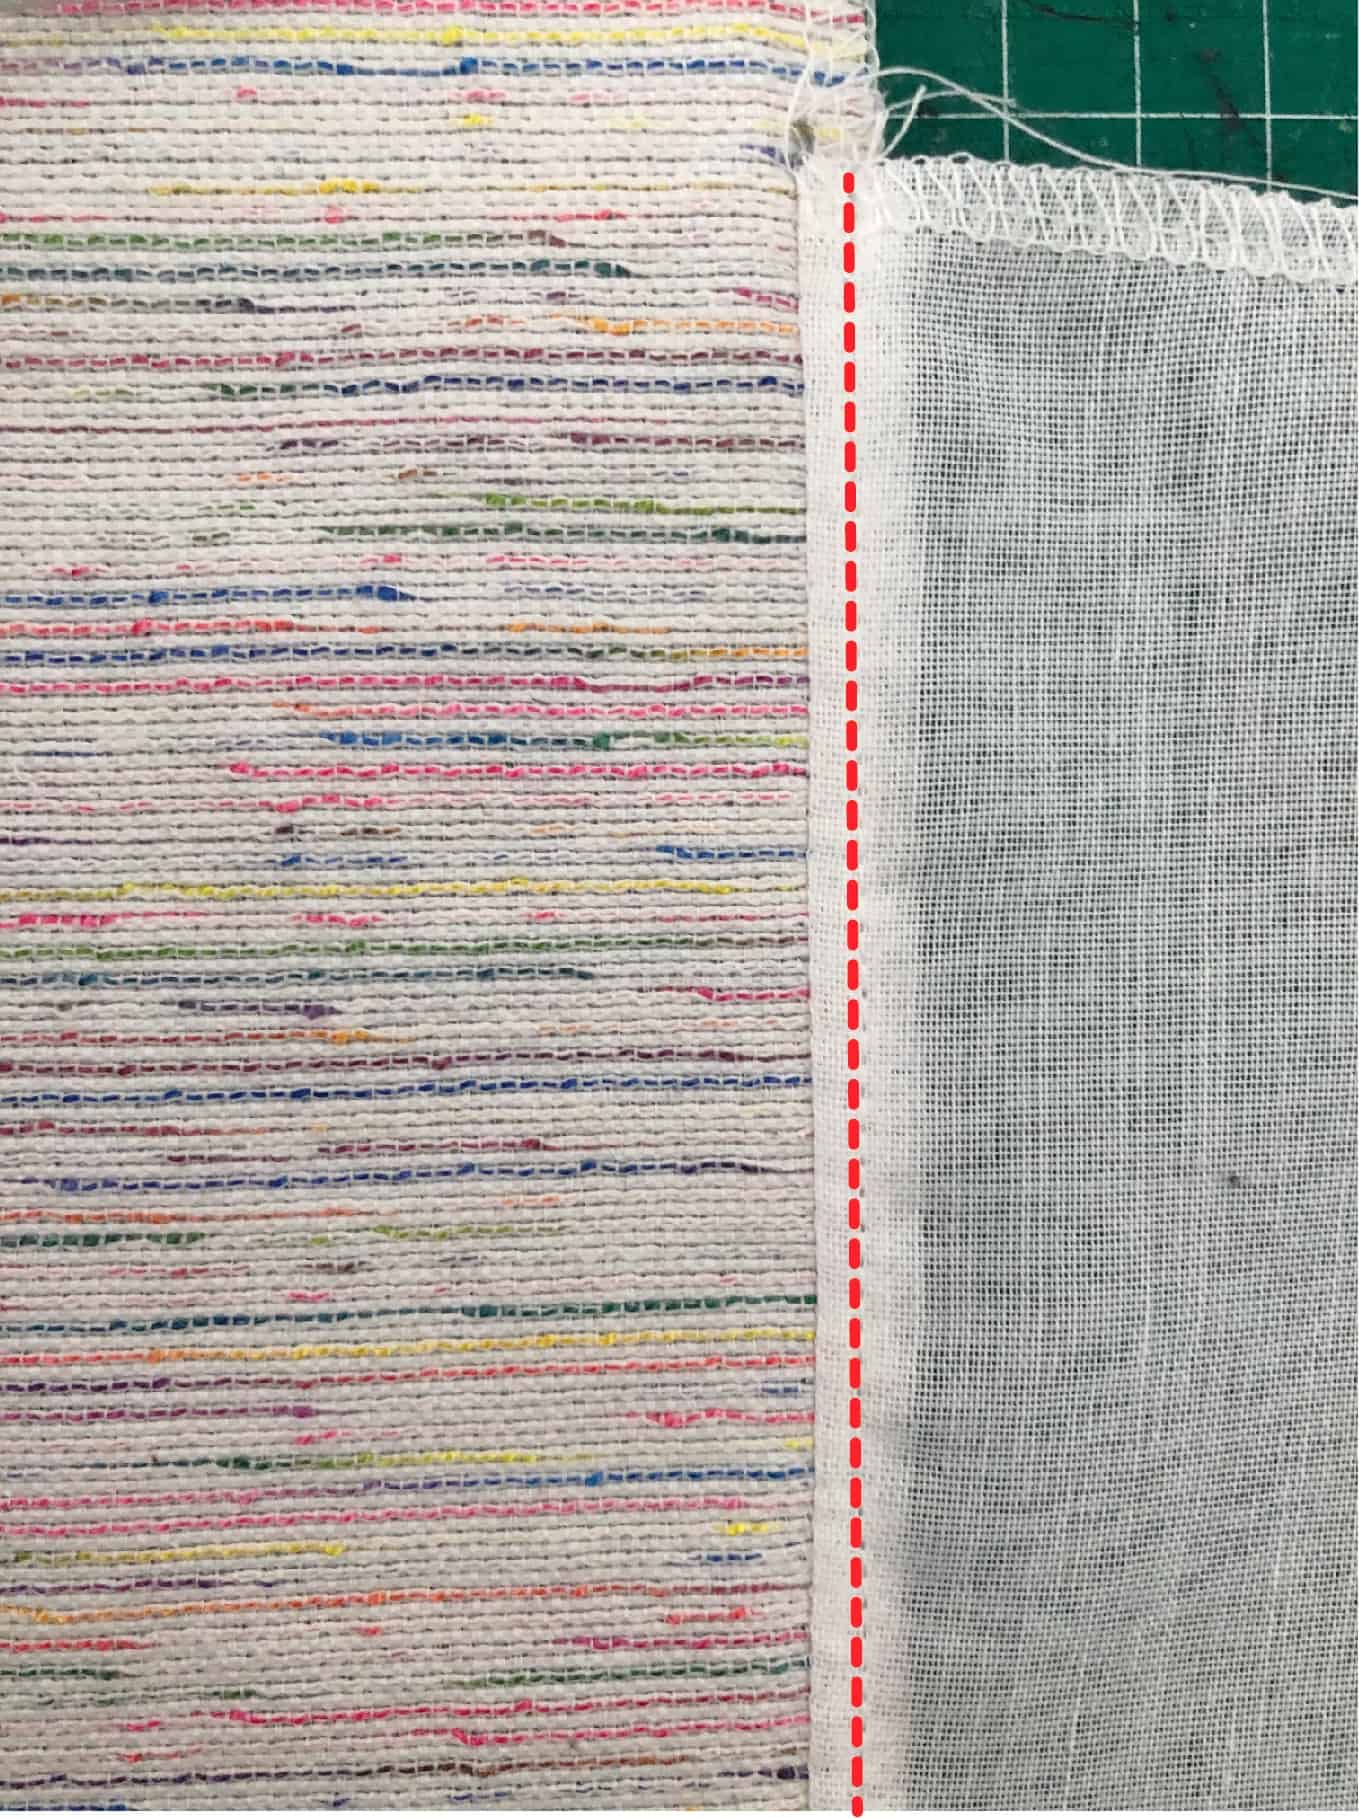
- With right sides together align front and back panels and sew the skirt pieces along the side seam, around the
pockets, and down the rest of the side seam. Making sure to pivot and turn at the corner right before and right
after the pockets. - Flip skirt right side out, tuck pocket inside, give it a good press and you’re done!
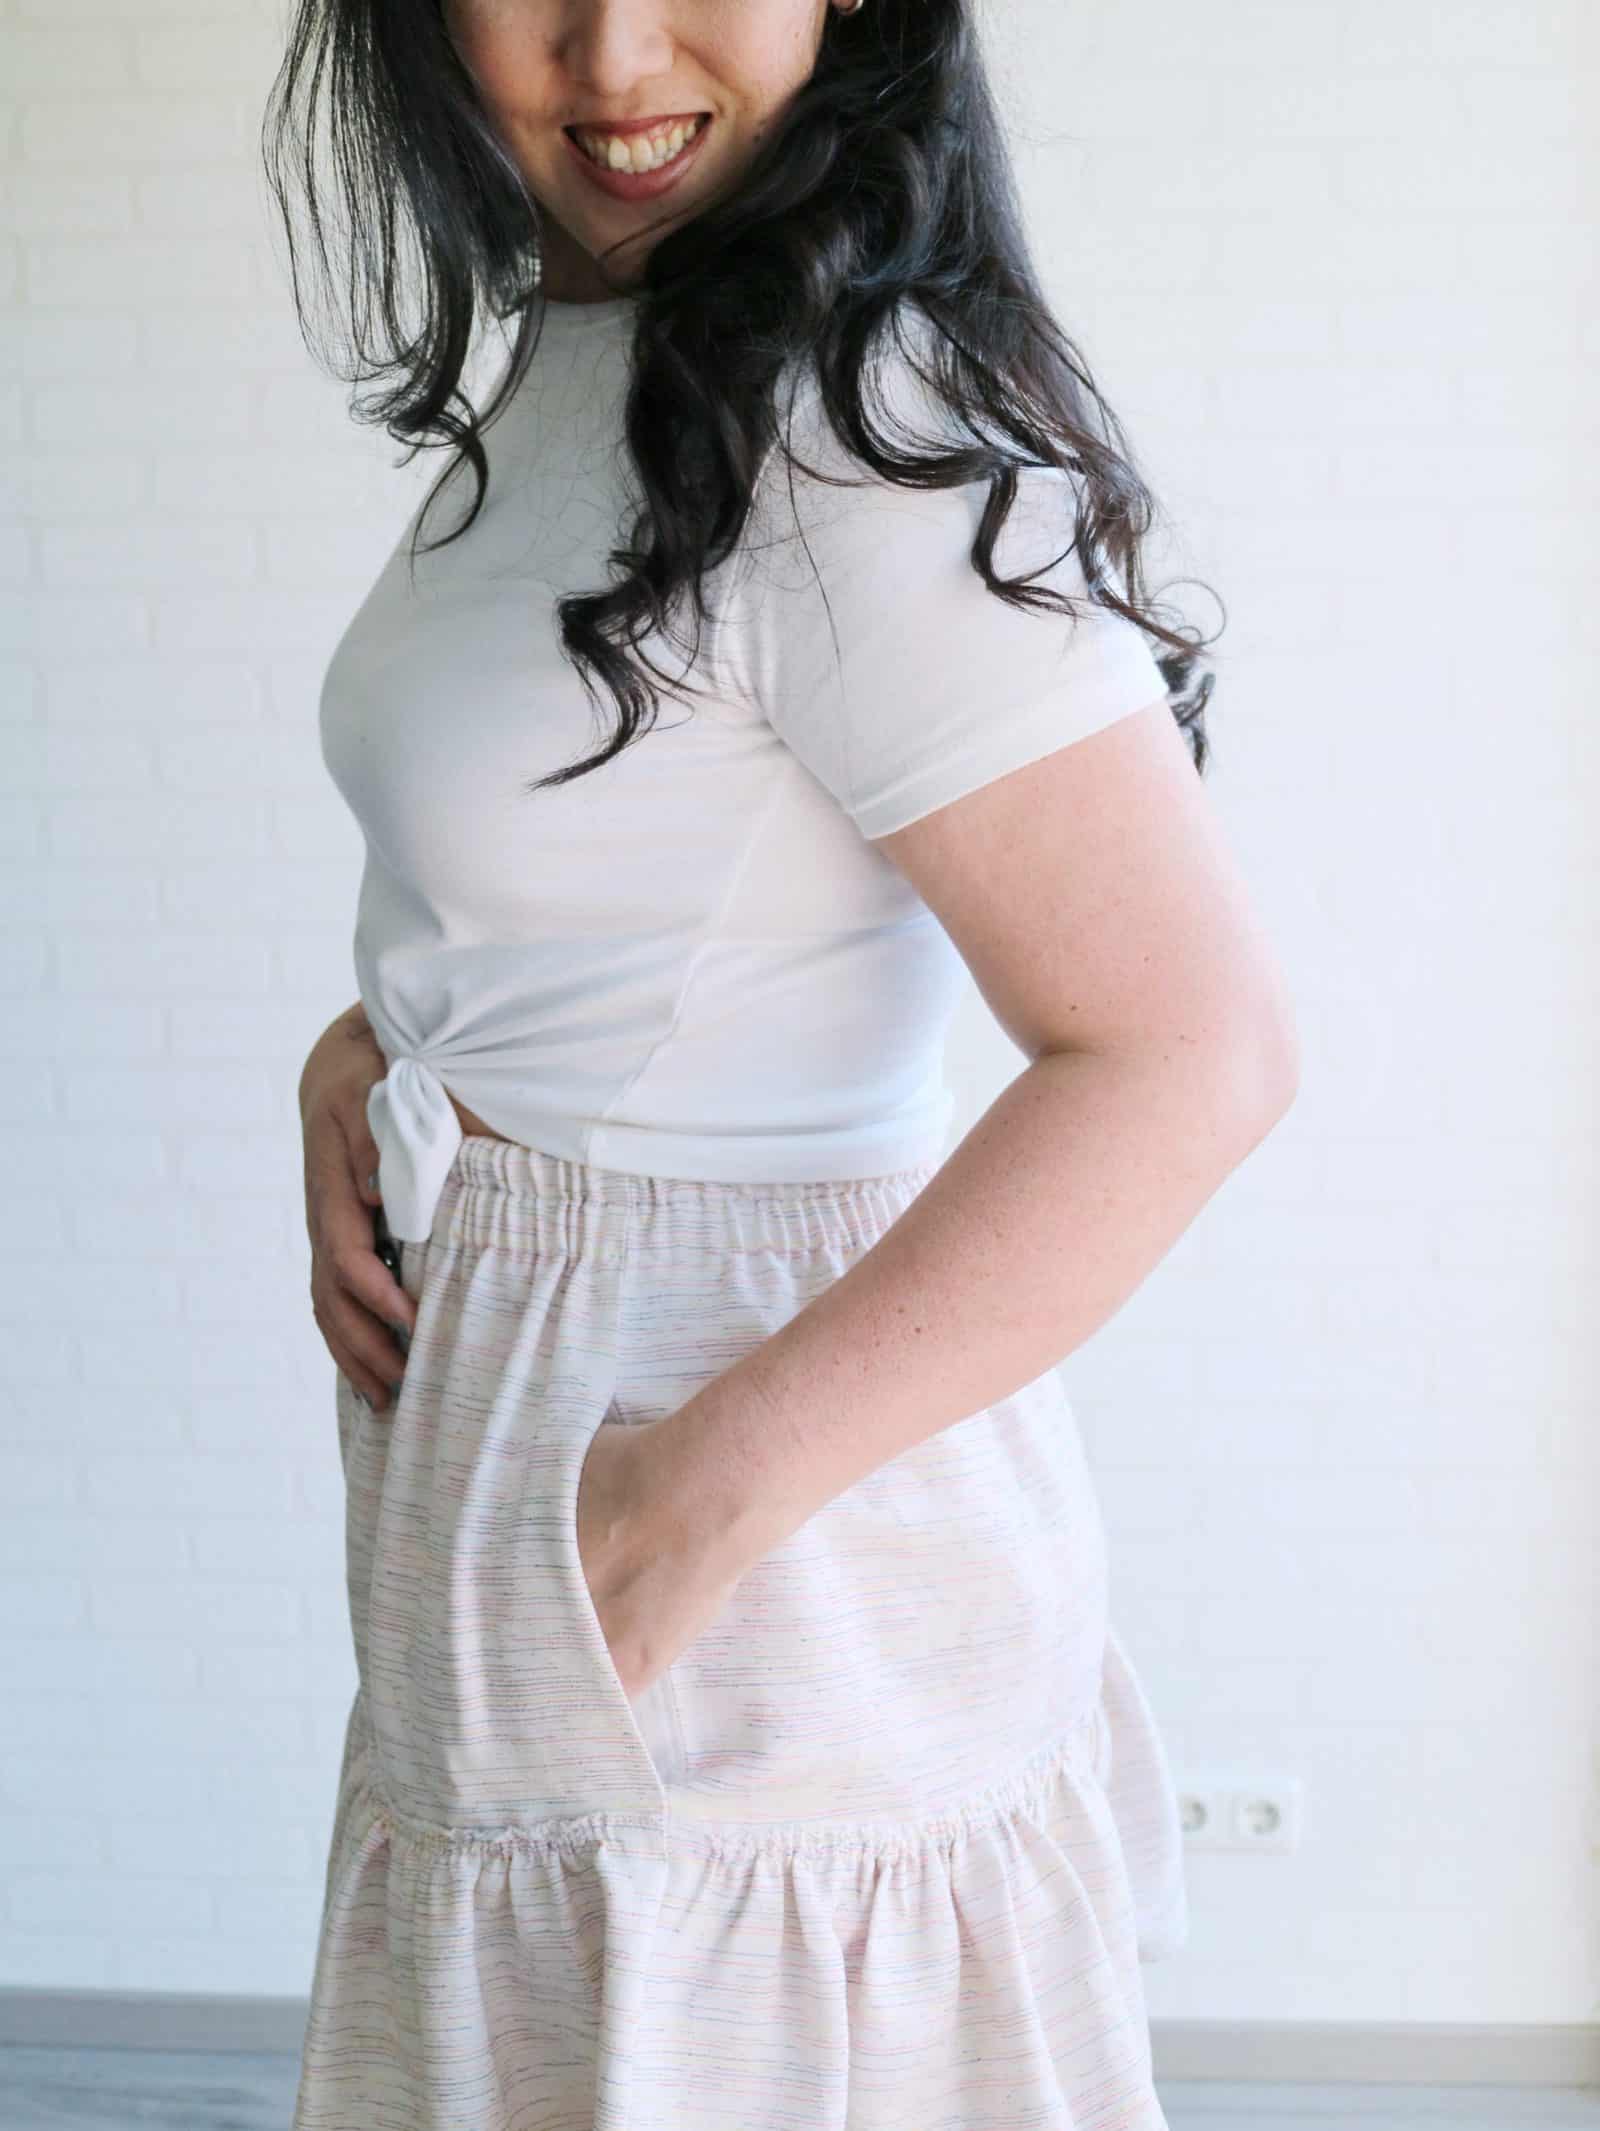
Finish the skirt according to the pattern and go strut your stuff! 😀
xxx
Livia
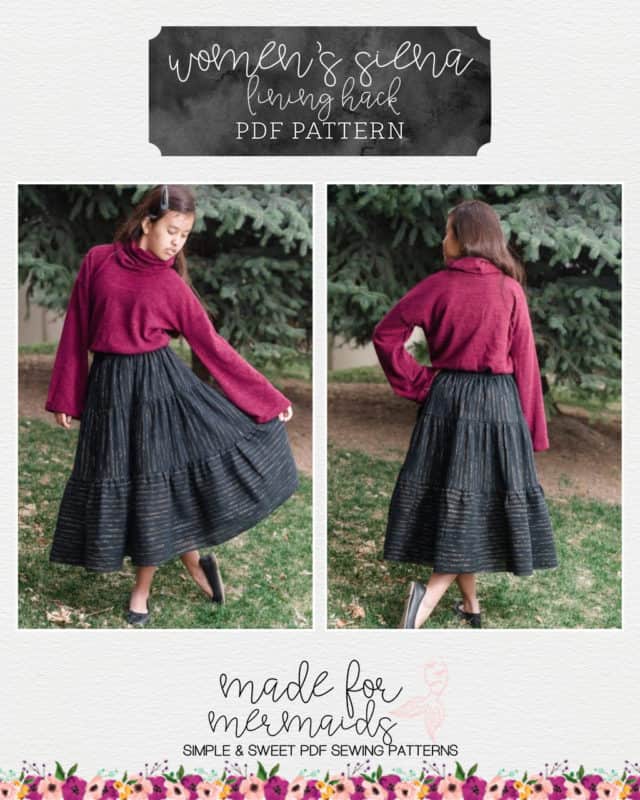
Lining Hack
Have you found the perfect fabric but, it is a little on the sheer side? Here’s a quick guide to adding a lining to your Siena Skirt. For this example, I’ll be making a midi-length skirt with the lining finishing at the mini length.
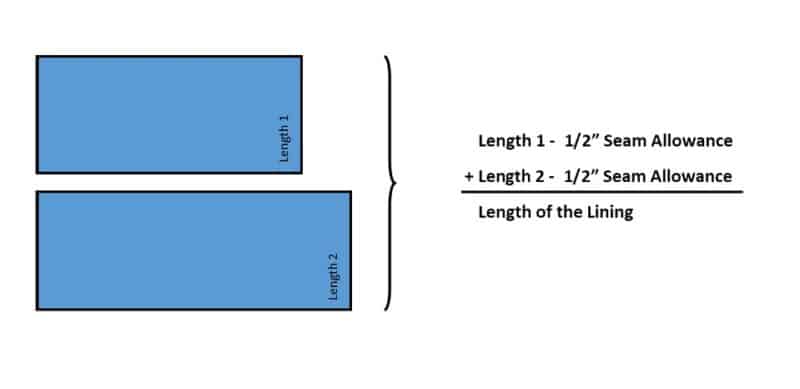
I always need to draw these out so here’s what the math should look like. For the lining, use the width of the first tier and the calculated Length of the Lining. Cut your main skirt per the tutorial.
Prep your lining and first-tier according to the instructions. If you want, you can hem the lining skirt now. Line up the main and lining, wrong sides together at the side seams. Carefully line up the folds and pin around the front and the back, leaving an opening for the elastic.
Sew the casings carefully, checking frequently to make sure the lining is fully tucked into the fold. Do a quick check on the casing by threading the elastic.
Finish the remaining tiers of the skirt according to the tutorial. That’s it! Enjoy! -Alexandra
Belt Hack
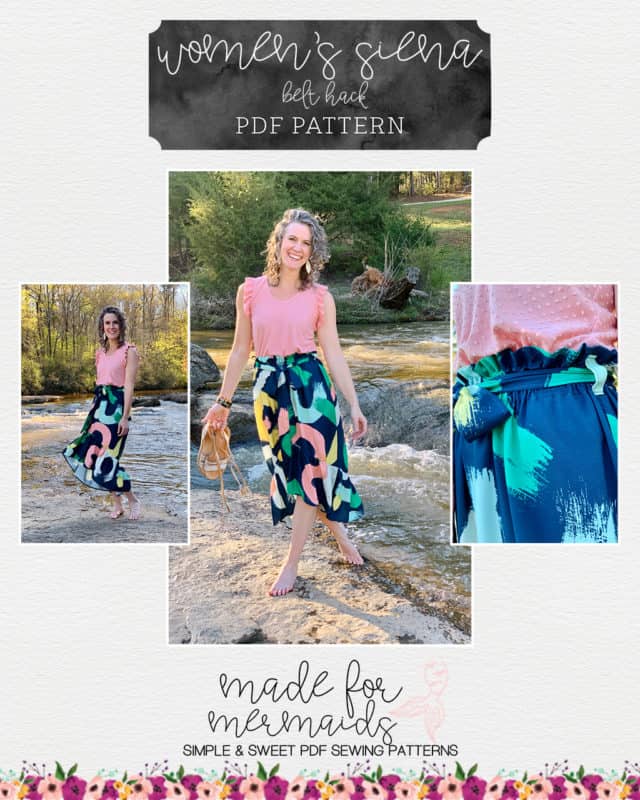
Adding a belt is a great way to accessorize the Siena Pattern. We have two easy options for you!
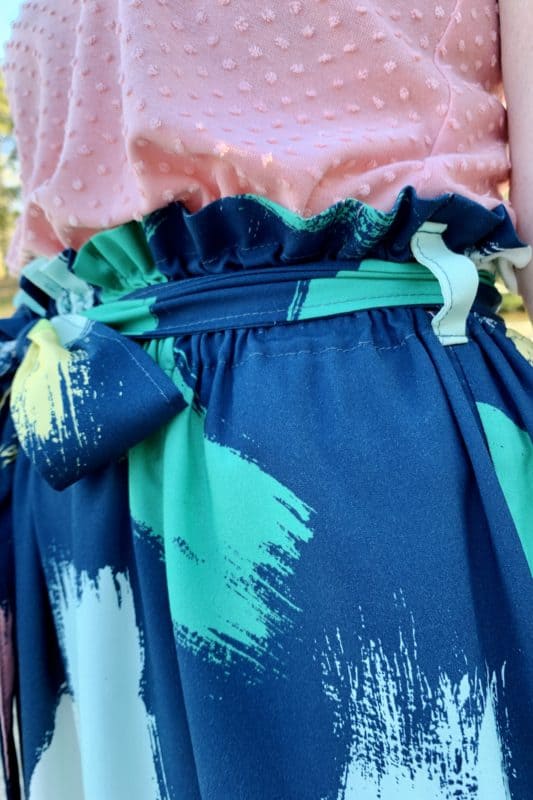
First, create your belt! Check out the April Pattern Hacks for instructions on constructing a fabric belt, but adjust the length according to the instructions below. We think that long waist ties beautifully complement Siena’s flowy vibes.
To determine the length of your belt, take your waist measurement and add at least 48’. Want longer tails? Go for it! Just add length to your fabric strip. You may need to cut two fabric strips and stitch them together.
Once you have your belt made, you can tack the middle point of your belt to the middle point of the back of the waistband, as Melissa has demonstrated here.
So pretty!! If you prefer less commitment to a belt, you can also create belt loops.
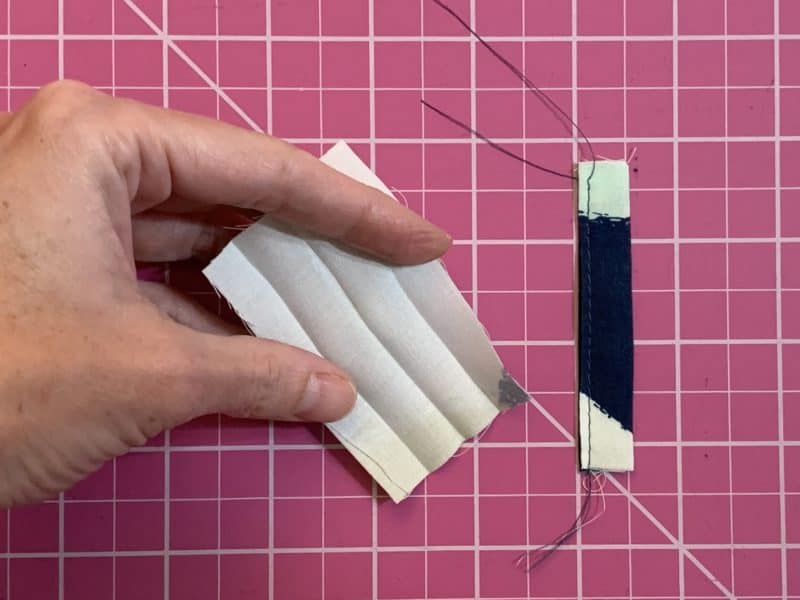
Cut 2 pieces of fabric that are 2” wide by 3.5” tall.
Fold the strips in half and press, with the wrong sides together.
Open up and press the raw edges to the inside fold and press.
Enclose the raw edges by edgestitching your belt loop.
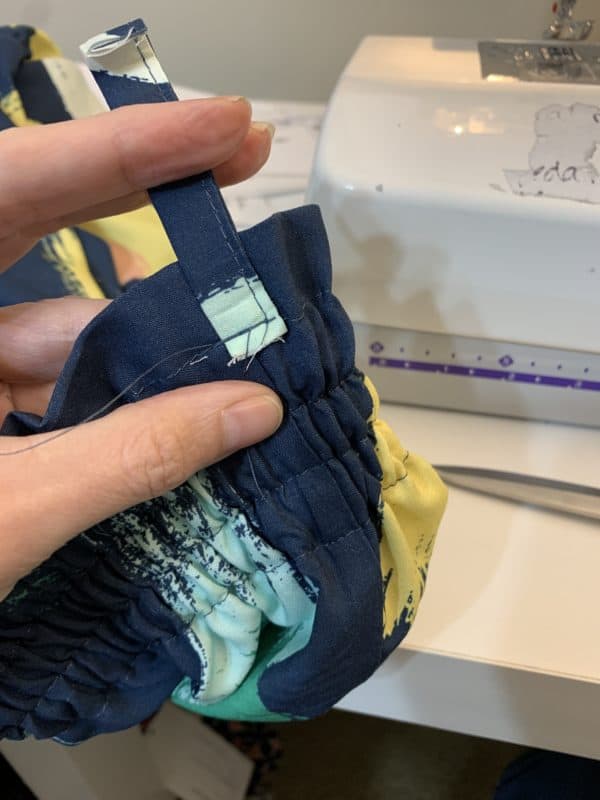
Line up the belt loop with the side seam of your waistband, with the raw edge about ¼’ below the top waistband seam, and stitch in place.
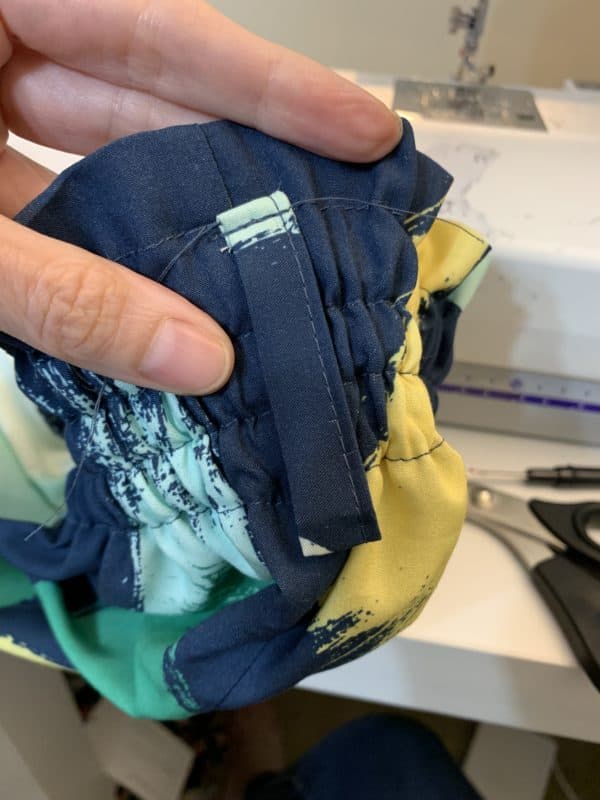
Fold the belt loop down over the raw edge and stitch in place, enclosing the raw end.
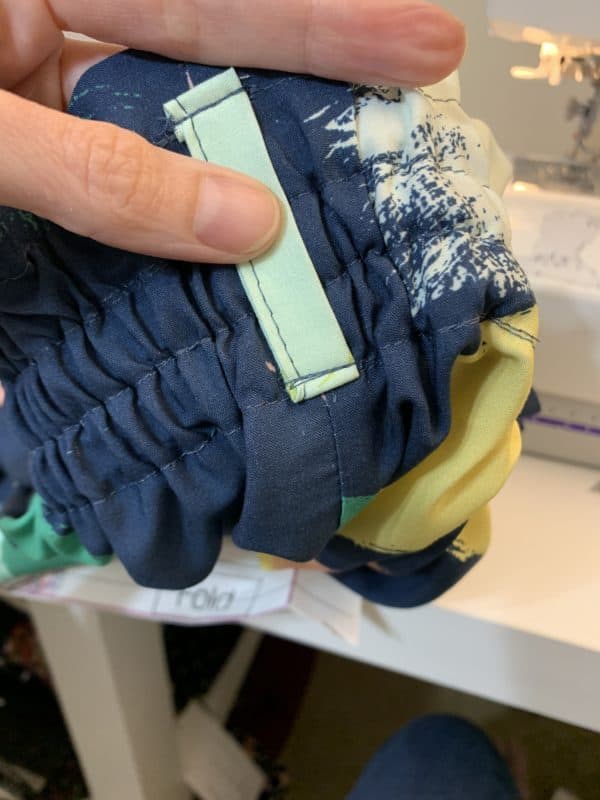
Fold the bottom of the loop in a similar manner and stitch in place, following the last row of waistband stitches.
Repeat for the other side of your skirt. With belt loops, you can change up the look of your skirt by using different belts.
Either option provides yet one more way to wear your beautiful Siena skit.
Happy Sewing!
Rachel
As always, don’t forget to share your gorgeous makes with us! Follow us on Insta, FB, and TikTok to see more style inspo for Siena. Happy sewing!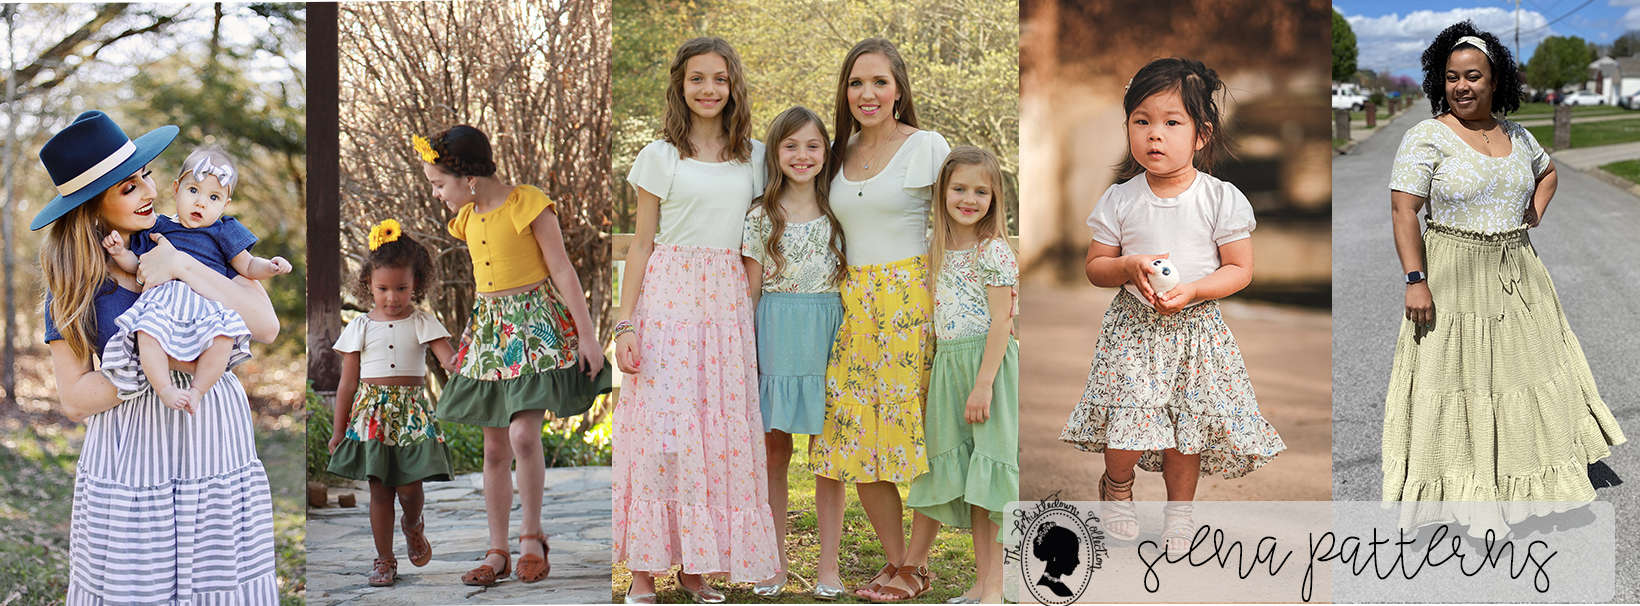

















Leave a Reply