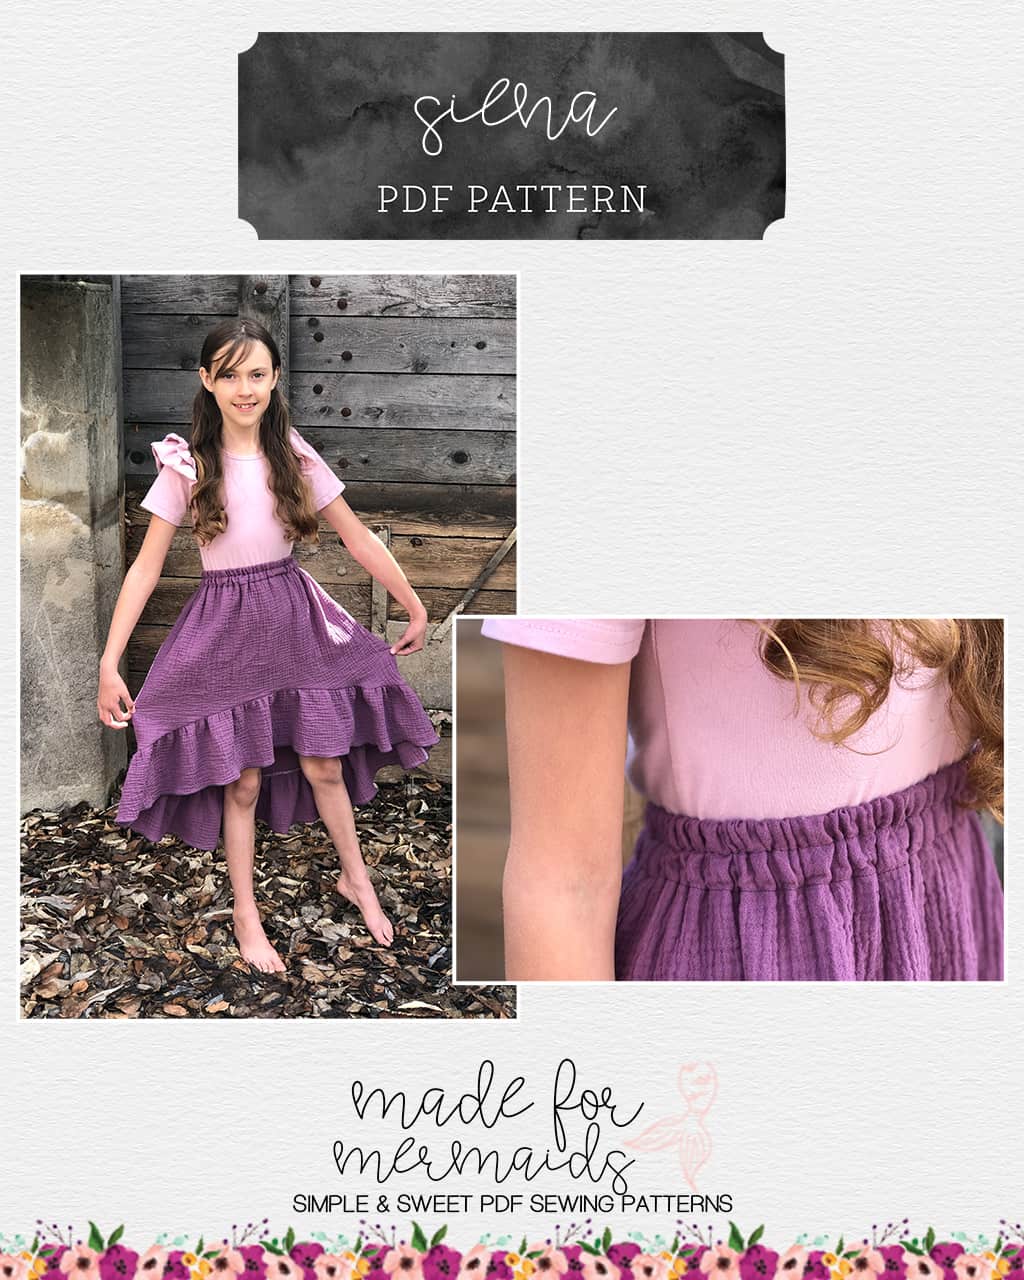
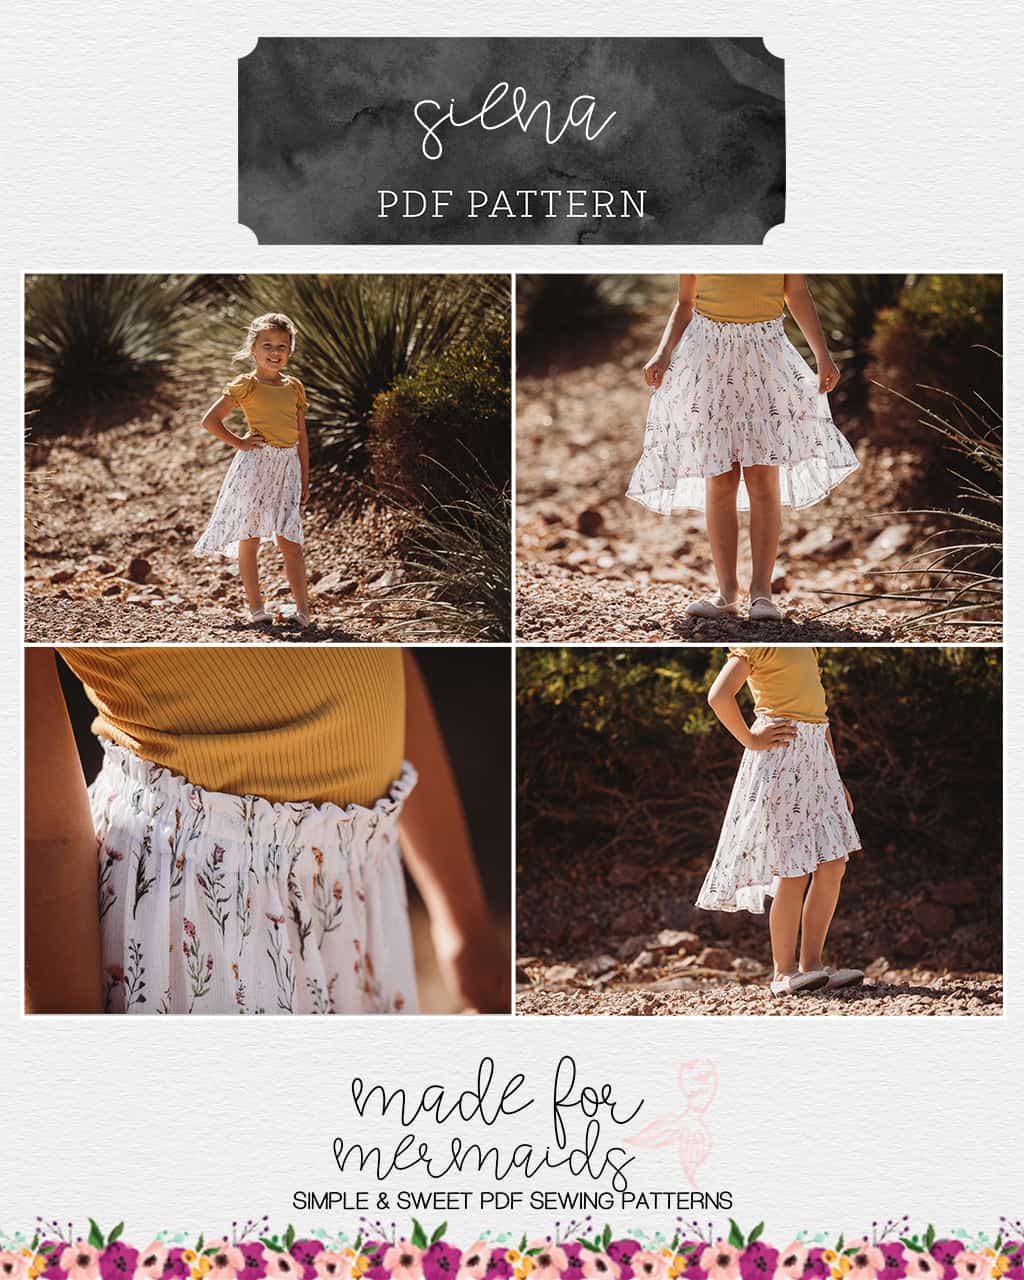
Day 2 of our Siena sew-a-long is here! Today we’ll be knocking out our side seams and our waist casing. Remember that you have two waist style options, and two elastic width options for youth or baby Siena:
- Regular waist, two rows of .5″ elastic
- Ruffle waist, two rows of .5″ elastic
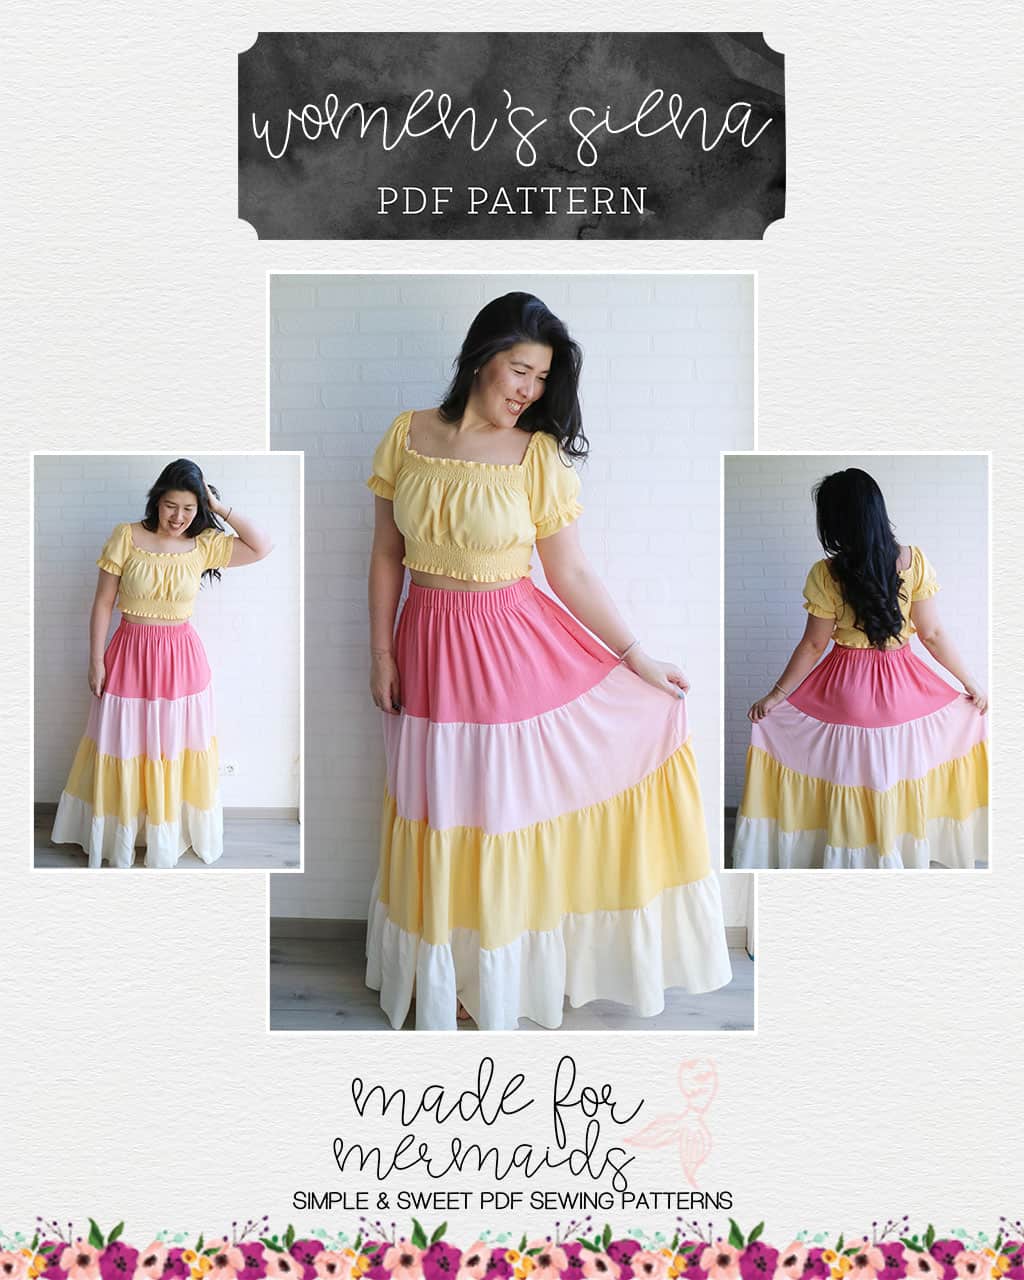
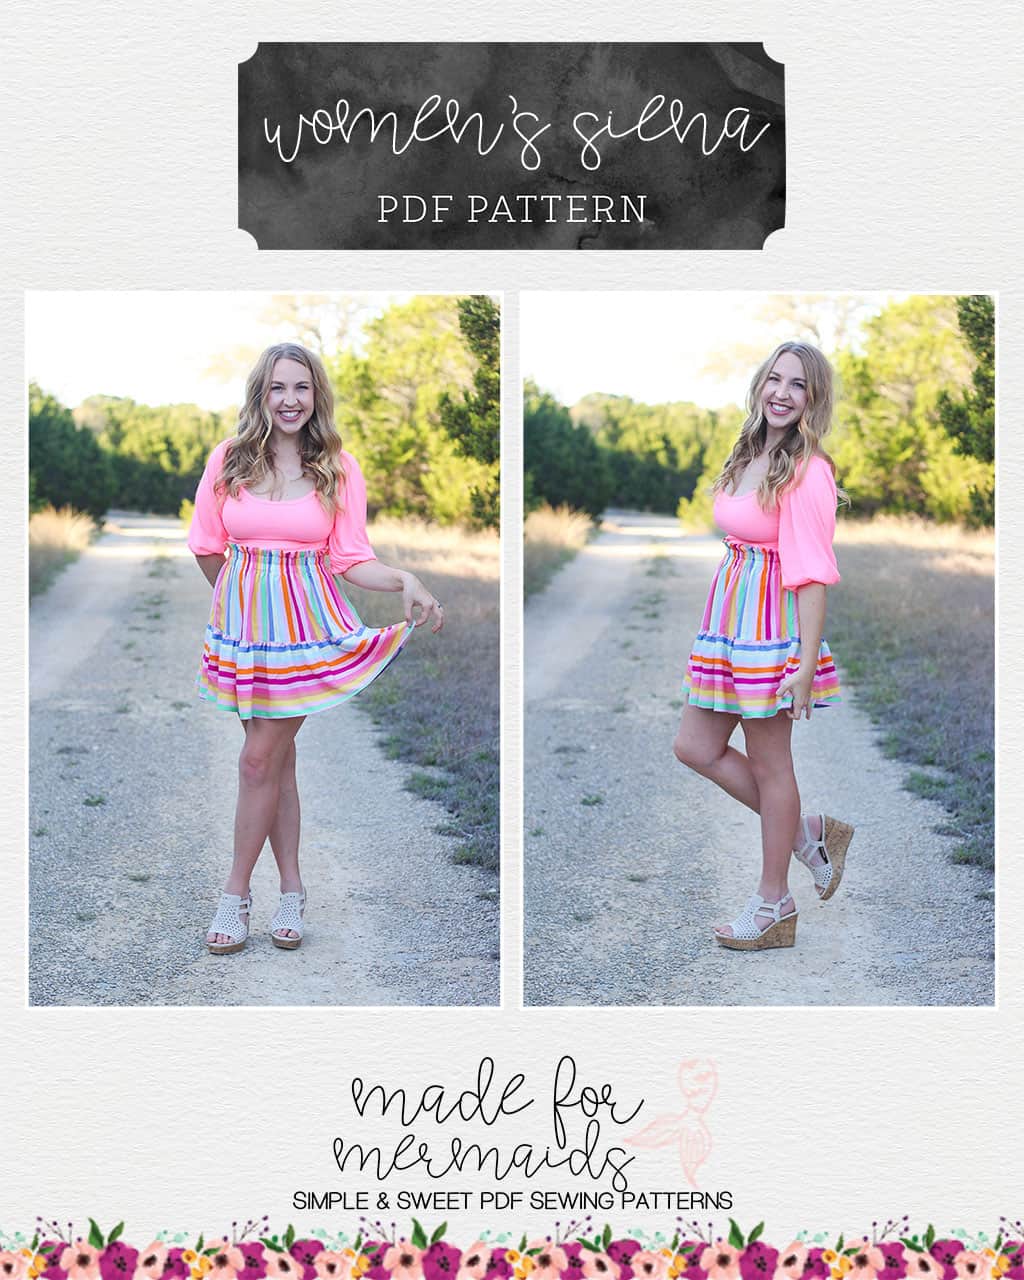
And two waist styles with three elastic options for the Women’s Siena:
- Regular Waist, 1.5″ elastic
- Ruffle waist, two rows of .75″ elastic
We won’t need to thread our elastic today since we’re just constructing our waist casings! Be sure to press/iron as you go – this is such an important part of working with woven fabrics! Also, be sure to take your time and accurately measure your casing/stitch lines. This will help you achieve a professional finish, and ensure that you have enough space for your elastic!
If you’re in a time crunch, the regular waist band with wide elastic is the quickest option. 🙂
Don’t forget:
- Be accurate with your seam allowance
- Finish your edges to prevent fraying; I like to serge them, but you can also check out Dana’s finishing tips here.
- Get friendly with your iron; pressing often will make a big difference in how polished your garment looks
Want to sew along with me? Check out today’s video!
If you have questions about sewing up your side seams or constructing your waist casing, you are always welcome to post in our SAL group so we can help you! Be sure to check in each day during the SAL, and look for daily posts to enter our giveaways. We can’t wait to see what you create this week!

DAY 1: PREP
DAY 2: SIDE SEAMS + WAIST CASING
DAY 3: ADDING TIERS
DAY 4: ADDING WAIST ELASTIC
DAY 5: HEMMING
DAY 6: OPTIONAL: FAUX WAIST TIE + CATCH UP
OUR SPONSORS:
We LOVE Sincerely Rylee Fabrics, and there are so many perfect fabric choices for Siena! Head on over to Sincerely Rylee to check out their selection.




Leave a Reply