Hi everyone!
Who’s in the mood for some pattern-mashing fun?
Do you have a movie that has made its mark in your mind and just stuck with you?
I have several.
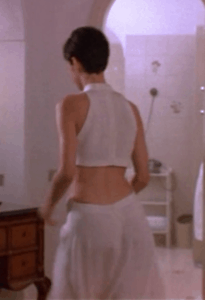
One of them is Only You, a romantic comedy featuring Marisa Tomei and a baby-looking Robert Downey Jr. Even though the story is cute and fun, that’s not the reason it marked itself in my memory… it was the wardrobe!

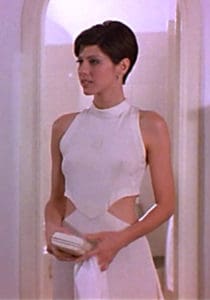
Marisa Tomei’s character flies off to Italy in search of her one true love and brings with her an array of gorgeous gowns and outfits that made my 17 yo heart flutter. And as a shy teenager full of low self-esteem issues, I thought these outfits were just a dream and meant for everyone but me.
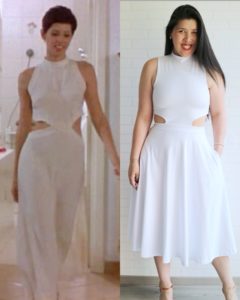
Especially this flowy white number:
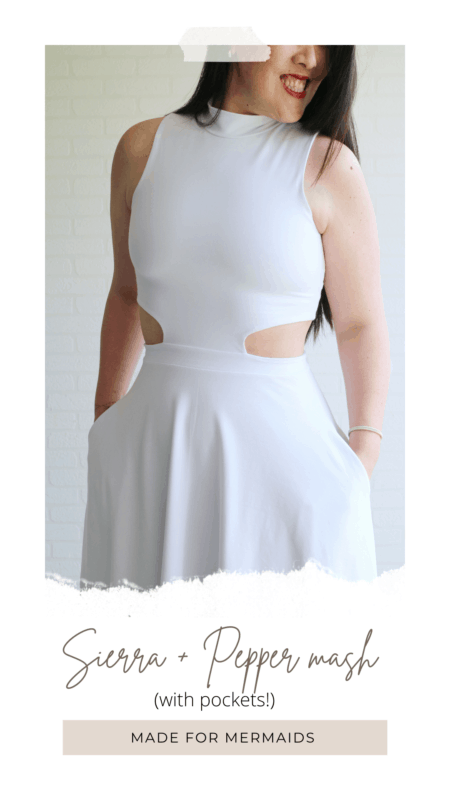
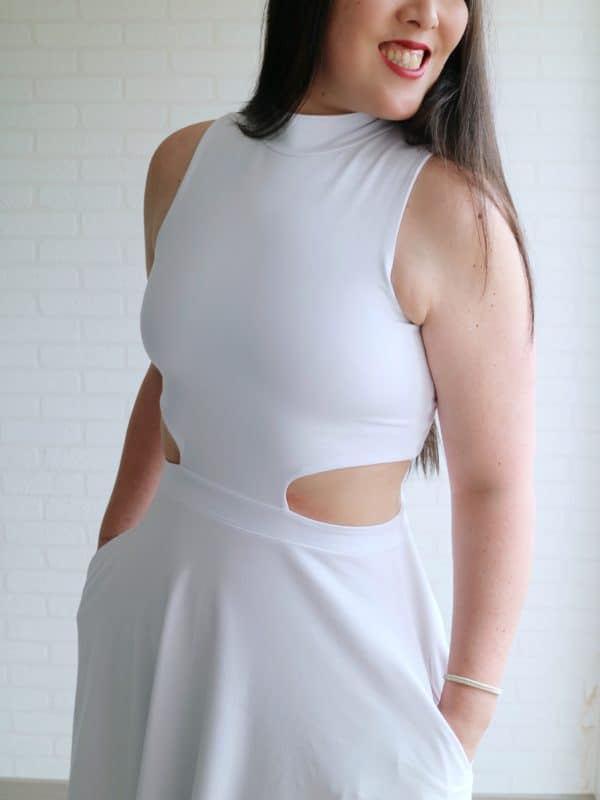
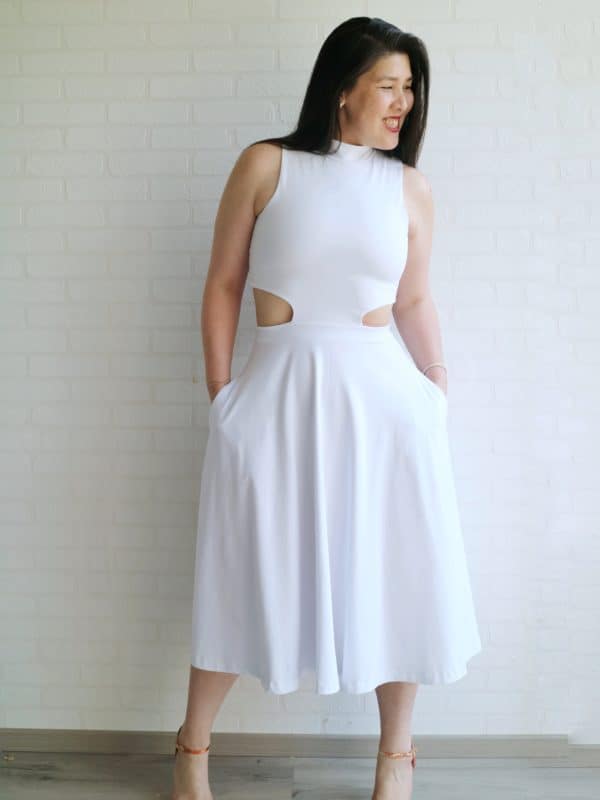
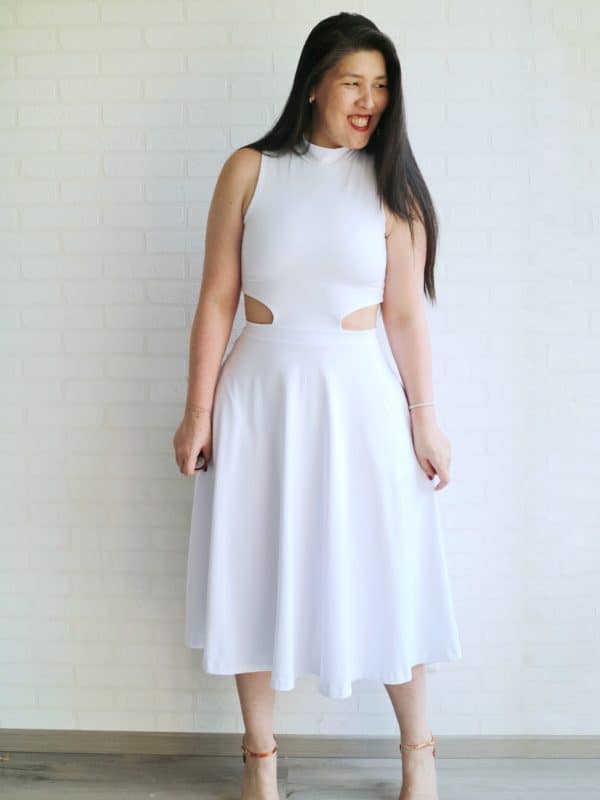
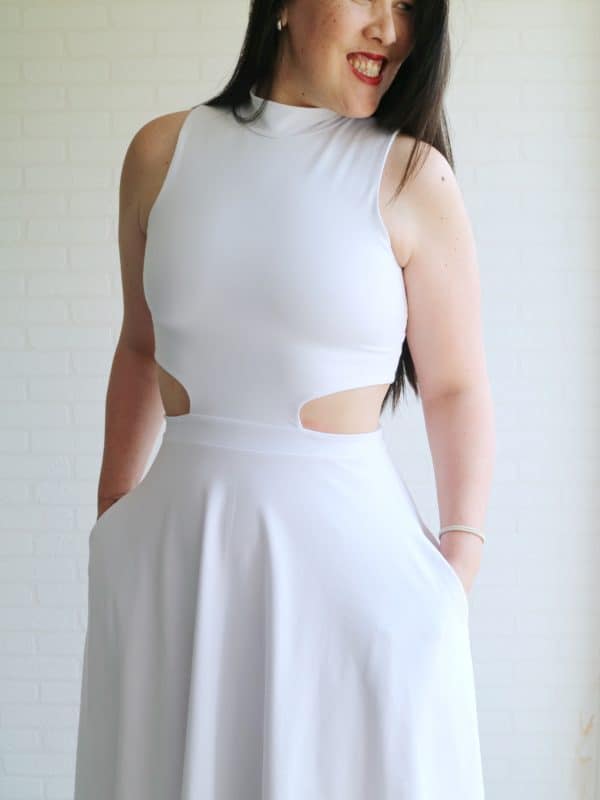
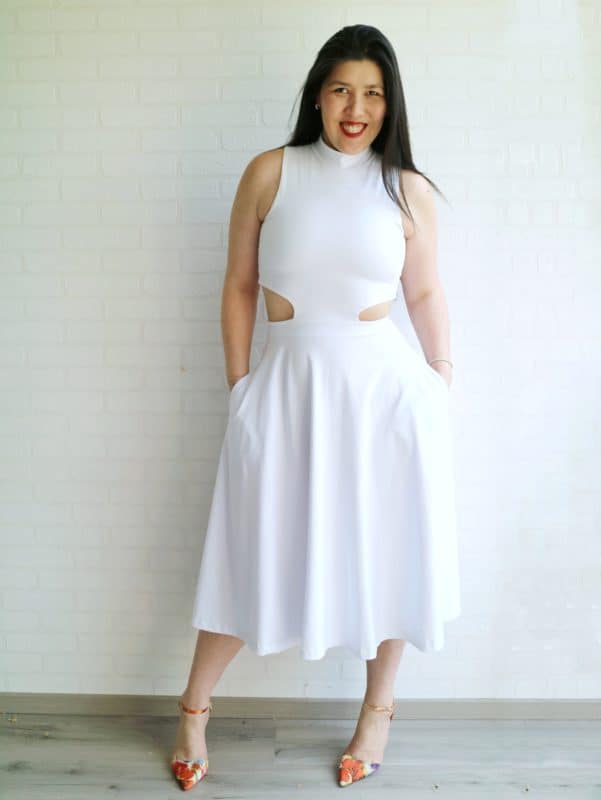
So… 27 years later (what?!) 44 yo me, who doesn’t care anymore and just wears whatever she feels like, and has actually learned to sew realized that I can finally recreate it and fulfill a long not-so-lost dream! 😀
I don’t have much need for a silk white gown though, so I decided to adapt it to my lifestyle and make one using knit instead.
Sierra was the perfect starting point for it, all I needed was a mock turtleneck, enter Pepper.
This is a very easy mash.
All that was needed was to transfer the Pepper neckline to the Sierra bodice and adjust it to be cut on the fold to eliminate the bodice center seam.
You’ll need:
- Sierra Pattern – printed and assembled.
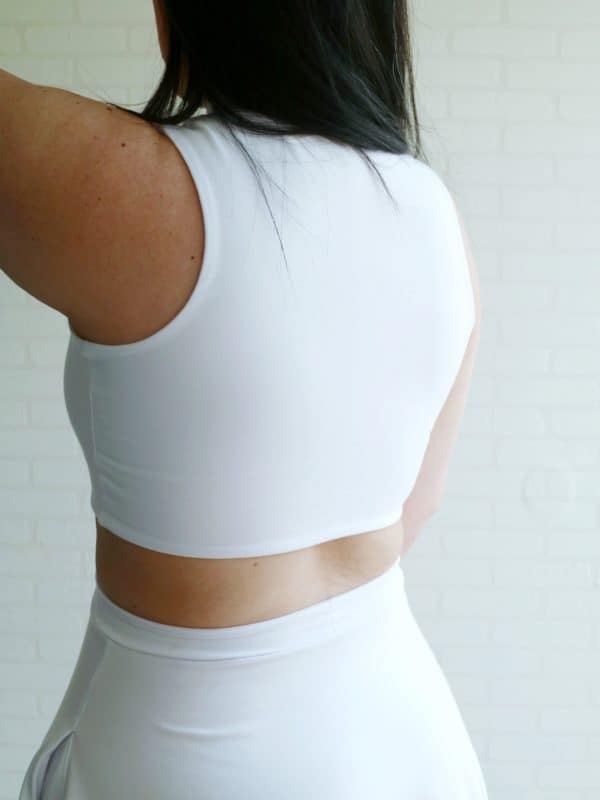
Pattern pieces needed: front bodice (sleeveless), open back bodice, skirt (maxi), waistband - Pepper Pattern – you’ll only need the neckline/shoulder (front and back) and the mock turtleneck piece.
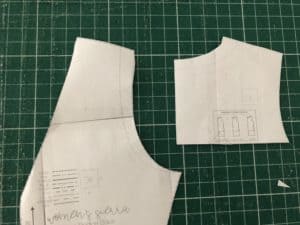
1 – Preparing to cut on the fold
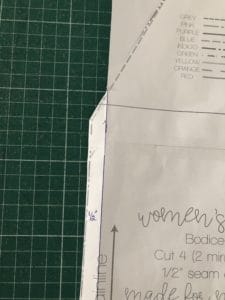
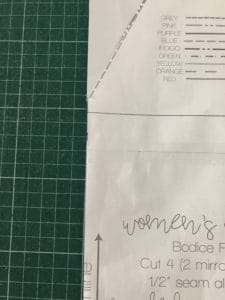
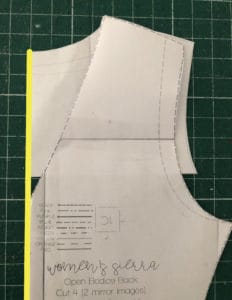
You’ll need to eliminate the seam allowance at the center front of both front and back bodices.
Either mark it and fold it back or just cut it off.
2 – Adjusting the neckline – Back bodice
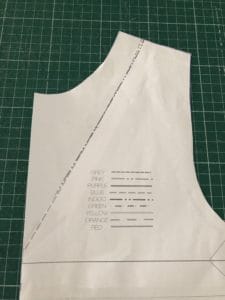
- Overlap Sierra and Pepper and align the pieces by the center edge. Tape together and trim accordingly, following the Sierra shoulder line and sleeveless markings.
3 – Adjusting the neckline – Front bodice
Here we’ll need to do a bit of extra trimming and adjusting.
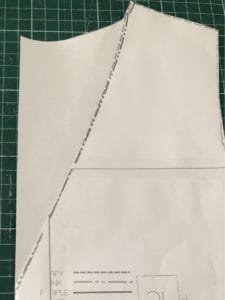
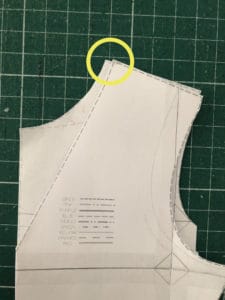
- Overlap and align the pieces as you did the back bodice, you’ll notice that the shoulder line of Pepper starts a bit further in than Sierra.
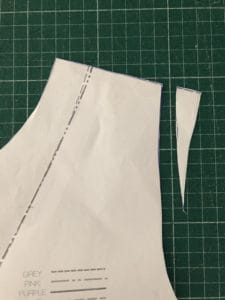
- Use the Pepper neckline and trim the pieces following the shoulder sloop of Sierra, and at sleeveless cutline. Because of the extra bit from Pepper, the shoulder seam of the front bodice is now a bit wider than the back bodice.
- Using the back bodice as a guide, trim the excess width from the armscye side.
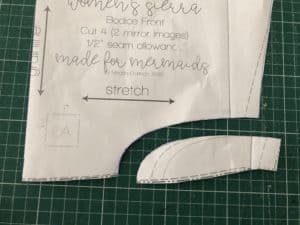
4 – Optional: cut out size
I opted to make the cut out a bit more dramatic and brought it in about 1/2 inch.
That’s it for the adjustments.
You’re ready to sew!
5 – The fun part: Sewing it!
You’ll follow the Sierra instructions, eliminating the steps for sewing the front center seams.
A couple of notes though:
- As you’re adding a neckband, there’s no need for the burrito method to close the armscye. Just place main and lining right sides together and sew.
- If you modified the cutout size, make sure to adjust the notches on the waistband as well.
- Attach the neckband as you normally would.
6 – Pockets and Skirt length
This is definitely an optional step, but who doesn’t love pockets?
I used the pocket piece from Reese and placed it 3 inches down from the skirt’s waistline.
My original plan was to make a maxi but decided on a tea-length instead so I shortened it by 9 inches.
I’m SO HAPPY with how it turned out!!!
And if I’m being totally honest… I like mine better than the original one! 😛 <3
If you have any questions, feel free to give me a shout.
You’ll find me at:
www.liviality.com
Instagram: @livia.jy
Facebook: Liviality
xxx
Livia

Leave a Reply