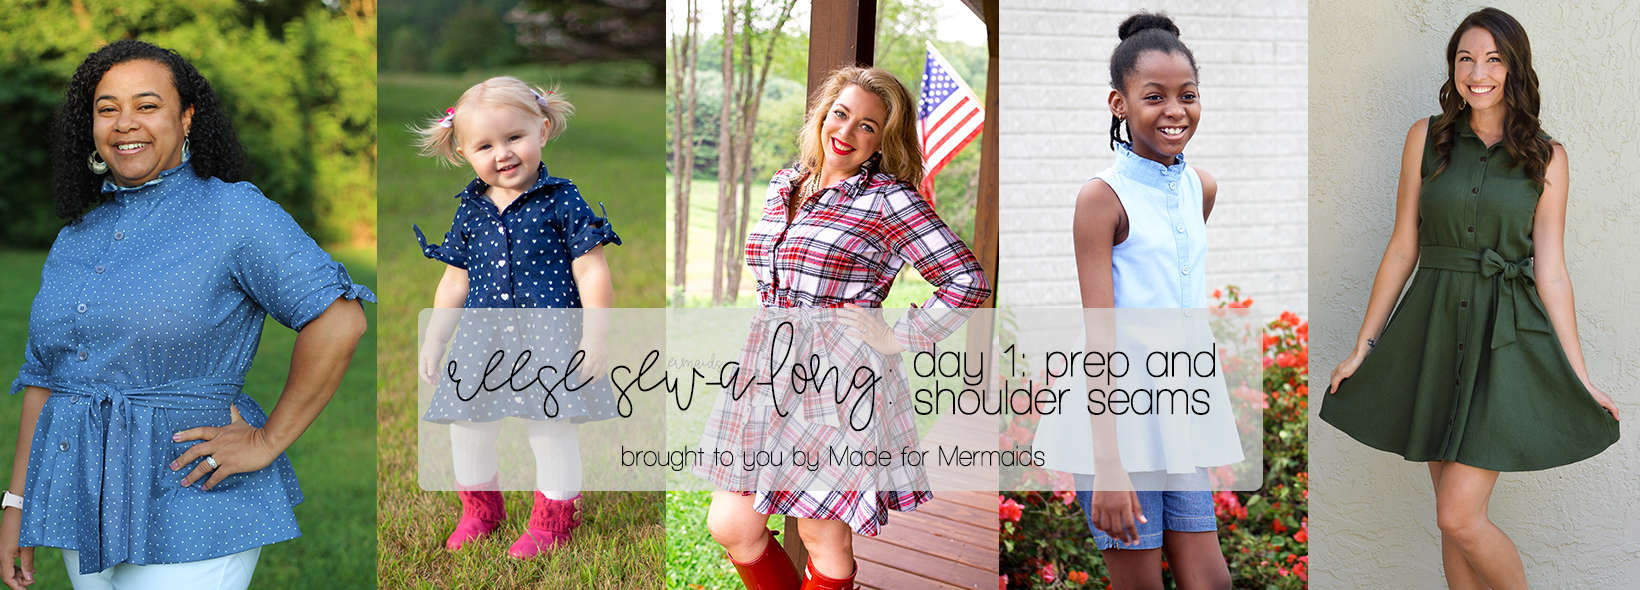
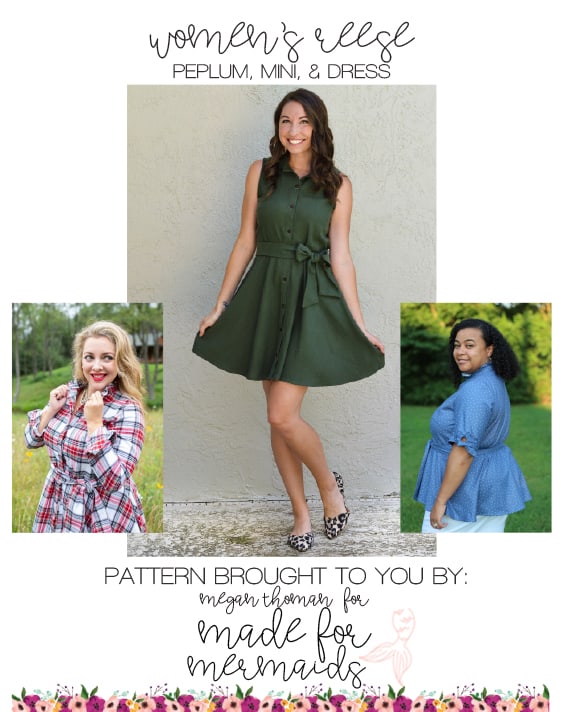
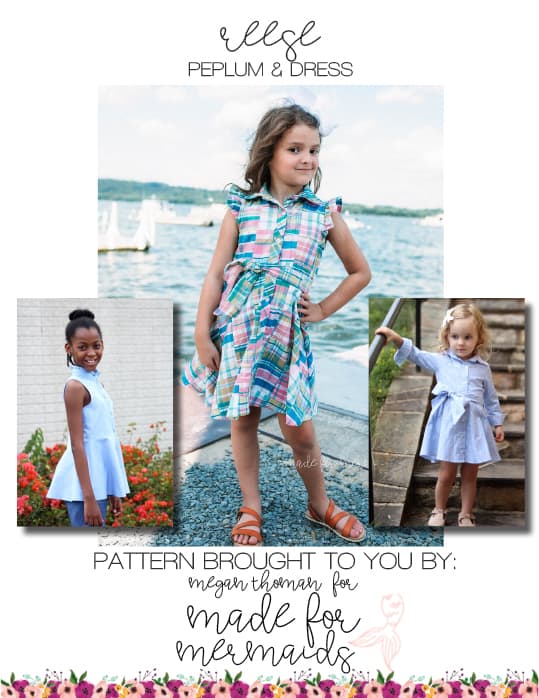
Reese in both Women’s and Youth is so perfect for fall, and really not as difficult as it might seem! The days/steps are a bit longer this week, compared to many of our knit sew-a-longs, but it should all still be doable! As usual, I’ll build in some catch-up time at the end 🙂 I’ll be sewing up the dress version with the traditional collar and elbow sleeves.
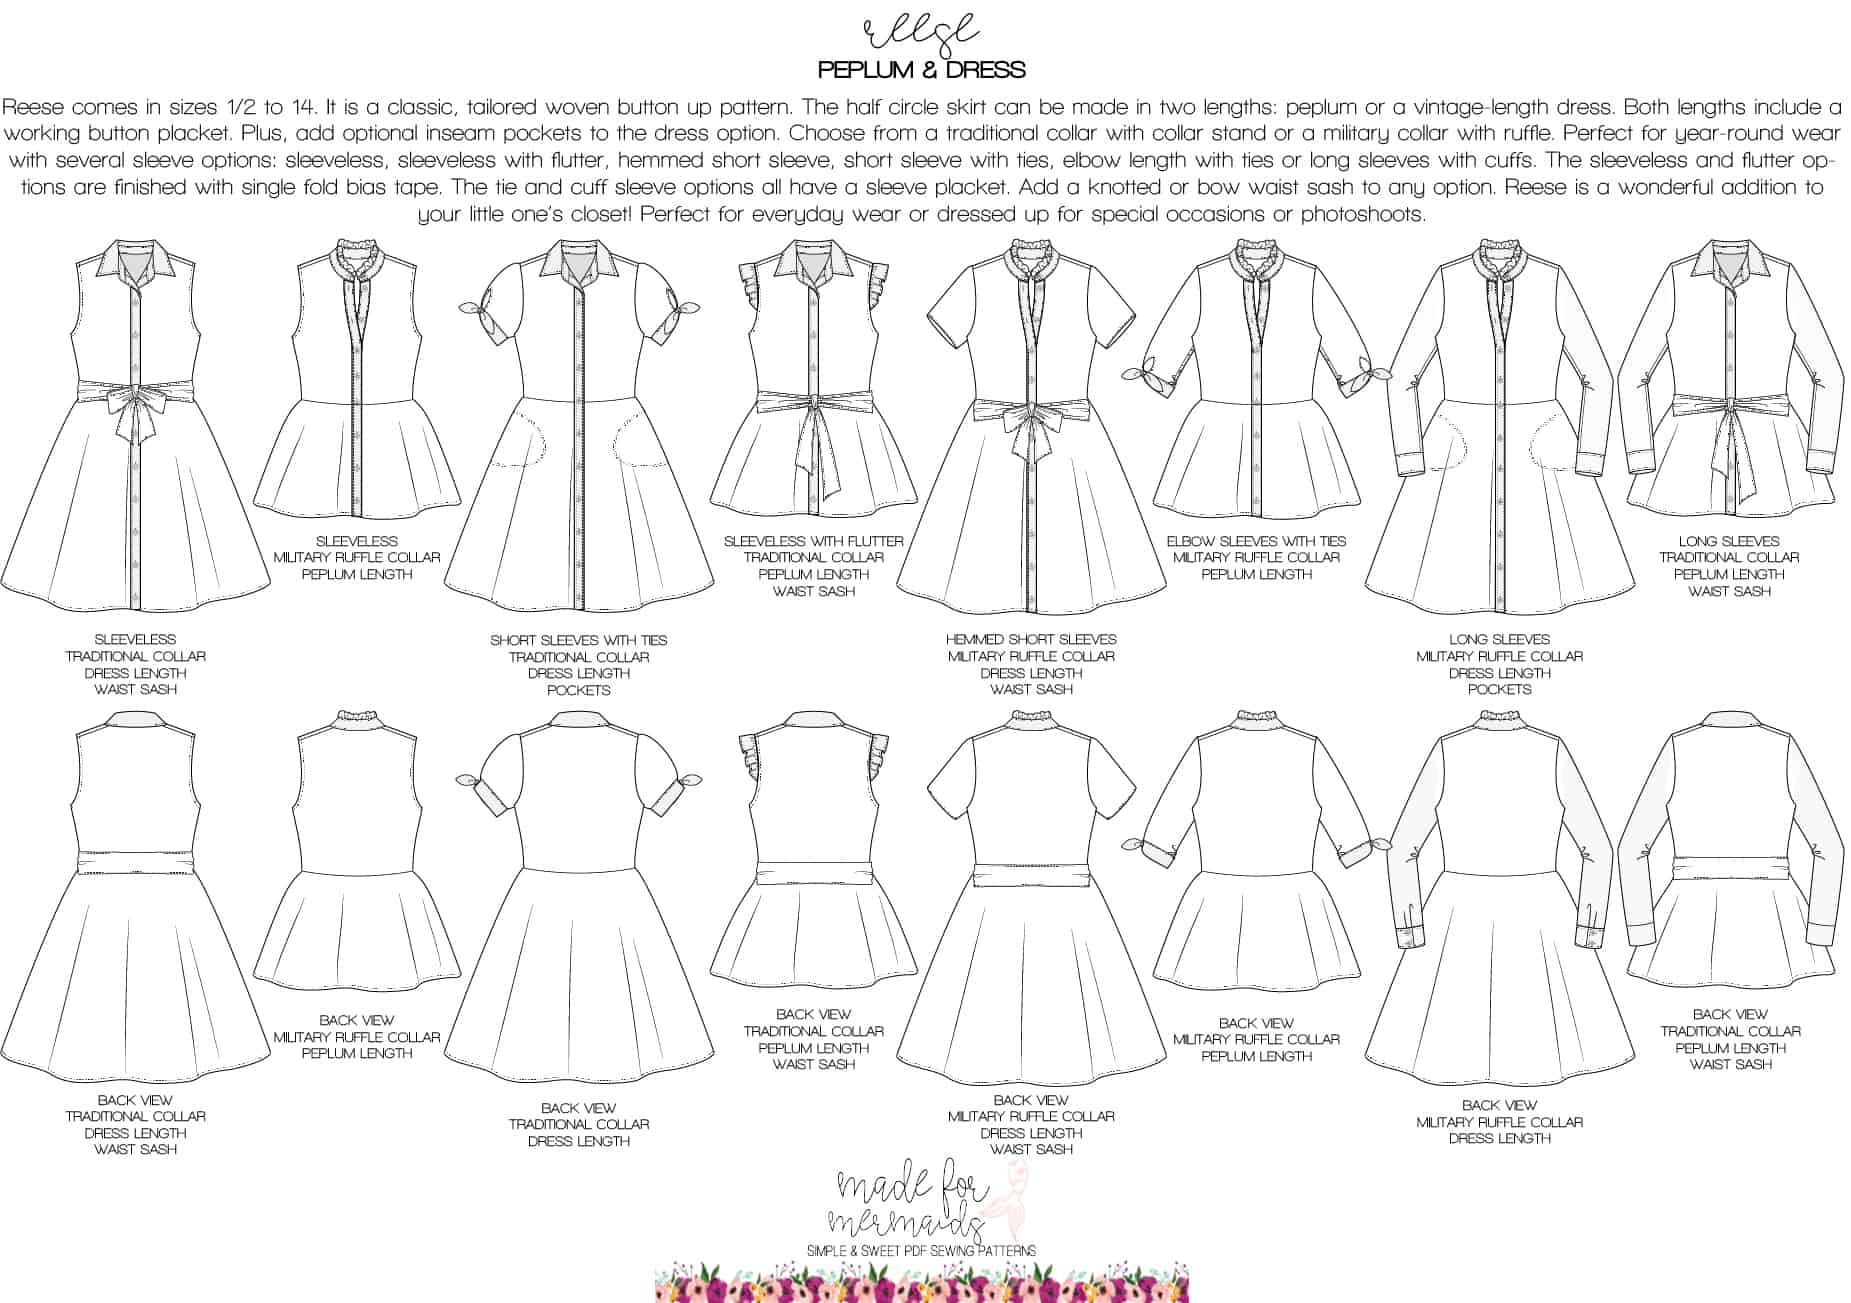
Check out the line drawings below for more info on pattern options, as well as sizing information:
Getting Started:
There is a ton of helpful beginner information between the M4M and P4P blogs, in case you are new to knits, or new to PDF patterns in general:
- New to PDF patterns? Check out our helpful tips here
- New to sewing with wovens? Dana has some great tips here.
- Not quite sure how to measure yourself accurately? Don’t worry; check out the post here!
- Wondering if a pattern is “true to size”? Read more about sizing and intended fit here.
- Having issues printing? Most issues can be resolved by using our FAQs/troubleshooting tips
- Looking for some gathering suggestions? Look no further.
- Looking here for more extensive grading help!
- Not in our official SAL group yet? Join here 🙂
- Wondering if you need a Full Bust Adjustment (FBA) or a Small Bust Adjustment (SBA)? If your upper bust and full bust measurements fall within the same size range, even if you feel you have a “full” or “small” bust, you typically won’t need to do an FBA/SBA. Fortunately, if you *DO* need one, the pieces are already included for you. More info on measuring yourself, and other helpful tips, here!
Day 1:
Our first day is almost exclusively about prep! First, be sure to measure yourself (or the person/people that you are sewing for) accurately. The tutorial includes information about grading and mashing, but you can also check out the blog linked above! This is especially important when working with wovens, since they don’t have the same amount of forgiveness as knits.
After you’ve measured, you’ll want to decide which version/options you’d like to sew up. This will determine which pattern pieces and fabric pieces you’ll need to cut out.
Then, you’ll want to choose your fabric and gather your supplies. Definitely look for apparel wovens for the Reese! If you use a quilting cotton, just keep in mind that it will seem bulkier and it will not drape as well as you might hope. For children, this may not be as important! Be sure to check the tutorial for more fabric suggestion information.
Our other step for today is sewing up our shoulder seams. This is a quick and easy step. Remember to stitch with right sides together, matching up your armscyes. Finish your seam allowances using your preferred method – I use my serger with the knife disengaged to finish the seams.
Bust Dart (Women’s Version Only):
NOTE: You can also do this tomorrow before sewing your side seams, if you prefer.
If you’re making the Women’s version of Reese, hopefully your bust dart is marked already from when you cut your fabric pieces out! If not, it’s not too late 🙂 Pages 12-13 of the written tutorial give explicit directions for sewing these up.
- Mark (DO NOT CUT) the dart on the wrong side of your bodice piece
- Repeat on other side, making sure you have mirror images
- Pinch the “legs” of the dart, with right sides together (see photos on page 13 of the tutorial)
- Pin along dart legs
- Stitch along marked dart until you get to the tip of the dart
- Do not back stitch; instead, leave thread tails and secure with a knot
- Press dart down toward waist
Additional notions/supplies:
- fusible interfacing – you’ll need this for the placket, and the collar stand/collar
- wash away stabilizer – this is great for constructing buttonholes/attaching buttons
- buttons or snaps
- bias tape if you are not making your own binding
- button hole attachment + your sewing machine manual/videos for your specific machine – NOTE: a button hole attachment is the preferred way to construct the button holes since it will give you a cleaner, more consistent finish, but I did the button holes with the regular sewing machine foot for those of you that might need to do the same. If you’re using your button hole attachment, check out your manual for specific information for your particular machine 🙂
- OPTIONAL – tape for keeping buttons in place
- OPTIONAL – aluminum sewing gauge – extremely helpful for spacing out buttons, but don’t panic if you don’t have one
Next, go ahead and print your pattern! Be sure to print a test page and measure your 1″ square before you print the whole pattern. Once you’ve got your pattern pieces printed and assembled, go ahead and cut out your fabric so you are all ready for day 2. Remember that even if your pattern is only off by 1/16″, that’s 1/16″ PER INCH, not total. Definitely reprint if you notice your test square is off!
Don’t forget:
- Make sure you are taking an accurate and consistent seam allowance; seam allowance is already included on all pattern pieces.
- Be sure that your pieces are cut on the fold or as mirror images, however it’s indicated on the paper pattern piece
- There are a LOT of pages; be sure to make use of the print chart at the end of the written tutorial to conserve paper and ink!
- Get friendly with your iron; pressing often will make a big difference in how polished your garment looks
- When you’re grading, be sure to add/subtract length to front AND back pieces as applicable
Want to sew along with me? Check out today’s video! For reference, I have the following pattern pieces:
- BODICE – two front bodice pieces (mirror images), one bodice back (fold)
- SKIRT – two front skirts (mirror images), one skirt back (fold),
- COLLAR – two stands (mirror), two main collar (mirror), one stand interfacing, one main collar interfacing
- PLACKET – two (mirror)
- SLEEVES – two sleeves (mirror), four sleeve ties (fold), two sleeve placket pieces
- INTERFACING – collar stand, collar, placket x 2
Depending on your options, you may have additional/fewer pieces – military collar/ruffle, binding for sleeveless option, SBA/FBA, etc.
If you have questions about measuring yourself, printing, putting your pattern together, or cutting your fabric, you are always welcome to post in our SAL group so we can help you! Be sure to check in each day during the SAL, and look for daily posts to enter our giveaways. We can’t wait to see what you create this week!

DAY 1: PREP + SHOULDER SEAMS
DAY 2: BODICE SIDE SEAMS, SKIRT SIDE SEAMS, ATTACHING SKIRT, + PLACKET
DAY 3: COLLAR + HEMMING
DAY 4: SLEEVE PLACKET, SLEEVE TIES, + ATTACH SLEEVES
DAY 5: BUTTONS + BUTTONHOLES
DAY 6: OPTIONAL: OPTIONAL WAIST TIE + CATCH UP
OUR SPONSORS:
So Sew English has some great woven fabric options for Reese! Head on over to So Sew English to check out their selection.





Leave a Reply