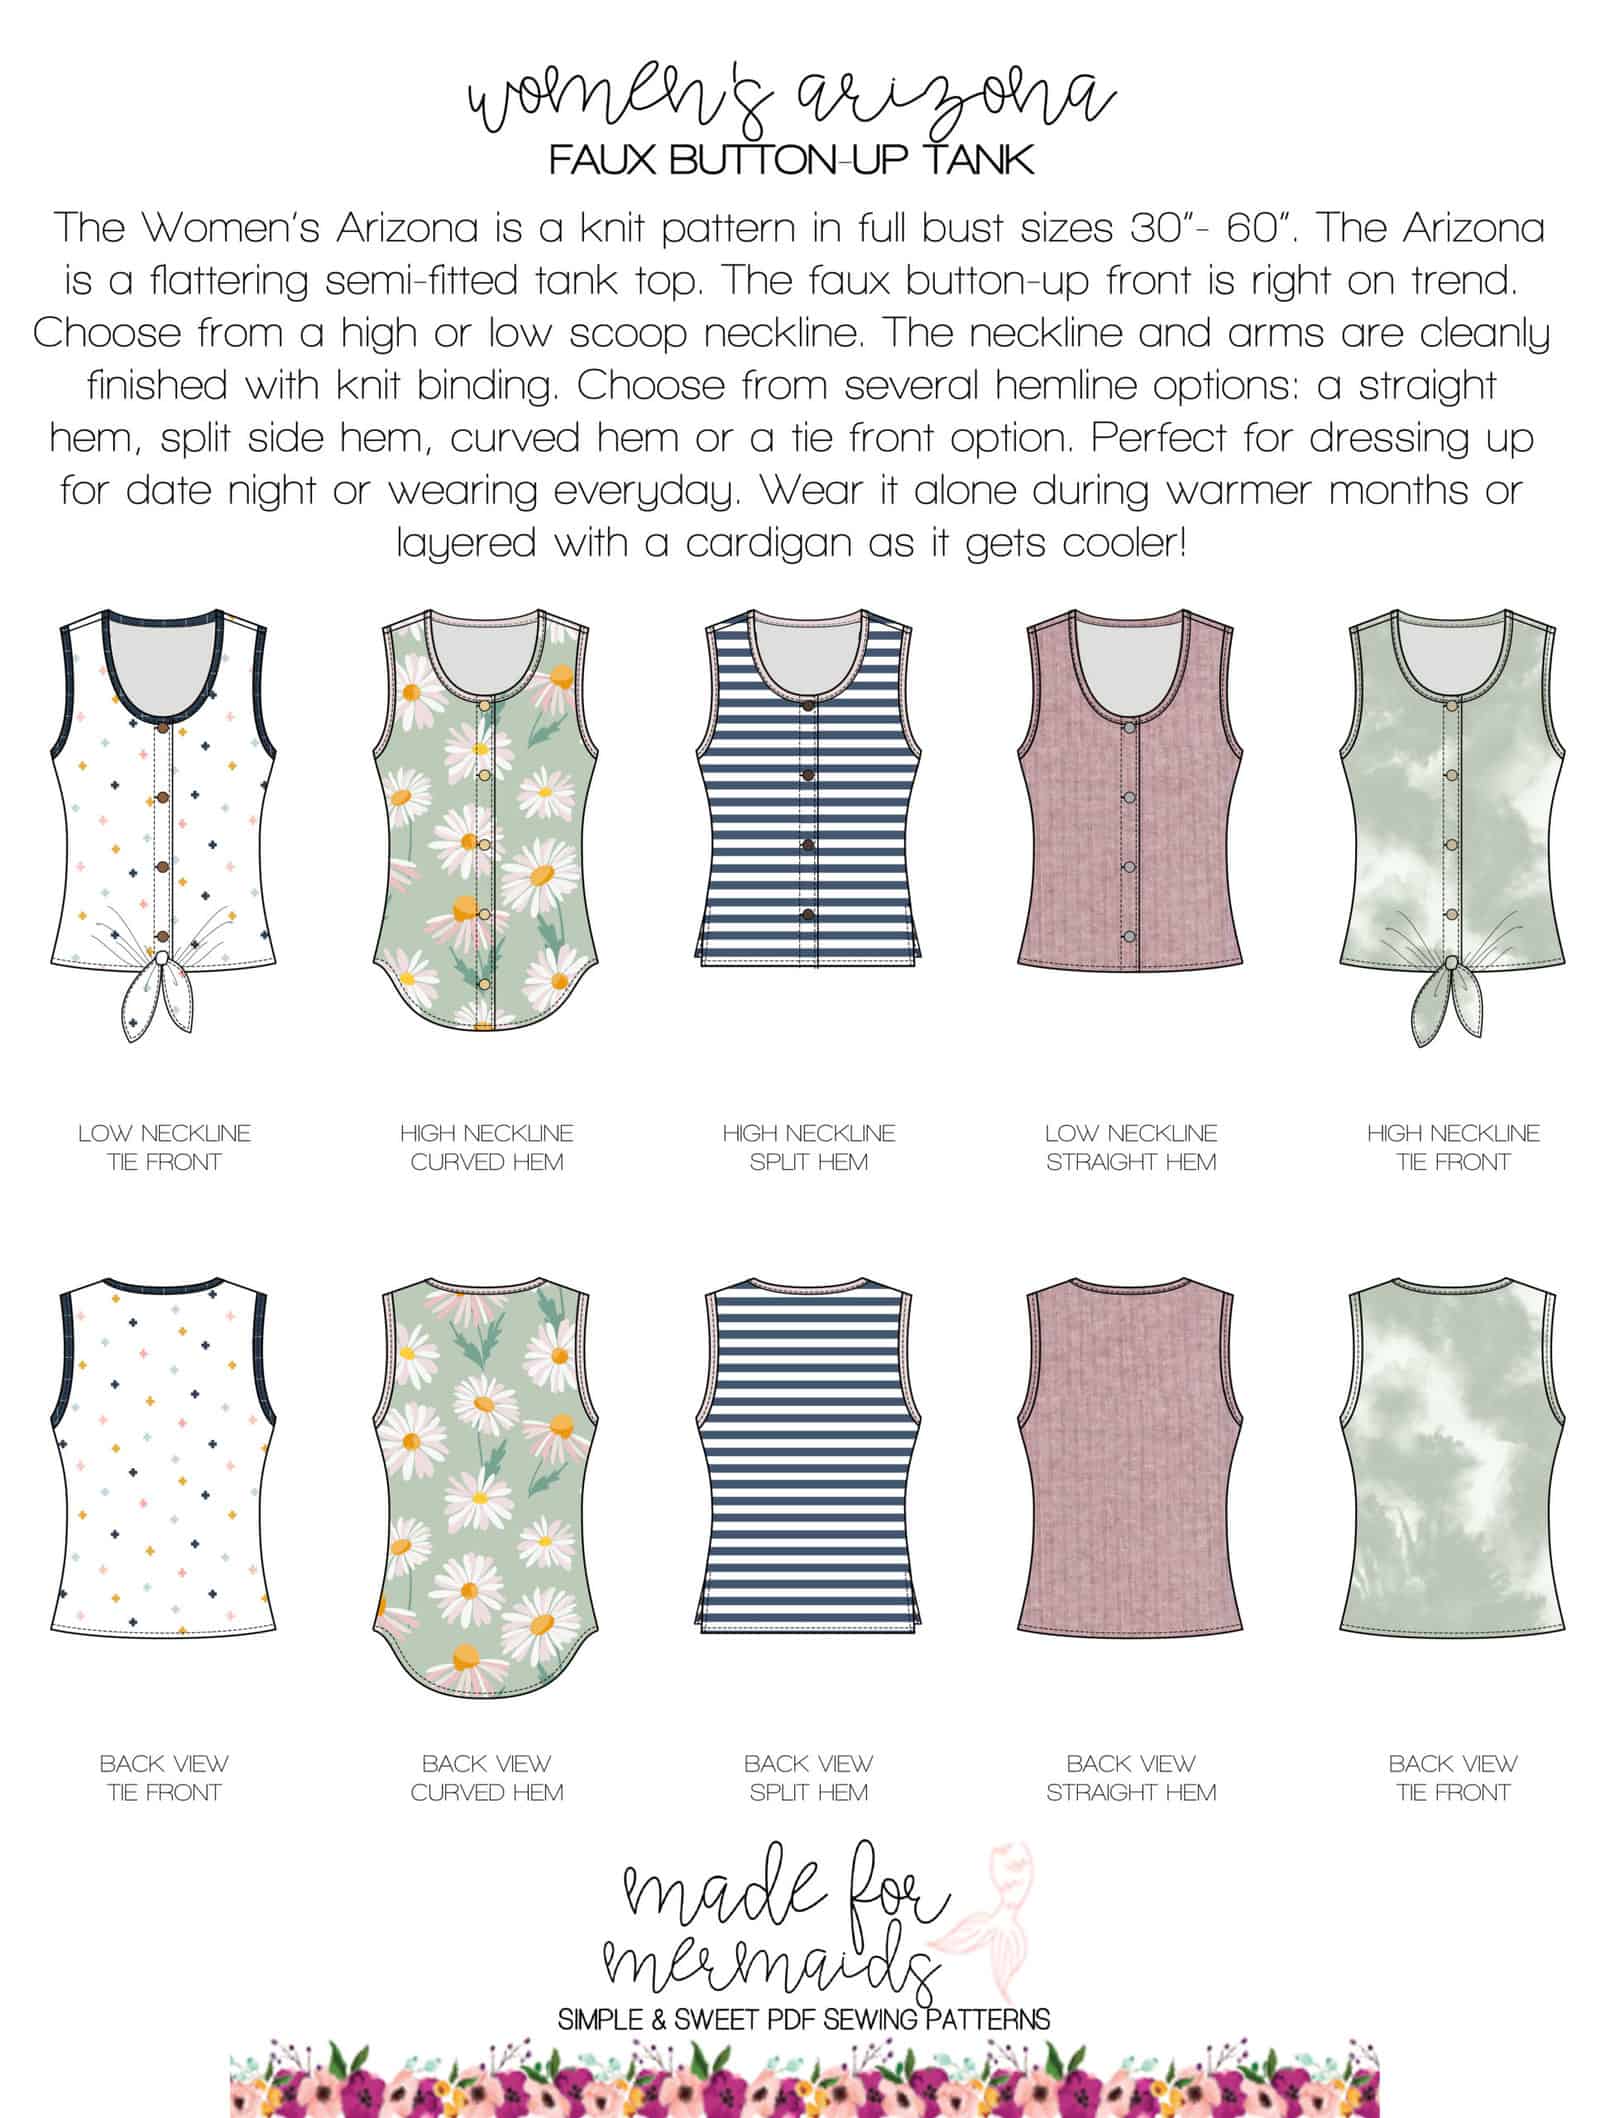
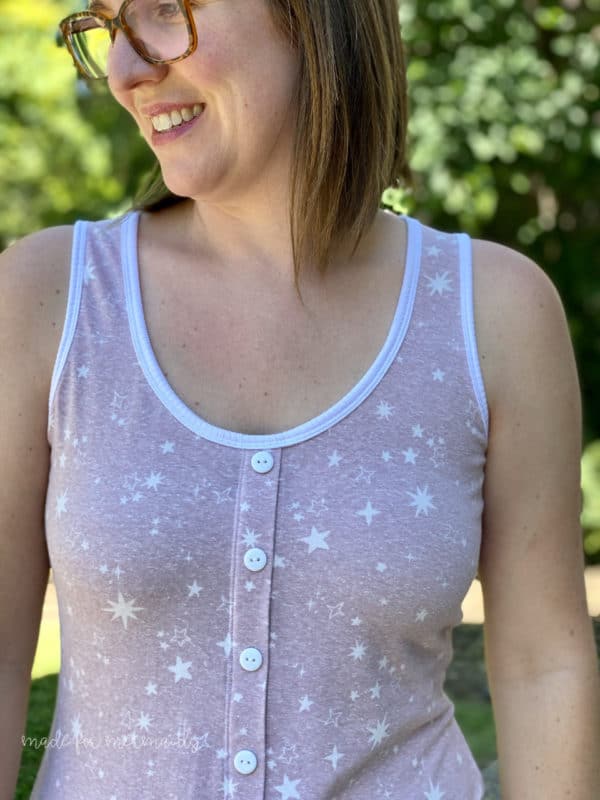
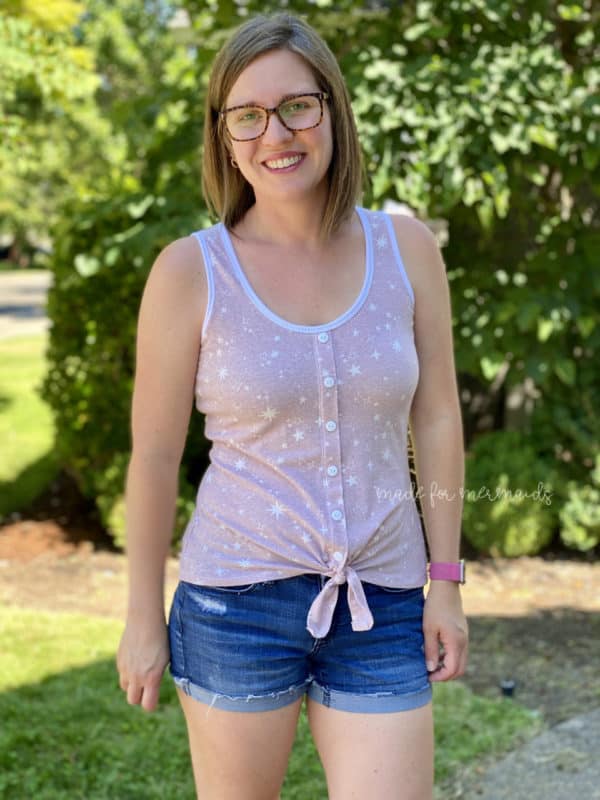
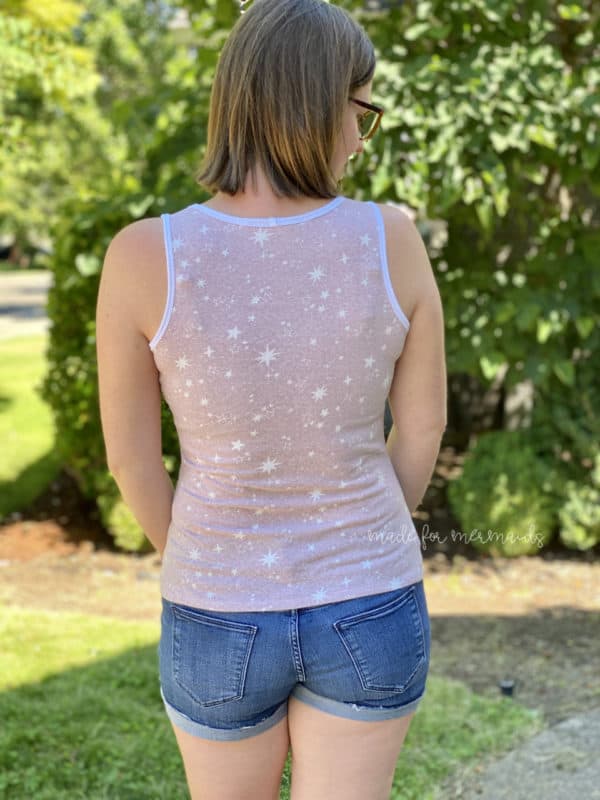
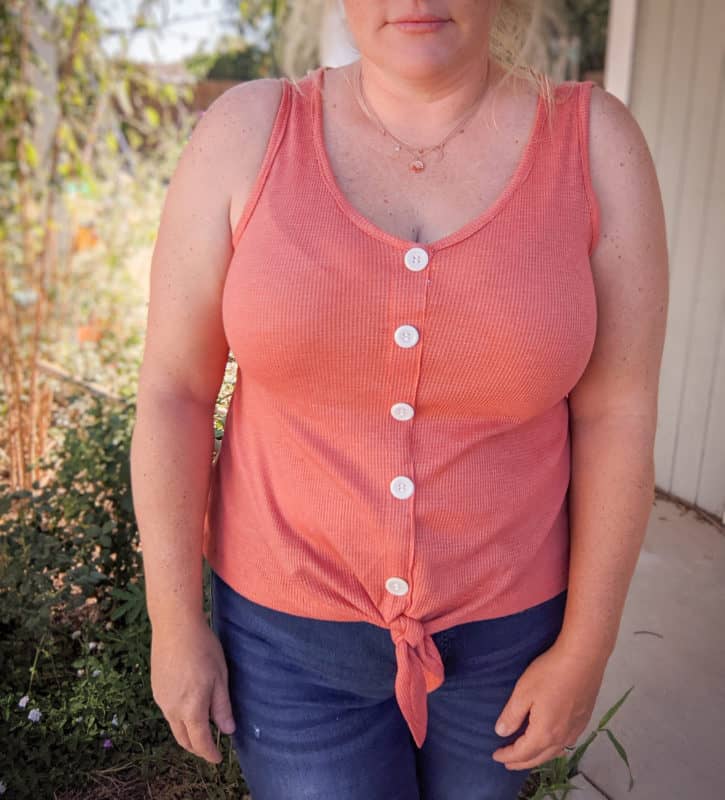
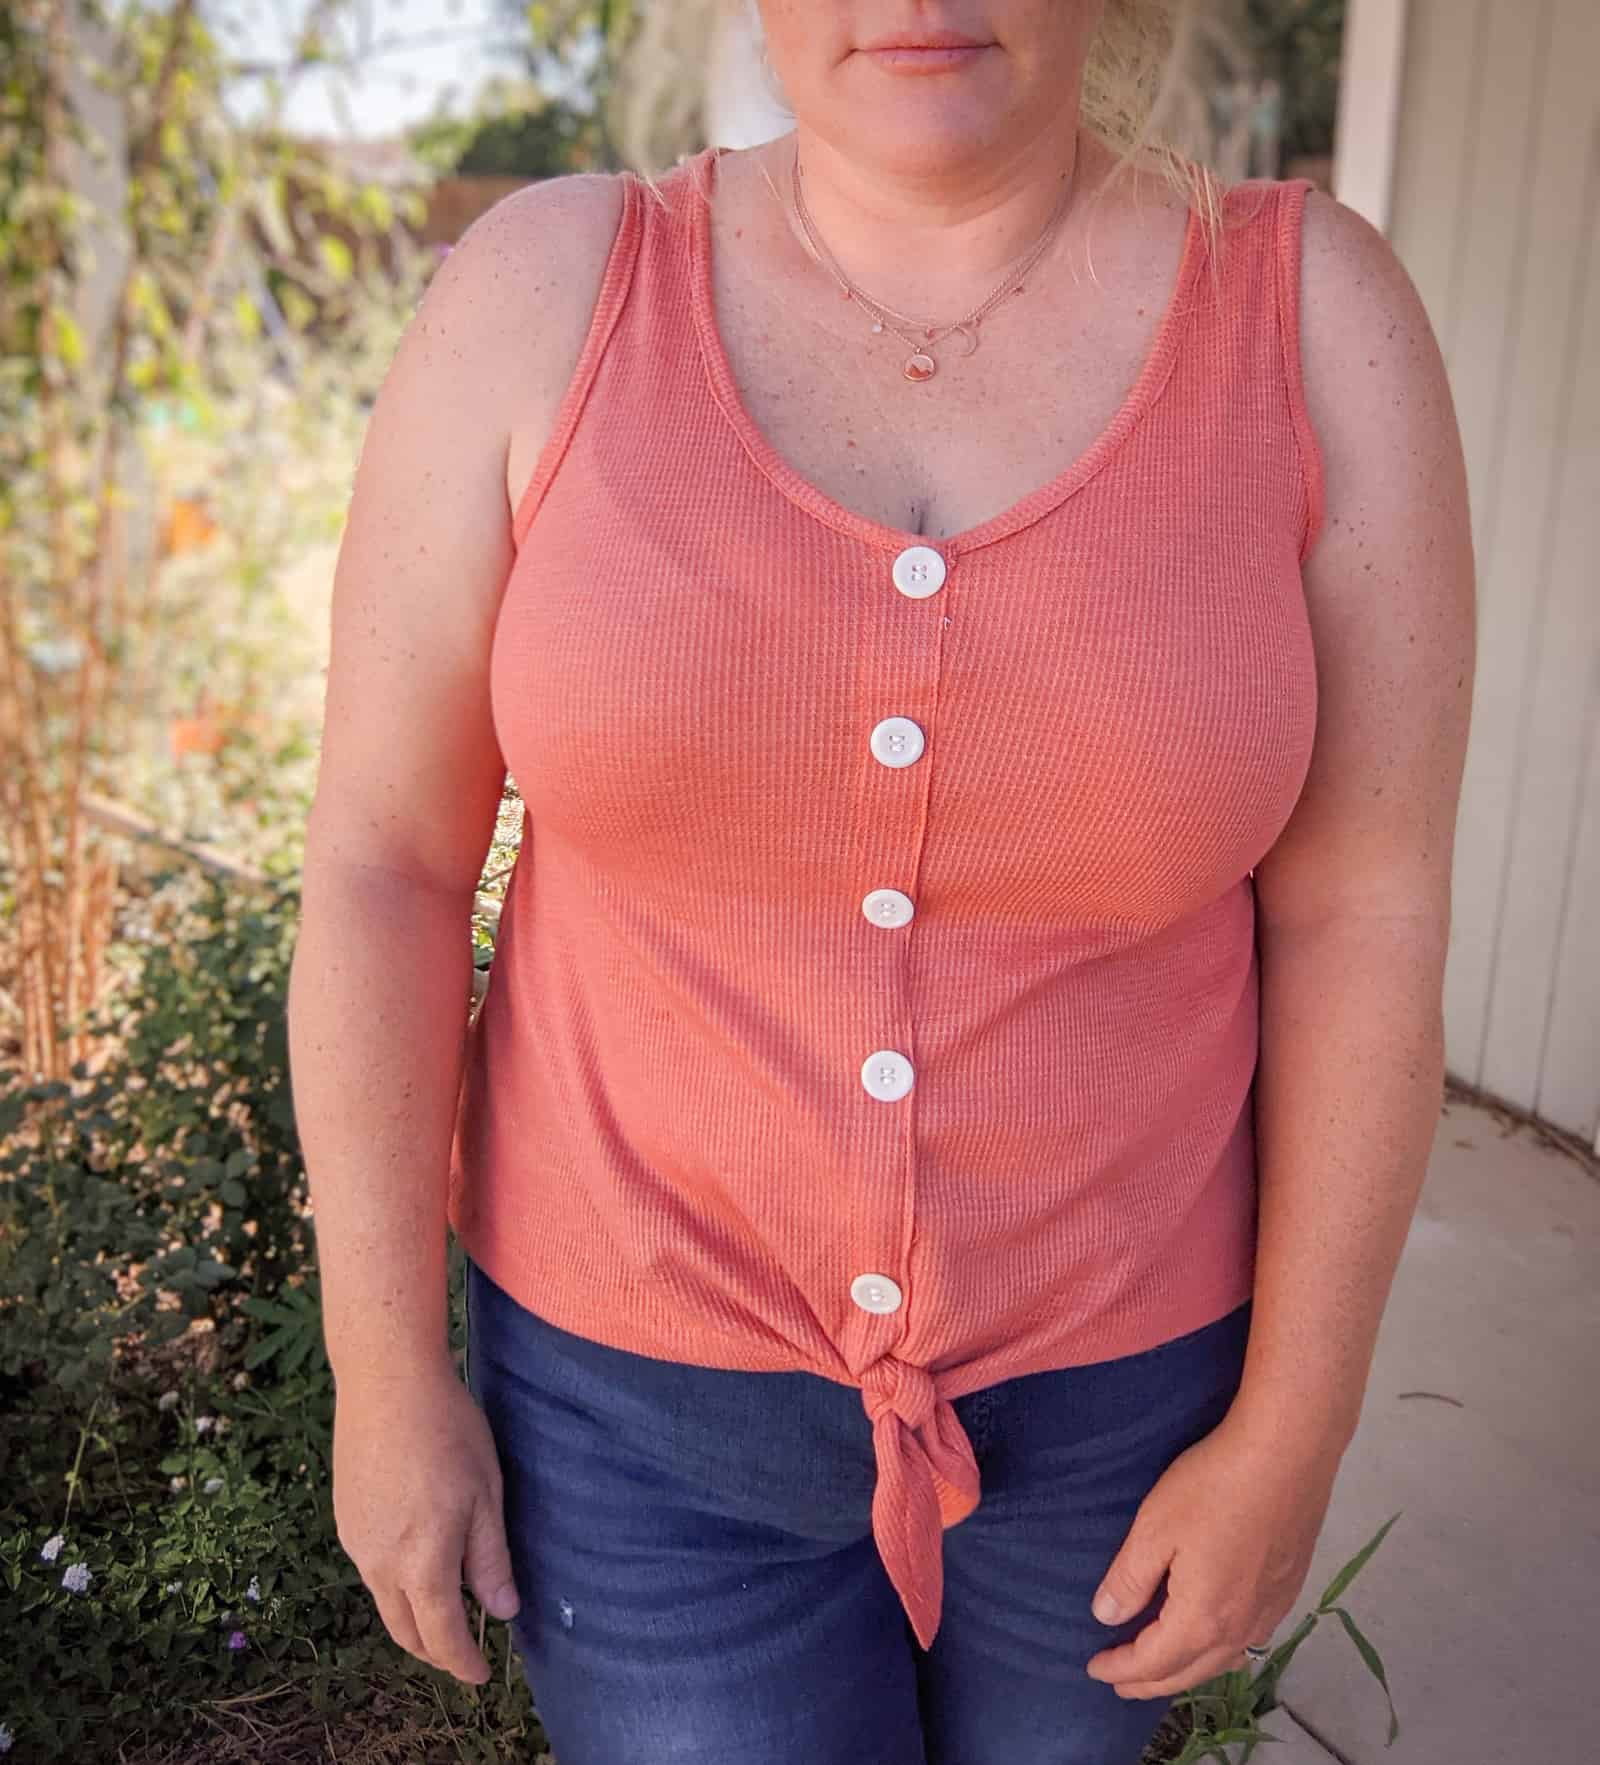
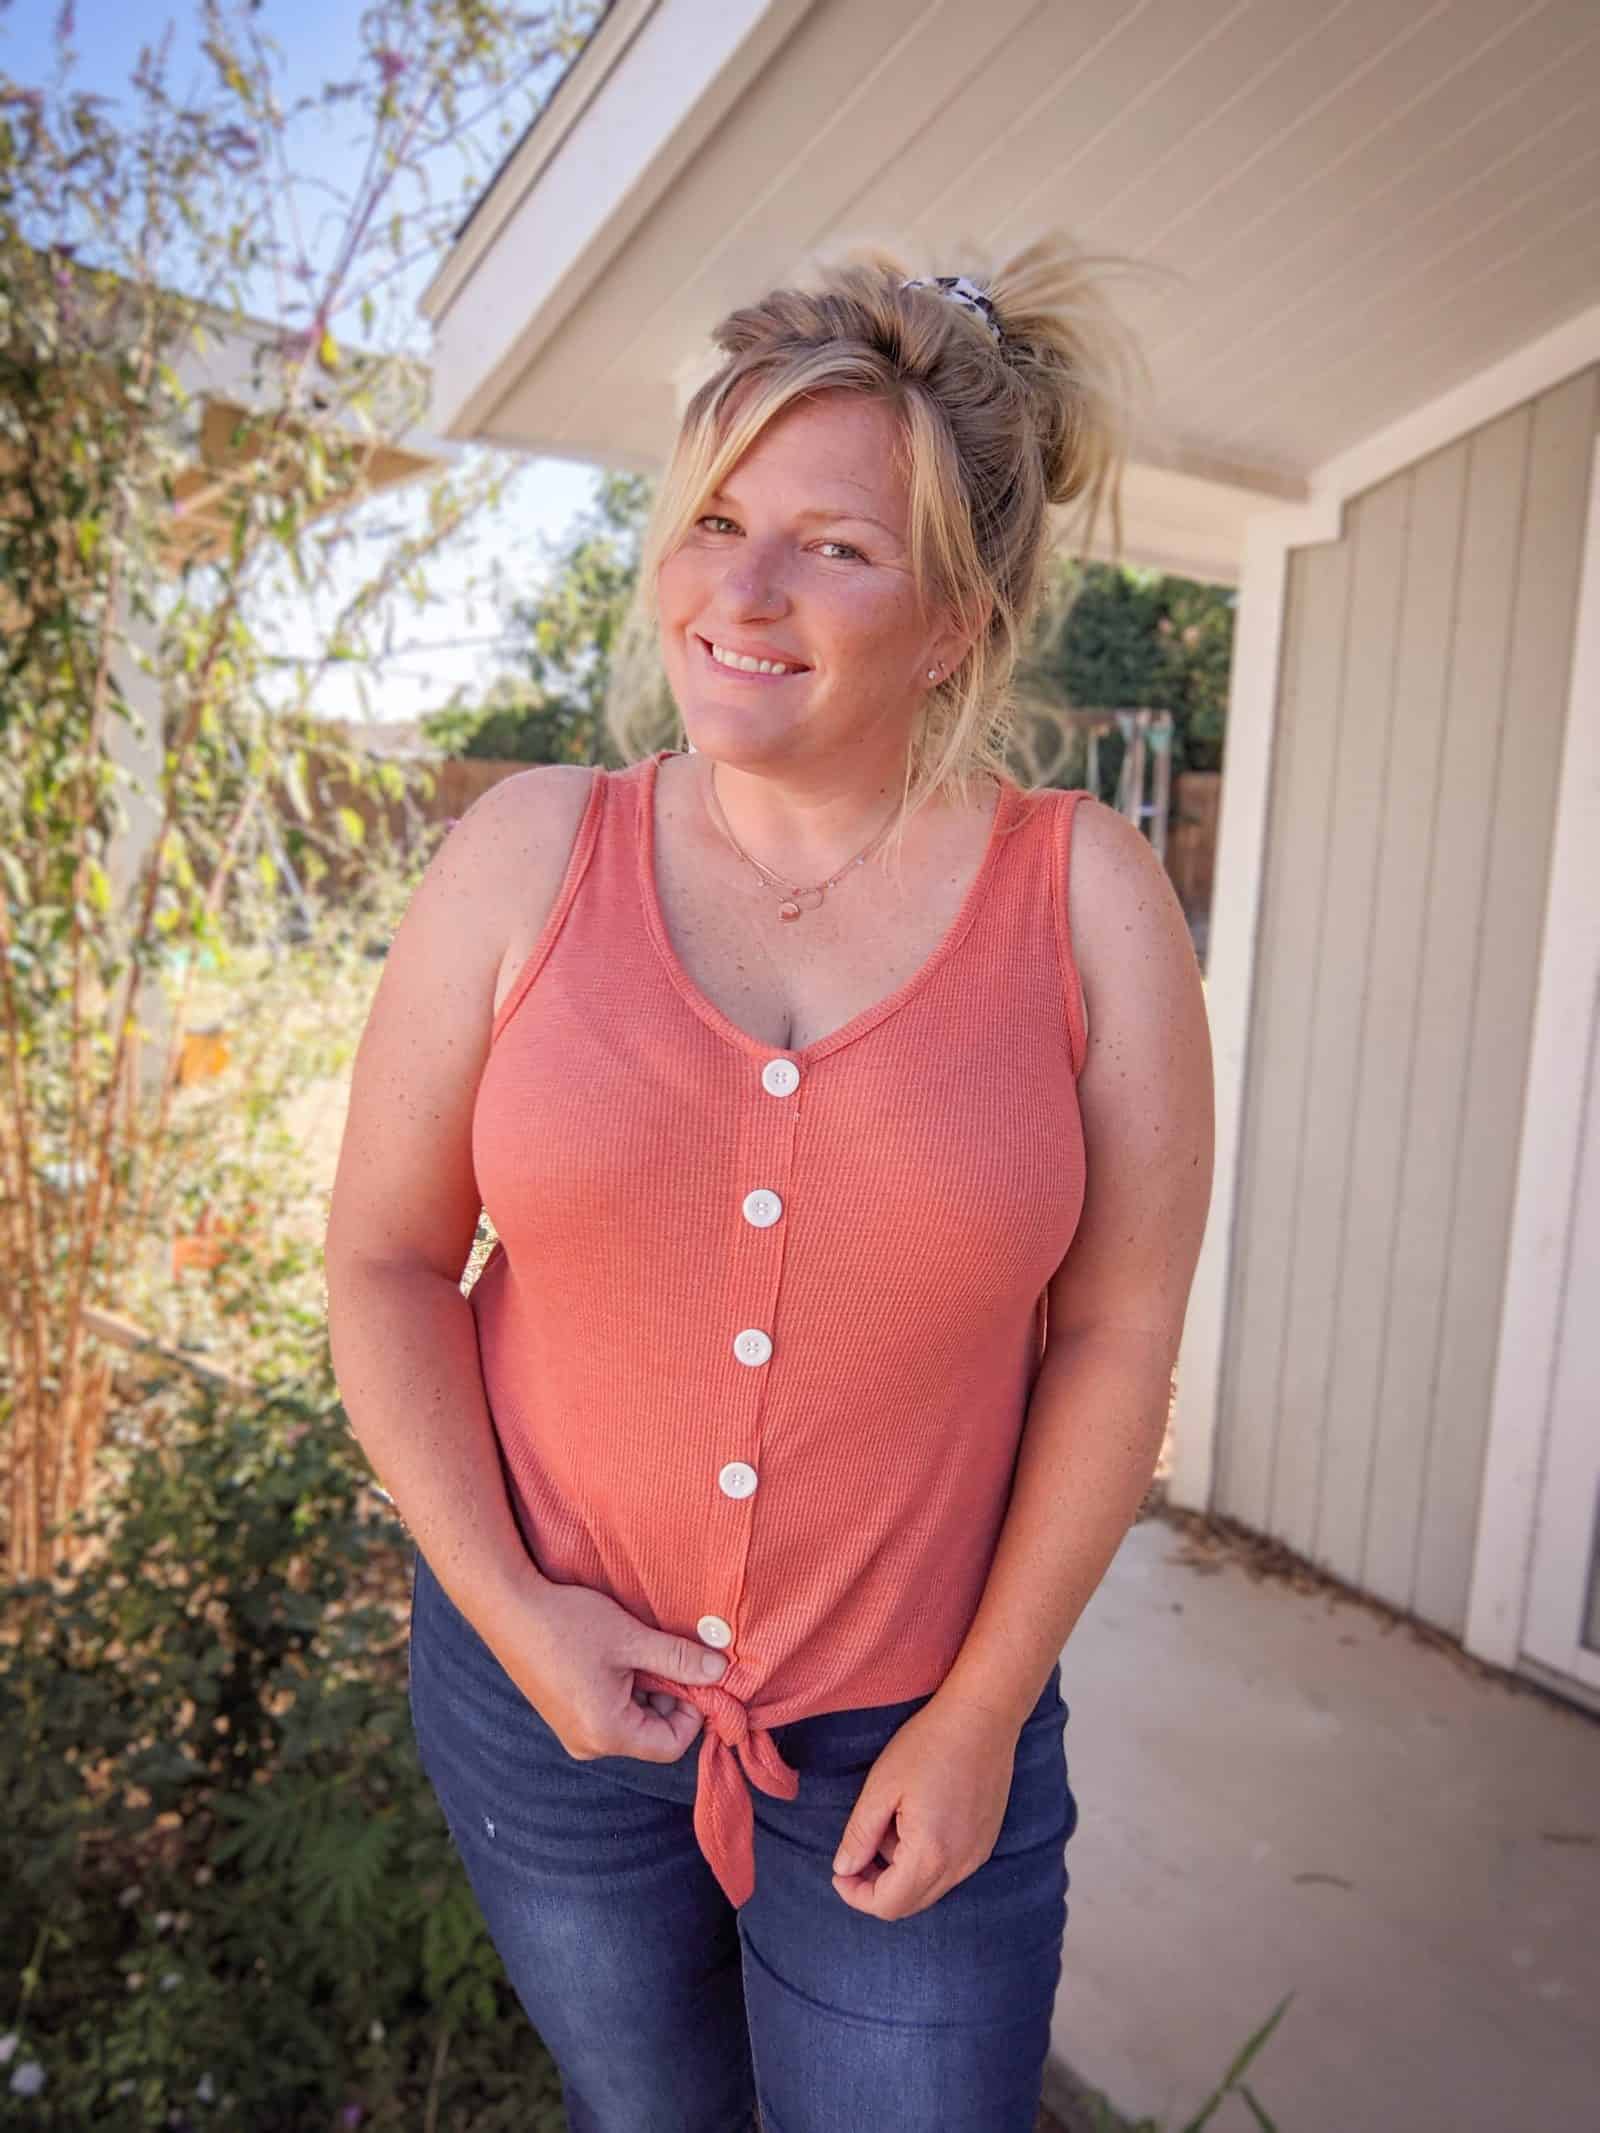
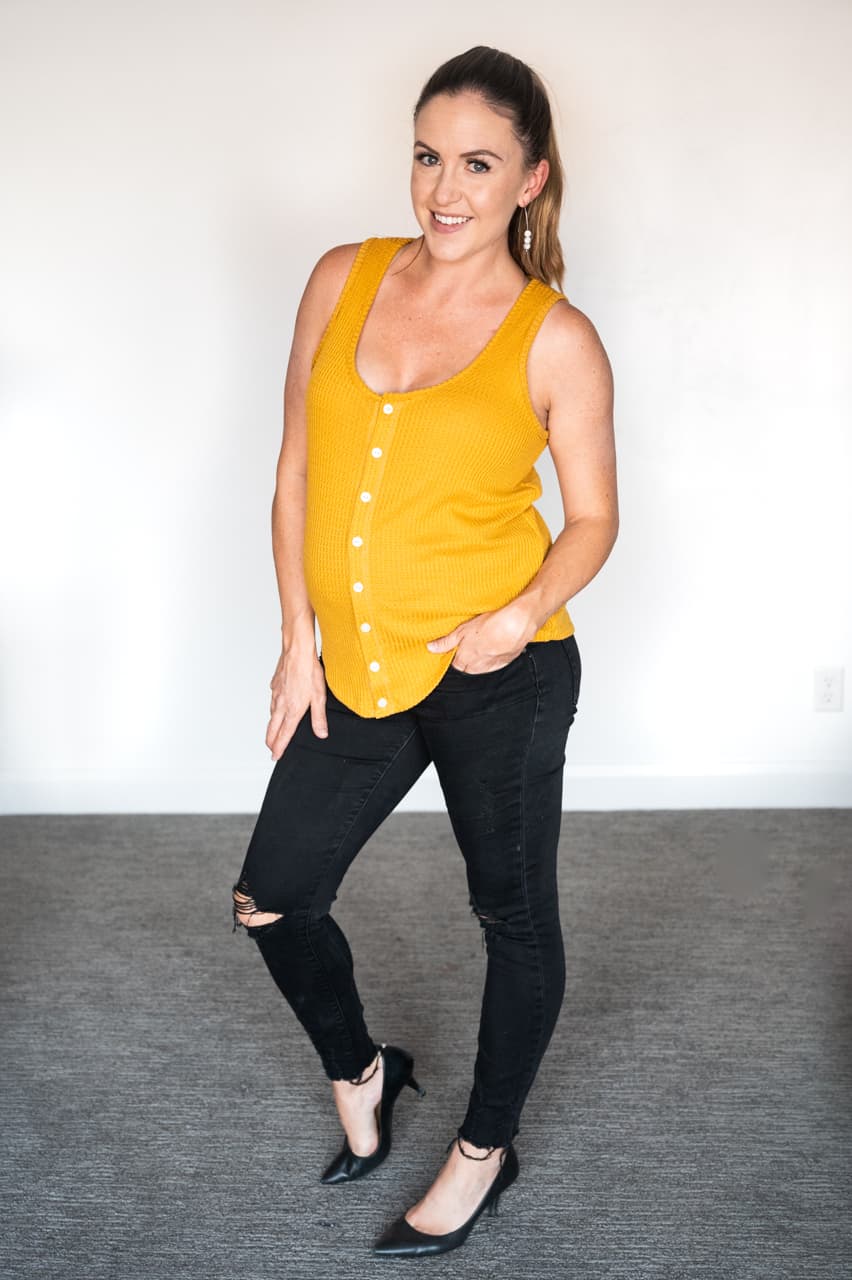
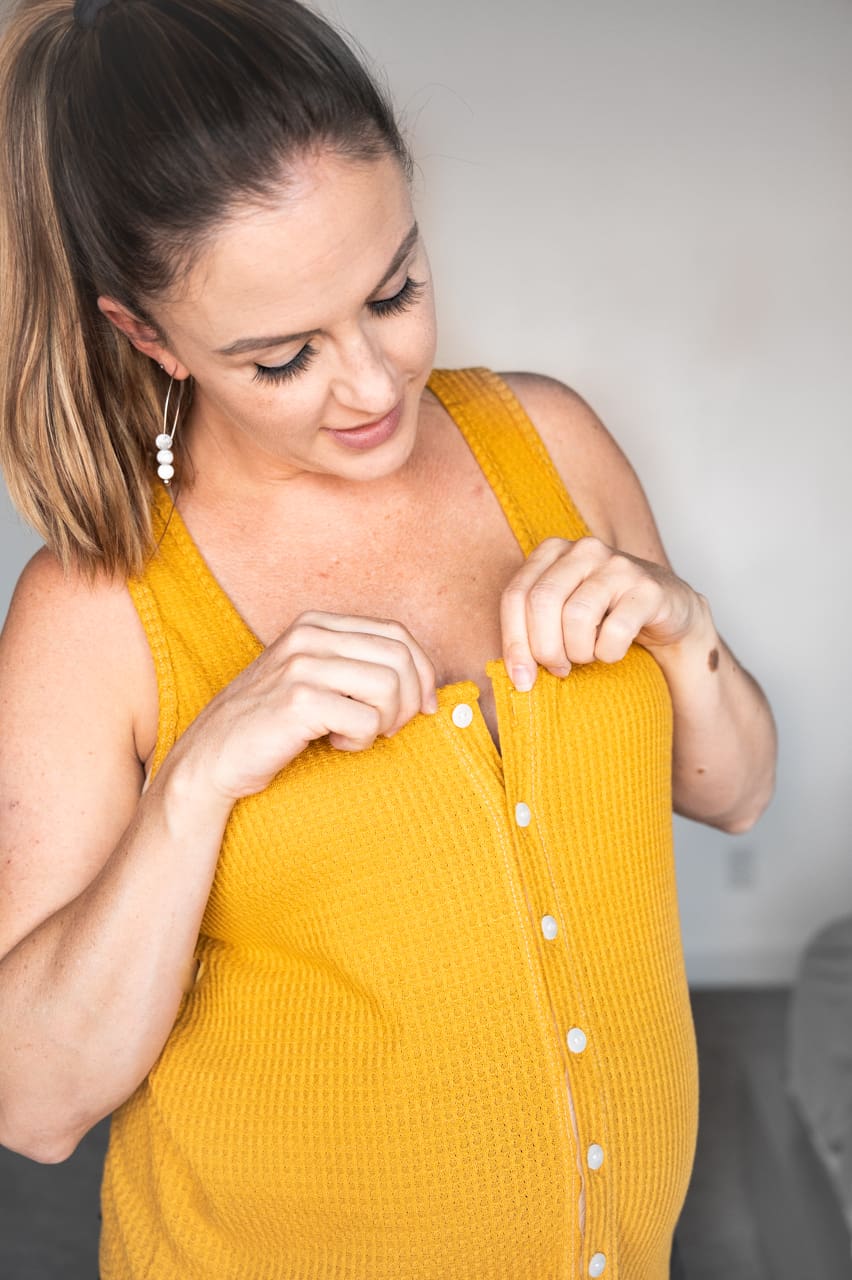
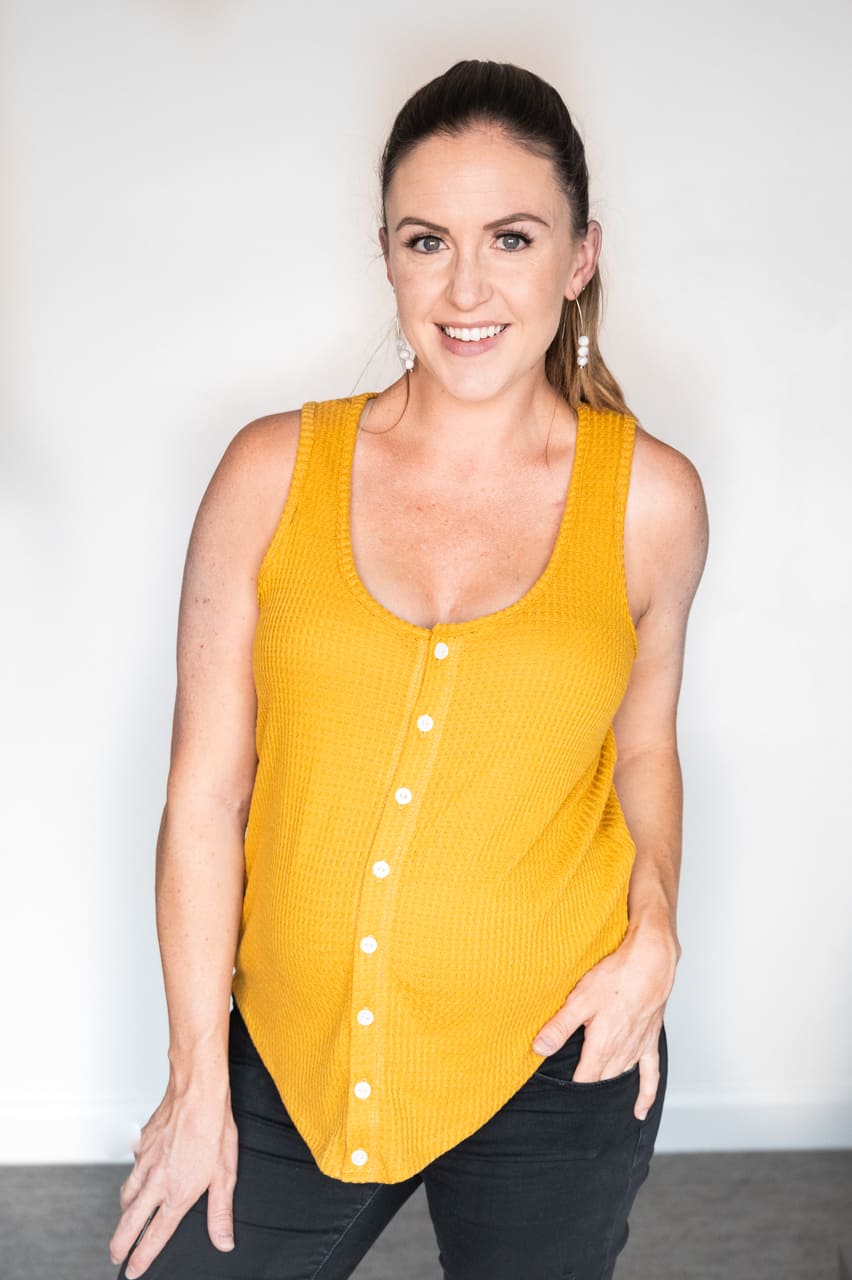
Love Brenda? Love Tess? Hate sleeves? Well, then Arizona is PERFECT for you! With the boutique-feel faux-placket like Brenda, and a fit similar to Tess, Arizona is the tank we are loving for this summer! Arizona is a semi-fitted faux button-up knit top with a binding finish.
It’s drafted for knit fabrics with at least 50% stretch and good drape – our favorite fabrics for this tank include rib knit, sweater knit, *some* brushed poly, waffle, rayon French Terry, cupro, etc. Binding fabric should have 75% stretch, as well as good recovery. All of the options include buttons, although you could swap the buttons for snaps if you’d prefer. Hem options for Arizona include tie front, straight hem, shallow curved hem, and a split hem.
Available in Women’s and Youth sizing, Arizona is sure to be a hit at your house during these warmer months.
Closed Neckline Hack
When I first saw Arizona, I didn’t realize it had a faux open neckline. I assumed it was a closed neckline done in the round but nope, that’s this hack! It’s a simple hack to do but does change the steps for assembly a bit. I’ll show you exactly what you need to do below.
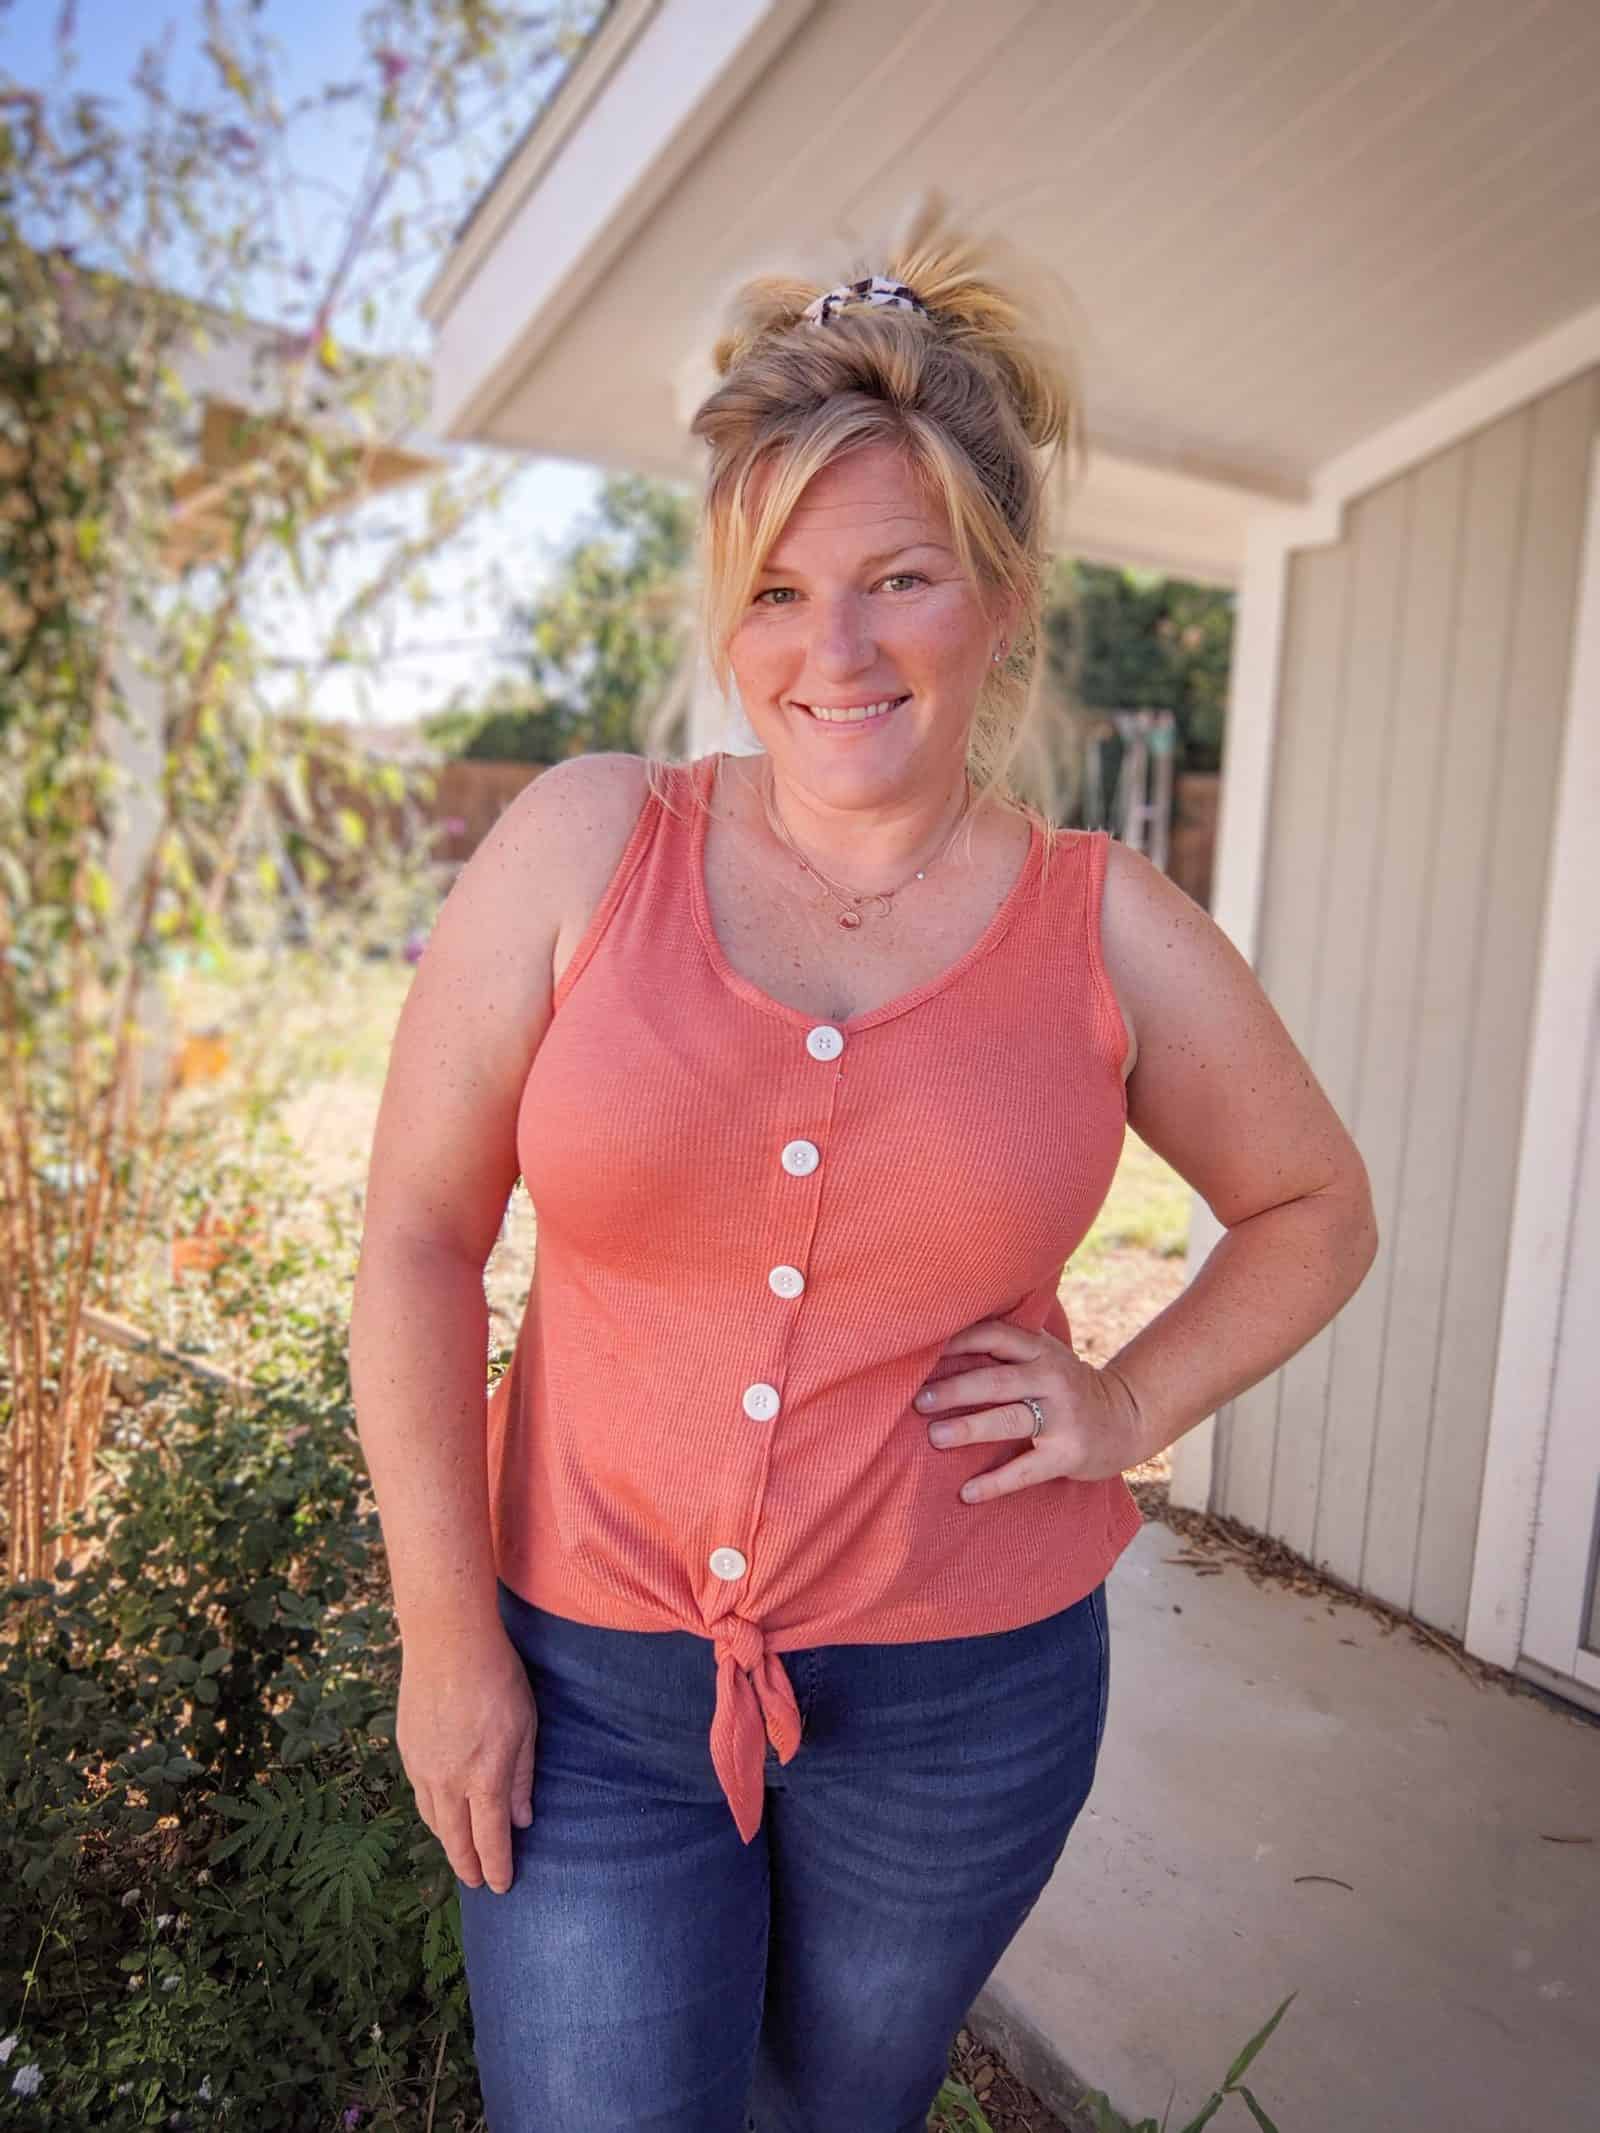
This hack works for either the low or high neckline and any of the hemlines. My example is the low neckline with a tie front. To start, cut all your pattern pieces exactly the same with the exception of your neckline binding piece. Cut that 1″ shorter. NOTE: This pattern piece is cut on the fold so if you are cutting on the fold, only remove 1/2″ since that will take 1/2″ off each end for a total of 1″.
Follow the steps in the tutorial through adding the armscye binding. With the open neckline construction, you would now work on the neckline. We are going to do that last and instead skip ahead to securing the front.
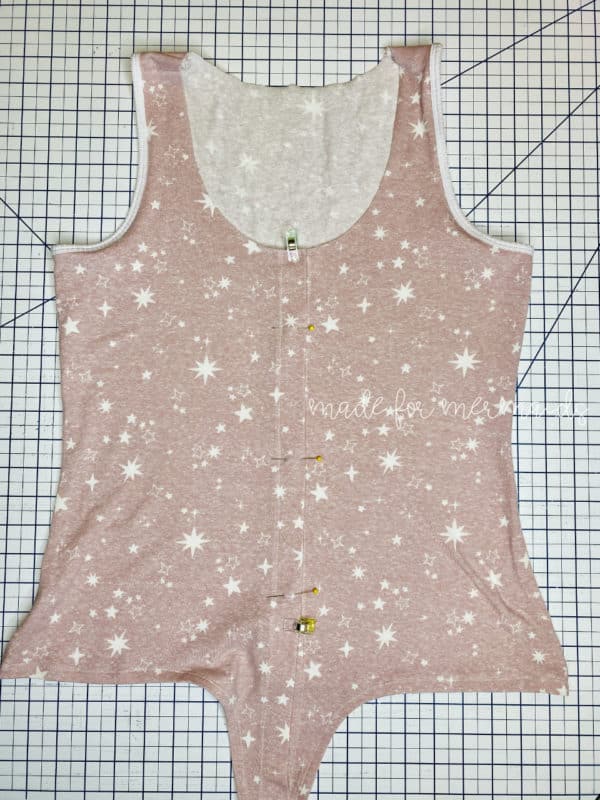
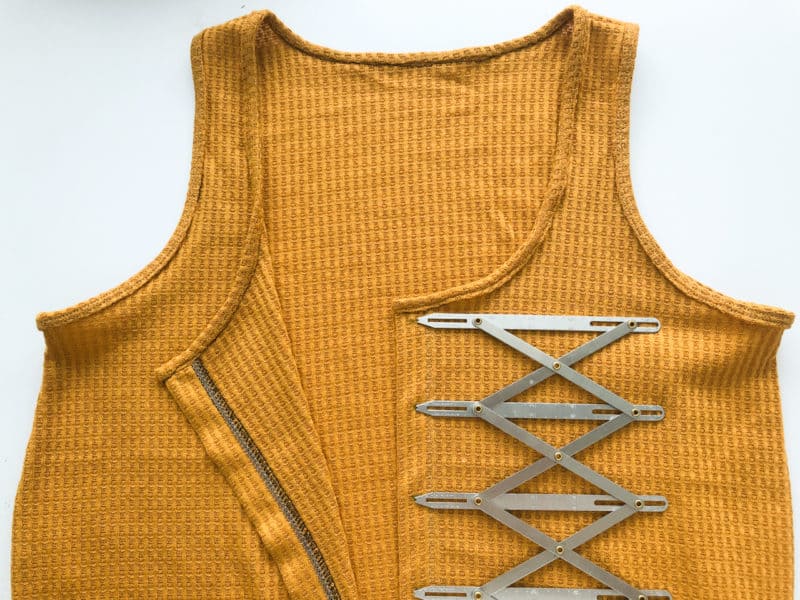
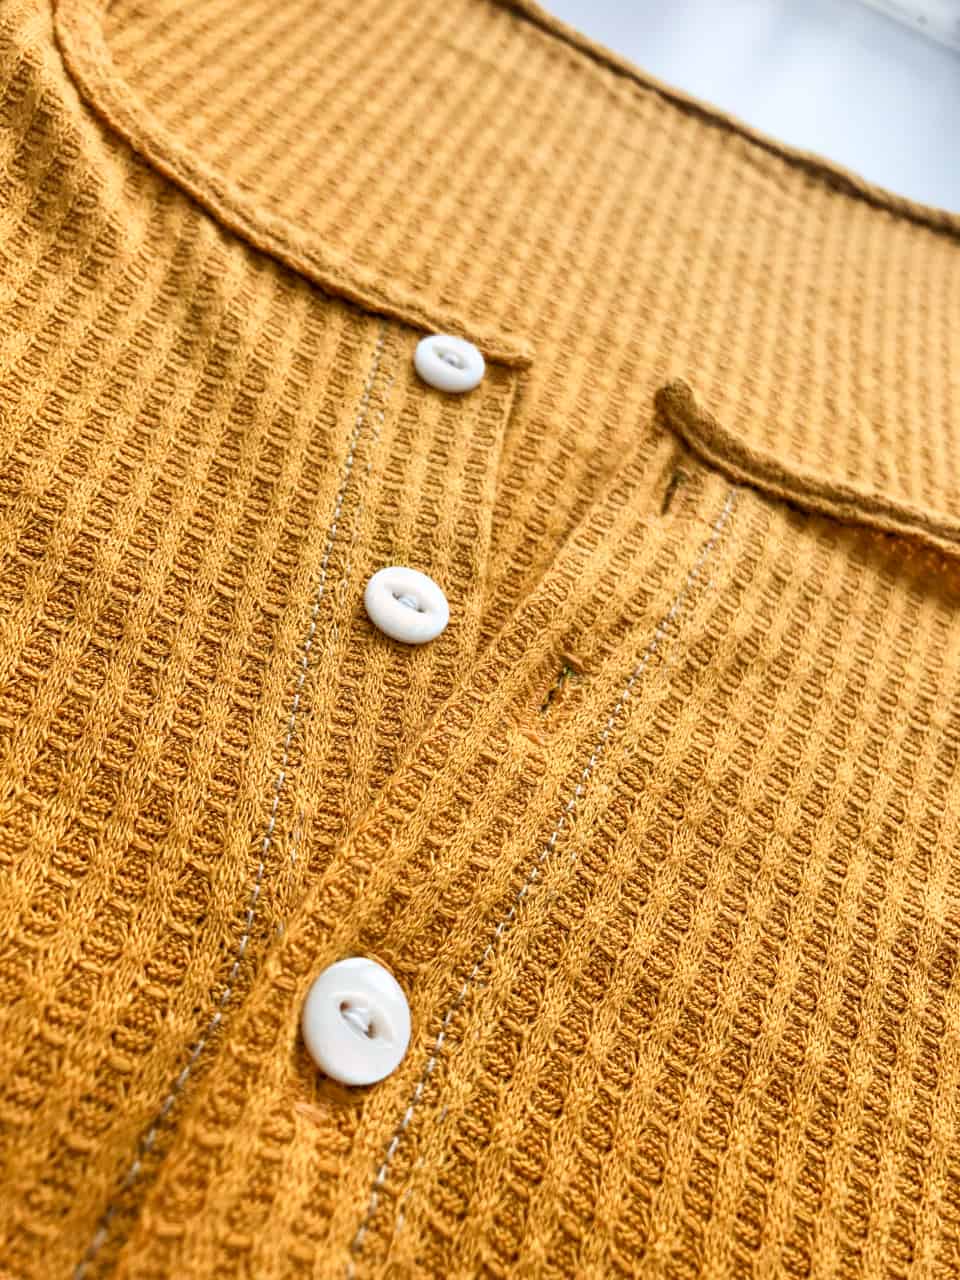
Line up your front bodice pieces overlapping 1″. I’ve pinned the overlap and added a clip where I will stop stitching to allow my tie front to tie. Stitch 1/8″ from the edge to secure the front in place, backstitching at the beginning and ending.
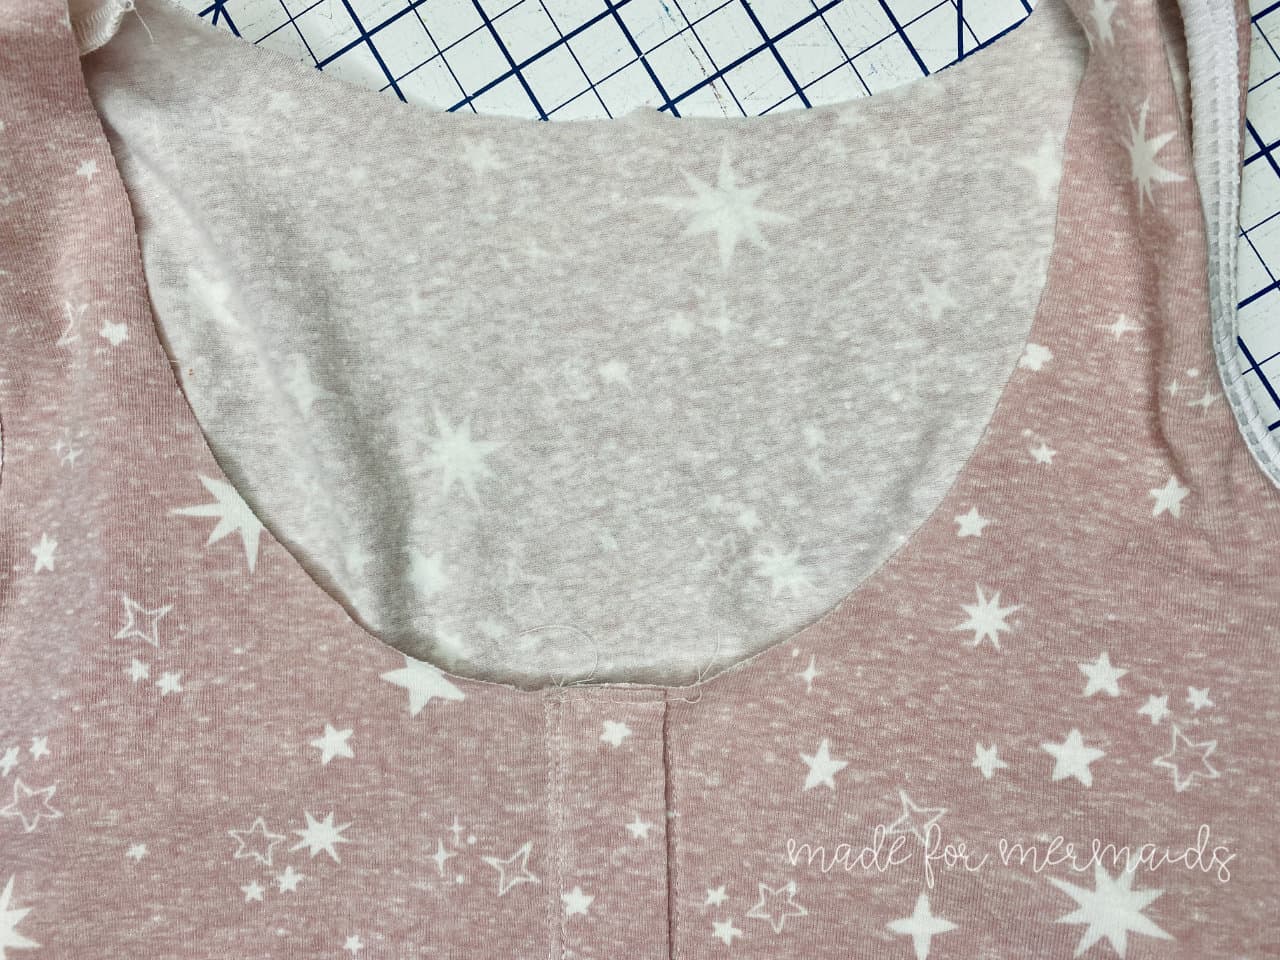
Add a line of basting stitches along the center neckline to ensure that all layers are secured when we add the binding. Quarter the neckline.
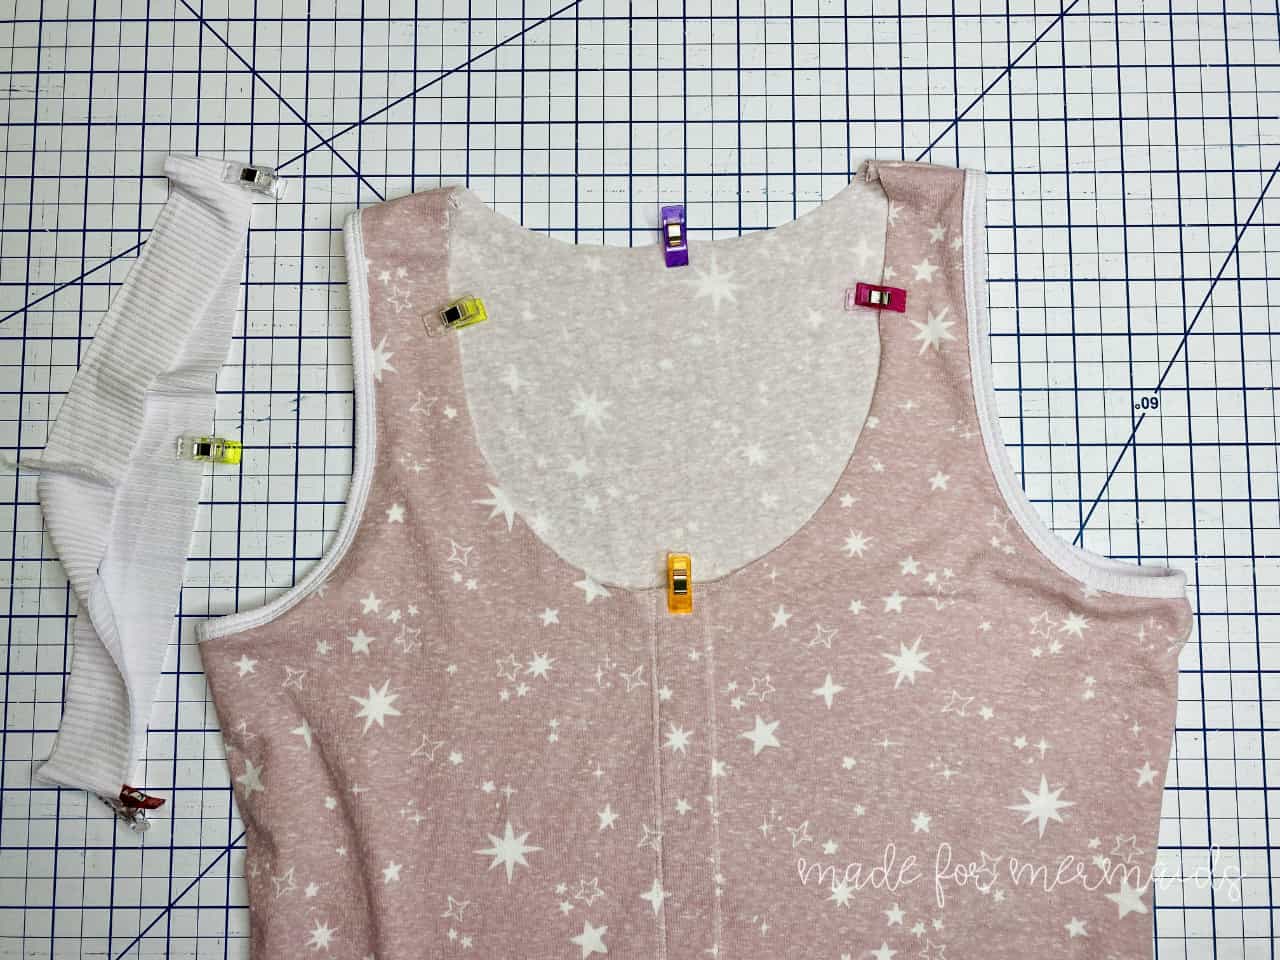
Follow the steps in the tutorial to press the binding. Stitch the neckline binding piece with right sides together (RST) along the short ends to create a continuous circle. Quarter this as well. Align the right side of the binding to the wrong side of the main bodice, matching the marked quarter points. Stitch using 1/4″ seam allowance. Turn the binding piece towards the right side of the bodice and fold then clip in place. I like to use a lot of clips with binding to ensure everything catches when I topstitch it. Topstitch in place.
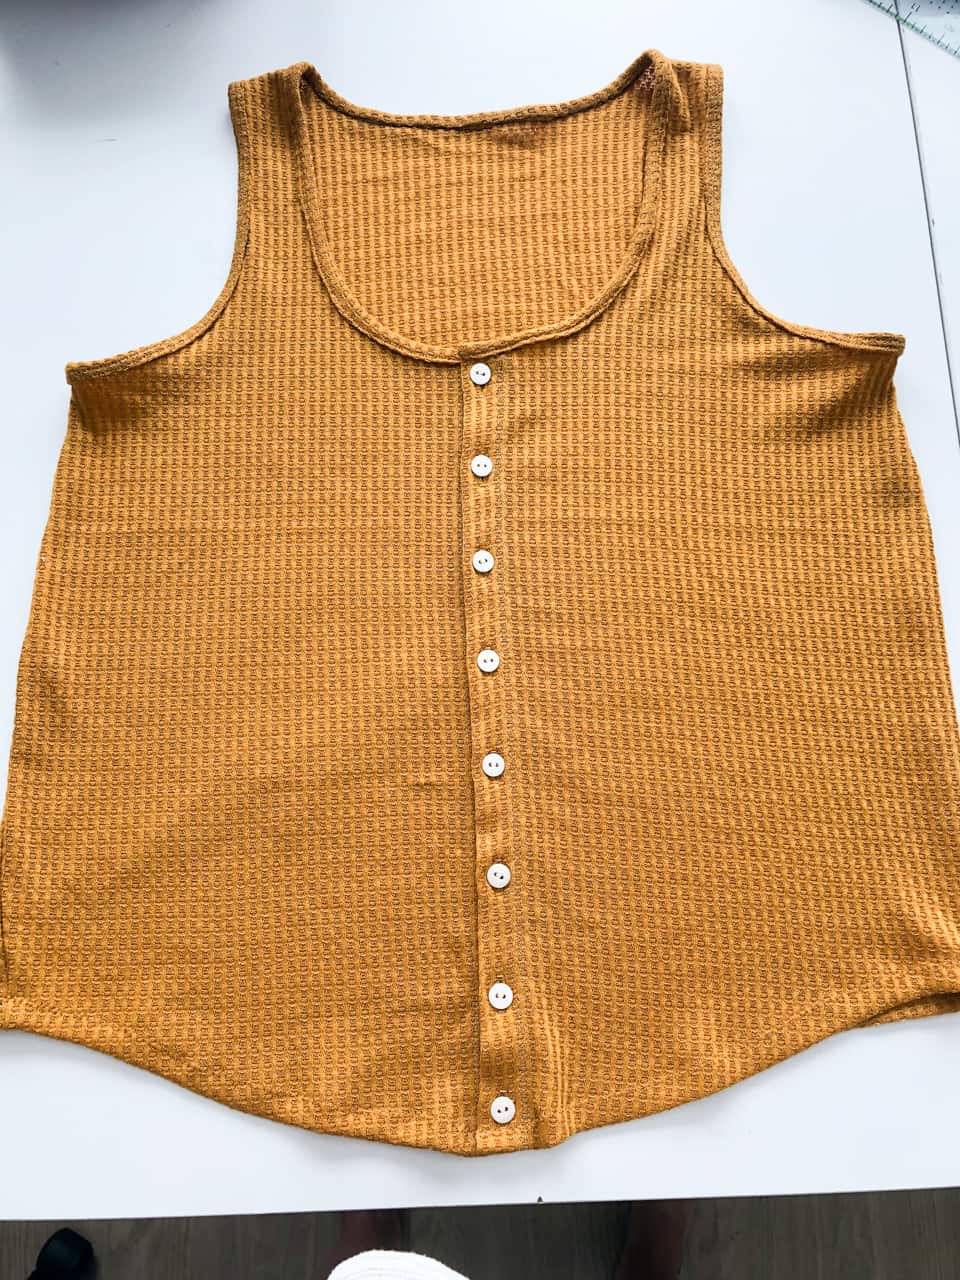
Add your buttons of choice to the front. I use tape to hold my buttons in place before stitching.
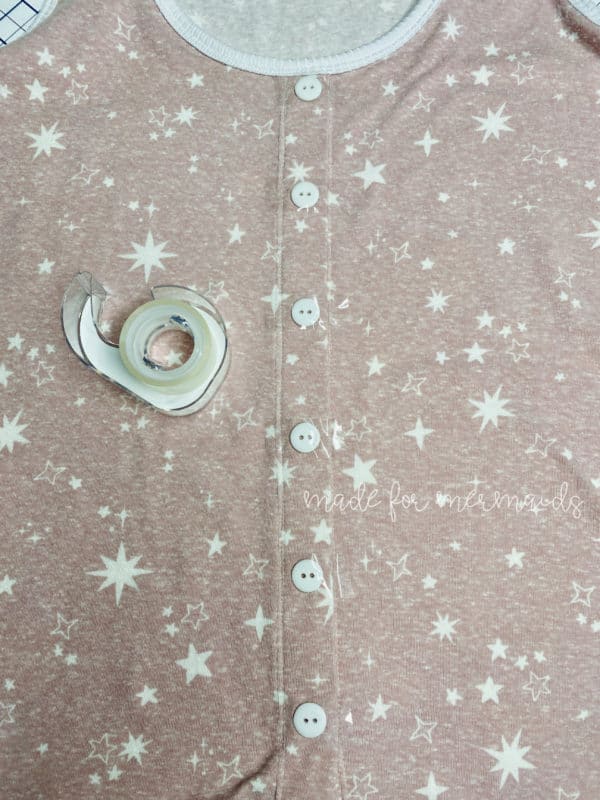
Now you have yourself a summer tank with a closed neckline and faux placket. Once you make one, you’ll want to make so many more! –Katie
V Neck Hack
I love the new Arizona pattern and I love a v-neck, so let’s make a V-Neck Arizona happen!
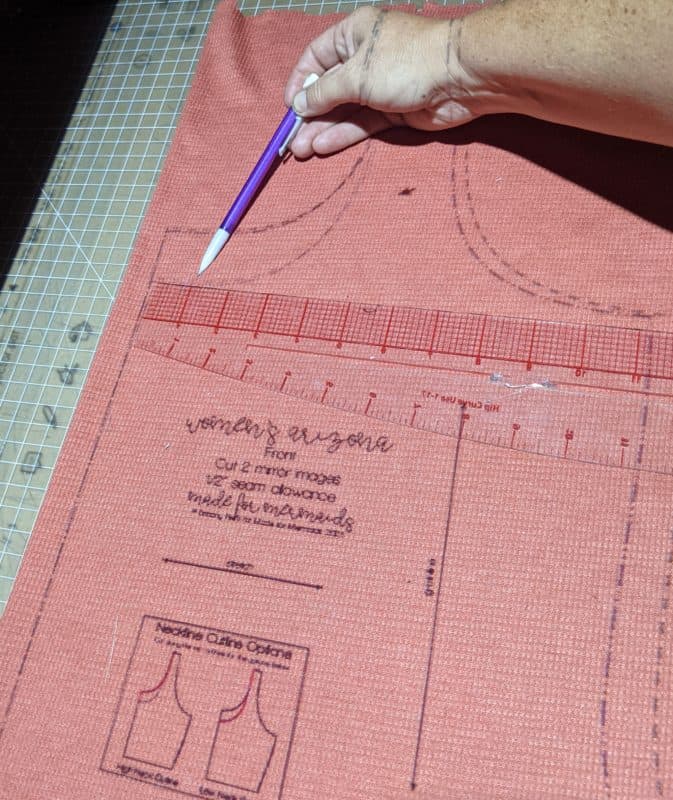
First, before altering your pattern. Mark 1 inch from center front to account for the placket width. Use this marking as the center point of your v-neck.
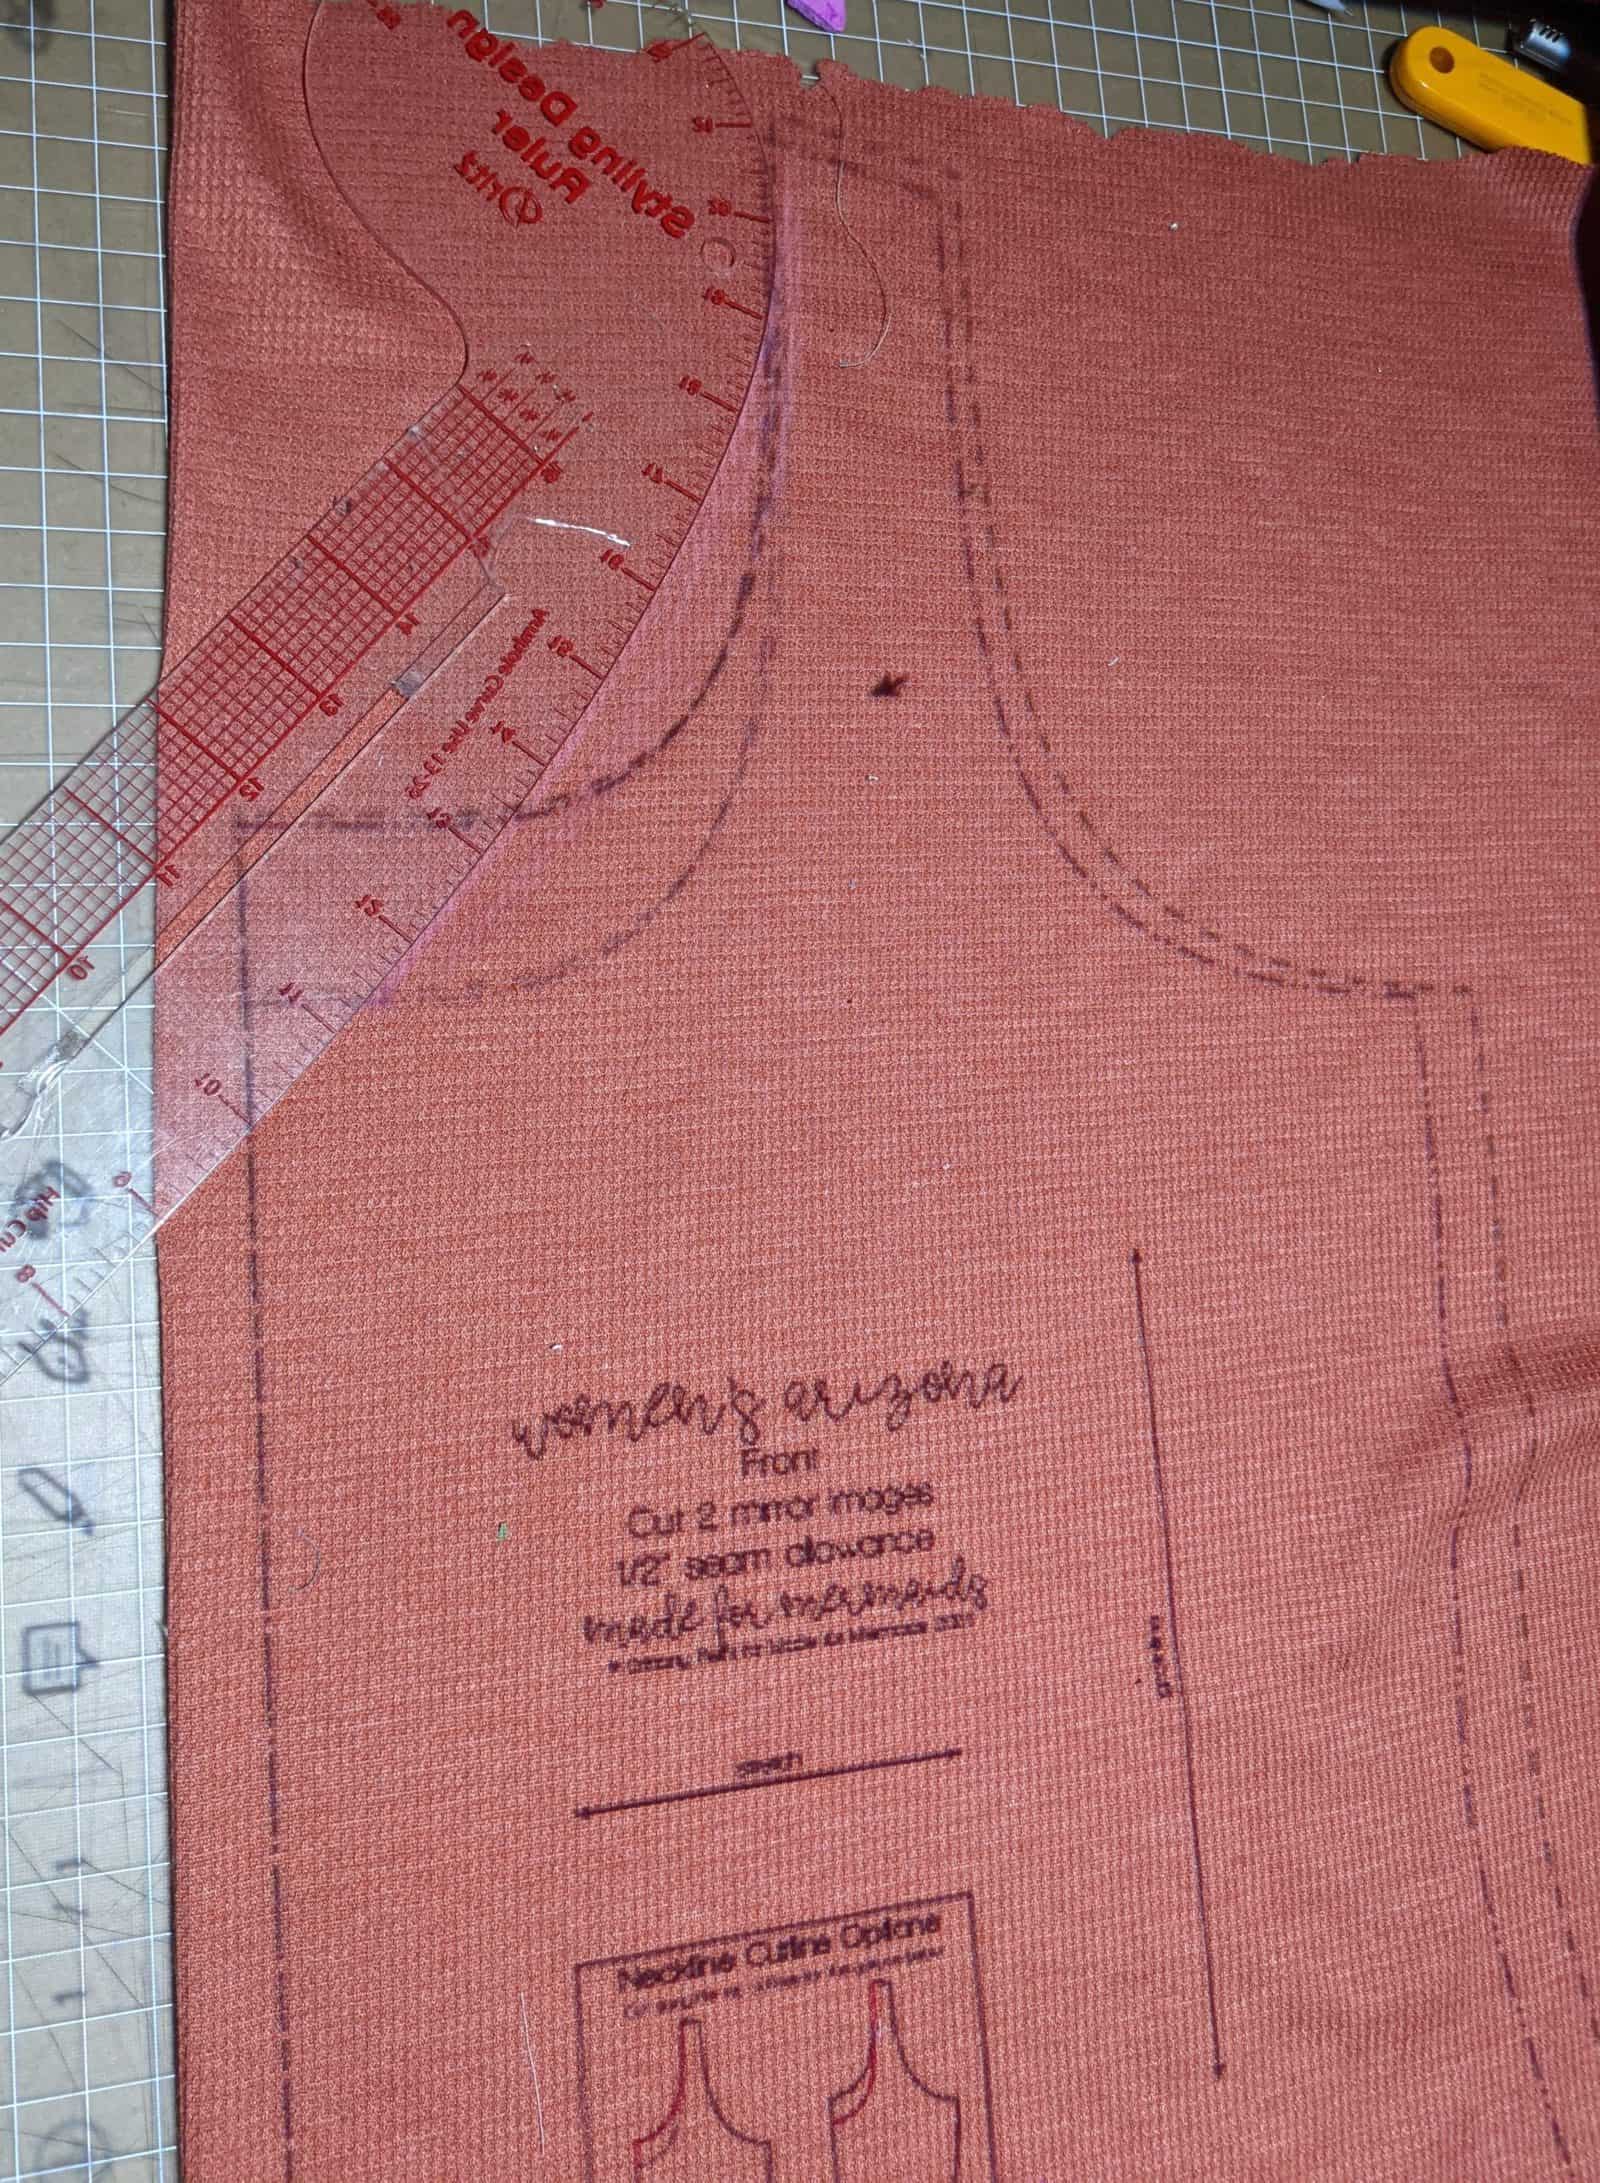
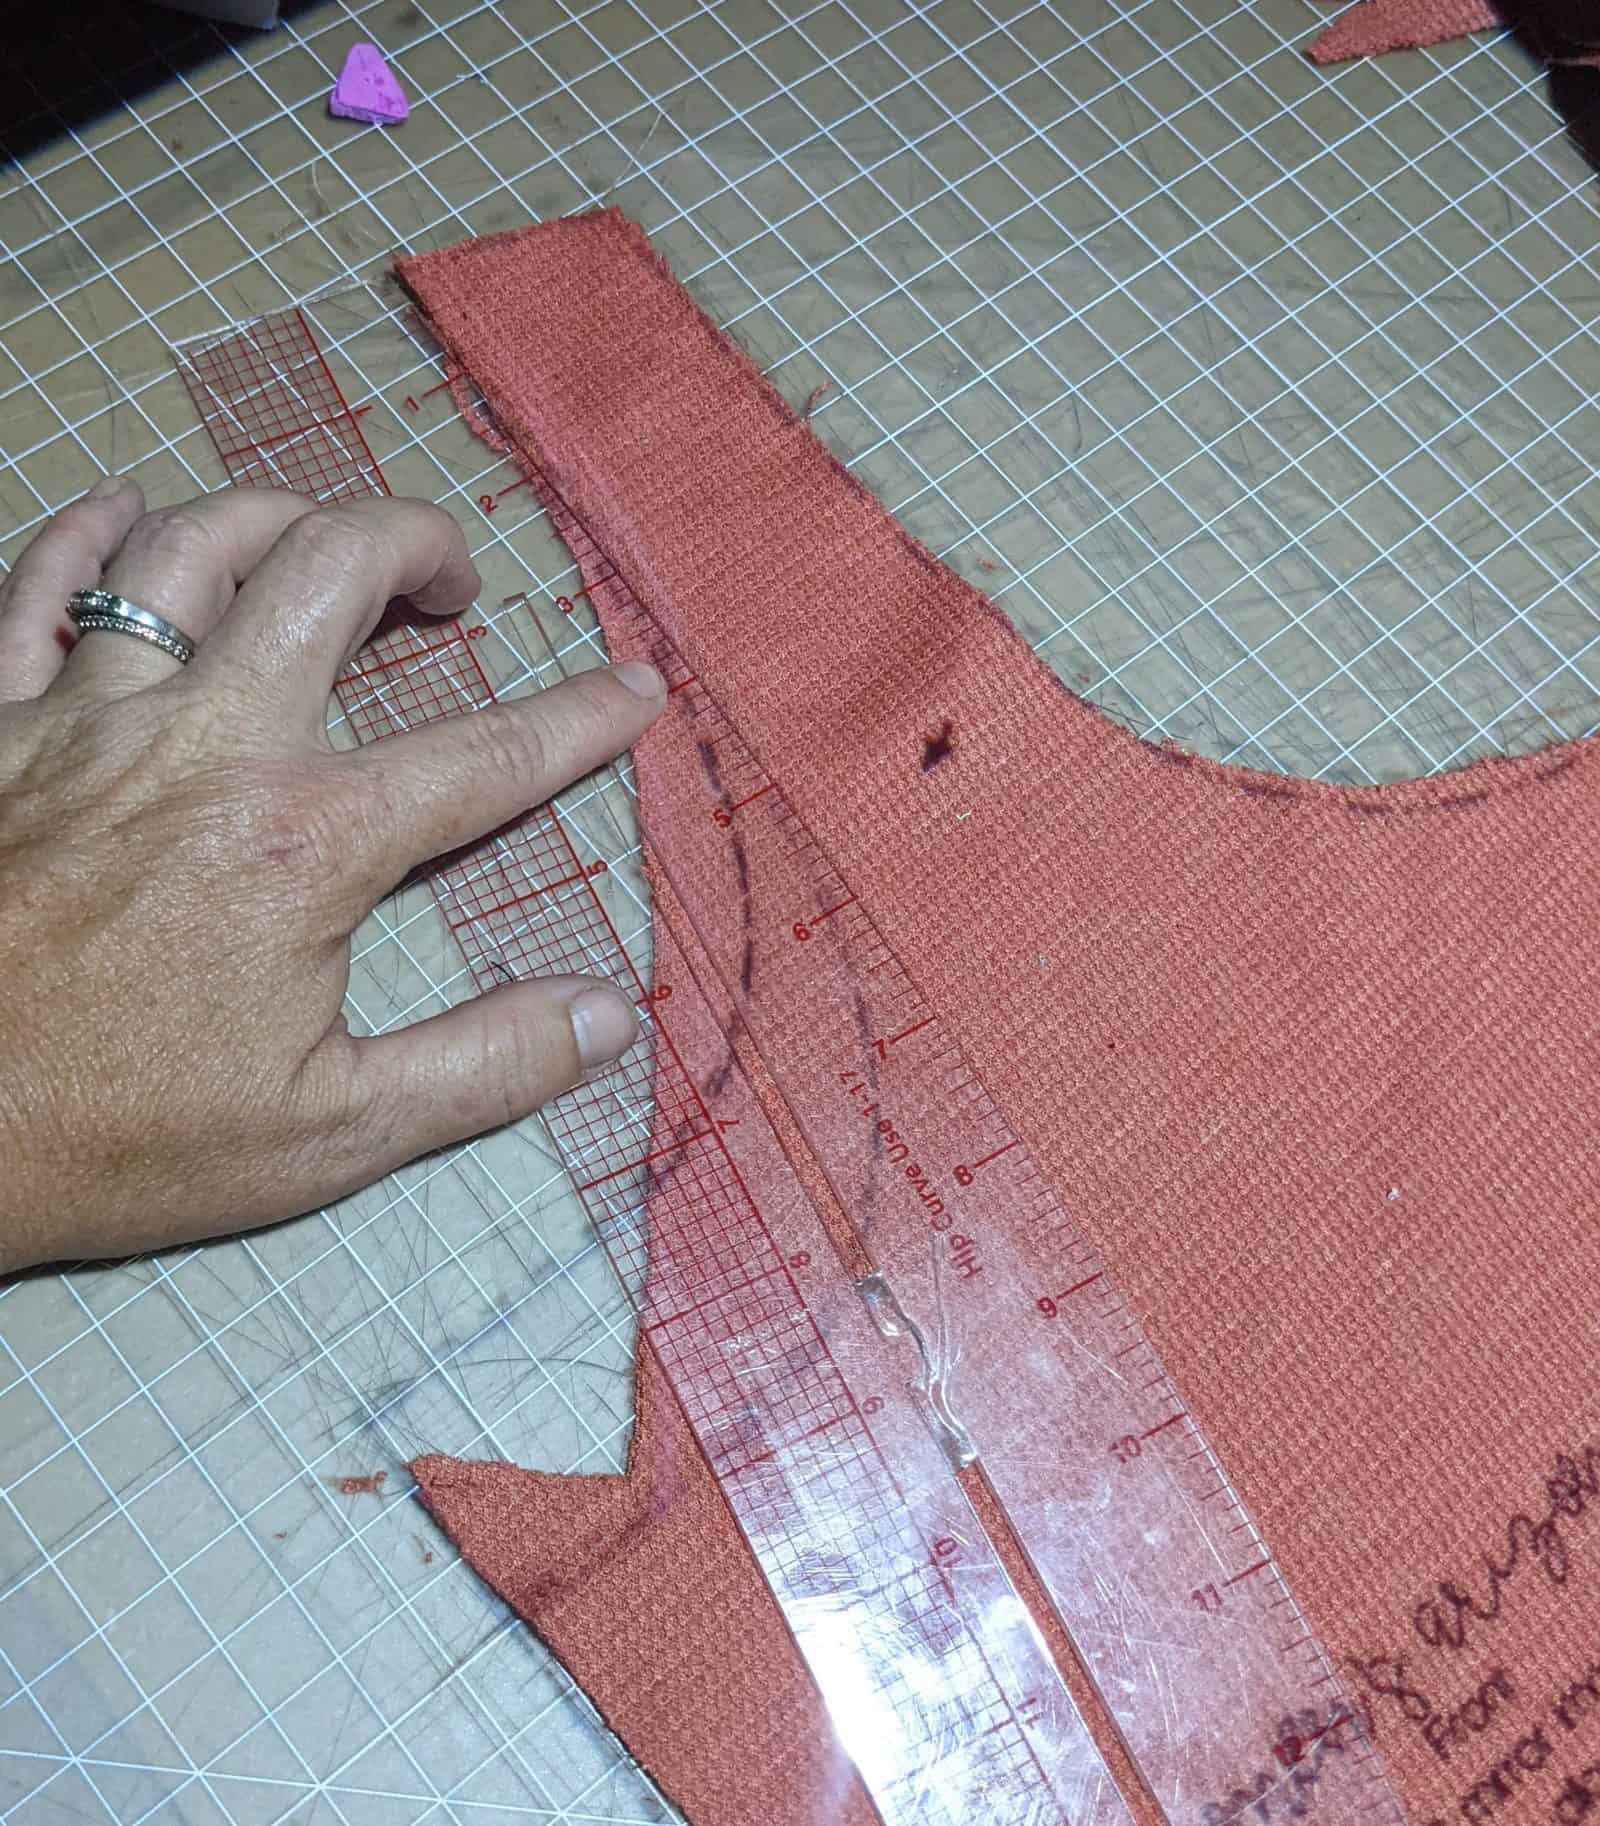
Next, using a curved or straight ruler, it is time to reimagine the neckline. I like a subtle curve, but you can draw in a more angular V-Neck if you like.
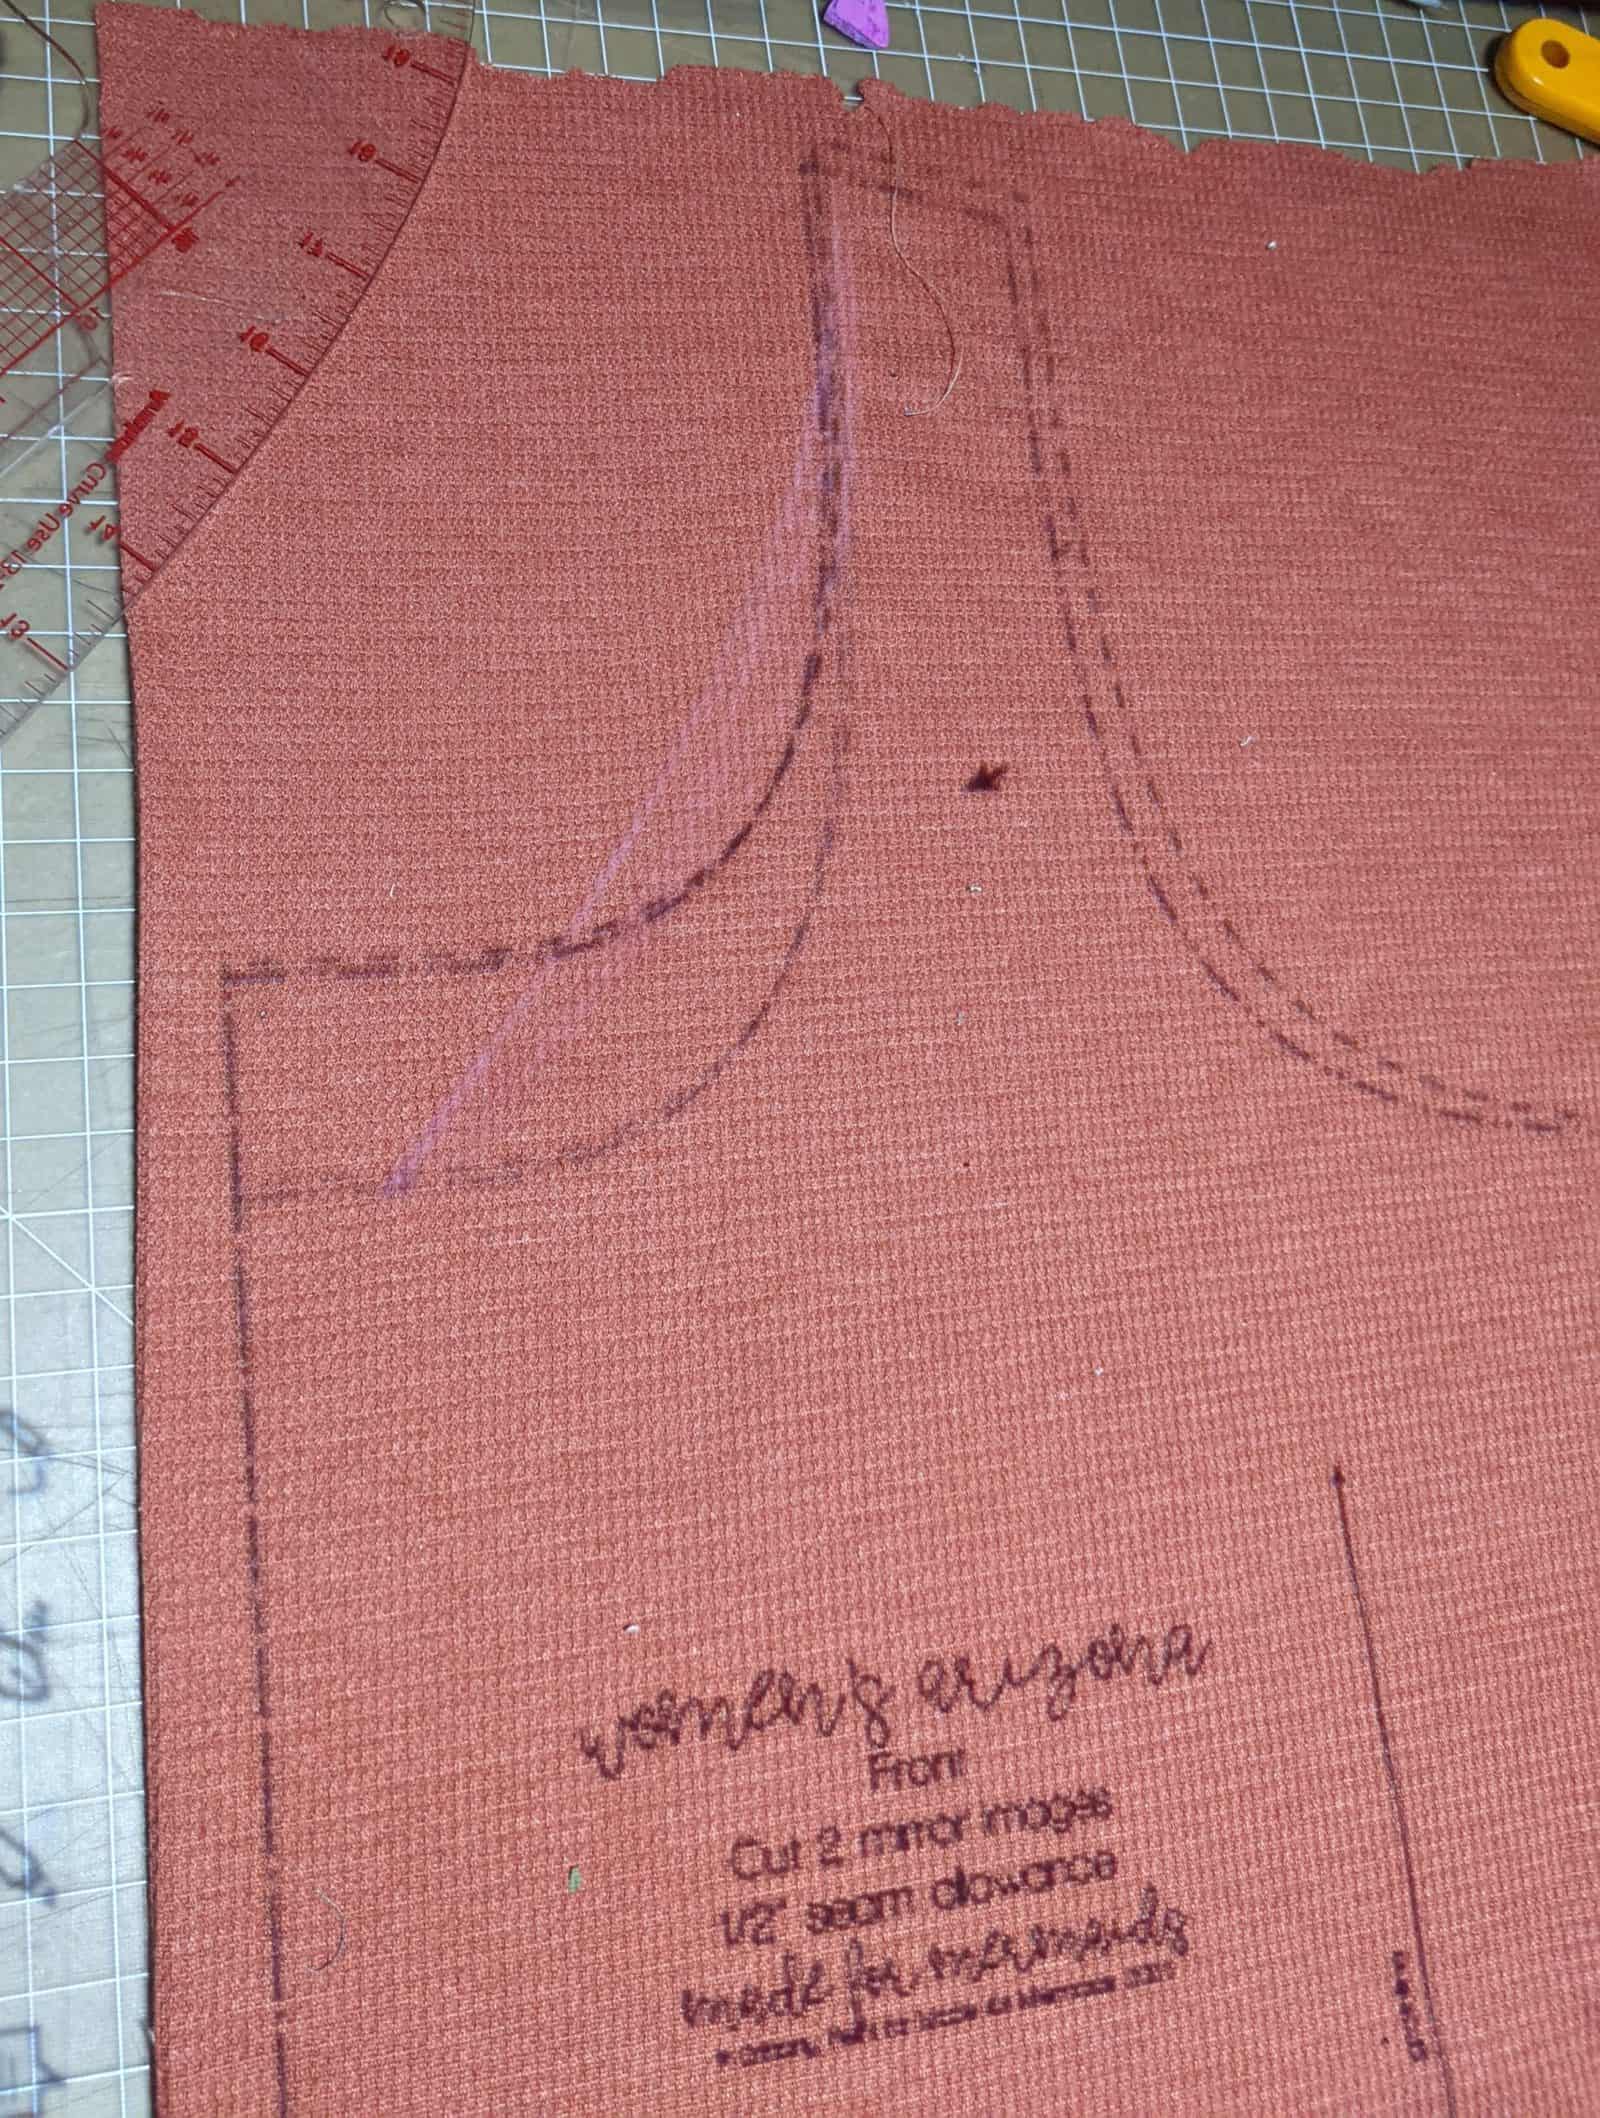
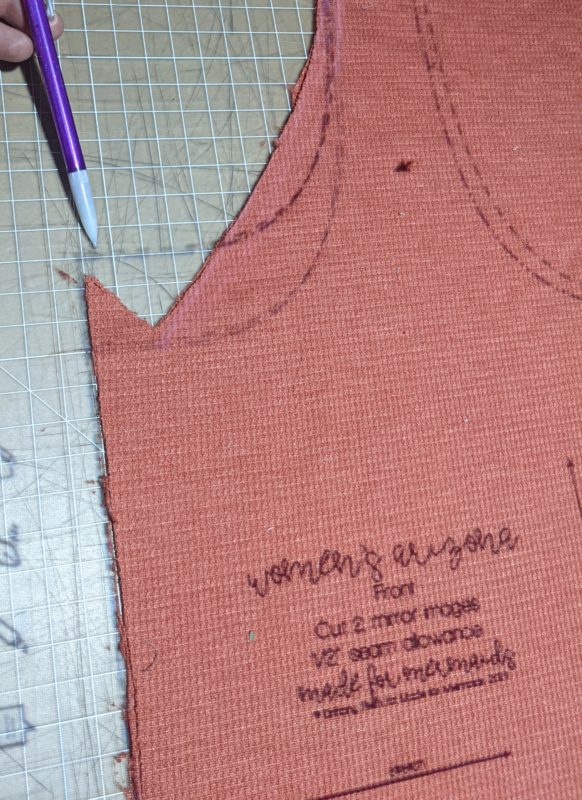
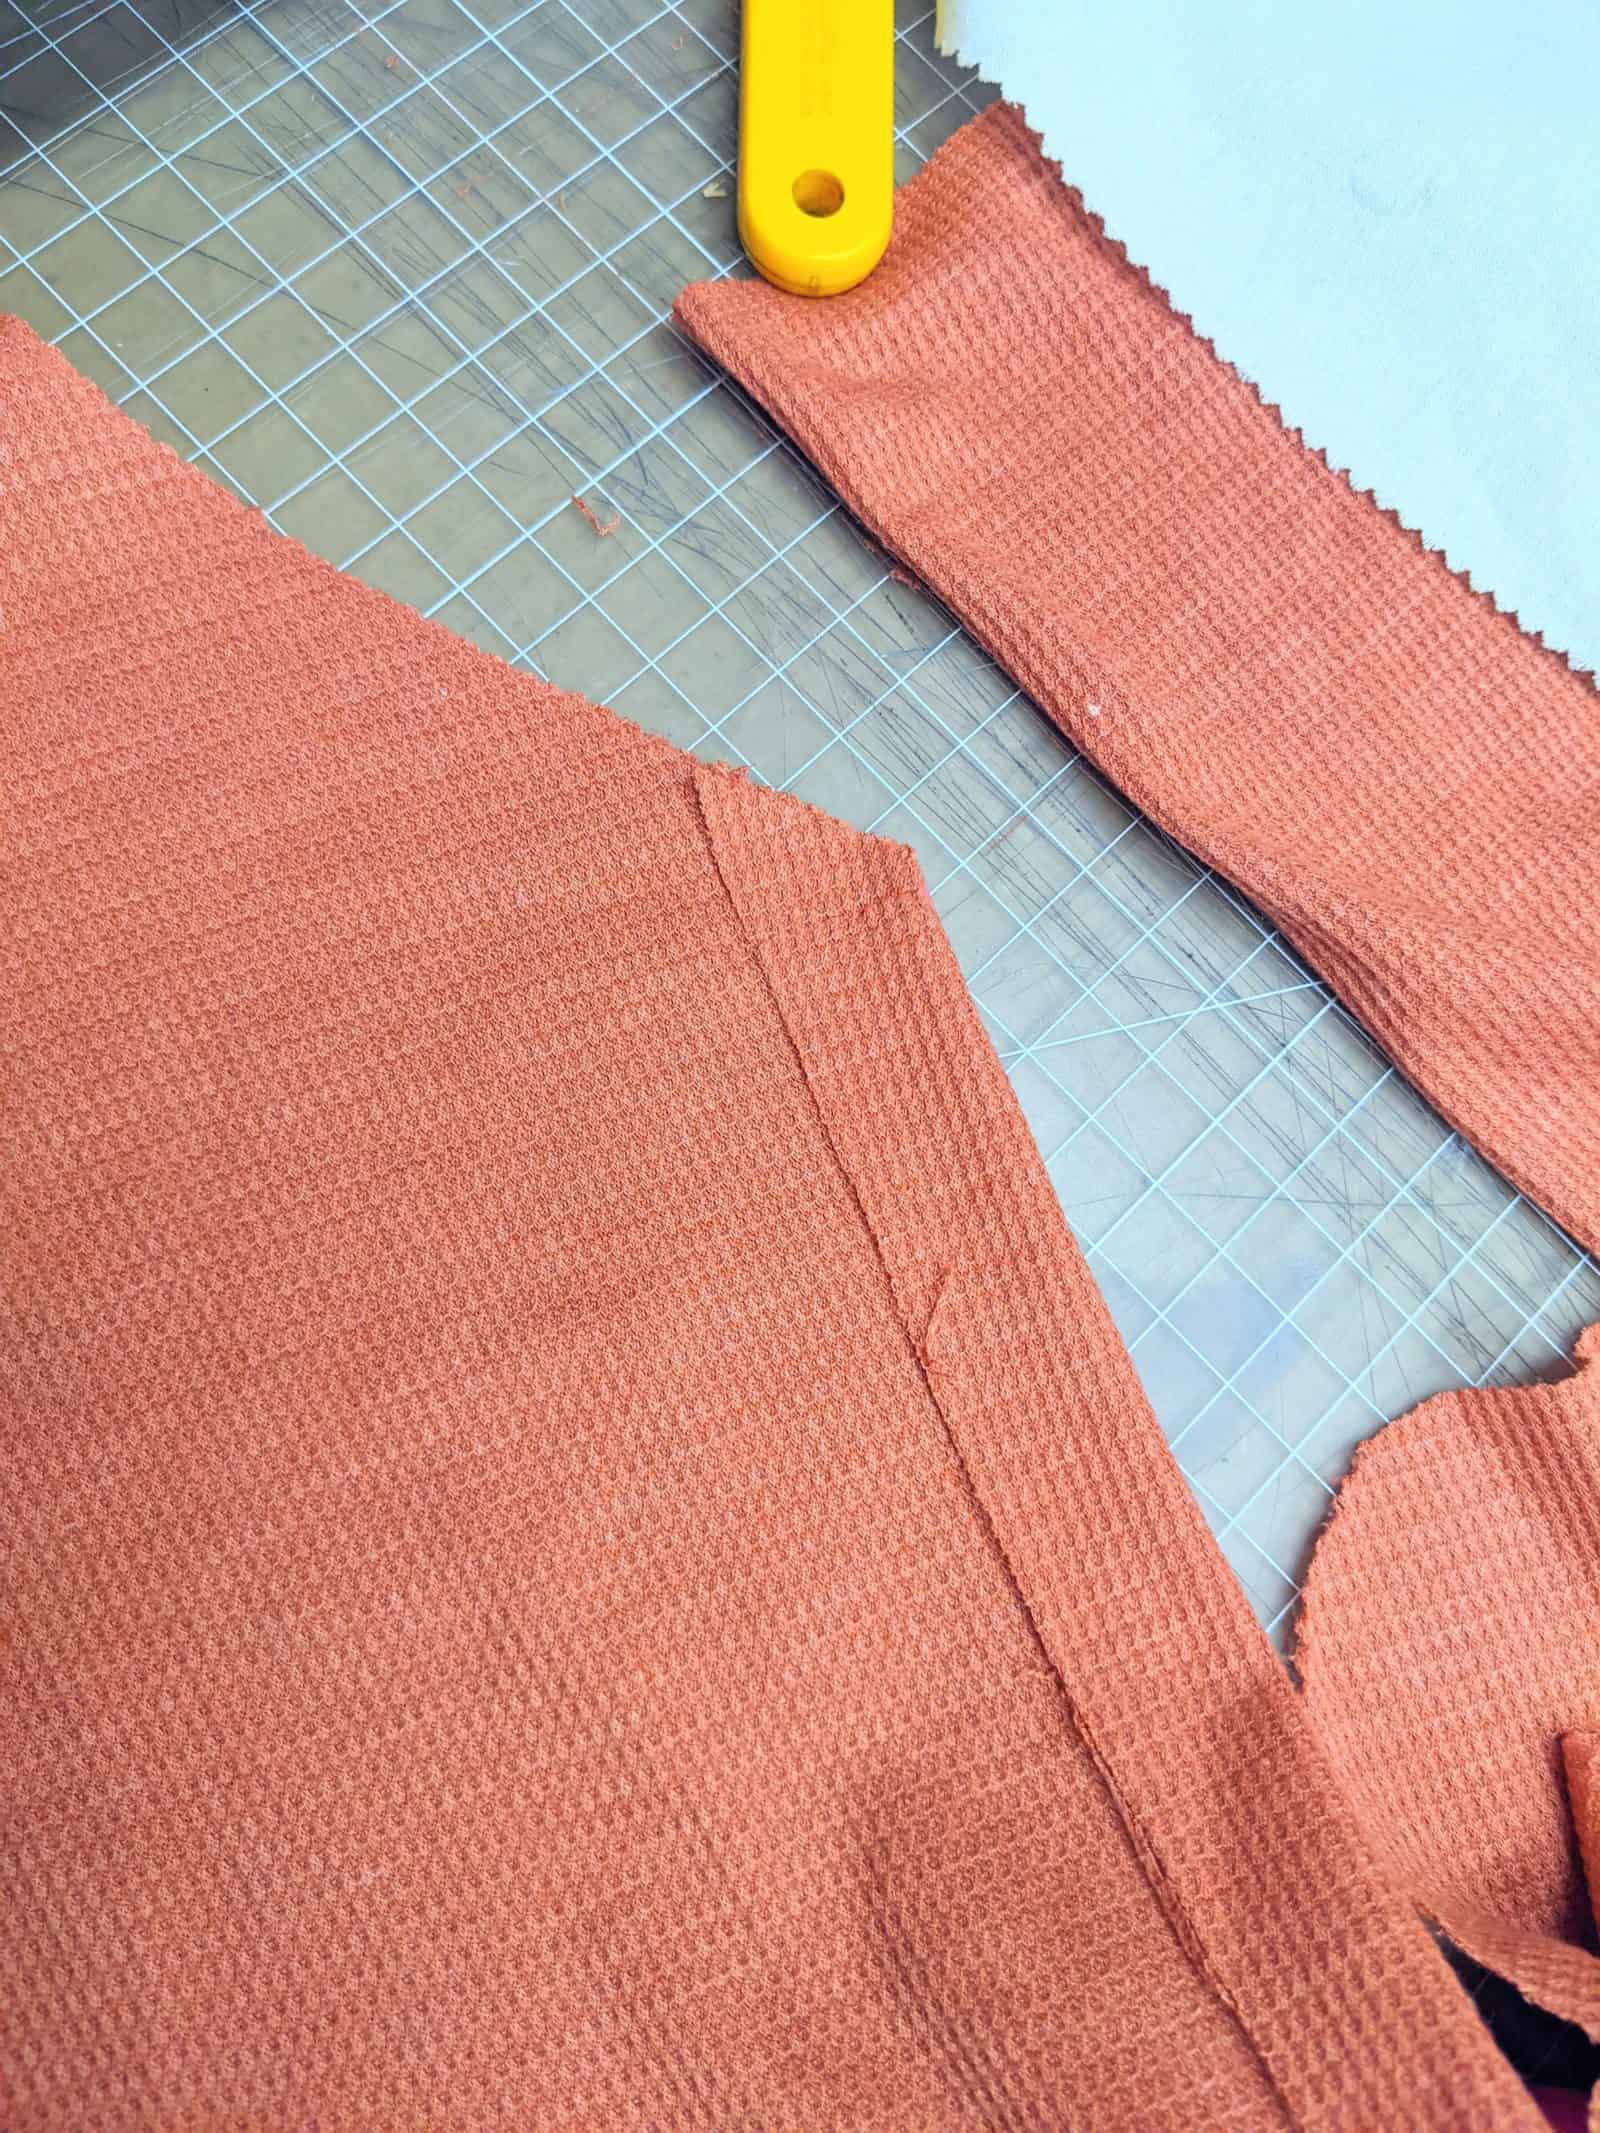
Now cut your new neckline and stop at your center point marking. In order for your placket to finish and lay nicely, you will need to extend your placket as below.
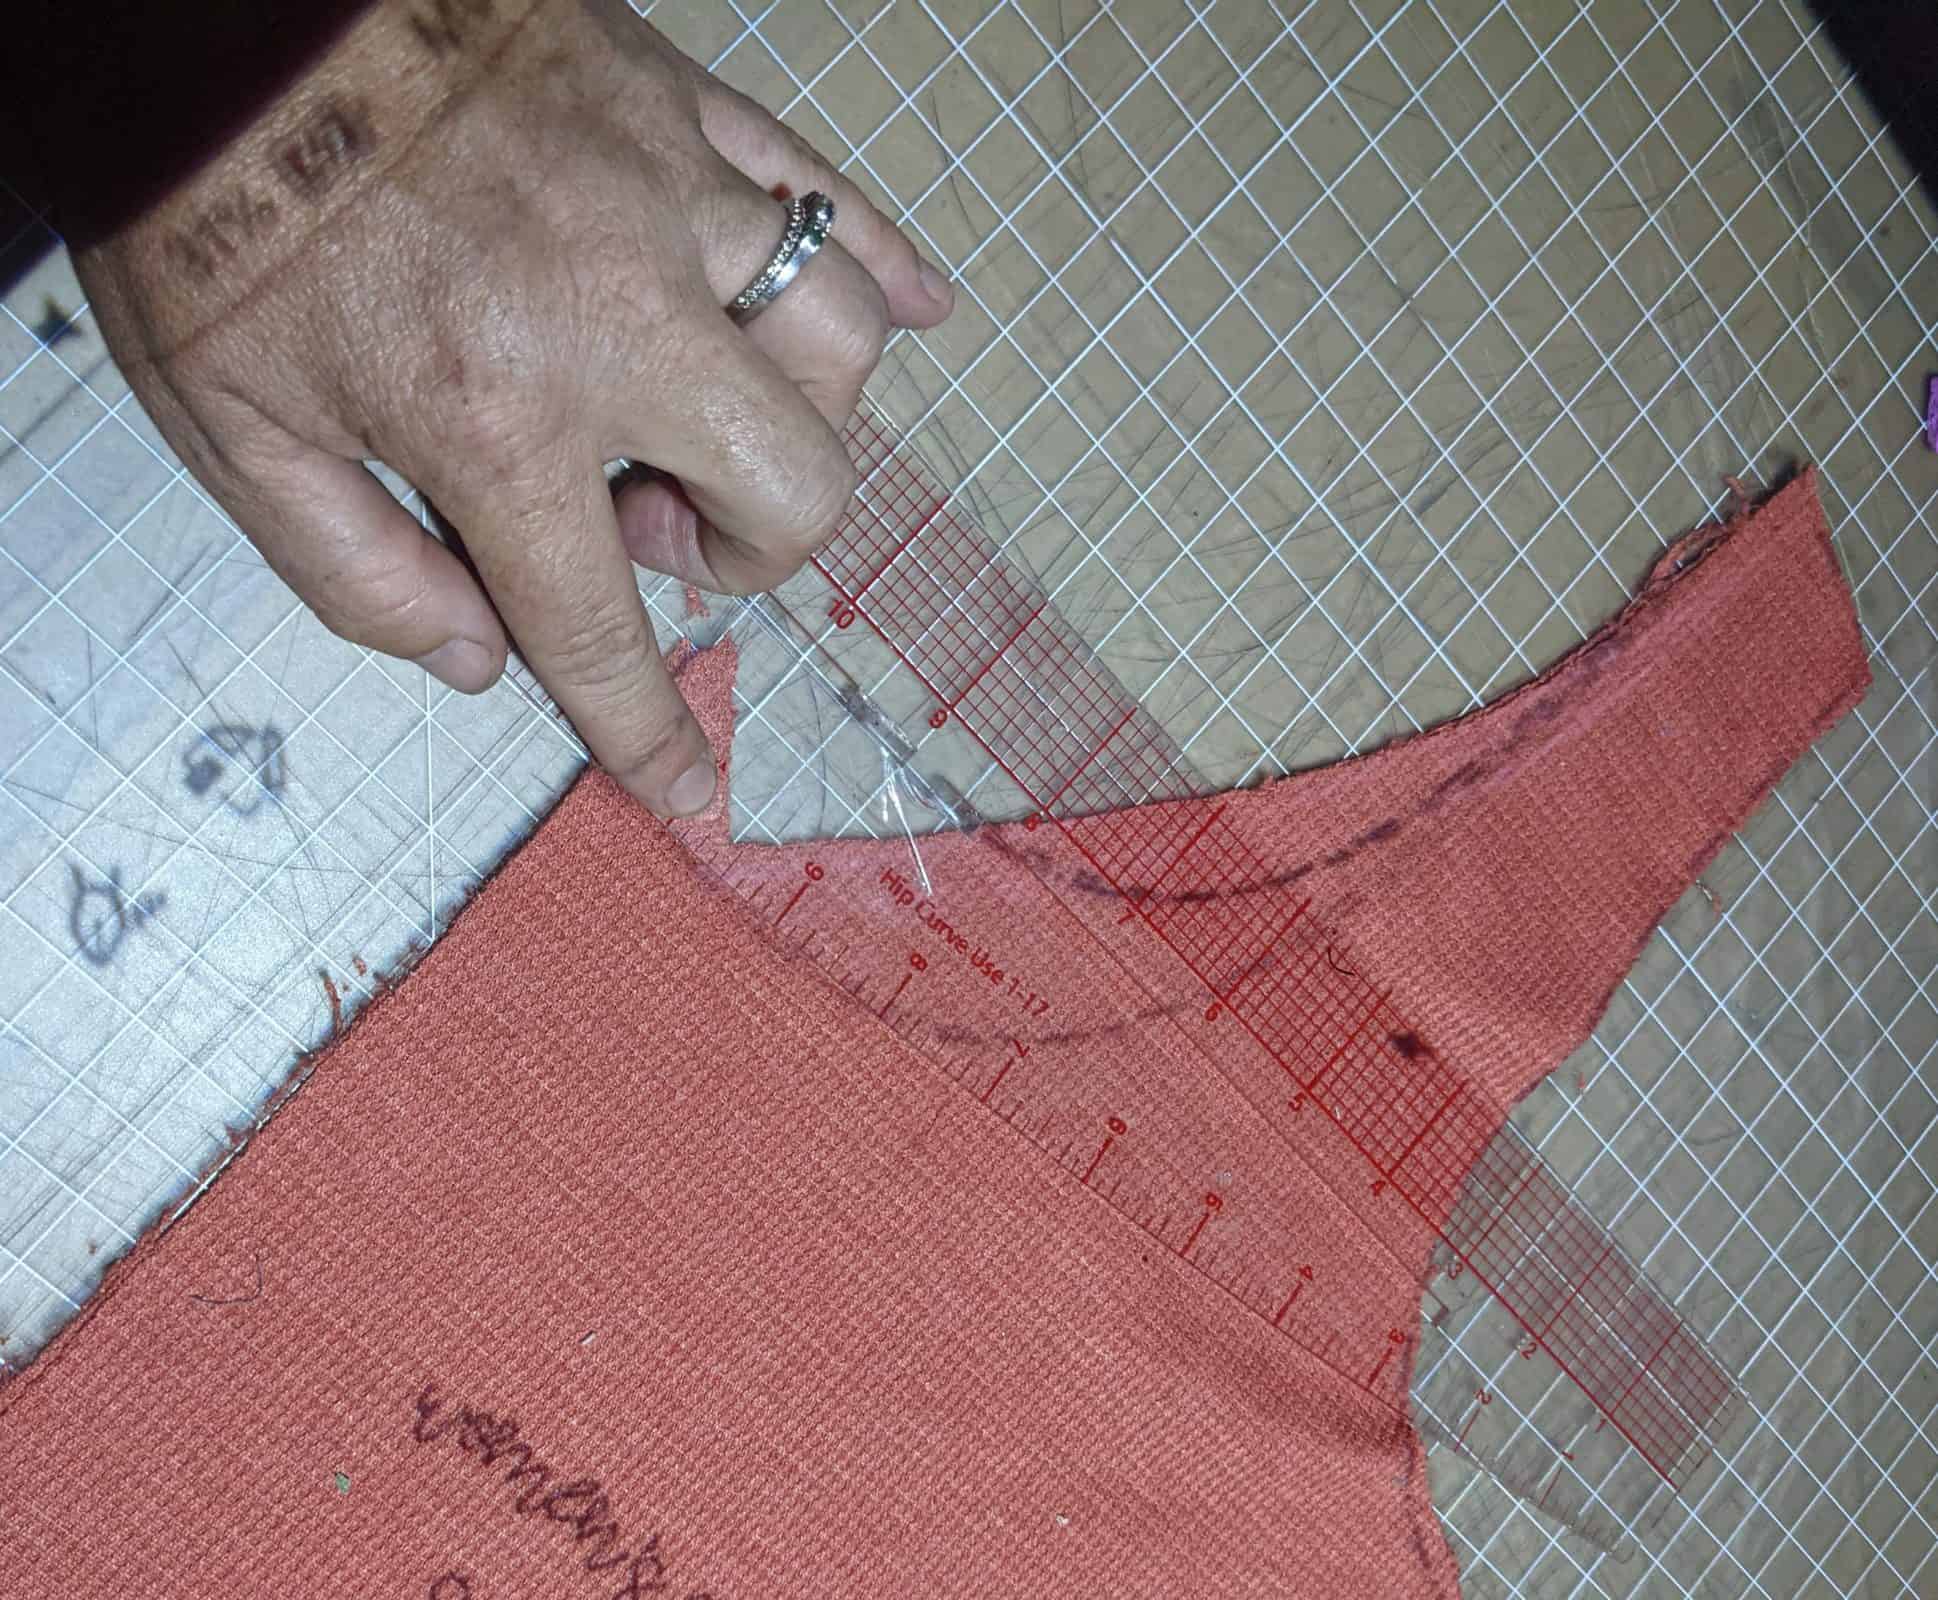
Now, you will need to recalculate your neck binding. I used a curved ruler to measure the new neckline that I made and to measure the existing necklines. (To measure with a ruler, lay your ruler along the line and continuously turn it to follow the curve.).
My new neckline is the same length as the scoop neckline. If your neckline is different, simply add or subtract the difference (the length alteration should be a relatively small number. If the change is more extreme you will want to calculate a new length for the binding piece, in this case, measure your neckline, multiply that measurement by .8 and then add 1″ for seam allowances.)
Follow the rest of the tutorial as written. When you press your placket, you will see how the extended placket results in a clean finish.
-Bekah
True Button Up Hack
Hey all! Sonia here to show you a super simple hack on the adorable Arizona tank: how to turn this faux placket into a true button-up! The construction of this tank is such that all you really need to do is add interfacing 🥳
Made for Mermaids has a very comprehensive tutorial on installing buttonholes, and I highly recommend reading it as it tells you all of the tools, notions, interfacing, and tricks that you need to know!
I will give a brief overview of the installation process specific to this tank. It’s highly recommended to use Knit interfacing when sewing with lighter weight knits like this, as it gives a bit of added durability but doesn’t add too much structure or stiffness. If you use woven interfacing, you will lose the stretch of your fabric, and potentially shorten your placket in comparison to the drape of the rest of your bodice by removing the stretch, which will make it hang weird.
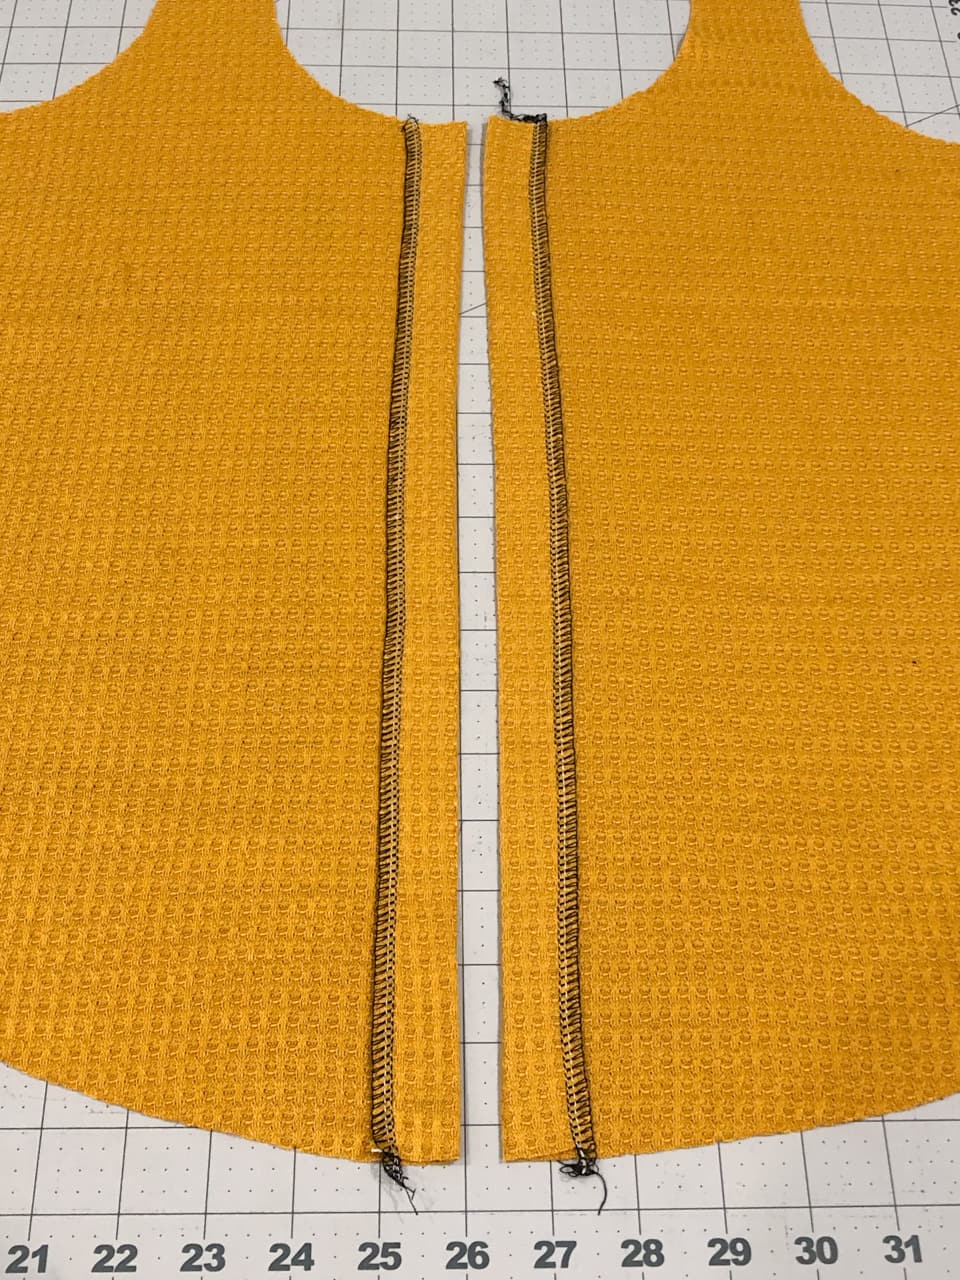
Iron the 1” strips of interfacing to the wrong side of your fabric down the center front, and finish the edge if you would like. Next, you will fold the placket over, wrong sides together, and iron. The more ironing you do throughout this process, the crisper and more finished everything will look in the end! Go ahead and topstitch your two interfaced plackets down, per the instructions.
Next, you can go ahead and assemble the bodice through adding bindings. Personally, I wait to hem until after I have stitched my buttons and buttonholes.
Evenly measure your buttonholes and mark using a washable marker. Important note! I mark where I want the top of my buttonhole to be, so I can see the marking through my buttonhole foot. You can then wait until all of your buttonholes are stitched to pin the left and right fronts down the center and mark through the buttonhole for where your button will go. This ensures accurate button placement. If you just use the same markings straight across, your button will be slightly too high for the buttonhole (ask me how I know 🤣). Another buttonhole placement tip is to start your top buttonhole quite close to the bottom of the neck binding so that your top button is high enough that you don’t get any flaring or gaping at the top.
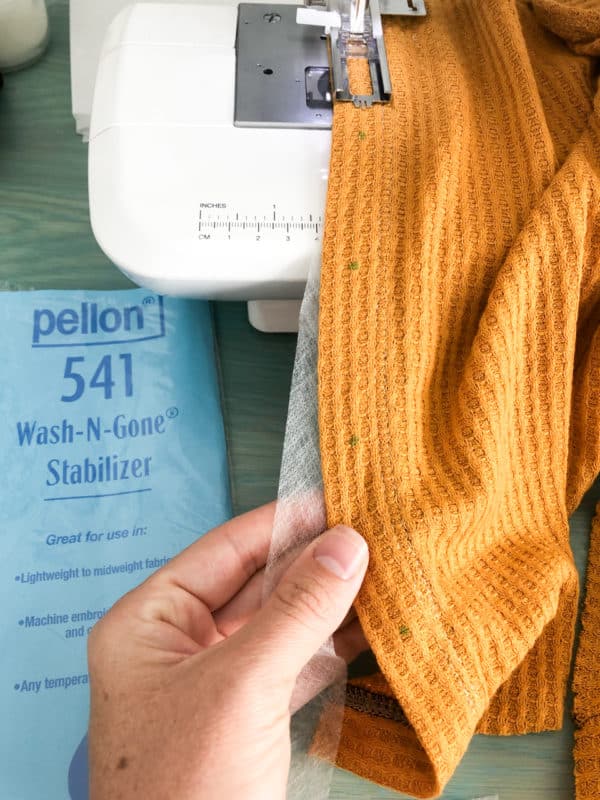
An awesome tip from the buttonholes 101 blog post that is such a lifesaver with lighter-weight knits is to use a stabilizer between your fabric and the feed dogs when sewing buttonholes! The blog post recommends a tear-away stabilizer, but I didn’t want to risk stretching out my fabric which has a lower recovery by pulling on it, so I used a strip of very light wash-away stabilizer instead. Either will work!
Once your buttonholes and buttons are sewn, you can go ahead and hem. And that’s it! This pattern is perfect for buttons, hope you have fun giving this a try! -Sonia
PSSST. Cassie also mashed hers with the Jordan pattern to make the cutest casual dress! Love it!!
Grab your Arizona patterns this weekend during the release sale, and show off your makes in our Facebook group or on Insta! We can’t wait to see 🙂
#arizonapatterns #madeformermaids








Leave a Reply