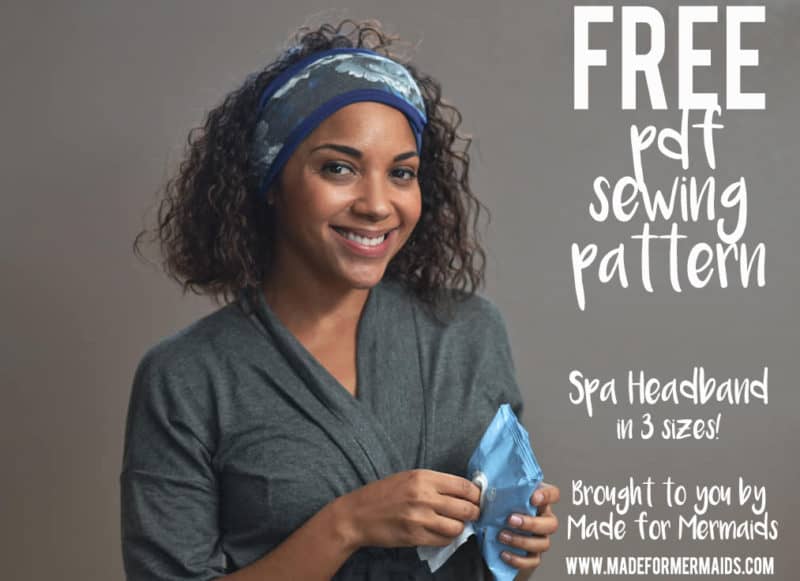
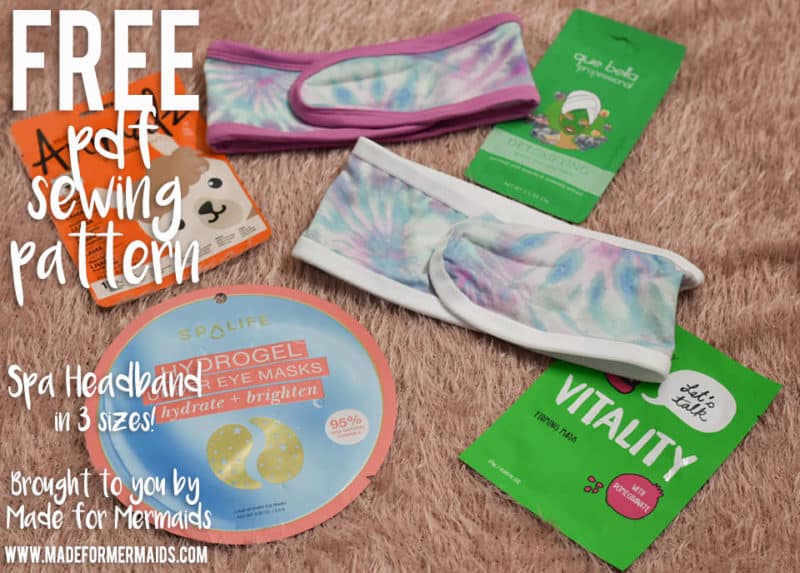
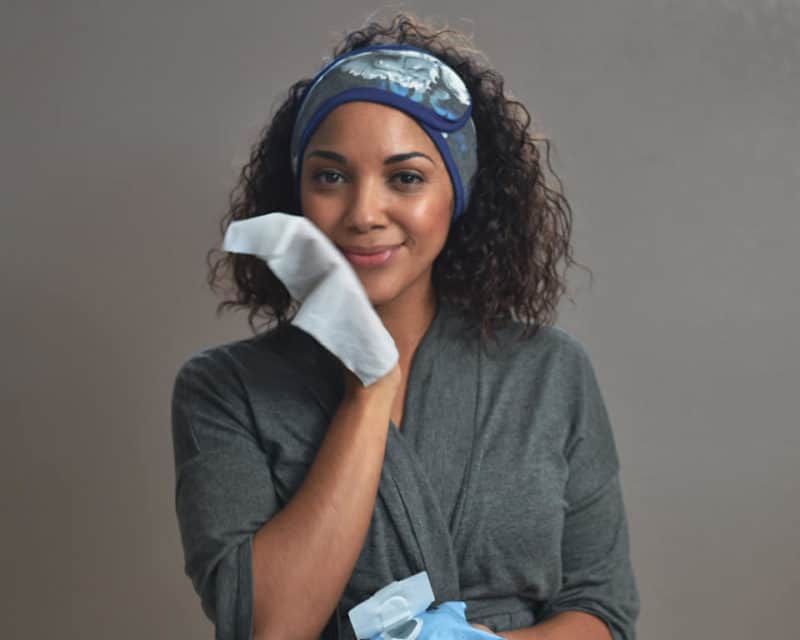
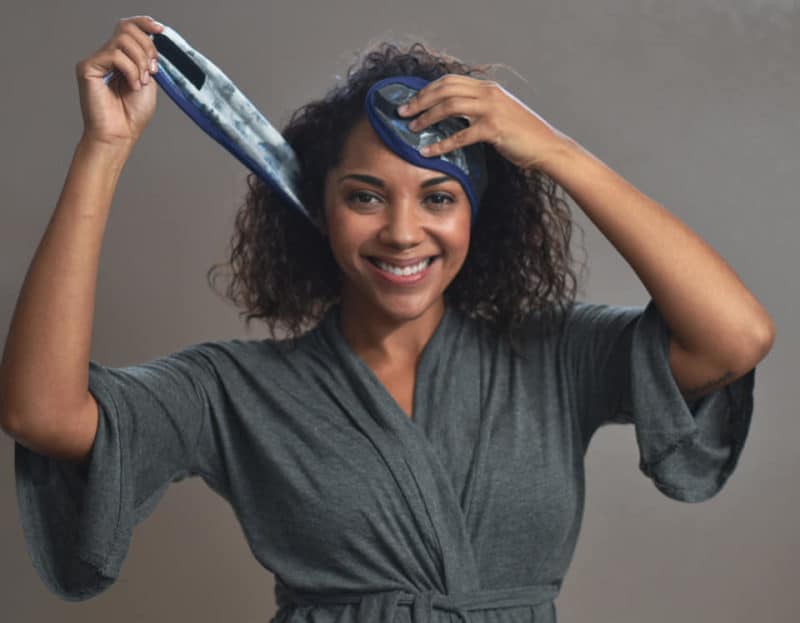
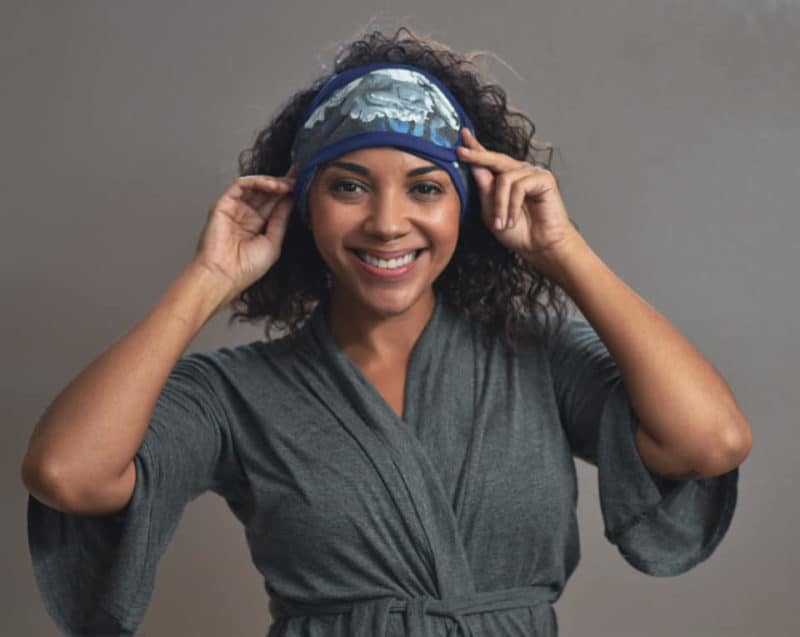
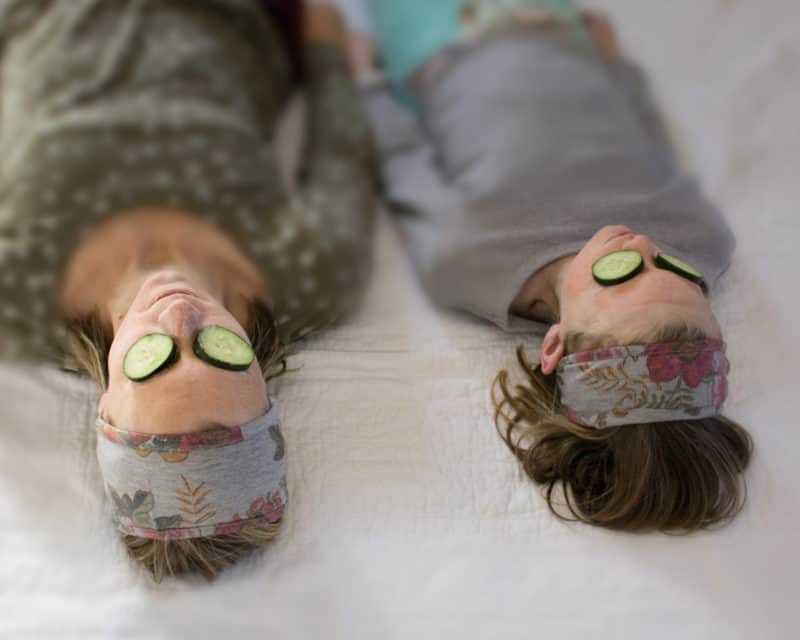
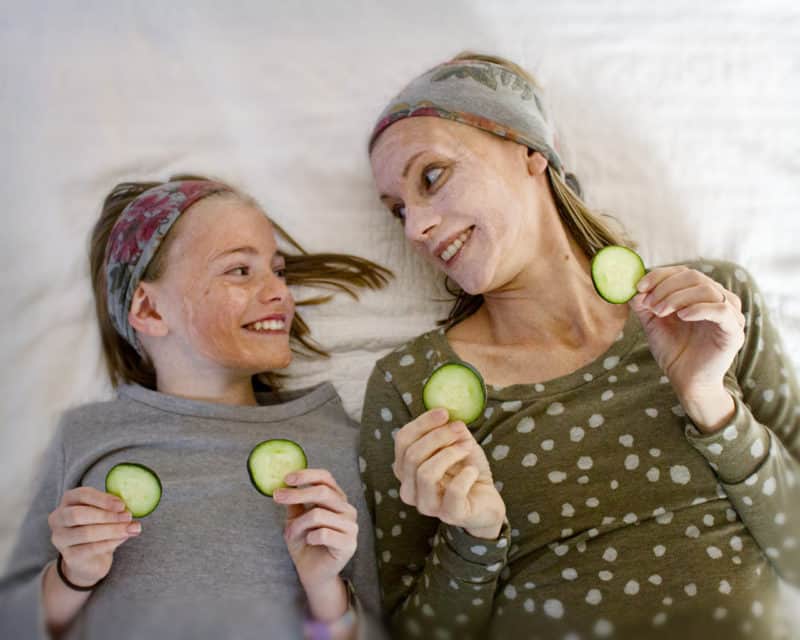
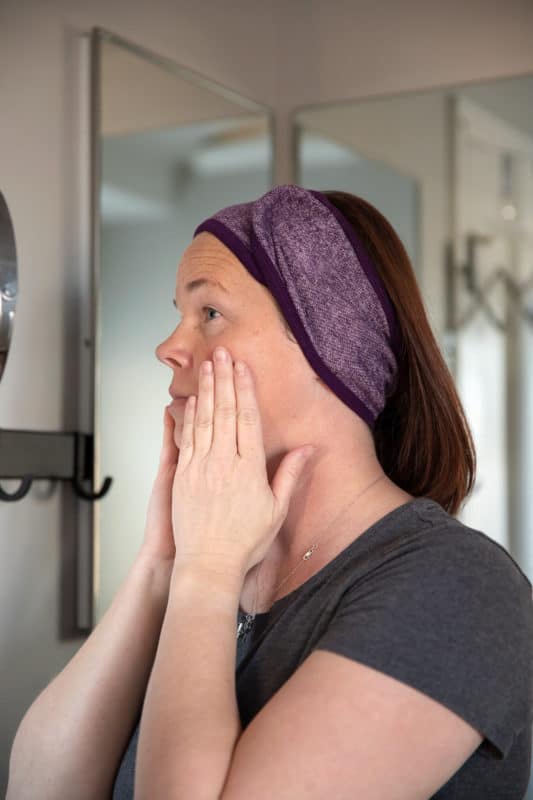
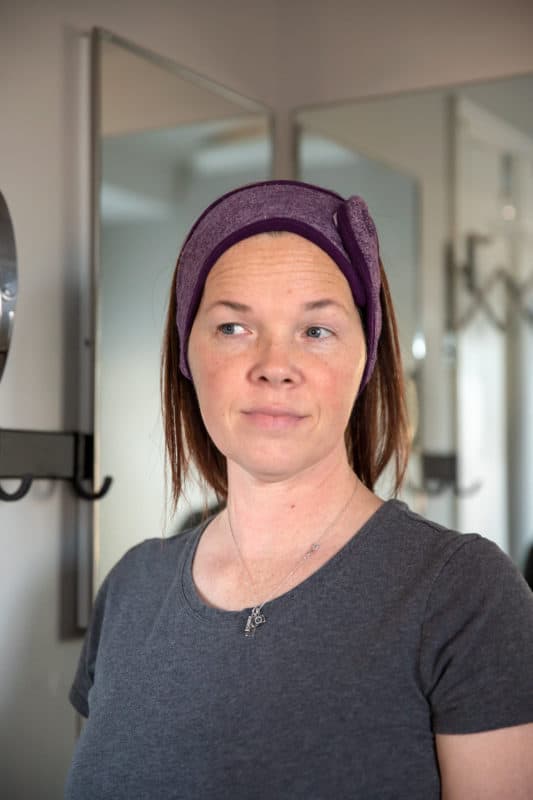
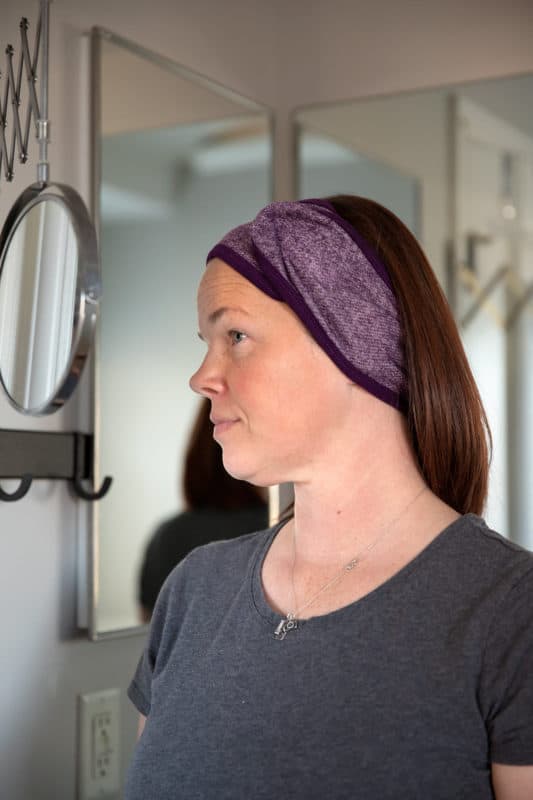
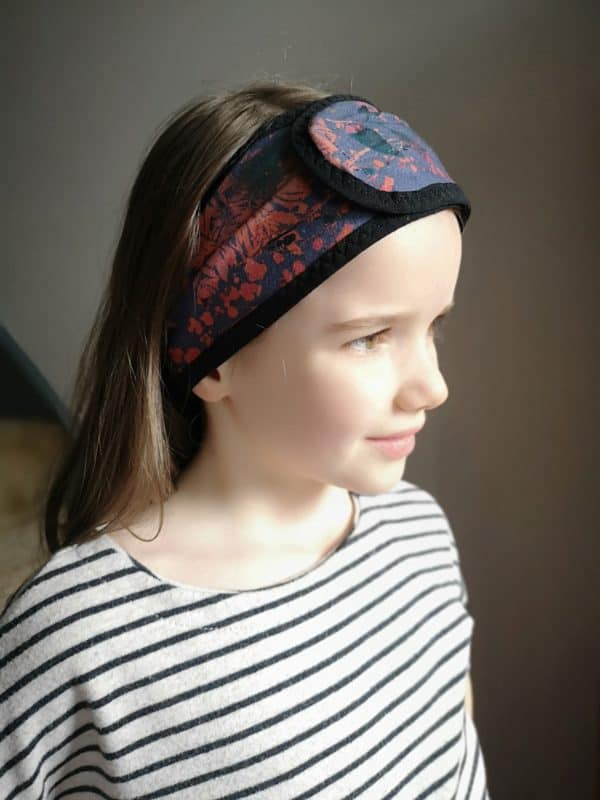
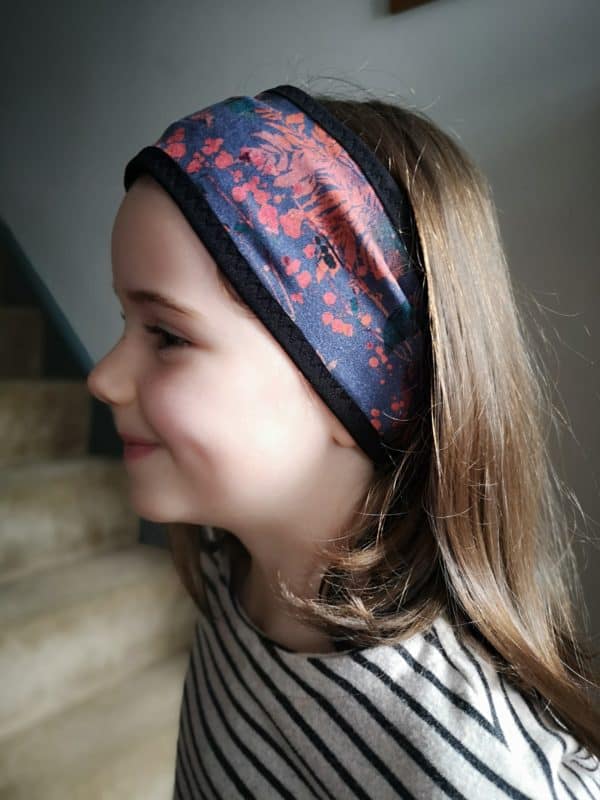
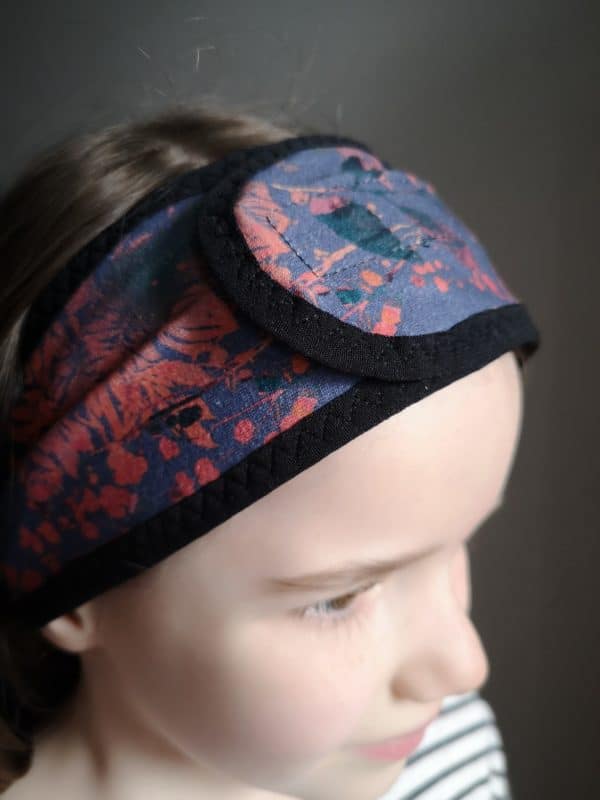
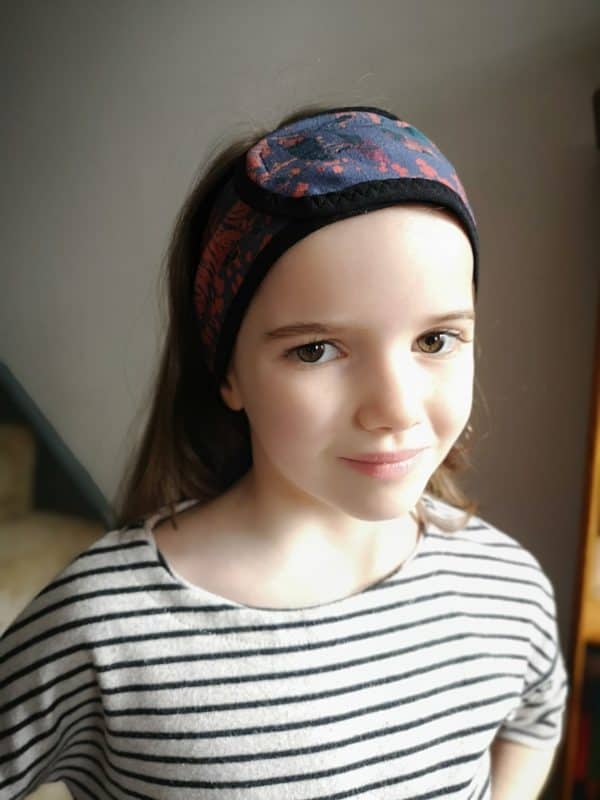
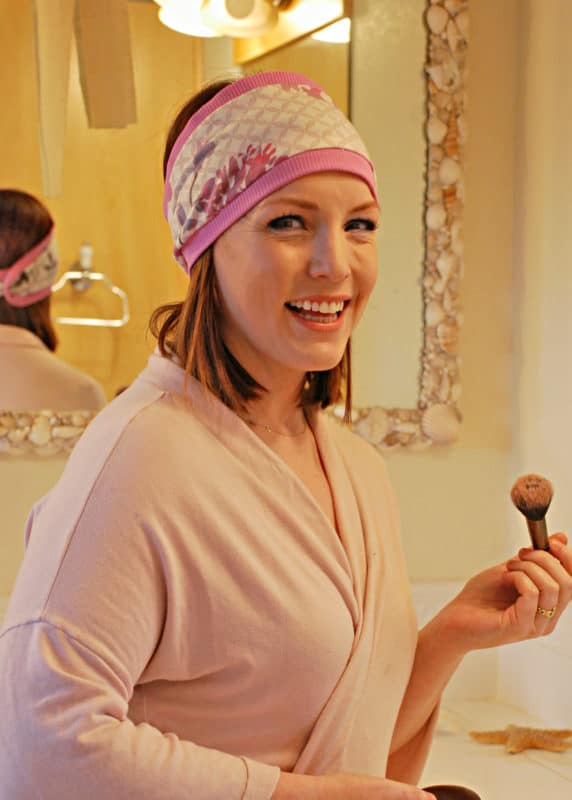
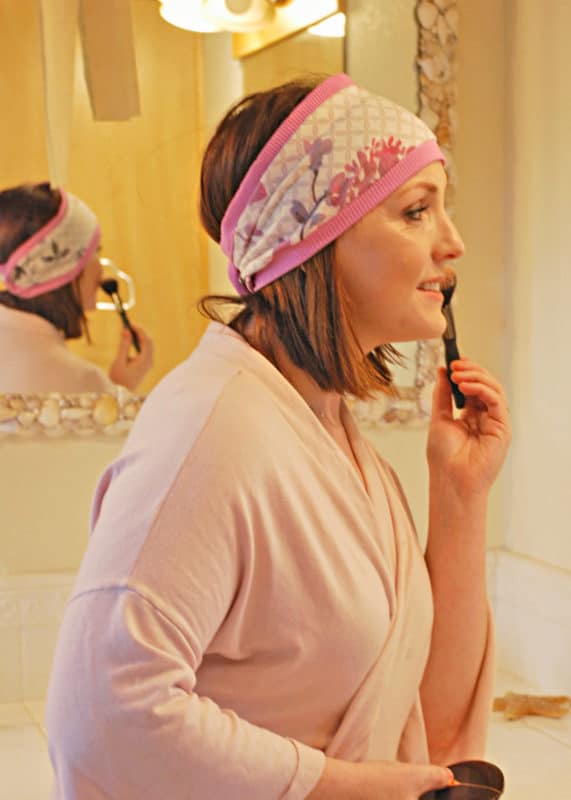
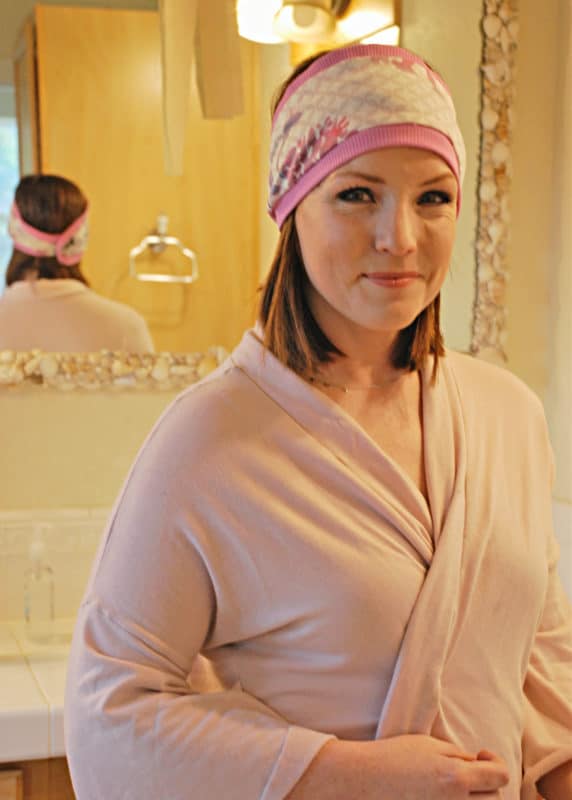
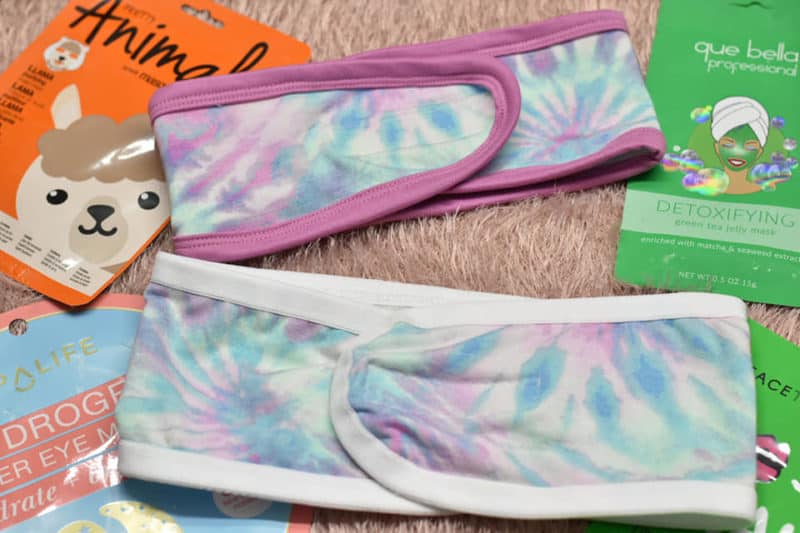
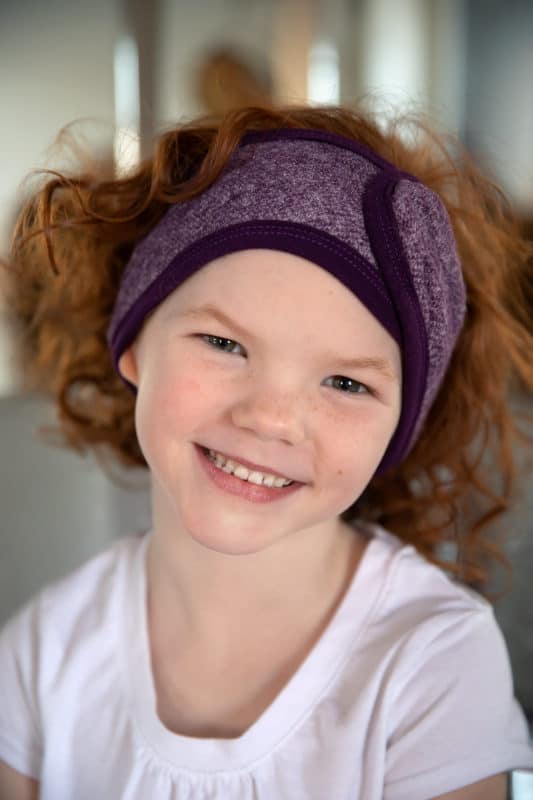
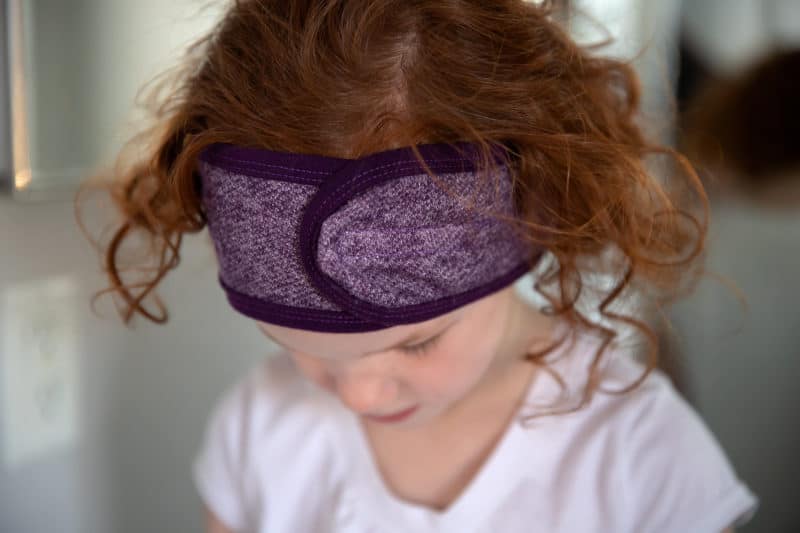
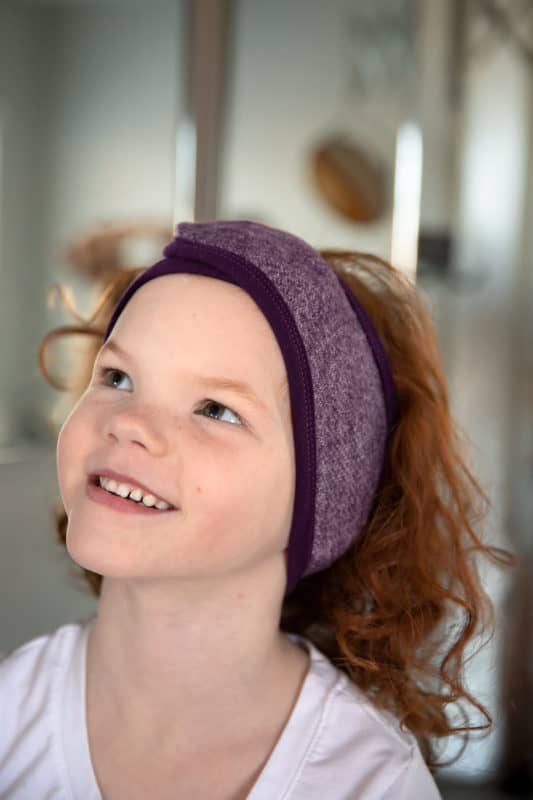
 Welcome to day 2 of our 12 Days of Freebies! Today we have the perfect spa-style headband that has a velcro closure. It’s great for removing or applying makeup or facial masks without the risk of messing up your hair! I especially need this with my curls, the less touching my hair, the better.
SUPPLIES:
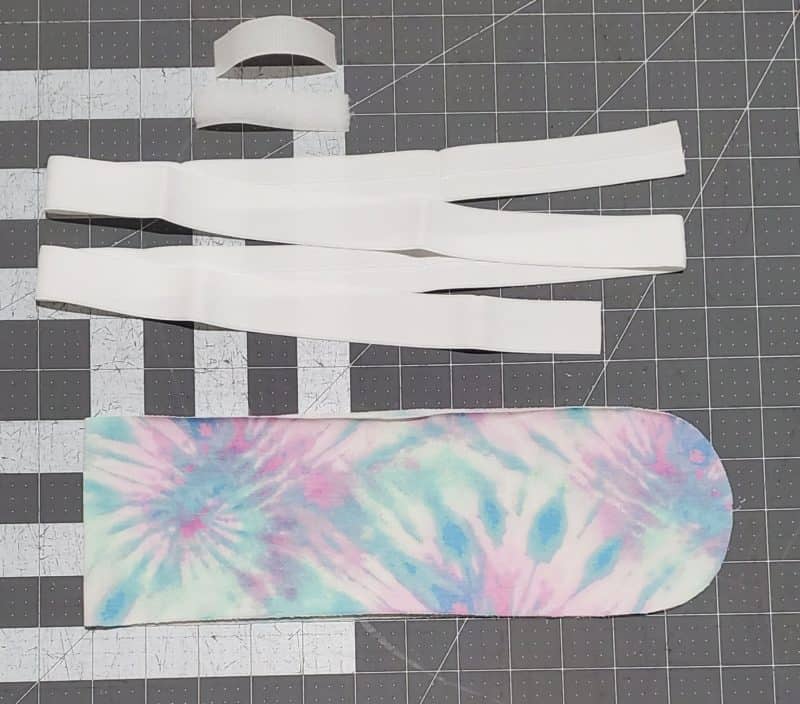
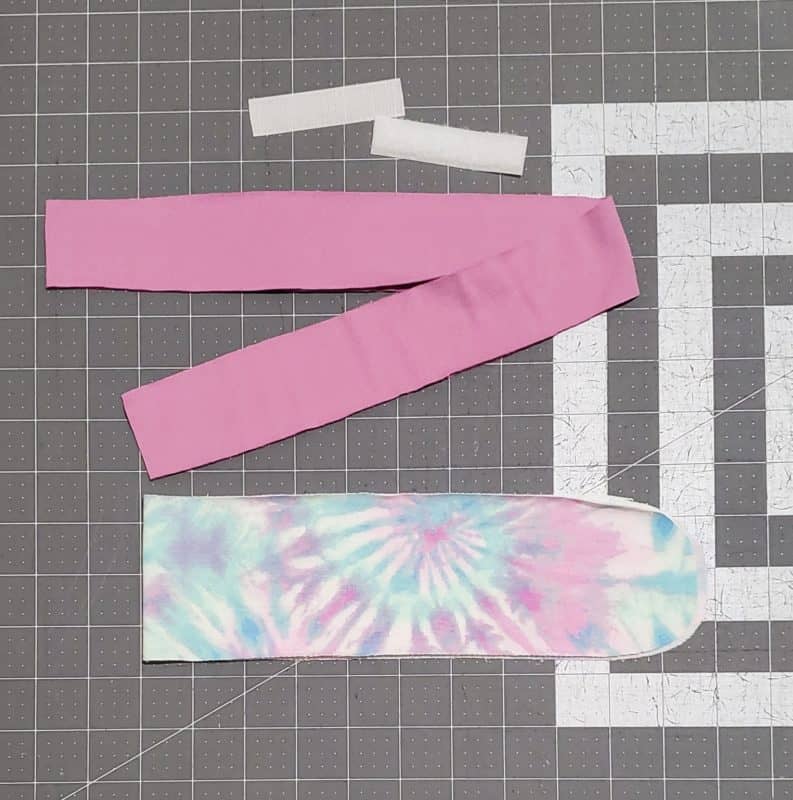
- Knit Fabric – French terry is ideal because the backside is looped.
- scrap fabric or 1/4 yard fabric
- 3″ of Velcro
- FOE OR a knit fabric with great recovery for the binding.
- 1 yard of FOE
- OR 1/8 yard for scrap if you’re using fabric binding
LET’S GET STARTED!
1/4″ seam allowances included.
Step 1: PREPPING
Go grab the pattern here! The pattern is 100% free, but you do need to add it to your cart and checkout. Then, it will always be available to download from your account. The pattern is a no-trim pattern; if you need help putting the pattern together, pop over to the faqs and troubleshooting page or ask in our Facebook group.
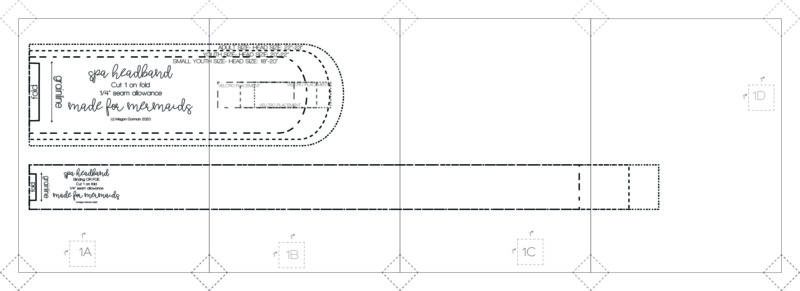
Print and assemble the pattern. Alternatively, you can use the projector file if you’re using a projector. Pattern layout below:
There are 3 sizes to choose from. Choose a size and then cut 1 main headband piece cut on the fold, 1 binding piece cut on the fold (in knit or FOE), and 3 inches of velcro. ( I used 1 inch FOE for the binding on one, and double brushed poly for the other).
Step 2- Prep binding
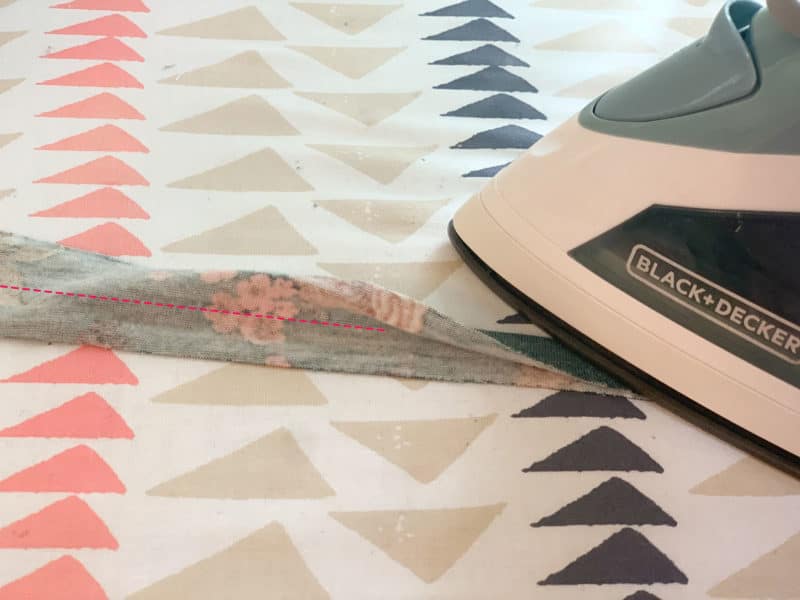
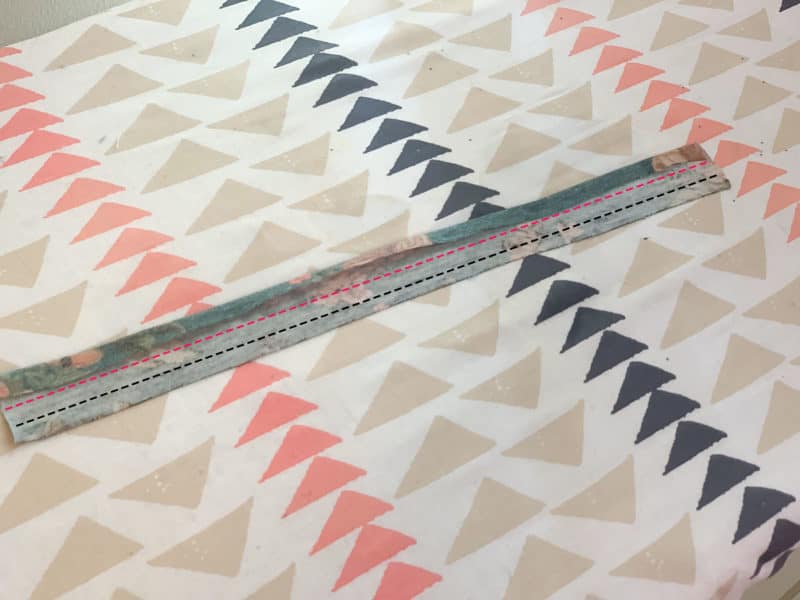
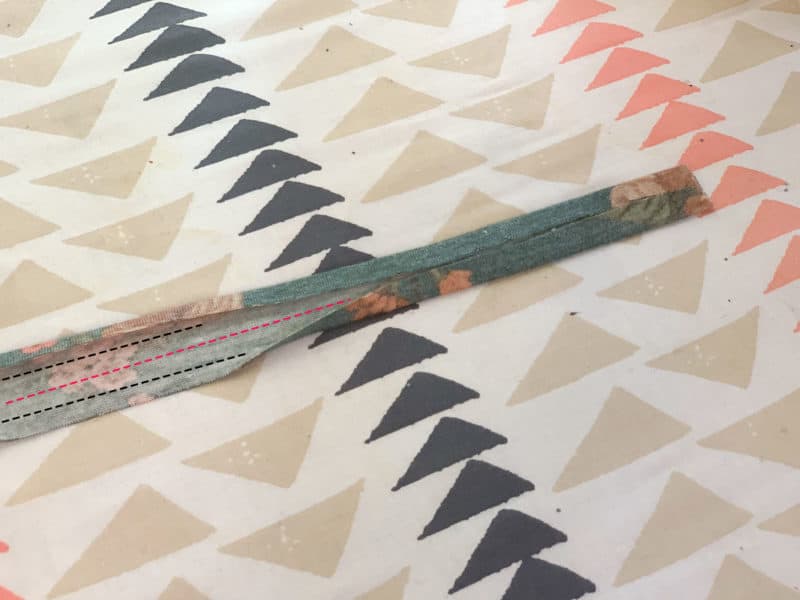
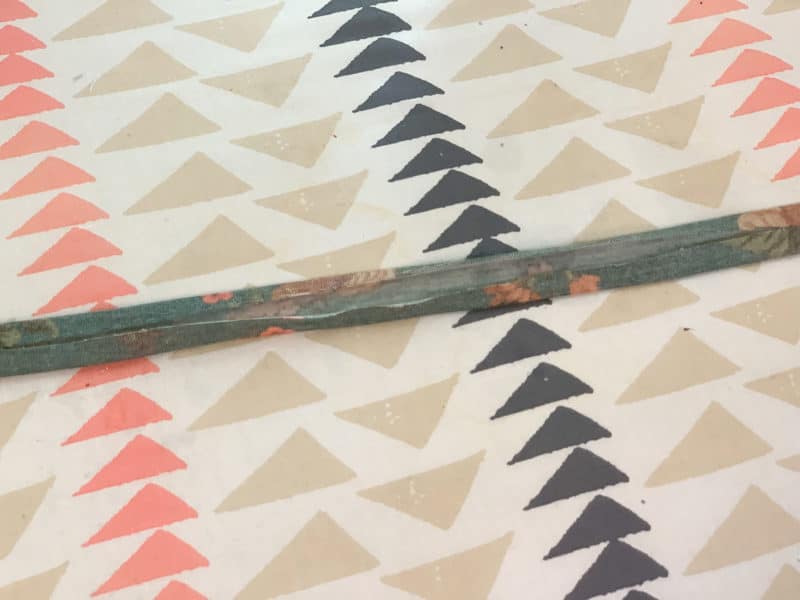
If you’re using a knit binding, you’ll want to prep your binding. If you’re using FOE, skip to the next step. You will press your binding in half widthwise, with wrong sides together. Unfold, then fold both raw edges in toward the center (pink line shown below). Press again. Once you’ve created those memory presses on all of your binding pieces, you are ready to begin attaching your binding! If you need more help, check out the post here.
- Press binding in half widthwise, with right sides together
- Open binding back up, then fold toward the center crease (pink line) with wrong sides together.
- Continue for entire width of binding
Step 3- Finishing the edges
You have the option to attach your binding in the round, by stitching your binding pieces’ short edges together, right sides together using a 1/4 inch seam allowance, or in the flat, where you will overlap your binding edges by 1/4 inch at the end.
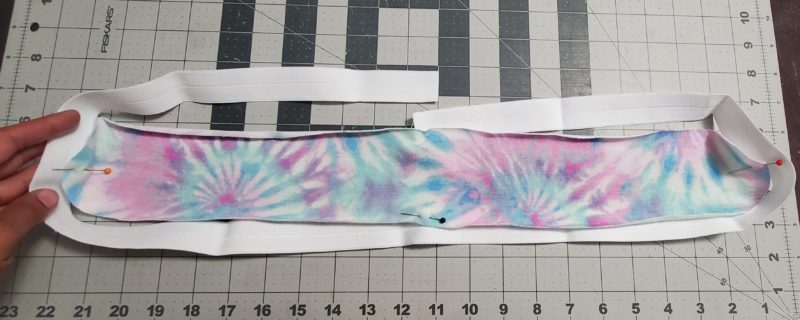
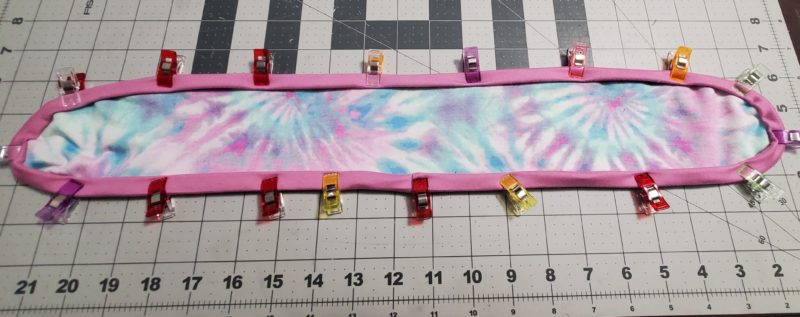
Pin your binding to your headband piece. The right side of your binding to the wrong side of your headband.
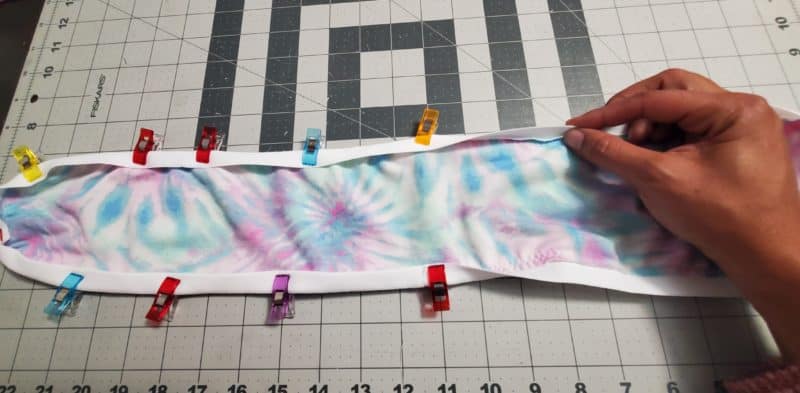
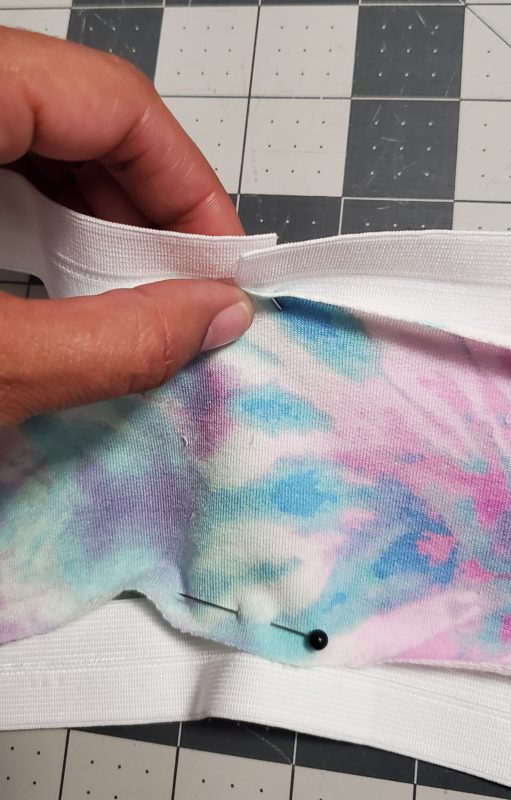
If you are using FOE you will pin your FOE to the headband wrong sides together, lining up the raw edges of the headband to the center fold on the FOE.
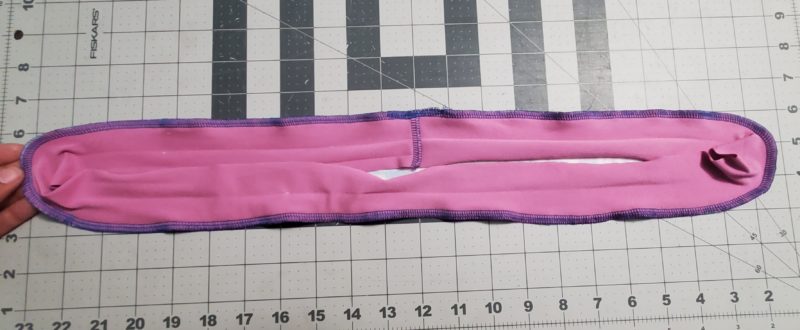
Stitch your binding piece to your headband using a 1/4 inch seam allowance. *If you are using FOE, you will use a zig zag/ stretch stitch on your regular sewing machine for this step*
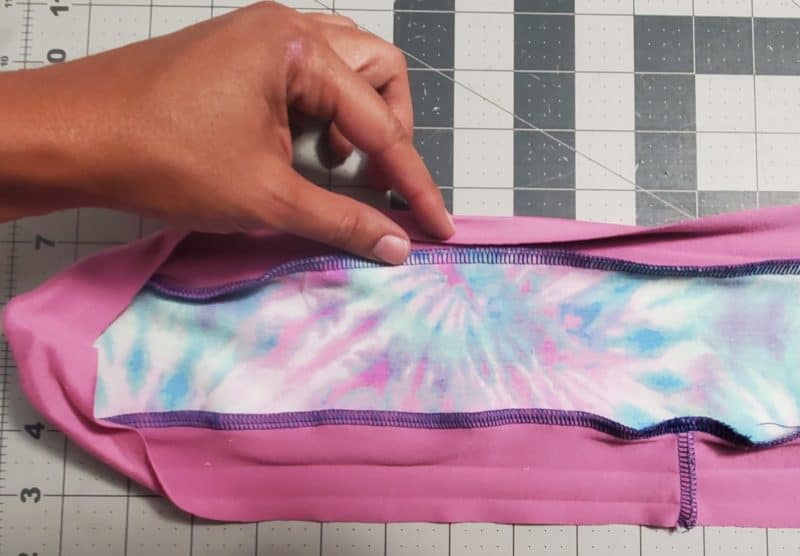
Turn you headband over so the right side is facing up. Press or finger press your seam allowance toward your binding and fold the top, raw edge of your binding down to meet the edge of your seam allowance.
Fold your binding piece over once more so the seam allowance is hidden. Pin in place.
For FOE, you simply fold your elastic edge over the raw edges of the headband and pin in place.
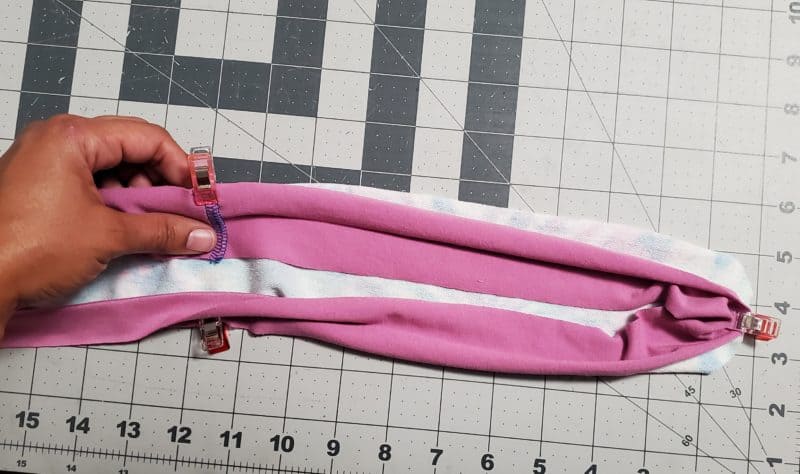
If you chose to overlap your binding edges at the end it will look like this. Then topstitch your binding to your headband as close to the binding edge as possible.
Step 4- Adding velcro
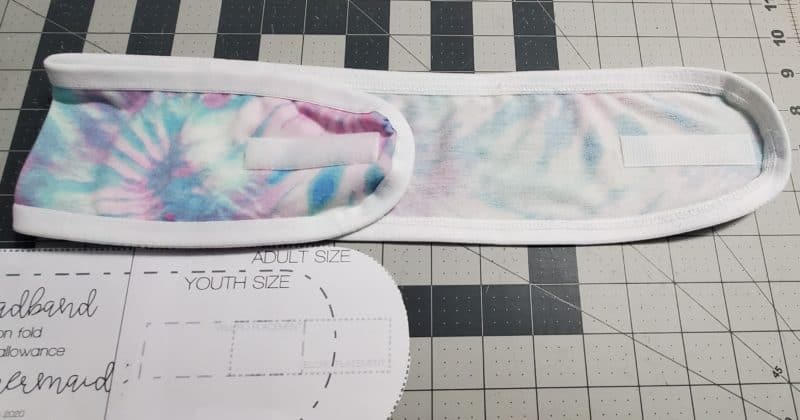
Then, using your pattern piece for placement, attach your velcro by placing one side of the velcro (hook or loop) on the RIGHT side of your headband’s end, and attach the other side of your velcro on the WRONG side of your headband’s end. Attach to your headband by stitching around the velcro, as close to the velcro edges as possible, using a straight stitch on your machine.
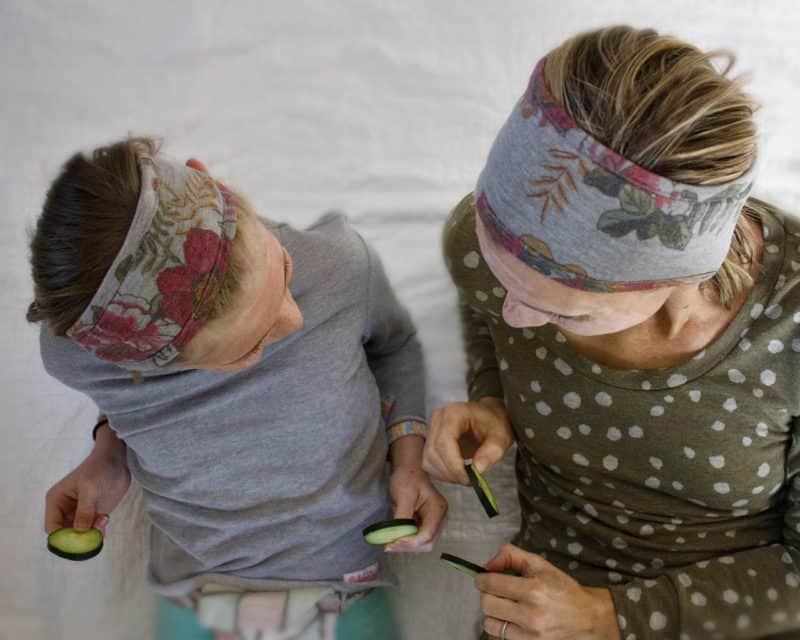
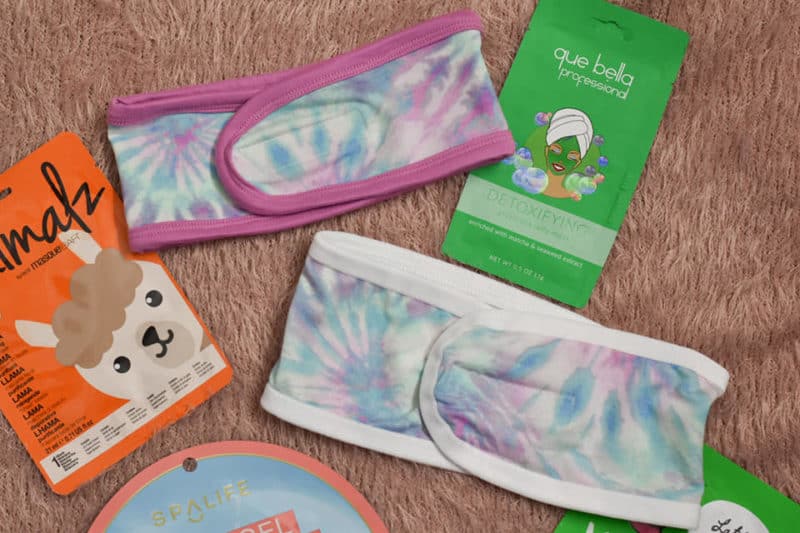
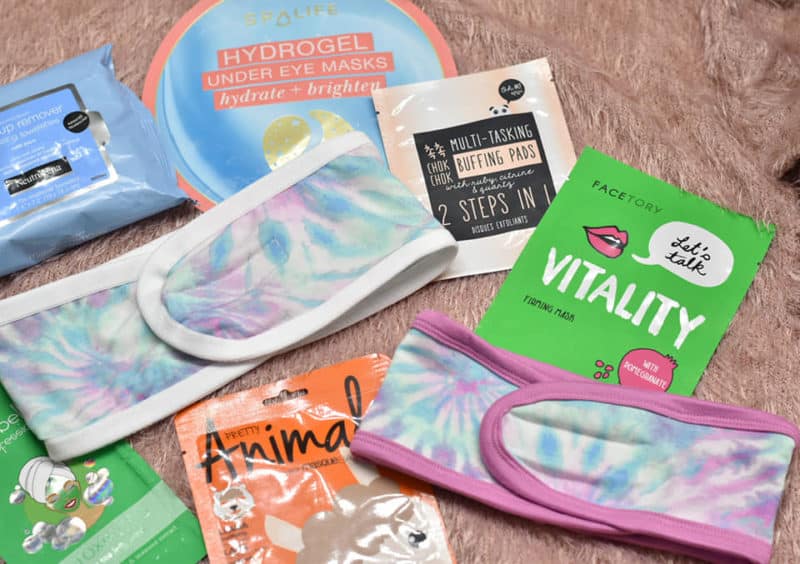
You’re finished! Now you have the perfect spa style headband! I plan on pairing these with some skin care products, fun facial masks, or mini makeup kits to give as gifts! So cute and the perfect stocking stuffer!
DECEMBER 1 – 12, 2020
DAY 1- SUPER SCRUNCHIE
DAY 2- SPA HEADBAND


Hi, dumb question, while using FOE and get to the top stitching part, what stitch do I use? Regular or the stitch used for knit fabric? TIA
Not a dumb question! 🙂 Use a stretch stitch!