
On the 3rd day of Christmas, Made for Mermaids gave to me…
A chef hats for the fa-mi-lyyyyyyyy!

Over the past few years, we have shared some fun freebies like aprons (here, here and here), felt play food (here and here), and oven mitts. We thought it was time we give y’all a chef hat to complete your culinary ensemble. The chef’s hat is available in 4 sizes ranging from dolly to adult.


SUPPLIES:
- Woven fabrics- 100% cotton, quilting cotton, kona, polyester, broadcloth, etc.
XS- 1/2 yard
S- 5/8 yard
M- 1 yard
L- 1 yard - Light-weight fusible interfacing
- Velcro – I like using 3/4″-1″ width velcro. Approximately 6″ needed.
- 1/2″ double-fold bias tape. Approximately 7″ needed.
CHOOSE A SIZE: Measure around the head, just above the ears to determine size.
- XS- up to size 15.5″ – suitable for 18″ dolly
- S- 16.5″-19.5″
- M- 19.5″-22.5″
- L- 22.5″-25.5″
LET’S GET STARTED!
1/2″ seam allowances included.
Step 1: PREPPING
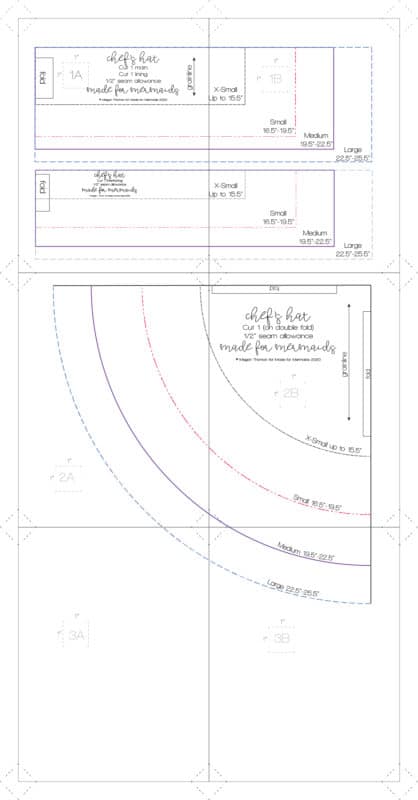
Go grab the pattern here! The pattern is 100% free, but you do need to add it to your cart and checkout. Then, it will always be available to download from your account. The pattern is a no trim pattern; if you need help putting the pattern together, pop over to the faqs and troubleshooting page or ask in our Facebook group .
Print and assemble the pattern. There are 6 pages to print out. Pattern layout below:
Step 2: Cutting
Cut out the following pieces:
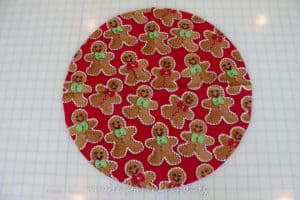
*1 main hat piece (on the double fold)
*1 main band (on fold)
*1 lining band (on fold)
*1 interfacing (on fold)
*2 strips of velcro- 3″ long
*1 piece of 1/2″ double-fold bias tape- 7″ long
Step 3: Adding bias tape
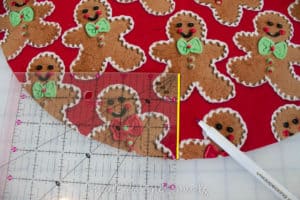
Cut a 3″ straight line into back center of your main hat piece.
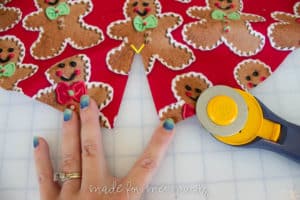
At the top of your line, cut a small “V” shape.
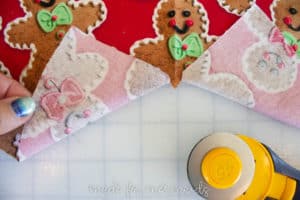
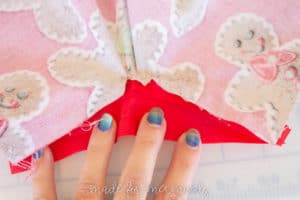
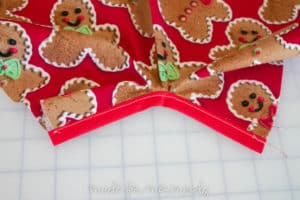
Open up the slit so it forms a straight line. Open your bias tape and pin it to the slit with right sides together. “Stitch in the ditch” to attach bias tape to hat, again with right sides together.
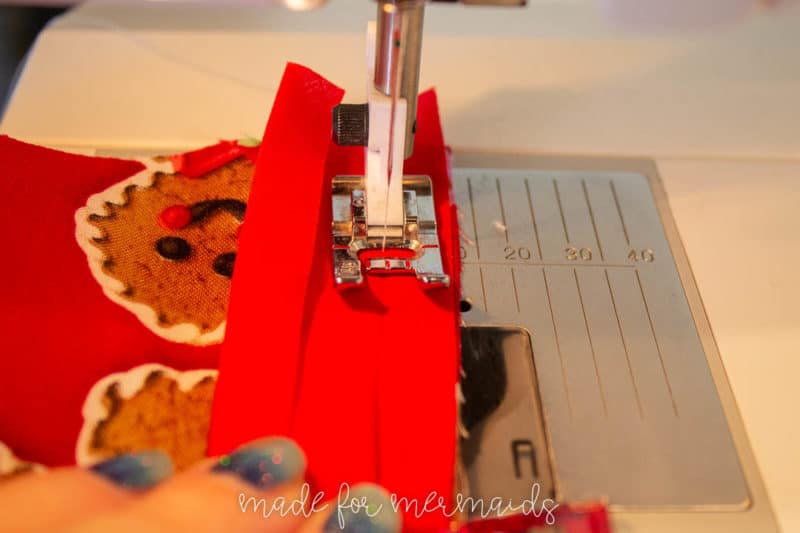
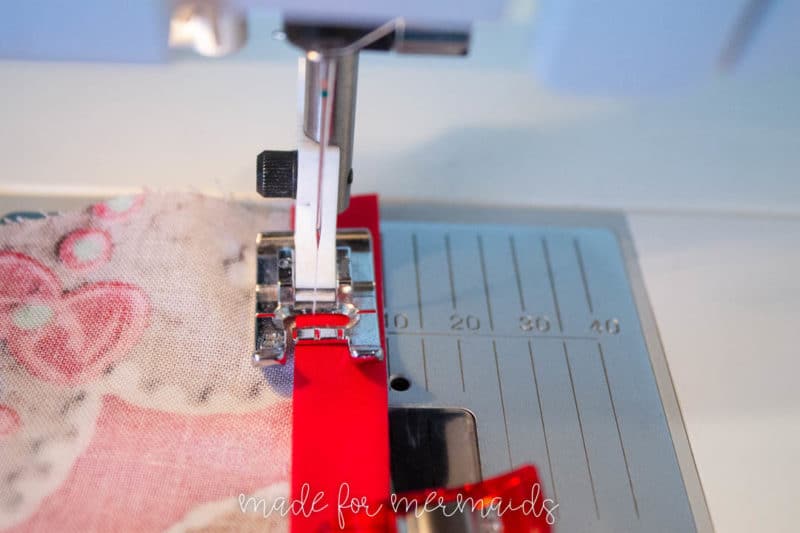
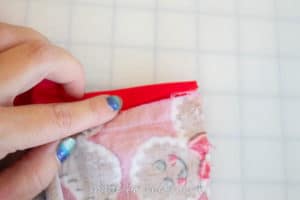
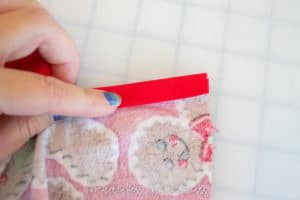
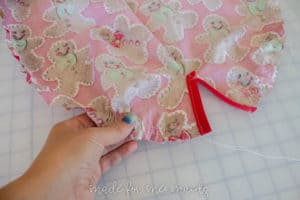
Pull bias tape out, away from seam. Begin refolding bias tape so it sandwiches the raw seam. Edge stitch bias tape closed.
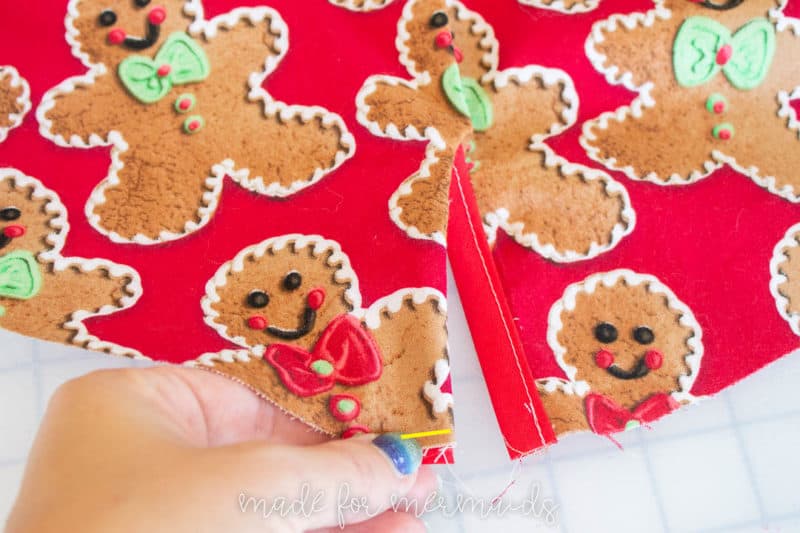
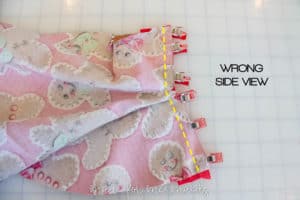
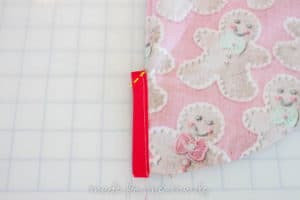
Fold main hat piece in half right sides together. Make a diagonal stitch using the yellow dashed line as a guide.
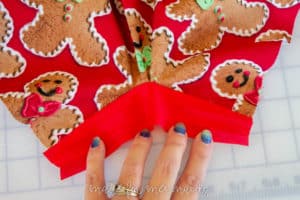
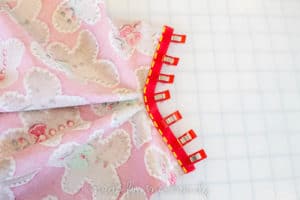
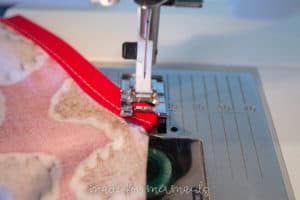
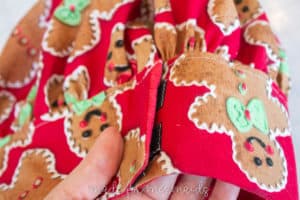
Fold the left side of your placket under and place a stitch along the bottom. The left side of placket will be hidden and the right side will be visible, meaning you will see the bias tape.
Step 4: Gathering the hat
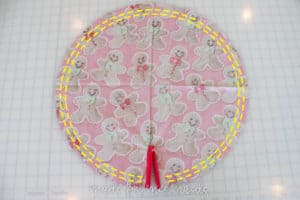
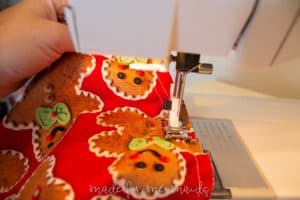
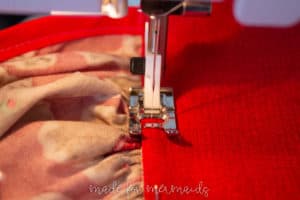
Gather the entire outside edge of the main hat. To do so, increase your stitch to the longest stitch length, usually 5, and run a gathering stitch 1/4″ and 5/8″ around the edge of the hat. Pull bobbin threads and slide fabric in opposite direction to begin gathering the hat. Set hat aside.
Step 5: Band
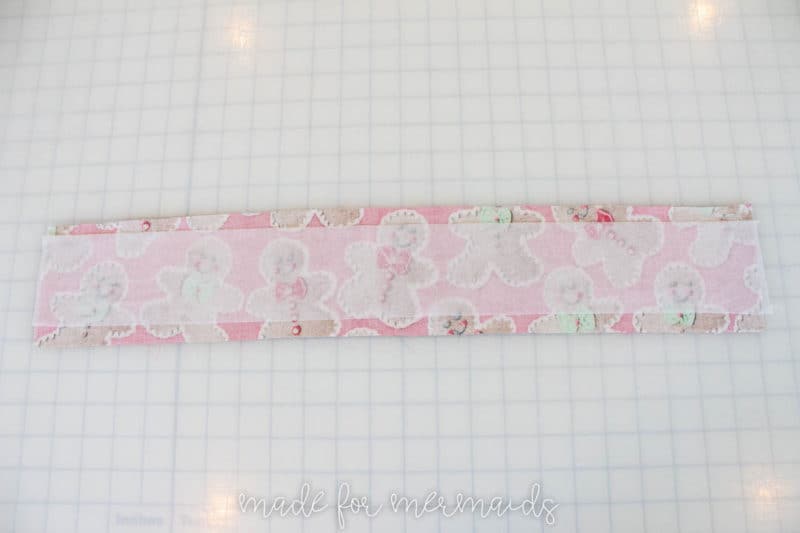
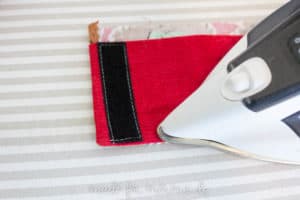
Center the interfacing and press it to the wrong side of main band.
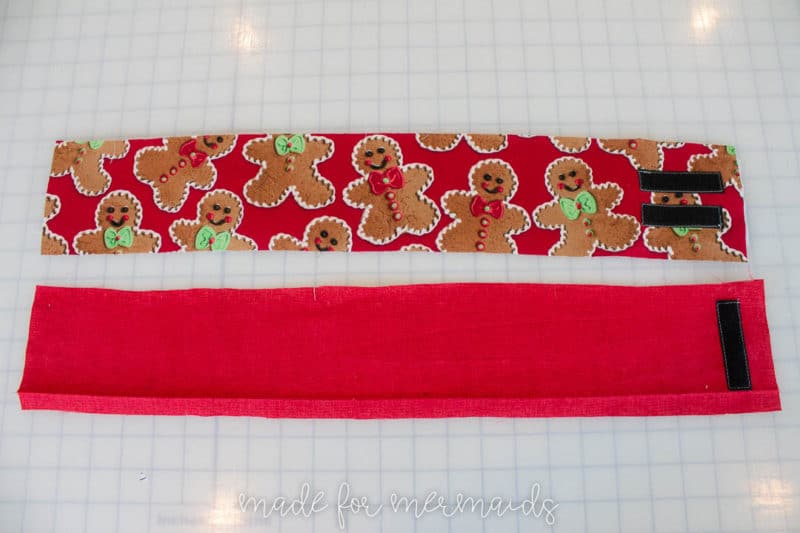
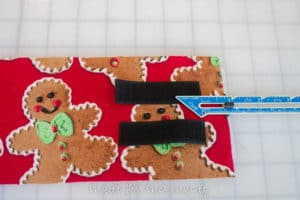
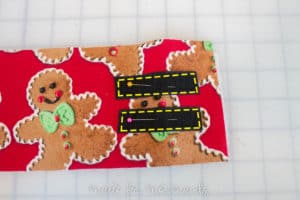
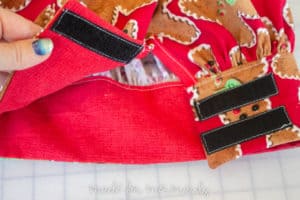
With your main band fabric right side up, place the scratchy side of velcro 3/4″ from the short edge of the main band on the right end. Center the strips lengthwise, keeping your seam allowances in mind. NOTE: For the smallest size, you will just use one strip of velcro centered on the band. Pin and stitch velcro to band.
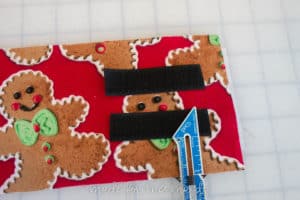
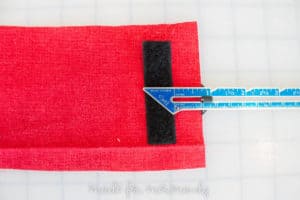
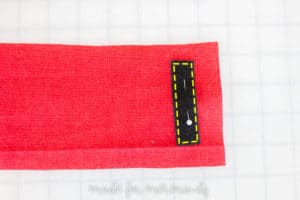
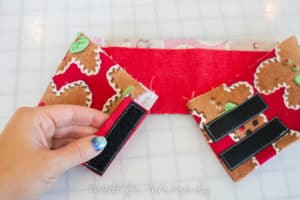
Grab your lining band. Press the bottom edge up 1/2″ toward wrong side. Take the soft side of velcro and place it 3/4″ from the short edge of the right end. It should be centered lengthwise, keeping seam allowances in mind. NOTE: For the smallest size, you will center your velcro so it is parallel to the long edges. Pin and stitch velcro to lining band. TIP: If you are on the smaller end of the size range, you may want to place two strips.
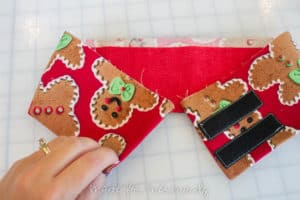
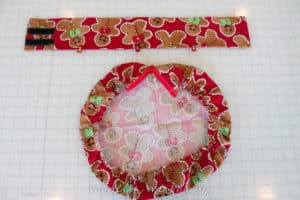
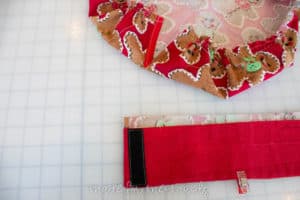
Your bands should look like this, with both velcro pieces on the right end of the band and lining.
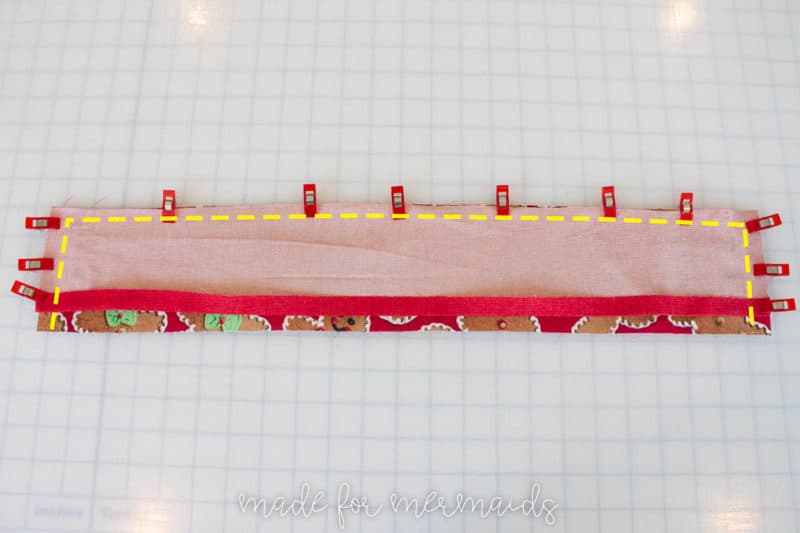
Place the main and lining bands right sides together. Your velcro will now be on opposite sides from each other. Pin and stitch along the short and top long edges. The lining hem should still be folded up toward the wrong side.
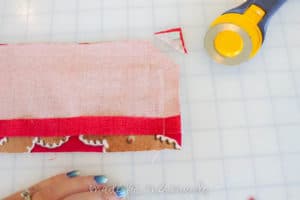
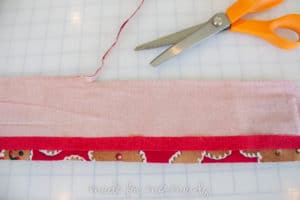
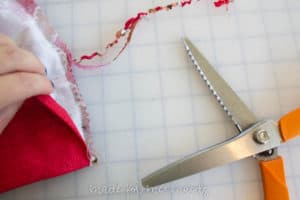
Clip corners and trim seam allowance. I like to use pinking shears to clip and trim at the same time.
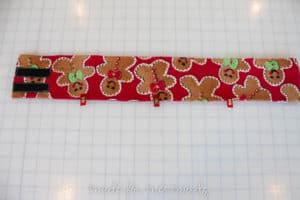
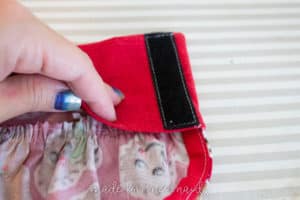
Turn band right side out. Use a point former or chopstick to push corners out. Press well. Your velcro should be on opposite ends, with one side being on the main band and the other on the lining.
Step 6: Attaching hat and band
Quarter the band and hat. Place pins.
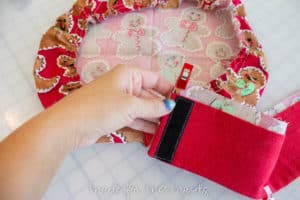
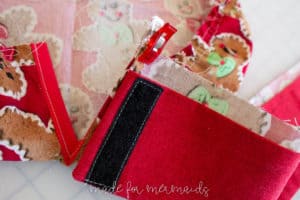
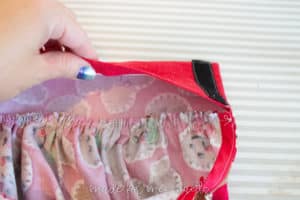
Place one raw corner of the main band right sides to the corner of the “hidden side” of the hat placket. Place a pin and continue pinning around quarter points until you reach the other corner.
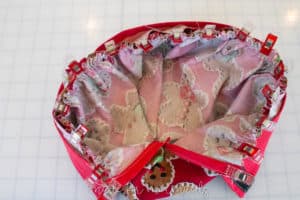
The right side of the band will be against the bias tape. Gather the rest of the hat to fit the band. Pin well.
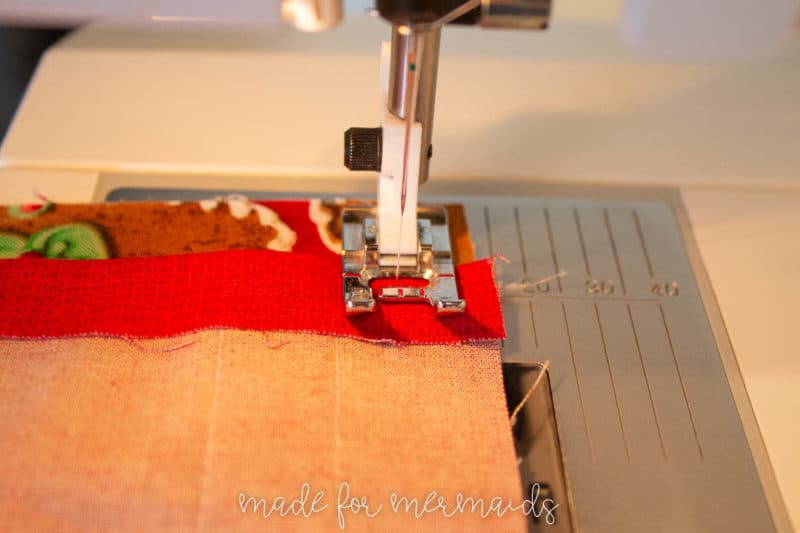
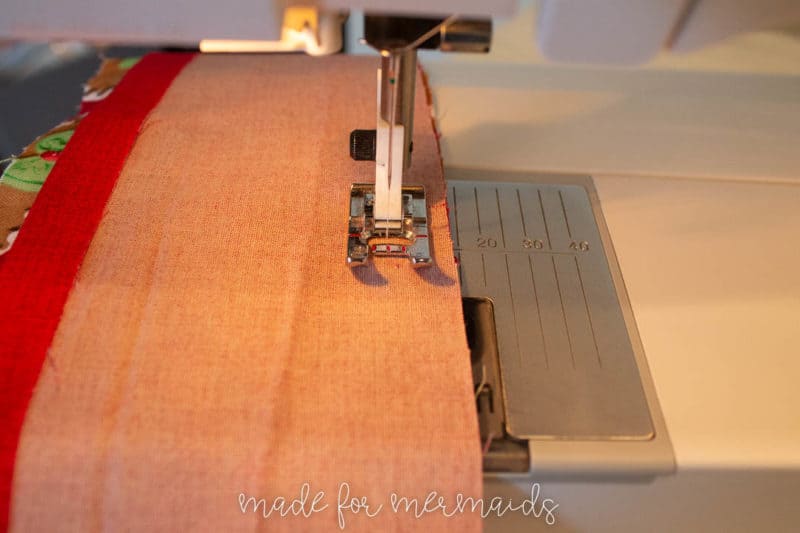
Stitch band to hat with 1/2″ seam allowance.
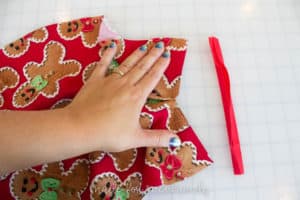
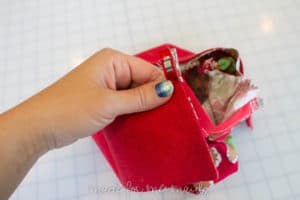
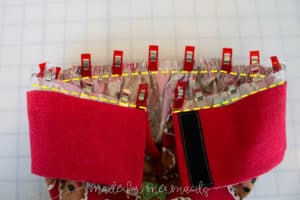
Trim seam allowance. Pull band out, away from seam. Cover line of stitching.
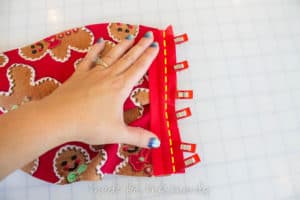
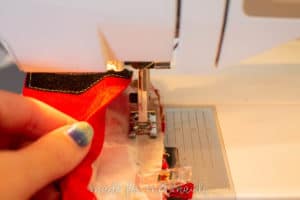
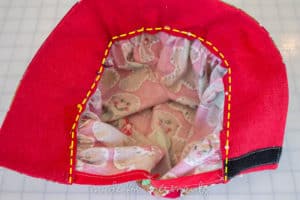
Pin band in place and edge stitch band along yellow dashed line. TIP: you can also hand stitch the opening closed.
Close velcro and adjust to fit.
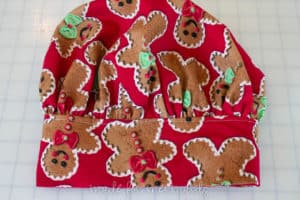
Voila! Enjoy your chef’s hat! We can’t wait to see how your’s turns out! You can add trim, embroidery, heat transfer vinyl, etc. to personalize it and match your kitchen or favorite apron. Here are some of our tester photos for inspiration…





Leave a Reply