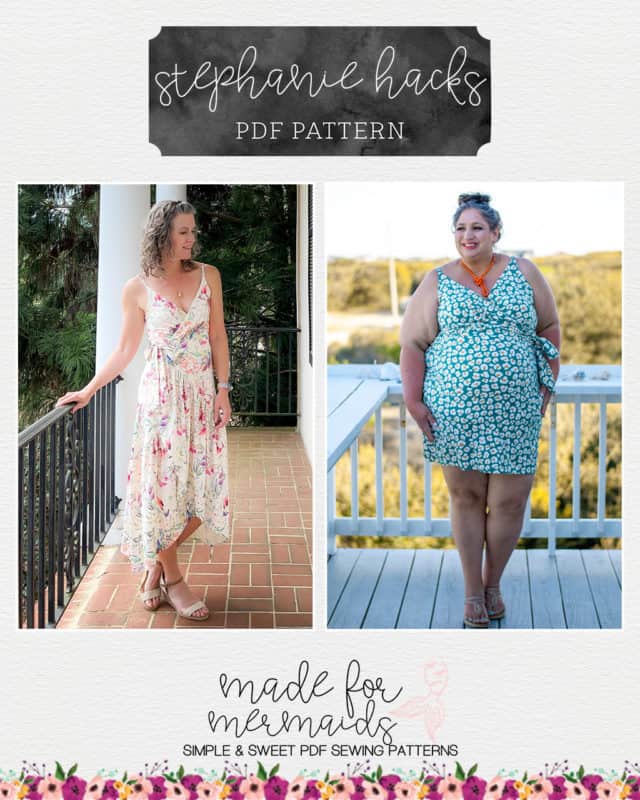
It was only a matter of time before a romper named after our very own Romper Queen Stephanie was released! Stephanie (the pattern) is a fun knit pattern perfect for dressing up for special nights out or wearing casually every day. The bodice is a lined crossover with slight gathers and the back has elastic at the top and fixed straps. Choose from a bodice with no waistband, plain waistband, or tie waistband. The non-waistband option will hit at empire waist and the waistband options at the natural waist. The skirt is a flattering 1/4 circle and can be made plain or with a slit. Choose from a dress, midi, or maxi lengths. The gathered romper option has shorts, cropped, or full-length options with 5 inseams 3″, 4″, 22″, 30″, or 32″.
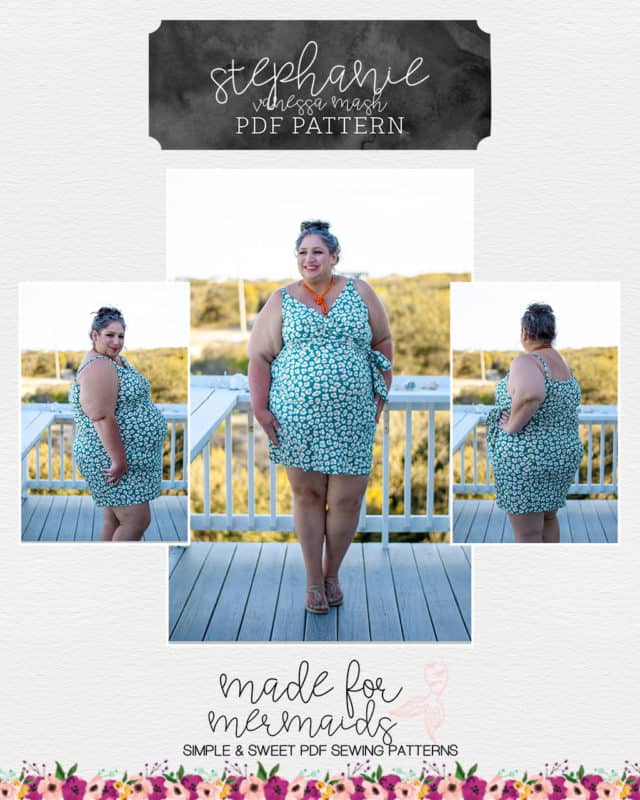
Stephanie + Vanessa Mash
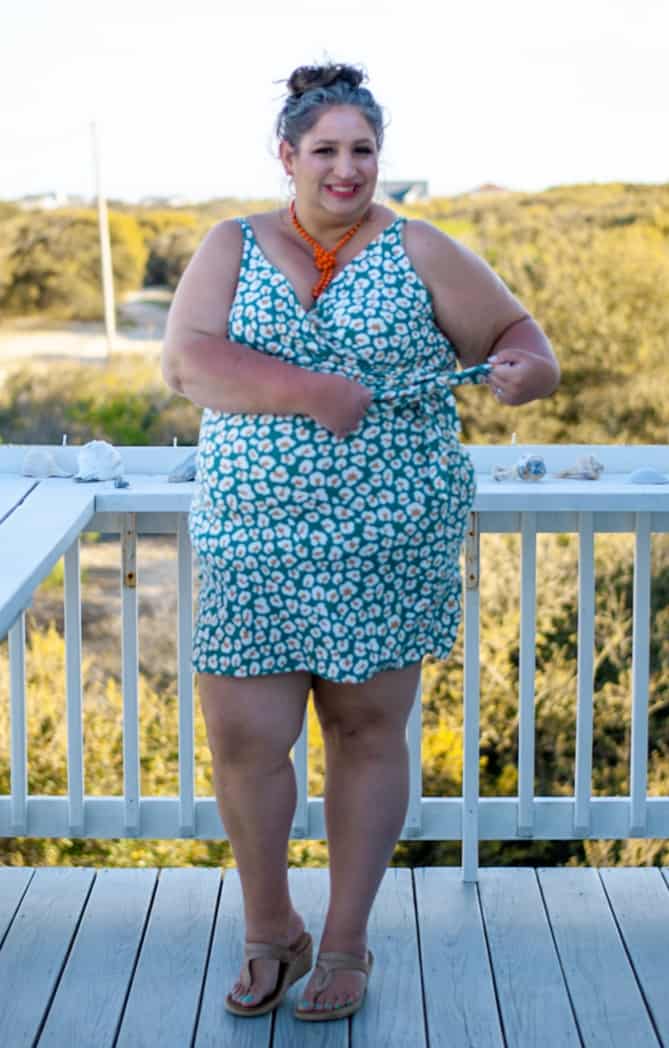
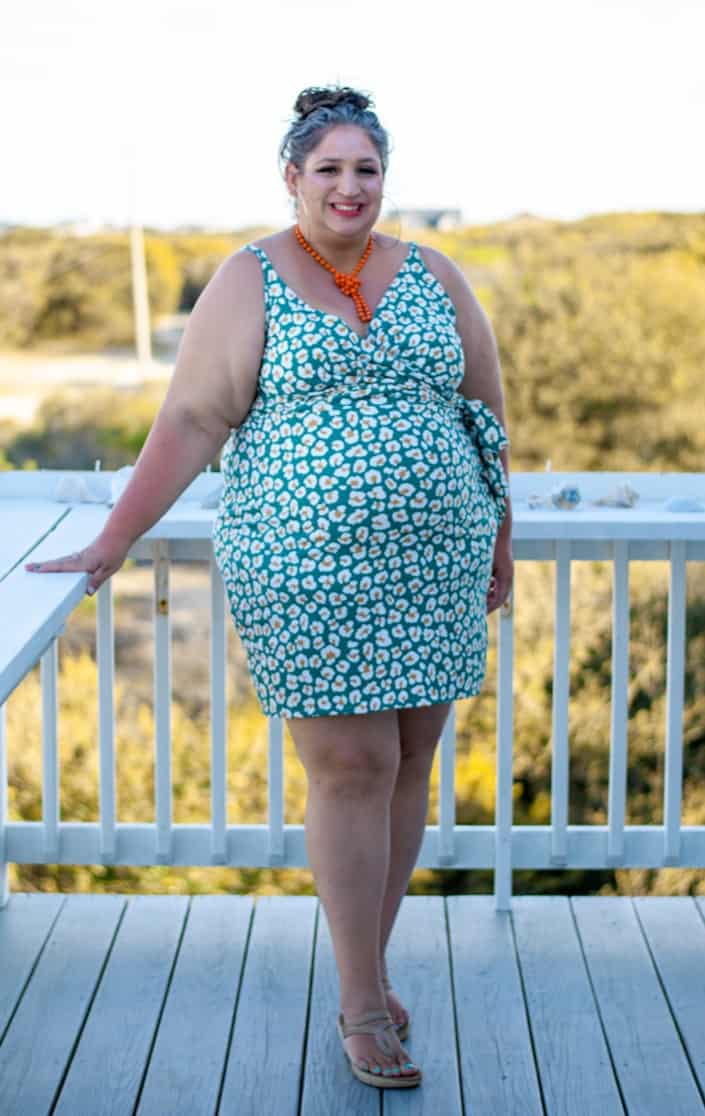
I have been waiting for Stephanie for a LONG time and then what do I do immediately? Mash it with another favorite M4M pattern, obviously! 😂
This is such an easy mash, as Vanessa is basically the cooler weather version of Stephanie. They both have that blousy bodice that cinches in nicely at the waist–fabulous for creating curvage (is that a word? no? it is now!) where there might not be much in the first place!
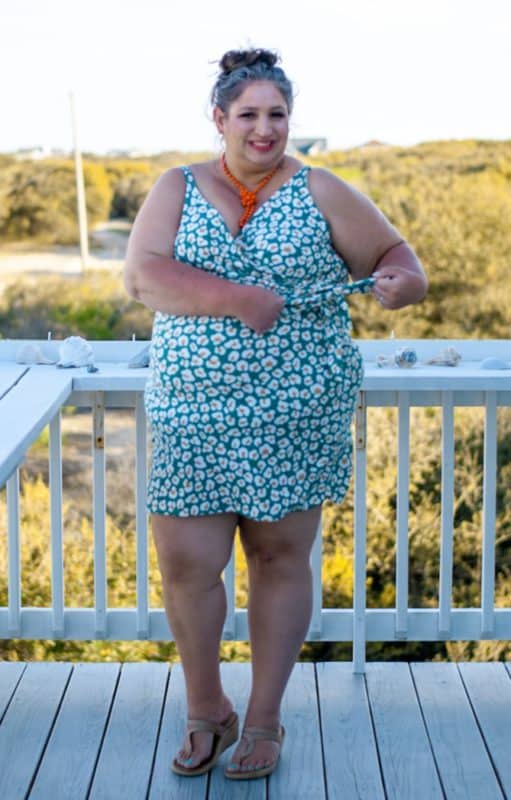
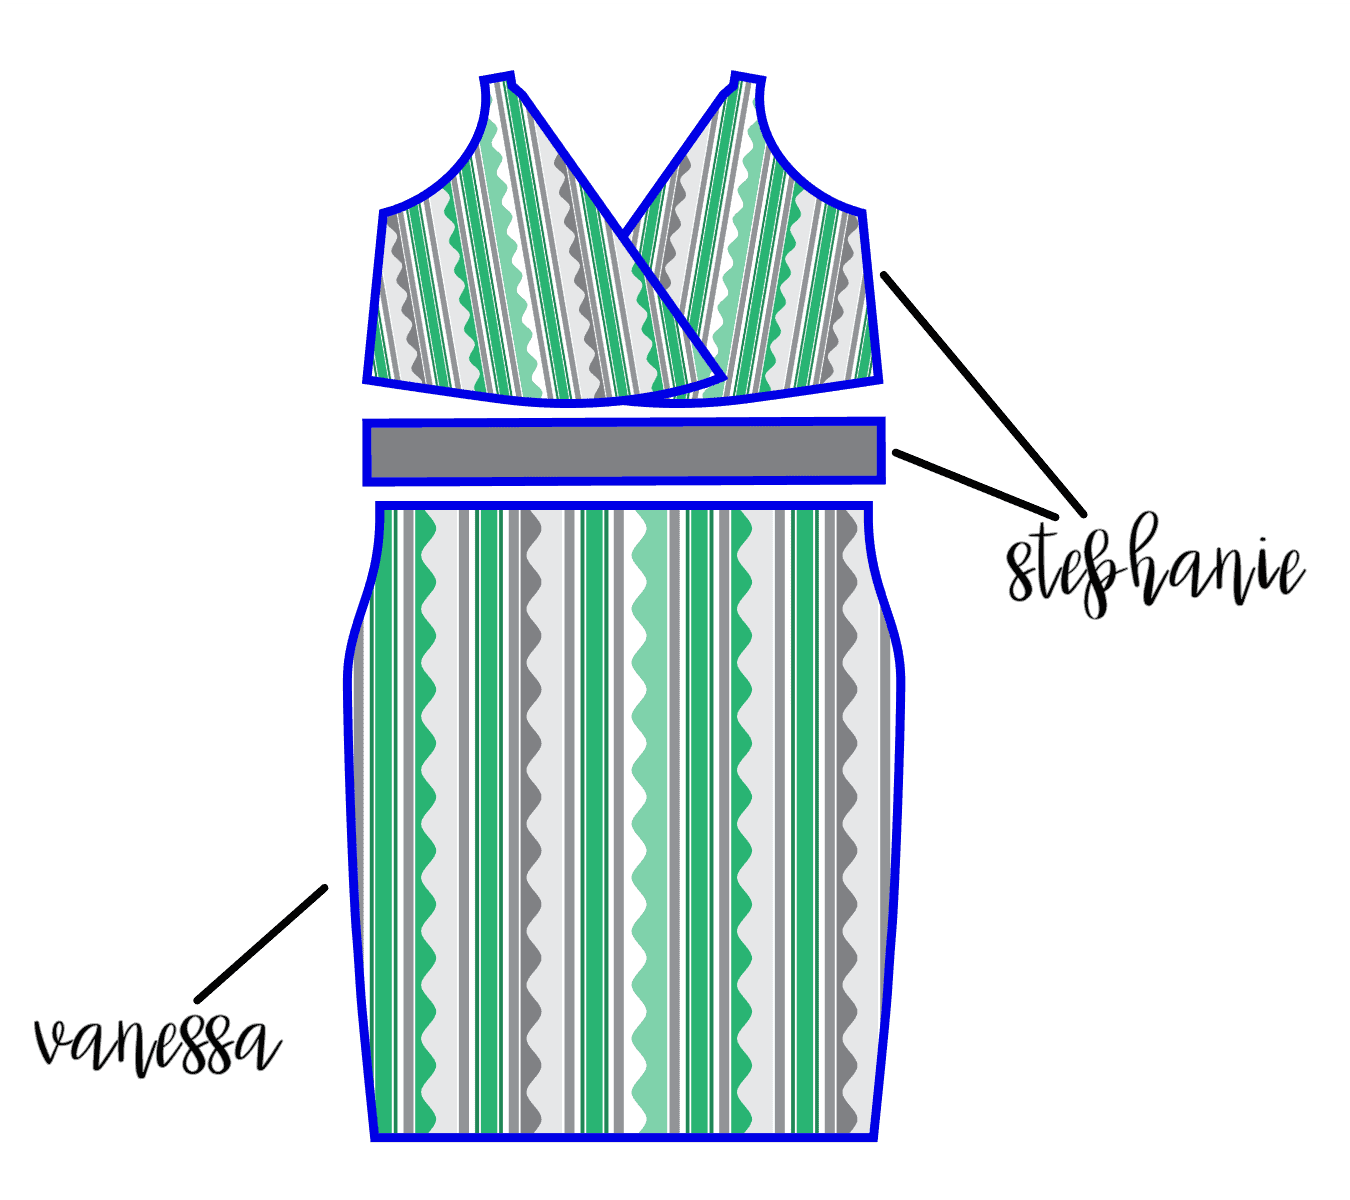
To do this mash, you will need all the bodice pieces from Stephanie, and the fitted skirt from Vanessa. For my version, I used the waistband option of Stephanie, as I wanted the ties. But you can do this with the elastic waist version as well without any adjustment.
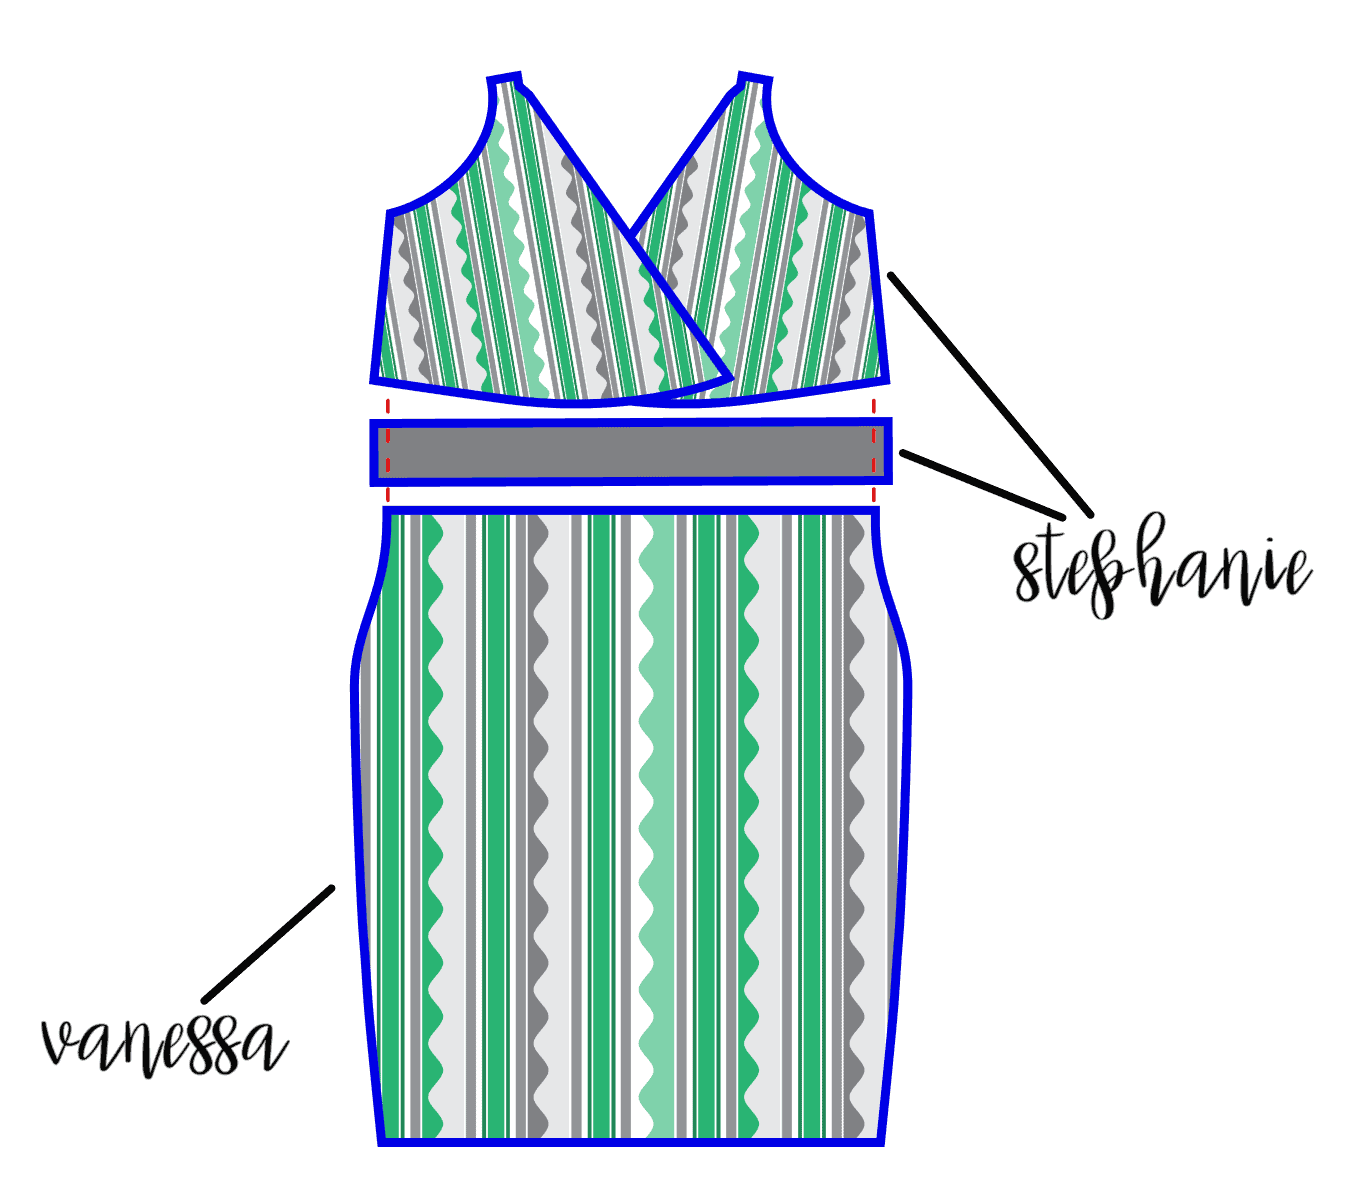
I prepped the bodice per the tutorial and cut the waistband to length, BUT I did trim it ever so slightly so that it would match the width of the top of the Vanessa fitted skirt.
- Dashed red lines show how I trimmed the waistband pieces EVER SO SLIGHTLY to match the width of the top of the skirt.
Then just sew it all together and you are good to go! If you want a little extra support at the waist seam, you can add the optional elastic to your seam, but I didn’t find it necessary for mine.
That’s literally it. Super simple, quick, and fun mash to get even more sass outta Stephanie!
Happy sewing!
~Jess W.
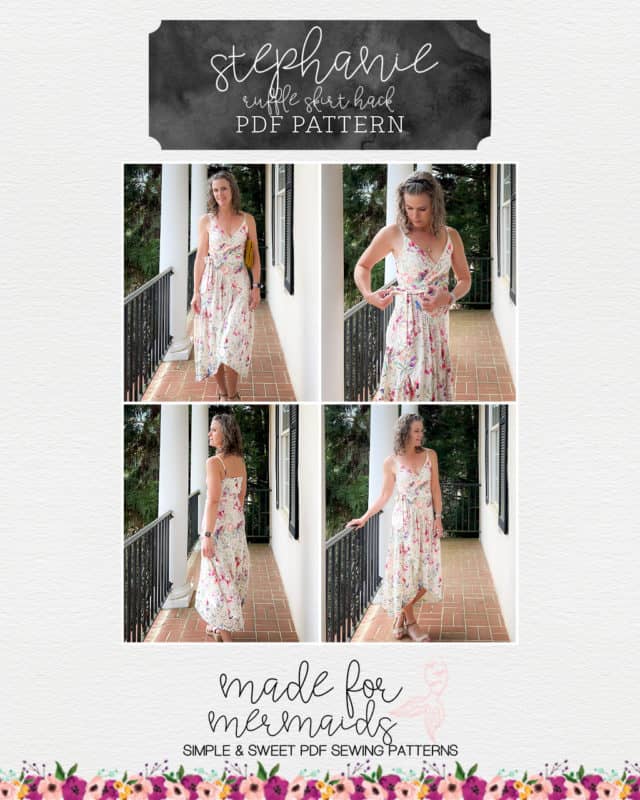
Ruffle Skirt Hack
If you love the look of a ruffled skirt as much as I do, this hack is for you!
Let’s jump right in…
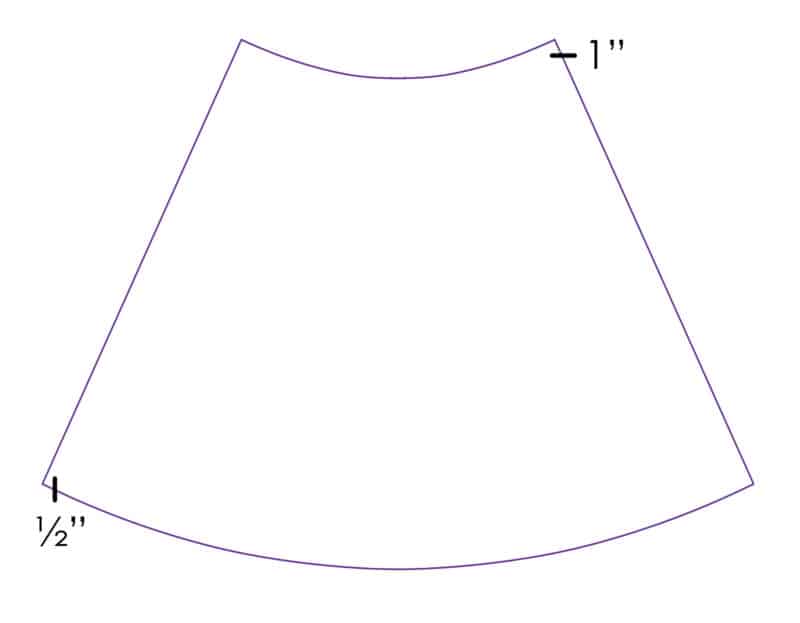
You will use the shortest dress length to pattern your skirt. We are creating new paper pattern pieces, not cutting our fabric at this point.
Start by cutting two (2) of the basic dress back pattern pieces. You will create your tulip front pattern piece with the second back pattern piece.
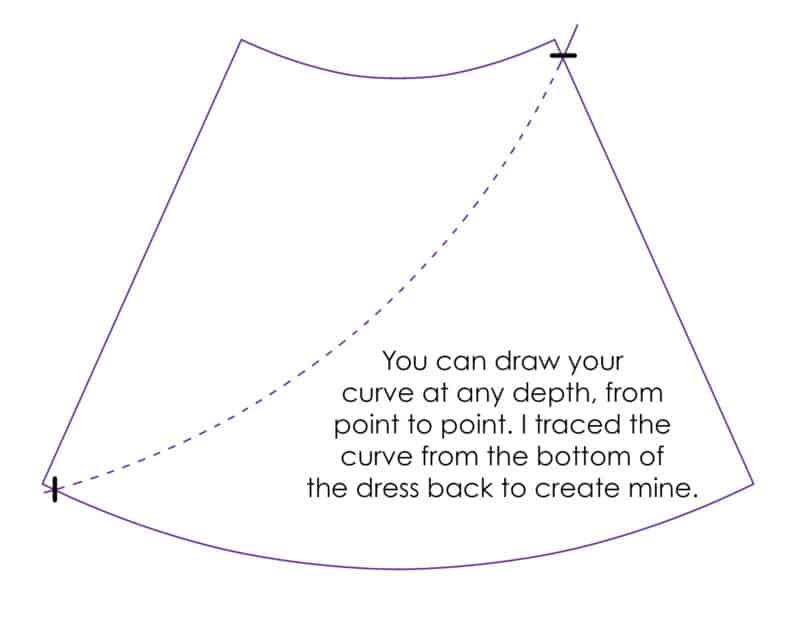
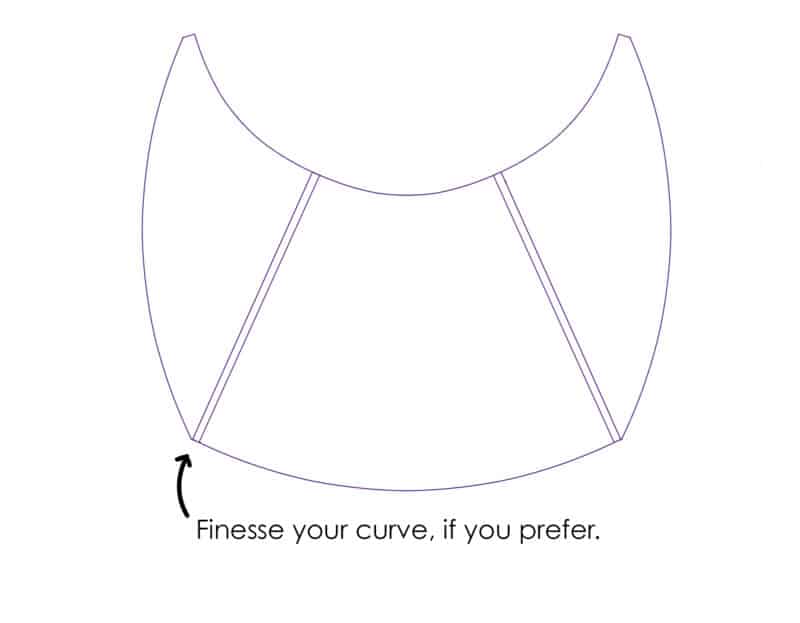
For the pattern piece that will be your front, measure down 1” from the top corner and ½” in from the opposite bottom corner.
Draw your curve from point to point. I traced the curve from the bottom of the back pattern piece to create my tulip curve.
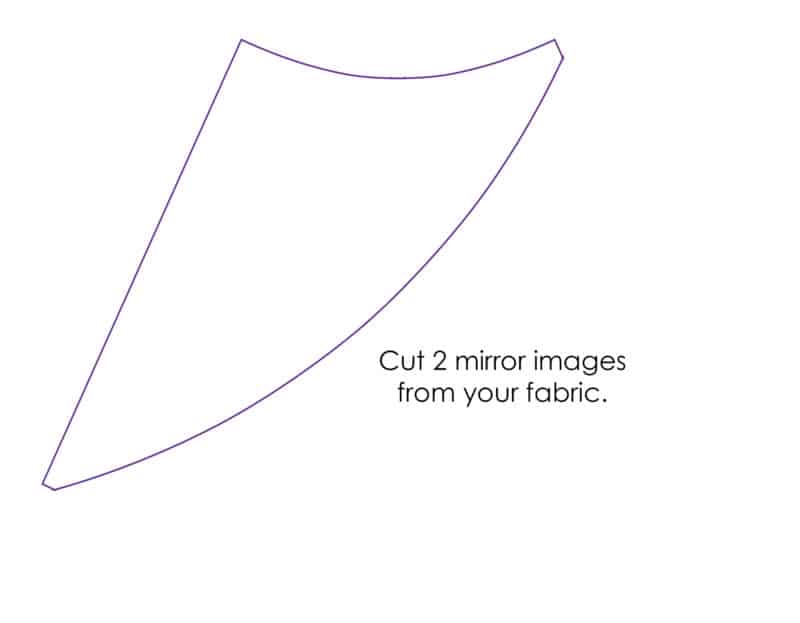
Cut along this line to create your tulip front pattern piece.
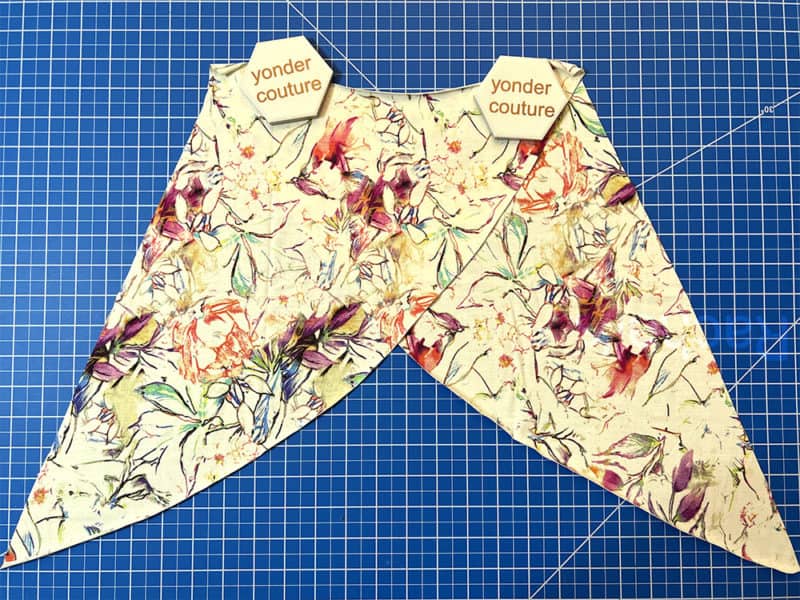
You will cut two mirror images of this piece from your fabric. Cut one skirt back from your fabric.
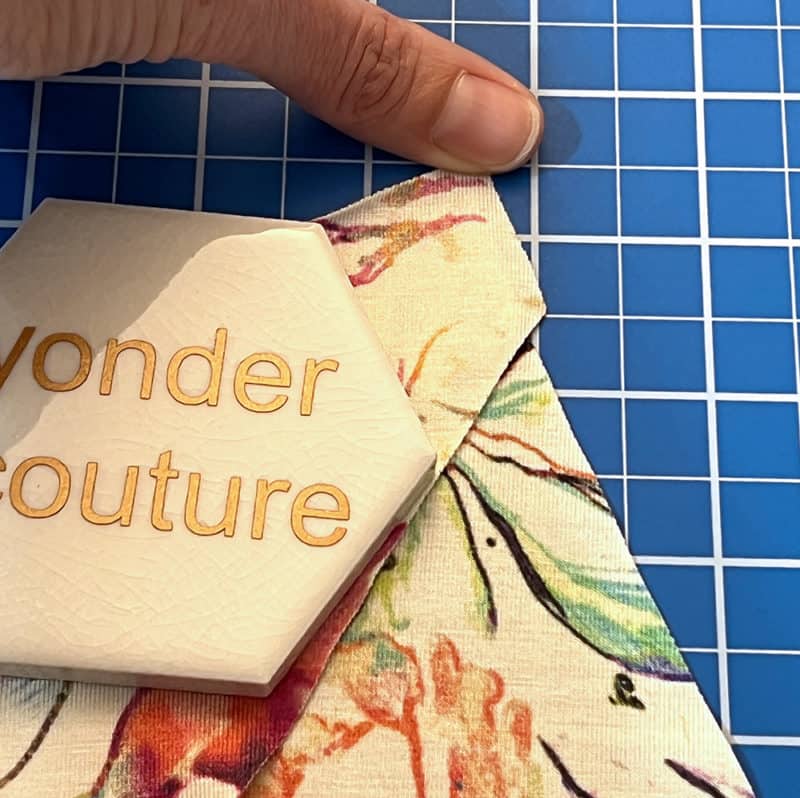
Sew the side seams together with a ½” seam allowance. If the curve is too sharp for your taste, trim a little off to soften the arch.
Set aside.
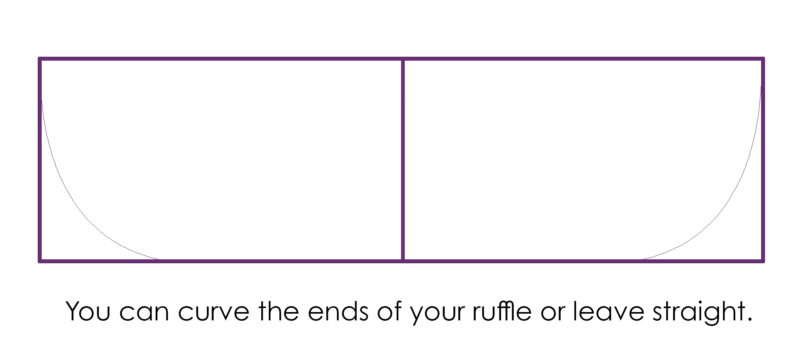
For the ruffle, cut 2 rectangles that are 18” by the width of your fabric. If you want a shorter or longer dress, adjust the 18” measurement by your preferred adjustment. Join the rectangles by placing the right sides together and sewing one short end.
I chose to add a curve to each end of my ruffle that mirrors the tulip curve. I traced the same curve that I used for the front pieces. If you do this, be sure to leave a ½” seam allowance at the top.
Hem the bottom edge of your ruffle.
Run 2 rows of basting stitches at the top of the ruffle – at ¼” and 3/8” – and gather the top of the ruffle to match the width of the tulip yoke.
Sew the ruffle to the yoke, right sides together, and continue wrap dress construction as outlined in the pattern.
As a side note, I constructed this dress entirely on my regular sewing machine because my serger was out of commission. You can sew knitwear on your regular machine! Don’t wait to start if you don’t have a serger. Jump right on in with confidence!
Want a little more Stephanie Fun?? You can use the Ruby Tie Strap Hack or the Willow Adjustable strap hack for even more cute fun versions! Happy Sewing!






Leave a Reply