Hi everyone, Kelly here on the blog today. I have a fabulous pattern mash to show you that I’m really excited about! I took the bodice pieces from the Loren Teddy and mashed them together with the gorgeous slit maxi skirt from the Stephanie pattern and created a bombshell of a dress.
- Loren
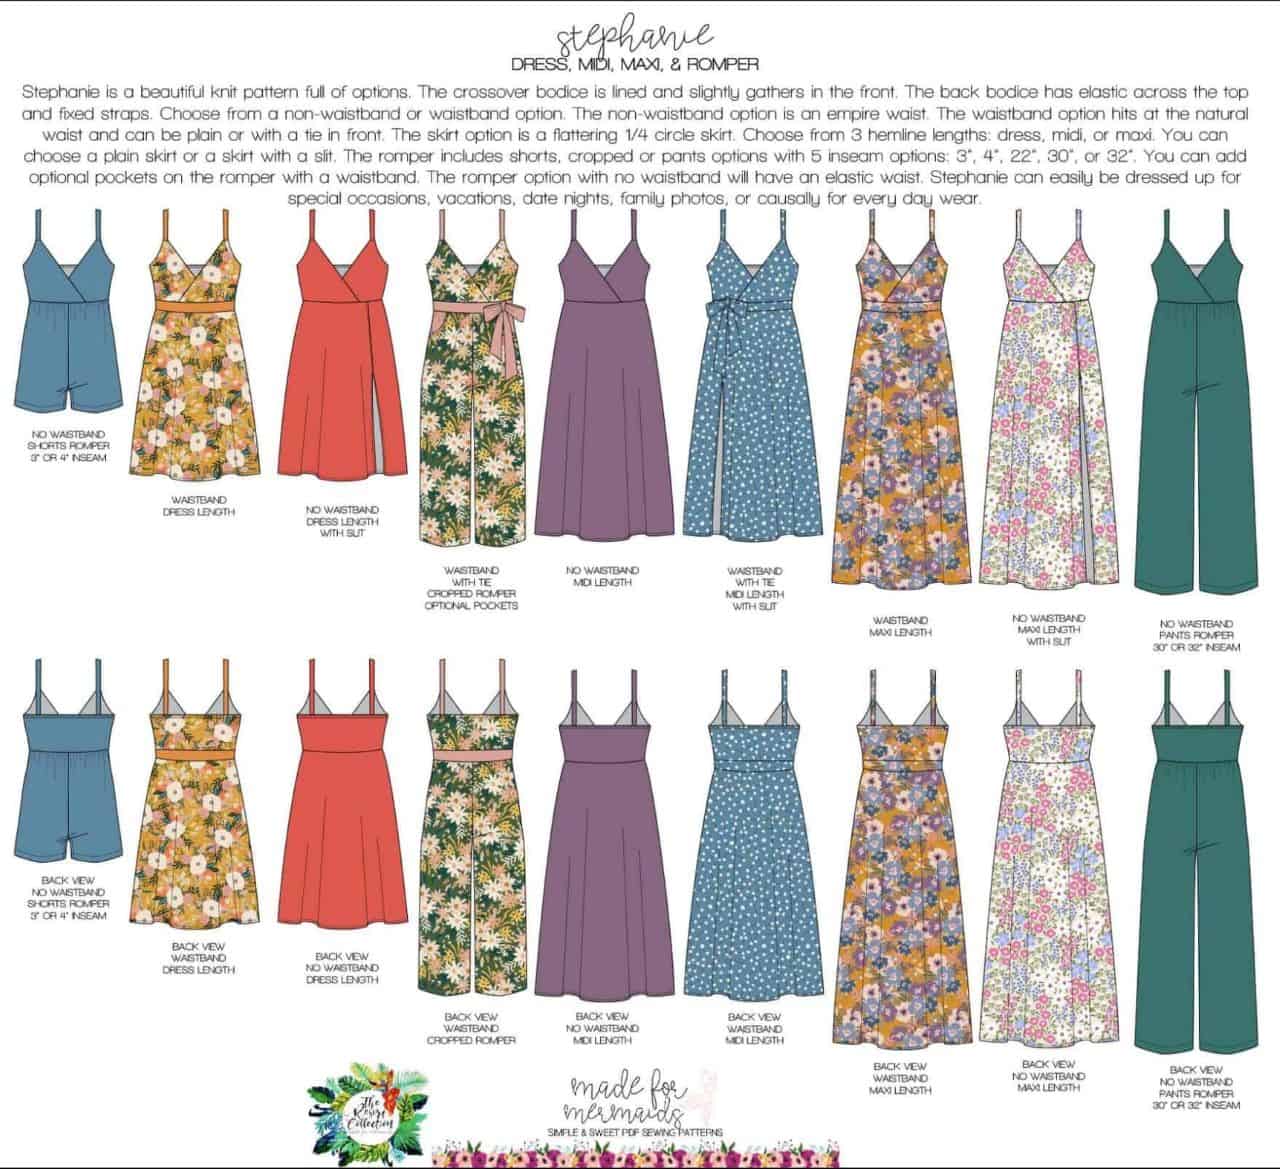
- Stephanie
This mash was actually pretty straightforward. I cut the cups and straps from Loren and the waistband and skirt pieces from Stephanie.
FOR REFERENCE: I sew a size Red for reference when you see my photos, and this dress was made using double brushed poly.
What You’ll Need:
Pattern pieces
- LOREN: 4 side cup pieces mirrored (2 main, 2 lining)
- LOREN: 4 center cup pieces mirrored (2 main, 2 lining)
- LOREN: 2 straps on fold OR 4 straps (depending on the size you sew)
- STEPHANIE: 4 waistband pieces (2 main, 2 lining)
- STEPHANIE: 2 skirt pieces on fold
- STEPHANIE: 1 side slit skirt piece
Elastic in desired length to thread into the waistband – I used 2″ wide elastic
NOTE: I modified my cup pieces and straps to be a bit wider; details are below.
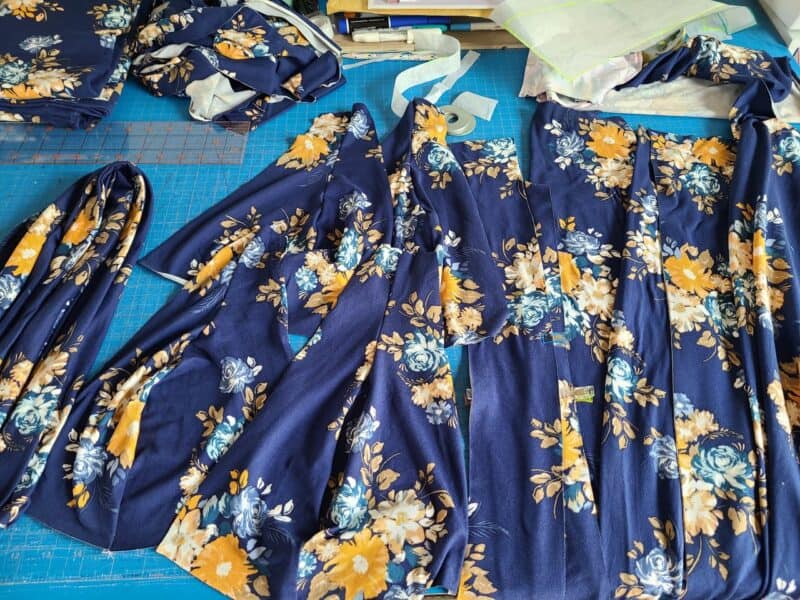
- Pattern pieces ready to go
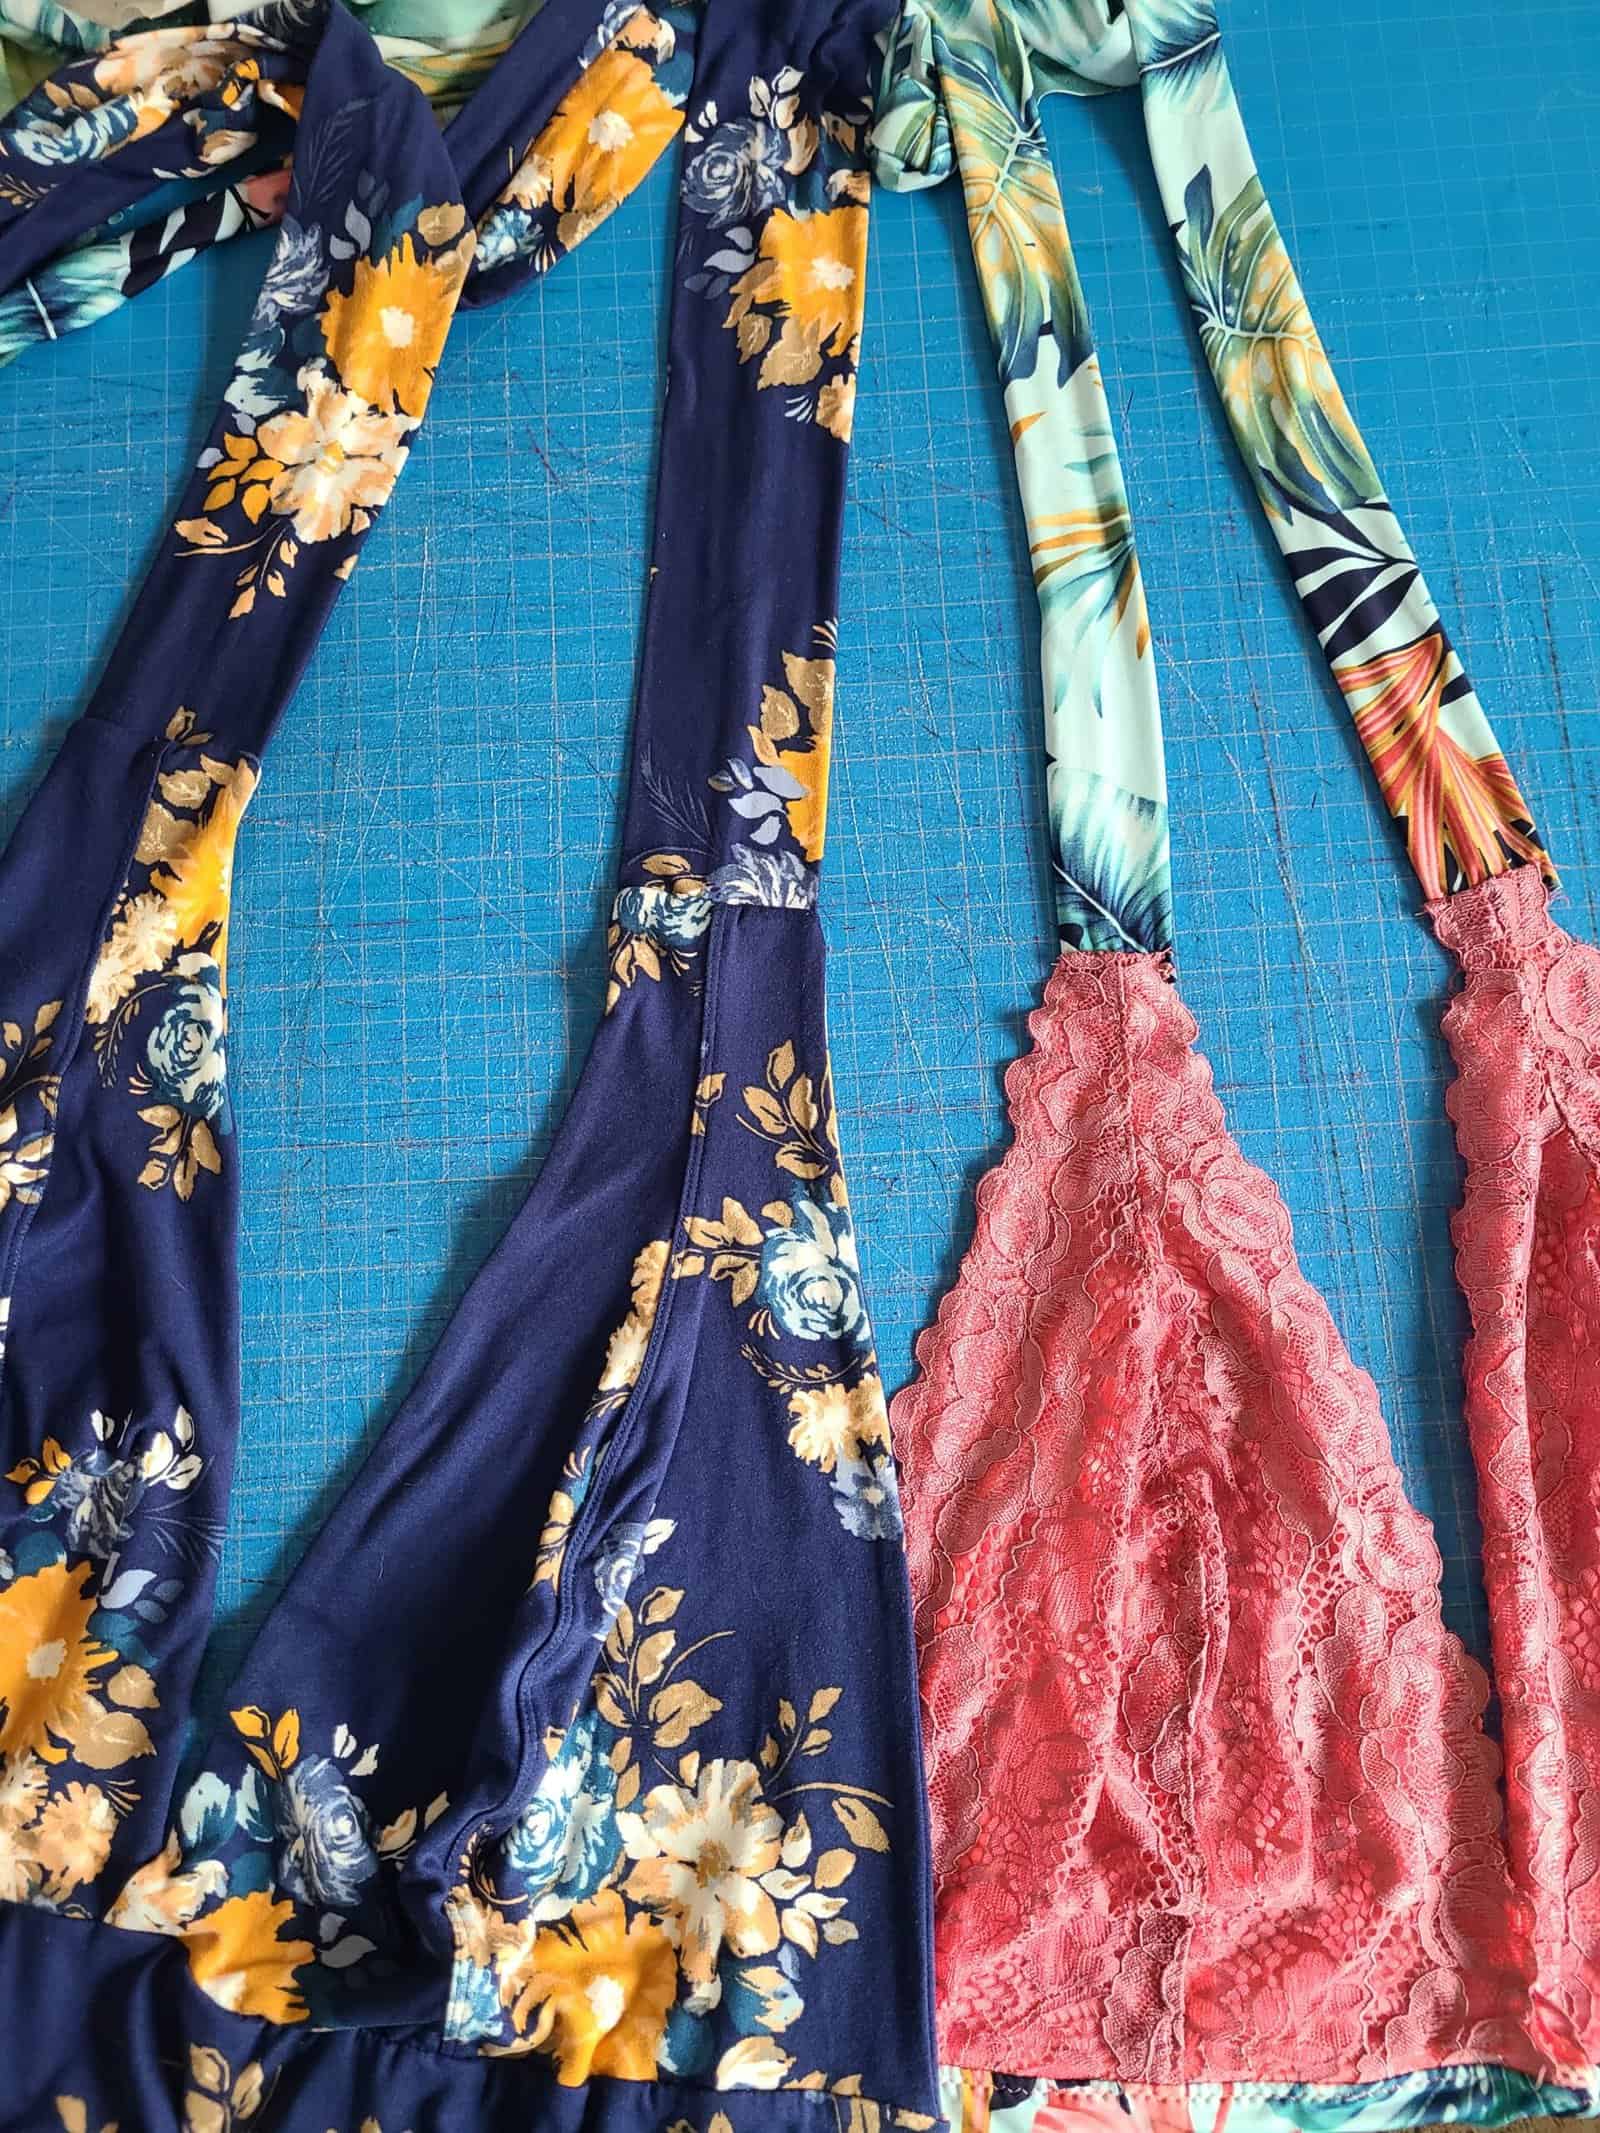
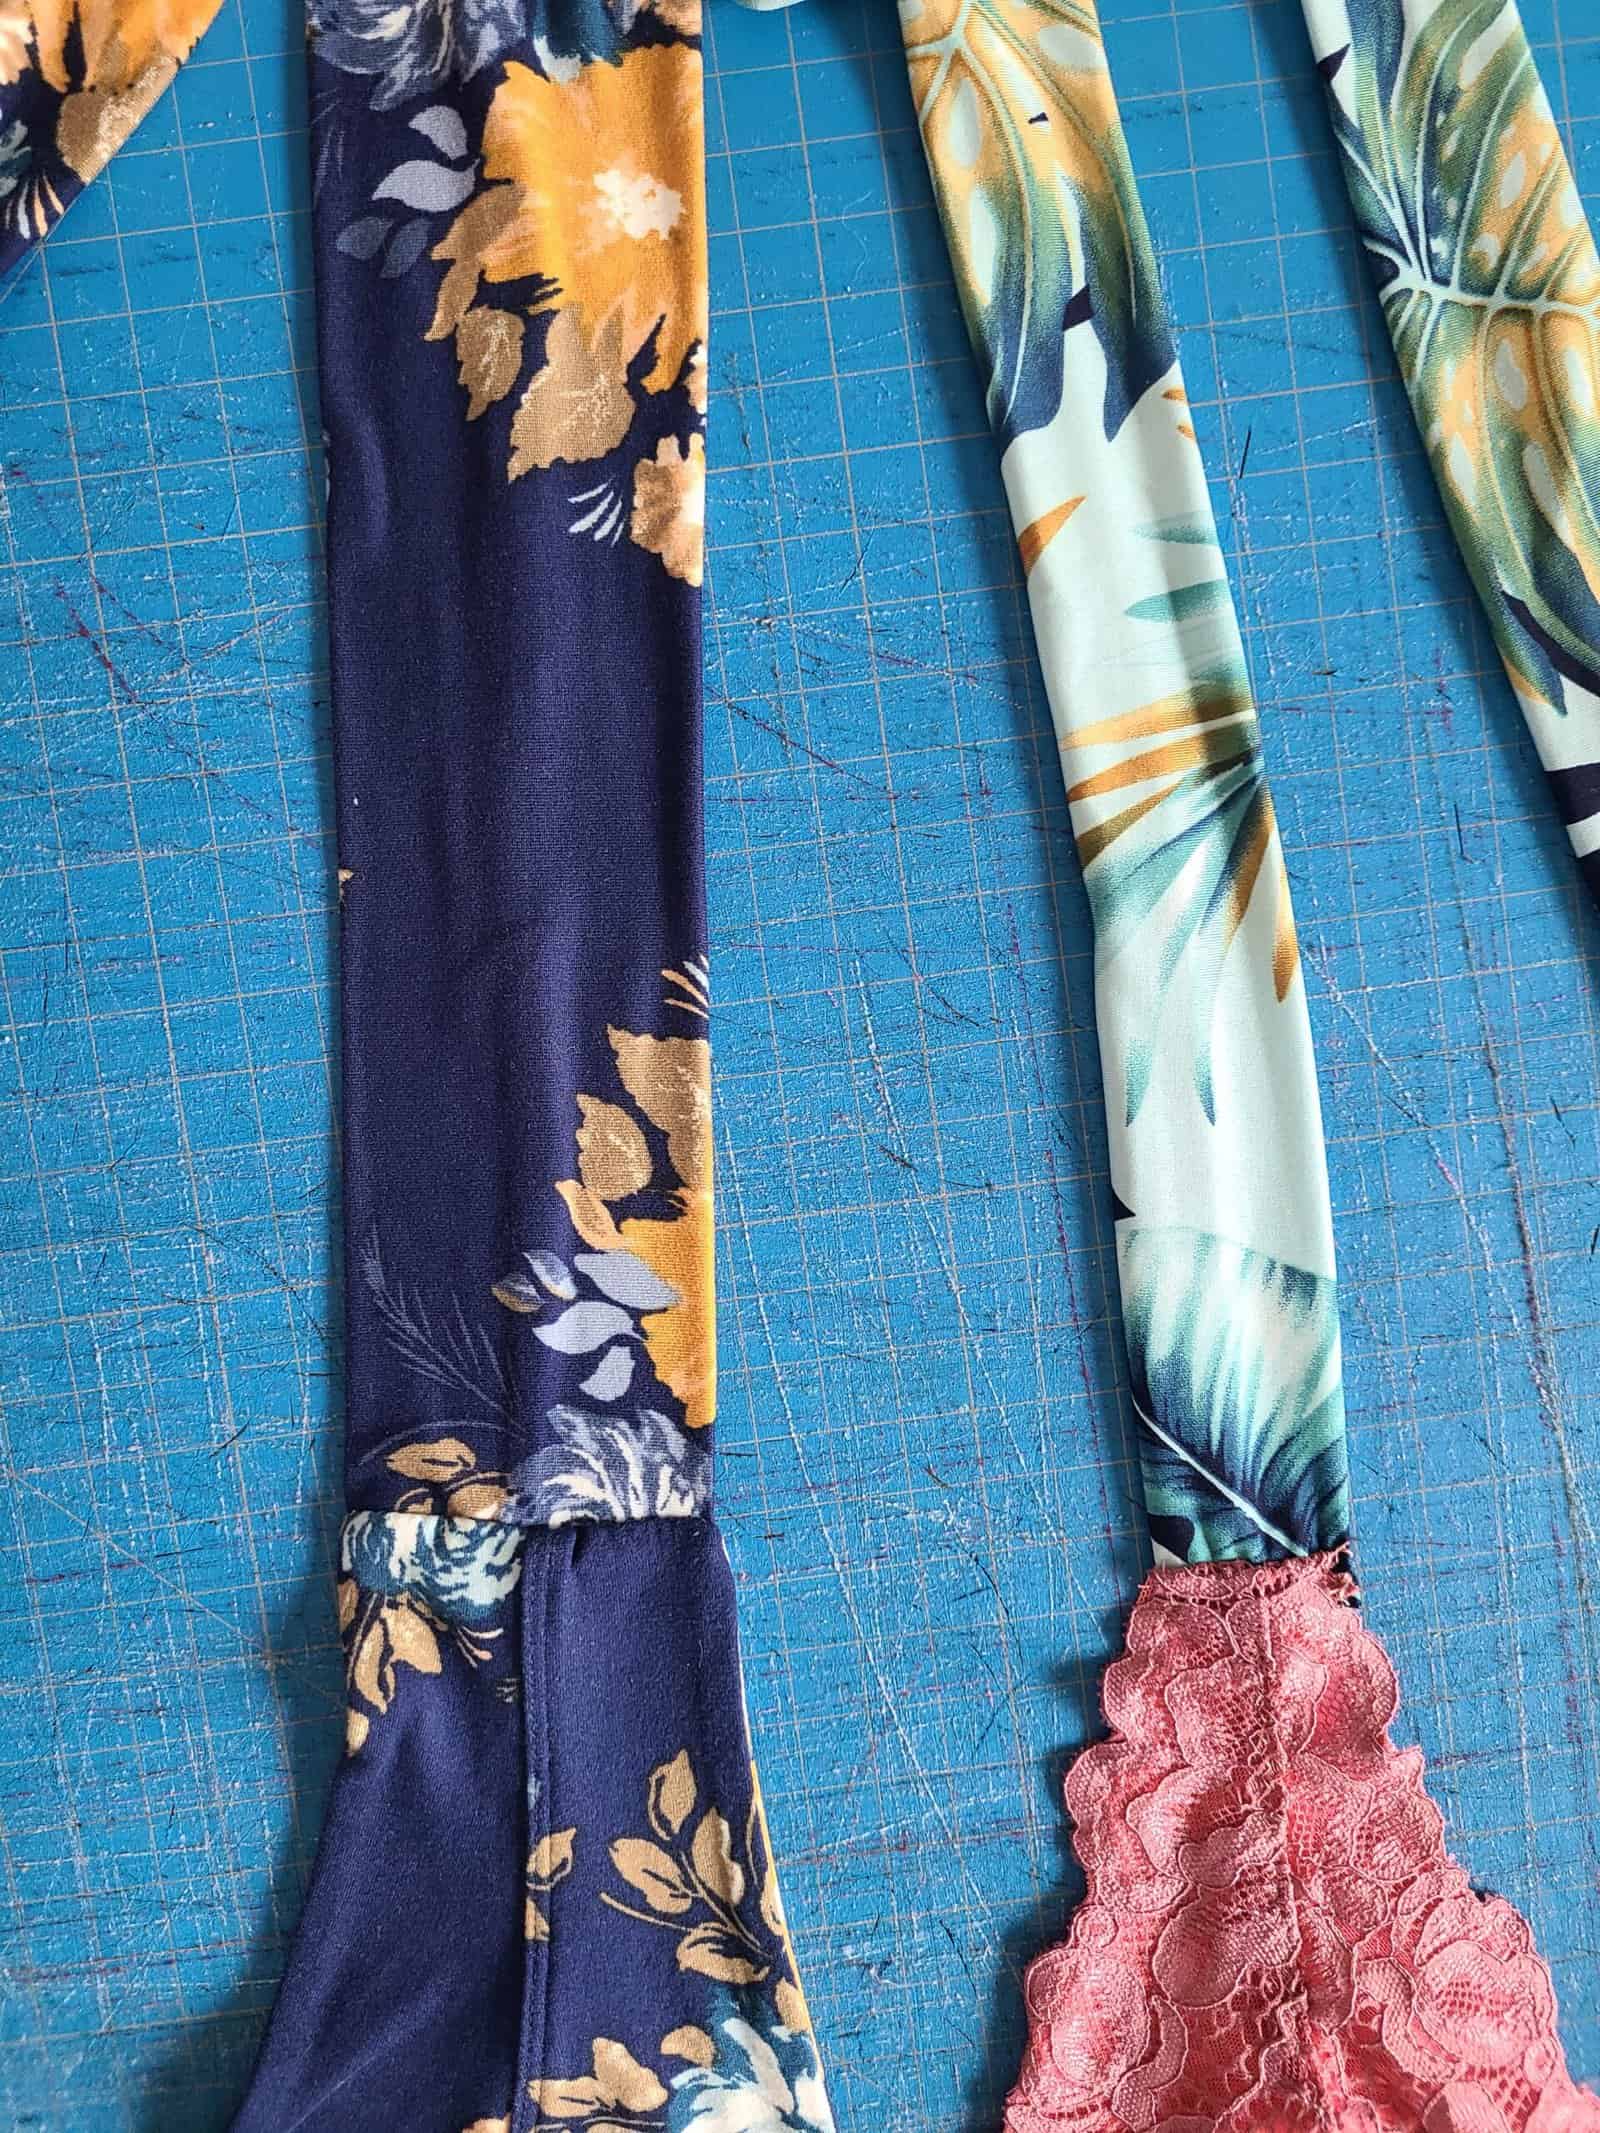
I’ve noticed there is a trend of this style dress with thicker straps than what the Loren pattern has, so I went ahead and did a little hack to the pattern to add more width to the straps.
- Mash on left – original Loren on right
- 2 1/2″ left, 1 1/2″ right
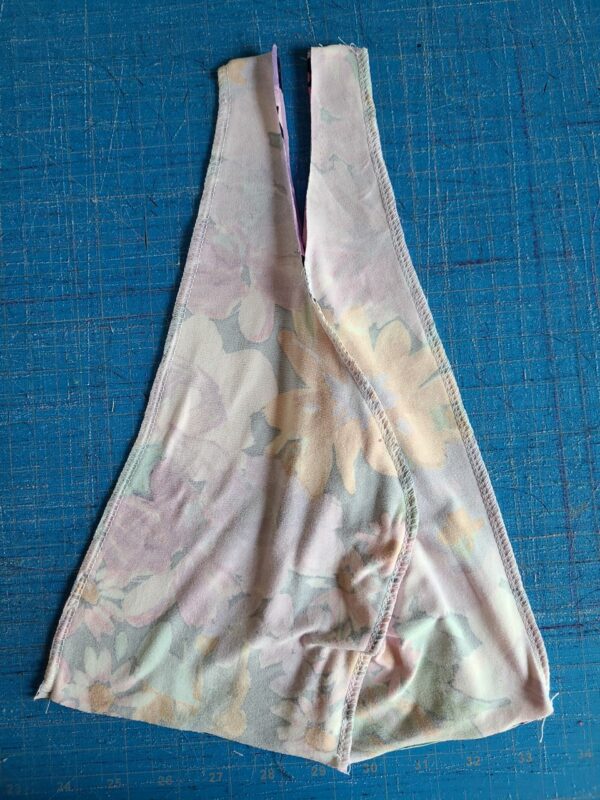
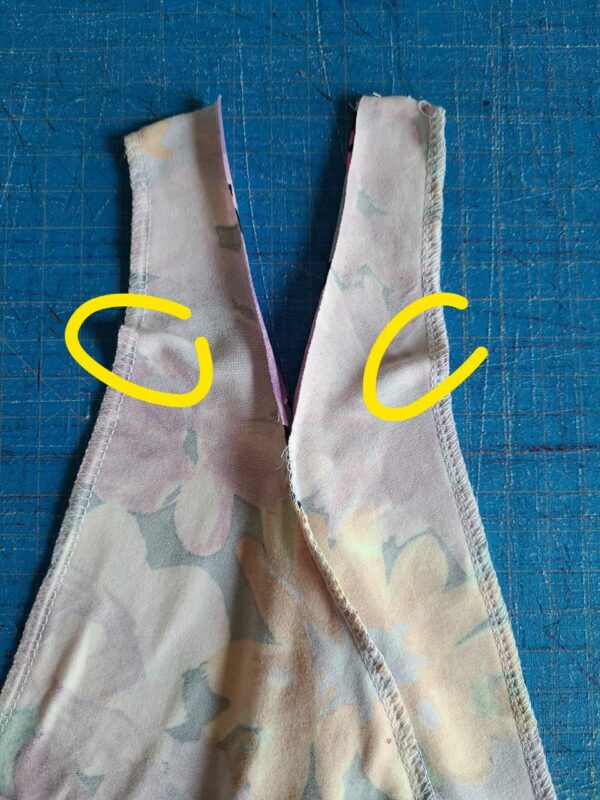
I made a mock-up cup piece and opened the seams starting from the top and began pulling the pieces apart to see how far I could pull them apart and still have it look good. If I went too far, then I started to get puckering at the sides, so I kept it to the ½” on each cup piece.
- Opened 1/2″ – smooth edges
- Too far apart creates puckers
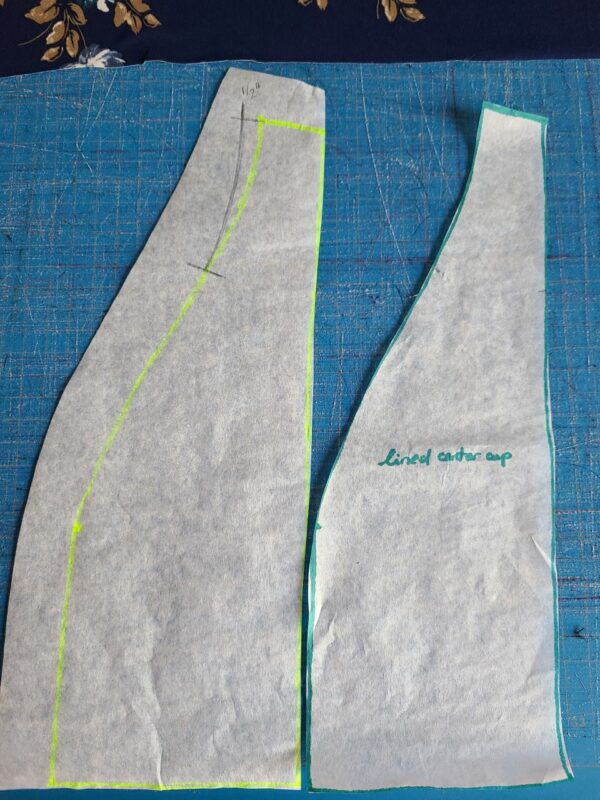
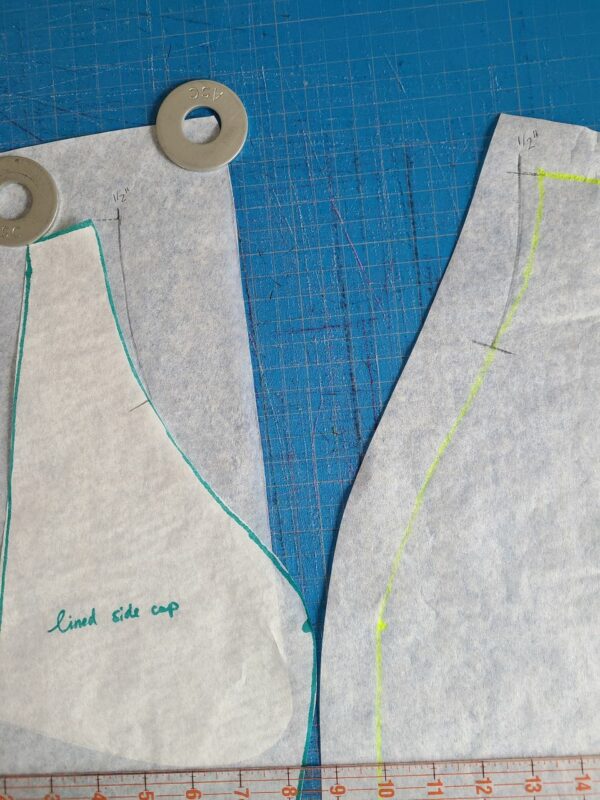
I marked down the curved side of the cup piece the amount that I had opened up my cup, which for me was 4” down. I then marked a line a half inch away from the top corner. Then I freehanded a line from the 4” down all the way up to the ½” mark, gradually curving it out as I got closer to the top.
- New and original center cup piece
- New side and center cup pieces
Because I added a half inch to each piece, the total cup is now one inch wider. To make the straps width match the new width of the cup pieces, I added two inches to the existing width of the straps to make it one inch wider (the straps are folded over and then sewn).
Ready to Sew!
Once you have your new cup pieces and straps ready (or if you prefer the standard widths of the Loren straps already, just cut your pieces straight from the pattern and you’re set to go), go ahead and cut them out and sew them up as per the instructions in the Loren pattern.
Next you will sew up the waistband and skirt pieces as per the instructions in the Stephanie pattern.
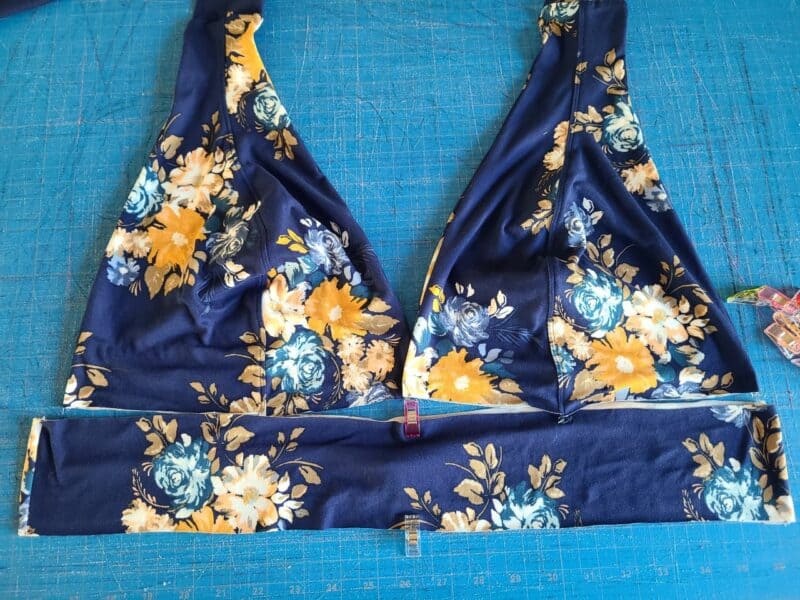
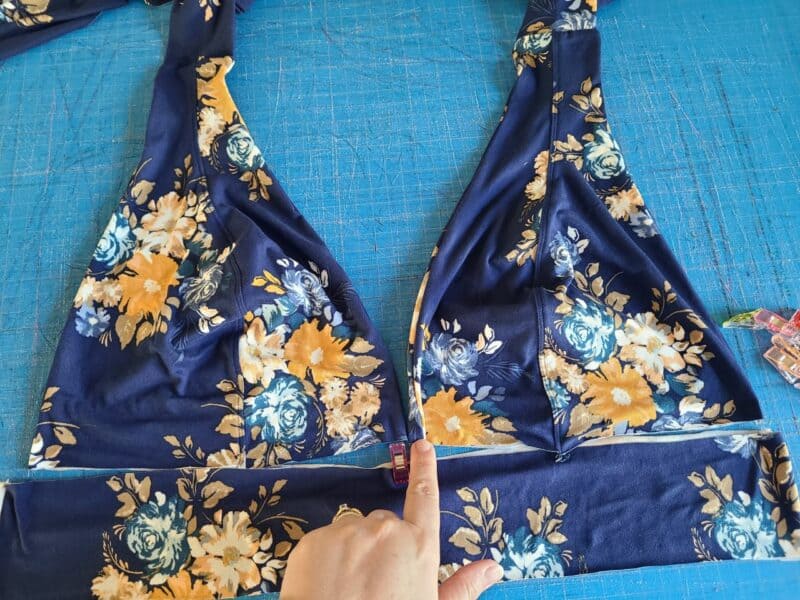
The next thing to do is decide how far apart you want your cups to be at the front of your dress.
- Decide on cup placement
- 1/2″ overlap
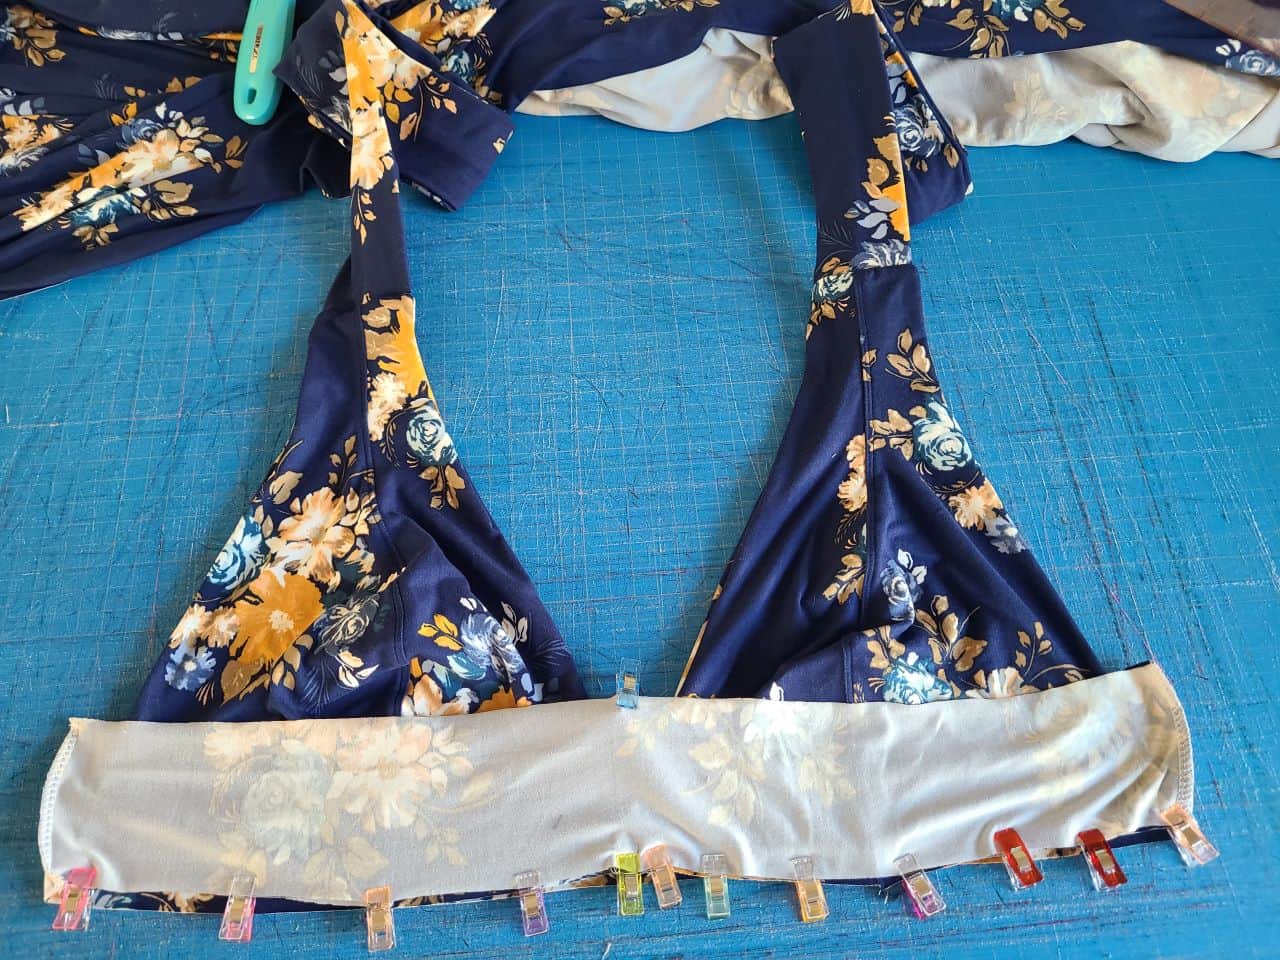
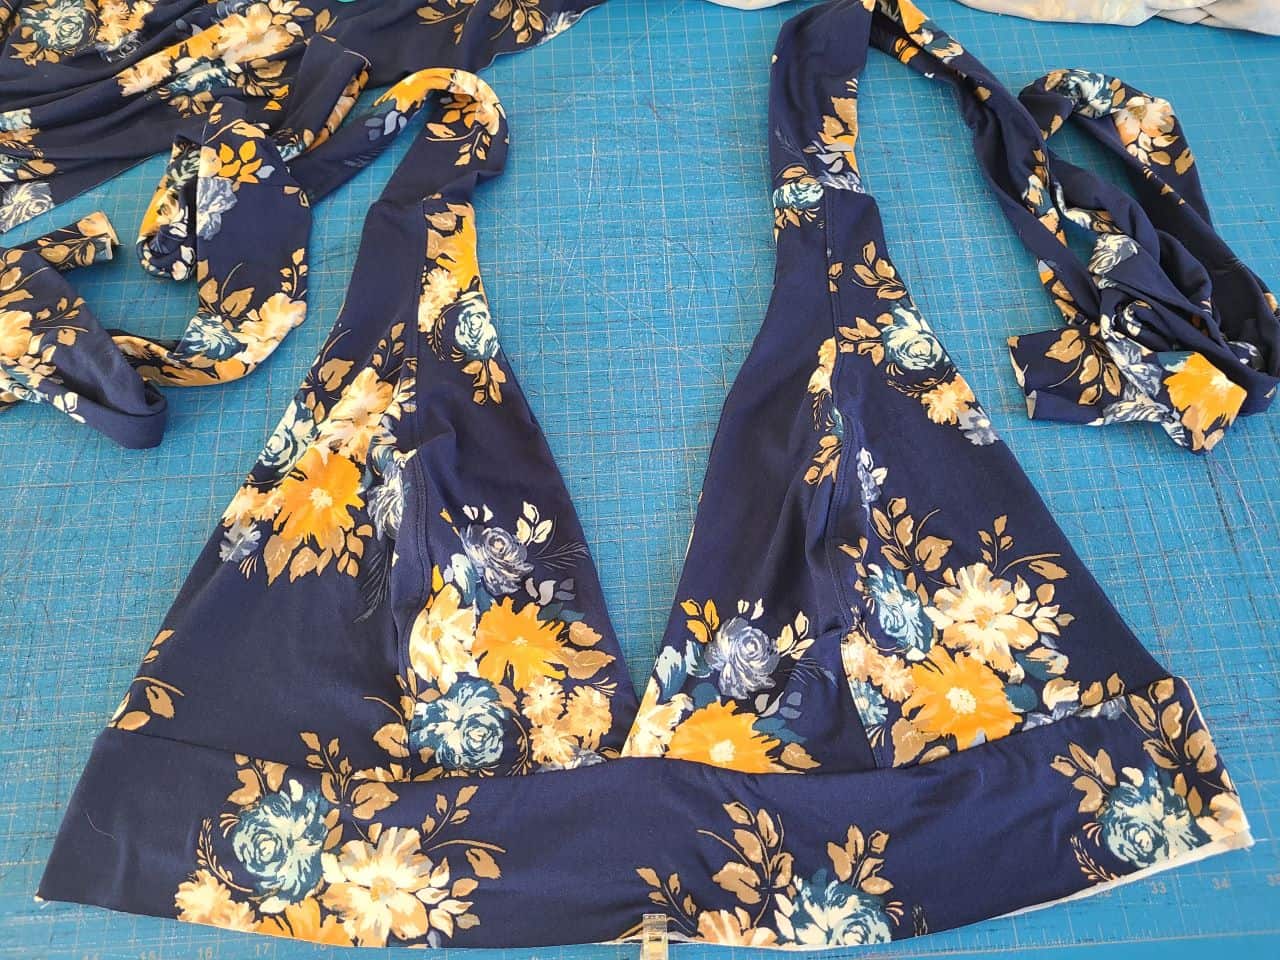
I decided on a half inch of overlap at the center. Sew the waistband to the cups in the same way that you would the front bodice from the Stephanie pattern, sandwiching the cups between the main and lining waistband pieces. Tip: I first basted the cups to the waistband so I could quickly throw it on to make sure I was happy with the cup placement!
- Sandwich the cups between waistband main and lining
- Completed bodice
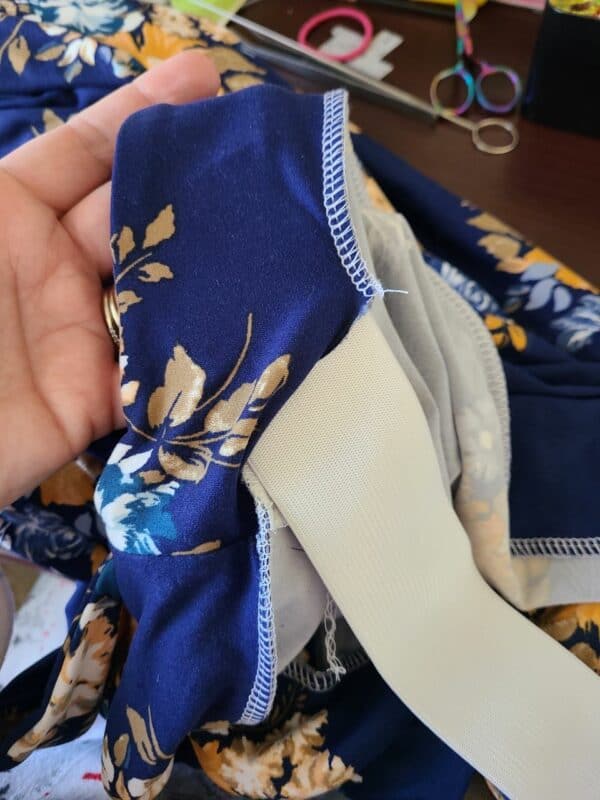
From here, you will follow the Stephanie tutorial once more to sew the waistband and skirt together. I left a small opening so I could thread some elastic into the waistband to help hold the skirt up and keep the waistband in place while worn.
- Thread elastic through opening left when sewing the skirt to the waistband
To measure the length of elastic needed, I wrapped some around my waist and cut a length a few inches shorter so it would be snug when worn.
That is all there is to making a Loren & Stephanie mash! Now go throw on your new gorgeous dress and strut around like the glamourous person you are!
Kelly is an avid pattern tester and fabric hoarder. You can find more of her Made for Mermaids makes on her Instagram!









Leave a Reply