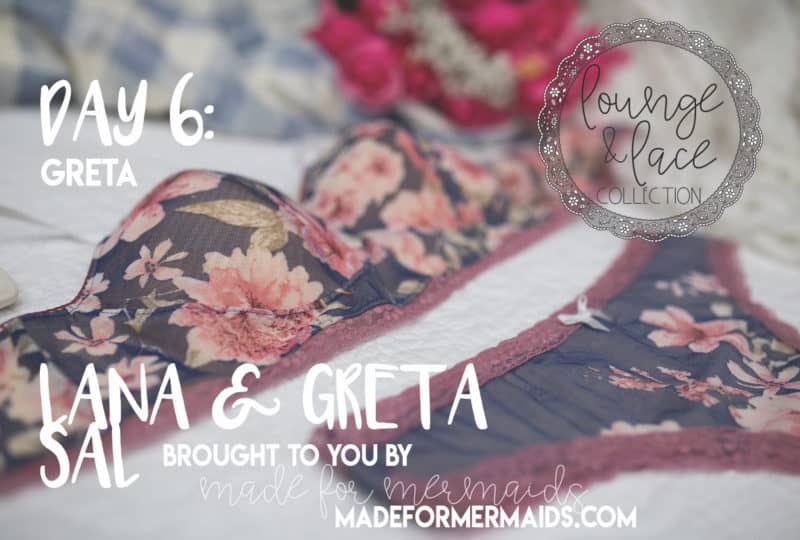
Today we’re going to whip up a pair of Gretas! If you’re running a little behind on Lana, you can also use today as a catch-up day instead of or in addition to sewing up Greta.
A few helpful tips and reminders:
- you may wish to size down on the no-show option, especially if you are on the low end of your measured size
- see page 5 of your Greta tutorial for binding tips and info
- remember that if you use something like picot elastic, there is no seam allowance included around the leg holes/waist, so you will want to stitch the picot right to the edge instead of turning and topstitching
- you MUST use a stretch stitch, even for topstitching; you will not be able to get them on if you use a regular stitch
Ready to sew?
If you still have questions about these steps in your tutorial, you are always welcome to post in our SAL group so we can help you! Be sure to check in each day during the SAL, and look for daily posts to enter our giveaways. We can’t wait to see what you create this week!

DAY 1: MEASURING, PRINTING, & CUTTING
DAY 2: ASSEMBLING CUPS & FINISHING NECKLINE
DAY 3: PREPPING FRAME & ATTACHING CUPS
DAY 4: BACK BAND, CENTER SEAM, & BAND ELASTIC
DAY 5: ARMHOLE ELASTIC, BACK CLOSURE, & ADJUSTABLE STRAPS
DAY 6: GRETA
DAY 7: WINNERS ANNOUNCED
ABOUT OUR SPONSORS:
Tailor Made Shop offers a curated selection of high quality lingerie sewing fabrics and trims for the modern sewist.
Handcrafted goods. Digital designs. Made in West Virginia.


Leave a Reply