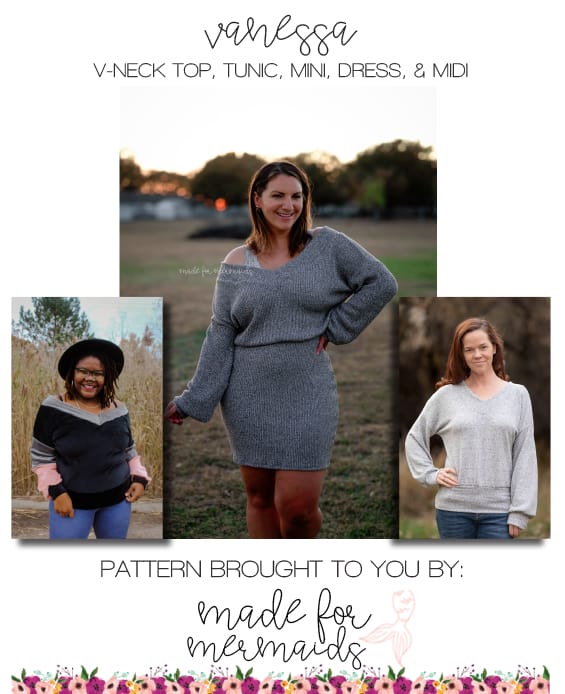
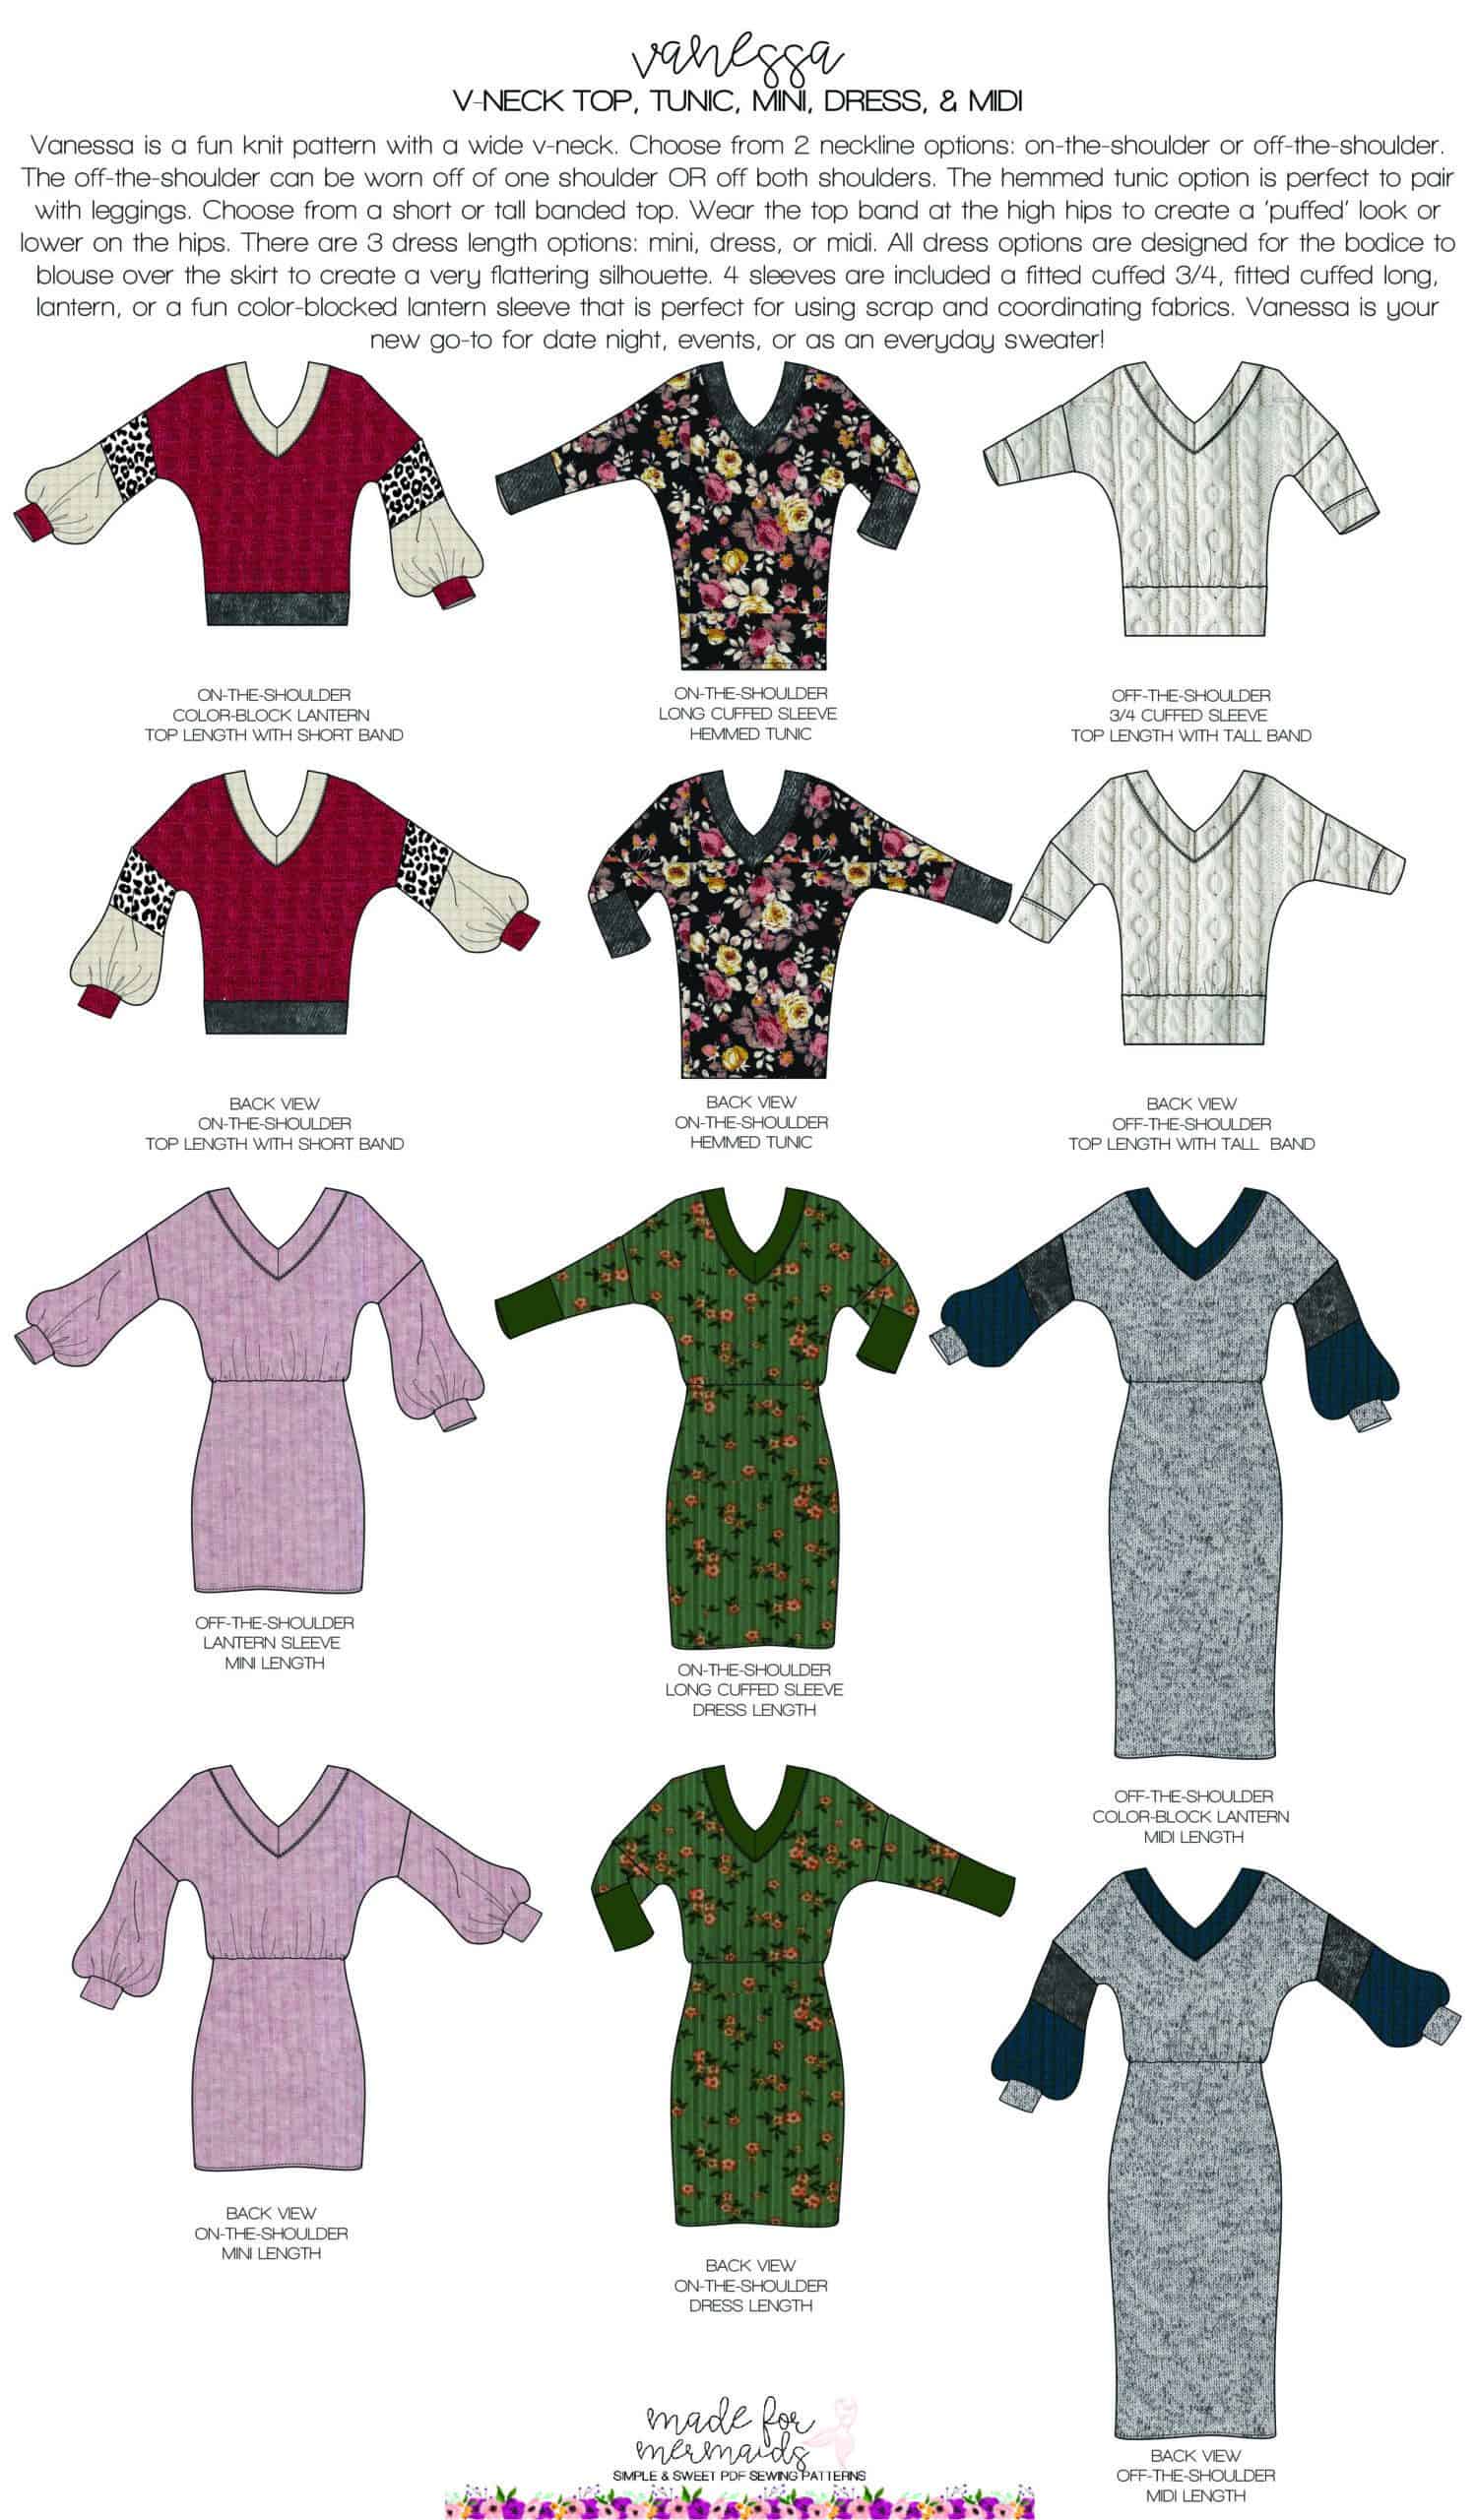
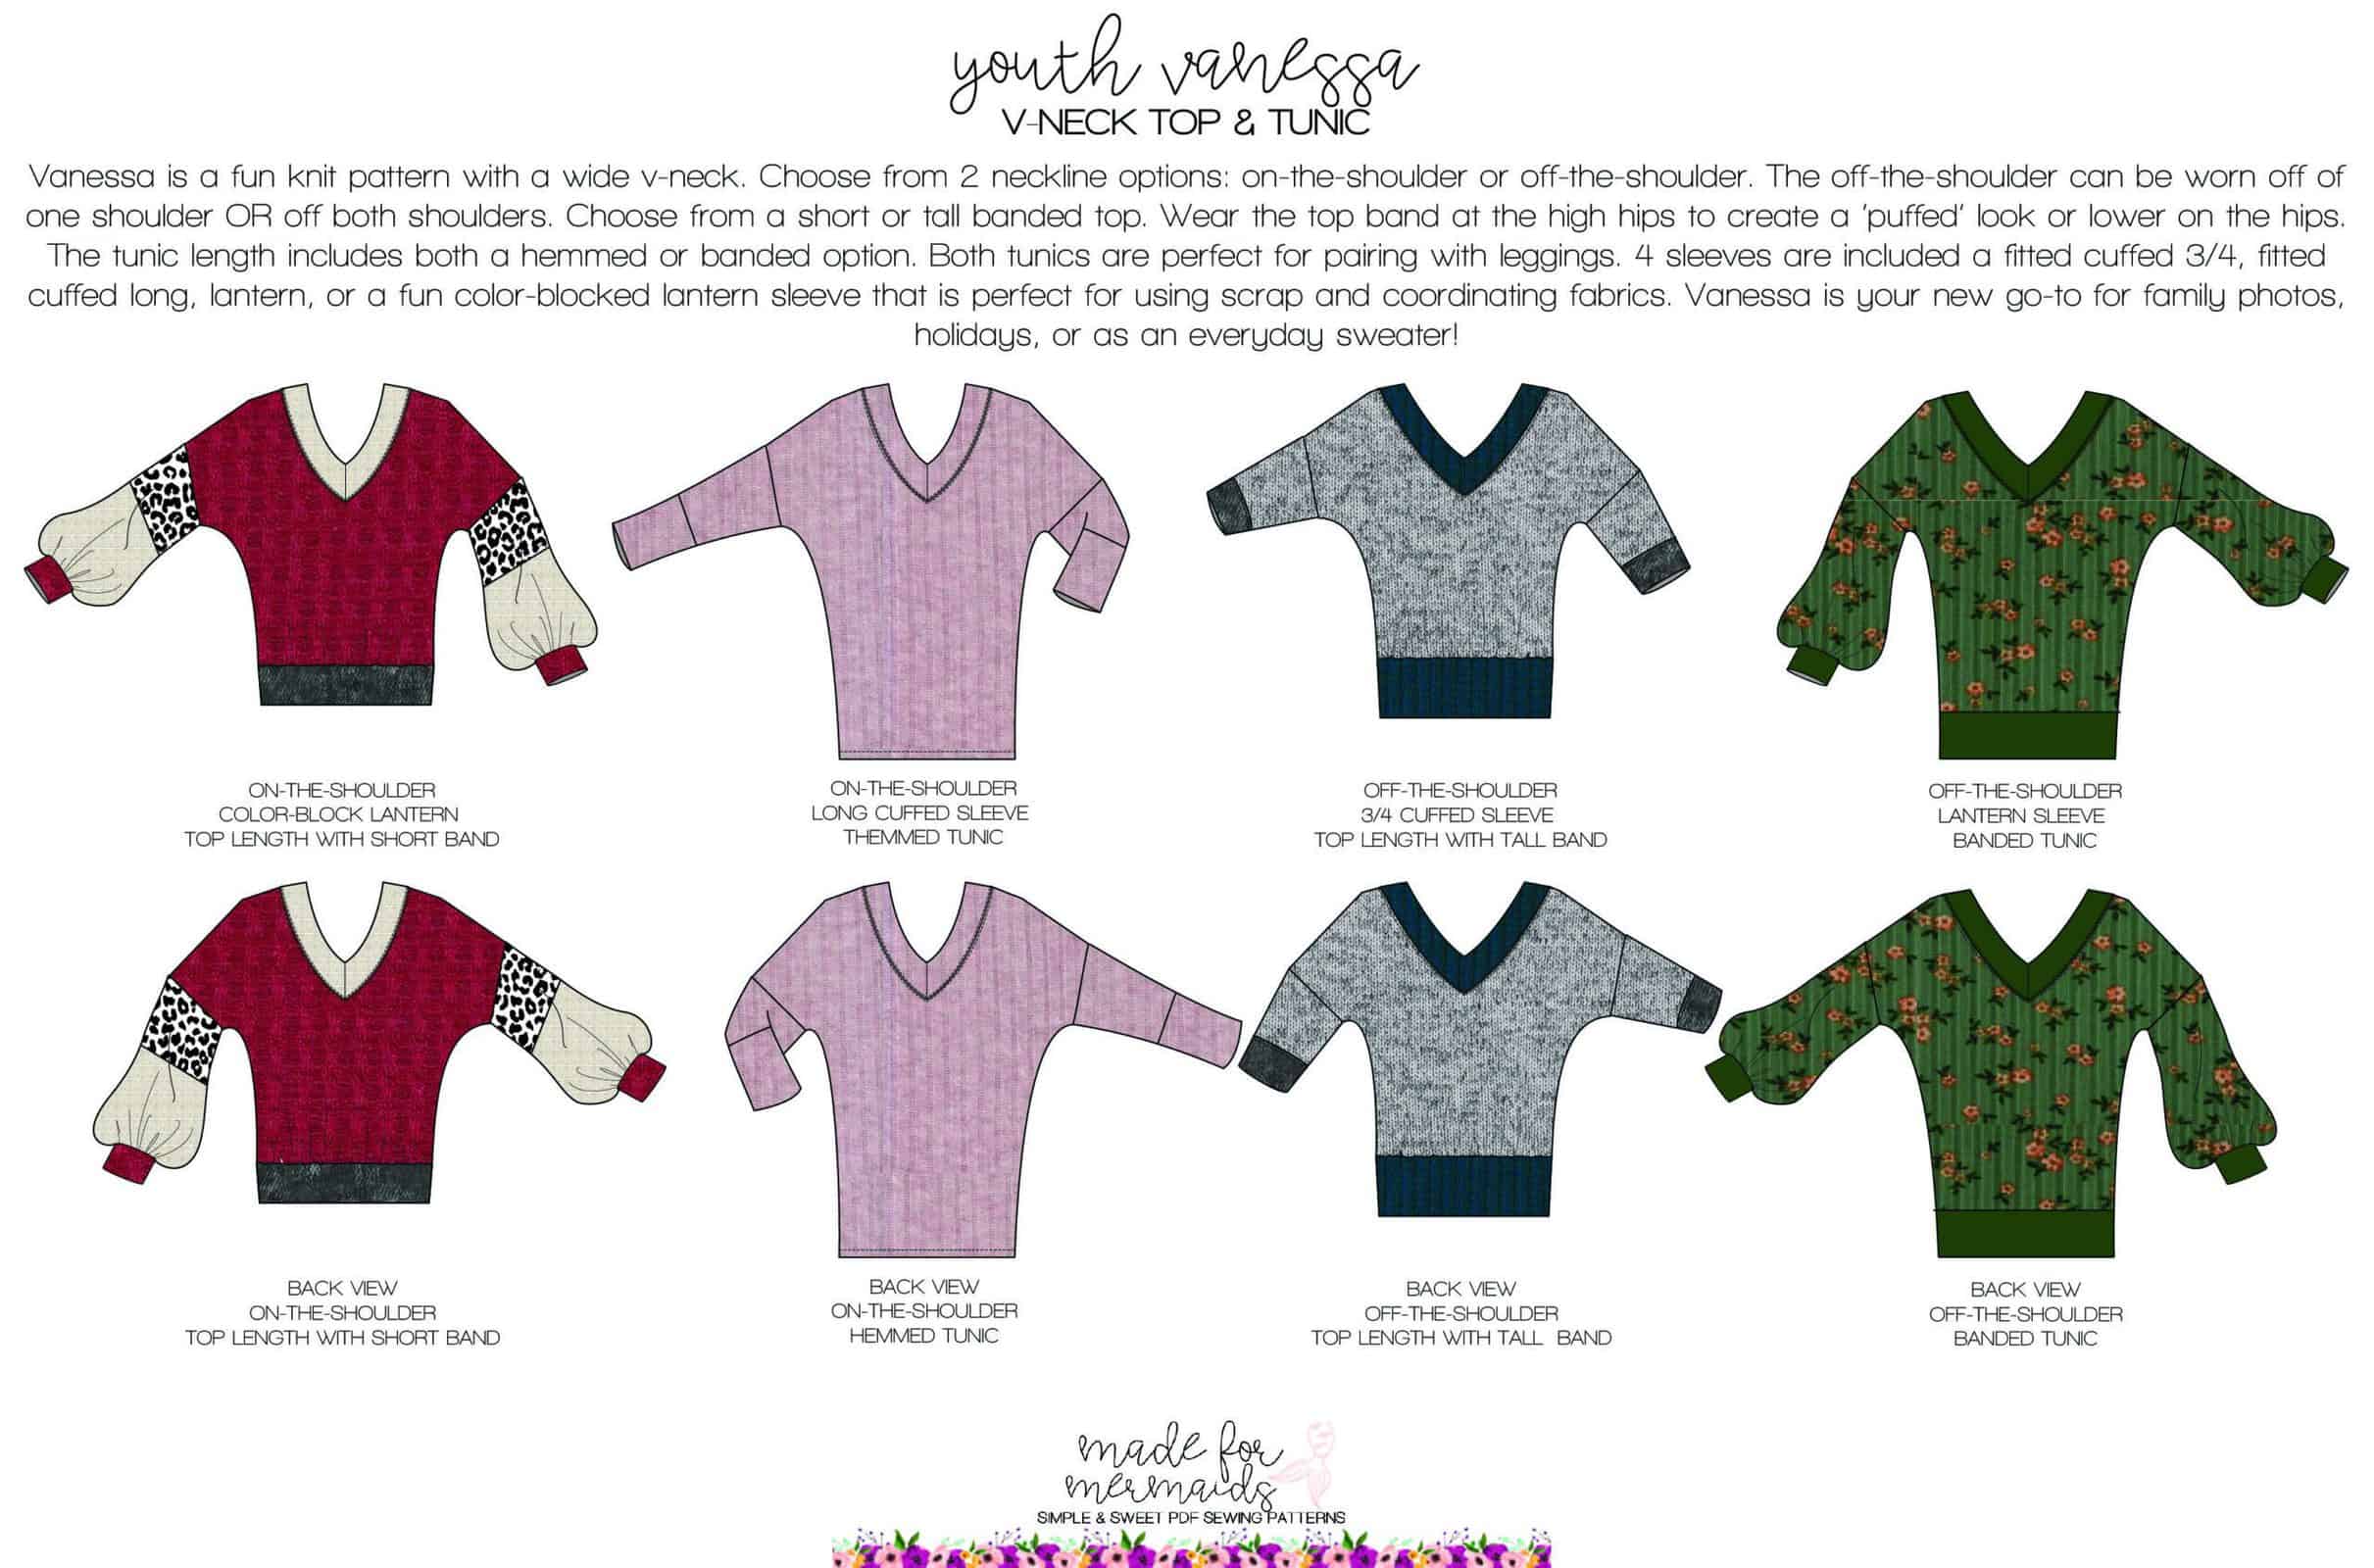
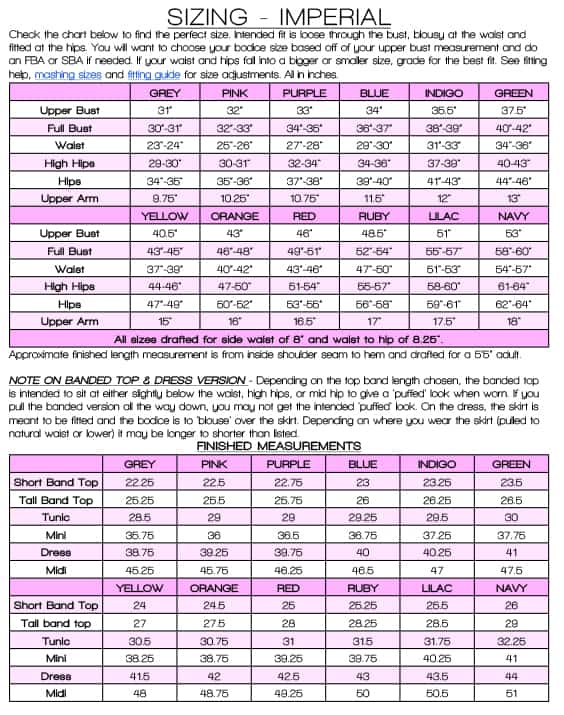
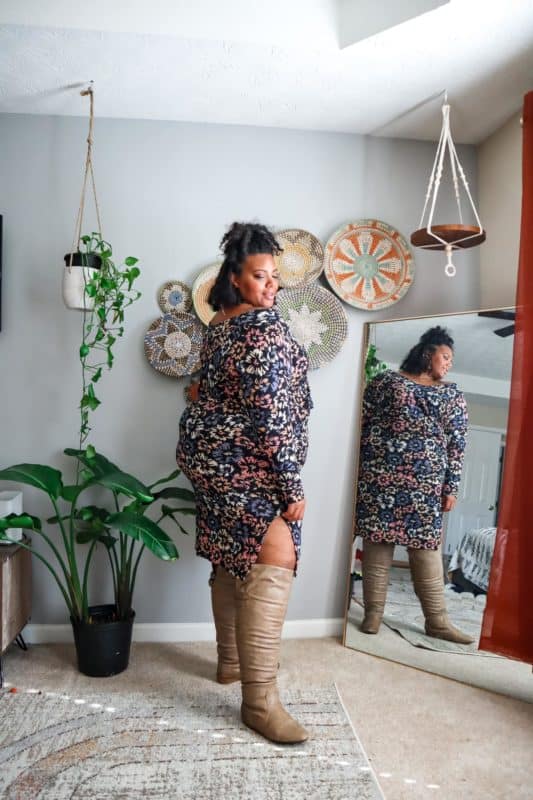
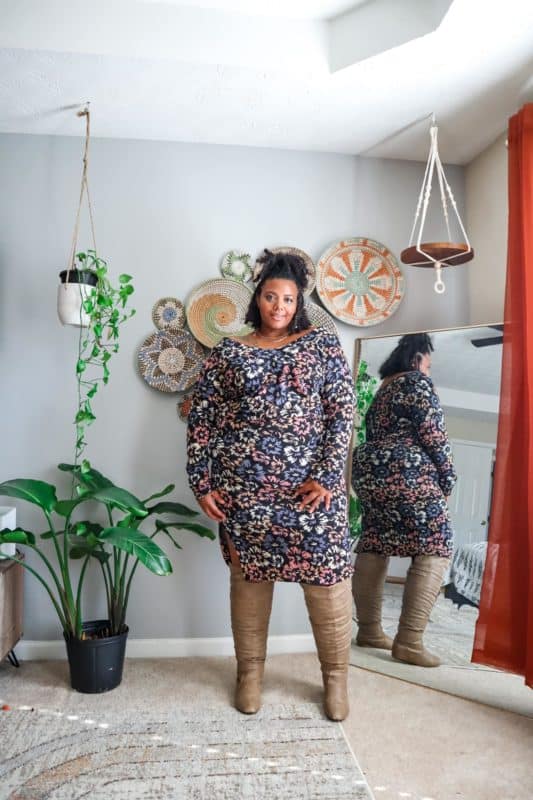
Vanessa is here, and we are obsessed! Available in adult (drafted to women’s curvy standard measurements) and youth, Vanessa is drafted for light to medium-weight knits. LOTS of fabrics will work for Vanessa – rayon French Terry, sweater knits, ribbed knits, double brushed polyester, thicker waffle knits, and so much more!
Not obsessed with the off-shoulder look? Not to worry! You can sew up the wide v-neck for either the ON or OFF shoulder option. In addition to two neckline options, there are multiple hem lengths (banded top with short band, banded top with tall band, hemmed tunic, mini dress, dress, midi dress), and sleeve options (solid lantern, color block lantern, fitted 3/4, or long sleeve with cuff).
Of course, on top of the options already included in the patterns, Stephanie and Aaronica have a few more hacks for you as well.
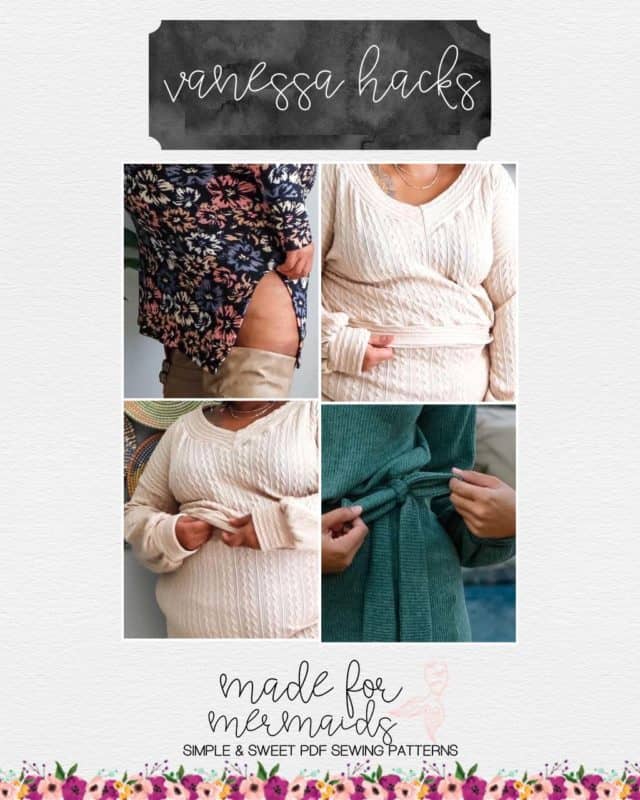
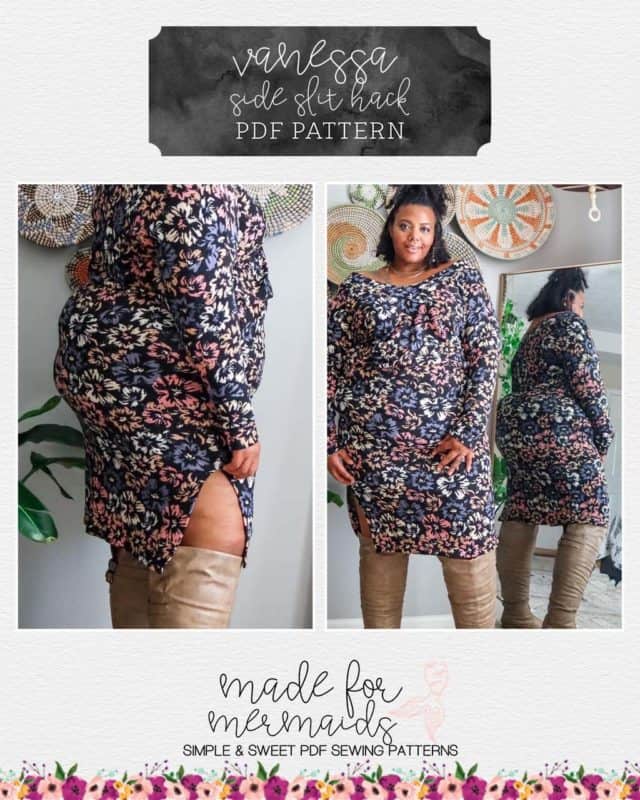
Side Slit Hack
Want to add a little leg to your Vanessa dress? It’s very simple to add a side slit. First, decide how high you want your slit and mark on your skirt piece.
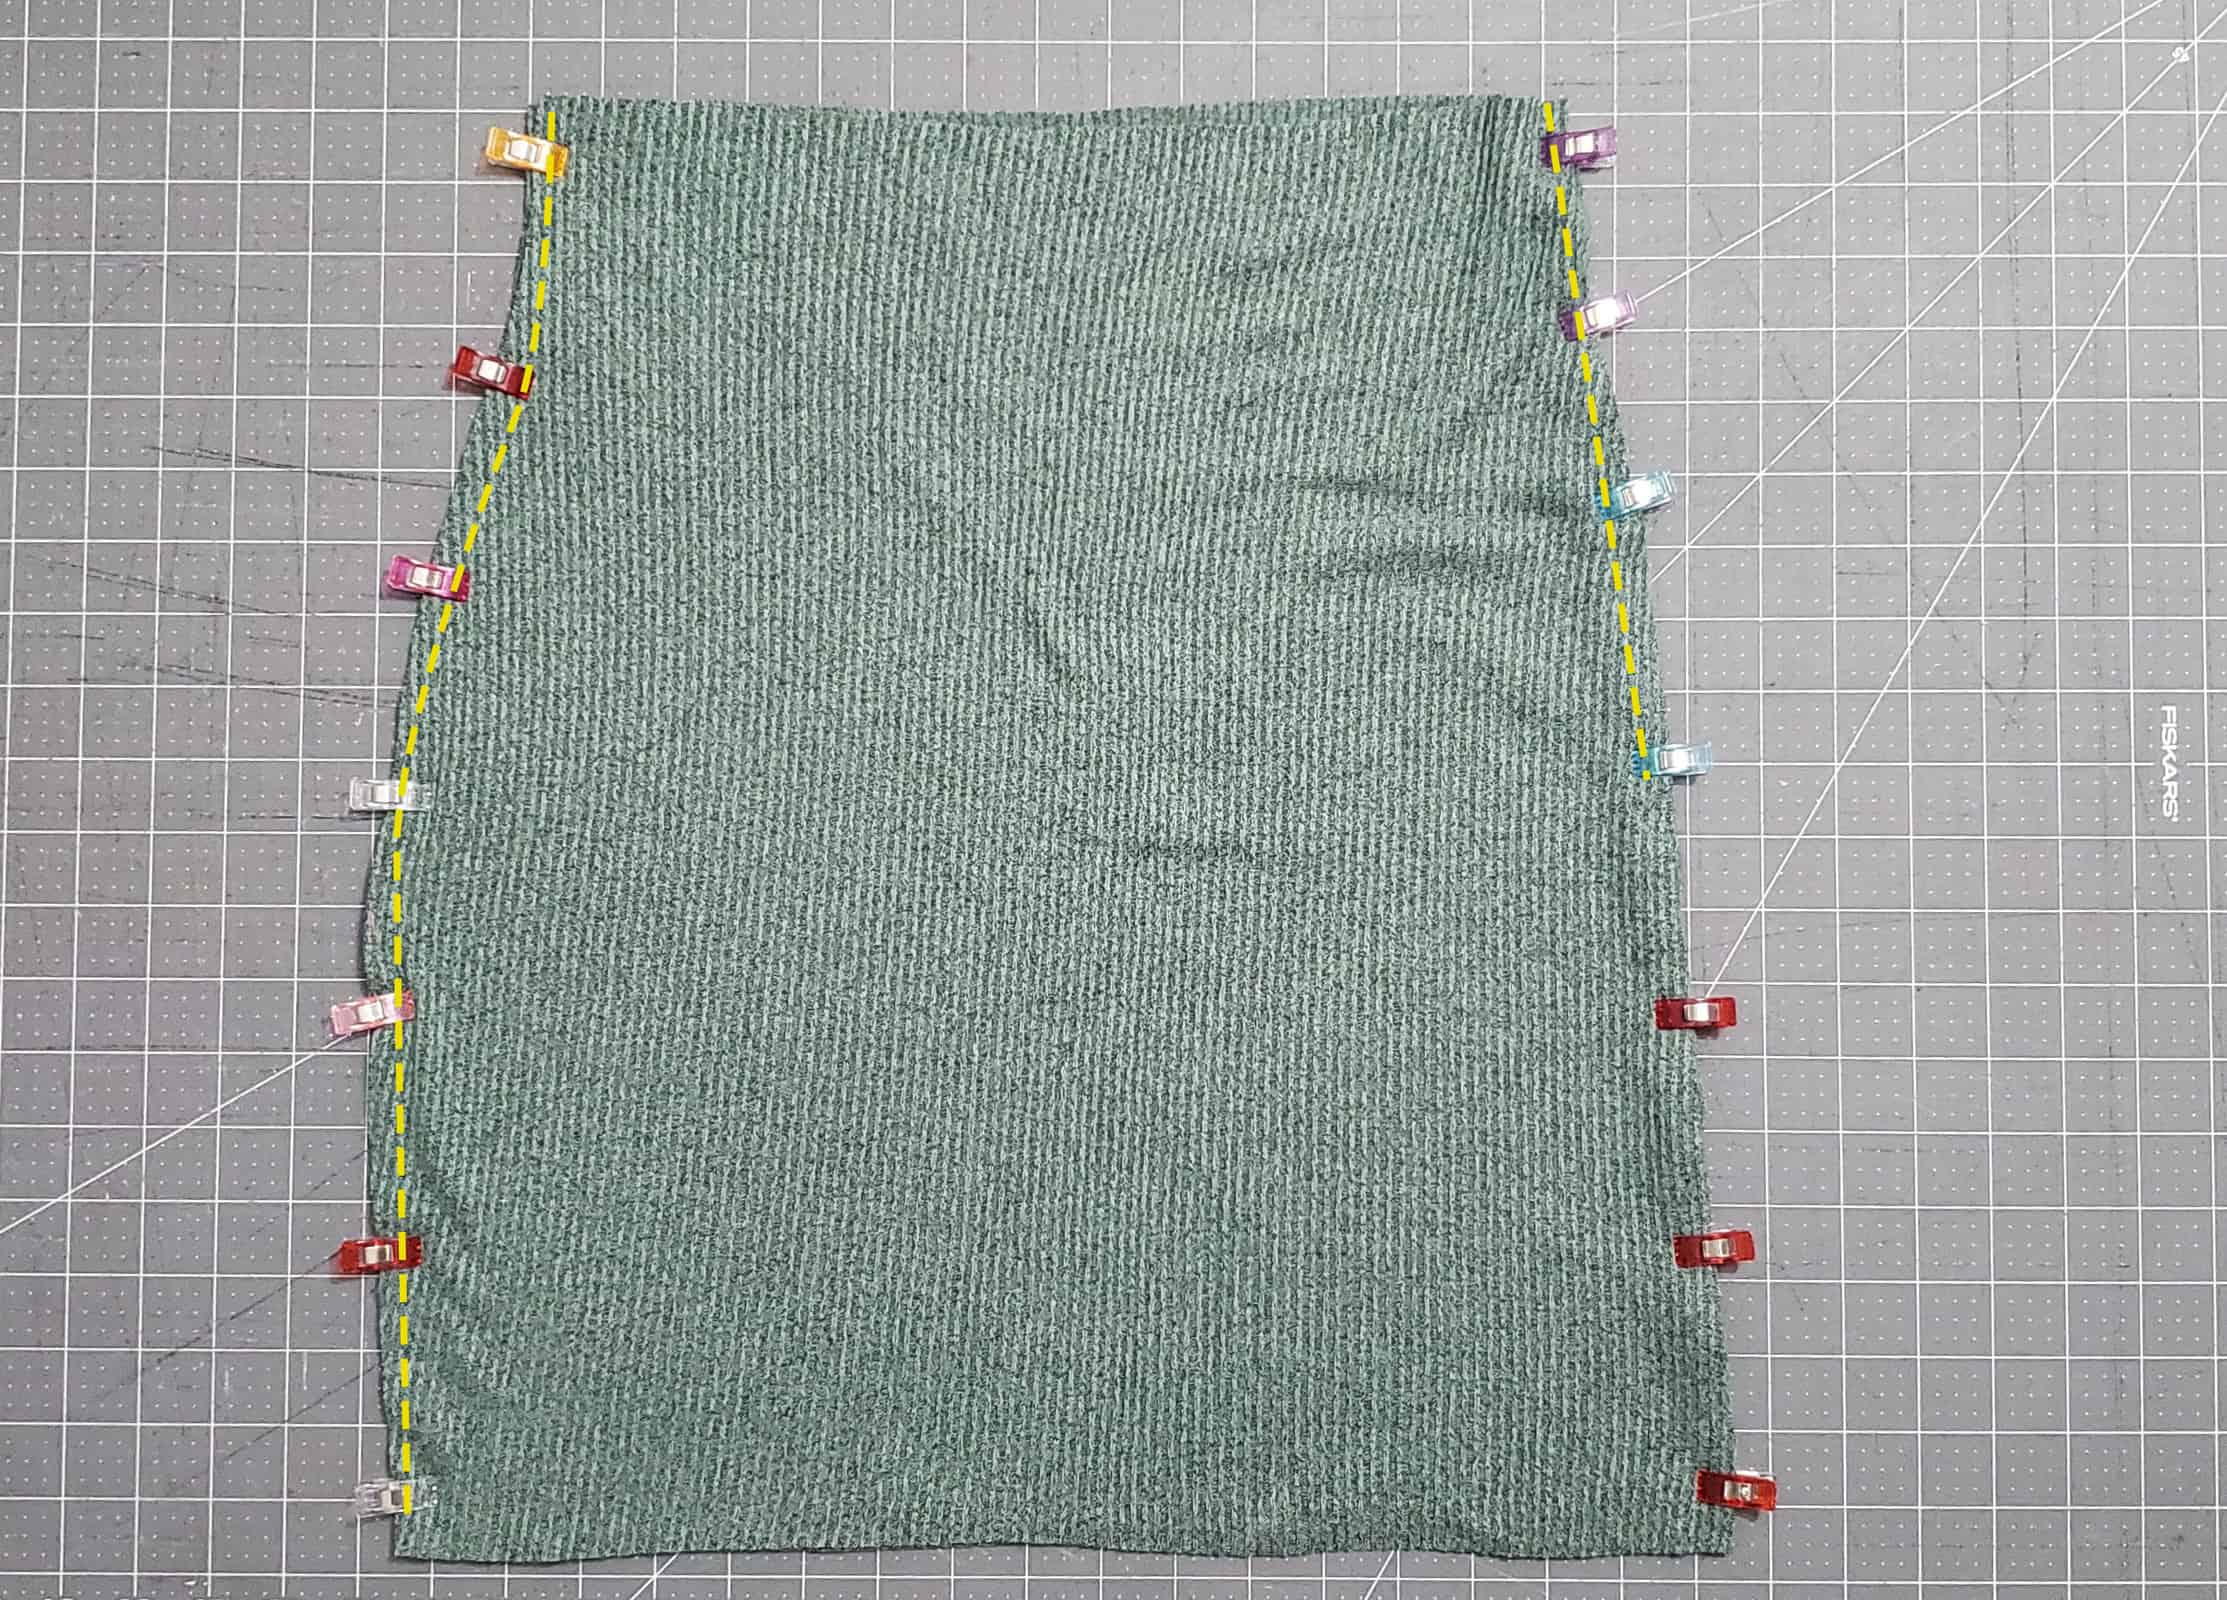
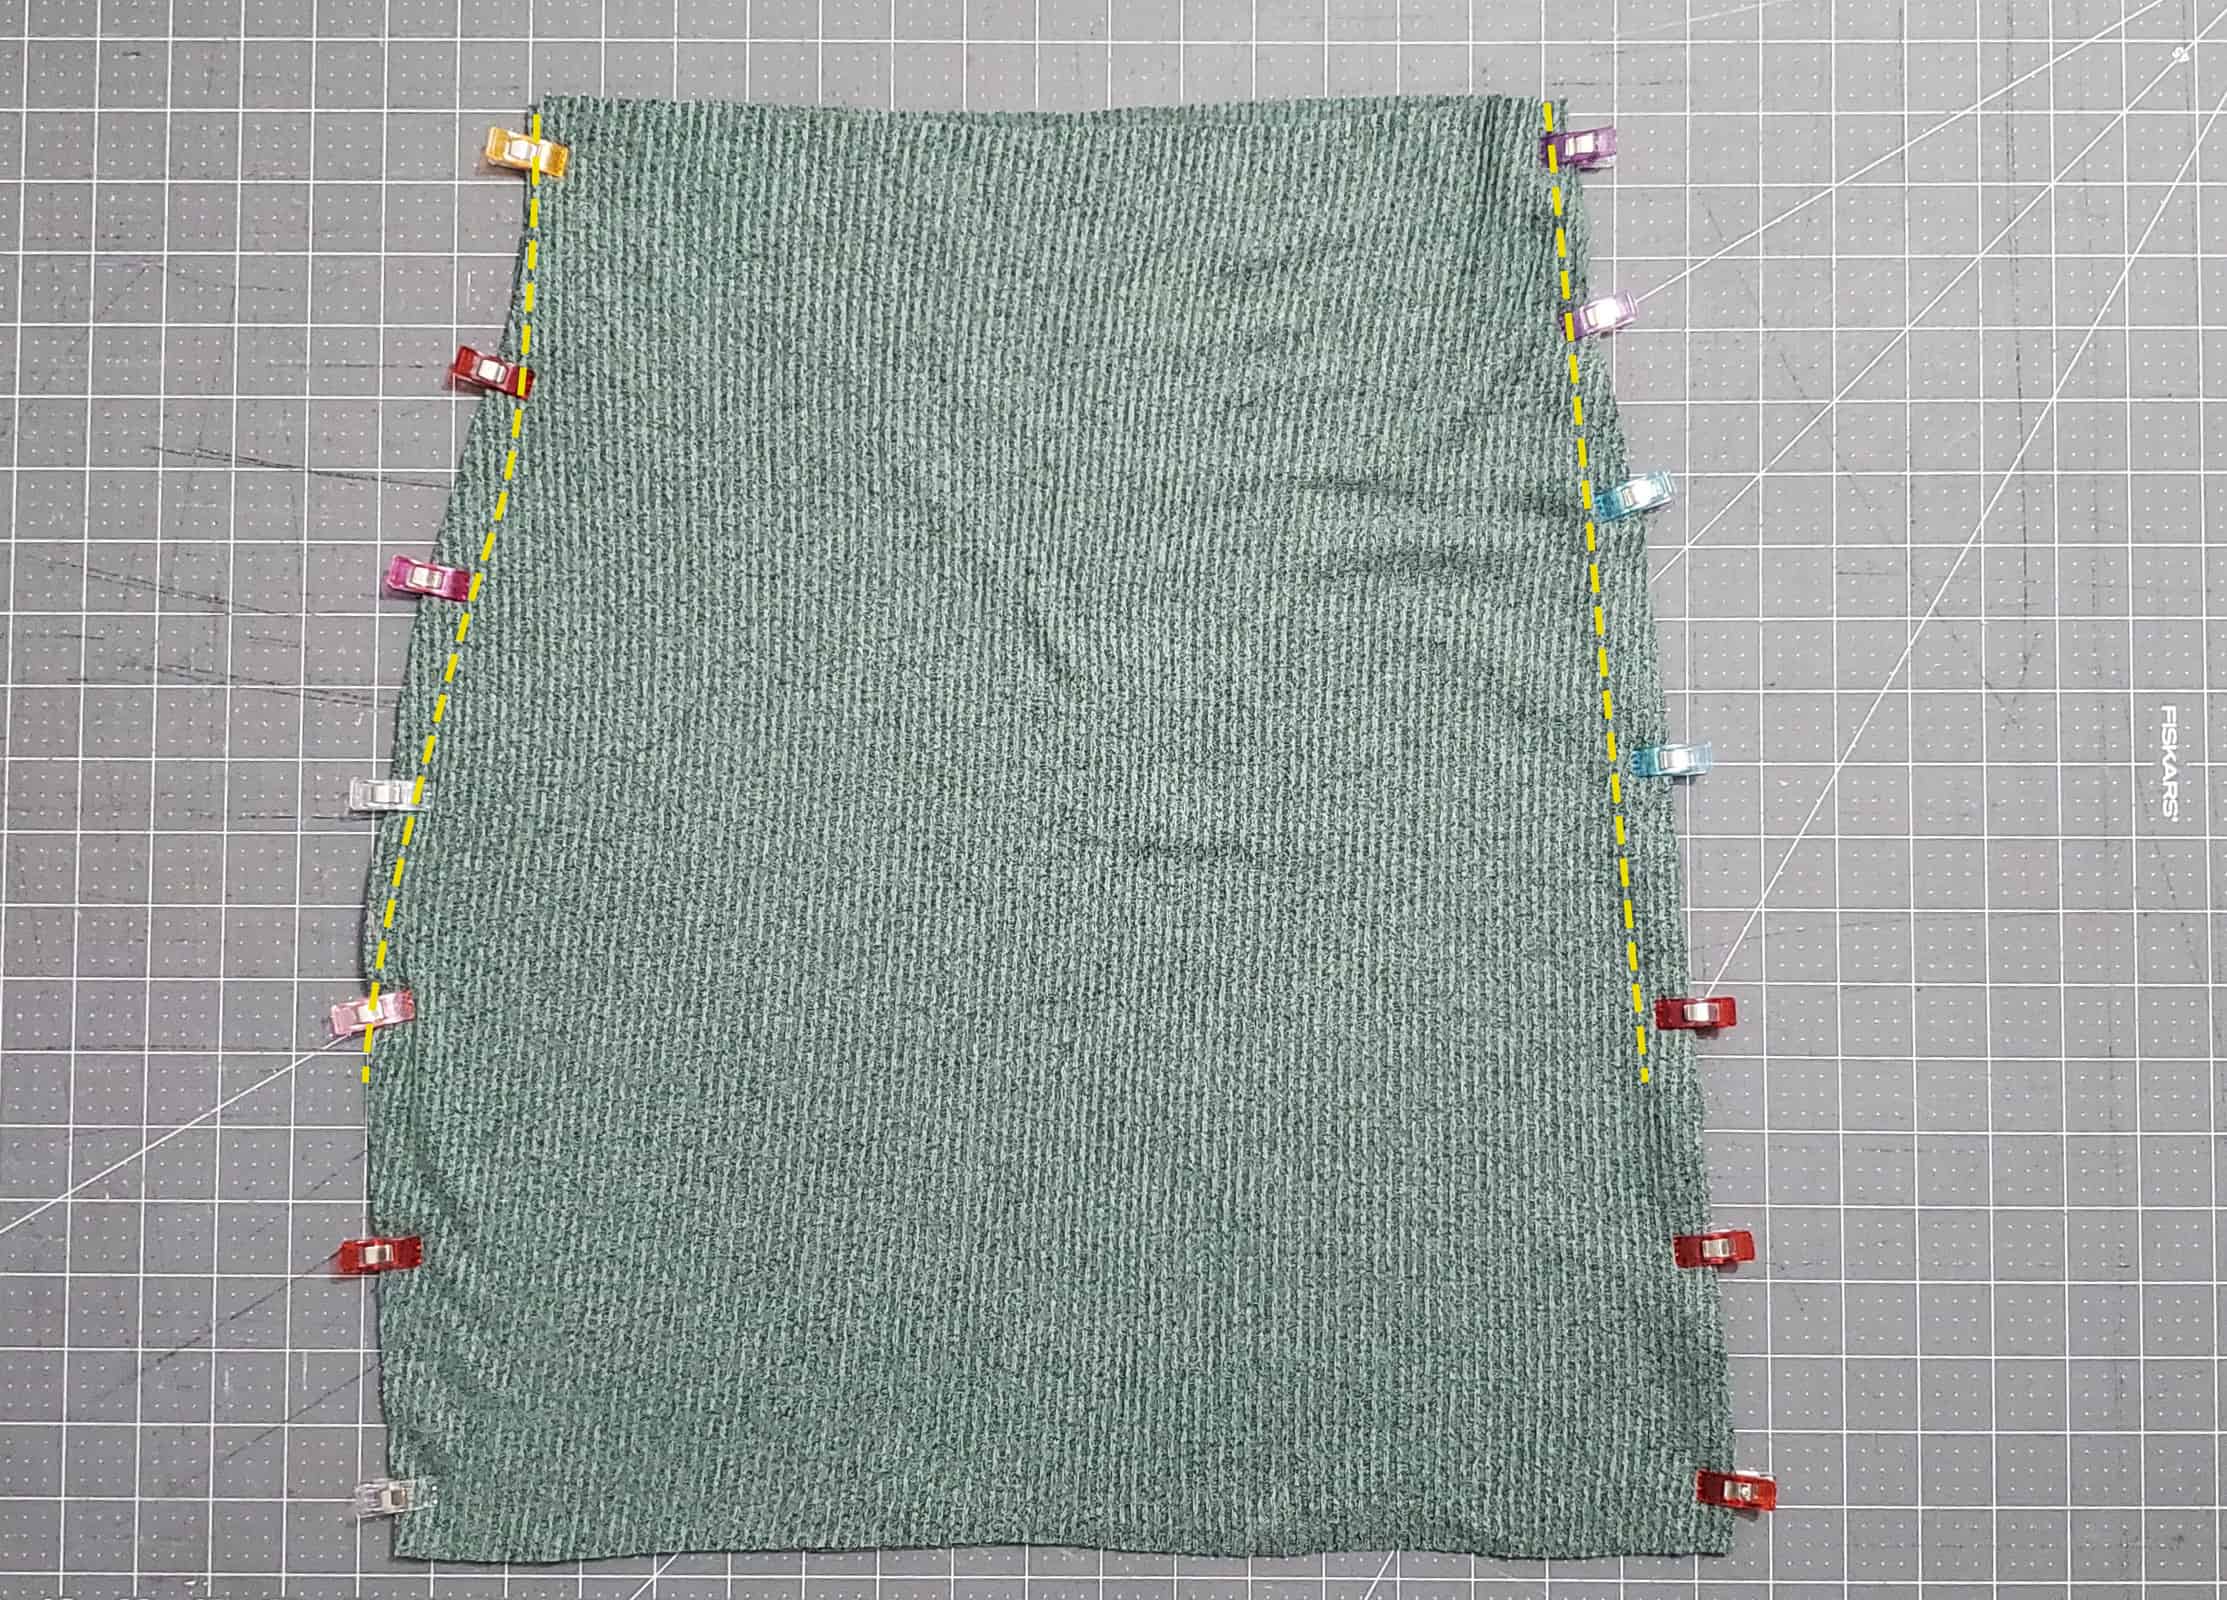
Using a 1/2″ seam allowance, sew the front and back skirt together from the top edge to where you want your slit. You can add the slit on one (left example) or both (right example) sides.
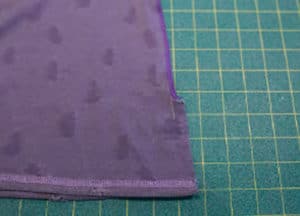
Note- if using a serger, cut a small slit TO the seam allowance (do not cut INTO the seam allowance) to make hemming the side seam easier (far right photo).
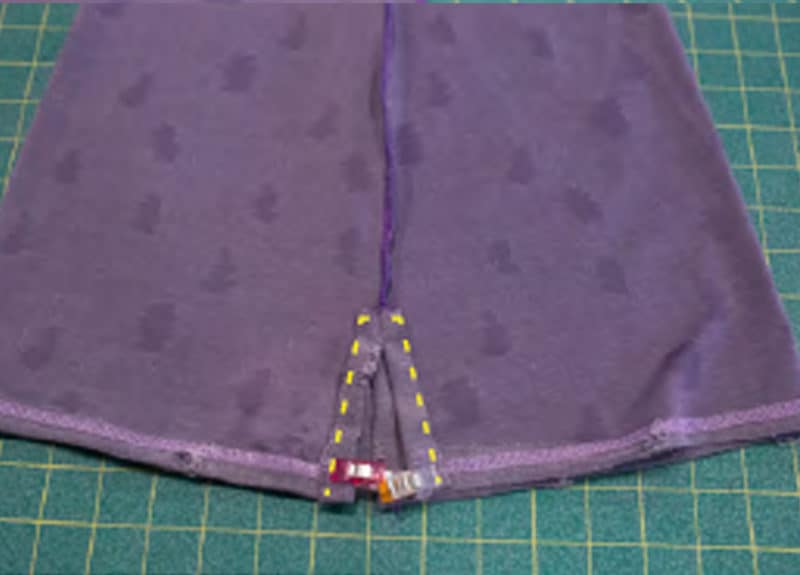
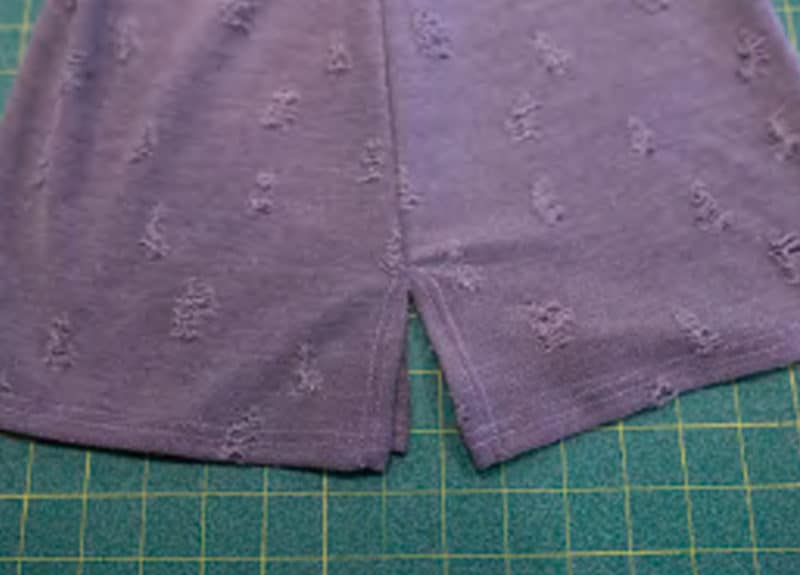
Press the unsewn side seam 1/2″ toward the wrong side. Then edgestitch in place.
Then continue following the tutorial, hem your skirt (or you can hem before), and your side slits are complete!
Belt Tie Hack
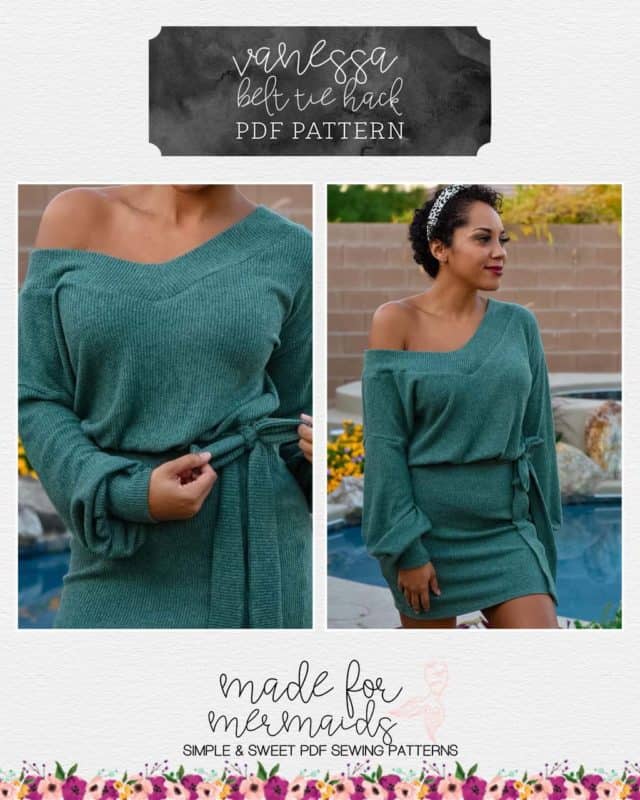
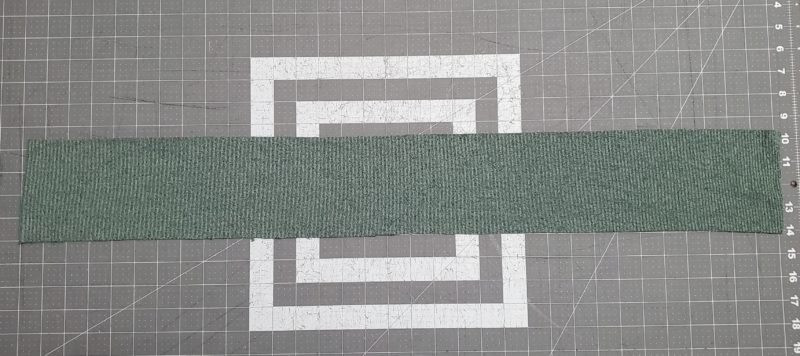
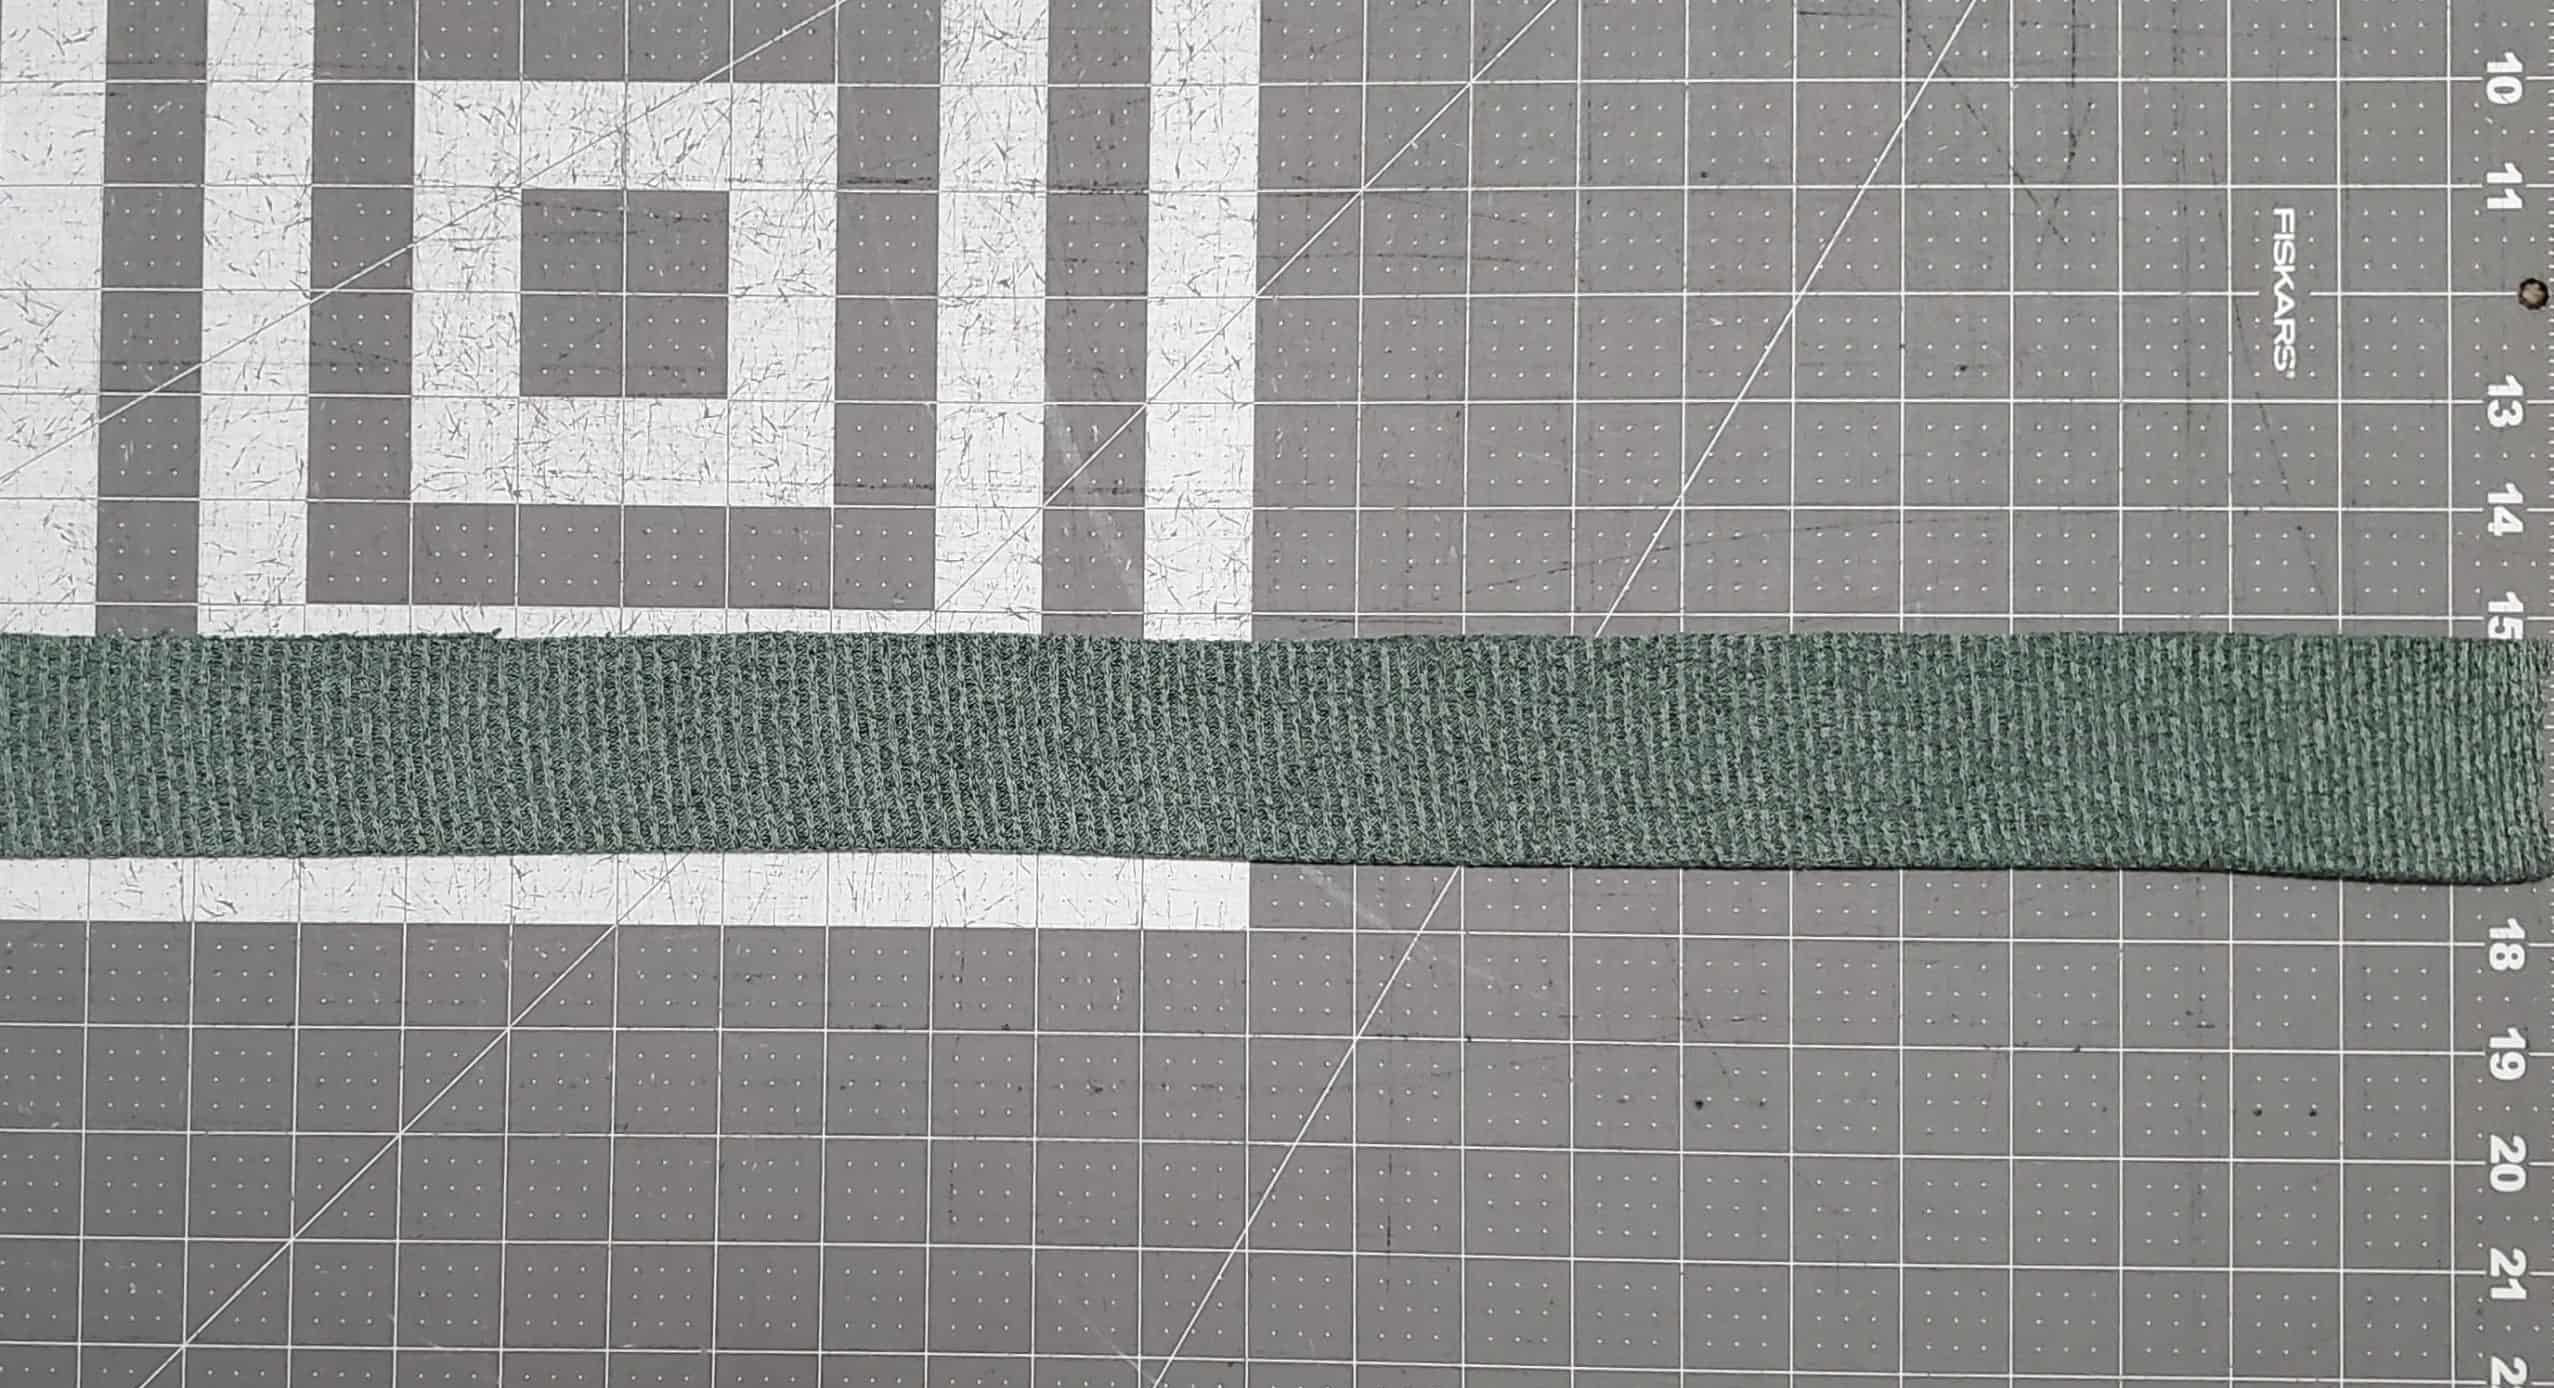
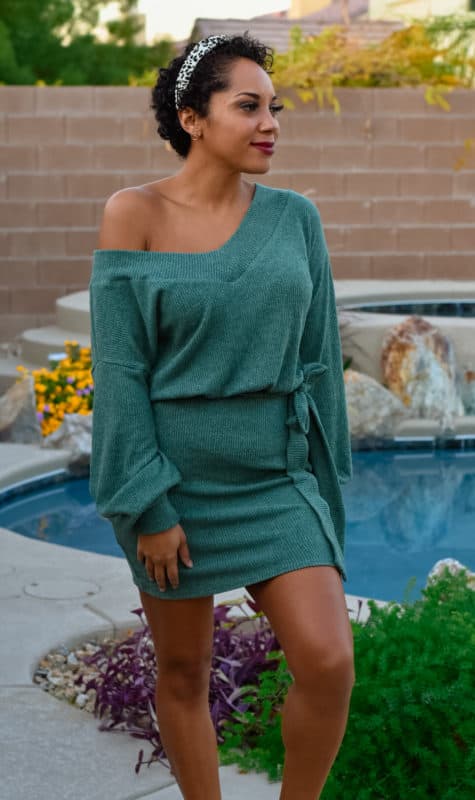
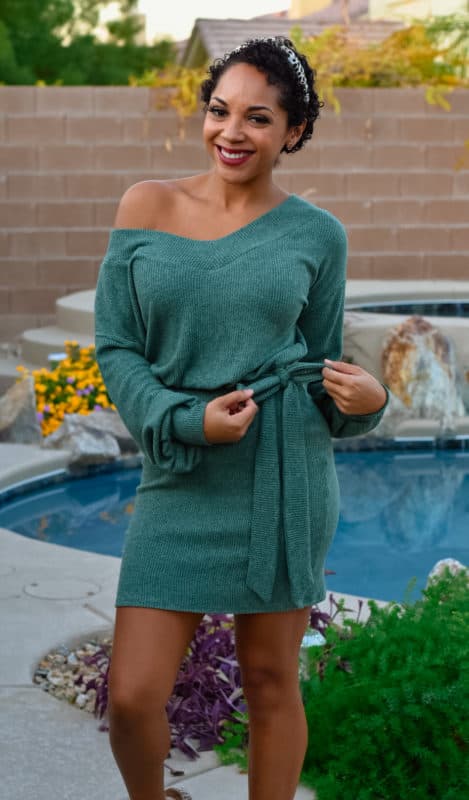
This pattern’s dress length option looks so cute with a belt tied at the waist! You can make your own, and it’s super easy! All you need is a strip of fabric anywhere from 4-5 inches in length, by however wide you want it (your waist measurement, plus enough for the tie and tails).
I did the width of my fabric for mine, around 56 inches.
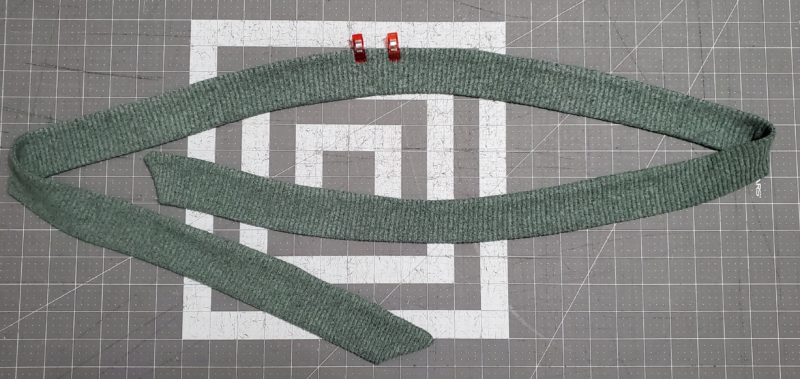
NOTE – If you need/want more width, you may also cut two strips of fabric and sew them together along two of the short ends to get a longer, continuous piece.
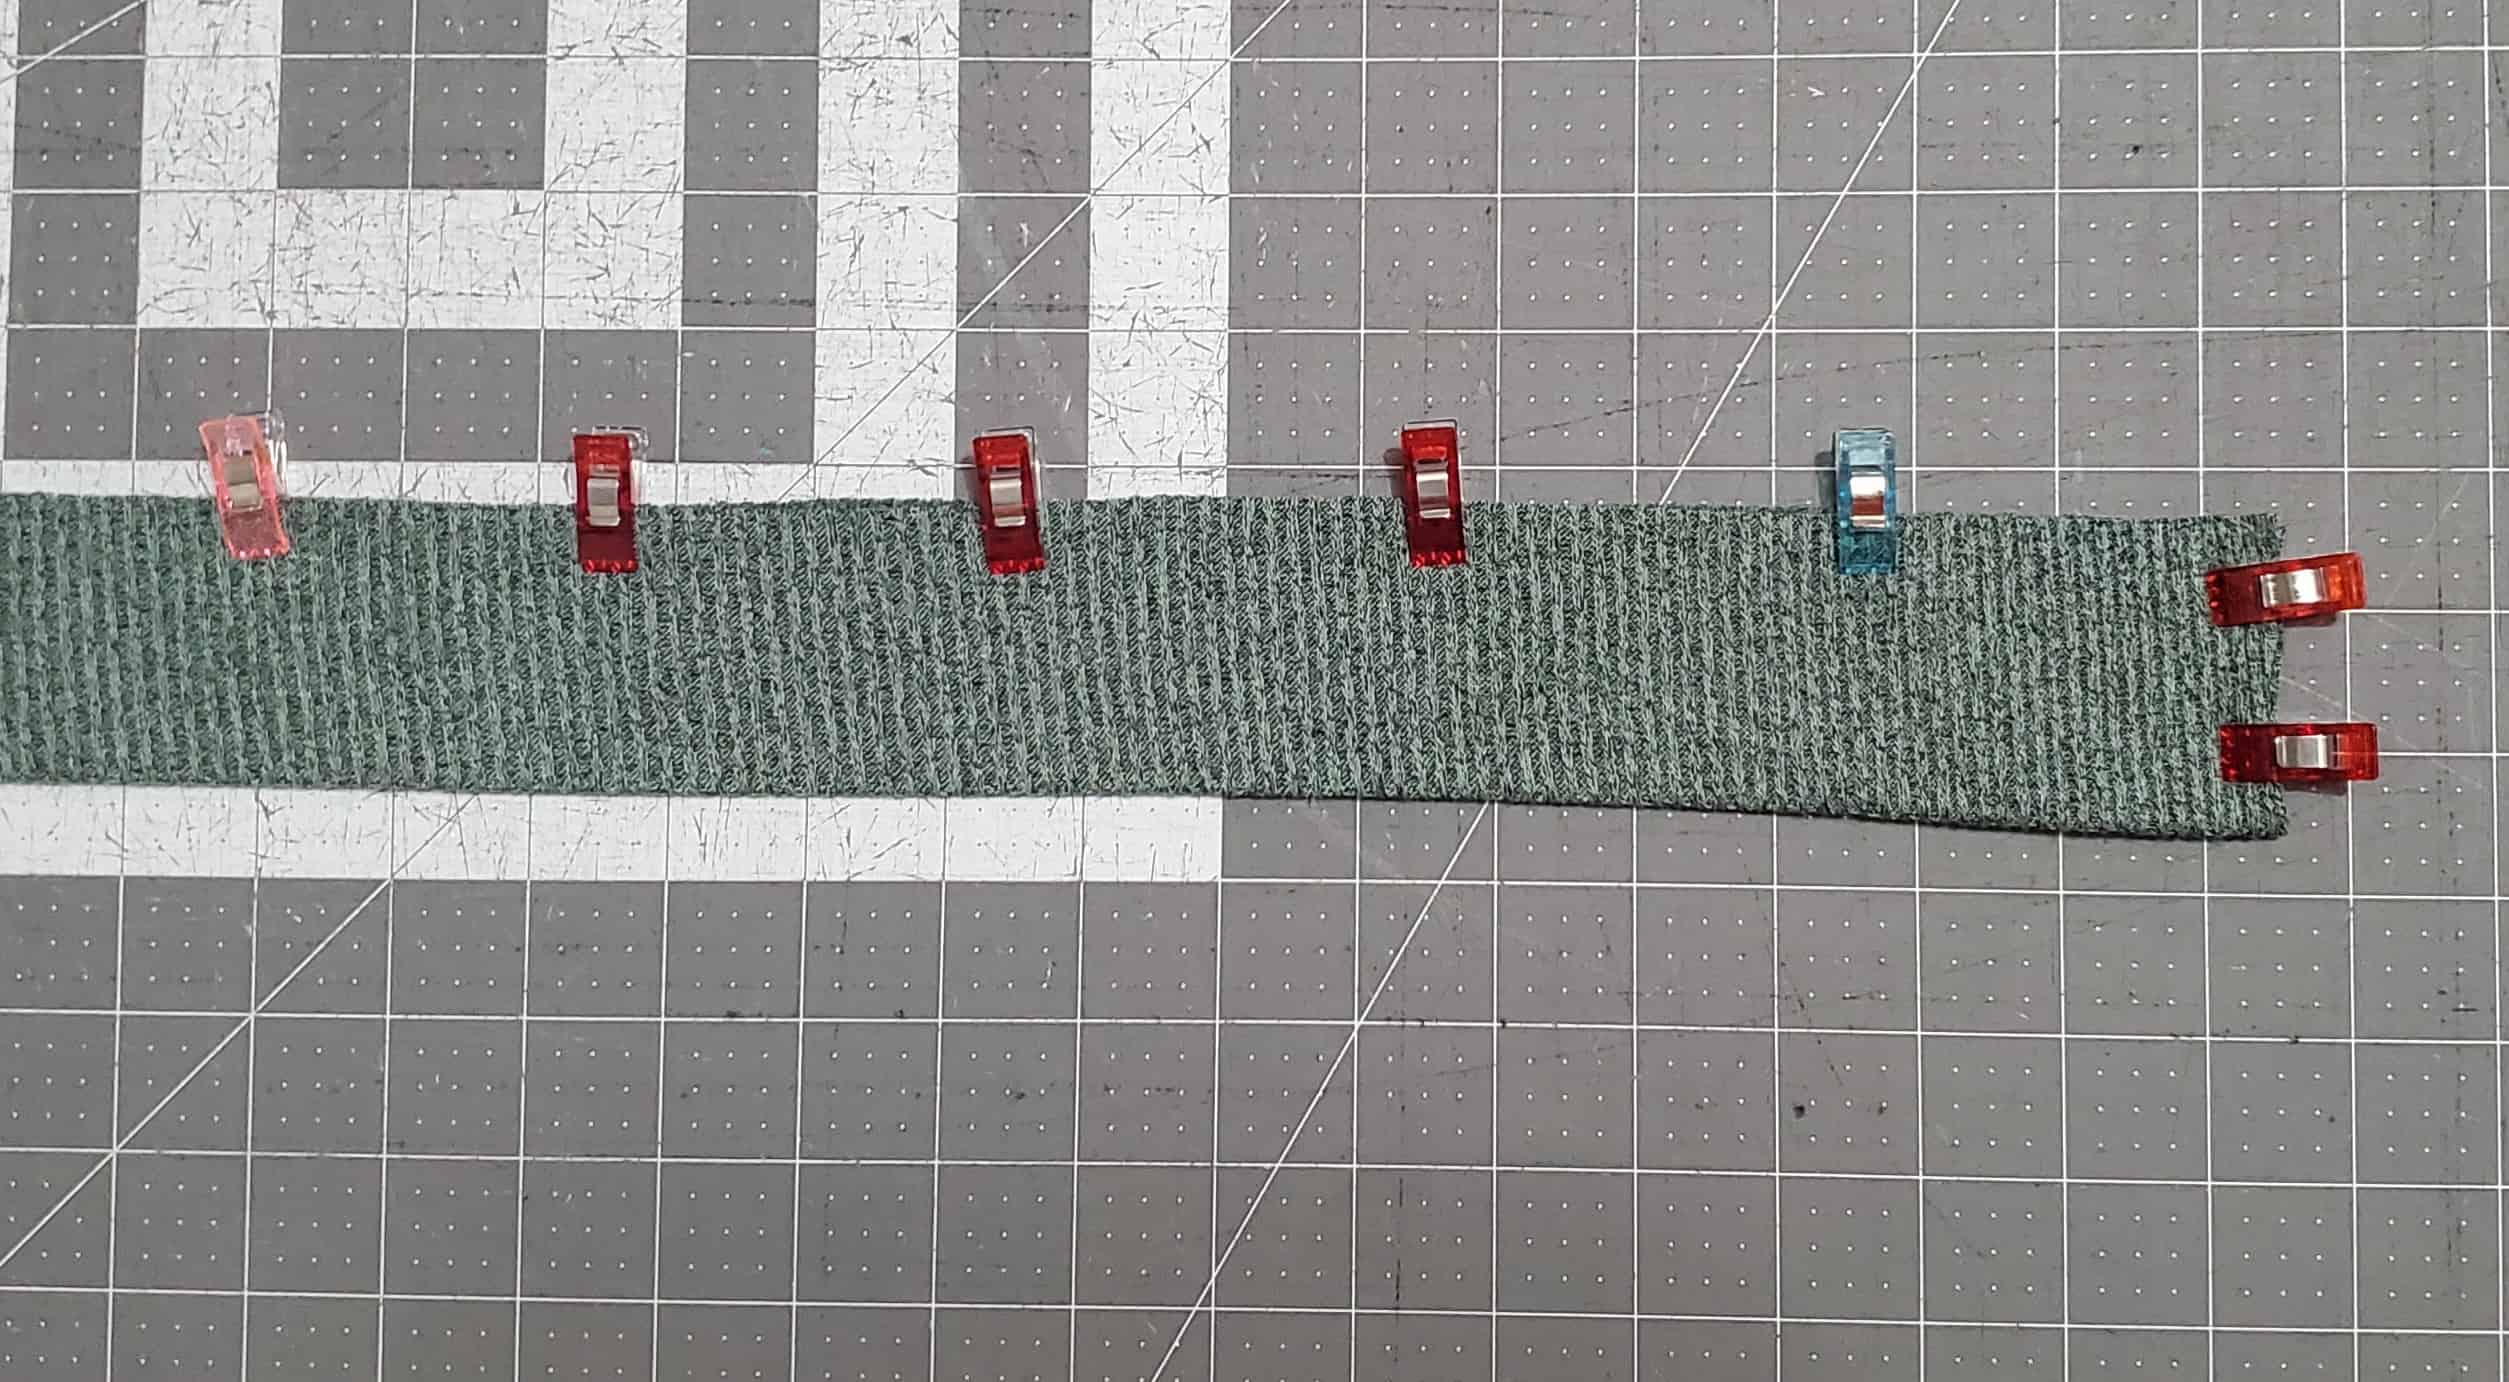
You will take your fabric piece and fold it together right sides together and sew together along both of the short raw edges and along the long raw edges, leaving a 1-2 inch space open somewhere in the middle for turning right sides out.
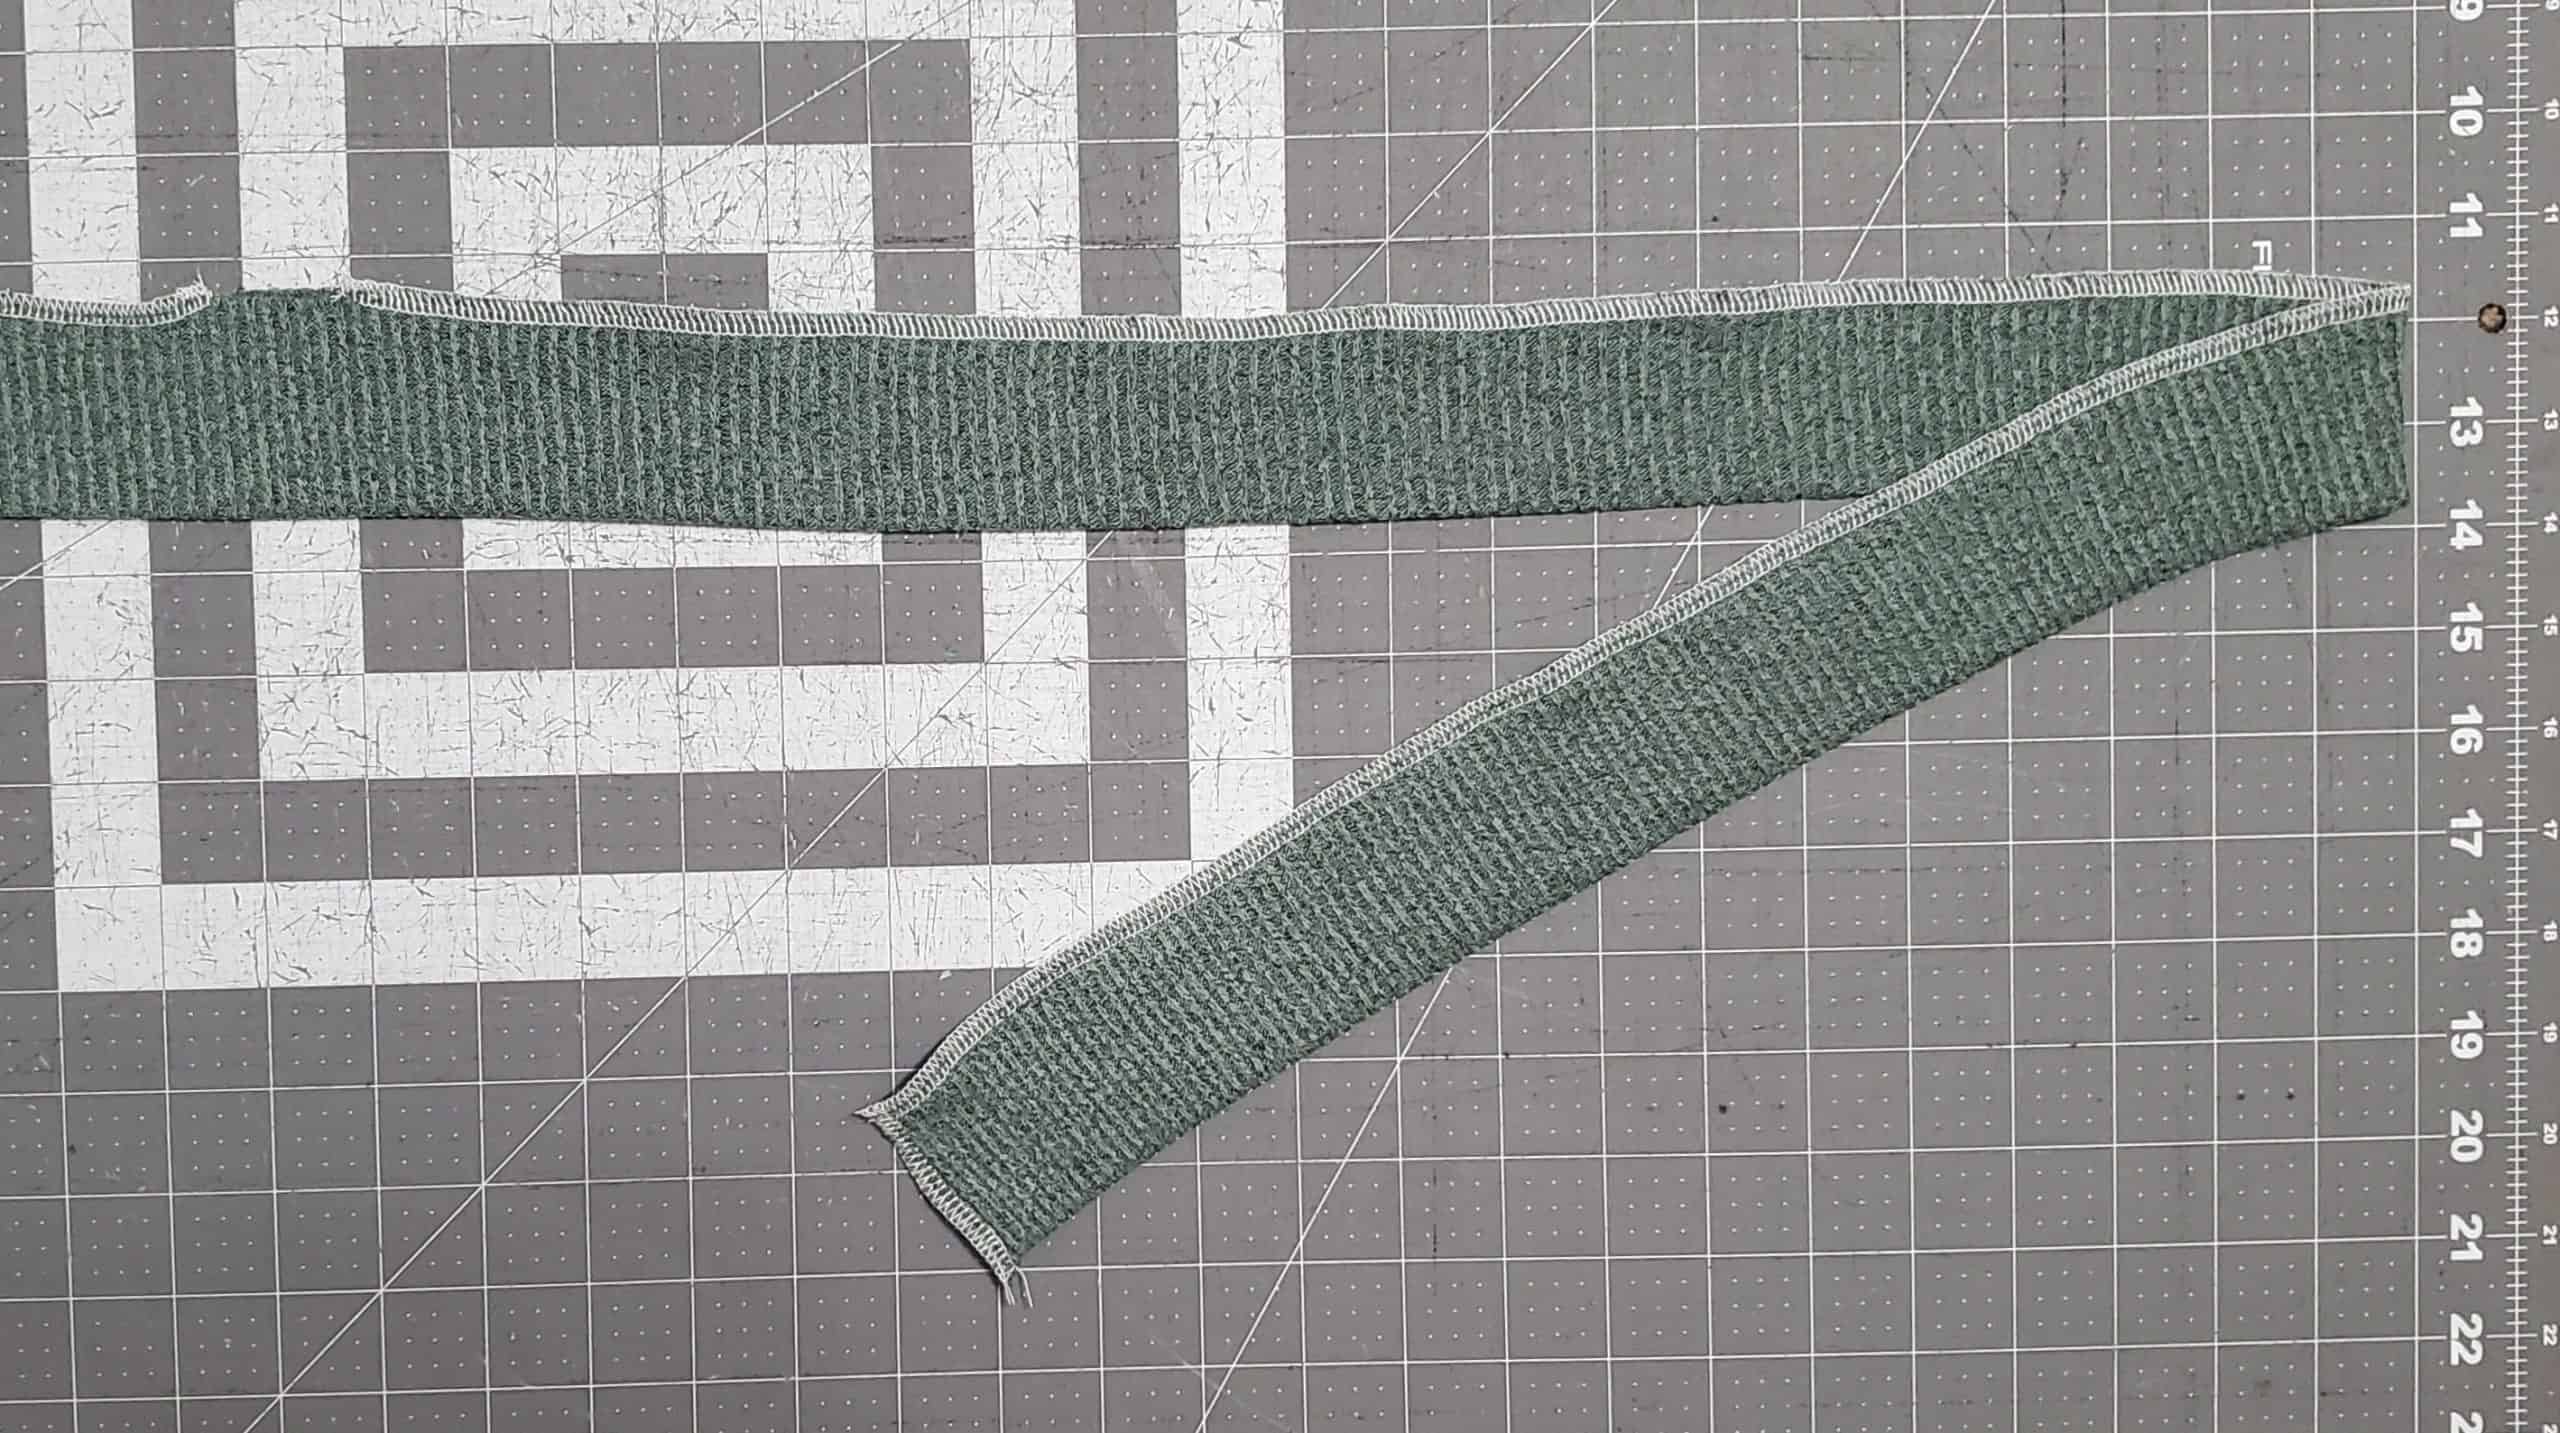
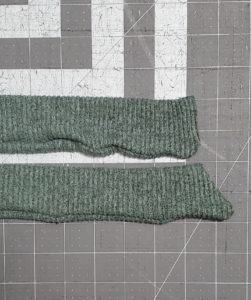
NOTE – You can choose to sew your shorts together with either straight edges or slanted edges, depending on whichever look you prefer for your tie ends. The photo above shows a tie end with a straight edge. The photo below shows how it would look with a slanted end.
Using your favorite turning tool, turn your belt right sides out through the hole you left. Below is a photo of both the slanted and straight ends after being turned right side out, but before being pressed.
Press your belt. Topstitch your hole closed by topstitching close to the edge!
That’s it! So easy to make a belt to help jazz up the dress option!
Separates Hack
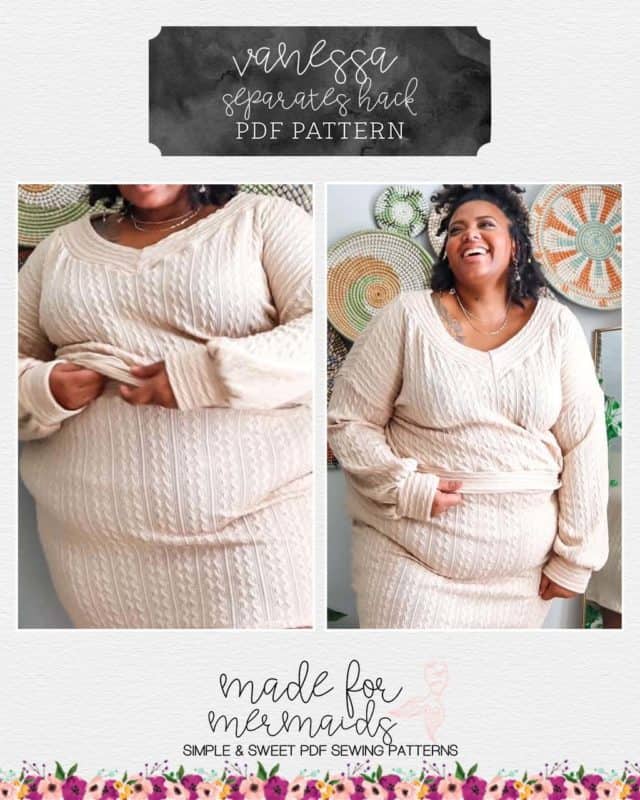
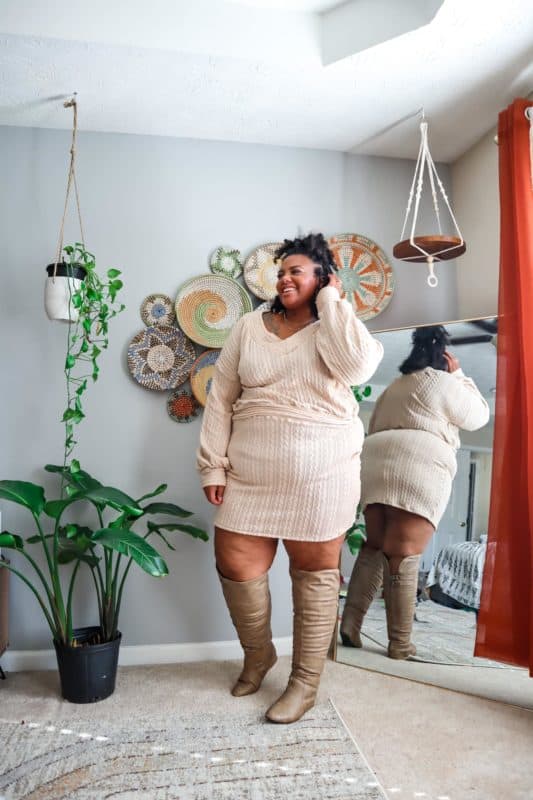
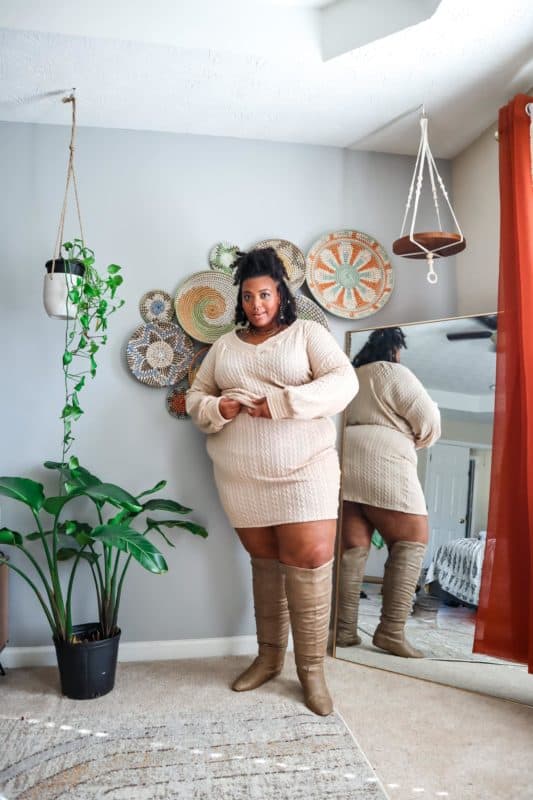
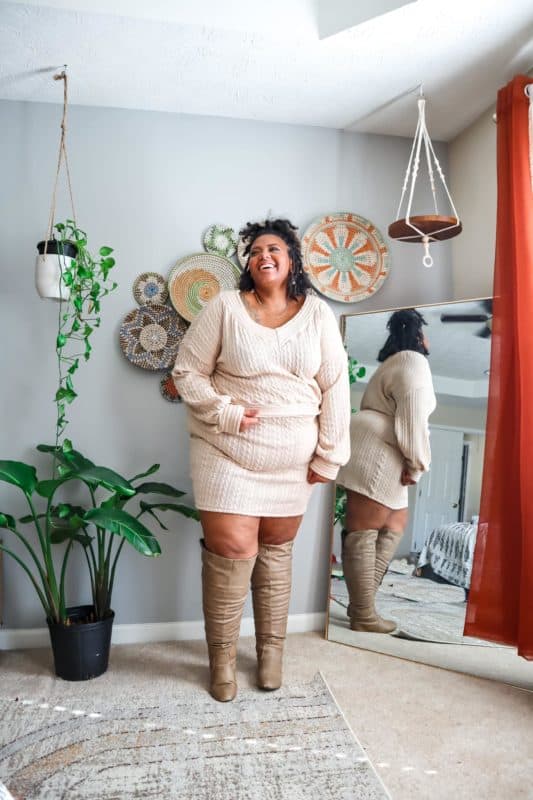
If you want to create a 2-piece set, it’s simple to do. When cutting out your dress, also cut 4 short band pieces – 2 for the top, and 2 for the skirt. Then attach a short band to the top and a short band to the skirt. Voila! You have a top and skirt, instead of a dress.
Which Vanessa option will you sew up first? I’m itchin’ to sew up a midi-length off the shoulder! Don’t forget to share your makes with us over in our Facebook group, on Insta, or TikTok. We can’t wait to see what you sew up!





Leave a Reply