Fringe is in! Or did it ever even go away? When designing Venus, I kept getting that targeted ad that had the fringe swimsuit and I knew I had to make it happen. So of course I’m going to share the how-to with you!
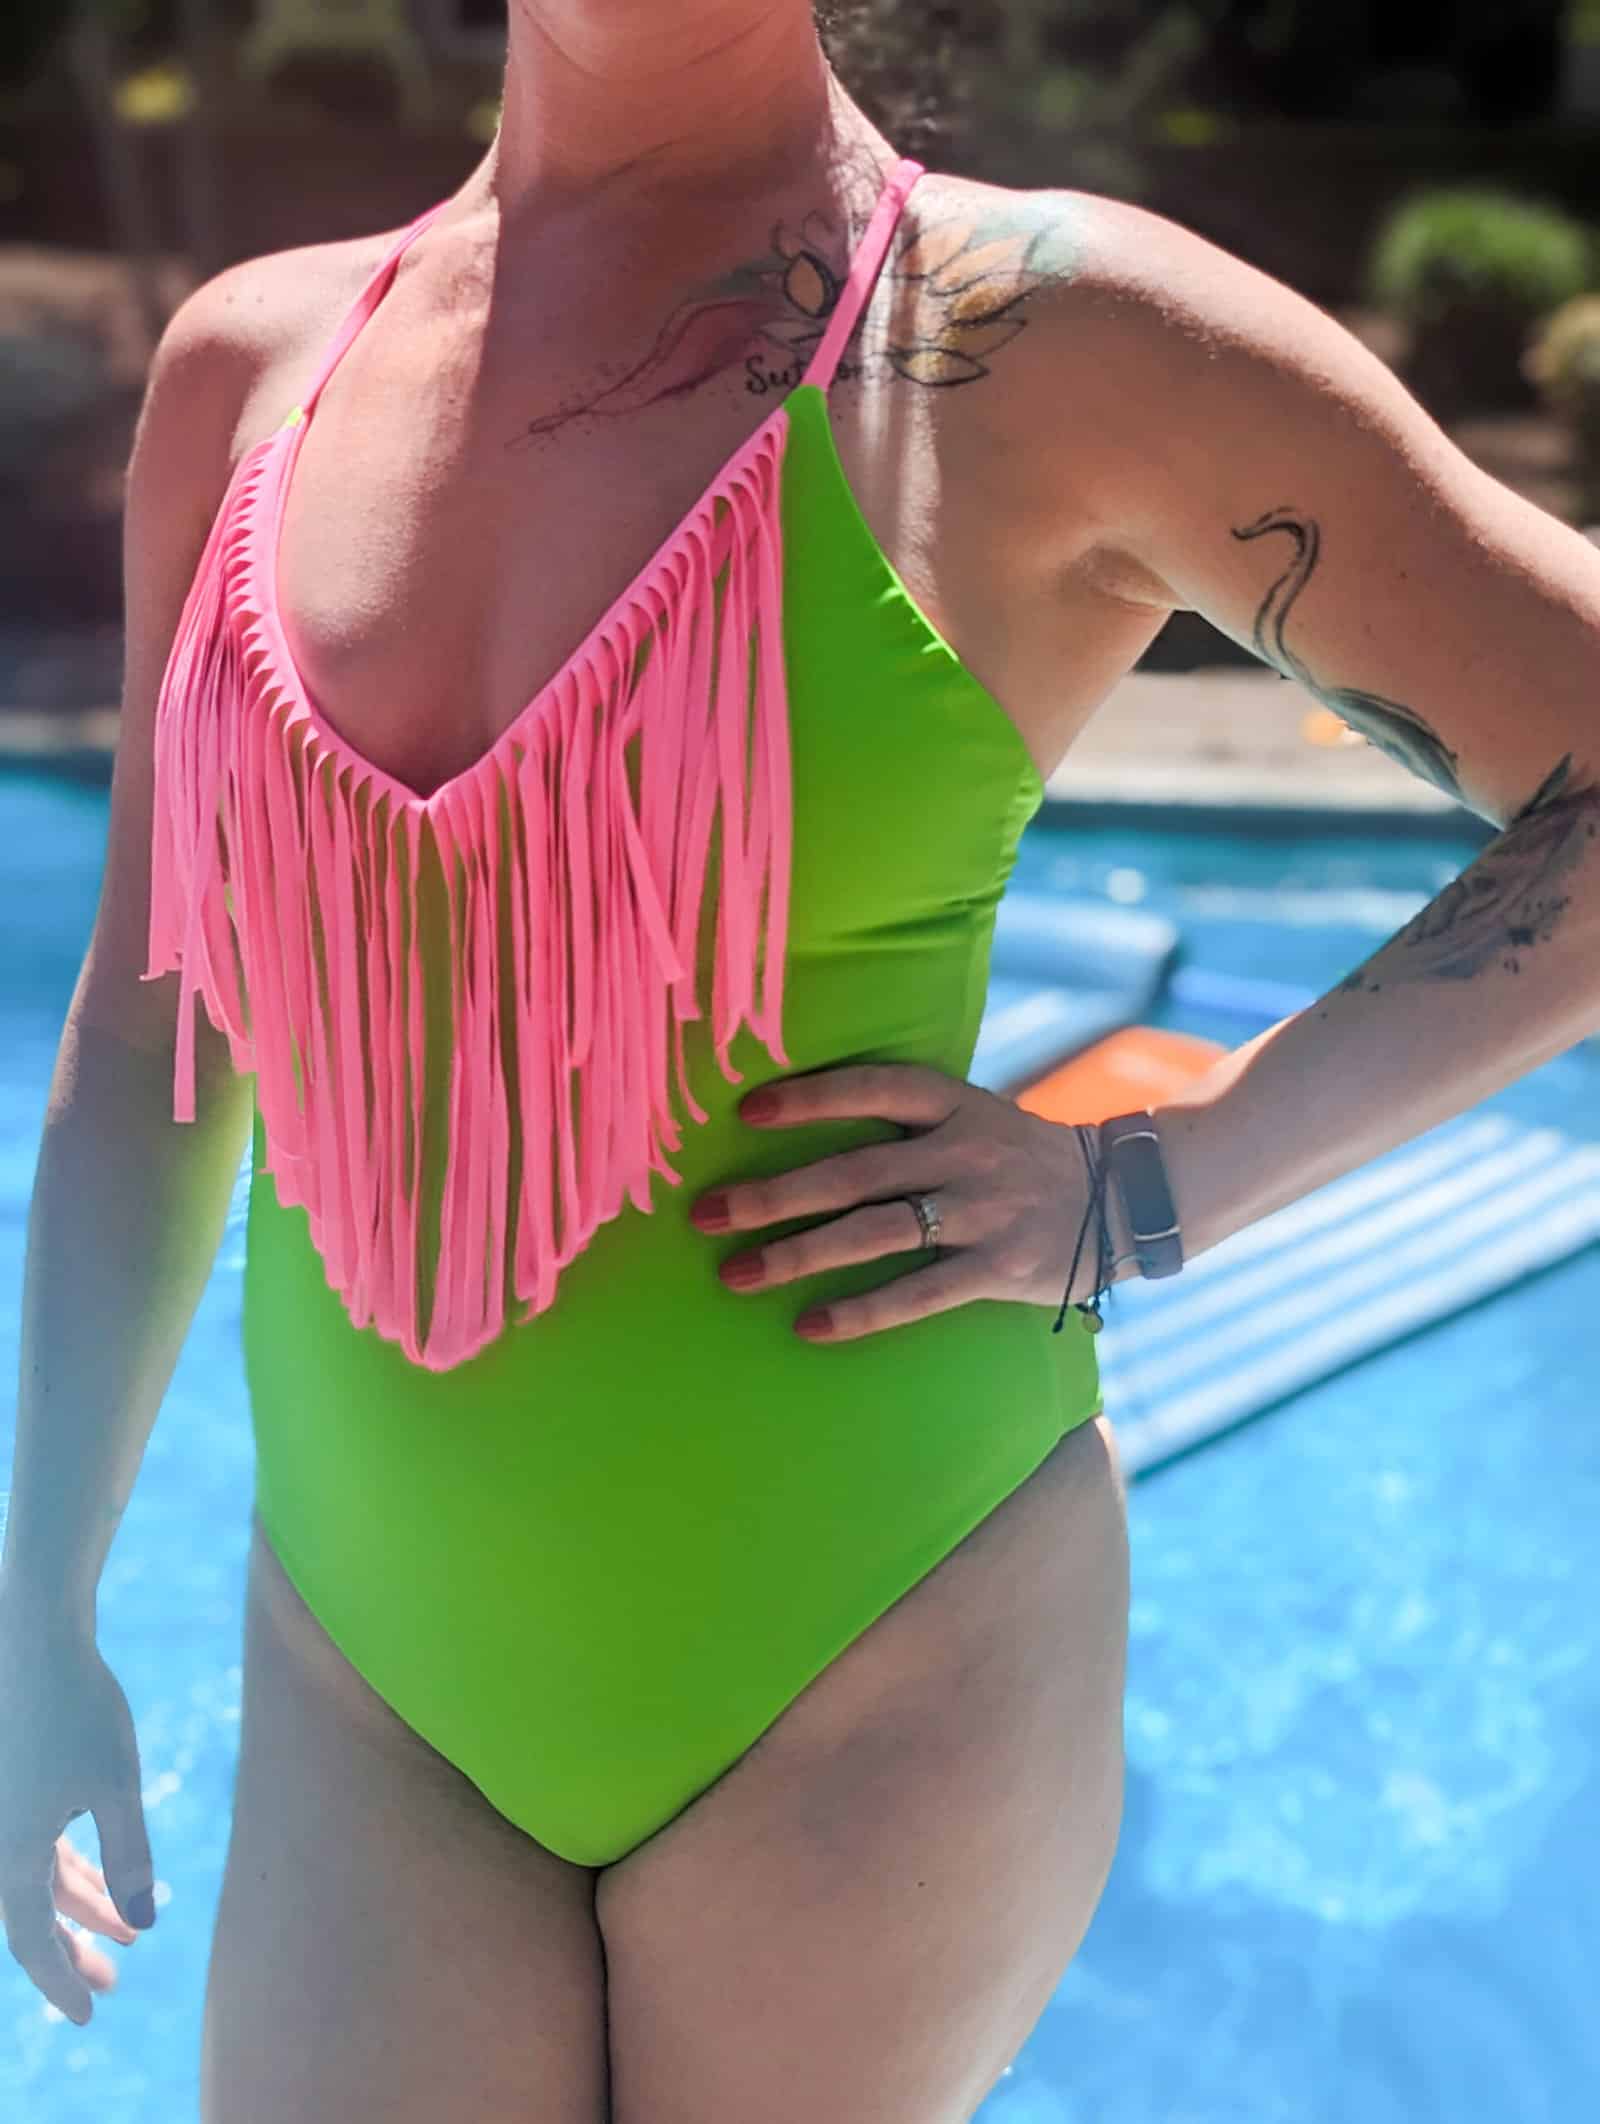
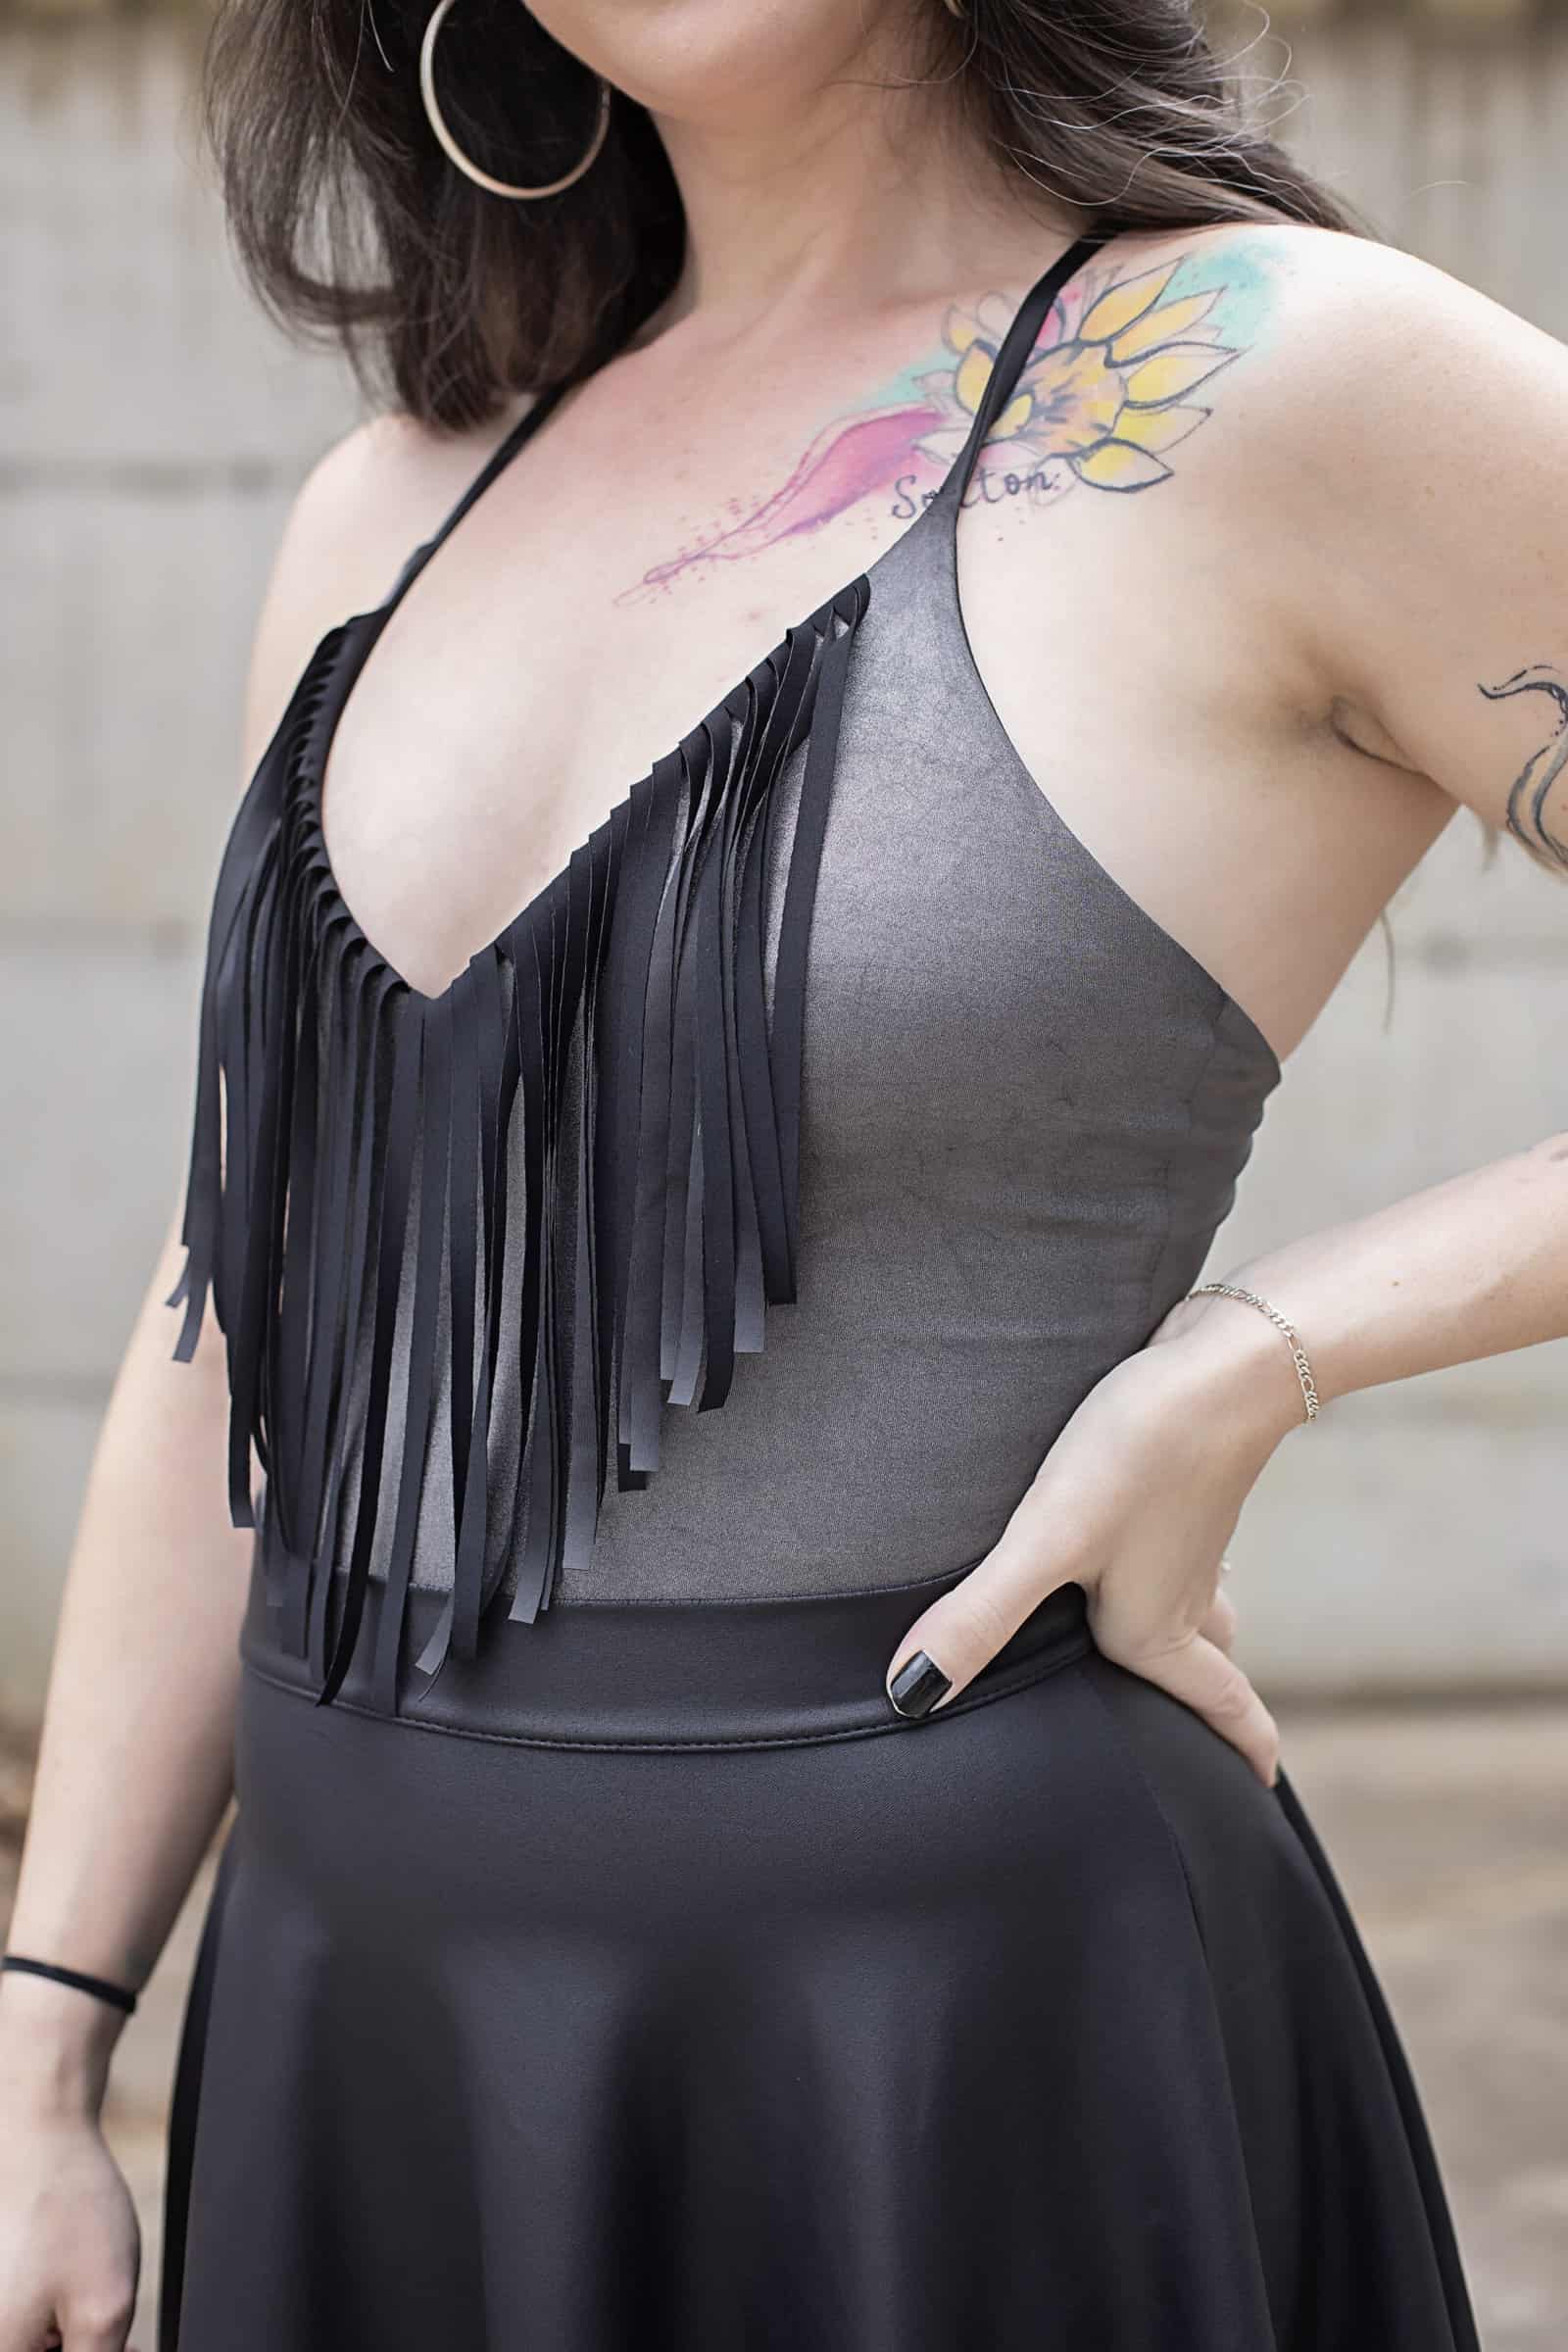
Adding fringe to your Venus is actually super easy, and works as a swimsuit or a fun bodysuit. The best part?? It’s still reversible!!
First things first – pick your fabrics. If you want to keep the reversible aspect, pick a fringe that will match both fabrics. For each of mine, I used one of the main fabrics for the fringe so one side will have fringe the same color as the main, and the other side has a contrasting fringe. Make sure you are using a fabric that does not fray.
Let’s get started. Cut out all your pieces as directed for the pattern. If you plan on adding a power mesh/net to the front of your suit, go ahead and baste it now.
Next, you’ll need to measure the v-front of your suit from the start of the pickup to the end of the v-point. As you can see, mine is about 6.25″. Now you’ll double that to get your fringe length. Mine ended up at 12.5″ which was perfect since I have a clear ruler just that width!
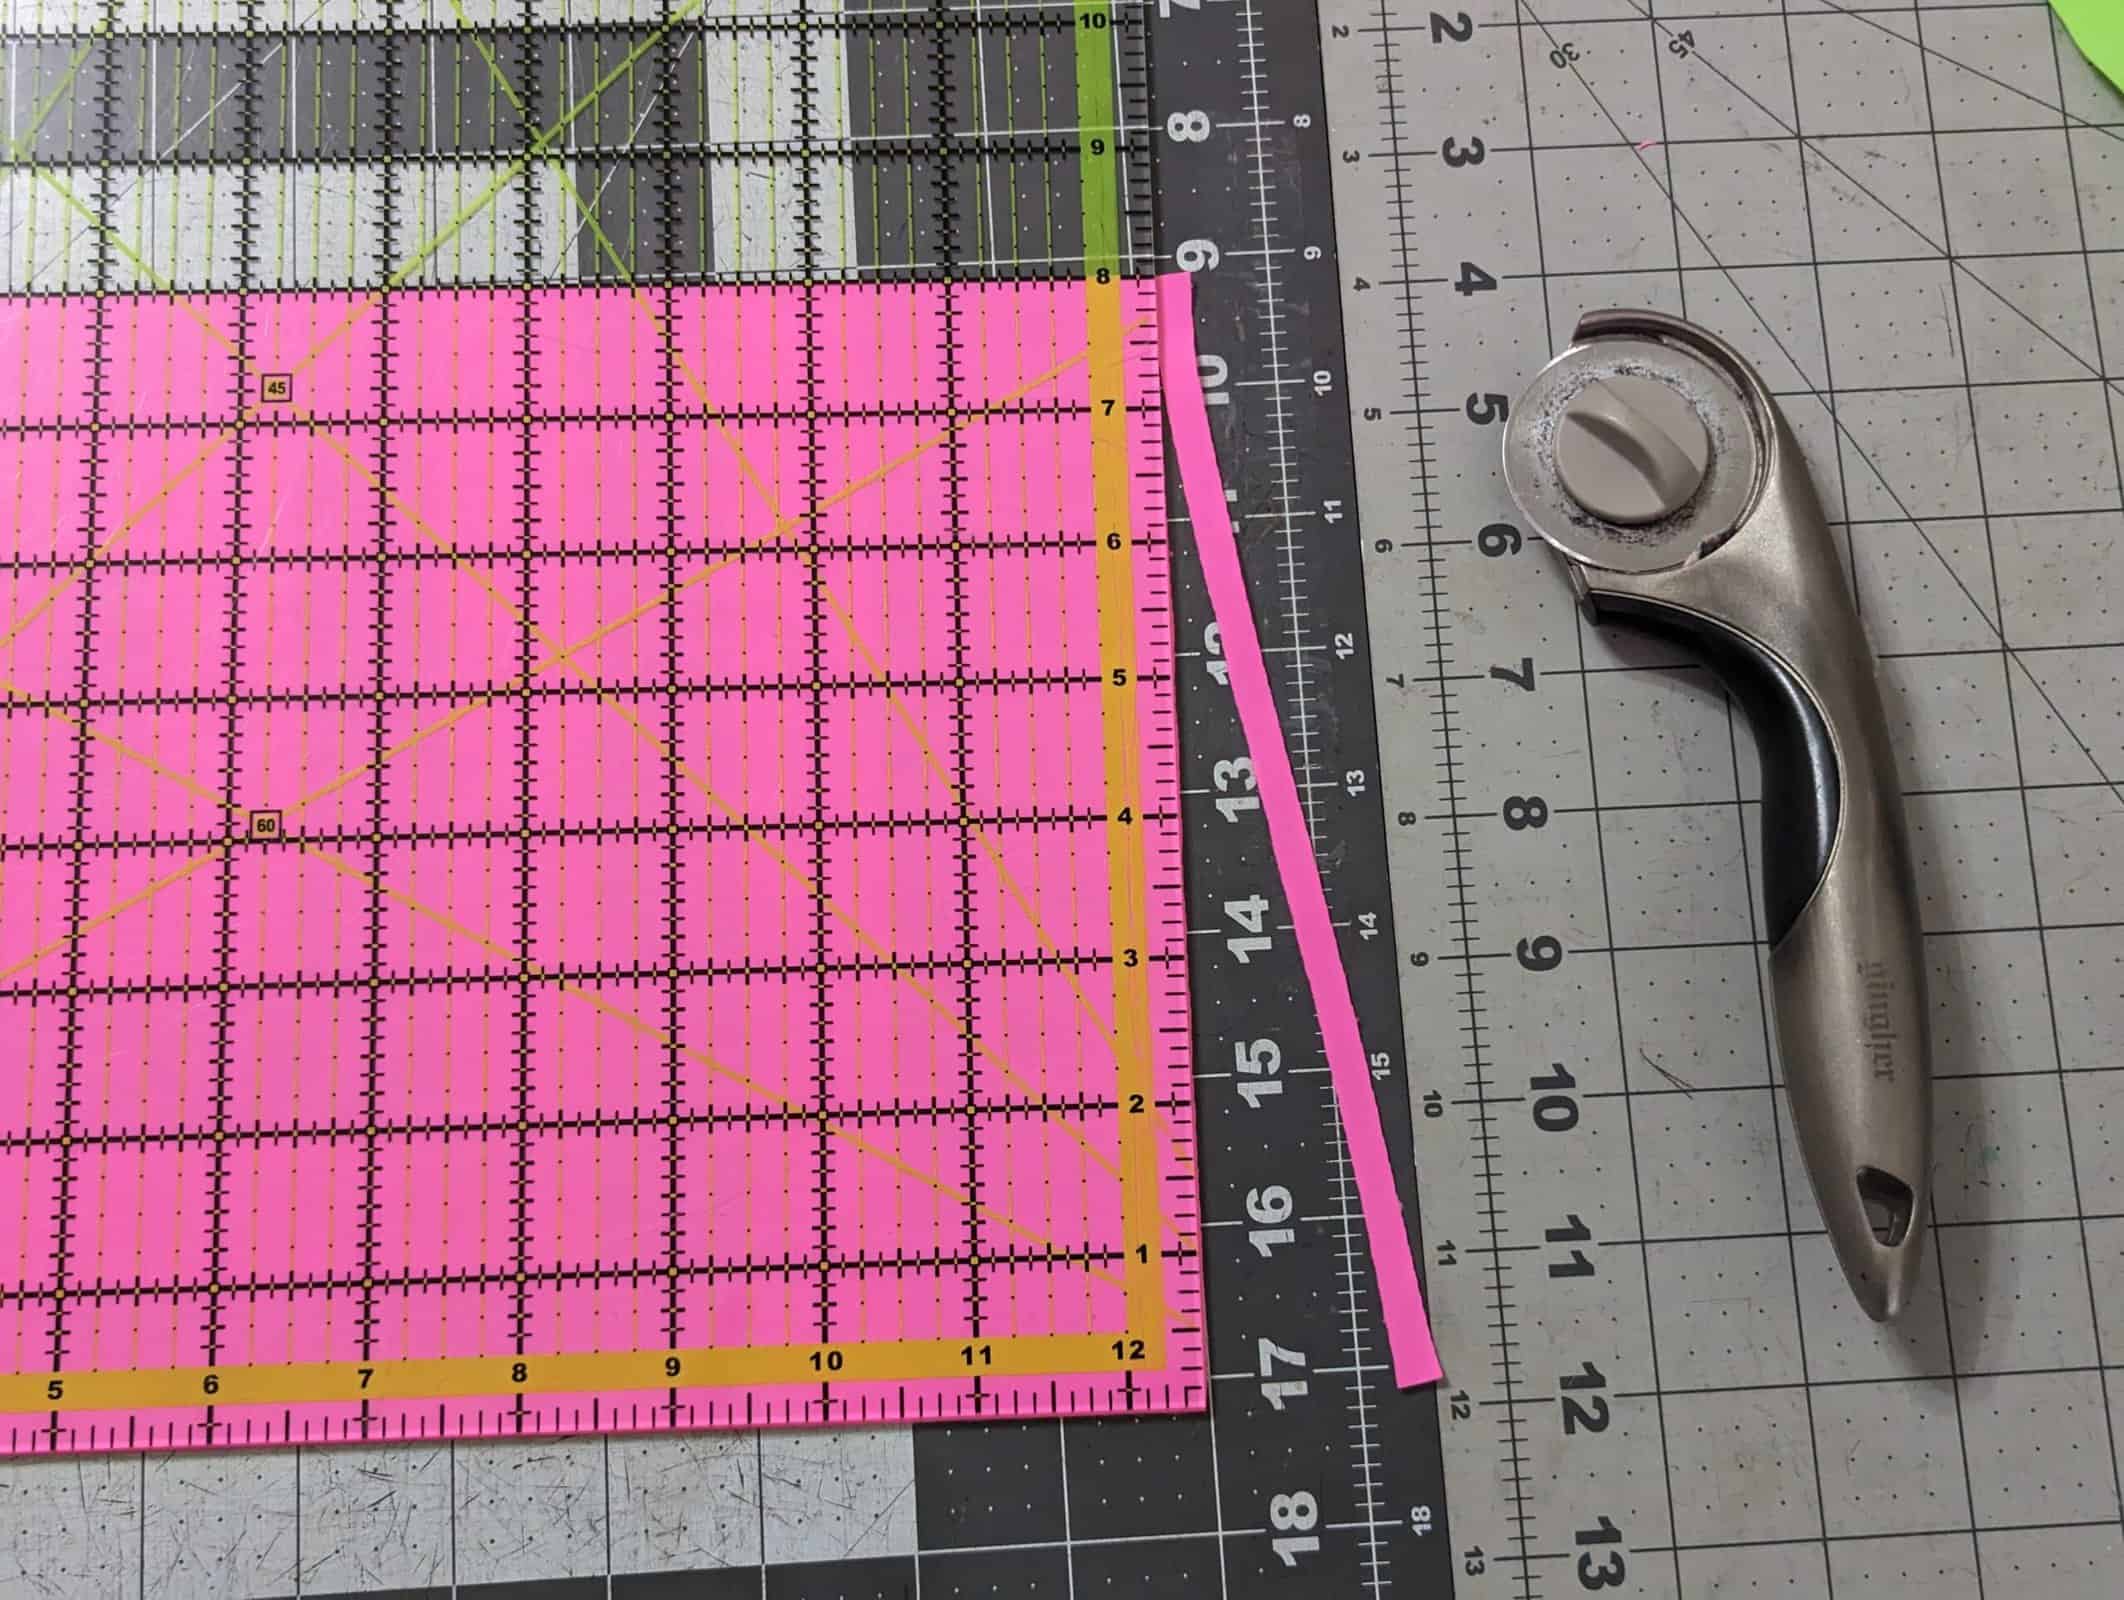
Now it’s time to cut your fringe. You’ll want to decide how long you want it to be. You can do this by holding the suit piece up to you and gauging where you want your fringe to end. Remember the v-point will sit lower. I chose 8″, therefore cutting a piece 12.5″ wide x 8″ high.
Let’s cut our fringe! This part is a bit tedious but worth it. You can decide how wide you want your fringe. I chose to make each piece 1/4″. You may wish for a wider fringe though and cut it at 1/2″. The fringe world is your oyster to customize how you’d like.
Using a clear ruler and a cutting mat (phew please tell me I’m not the only one who needs a new cutting mat *ducks head*), you’ll cut strips of 1/4″ all the up leaving about 1/2″ un-cut at the top. You can leave a little more if you’d like but I wouldn’t do less. I highly recommend using a rotary blade to help with seamless cuts. This does not have to be absolutely perfect- no one will be looking that close at each piece of fringe so if you wiggle a little it’s no big deal! Cut through the whole piece of fabric until you have your whole fringe piece.
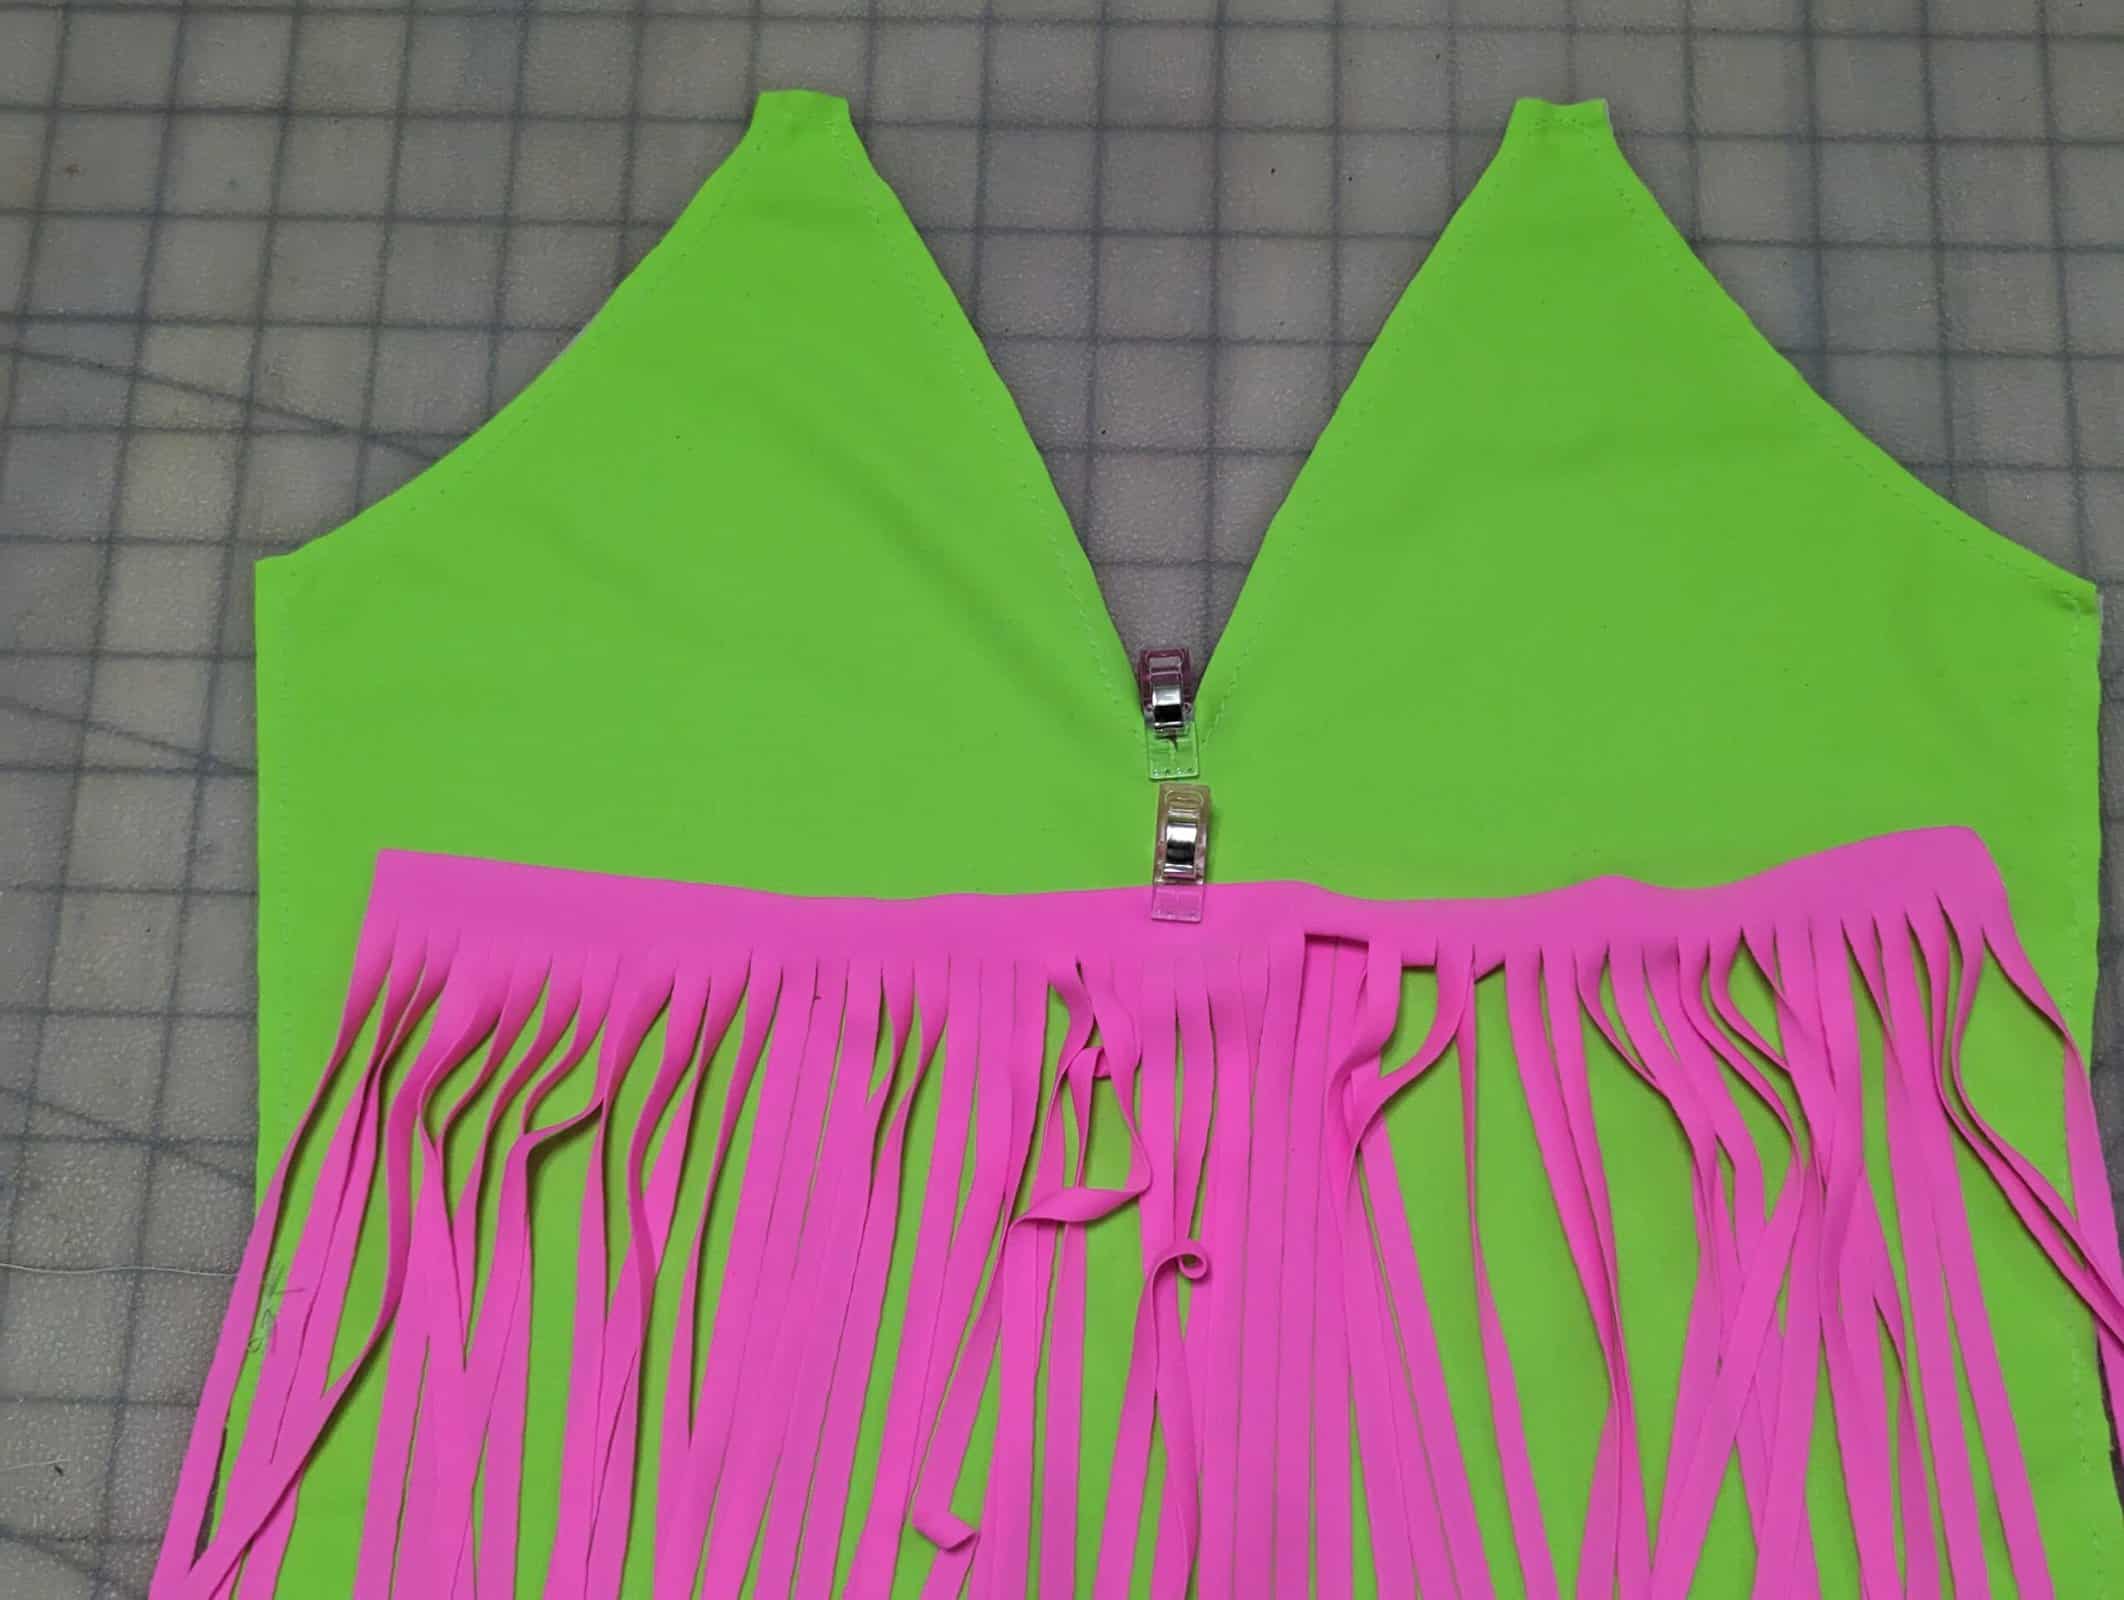
Time to add the fringe. Go ahead and grab one of your front pieces. Find the center of the fringe piece and pin it to the center v-point. Clip/pin the rest of the fringe out towards the pickup.
Repeat on the other side so the whole piece of fringe is pinned to the front bodice. The fringe at the v-point might buckle a little, but don’t worry – it’ll lay nicely when finished. Baste the fringe piece in place.
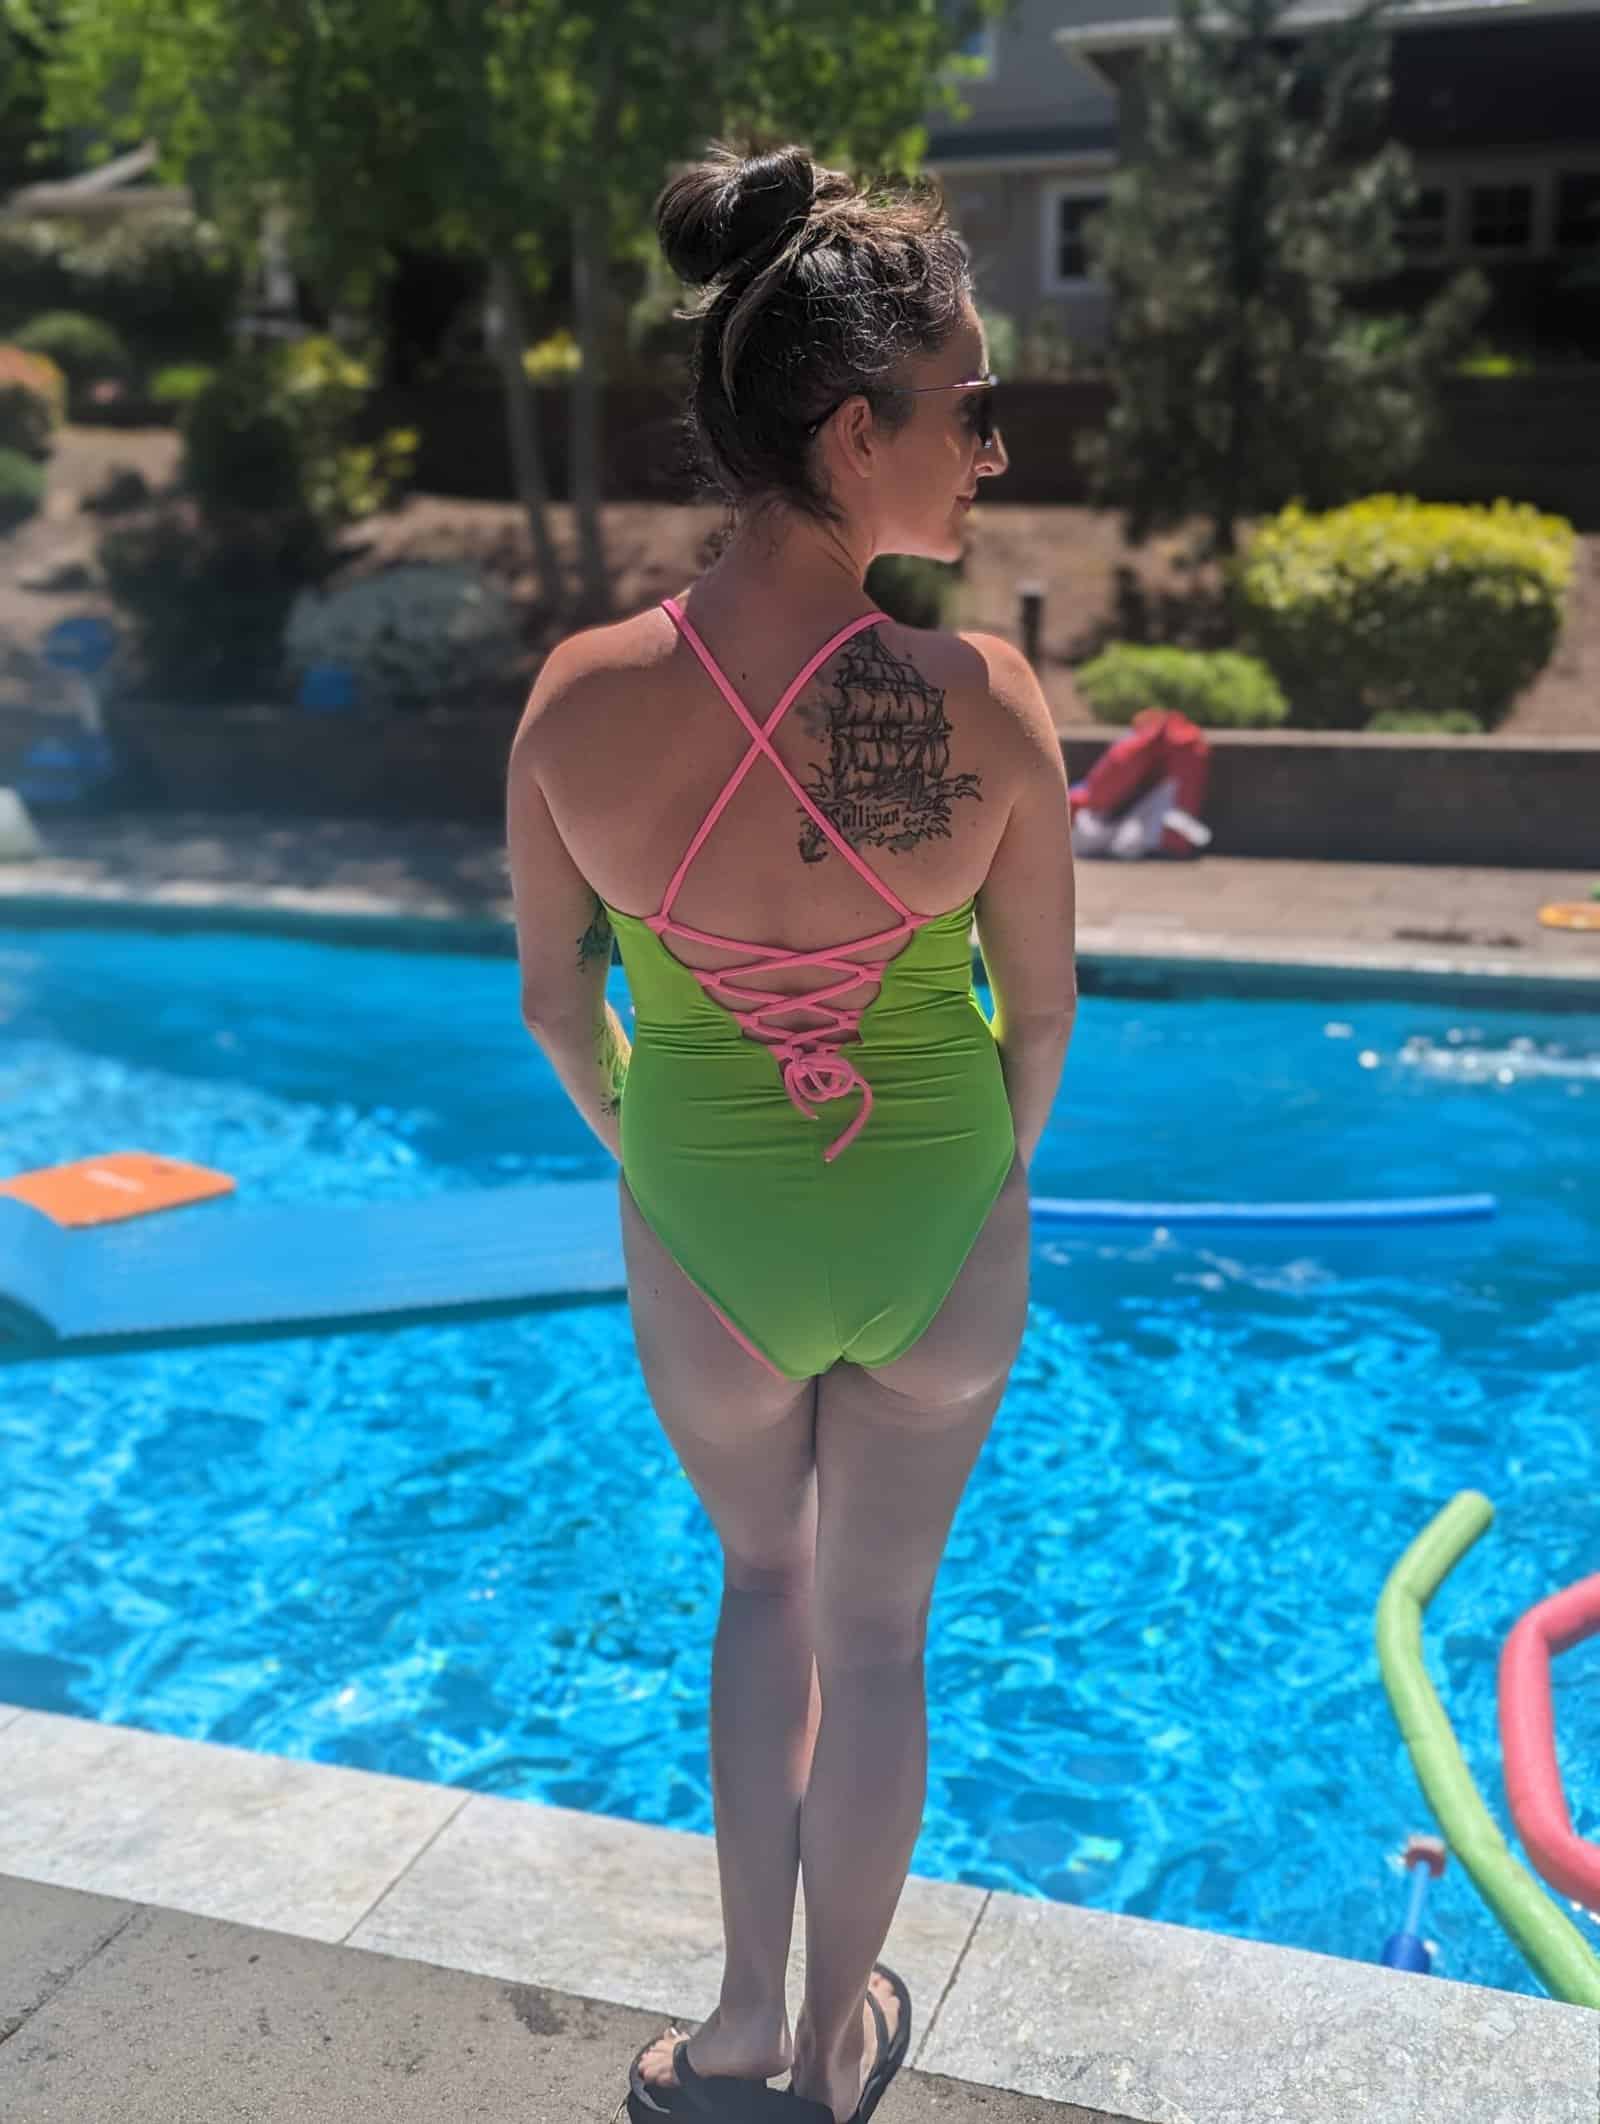
Now you’ll simply follow the rest of the instructions for the Venus pattern and you’ll have a reversible fringe swimsuit/bodysuit. Hooray for Fringe!
As much as I love it in swim, it also adds great texture to a bodysuit:
Happy Fringing!
-Michelle (sewsutton)










Leave a Reply