
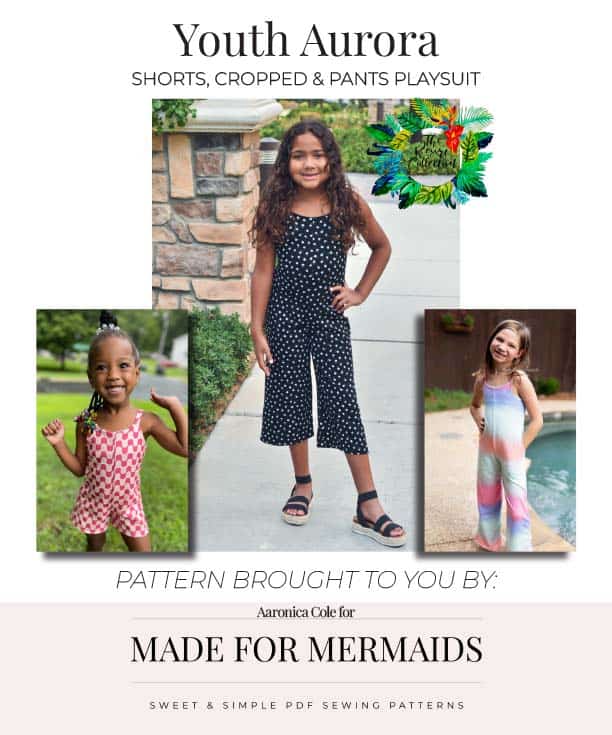
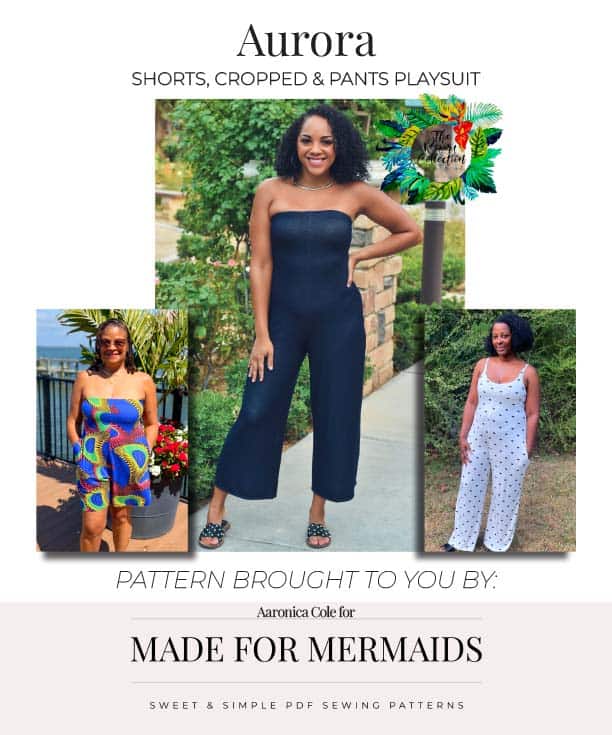
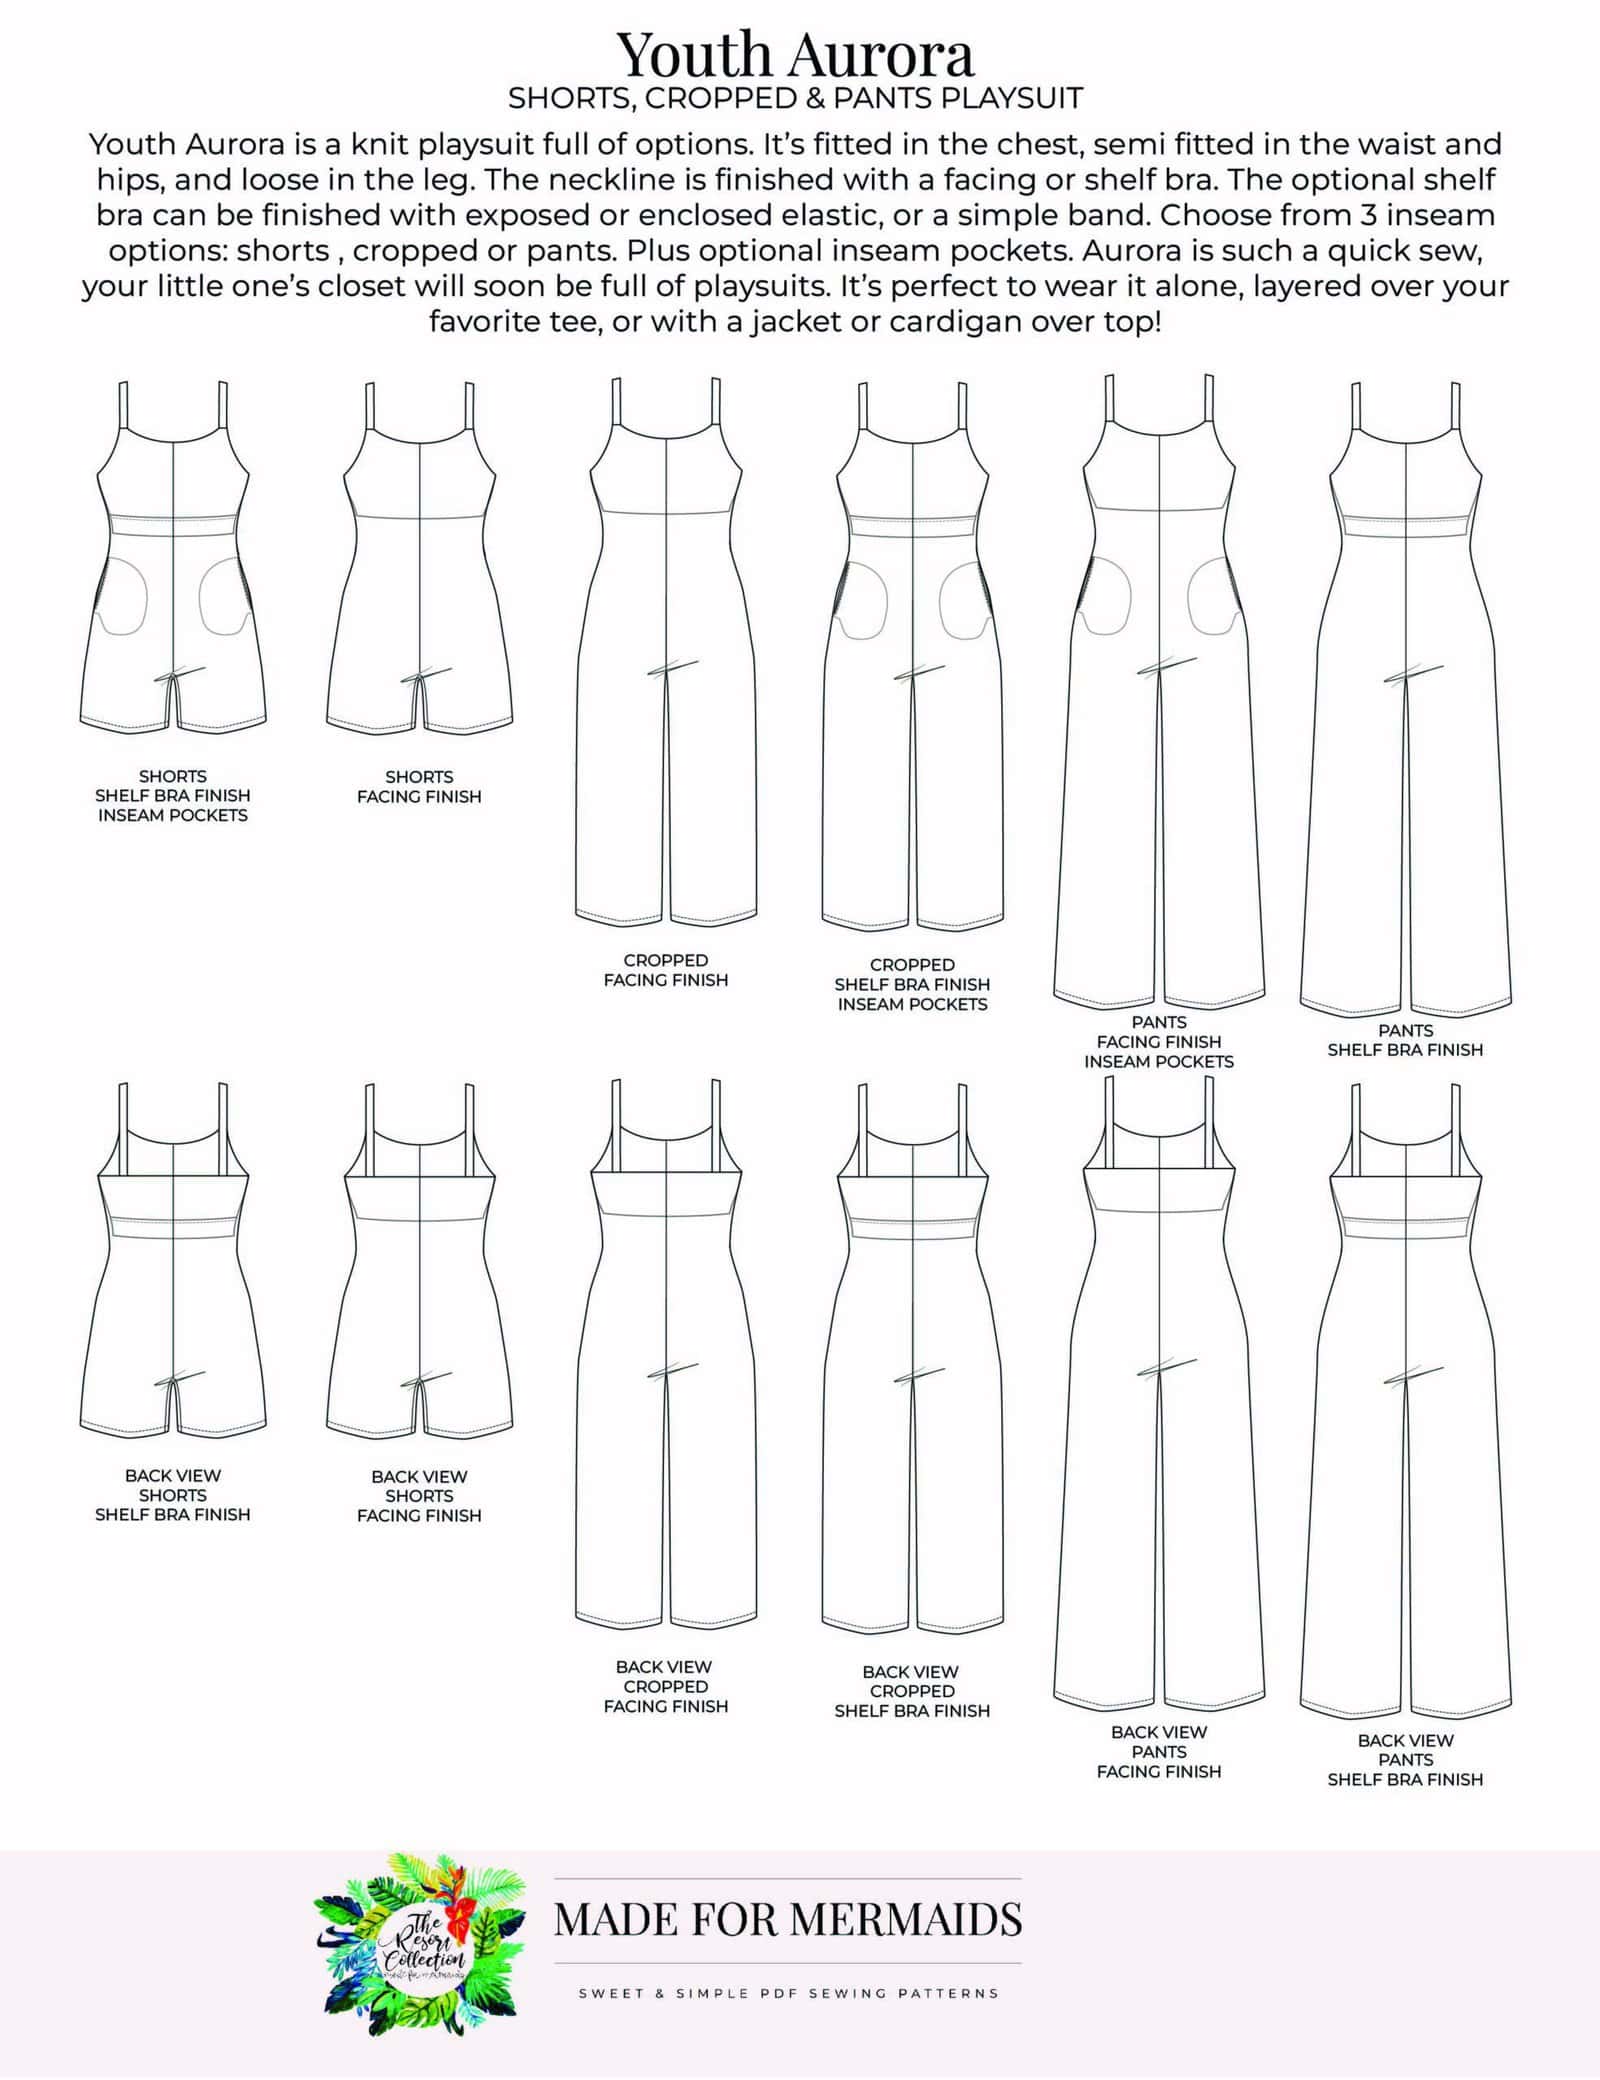
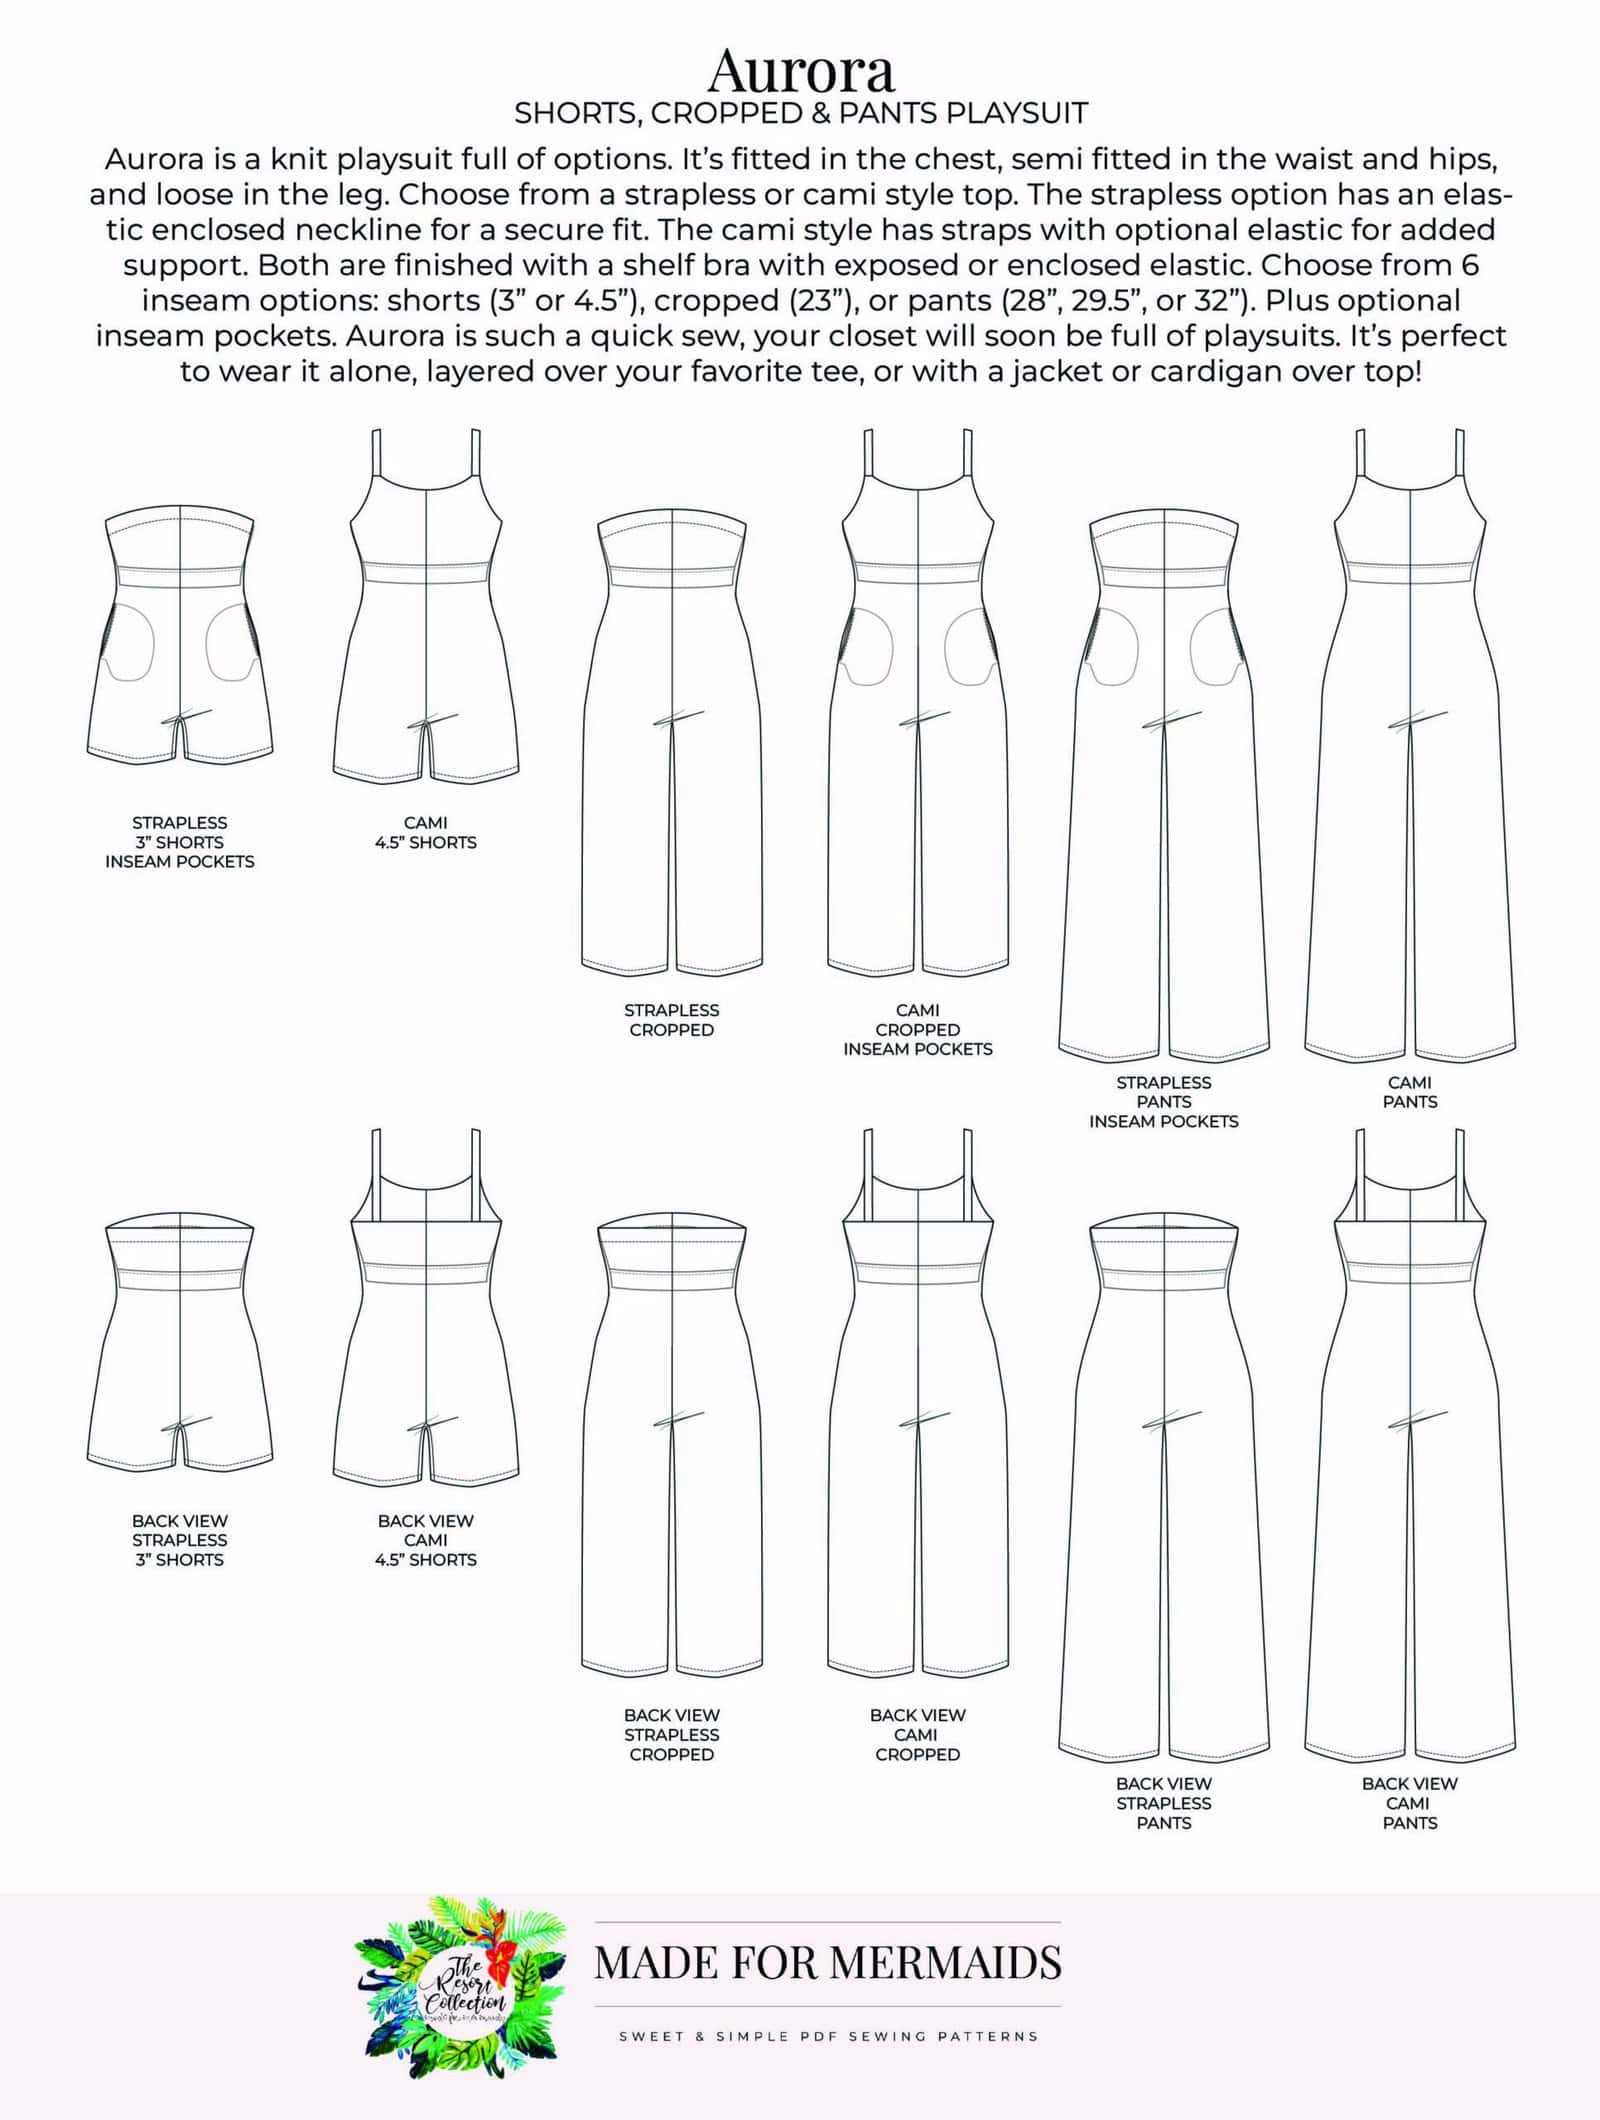
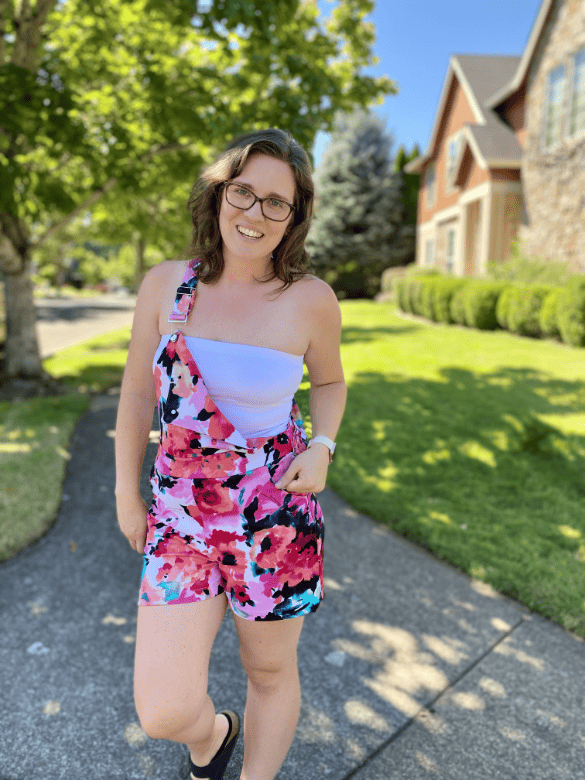
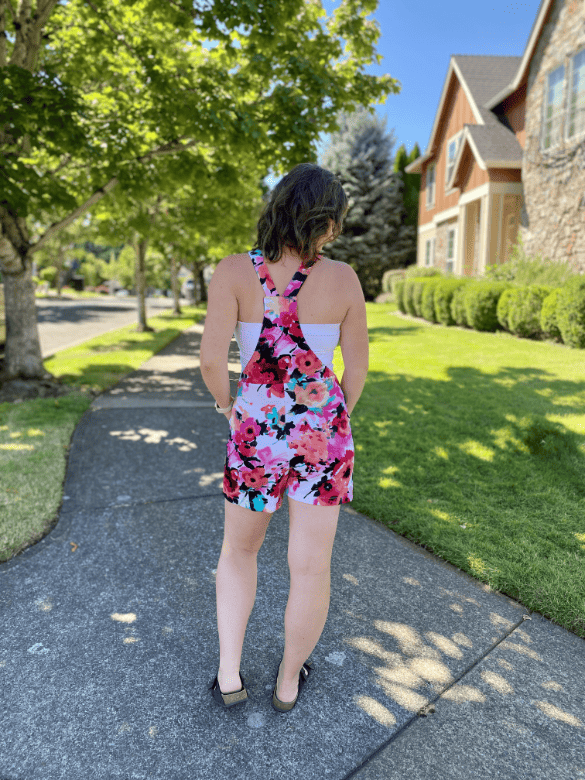
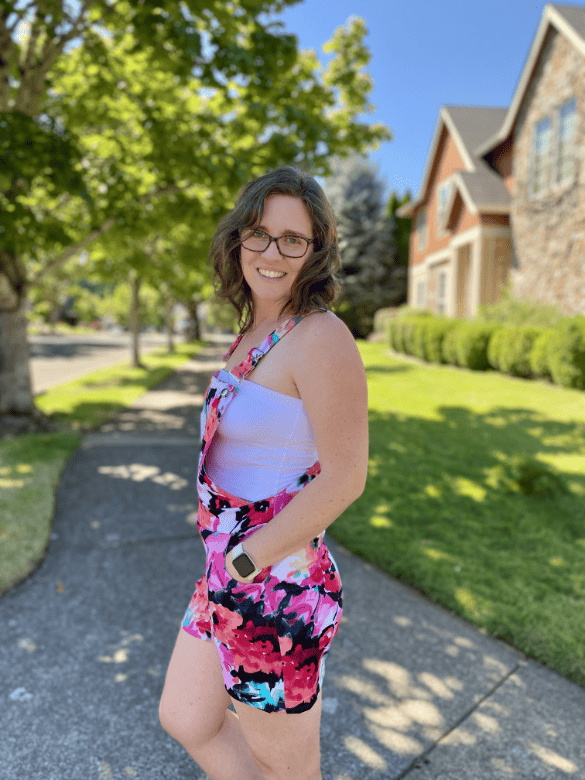
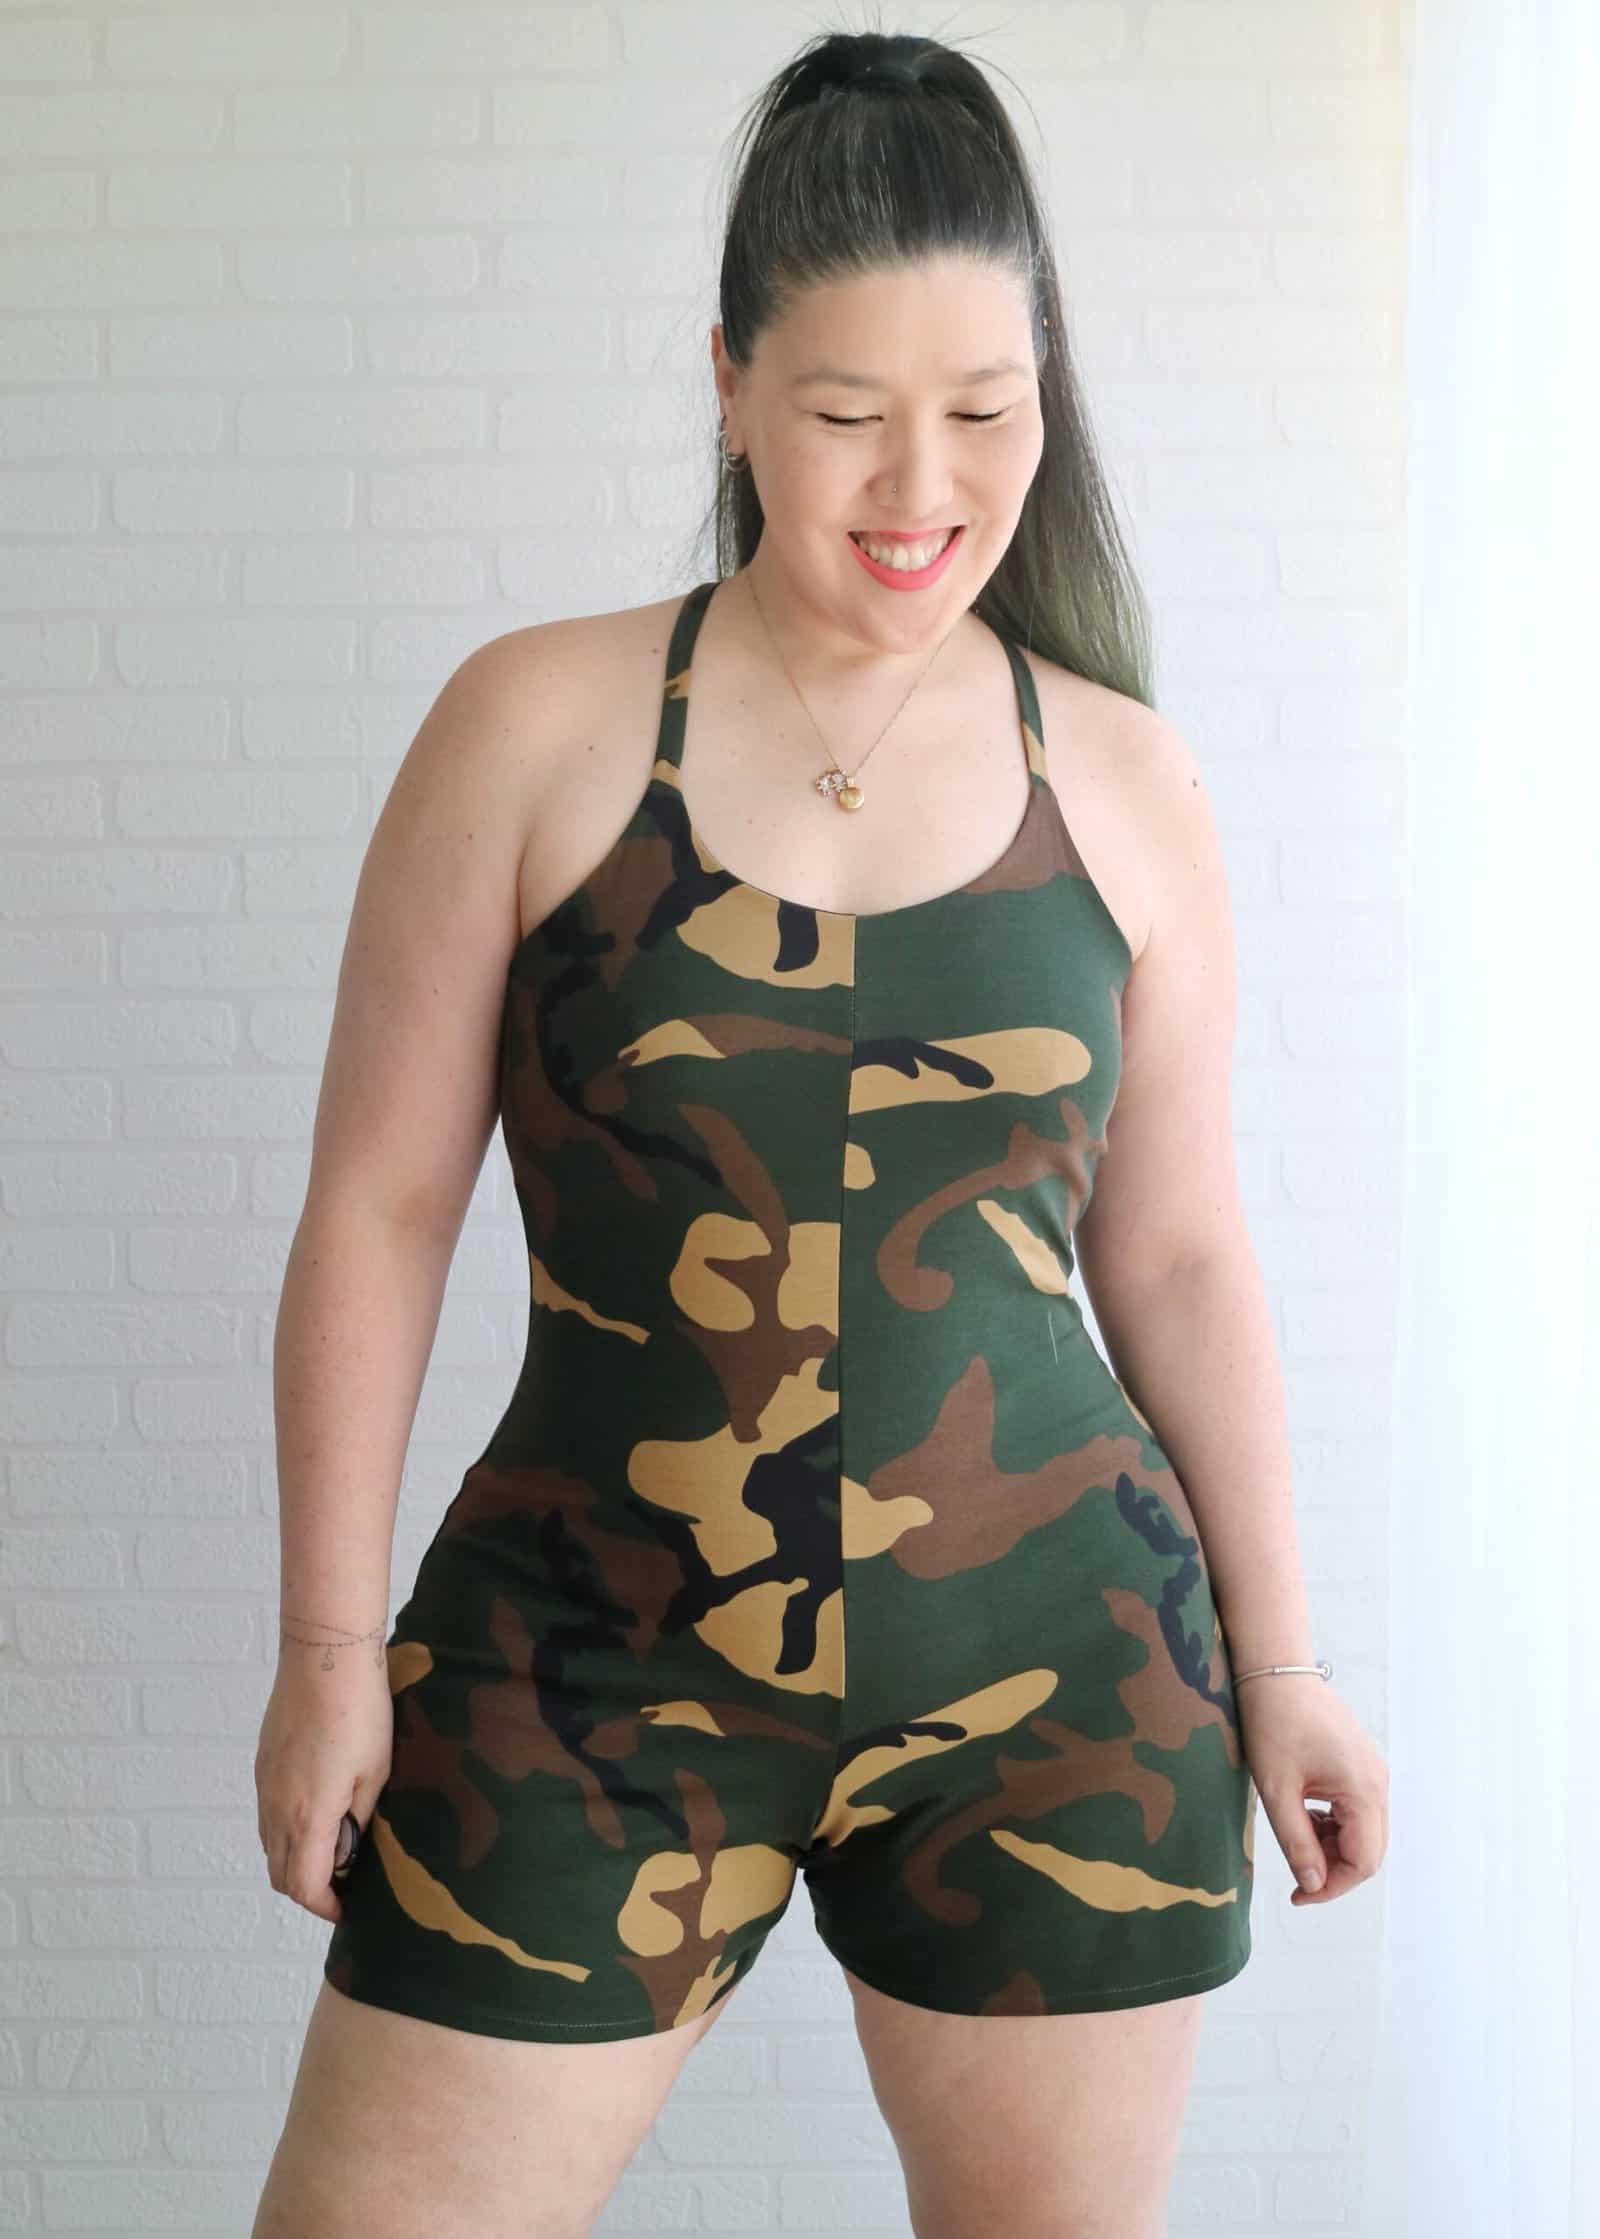
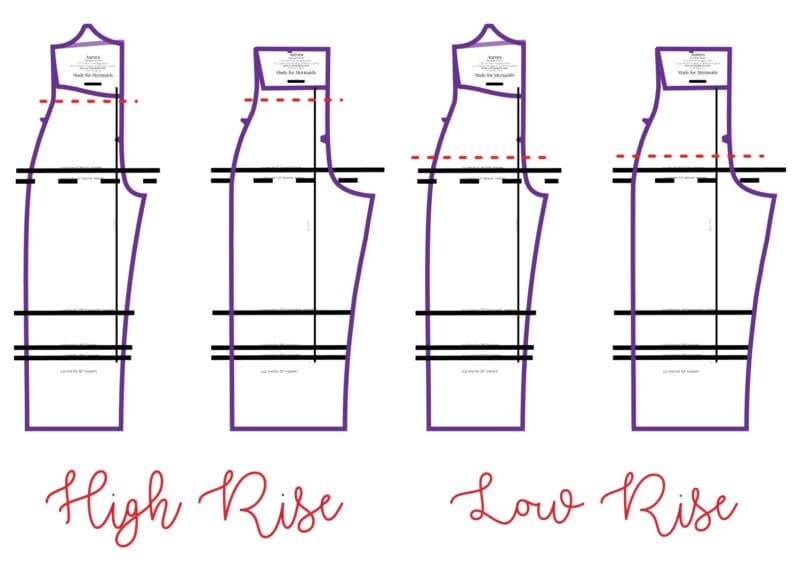
Aurora is here and she is just as cute as her namesake. Aurora is a knit playsuit FULL of options (you know how we do). It’s fitted through the chest, semi-fitted through the waist and hips, with a trendy loose fit through the legs. Choose between a strapless or cami style top (youth is cami only). The strapless option has an elastic enclosed neckline for a secure fit. The cami style has straps with optional elastic for added support. Both options include a shelf bra finish, with either exposed or enclosed elastic. Youth also has a facing finish option. There are six inseam options for the adult pattern to choose from: shorts (3″ or 4.5″), cropped (23″), or pants (28″, 29.5″, or 32″). The youth pattern has 3 inseam options: shorts, cropped or pants. Did we mention it has POCKETS? Oh, it does. It has pockets. Aurora is such. quick sew, your closet will soon be full of playsuits. It’s perfect to wear alone, layered with your favorite tee, or with a jacket or cardi over top.
Getting Started
Before you purchase your patterns, there is a ton of helpful beginner information between the M4M and P4P blogs, in case you are new to knits, or new to PDF patterns in general:
- New to PDF patterns? Check out our helpful tips here
- New to sewing with knits? Brittany has some great info here
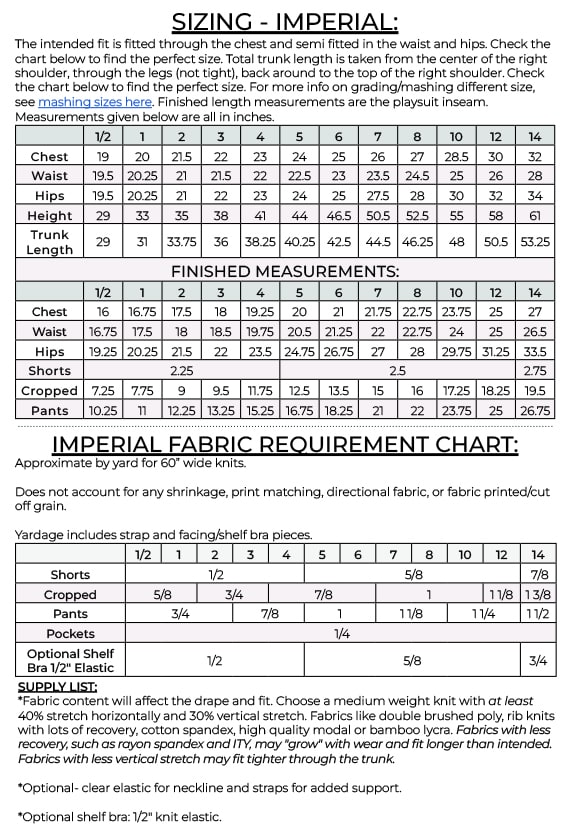
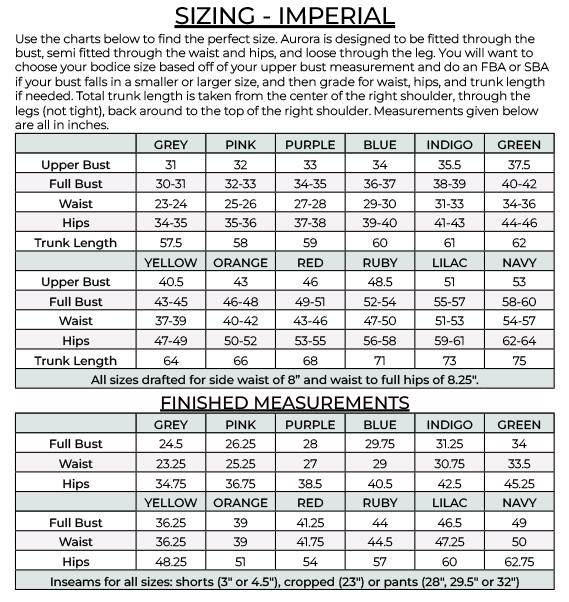
- Not quite sure how to measure yourself accurately? Don’t worry; check out the post here!
- Having issues printing? Most issues can be resolved by using our FAQs/troubleshooting tips
- Join our Facebook group here.
Choosing Your Options
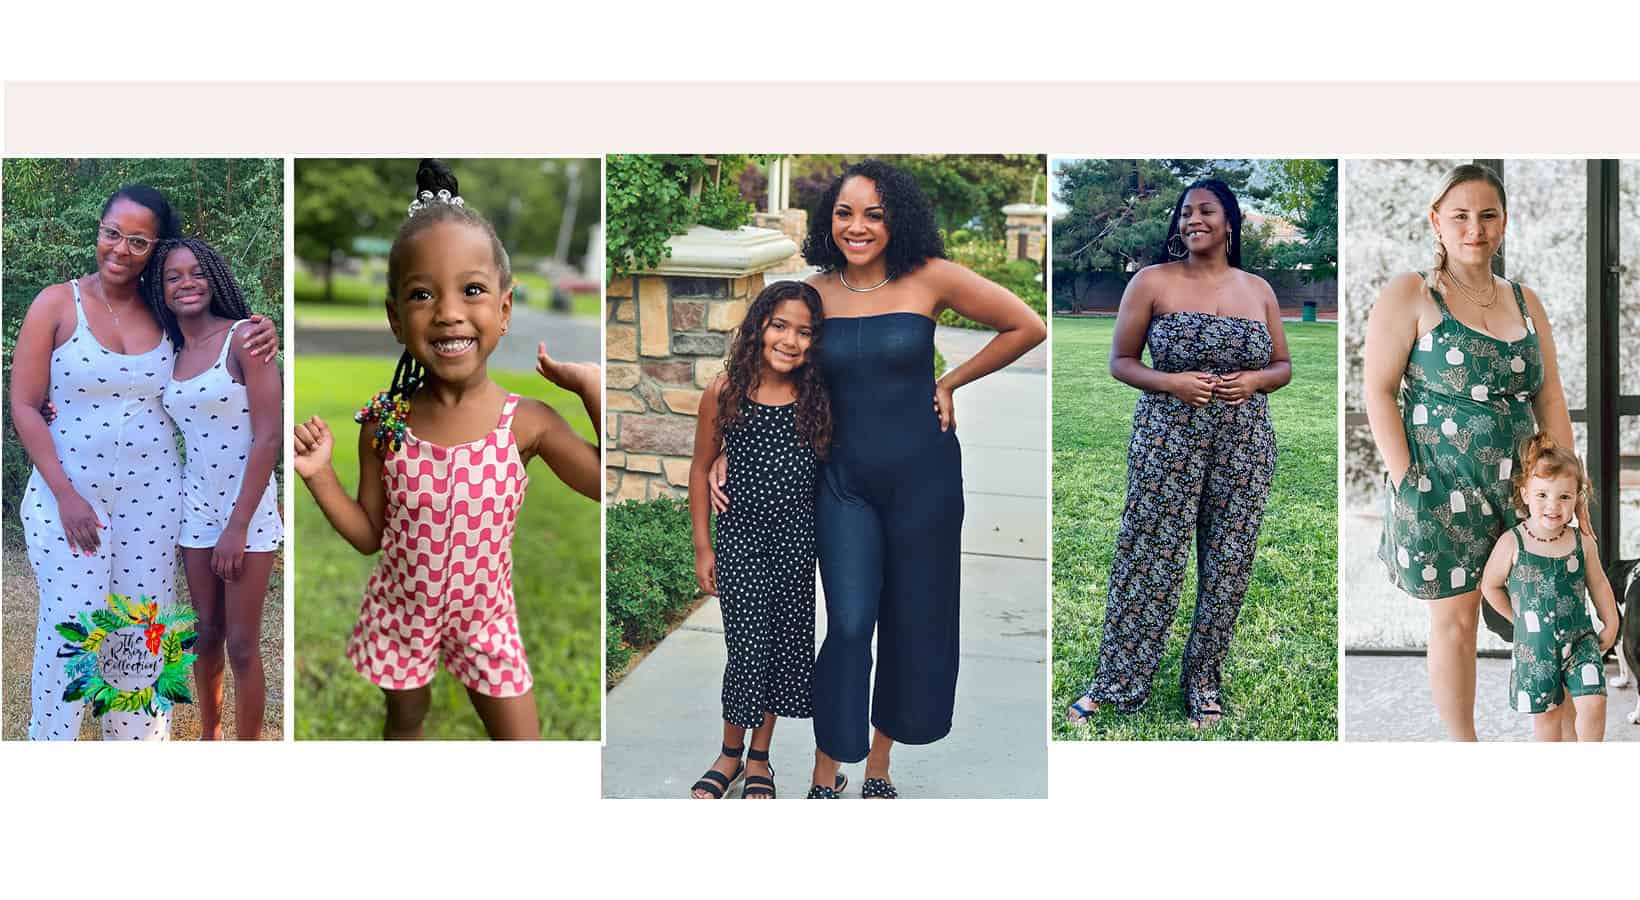
We have lots of tester photos in our FB group and on the site if you want to see a variety of photos of each option before you decide! Here is a quick snapshot of the different options:
Fabric + Notions
Aurora is drafted for medium-weight knit fabric that has at least 40% stretch horizontally and 30% vertical stretch. Some great options are double brushed poly, ribbed knit with good recovery, cotton spandex, and high quality modal or bamboo lycra. Fabric with a softer drape and more vertical stretch, like rayon spandex, will “grow” with wear and feel looser and/or longer than the intended fit.
You may also need:
- For shelf bra: 1″ knit elastic for exposed or enclosed elastic band
- Optional: clear elastic for neckline and straps for added support
Aurora Hacks
We have four simple hacks for you, so keep those Aurora makes coming! We can’t wait to see what you sew up!
Top Hack
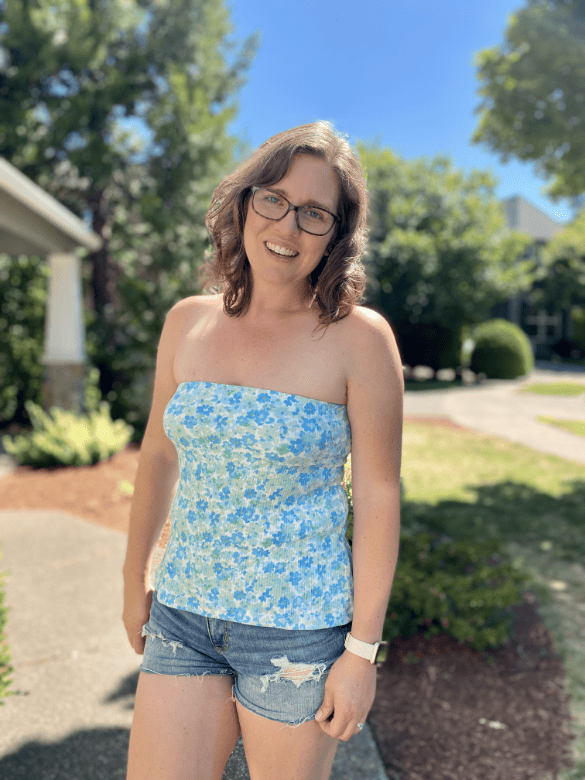
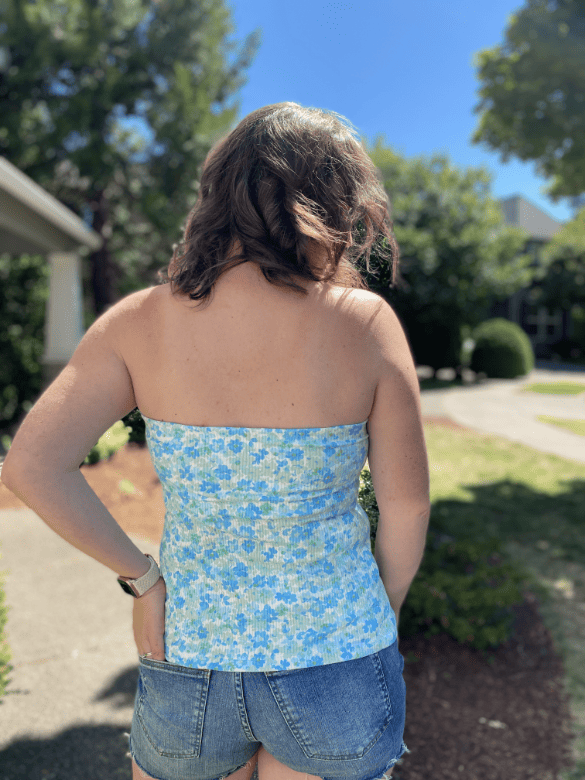
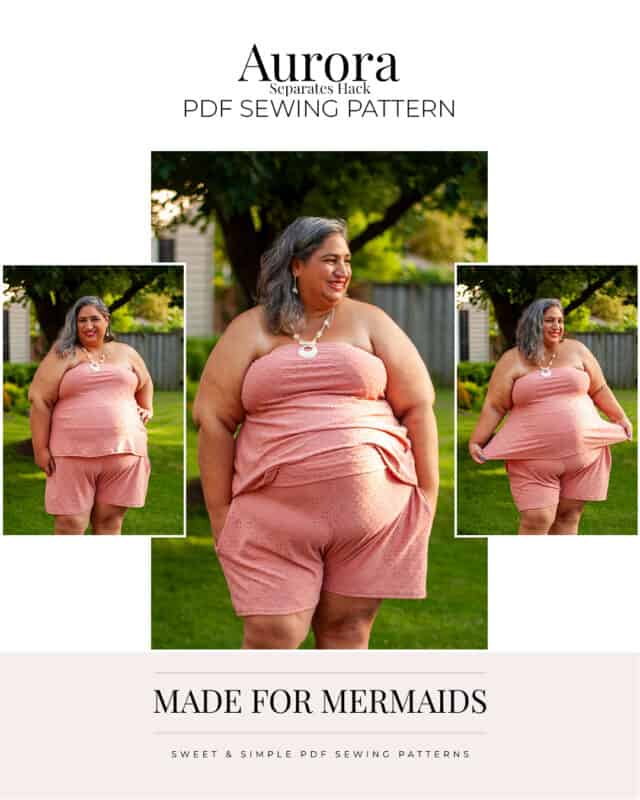
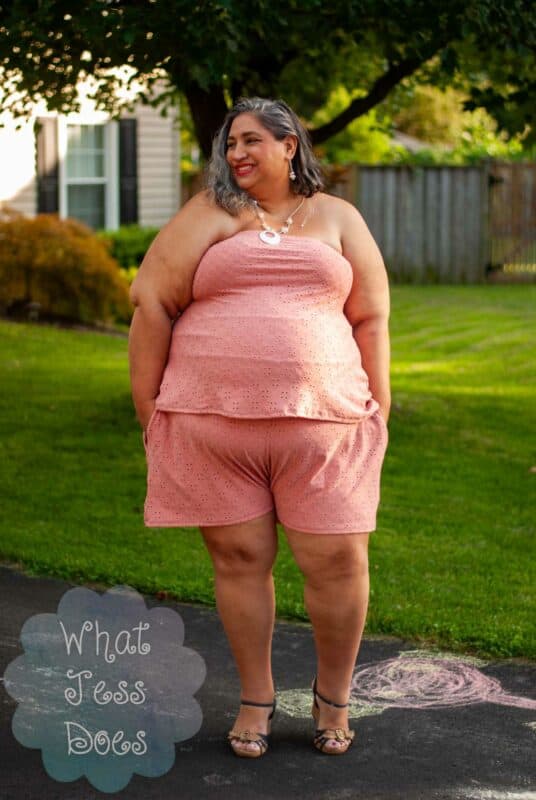
Aurora can be so much more than a jumpsuit. I decided to make it into a strapless tube top! Along with that, I’ve removed the front and back seams. Don’t worry, you can do this really easily too.
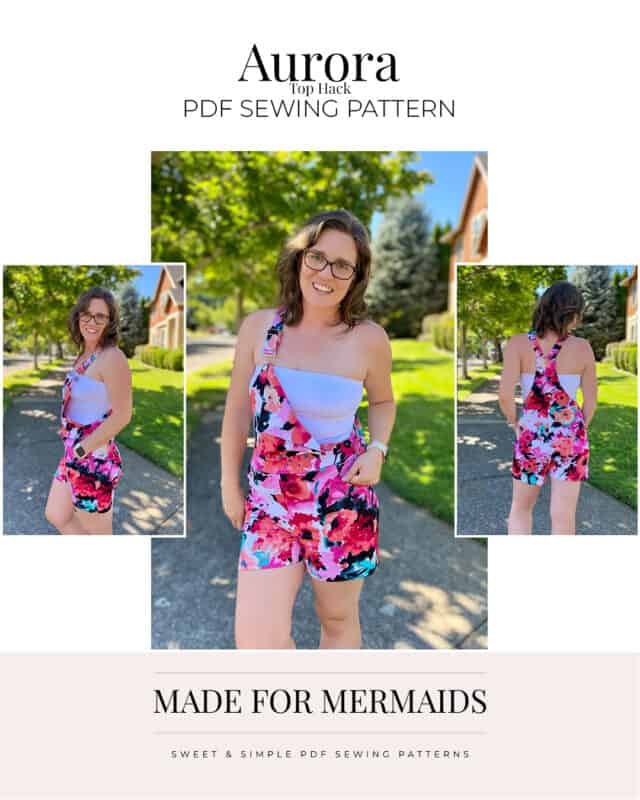
First, decide how long you want your top. Made for Mermaids patterns are drafted for an 8″ side waist which is my measurement also. If you usually add or remove length from your tops, you may need to adjust the lengths. The lengths I used are just a recommendation, but you can do any length you’d like. This same hack can be made with the tank or strapless version. I’ve made both a cropped length and high hip length in the strapless version.
Length Recommendations:
- Crop: 10″
- High Hip: 16″
- Top: 18″
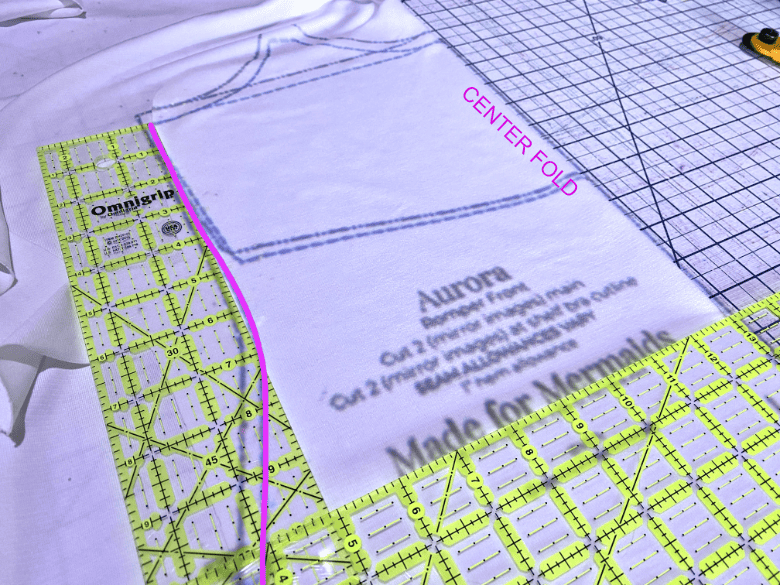
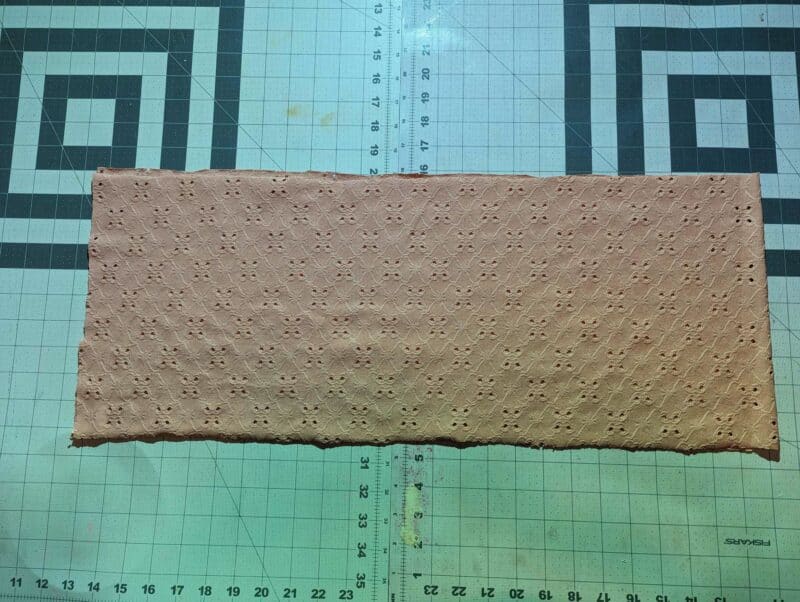
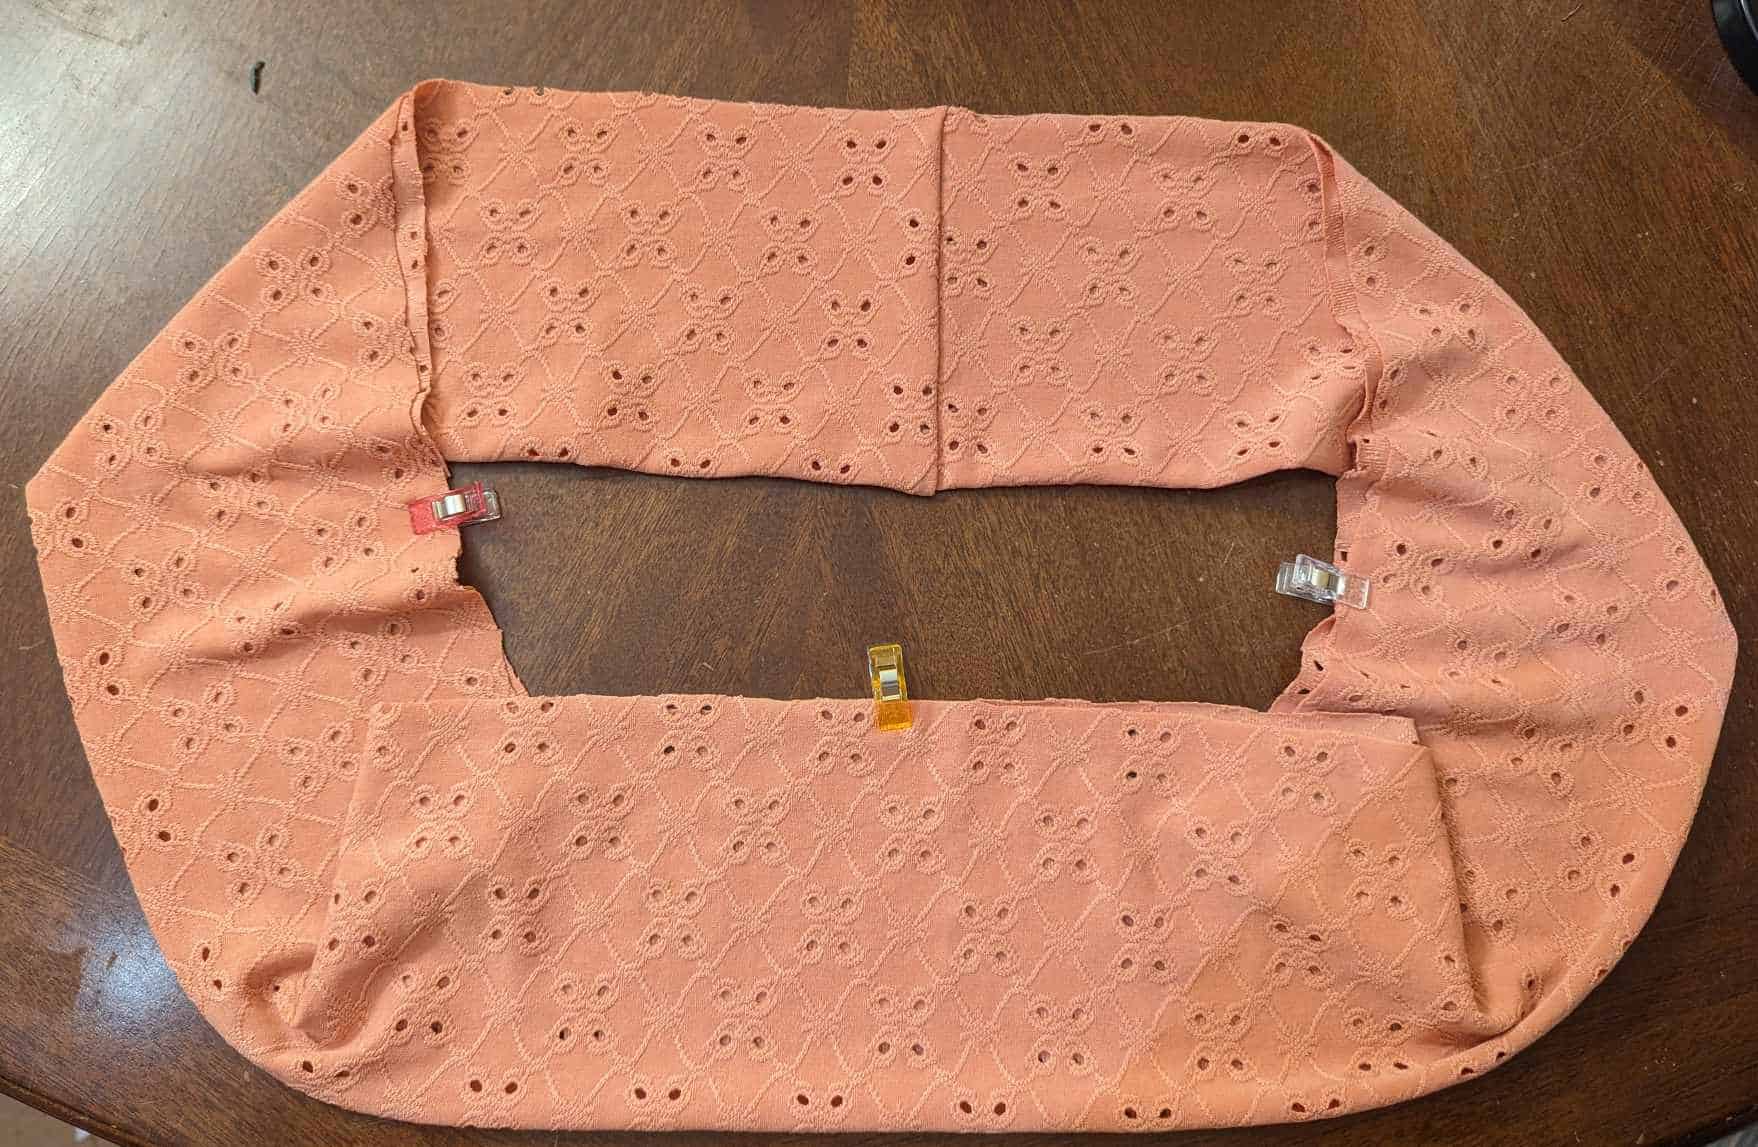
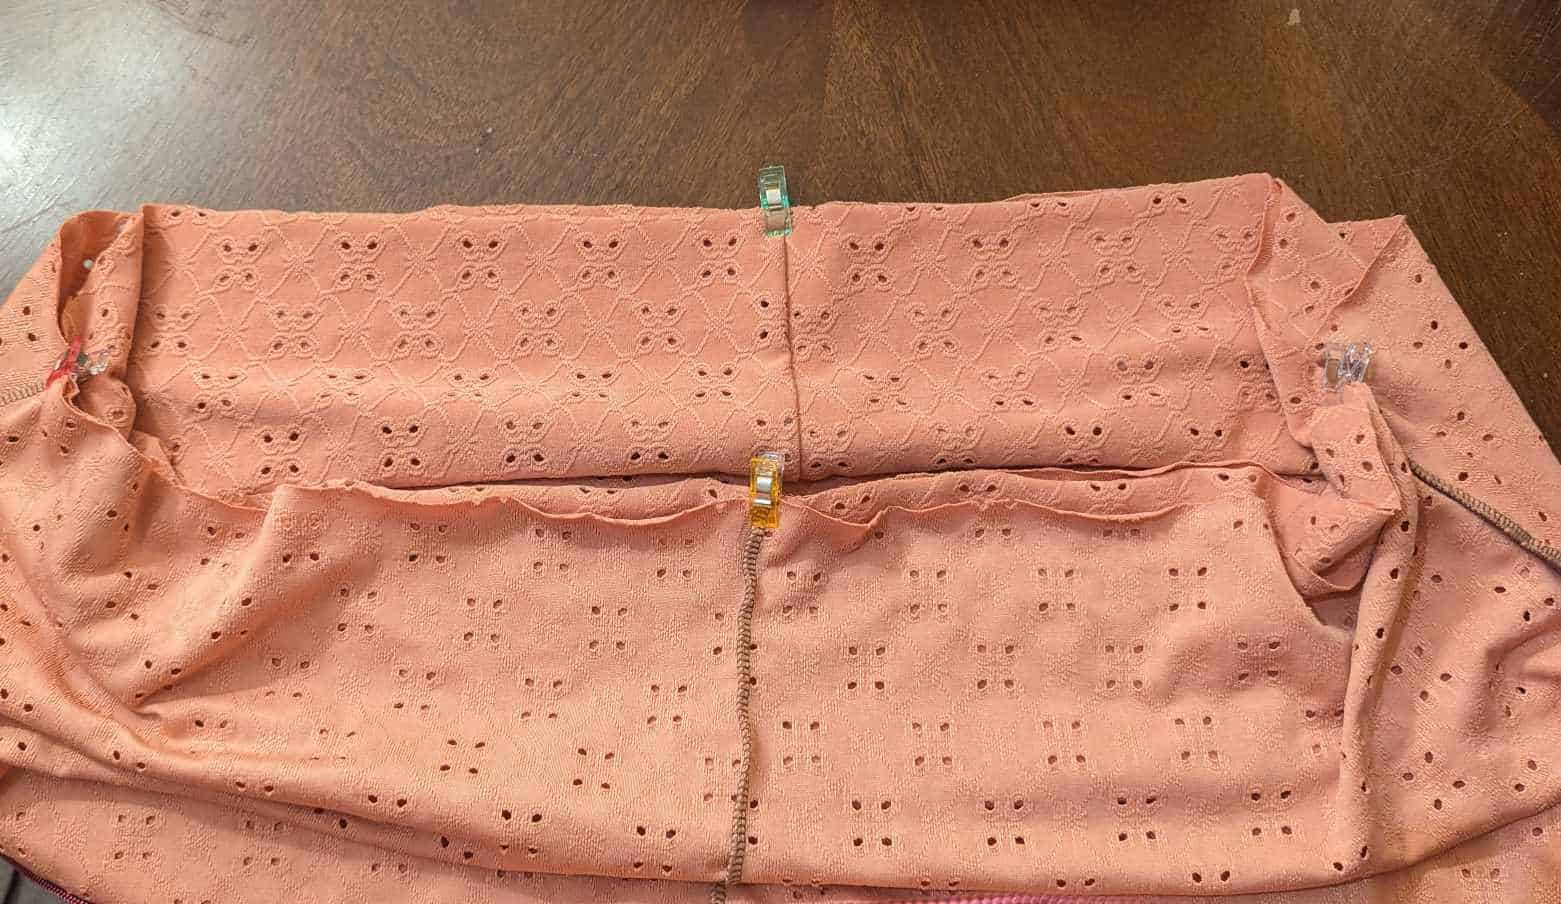
To make your top without a center seam, fold your fabric and place the fold 1/2″ from the center for front or back. The 1/2″ difference will remove the seam allowance for the center front seam.
Measure straight down from the armsyce your desired length. I use one ruler straight down from the armsyce and another perpendicular to create the new cut line. Then remove the first ruler and cut along the side seam as highlighted in pink. Tip: I placed a clip on the new front piece since the strapless front and back are very similar when cut.
STOP: Do not measure from the center.
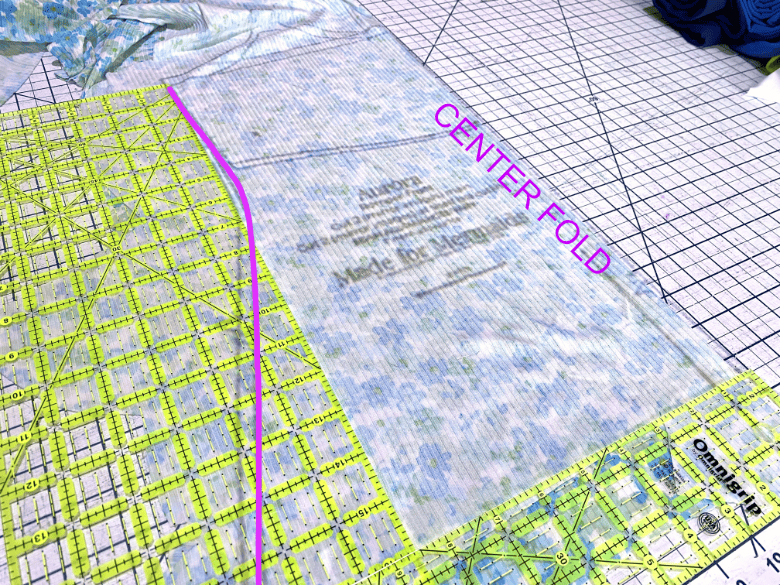
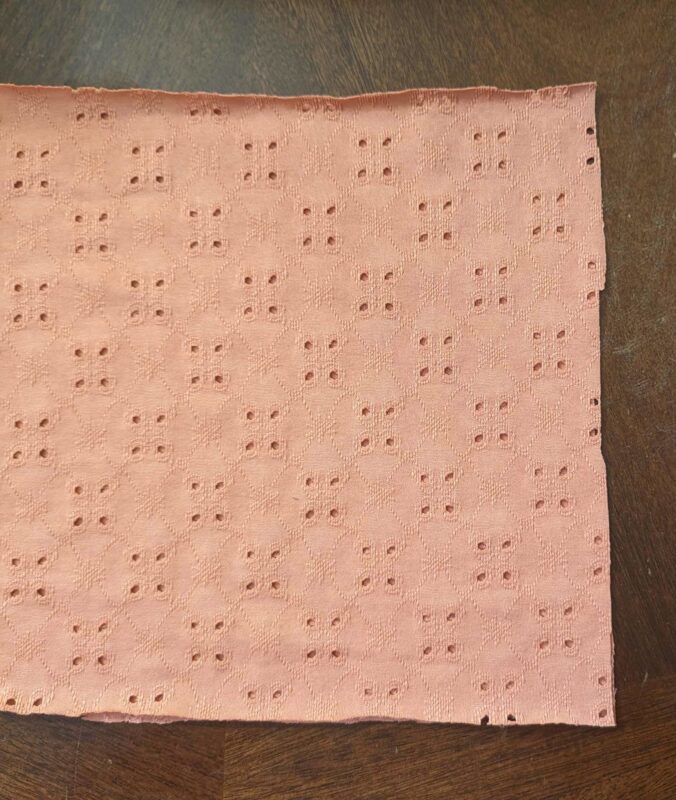
Cut the back the same way with a center back fold. Cut the front and back shelf bra, shelf bra band and strapless elastic (optional). These are the pieces for a white crop length strapless top. I used a 4-way stretch athletic knit for the crop.

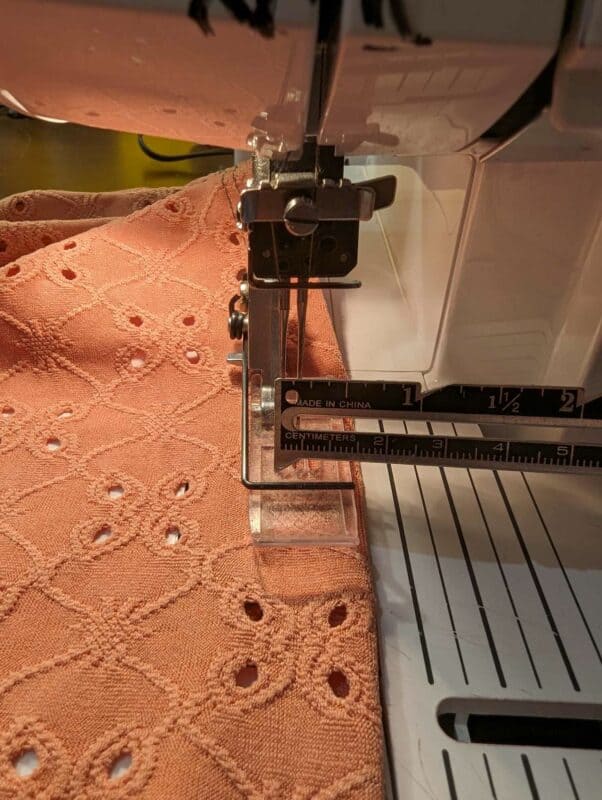
Construct following the Aurora tutorial. Use a 1/2″ seam allowance to hem.
Now you have your very own Aurora tank or strapless top! ~Katie
Here’s the crop length paired with the Zoey Overalls:
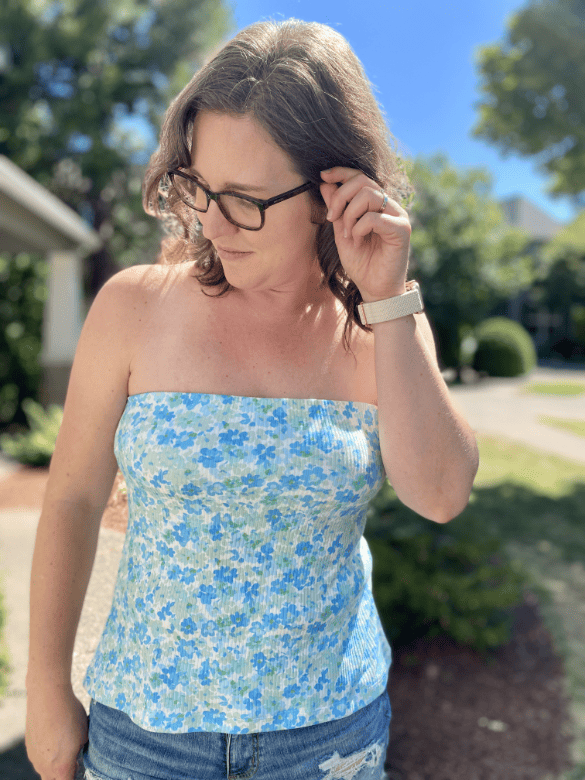
If you prefer the high hip length, it pairs well with jean shorts! This version I made in rib knit:
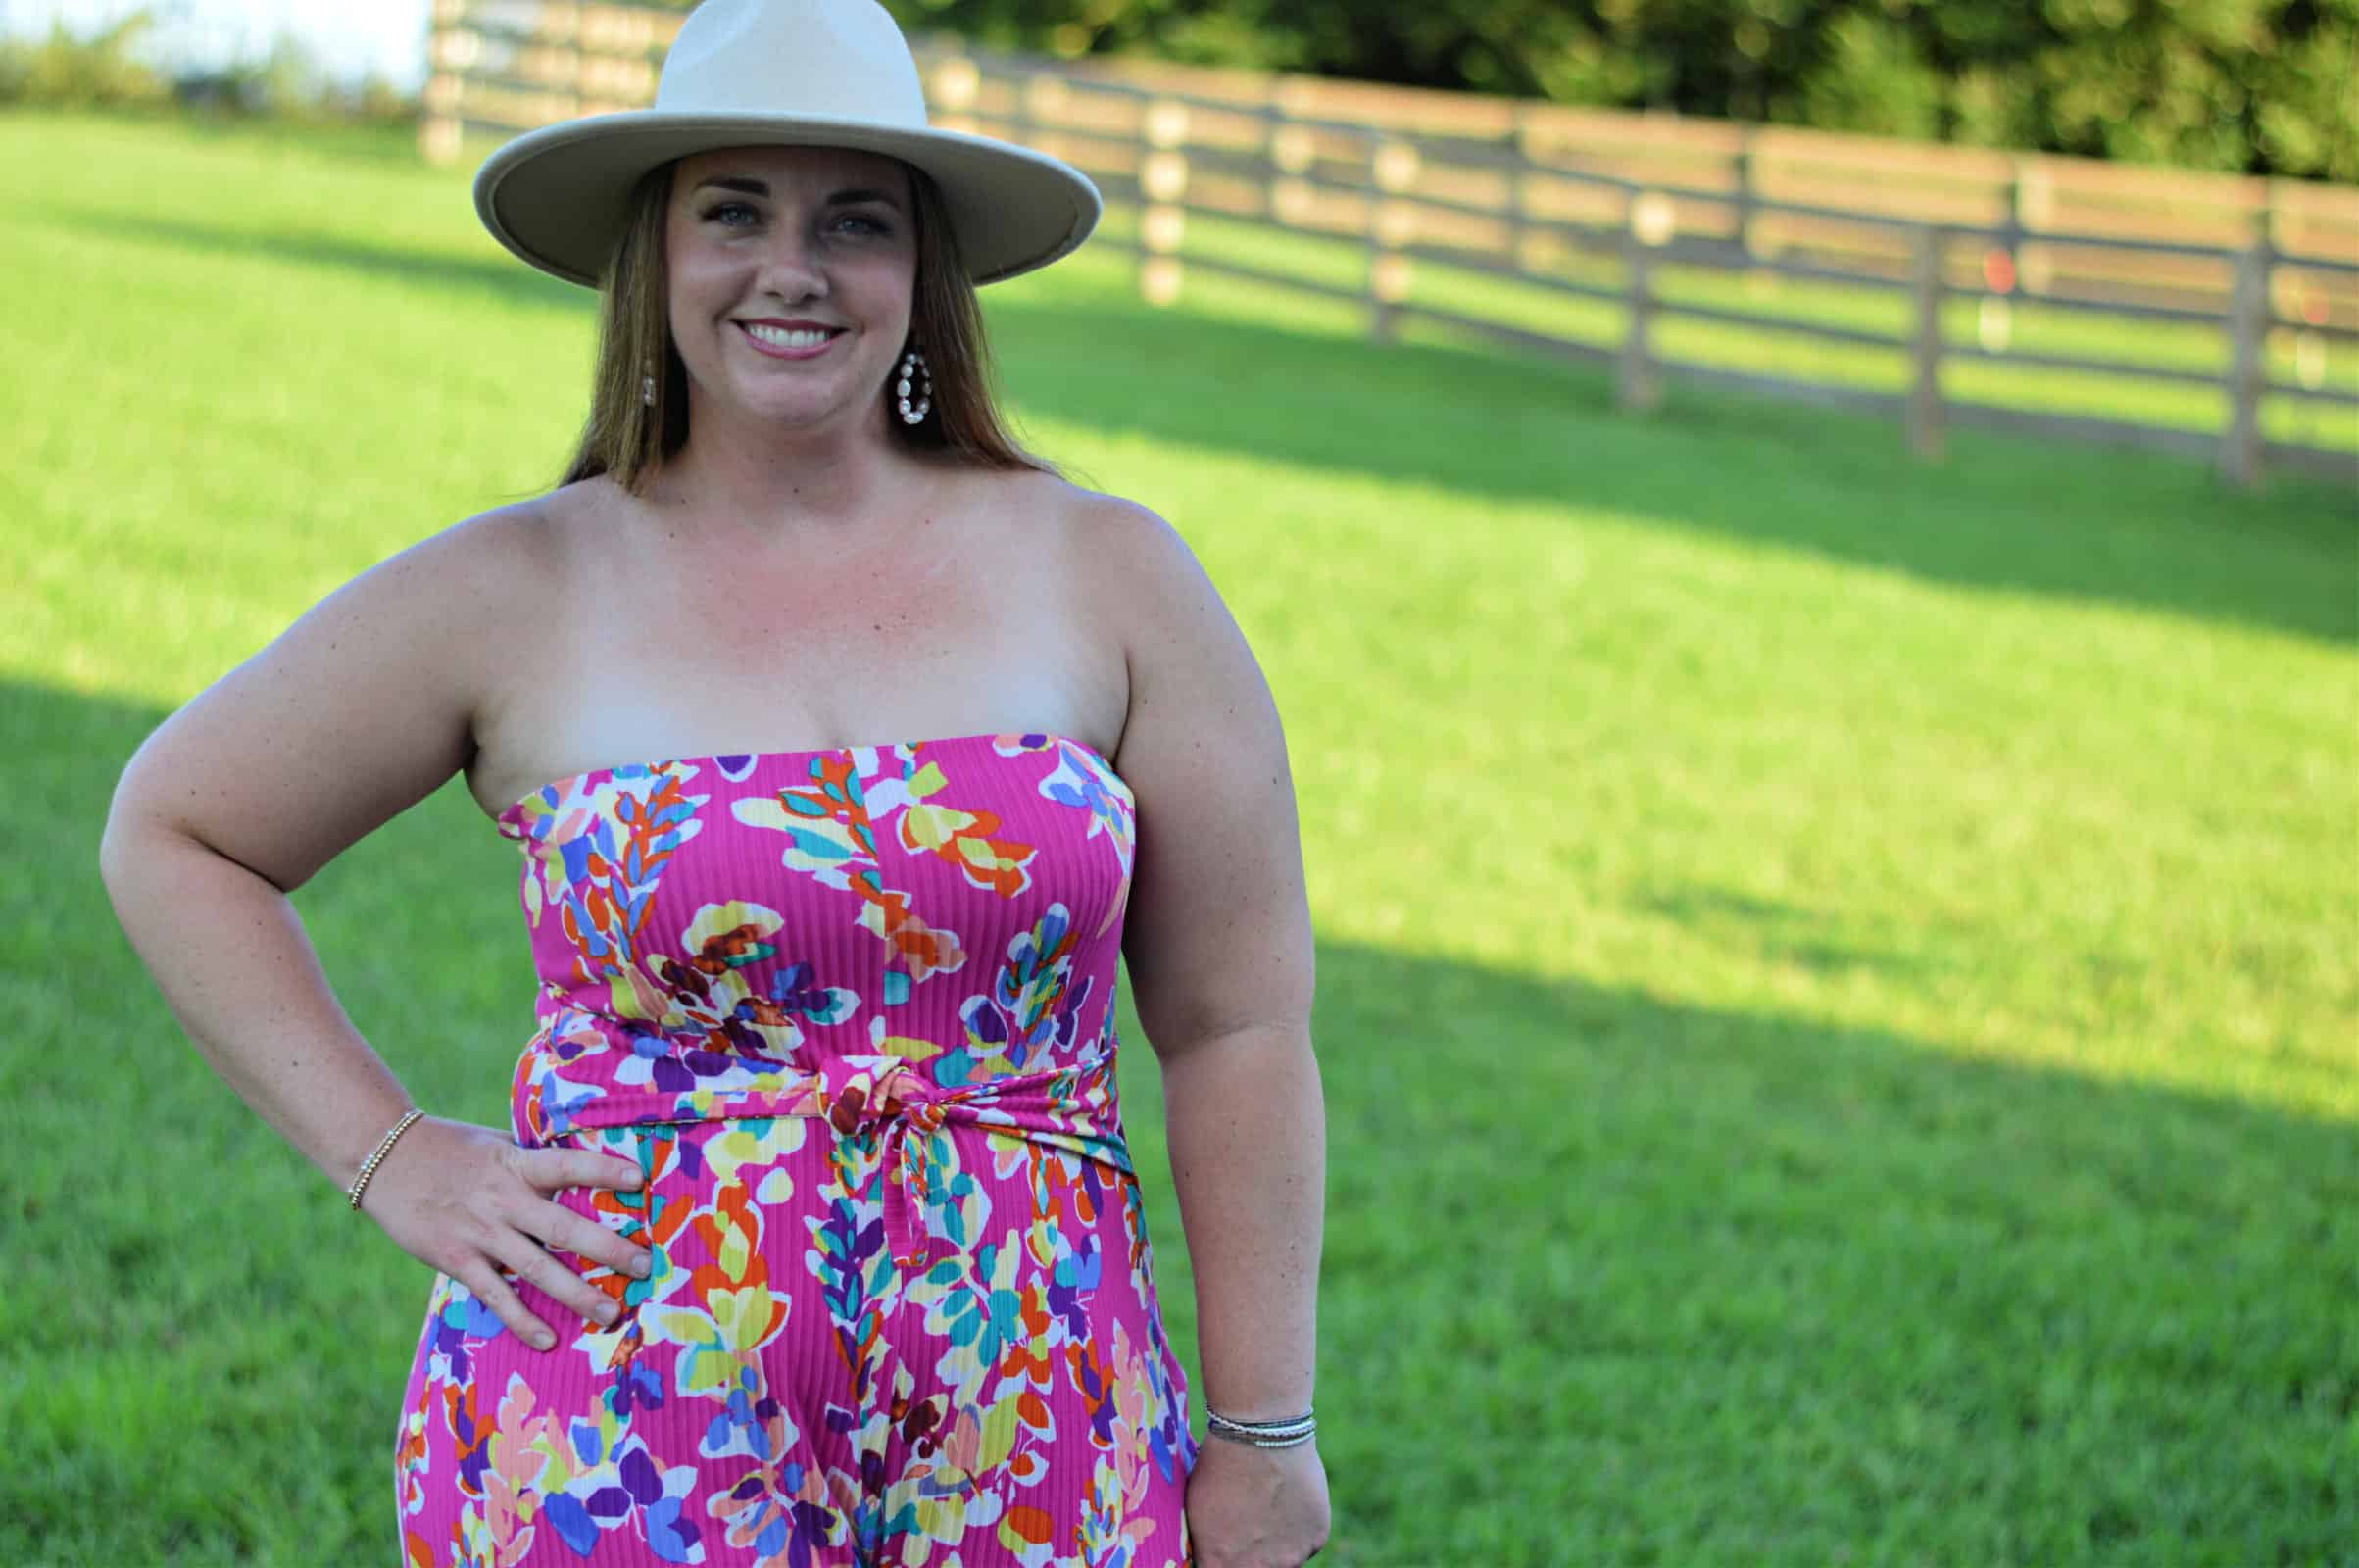
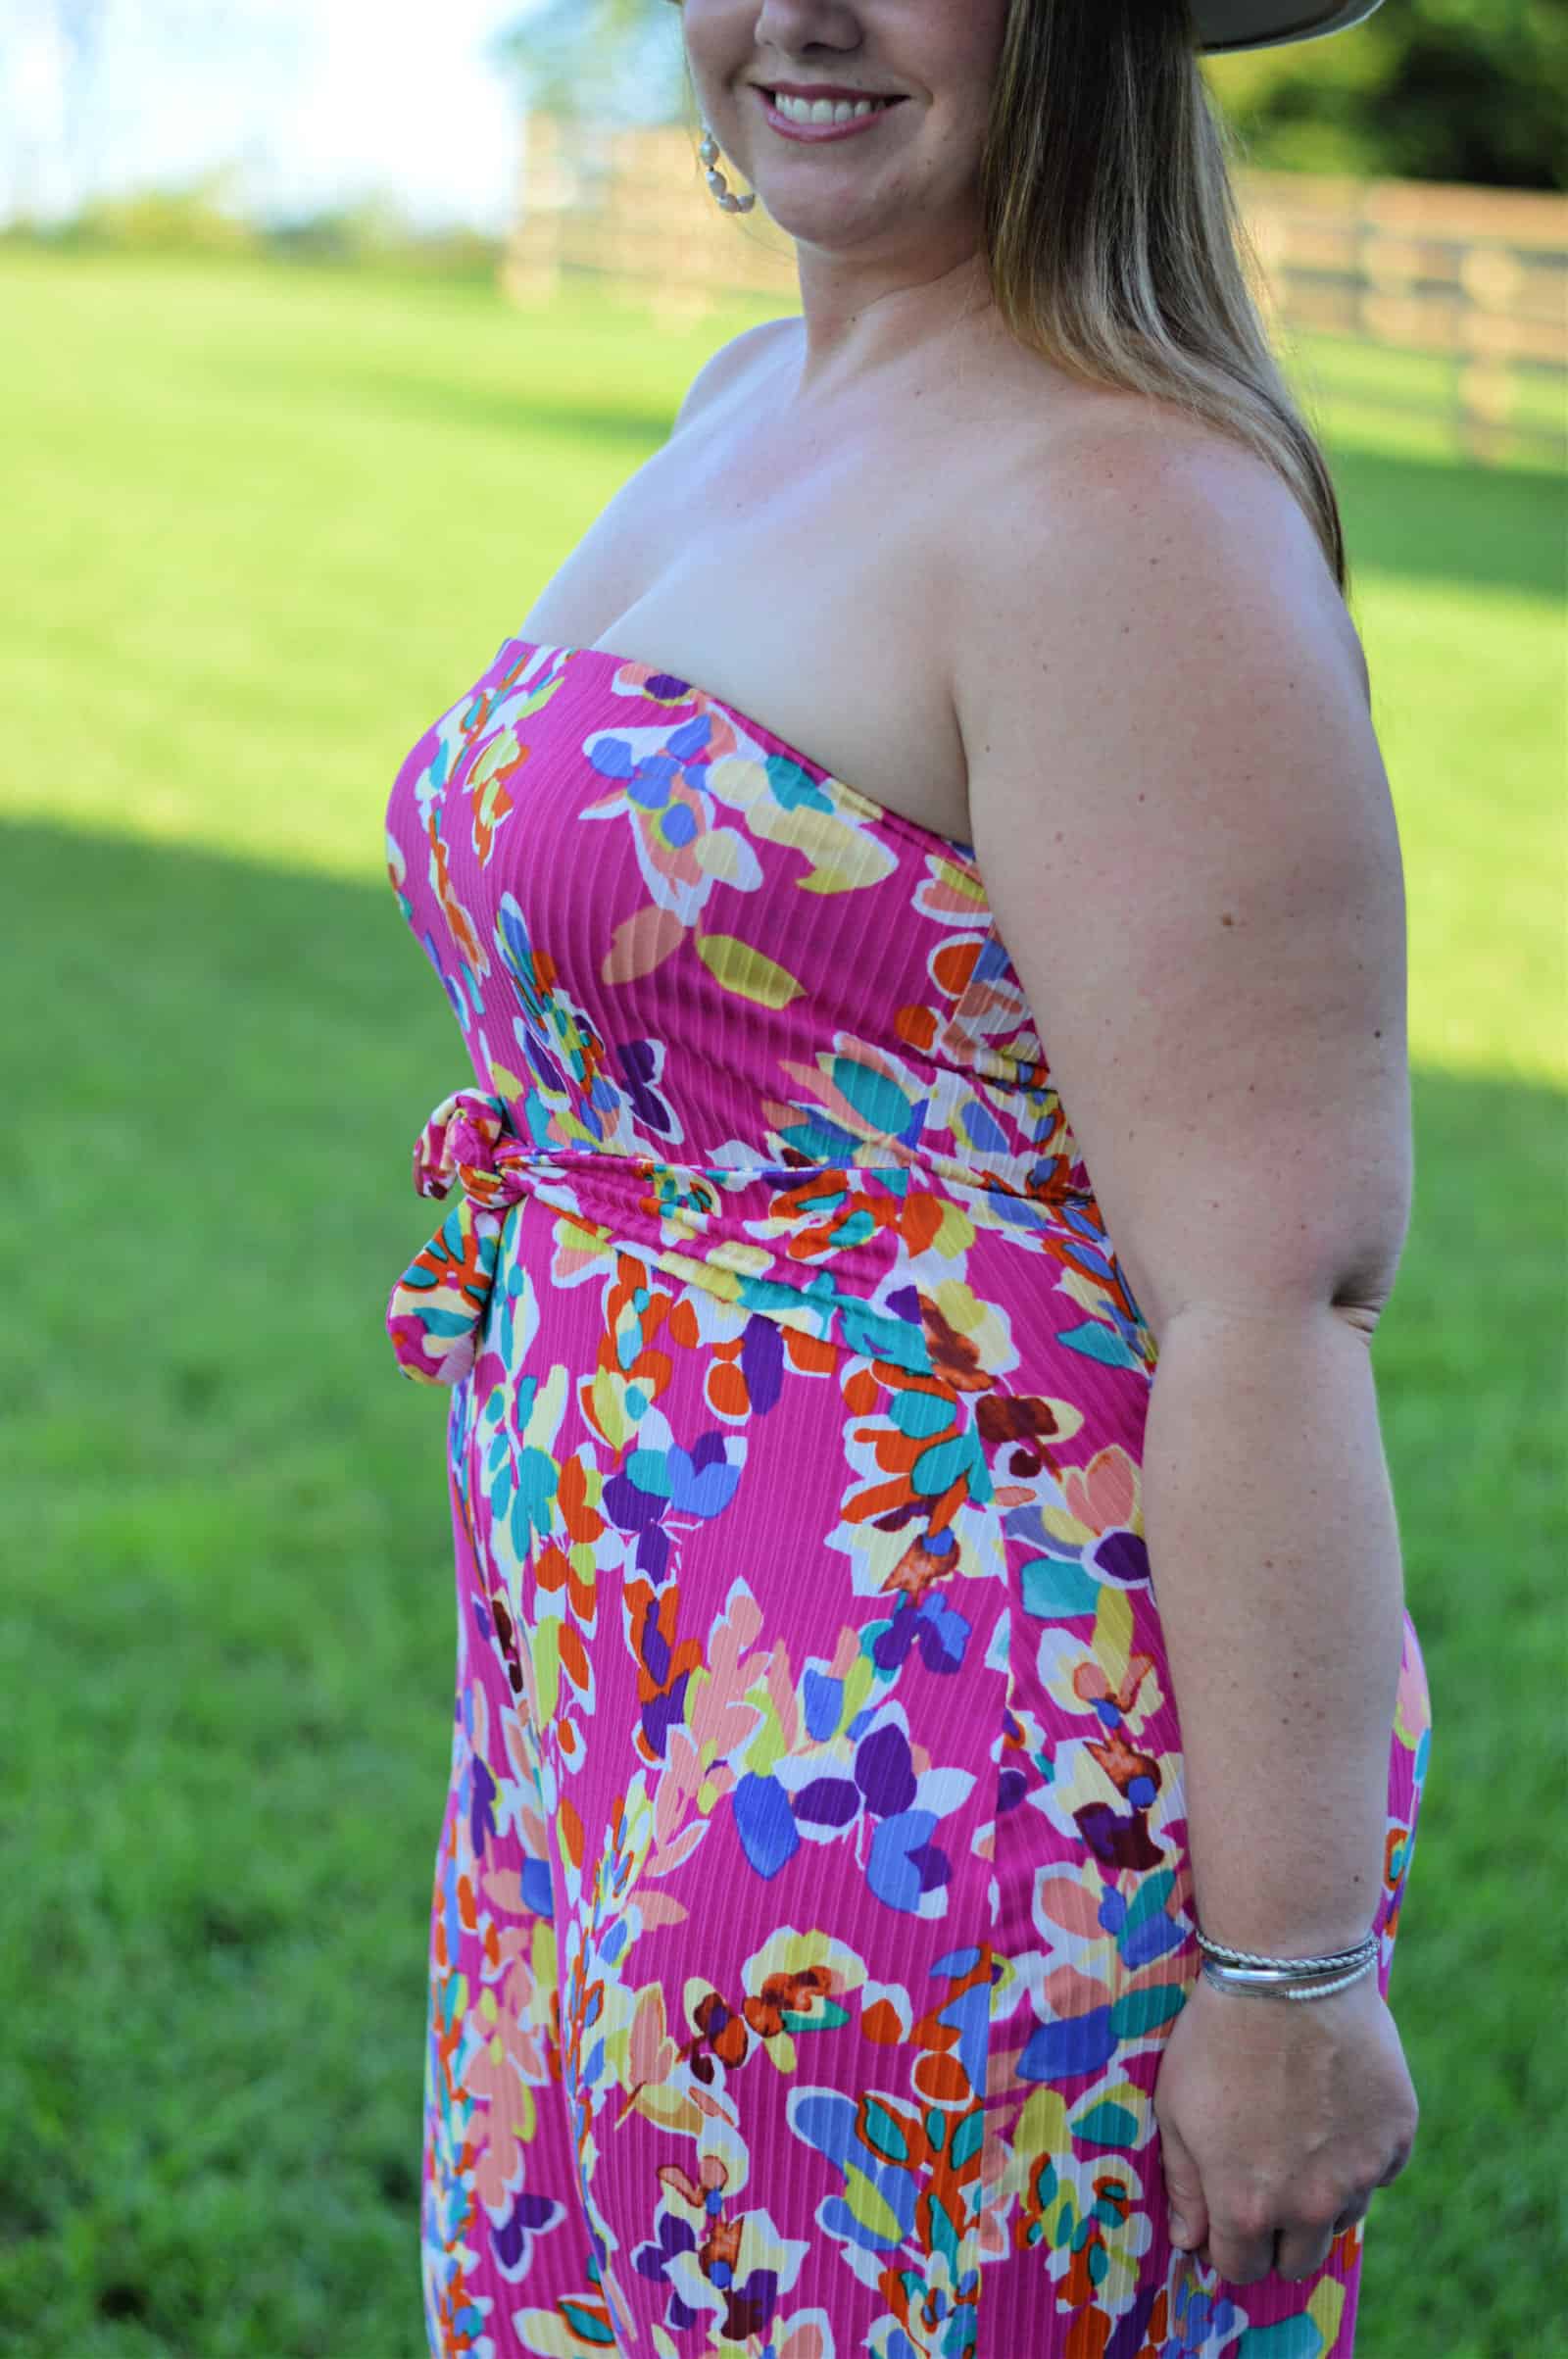
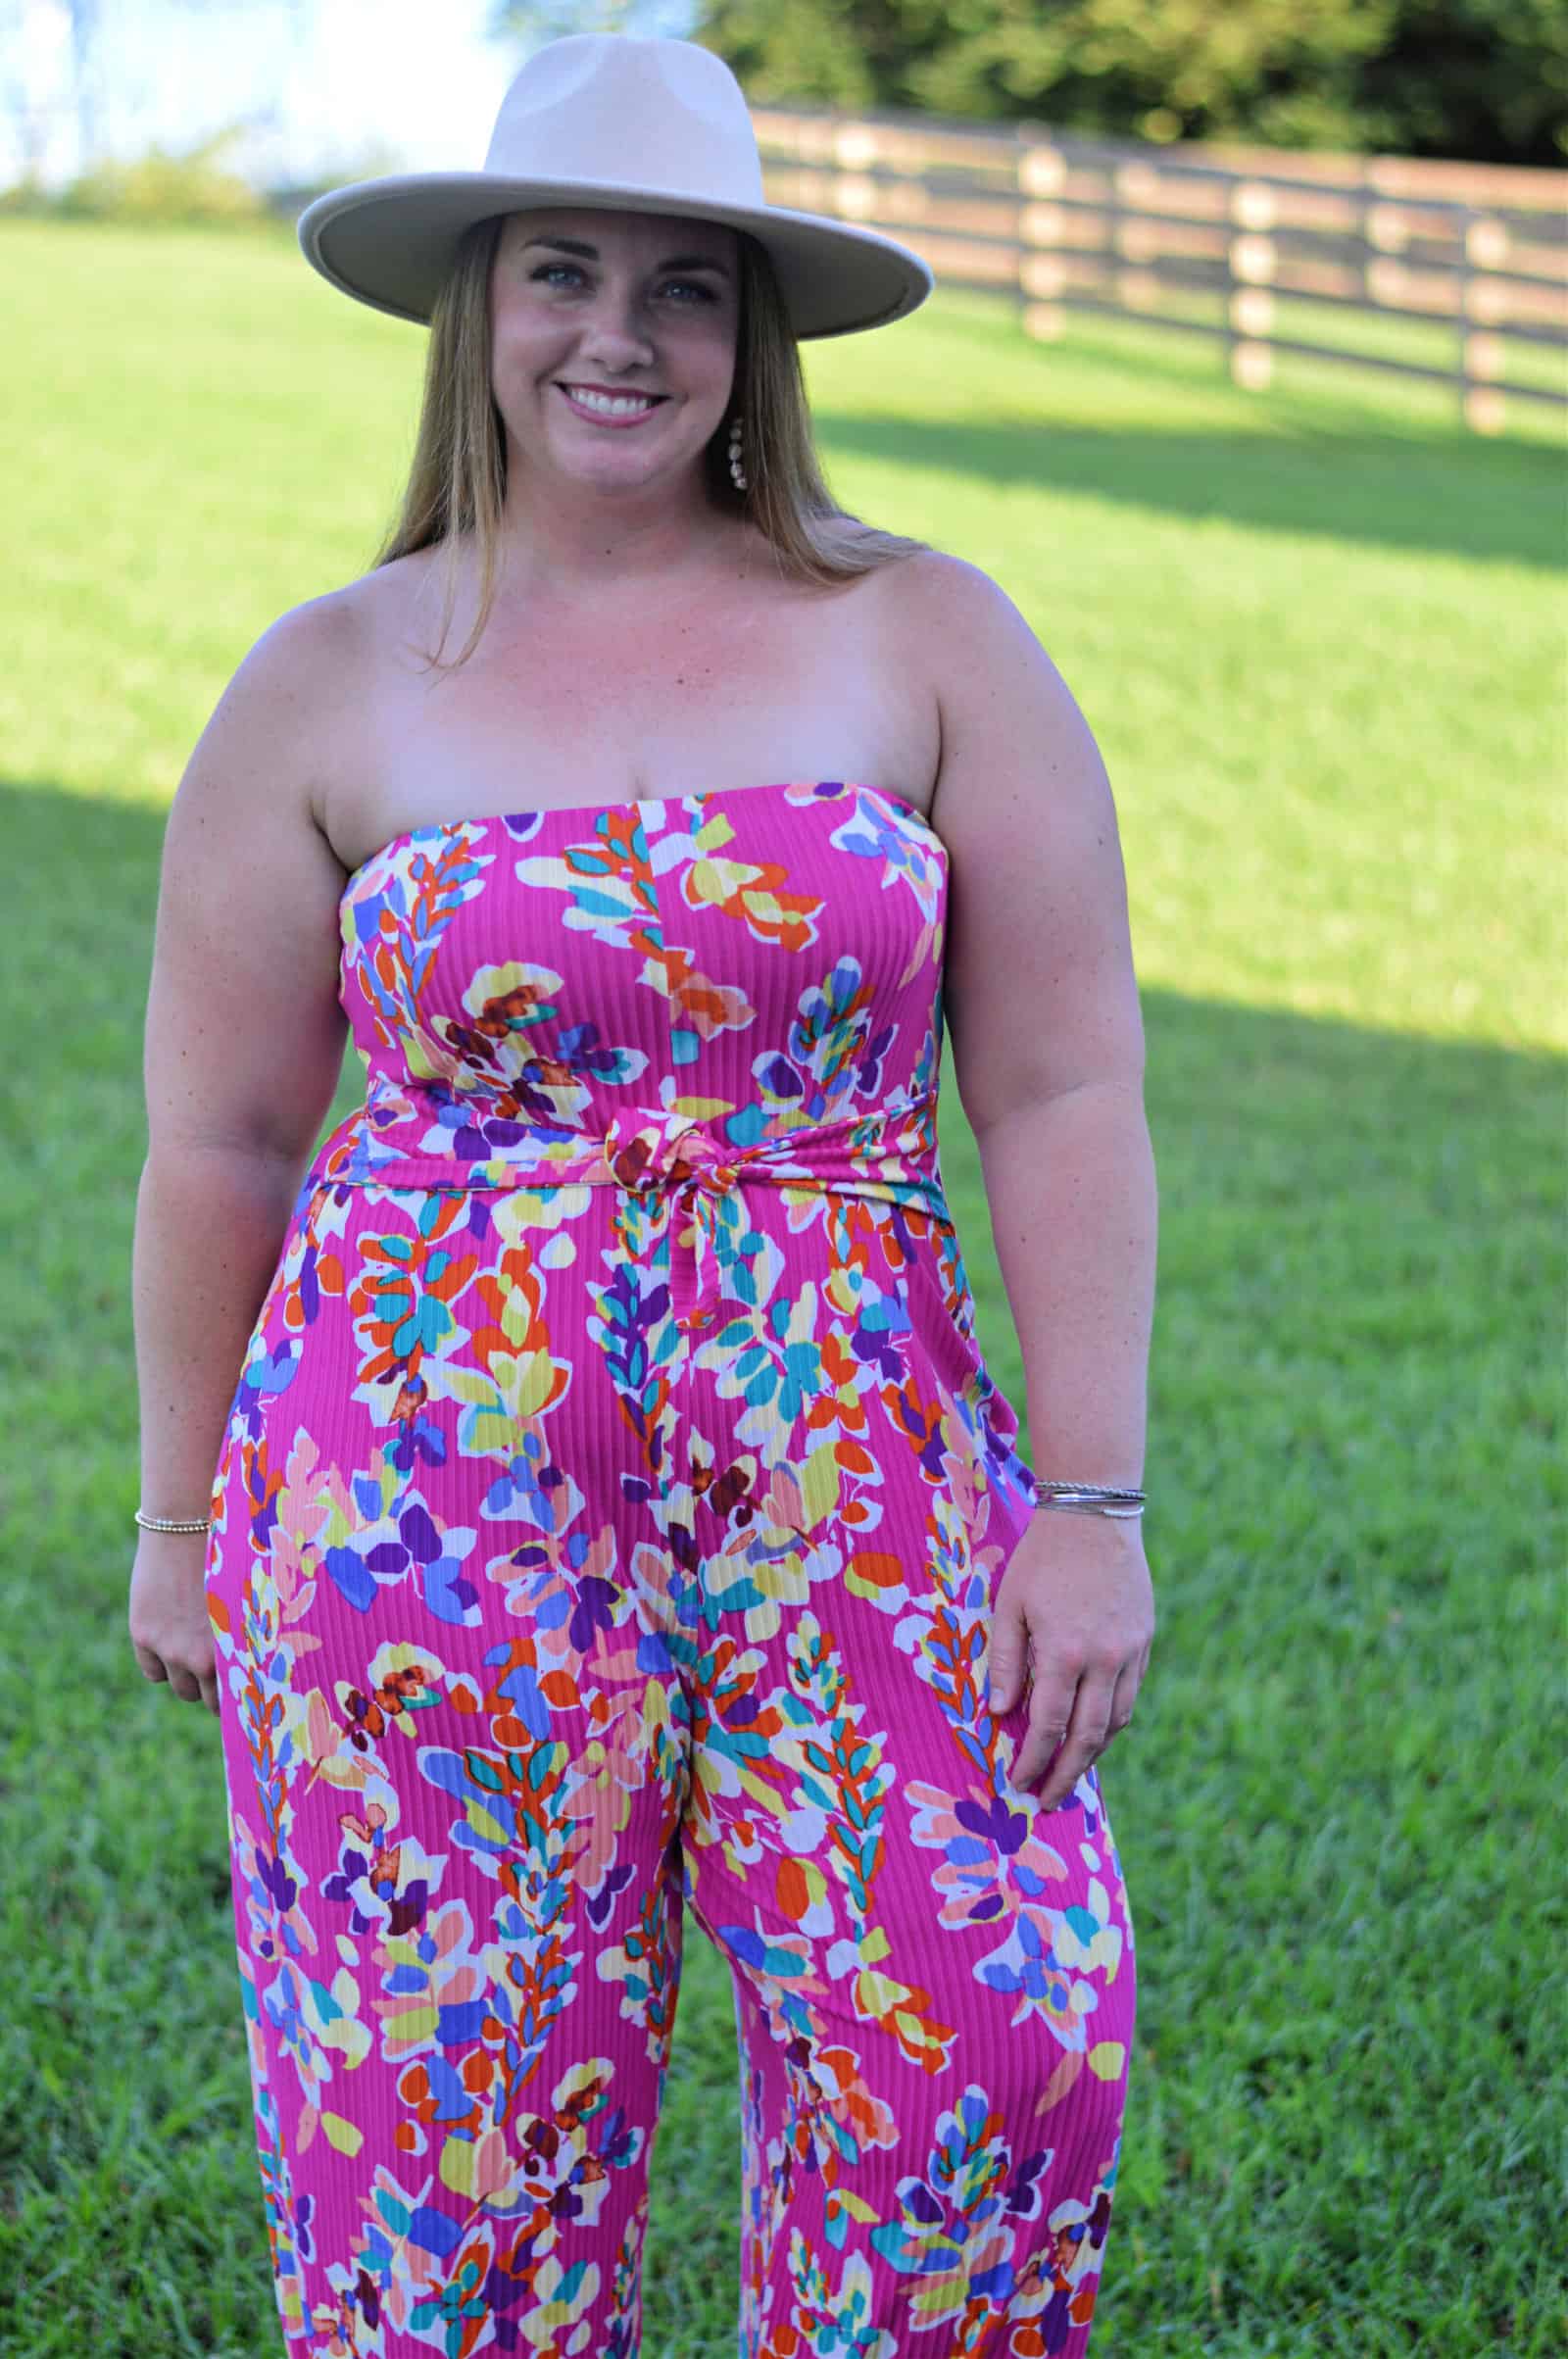
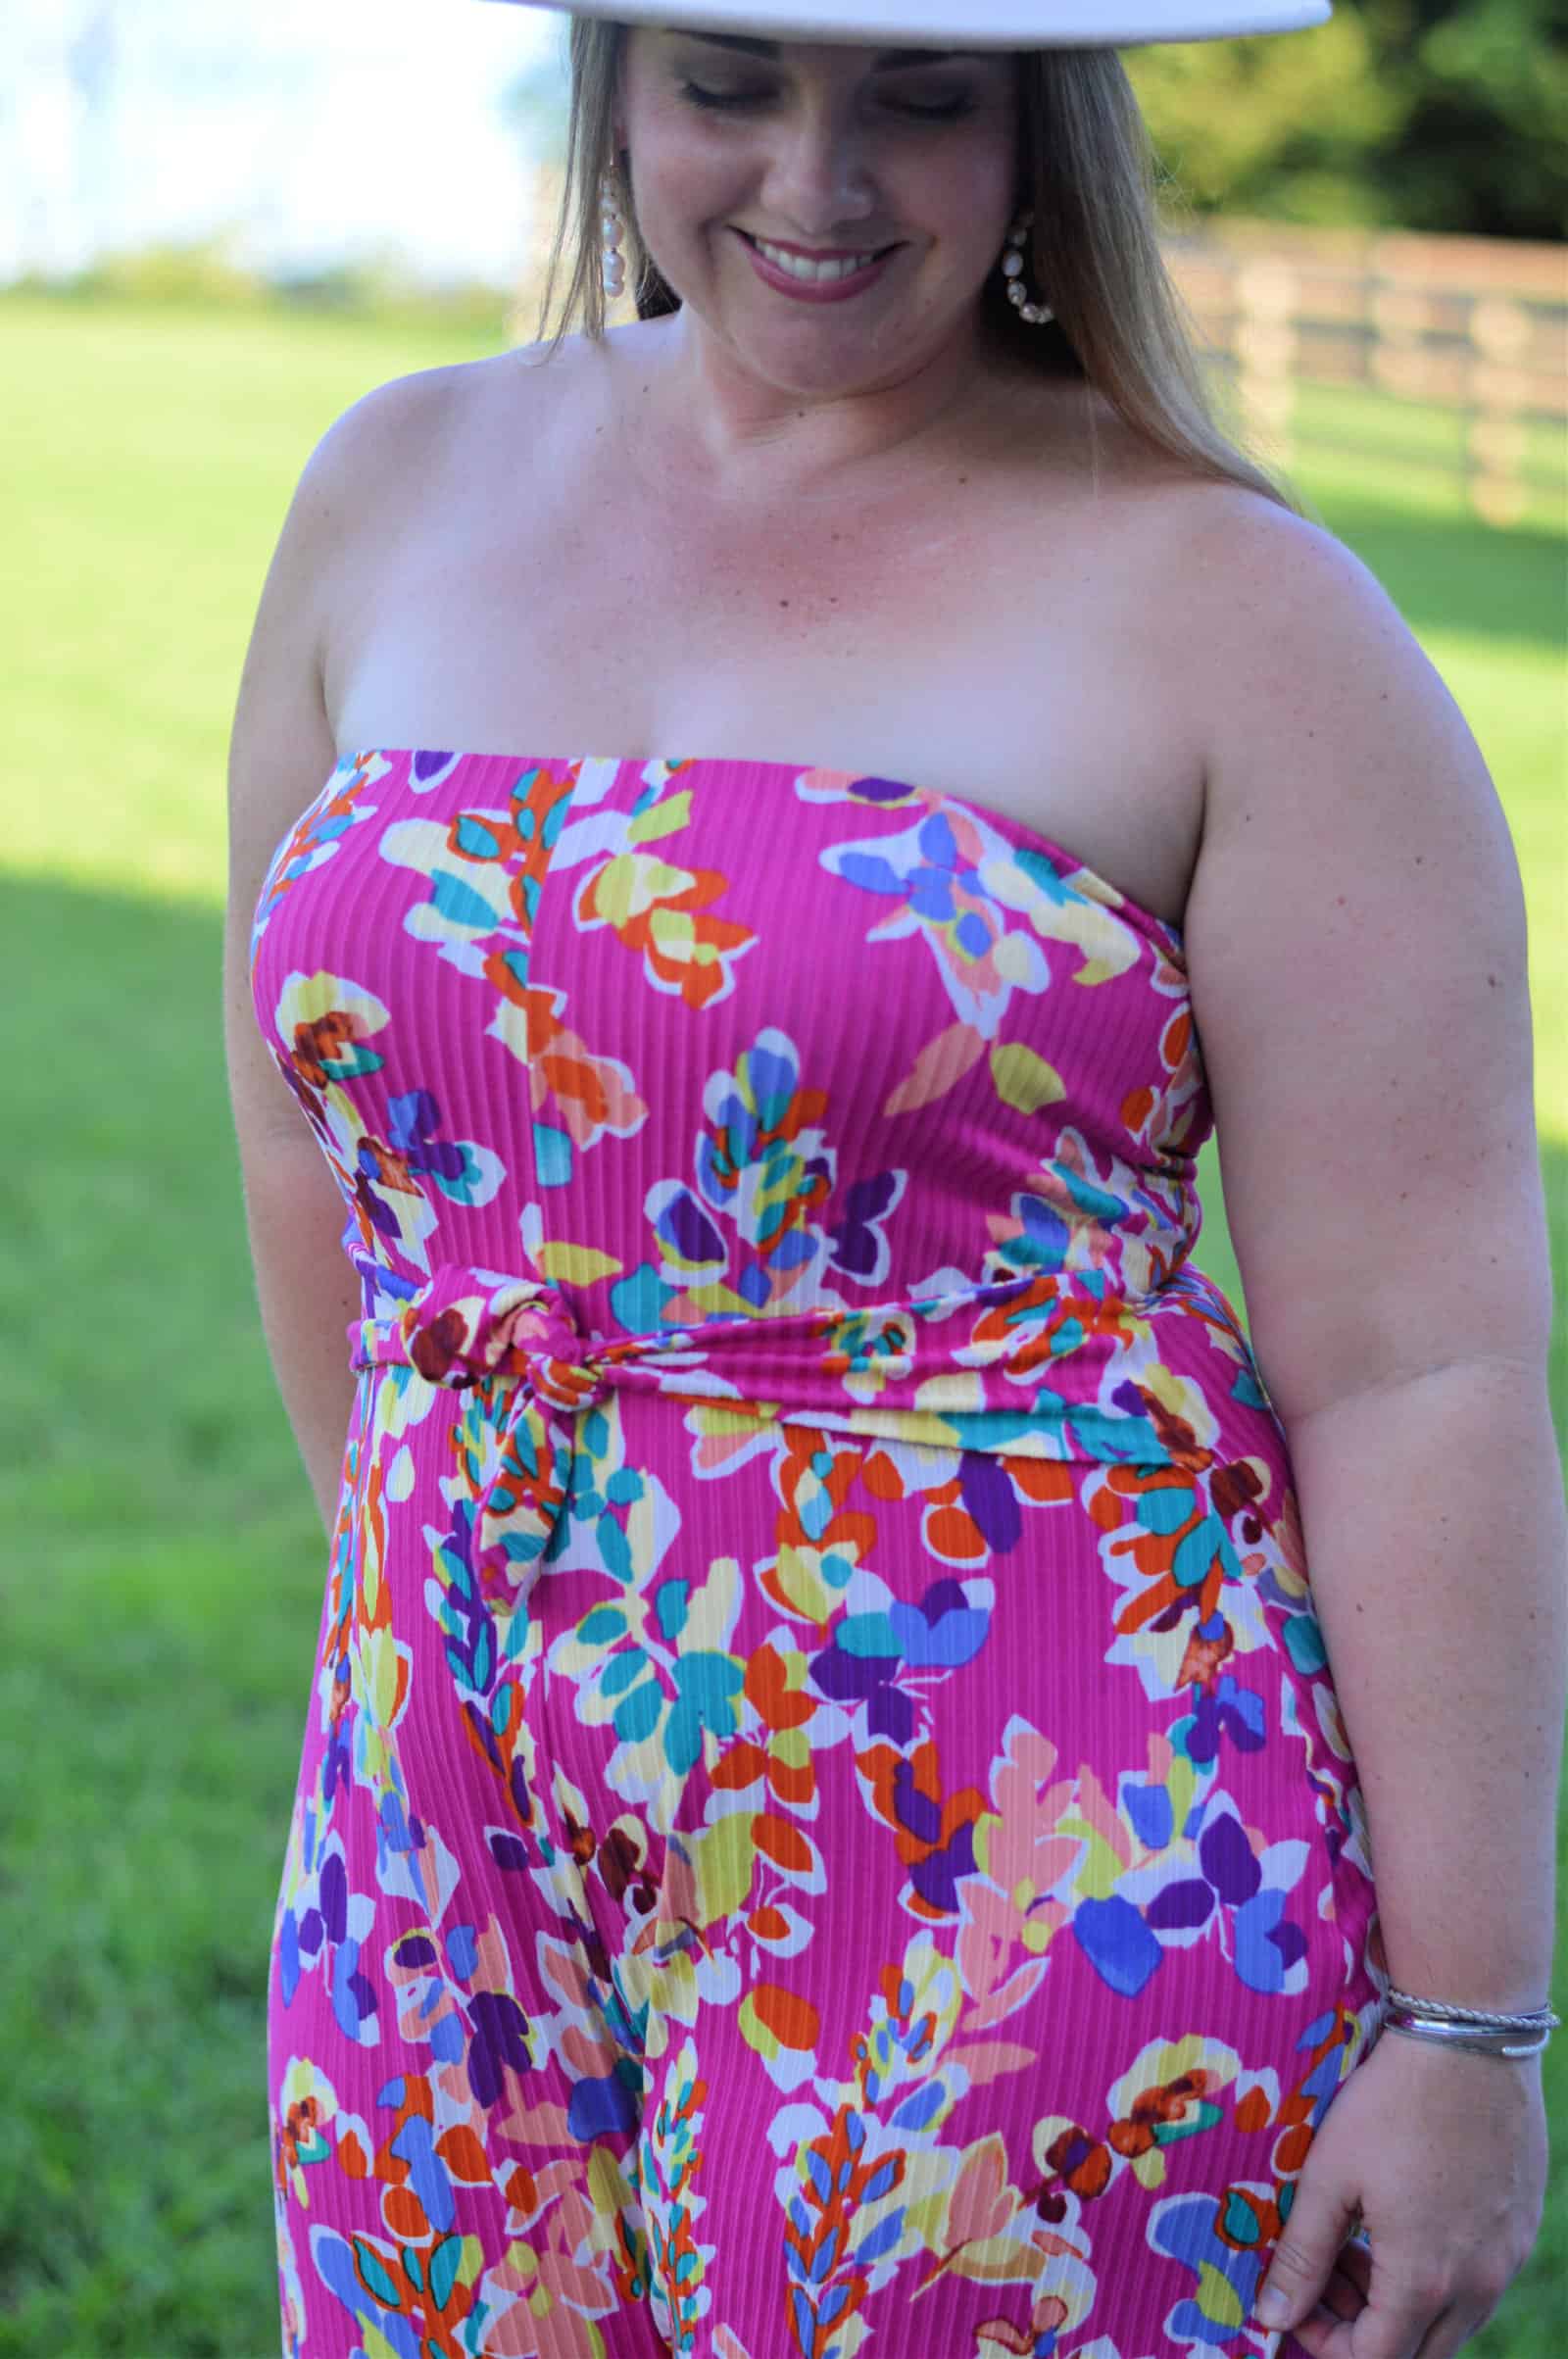
Waist Tie Hack
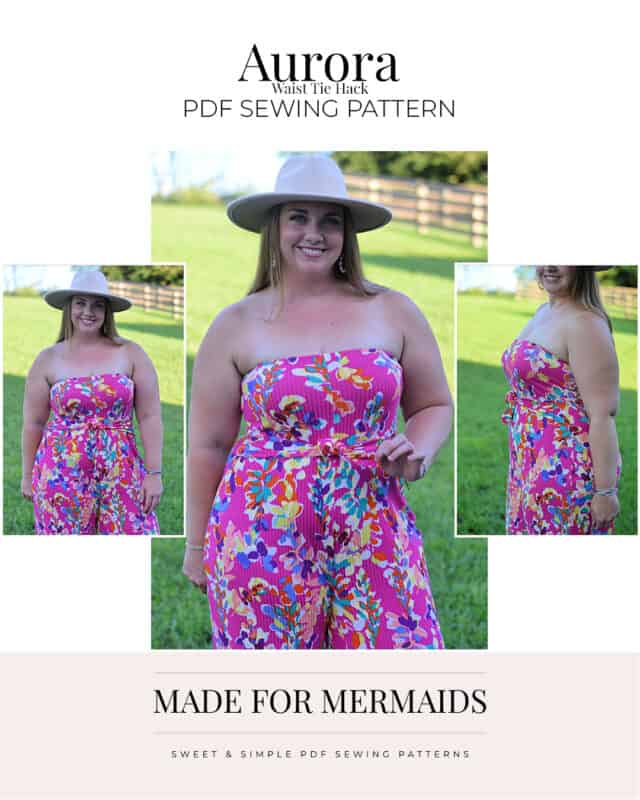
Who doesn’t love a simple hack? I fell in love with the Aurora Playsuit the instant Aaronica shared the pattern. I love the simple silhouette and the ease of construction. But I could not help wanting to add some ties to the front in order to accentuate my waist.
I printed the waist ties from the Roxy swim bottoms to use as my pattern piece. I cut out two sets of mirror image pieces to make two ties. If you do not own the Roxy, you can draft your own ties, but I really like how the Roxy ties are angled where you attach to the side seam. This works well for the Aurora since the side seams are angled at the waist due to the form fitting design.
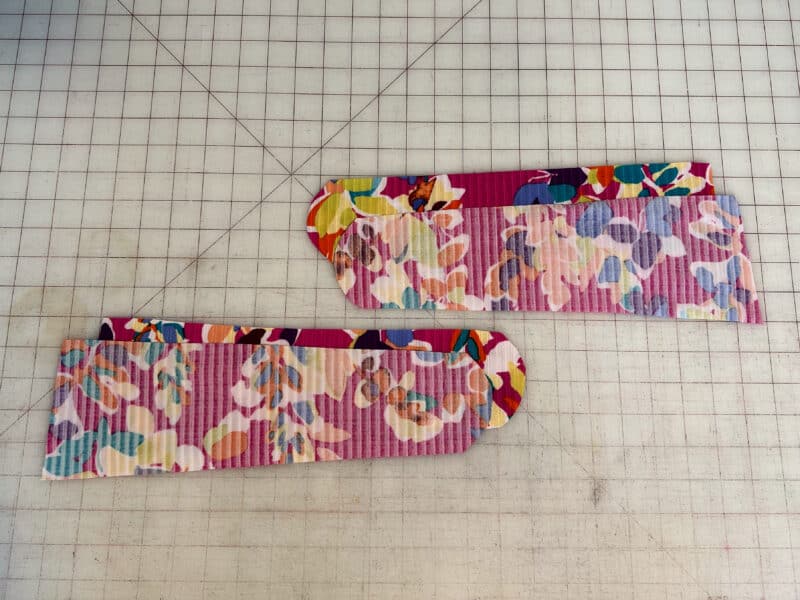
I sewed around the long curved edge using a 3/8″ seam allowance (per the Roxy pattern tutorial), leaving the short straight edge open. Then, I turned the tie pieces right side out and pressed.
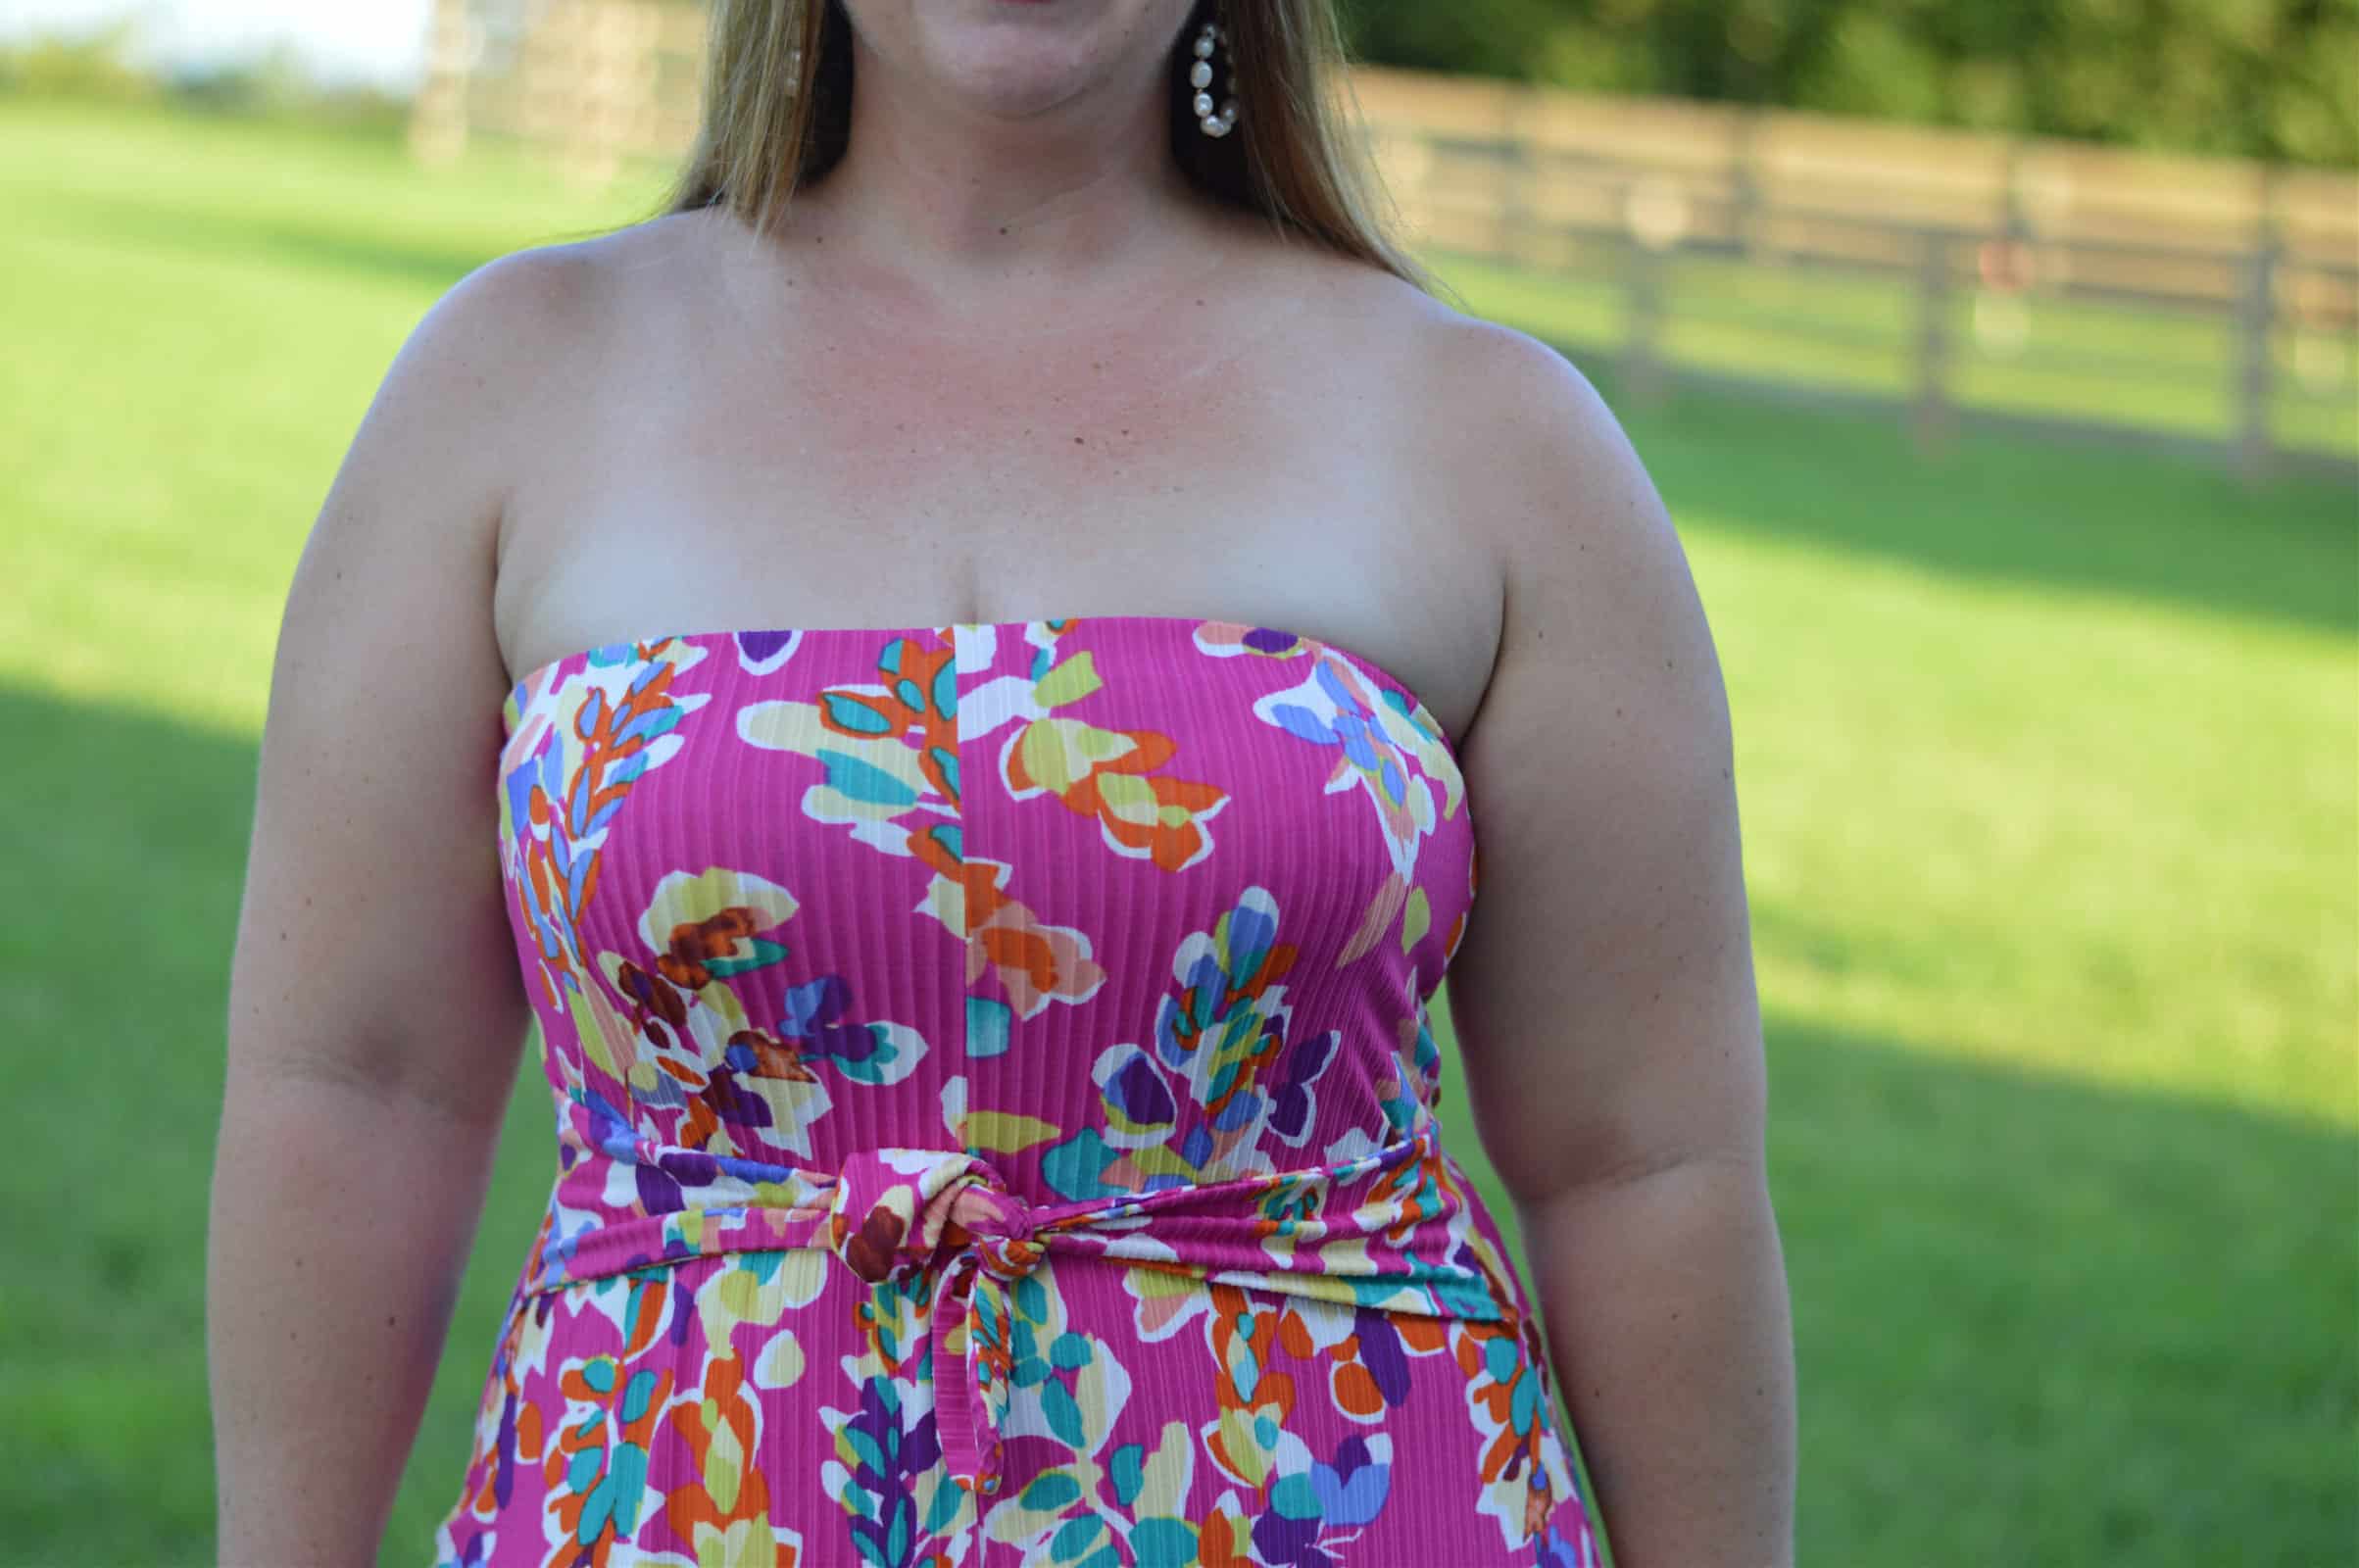
After I sewed the center seam on the front of the playsuit, I basted the ties to the front at the level of my waist.
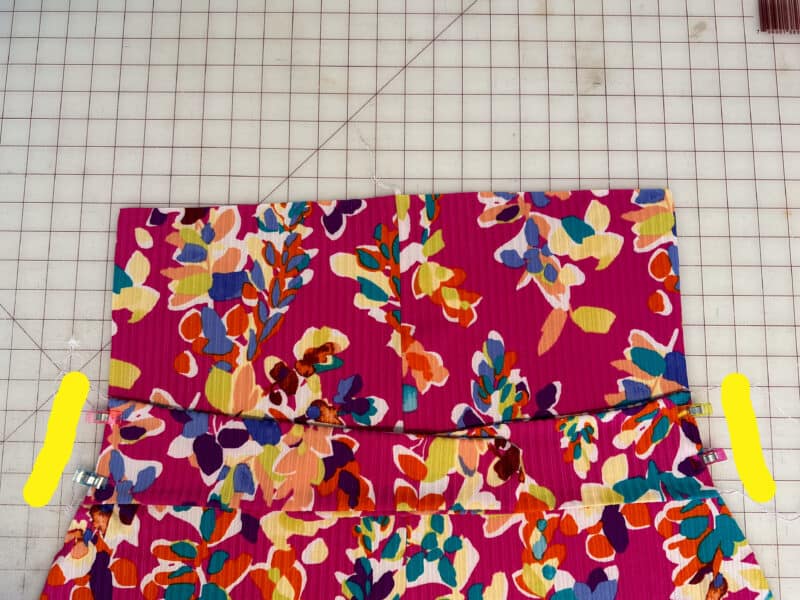
Then, I constructed the rest of the playsuit per the Aurora tutorial. Such an easy way to add some dimension to an otherwise flat front of the Aurora playsuit. – Stacey
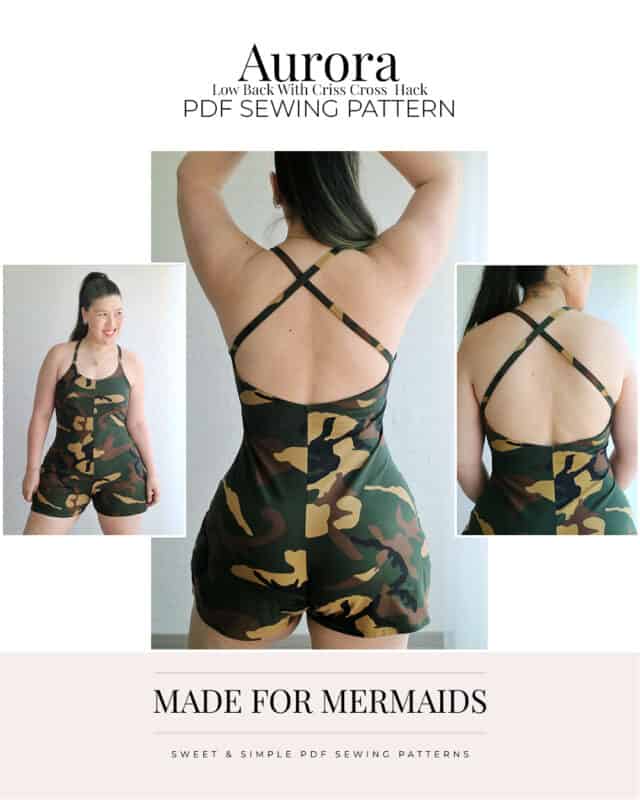
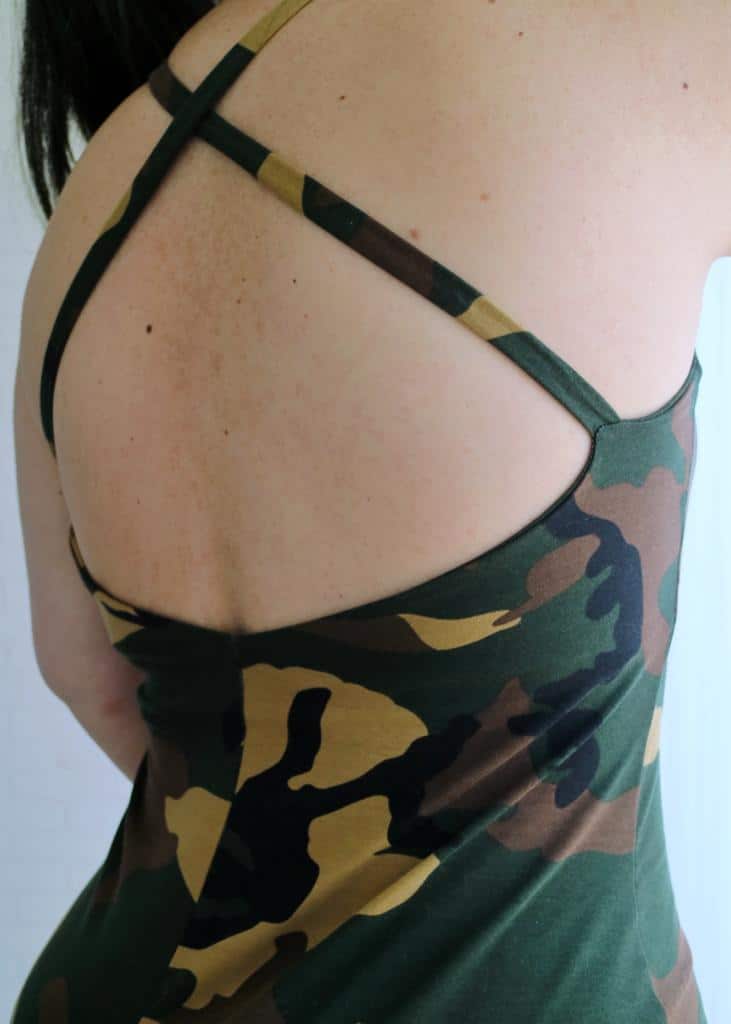
Low Back Hack / Criss Cross Hack
One thing is certain, it’s impossible to make only one Aurora. Quick and easy to sew, and comfortable and cute to wear… the perfect recipe for a sewing spree!
Here’s an easy hack to add some variation to the pattern so we can pretend we’re not wearing the same thing over and over again.
Let’s lower the back and crisscross the straps!
Pattern Pieces Adjustment
To lower the back and still have the shelf bra we’ll need to lengthen it a little. This will be a matter of personal preference, but I opted to lengthen mine by 2″.
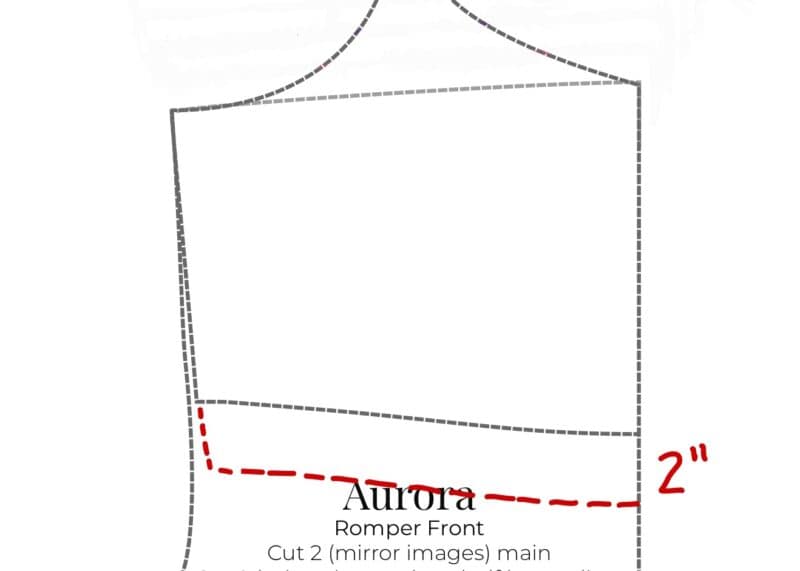
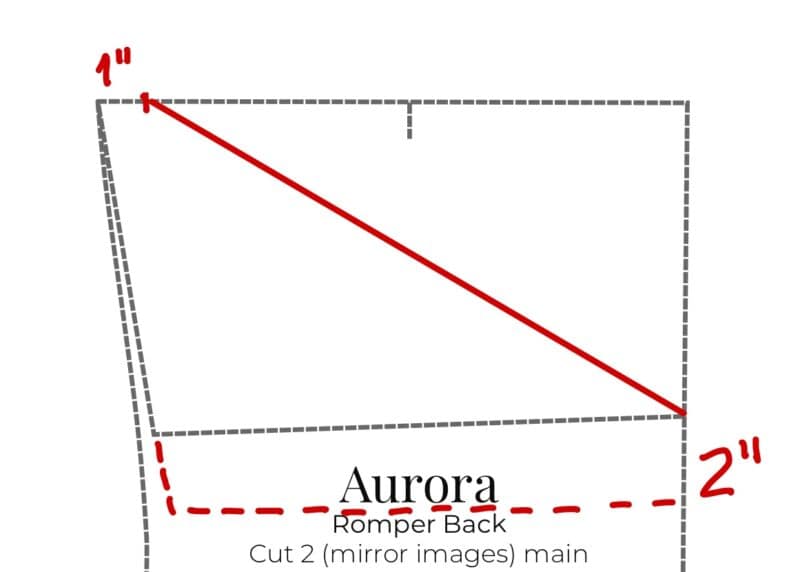
To create the lower back, draw a cut line starting one inch from the side seam going diagonally down to the center back. How low is up to you; I used the original shelf bra line as my guide.
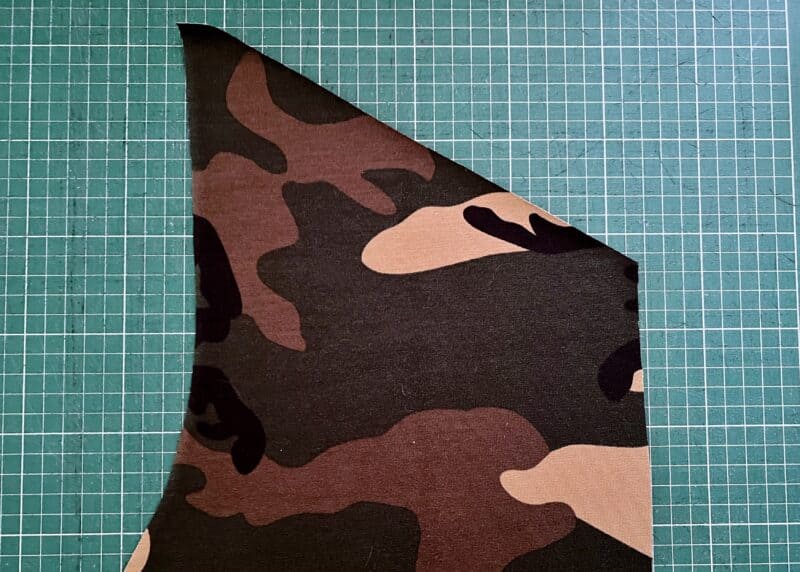
Here’s how the cut back pieces will look like:
-

- Shelf bra
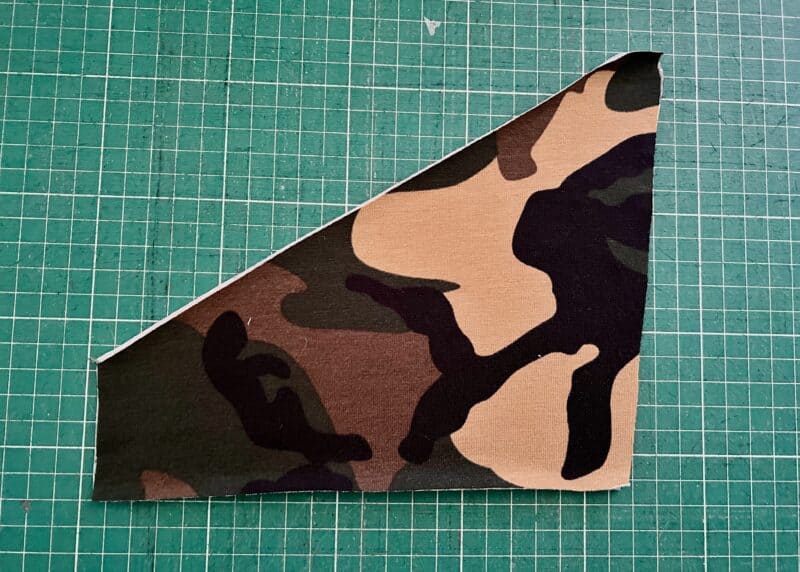
-
- Back panel
Another modification needed will be longer straps.
I suggest doubling the length of the pattern straps and cutting them to size after pinning and trying them on.
Sewing
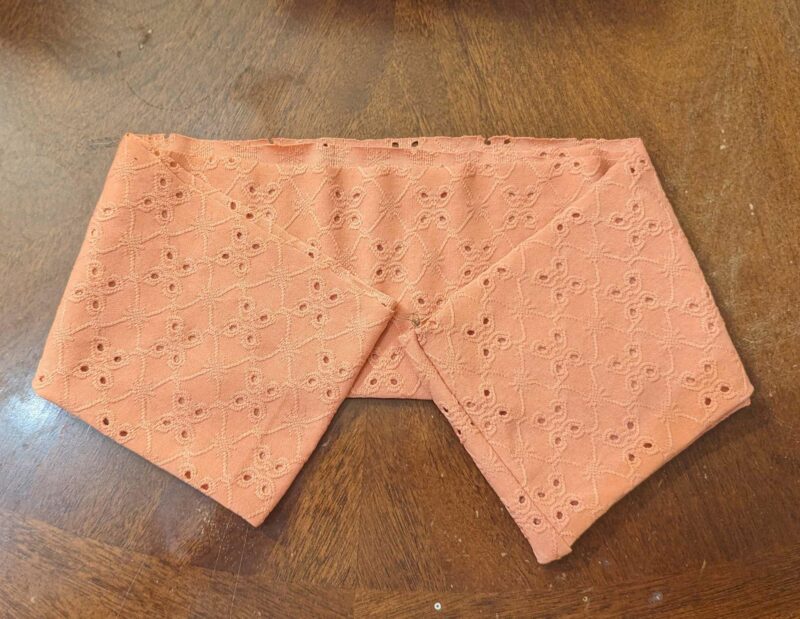
Sew the jumpsuit according to the pattern tutorial. Aside from crossing the straps, there are no extra sewing steps. Here’s how the back will look like once the center and side seams are sewn:

When you reach Step 6 (cami option finishing) in the Adult Aurora tutorial, pin the straps and try your jumpsuit on to establish strap length and decide on position.
I opted to place mine 3″ from the side seam, but it would also be really cute to have them a bit closer to the center seam.

That’s it!
All that is left to do is follow the instructions and finish your jumpsuit accordingly.

Now go rock your new jumpsuit while you browse your stash to pick fabric for the next one!
Happy Sewing!
xxx, Livia
Separates Hack
Leave a Reply