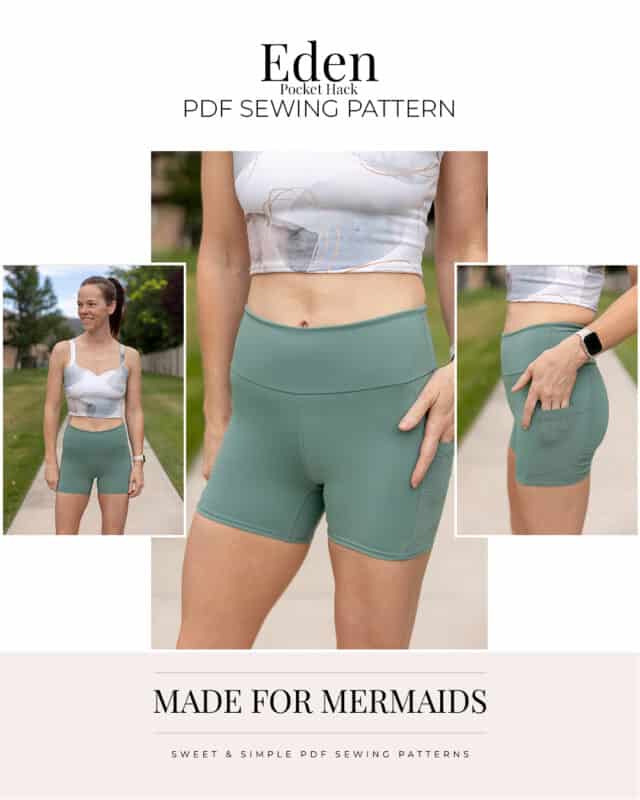
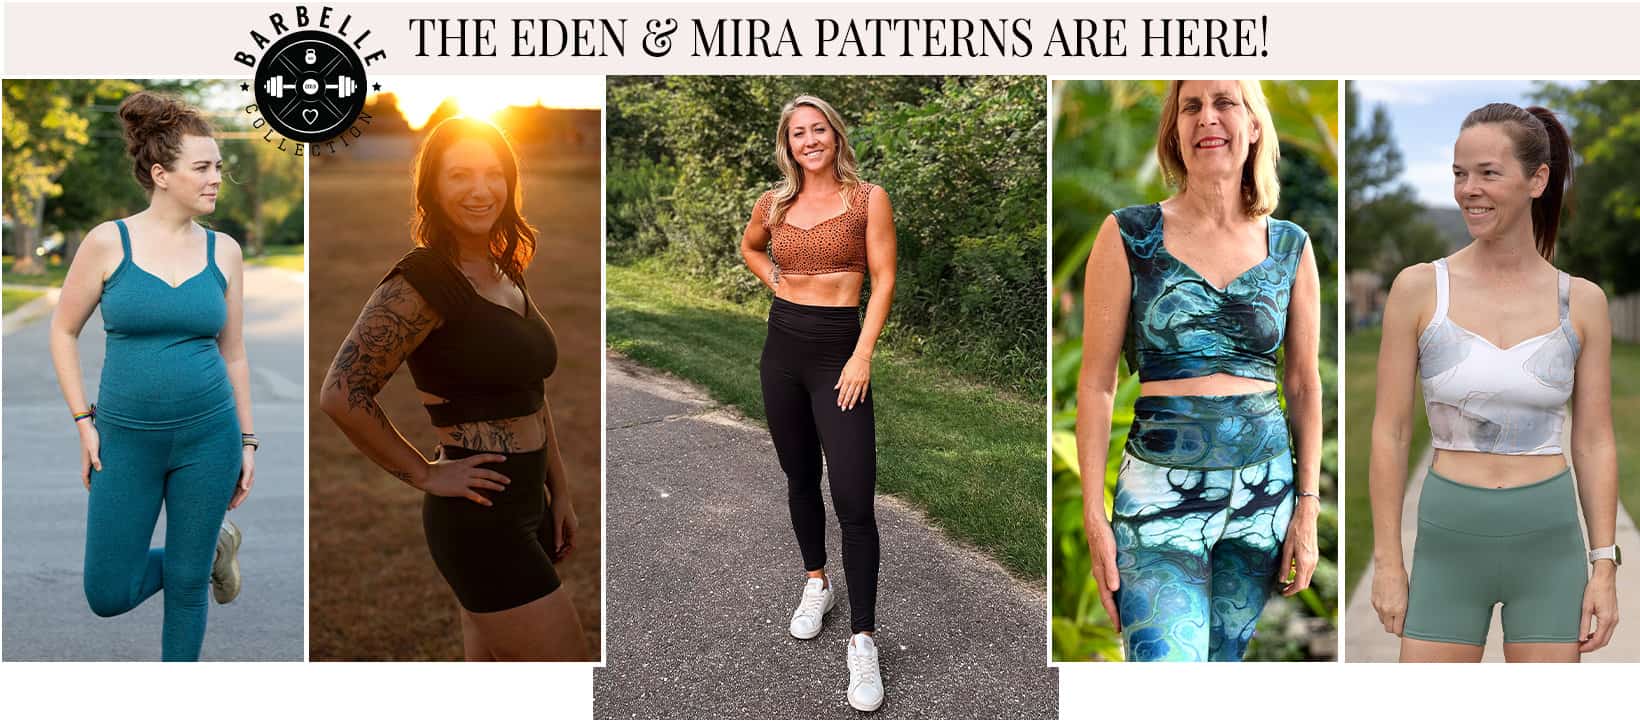
Eden and Mira just dropped as part of our Barbelle Collection, and we just know you’re going to want to sew them up immediately.
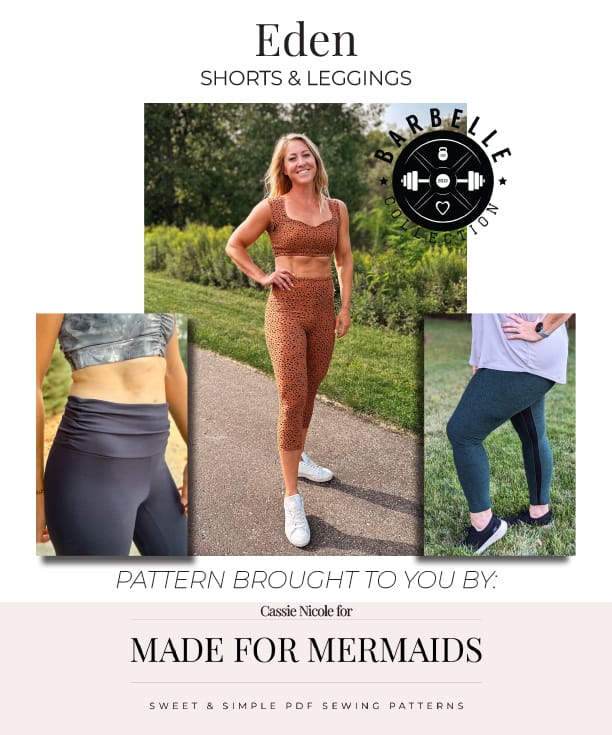
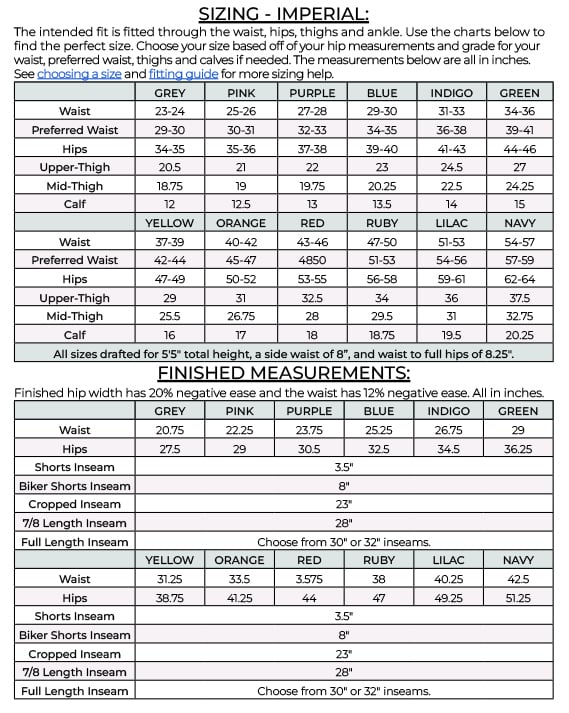
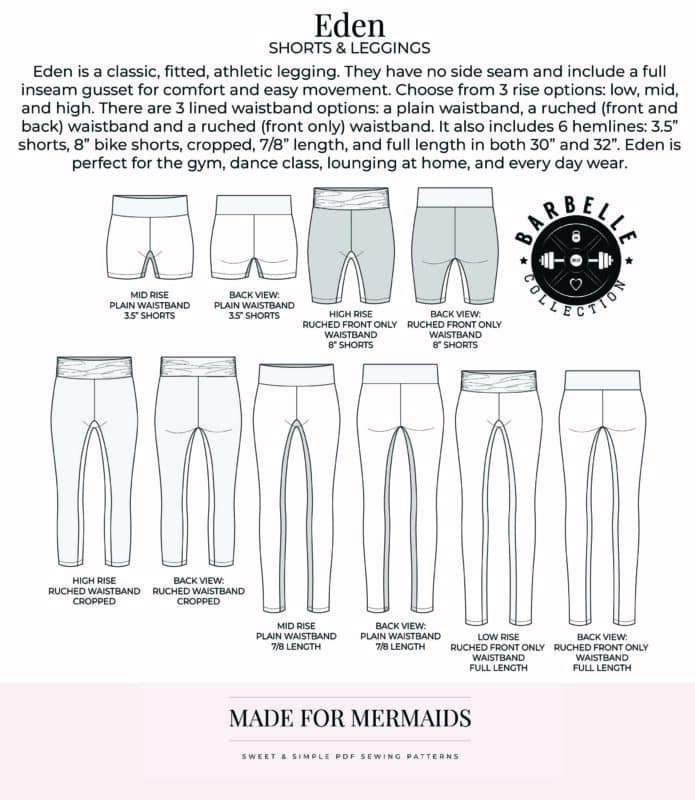
Eden is a classic, fitted, athletic legging. Eden has no side seam, and includes a full inseam gusset for both comfort and ease of movement. Choose from three rise options: low, mid, and high. There are three lined waistband options: a plain waistband, a ruched (front and back) waistband, and a front only ruched waistband. Eden also includes SIX hemlines: 3.5″ shorts, 8″ bike shorts, cropped, 7/8″ length, and full length in both 30″ and 32″ inseams. We love Eden, especially paired with our new Mira.
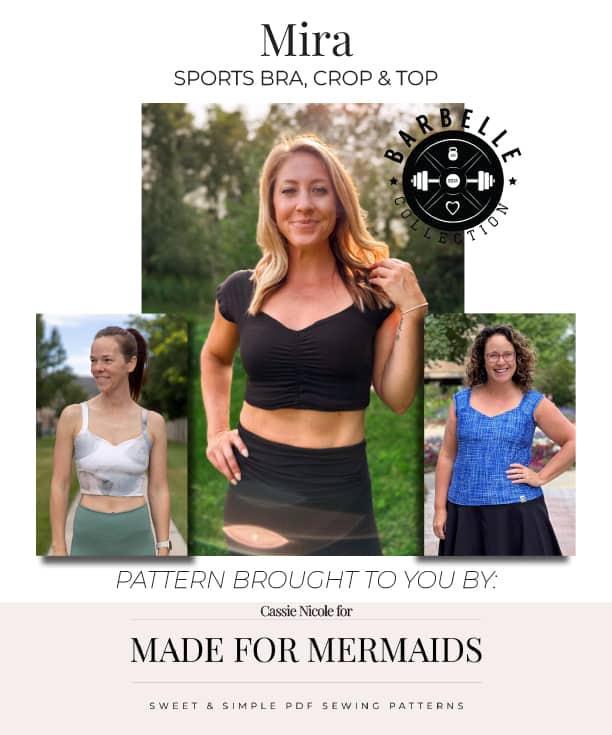
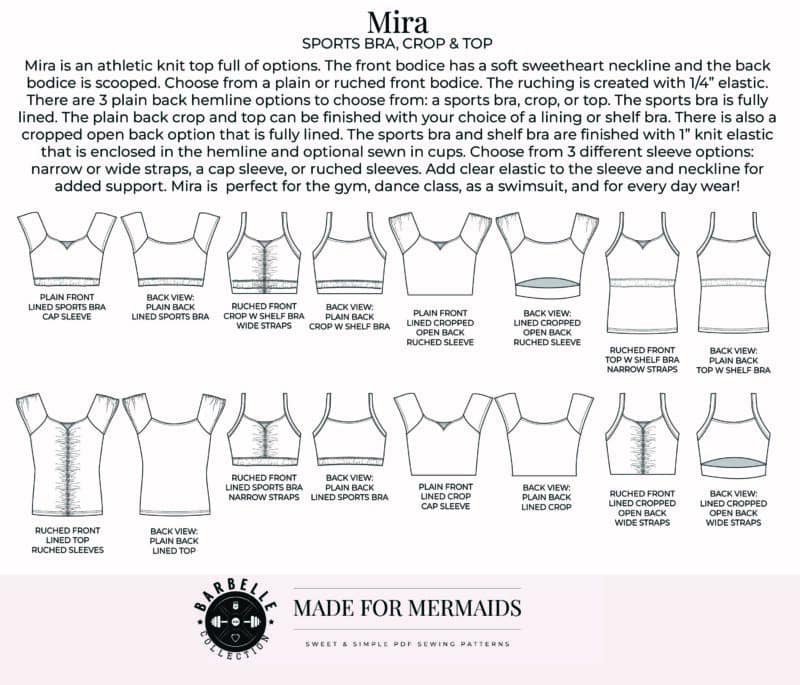
Mira is an athletic knit top FULL of options! The front bodice has a soft sweetheart neckline and the back bodice is scooped. Choose from a plain or ruched front bodice (hello, details!!). The ruching is created with 1/4″ elastic. There are three plain back hemline options to choose from: sports bra, crop, or top. The sports bra is fully lined. The plain back crop and top can be finished with your choice of lining or shelf bra. There is also a cropped open back option that is fully lined! The sports bra and shelf bra are finished with 1″ knit elastic that is enclosed in the hemline, plus optional sewn in cups. Choose from three different sleeve options, too: narrow or wide straps, a cap sleeve, or ruched sleeves. We love Mira for the gym, dance, as a swimsuit, or even as casual wear!
Getting Started
Before you purchase your patterns, there is a ton of helpful beginner information between the M4M and P4P blogs, in case you are new to knits, or new to PDF patterns in general:
- New to PDF patterns? Check out our helpful tips here
- New to sewing with knits? Brittany has some great info here
- Not quite sure how to measure yourself accurately? Don’t worry; check out the post here!
- Having issues printing? Most issues can be resolved by using our FAQs/troubleshooting tips
- Join our Facebook group here.
Choosing Your Options
We have lots of tester photos in our FB group and on the site if you want to see a variety of photos of each option before you decide! Here is a quick snapshot of the different options:
Fabric + Notions
Eden is drafted for medium weight knits (200 gsm+) with 4-way stretch, great recovery, and a minimum 50% horizontal stretch. Look for fabrics with a high spandex content (5% minimum, but preferably 12%-25%!). Higher spandex content and heavier weight knits will typically feel tighter and offer more compression. Some of our favorite fabrics for Mira are ribbed athletic knits, athletic brushed poly, nylon spandex, poly spandex, supplex, yoga knit, nylon spandex tricot, ribbed tricot, athletic foiled knit, etc.
You may also need:
- 1/4″ clear elastic to add support to waistband
Mira is drafted for medium weight knits (200 gsm+) with 4-way stretch, great recovery, and a minimum 50% horizontal stretch. Look for fabrics with a high spandex content (5% minimum, but preferably 12%-25%!). Higher spandex content and heavier weight knits will typically feel tighter and offer more compression. Some of our favorite fabrics for Mira are ribbed athletic knits, athletic brushed poly, nylon spandex, poly spandex, supplex, yoga knit, nylon spandex tricot, ribbed tricot, athletic foiled knit, and even cotton lycra or double brushed poly for casual wear!
You may also need:
- 1/4″ knit elastic (ruched front and ruched sleeve options)
- 1″ knit elastic (sports bra/shelf bra option)
- 1/4″ clear elastic for added support in seams
- Sewn-in cups
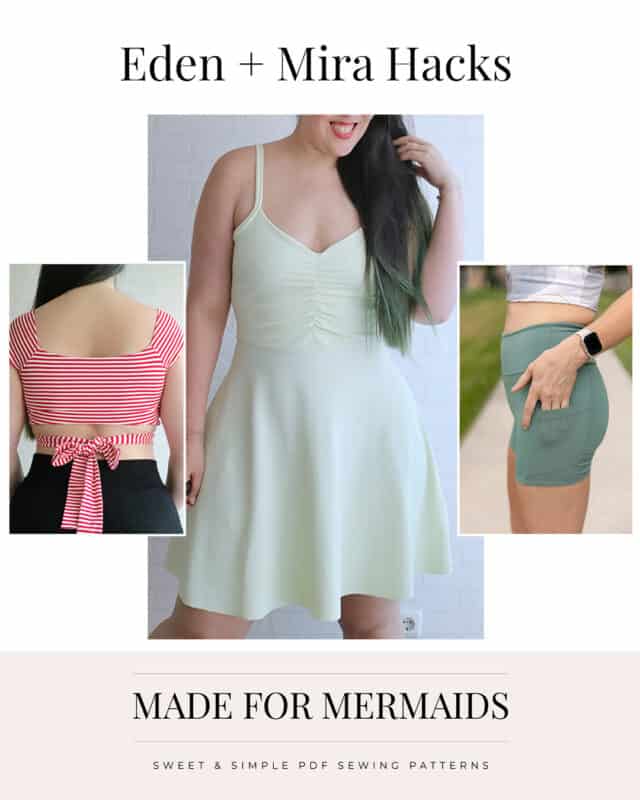
Eden and Mira Hacks
Looking to take your patterns even further? We got you! We can’t wait to see what you sew up!
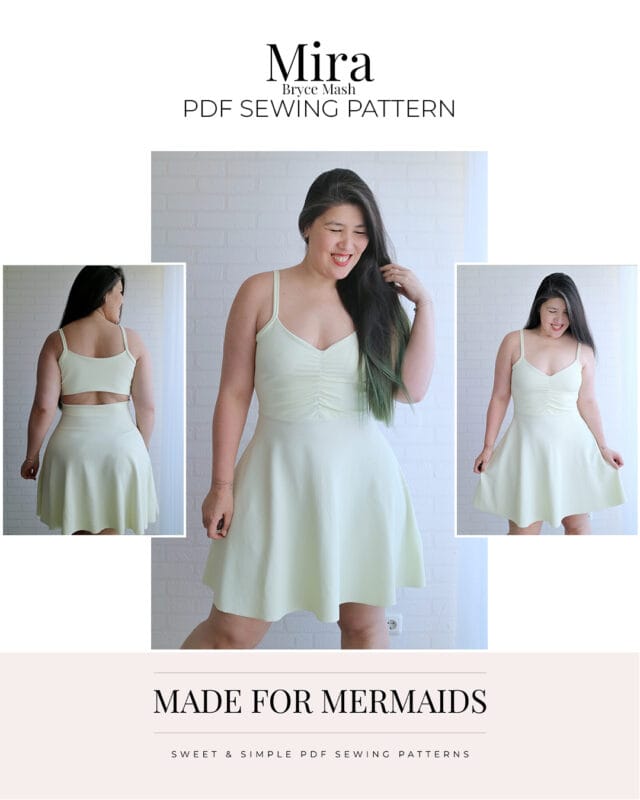
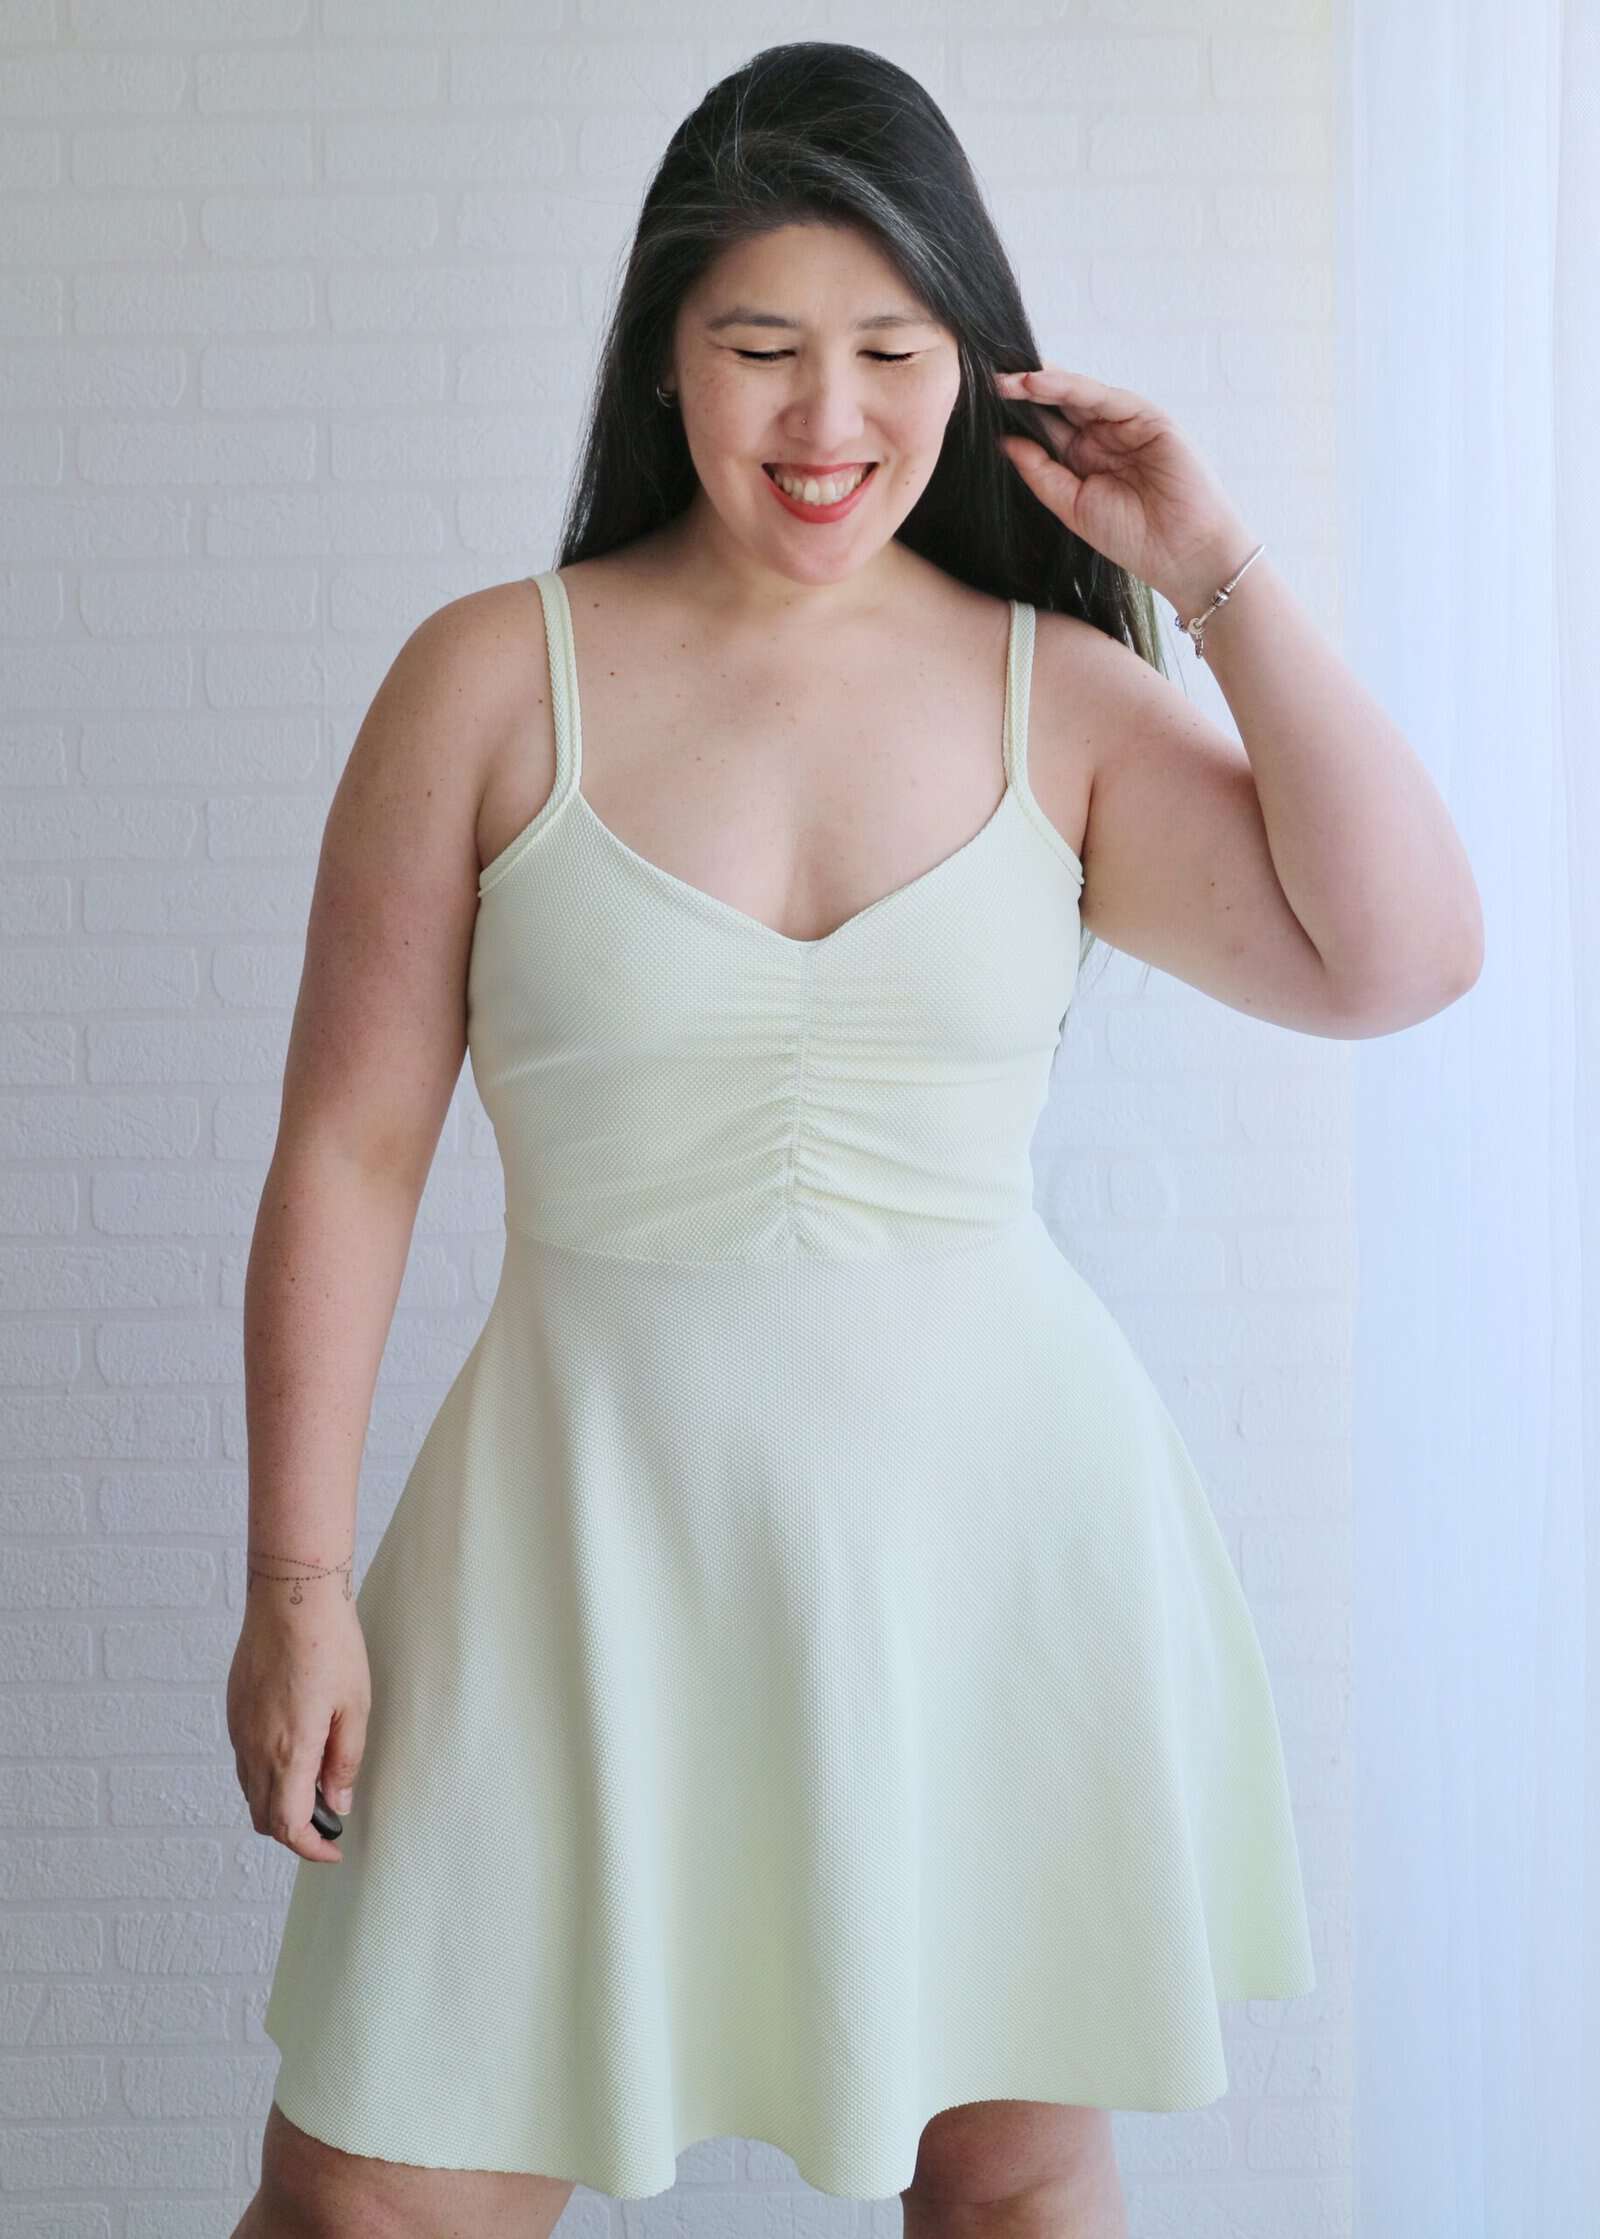
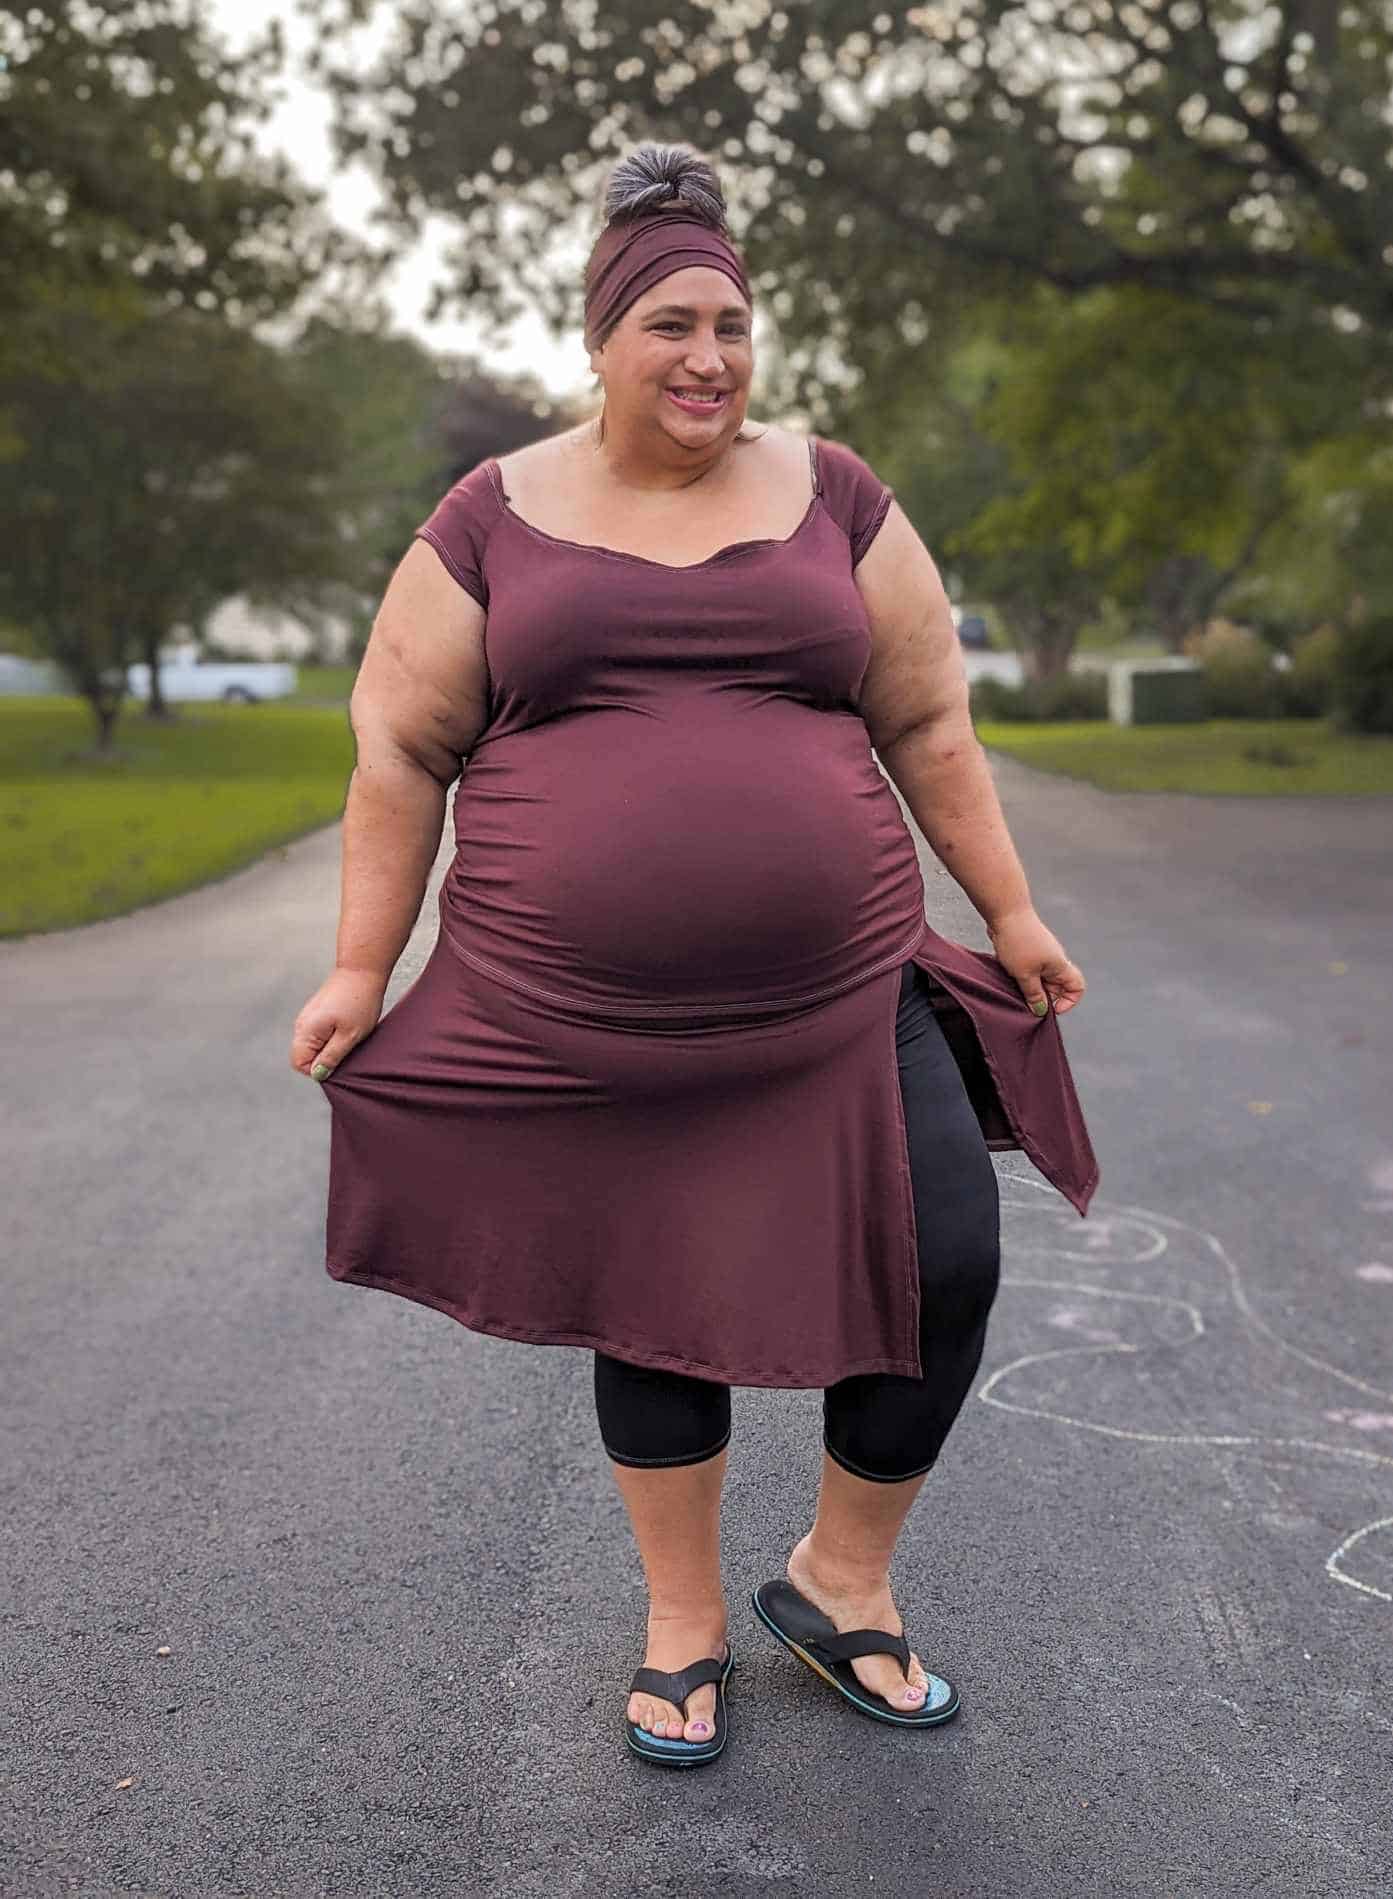
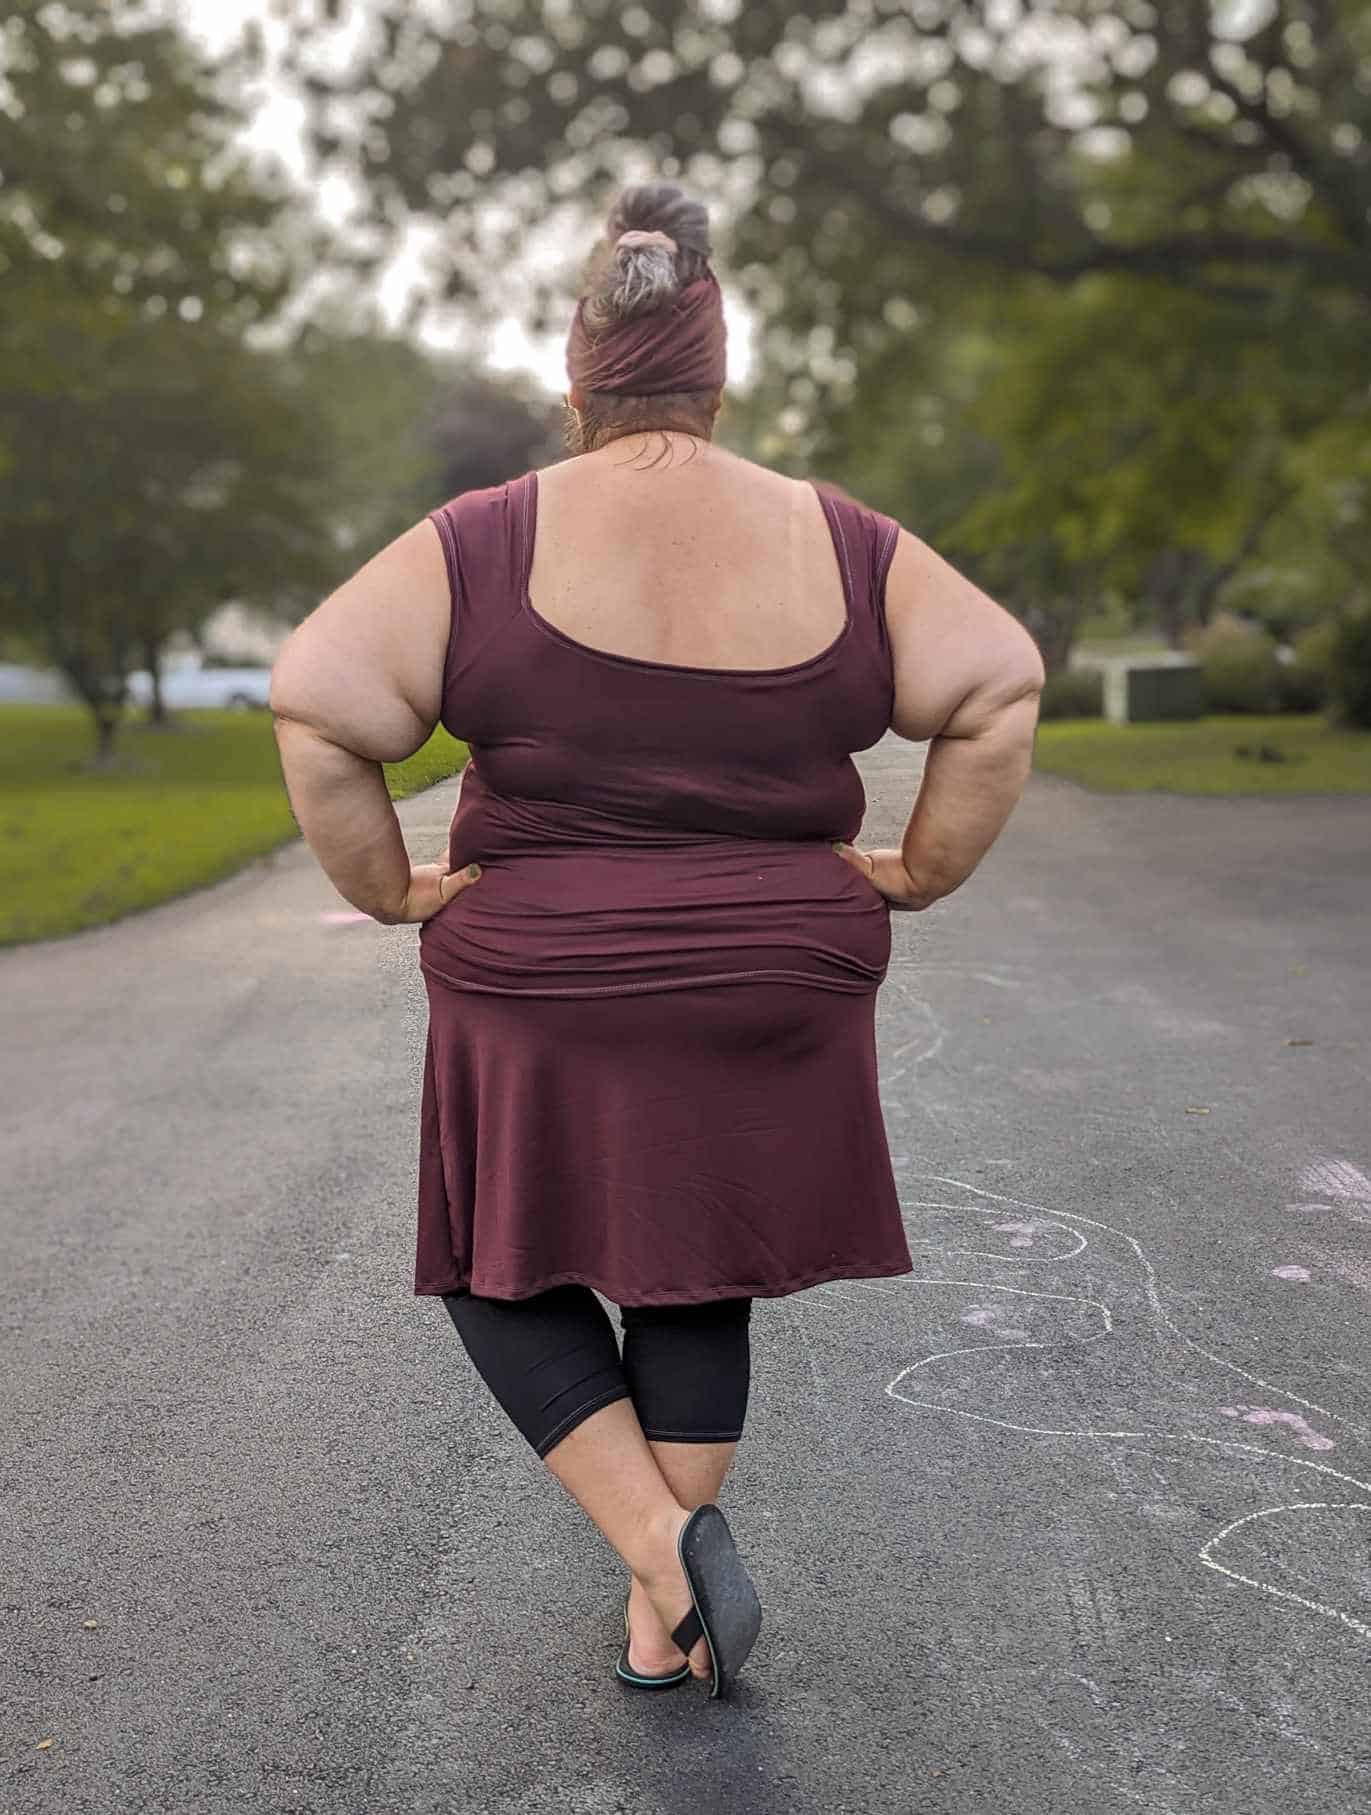
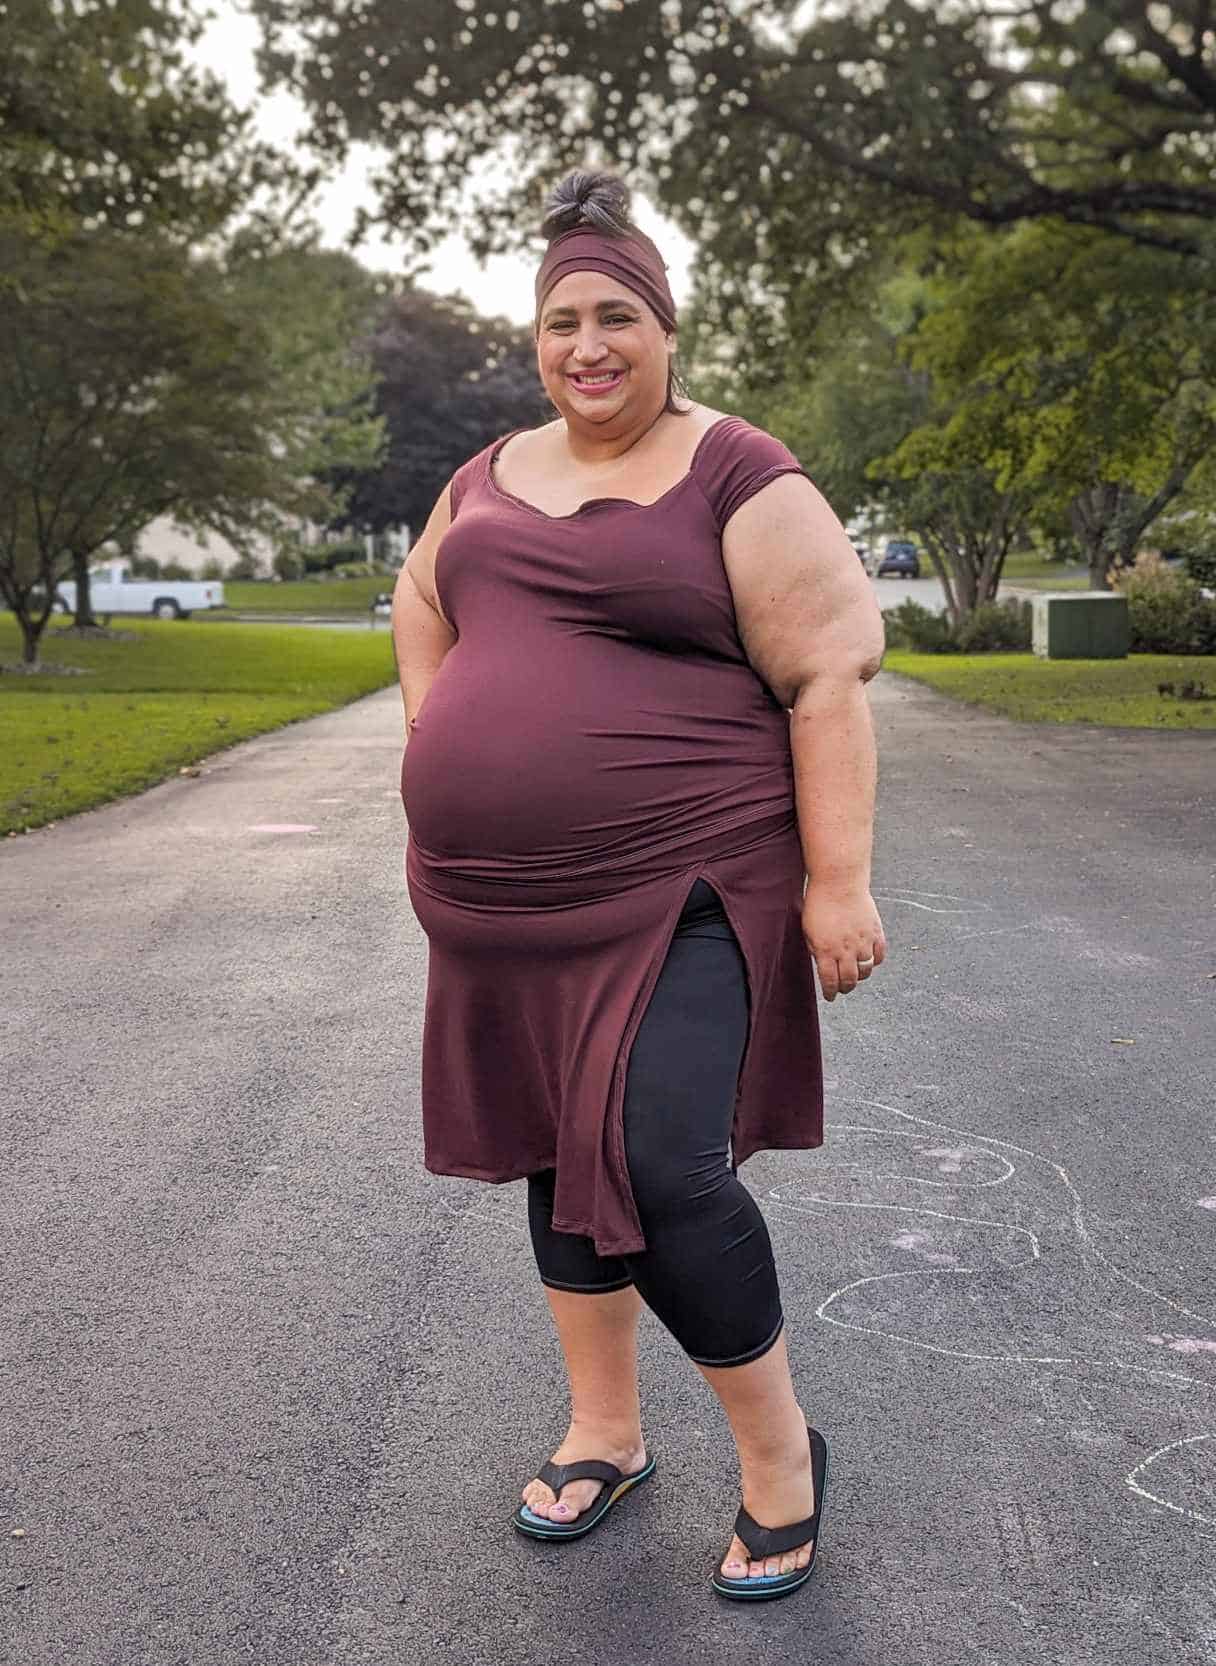
Mira + Bryce Mash (Dress Hack)
This is a straightforward and yet super effective hack.
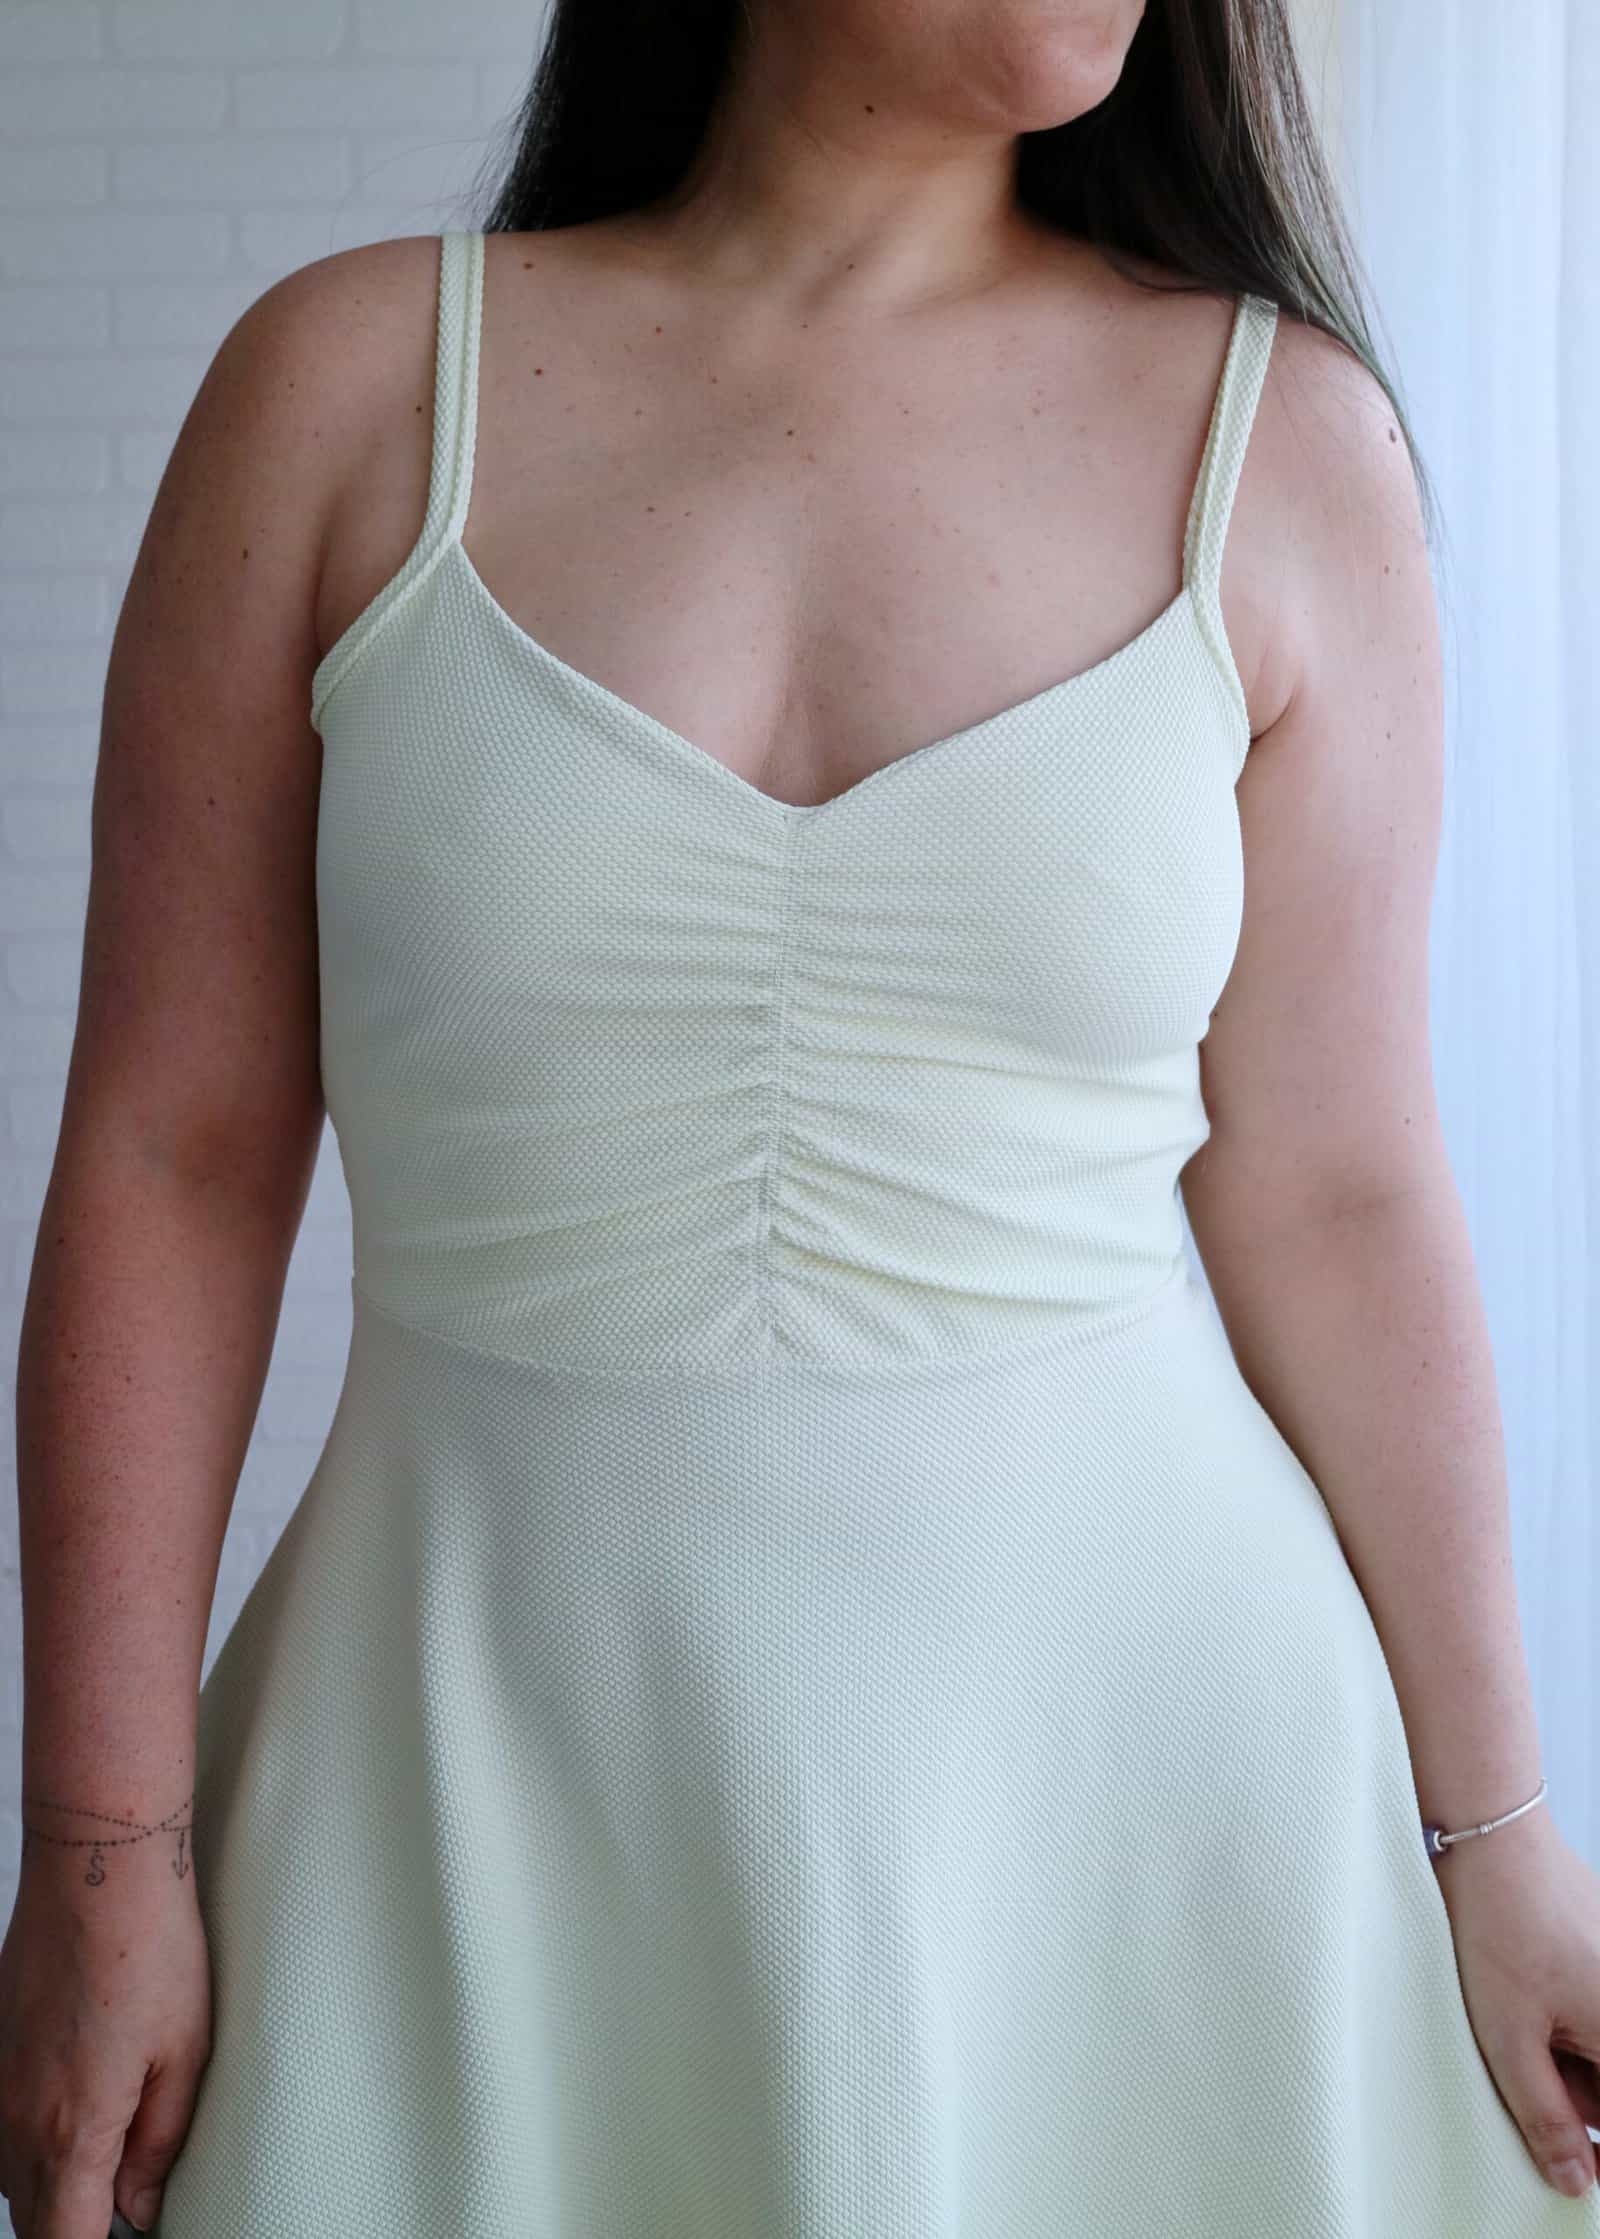
I mean… how adorable is Mira as a dress?
This is a very simple process, all you need for it is the Mira Crop (any option) and your favorite skirt pattern.
For this one, my options were:
- Mira crop with ruched front and open back with straps;
- Skirt (mini) from the Bryce Dress.
If you opt for the plain back, this will be just a matter of not hemming the crop top and attaching a skirt to it.
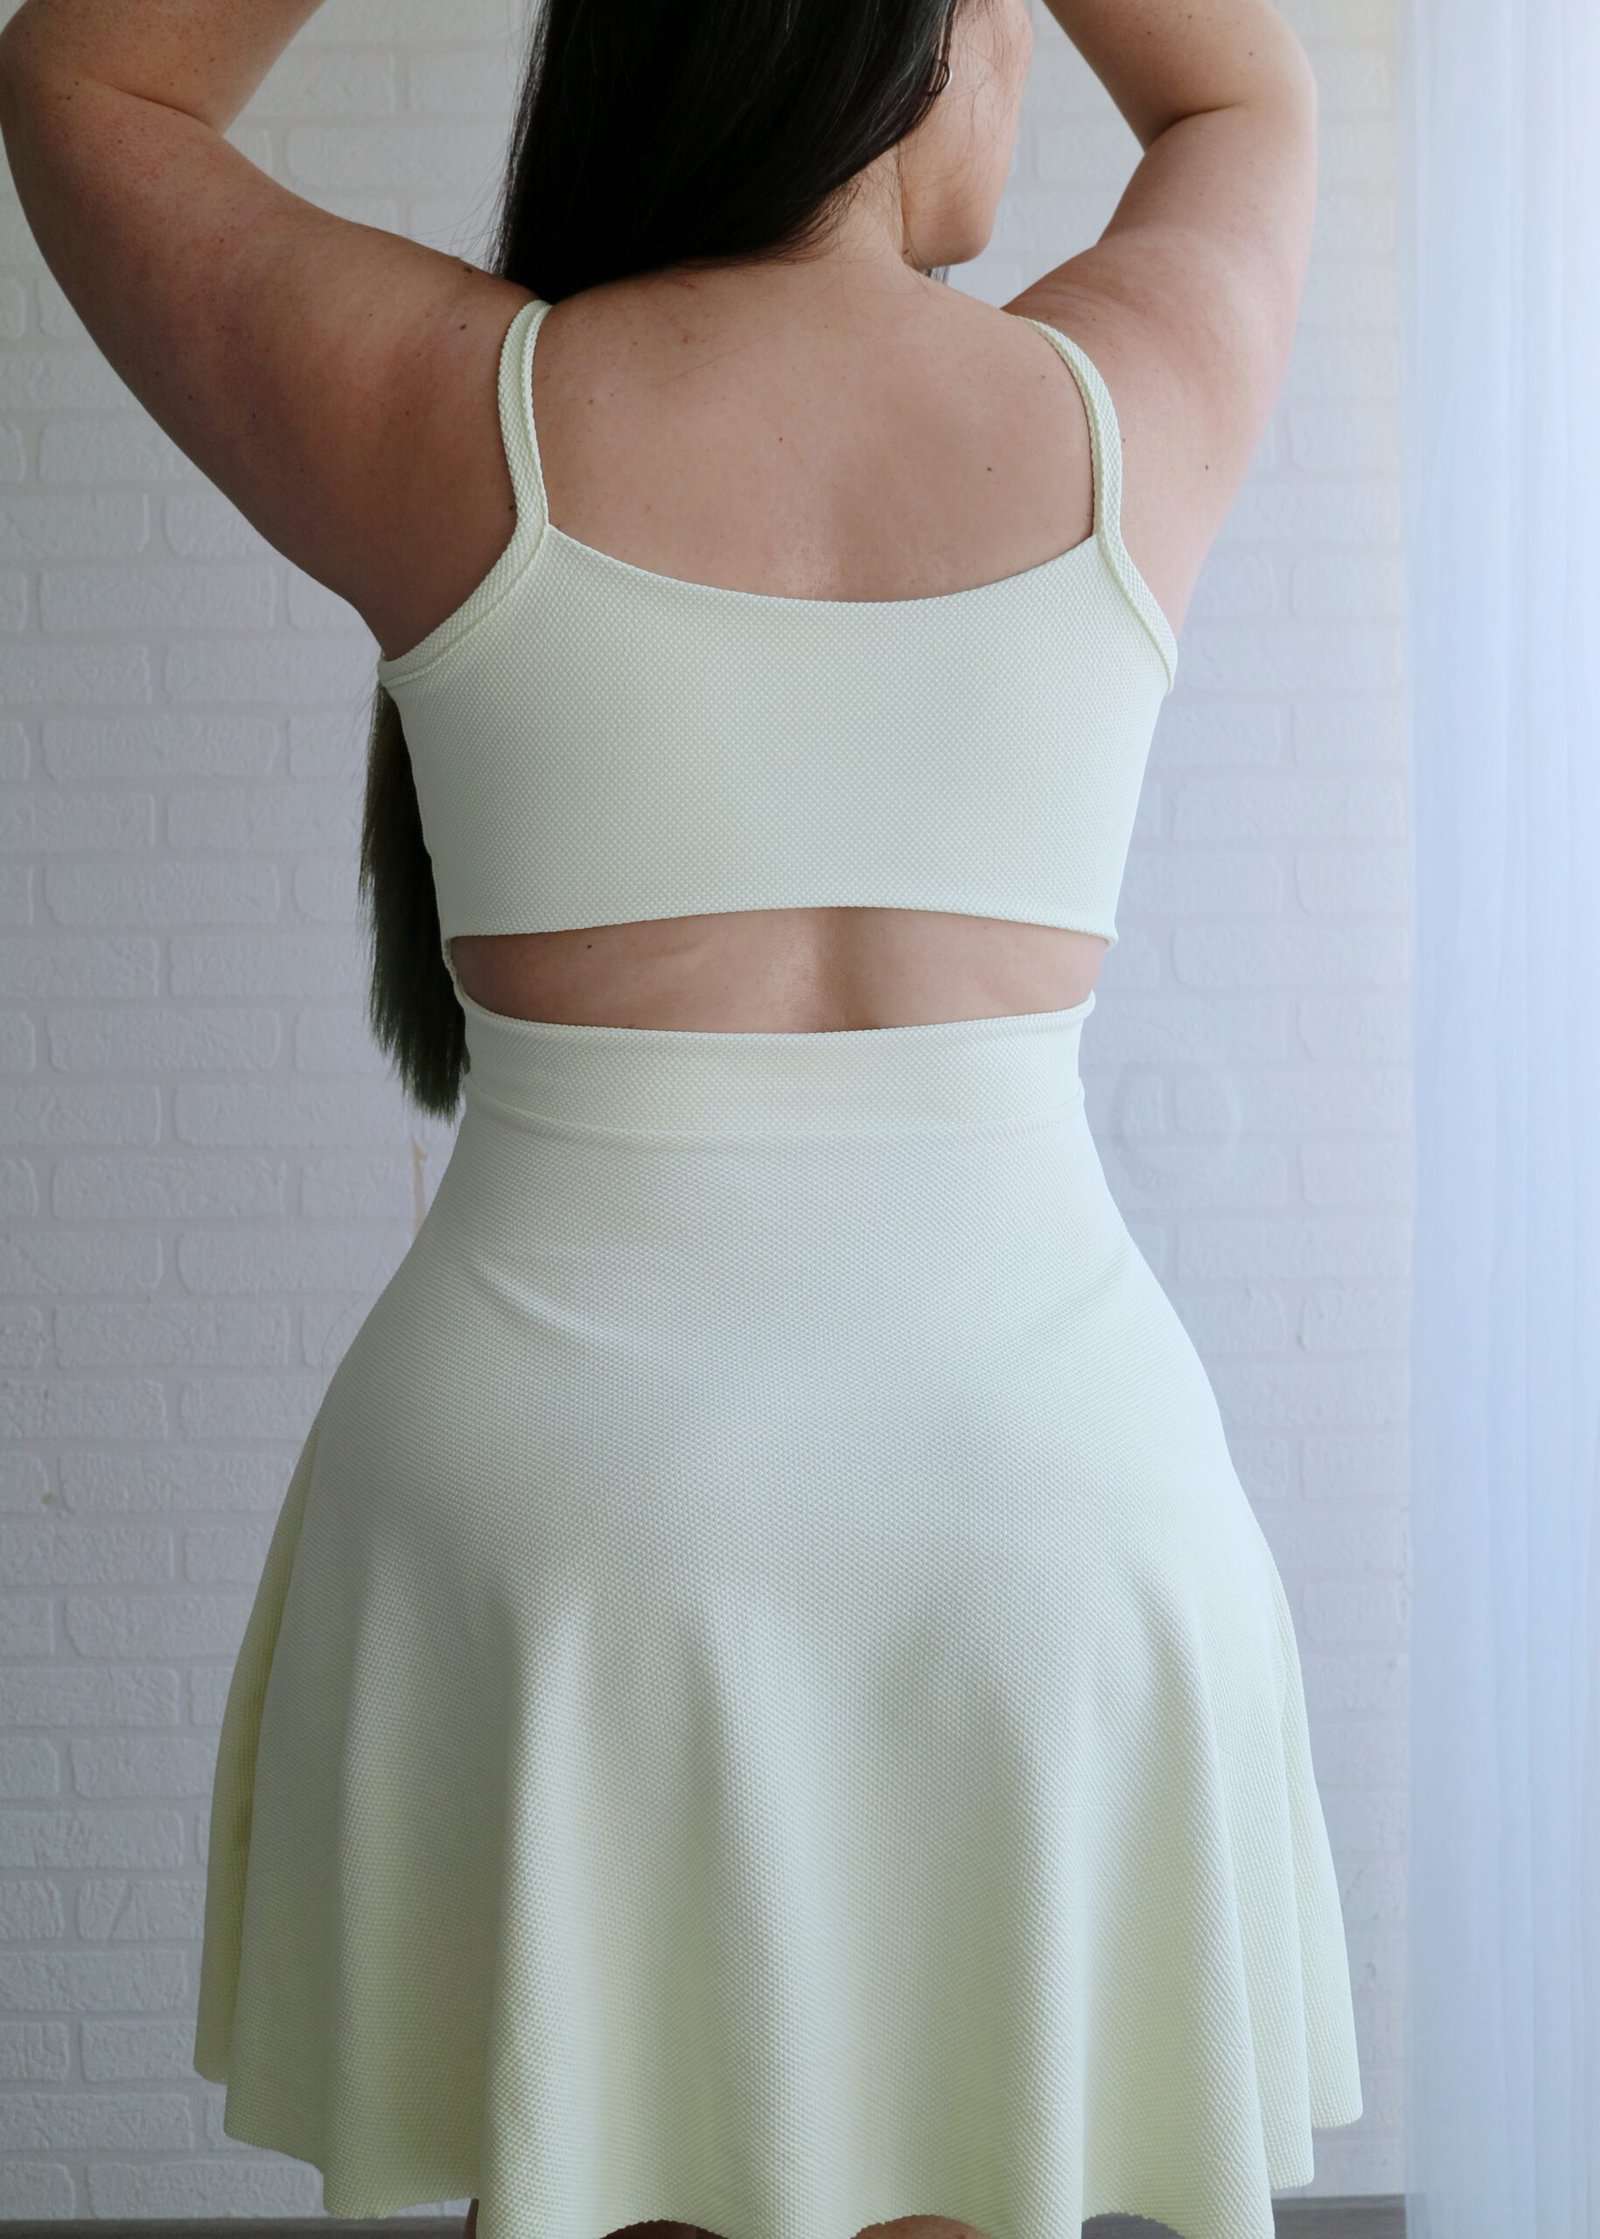
For the open back, we’ll need to take a step or two extra, and they both involve the Open Back Cropped Band piece.
The main difference is that in order to attach the skirt to the crop, the back edge will need to be at the same level as the front bodice.
To achieve that we have two options:
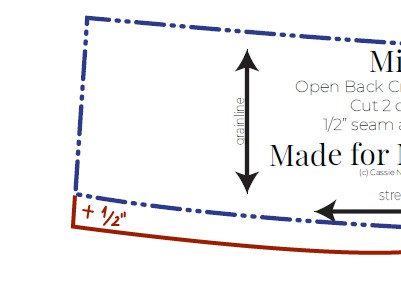
- add 1/2 inch to the band height and follow the directions to butt up the band to the back top with no overlap;
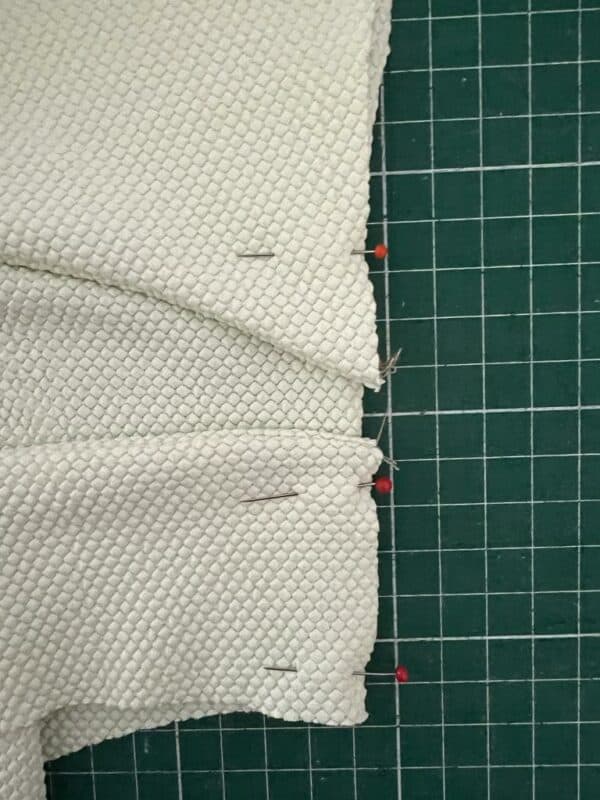
- Or keep the band as is and line it up to the bottom edge of the front bodice. That will leave a little gap between the back top and the band, creating a slightly more open back. This is what I did for mine:
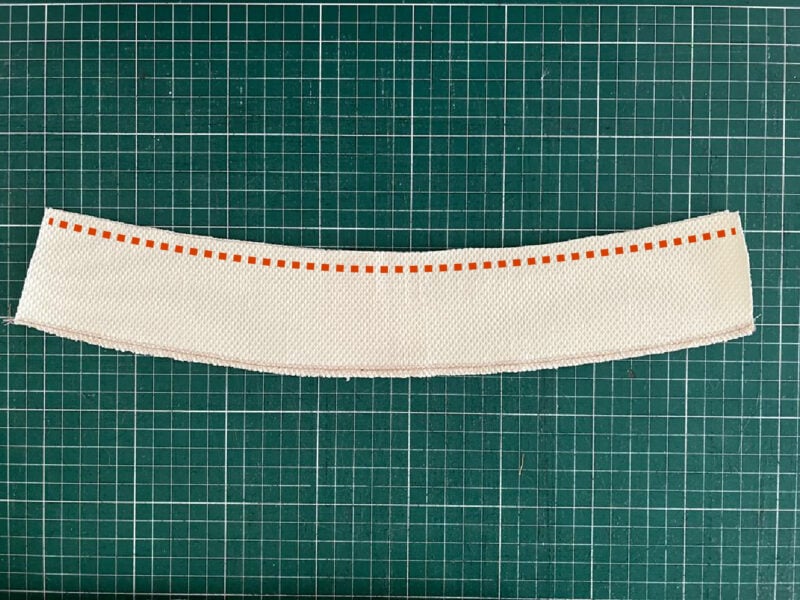
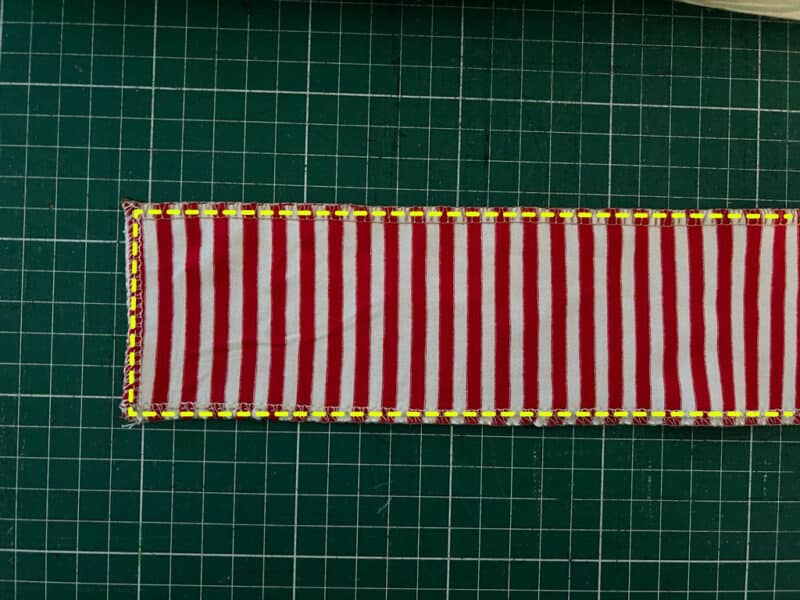
After deciding what route to take, you’ll sew the crop top exactly as per instructions, but in Step 7 you’ll only sew the top edge of the band
(I made a mistake before taking the photos, the red dotted line is the correct one).
After that, with the exception of leaving the crop top unhemed, everything else is as per pattern. All there is left to do is to attach your skirt as you would normally.
As I mentioned above, I used the 1/2 circle skirt form Bryce, but Mira would pair well with pretty much any M4M skirt. The sky is the limit!
Mira is cute, quick and easy to sew… all good reasons to add a bunch in all different styles to our wardrobe, am I right? 😉
xxx, Livia.
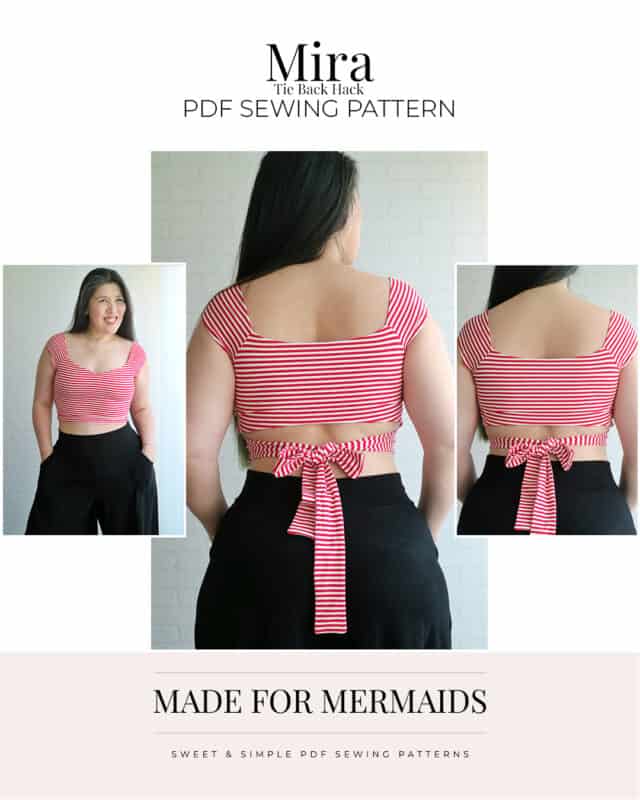
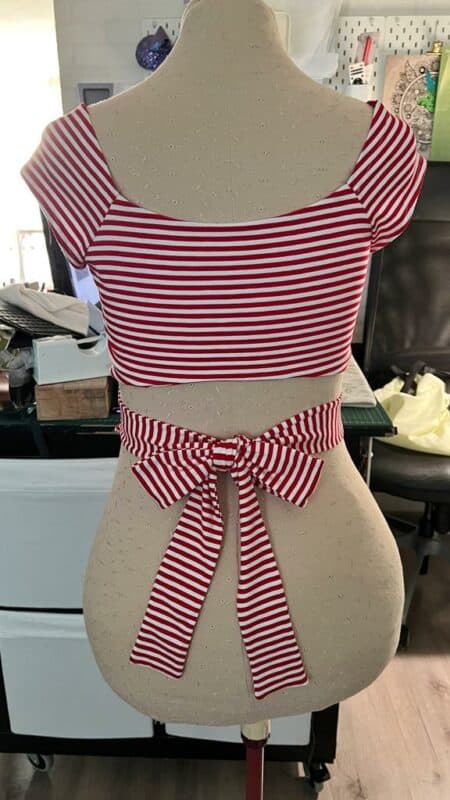
Mira Tie Back Hack
Here’s another easy way to add some flair to your Mira.
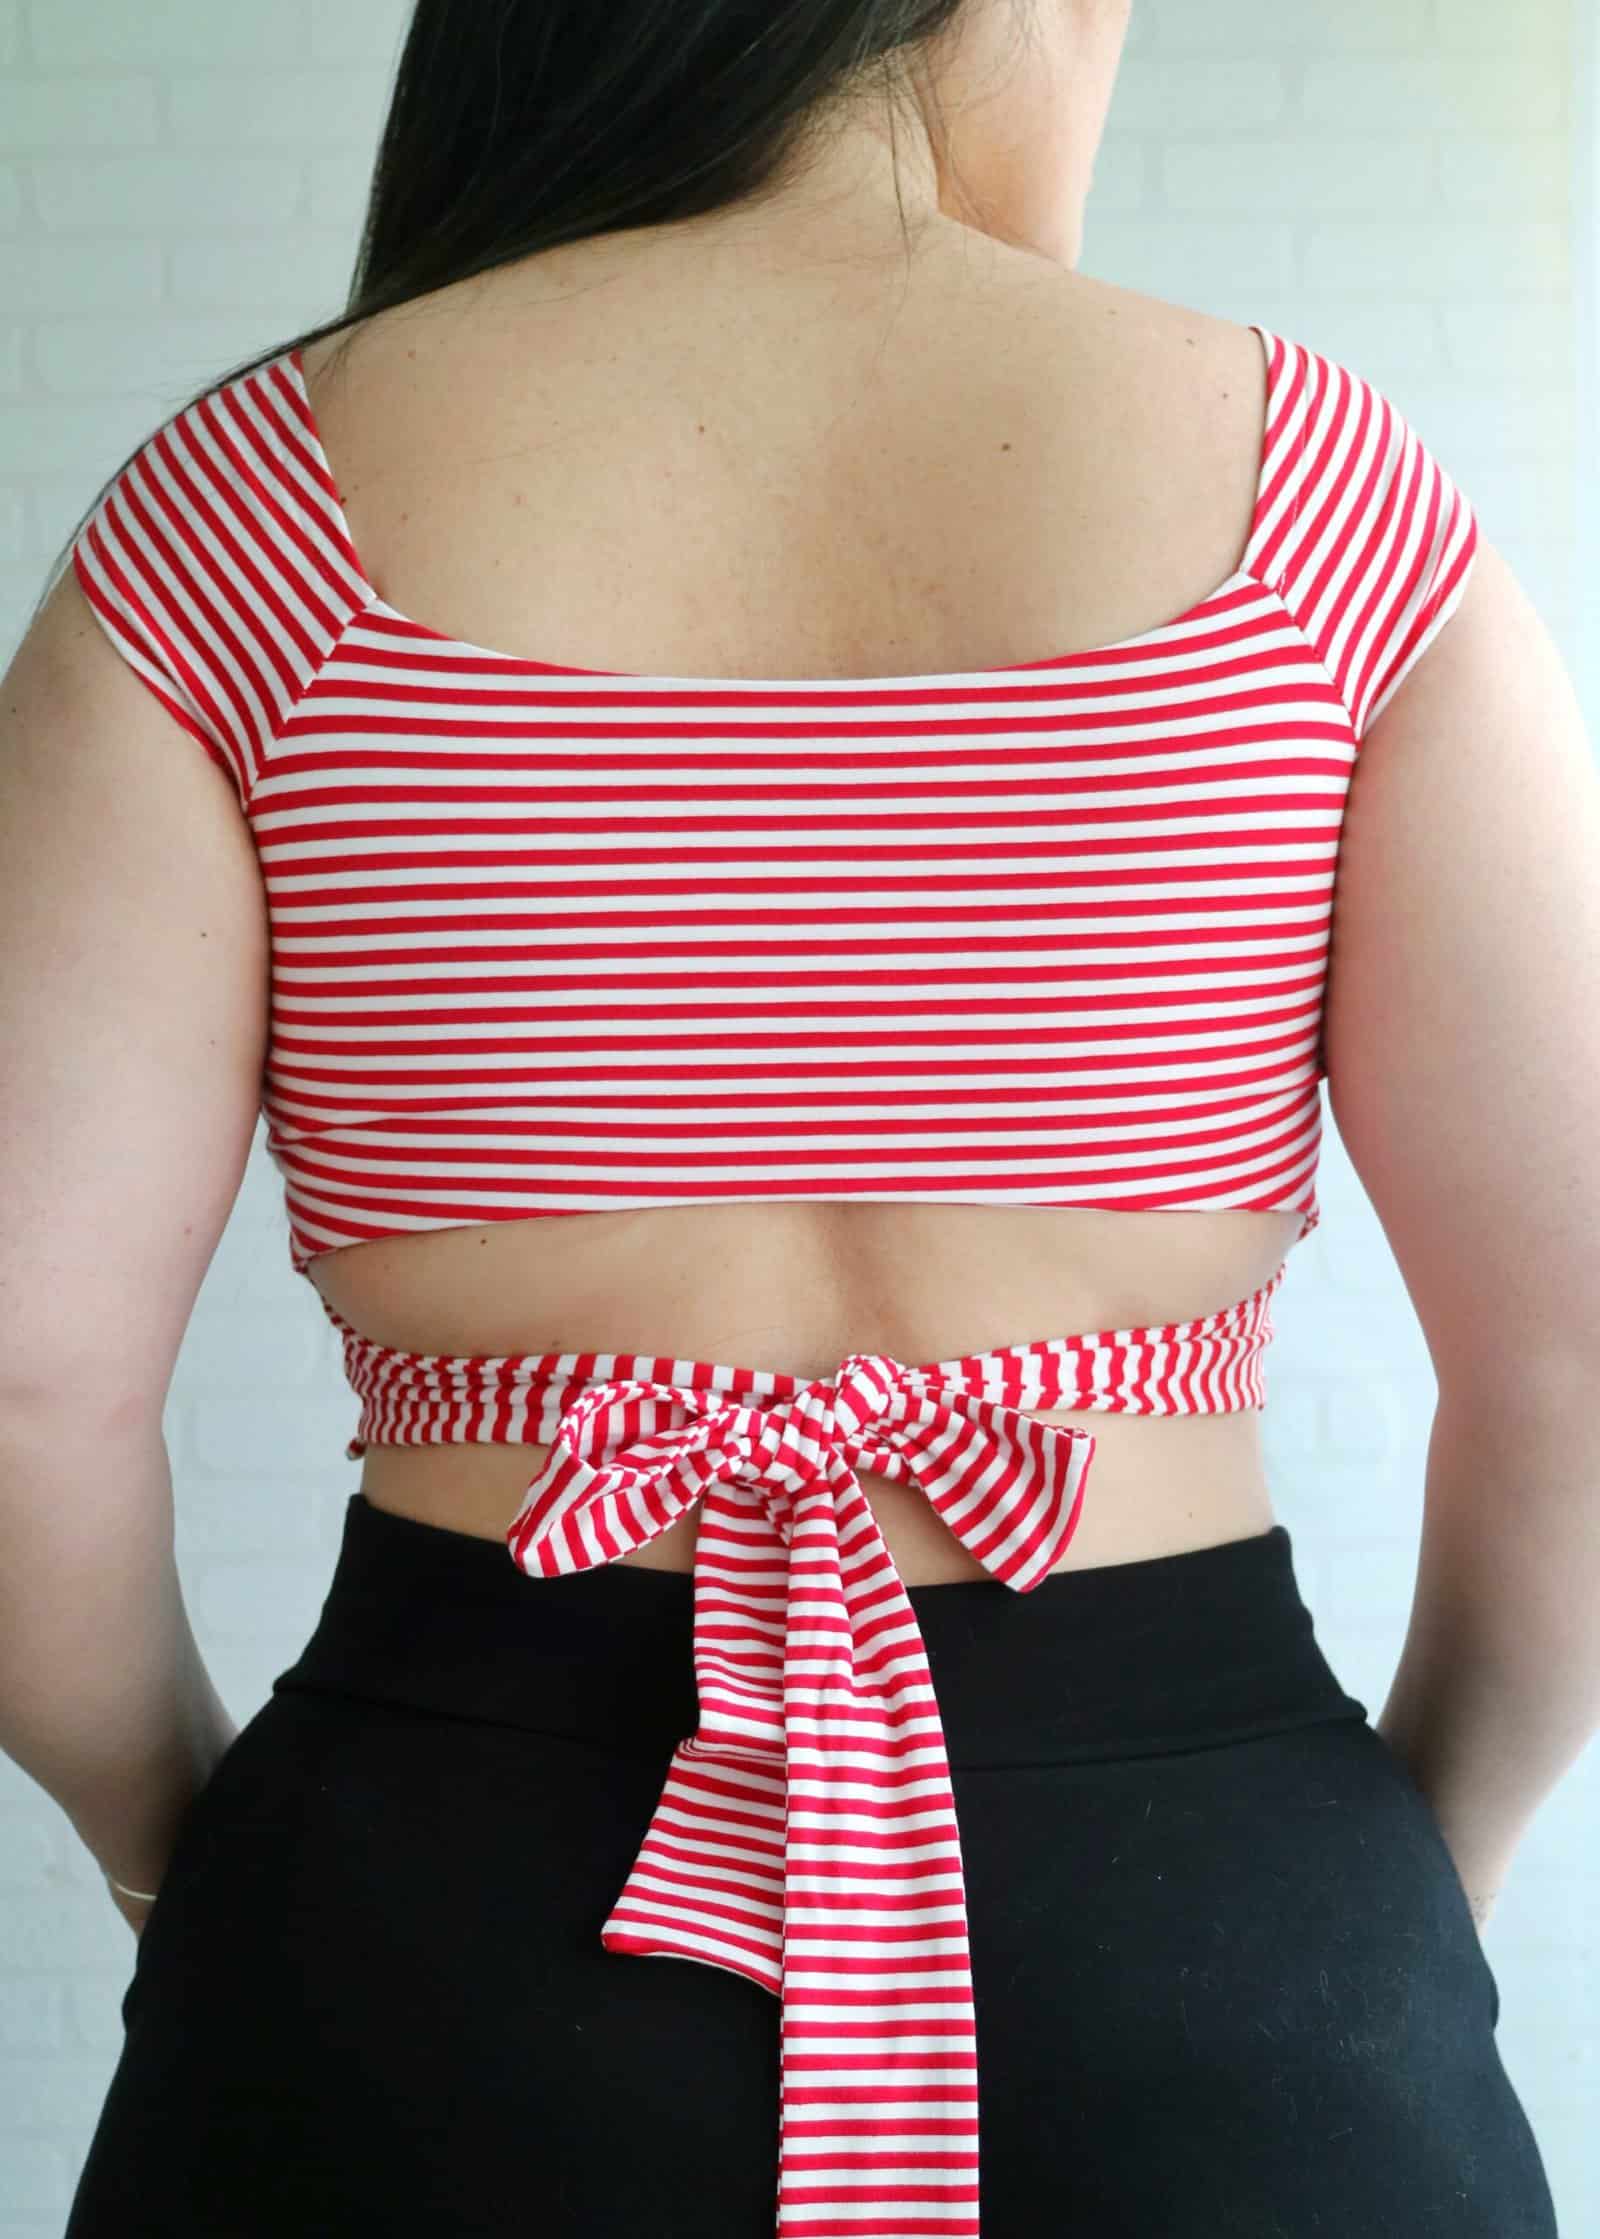
How about ties instead of a band for the open back crop option?
It’s such a cute detail and oh-so-easy to add!
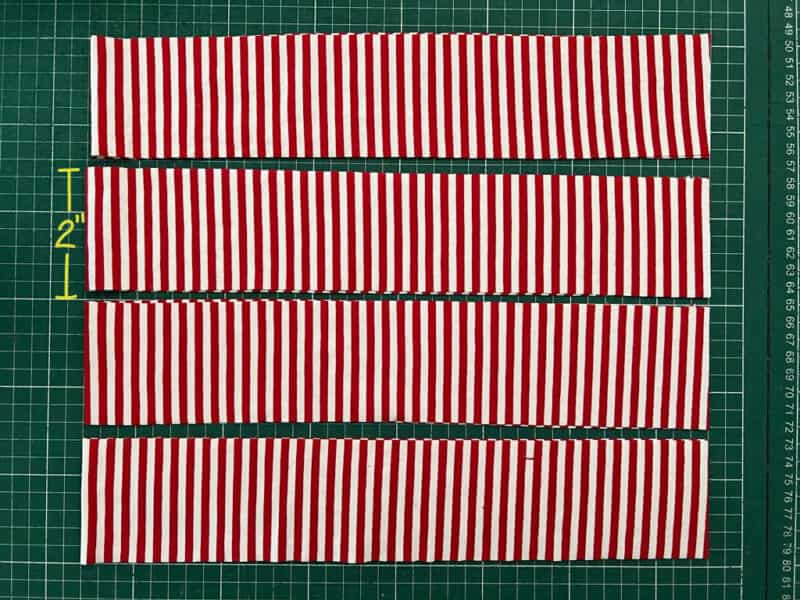
Once again, everything remains the same, with the exception of the Open Back Crop Band piece. This time the band will be left out altogether and we’ll cut 4 tie pieces instead. The height will be 2 inches and the length will depend on your size and personal preference, it just needs to be long enough so you can tie it on the back.
With right sides together sew along 1 short and 2 long sides of the tie and flip it right sides out. You can opt to topstitch along the seams if you want, but I personally just gave it a good press.
Now you’ll treat the two tie pieces as you would the crop band.
Simply follow all the instructions for the Open Back Crop and add the raw end of each tie to the side seams where the band would go.
Yup, it is as simple as that!
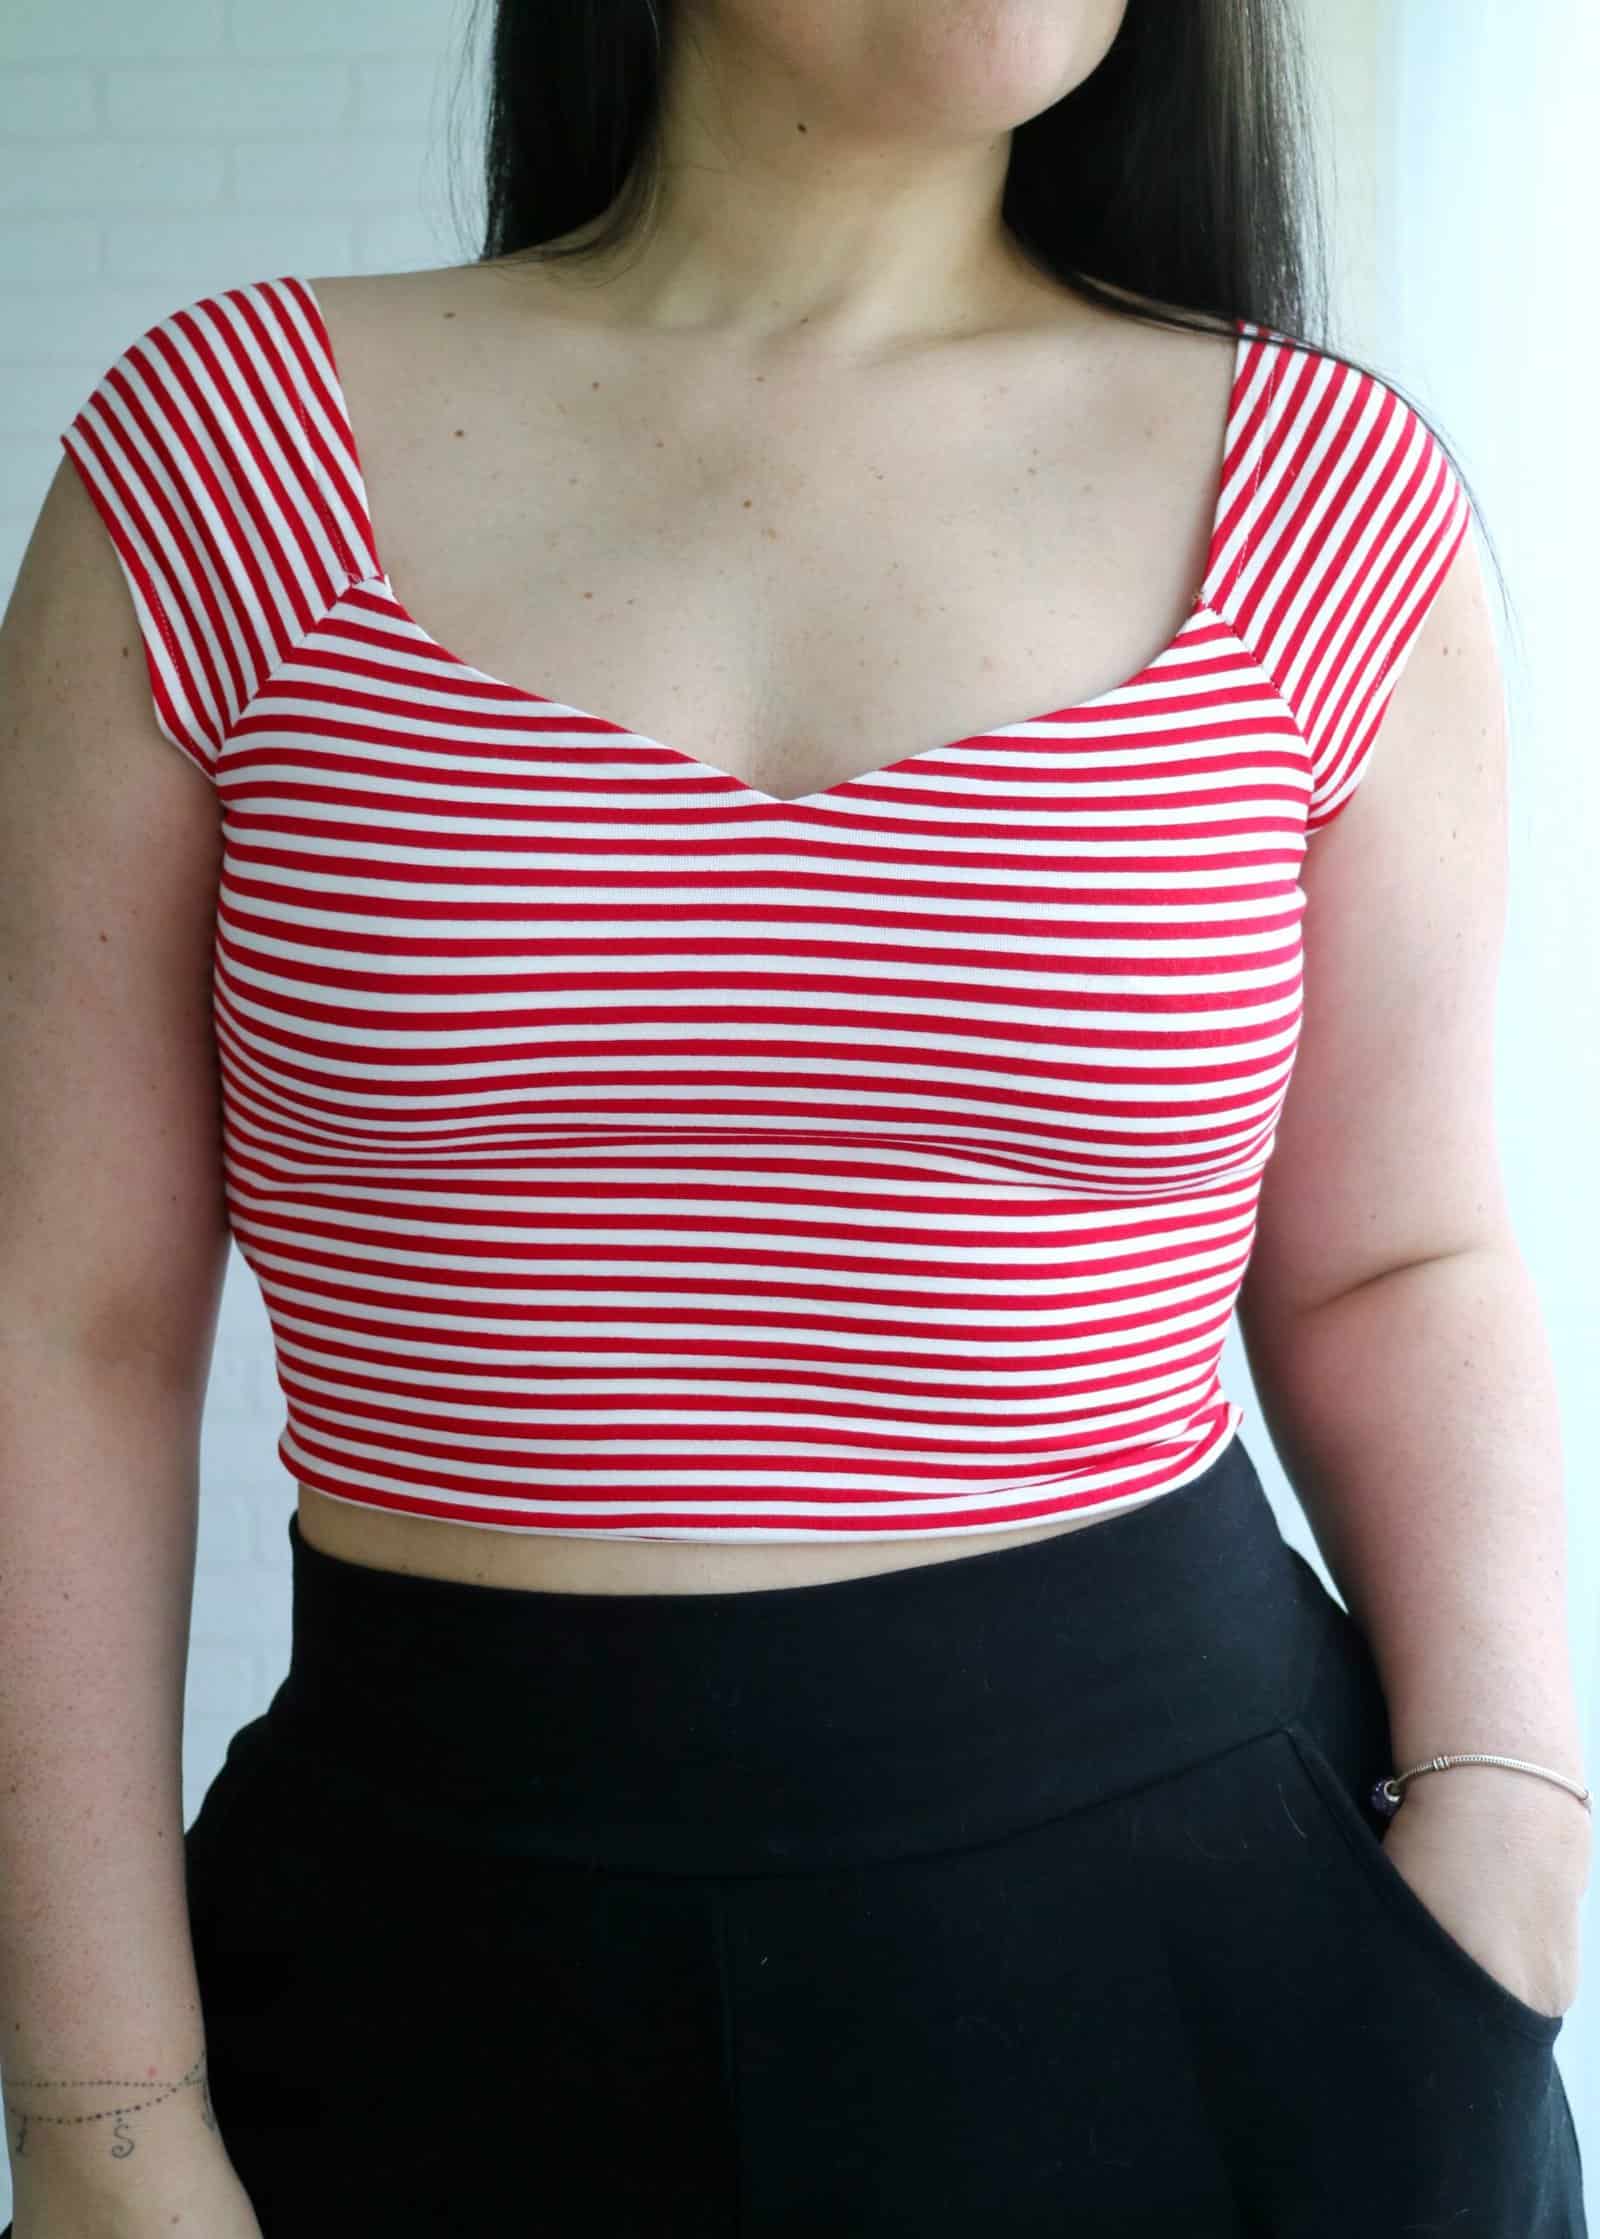
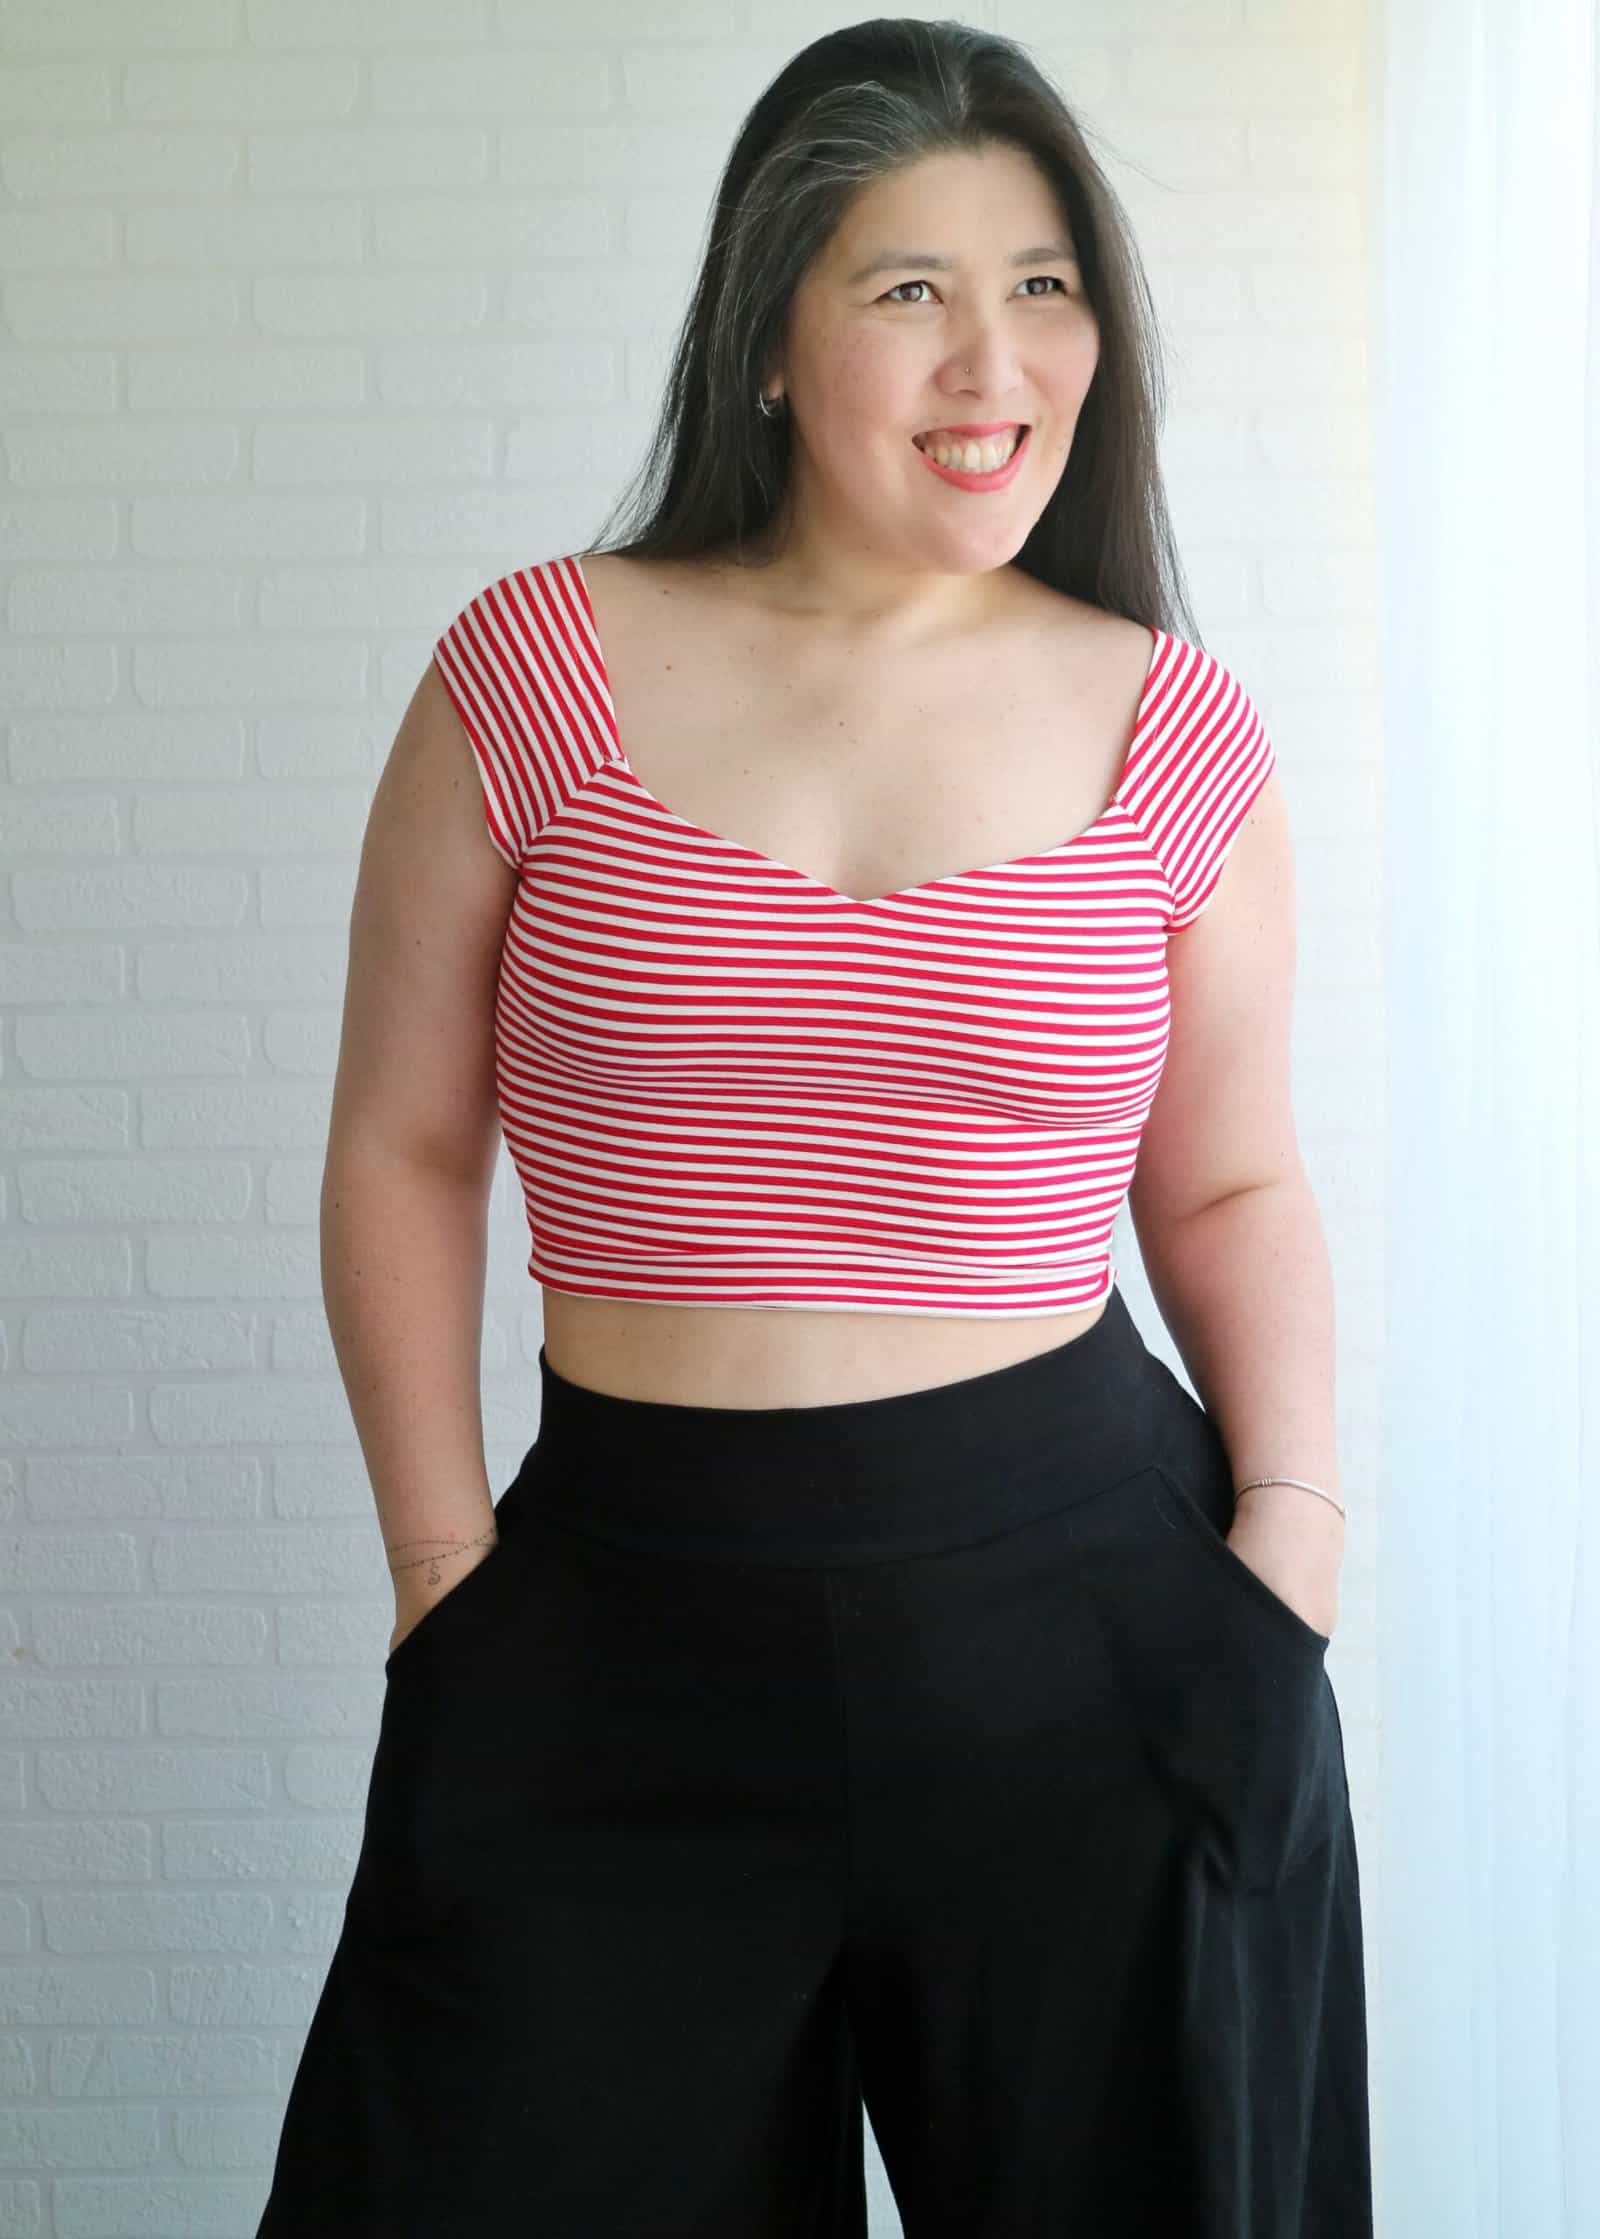
I’m so in love with this top. The options I chose were:
- plain front;
- cap sleeve;
- open back;
- fabric: cotton lycra.
Oh, and forgive me for the messy bow… had a hard time tying it by myself, but look how adorable it looks when you can actually see what you’re doing!
xxx, Livia.
Eden Pocket Hack
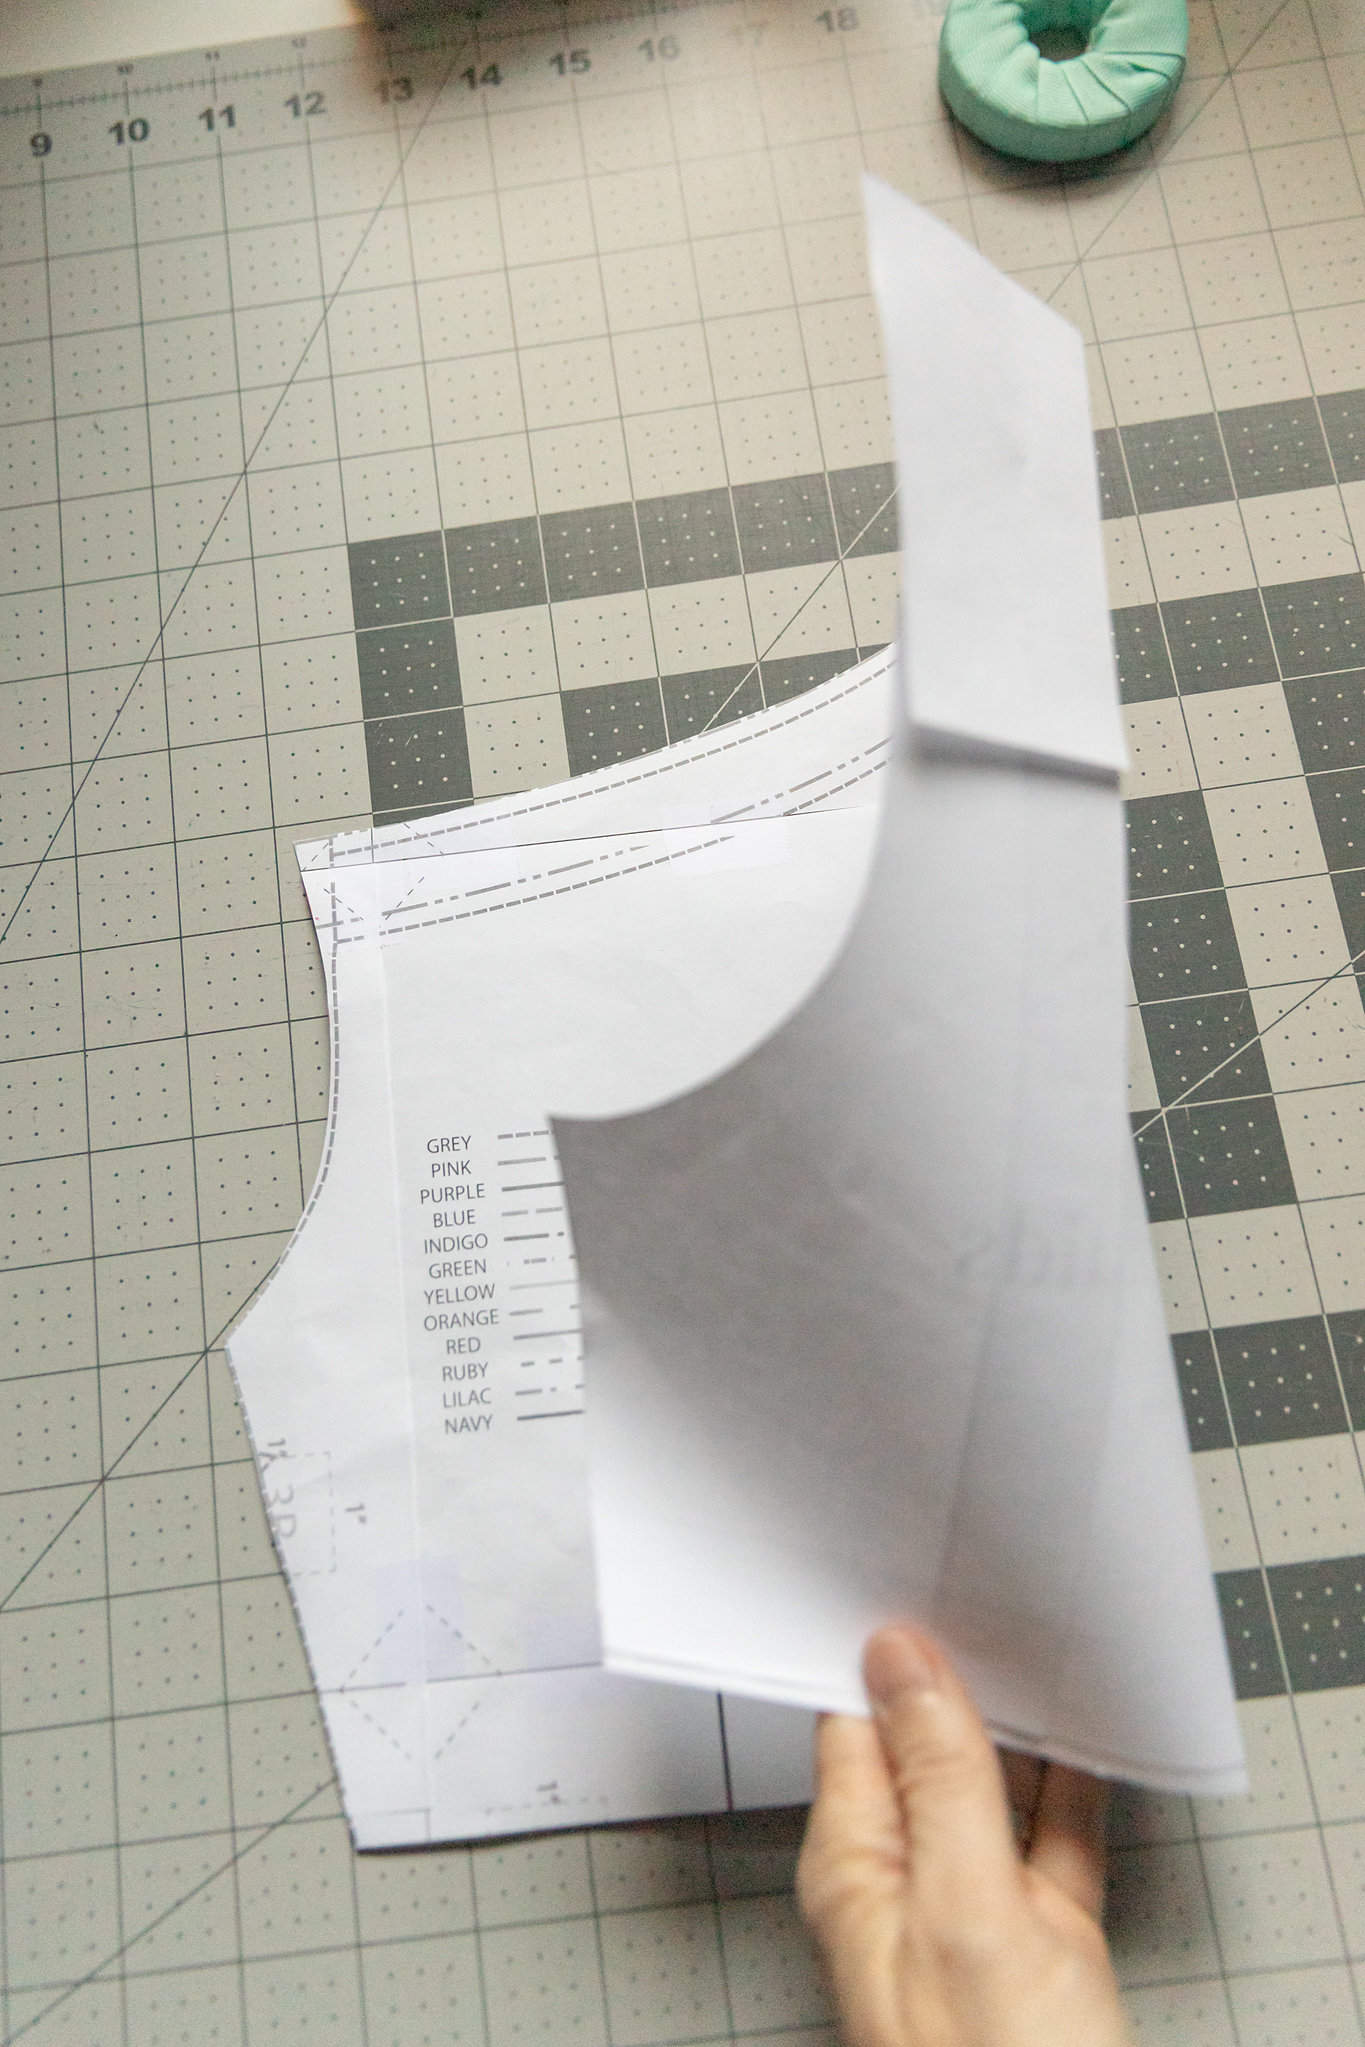
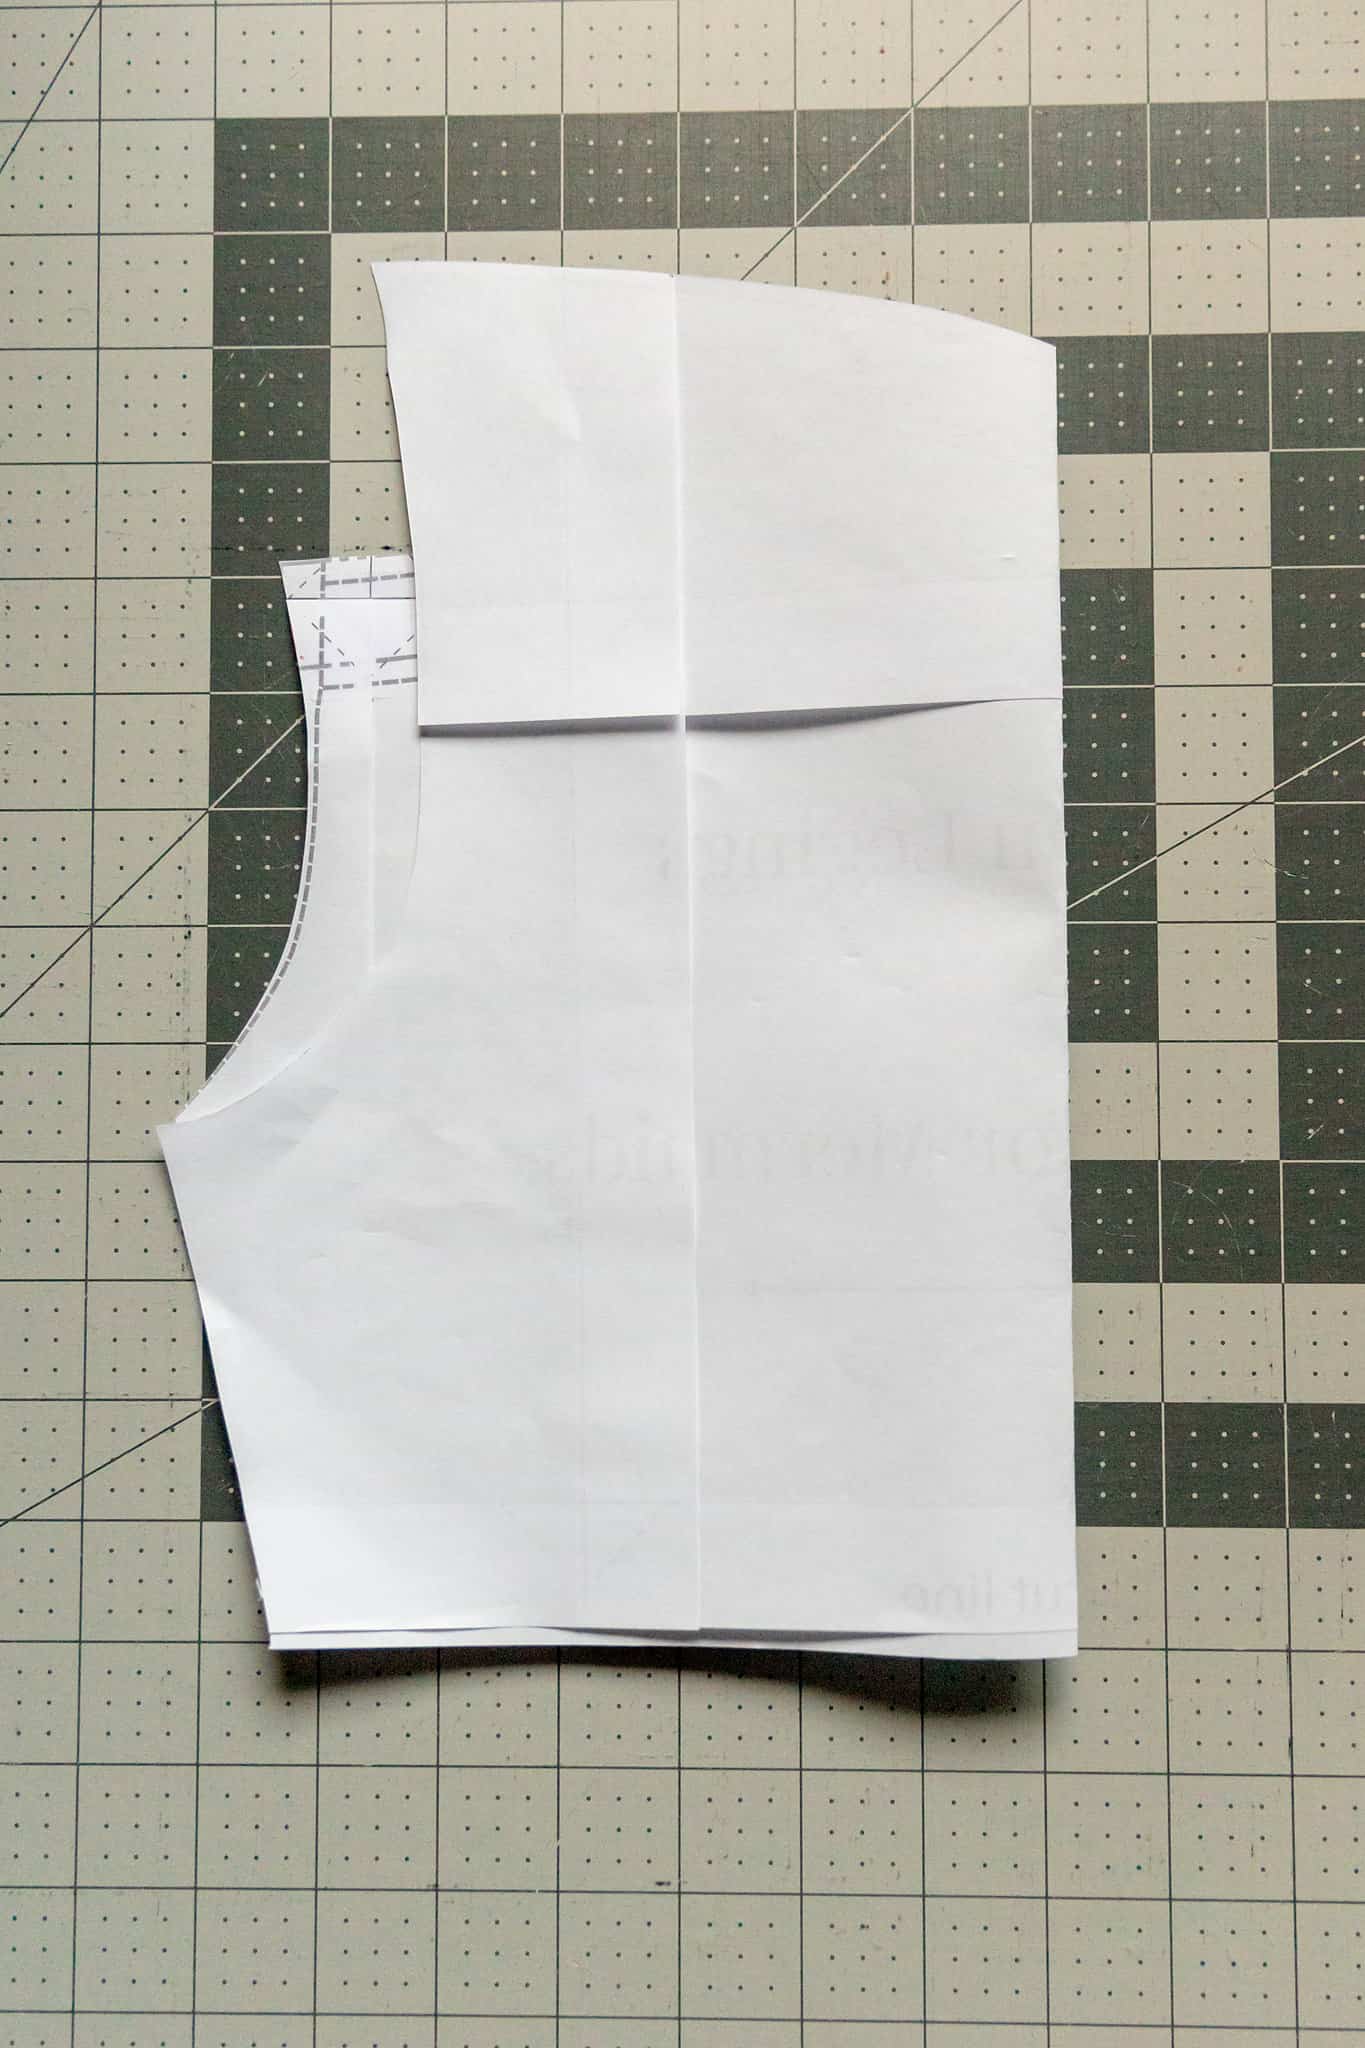
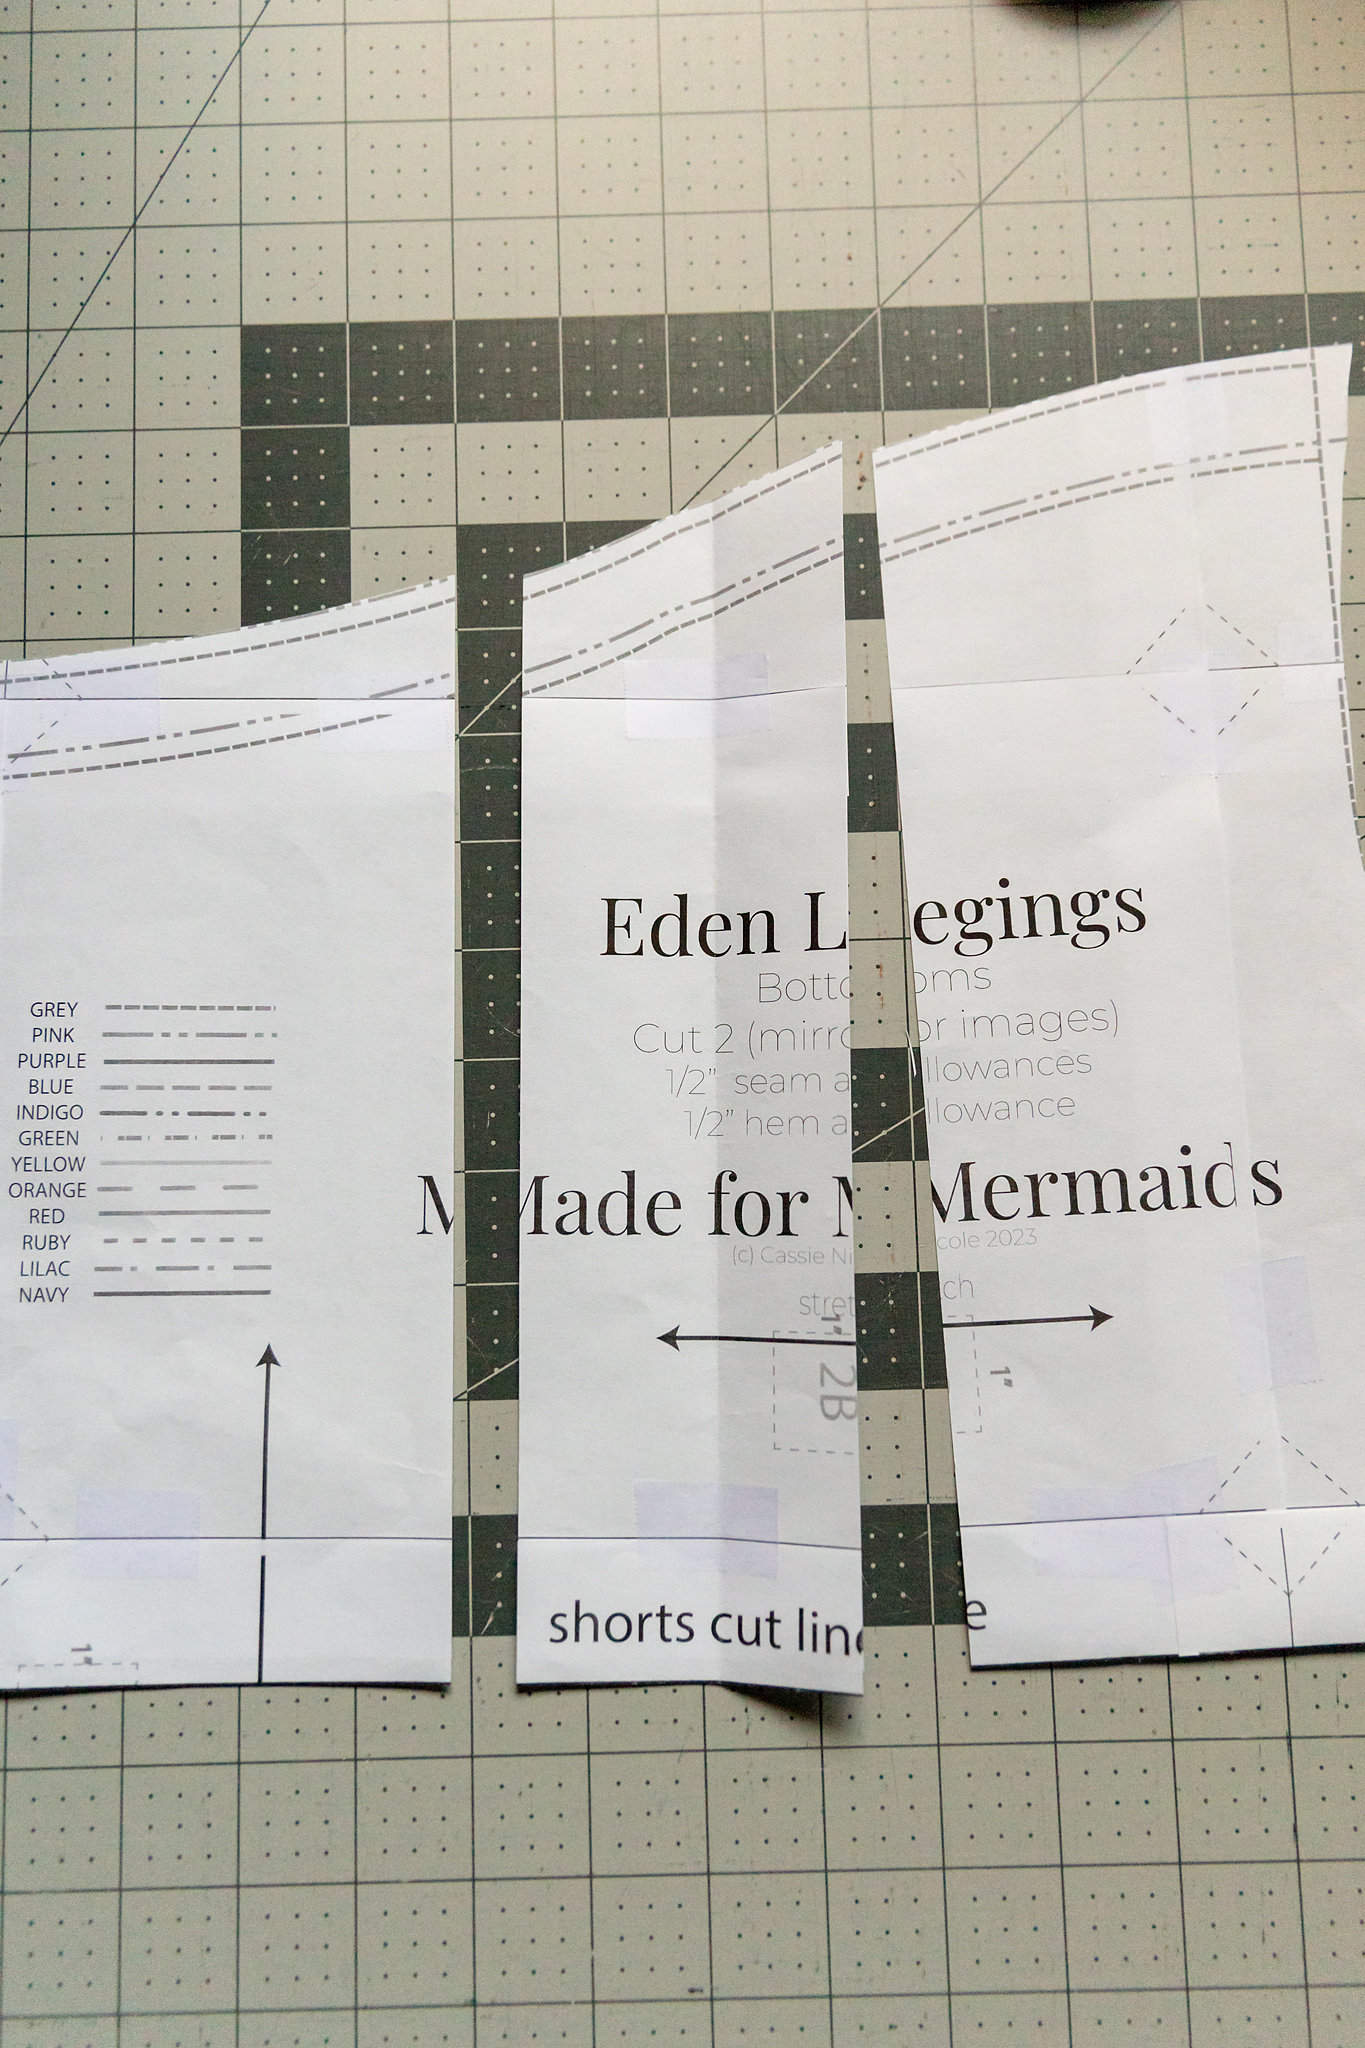
Pockets are a must for me with any leggings pattern. I love that the new Eden leggings have a gusset that runs down the inner leg, but I know I needed to hack the side to have a panel with a pocket. After printing my pattern, I matched up the inner leg seam and the bottom hemline and folded it in half.
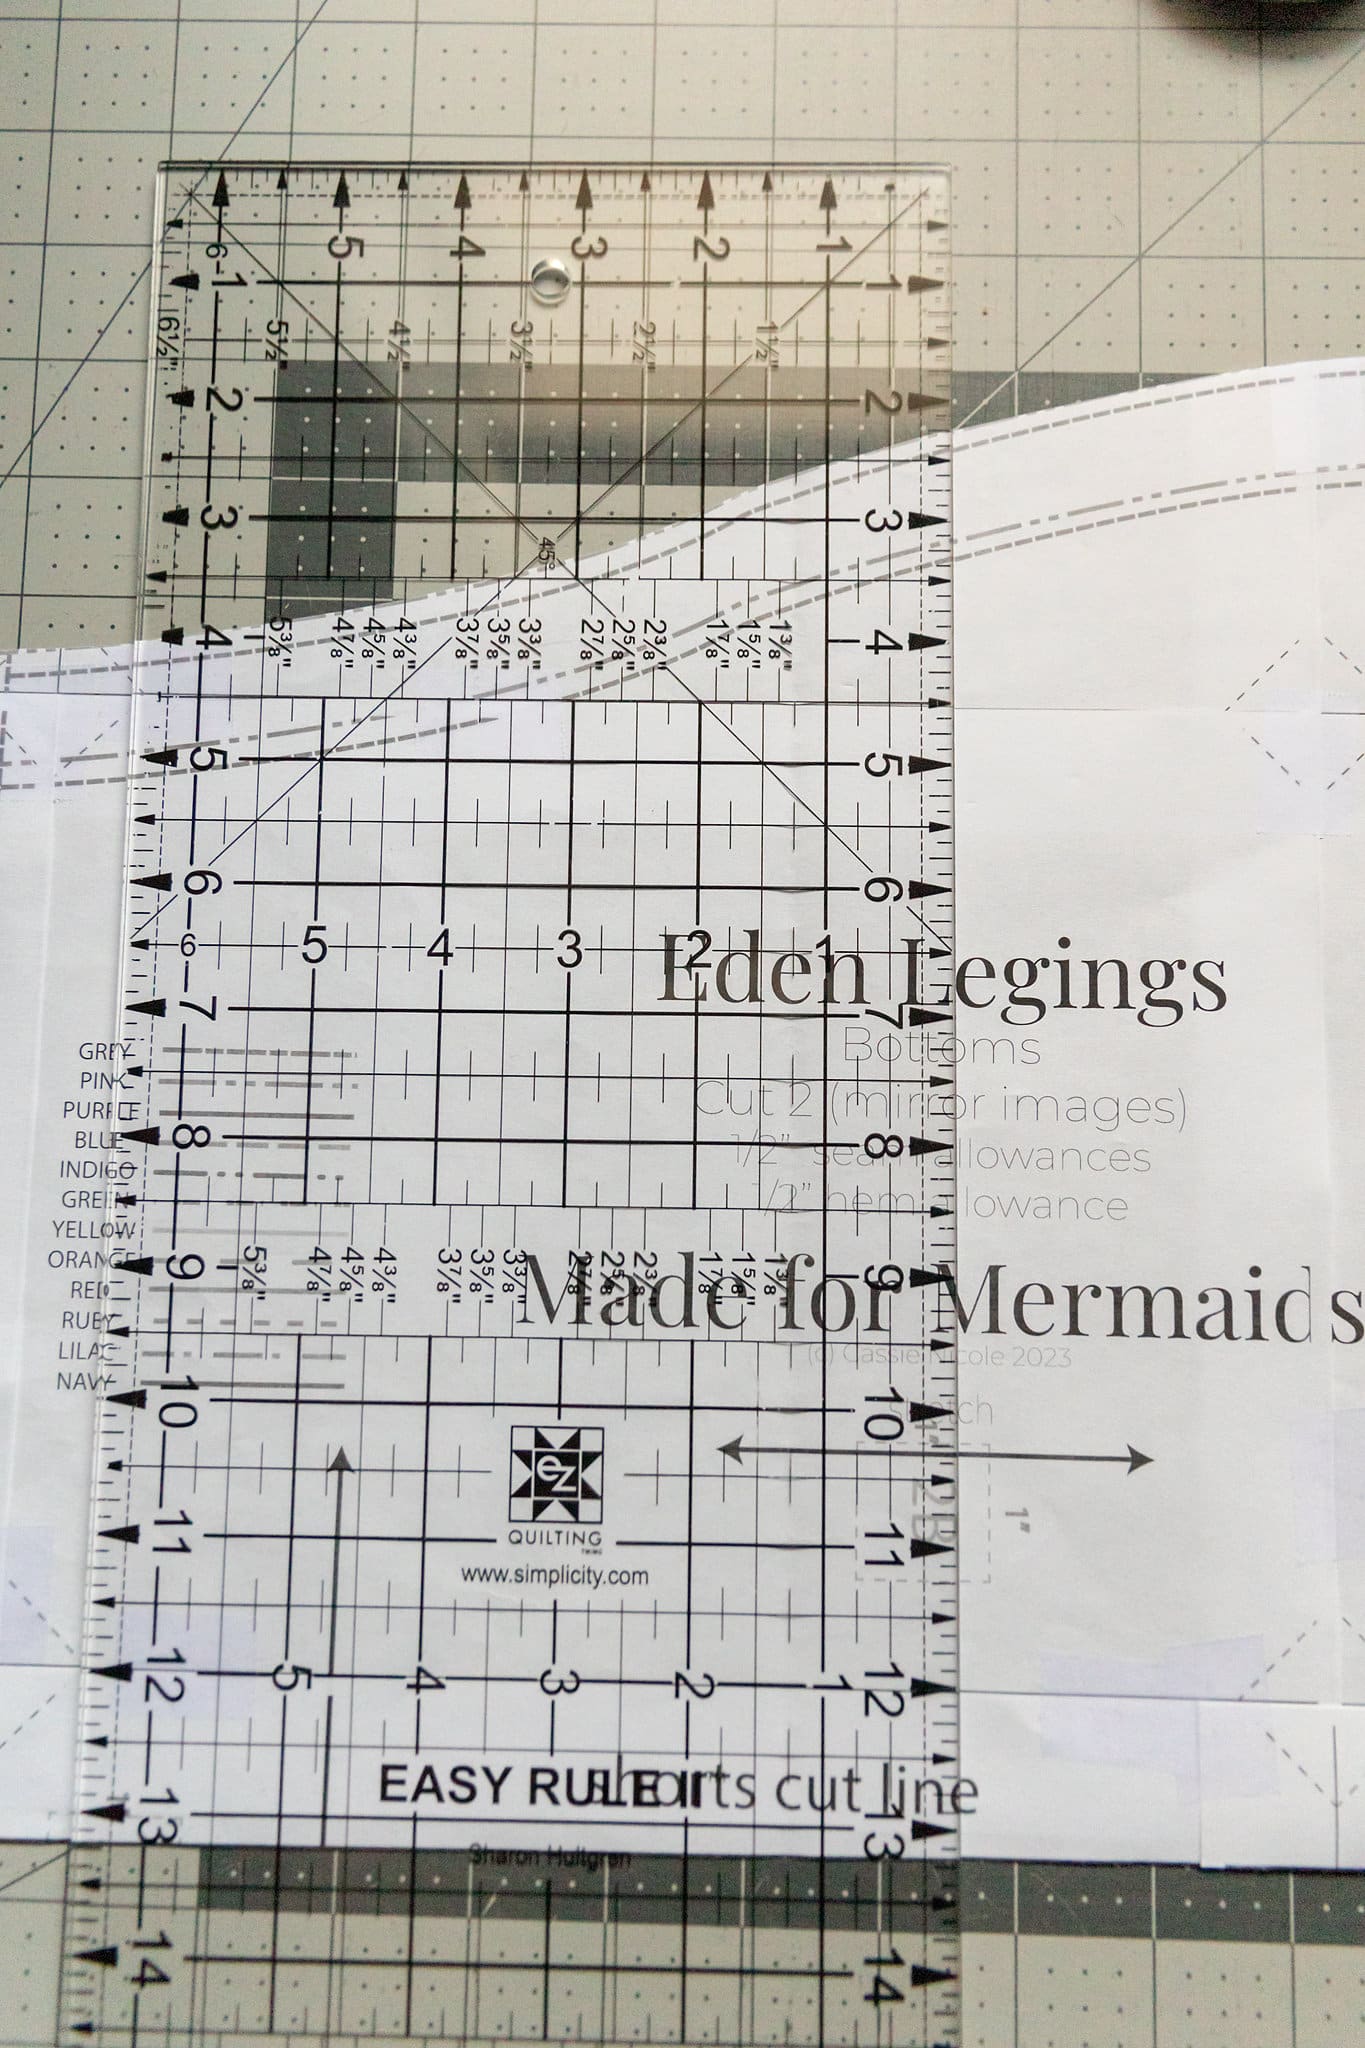
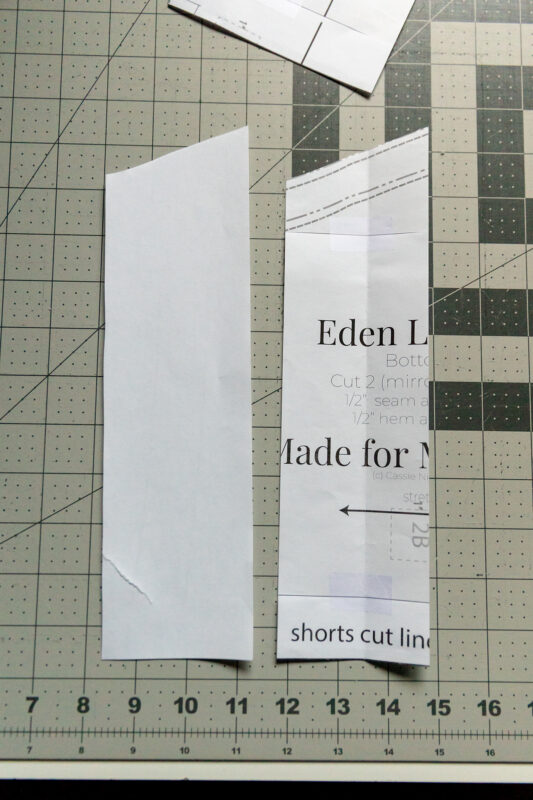
Next, using the fold line that I just created, I lined my ruler up down the fold line. I wanted to cut a 3″ panel. Because of the way our bodies are shaped, the leggings will have more fabric to the back of the pattern to accommodate our bums. Because of this, you’ll want to have more of the panel to the front of the pattern piece. I lined my ruler up on the 1″ line to have 1″ of the panel towards the back and 2″ of the panel to the front and cut the panel piece out.
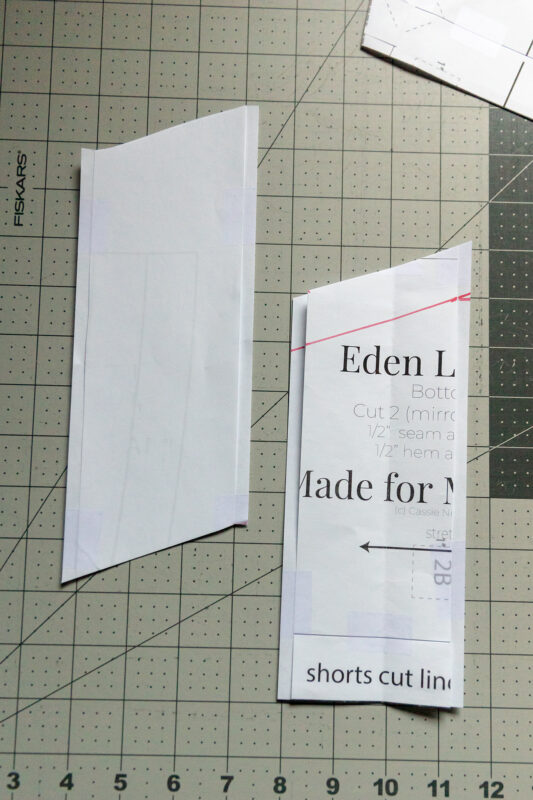
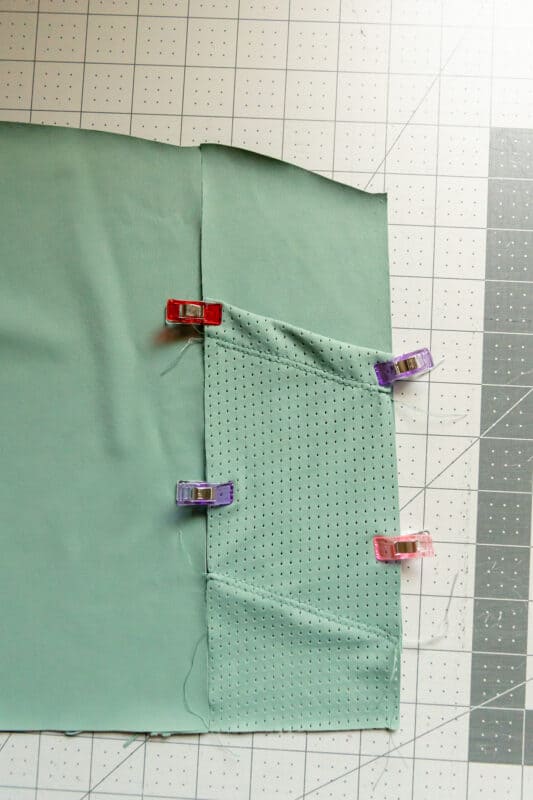
Now we need to duplicate this panel piece in order to make the pocket. I decided to use some athletic mesh from Fabric + Flow that I got in an athletic knit kit to match my solid to make the pocket and bottom of the panel be the mesh. You could also just make a patch pocket to add over the panel as well, or use one of our patch pockets from another leggings pattern (like Tinsley or Serena).
Once we’ve duplicated our piece, we need to add our seam allowance to the front and back pieces, and the panel pieces where we cut. You can choose whichever seam allowance you prefer. I decided where I wanted to cut the bottom piece to make the pocket and the top piece to have the solid. I made my pocket to be about 6.5″ and also added the hem allowance to the bottom for the top of the pocket.
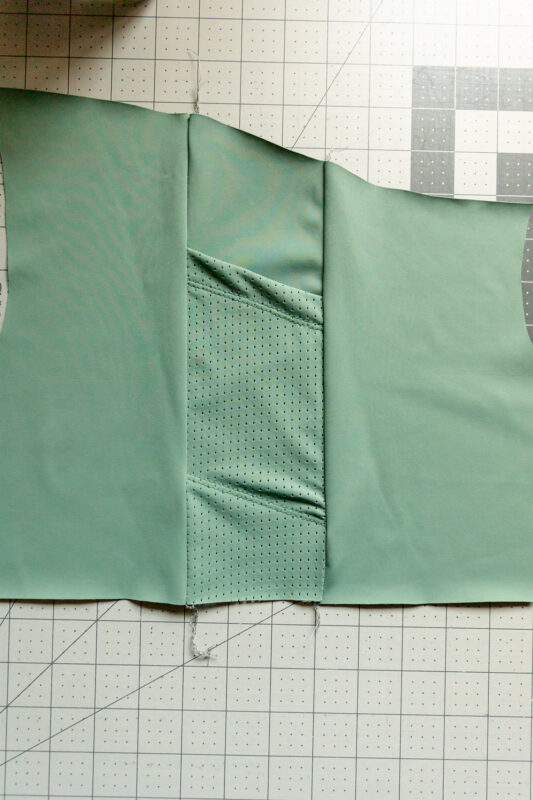
I then cut out my fabrics, hemmed my pocket at the top and overlapped my pieces and edge stitched the bottom of the solid to the mesh.
Next, you’ll sew the panel to the front and back with right sides together.
Following this, you’ll then continue with the rest of the tutorial and treat the legs as one piece. That’s it – now you have pockets! Enjoy! – Anna
Eden + Stephanie Mash
Hey Mer-peeps!
Every now and then something will pop up on my FB feed that makes me think, “Oh that’s cute! I can make that!” And then it sits in an “inspo” folder on my phone for months or years before I do anything with it. Anyone relate??
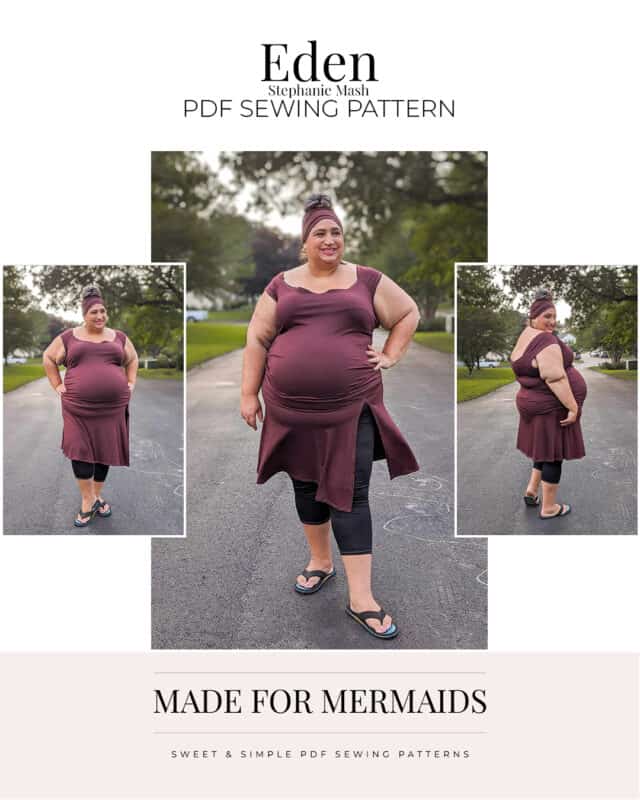
When I saw the Eden leggings, I knew it. Was. Time. Time to bring an INSPO to life! I decided to grab the skirt from Stephanie to make it happen!
You will need:
- Eden leggings pattern
- Stephanie Dress & Romper pattern (slitted skirt pieces only)
- additional fabric to accommodate the skirt pieces
- straight edge ruler and measuring tape
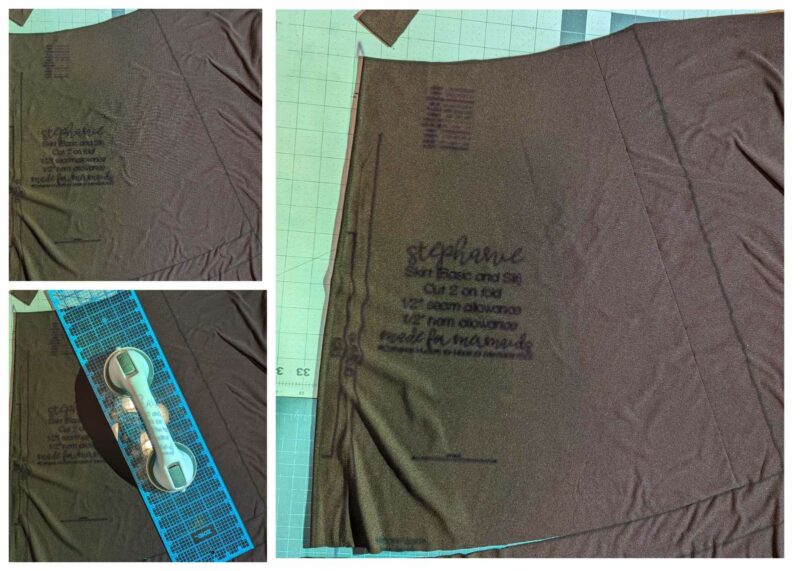
First, you’ll want to measure the top of your size for your leggings. You’ll use this measurement to determine the size skirt to cut from Stephanie. My size, Navy, measured approx 23″ across the top, so I compared that to the Stephanie back skirt piece to find the size that matched most closely. Remember that the skirt piece is cut on the fold, so you’ll want a size about half your measurement. For Navy, it was Red.
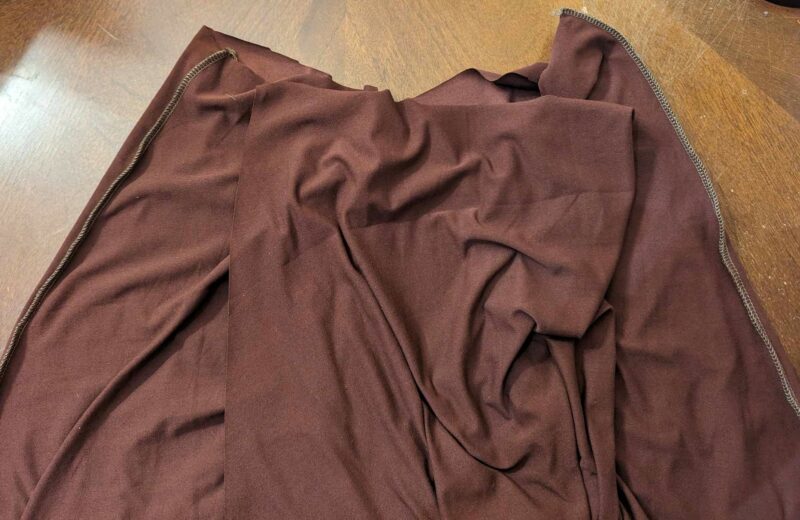
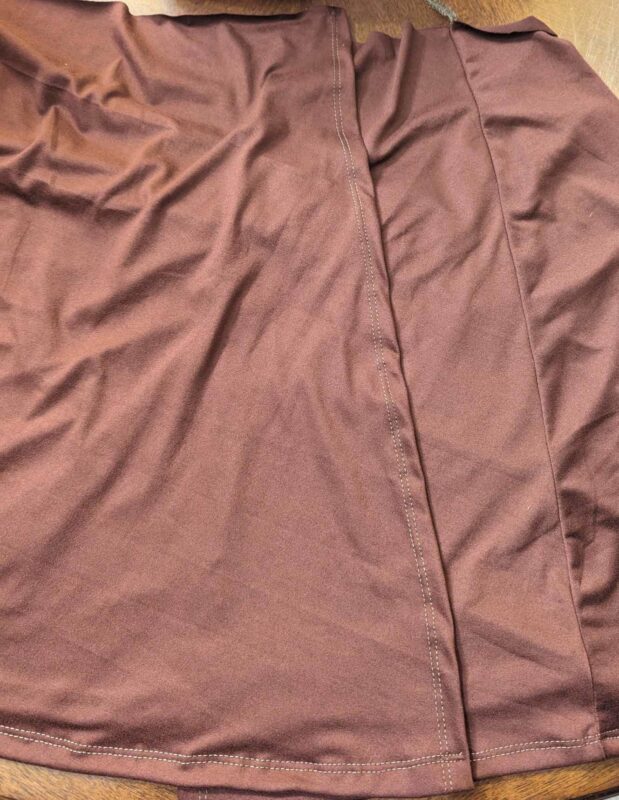
Once you’ve determined the size skirt you need, go ahead and cut it out. I wanted it slitted over the leg like my inspo, so I cut one back skirt, one front, and the side panel for the slitted skirt. I wanted the slit to be more pronounced than as patterned, so before I cut the hemmed edge, I cut off about 3″ from each pattern piece (or, if using a projector, just used my ruler to cut the new edge.) This still allows a slight overlap of the pieces but will allow the slit to remain open when worn. But you can leave it as patterned if you don’t want it to open like that!
Time to sew! This part is pretty straight forward. Sew up your Eden leggings per the written pattern tutorial, but don’t attach the waistband yet.
Now, assemble your Stephanie skirt. You’ll sew the front skirt pieces to either side of the back skirt pieces, hem both sides of the slit and then hem the bottom. We are now ready to attach!
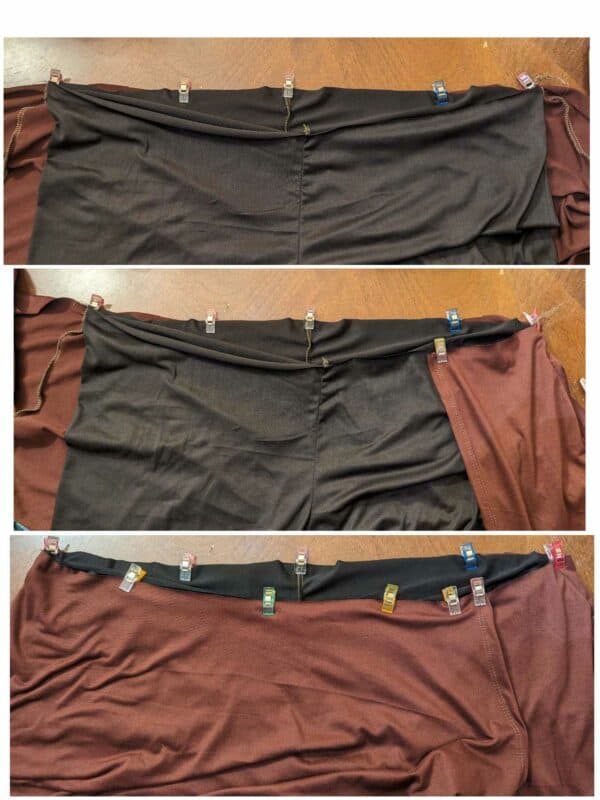
Find the center back of the skirt, and mark with a pin or clip. Now, divide the top of your Eden leggings into quarters and pin/clip. Lay the leggings over the back of the skirt, matching the center points. Clip the side seams of the skirts to the side quarter points of the leggings. For the front, fold over the front of the leggings, overlapping the two panels slightly, and pin/clip in place. It should be very close to a 1:1 match, but you may need to do a very small amount of easing.
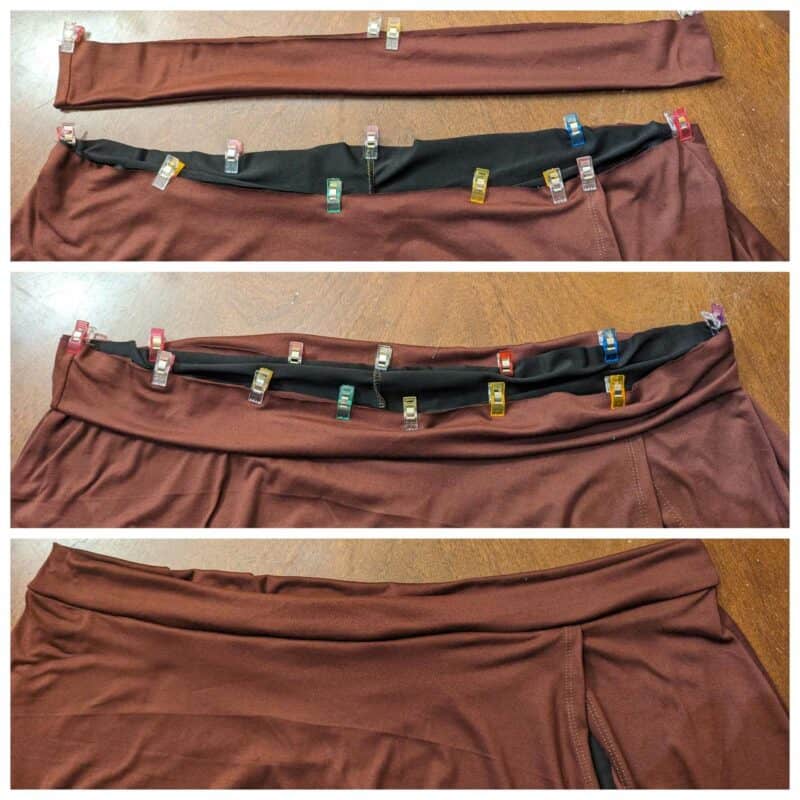
Once you’ve got that all pinned/clipped, quarter the waistband and add that to the top of your skirt/leggings combo. It may help to baste the skirt and leggings together first but that’s up to you!
Sew it up and you’re good to go! If you haven’t yet hemmed your leggings, give it a hem and then you’re finished!
Spin, twirl, walk your imaginary runway, and enjoy your new skeggings!
Happy sewing!
~jess
We can’t wait to see what versions you sew up. Don’t forget to share and tag us on your favorite social media channels.

Leave a Reply