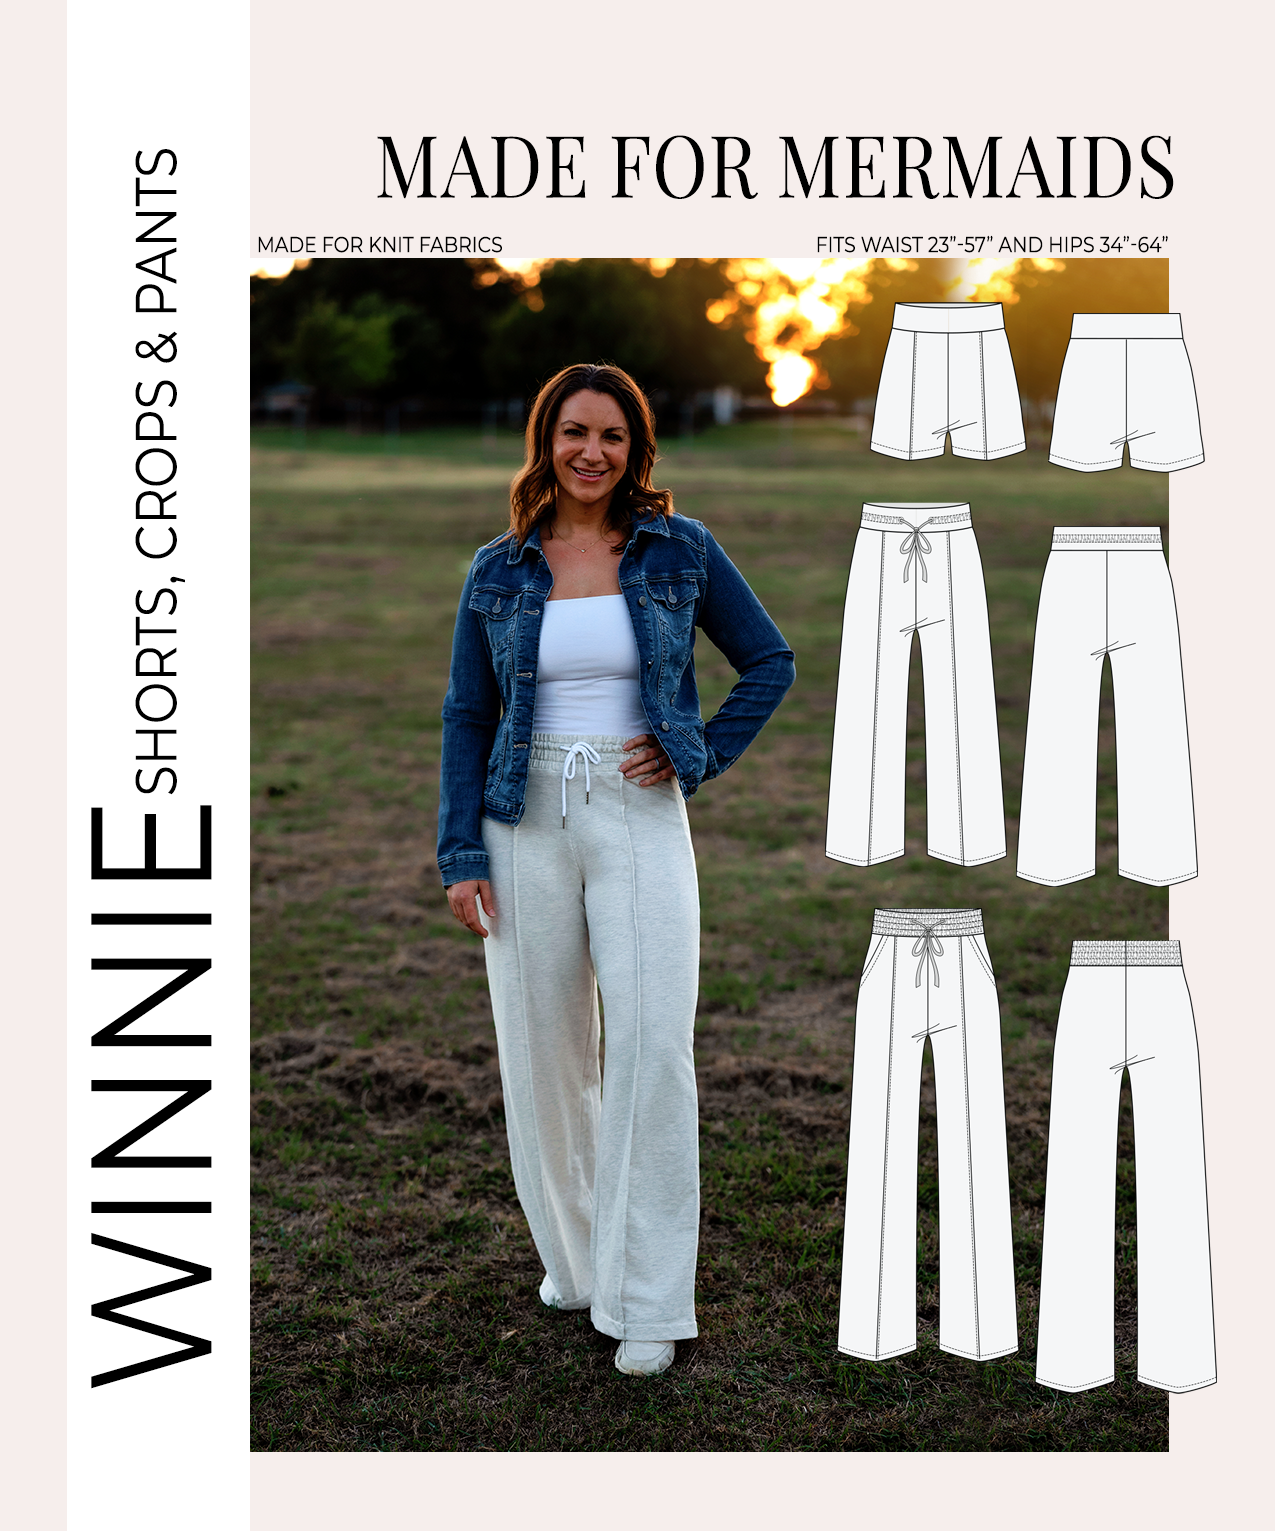
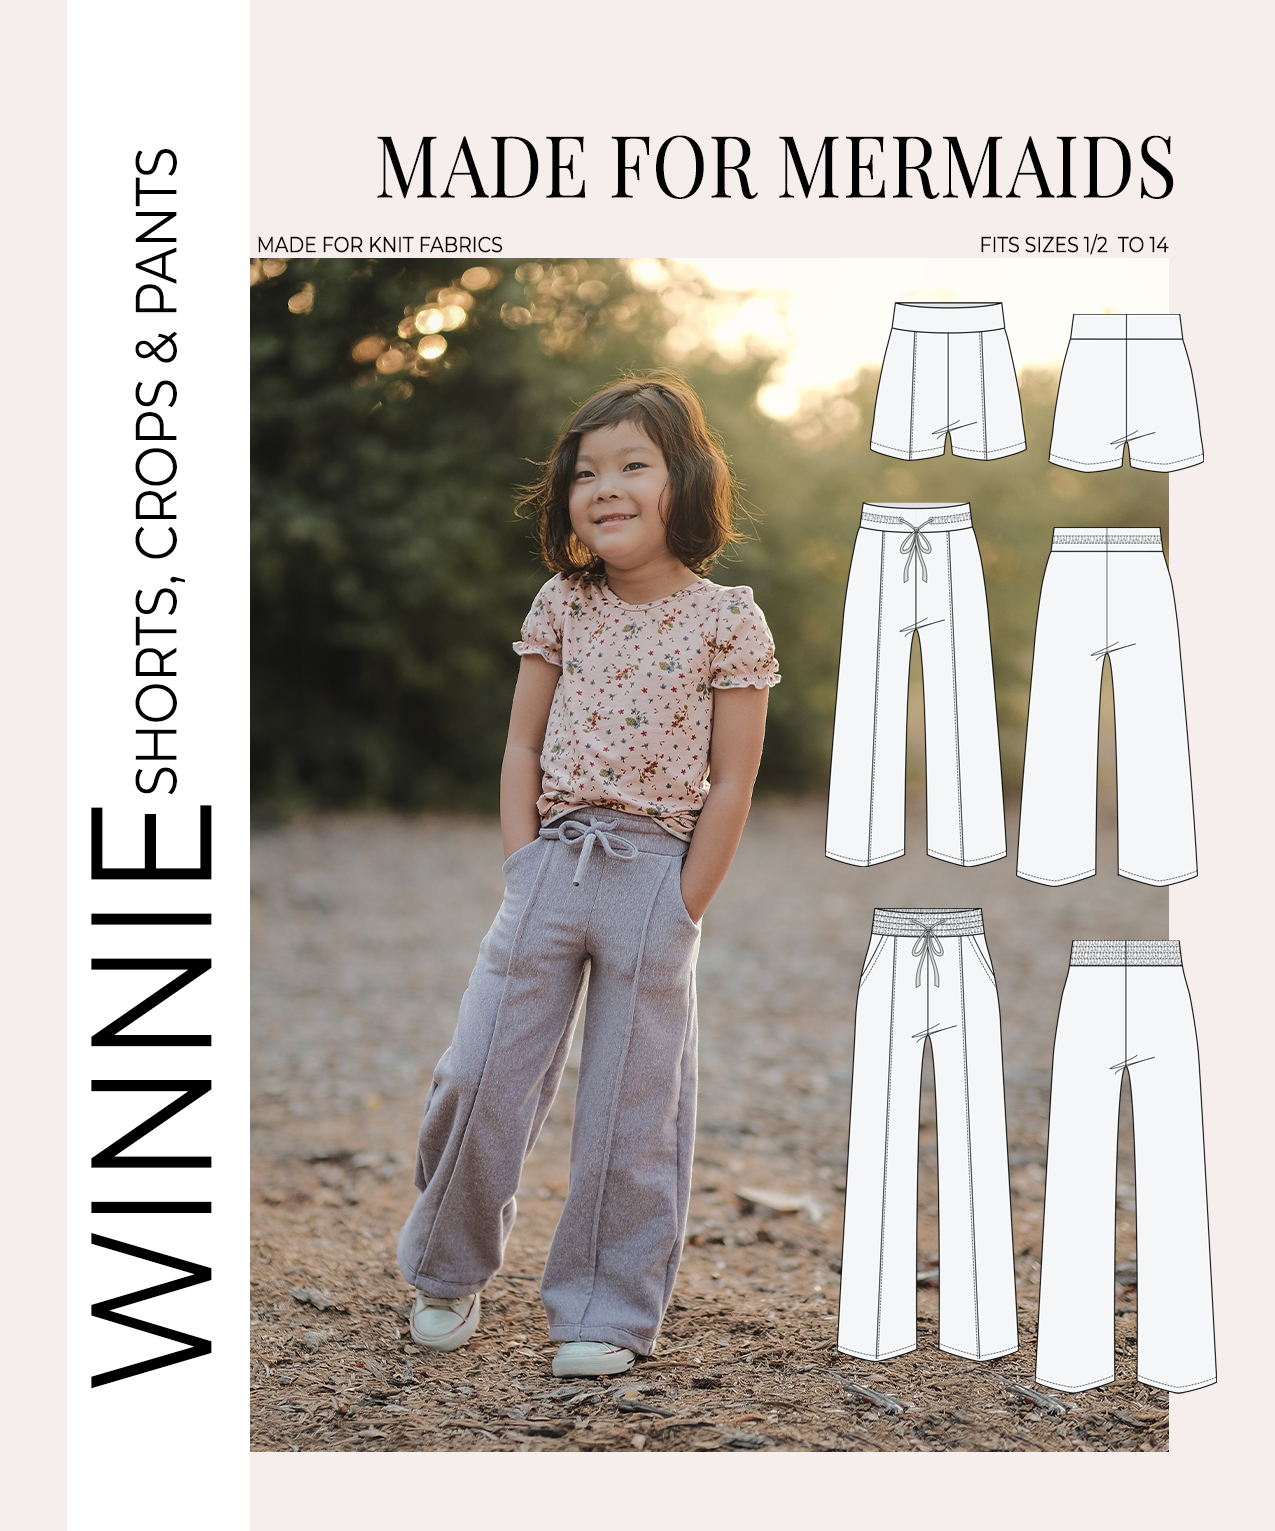
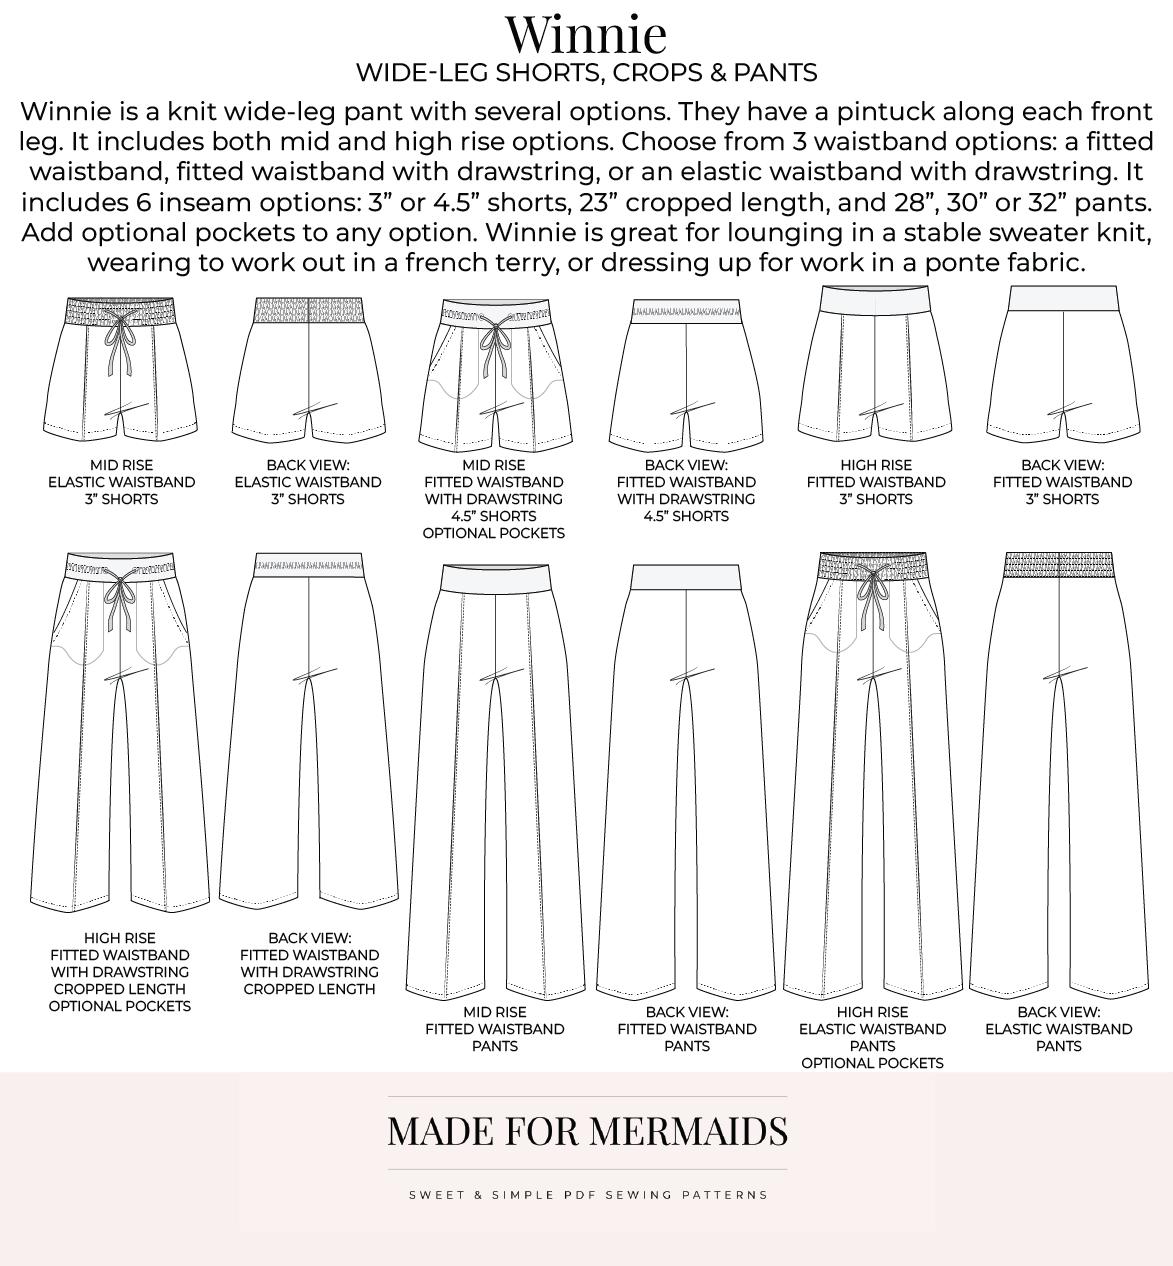
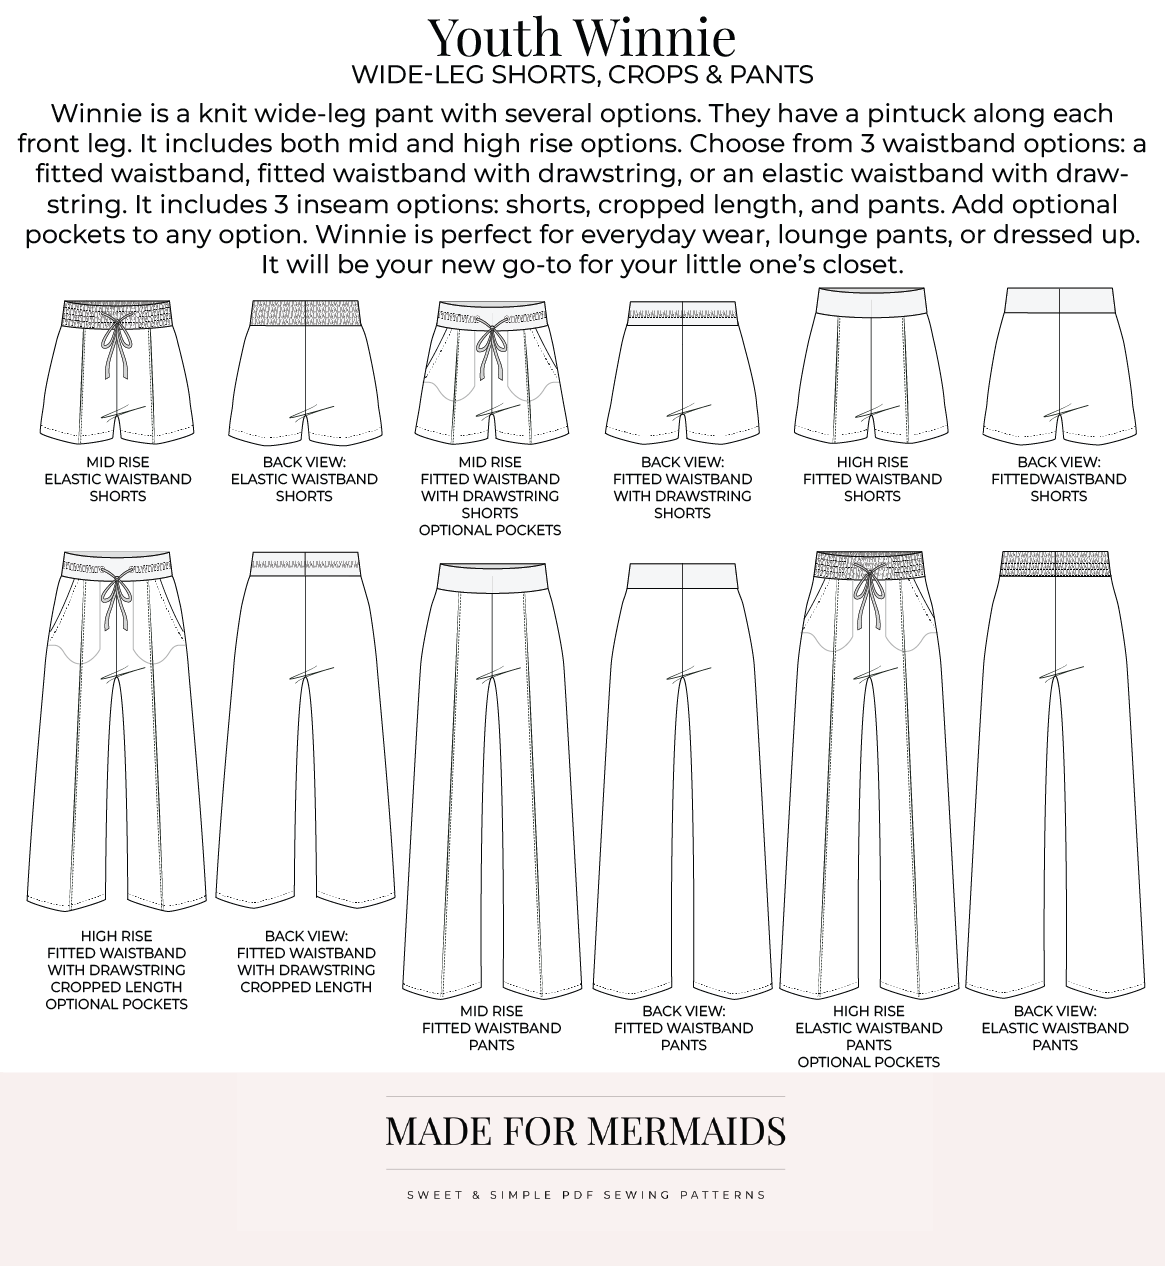
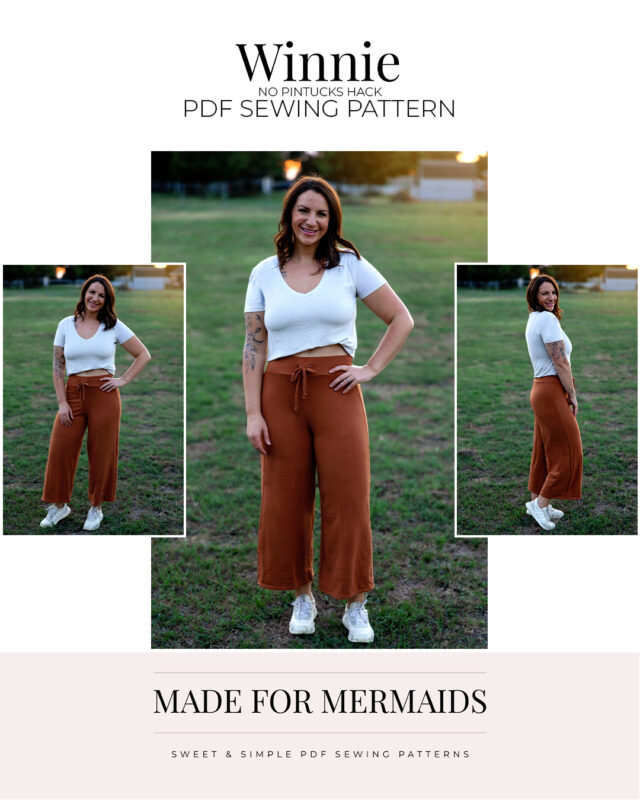
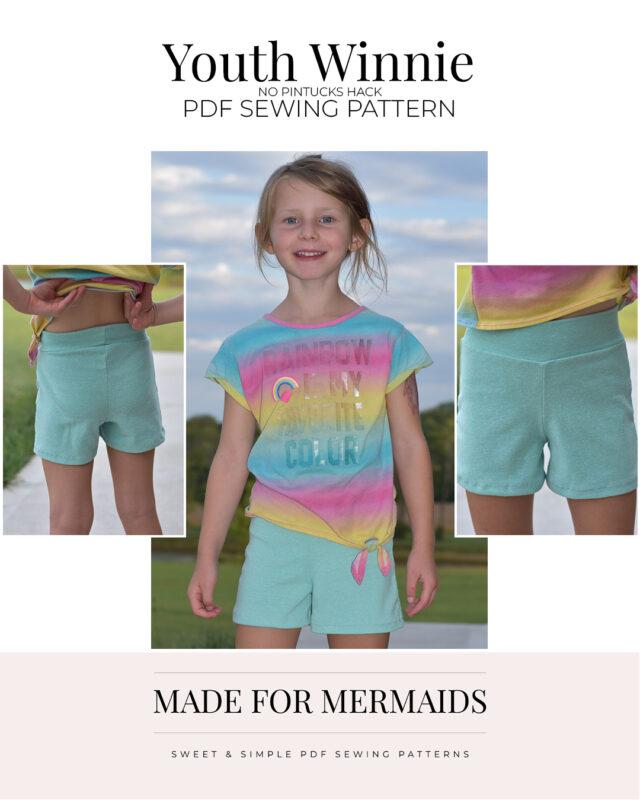
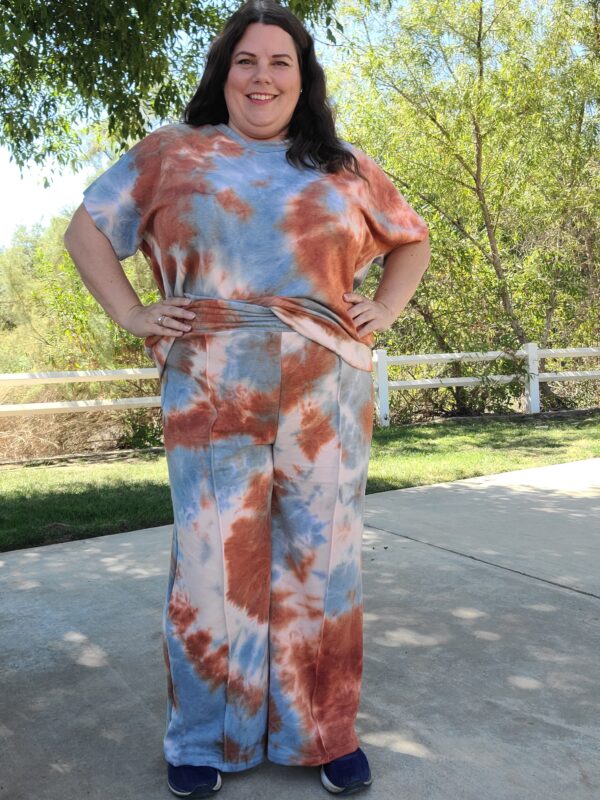
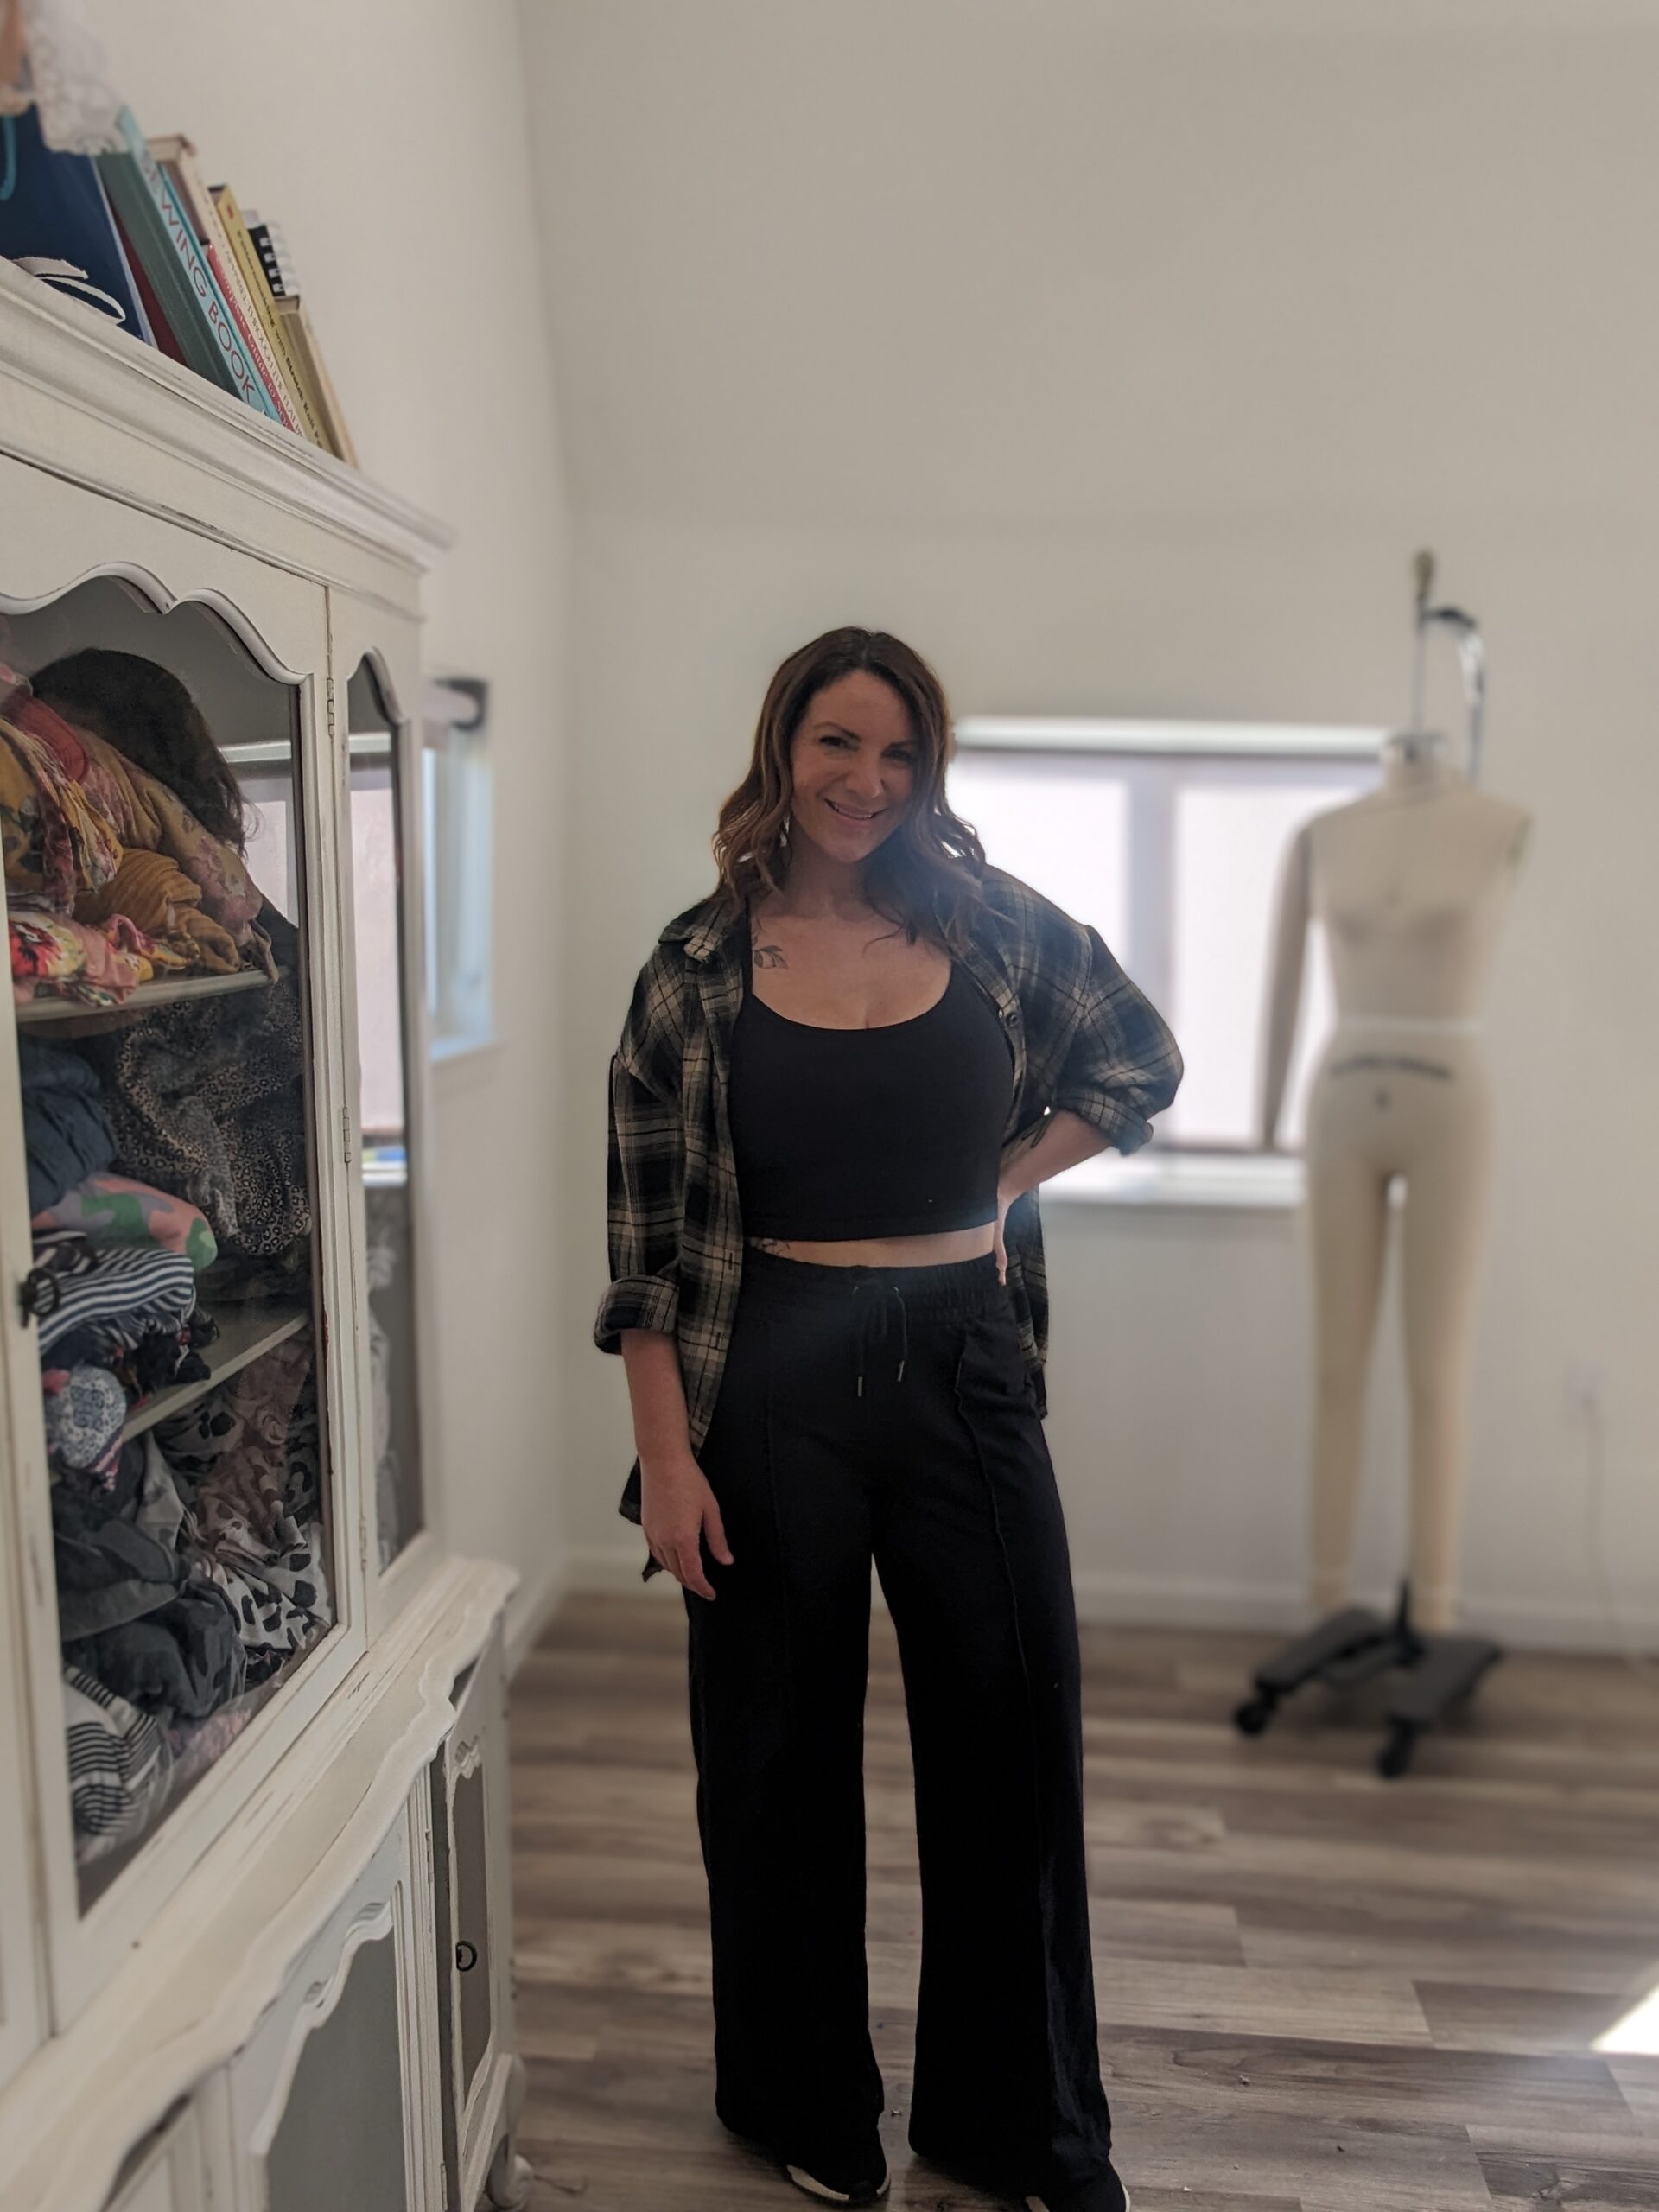
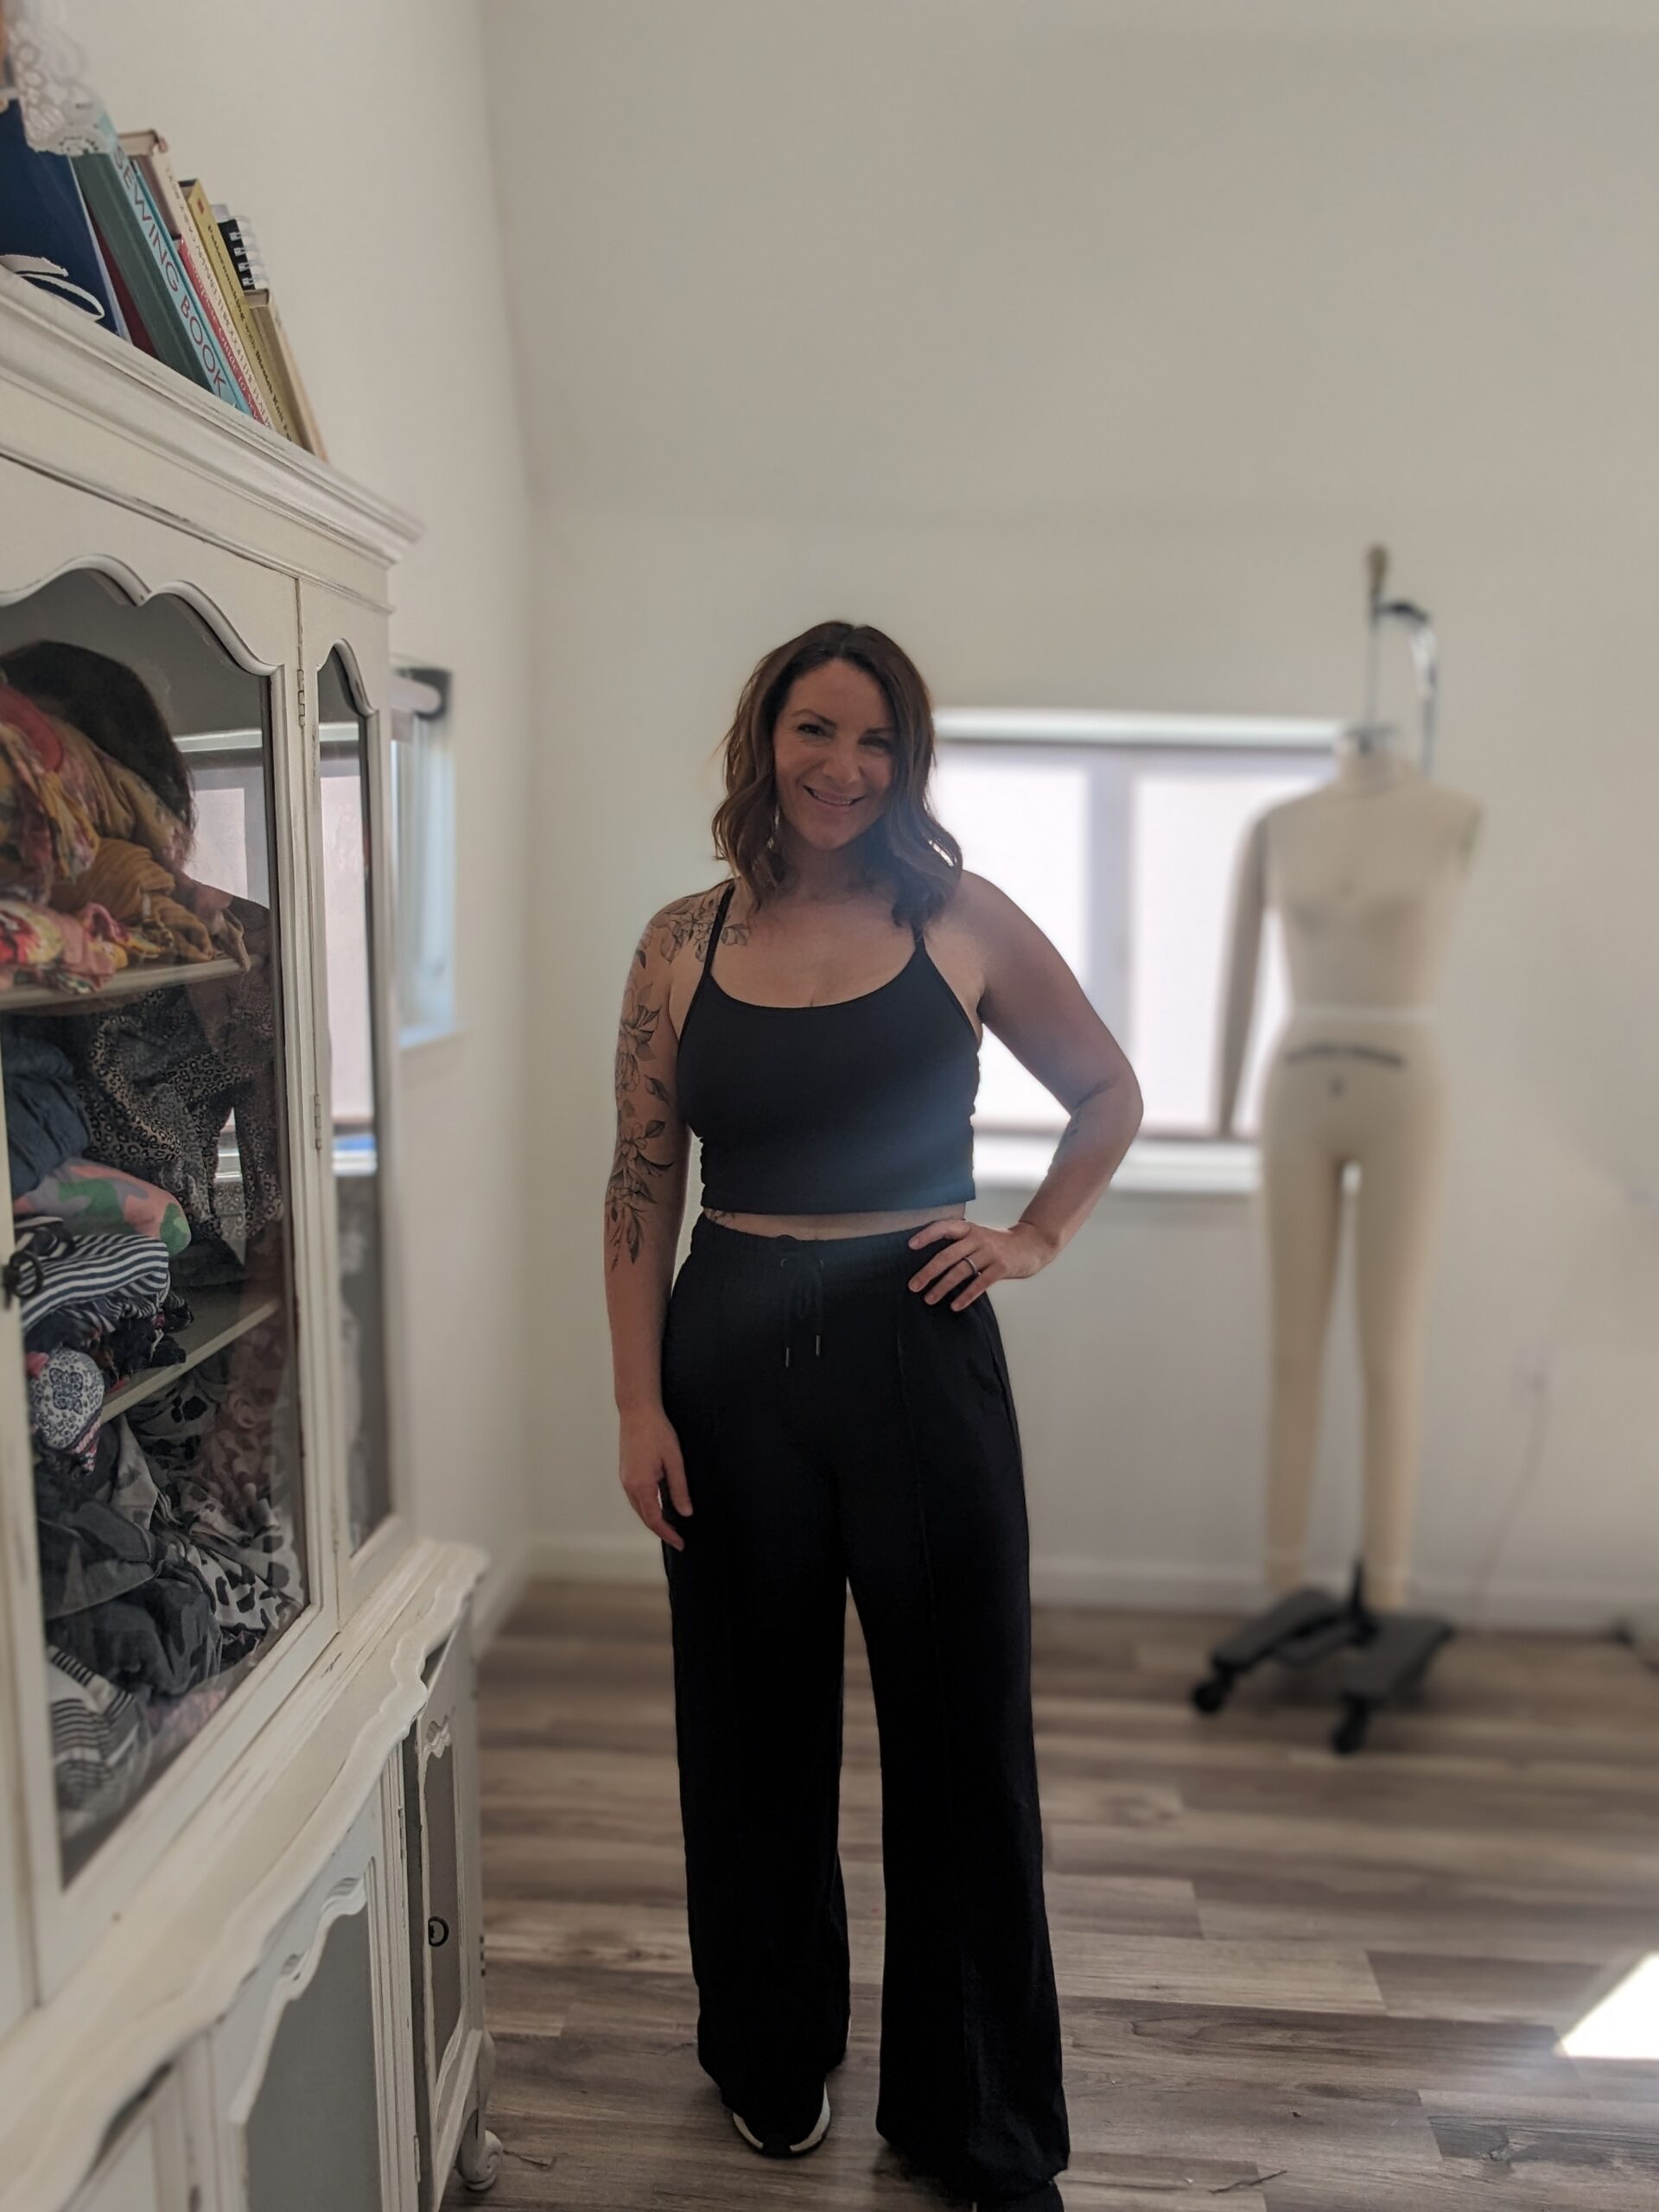
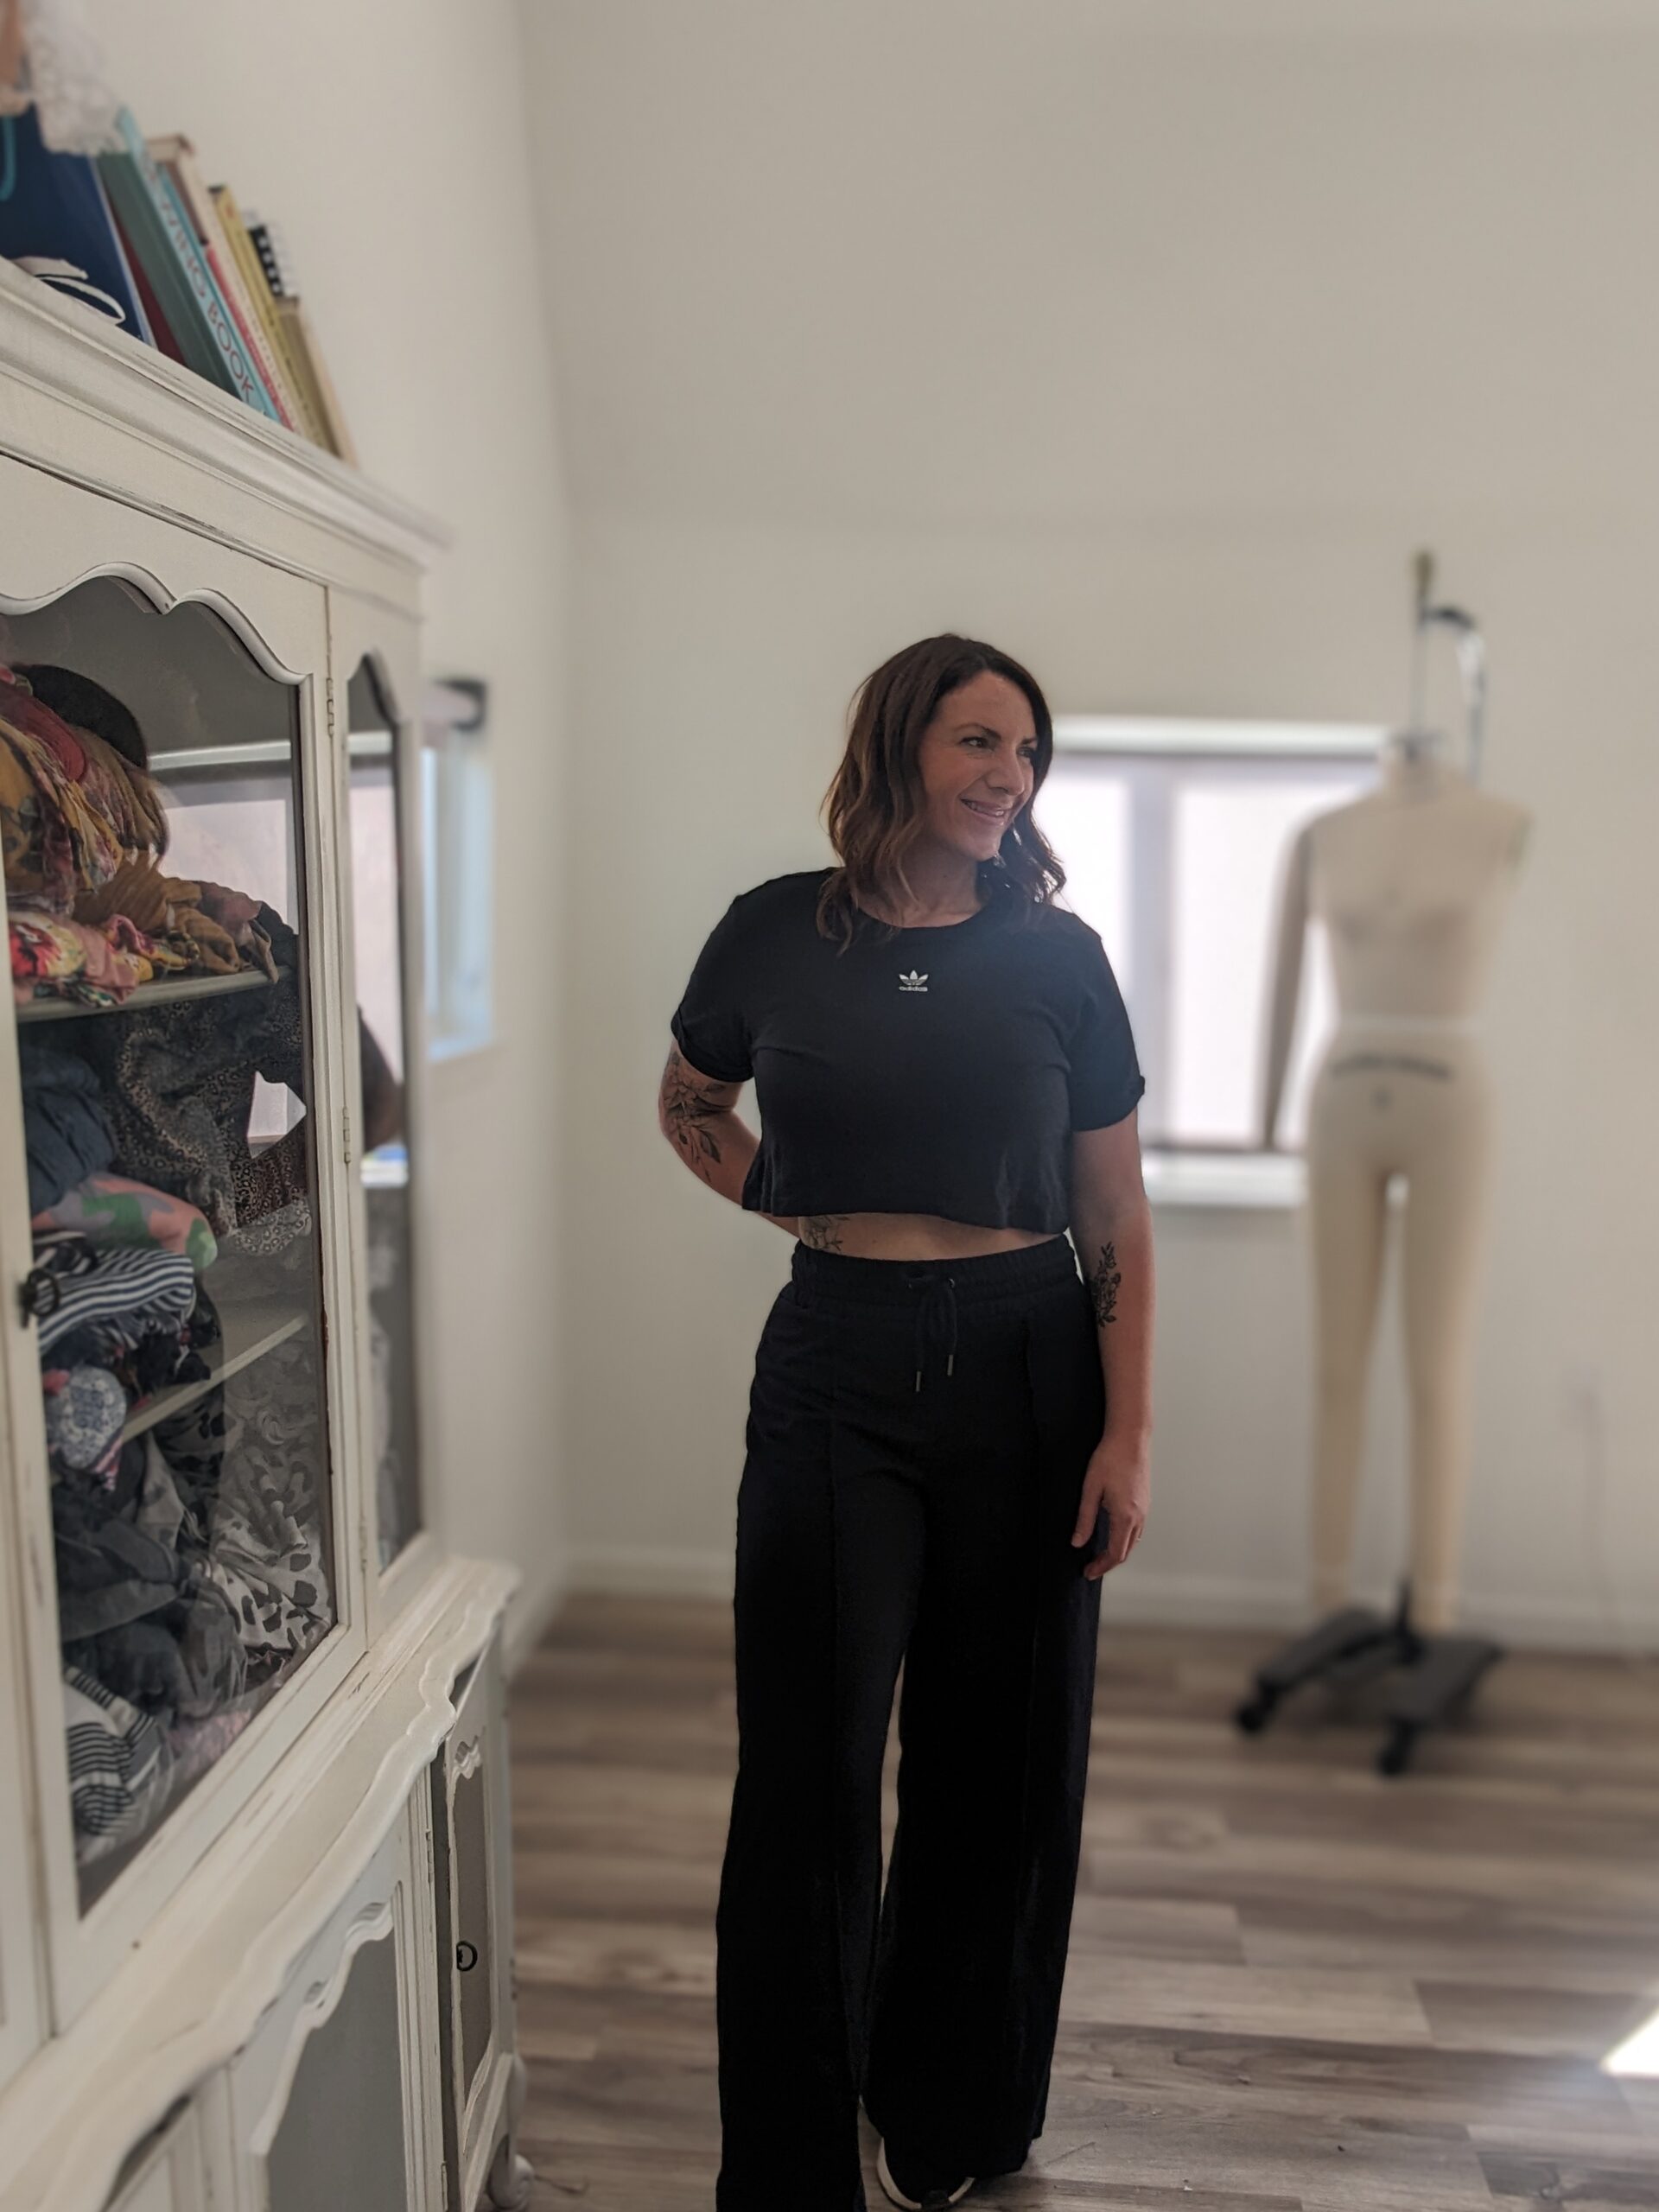
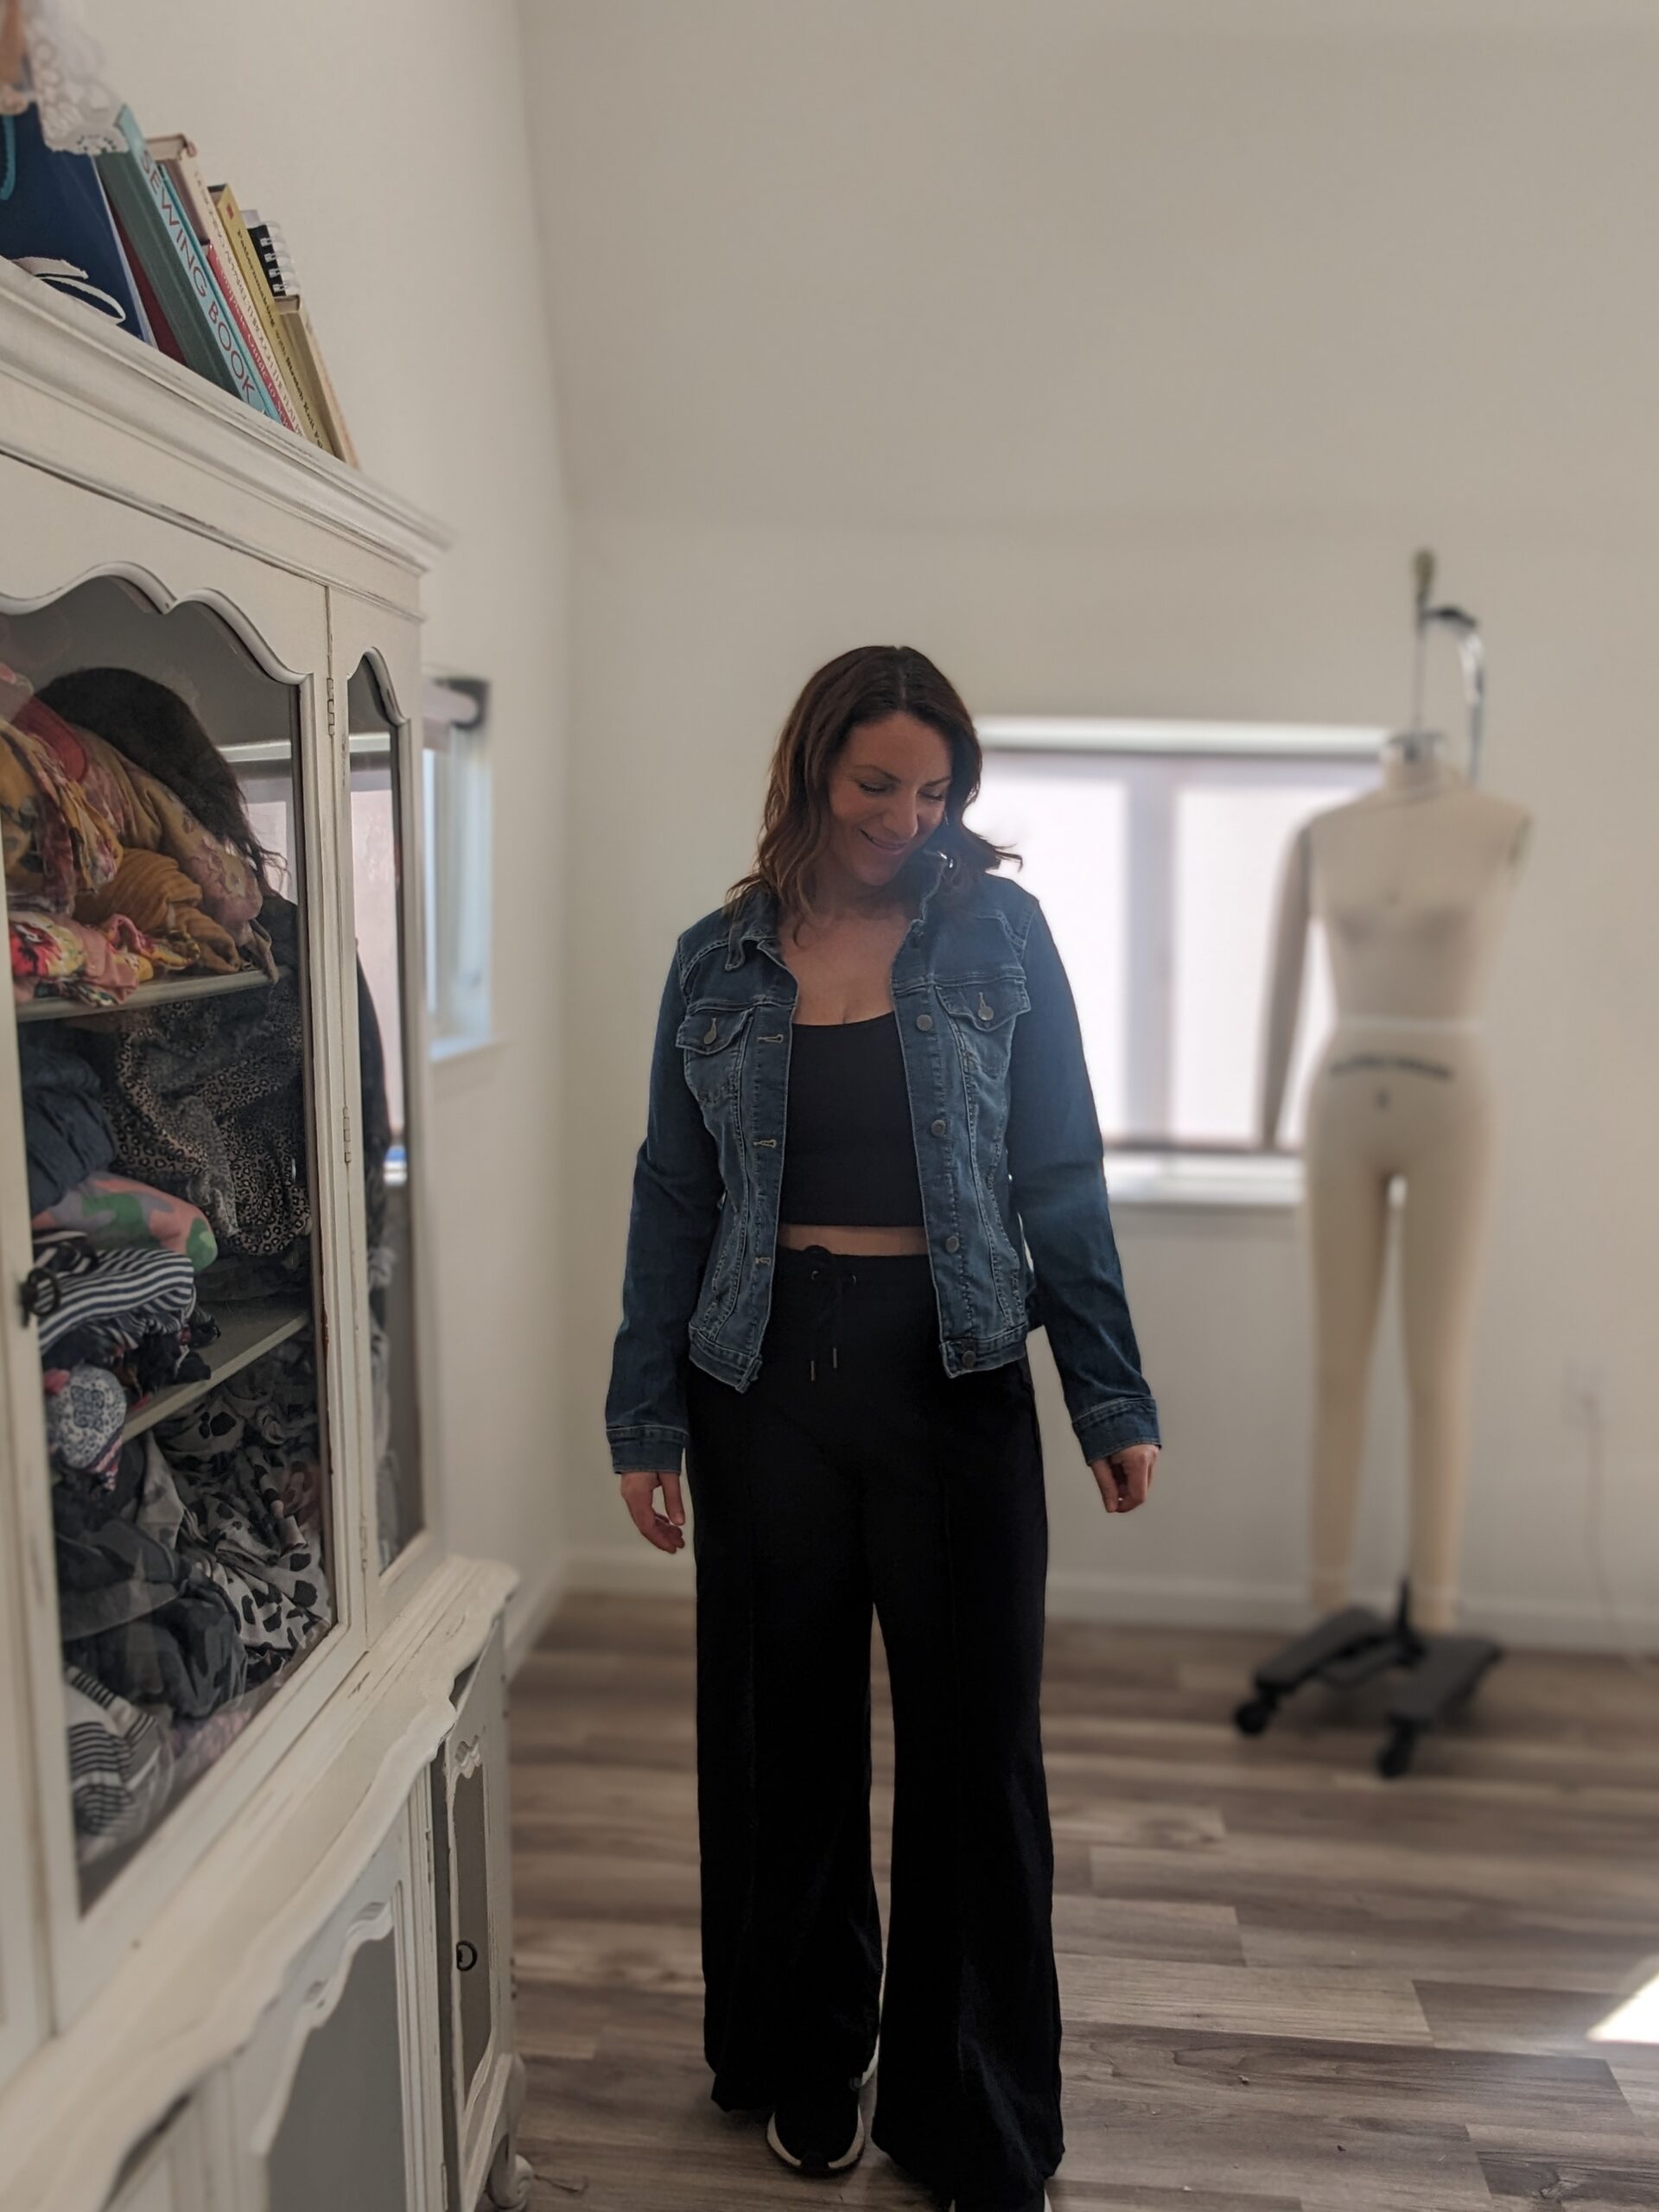
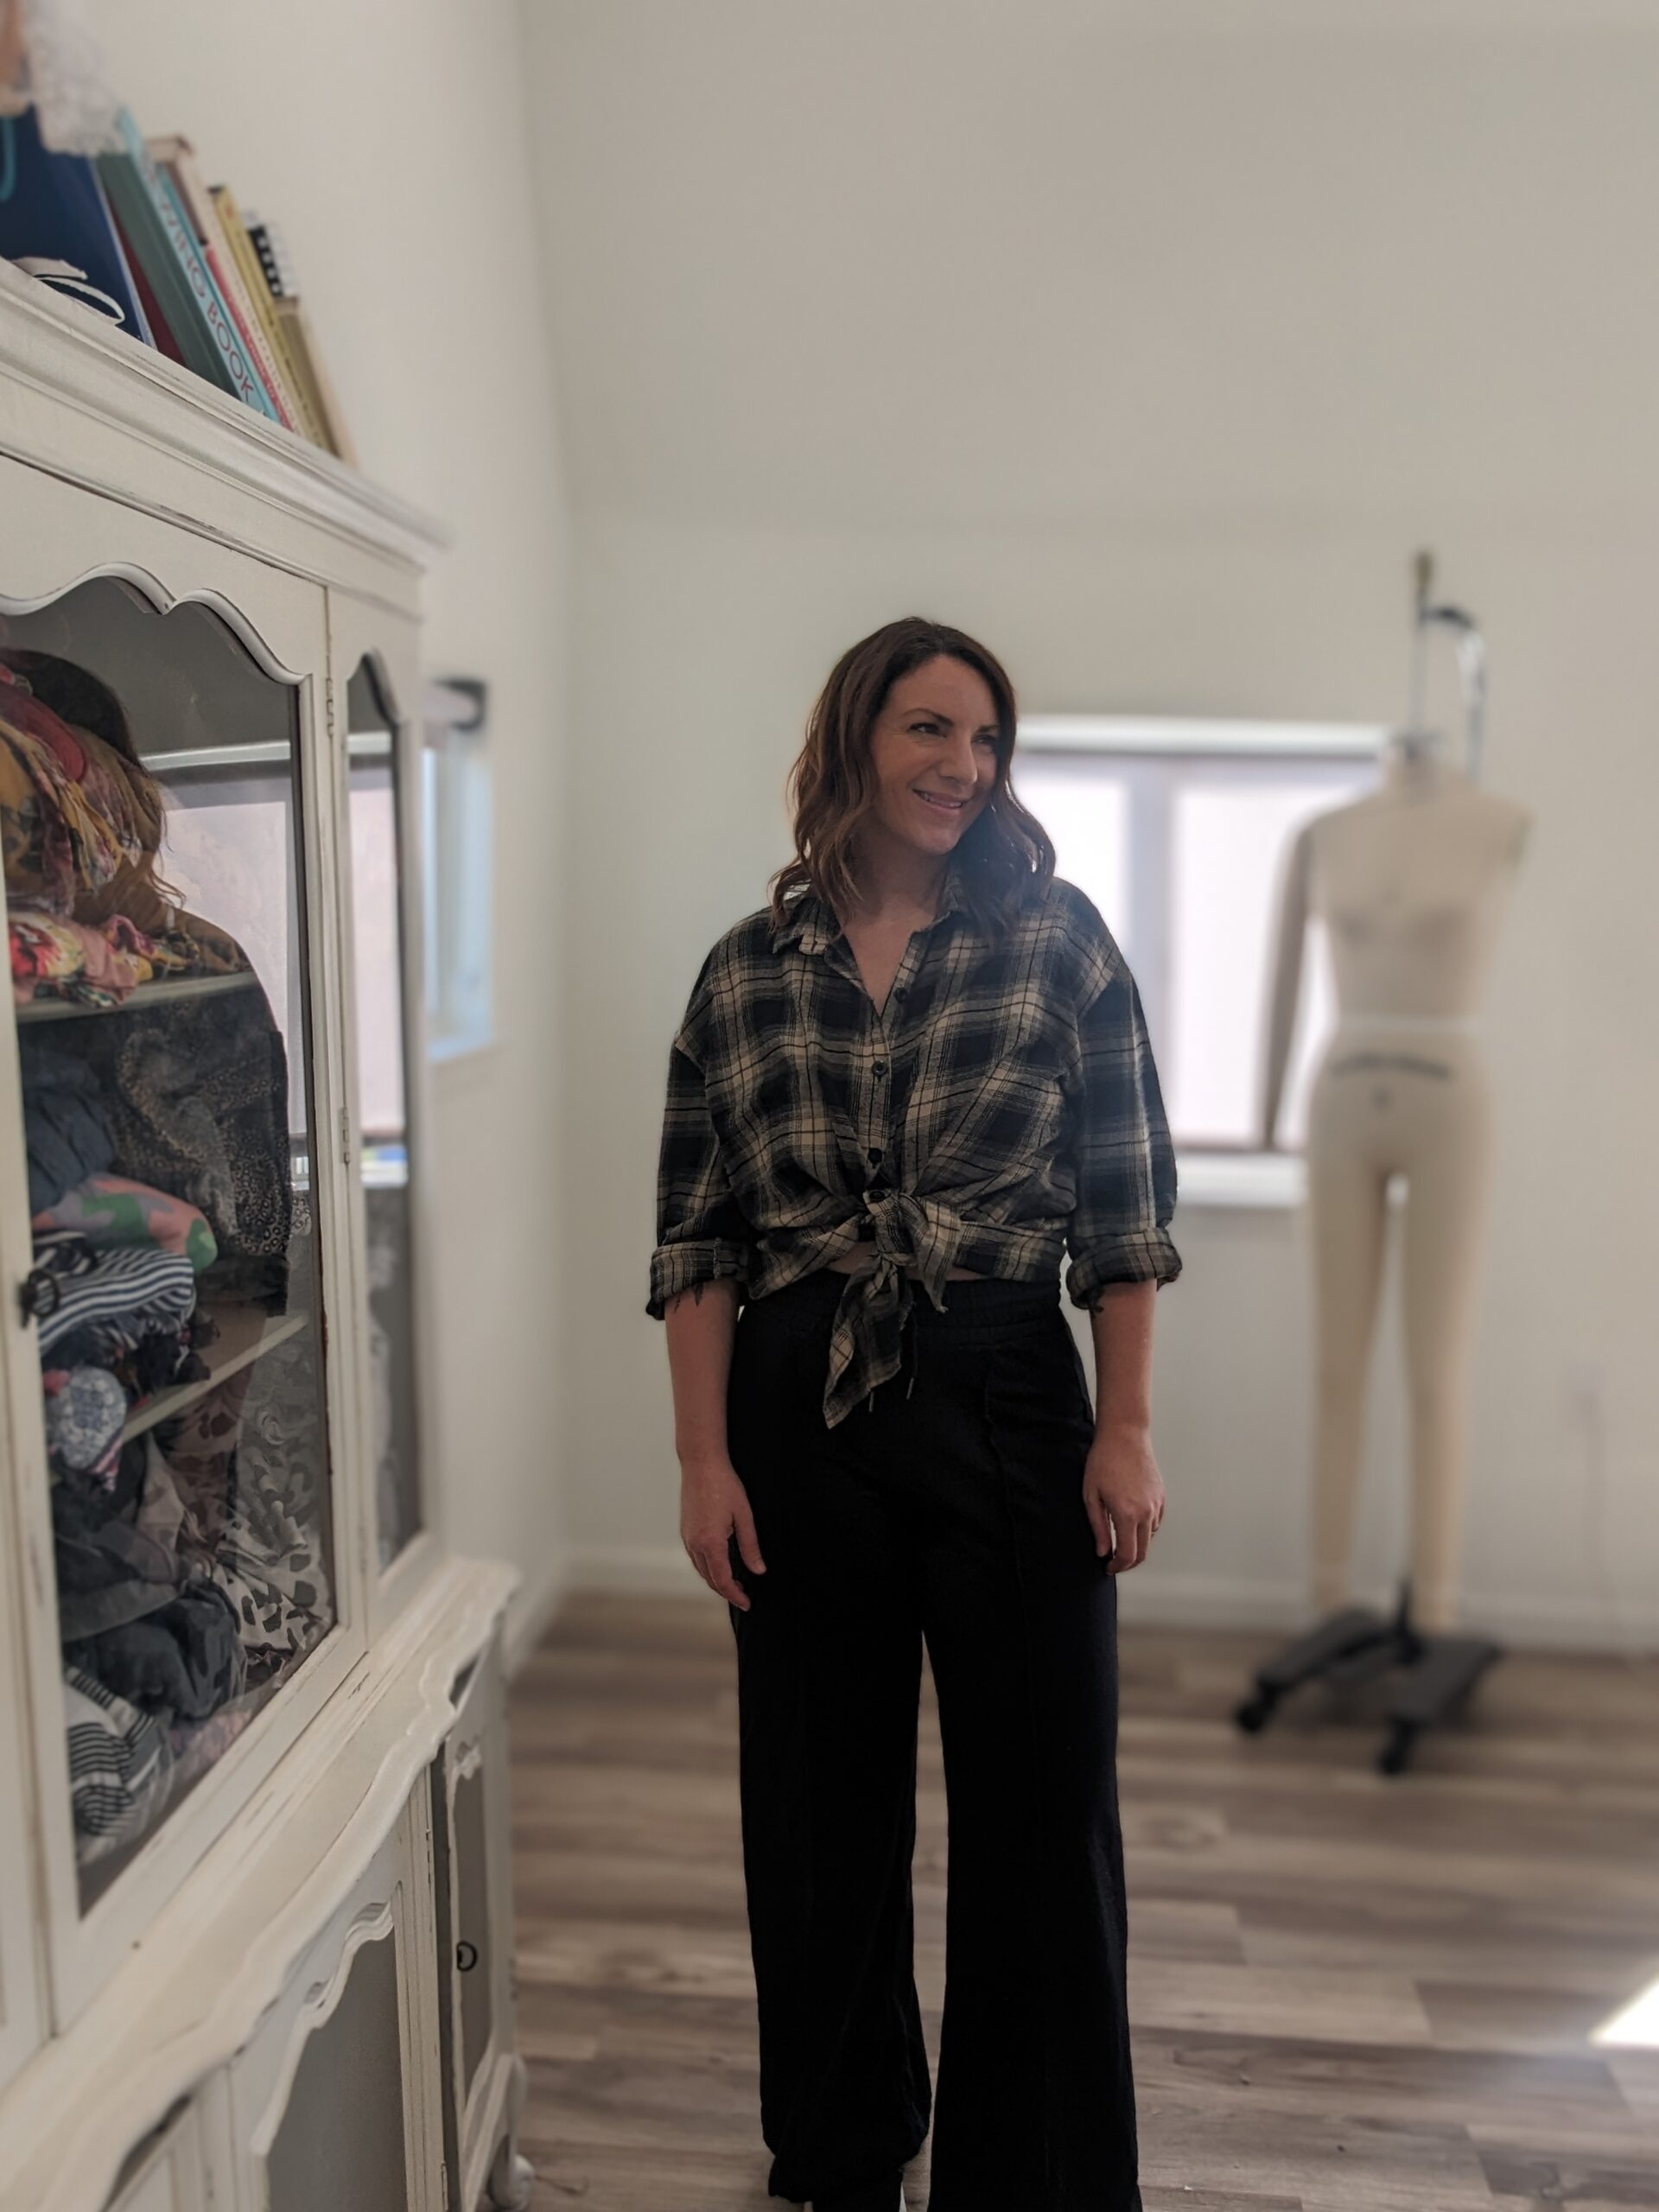
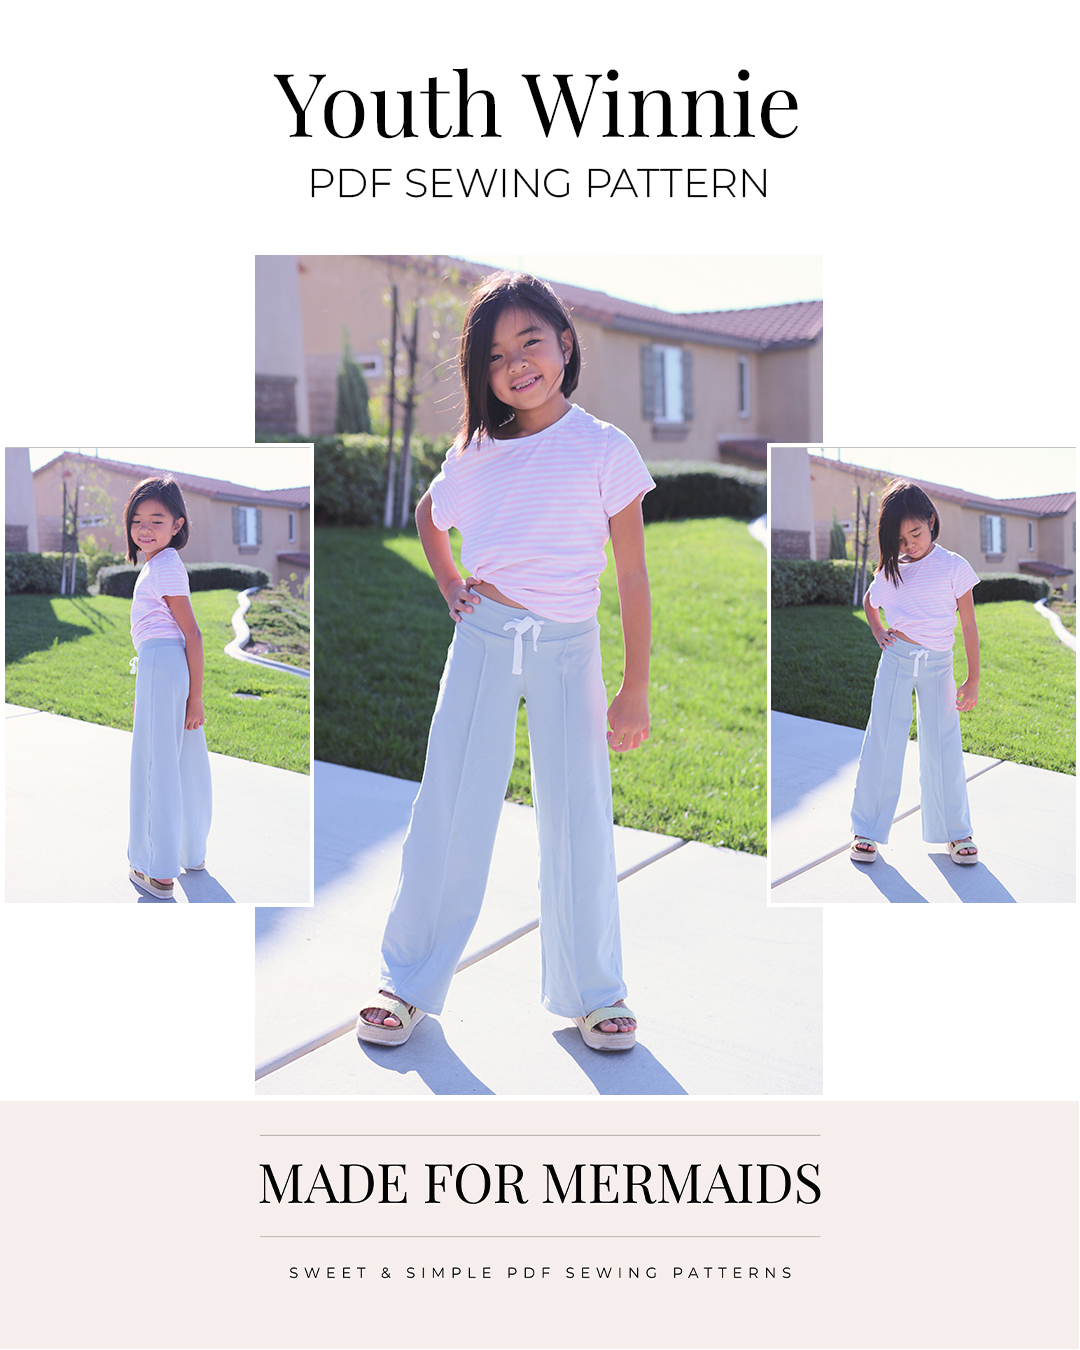
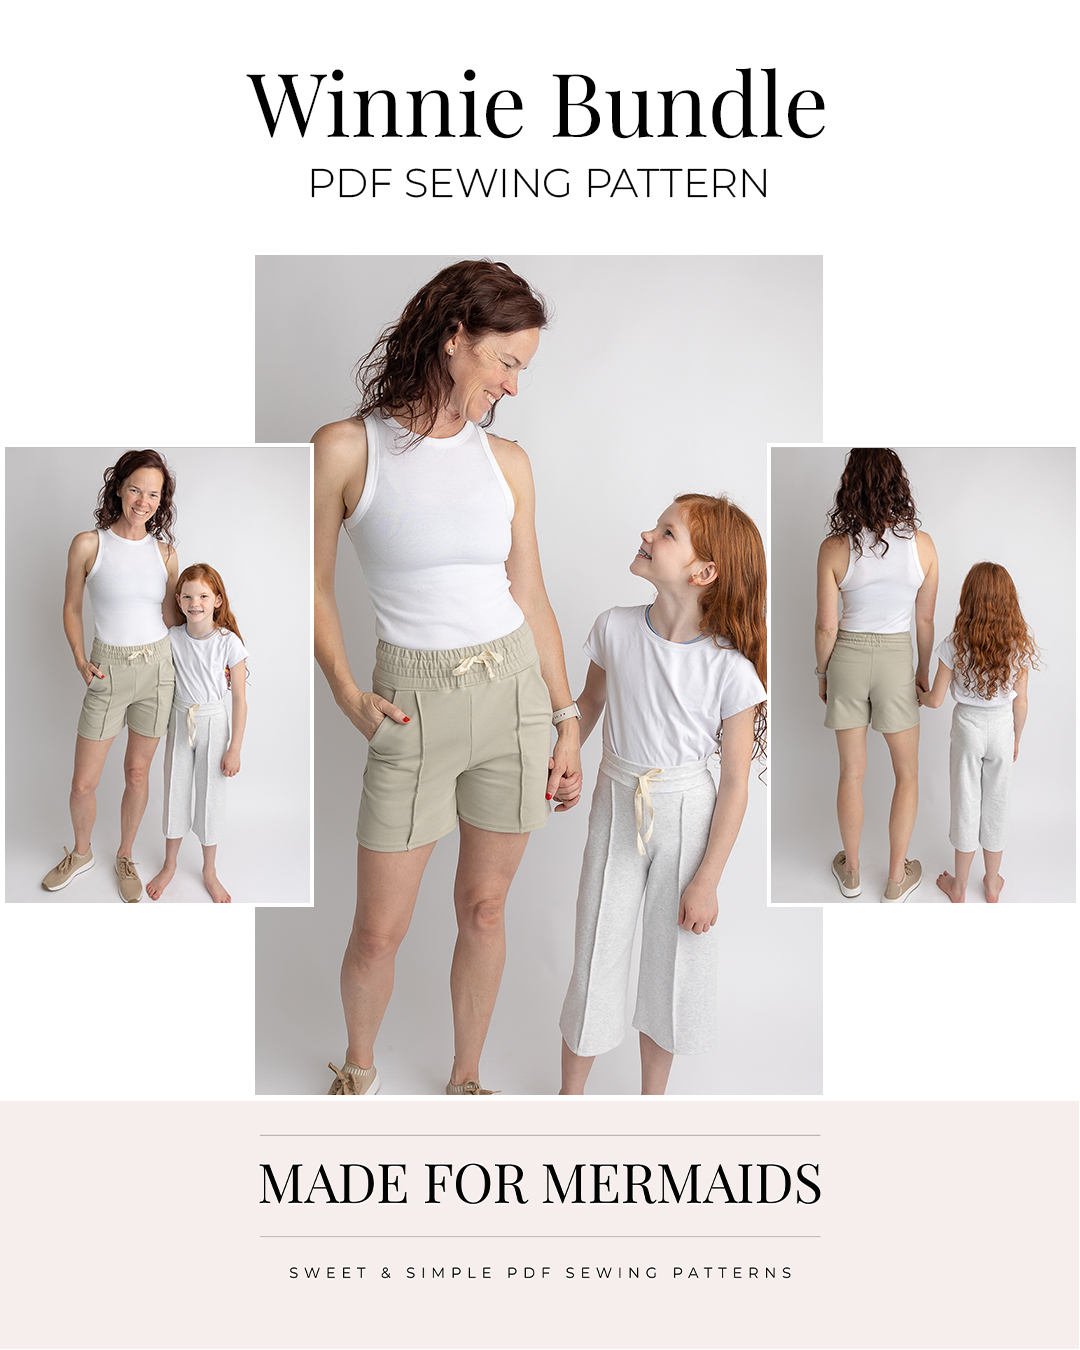
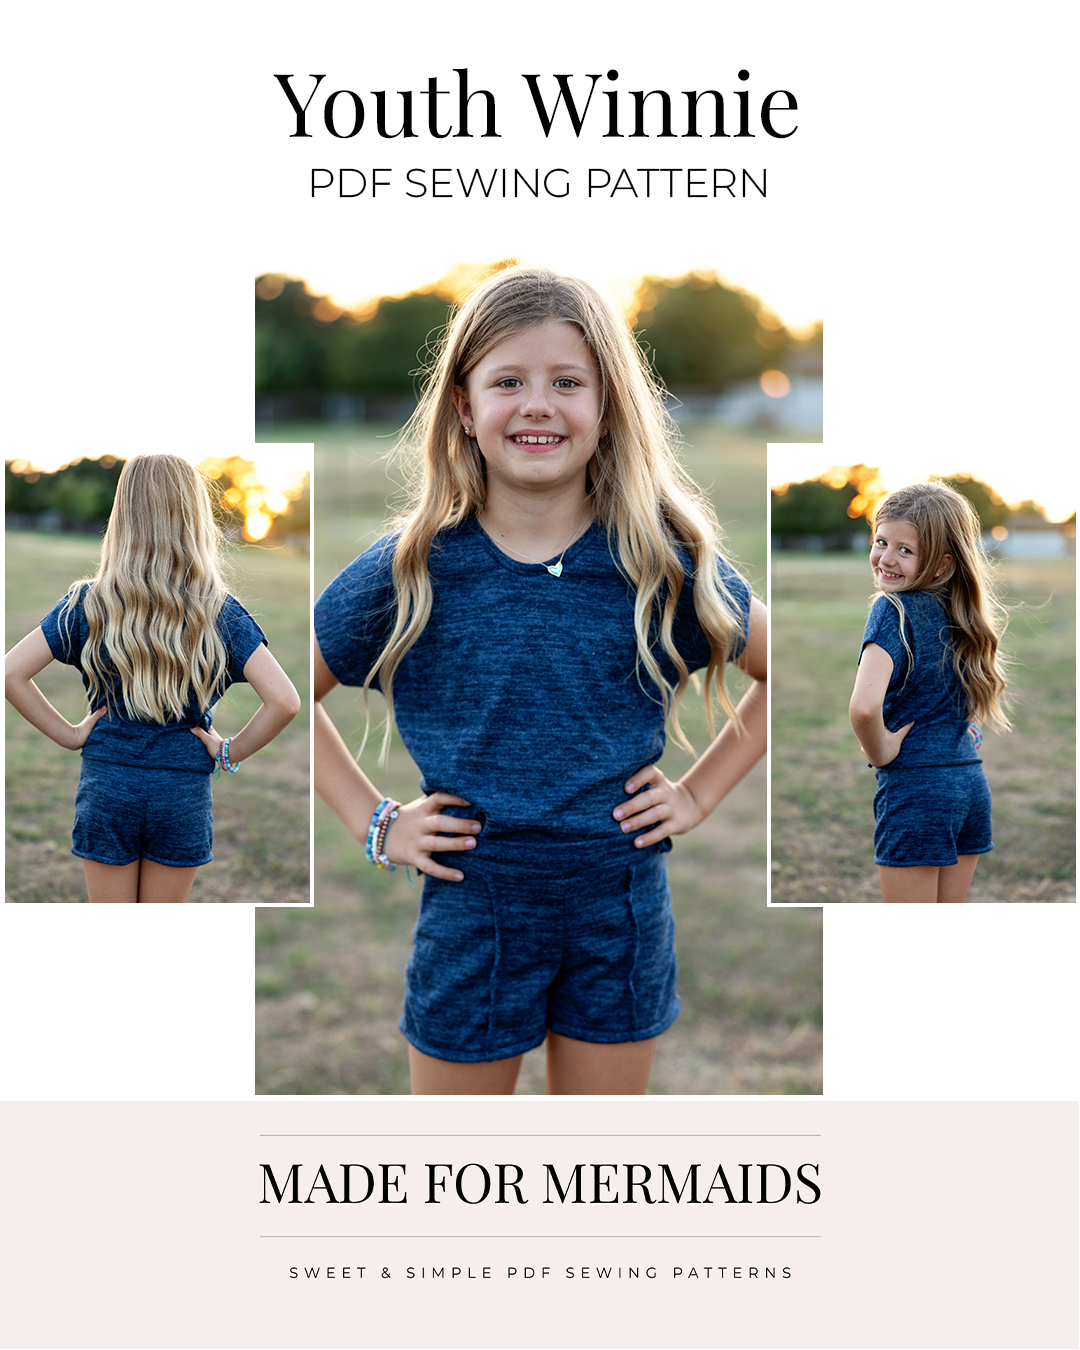
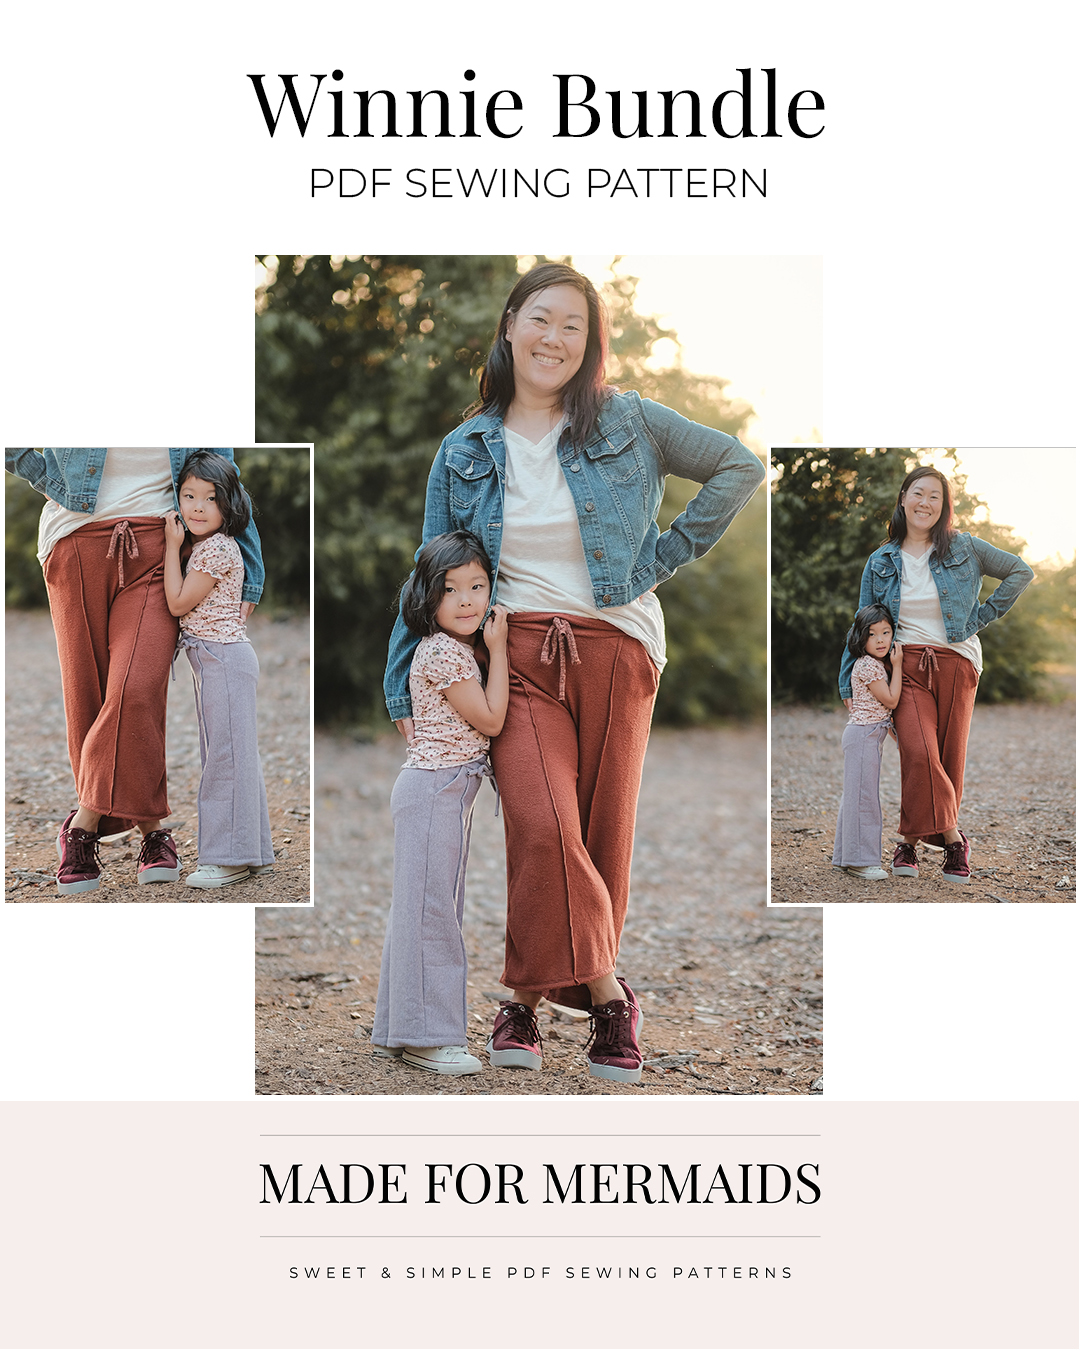
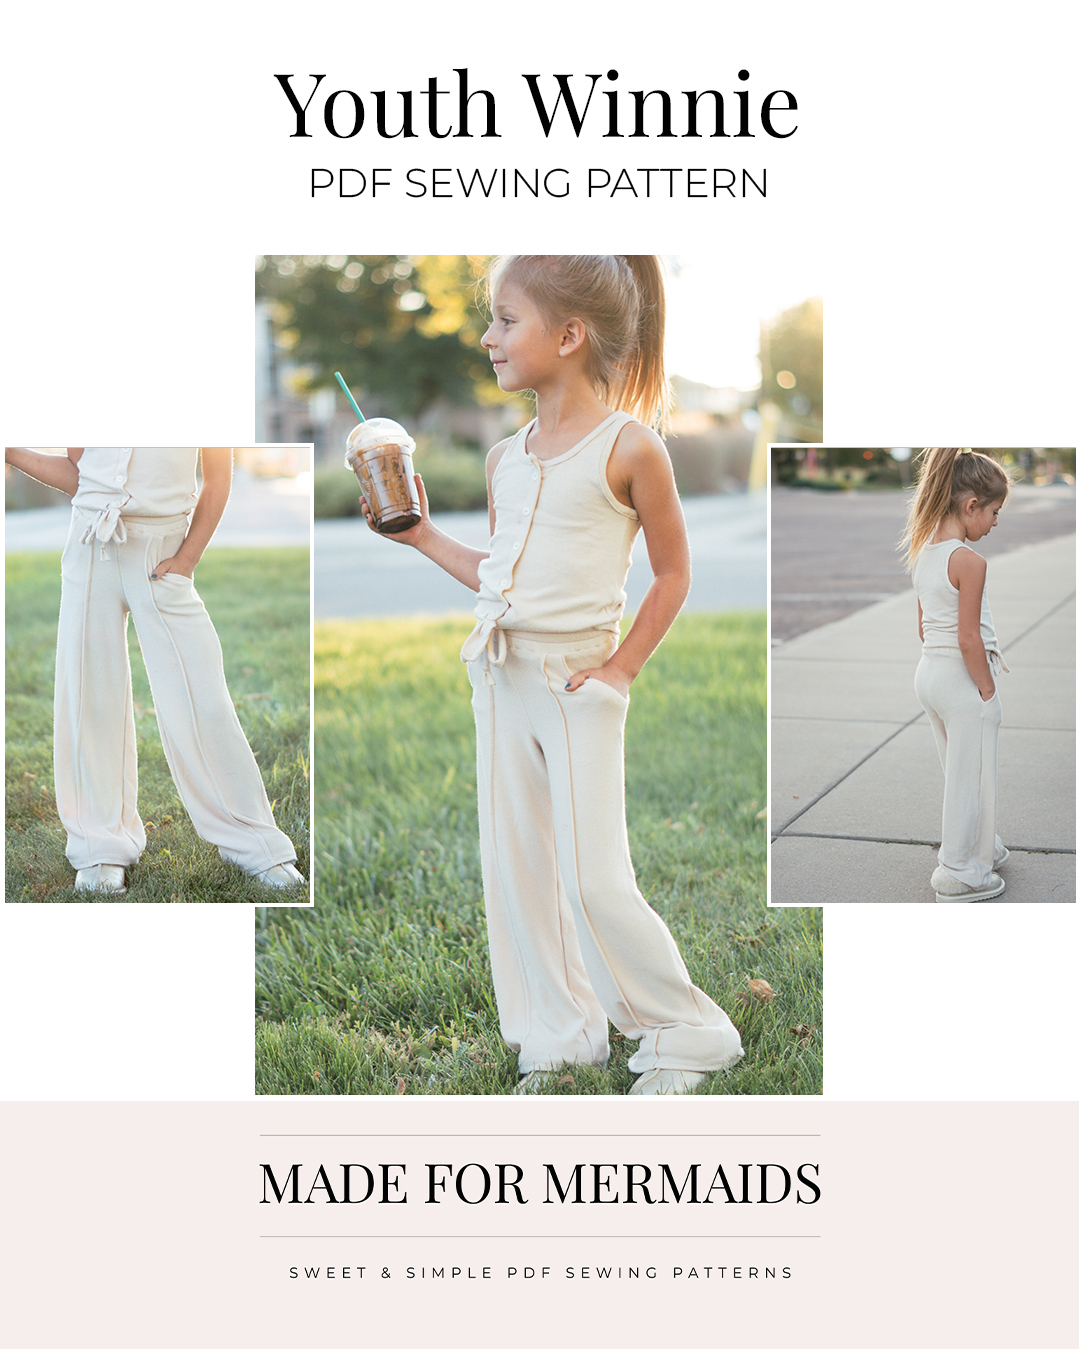
Life is way too short to wear uncomfortable pants! We are obsessed with our new Winnie pattern – available in adult and youth sizing; it’s a perfect pattern to add to your fall transition wardrobe. Winnie is a knit, wide-leg bottom with several options and features a pintuck along each front leg for added interest. The pattern includes a mid and high rise option (high rise for me, please!!), a fitted waistband (adult is contoured), a fitted waistband with a drawstring, an elastic waistband with a drawstring, and SIX inseam options (3″ or 4.5″ shorts, 23″ cropped, and 28″, 30″ or 32″ pants length). Youth has three inseam options (shorts, crop, and pants length). You can add optional pockets to any version you’d like. Winnie is great for lounging if you use cozy, stable sweater knits, or you can take the pattern to the office if you use a dressier fabric like Ponte! Office-friendly pajamas? Don’t mind if we do!
Getting Started
Before you purchase your patterns, there is a ton of helpful beginner information between the M4M and P4P blogs, in case you are new to knits, or new to PDF patterns in general:
- New to PDF patterns? Check out our helpful tips here
- New to sewing with knits? Brittany has some great info here
- Not quite sure how to measure yourself accurately? Don’t worry; check out the post here!
- Having issues printing? Most issues can be resolved by using our FAQs/troubleshooting tips
- Join our Facebook group here.
Choosing Your Options
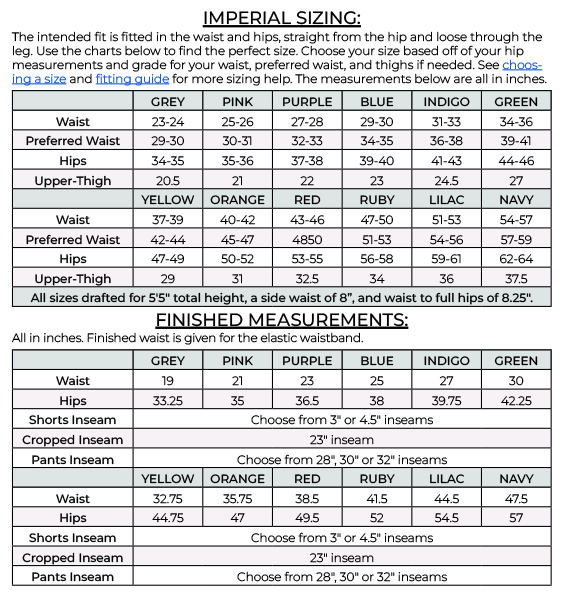
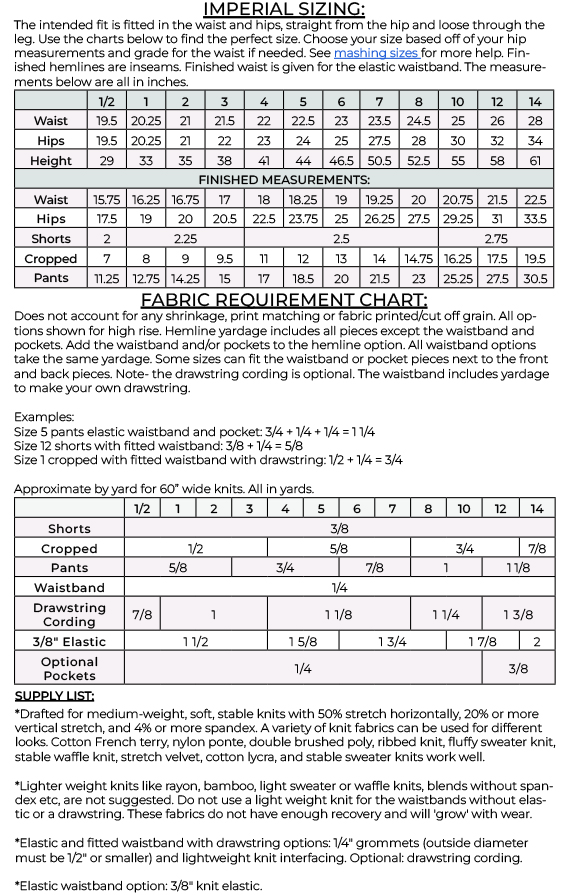
We have lots of tester photos in our FB group and on the site if you want to see a variety of photos of each option before you decide! Here is a quick snapshot of the different options:
Fabric + Notions
Winnie is drafted for medium-weight, soft, stable knits with 50% stretch horizontally, 20% or more vertical stretch, and 4% or more spandex. A variety of knit fabrics can be used to achieve different looks: cotton French Terry, nylon Ponte, double brushed poly, ribbed knit, fluffy sweater knit, stable waffle knit, stretch velvet, cotton lycra, and stable sweater knits work as well.
Winnie Hacks
Megan has a few simple hacks with alternative construction options to get the most miles out of your Winnie pattern!
REMOVING THE PINTUCKS
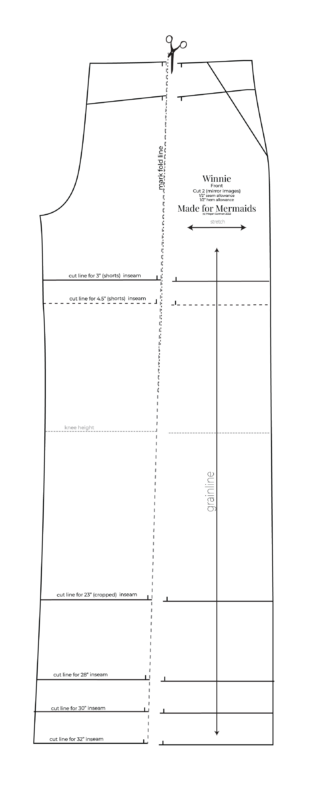
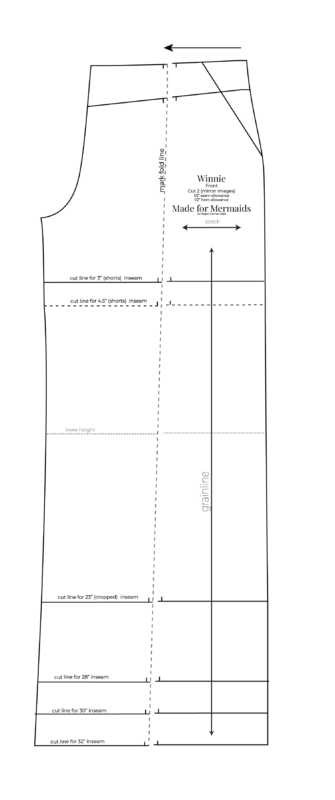
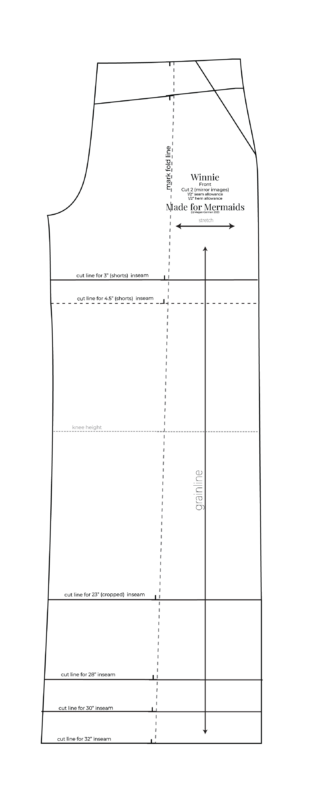
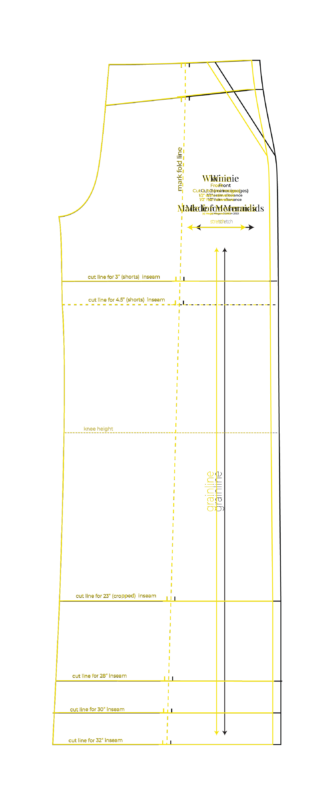
I will show you a couple of ways to leave the pintucks off the front legs if you don’t want to add them. The pintucks are stitched 1/4″ on the fold, which means you need to remove 1/2″ from each front leg. You can do this by cutting the front piece along the pintuck fold line and overlapping the two pieces by 1/2″. Note- use the top and bottom pintuck markings to help align your pieces correctly.
- Cut along the pintuck fold line.
- Overlap the pieces by 1/2″.
- Overlap the pieces by 1/2″.
- New piece will be 1/2″ smaller in width.
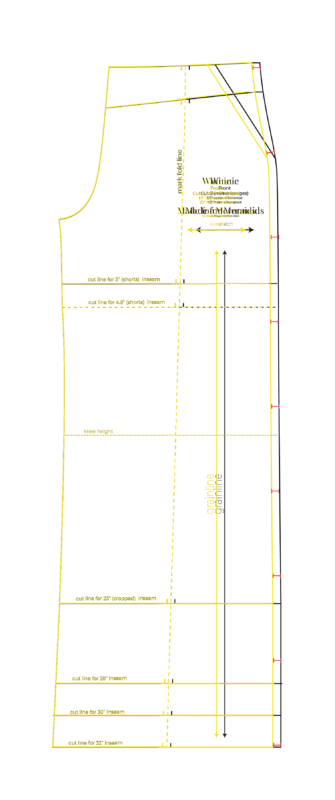
Alternatively, if you’re using a projector or don’t want to cut your paper pattern piece, you can measure and mark 1/2″ along the side seam of the leg to create your new front piece. You can also cut your pieces normally, then trim the 1/2″ from the side after you cut. Reminder: if you don’t remove the extra width that the pintucks use, your pants will finish 1″ wider than the pattern’s finished measurements.
- Mark 1/2″ along the side seam.
ADDING ENCLOSED ELASTIC TO THE FITTED WAISTBAND
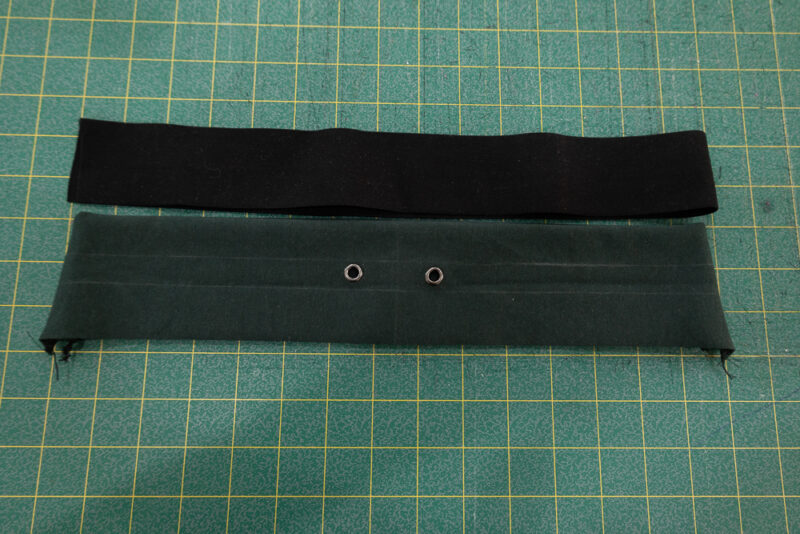
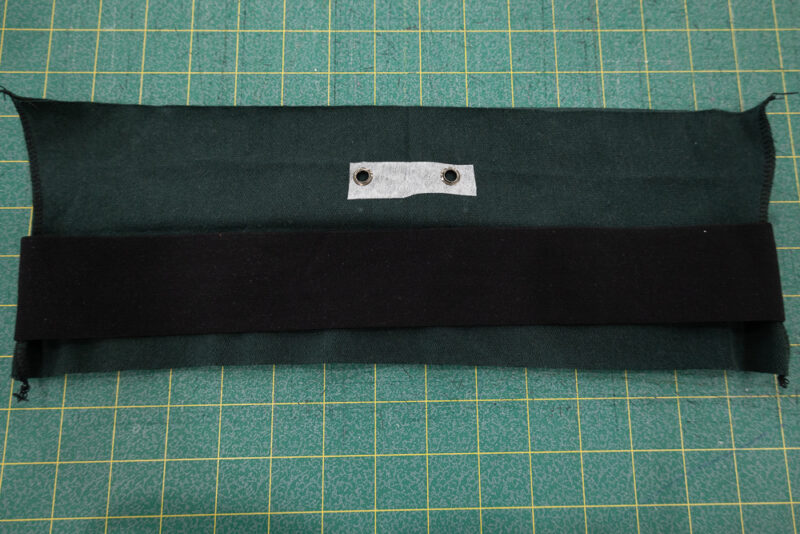
If you’re using a fabric with a lot of vertical stretch or that doesn’t have great recovery but still want the sleek look and quick construction of the fitted waistband, this hack is for you. I like to use a thicker 2.5″ elastic to fill the entire waistband (youth would use 2″), but you could use the same method with whatever size elastic you have on hand. You can use this hack on either fitted waistband option.
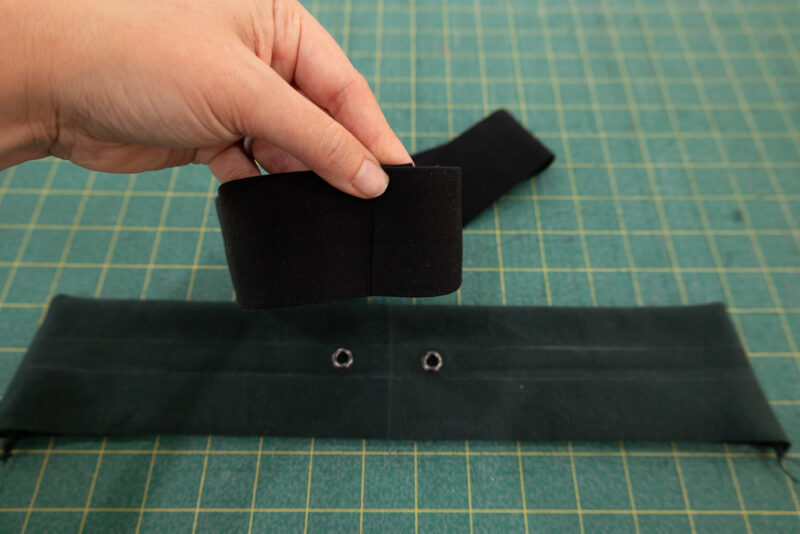
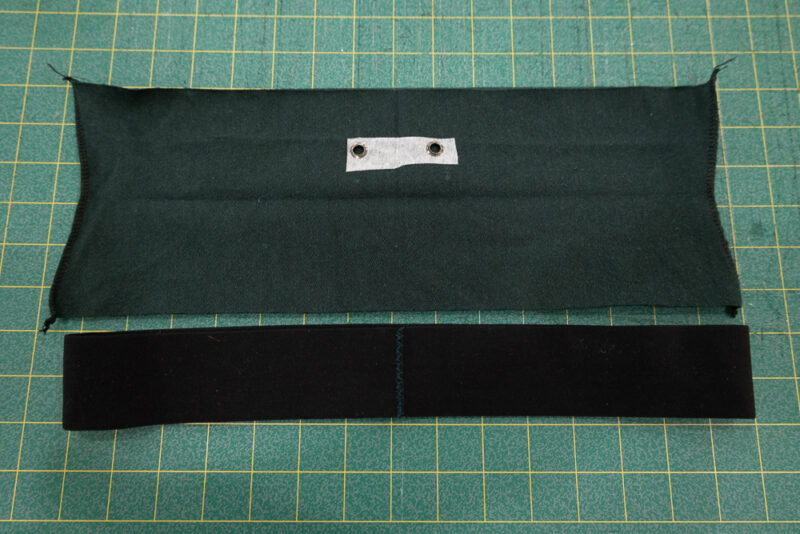
Cut a piece of elastic the same width as your fitted waistband. Overlap the elastic ends to create a loop, then zig-zag a couple of times to hold it in place.
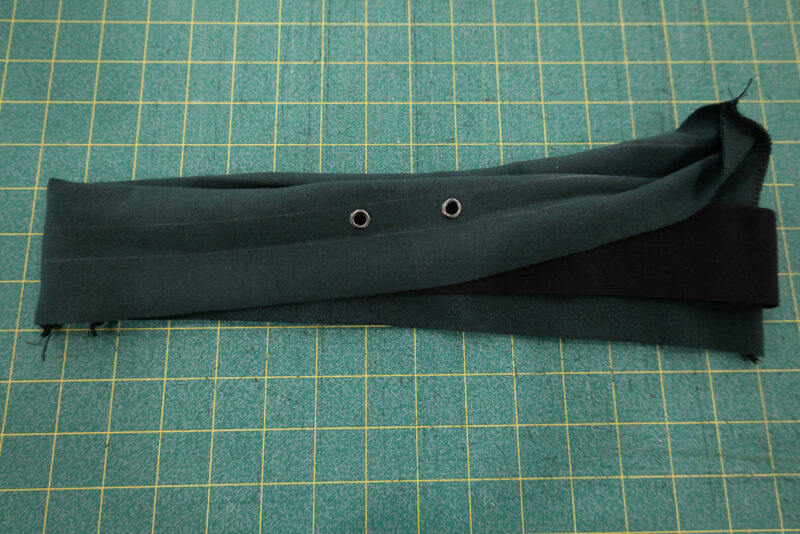
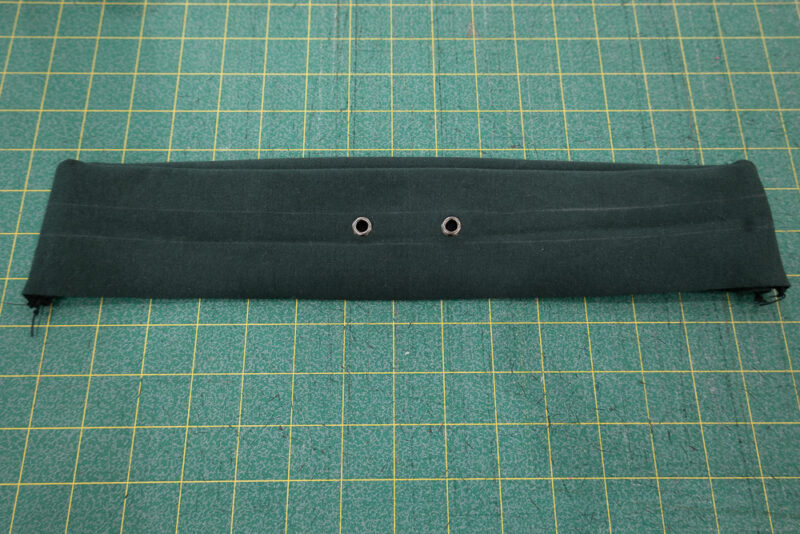
Open the fitted waistband so the wrong sides are out. Slip the elastic over the waistband. Then, fold the waistband back over the elastic. Make sure your elastic is as close to the fold as possible.
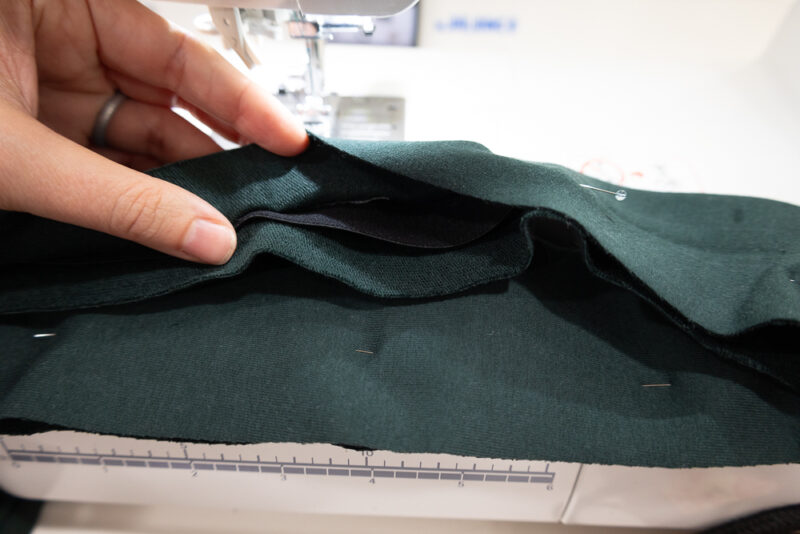
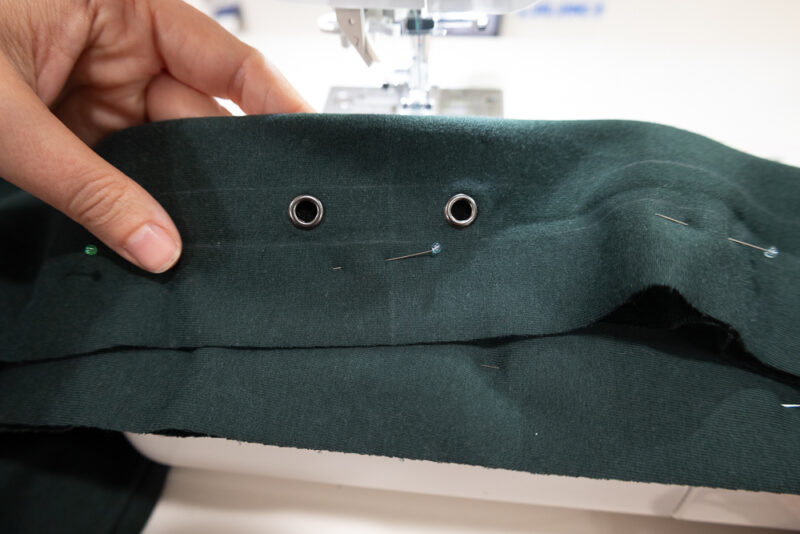
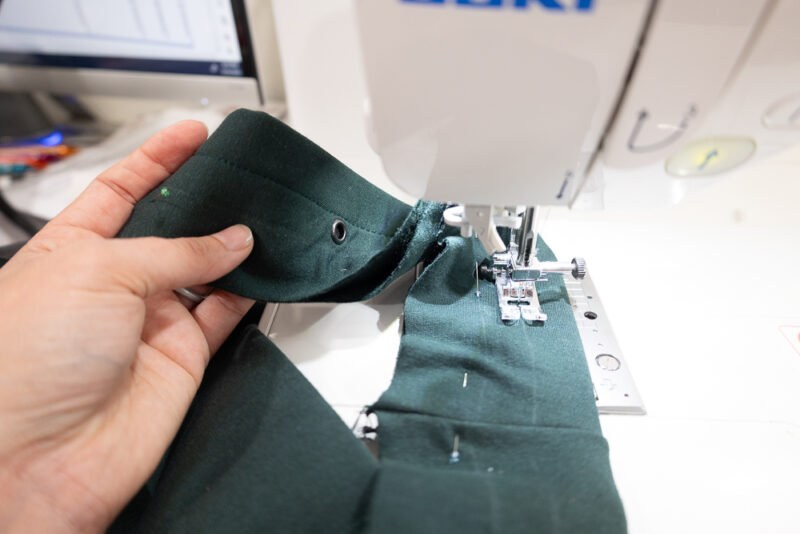
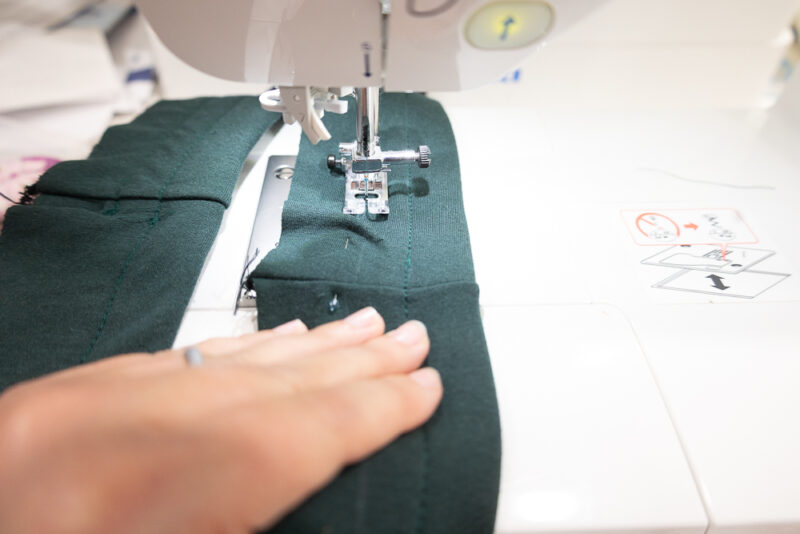
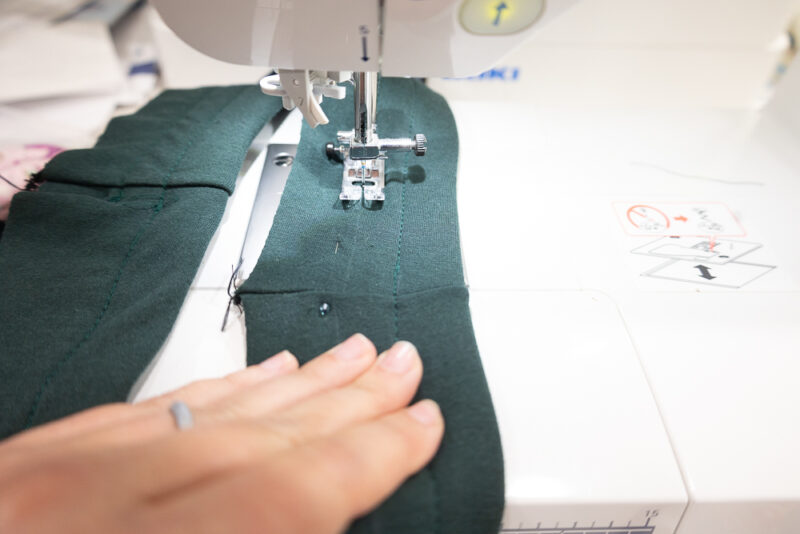
Next, you will stitch along the casing lines if you’re doing the fitted waistband with a drawstring. Ensure you’re using a stretch stitch here so the elastic can still stretch. I like to use a longer triple stitch. You must stretch the elastic as you stitch to fit the waistband as you sew. Note- I like adding a few pins to keep the elastic in place.
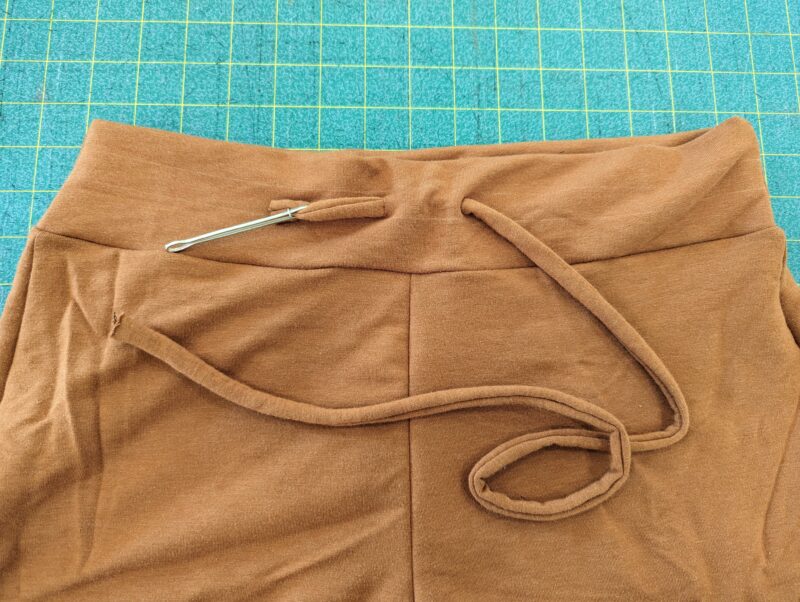
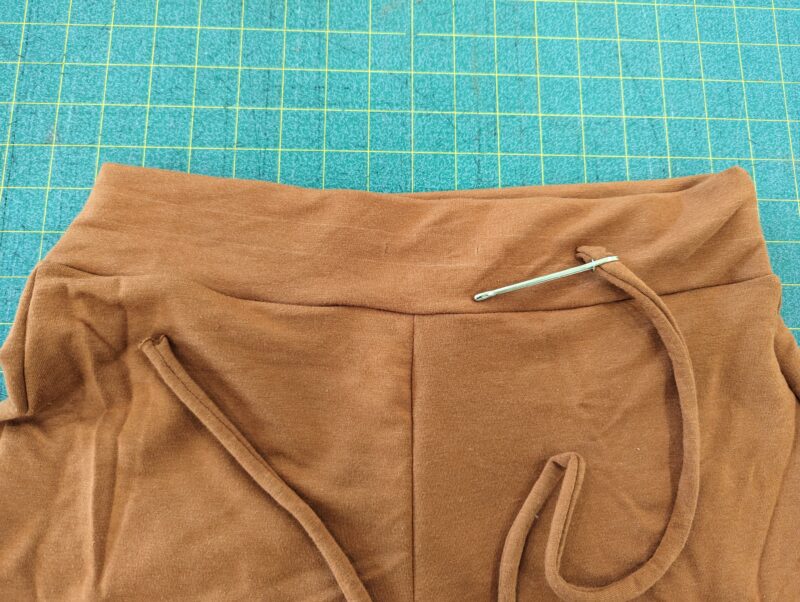
Thread your drawstring, and you’re done!
ADDING A FAUX DRAWSTRING
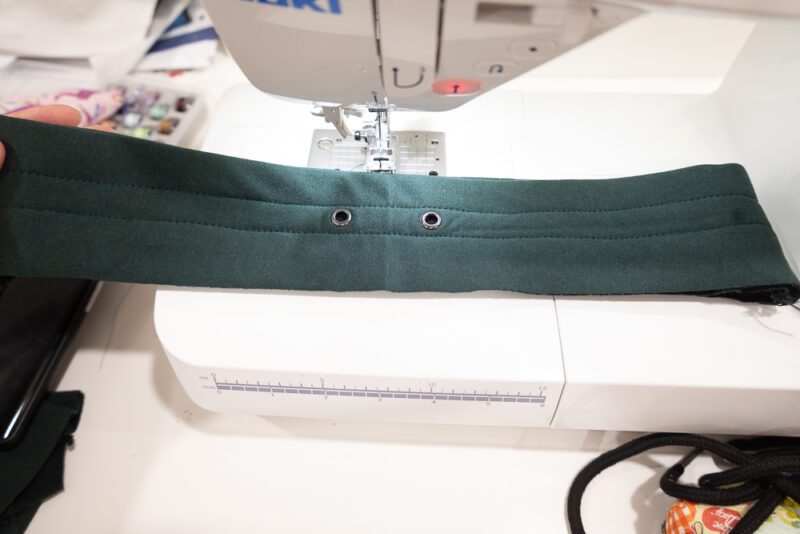
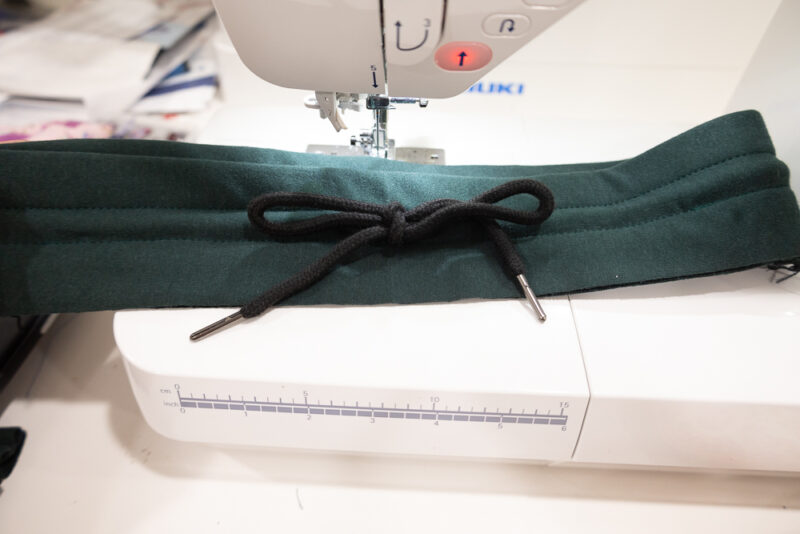
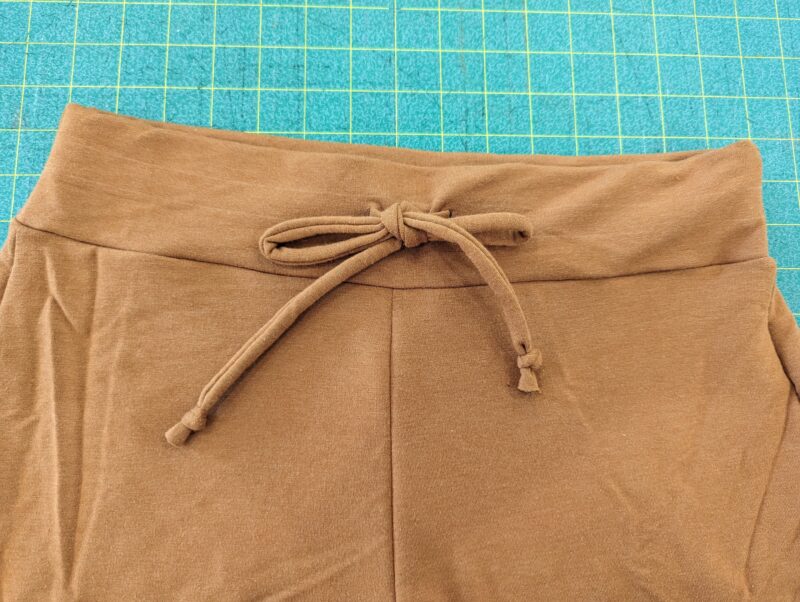
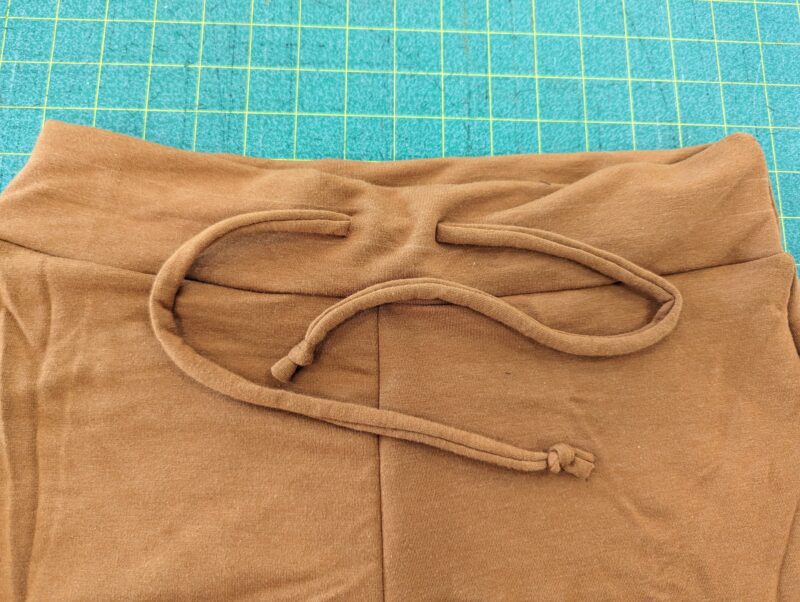
If you want the drawstring look but don’t care about the functionality of the drawstring, add a faux one! You can use a drawstring pattern piece and shorten it, or use drawstring cording, twill tape, or whatever you have on hand. I like the look of the grommets or buttonholes, so I still like to add them and then slip the drawstring through to tie. You could also stitch the drawstring directly to the waistband to save time and not add the grommets or buttonholes.
OMITTING THE DRAWSTRING ON THE ELASTIC WAISTBAND
If you don’t want to make a drawstring or prefer the look of the elastic waistband without the drawstring, simply don’t add it. Instead, add another elastic to that casing. This would give you four rows of elastic instead of three.
We hope you love our newest loungewear pattern. Looking for something to pair it with? Lulu, Tinsley, Nicky, Logan, Brenda, and our upcoming Everly would make a perfect lounge combo! Keep an eye out in our Facebook group for more styling inspo from our beautiful tester team.



I have some vintage velour. Would this work for this pattern? Two way stretch.
You need 50% horizontal and 20% vertical stretch.