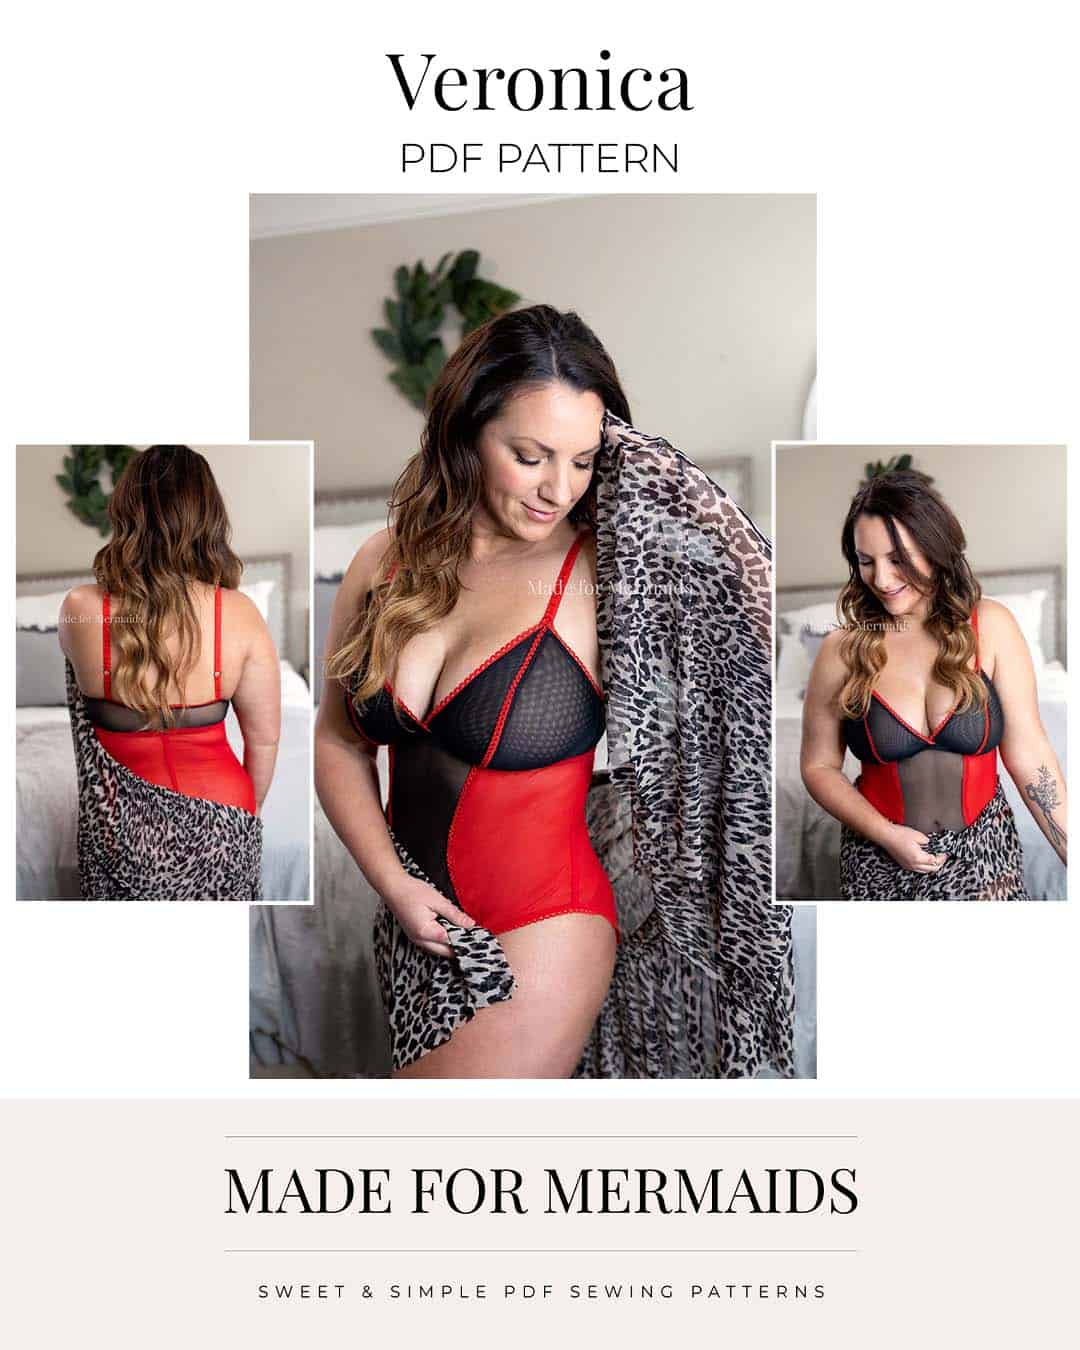
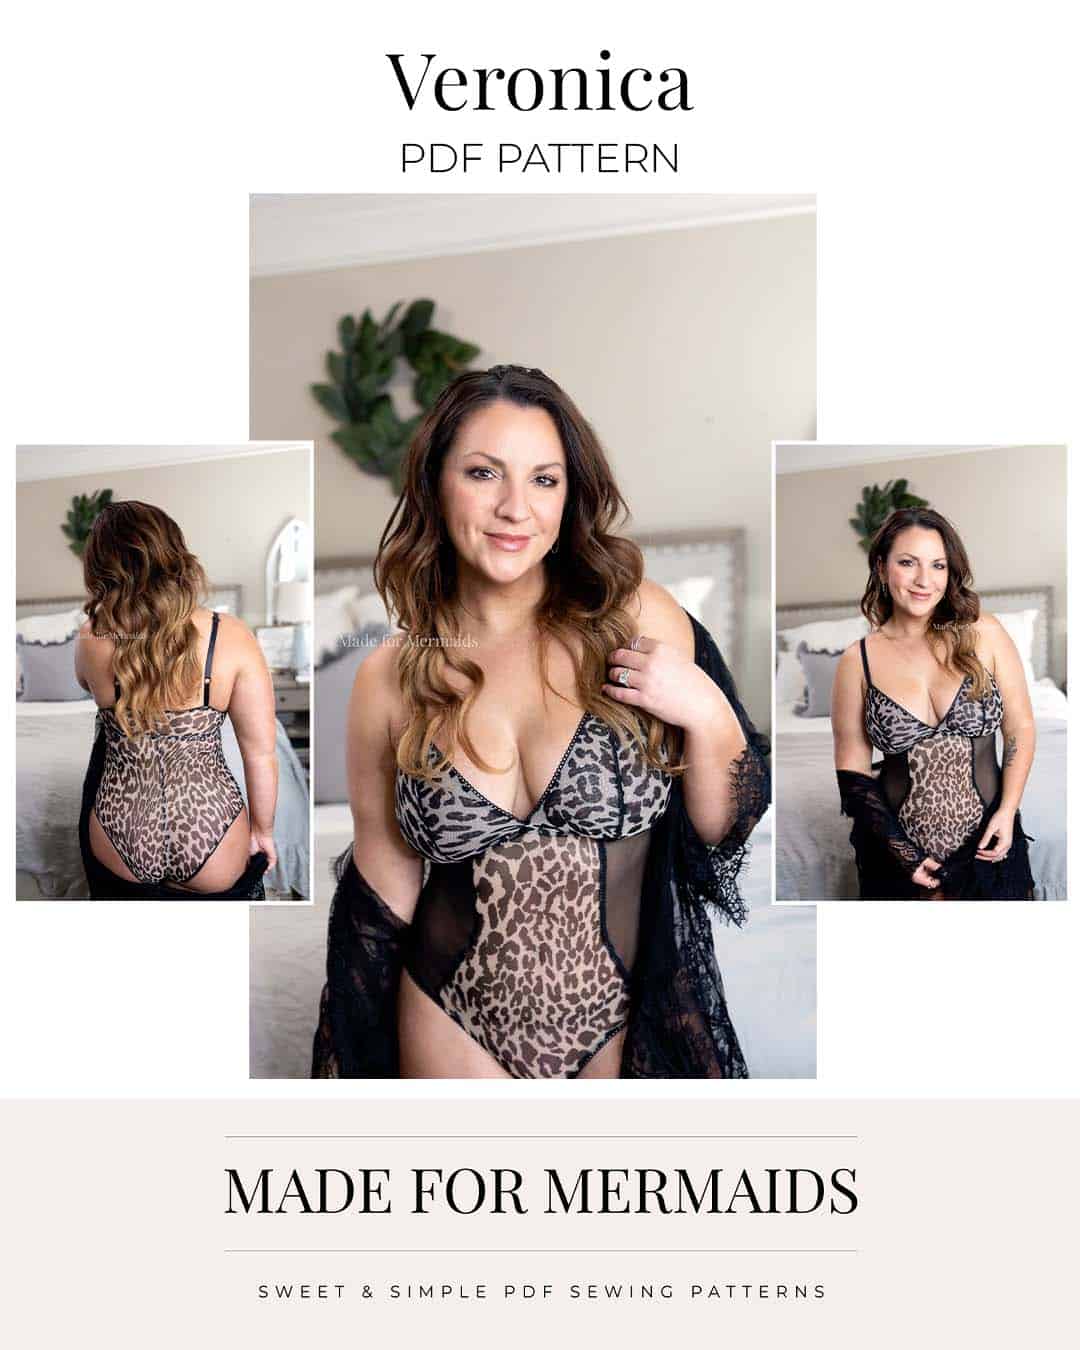
Veronica, our newest pattern to add to our Lounge and Lace Collection, is officially live!
Getting Started
Before you purchase your Veronica pattern, there is a ton of helpful beginner information between the M4M and P4P blogs, in case you are new to knits, or new to PDF patterns in general:
- New to PDF patterns? Check out our helpful tips here
- New to sewing with knits? Brittany has some great info here
- Not quite sure how to measure yourself accurately? Don’t worry; check out the post here!
- Having issues printing? Most issues can be resolved by using our FAQs/troubleshooting tips
- Join our Facebook group here.
Fabric + Notions
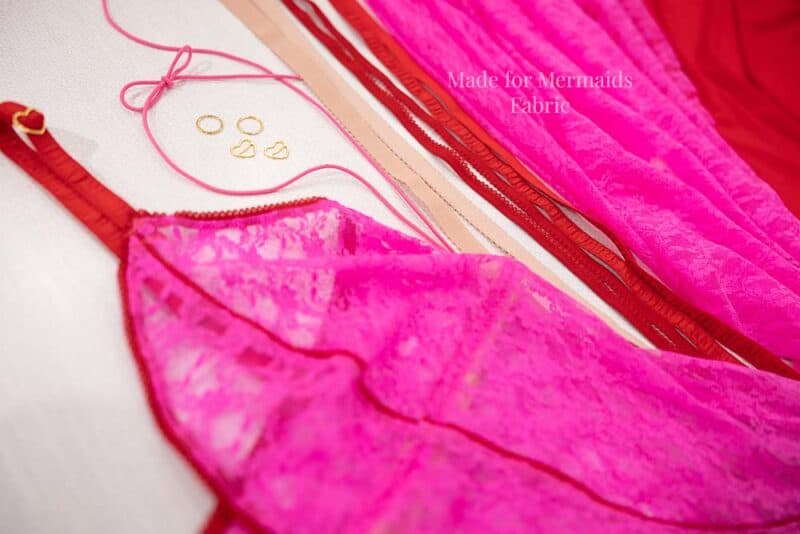
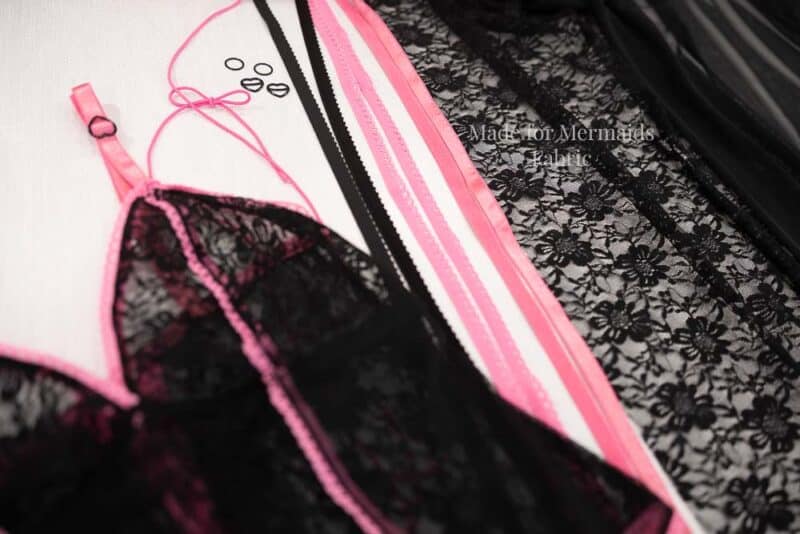
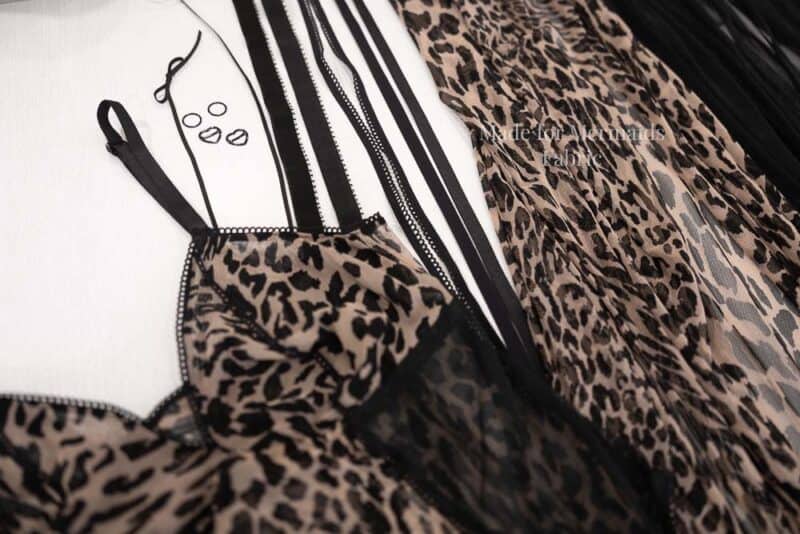
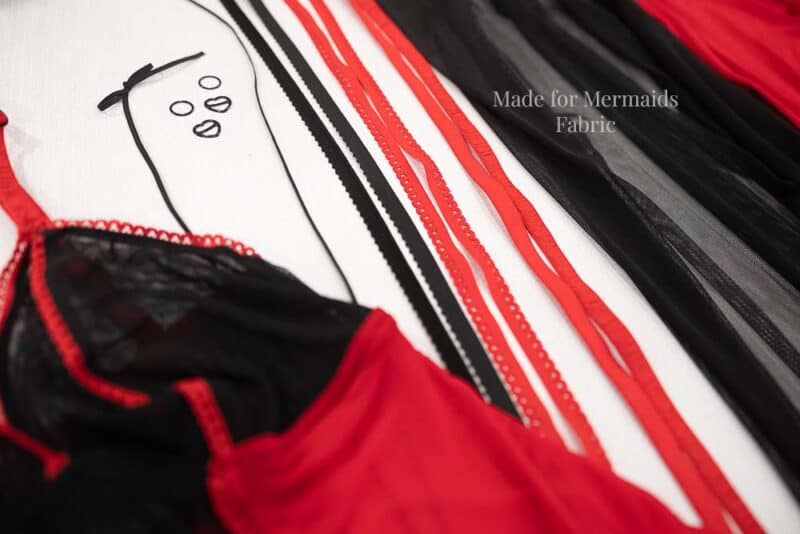
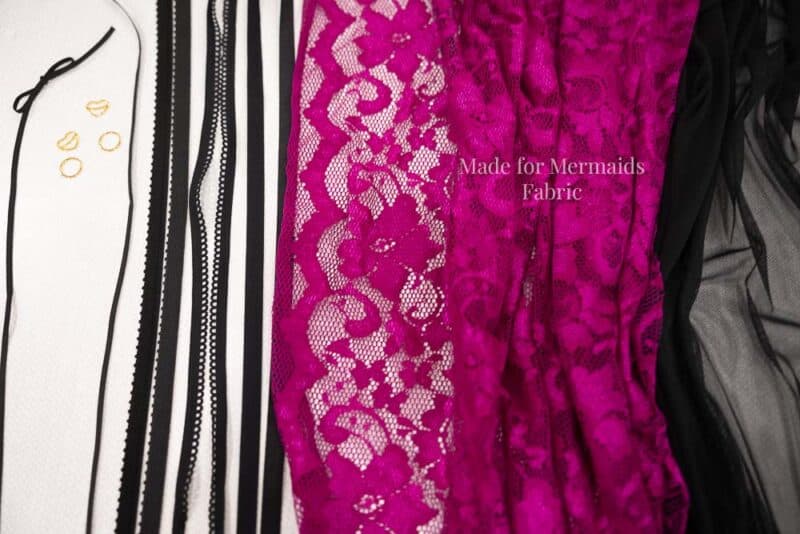
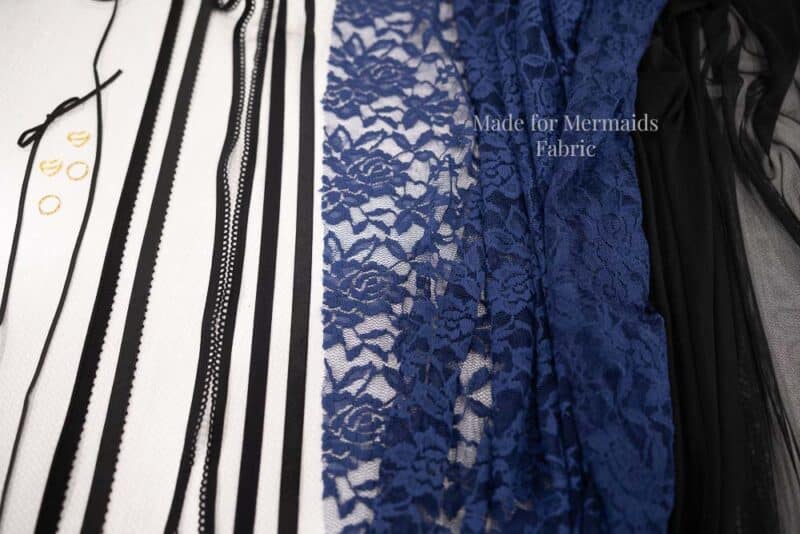
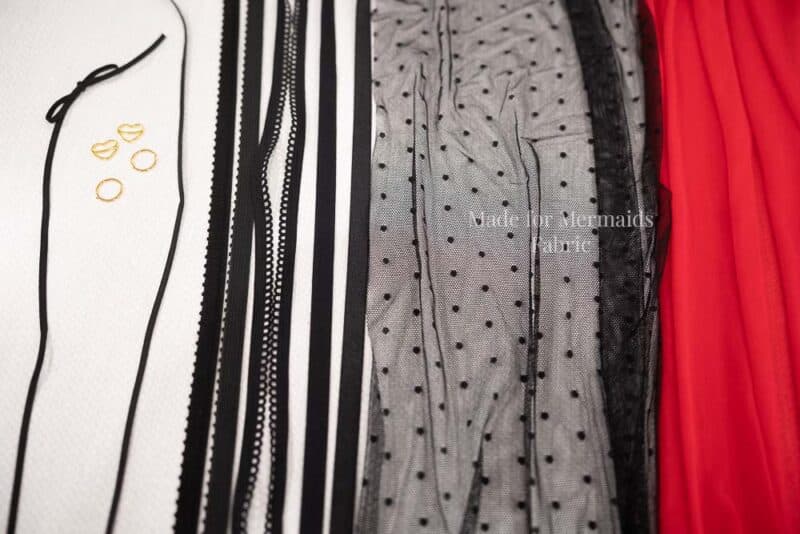
If you’re having a hard time deciding on fabric or finding the right notions for your Veronica, check out our Veronica fabric and finding kits here.
Choosing Your Options
We have lots of tester photos in our FB group and on the site if you want to see a variety of photos of each option before you decide! Here is a quick snapshot of the different options:
- Lined Cups, Straight Back, Cheeky, Adjustable Straps, paired with our new Marilyn MonRobe
- Unlined cups, Faux Corset Back, Thong, Adjustable Straps
- Lined Cups, Straight Back, Cheeky, Adjustable Straps – paired with our Rita Robe in lace
Sew Along With Megan!
Want to sew along with Megan? This video includes lined cups, straight back, and cheeky bottom options. Join her on YouTube here:
Sewing different options? This video includes unlined cups, a faux corset back, and a thong bottom. Join Megan on YouTube here:
NOTE: Looking for even more support on YouTube? We have videos on Sewing Fold Over Elastic (FOE), Sewing Flat Elastic, AND Sewing Picot Elastic. There are also lots of helpful tips in the early pages of your written pattern tutorial!
Adjustable Straps
Sewing the adjustable straps and need a video? Join Megan on YouTube here:
Want a snap placket?
Want to add a snap placket to your teddy? No problem, see the blog post here on adding a snap placket!
Veronica Hacks
I’m as shocked as you are that Stephanie didn’t try a Veronica romper since she’s our resident romper *QUEEN*, but she did make the CUTEST swim hack. We think you’re going to love it! We also have two simple hacks that you can use for strap variations.
Swim Hack
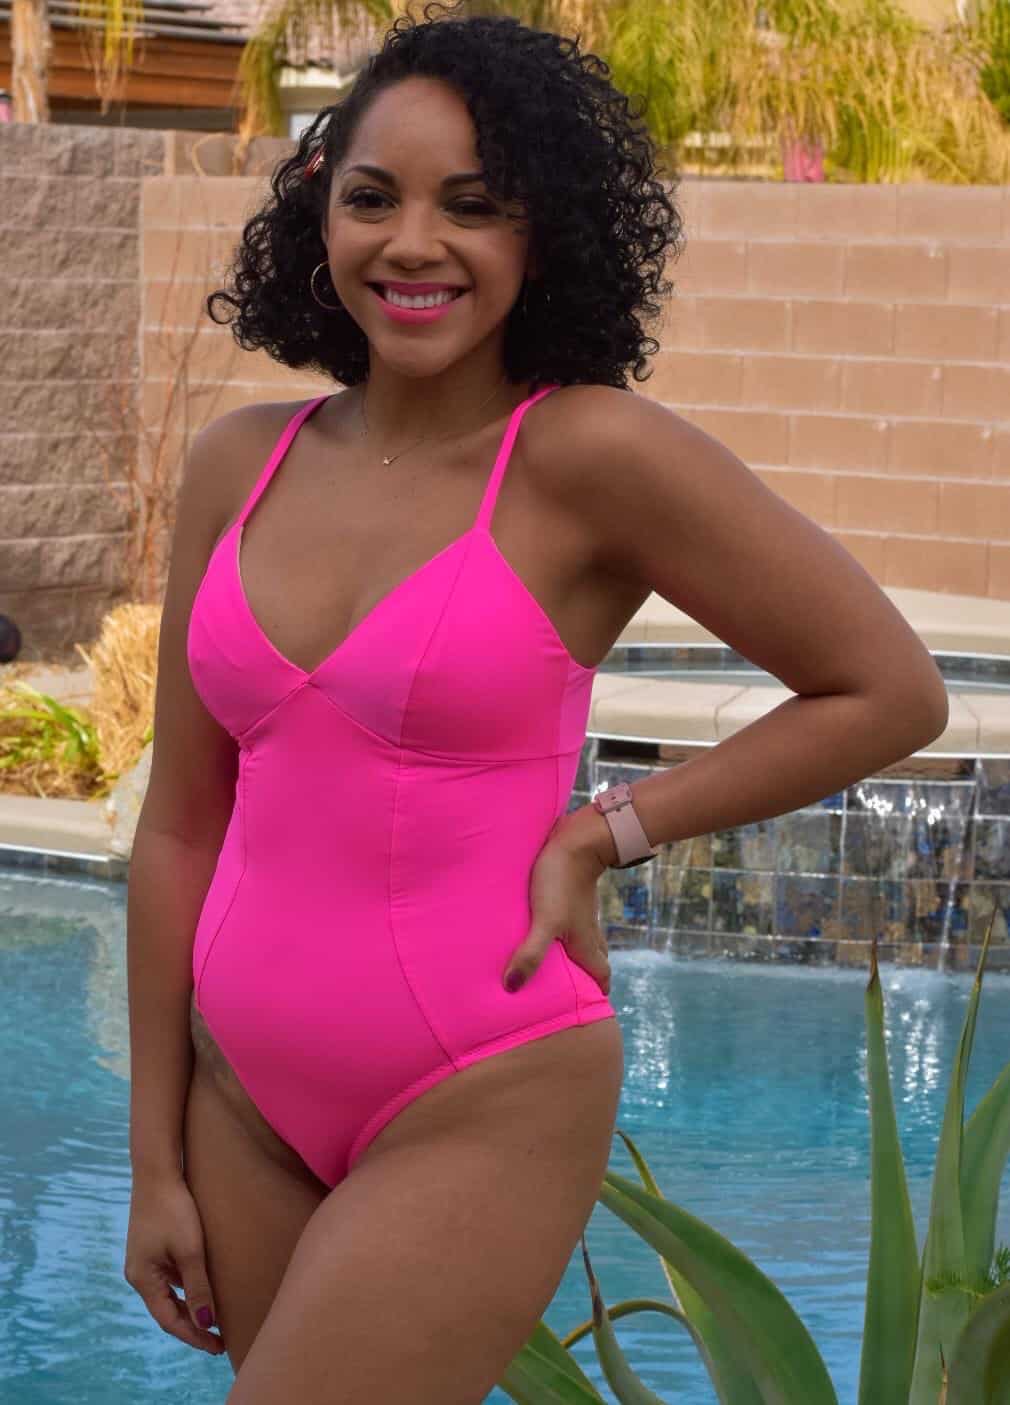
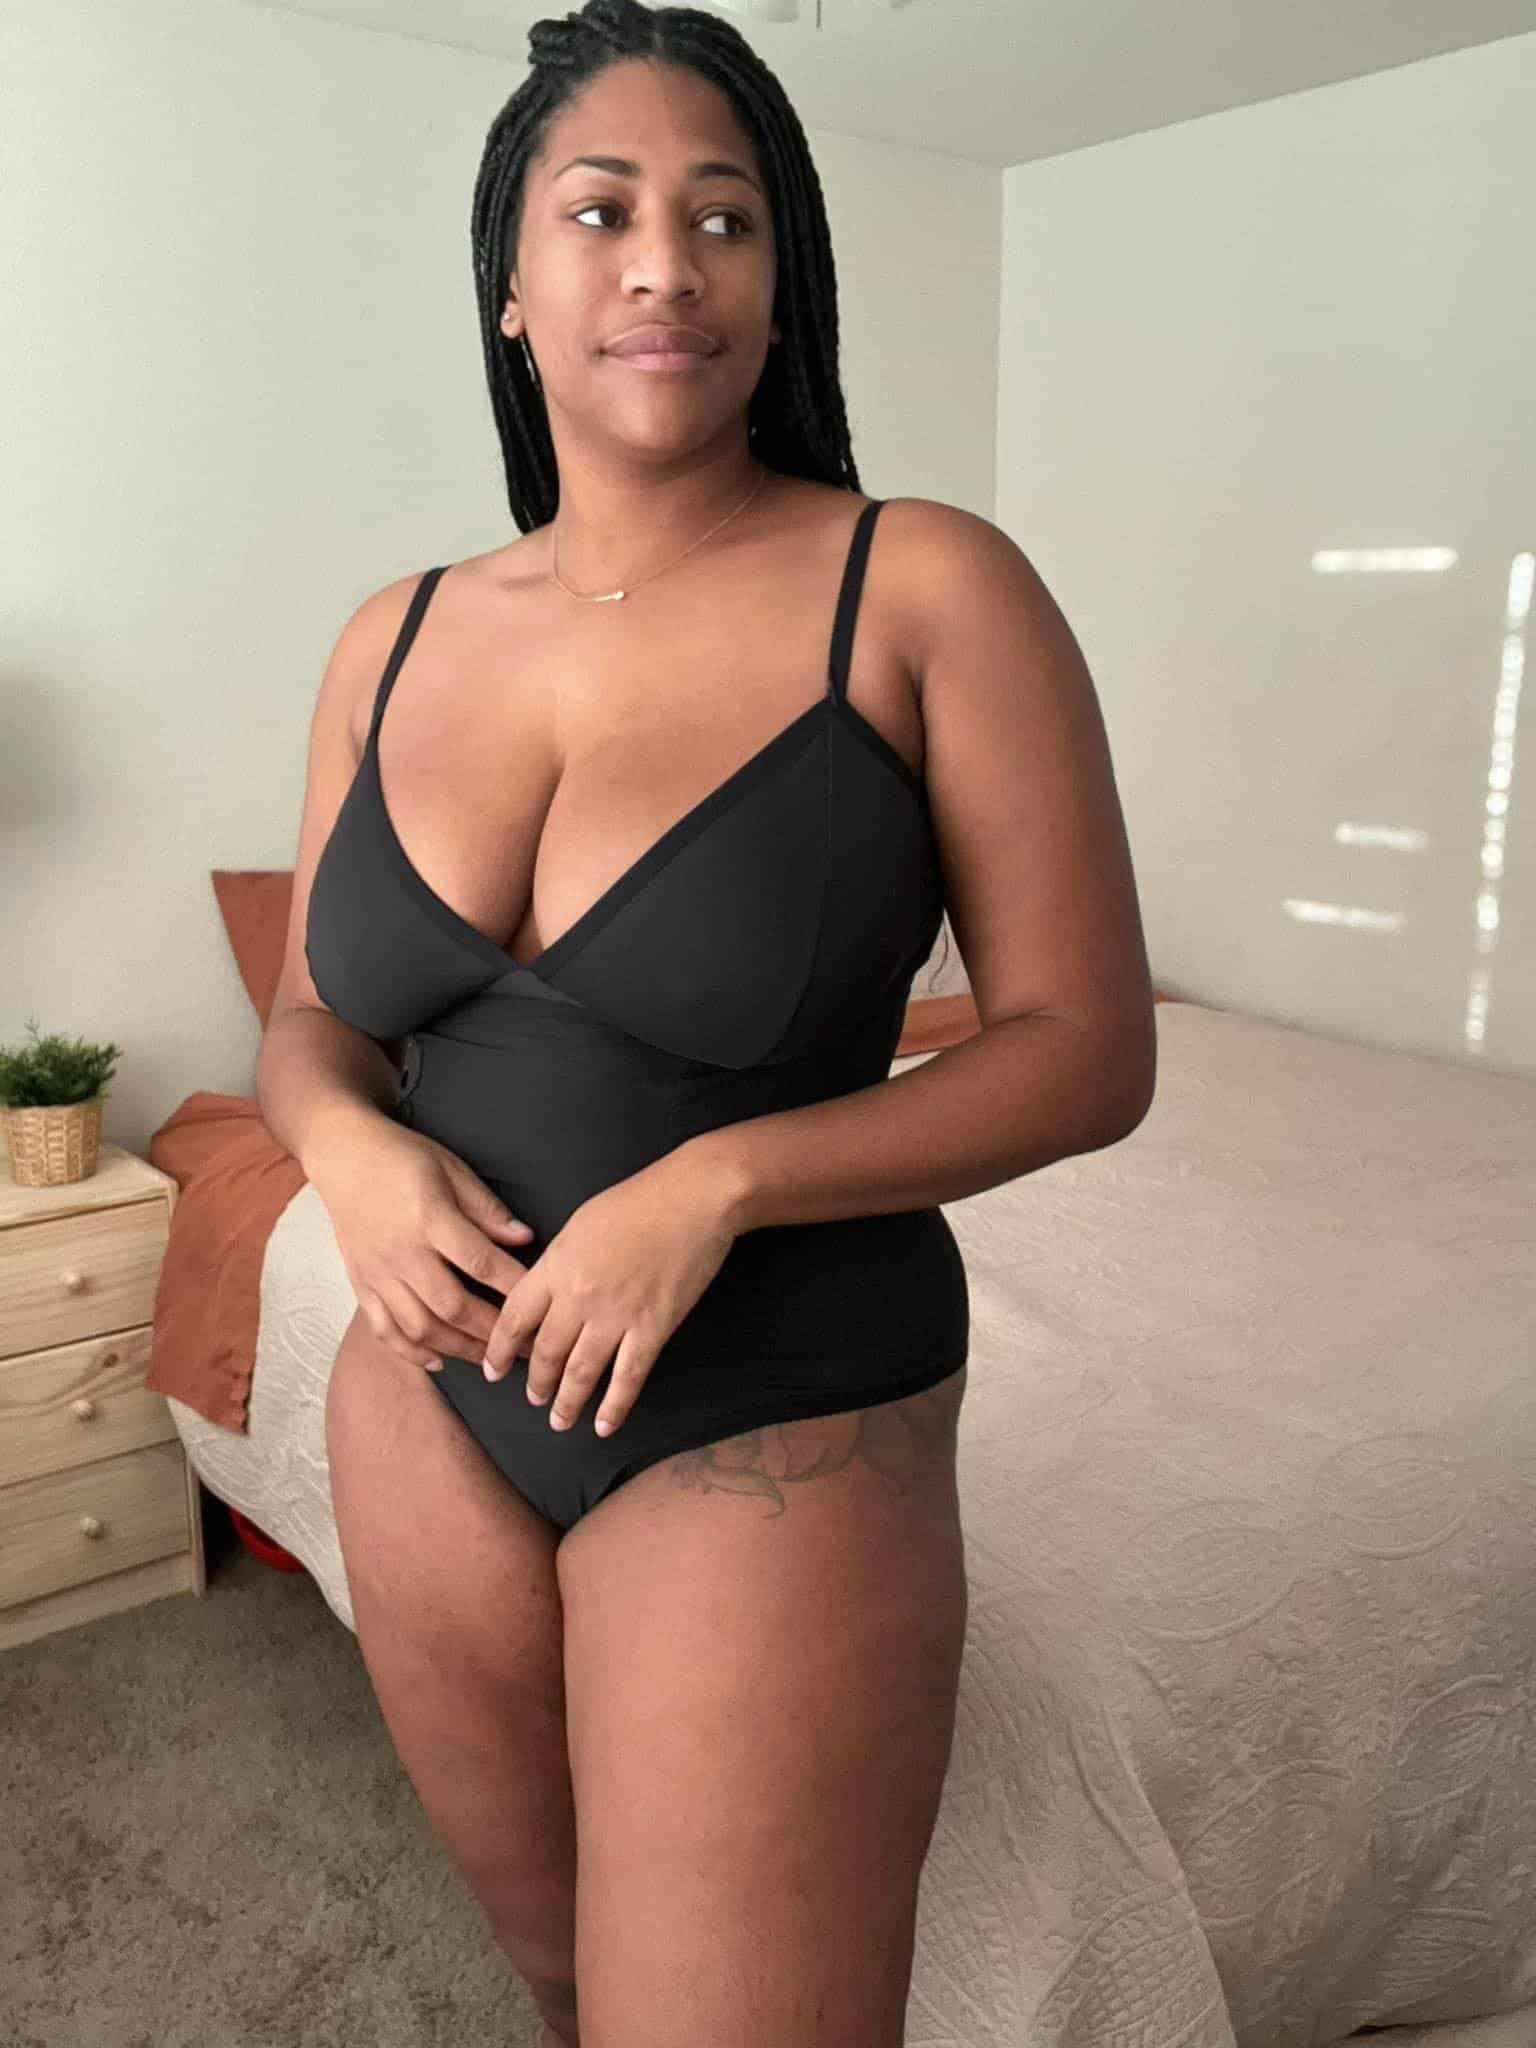
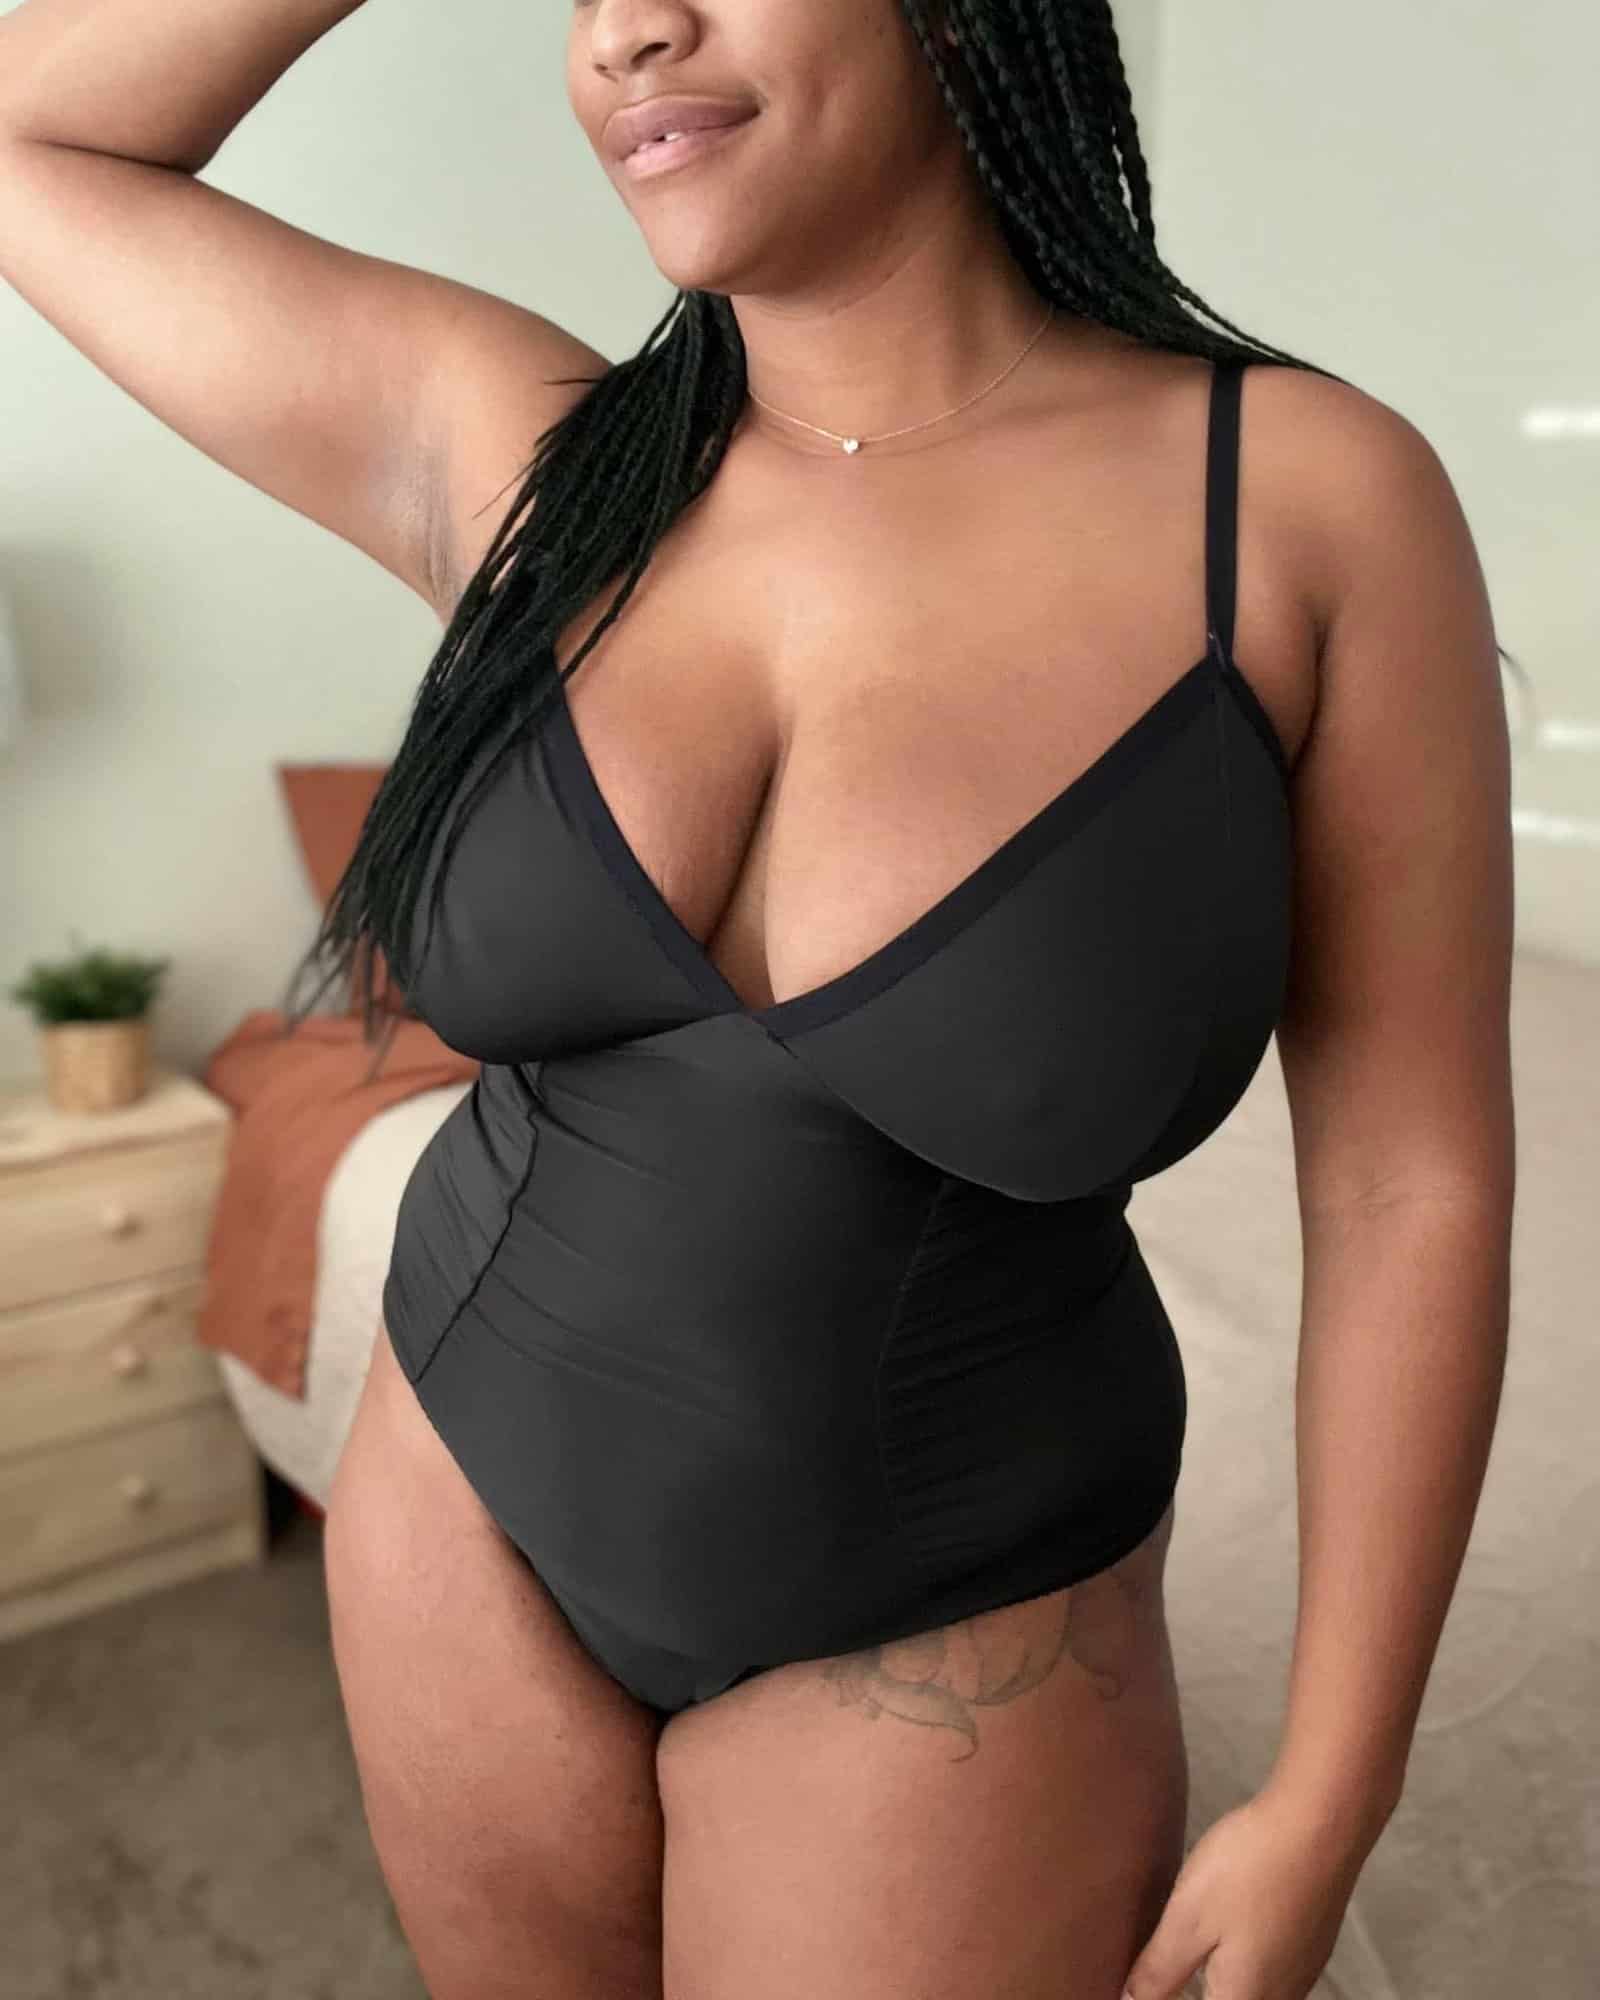
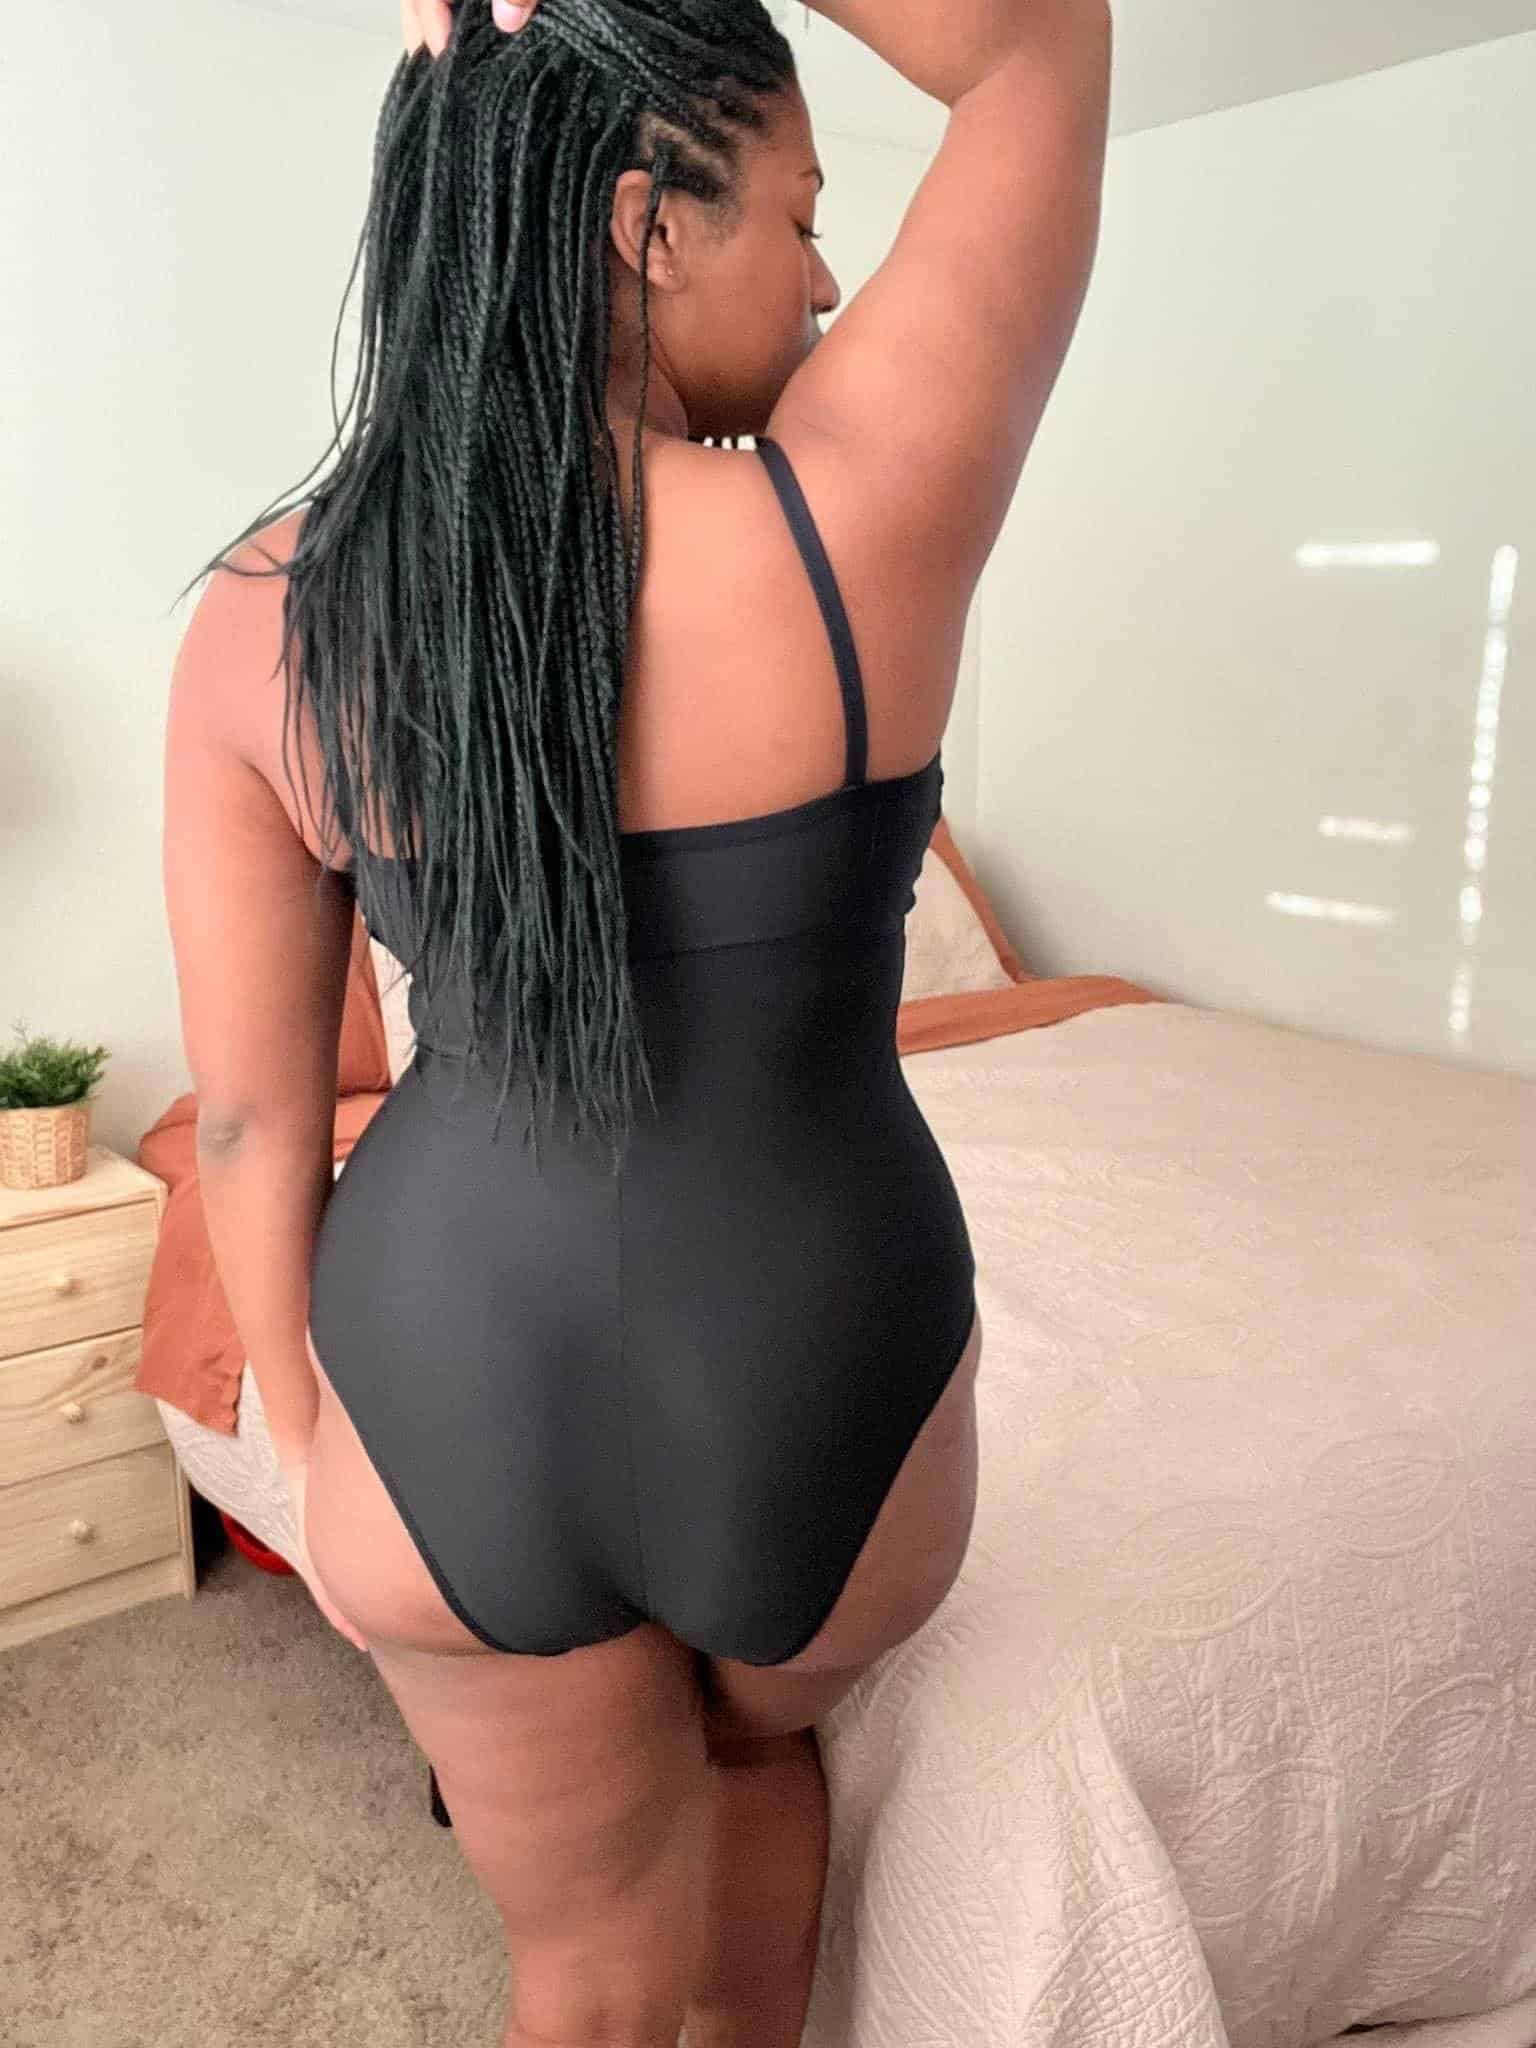
The new Veronica Teddy makes one killer one piece swimsuit! Of course I had to try it out, swim is my jam!
For this hack, you’ll need:
- swim fabric
- swim lining
- 1/4″ swim elastic
- 3/8″ swim elastic for straps and legline
NOTE: You can use 3/8″ swim elastic everywhere if you prefer, but 1/4″ will not provide enough support for the straps. I used 3/8″ swim elastic for the straps and legline, and 1/4″ everywhere else. Using 3/8″ for the legs gives a bit less coverage, so you could use 1/4″ there if you prefer.
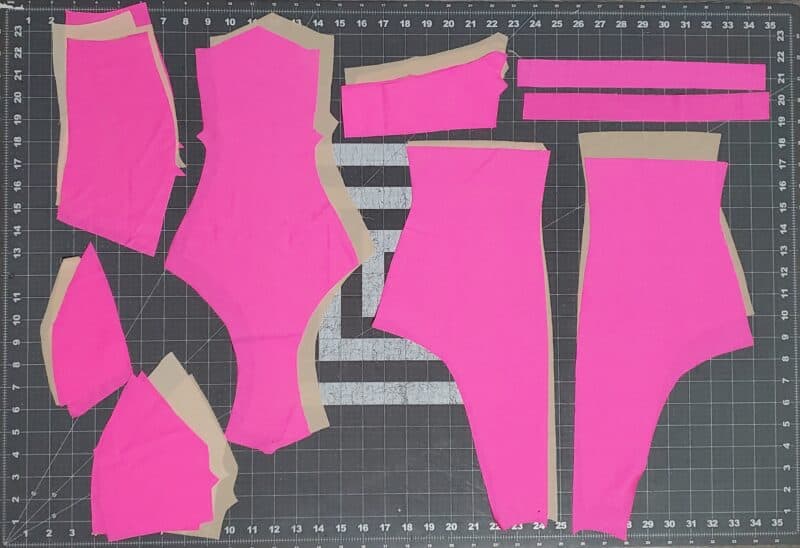
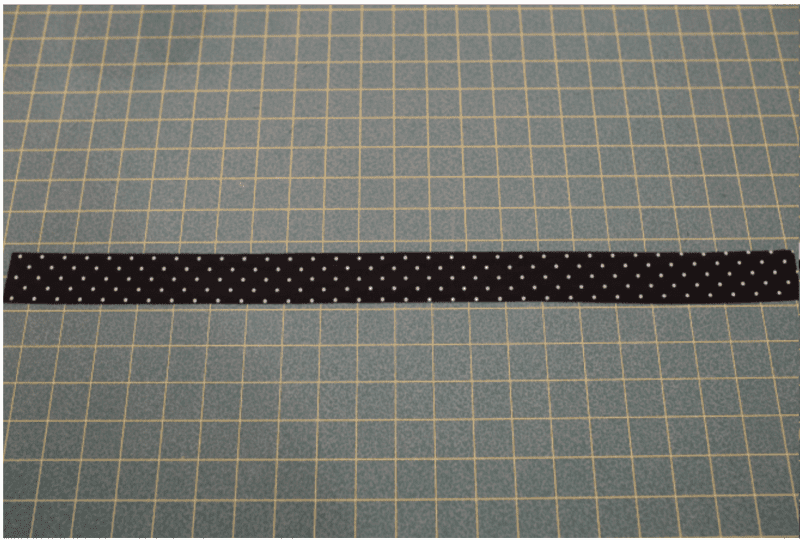
Start by cutting all of your pieces in your main swim fabric and lining fabric. You’ll also need two strap pieces. I made mine 1.25″ by the length of the strap elastic pattern piece.
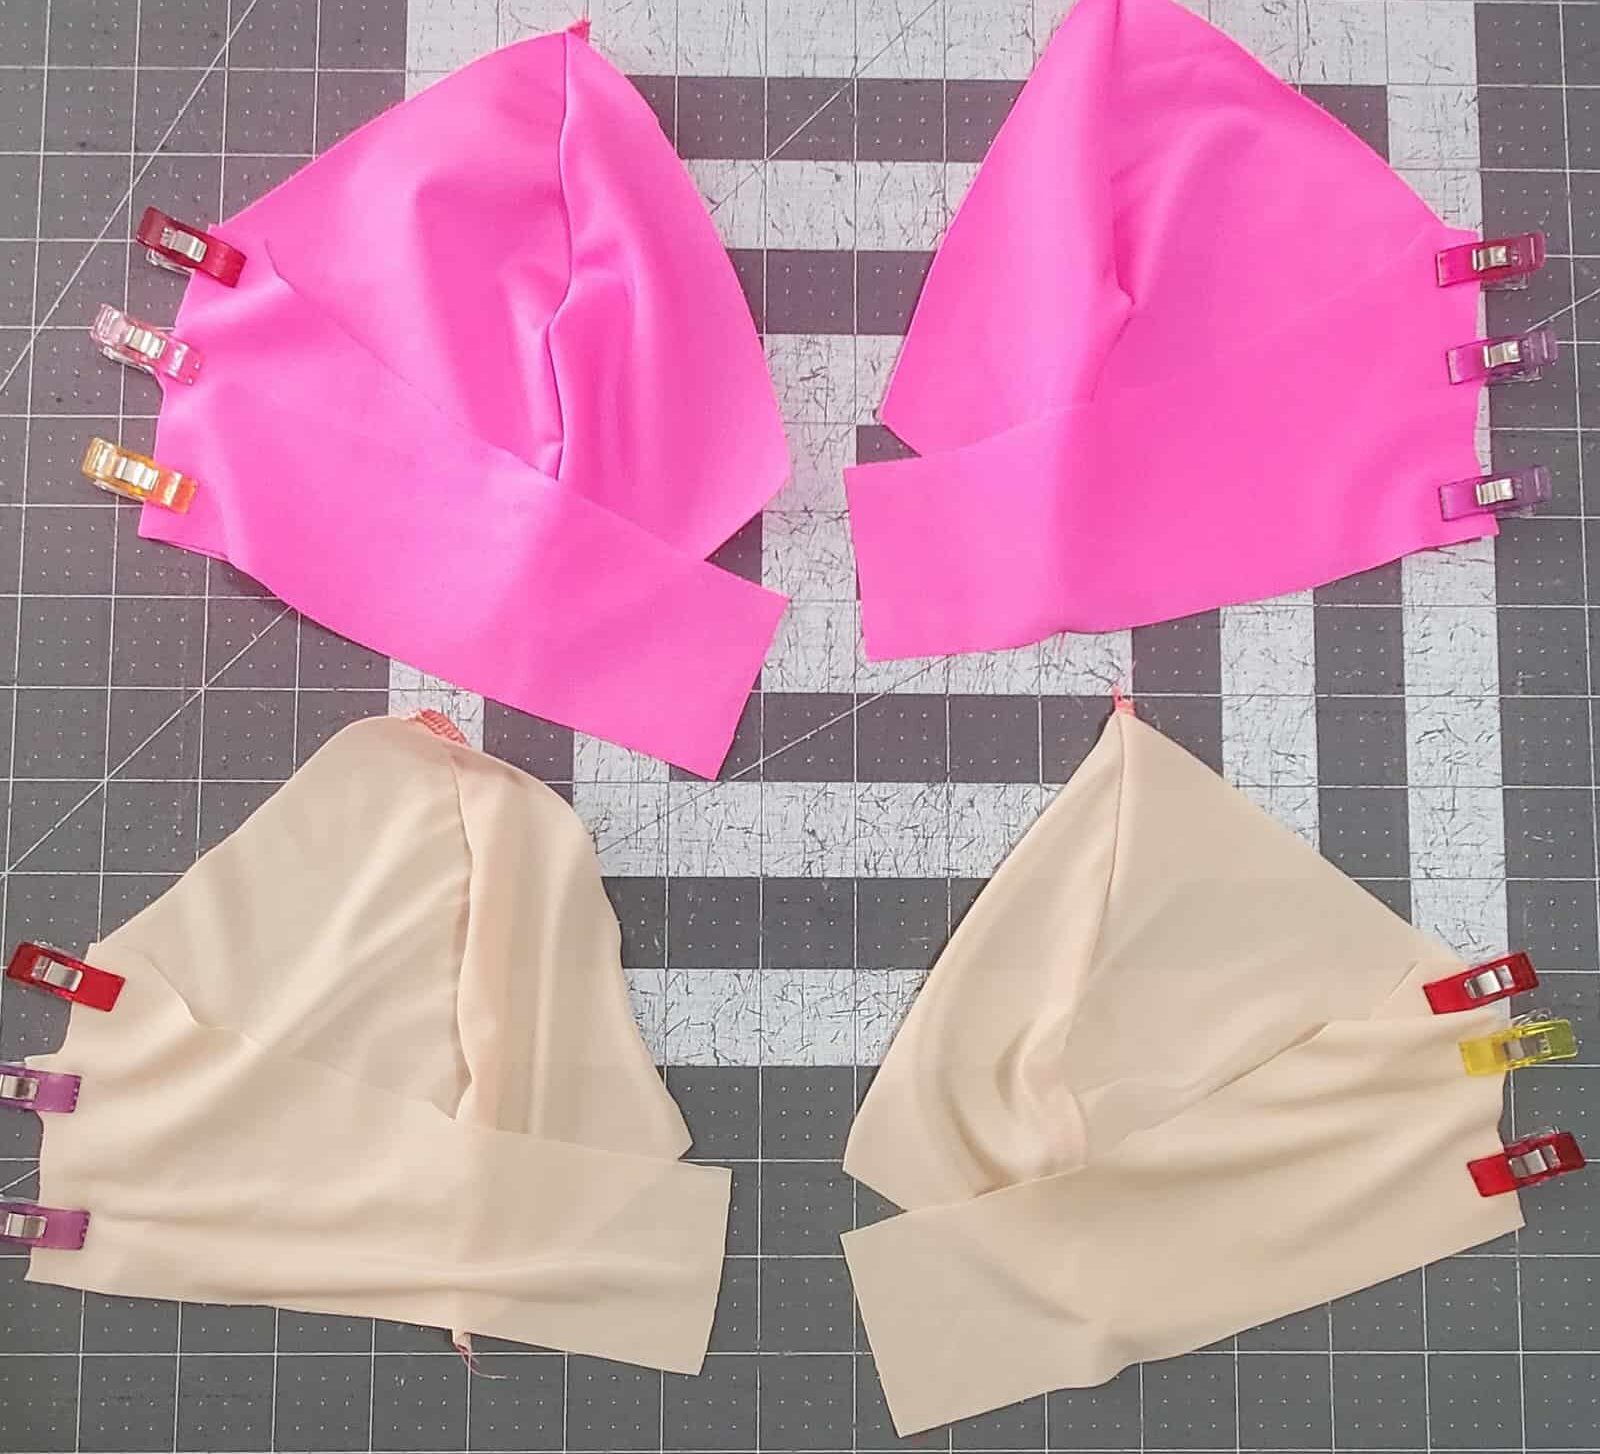
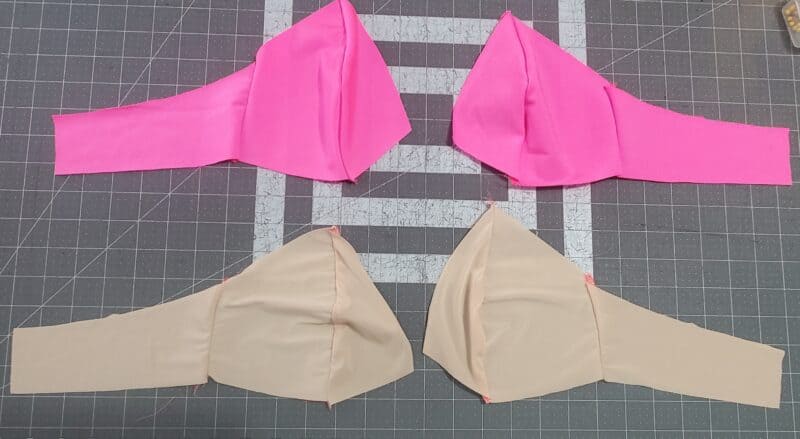
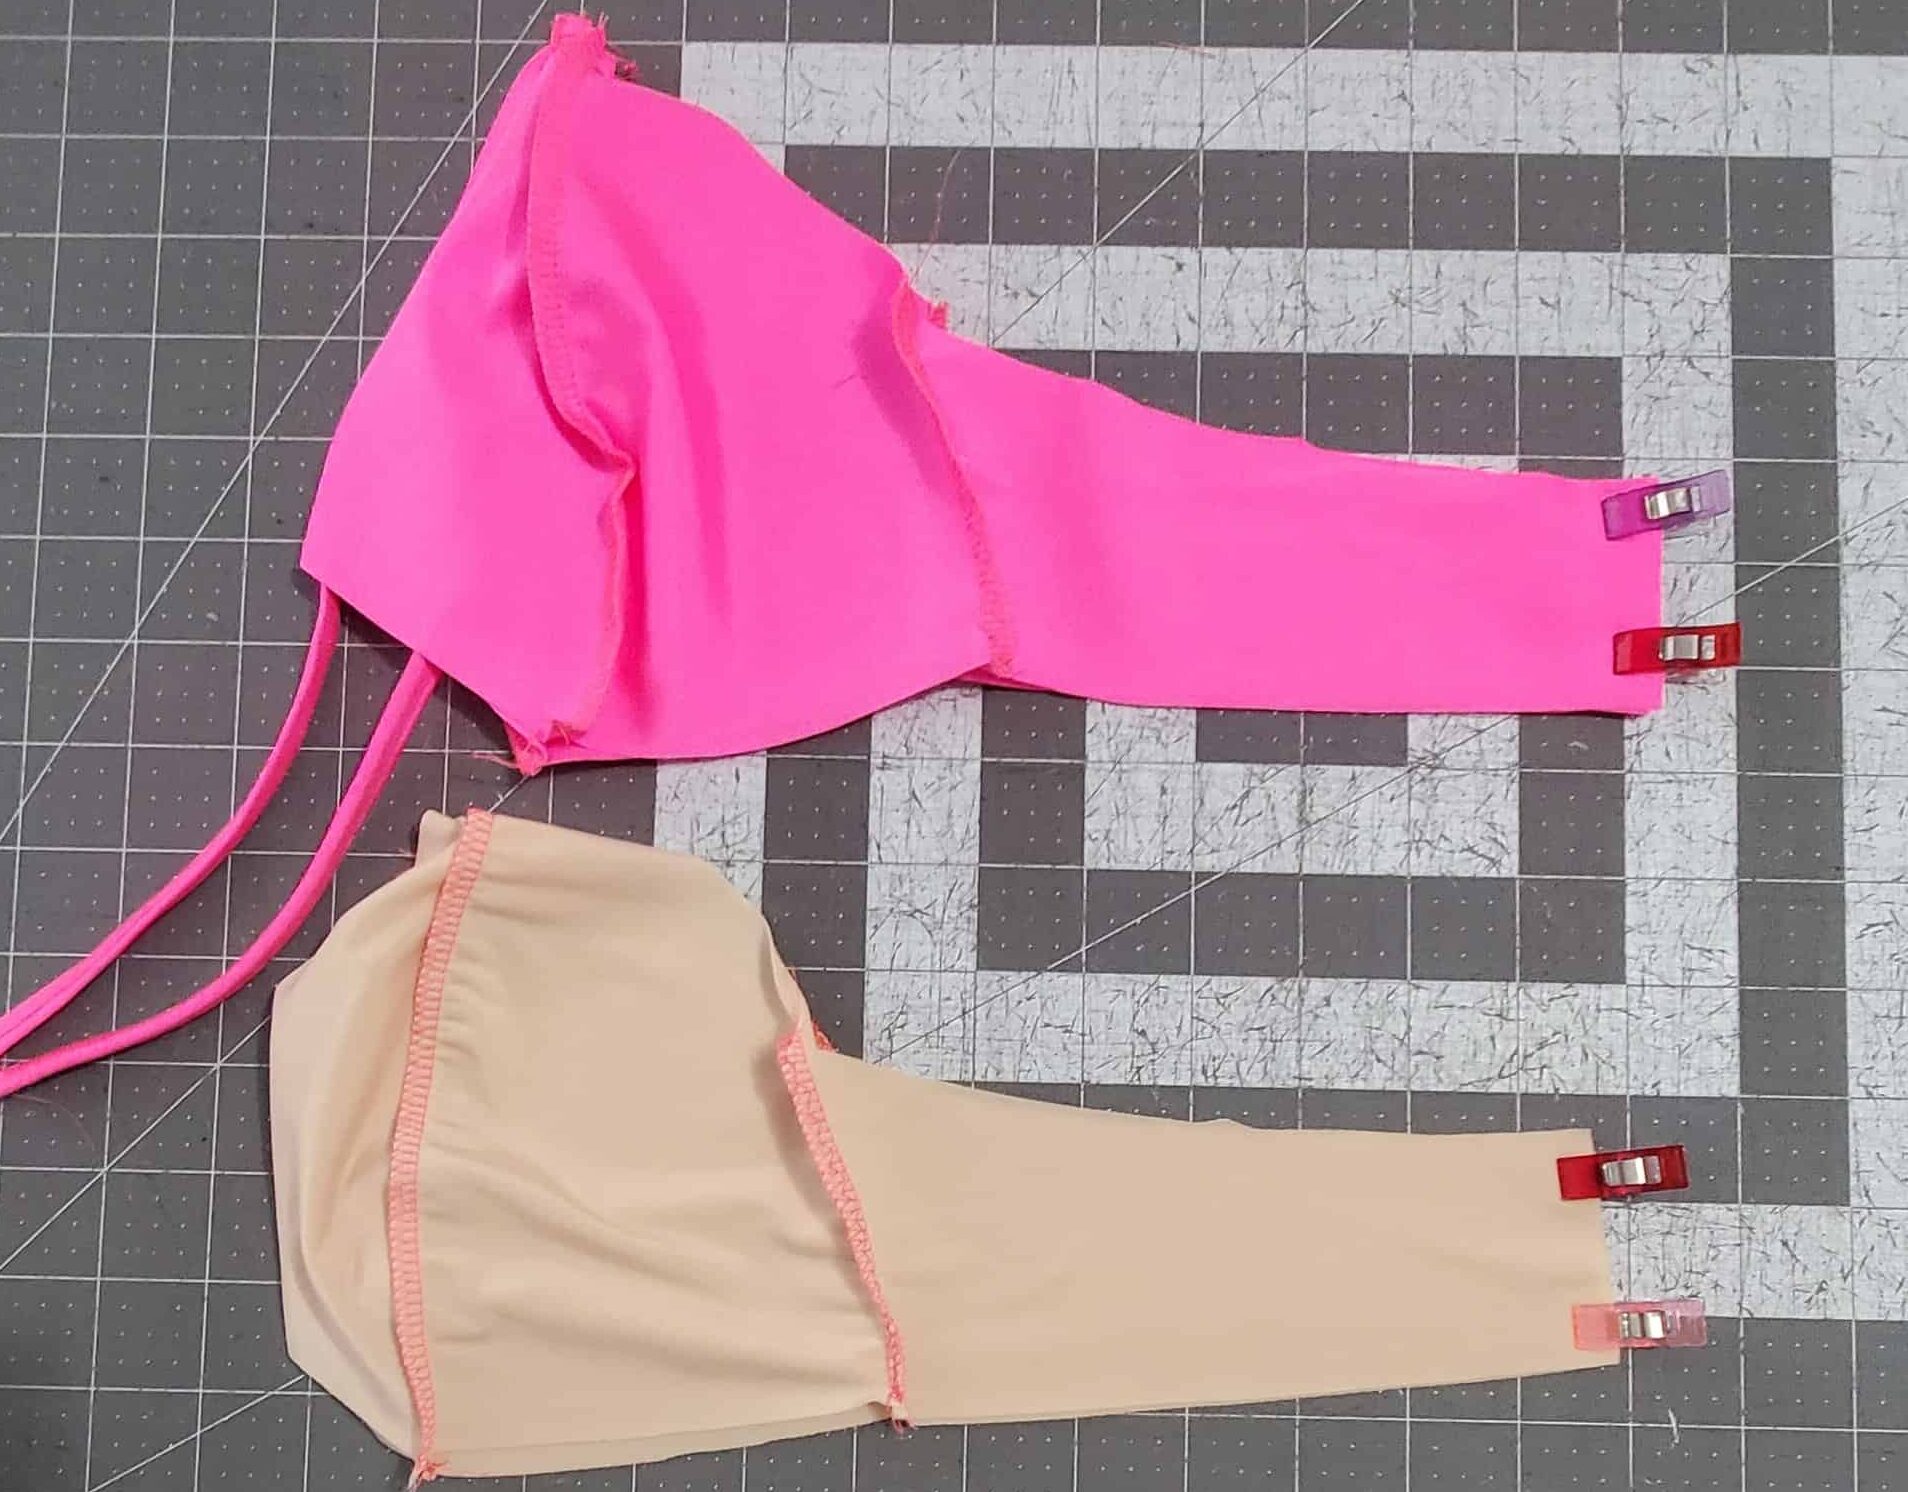
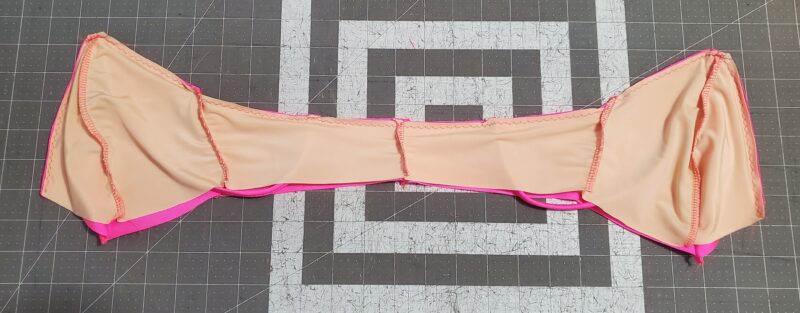
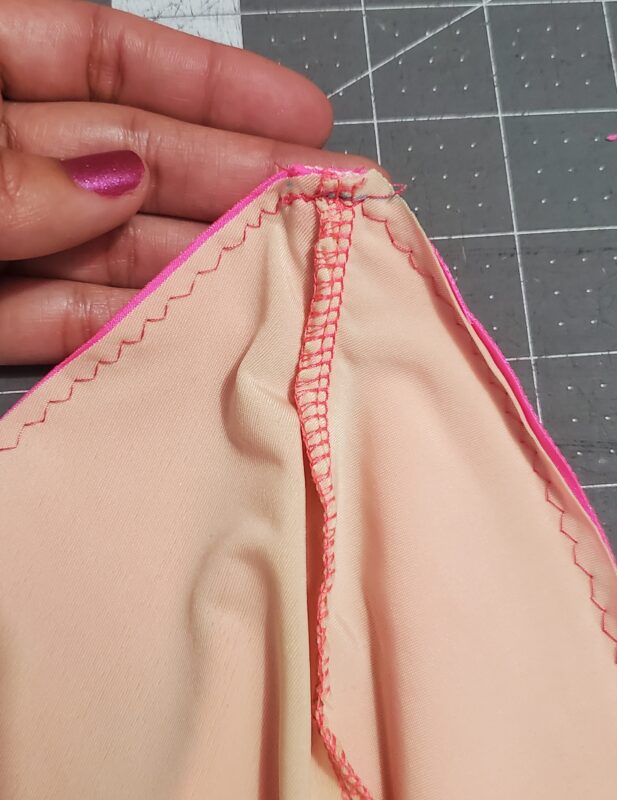
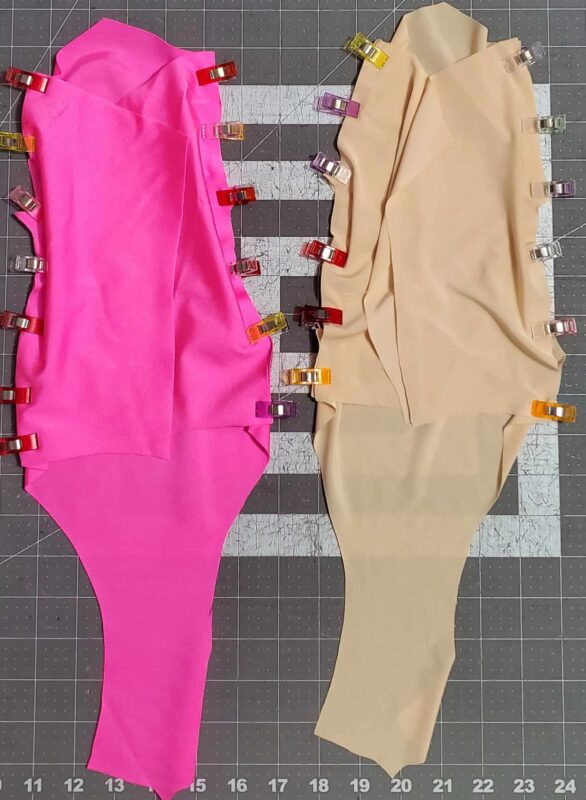
Construct your cups for both the main and the lining pieces as directed in the tutorial.
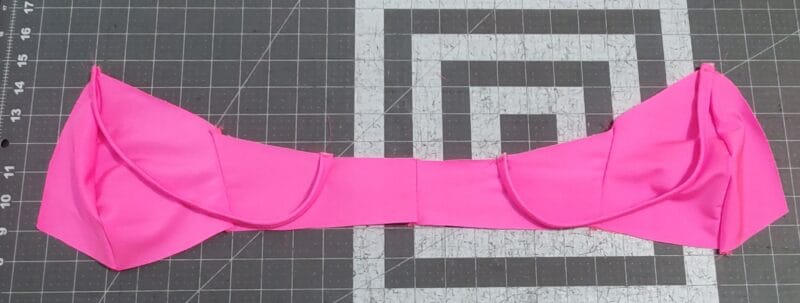
Next, attach your upper back pieces to to your cut pieces for both the main and the lining.
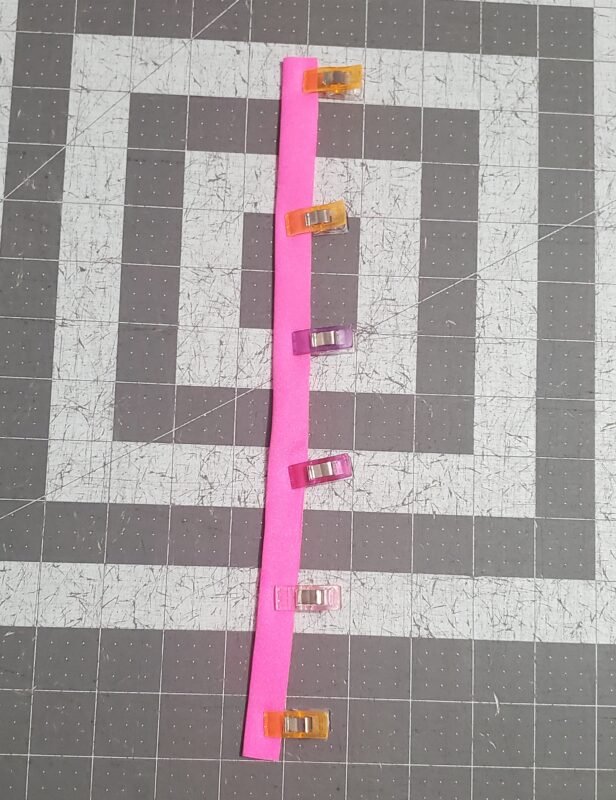
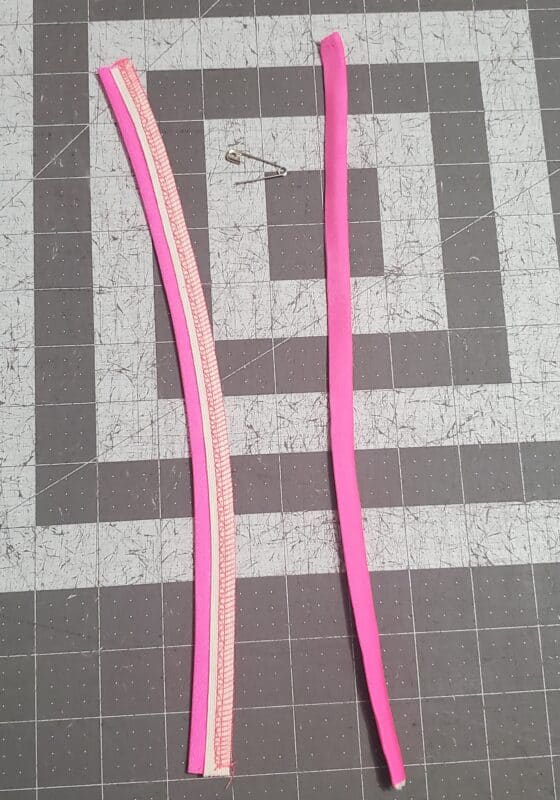
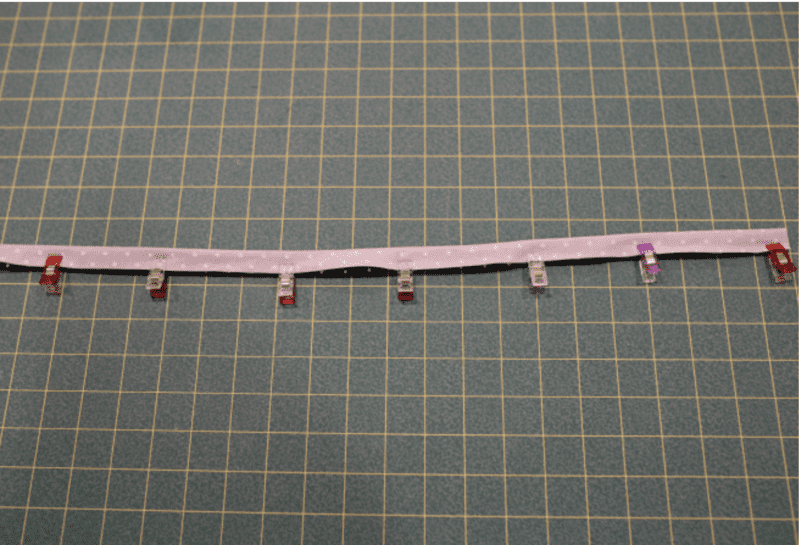
Next, make your straps. Fold your strap pieces right sides together and baste in place along the long raw edges using a 1/4″ seam allowance. Place your 3/8″ swim elastic along the seam you just made, aligning raw edges. Baste your elastic in place and finalize the seam. Again, using a 1/4″ seam allowance. Then, using your favorite turning tool, turn your strap pieces right side out.
NOTE: For additional photos of creating straps, see the “Fabric Strap Hack” below!
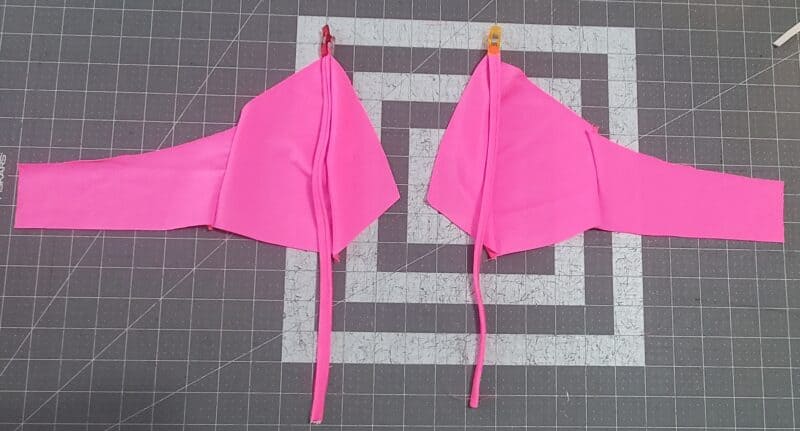
Place your straps at the strap pickups on your main bust pieces, with right sides together, and baste in place.
Sew your back seams together on both the main and lining pieces. Open up your main front pieces and baste your straps sight sides together to your back pieces at the strap placement marking. Be careful not to twist your straps.
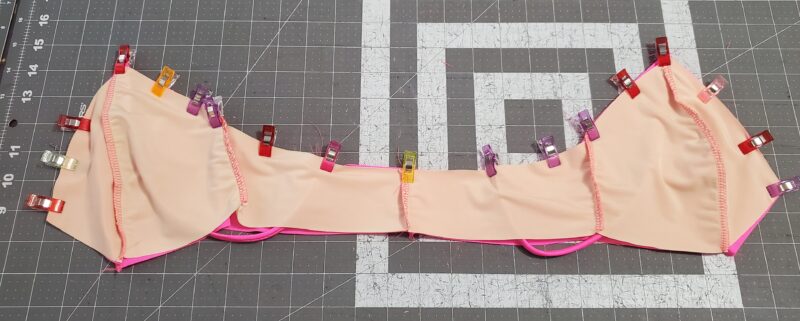
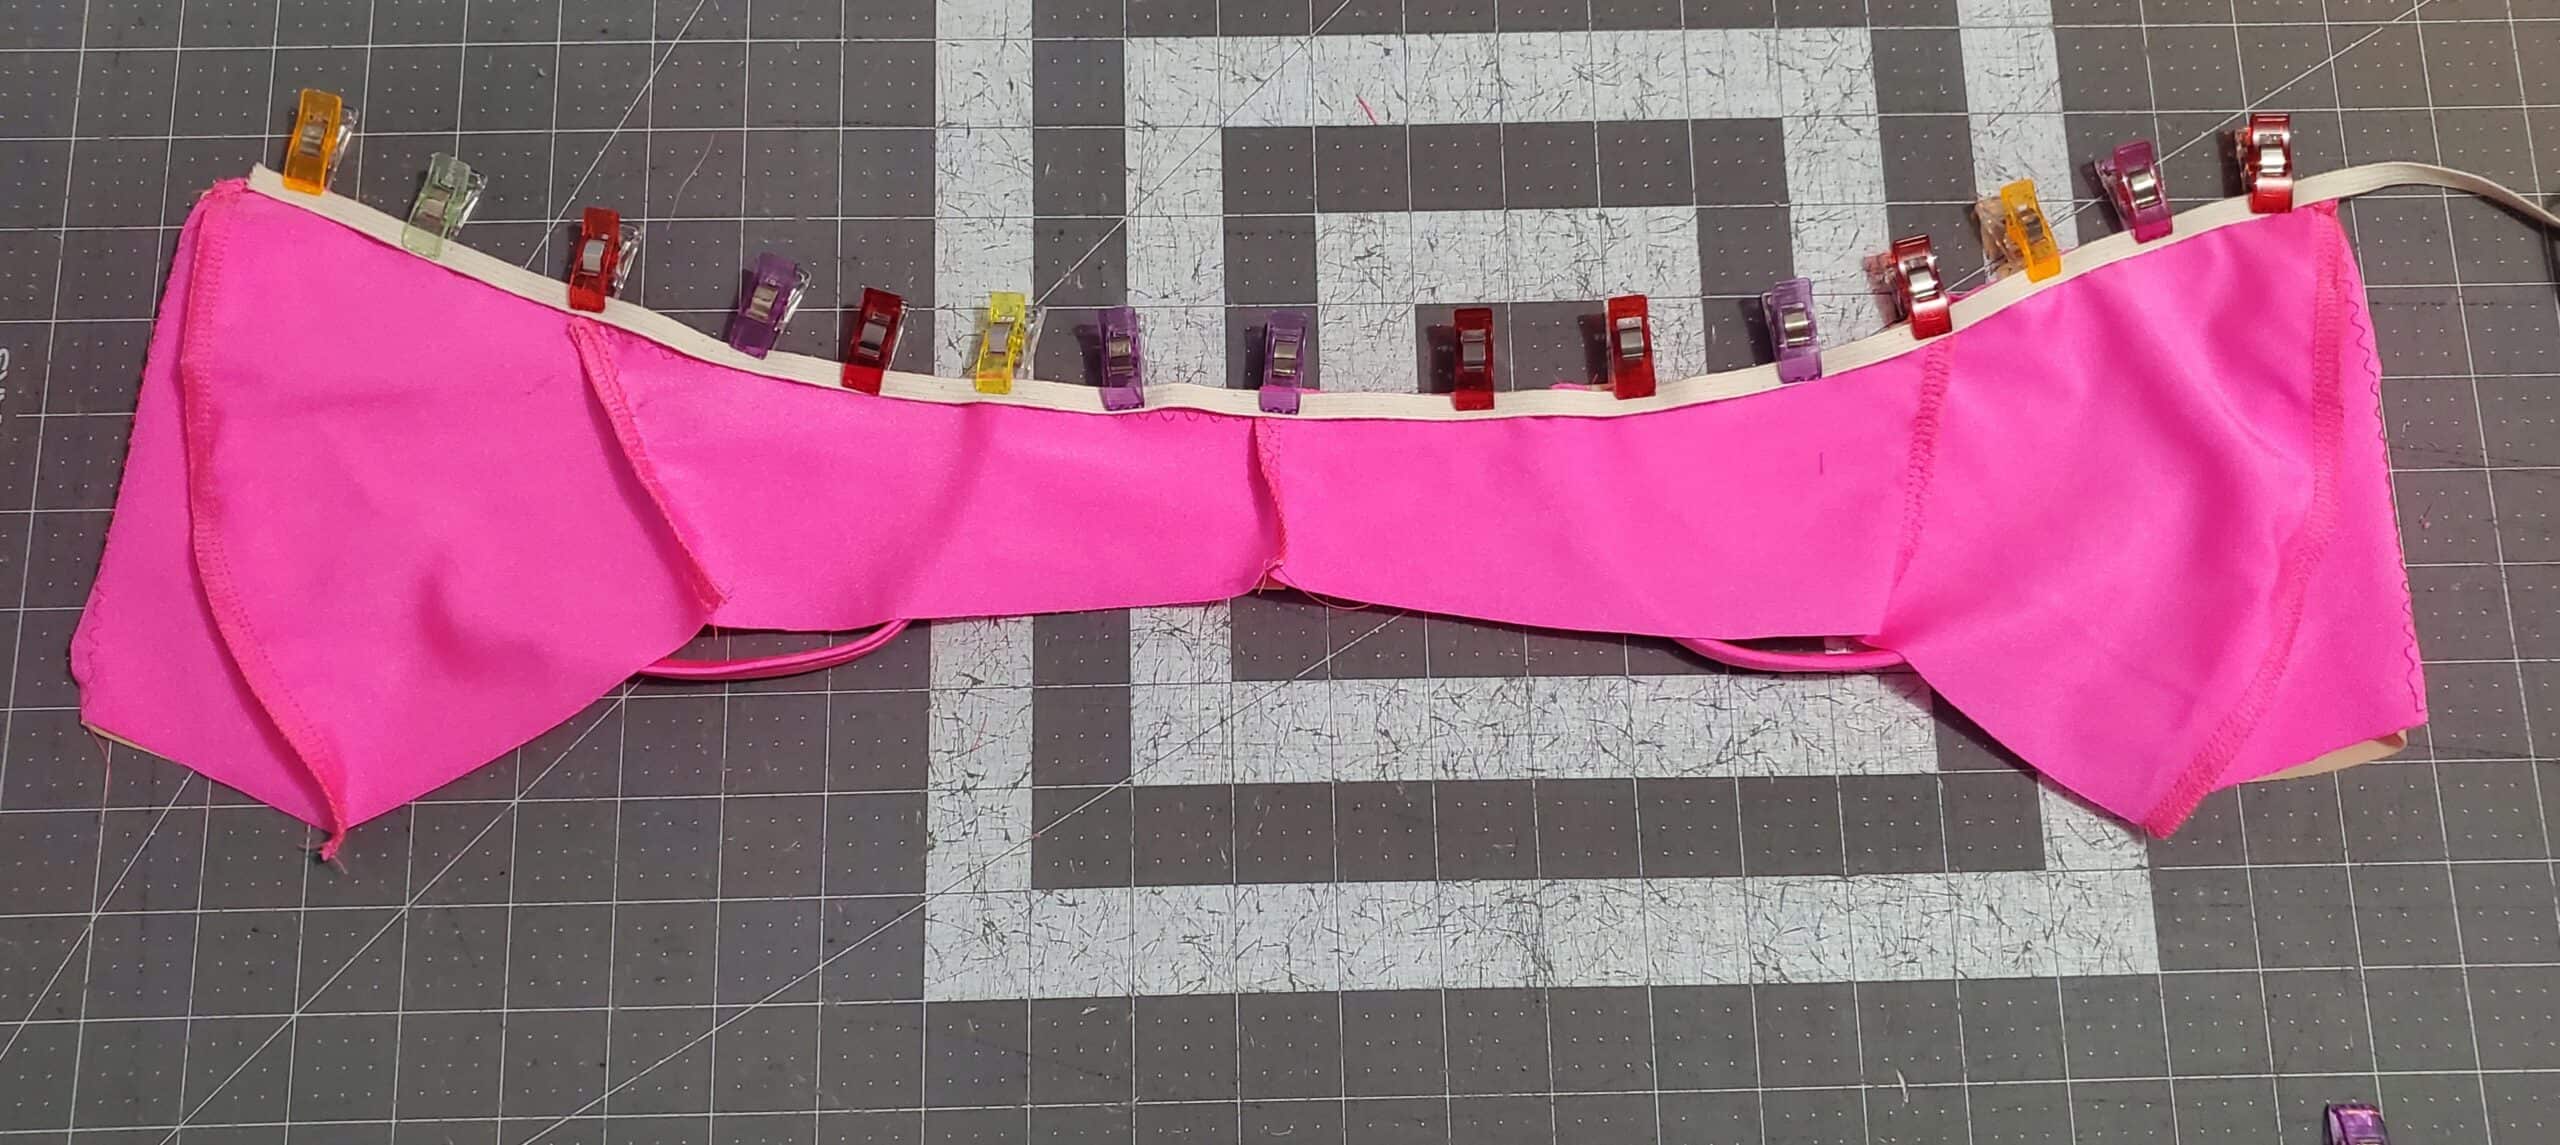
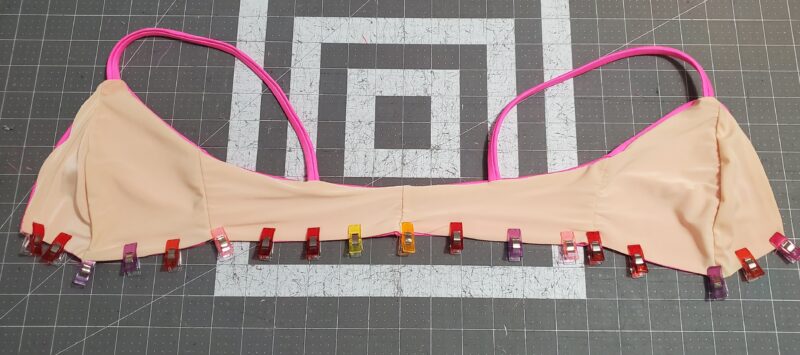
Place your lining and main right sides together, and clip them together along the center cup, up, and across the back.
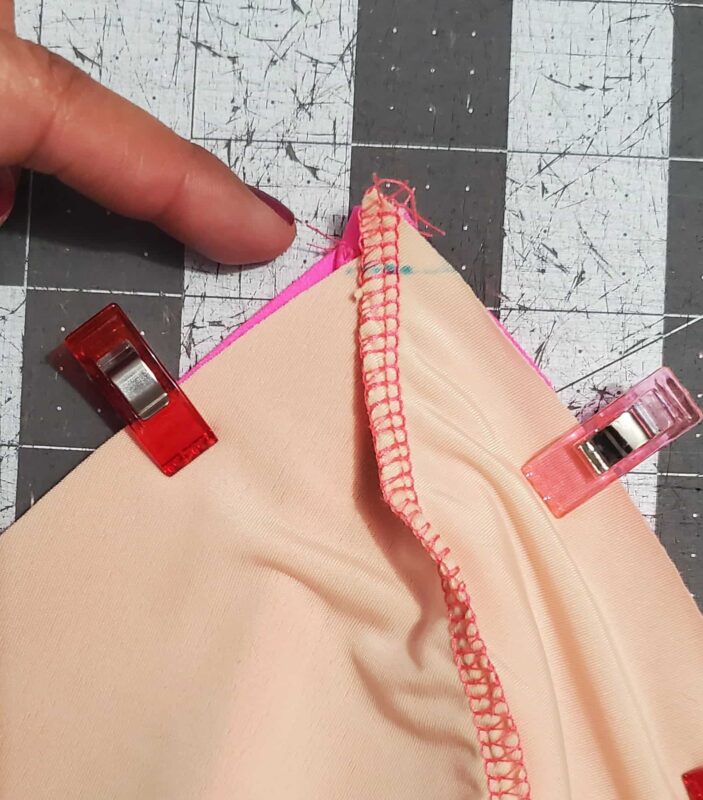
You are going to baste them together along the top portion, but first, sew them together across the strap portion using a stretch stitch (not a basting stitch) using a 3/8 inch seam allowance. Sew back and forth a few times to secure your straps in place. *I found it helpful to draw a line to follow first.
Baste the entire clipped area and cut the seam allowance off of the strap pickups area.
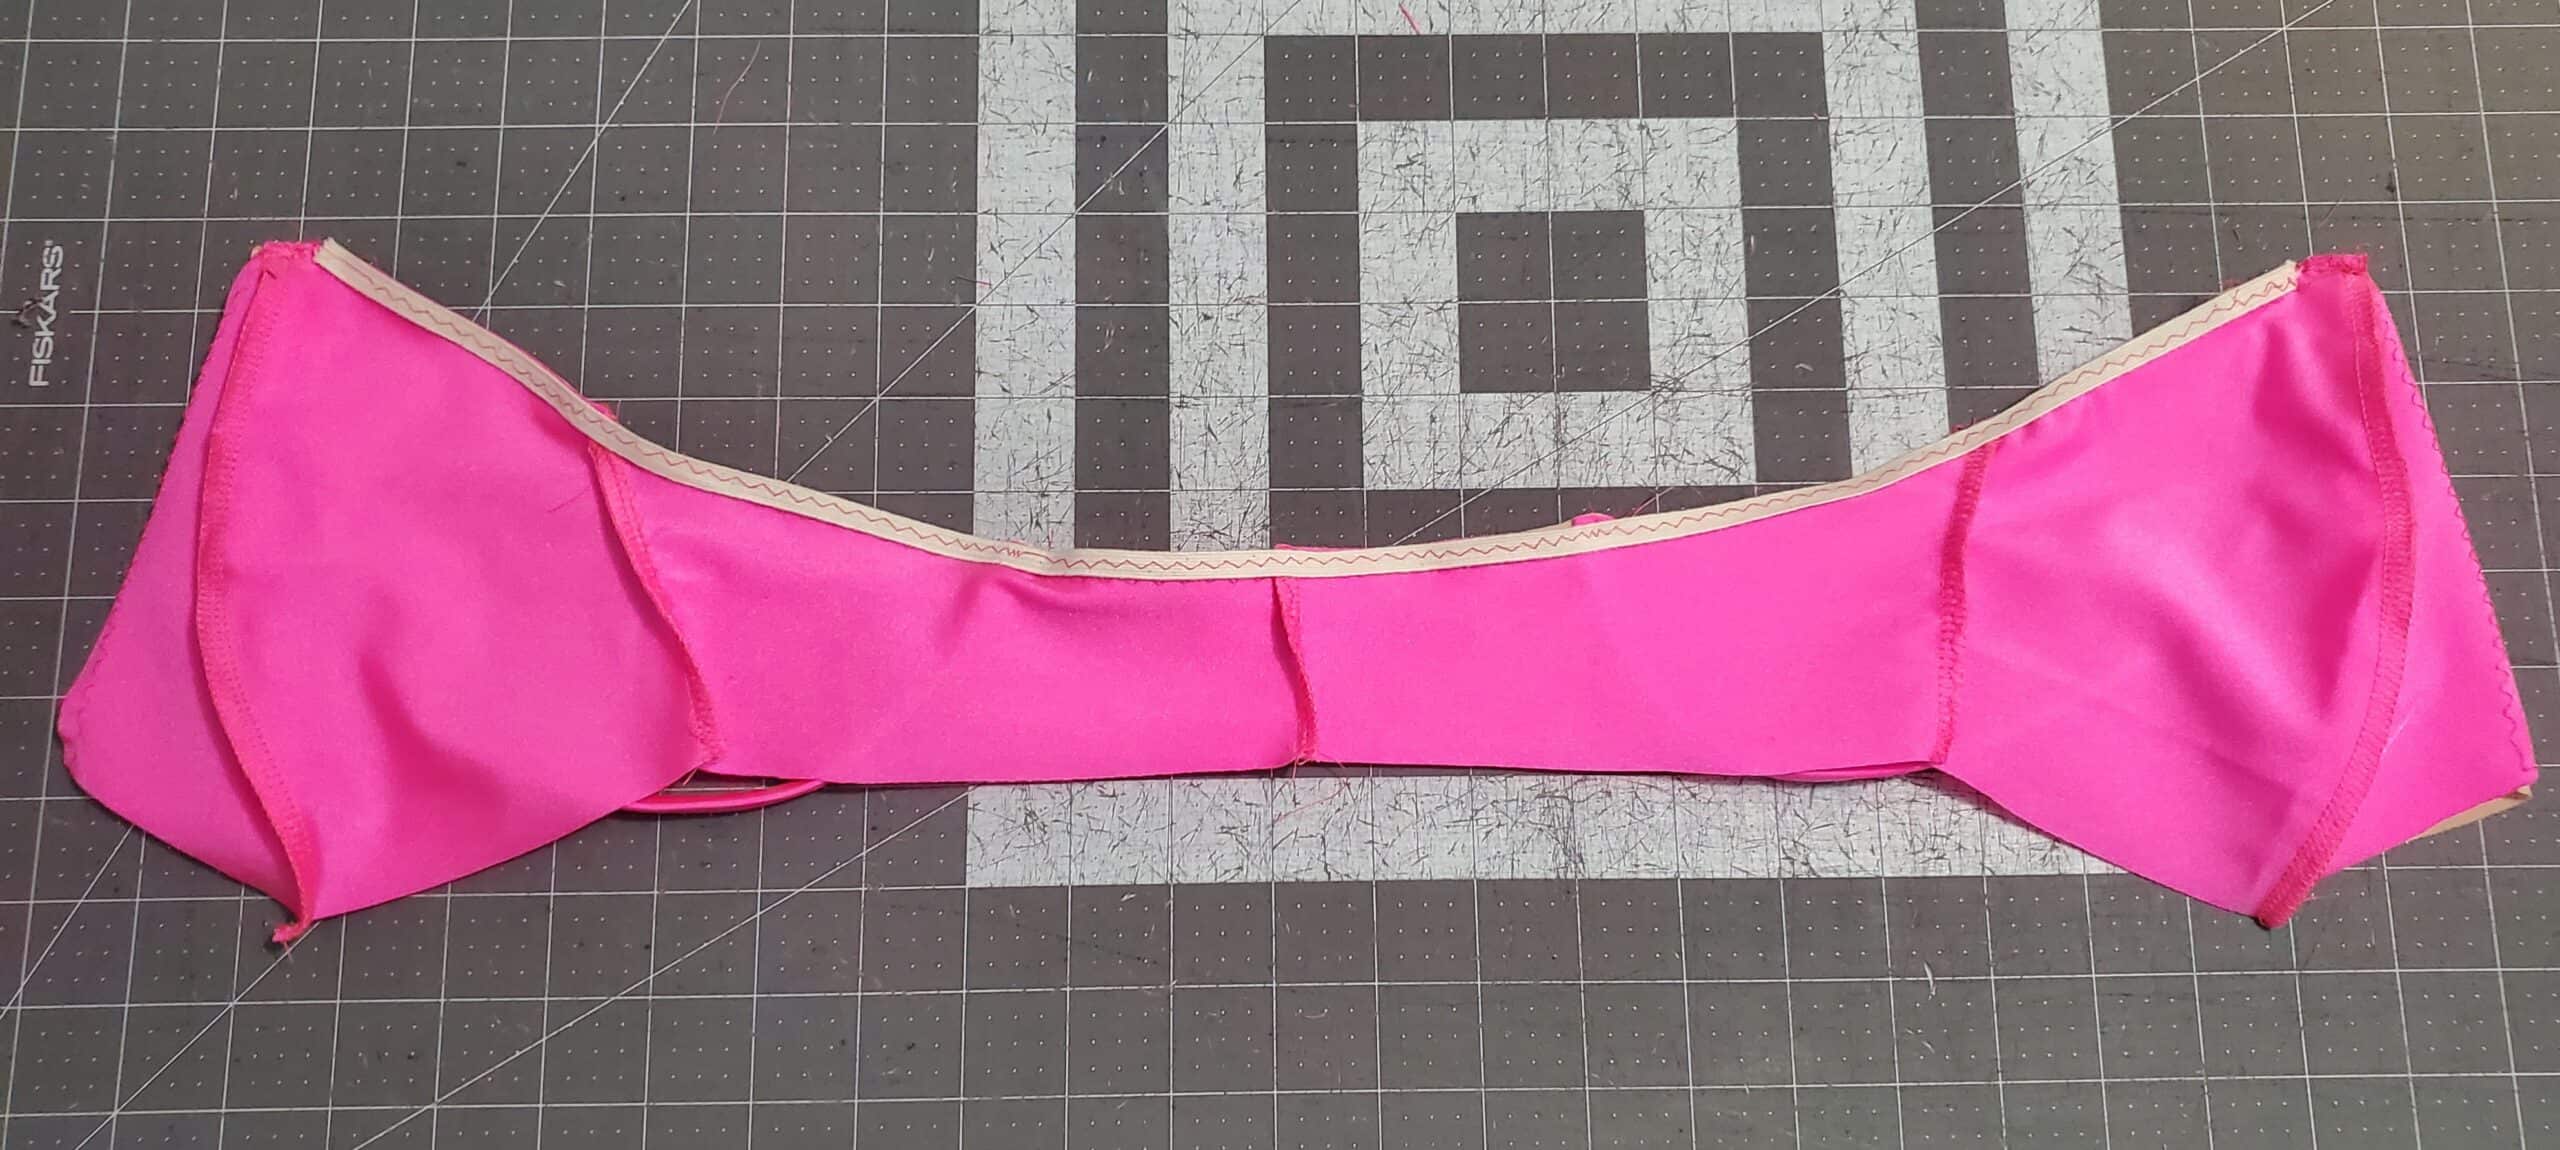
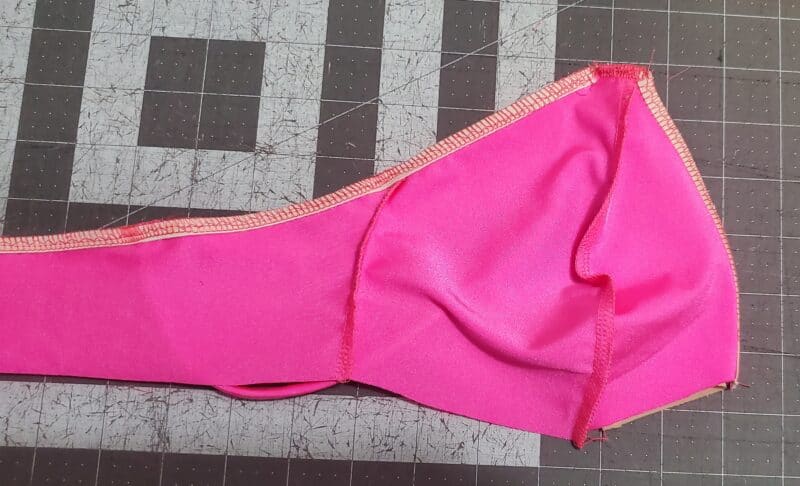
Using 1/4″ swim elastic, finalize your top seam while attaching the elastic using a 1:1 ratio. Do the center cups separately from the side cup and back. I like to baste the elastic first. Basting is always your best friend while sewing swim.
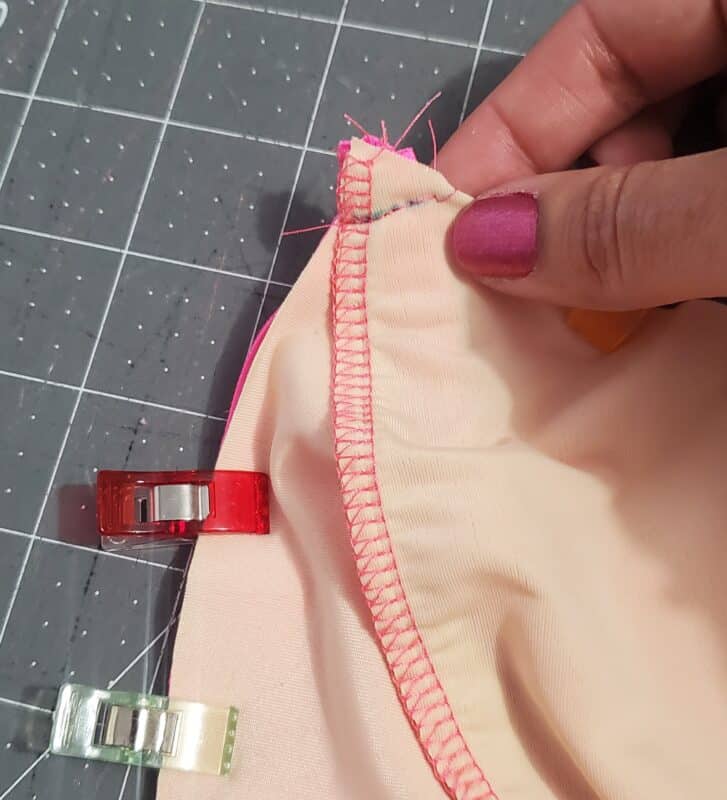
Now, turn everything right side out and pin the bottom raw edges together and baste in place.
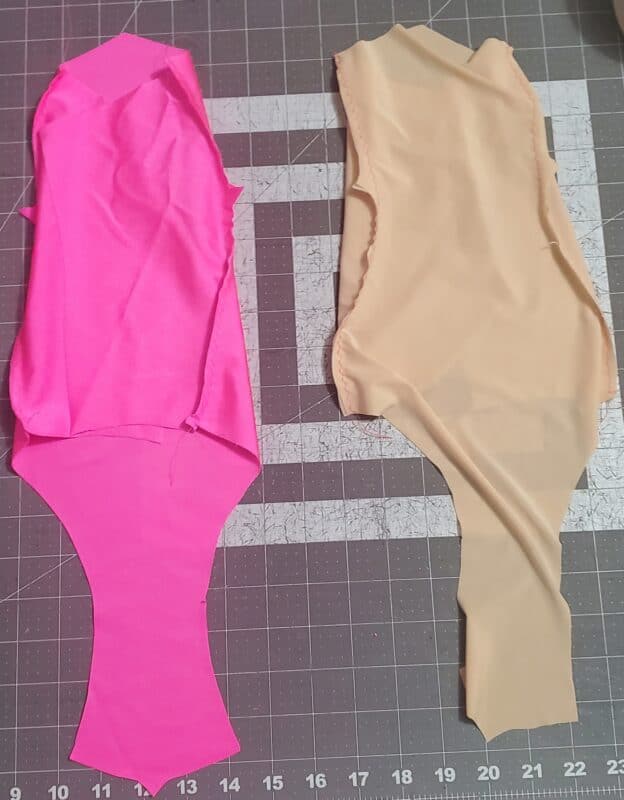
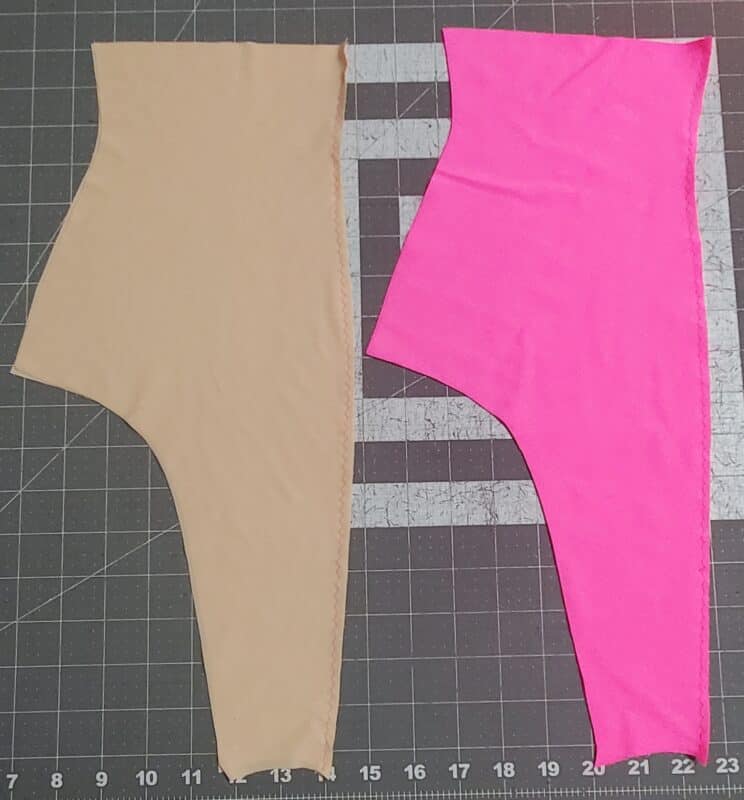
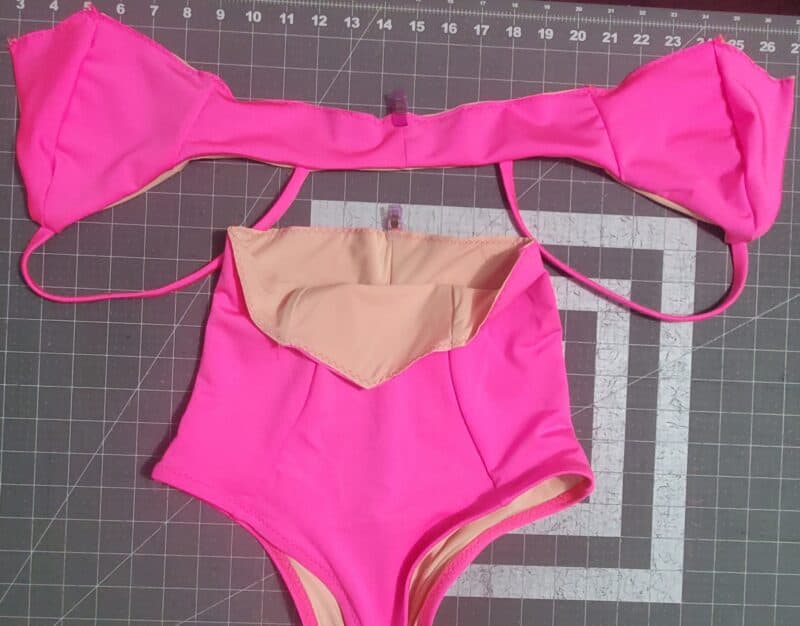
It’s time to make the bottom portion of the swimsuit now. Construct your bottom front by attaching the center front and sides as directed in the tutorial. Repeat with your bottom front lining pieces.
Construct your bottom back by sewing together at the back seam for both the main and lining.
Open up your front main and lining and baste them together along all raw edges wrong sides together. You will now refer to this as your bottom front piece. Repeat with your back main and lining pieces. You will refer to this as your bottom back piece. Place your bottom front and bottom back pieces right sides together (main fabric to main fabric) baste, then sew in place along the side seams. Sew your crotch seam together at this point.
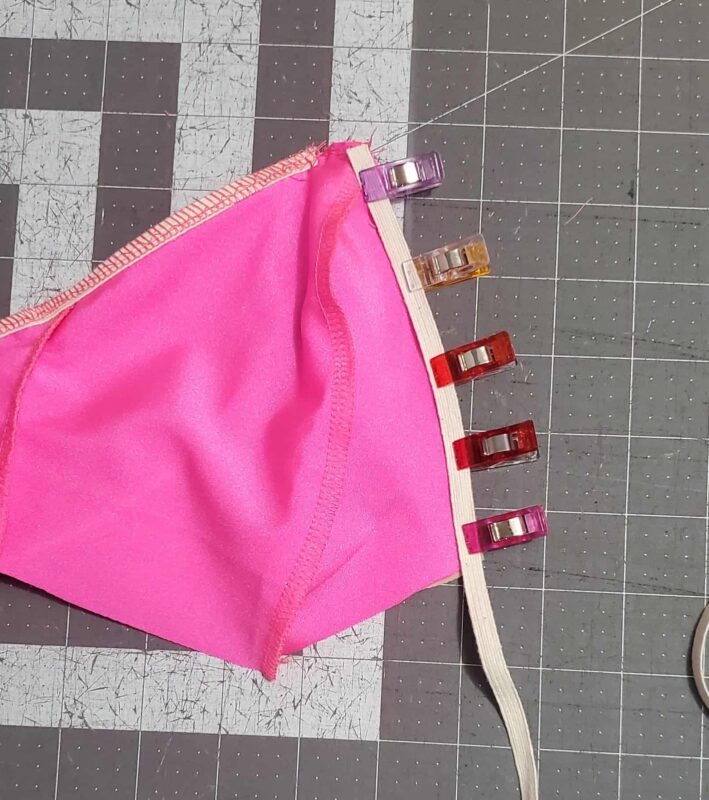
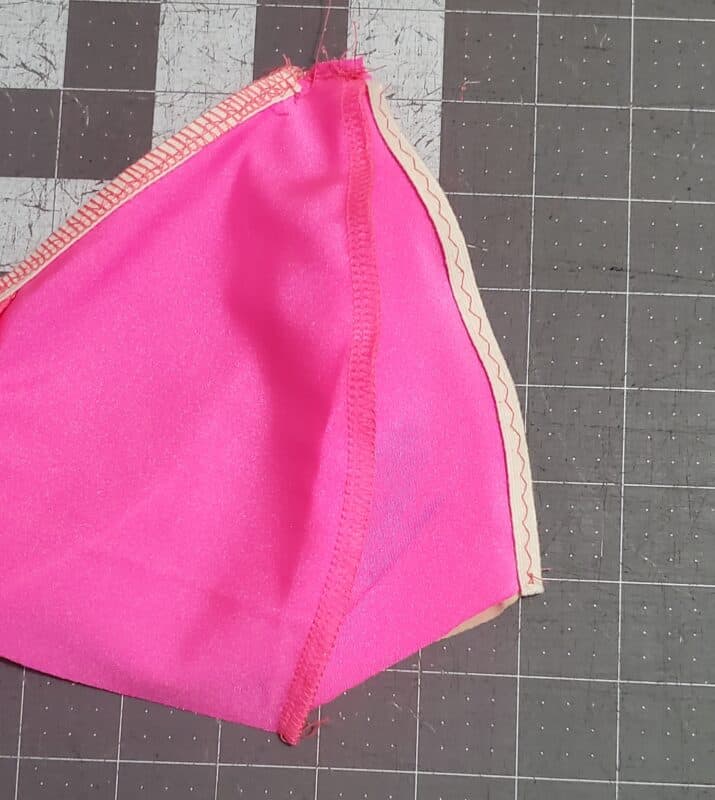
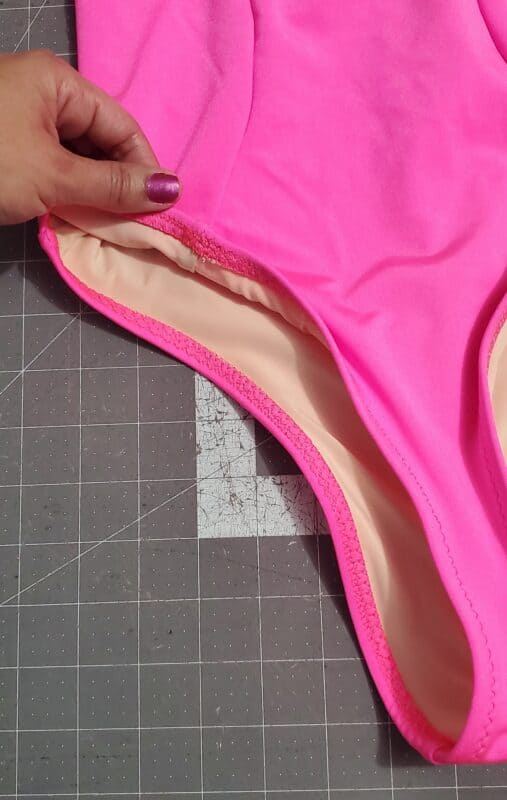
Attach your leg elastic, you can use either 1/4″ or 3/8″ swim elastic by basting with a 1:1 ratio to the lining side, and slightly stretching along the back side, then turn in towards the lining and topstitch in place.
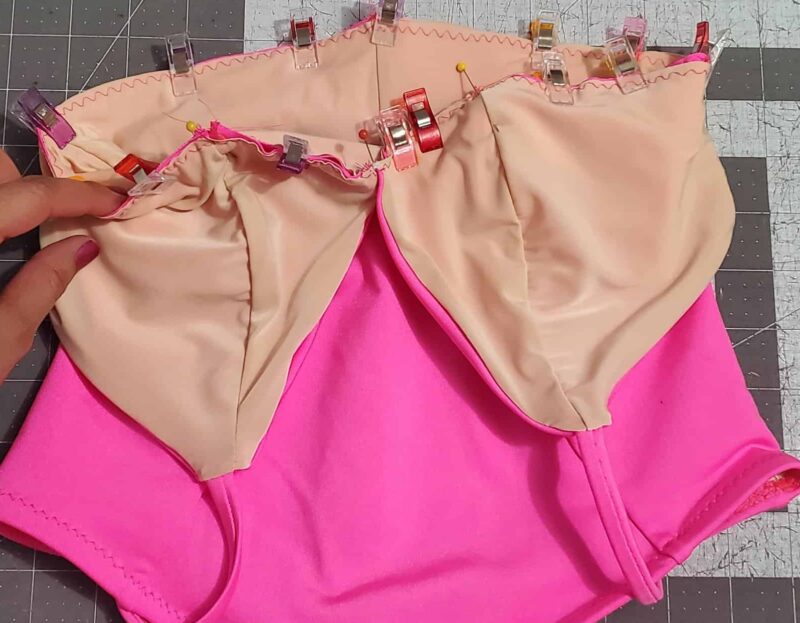
Now it’s time to stitch the top to the bottoms. Place your top and bottom raw edges together, right sides together, and clip in place making sure all seams match up. *I find it helpful to use pins at the seams to help get them lined up correctly. Baste in place. Your center fronts will overlap slightly, just as stated in the tutorial.
Finalize your seam while attaching 1/4″ swim elastic in the seam using a 1:1 ratio.
That’s it! You’re finished and have the cutest one piece to rock all summer long! You can tell I’m already over this cold weather. Bring on the sunshine!
Fabric Straps
Making a Veronica to wear as a casual bodysuit? Or don’t love your elastic options? You can follow the same steps as you would for swimsuit straps to make fabric straps. Be sure to use fabric with significant stretch and recovery, OR, add length as needed to your fabric and elastic pieces.
Cut two fabric strips the length needed for your elastic. The width will depend on the exact width of your elastic, but you will use the following formula to decide
(Width of elastic x 2) + 1/2″ = total width needed for fabric strips in inches. For example, if your elastic is 3/8″ wide, you will cut your fabric strip 1.25″ (or 1 1/4″) wide.
Fold one strap in half lengthwise, right sides together.
Optional – baste the long raw edge of the strap together.
Cut a piece of elastic (FOE, picot, etc.) the length of the strap. Match the short edge of the elastic to the short raw edge of the strap, pinning it 1/4″ away from the raw edge.
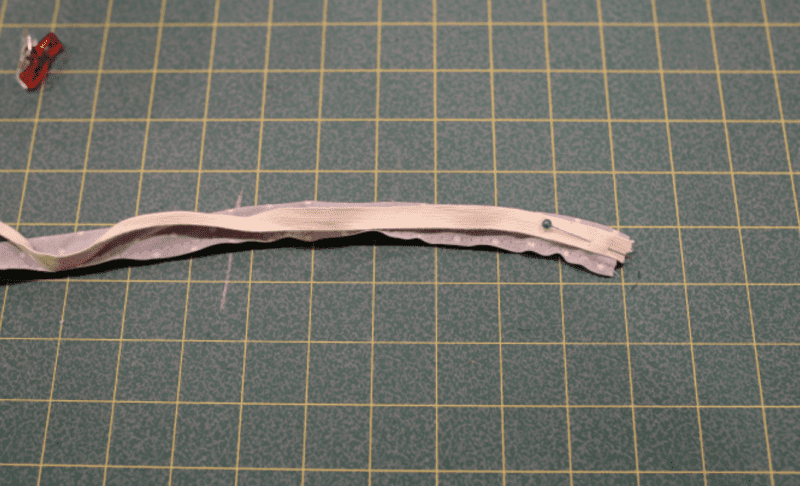
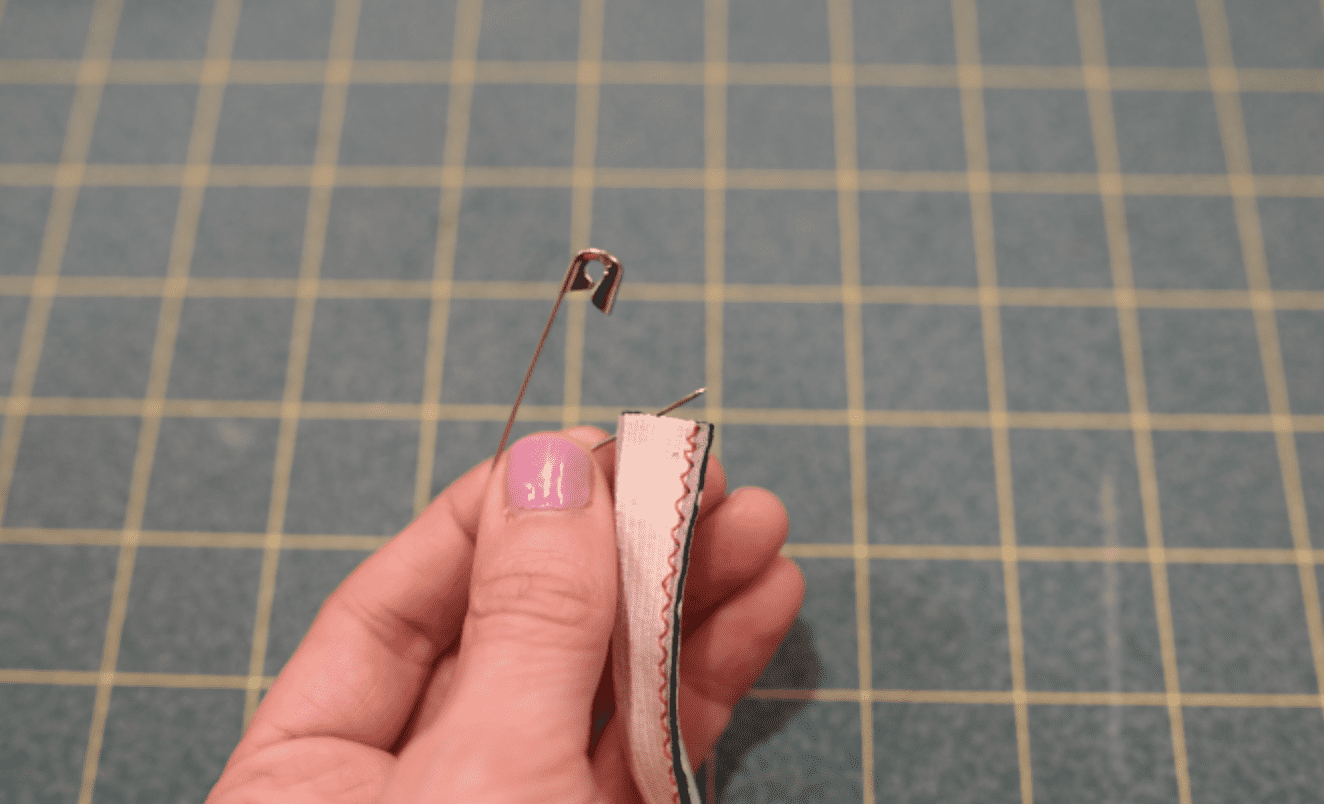
Using a zig zag stitch (recommended setting of 2 W and 2.5 L), sew the edge of the elastic that is closest to the non-folded edge of the strap to the strap. Make sure that one side of the zig zag stitch hits the elastic and the other side hits the outside edge of the elastic/strap (see the red zig zag stitching below). Trim the seam allowance as close to the stitch line as possible, making sure not to clip the stitches.
Alternatively, you can use your serger. If using a serger, butt the serger blade right next to the elastic. Make sure not to cut into the elastic at all. You will be cutting off 1/4″ of the seam allowance.
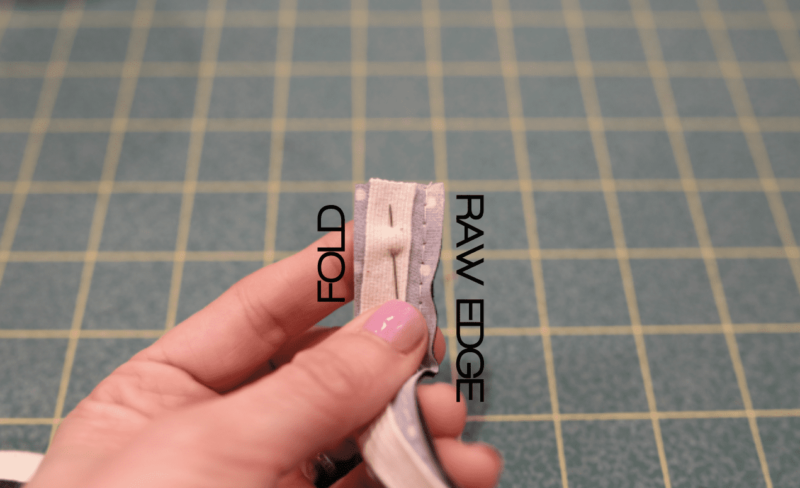
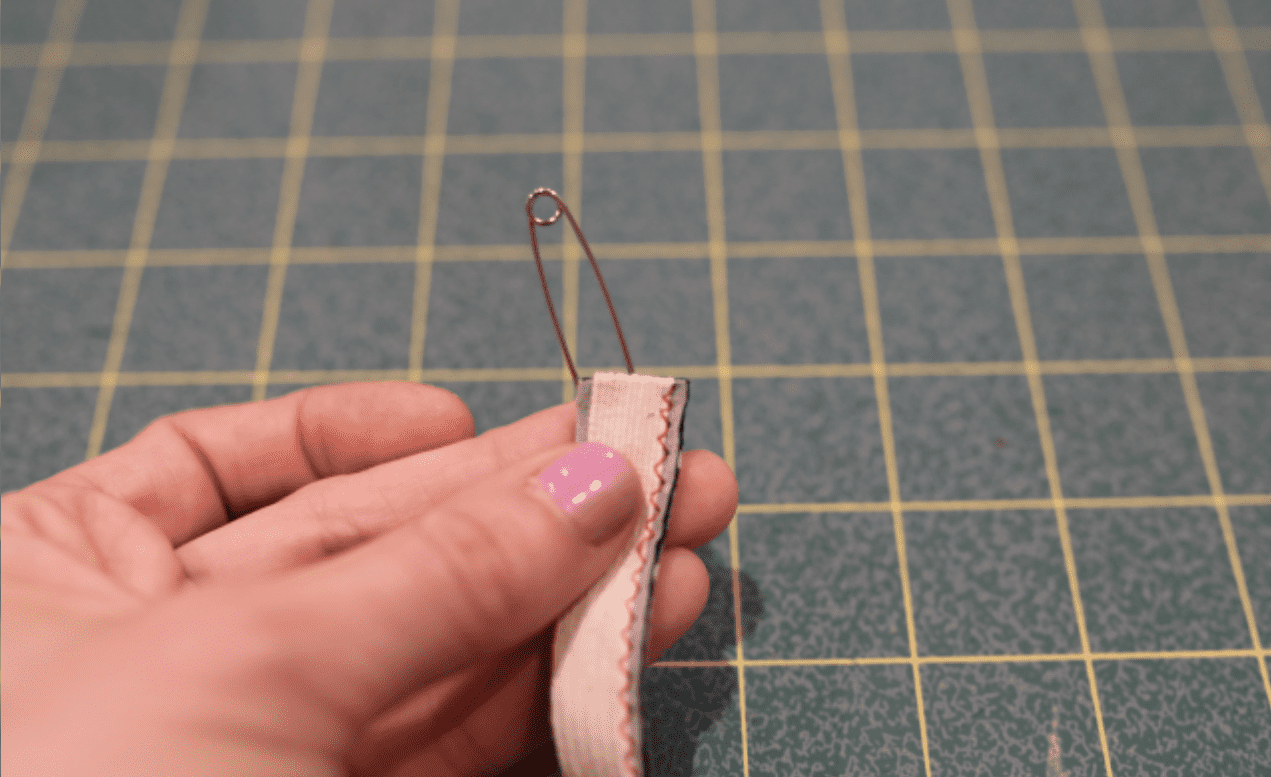
Turn the strap right side out. Attach a safety pin to the edge of the strap, sticking the needle through the outside and out the top of the strap. Push the safety pin down into the strap and thread it through. Repeat with the second strap. The elastic will not slide or twist in the strap, resulting in a professional finish. Remove any basting stitches.
Repeat all the above steps on your second strap. Use the pattern pieces and written tutorial to mark strap placement once both are completed. Attach per the tutorial. Enjoy!
TIP: Baste your straps before attaching, to check length and stretch.
Using Fold Over Elastic vs Picot
There are so many CUTE fold over elastic (FOE) options if you have a hard time finding picot elastic. Willetta even used a solid black – we love, love, love how it turned out!
This is also a great option if you want to do a trial run without using your “good” elastic.
To do this simple hack, just follow the written tutorial and replace the picot with FOE. That’s it!
We can’t wait to see how you take Veronica and make it your own! Don’t forget to share with us on Insta, in our Facebook group, or over on TikTok!
#veronicapattern #loungeandlacecollection #madeformermaids













Leave a Reply