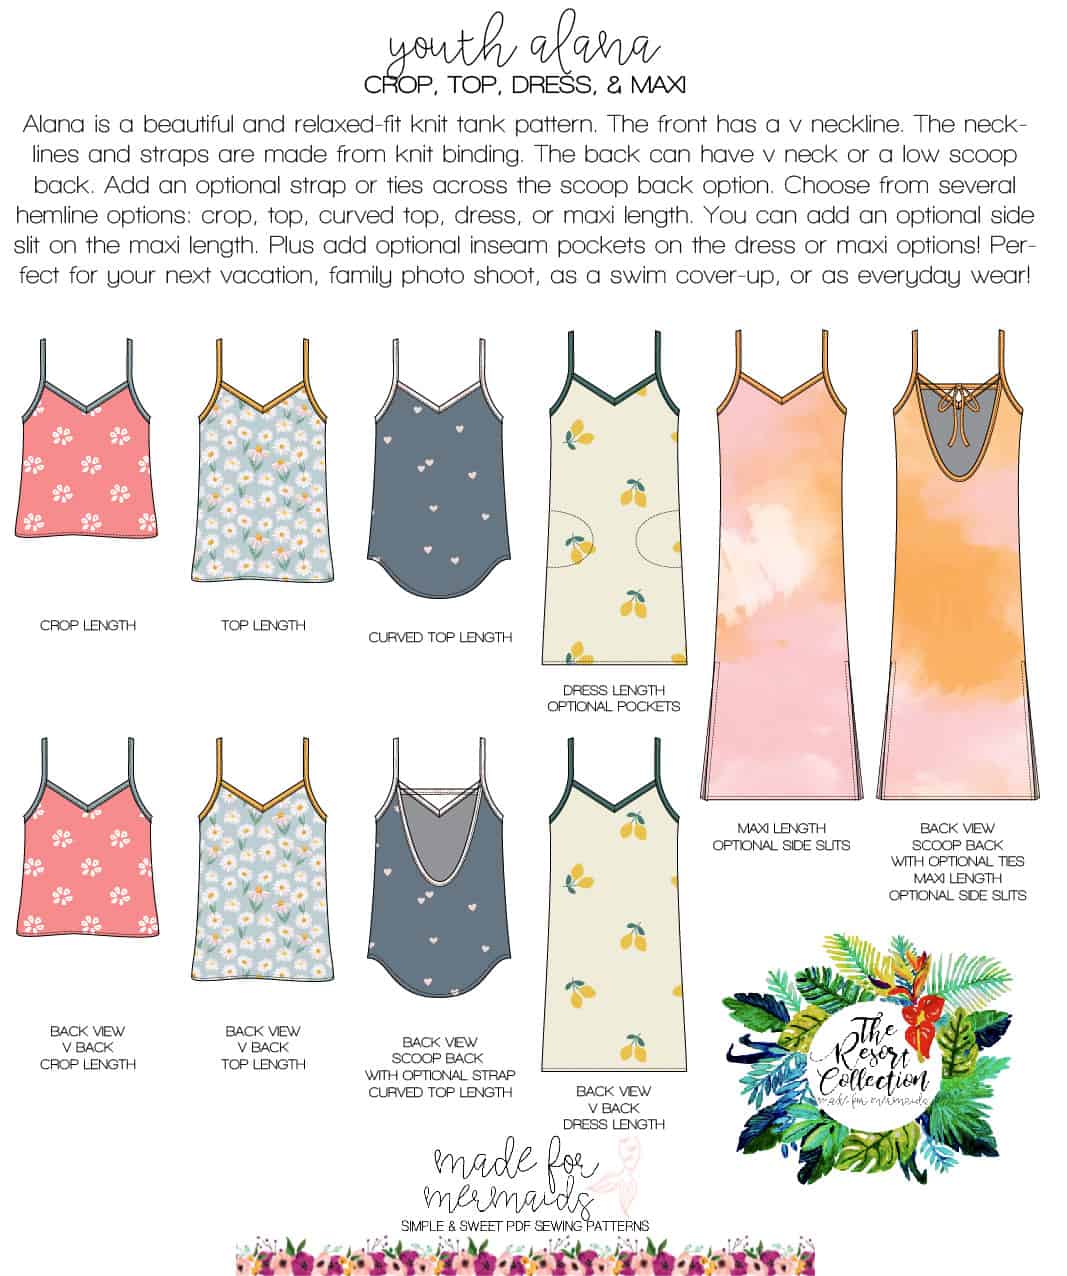
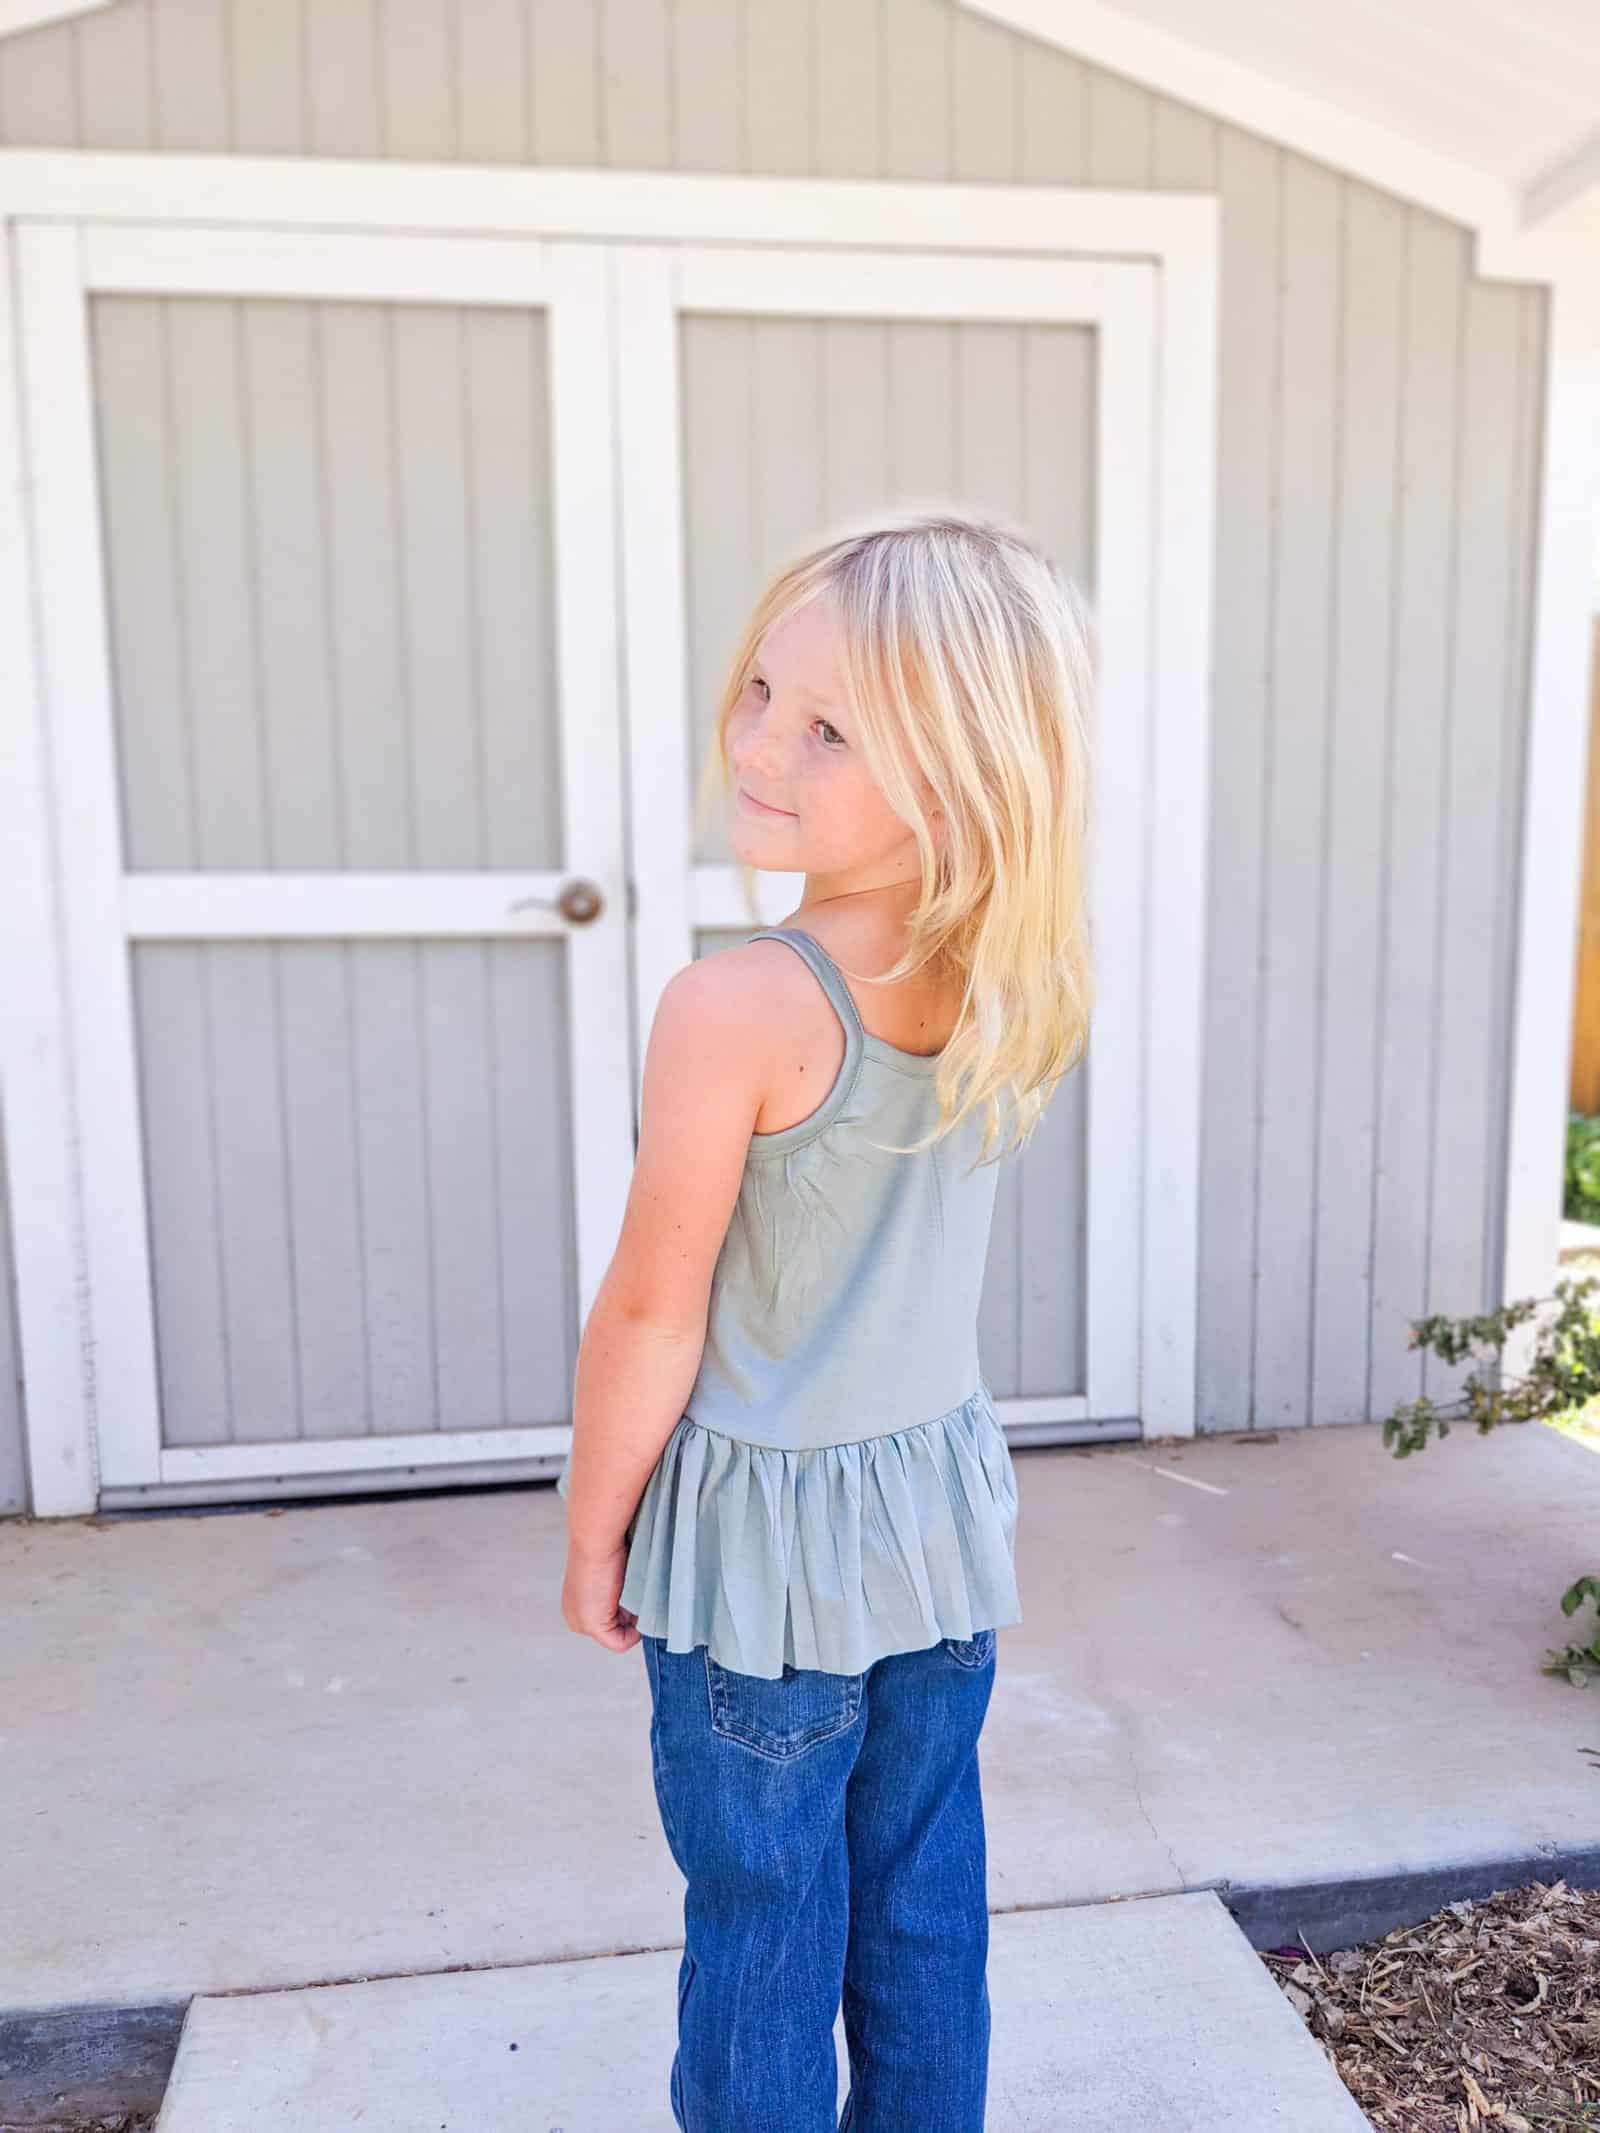
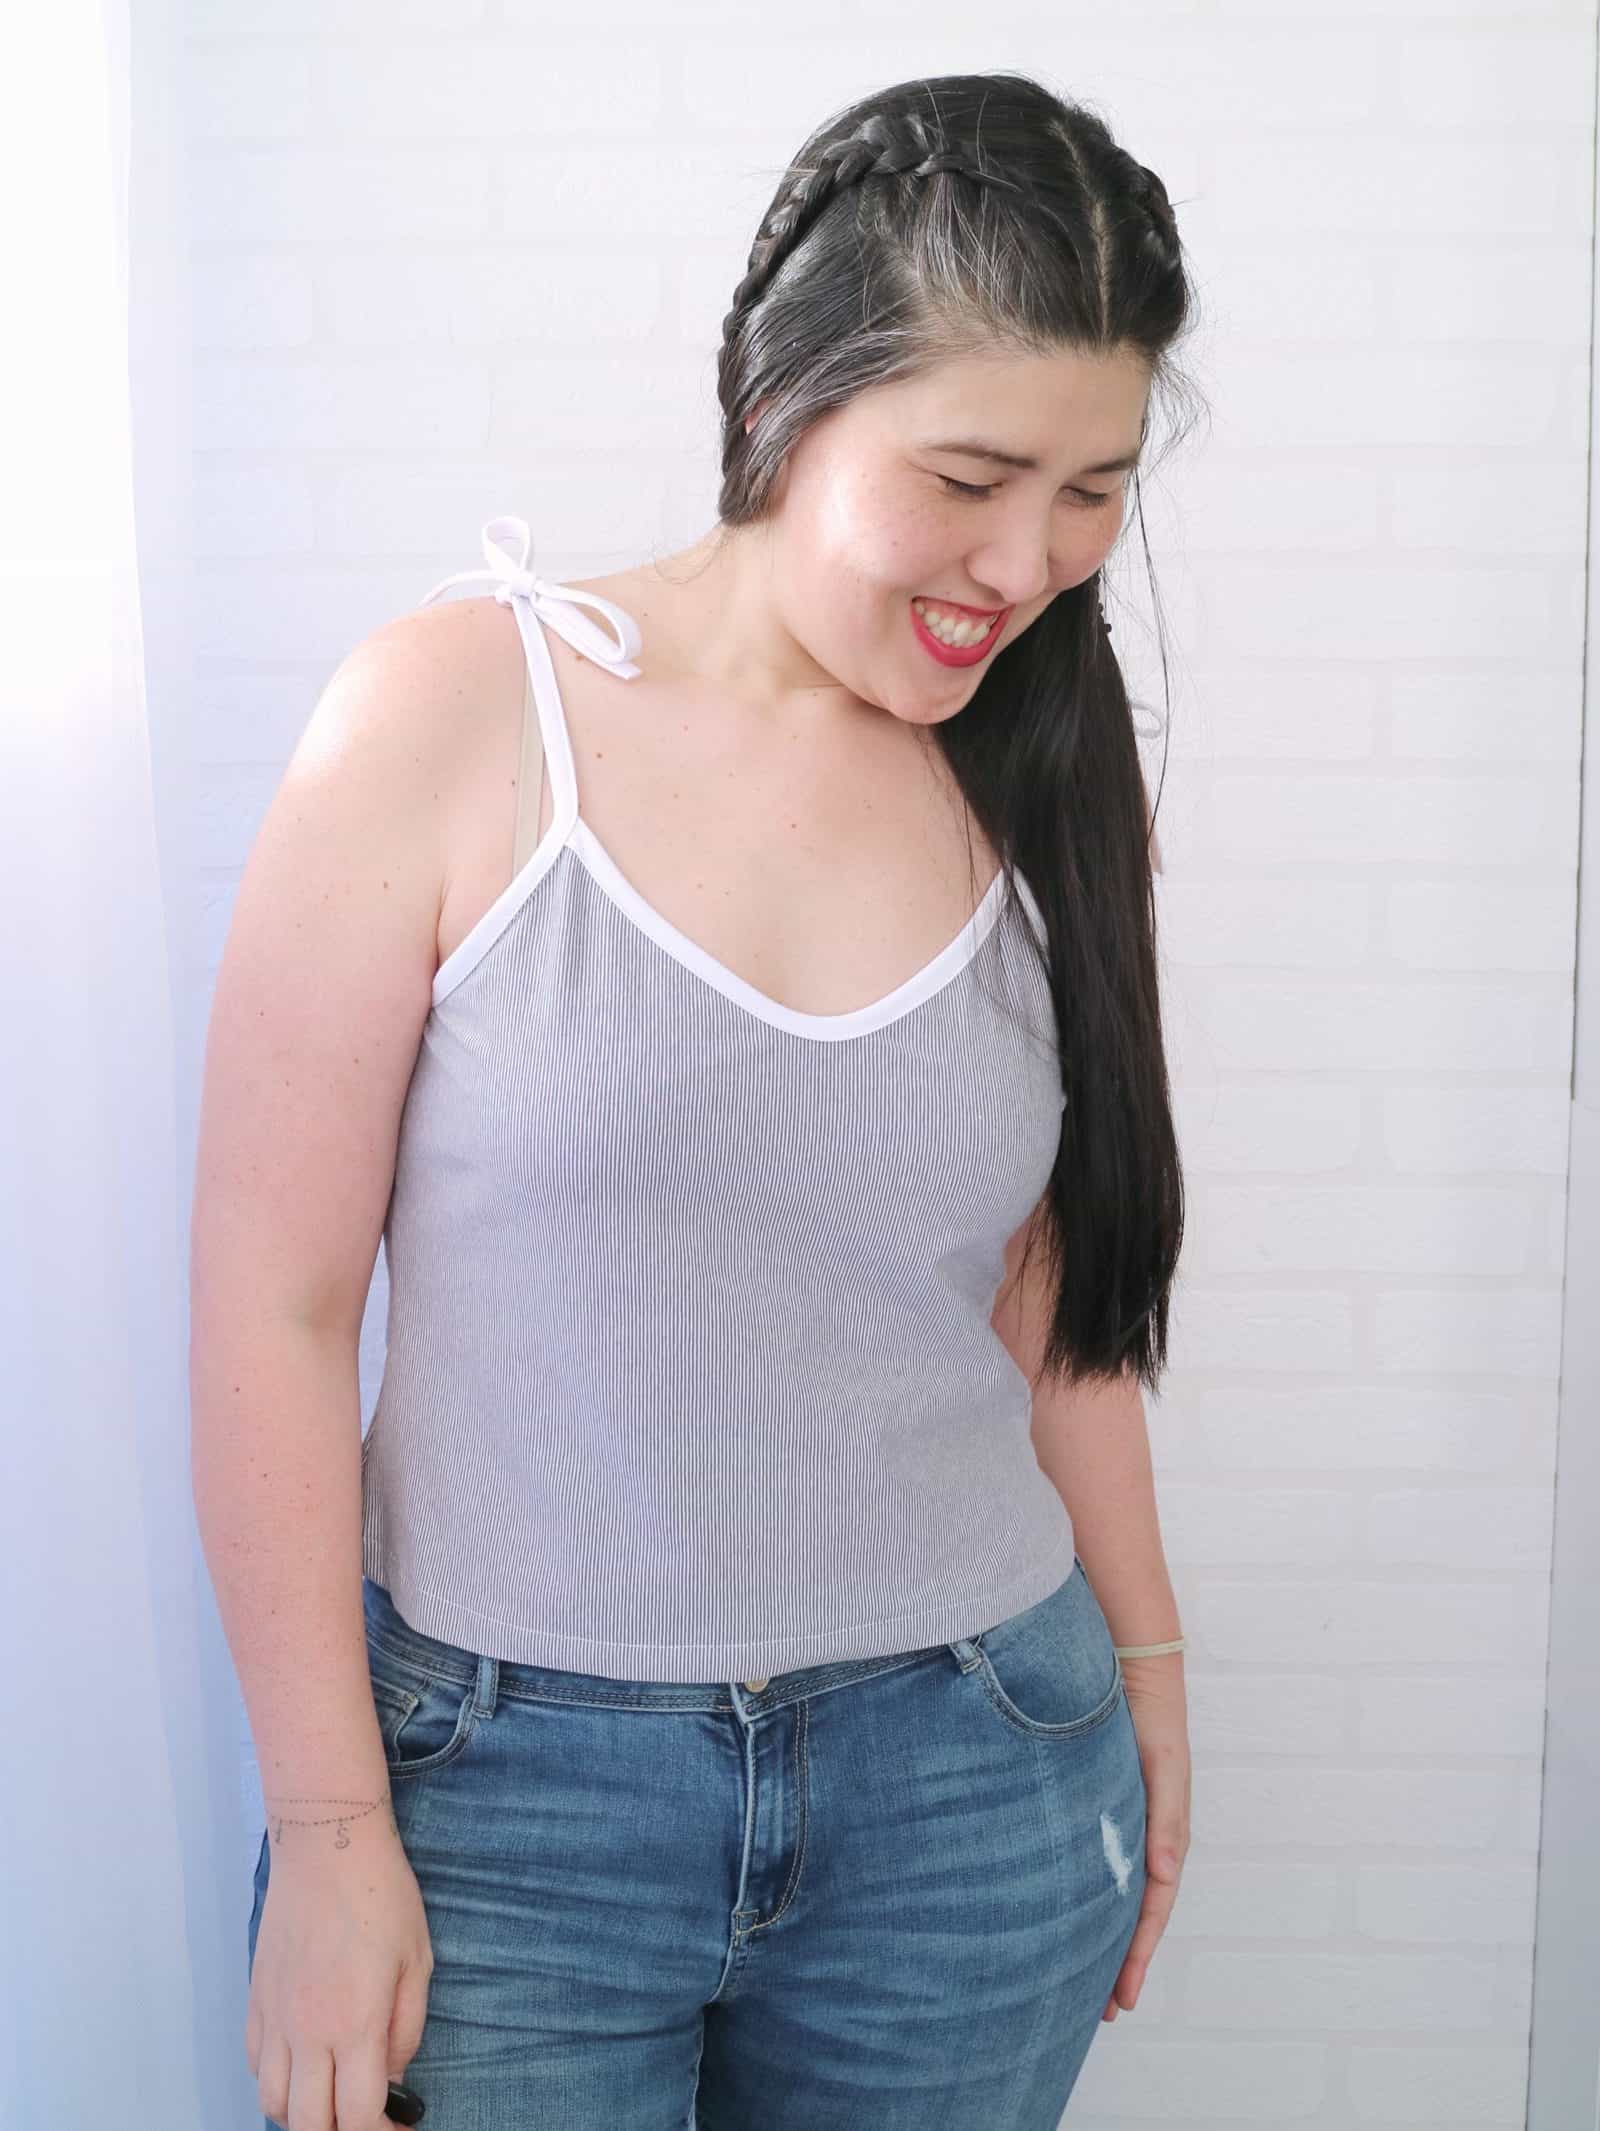
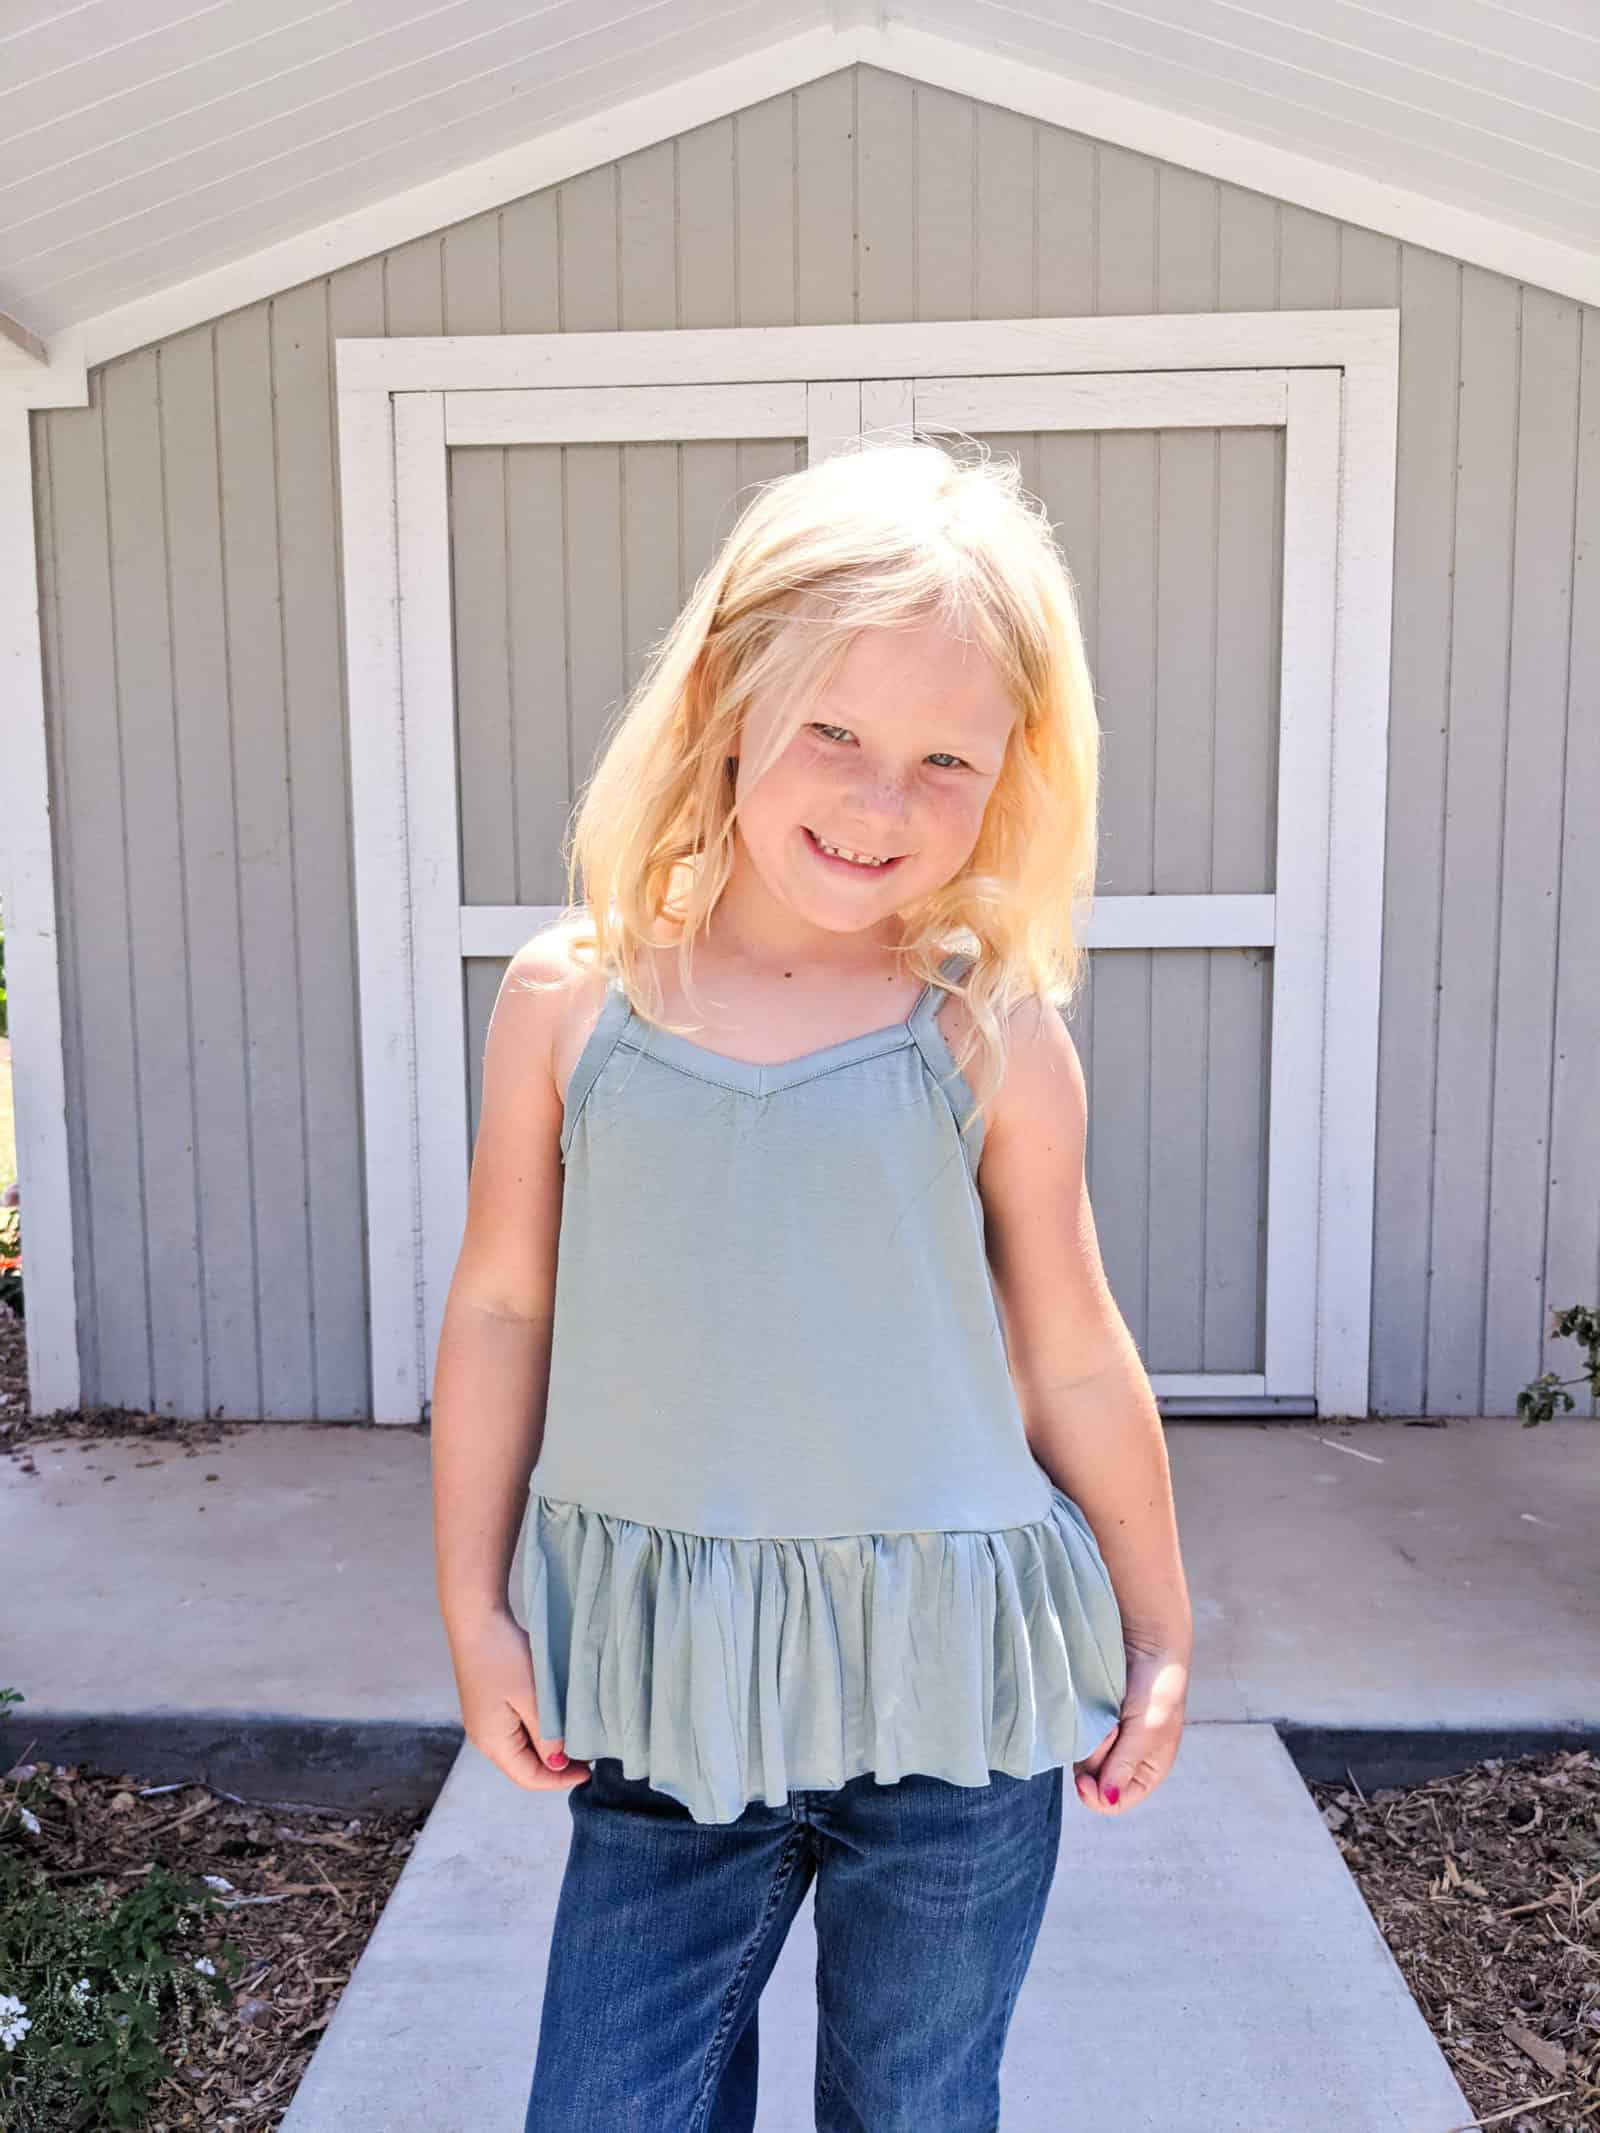
It’s been a minute since we had a new addition to the Resort Collection, but we’re back at it with Alana! Alana is going to be one of your faves this whole summer 😉 Alana comes in youth and women’s sizing, and features all sorts of options!
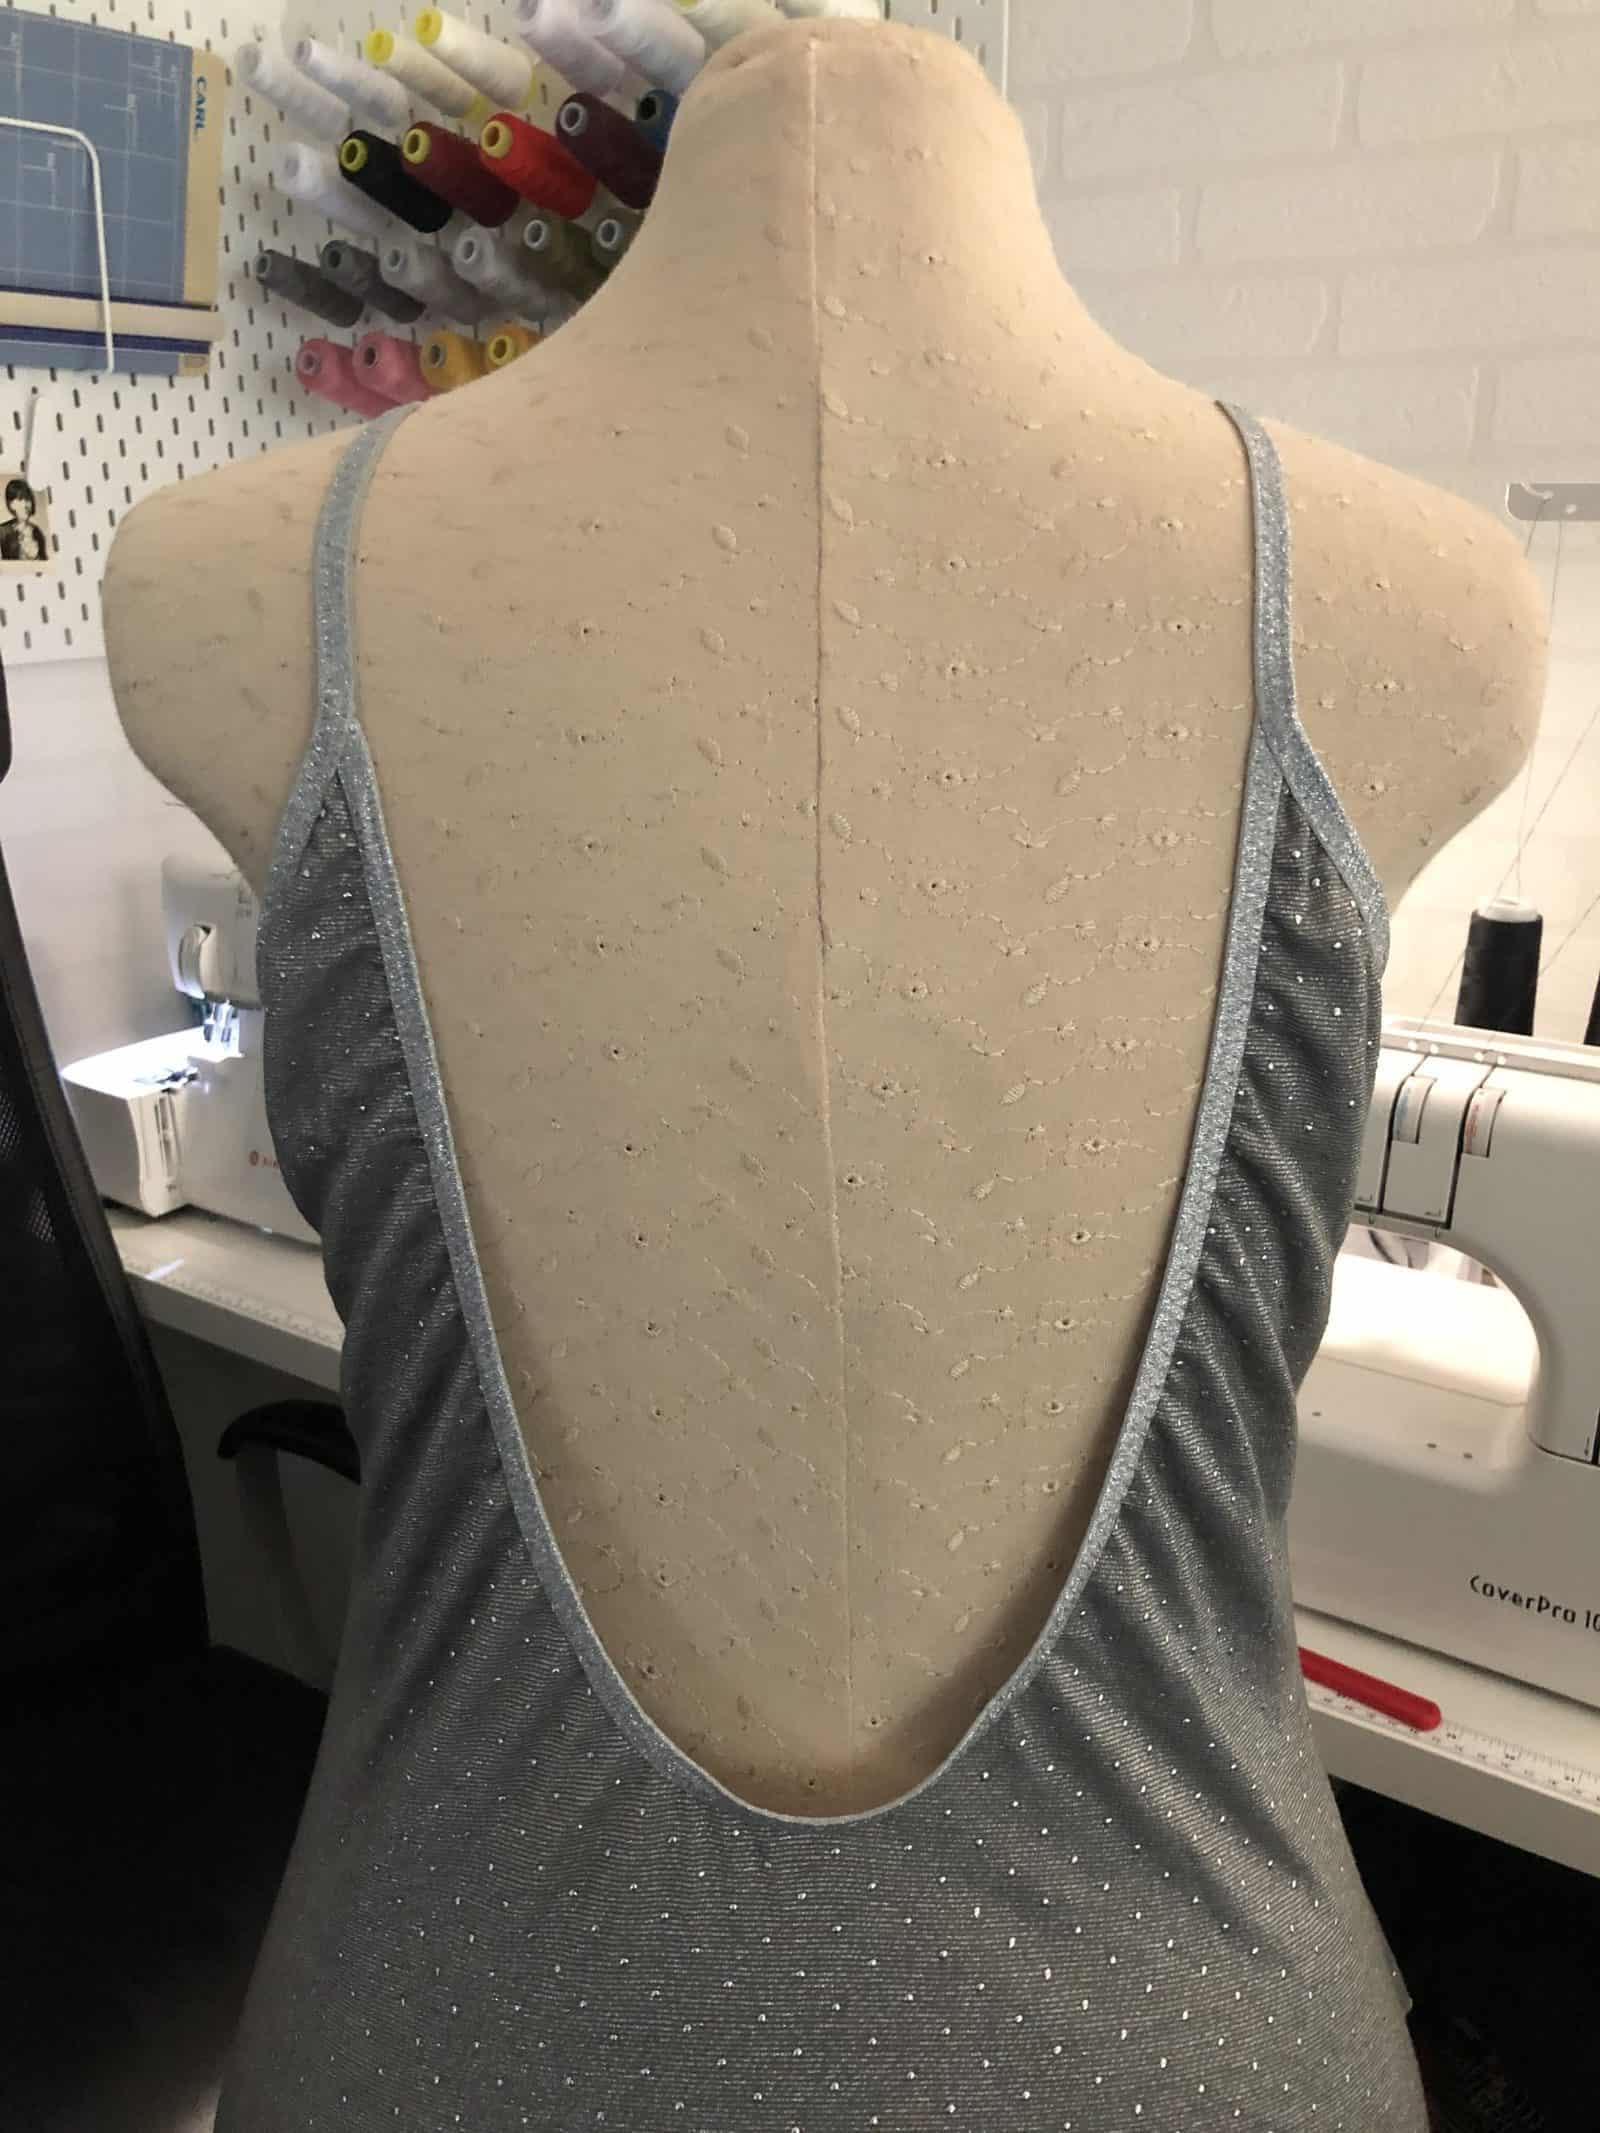
Alana is designed for lightweight knits with good drape – think bamboo, modal, rayon spandex, double brushed poly, etc. Because of the recommended fabrics, and the options included, we also HIGHLY encourage you to use clear elastic to help with stabilizing. Options for Alana include two front options (low or high v-neck), multiple back options (low or high v-back, plus an extra low v-back option), and FIVE hem length options (crop, top, mini, dress, or maxi). Plus, you have optional pockets and side slits!
We hope you love Alana as is, but if you’re still looking for that little something extra, we’ve got you covered with our hacks!
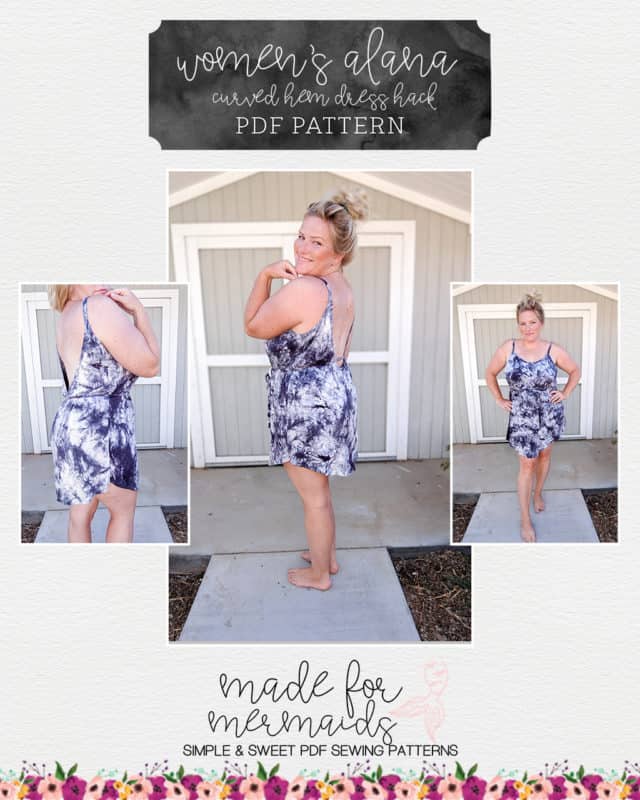
Curved Hem Dress Hack
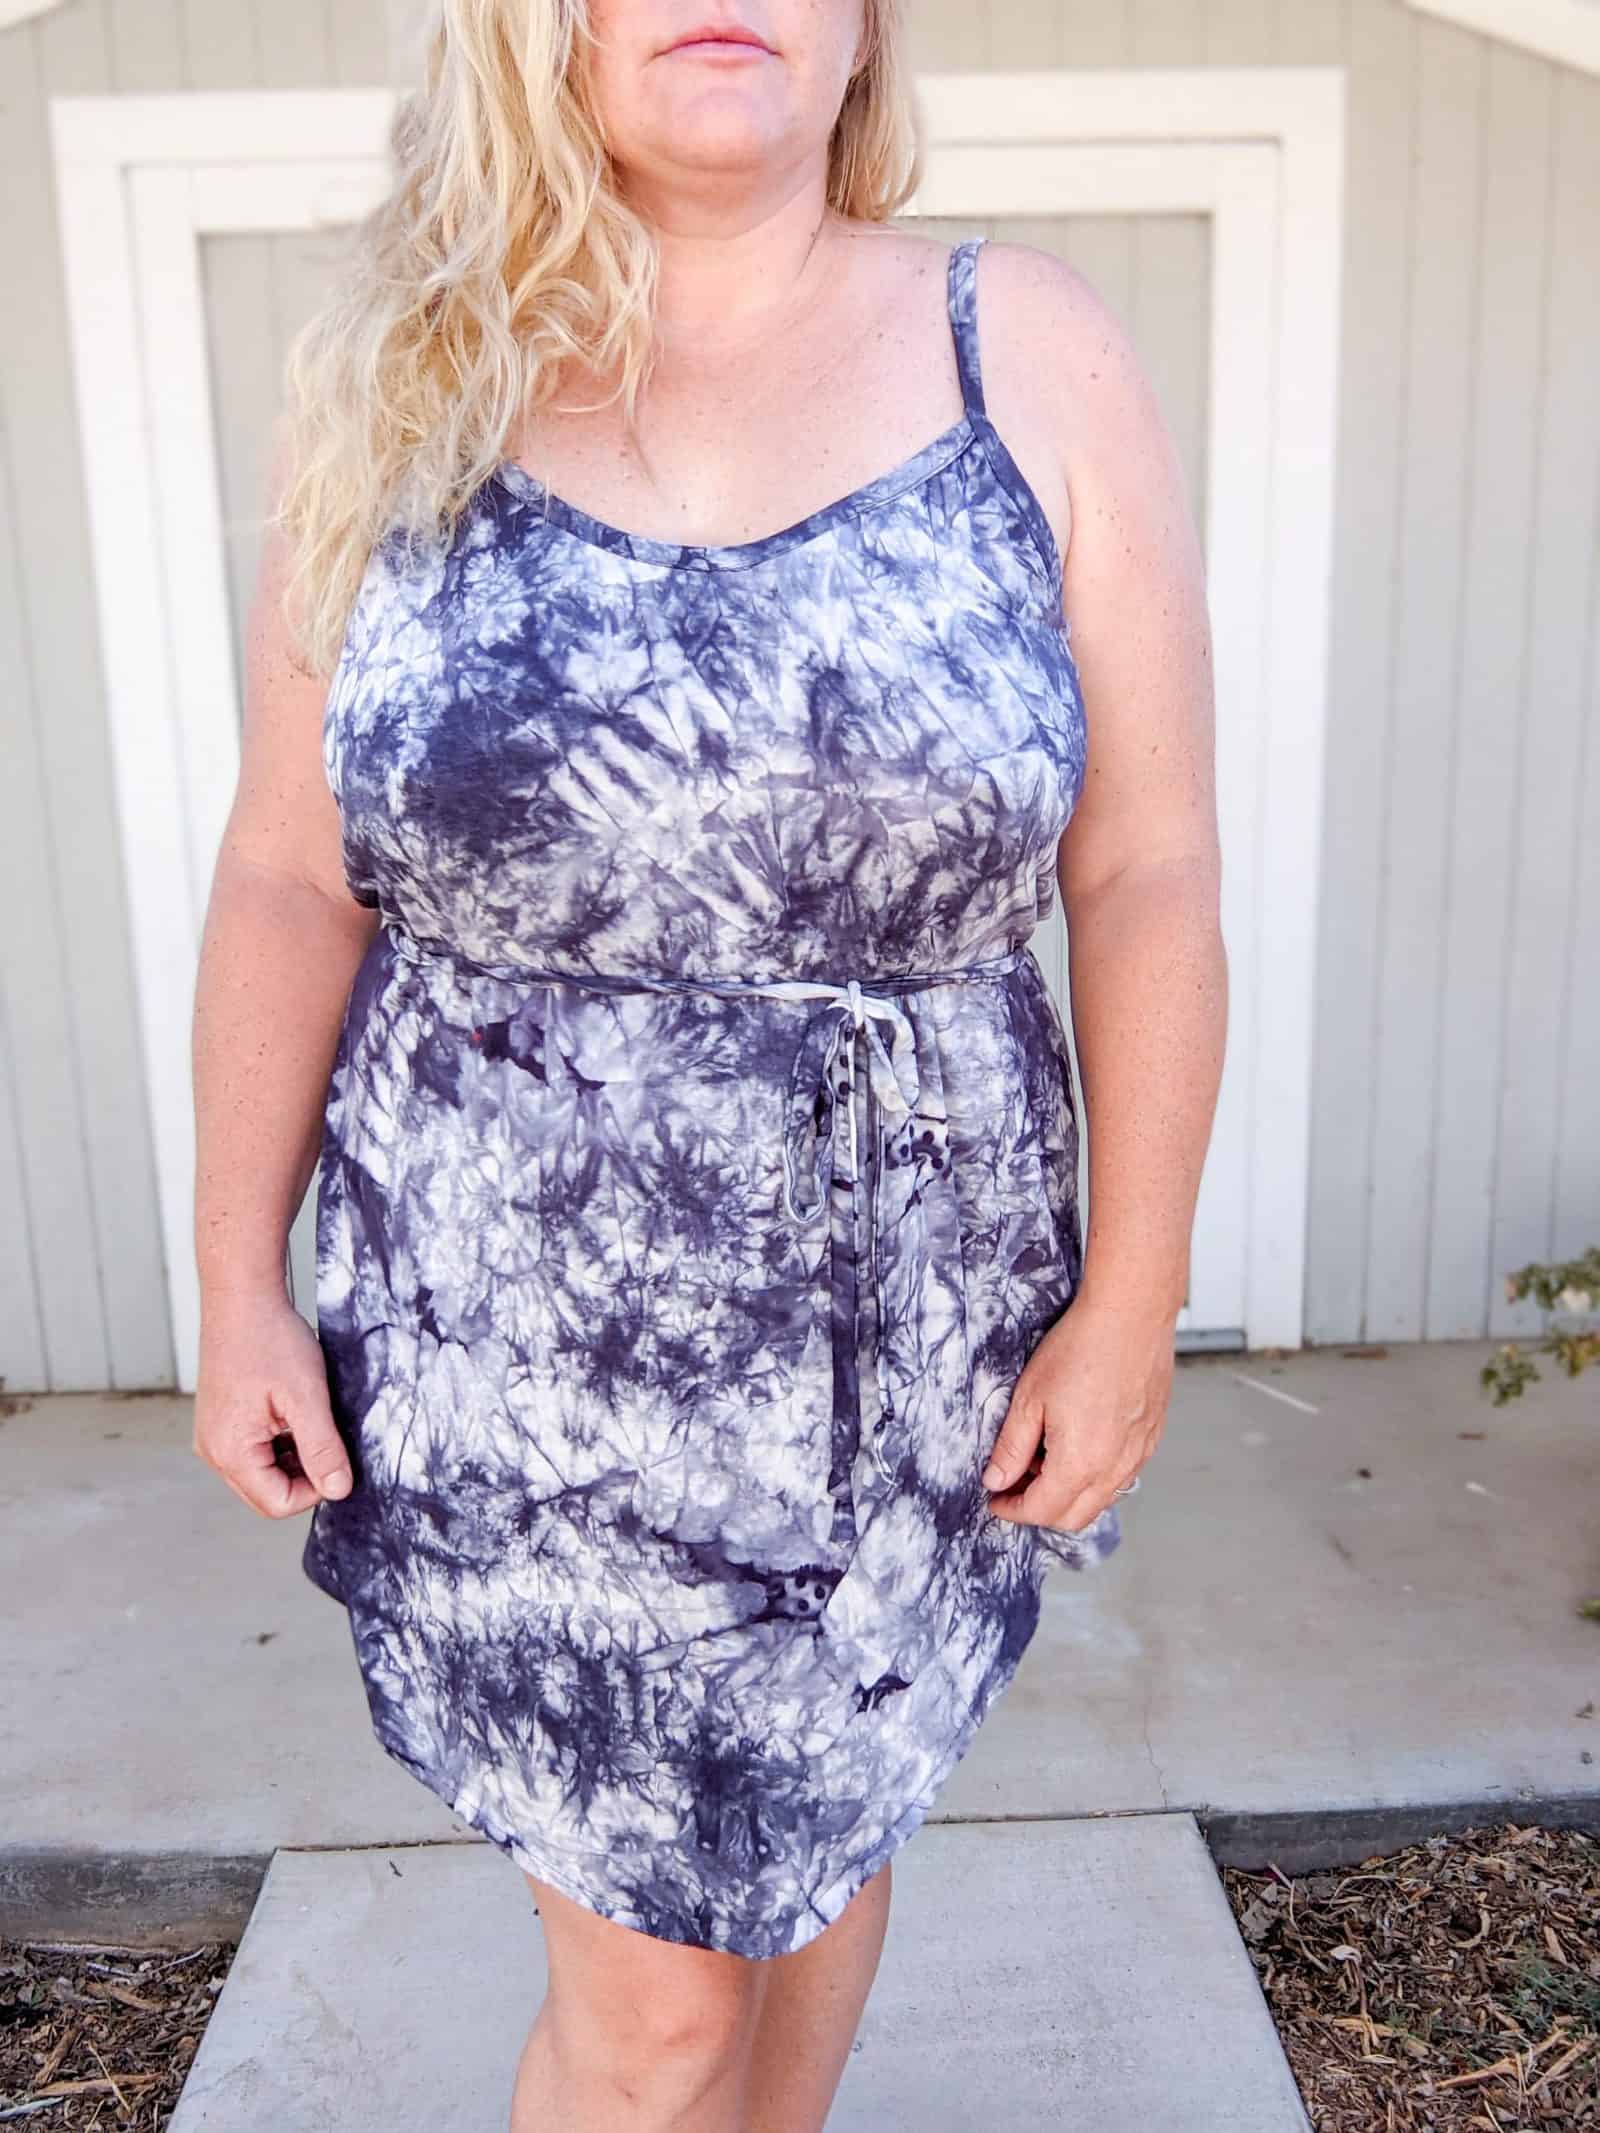
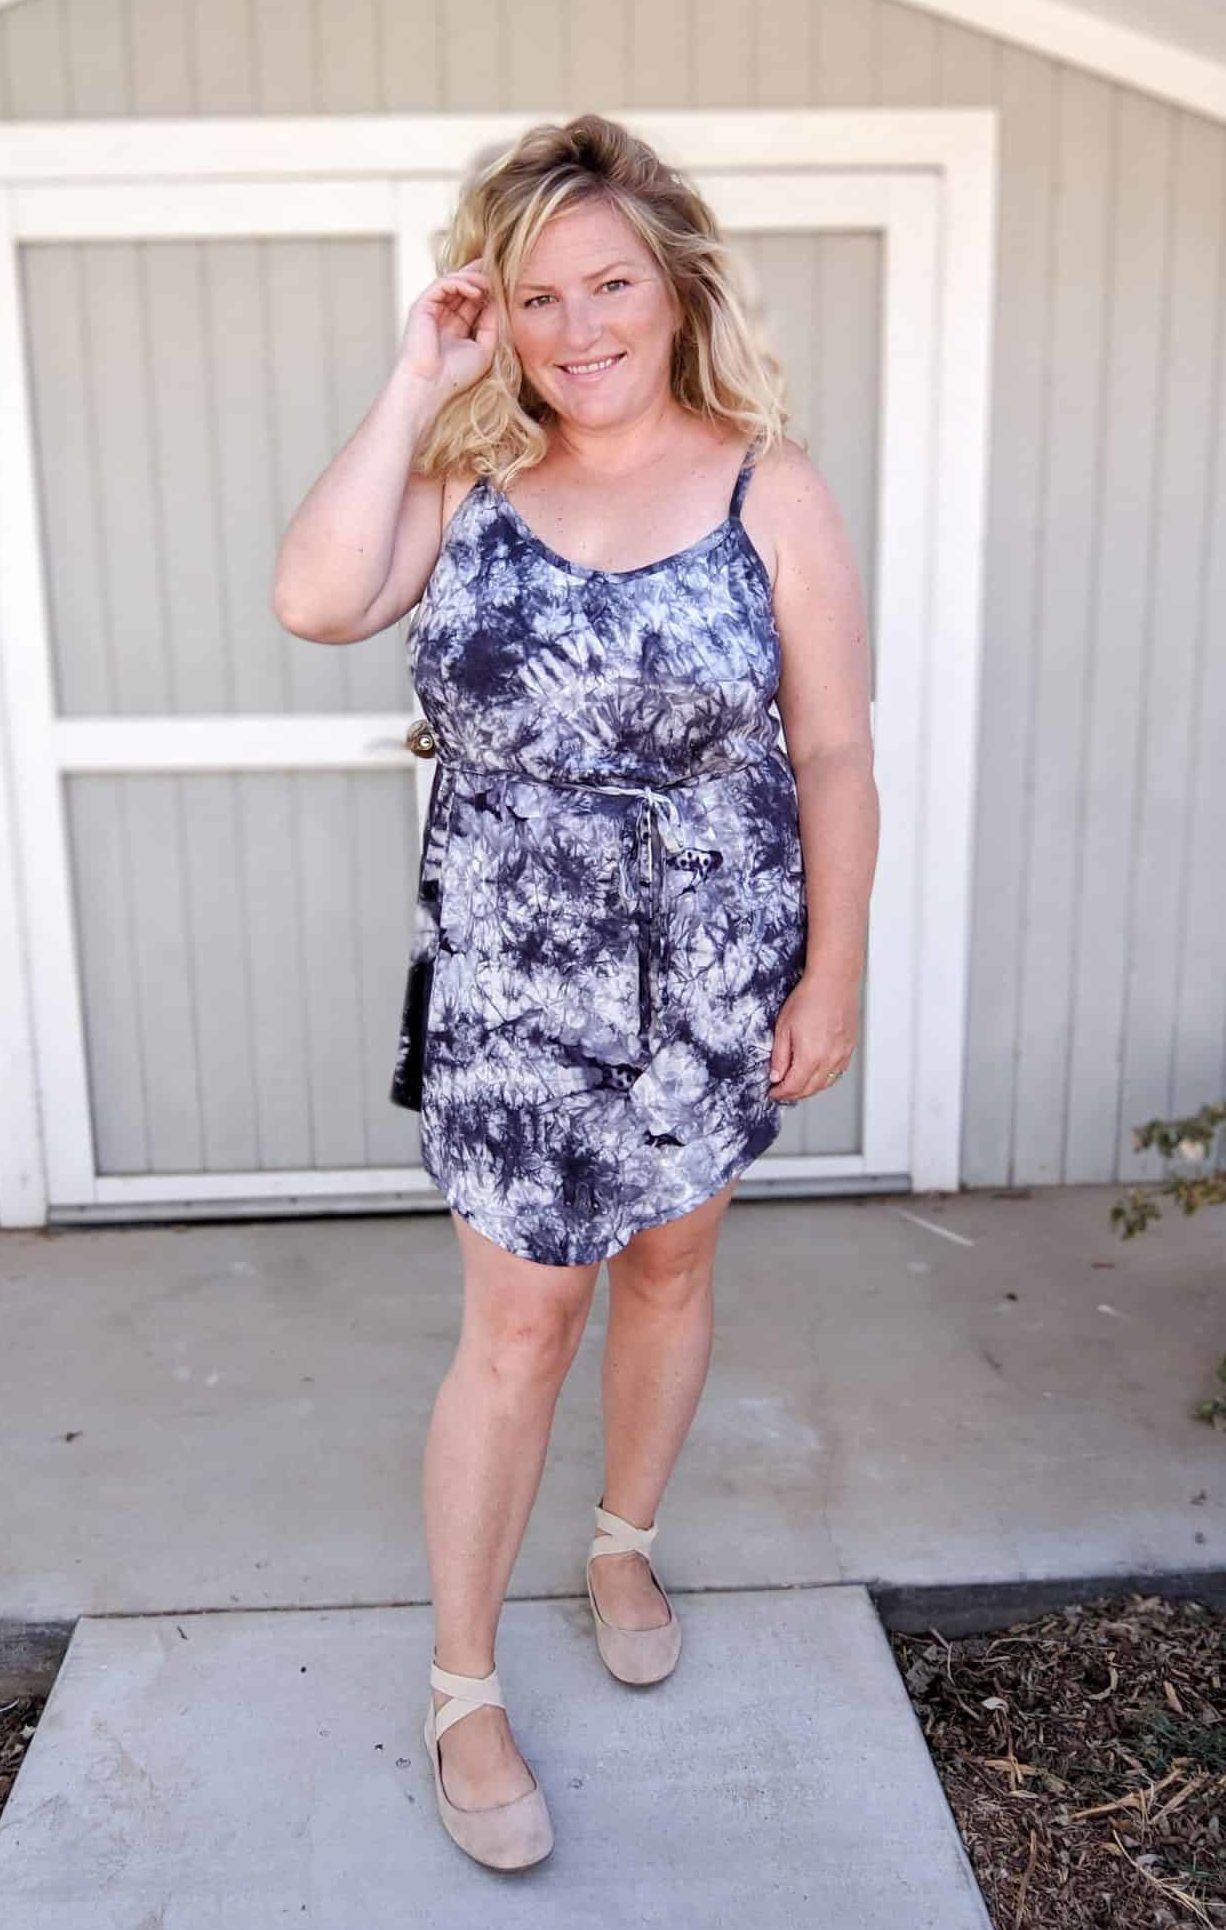
While browsing Pinterest for some low-back Alana inspiration, I found a cute sundress with an extremely curved hem and knew I had to make it happen.
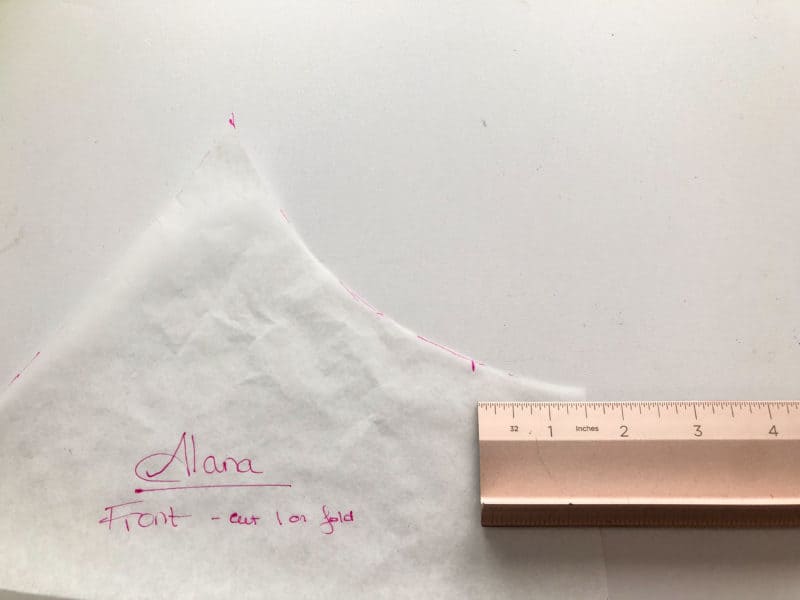
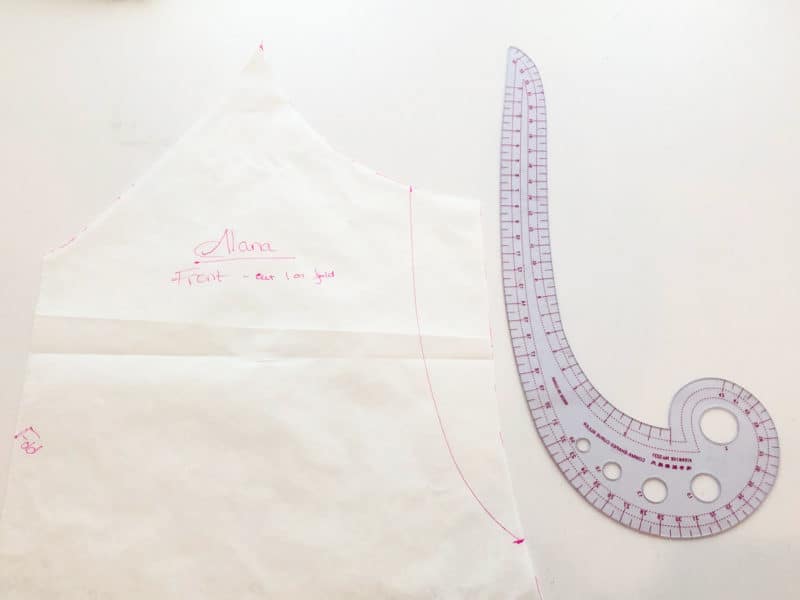
Print your pattern (or pull it up on your projector) and grab a ruler. I like to use the Dritz Styling Design ruler as it functions as a French Curve, Hip Curve or straight ruler.
- Use a ruler to create new hem line
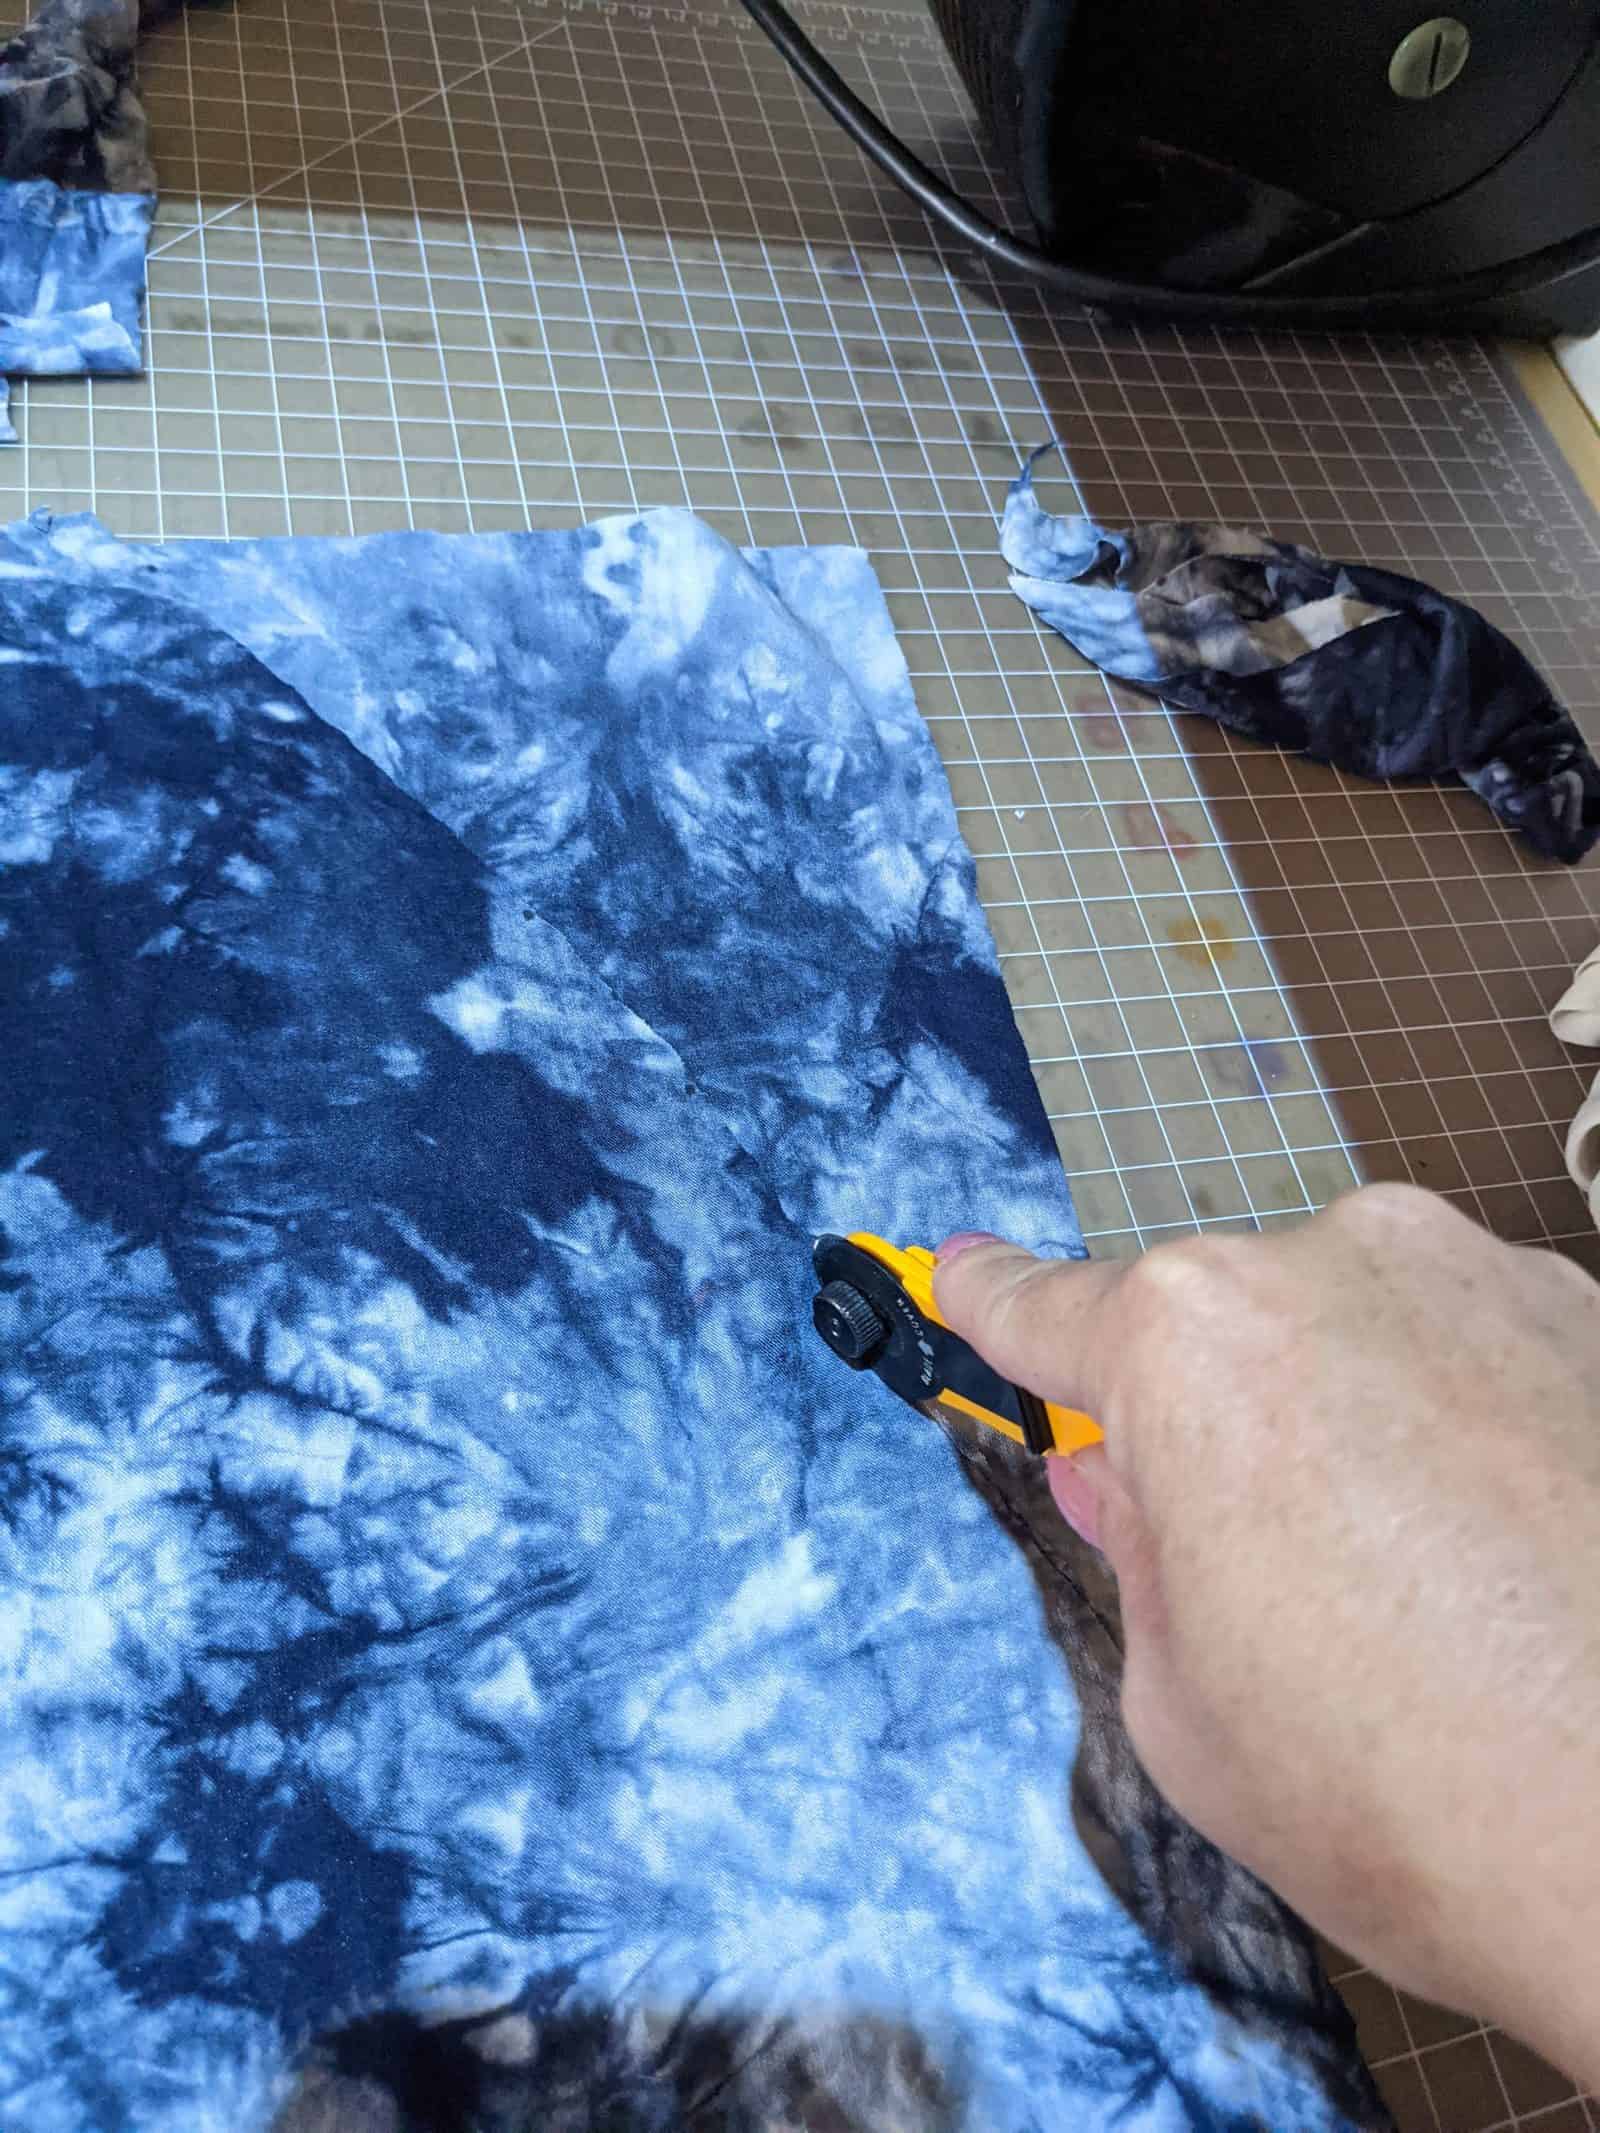
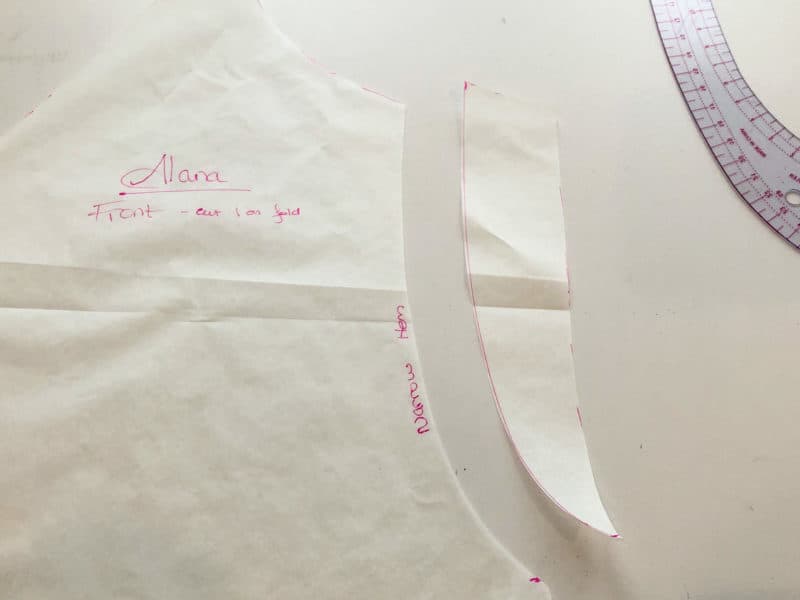
Draw and cut your new curve.
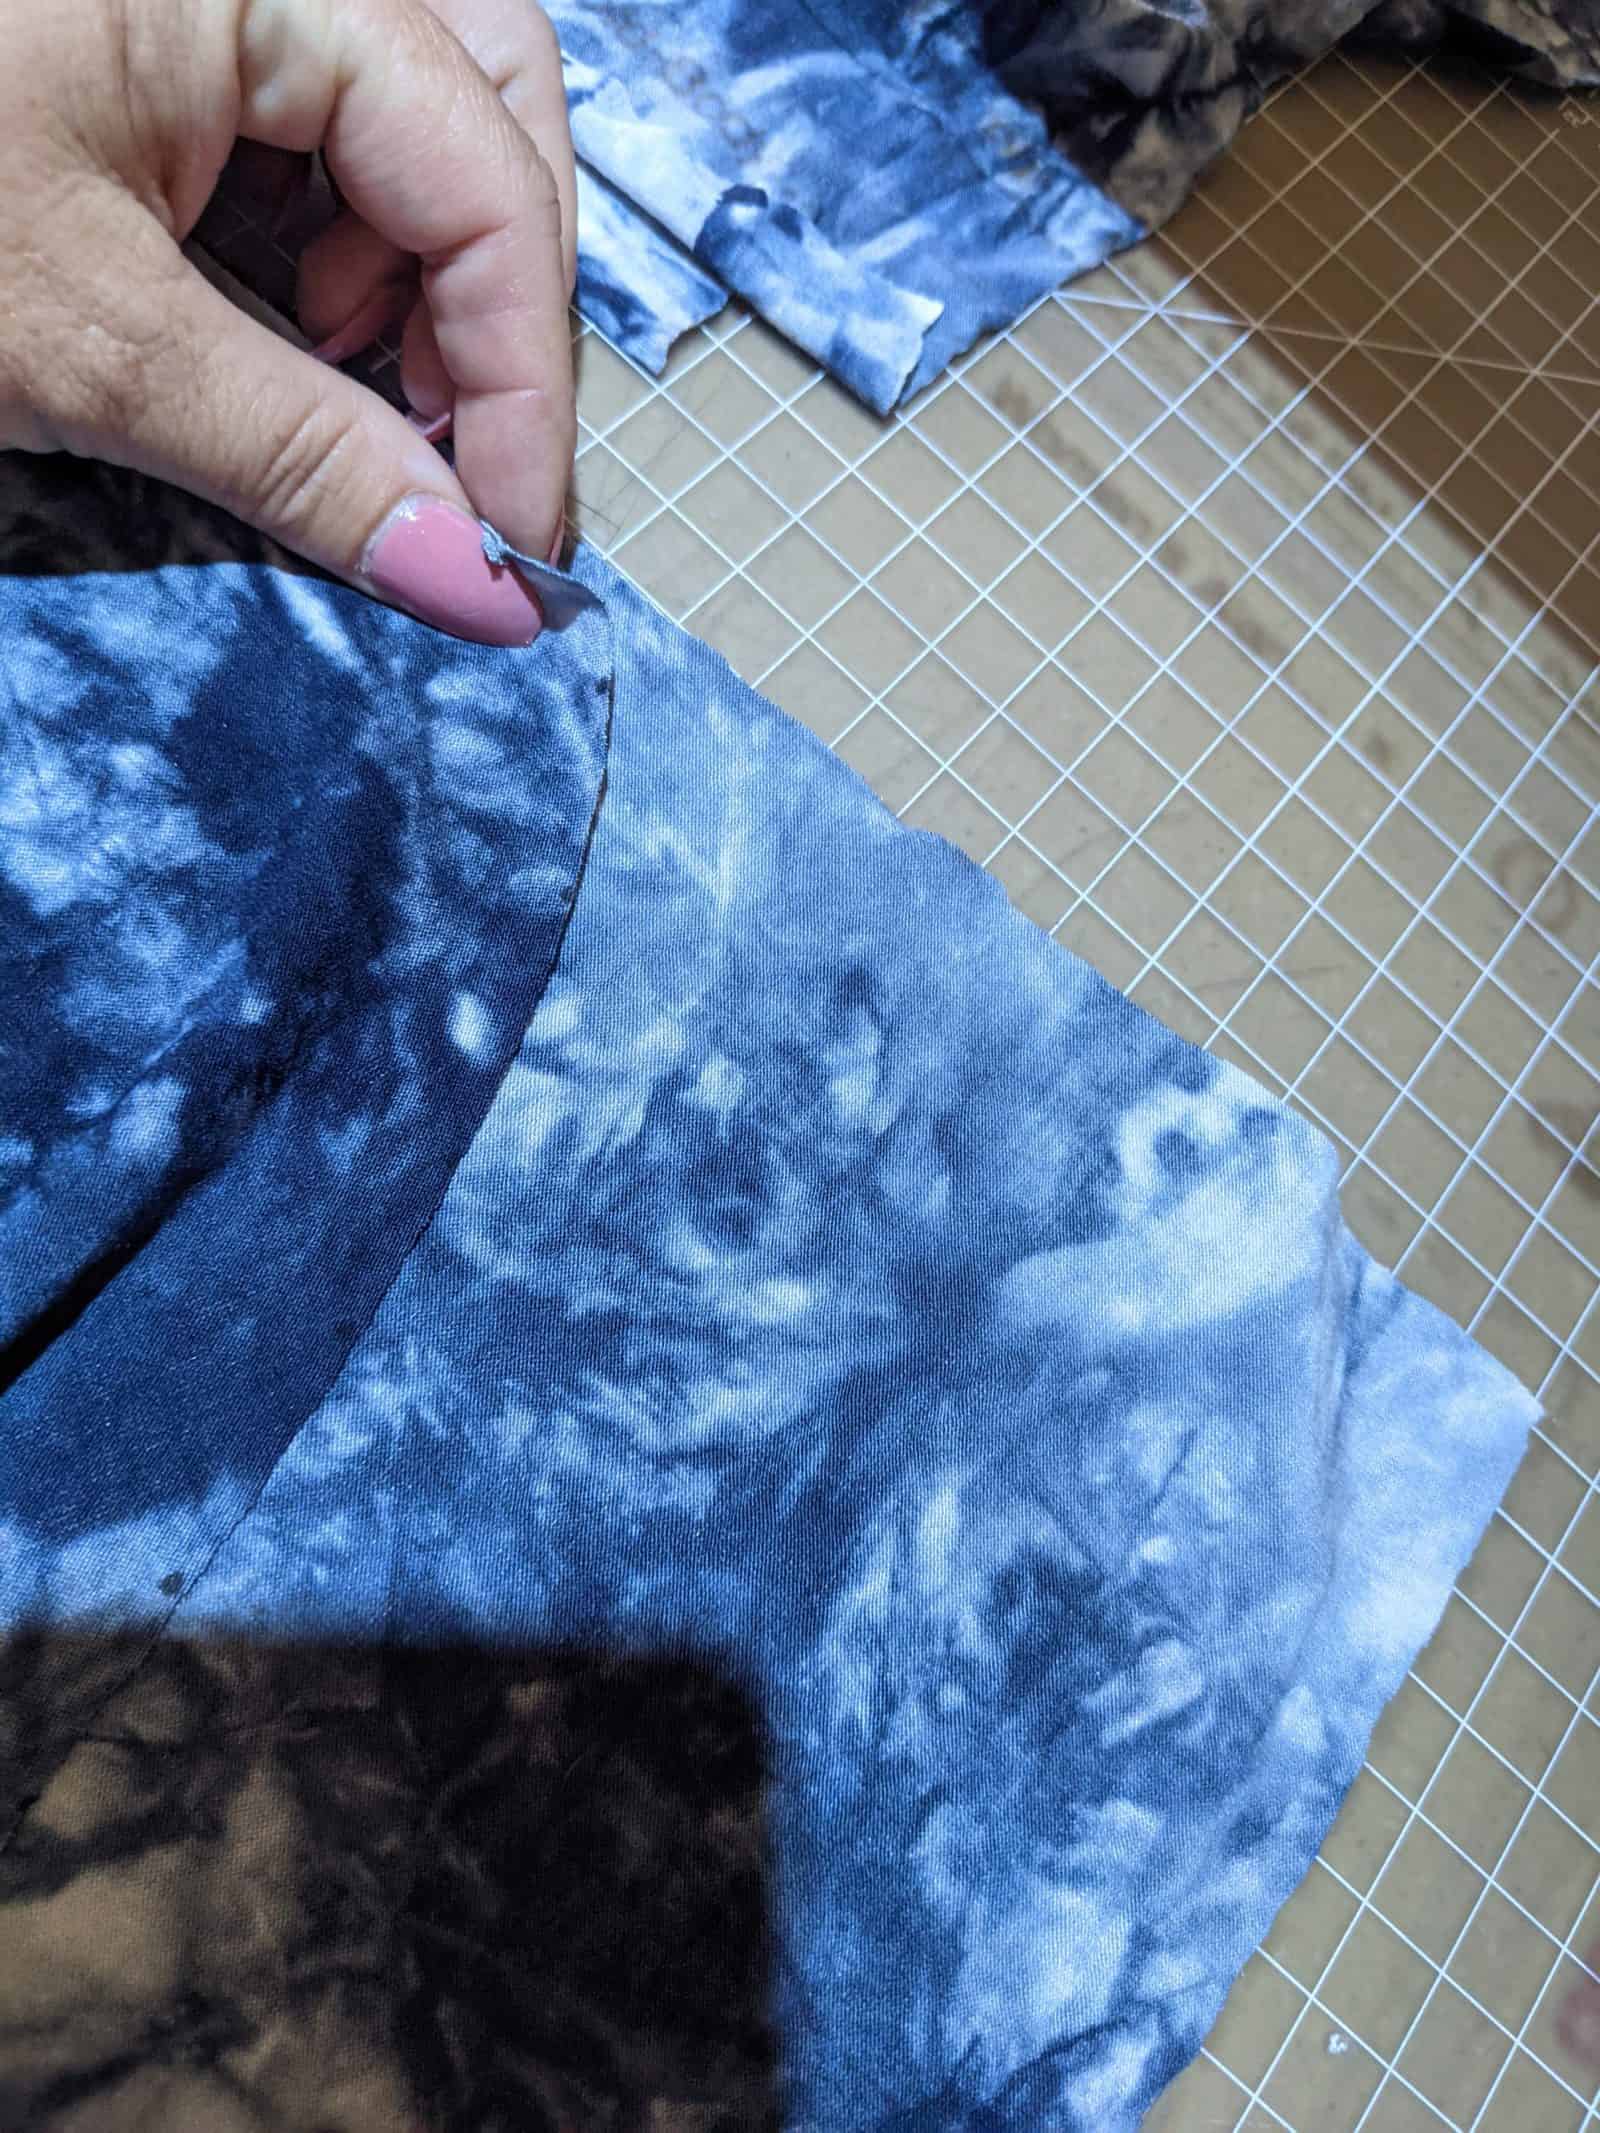
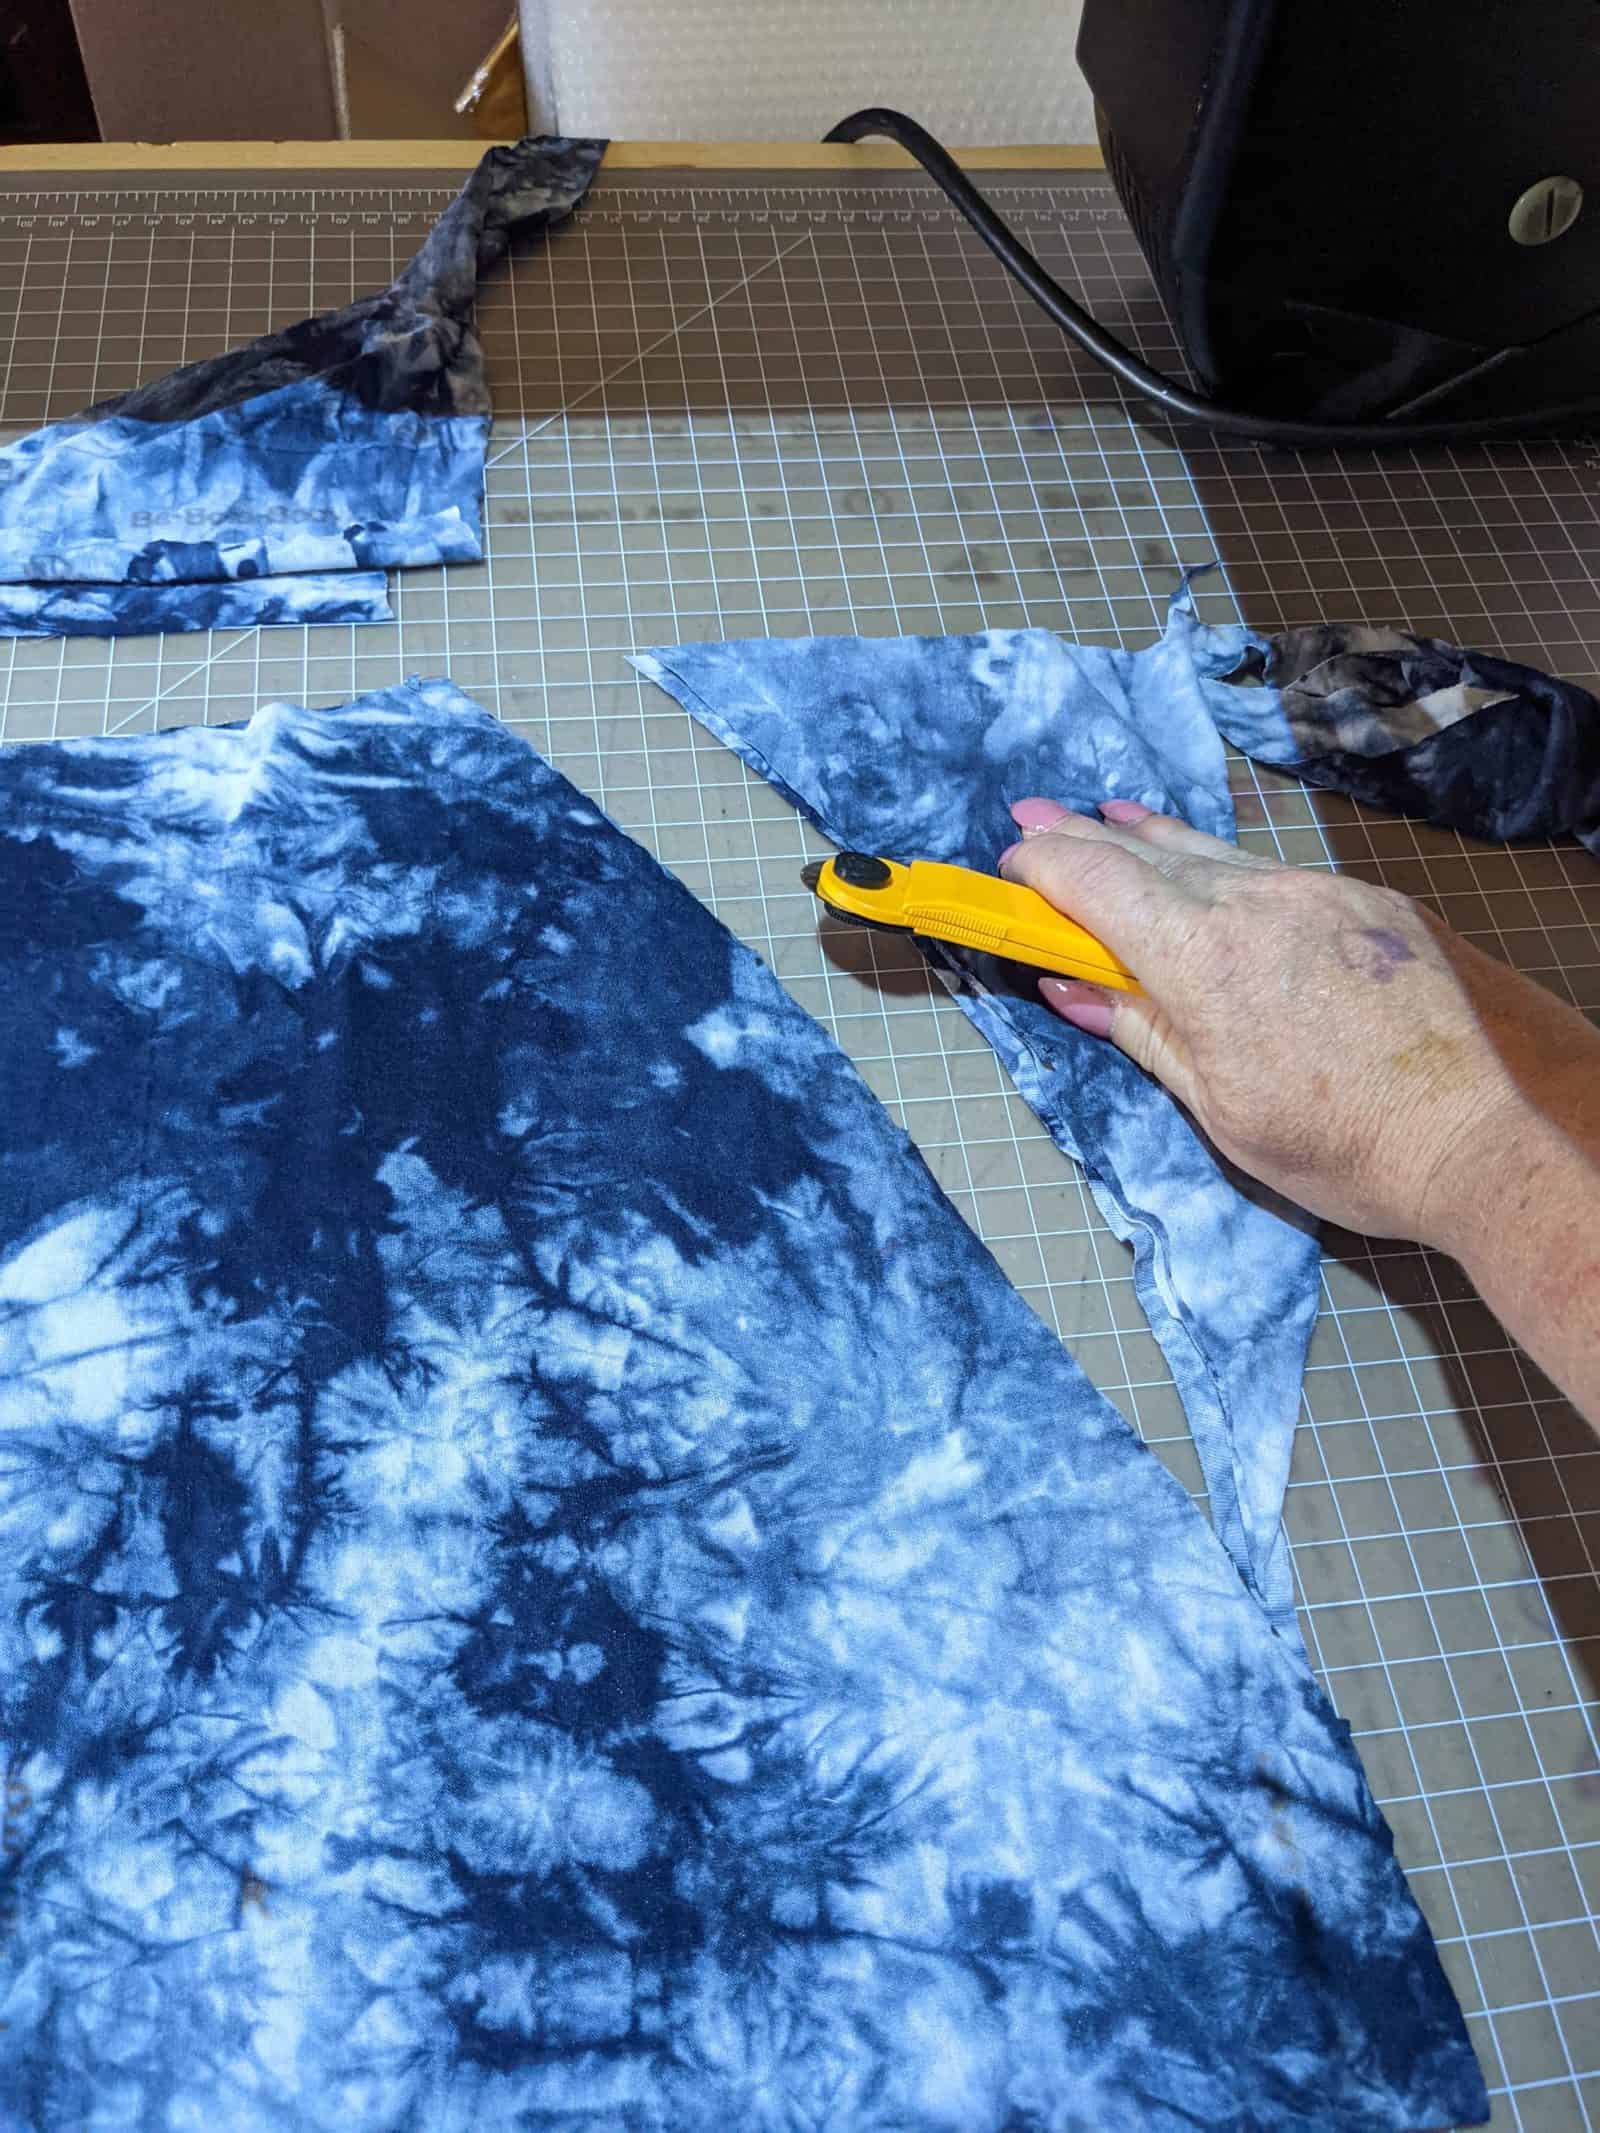
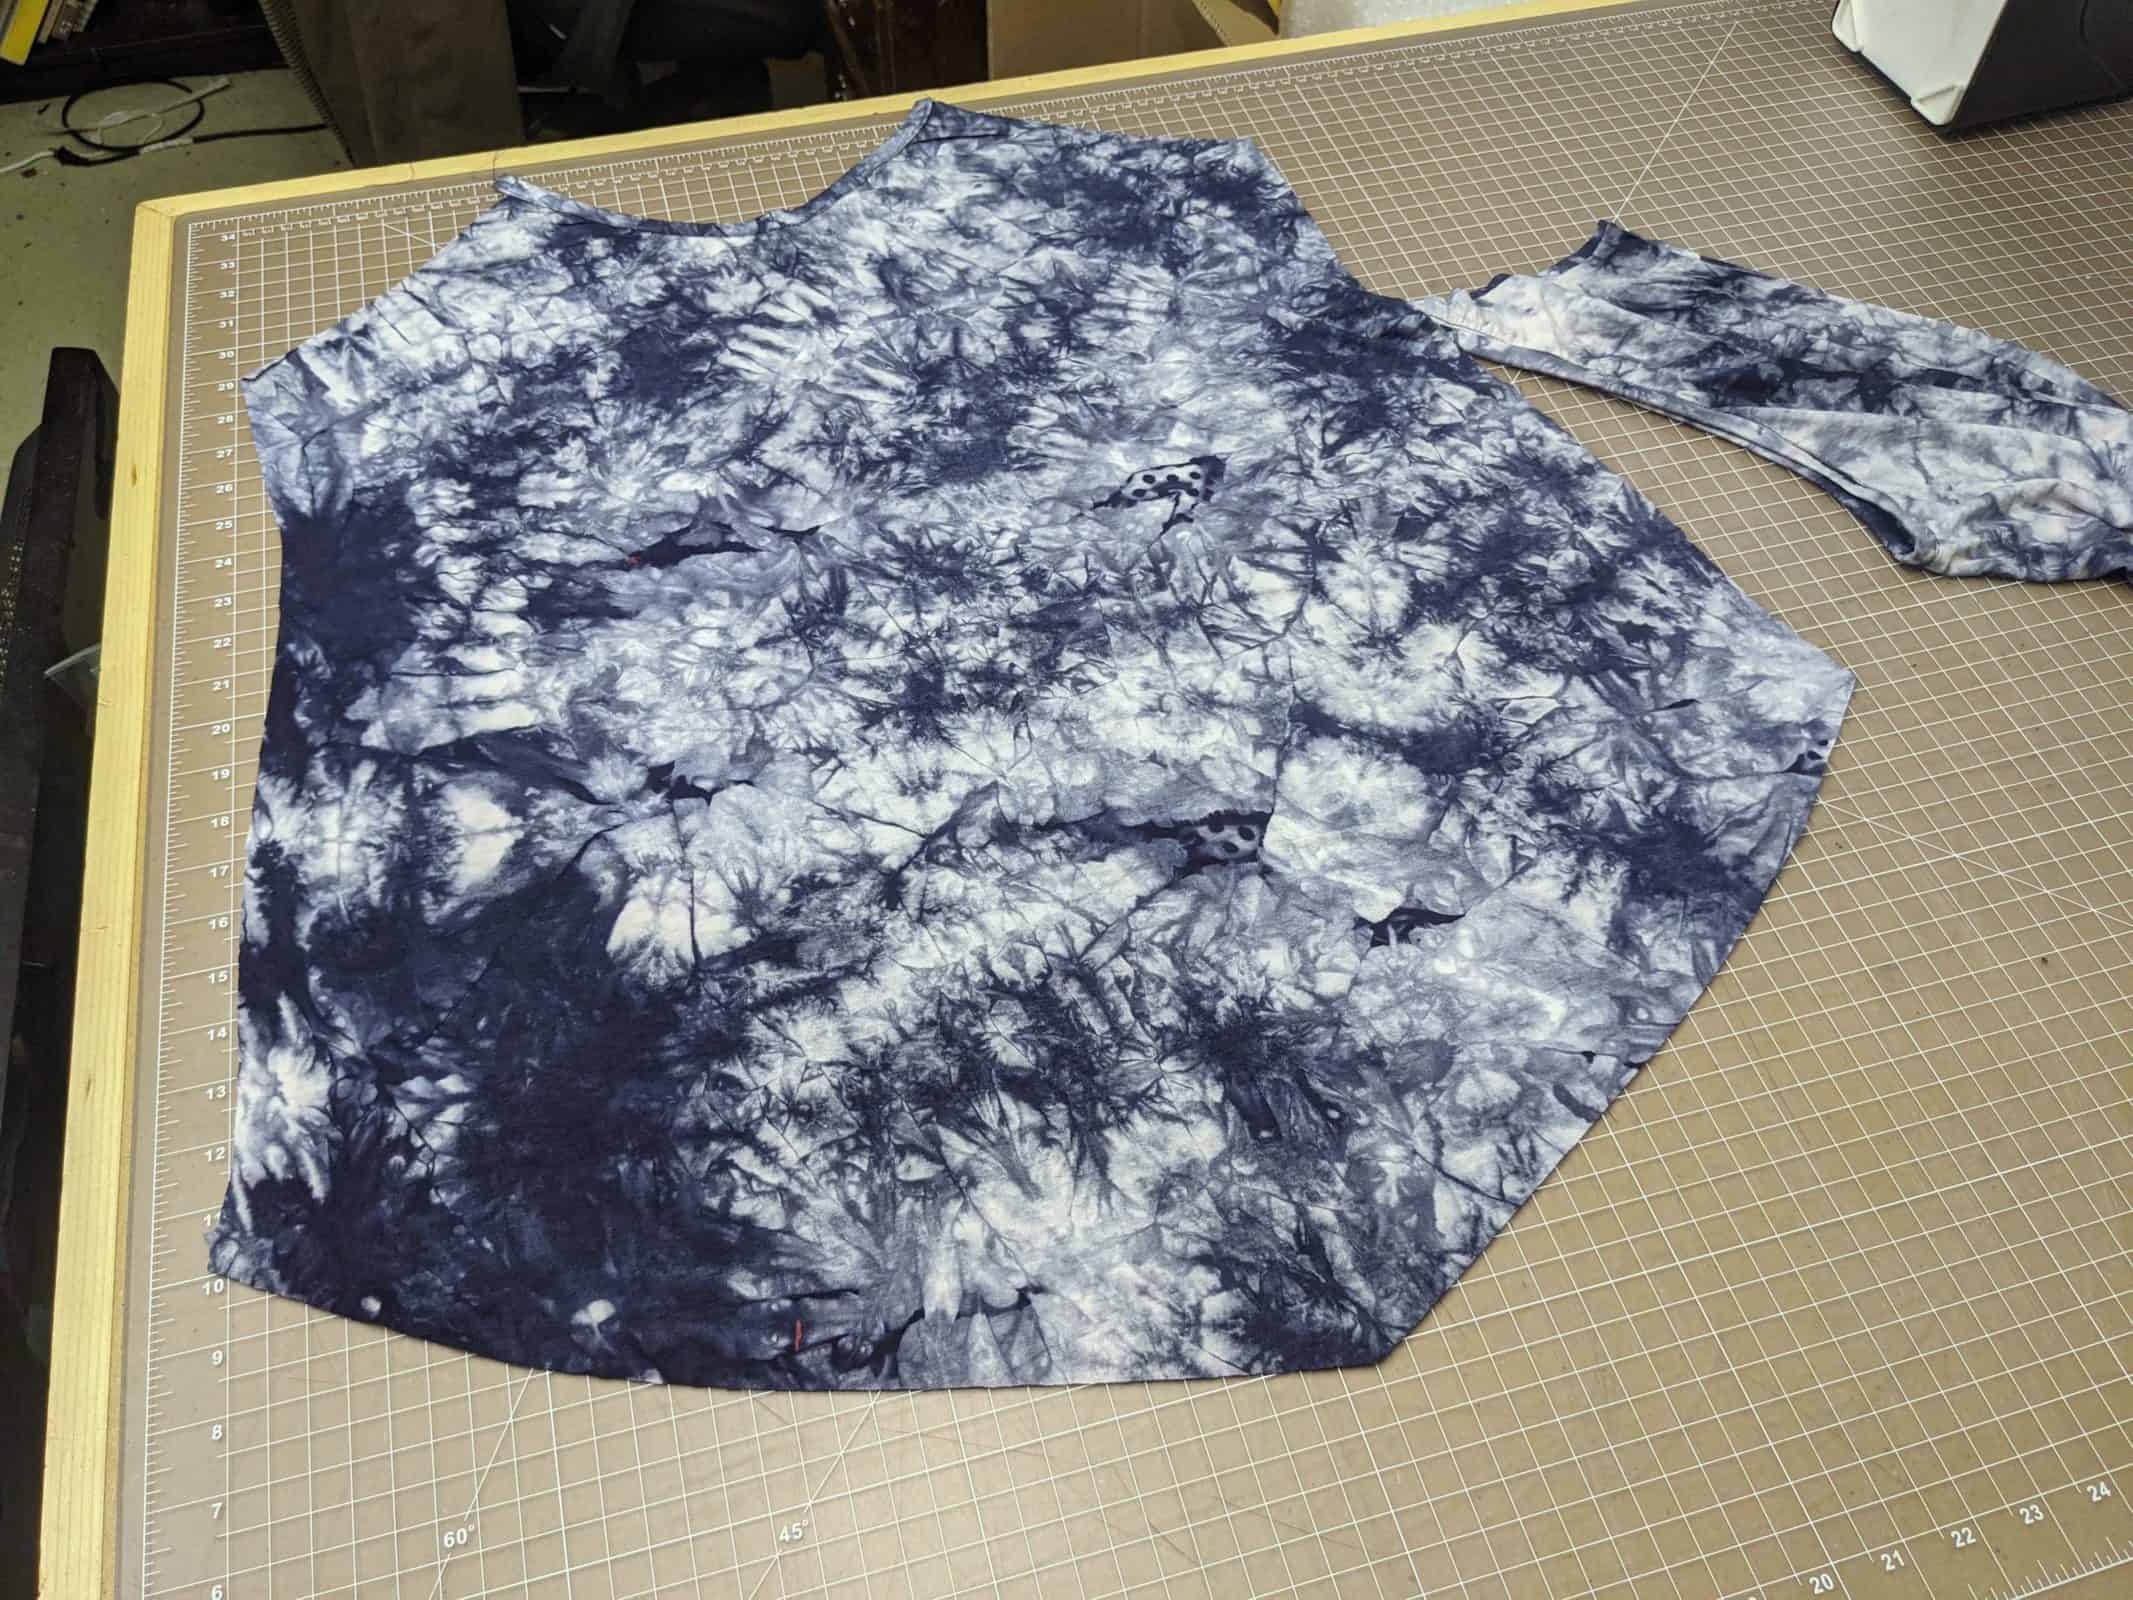
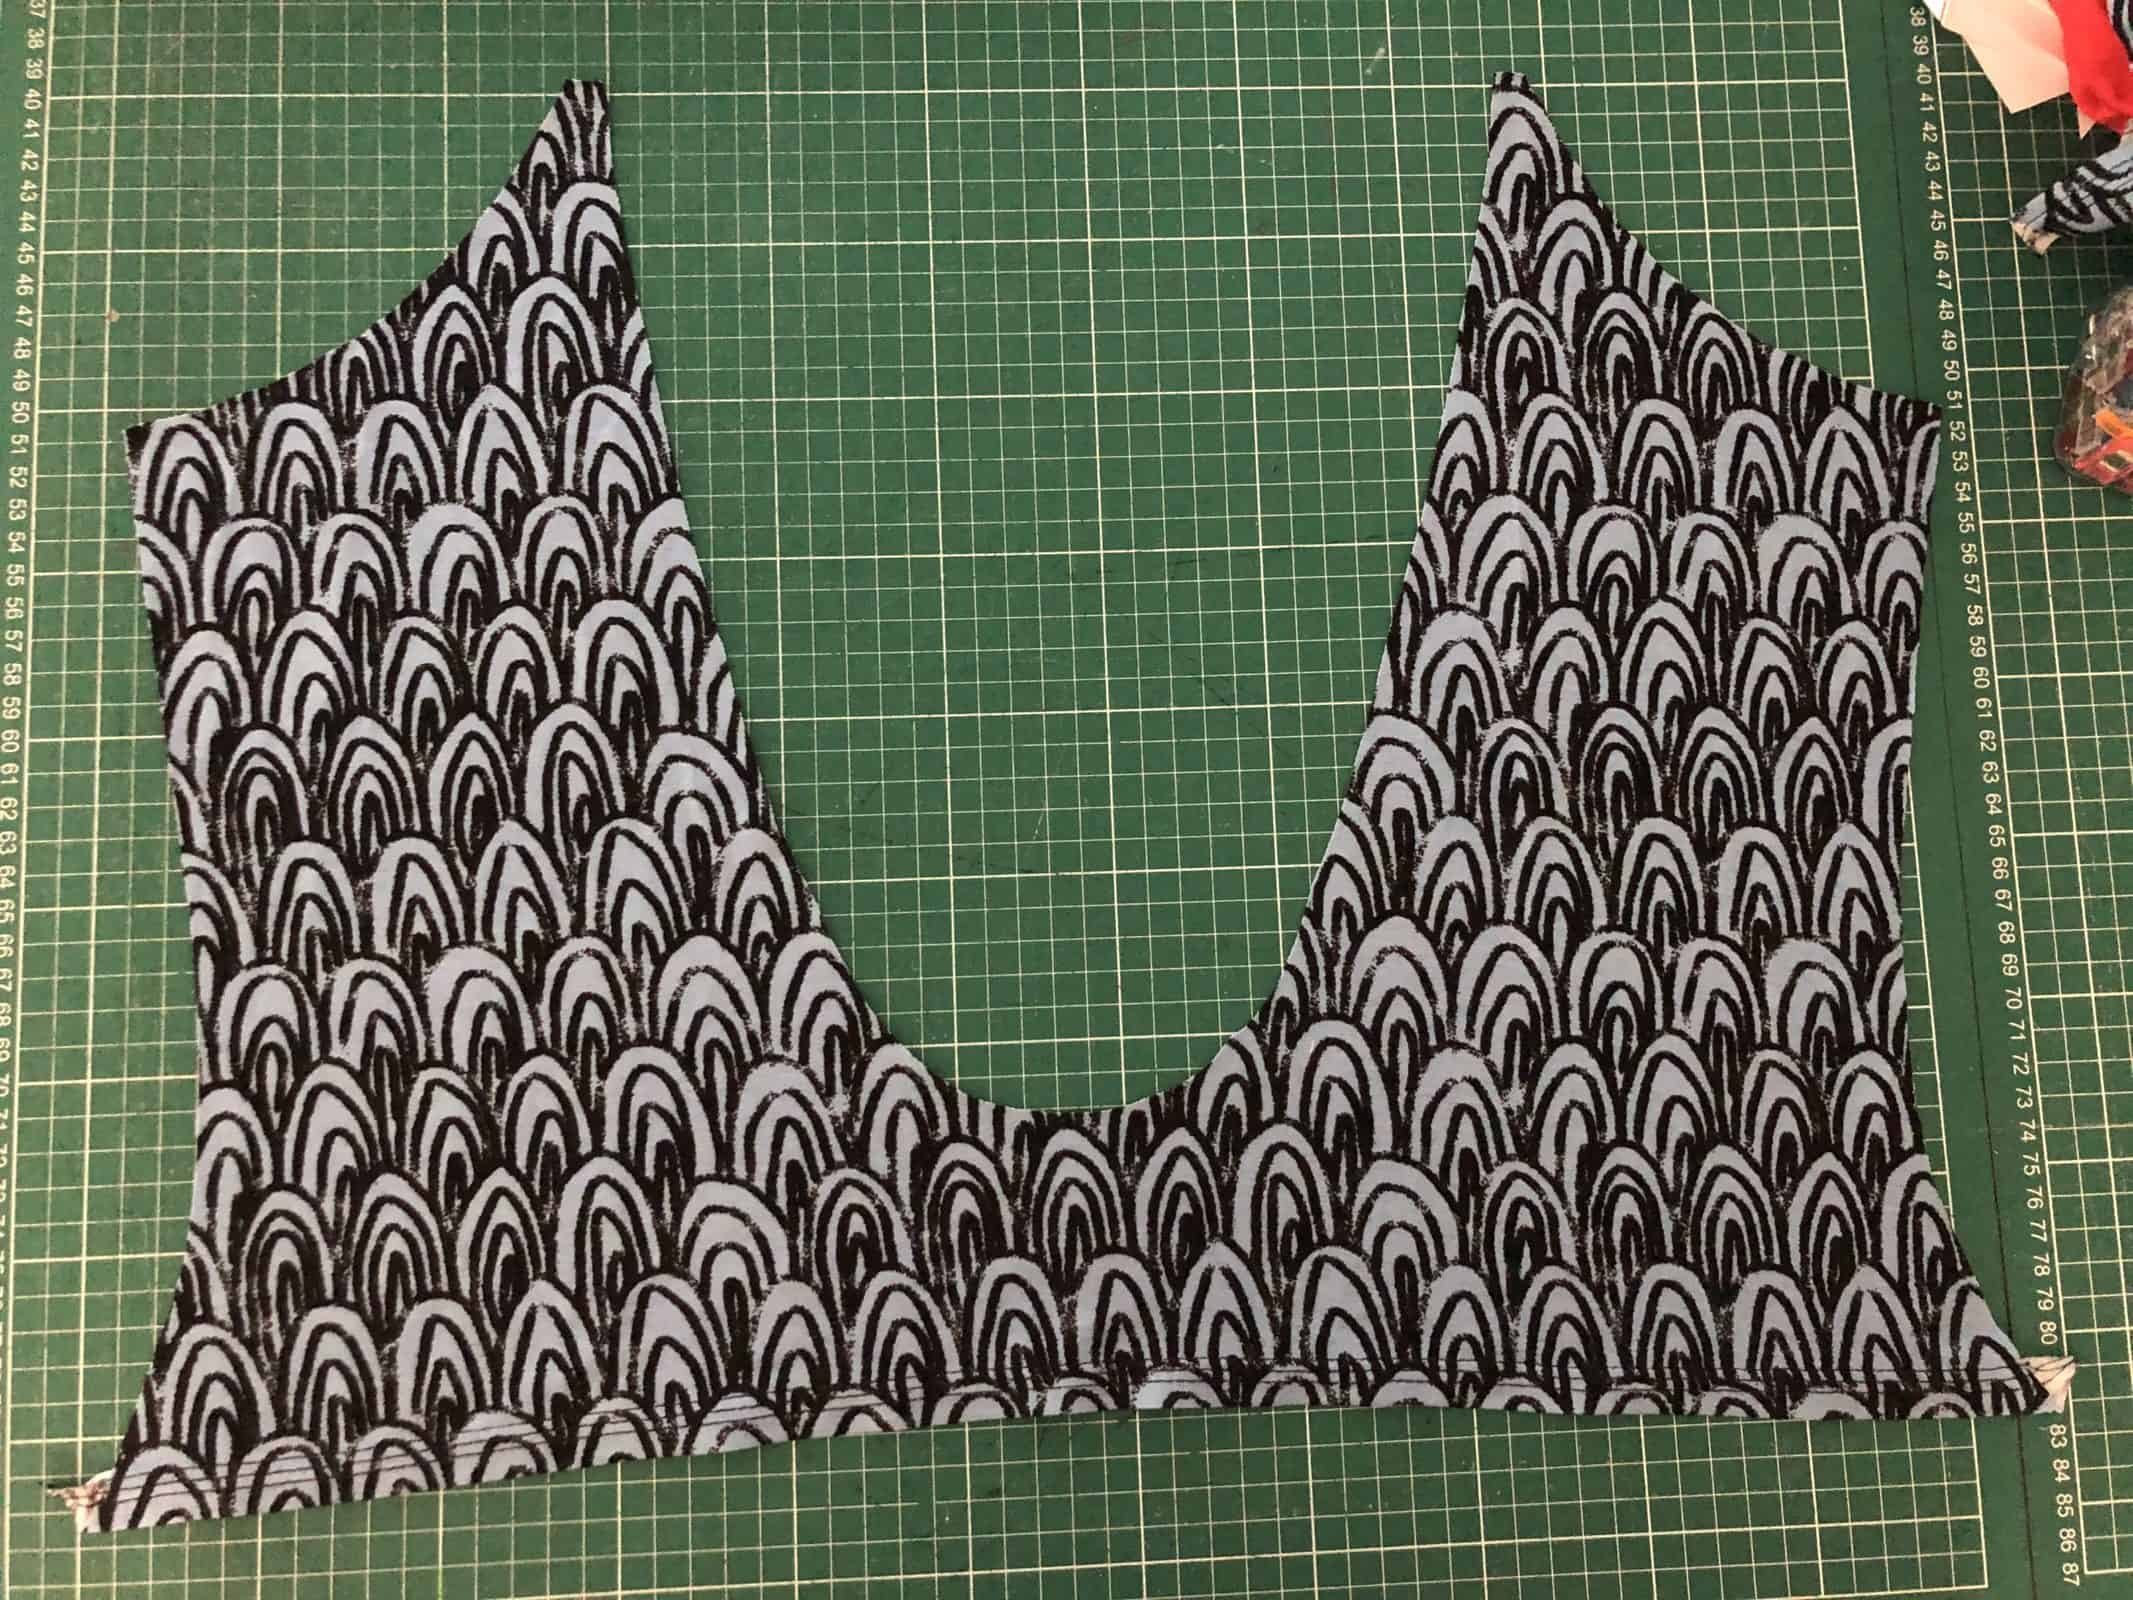
Next, cut the back bodice piece unaltered. The high slit marking is not on the back bodice piece. To create an identical back hem, lay your altered Alana front bodice piece on top of your back bodice piece (lining up at armscye). Trace new front bodice hemline onto back and cut.
- cut front bodice curve
- lay front bodice on top of back bodice
- trace and cut back bodice curve to match top bodice
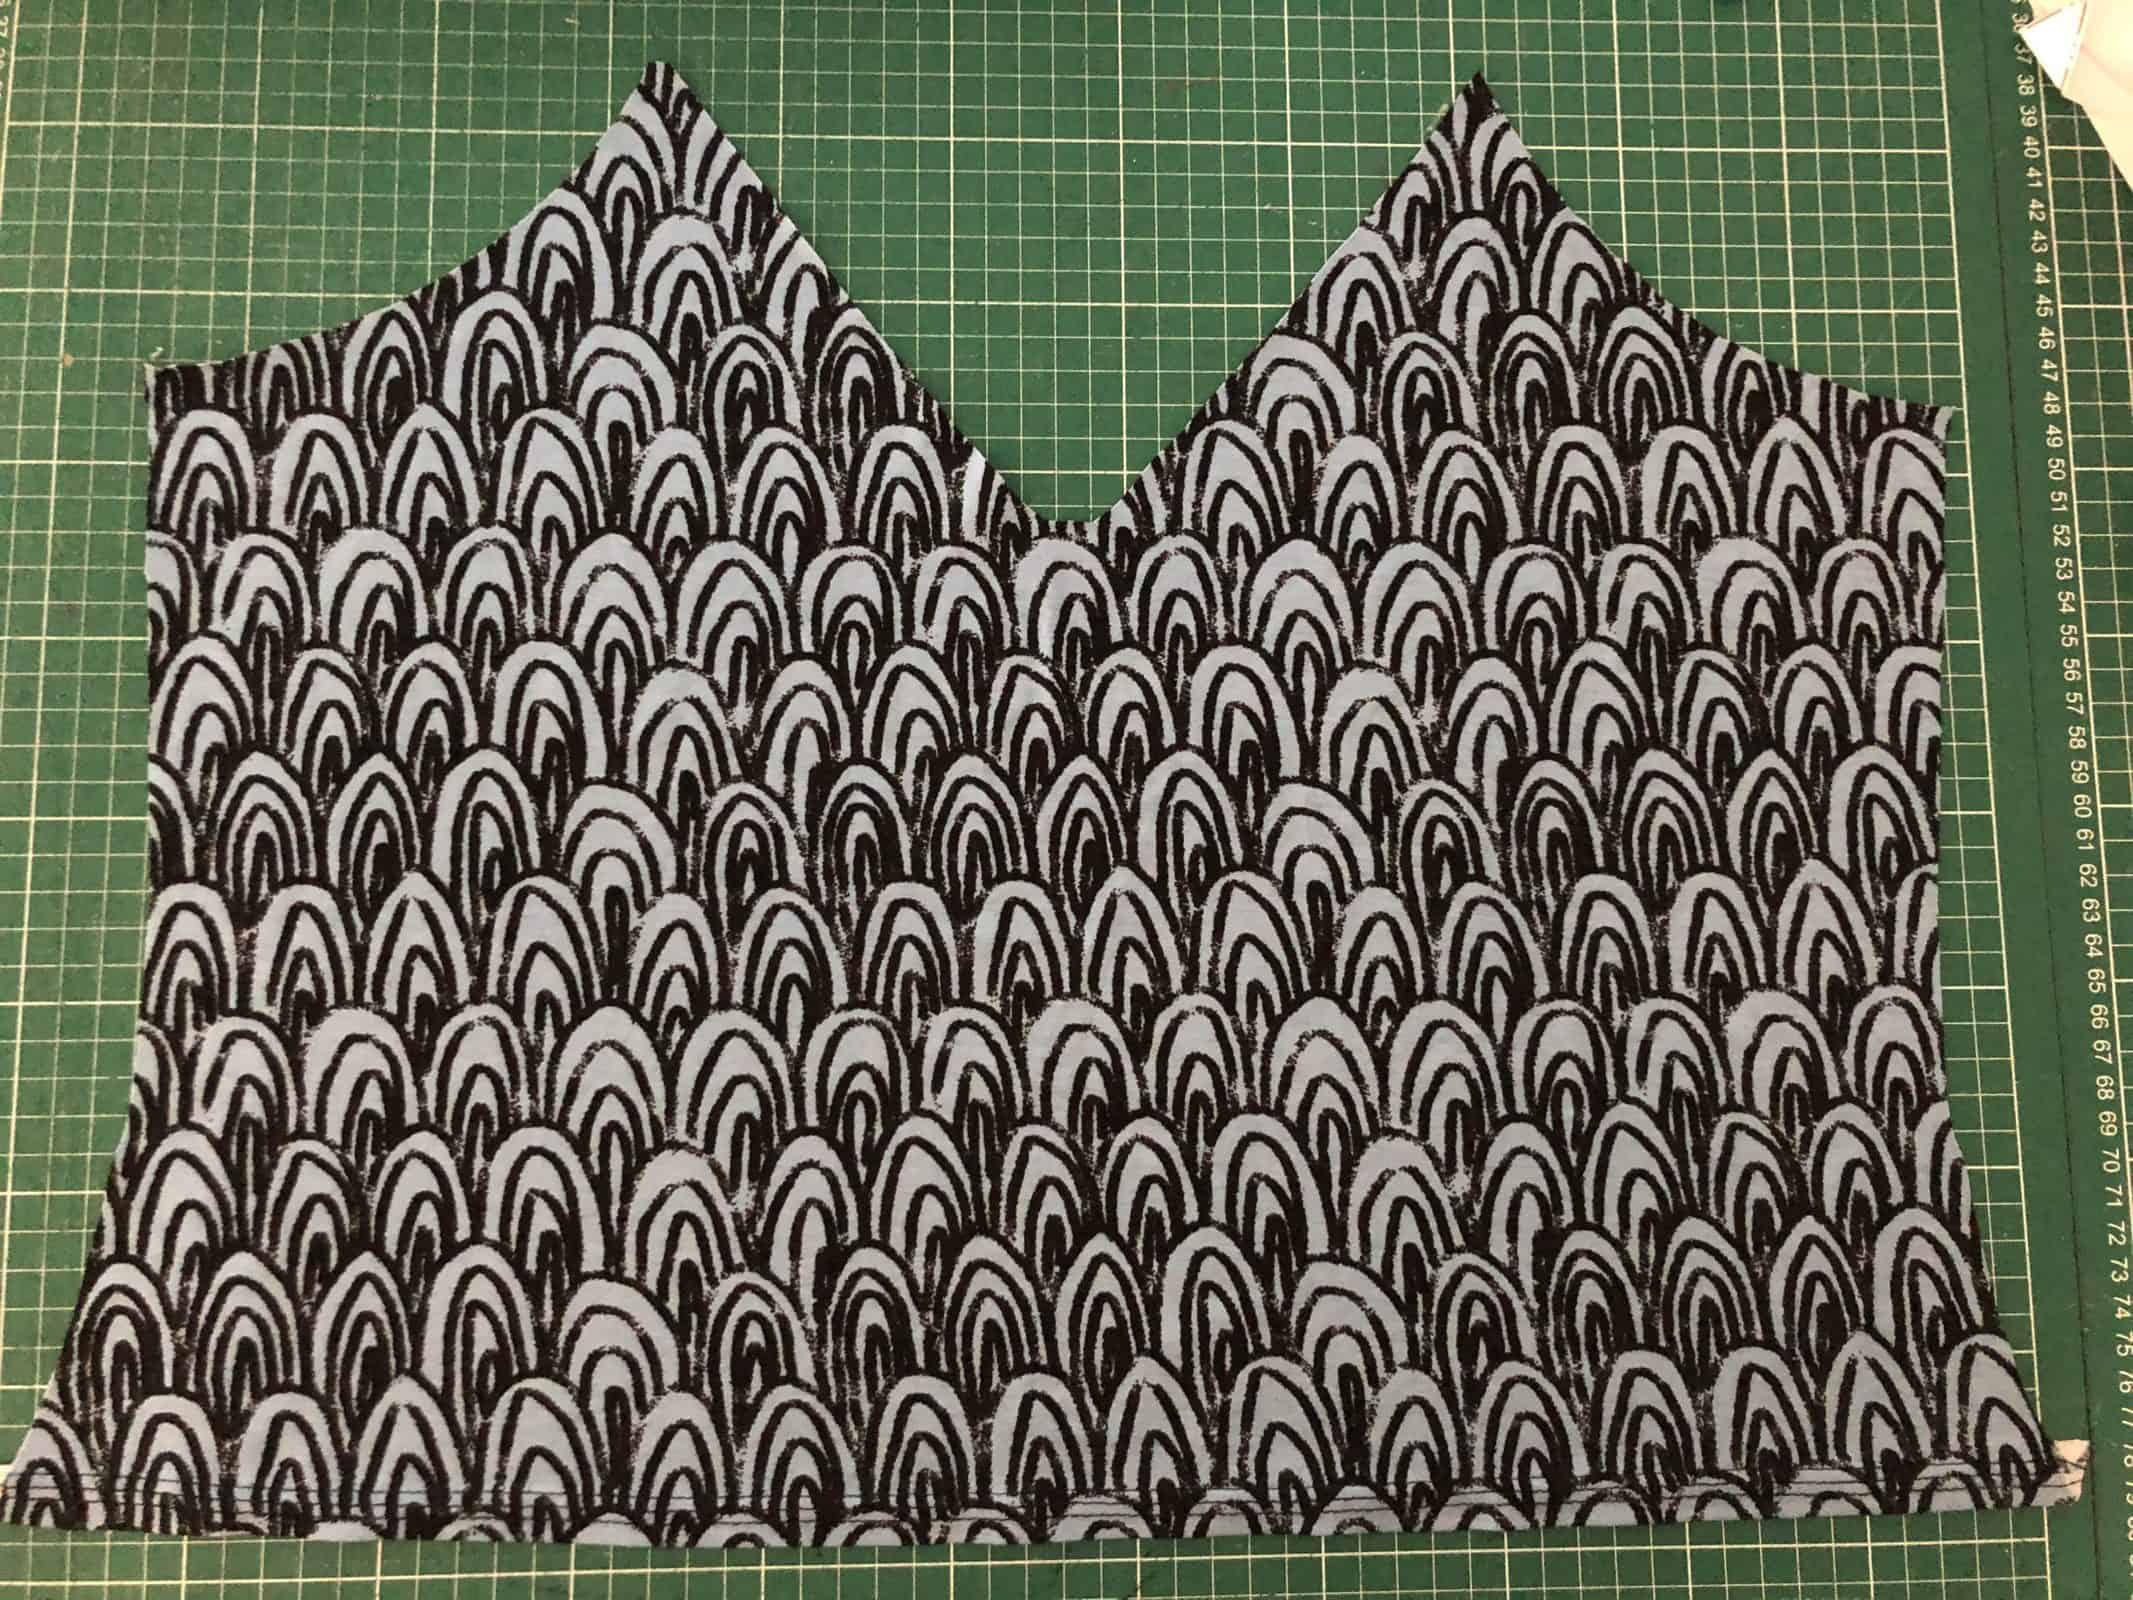
With more extreme curves, I prefer to hem them separately before attaching at the side seam to get a crisp finish.
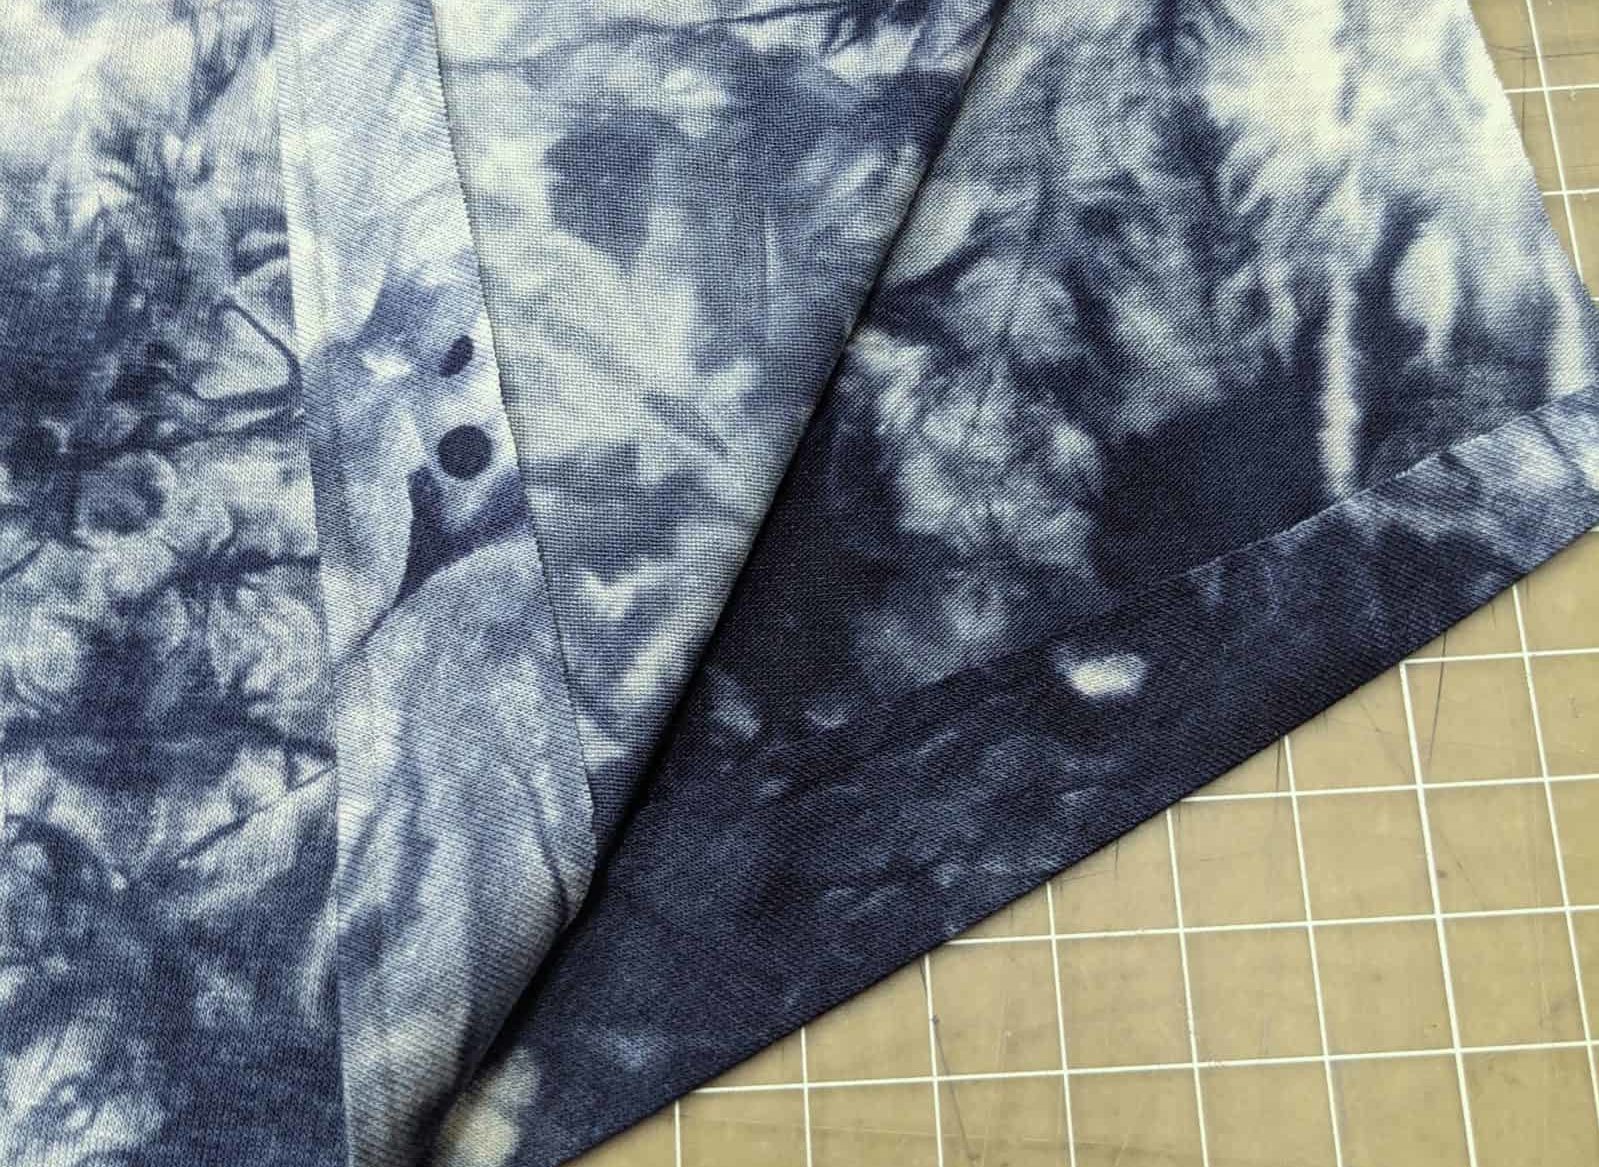
Open up your bodice pieces and press the 1/2″ hem allowance with wrong sides together. DON’T be tempted to skip the pressing. The extreme curve will be difficult to sew if you omit the pressing.
- new bodice pieces
- new hem line
- pressed 1/2″ hem
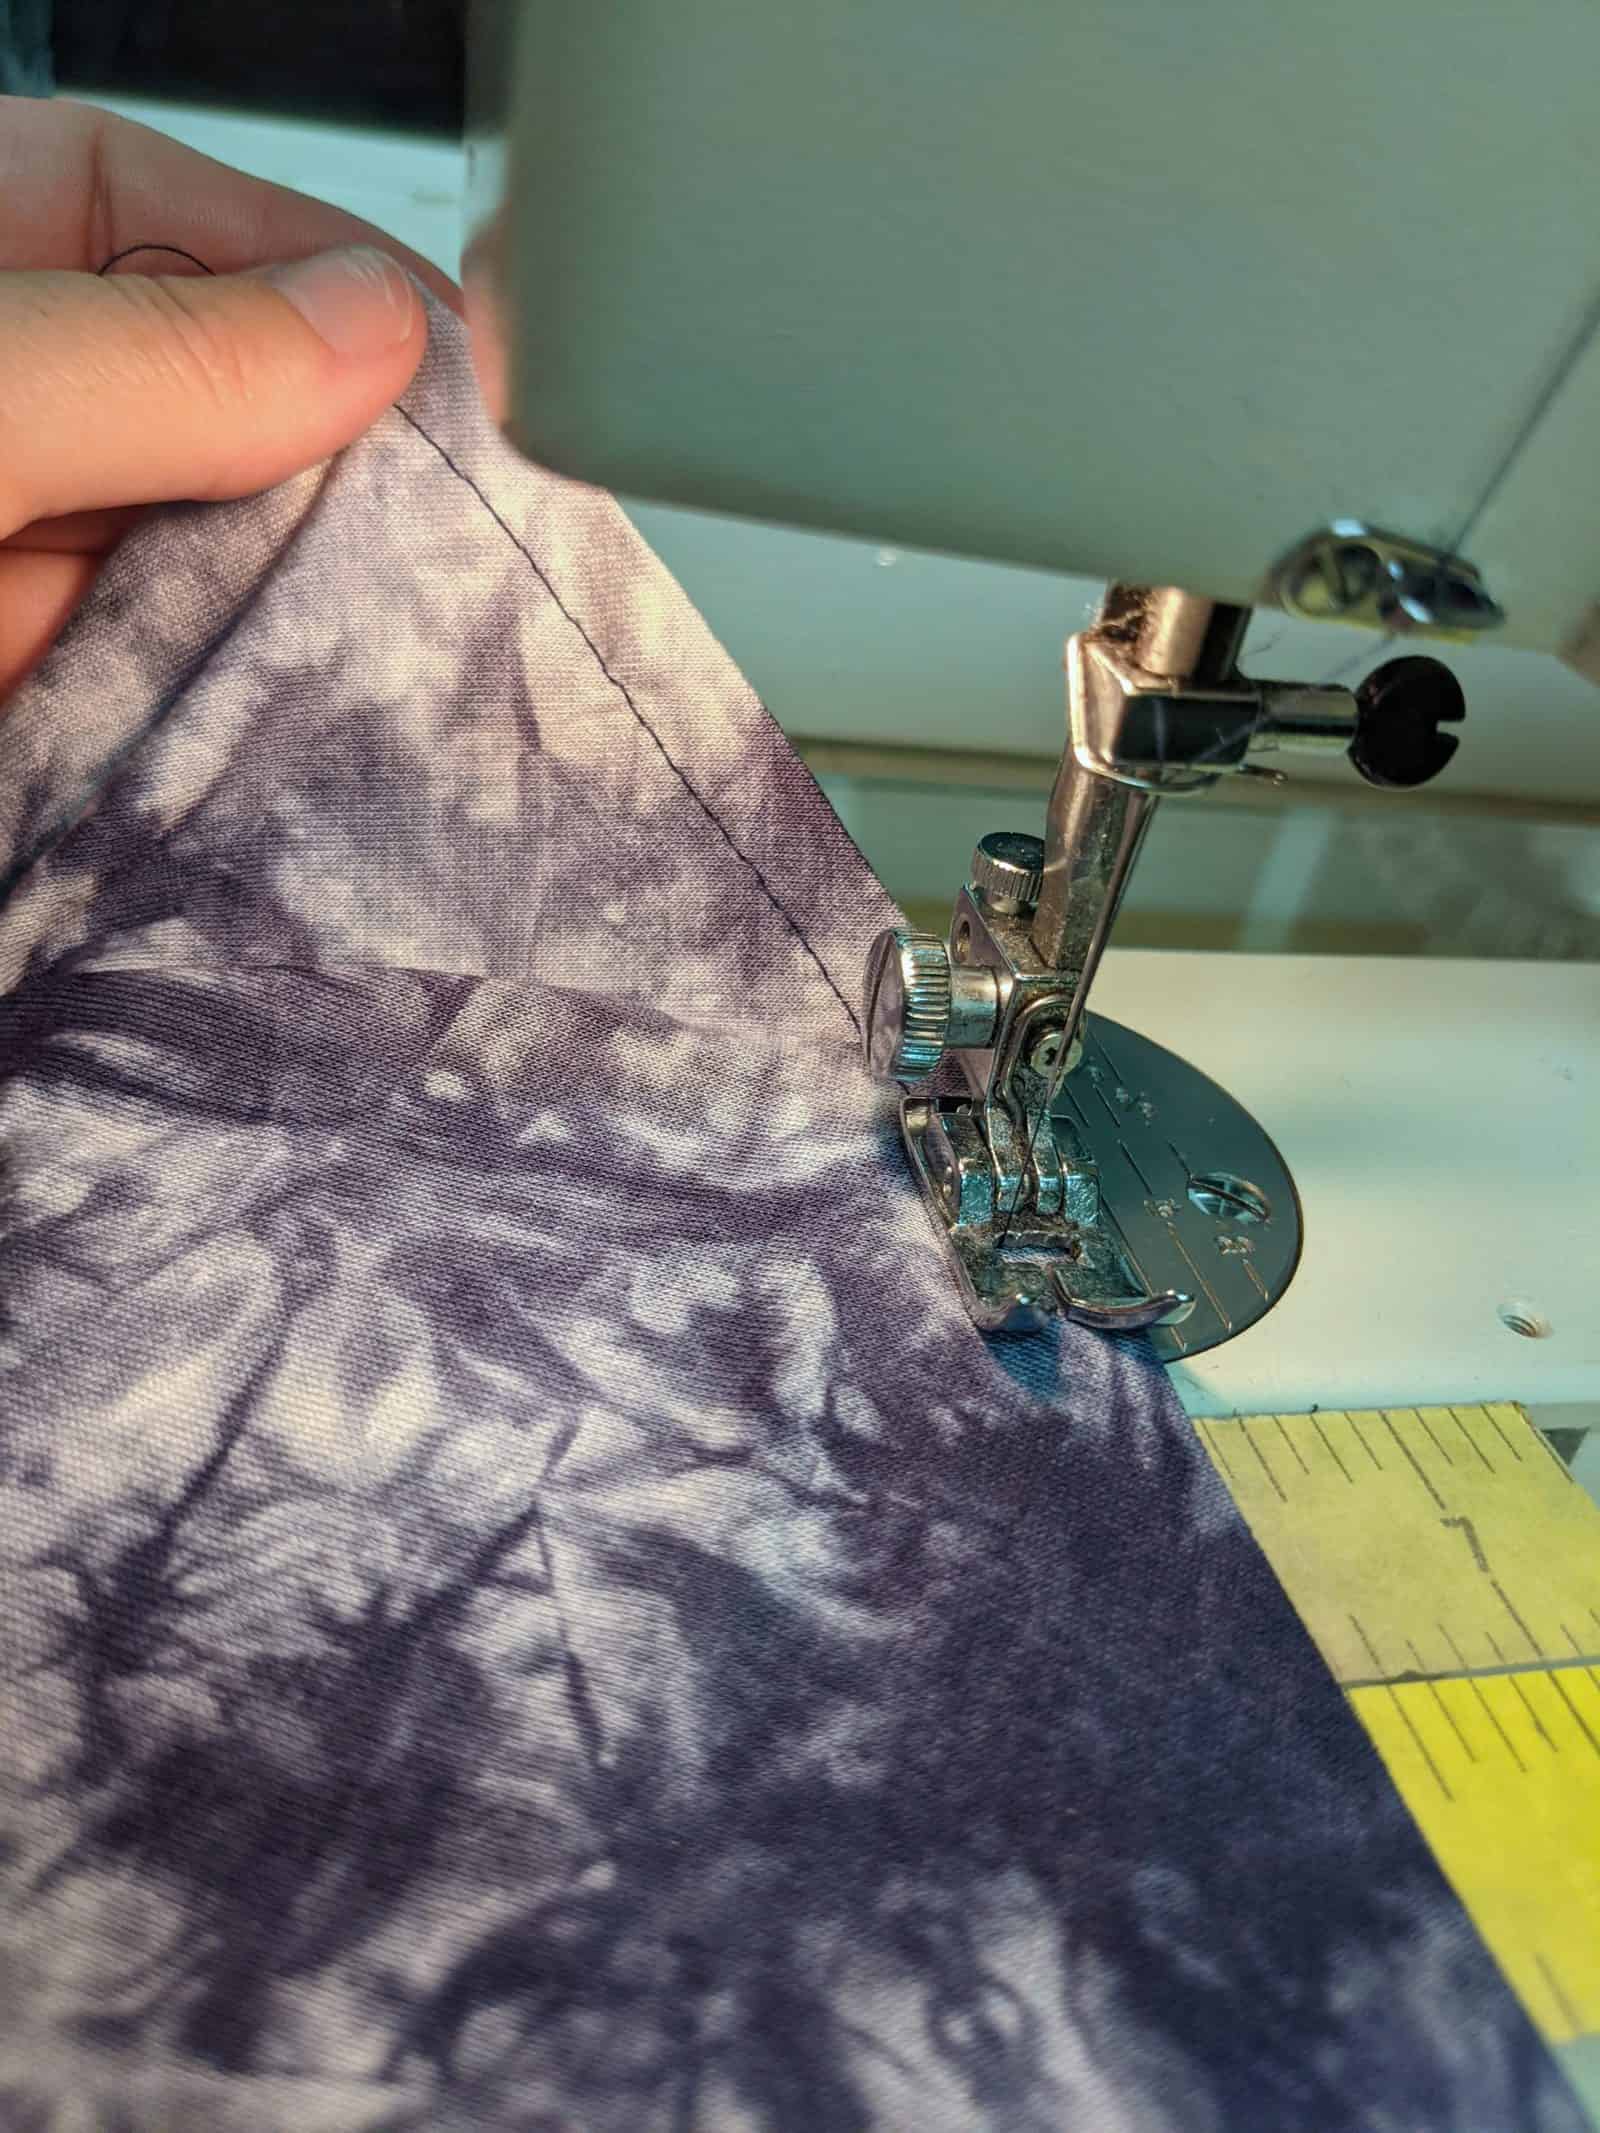
Sew the hem in your preferred method.
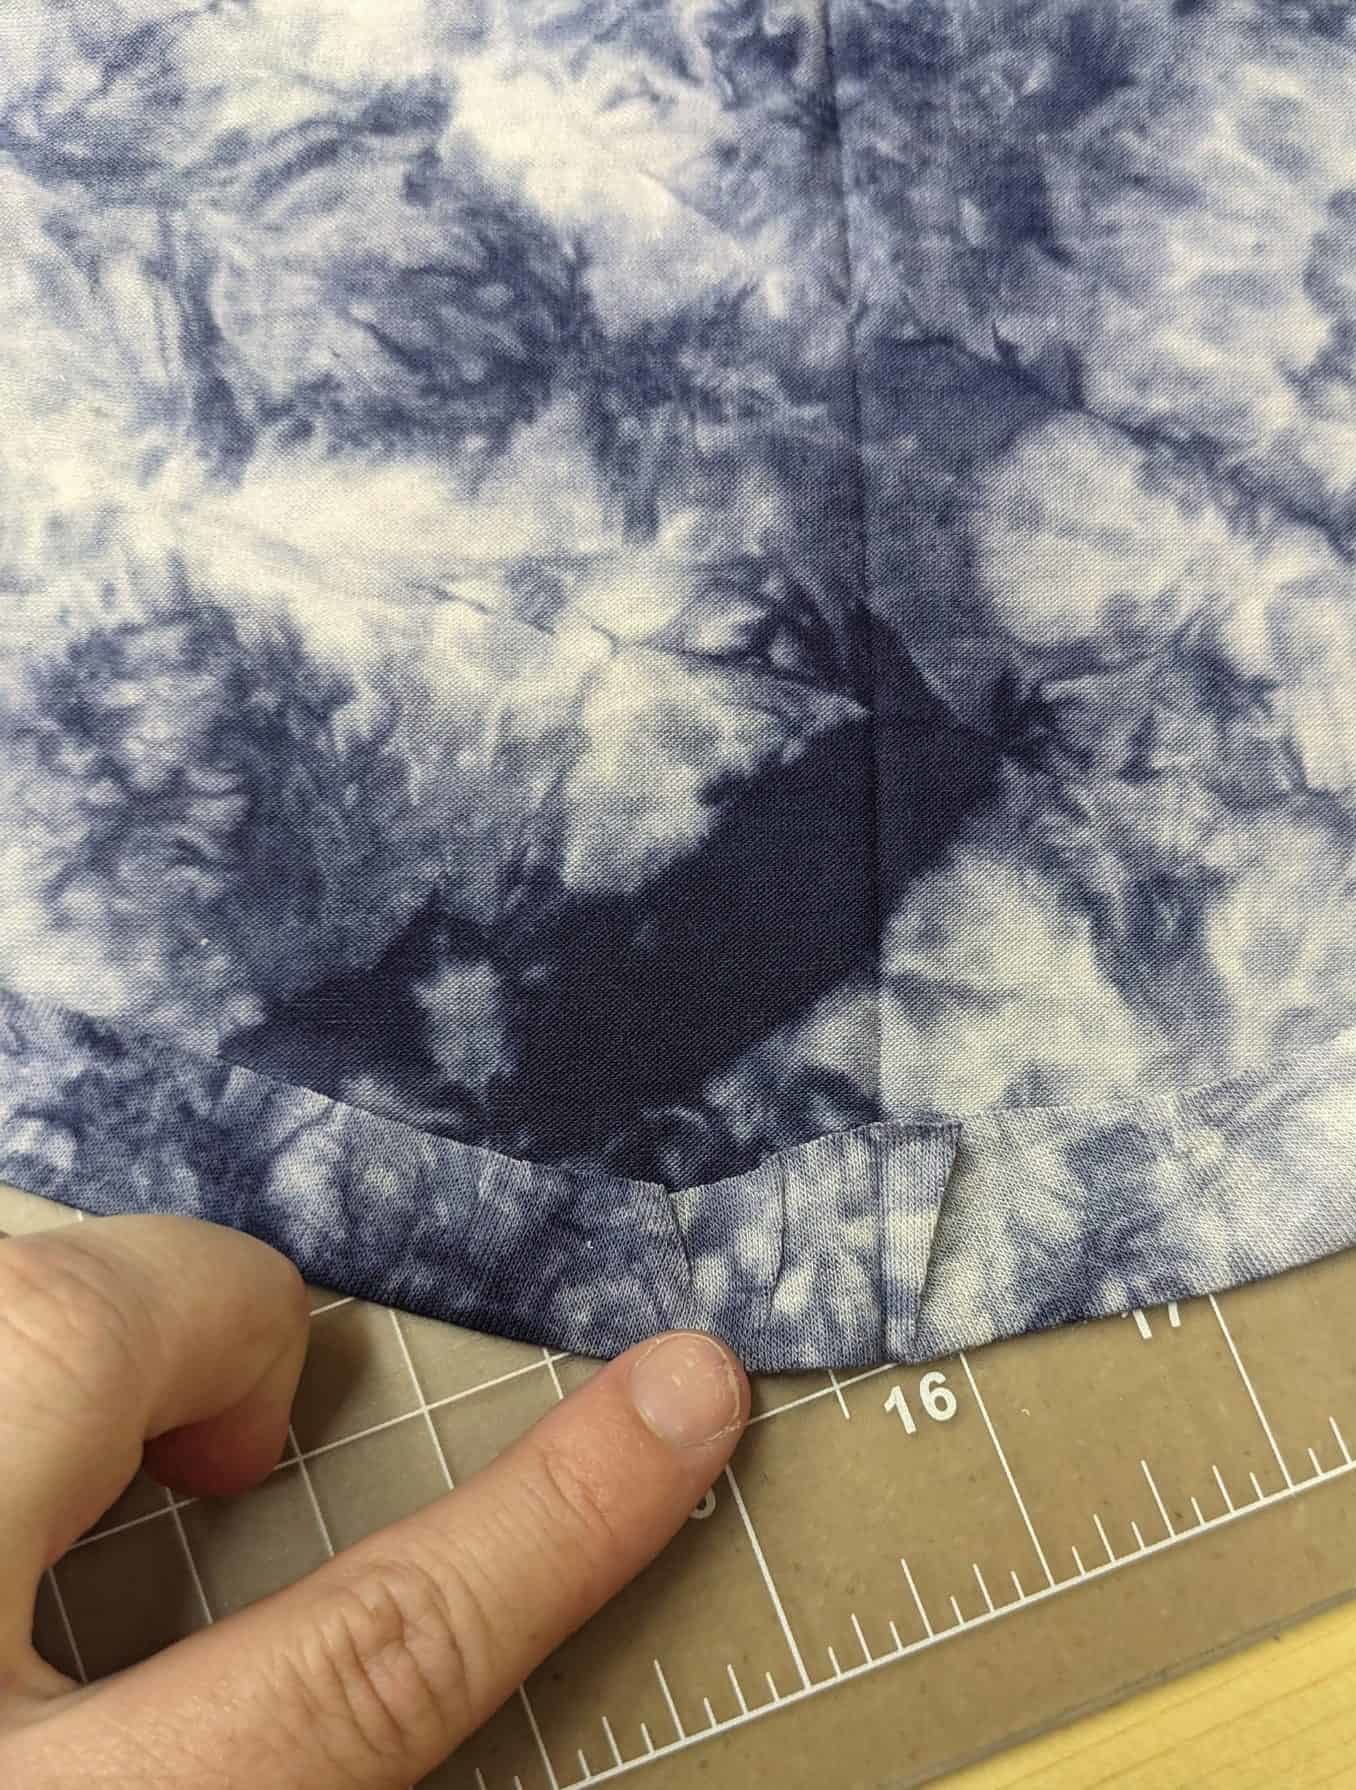
- with a more triangular hem there will be a small fold on the backside when pressed
- sew hem
- press again, the extra fabric will ease in perfectly
Finish side seams and follow the rest of the pattern instructions. Enjoy! – Bekah
Nursing Hack
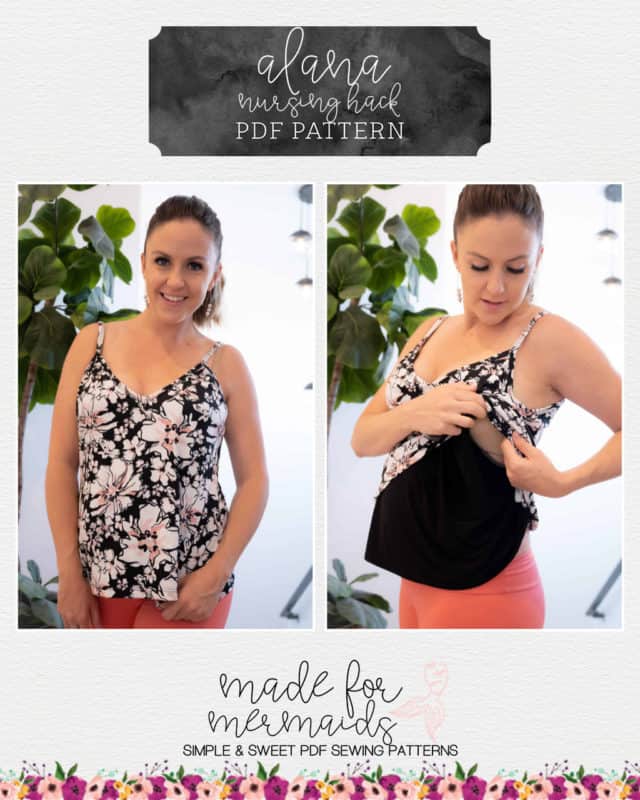
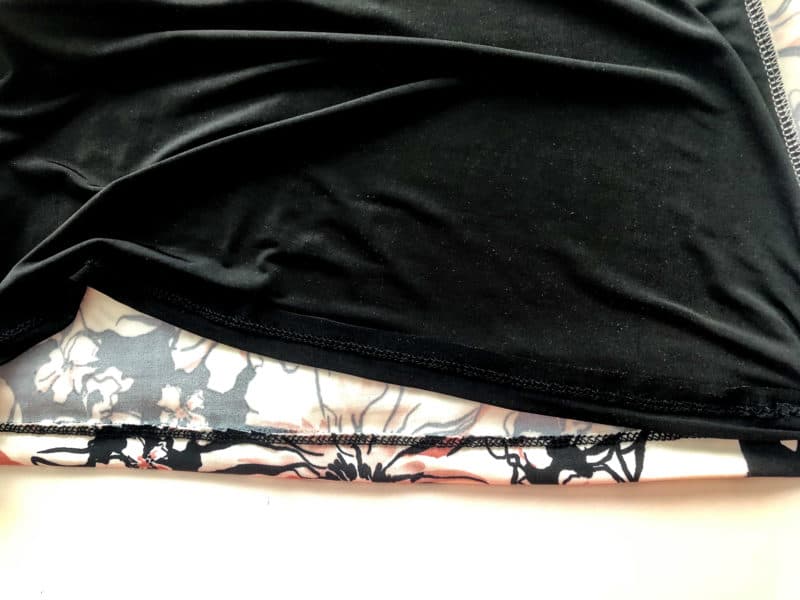
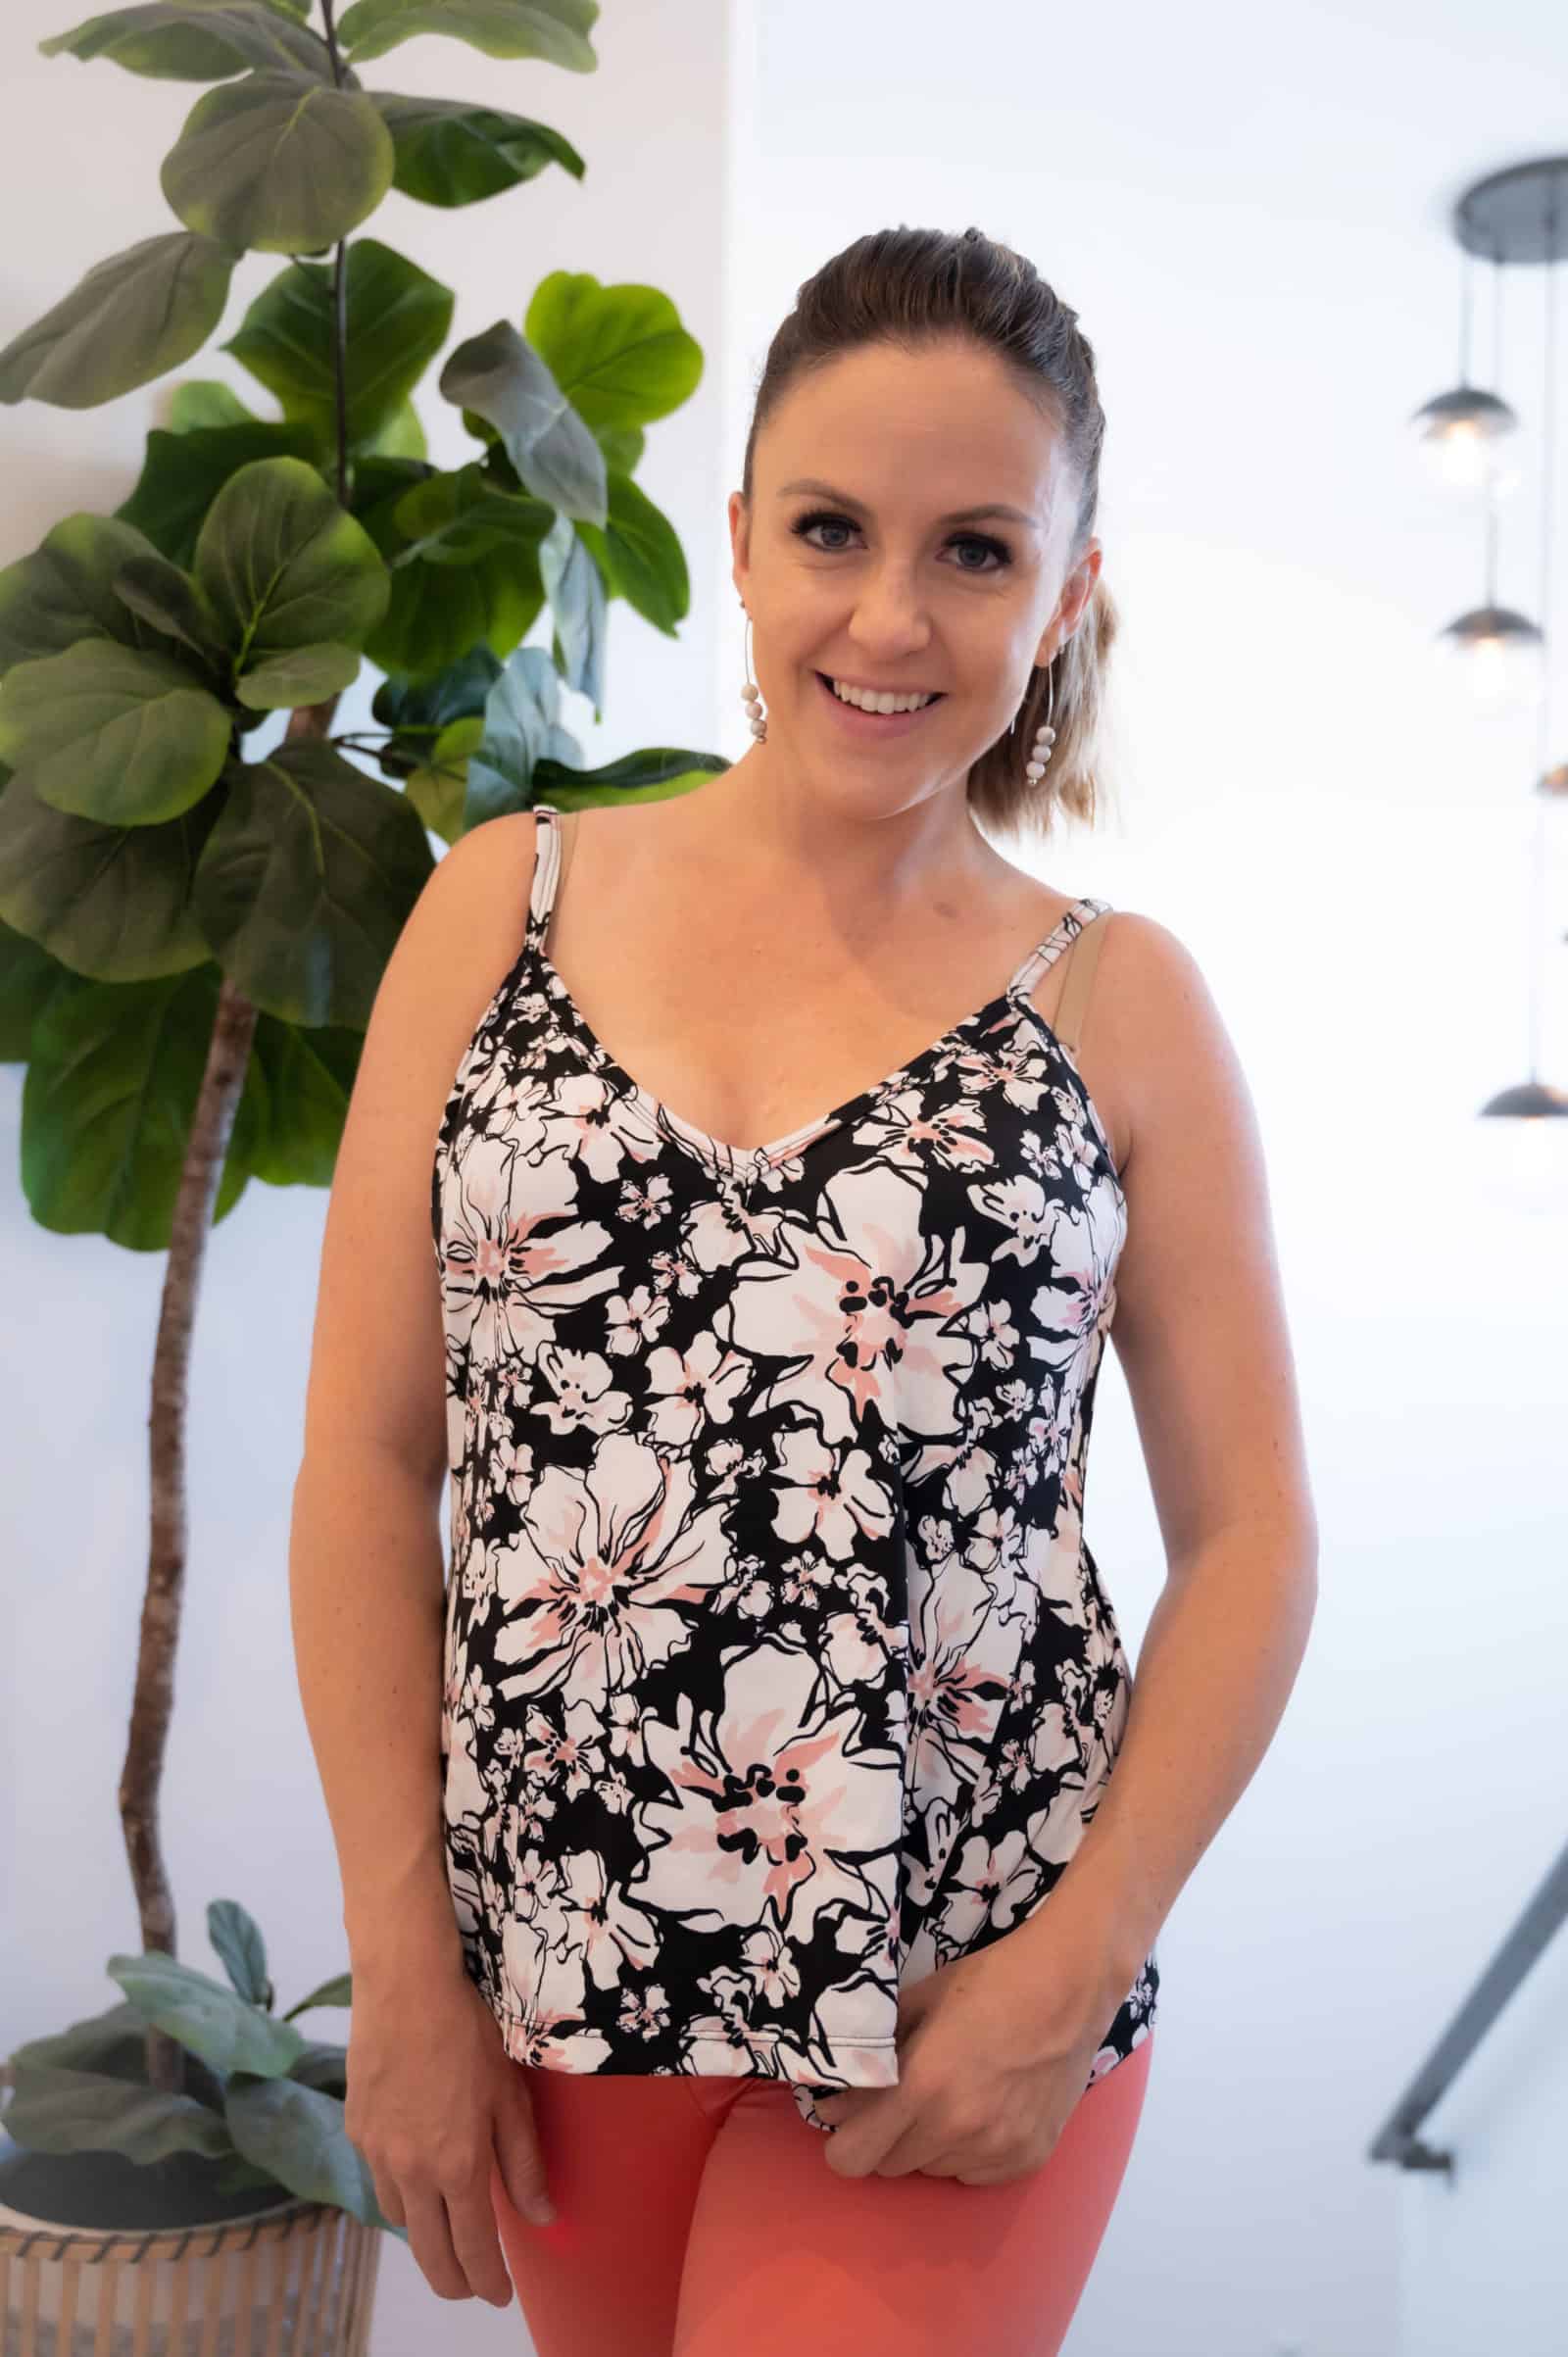
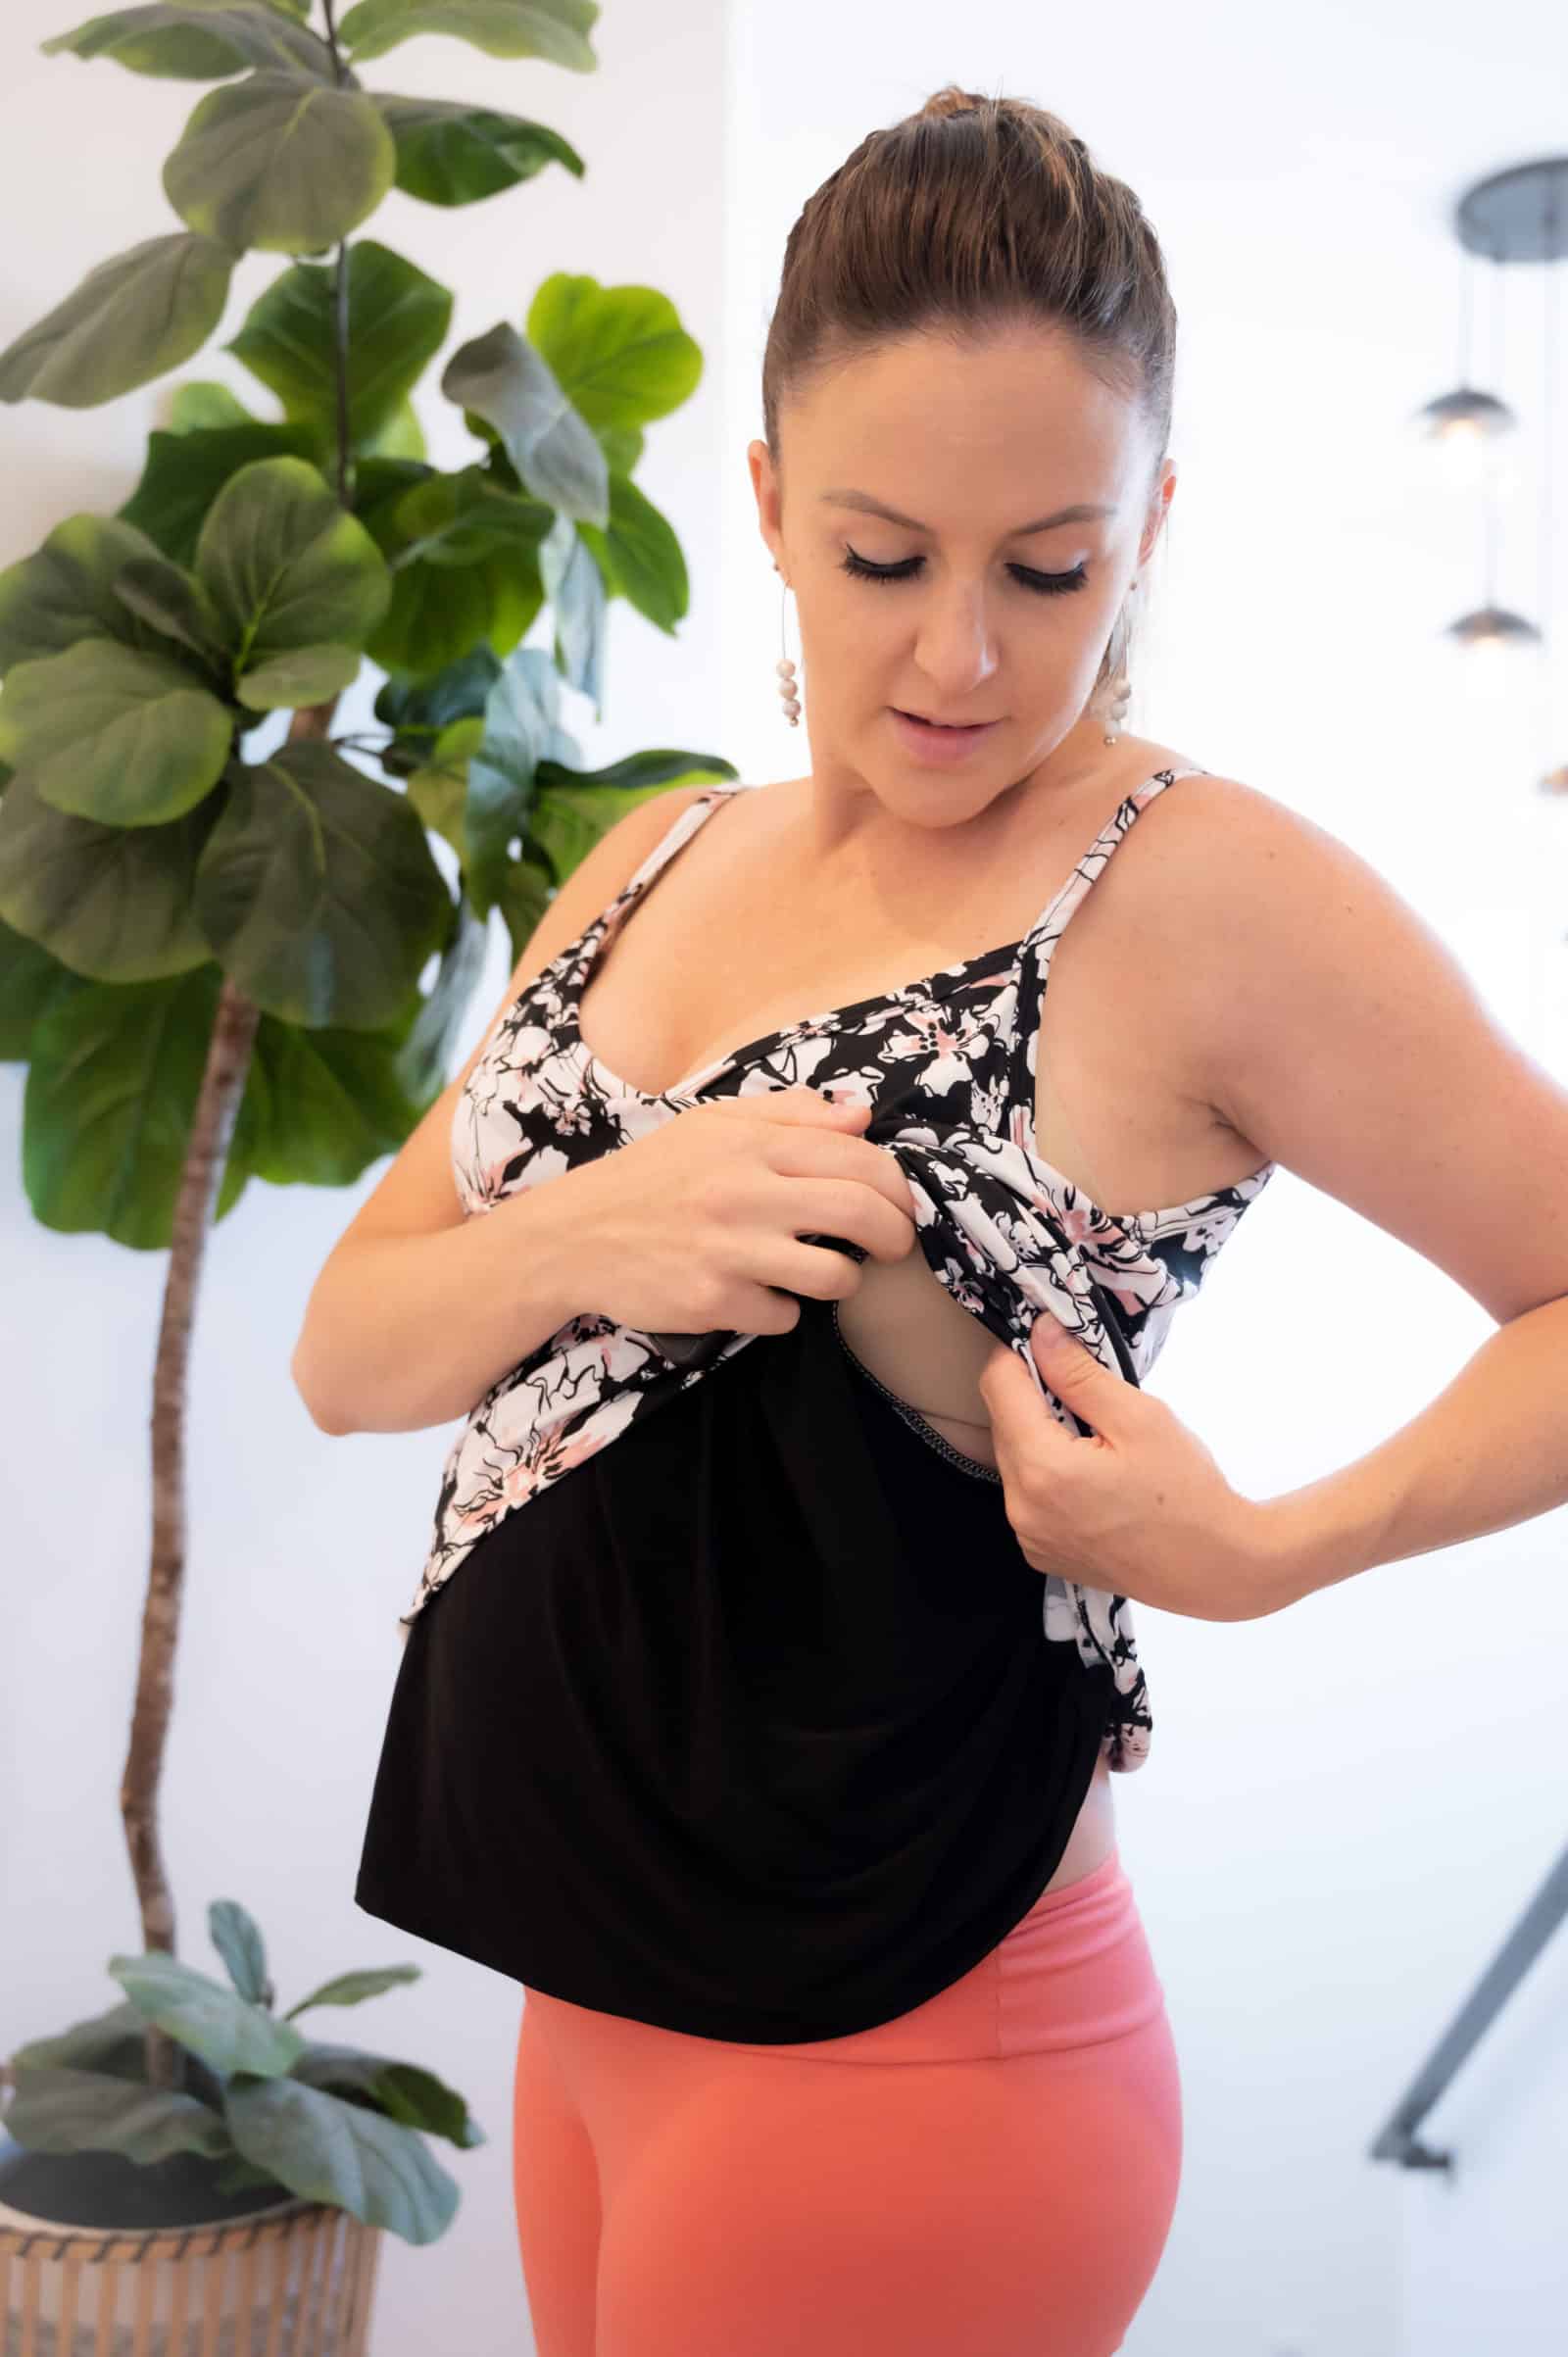
Hey friends! Sonia here with a fun lift-up nursing hack for the Alana tank. This is a simple hack, involving cutting 2 front bodice pieces and altering the layer underneath for nursing access. Let’s get started!
First off, I traced 2 of the front bodice piece, so we can alter one. I marked 1.5″ in from the armscye, though you can adjust this for how much space you’d like to create.
Then, I used a french curve (though you can definitely eyeball this if you don’t have one of these tools!) and curved the nursing opening down to the waist marking on the pattern piece.
Go ahead and cut along the line you just created – this will be your underneath layer! Go ahead and cut all of your pieces out now, which will include your front bodice pieces, back bodice, and binding pieces.
I recommend finishing the cut edge which will be pulled aside for nursing. You can serge this edge and then, if you prefer, fold over and narrow hem it. We’ll baste our two front pieces together along the front neckline and armscye, with your wrong sides together, so the hemmed edge of the underlayer is facing towards the body.
Next, you will HEM the underlayer and then continue to baste the sides. I like to hem the underneath layer a bit shorter than the outer piece will be, to make sure it doesn’t show.
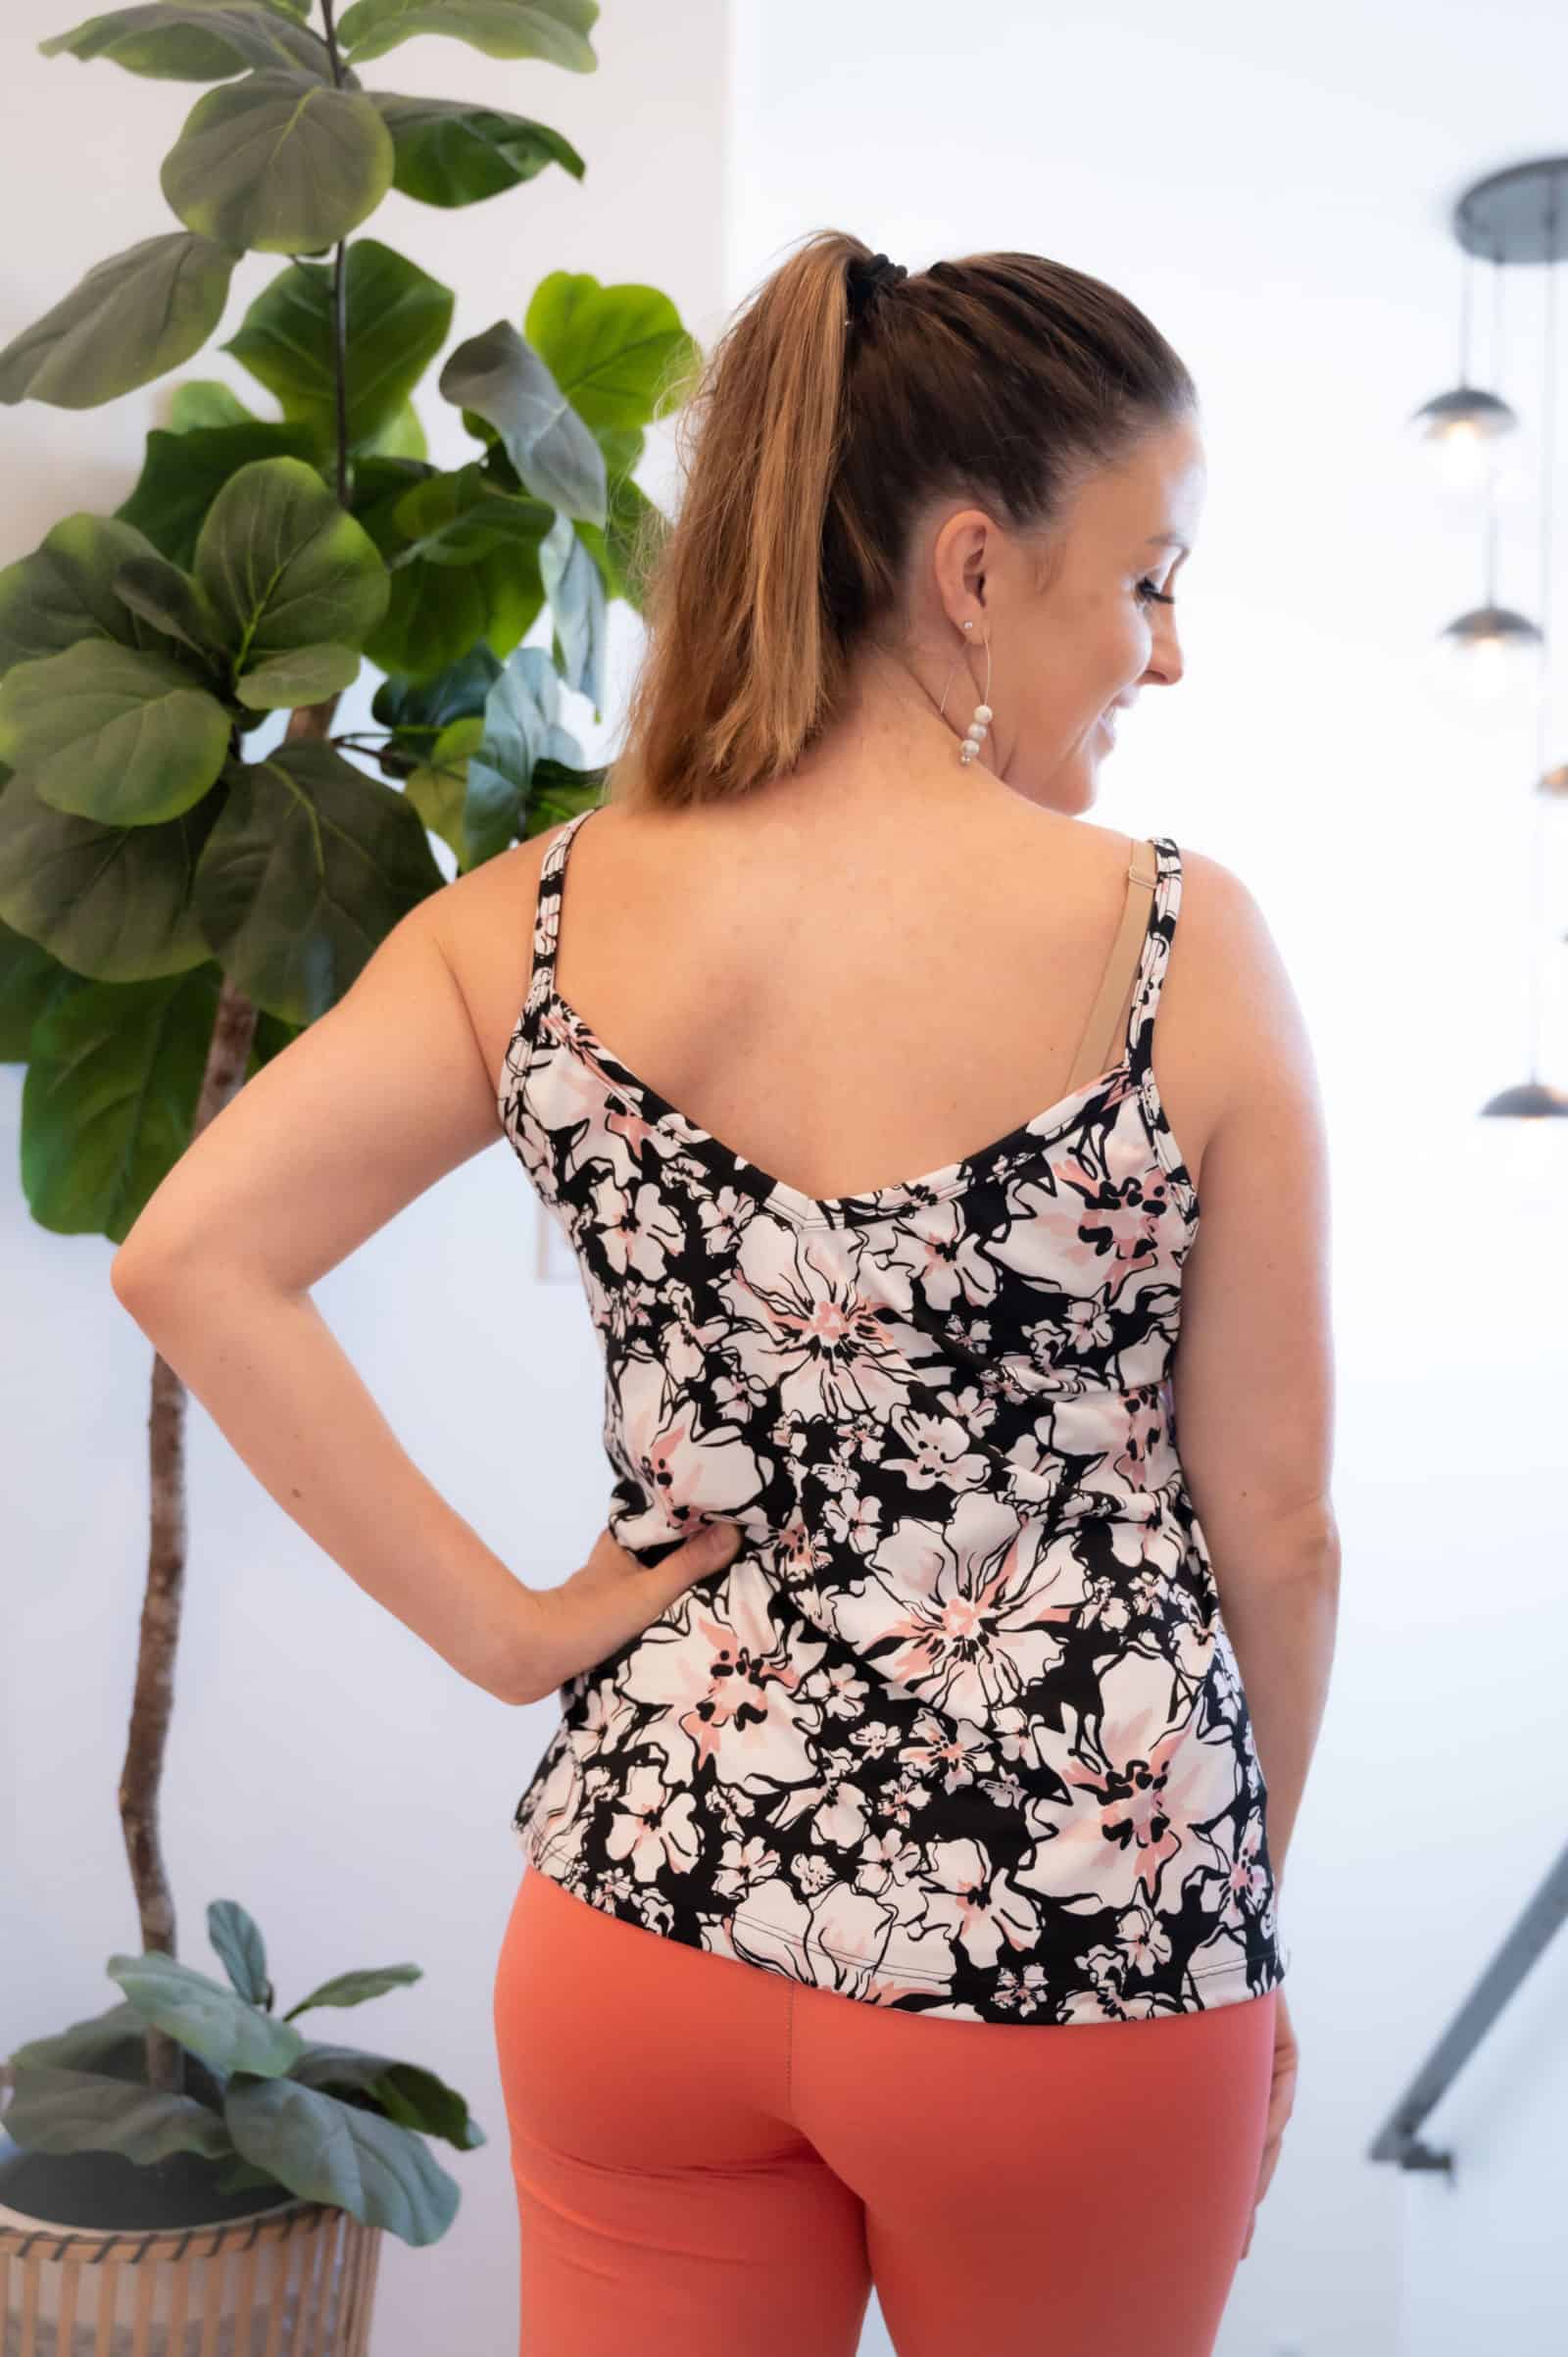
After this, go ahead and use the two front layers as one, and assemble the rest of the tank per the instructions! The great thing (or one of many, I should say!) about this pattern is the nice swing style of it leaves lots of room, so its great for both maternity and nursing 😀 Hope you enjoy this hack! – Sonia
Trim Hack
I don’t know if you can tell, but we are LOVING Alana in my house! I think I made…. five?? Six? So far? It’s the perfect summer staple top and dress!
But as much as I love it, sometimes we like to SPICE THINGS UP! Here are a few ideas to bling out your Alana!
RUFFLE FRONT HACK
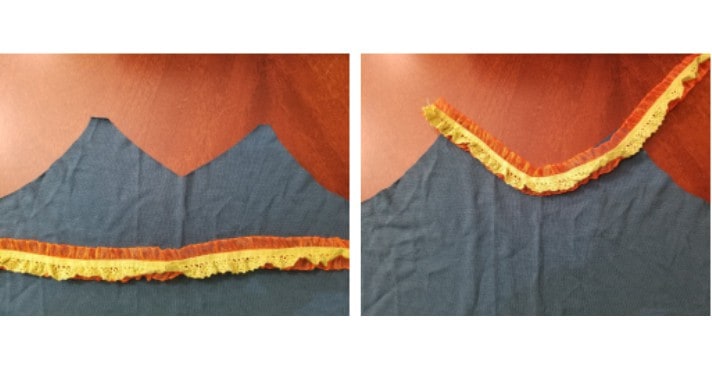
My daughter here is 4 and STRONGLY OPINIONATED when it comes to her clothes! Originally I was going to add a ruffle for this hack (if you want to, just cut a piece of fabric 1.5x the length of the front bodice by however tall you want it, and gather to the length here. Now follow along!) But I was digging around my trim drawer, and she found some neon trim that she just *had* to have! So this hack is a simple blinging of the front binding, but you could certainly use this on the back as well!
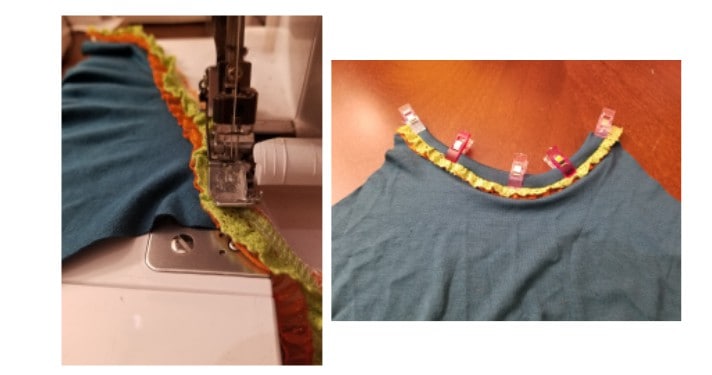
Grab your ruffle/ruffly elastic/trim/whatever and lay it out with your bodice. Position on your bodice, pin/clip in place. Now, I HIGHLY suggest basting this on before adding your binding, but I get it if you want to give it a go in one fell swoop!
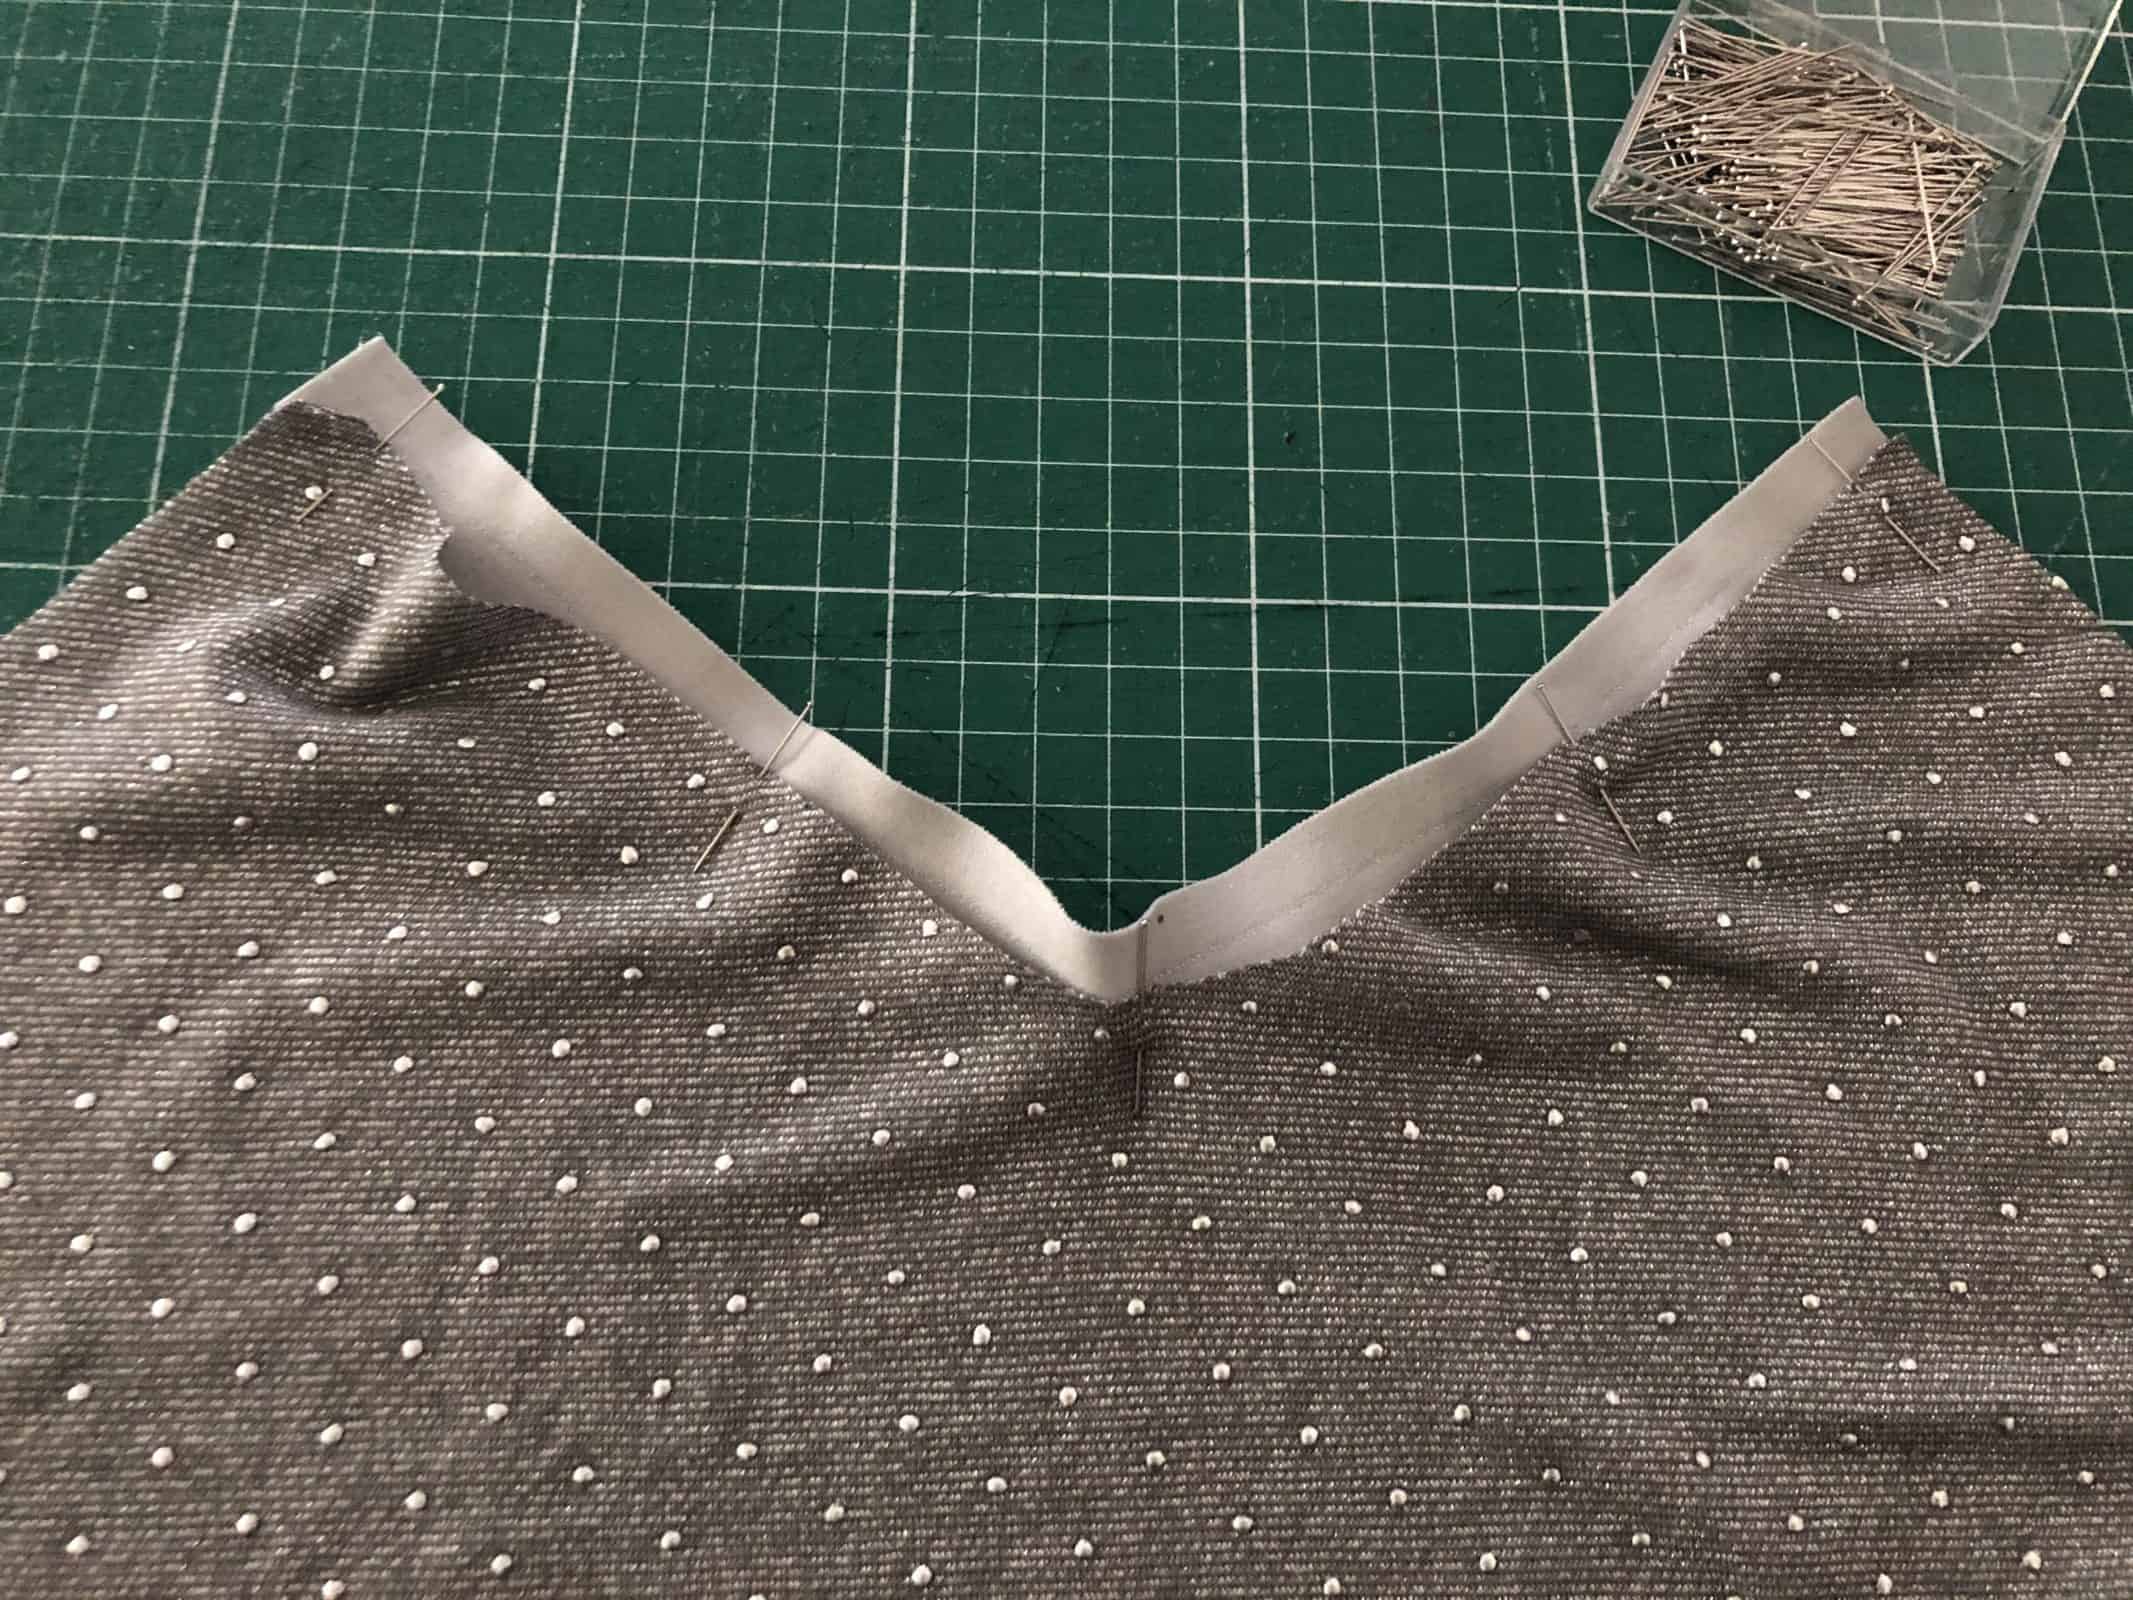
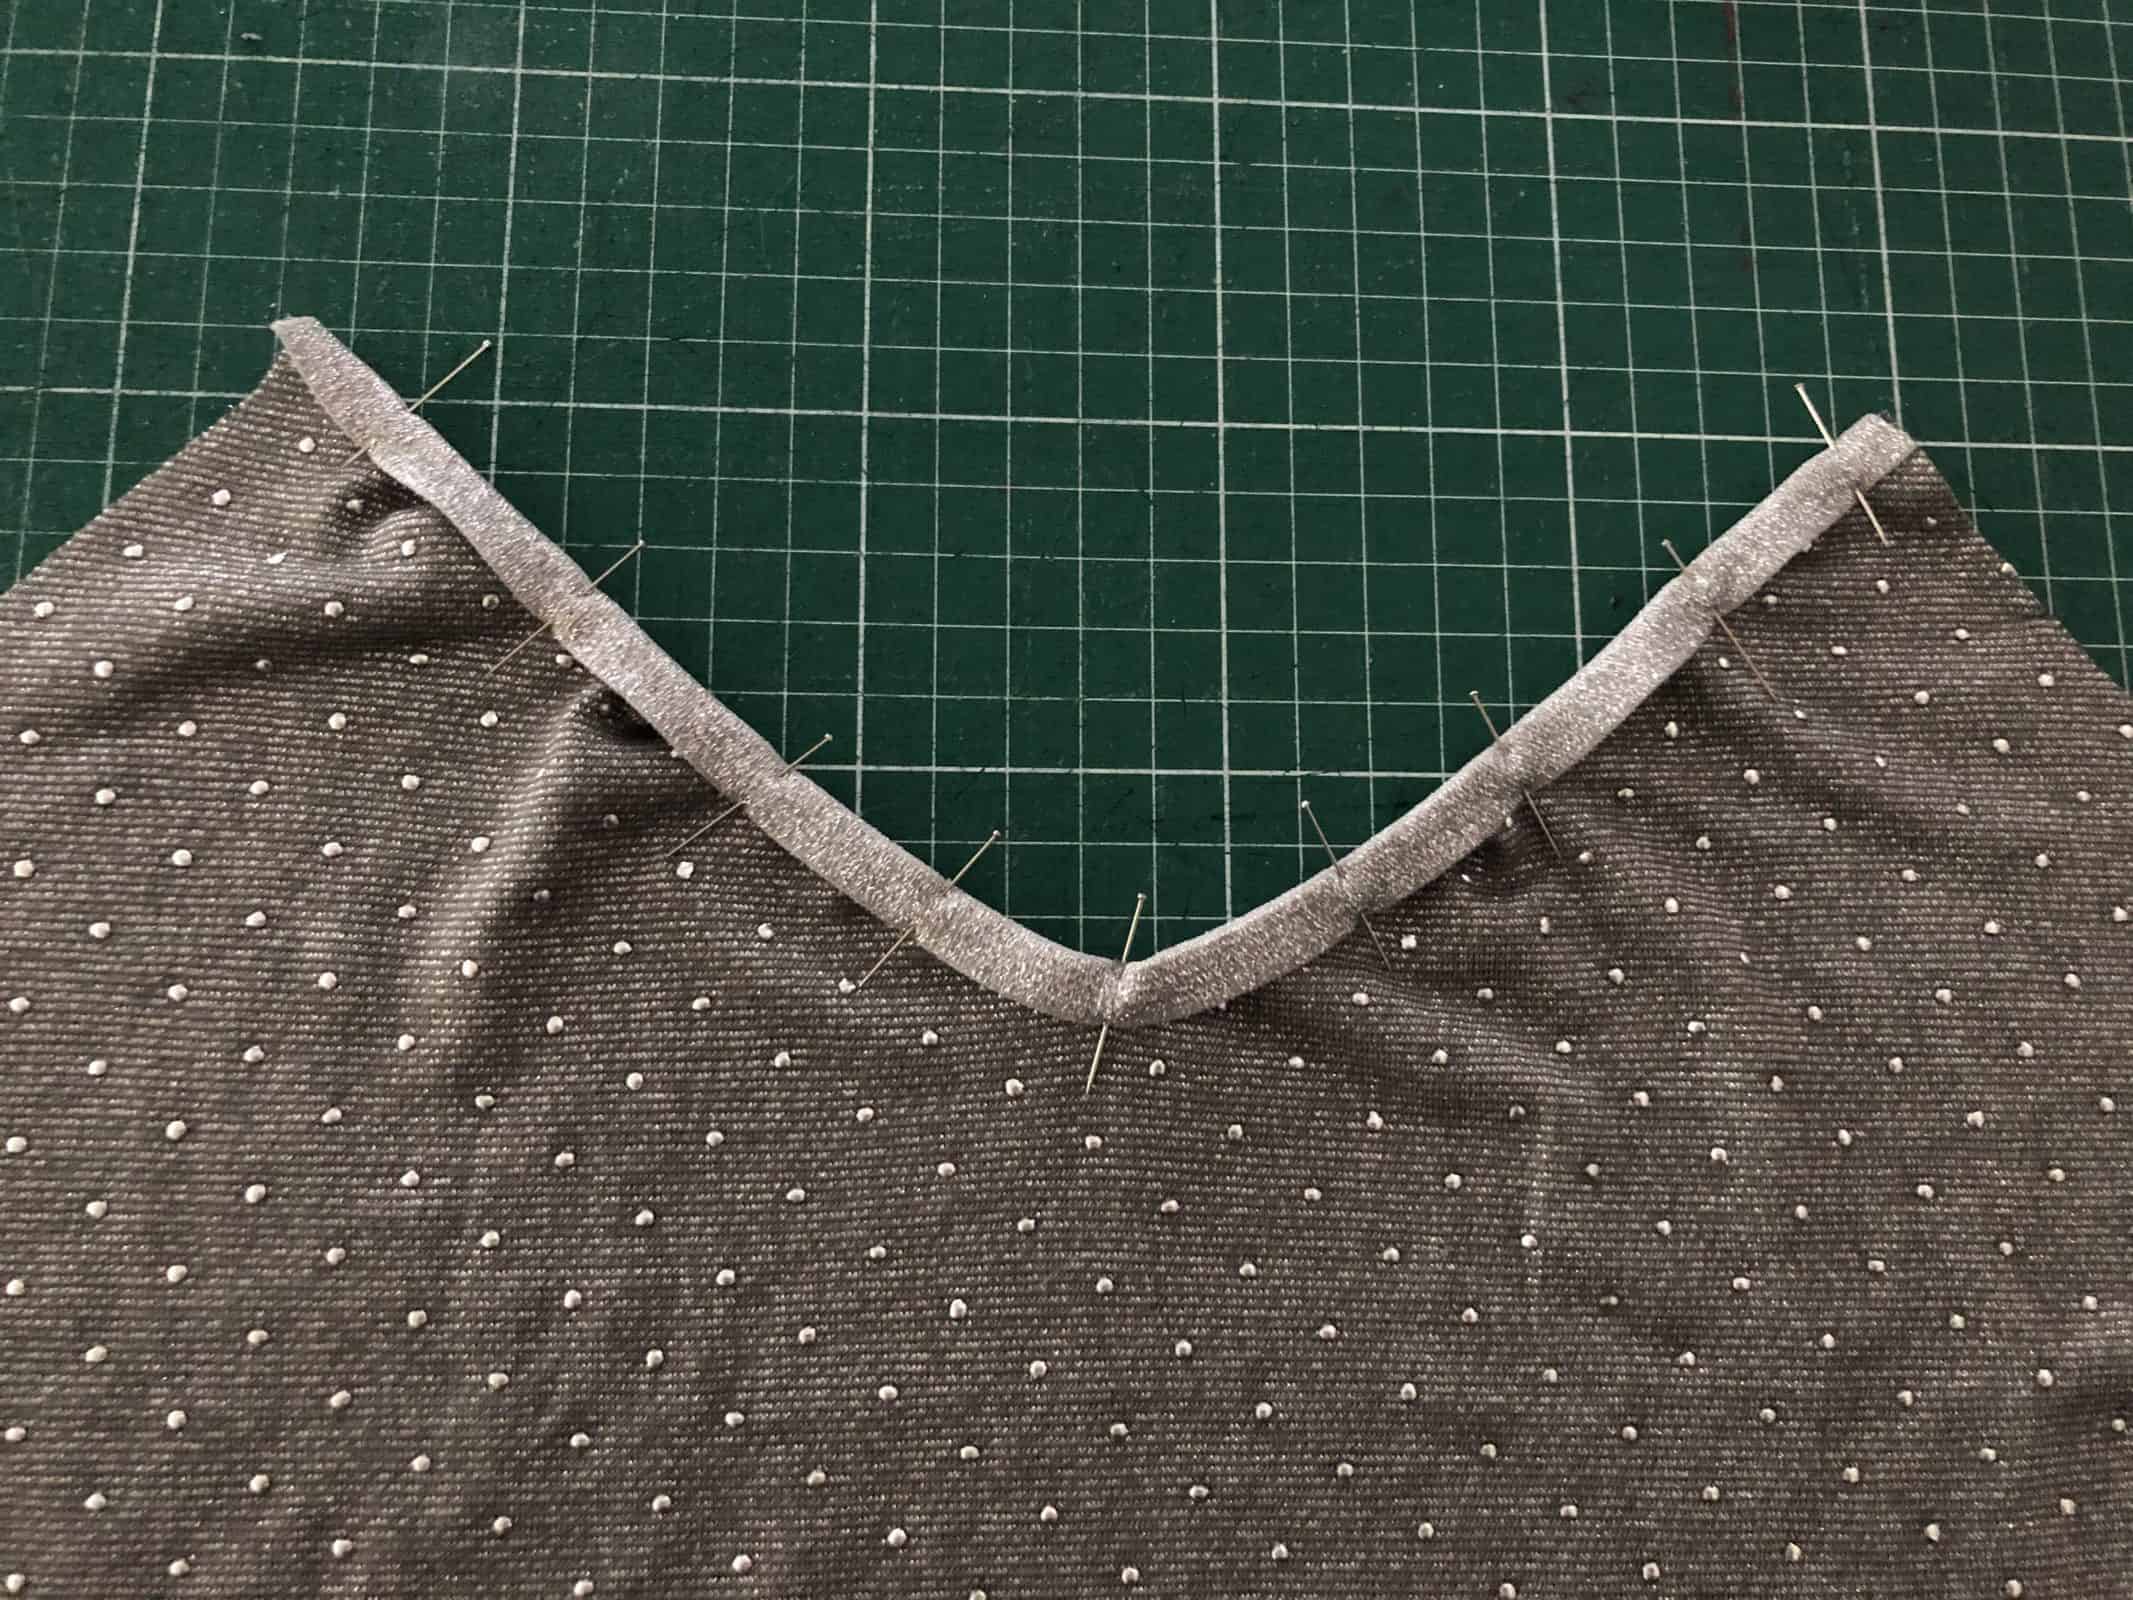
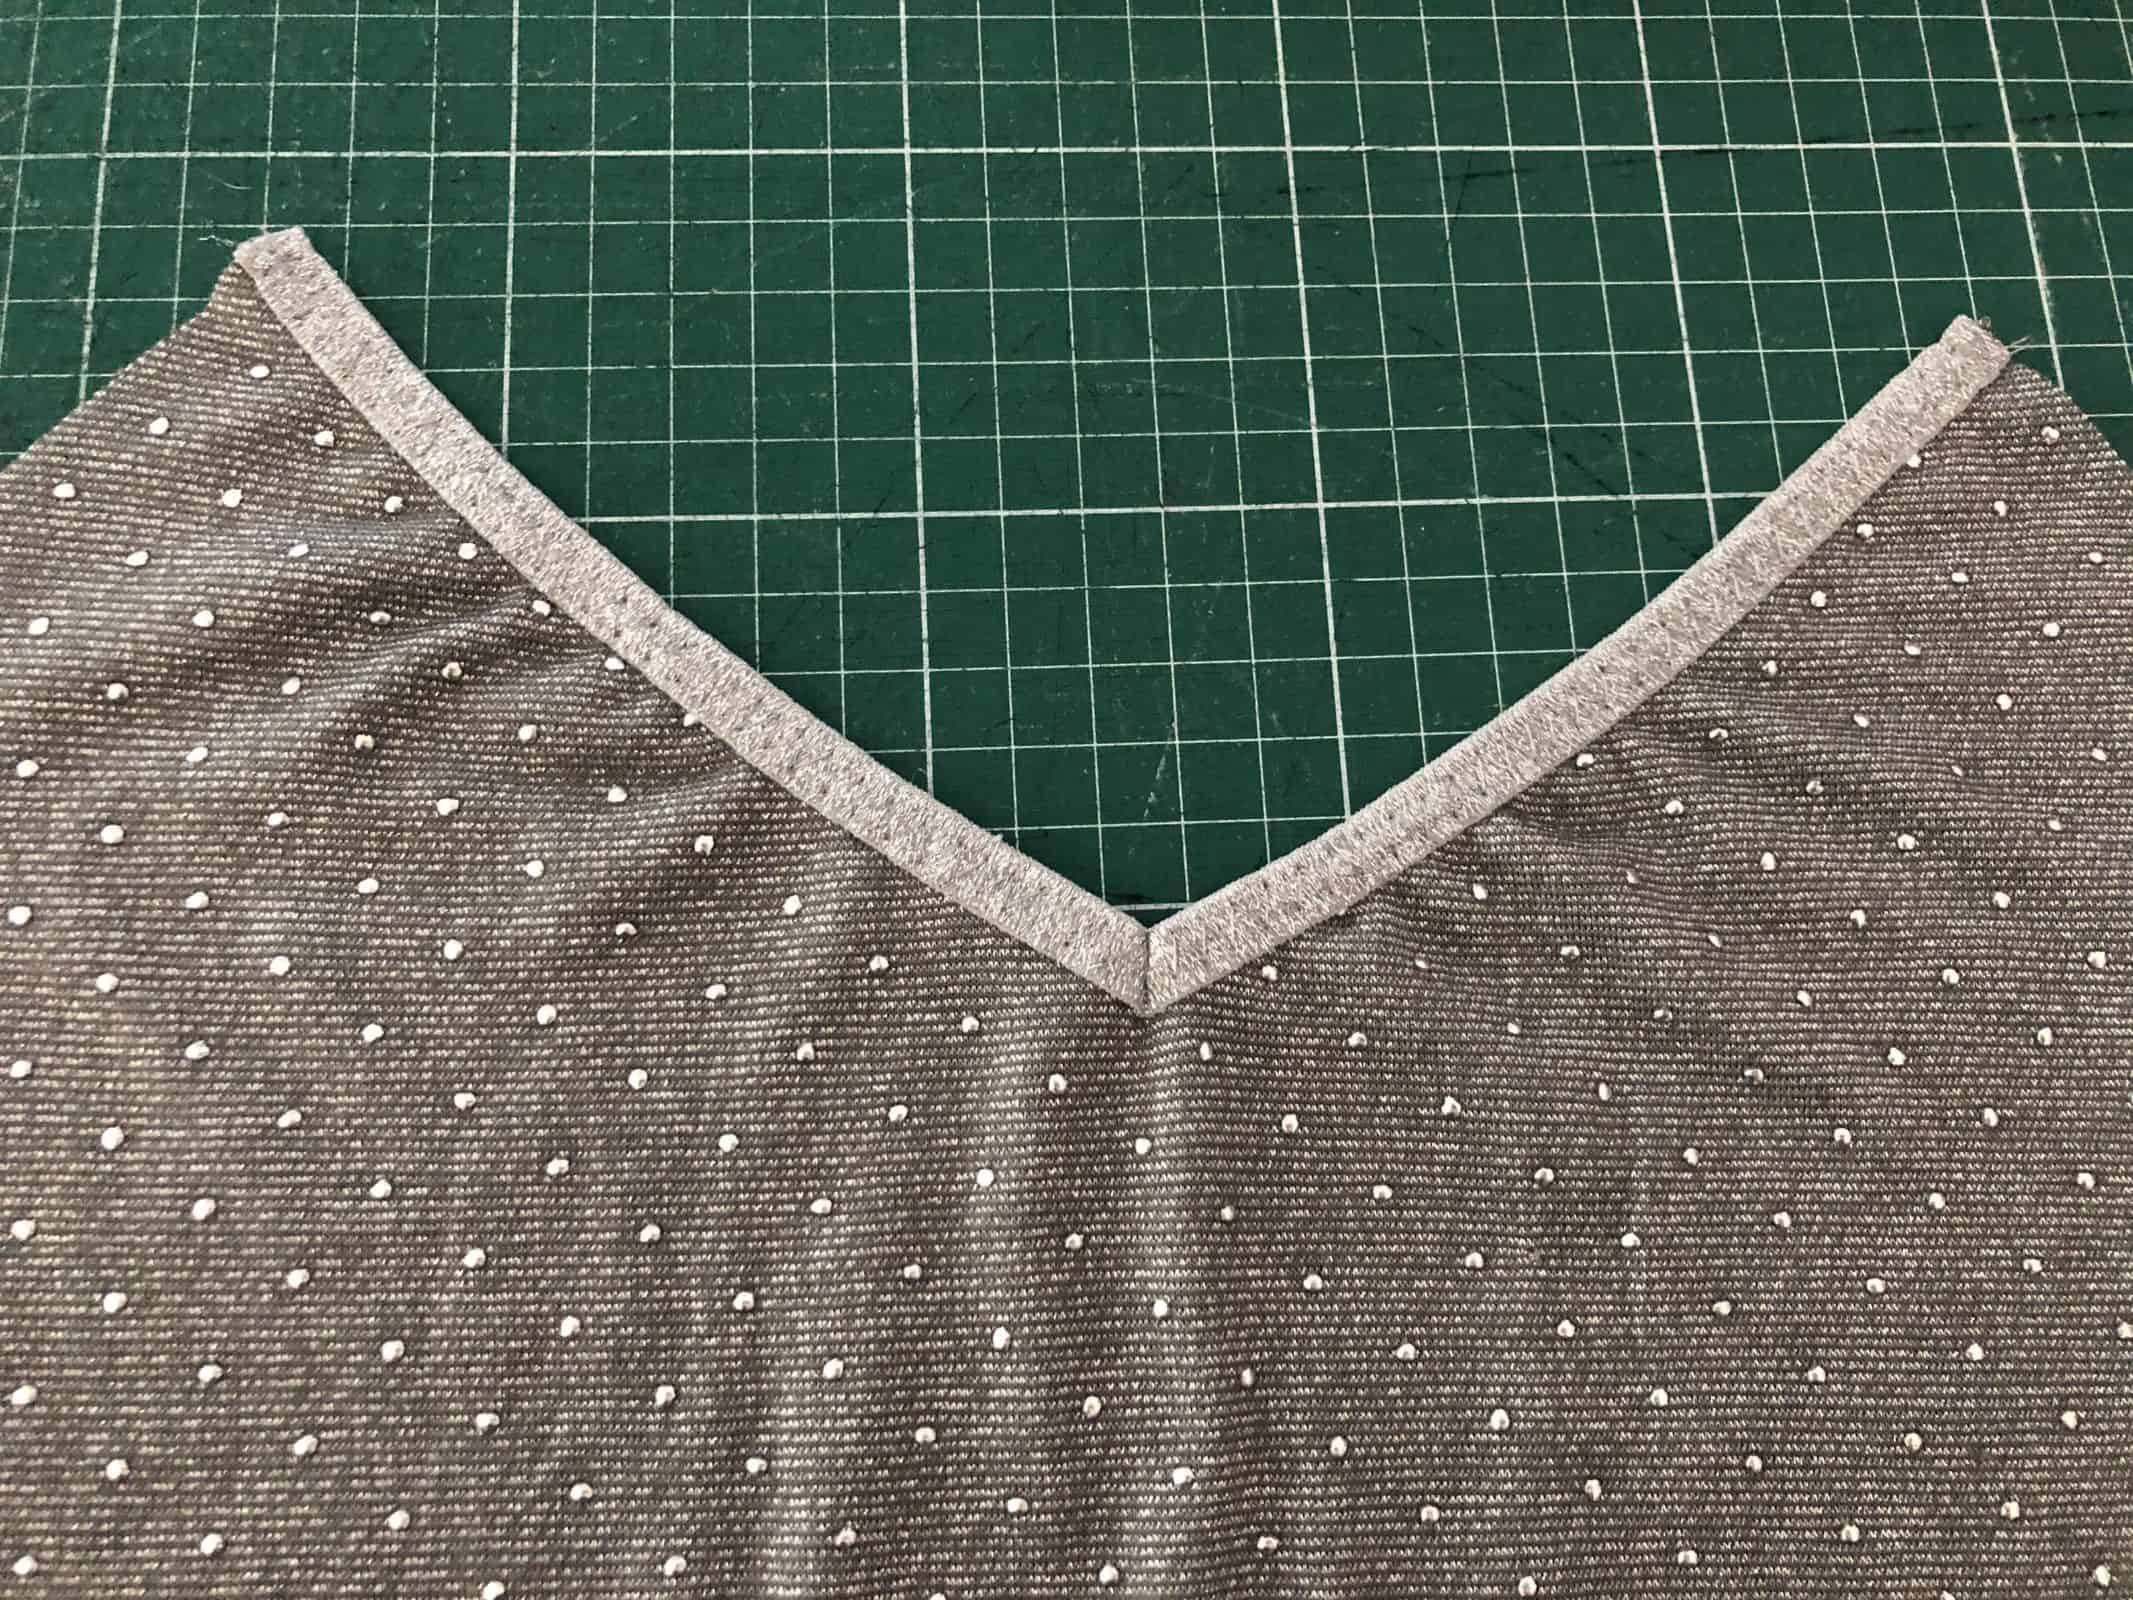
Once your trim is positioned/basted on, you can attach your binding as you normally would, being careful to catch your ruffle/trim but NOT letting it get bunched up underneath! Topstitch carefully according to the instructions, and boom! Finish sewing your Alana as normal, and give it a [careful] press. Done! So simple, so cute!
APPLIQUE/LACE & LACE UP HACK
Oooo, we ’bout to get FAHNCY! While the ruffle/trim hack is done before the binding, these hacks can be done in place of OR after the binding.
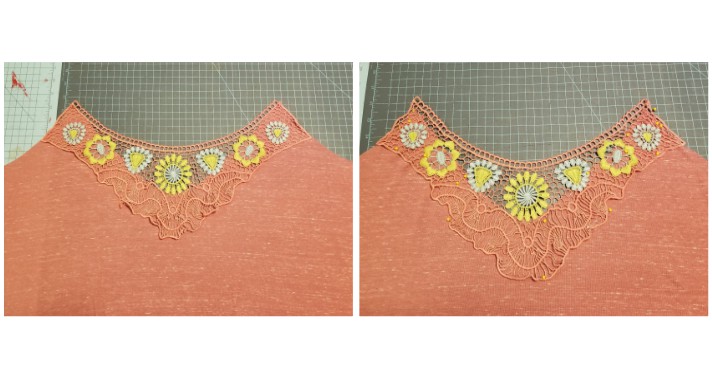
For my pink top, I chose this crocheted applique for my back bodice. The colors were fun and I’ve been wanting to sew it up for a while!
It took some finagling to get it positioned juuuuuuust right over my bodice , so once I did, I pinned ALL THE THINGS to make sure that sucker didn’t move!
Now, there’s a couple of ways you can attach this. The INTERNETS says that hand sewing is the best way to attach a lace-y/crochet applique. It’s probably true. But who’s got time for that! If you do, have at it, I’m sure it’ll come out GORGEOUS! Just a simple blanket stitch, fairly close together around the the whole perimeter should do it.
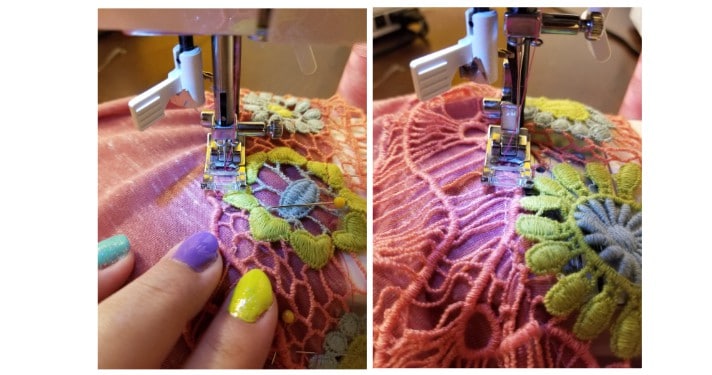
Buuuuut I don’t have all these sewing machines so I can hand applique, as lovely as that sounds. So I basted it on with a looooong straight stitch. I went around the top, where it first overlaps the bodice, and I went around the bottom as well. After I did that and all my pins were out, I went back over it with a wide zig zag stitch to secure it, and it worked pretty well. If you look closely, yes, you can see where the thread doesn’t always match. I’m sure you’ll be much neater than me when you sew, too! (Especially if you and your sewing machine get along well!)
Despite not being perfect, I do love how it came out! After the applique was on, I just trimmed off any overhang around the armsyce and added my strap binding right over it, so it’s all enclosed nicely. Love it!
This last hack is pretty much the same idea as the applique hack, only this time, we’re applique-ing grommet ribbon! I found this in my stash and thought it would be super cool to add to the bottom of the low scoop back Alana!
Unfortunately, it was a last minute idea, so I didn’t get step pics, but they’re almost identical to the lace applique above. Position, pin, baste, zig zag. Since I added this after, it was over the binding, but you don’t HAVE to do binding first. When I got up to where the ties for the scoop go, I topstitched the ribbon to it and that finished it nicely. Then just lace up with whatever ties you’ve got! This picot was a great match for my fabric, so that’s what I used! Just try to do a better job than I did of getting it centered when you start, or it might make your dress pull in weird ways. Ha!
How will YOU bling your Alana?! We can’t wait to see what you come up with!
‘Til Next Time!
~jess
Cross Back Strap Hack
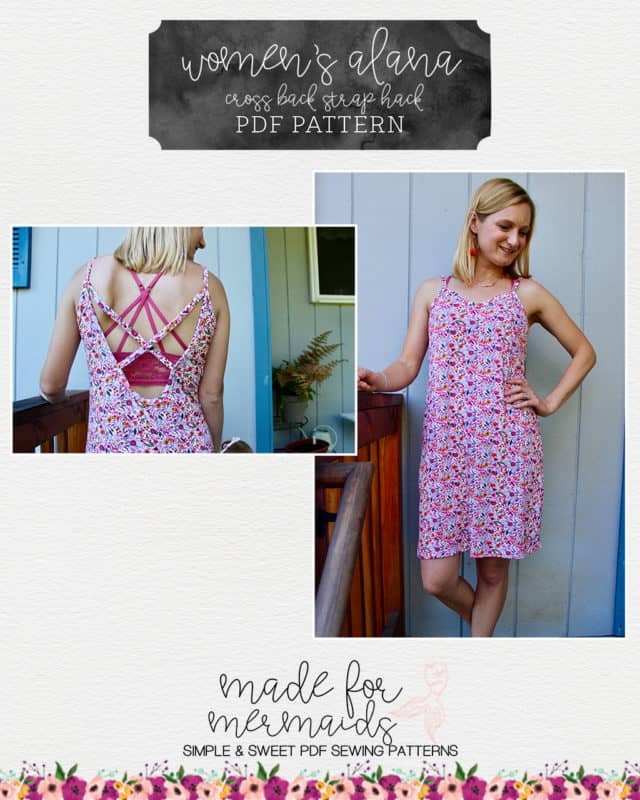
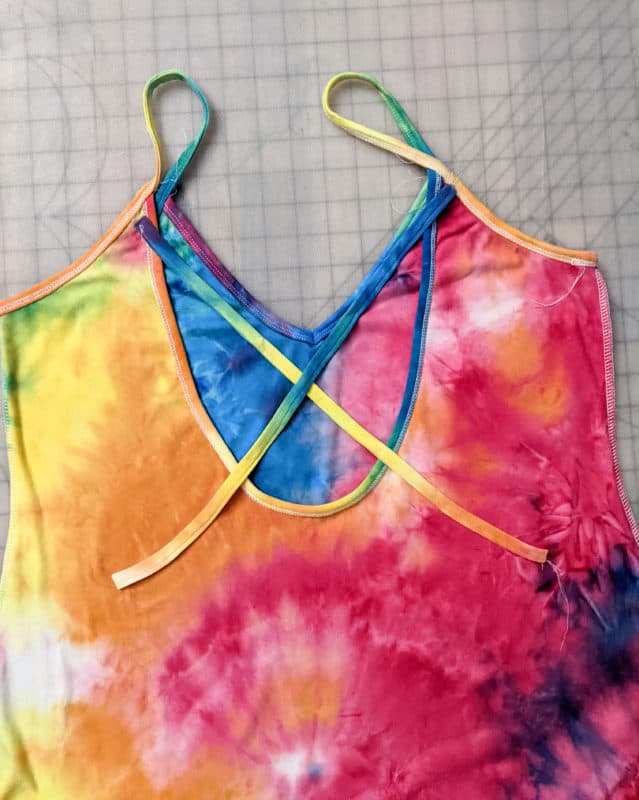
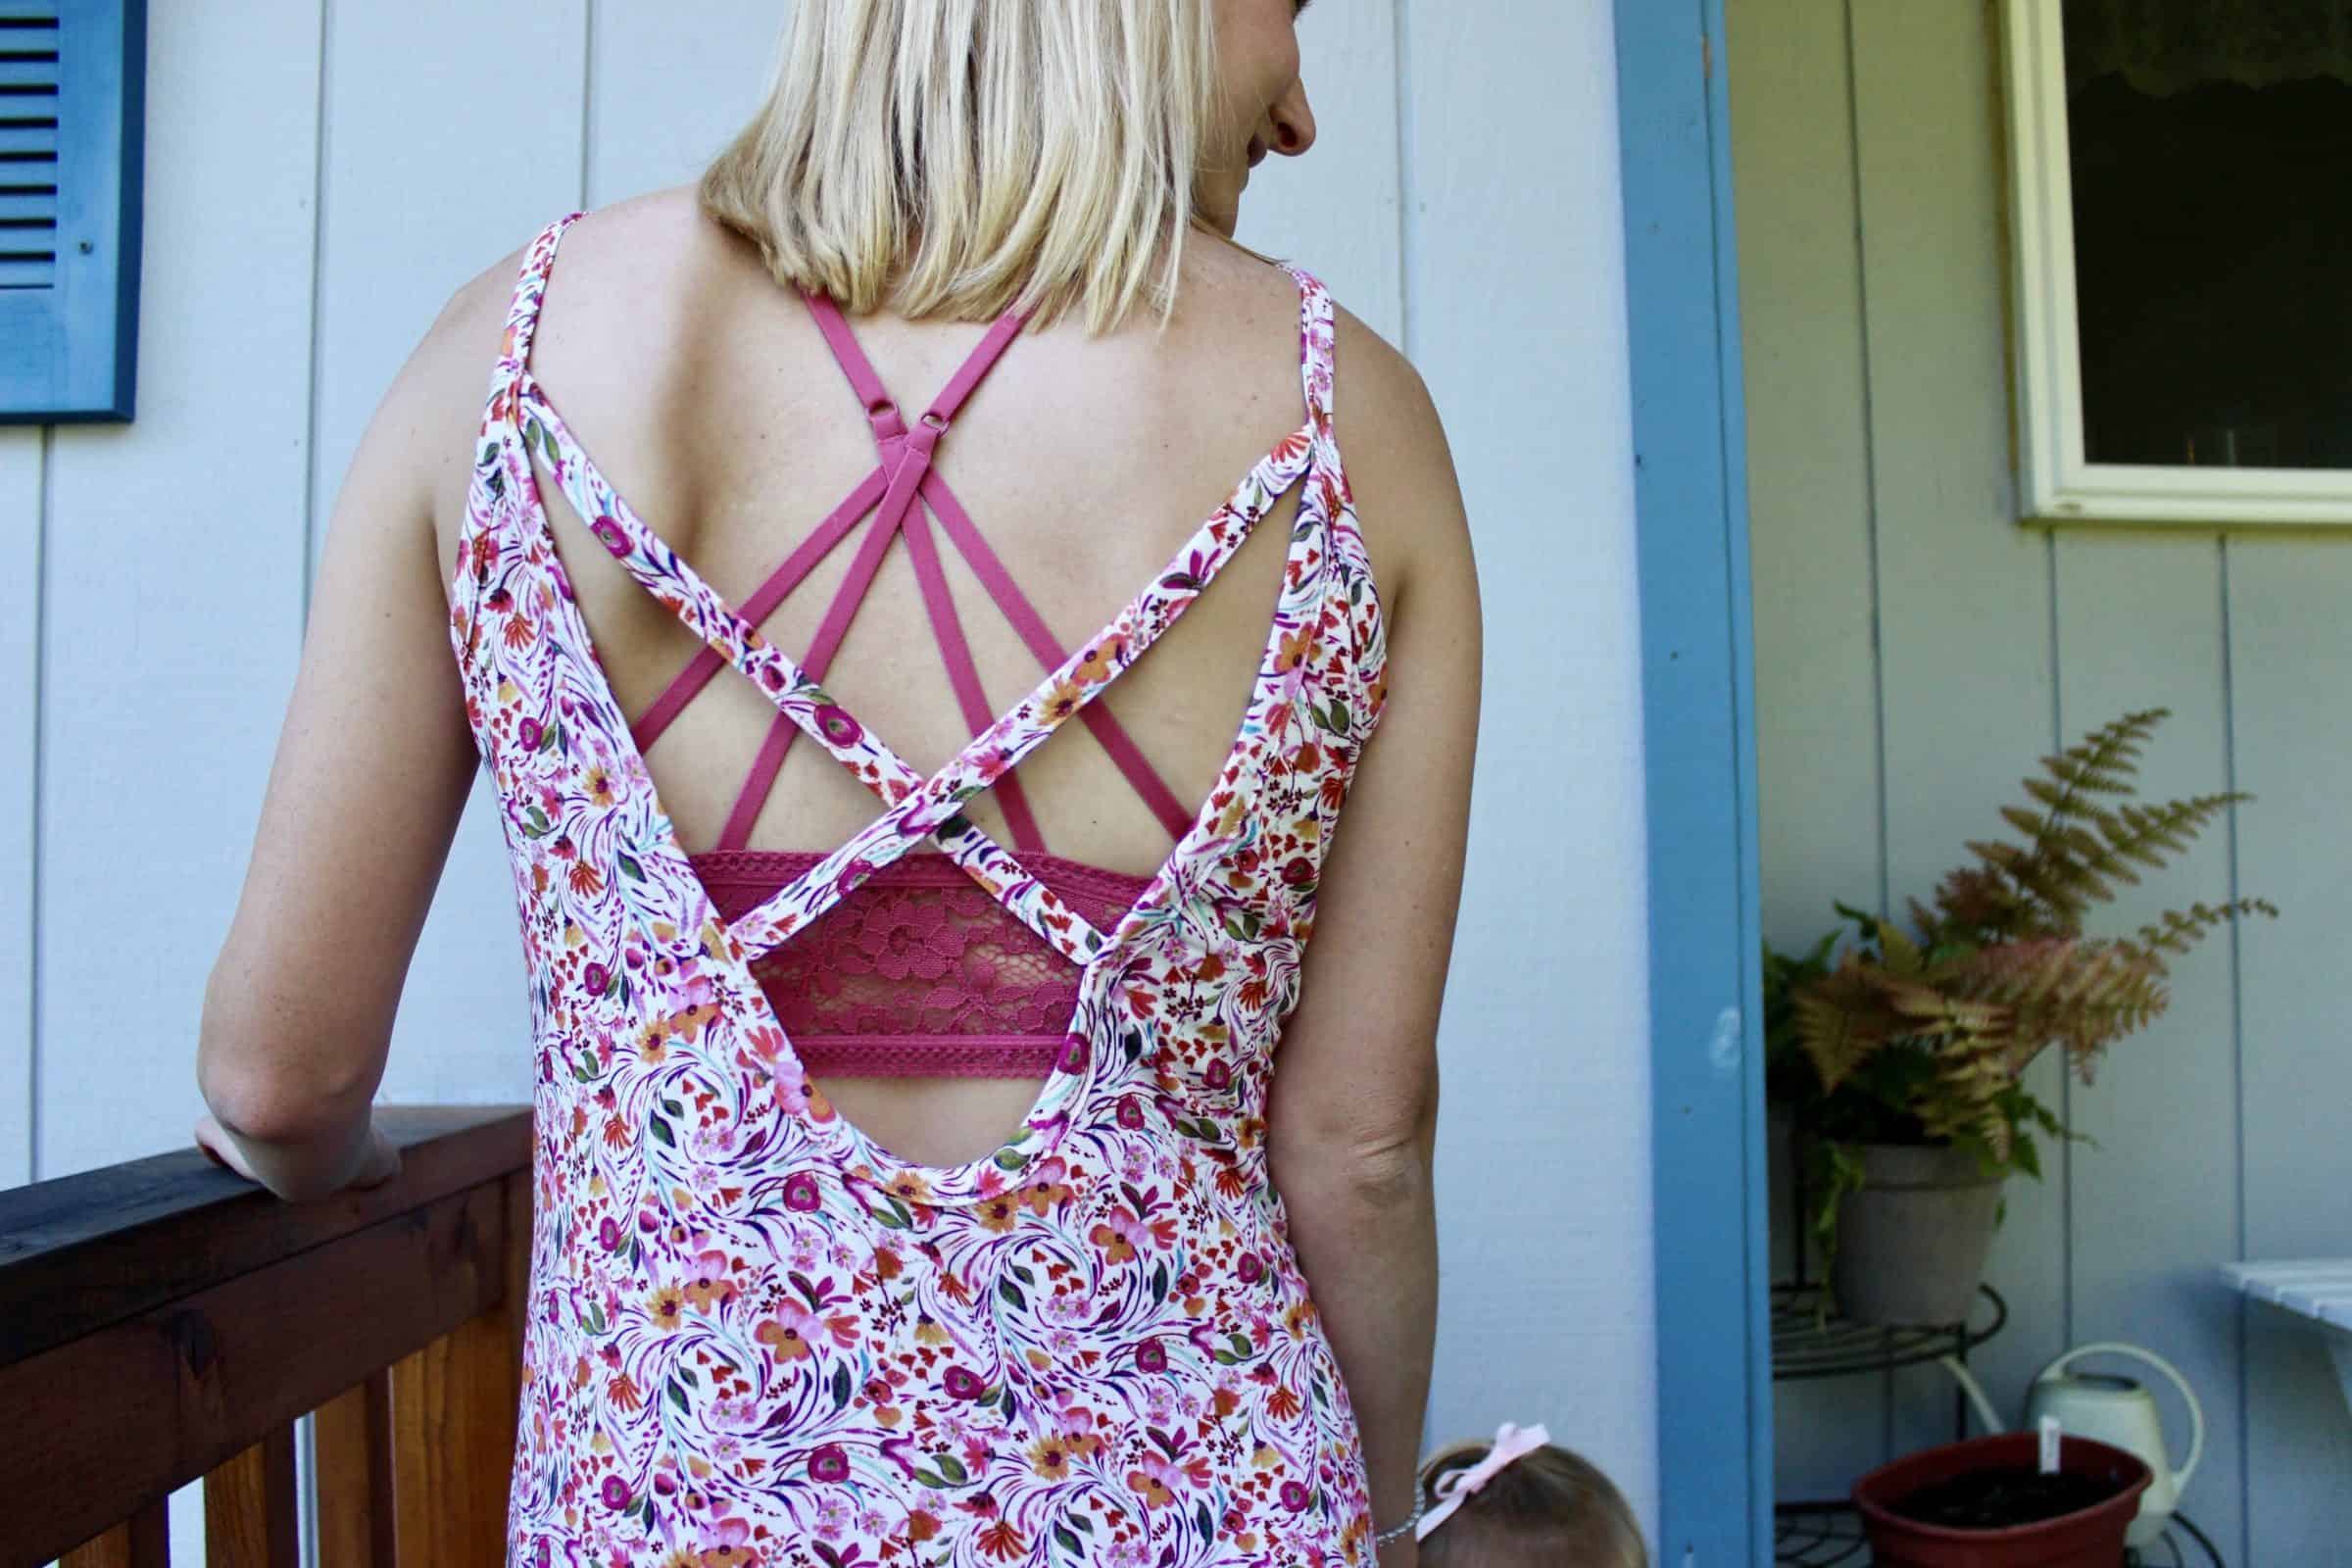
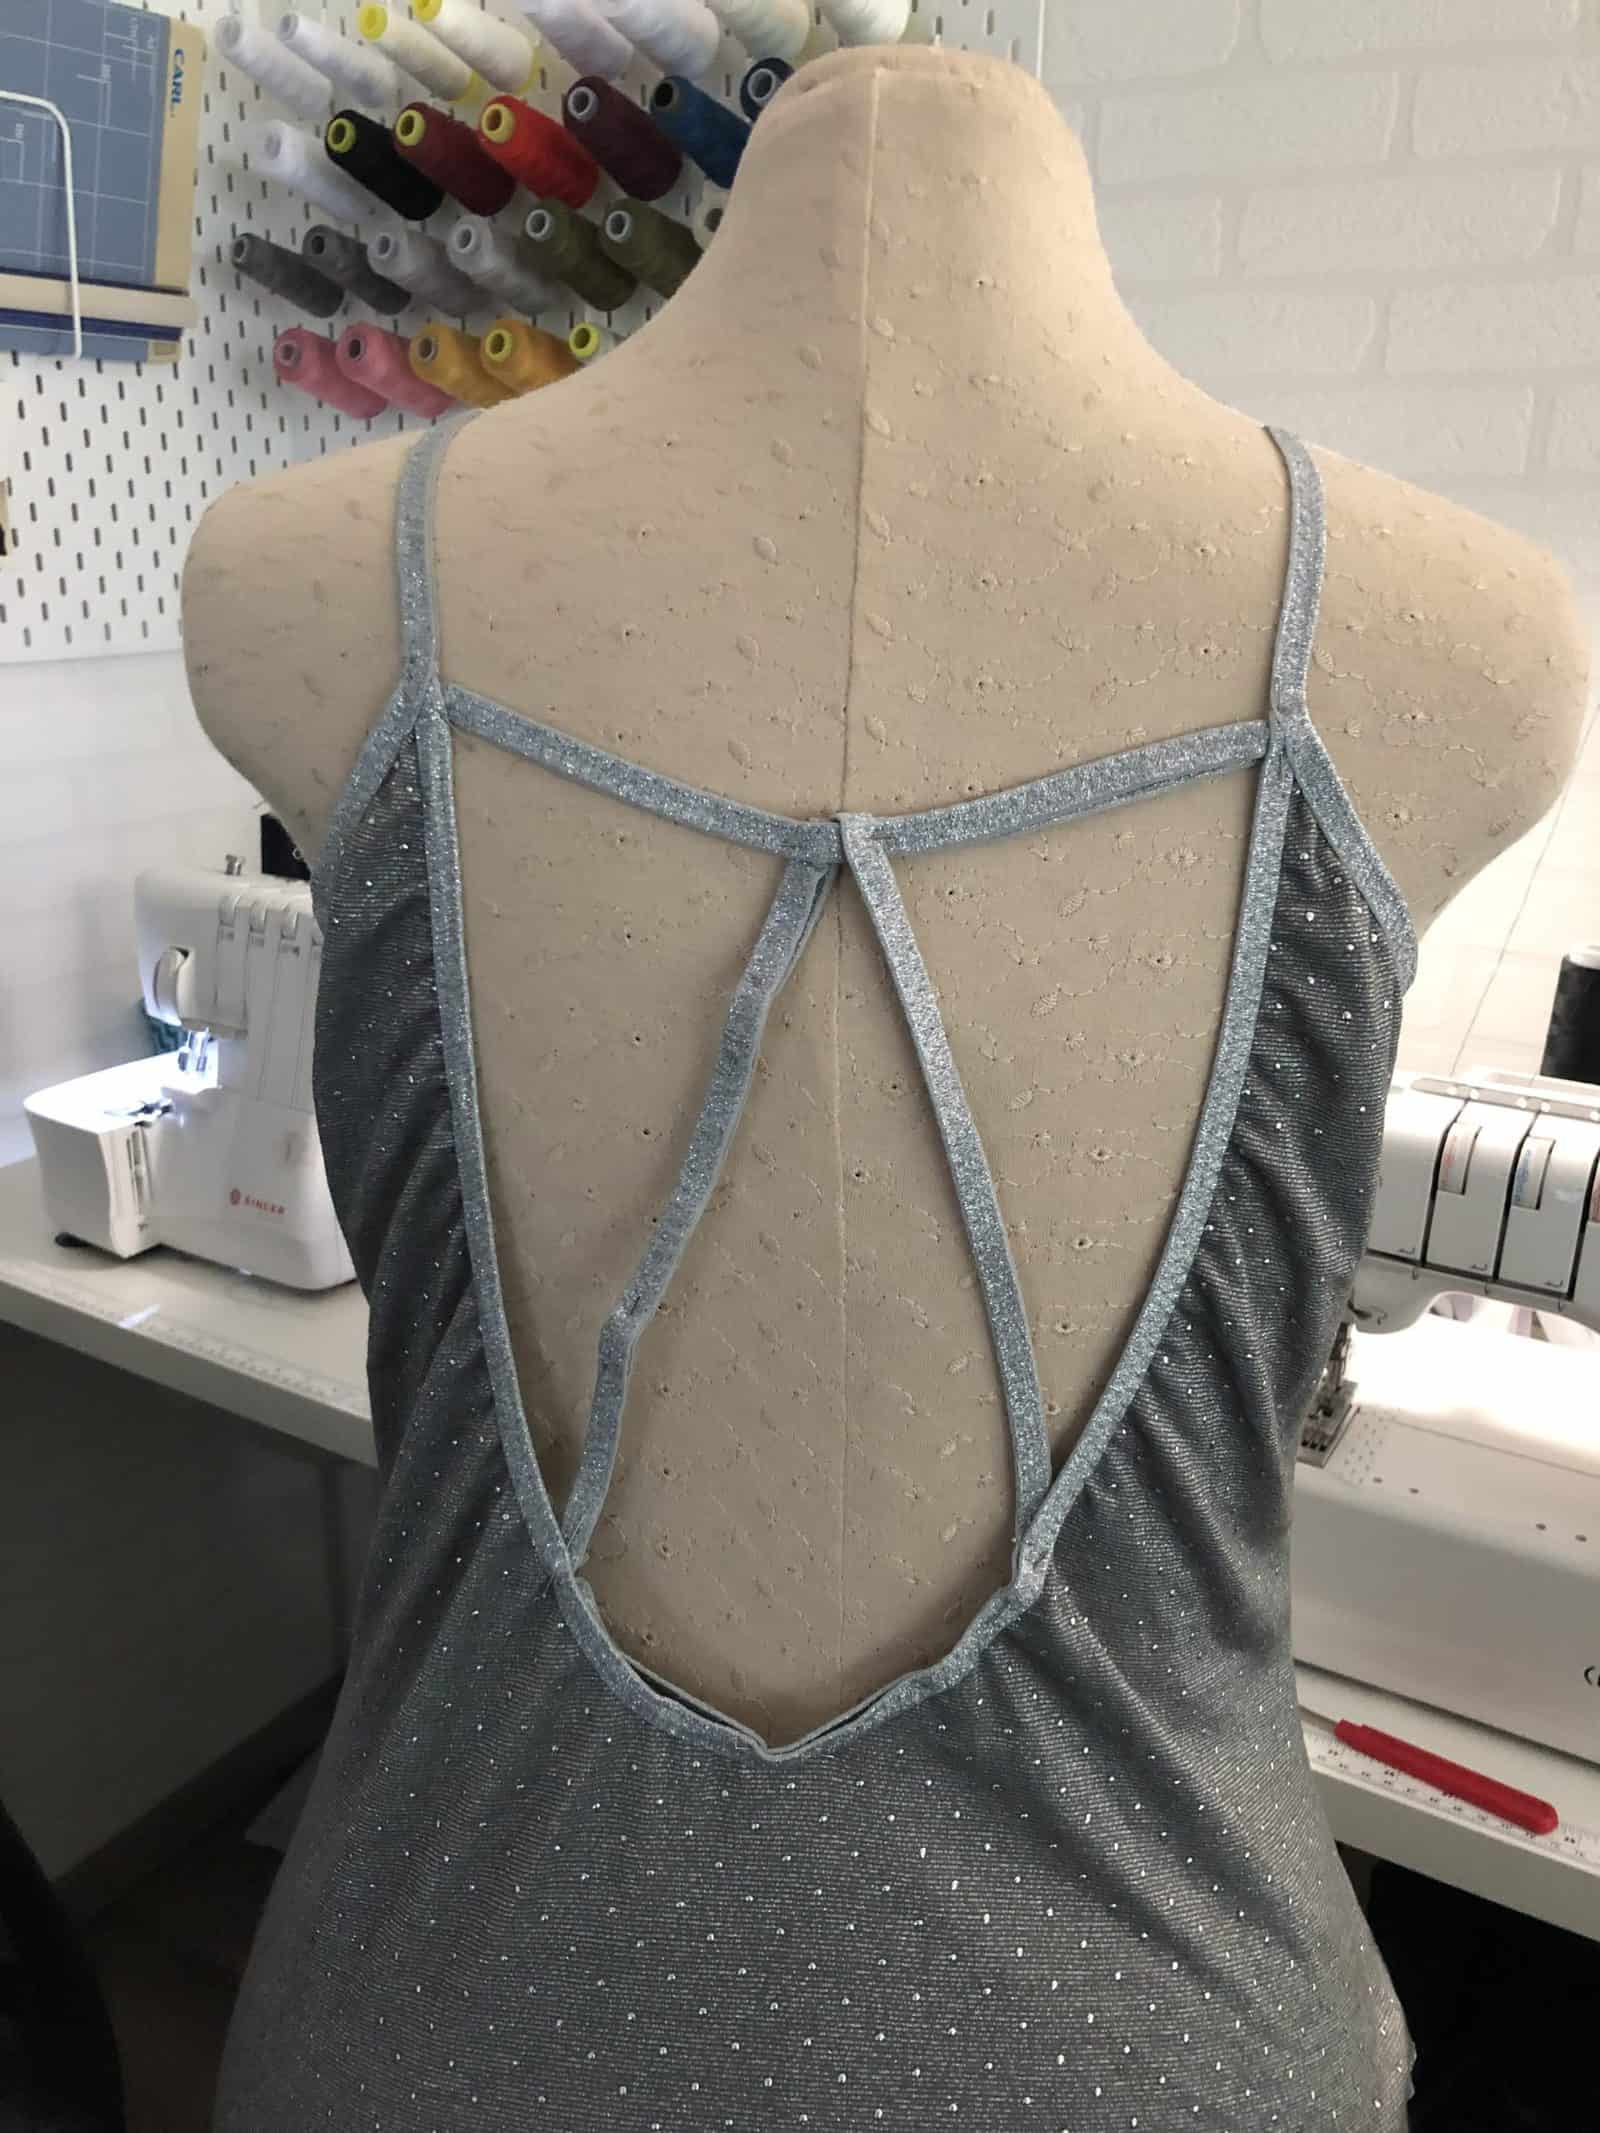
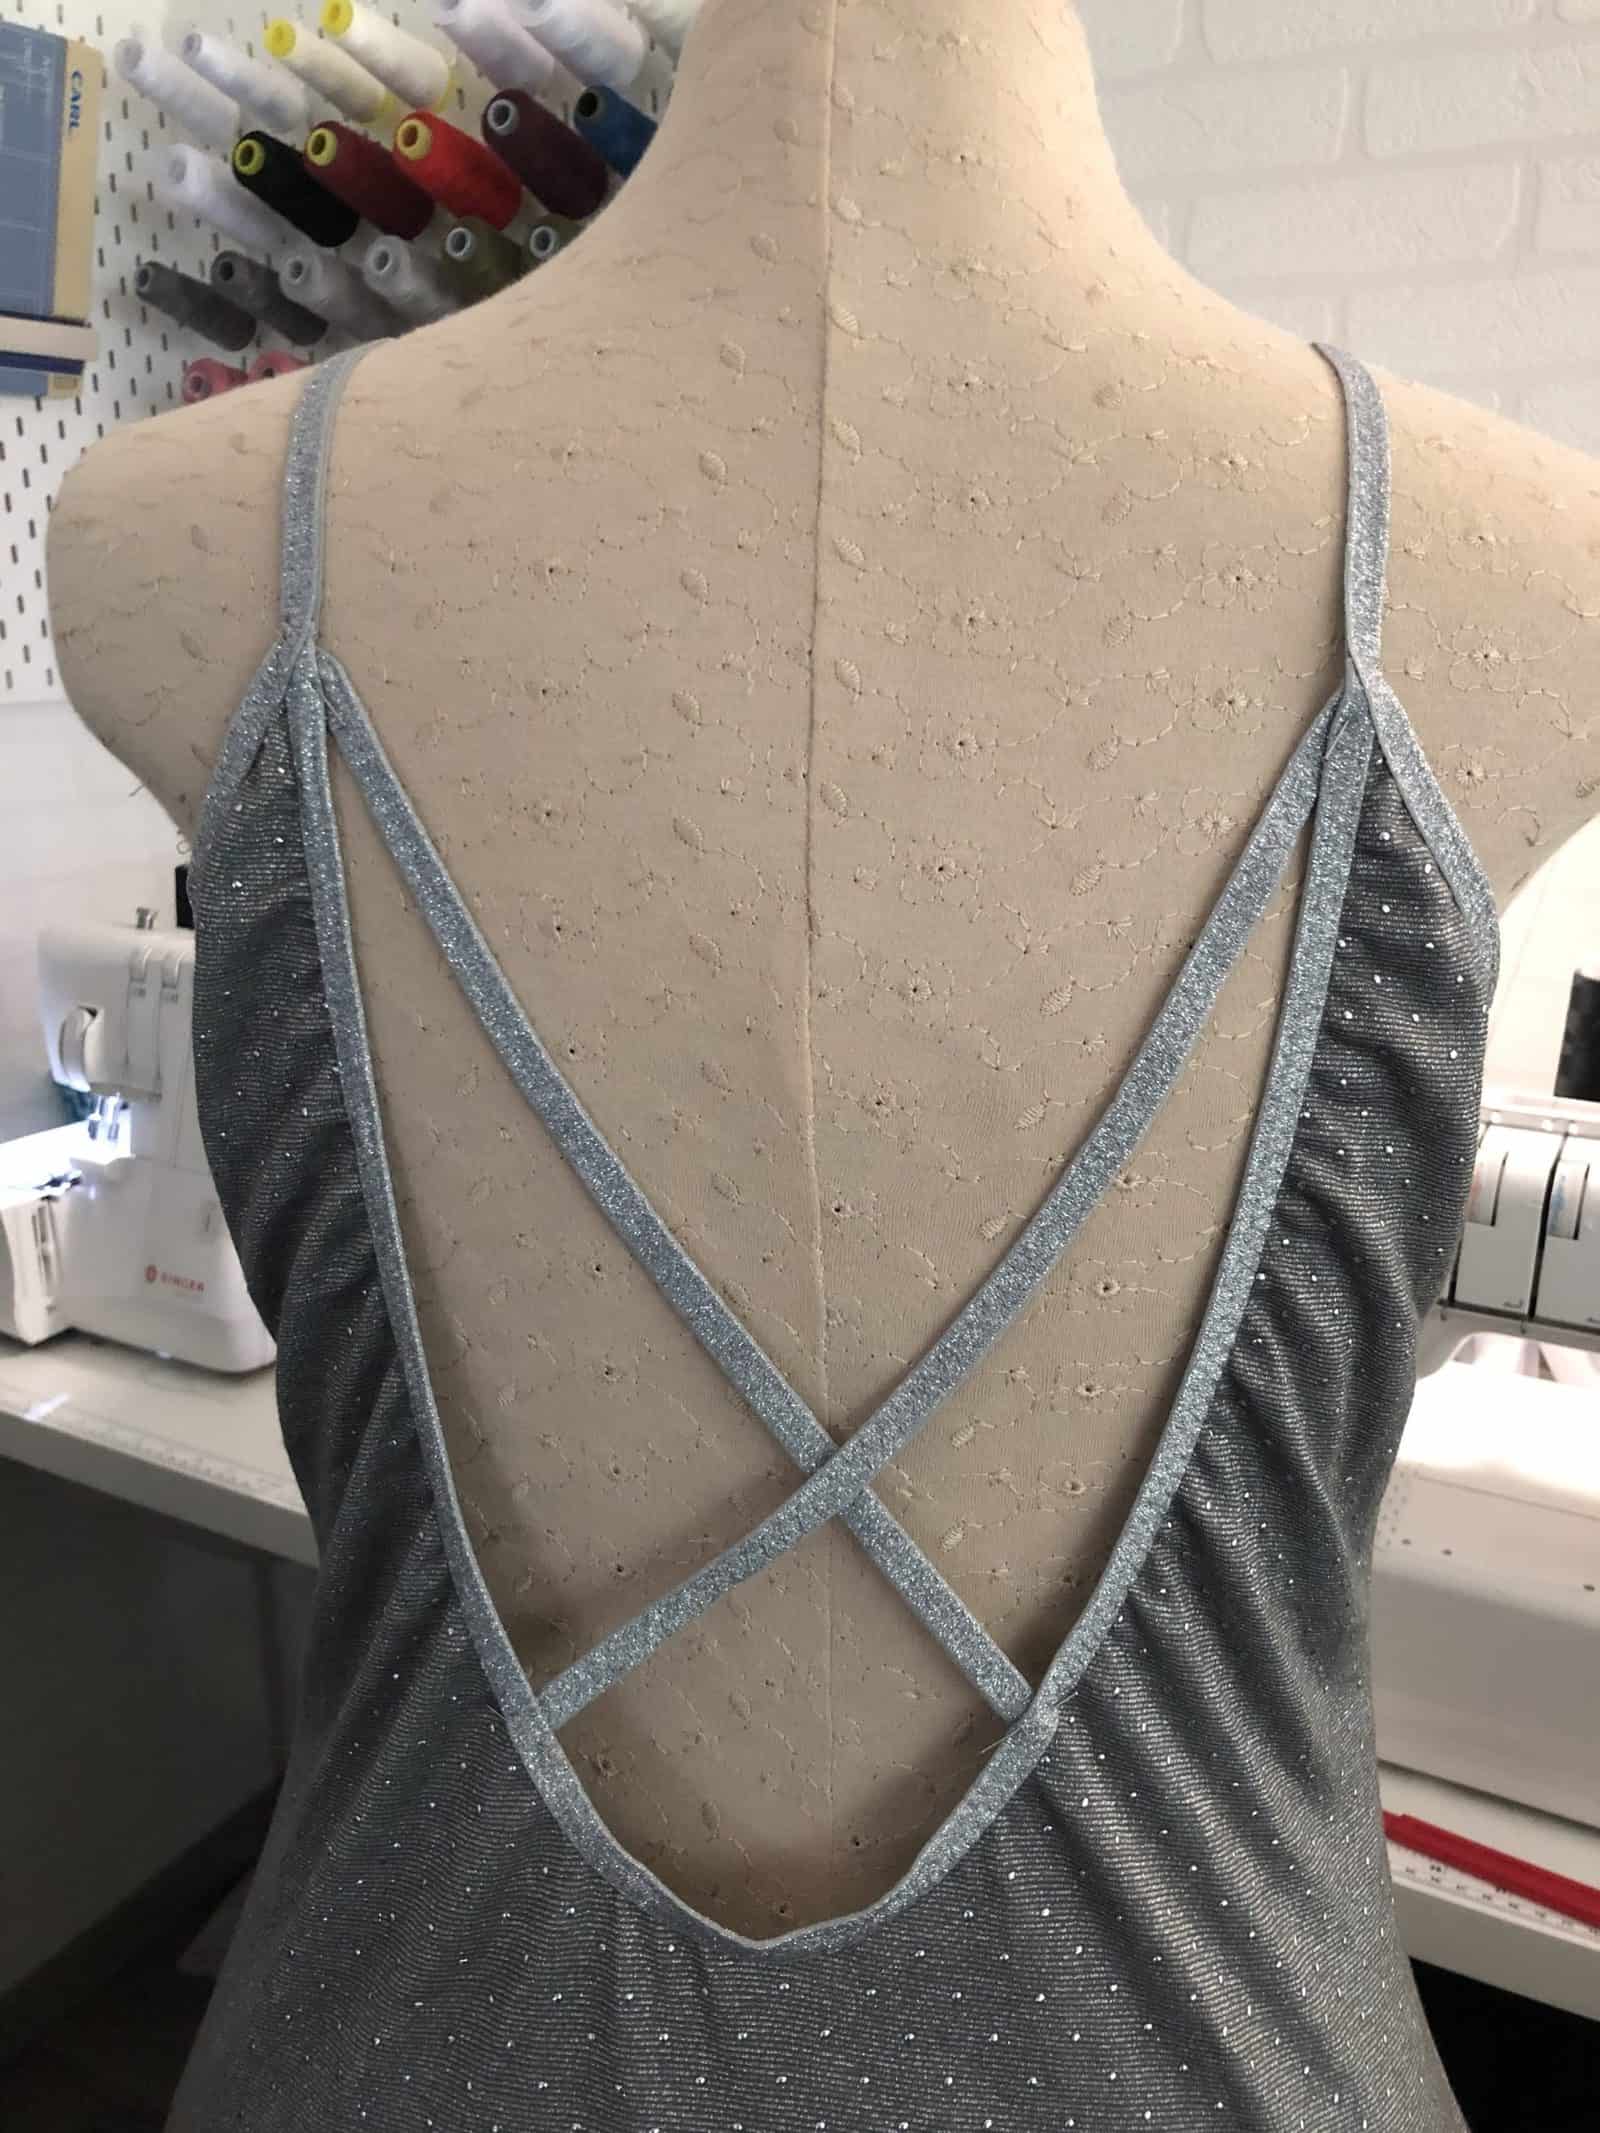
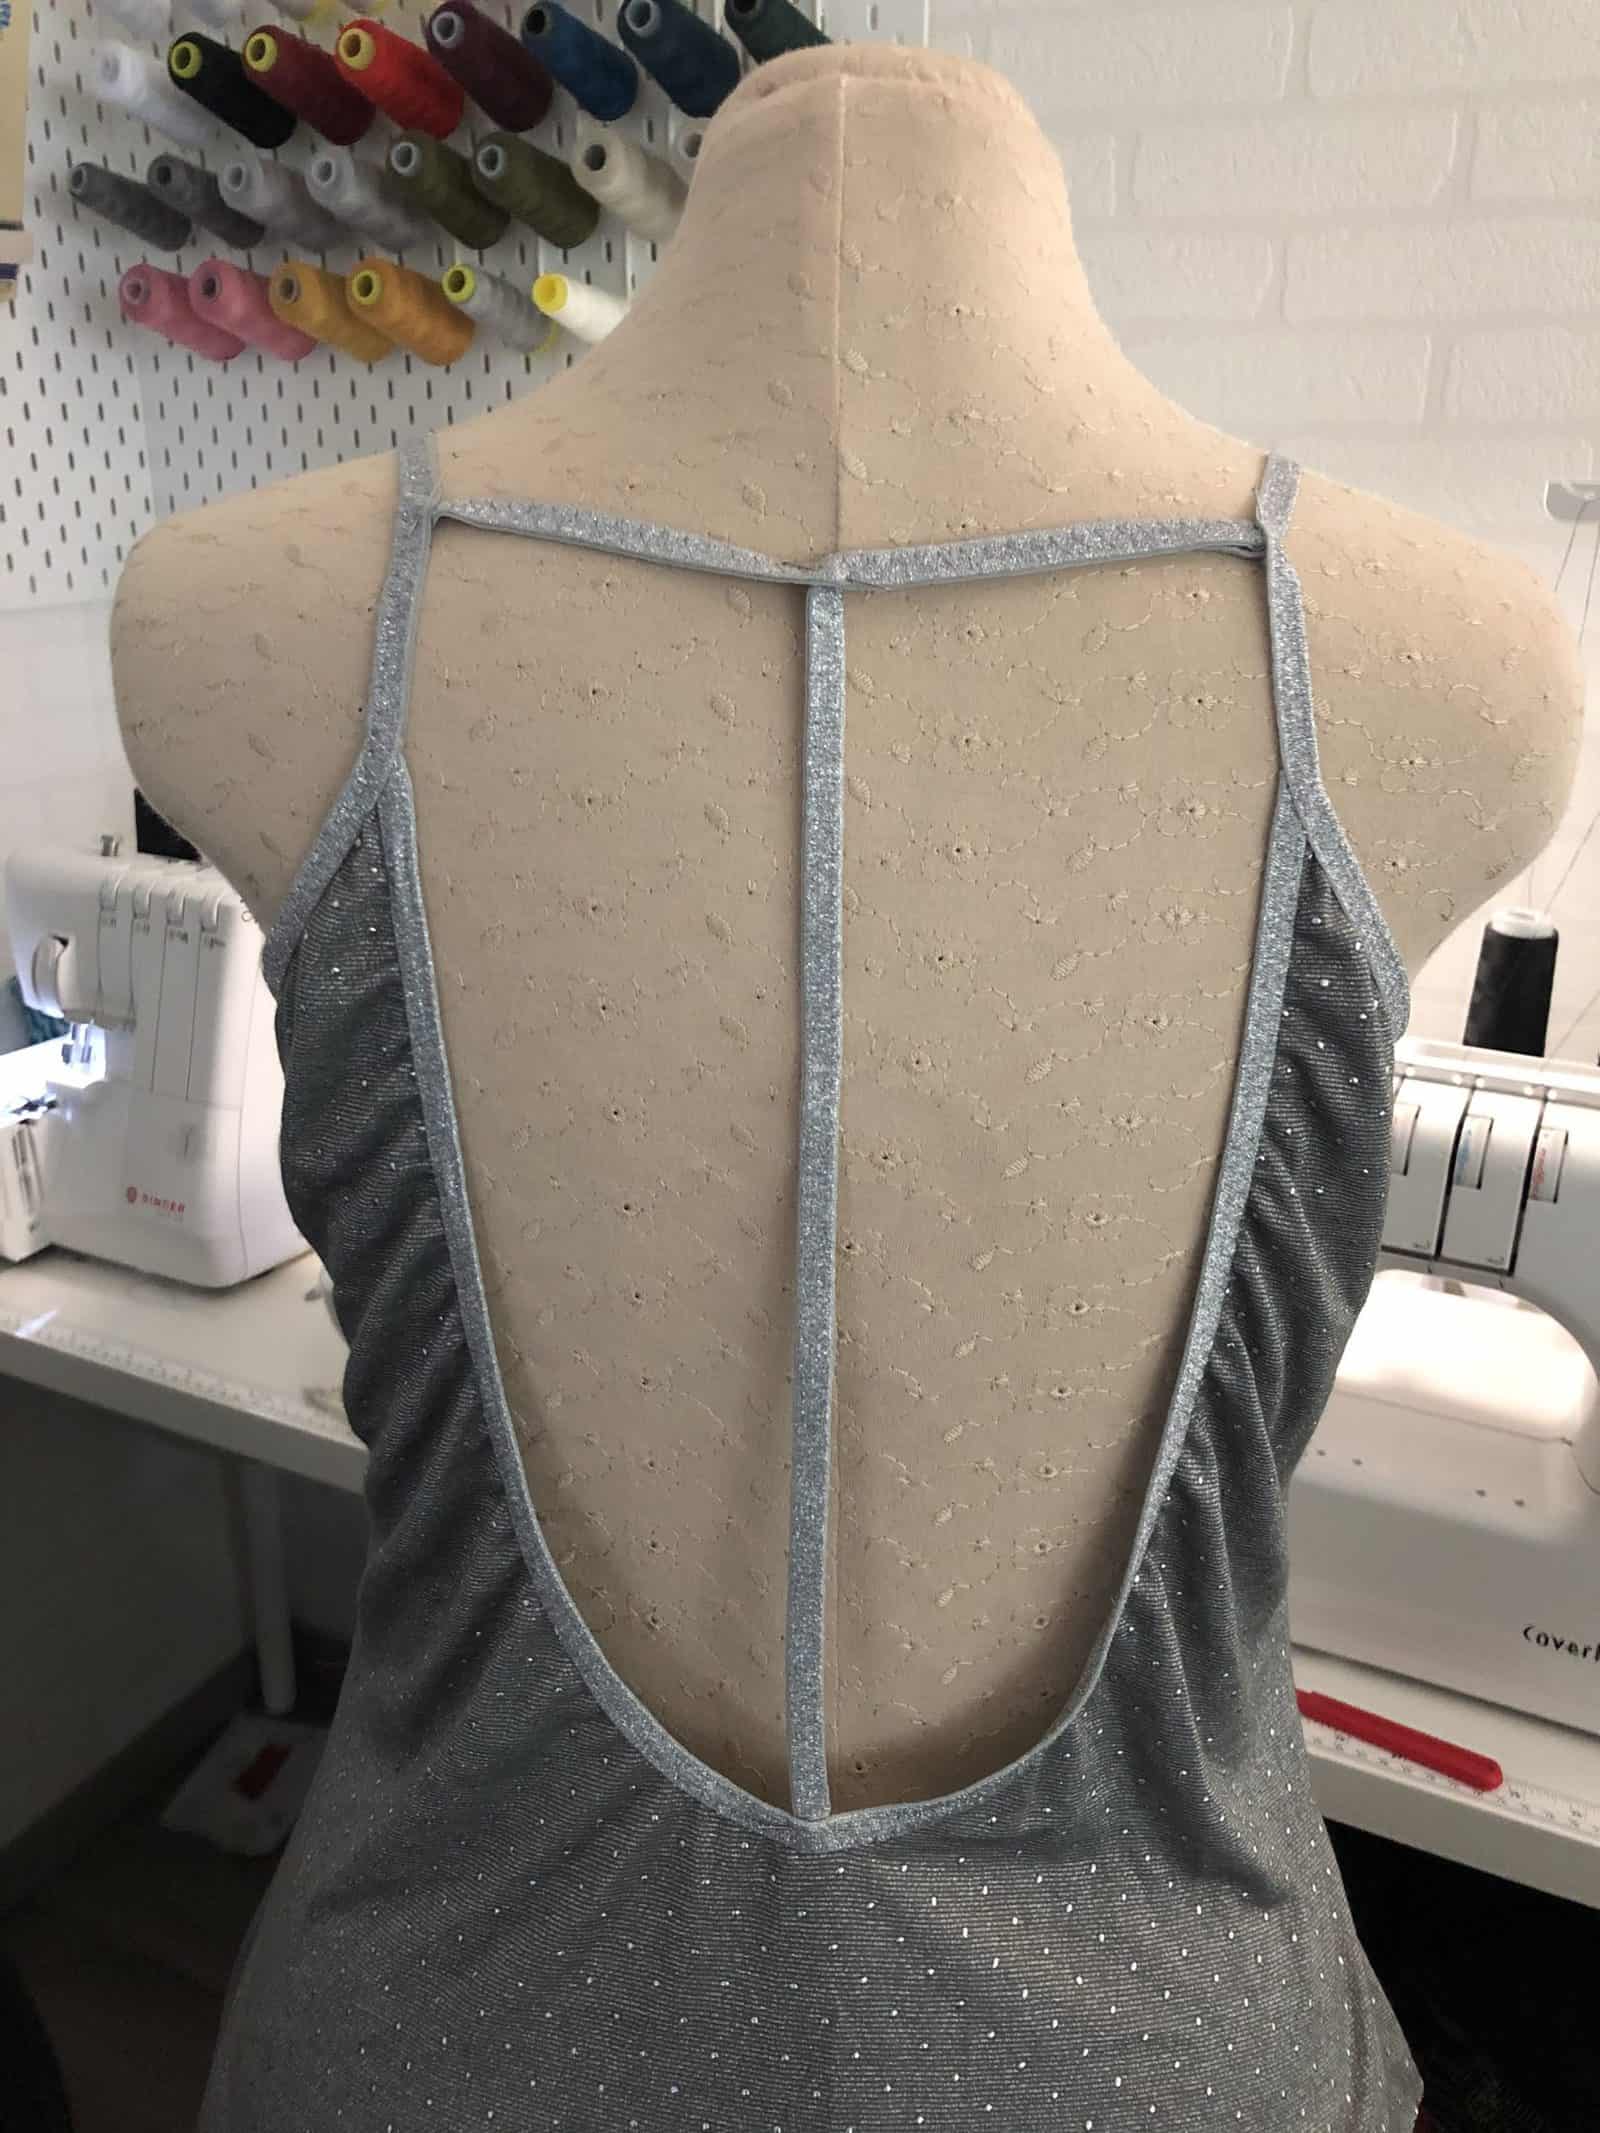
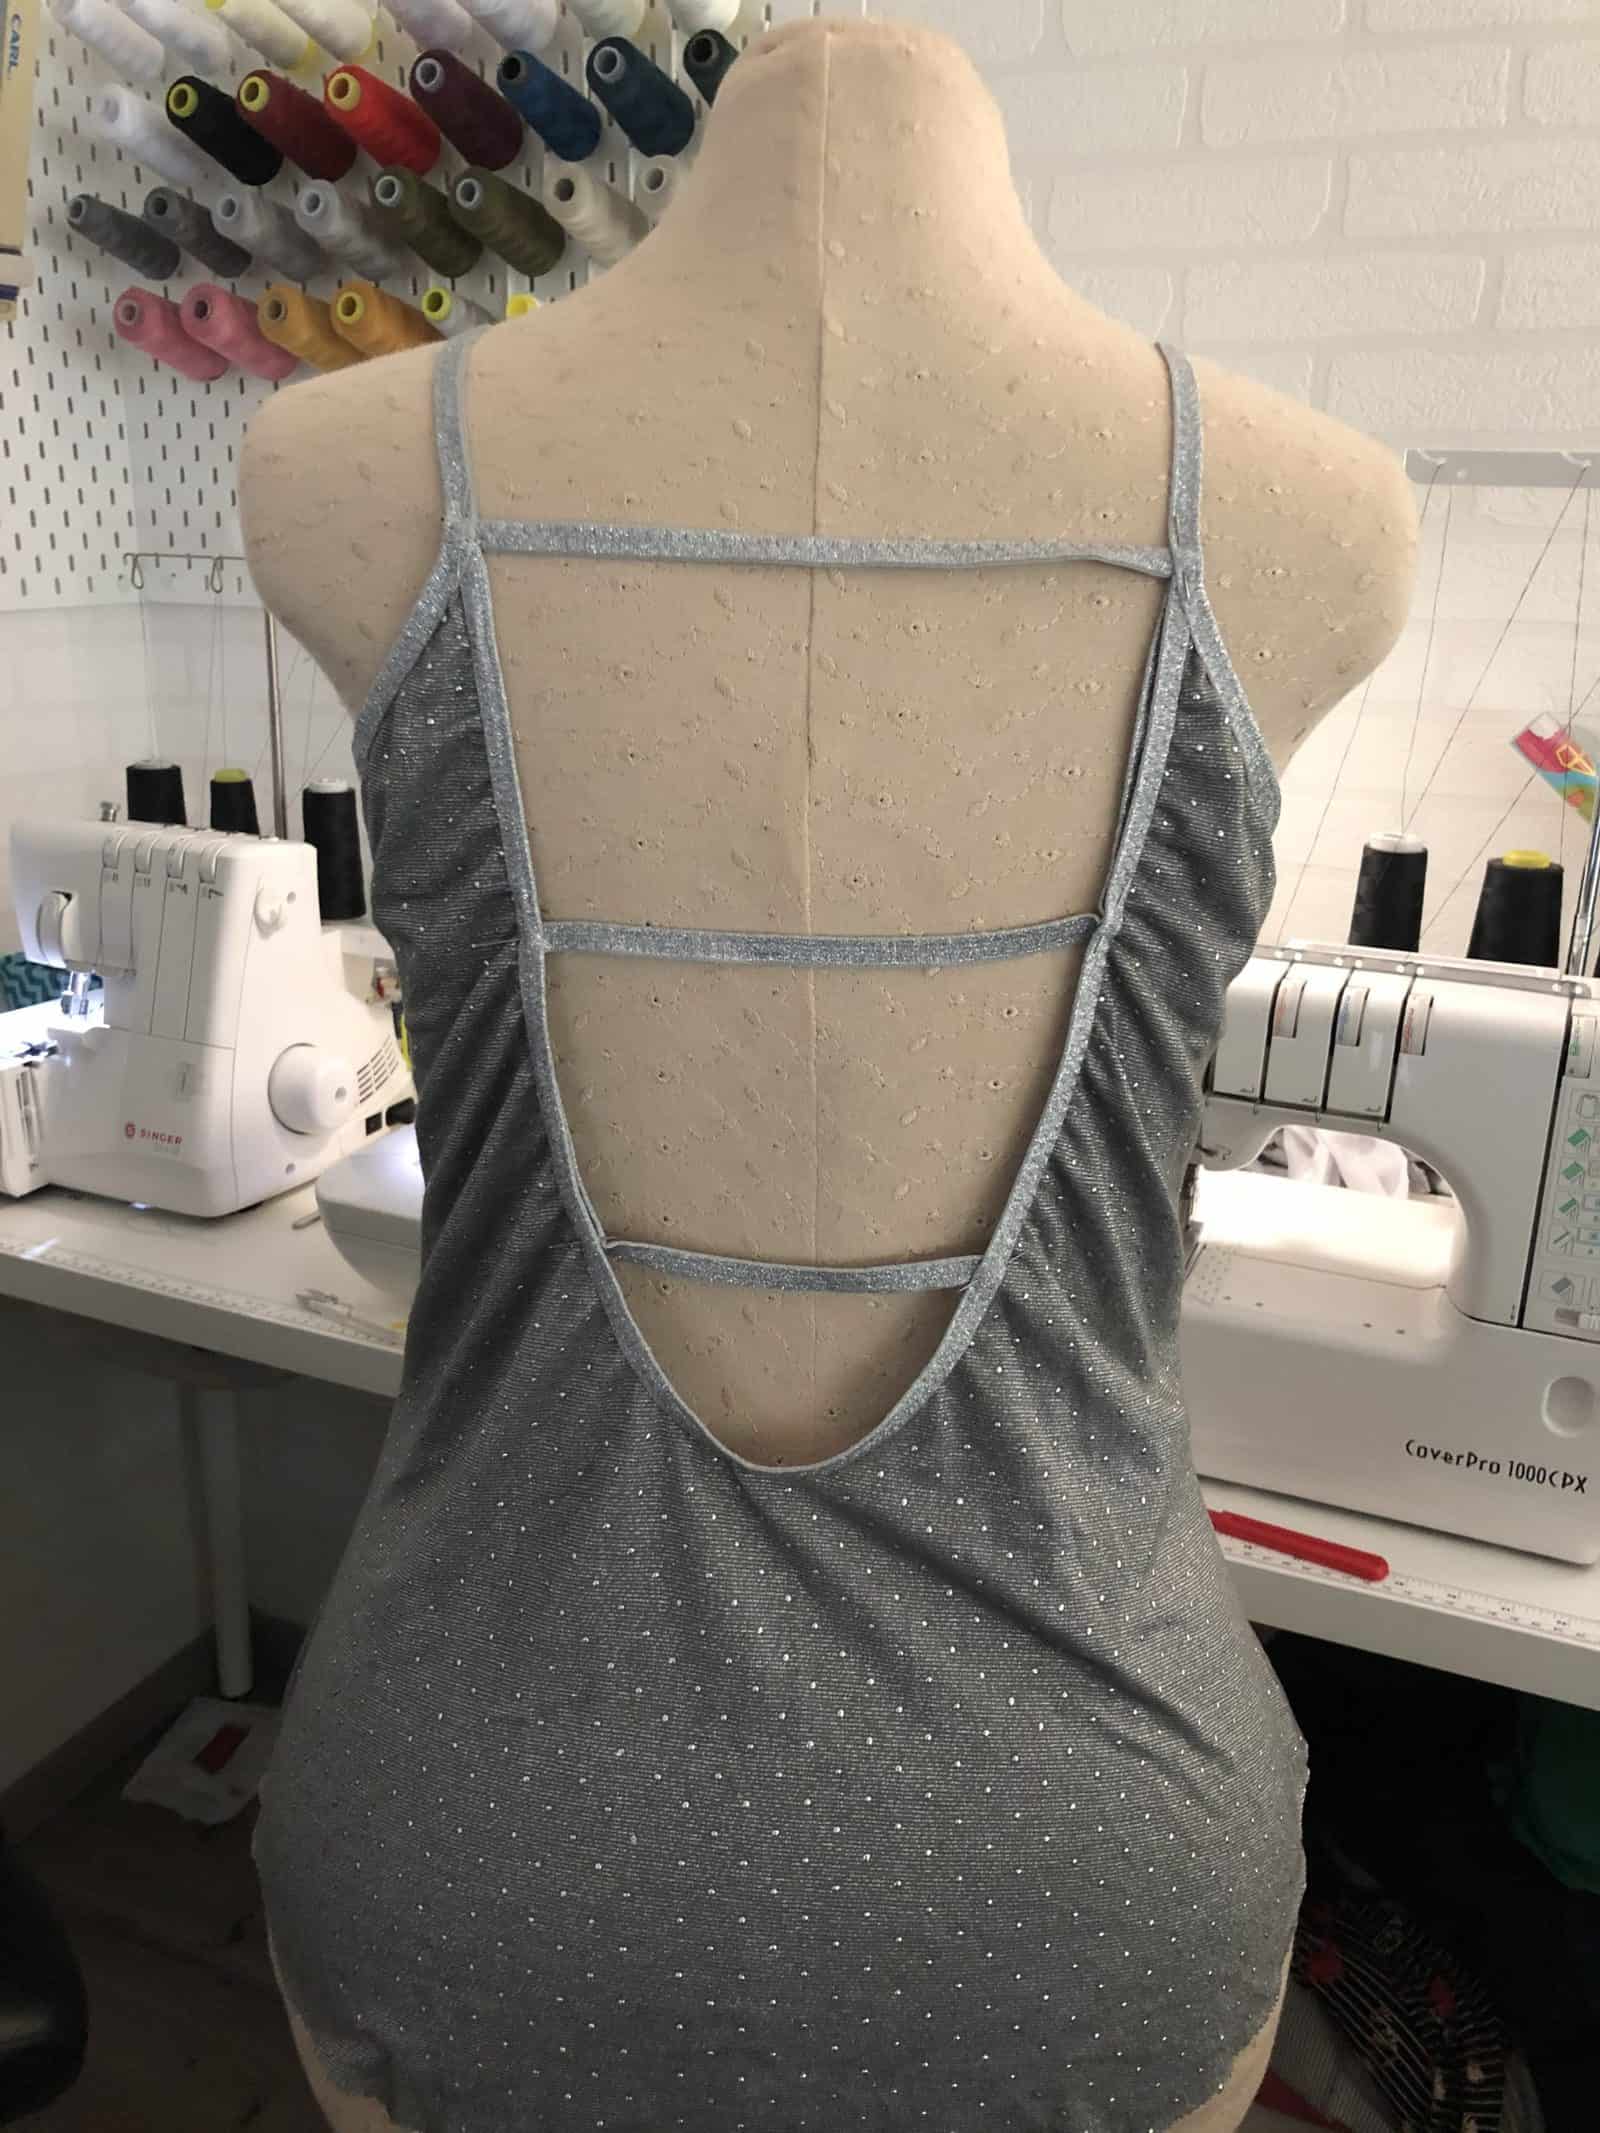
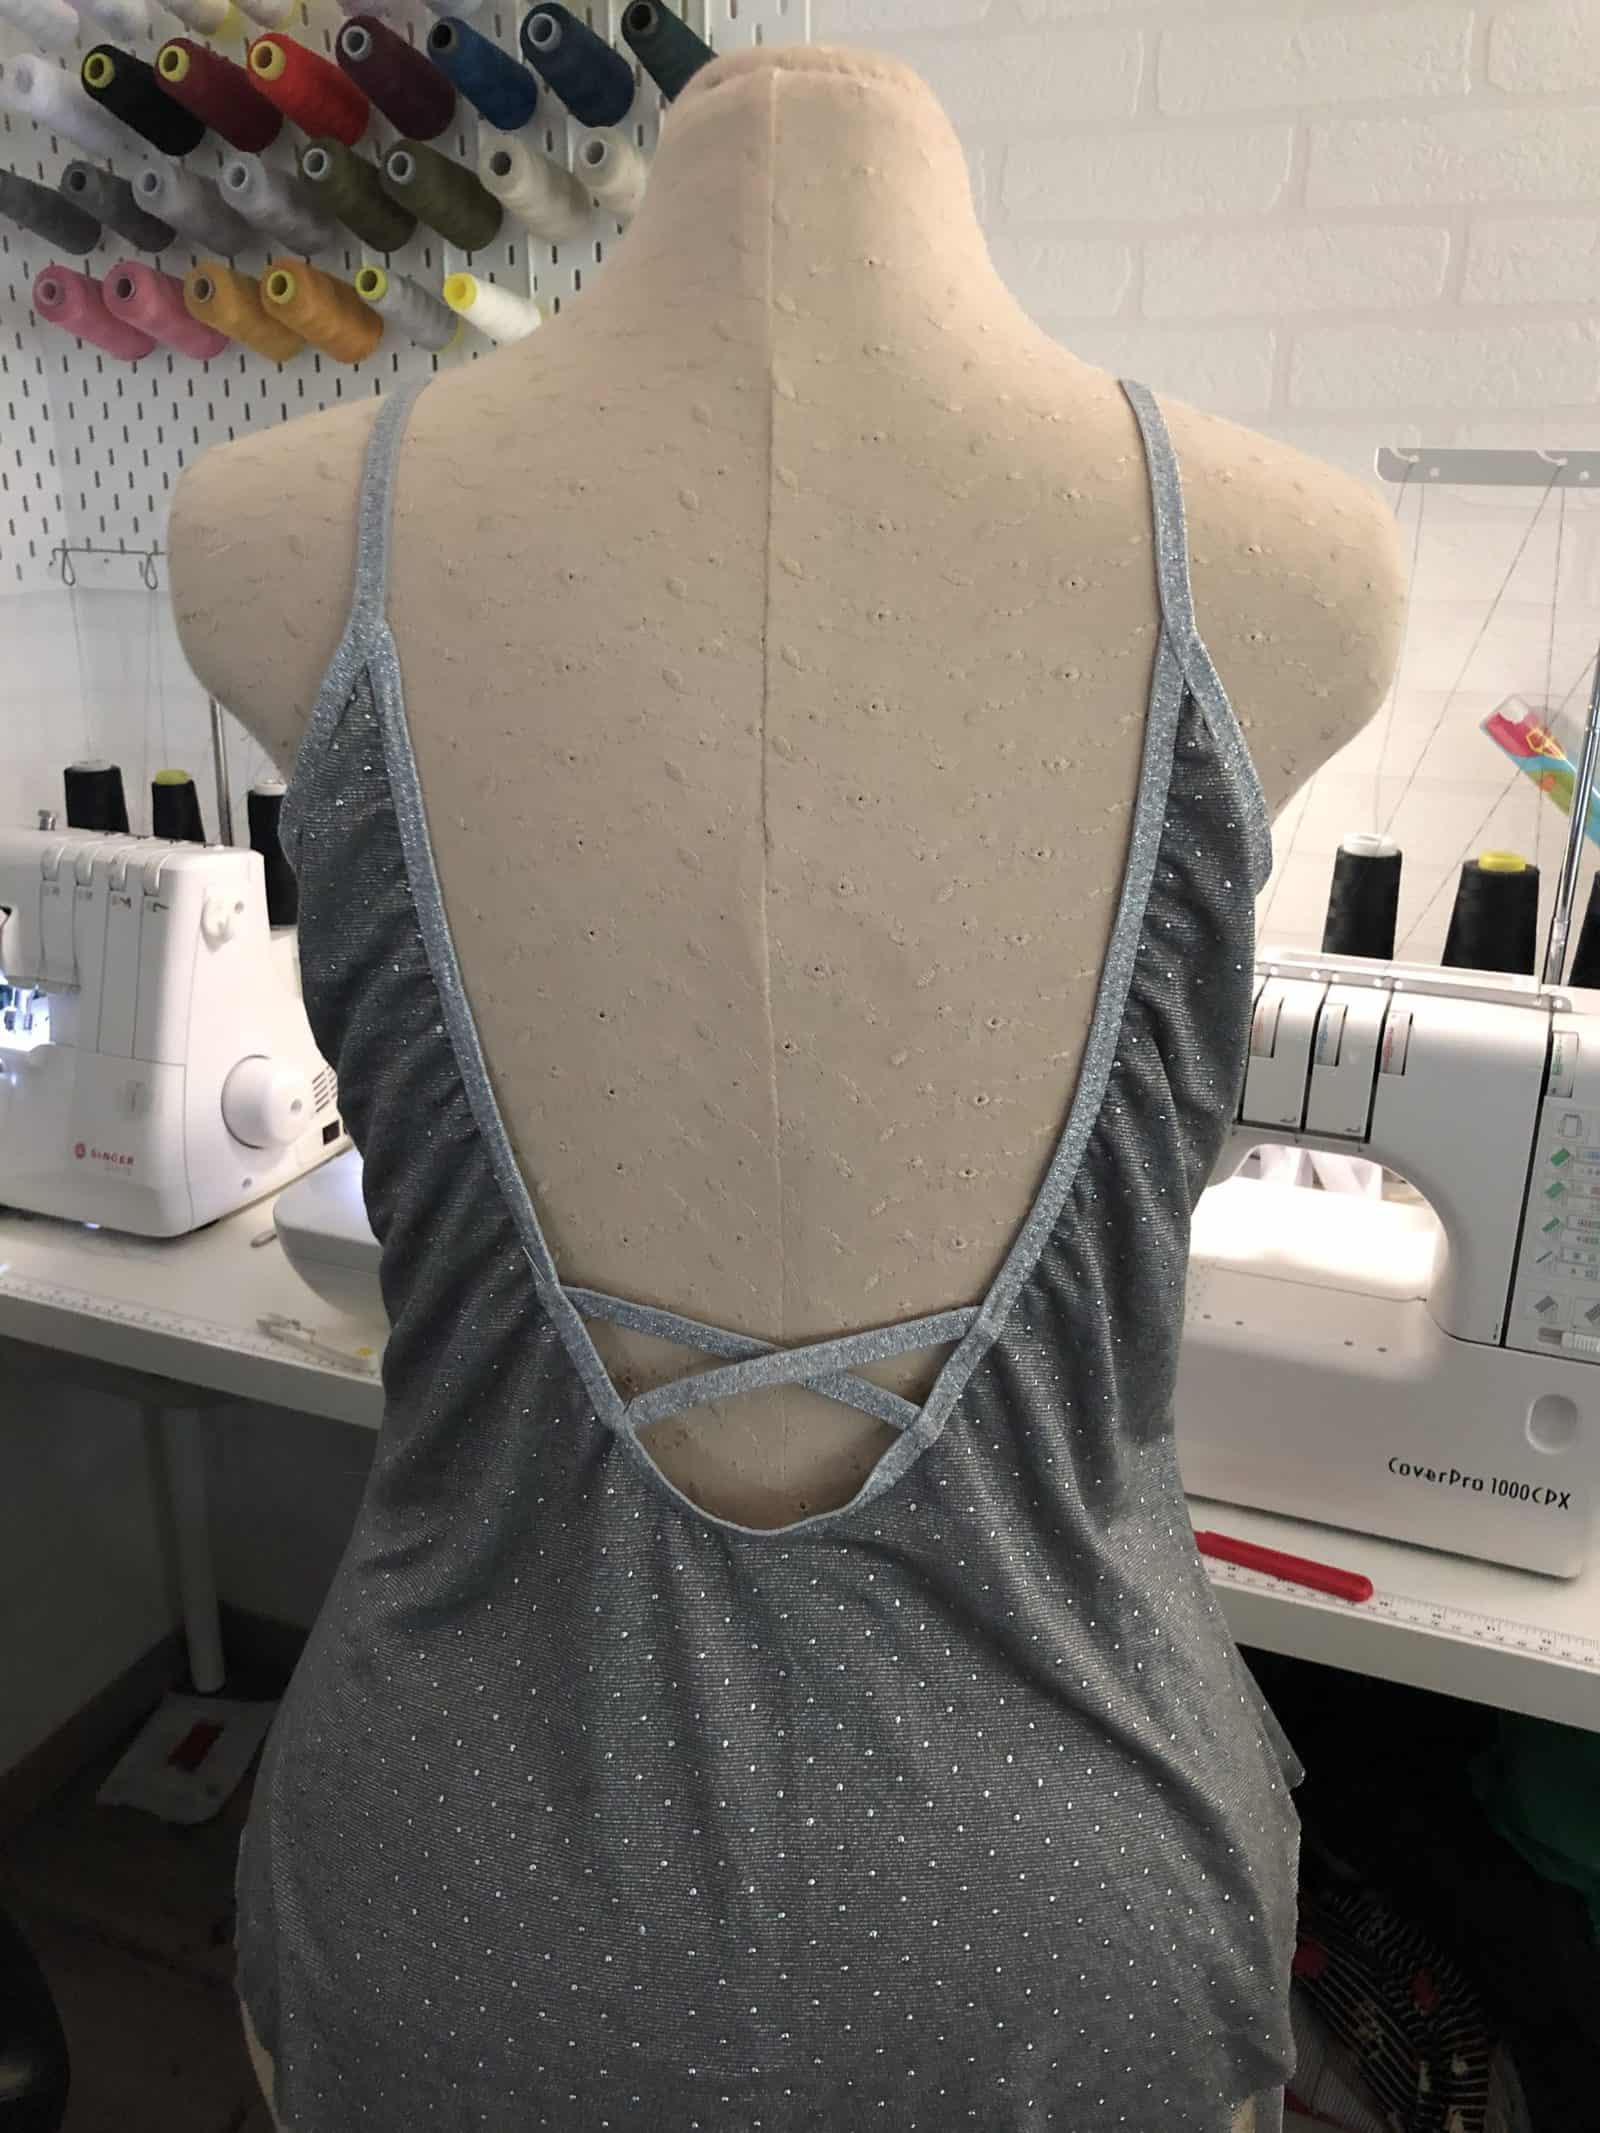
Do you love the low back Alana but want to spice it up a little bit?? Well, it’s so easy to do! Alana is the perfect base to get creative with straps. I’m going to show you how to do cross-back straps for your Alana but you can take this technique and get creative with adding even more straps and designs.
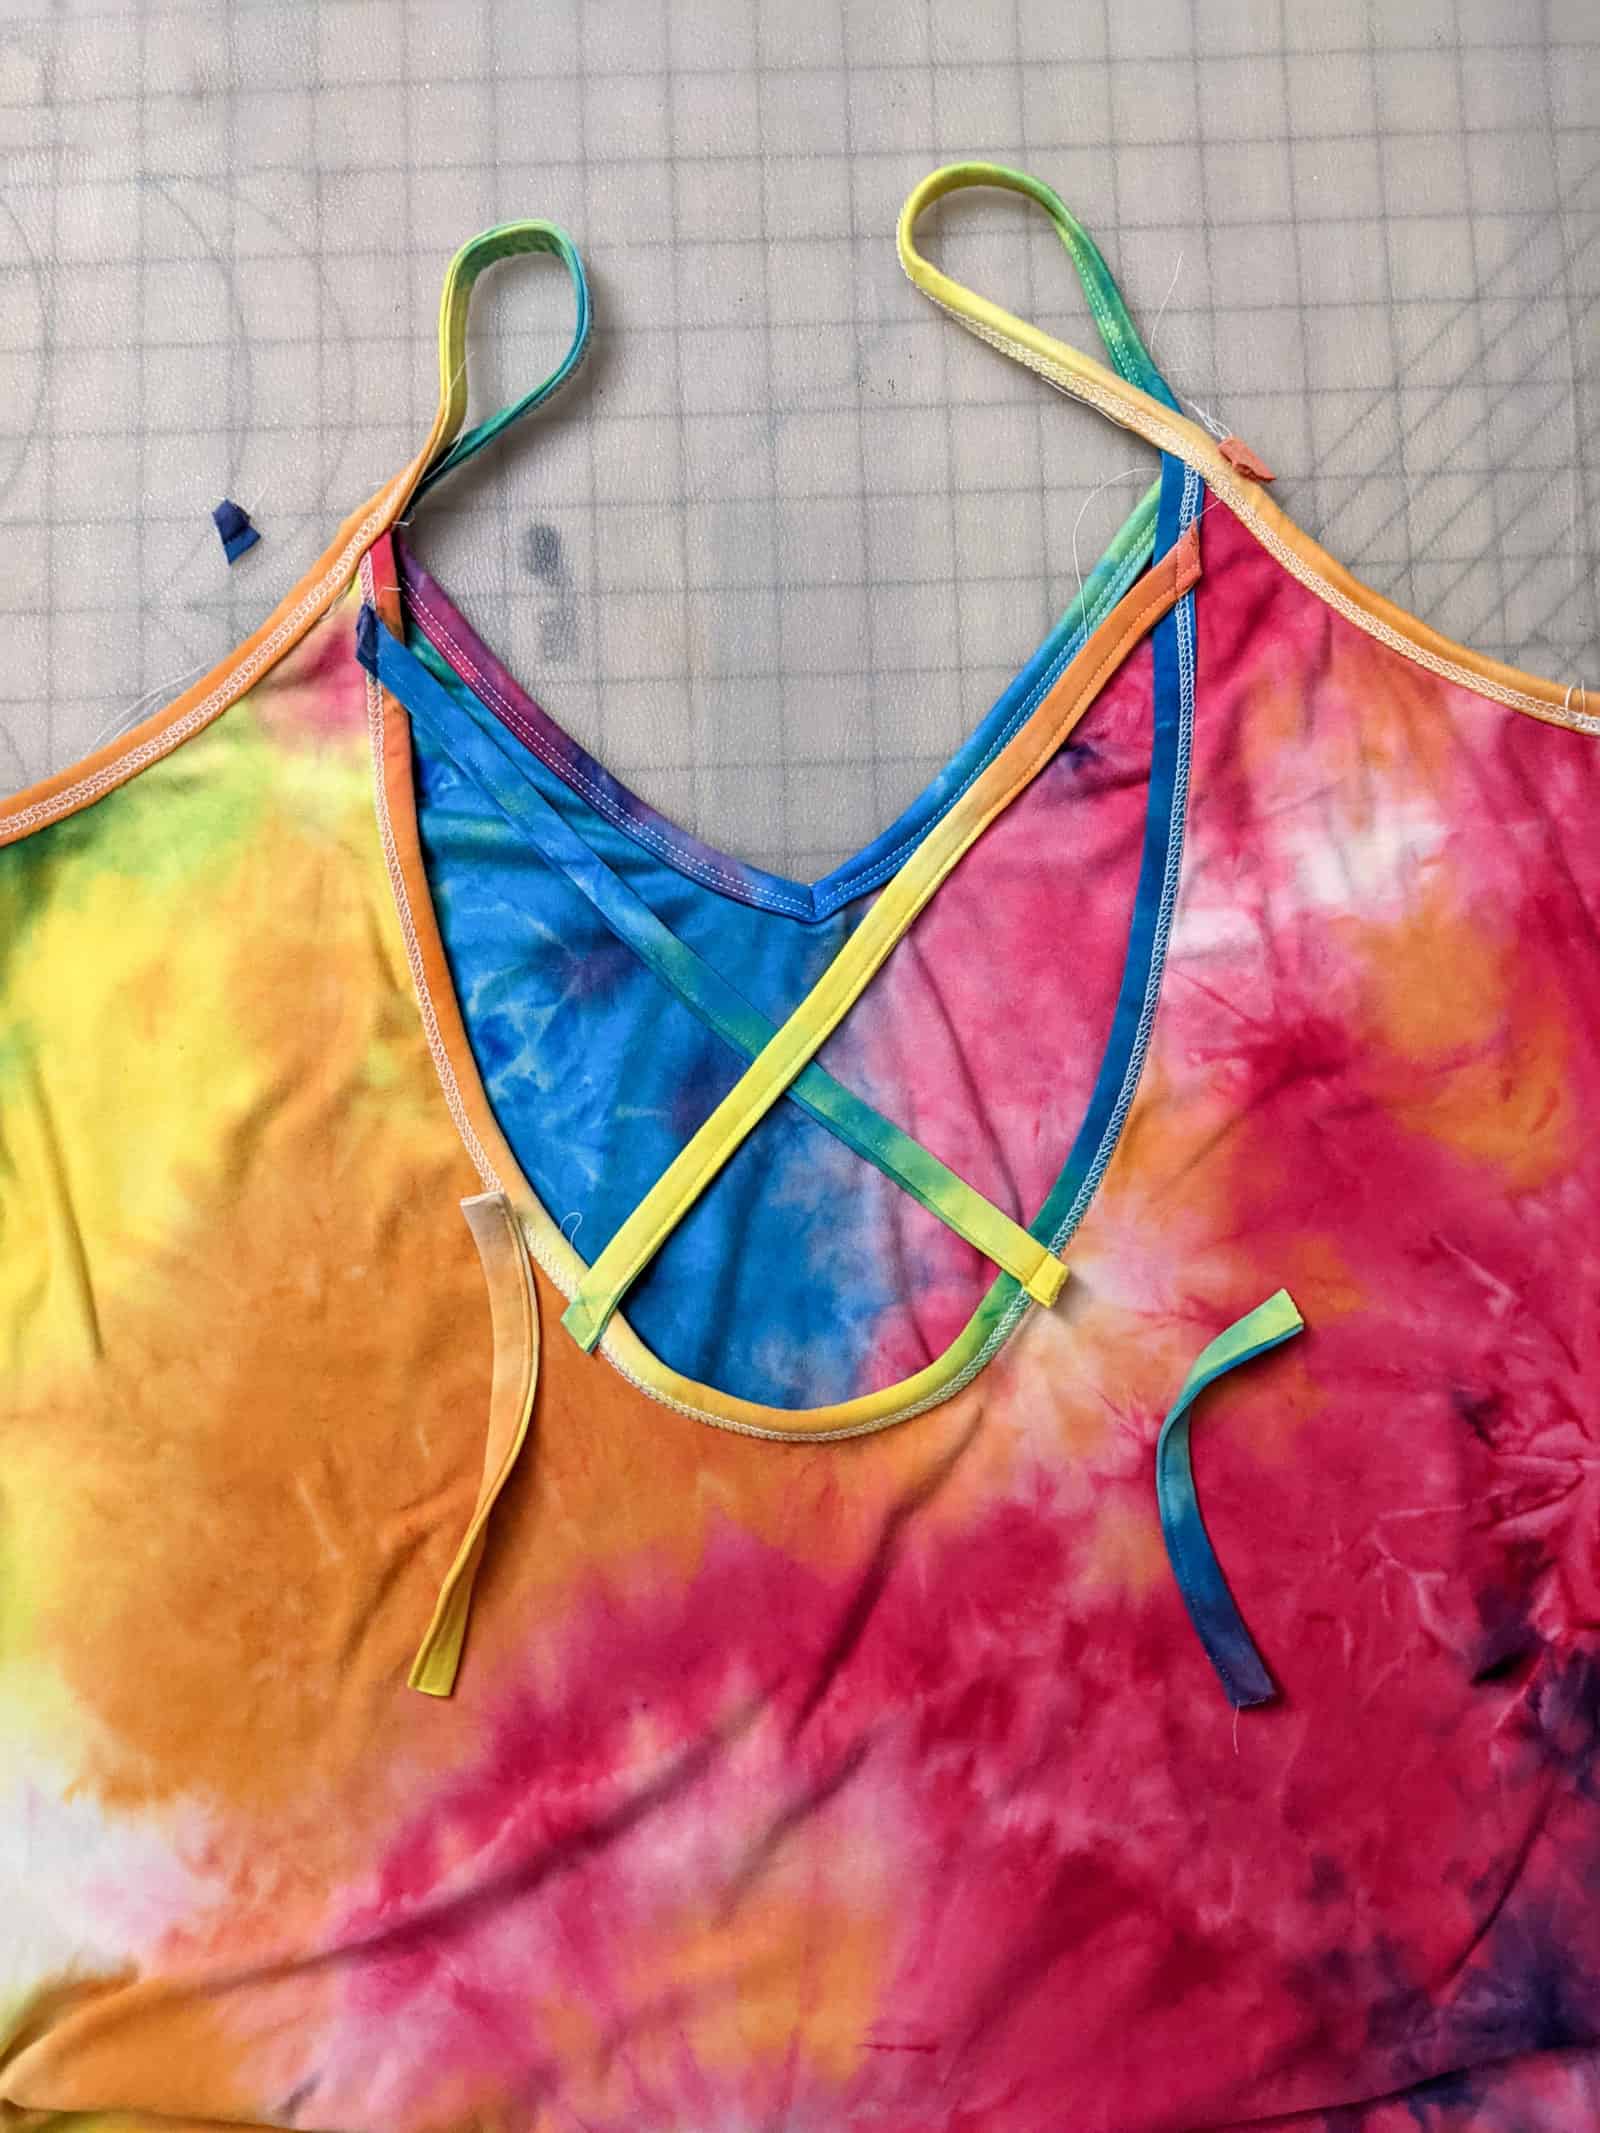
First, you will sew your Alana together as directed in the tutorial – just don’t add your low back straps yet. Depending on how many straps you want to add, you’ll use the Tie Back Straps for this hack. So if you want to do the cross back like this- print, prep, and sew two tie-back straps. (If you are adding more I recommend still using the tie back- we’ll trim away any extra length)
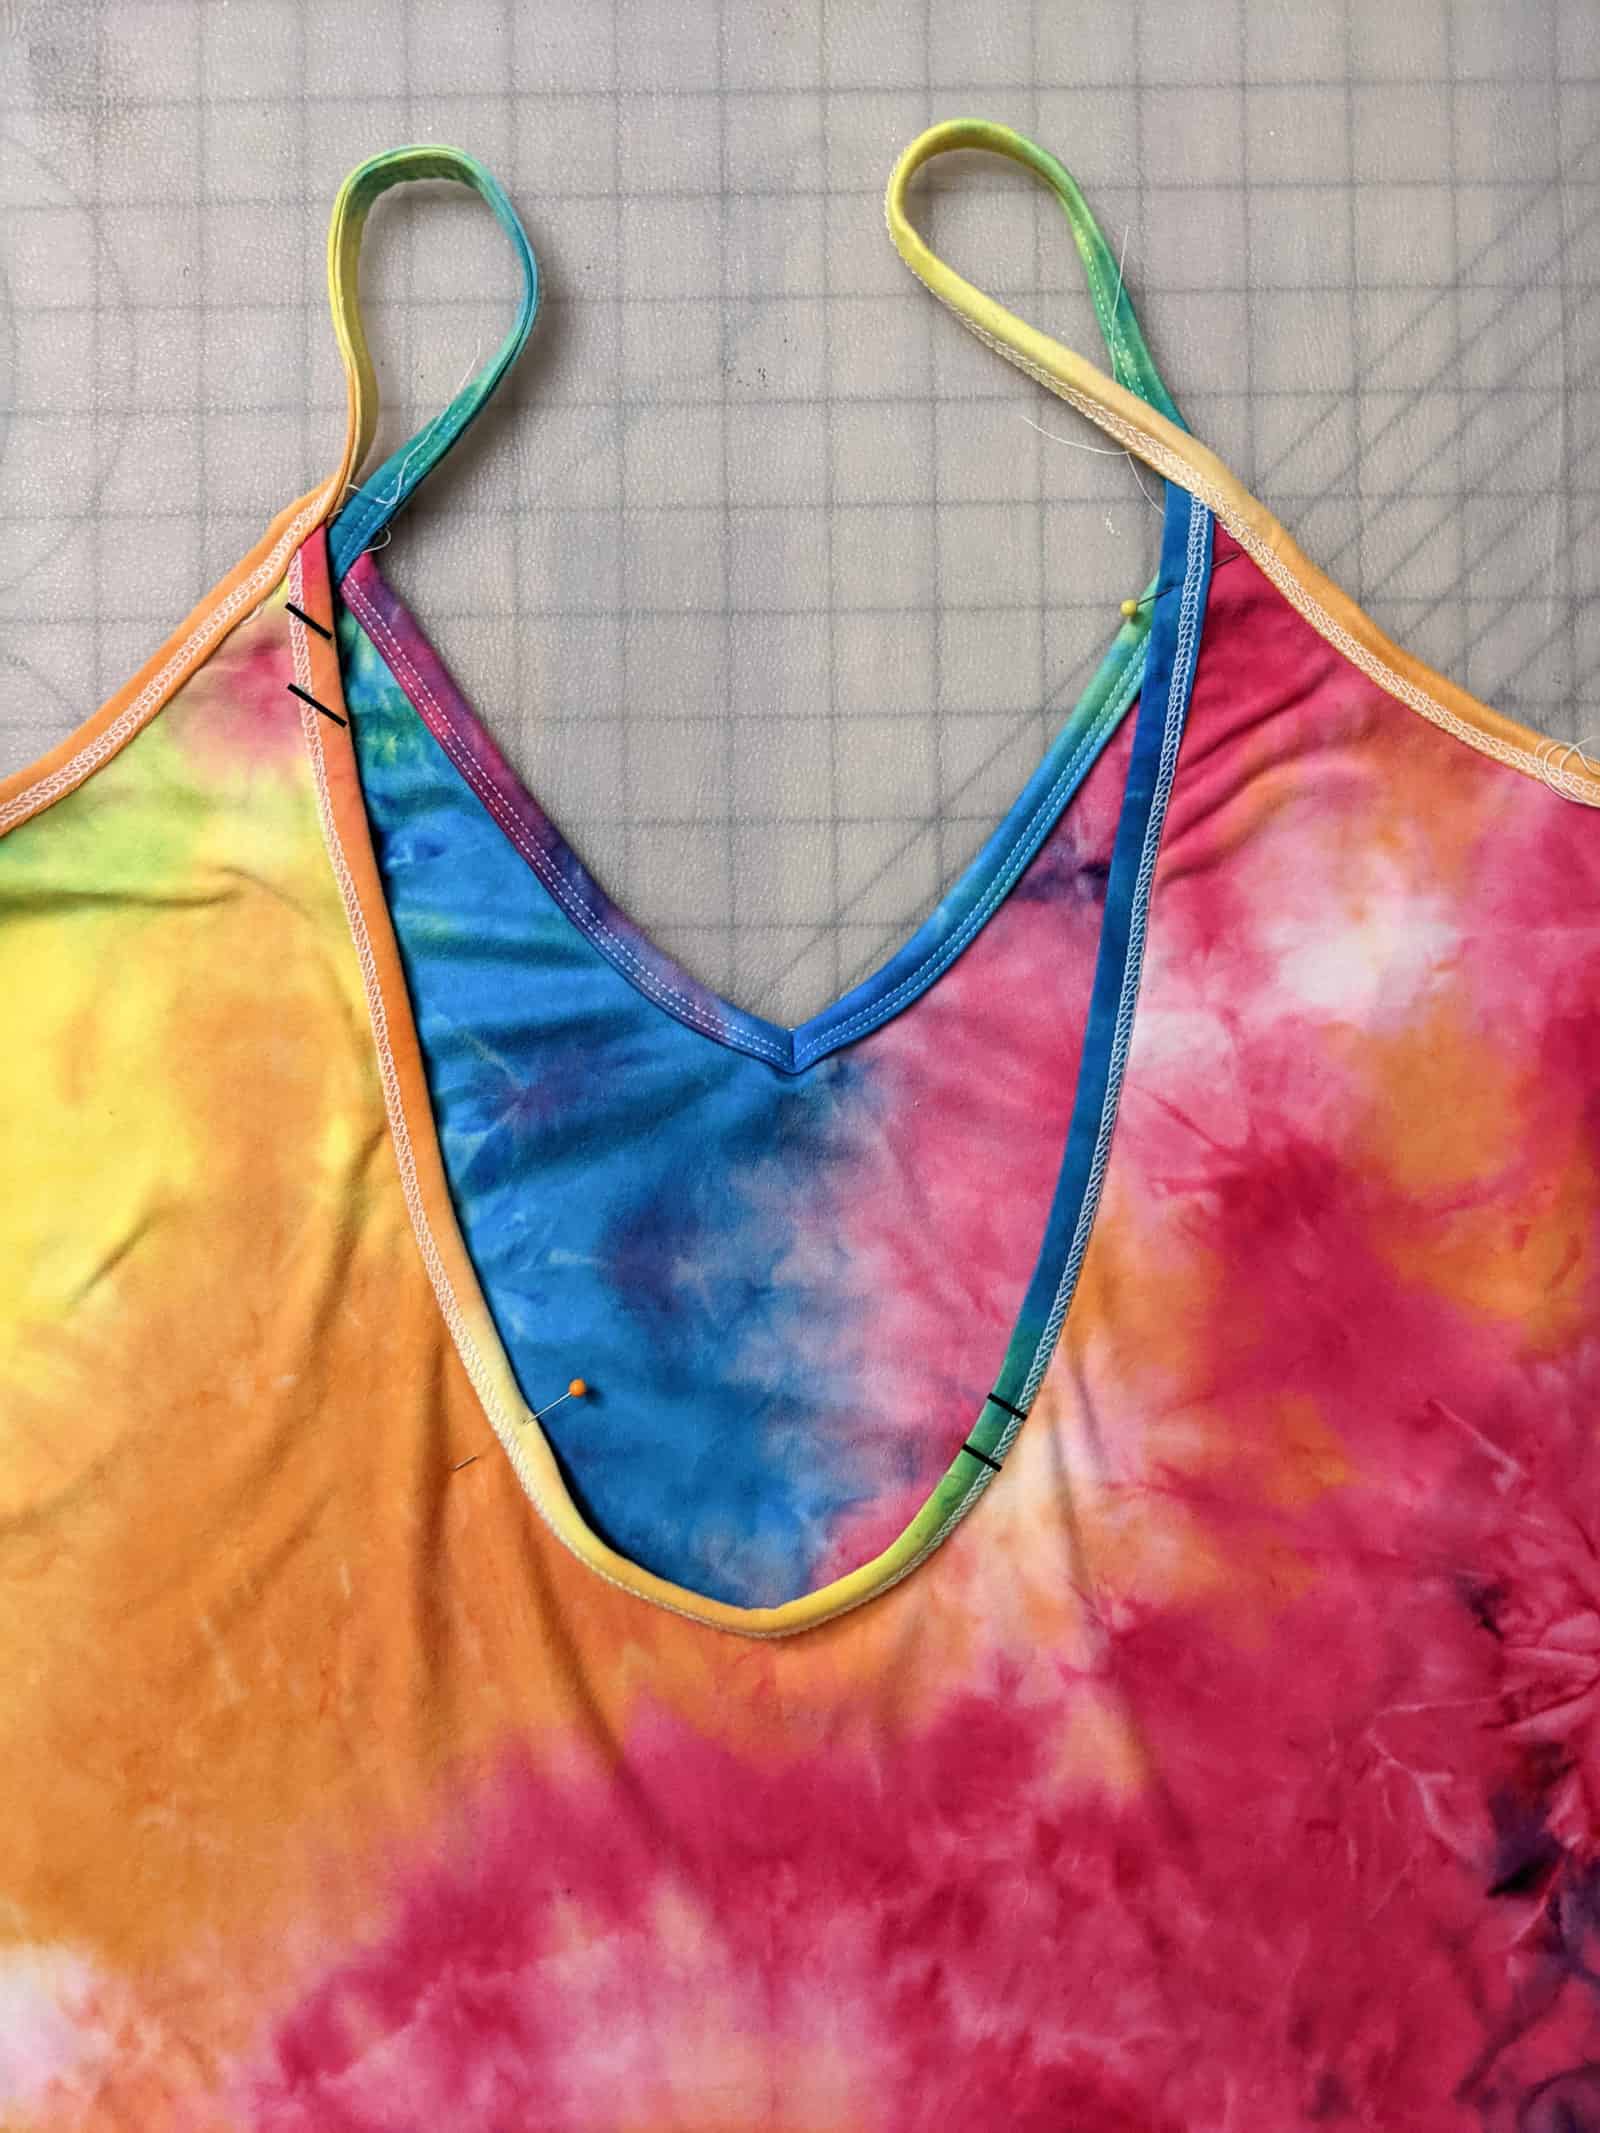
Once I have my bindings prepped and my Alana sewn, I lay out my straps to get a general idea of the style/angle I want.
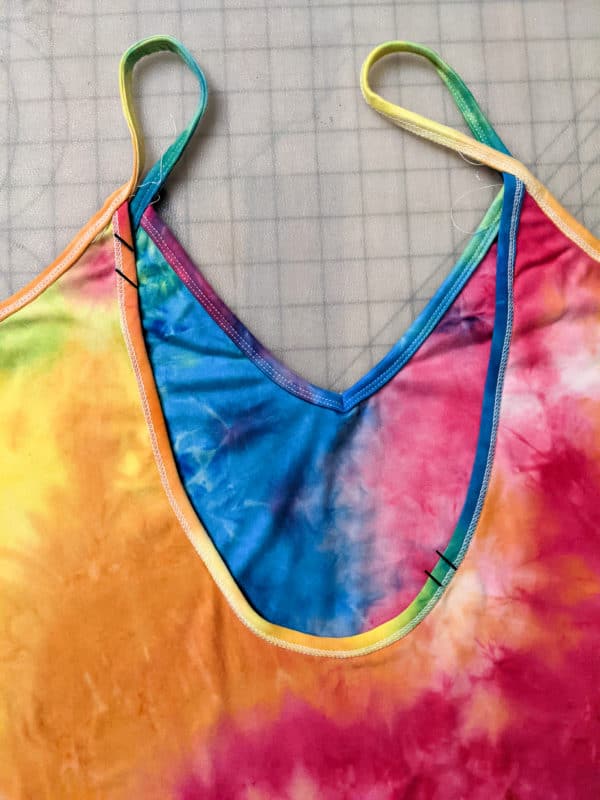
Then using pins or a washable marker, you’ll mark just one of the strap placements (as shown in black).
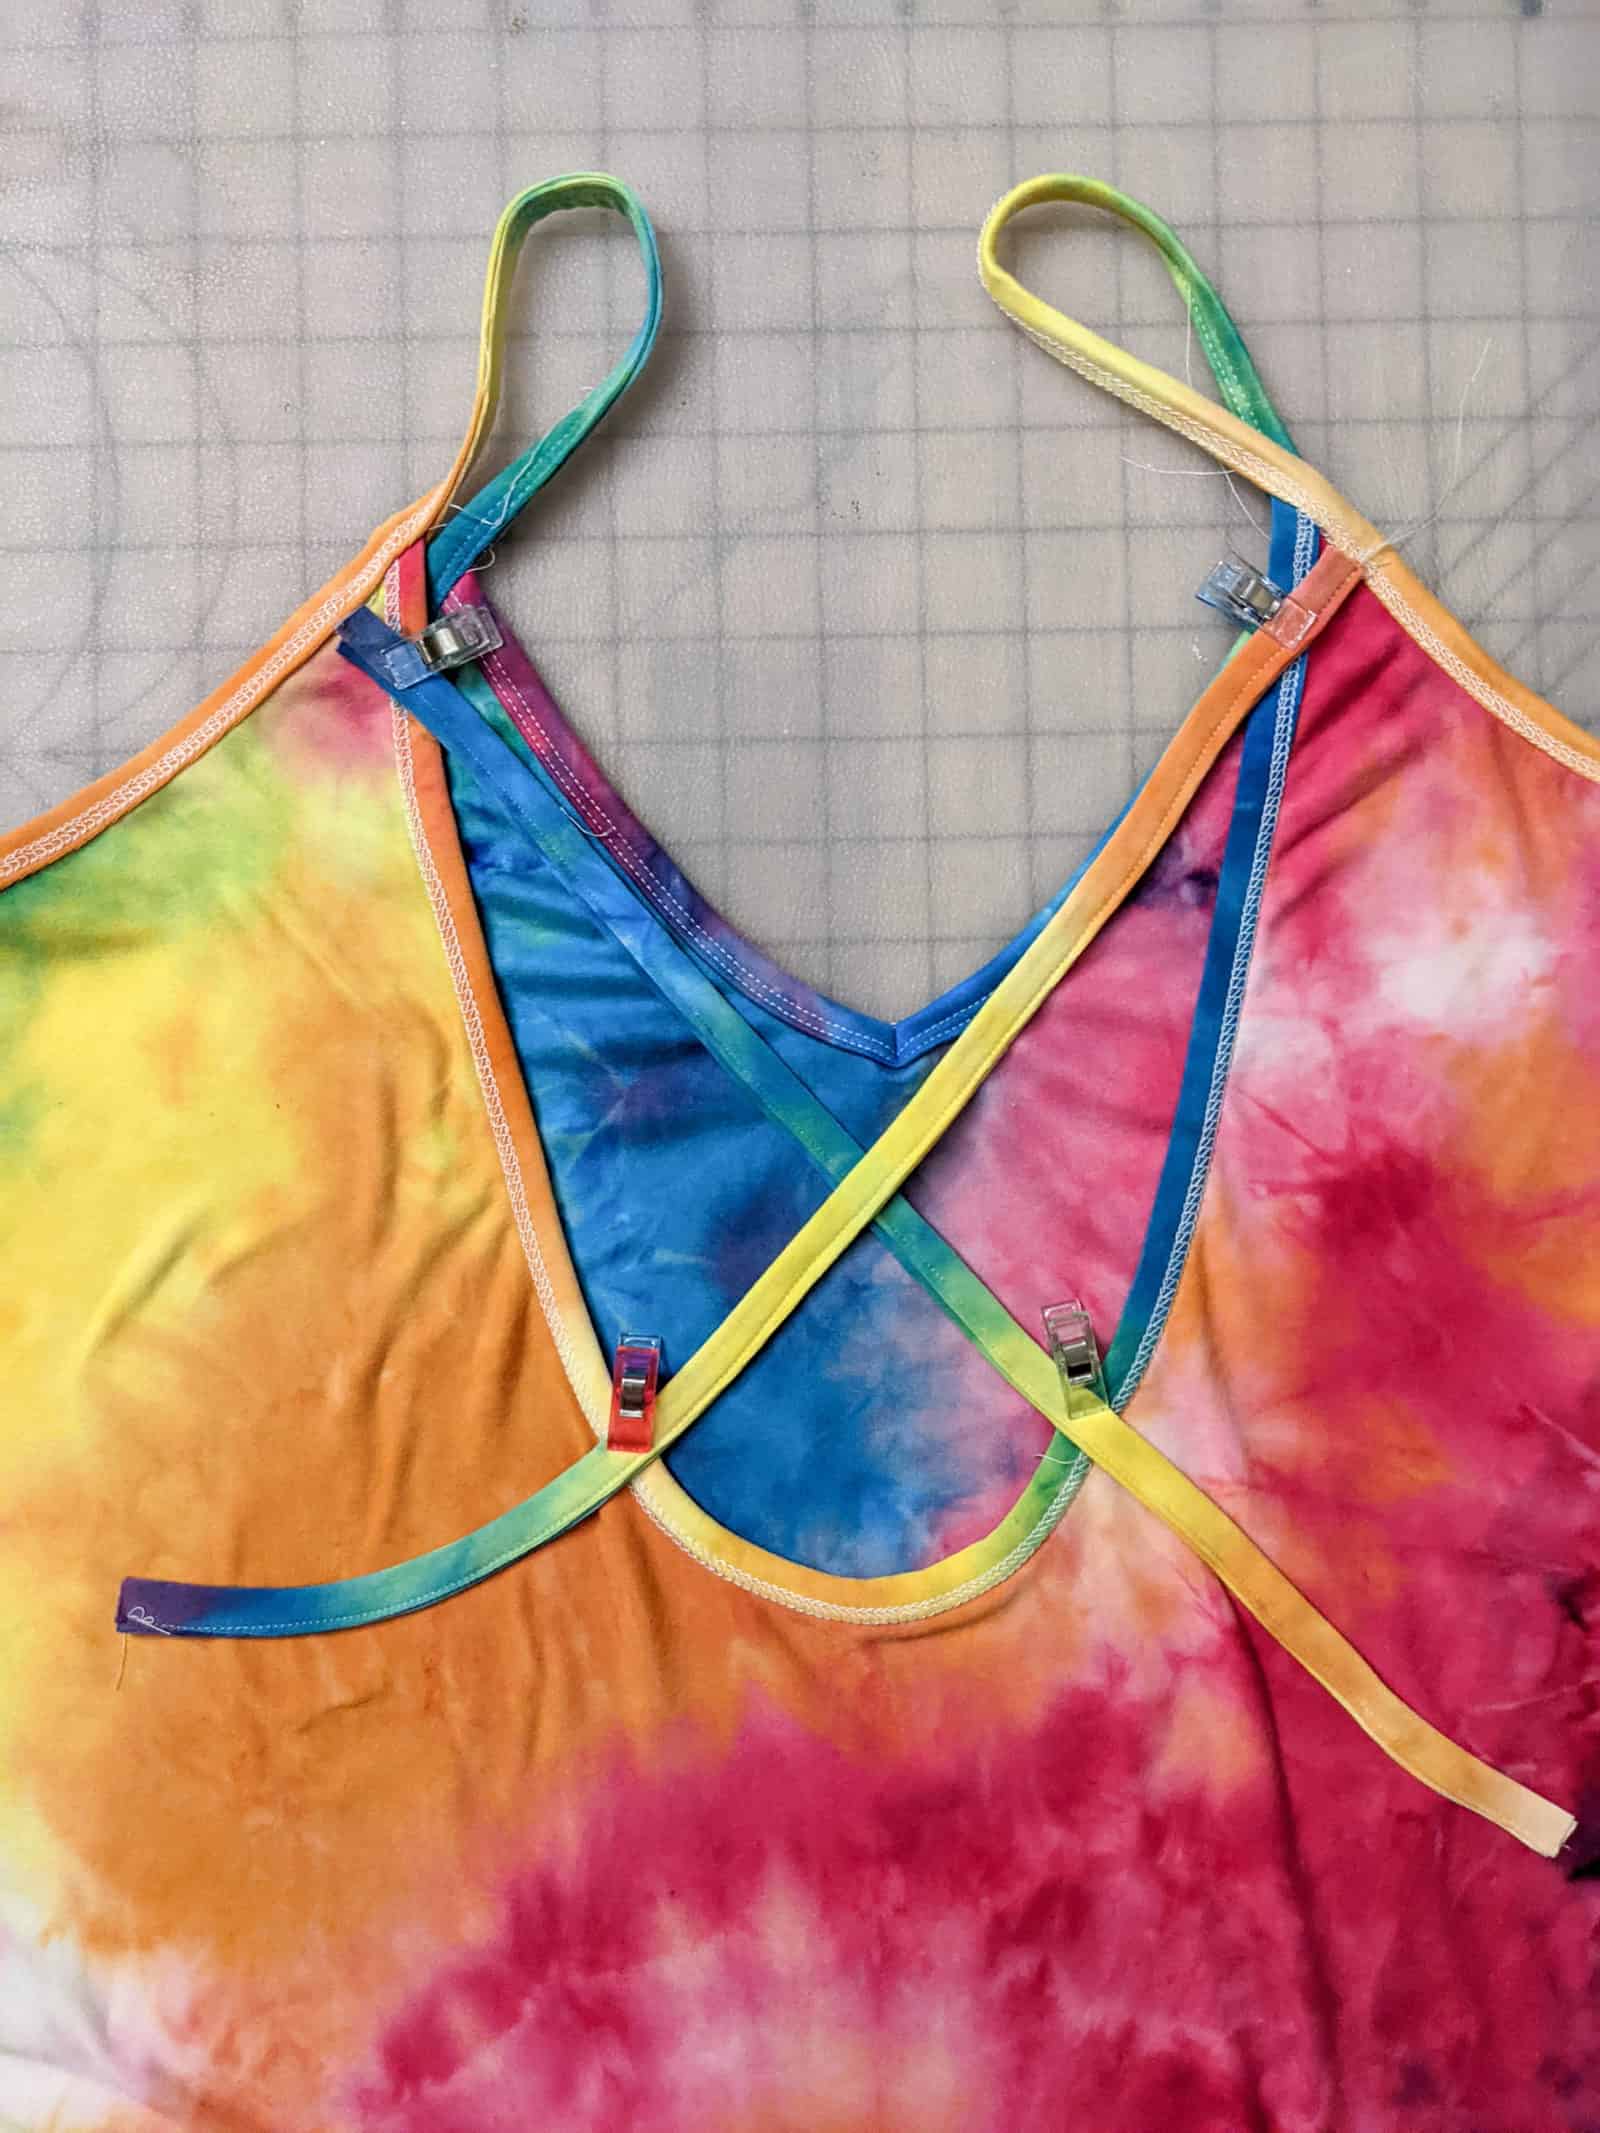
Now here is where we make sure the other strap perfectly mirrors the first one. You don’t want wonky straps! So fold your Alana exactly in half, lining up your pick-up points. From here, you’ll transfer your markings to the other side. I found this easiest to do with pins.
Open your Alana back up and lay your straps down exactly on your markings and pin/clip in place.
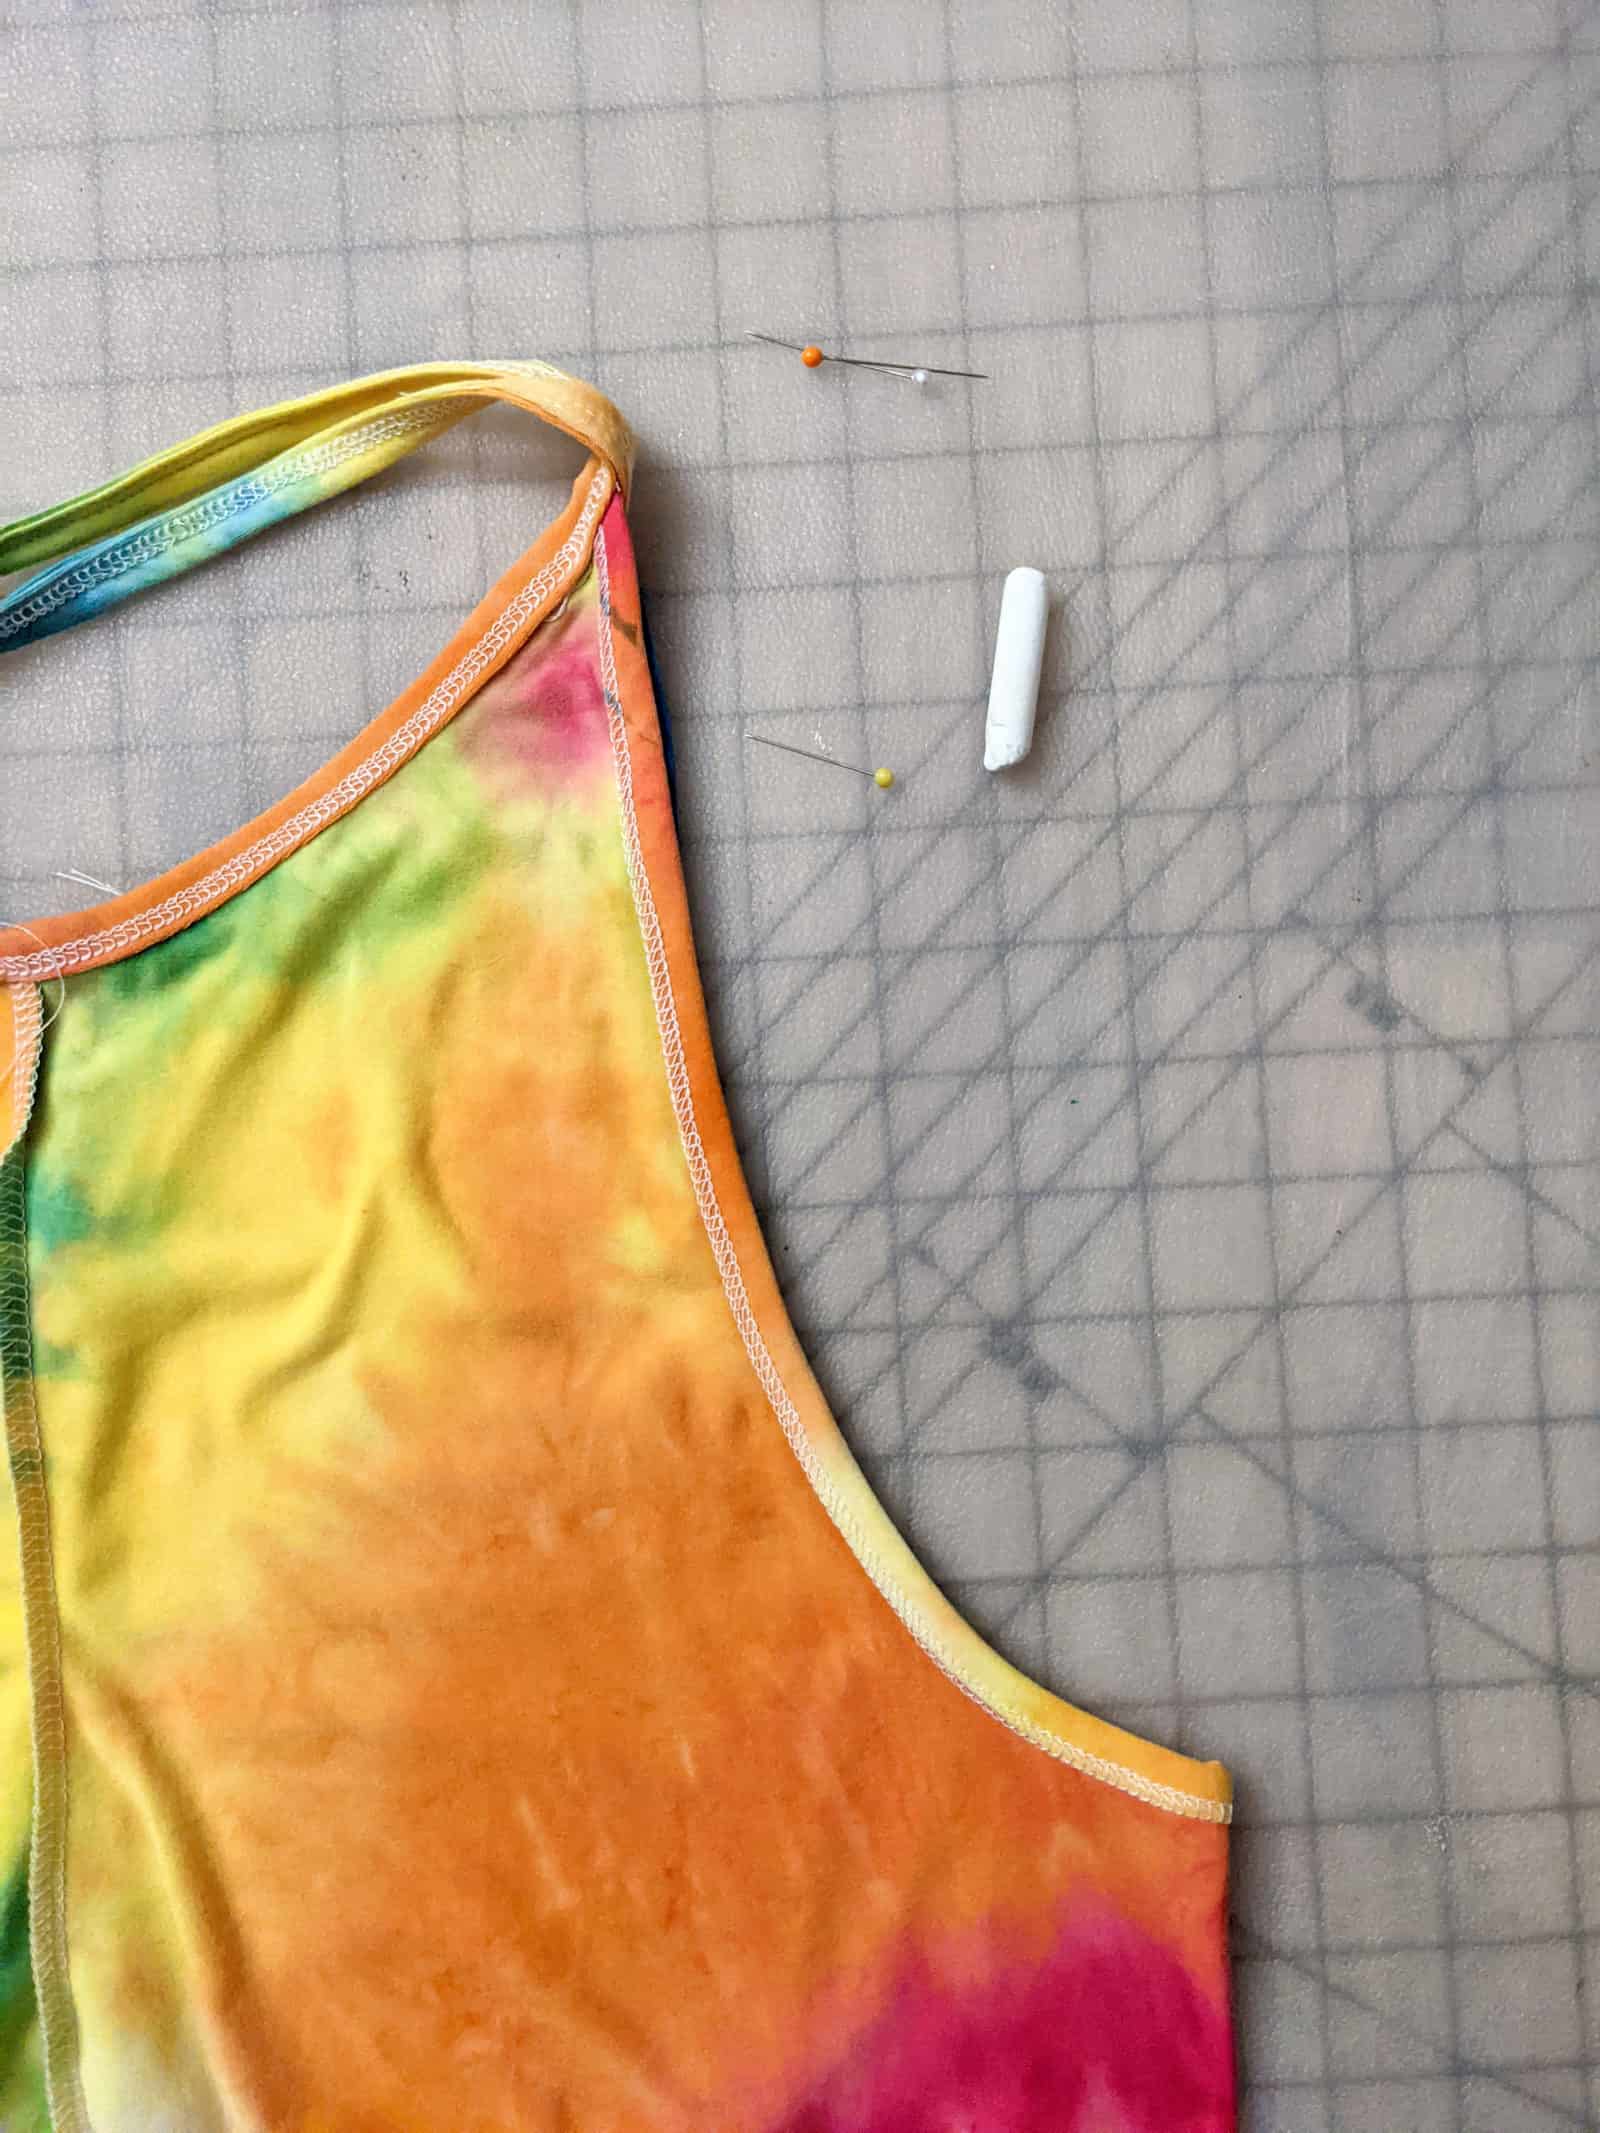
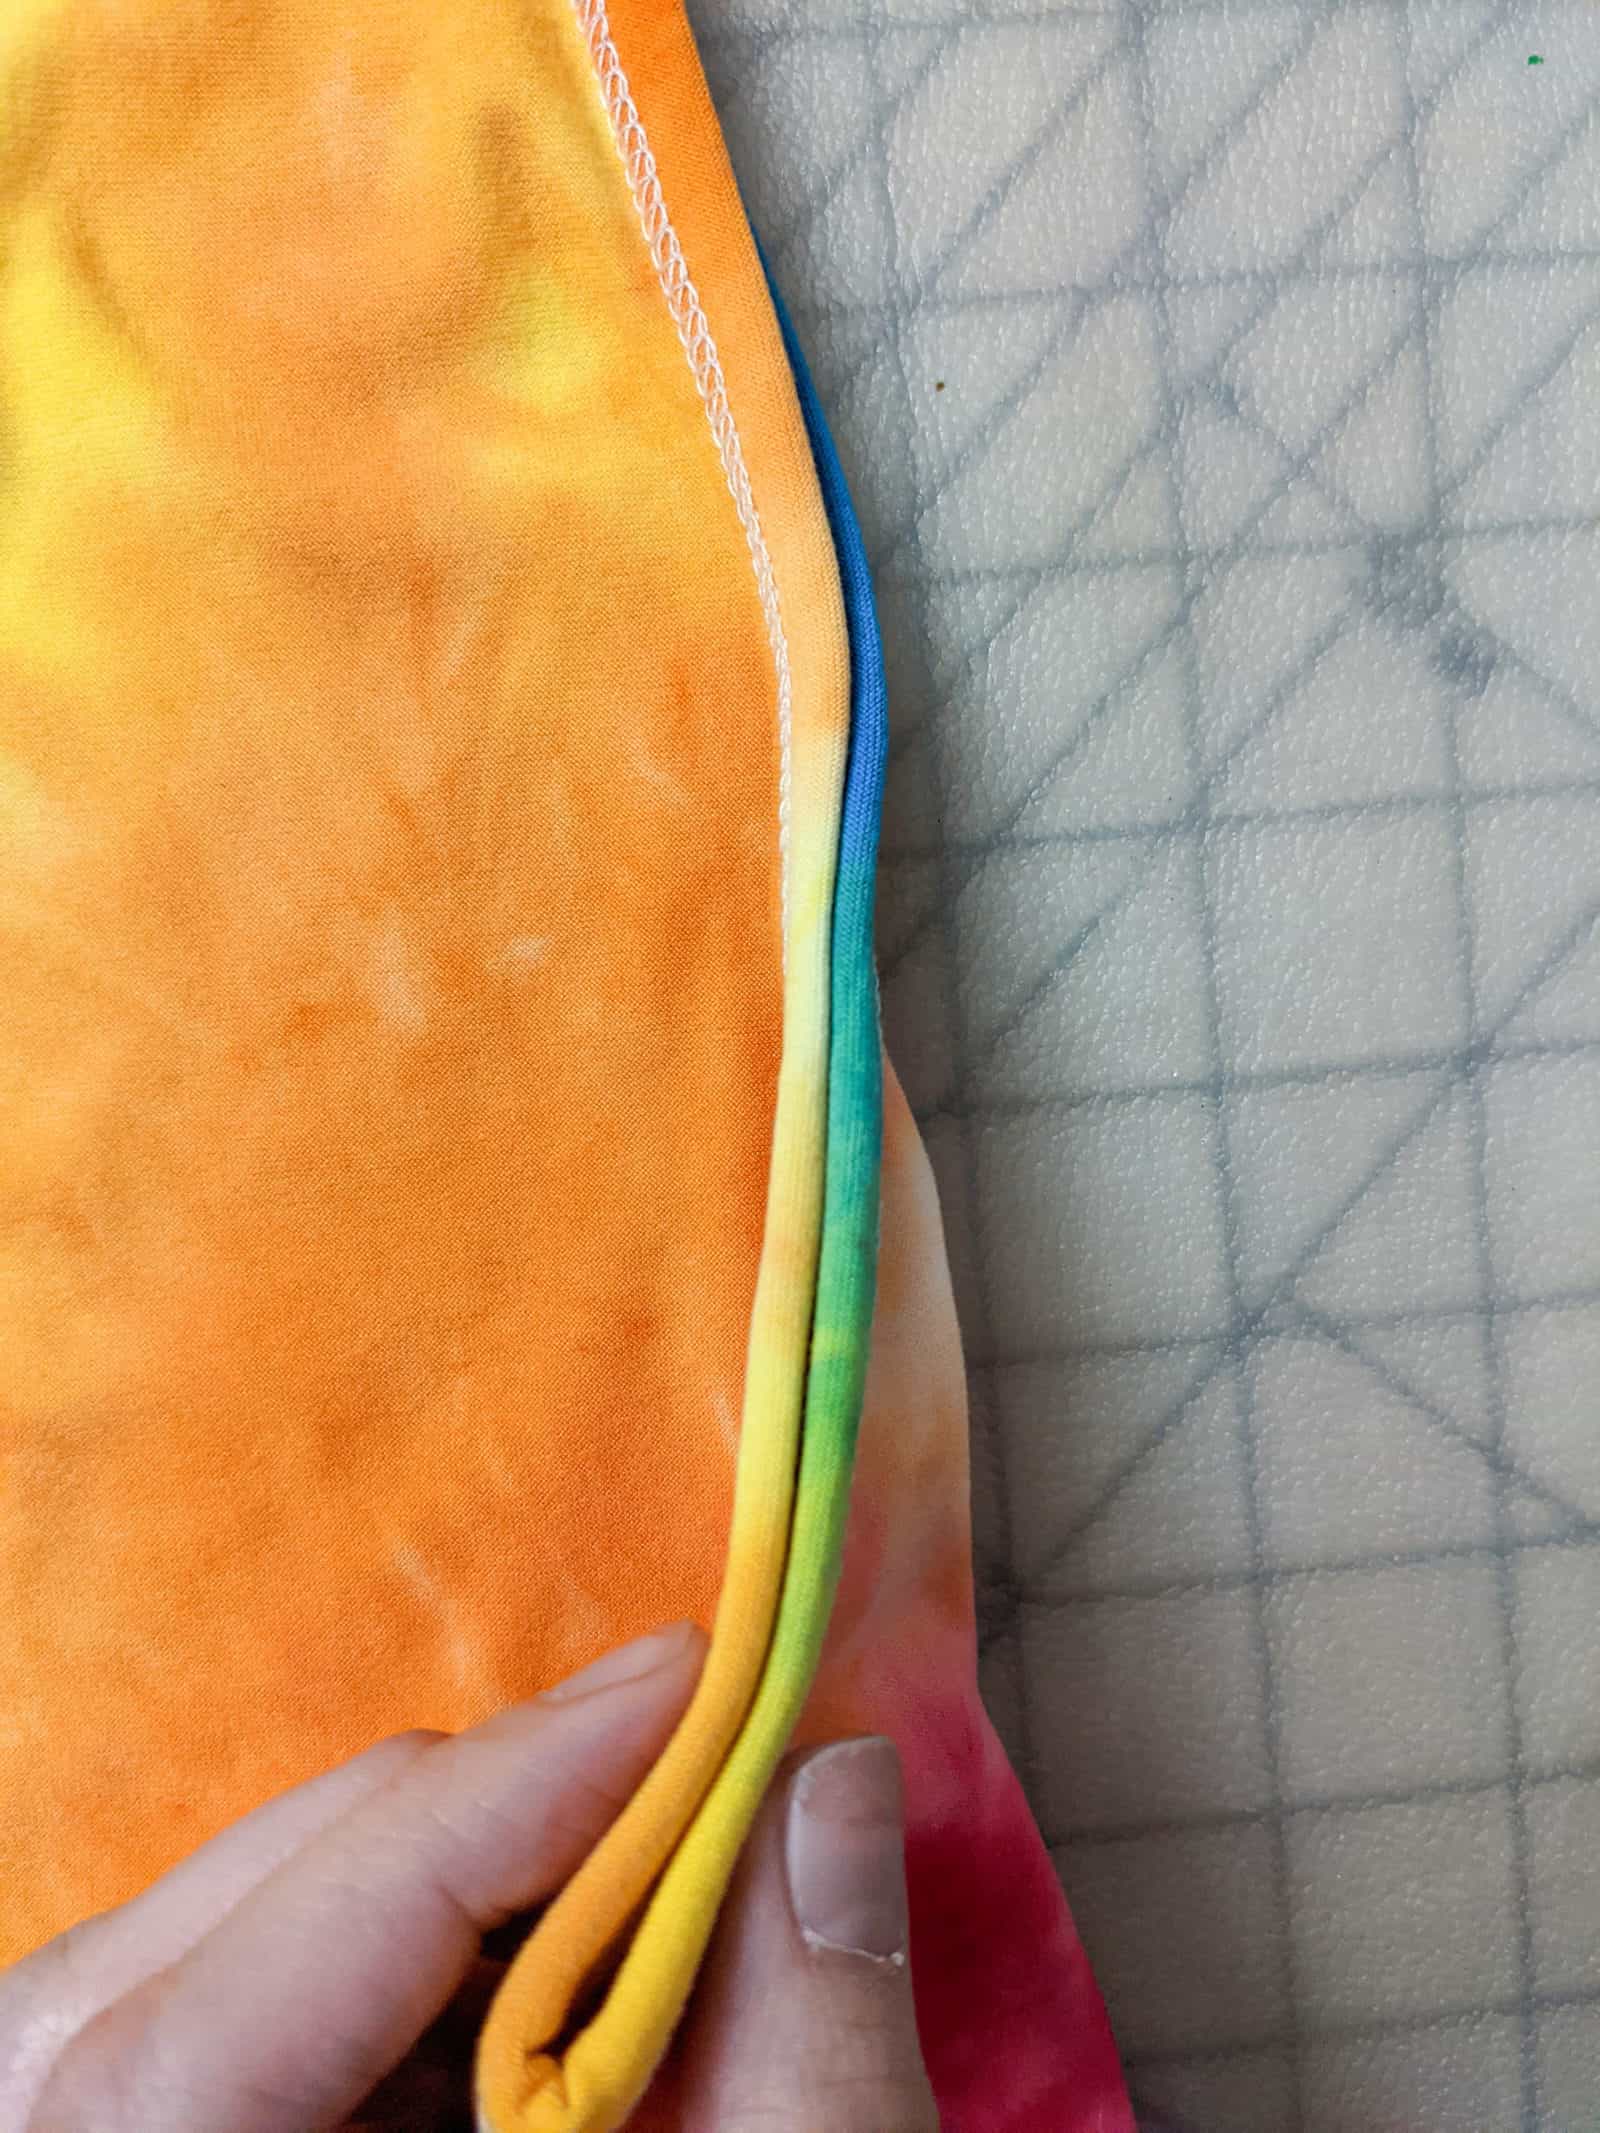
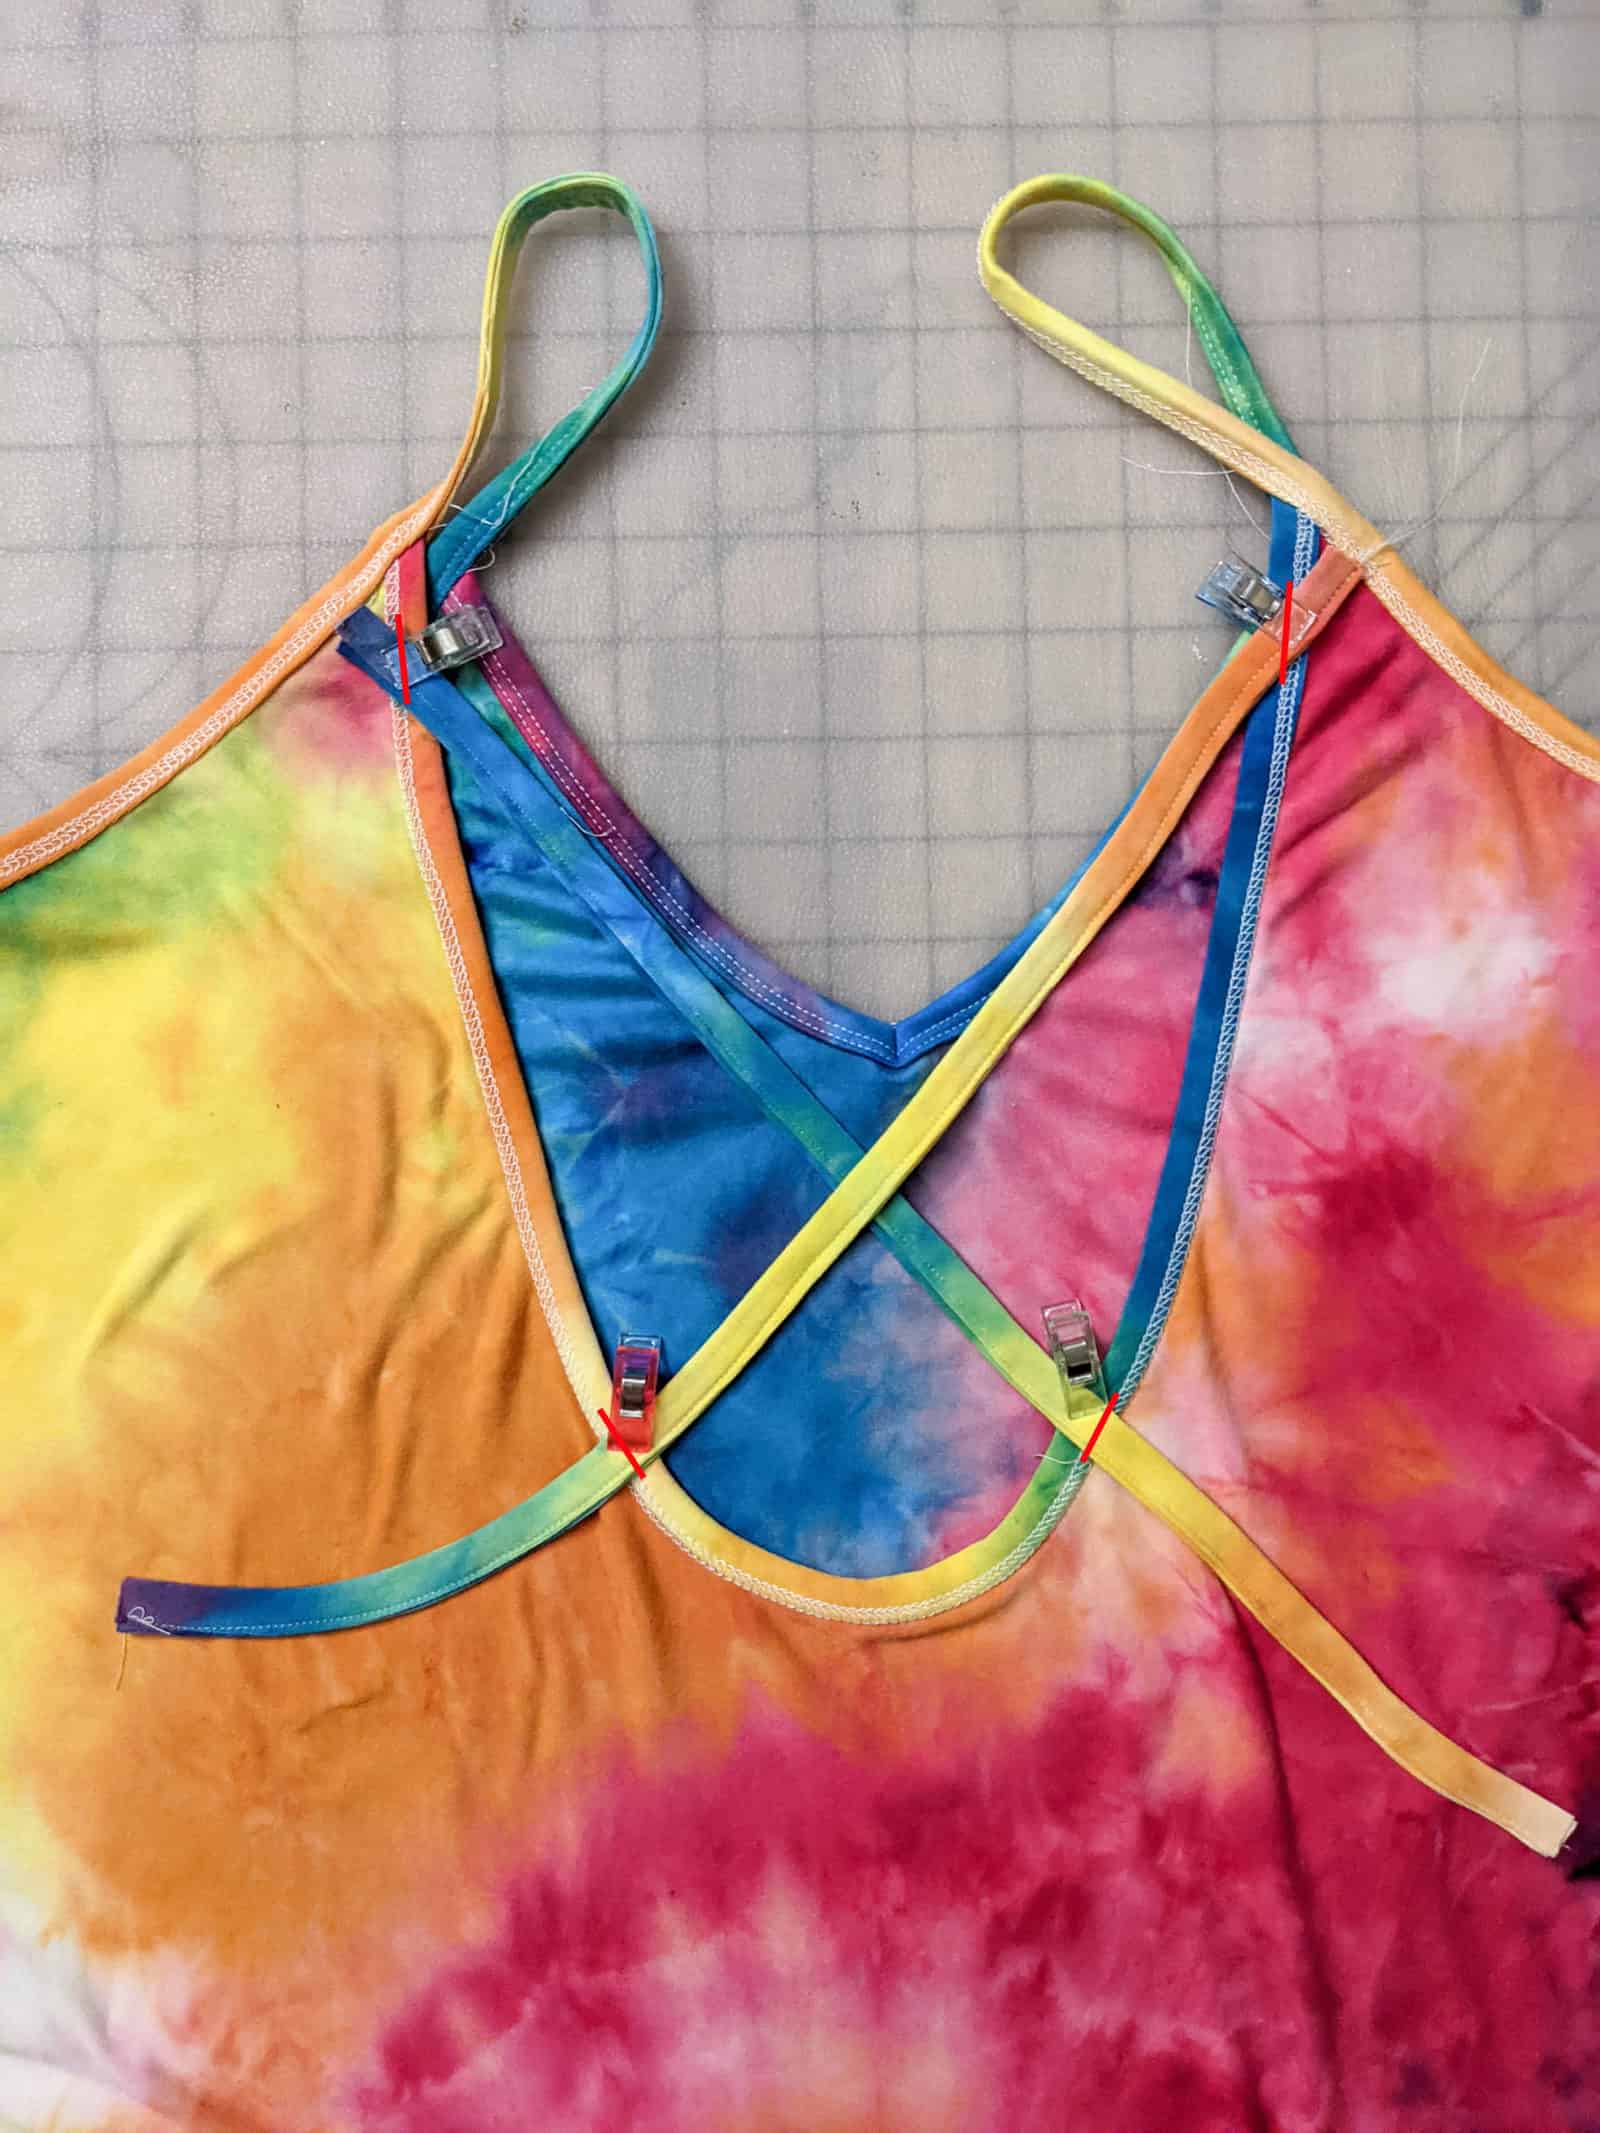
Now simply stitch your straps onto the wrong side of your Alana as shown in red. I recommend following a stitch line you already created with your binding for a clean look. Trim away the extra and you are good to go!
Super cute and easy hack. You can follow these steps for any unique strap configurations like some of these fun tester examples.
Happy Sewing!
Michelle
FOE (Fold Over Elastic) Hack
Isn’t Alana the epitome of breezy summer wear? It’s comfortable, cute, sexy, it has an amazing easy fit AND it’s super fast and easy to sew. What’s not to love?But if you wanted it to be an even quicker sew, you could make it faster by using fold over elastic (FOE) or ready made knit bias tape.
It’s a simple substitution if you want a shortcut, or just add a little extra pizzaz to your Alana.
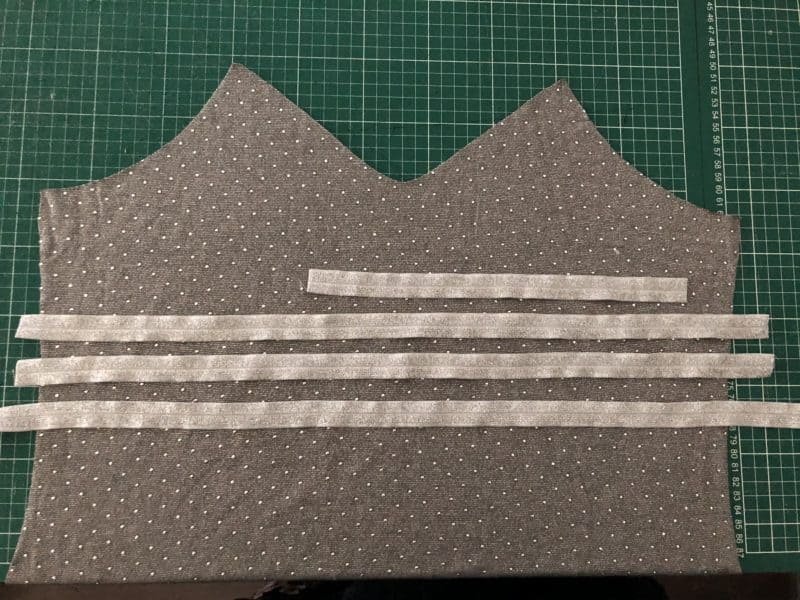
- Cut the FOE using the pattern pieces for the binding;
- One thing to keep in mind! Depending on the fabric you use and the recovery of it, you may need to adjust the lenght of the FOE a little. If the fabric tends to stretch out, add a bit of length to the FOE as it’s elastic and has good recovery.
- Align the edge of the fabric to the center line on the elastic
- Baste or zigzag stitch it in place
- Fold the elastic over and topstitch it.
- Alternatively, you can just sandwich the fabric between the folded elastic, pin and topstitch it. This method is quicker, but also has a bigger chance of mistakes.
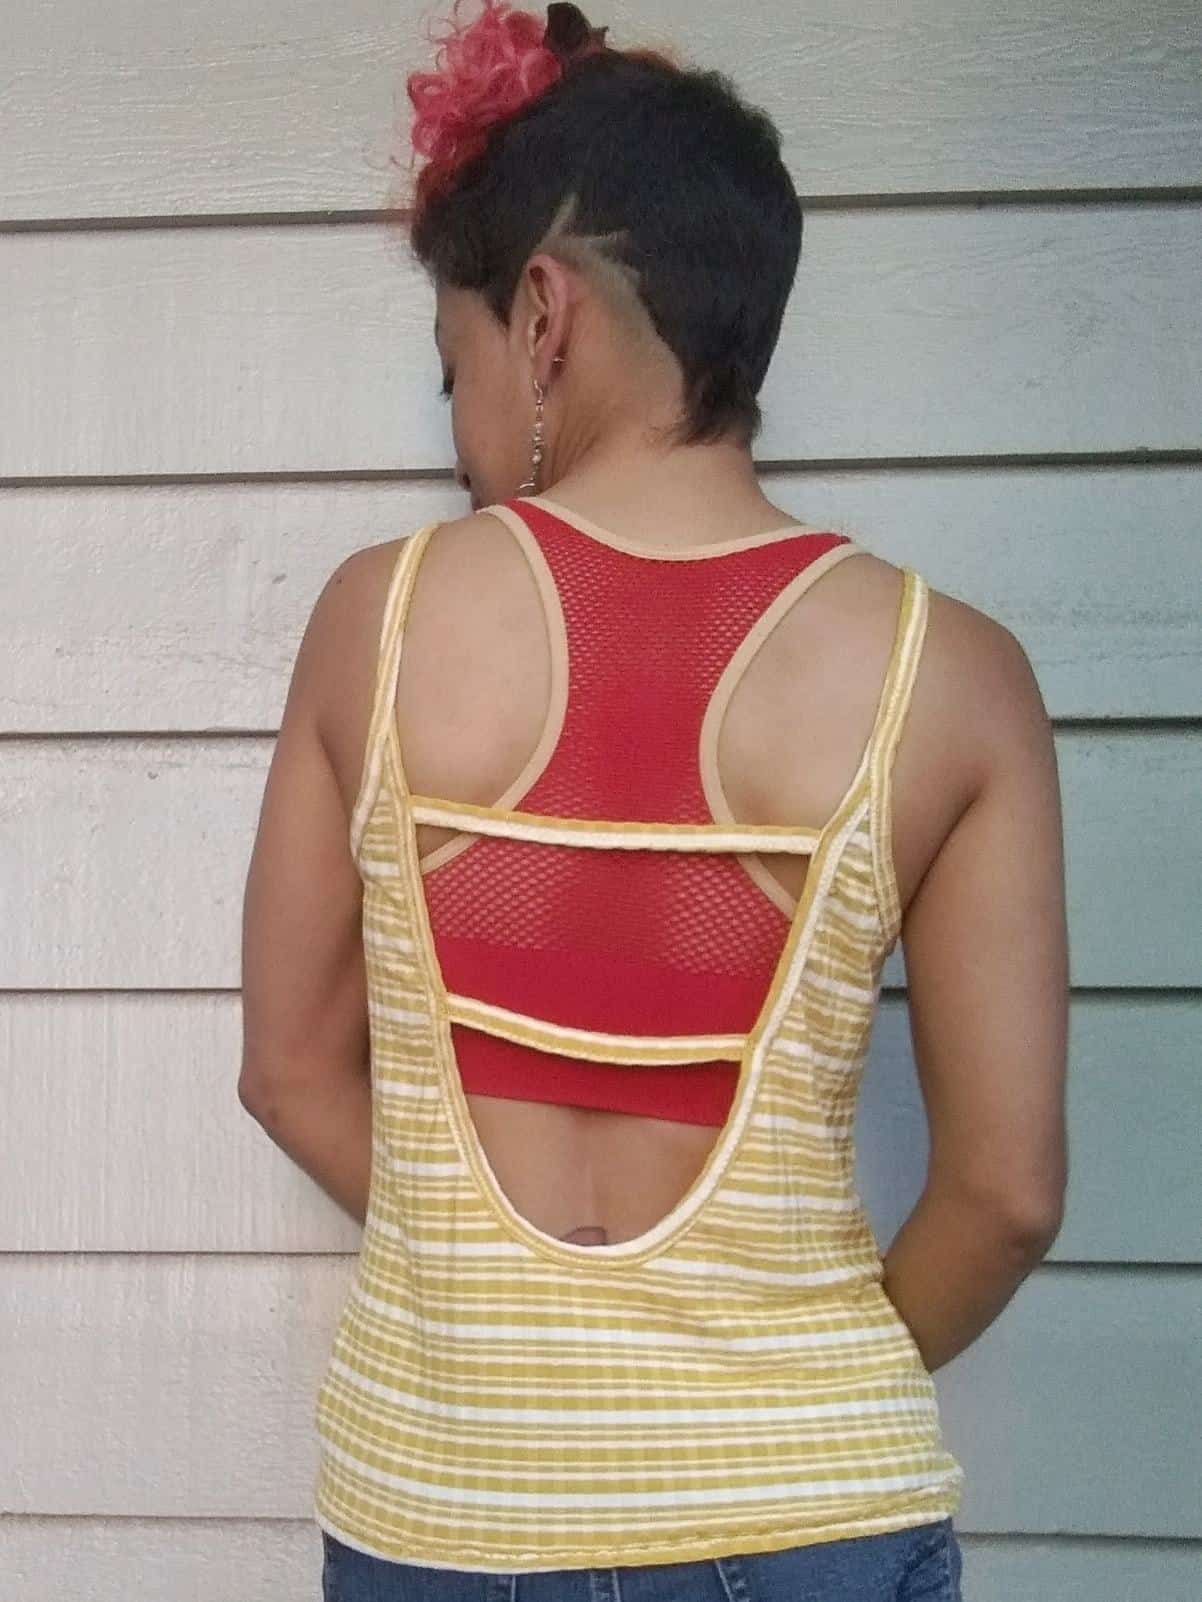
So, after you’ve saved all this time not needing to make your own binding, you can use it to play with extra strap placements on your top 😀
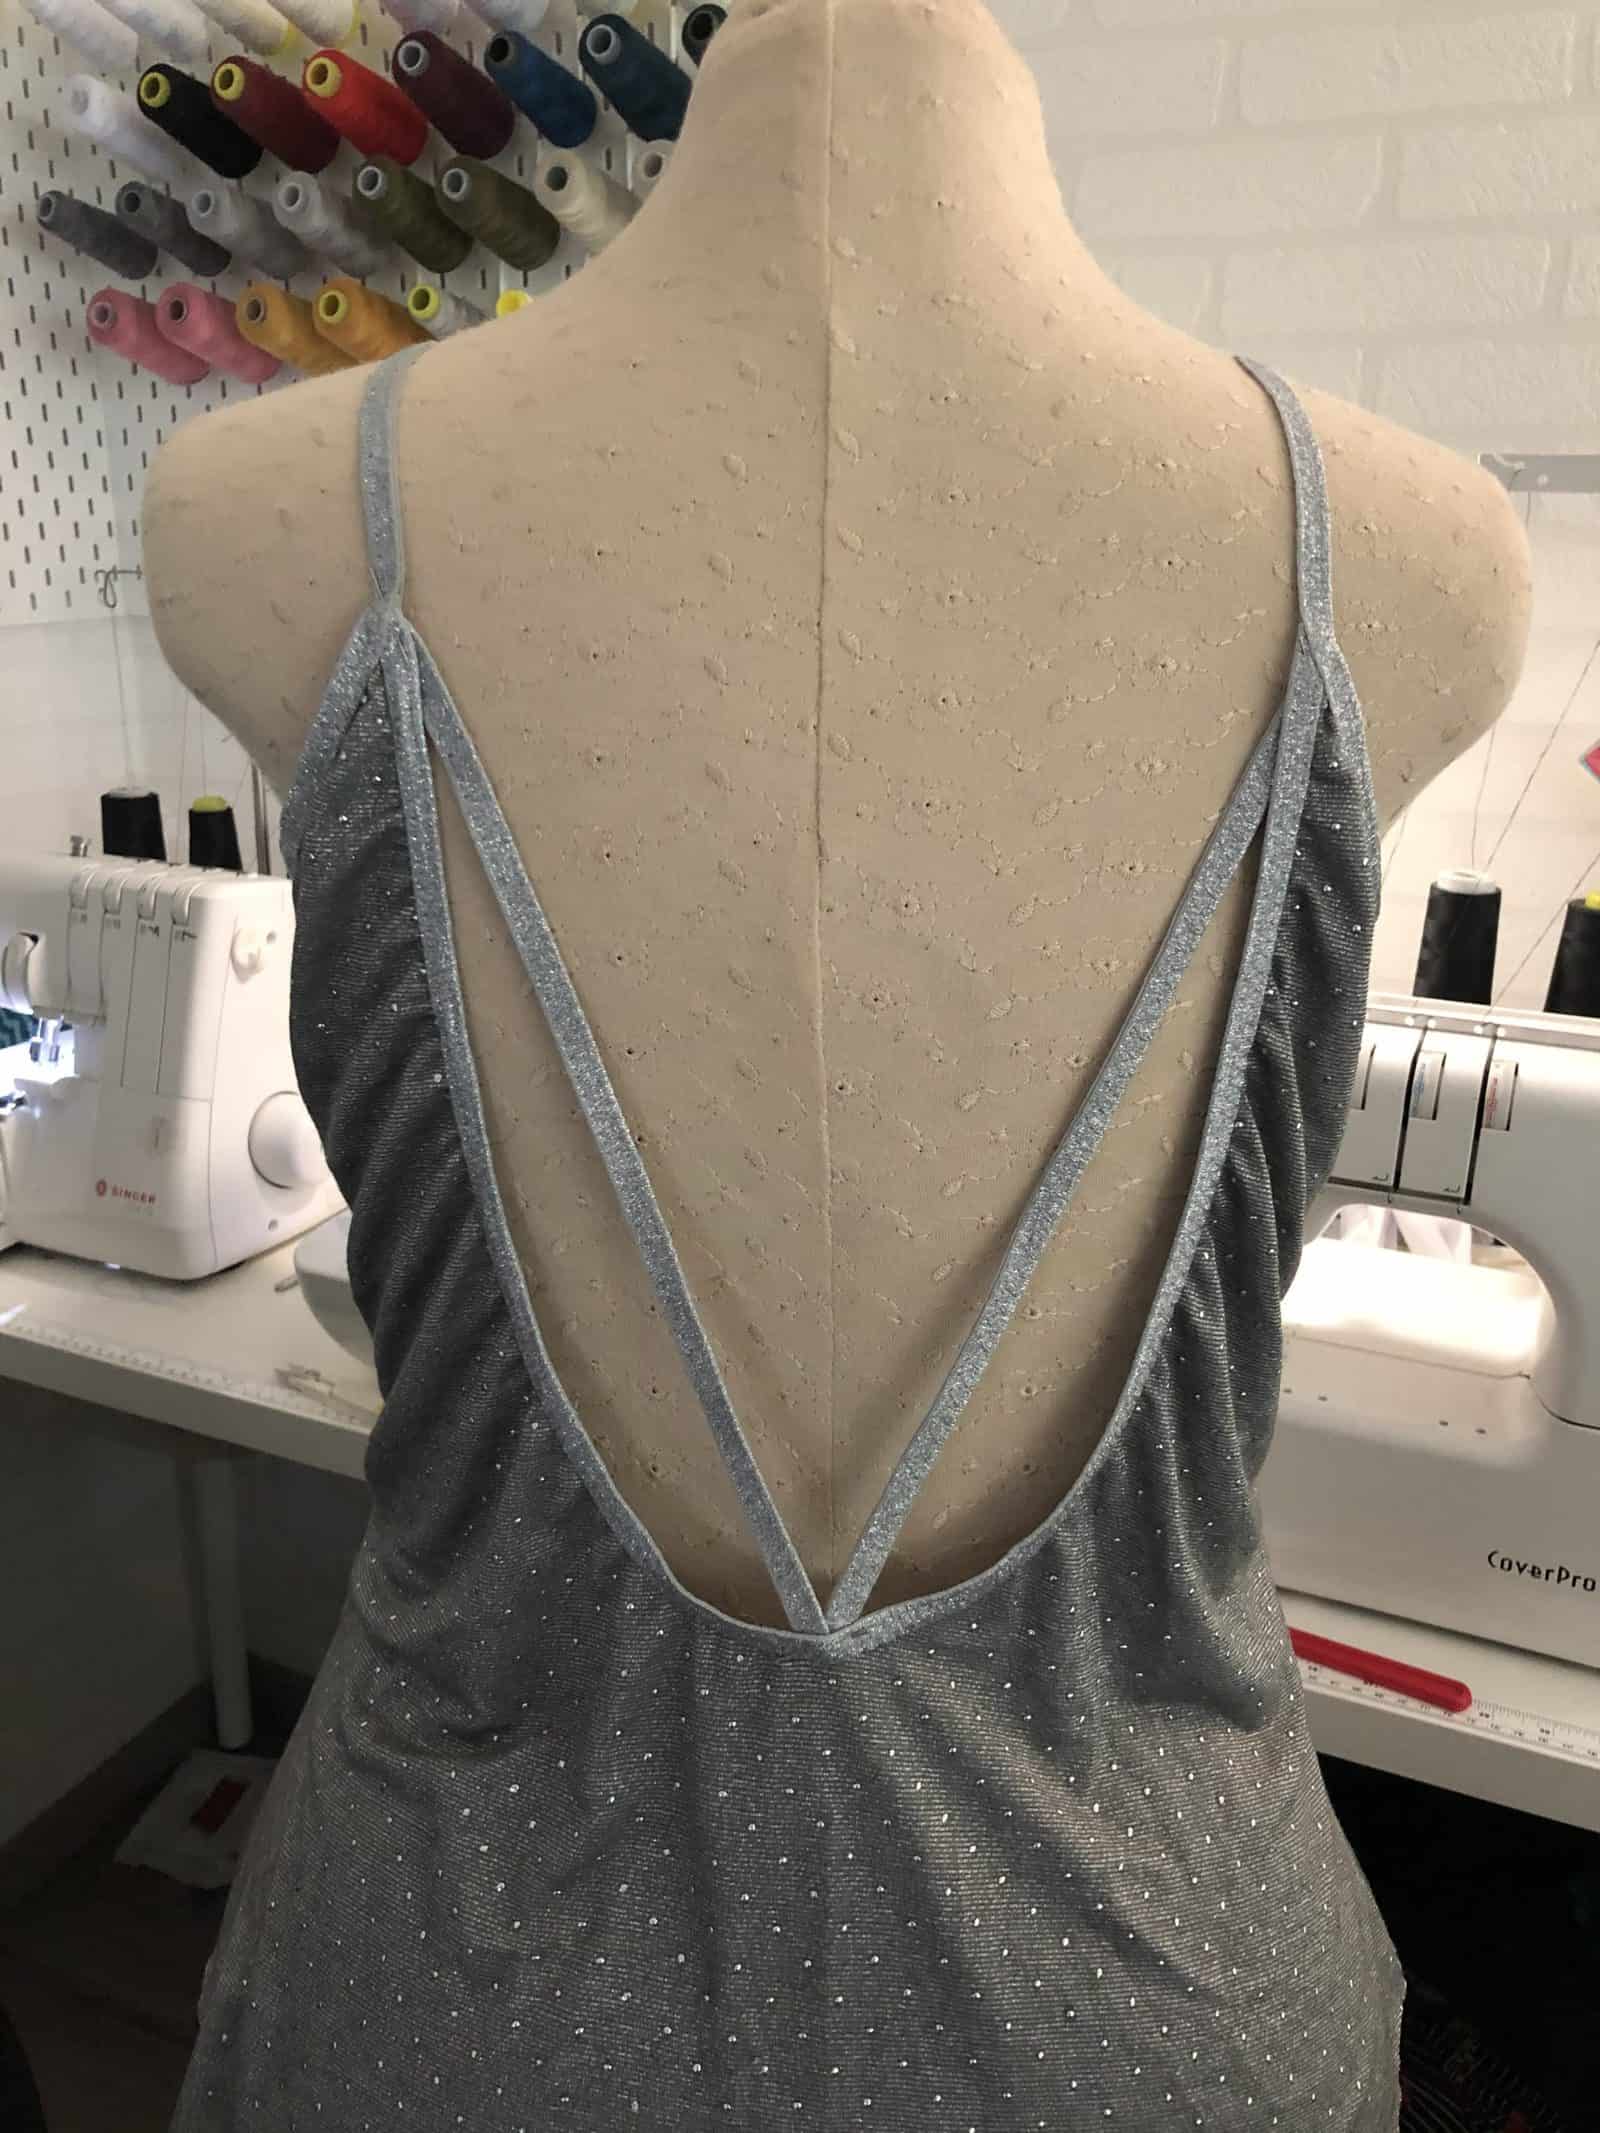
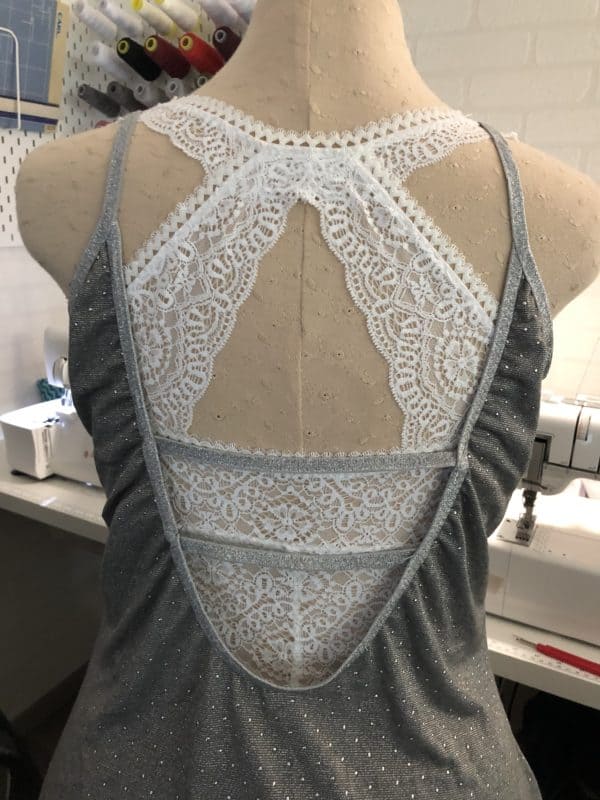
Just sew a few lengths of FOE shut and have fun with it.
Here are a few that I tried before choosing mine:
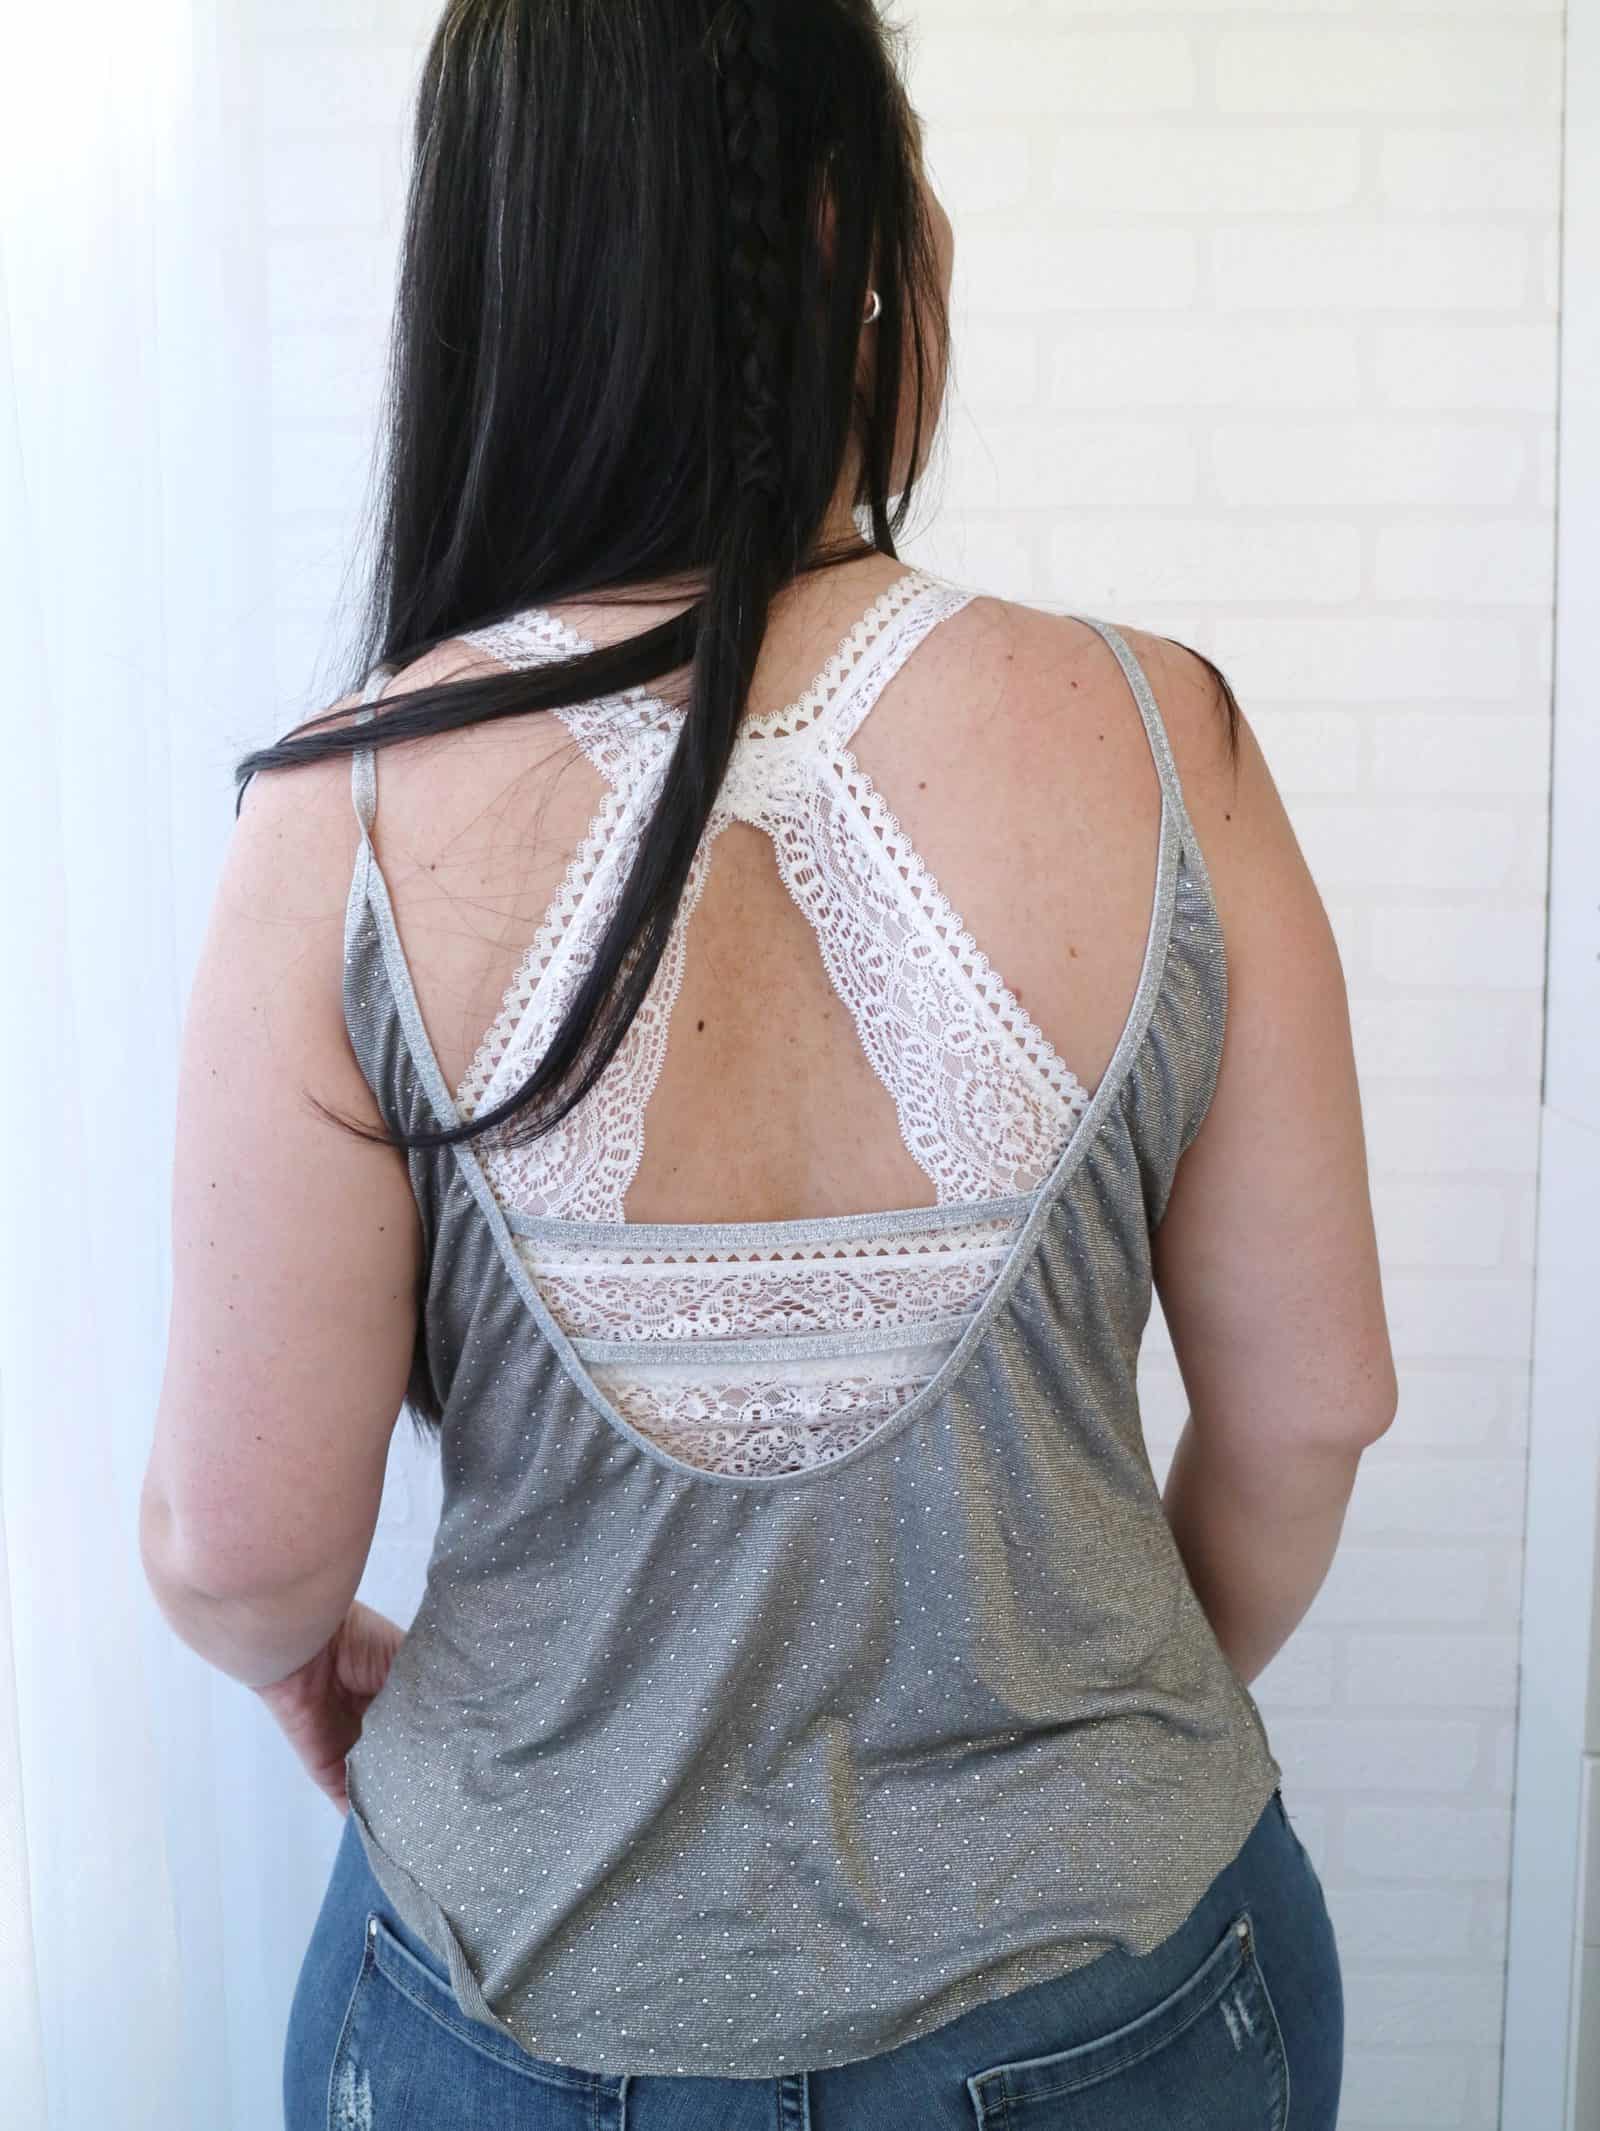
Then I realized that this fabric is super lightweight and I wouldn’t feel comfortable going braless with it, so Bridgette came to the rescue and I decided to keep it simple with two horizontal stripes aligned with the seams of the lace bra.
Oh, and remember what I said about adding length to the FOE if the fabric has poor recovery? Yeah… I forgot to do it on this!
I’m not mad at it and still love the top, but something to keep in mind! 😉
xxx
Livia
Twist Back Hack
As soon as I saw Alana’s low back option I knew it would be perfect to recreate a top I have saved in my inspiration board. I love these fun little details that are simple yet impactful.
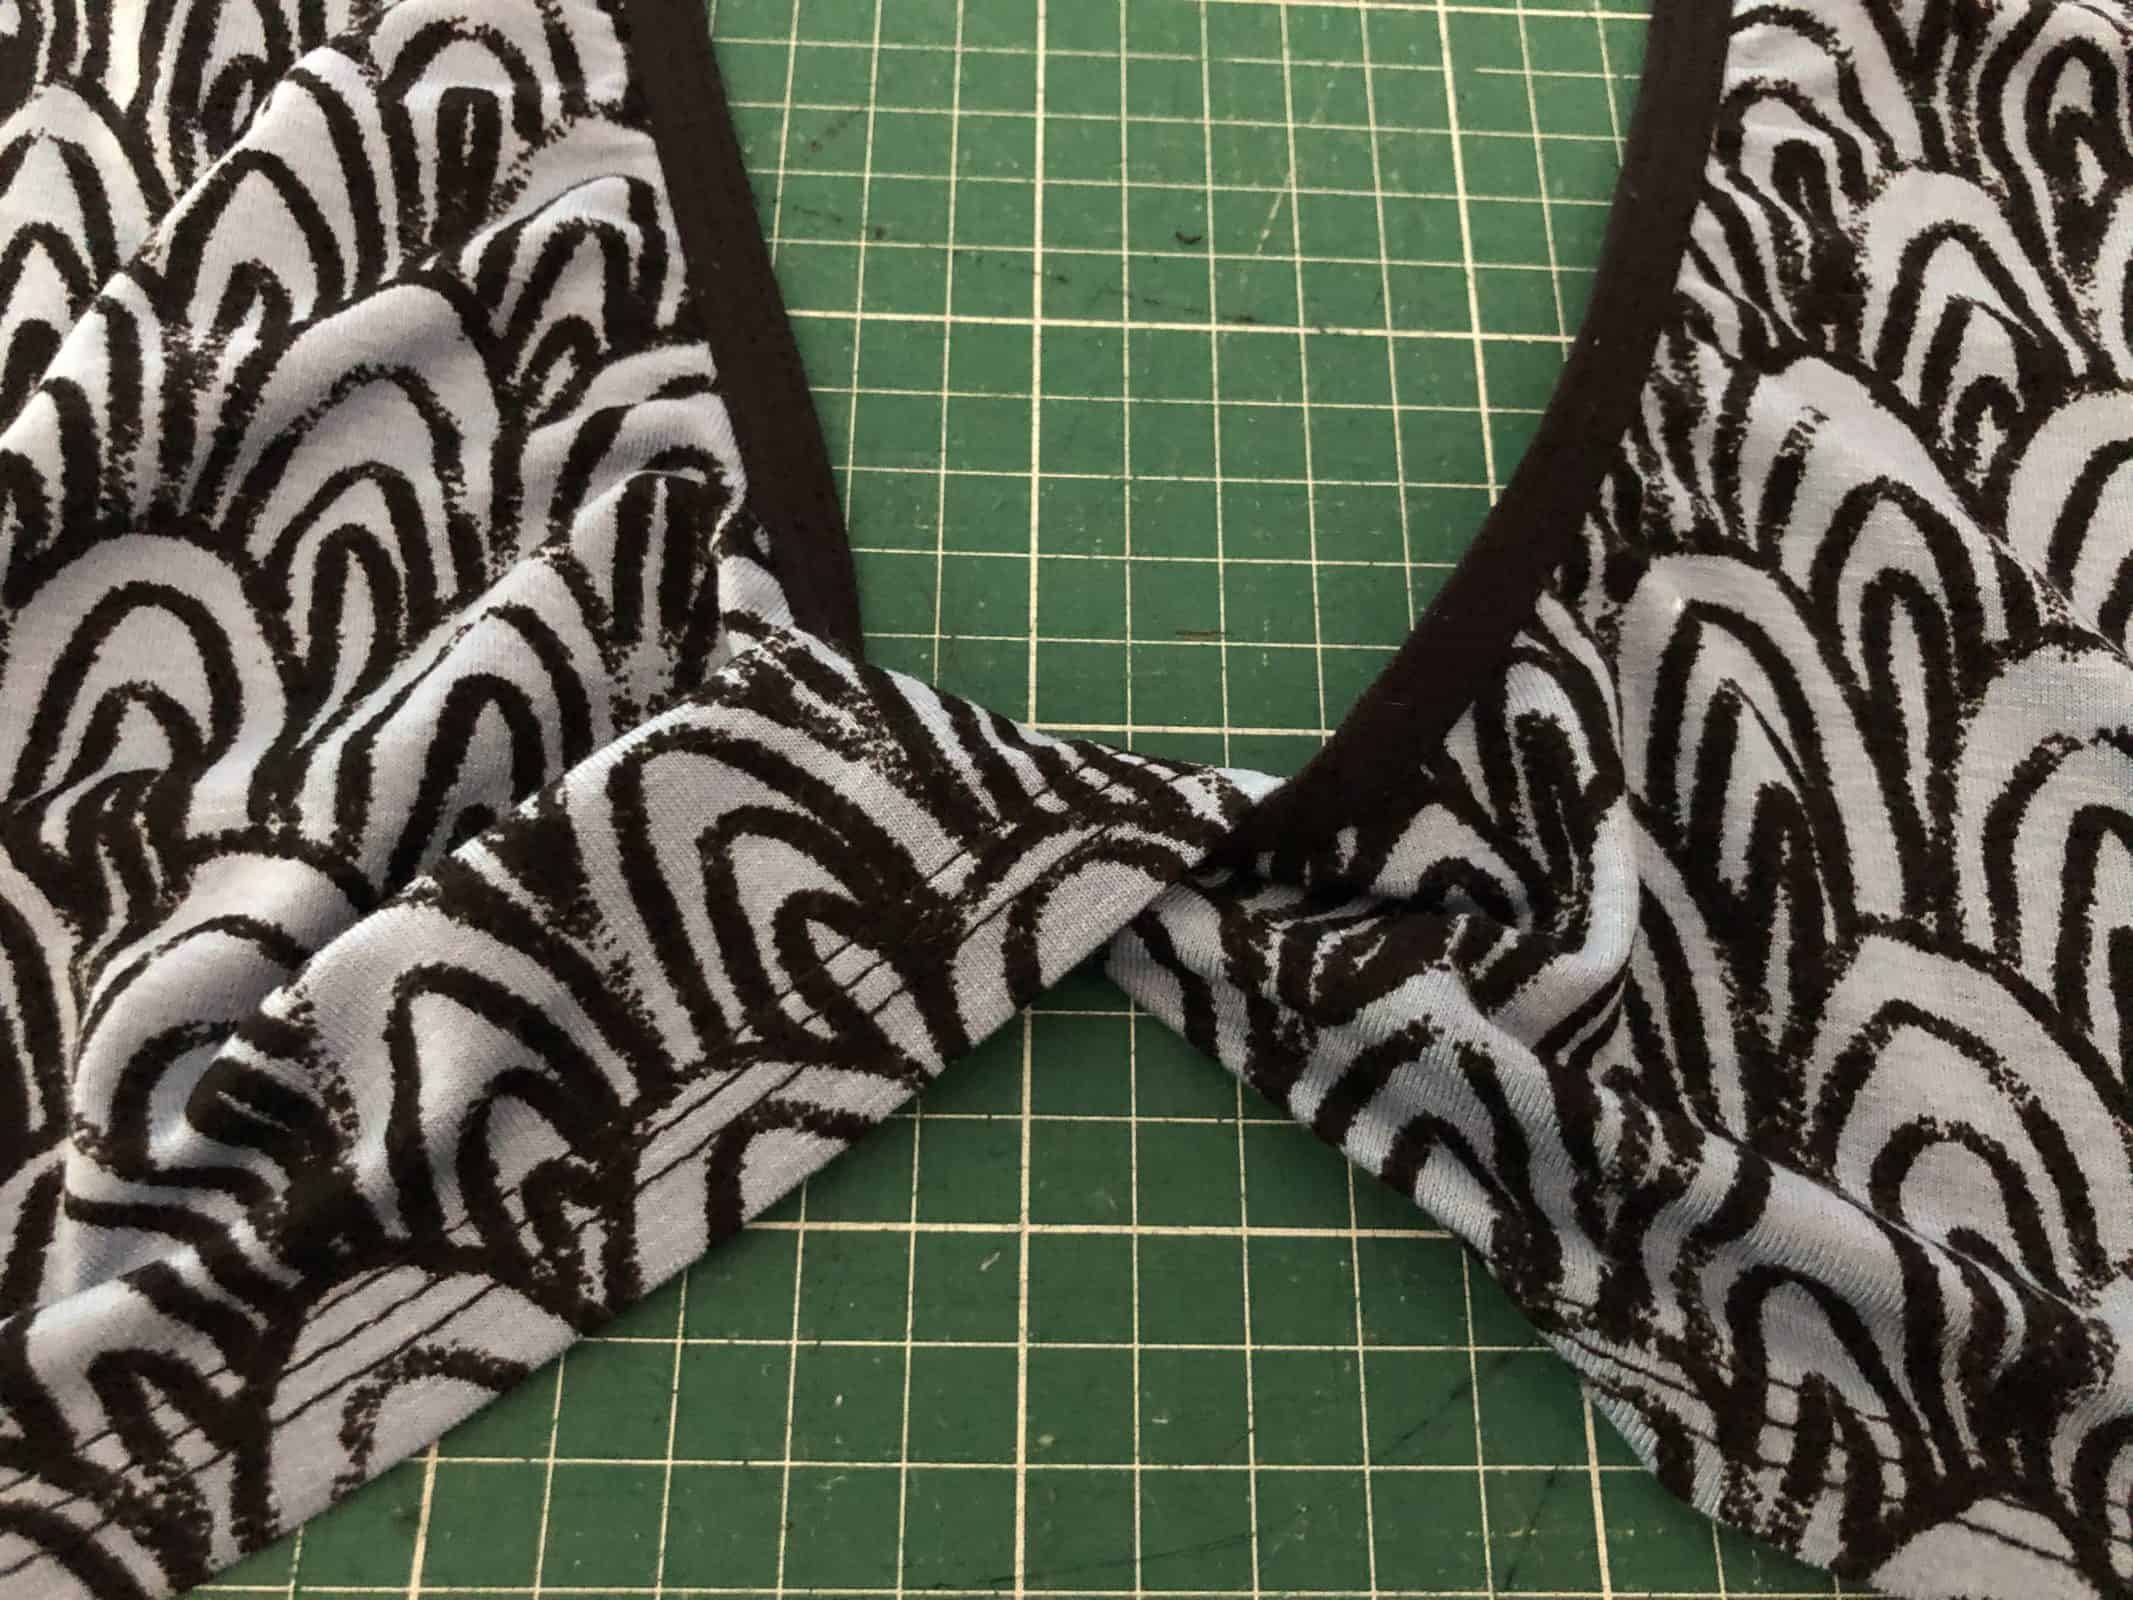
We’ll be working with the Crop length. You may be able to use the top length as well but depending on the fabric the twist may get too bulky. That could be solved by deepening the low cut. If you do so, make sure to account for that when cutting your binding/foe.
For adding the twist there are only a couple of points to keep in mind.
- The first step is to hem both front and back pieces
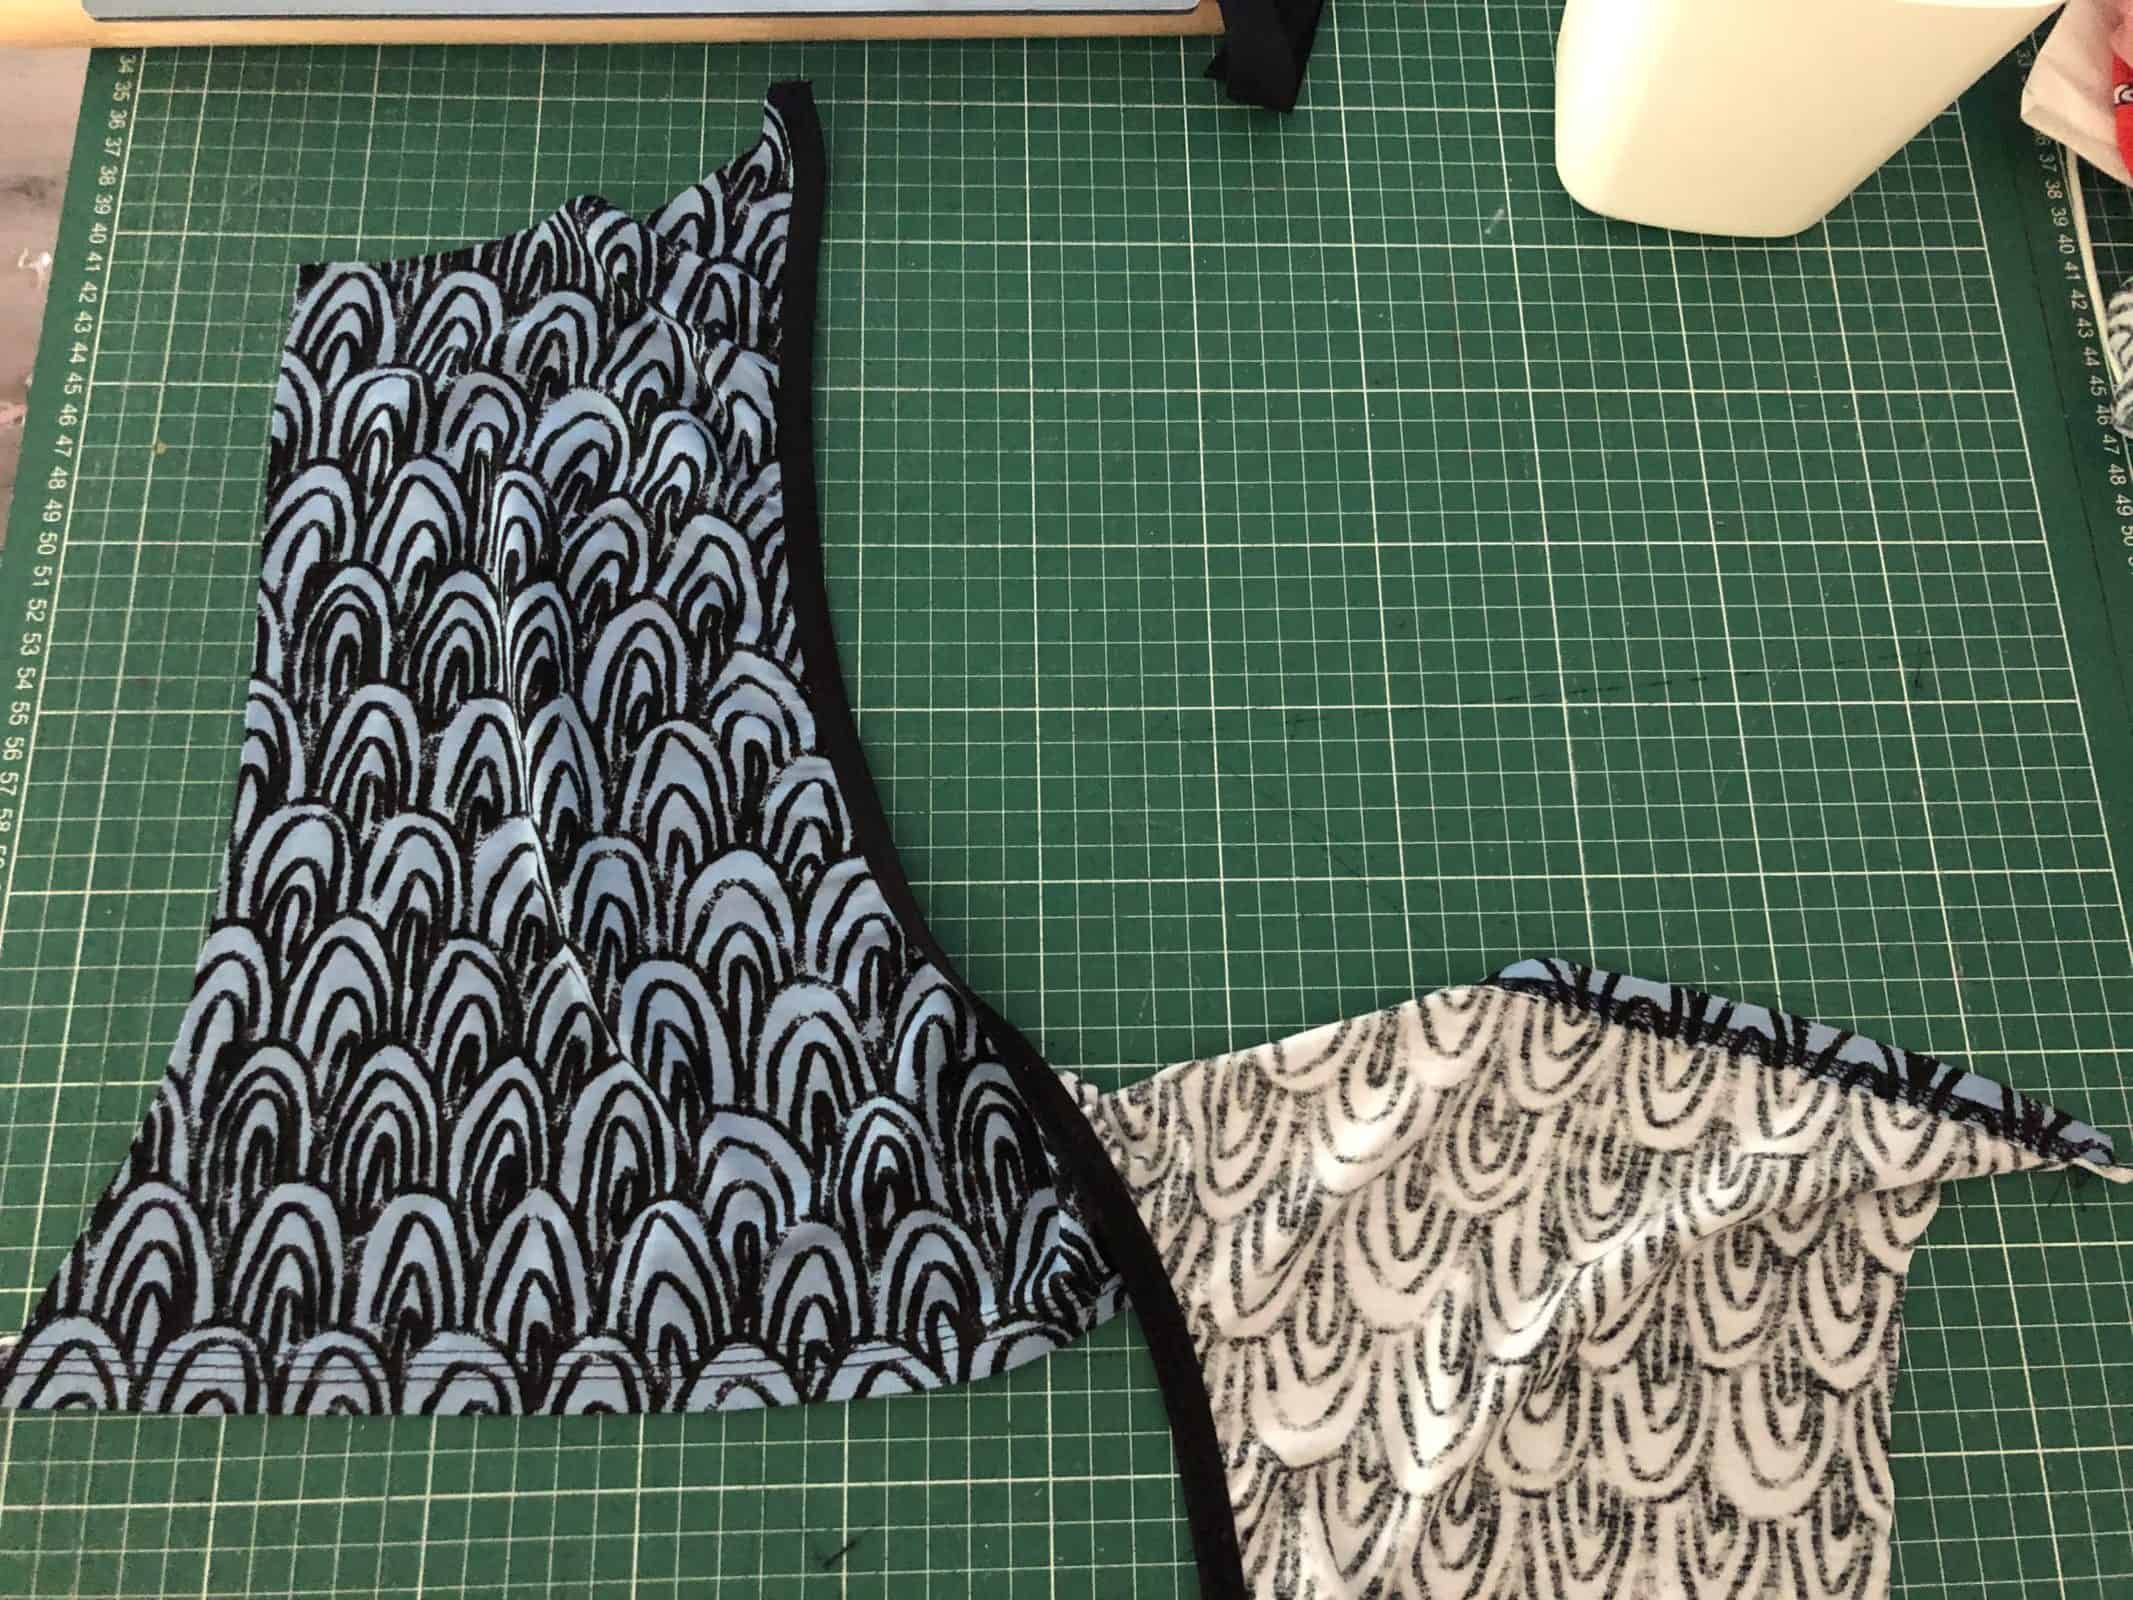
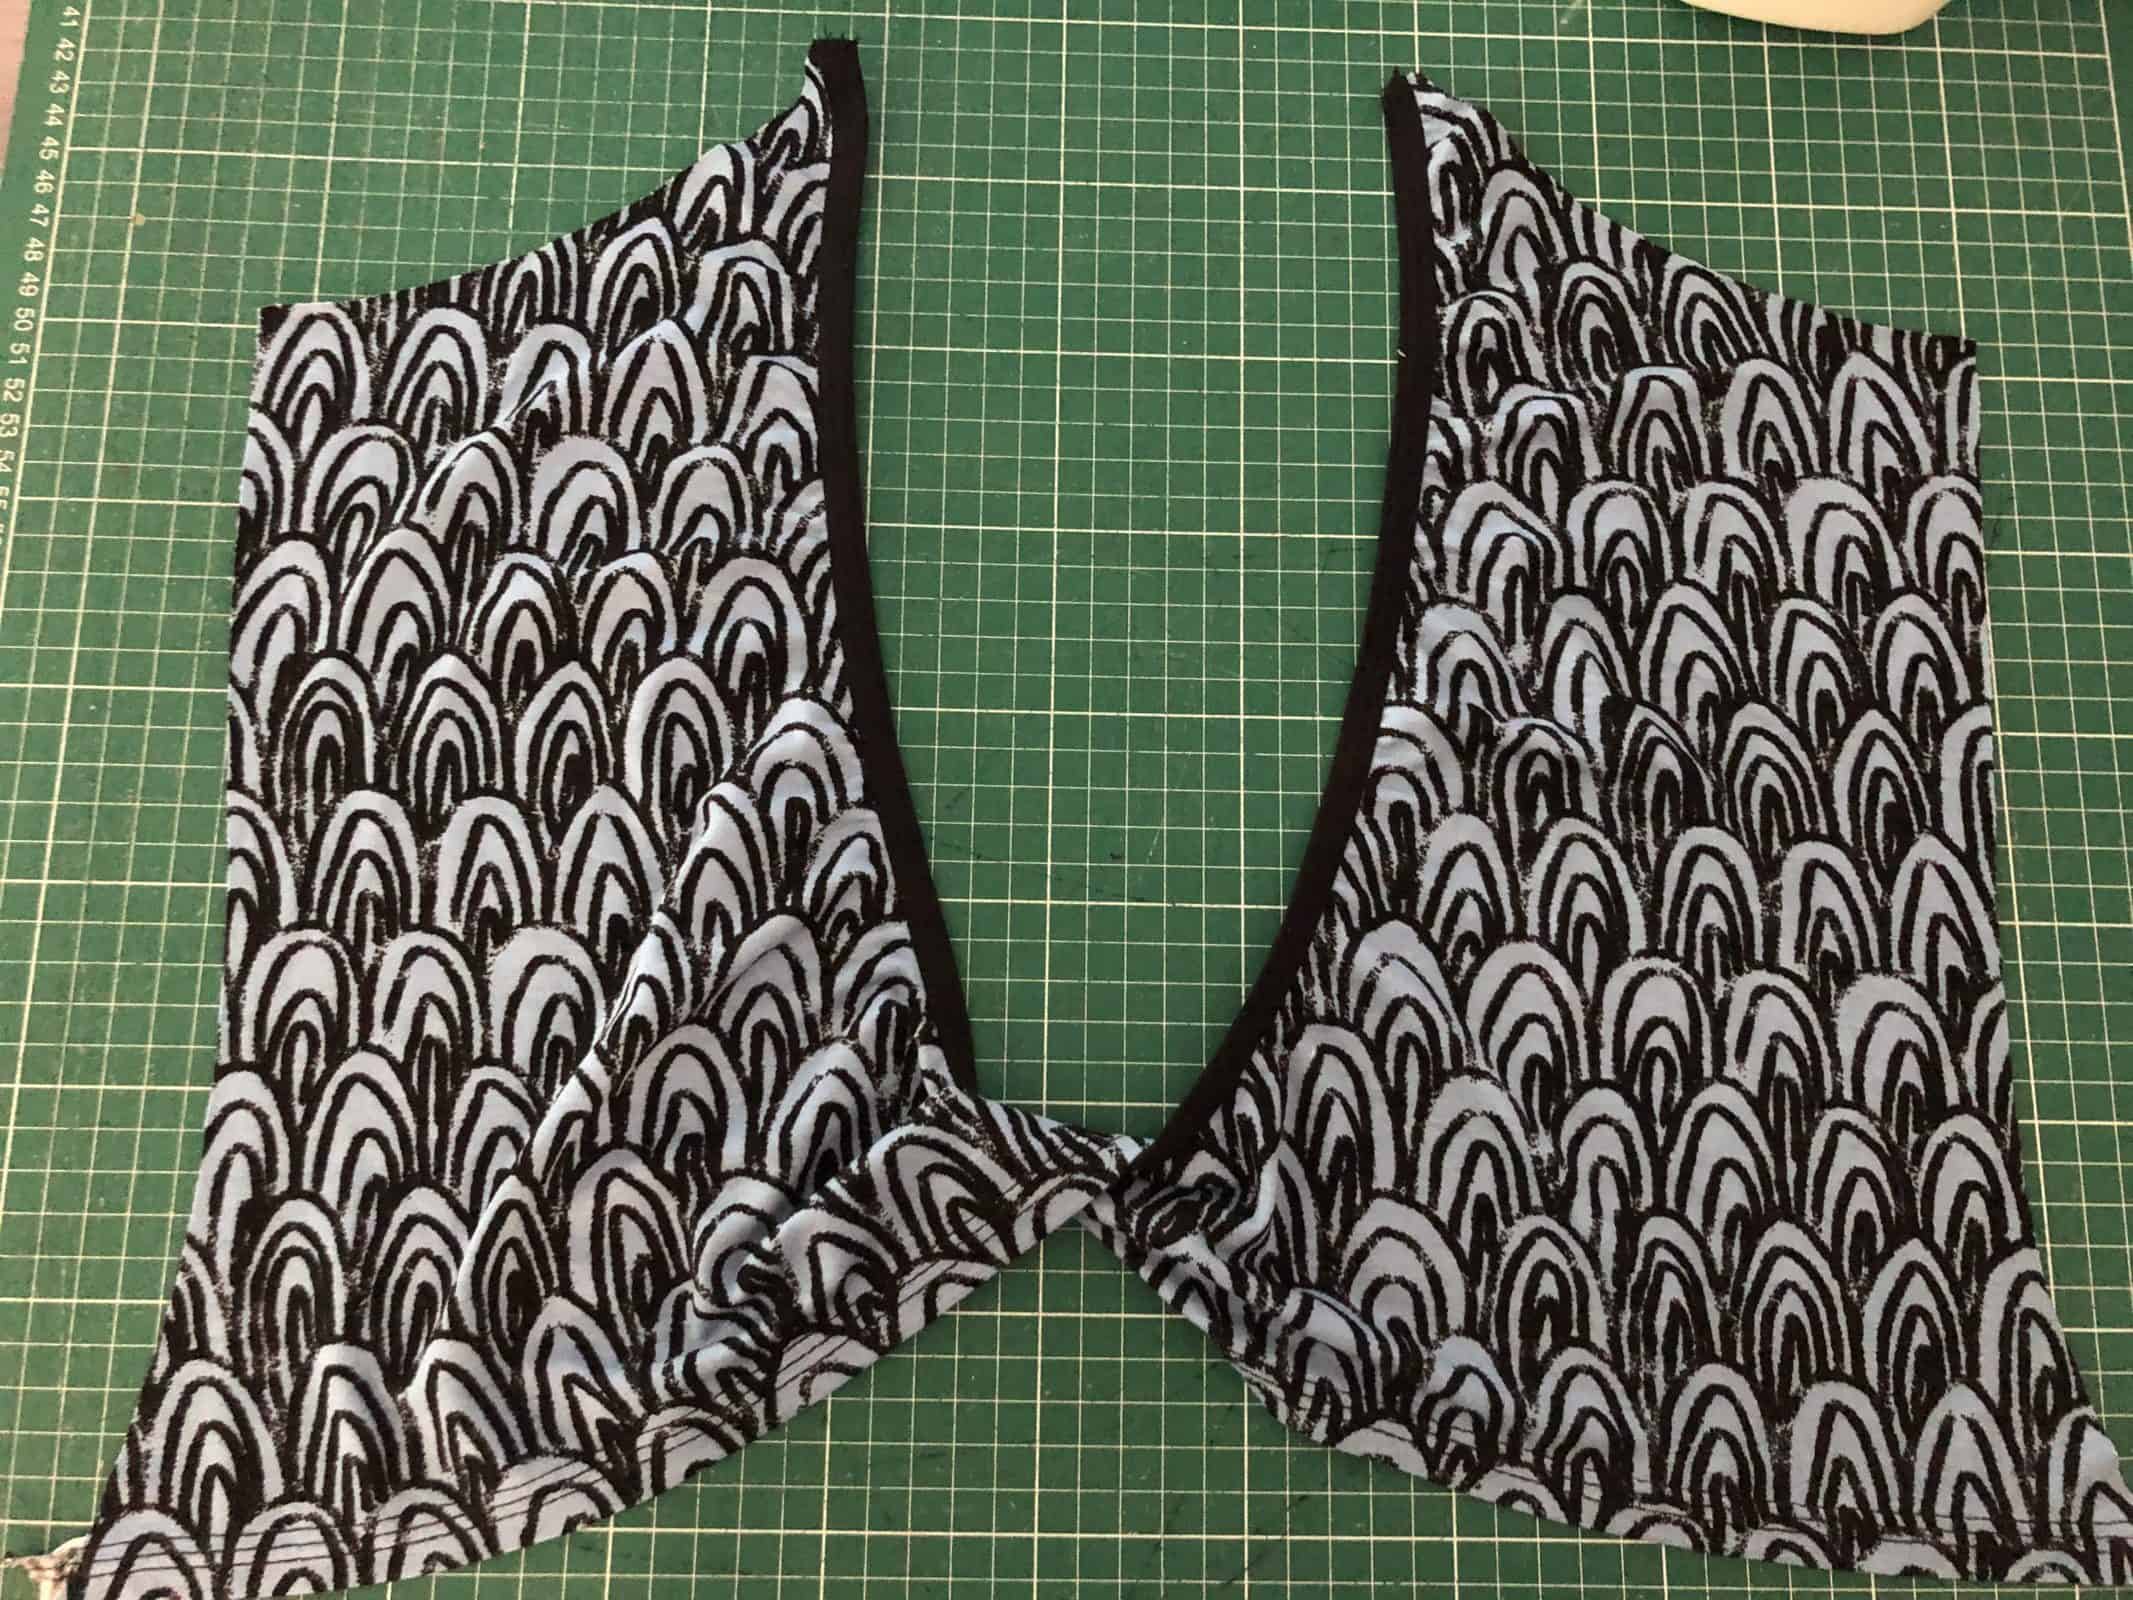
- Back binding needs to be sewn on before making the twist
- Now it’s the fun part!
- You’ll rotate a full circle with one side
- That’s it! No place the front bodice on top of it, right sides together, sew the side seams and continue sewing the top as per pattern. 😉
- I do suggest you add a cross strap to it because with the twist the low cut gets a bit wider.
I love this twist on the pattern (ba dum tss!) and I hope you do too <3
xxx
Livia
Faux Placket Hack
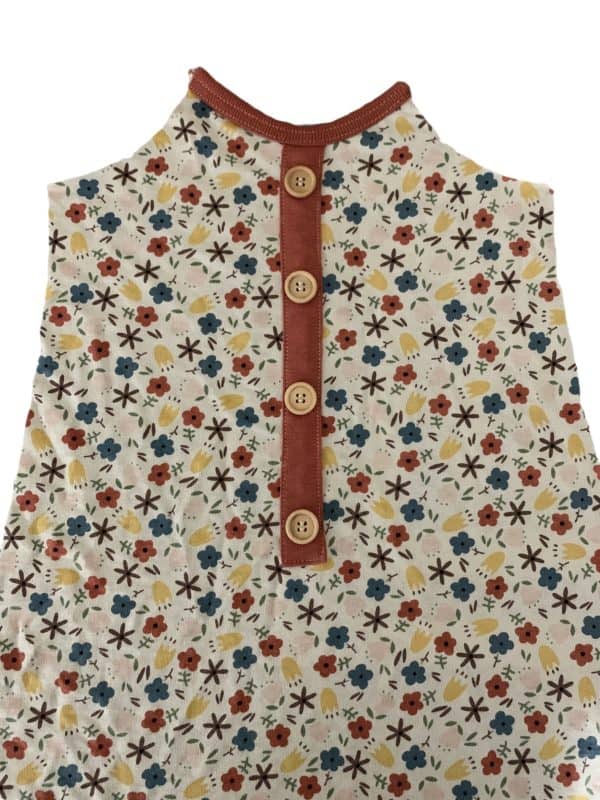
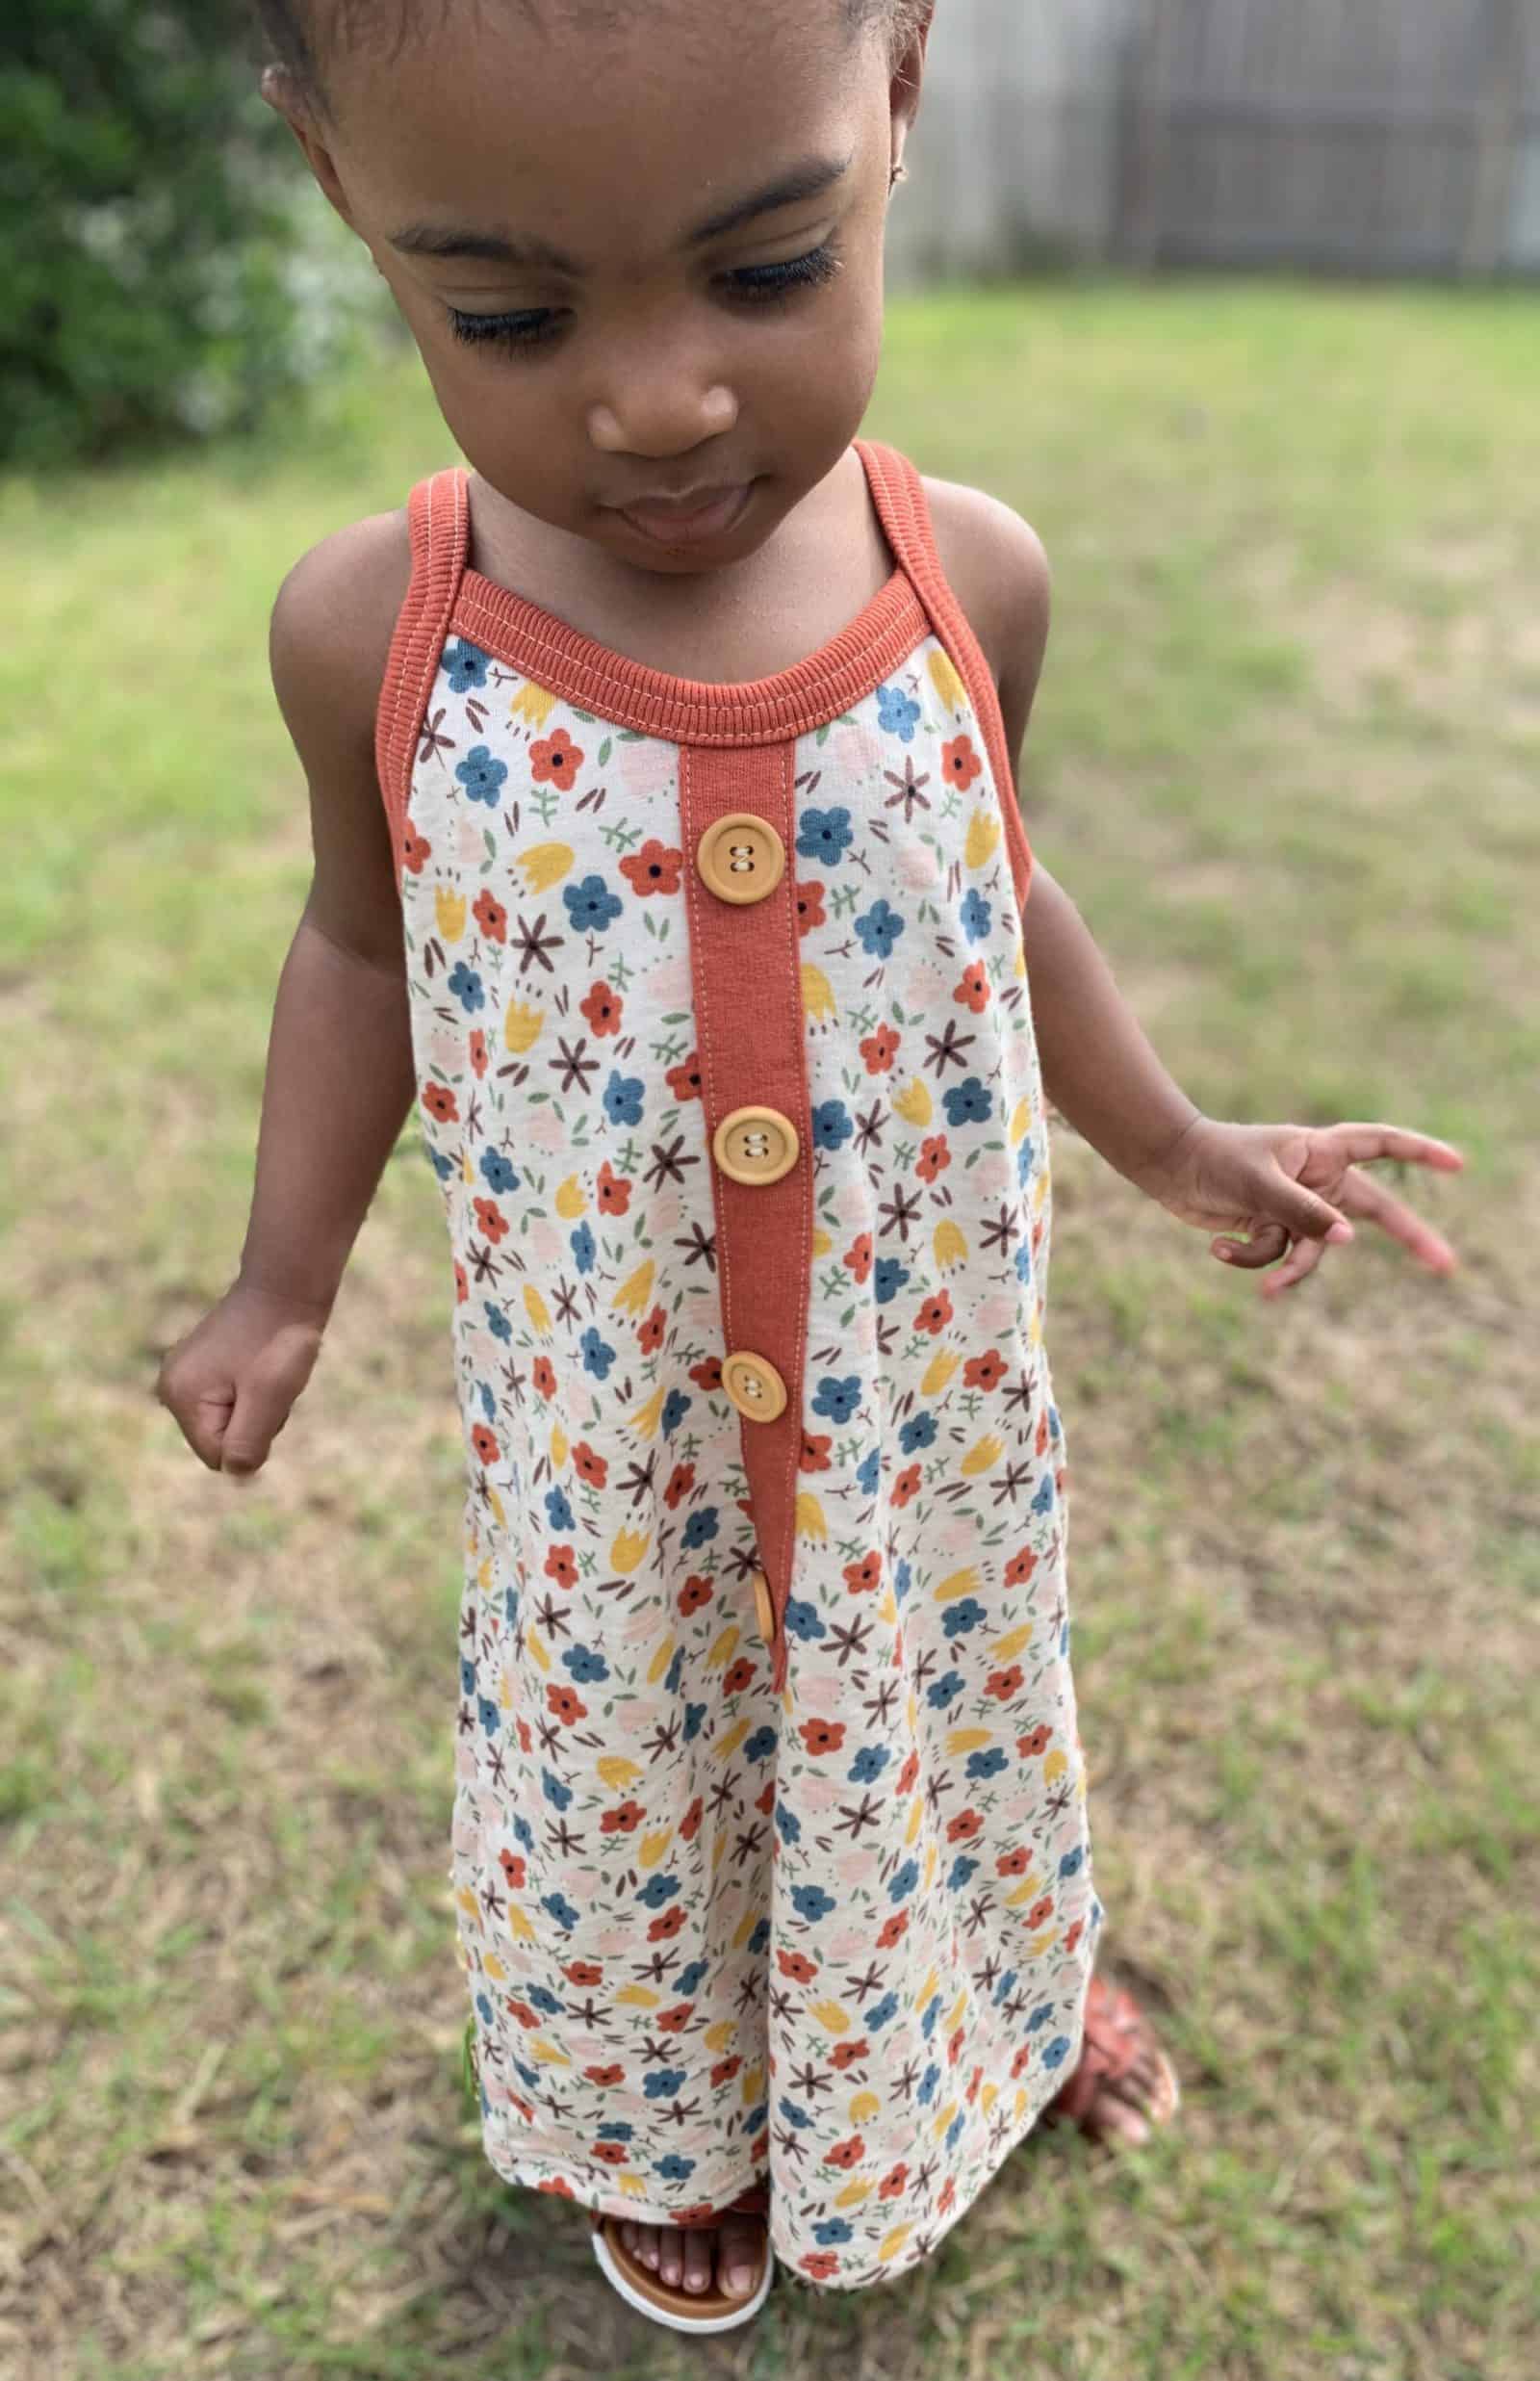
I absolutely love the look of plackets! They always give a garment such an elegant twist, even if it’s something simple. What I personally hate doing is sewing in plackets. LOL. So what better way to give a piece a classy look without any extra hard work? In comes the faux placket; after this, you may want to faux placket all the things!
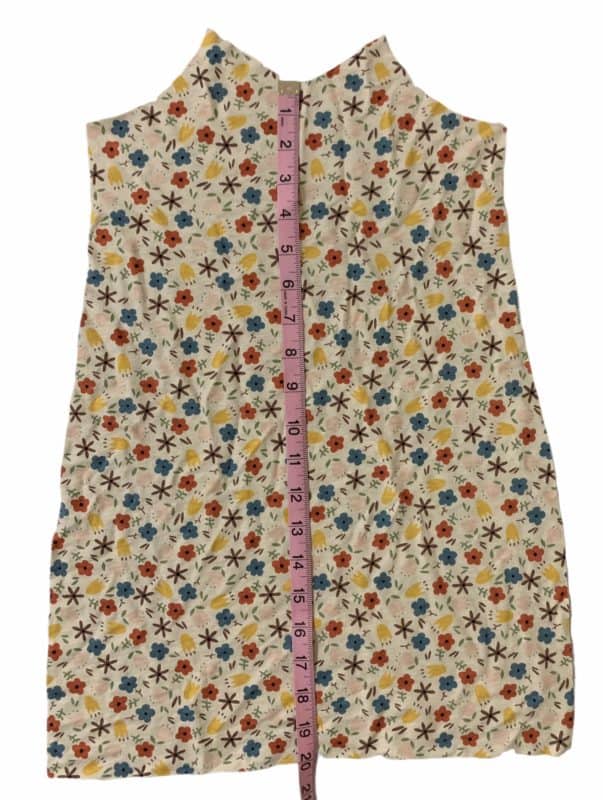
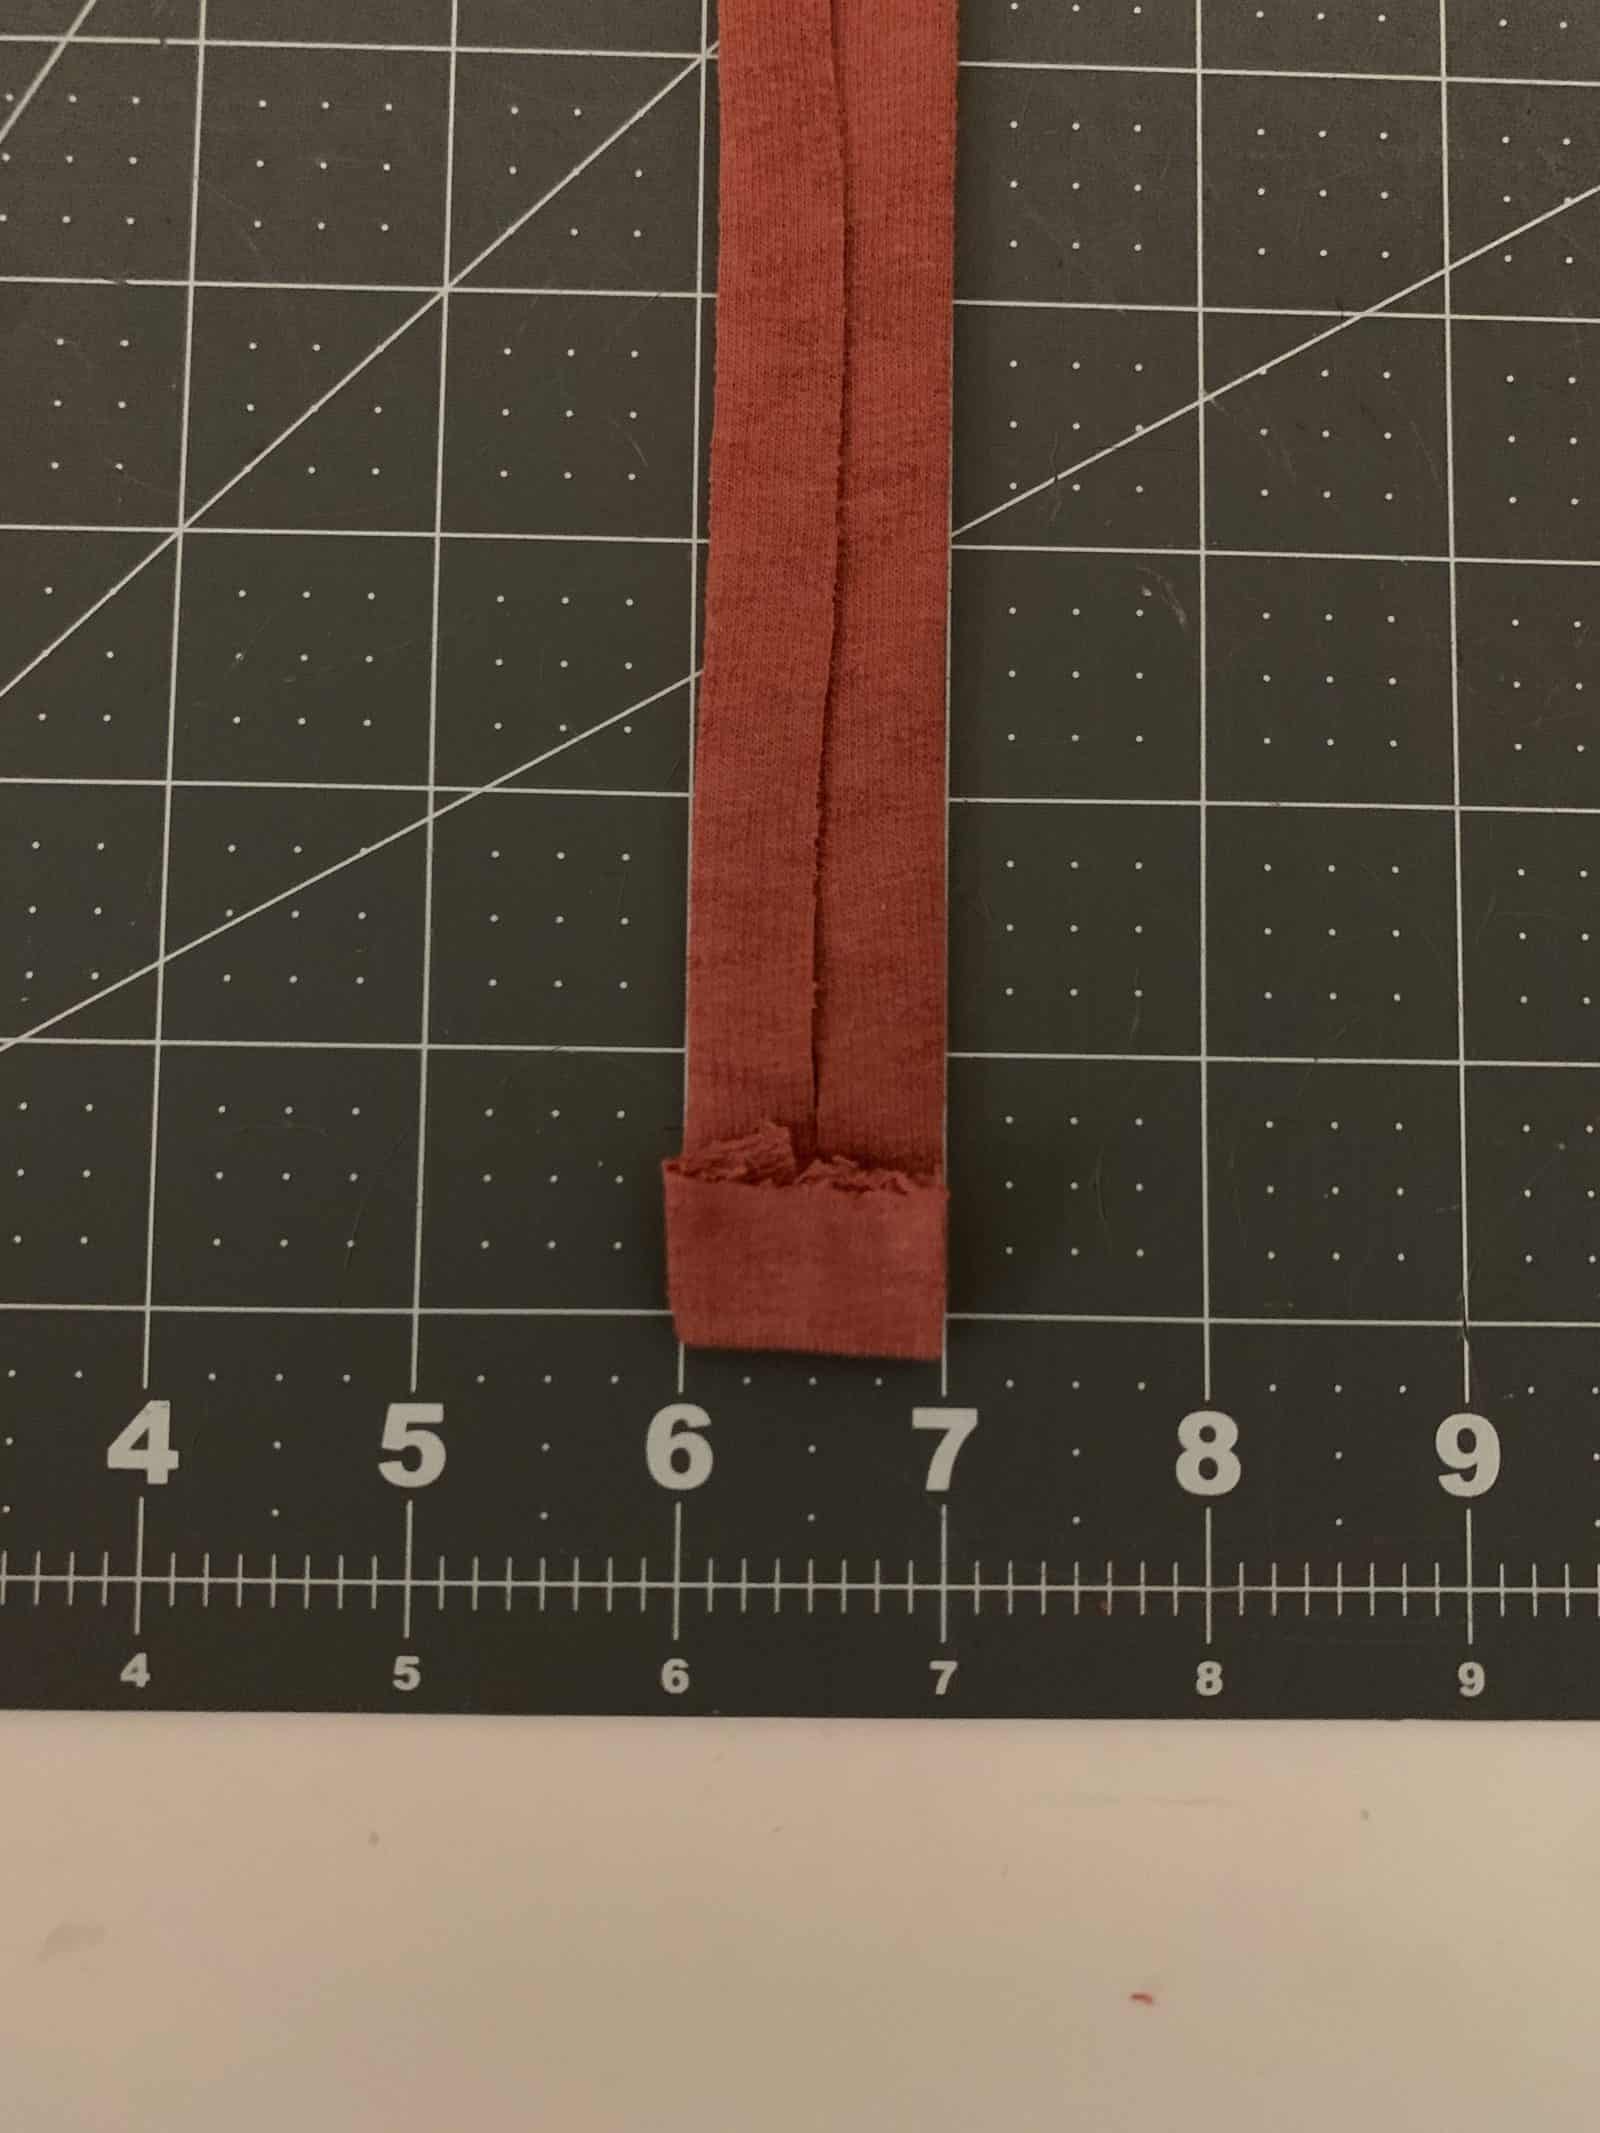
Let’s begin with finding out how we are going to measure out our faux placket piece. The placket will be cut 2″ by whatever length is desired for your placket plus 1/2″ (unless you want your placket all the way to the end of the garment).
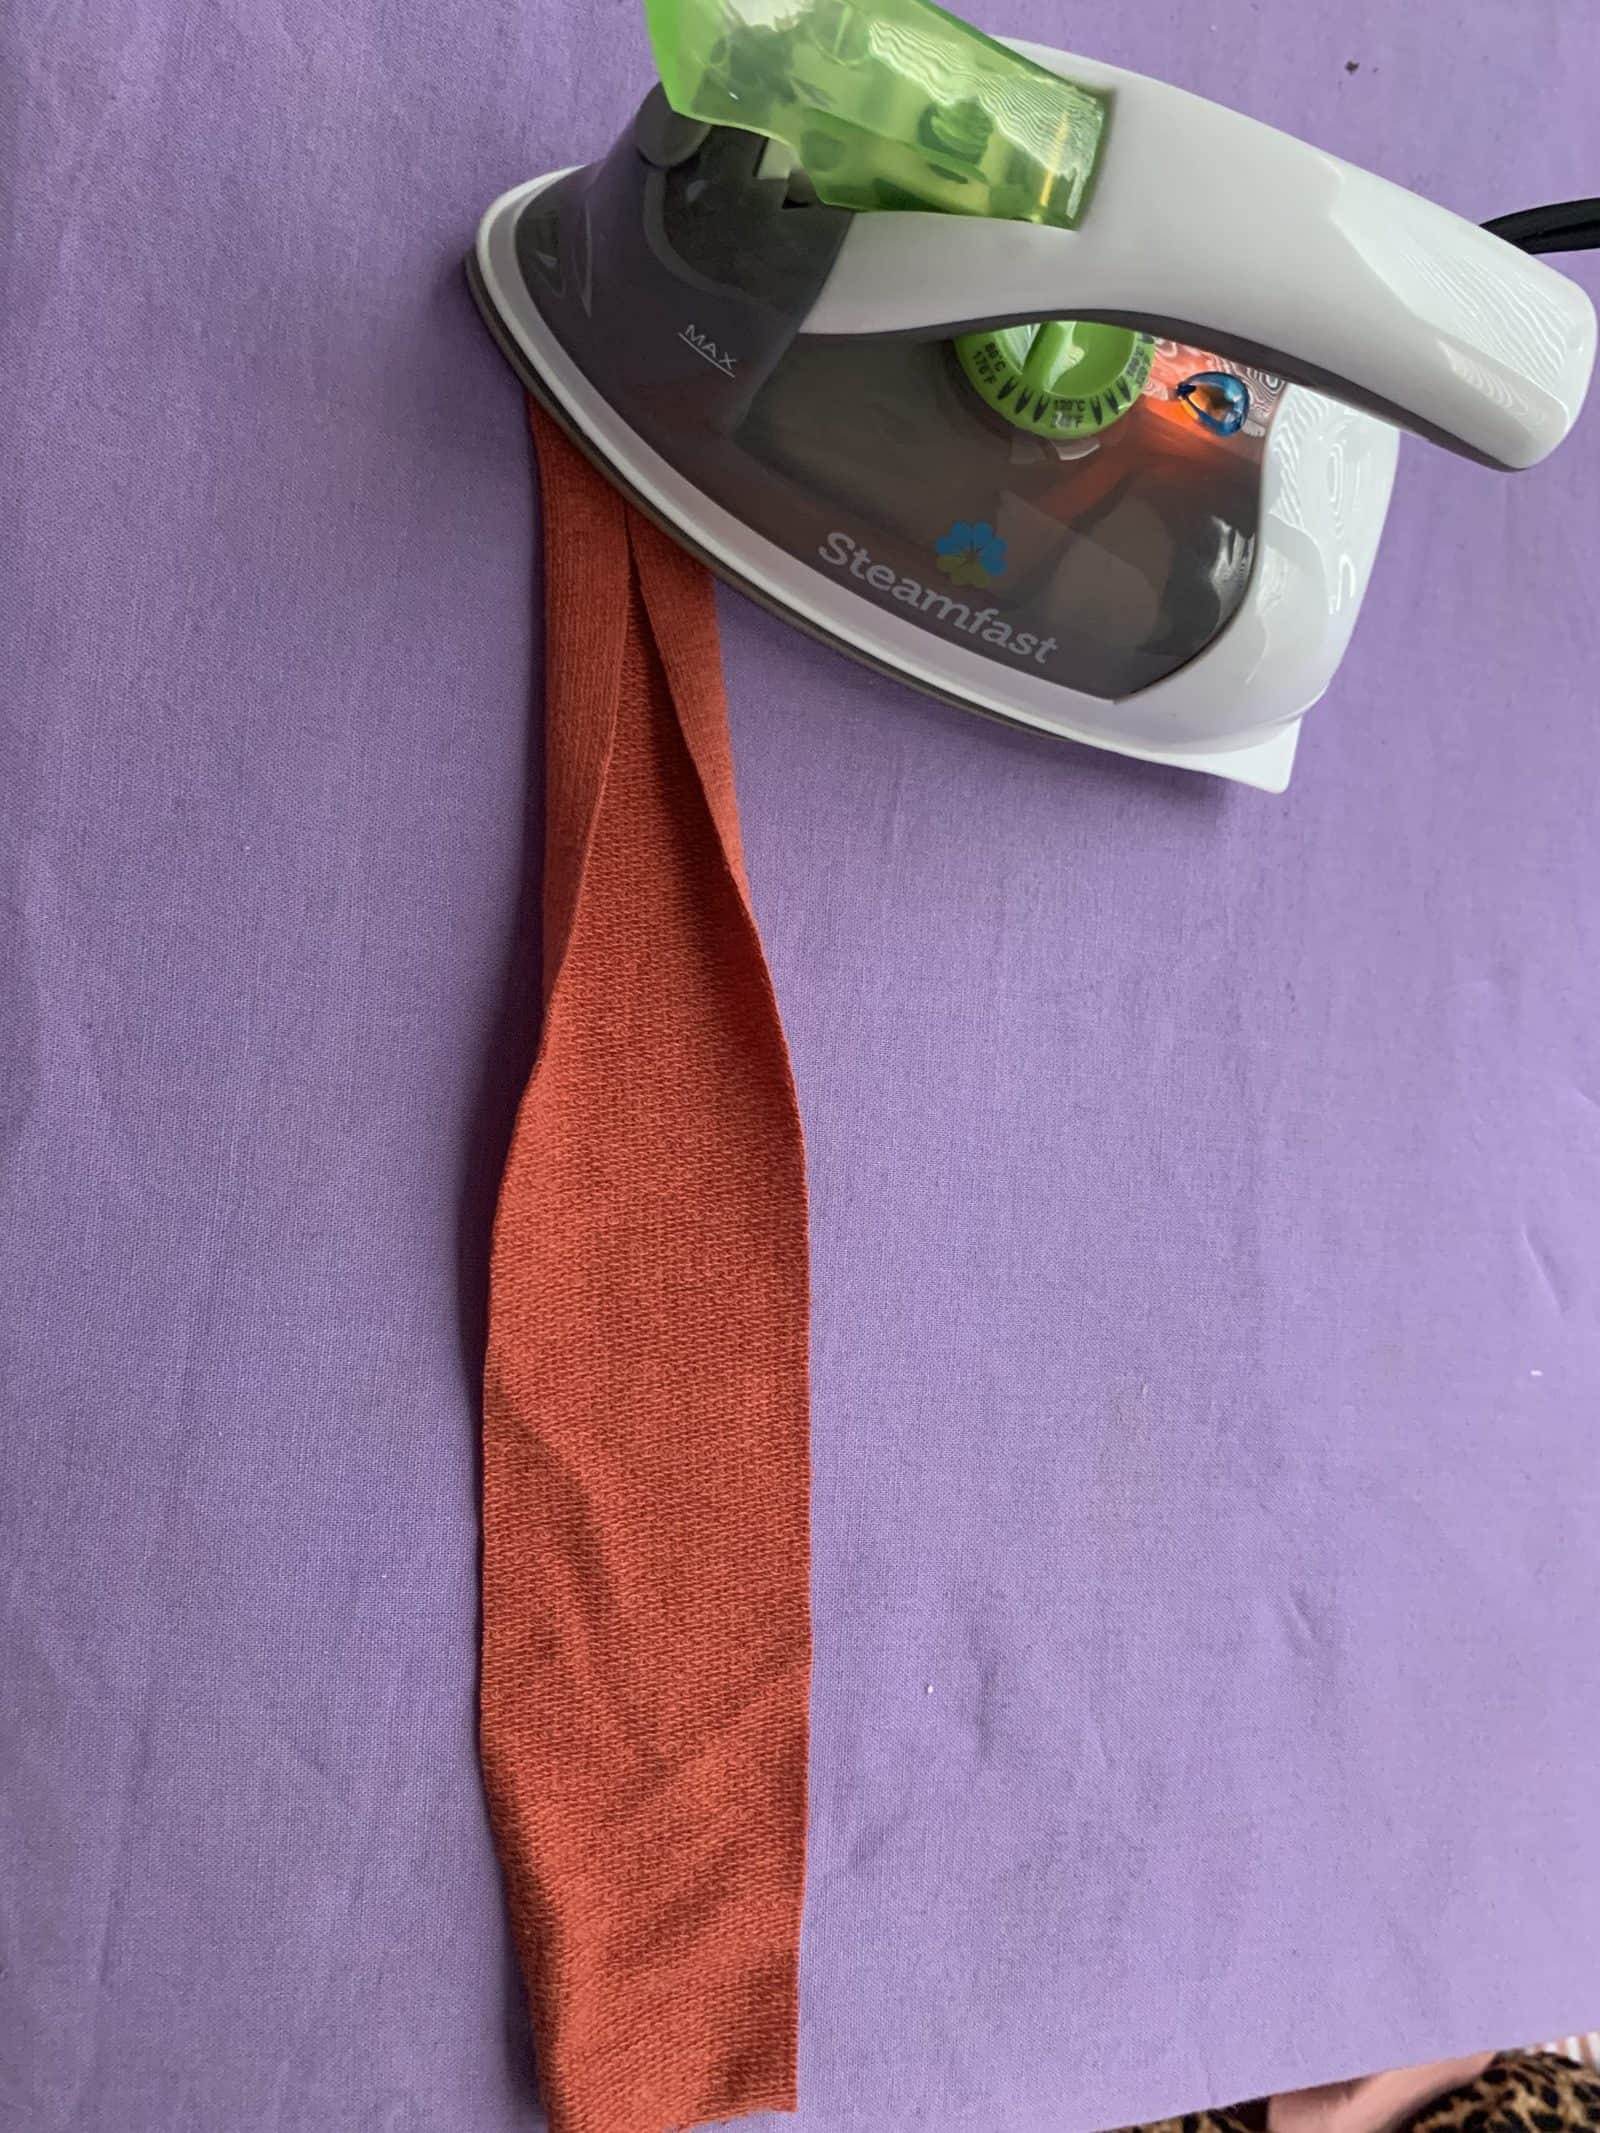
I wanted mine to end at the center of the dress, so I cut 10.5″ length with the 2″ width. Now you want to take your placket piece and fold in each side along the long edge by 1/2″ for them to meet in the center. Now you want to take the bottom edge and fold it up by 1/2″.
Your placket piece should now measure to be 1″ by your desired length of the placket.
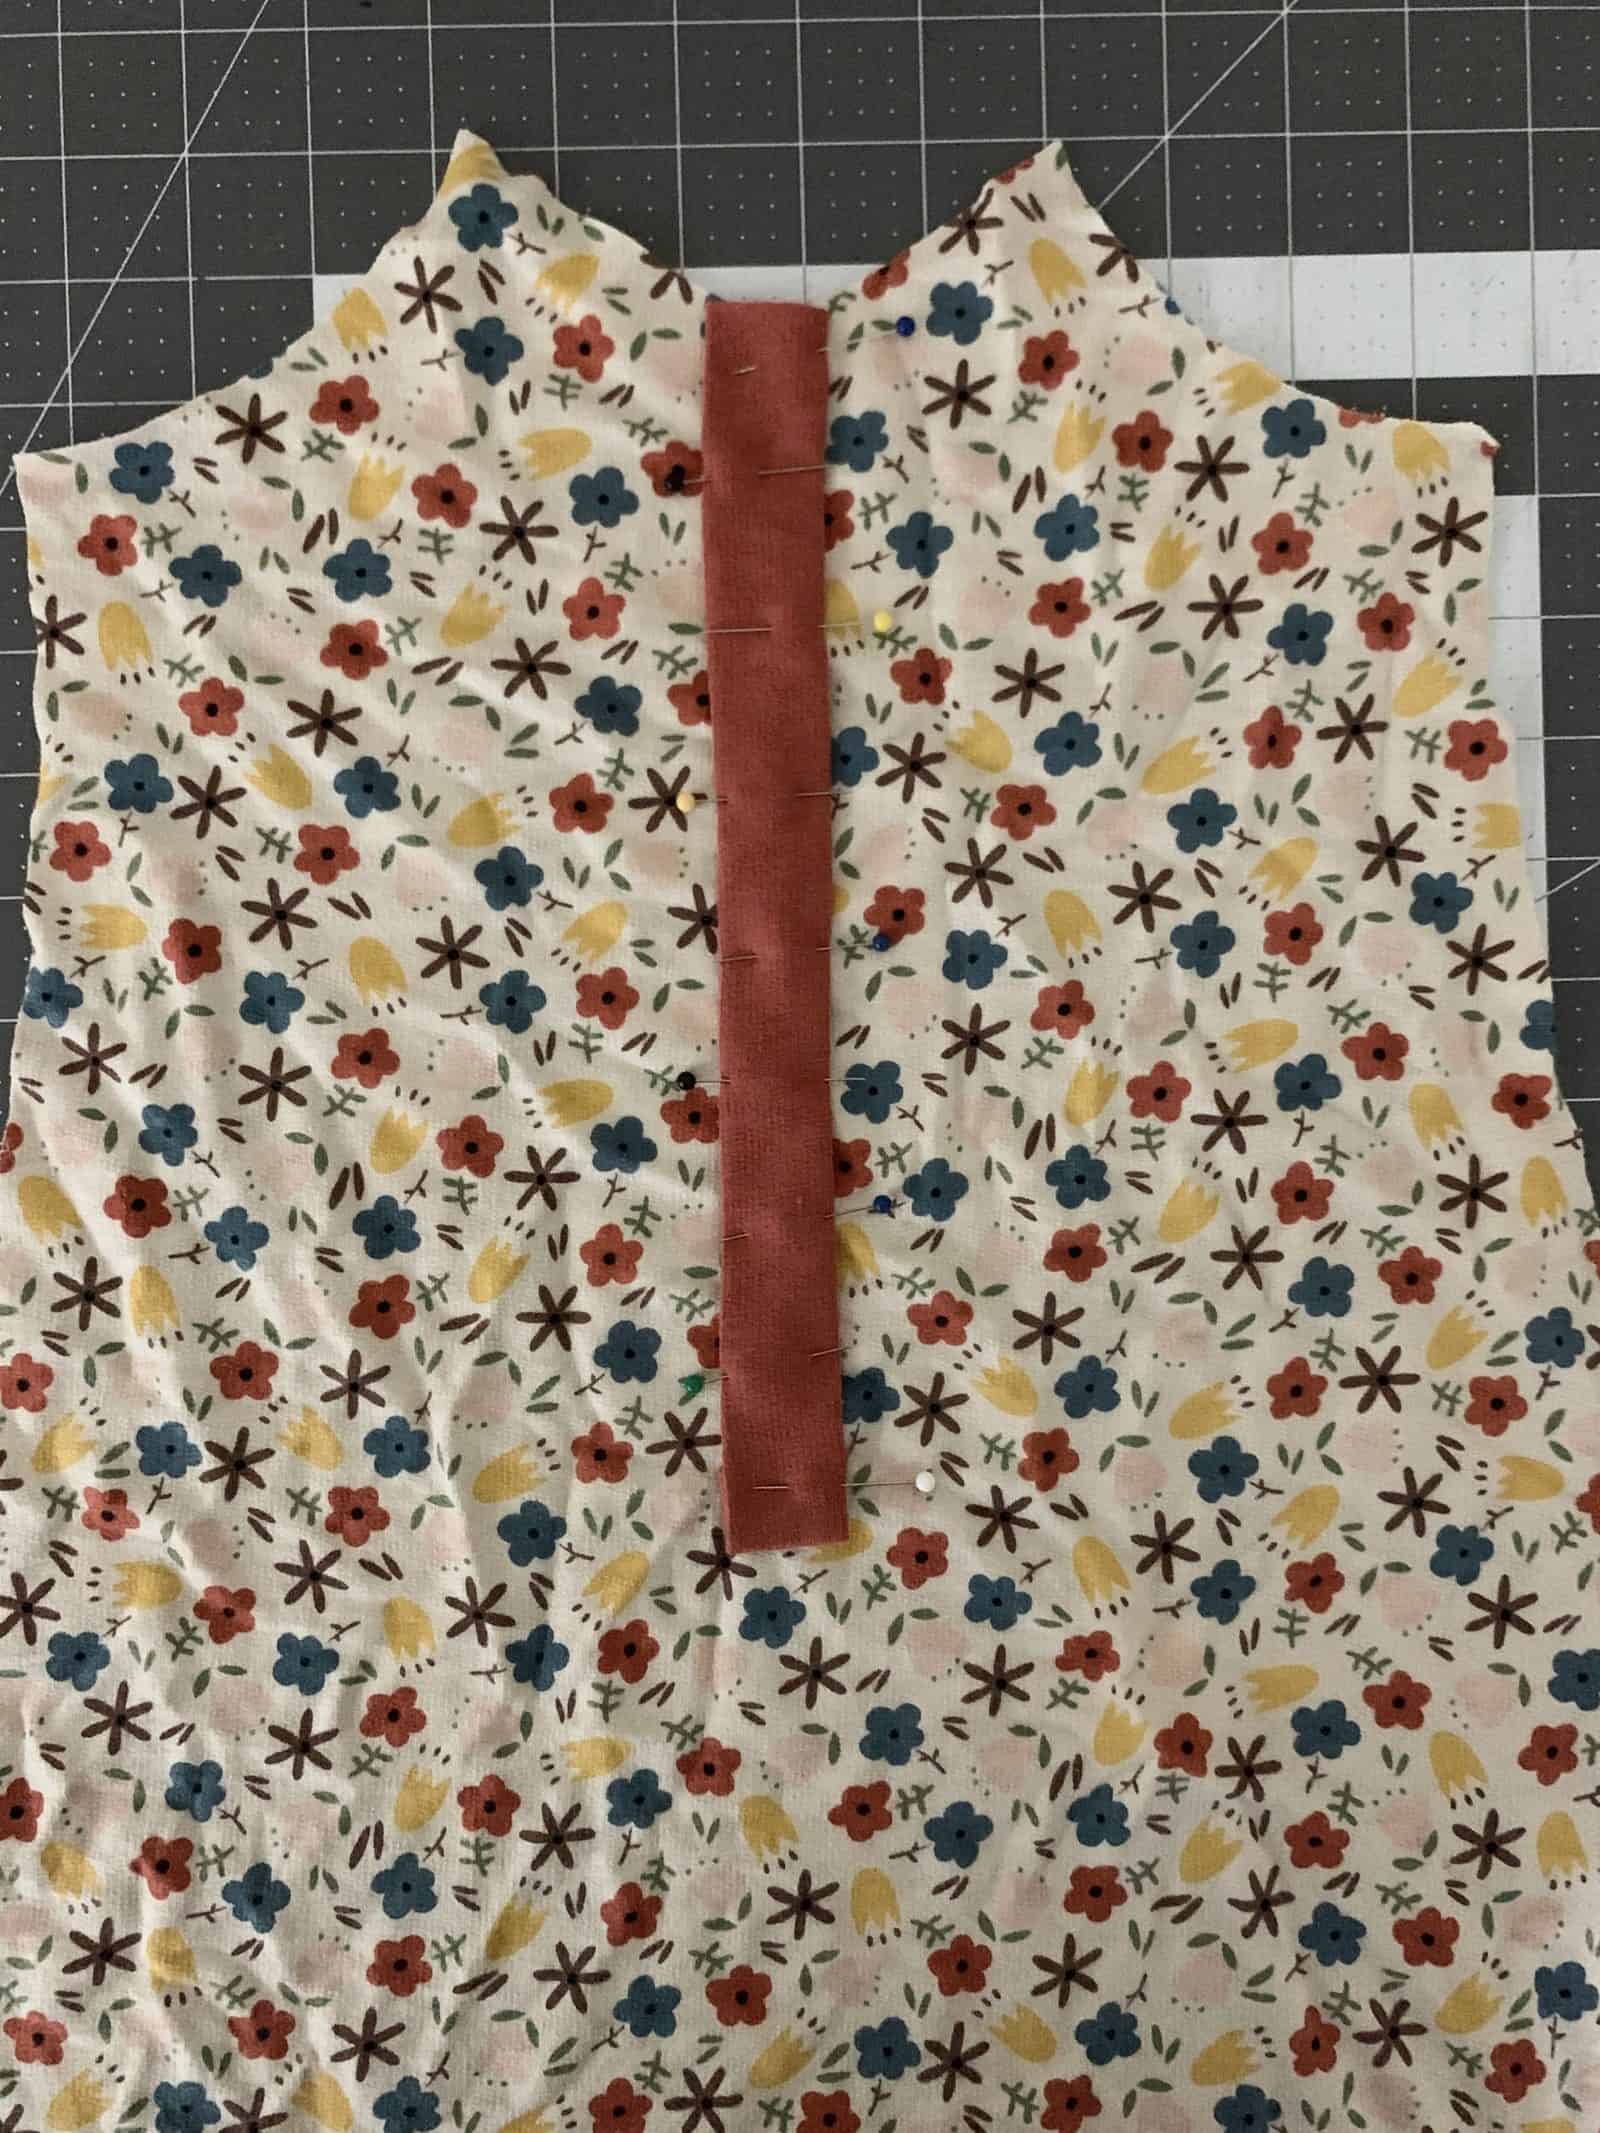
Now it’s time to transfer your placket to the center front piece. Be sure so pin all the way around so there is no shifting of your placket as you sew.
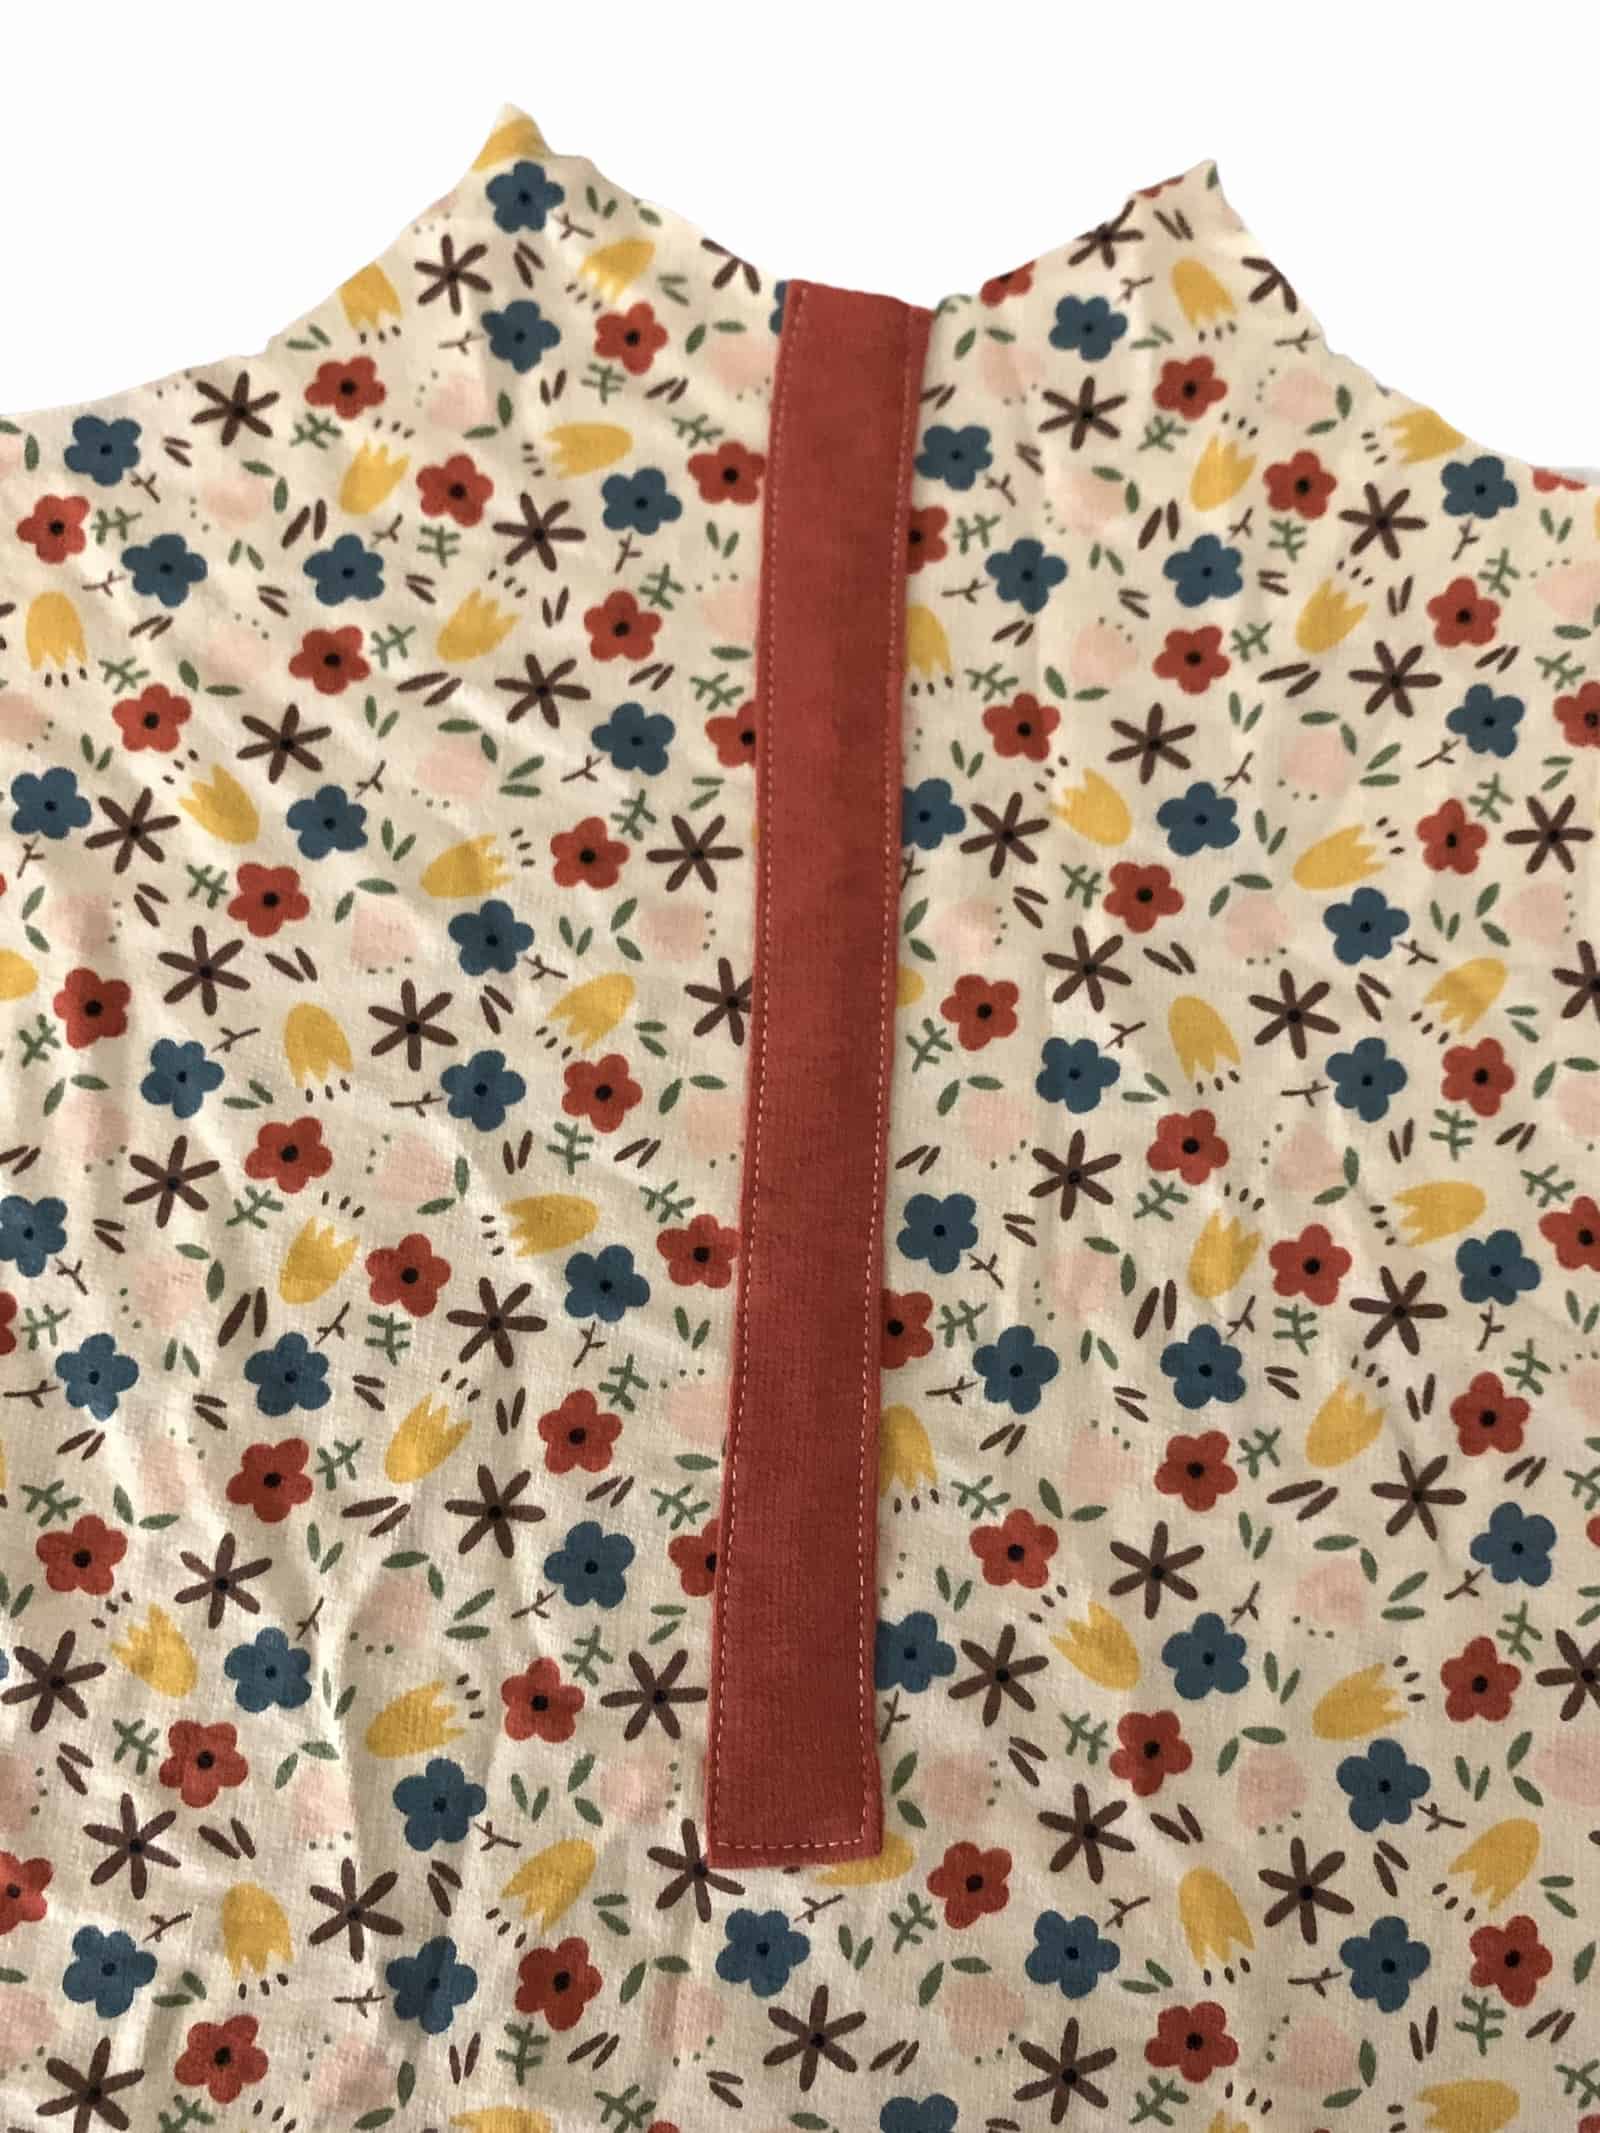
Carefully sew a long straight stitch around the edge of faux placket using a 1/8″ seam allowance.
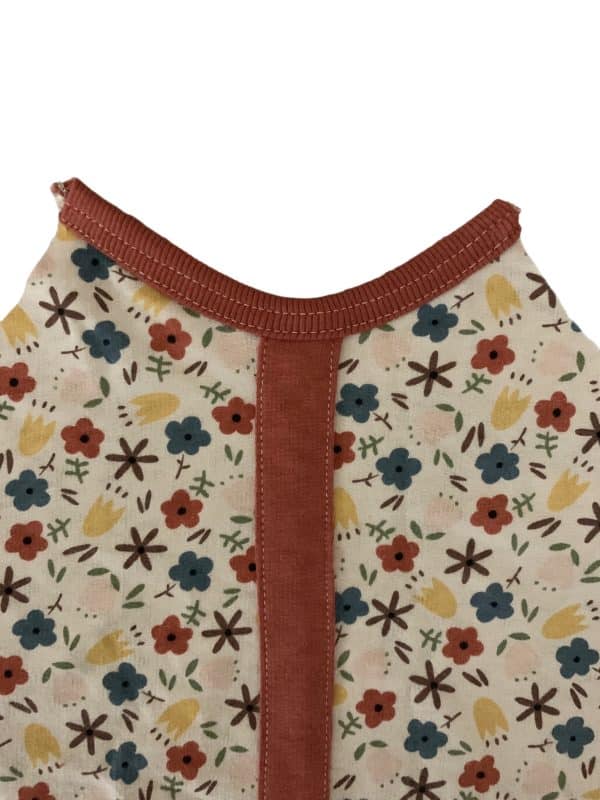
If adding buttons to your placket, I recommend applying your binding before applying the buttons to your faux placket.
Now you will carefully space out and apply buttons to your faux placket piece.
Continue to make the pattern as directed and now you will have a garment finished with your new faux placket!
Saving Stretched Out Straps
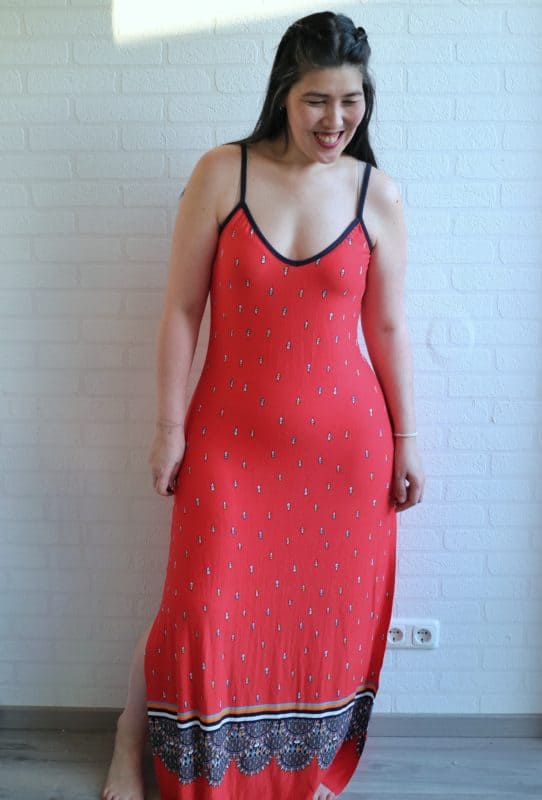
When making a maxi, the weight of the fabric may stretch out your straps. Especially if you, like me, skipped the clear elastic step. Here’s one way to save your dress without having to re-do the binding. Because, honestly, no one wants to do that, am I right?
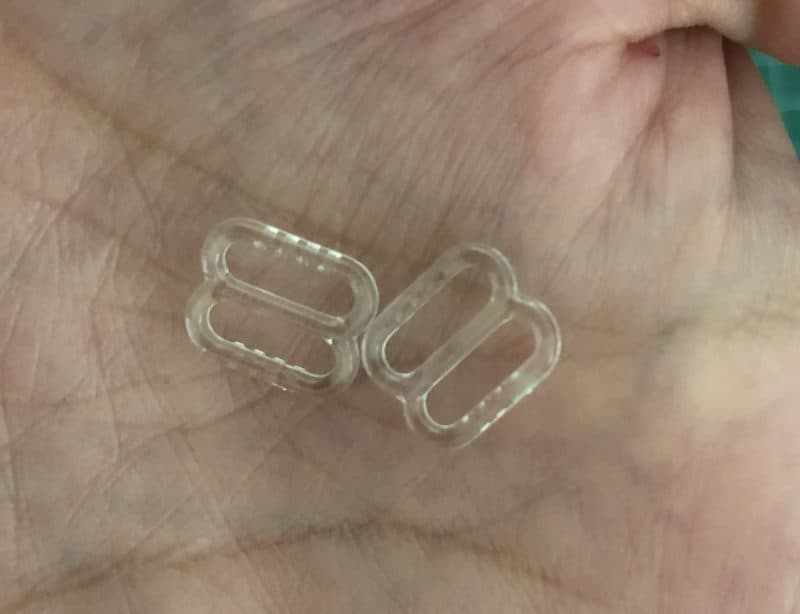
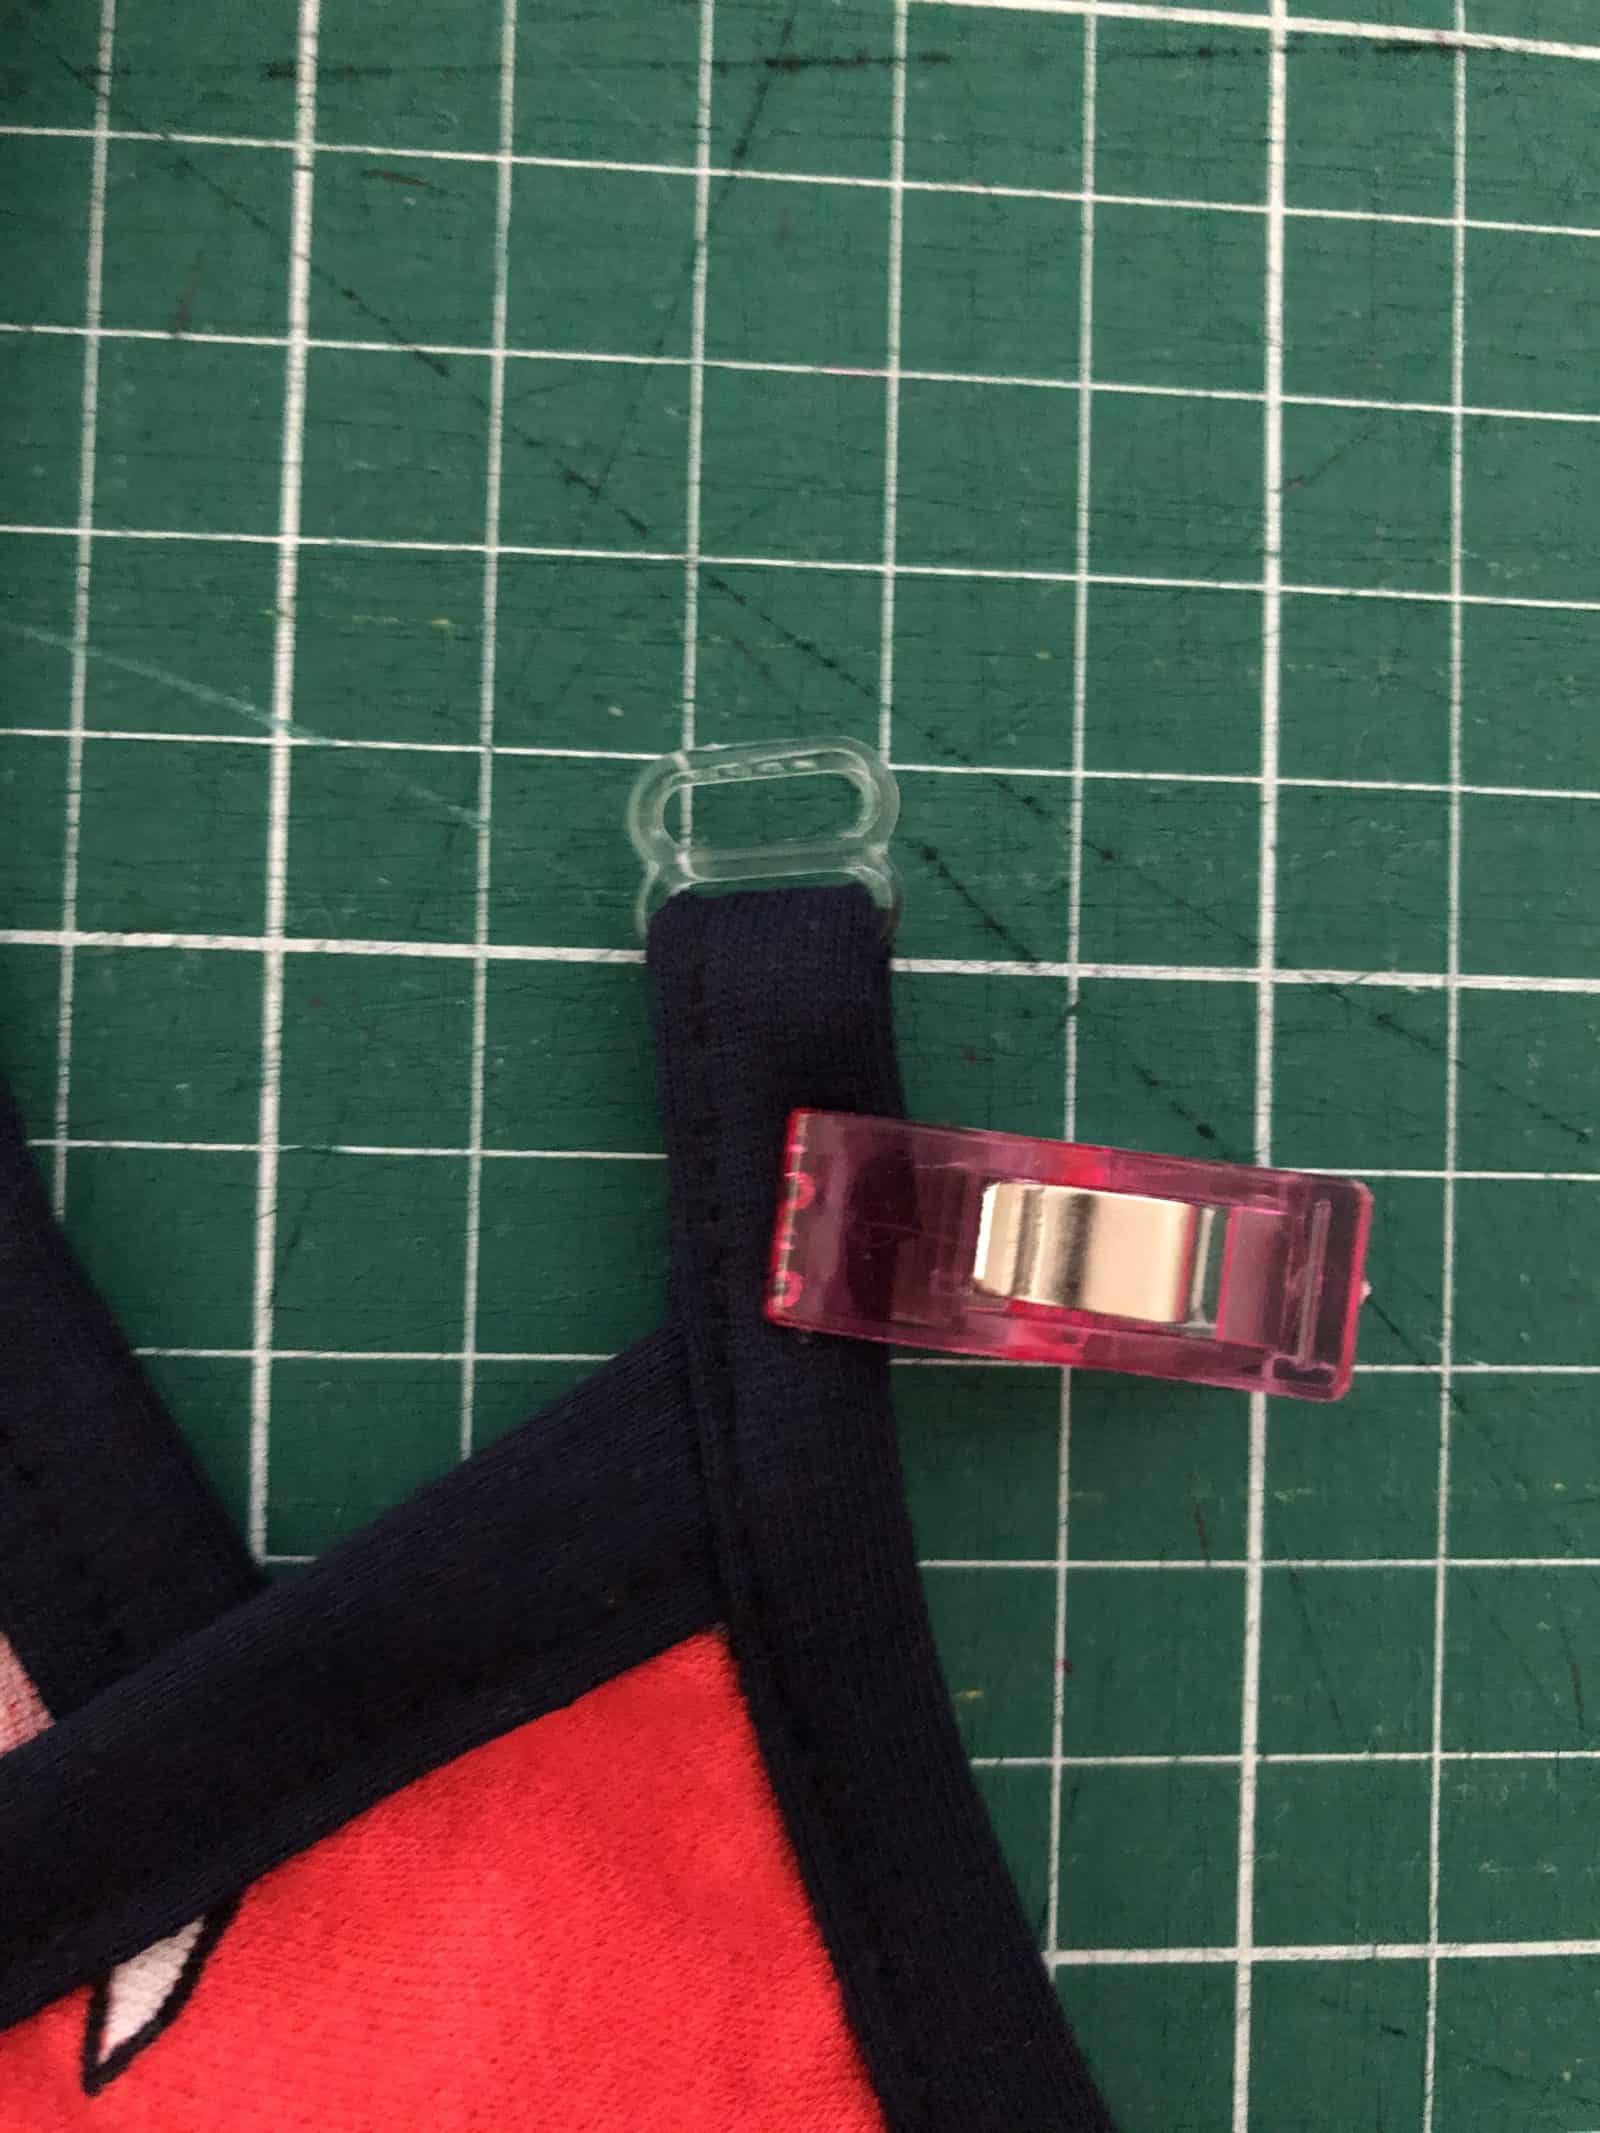
All you need for it are those little bra sliders.
You could, of course, go all out and turn your straps into adjustable ones, but this is the quick and dirty way to start rocking your dress as soon as possible.
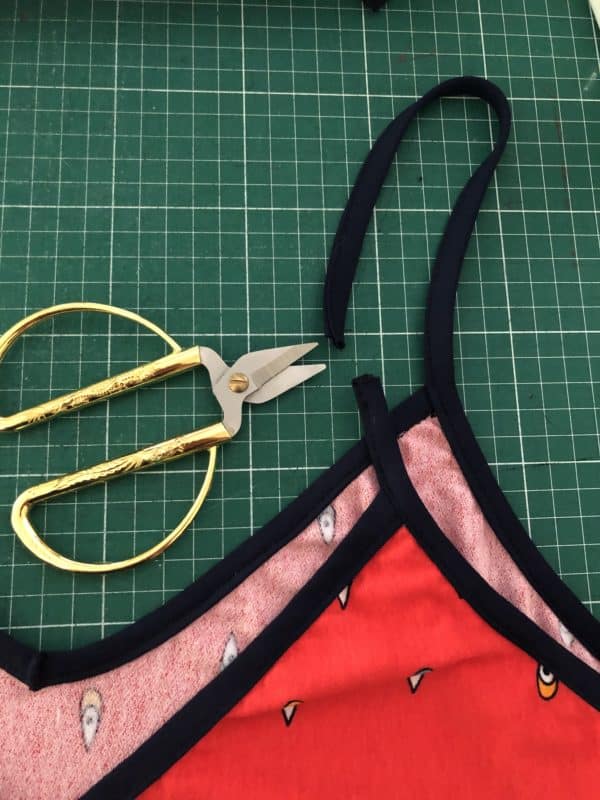
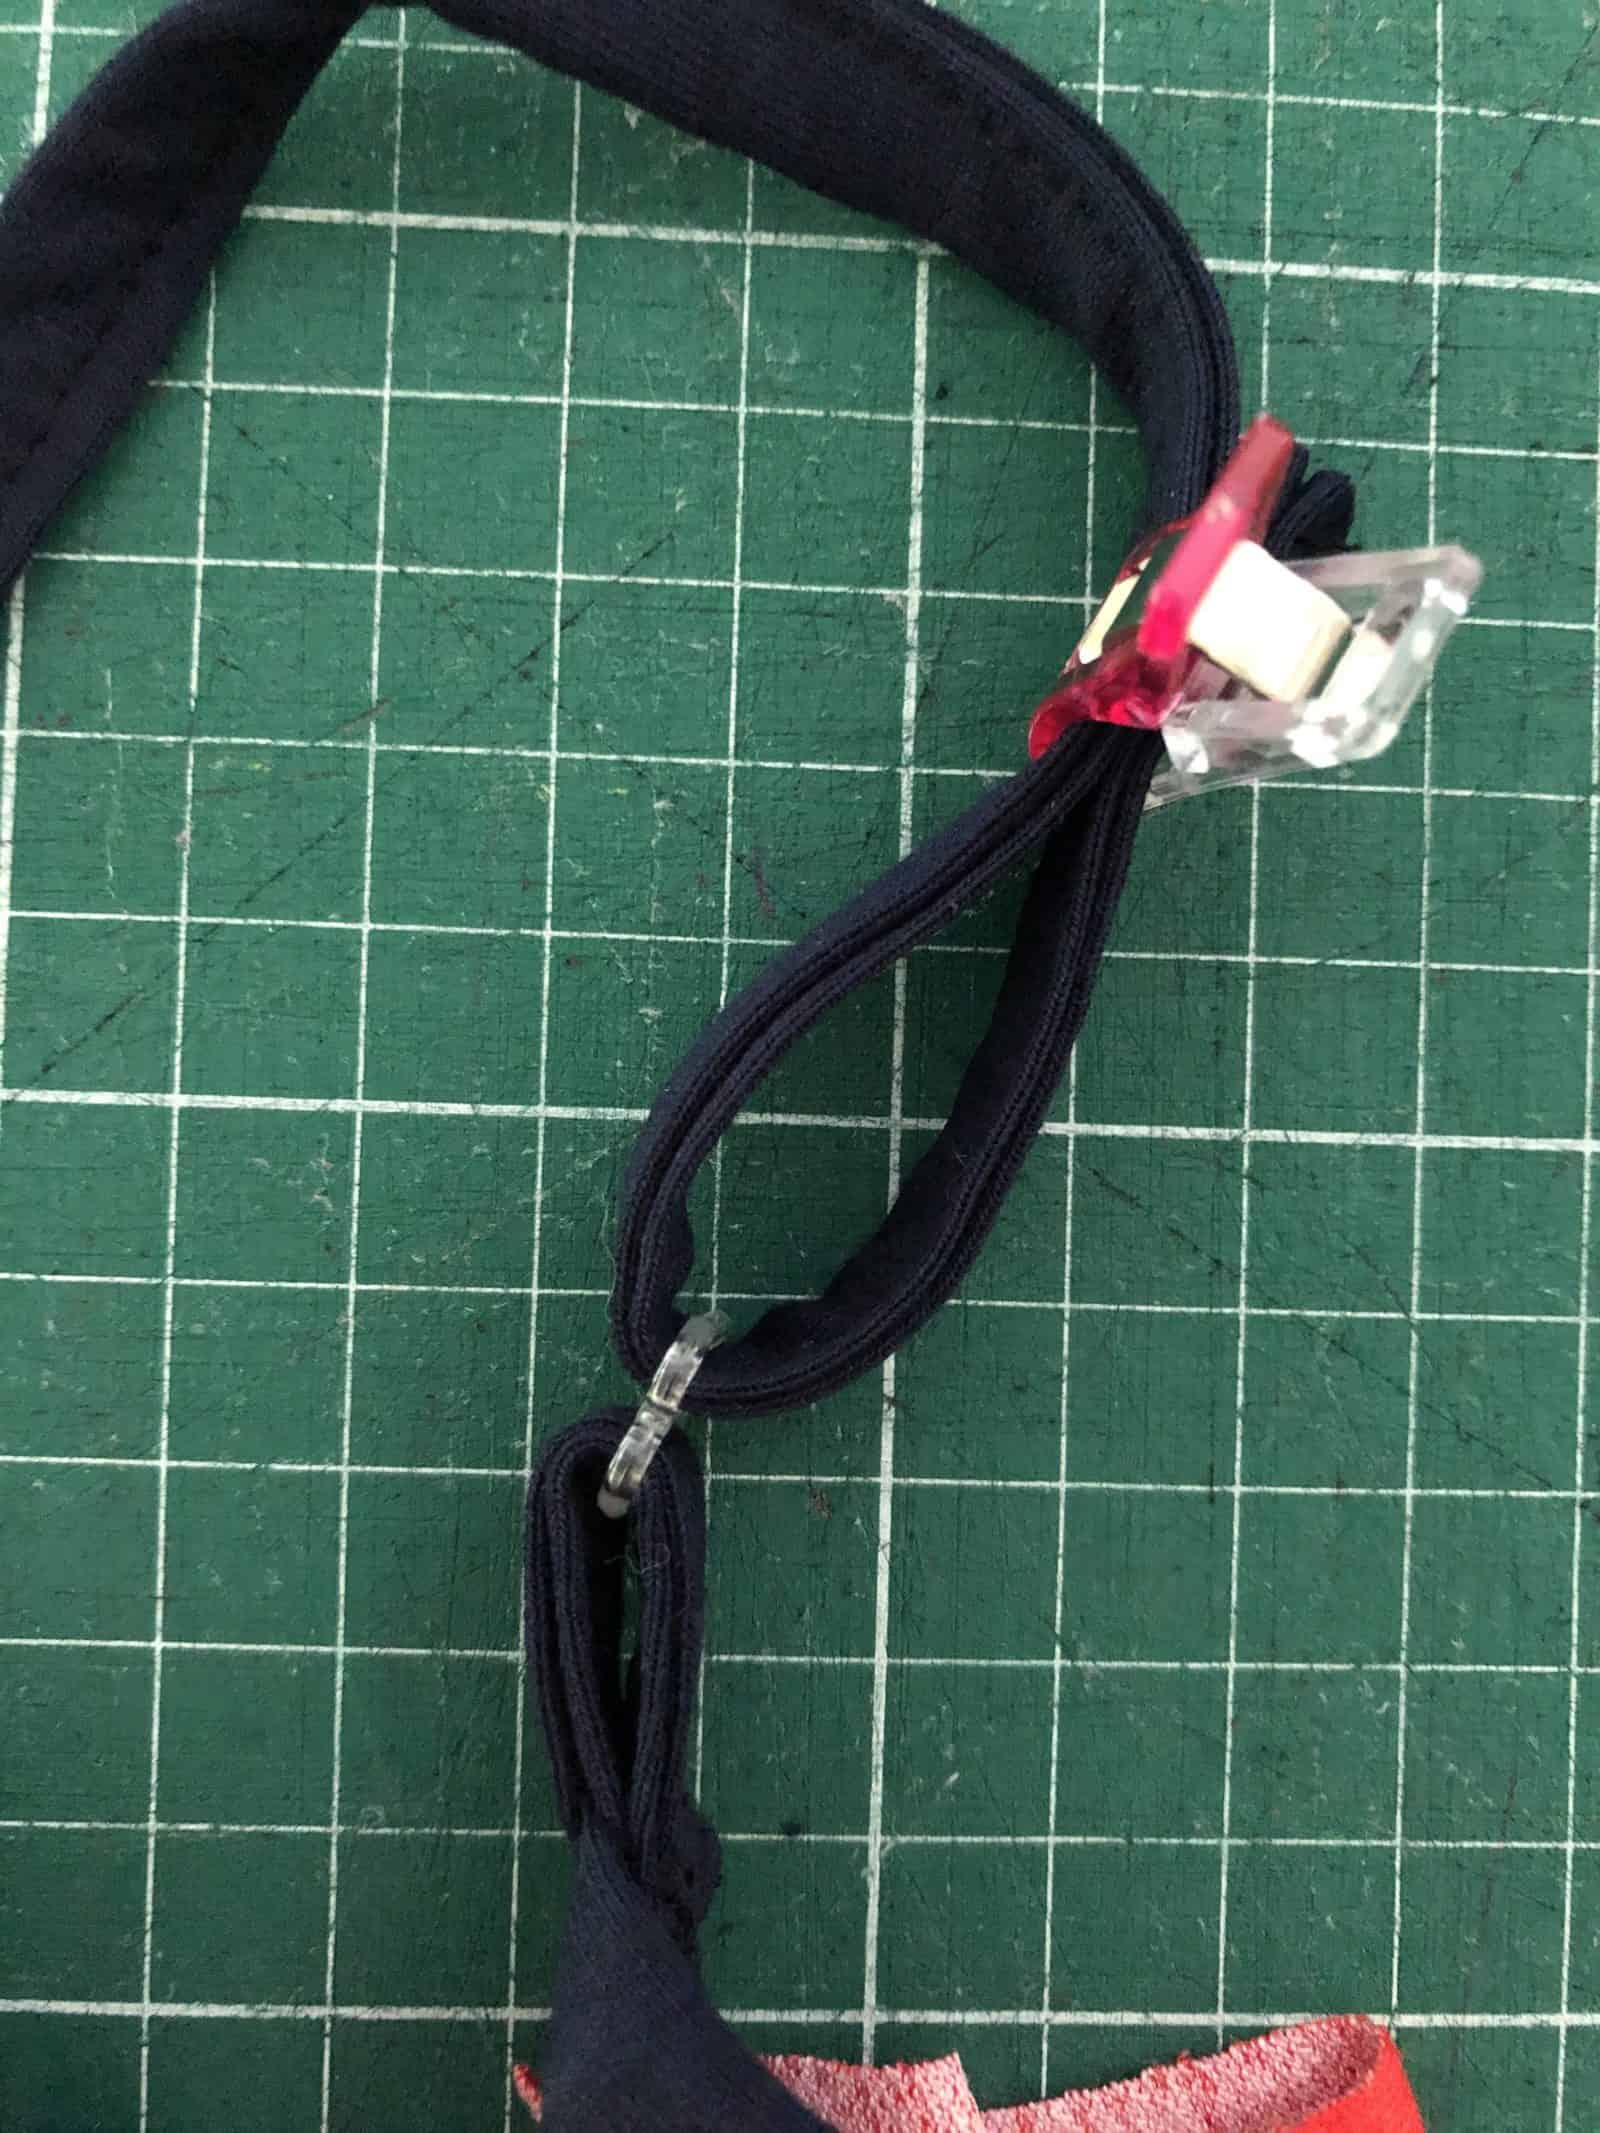
- Cut your straps leaving about 1.5″ on the backside of the dress. It can be less if you’d prefer to have it flush to the dress, but it makes it a bit more difficult to stitch, and quick and dirty were the operative words here.
- Insert the slider, clip, and sew
- Repeat for the other end of the strap, but before sewing, try your dress on and adjust to the desired length. Clip it in place and sew.
And you’re done. Go on and show the world your fabulous maxi dress! <3
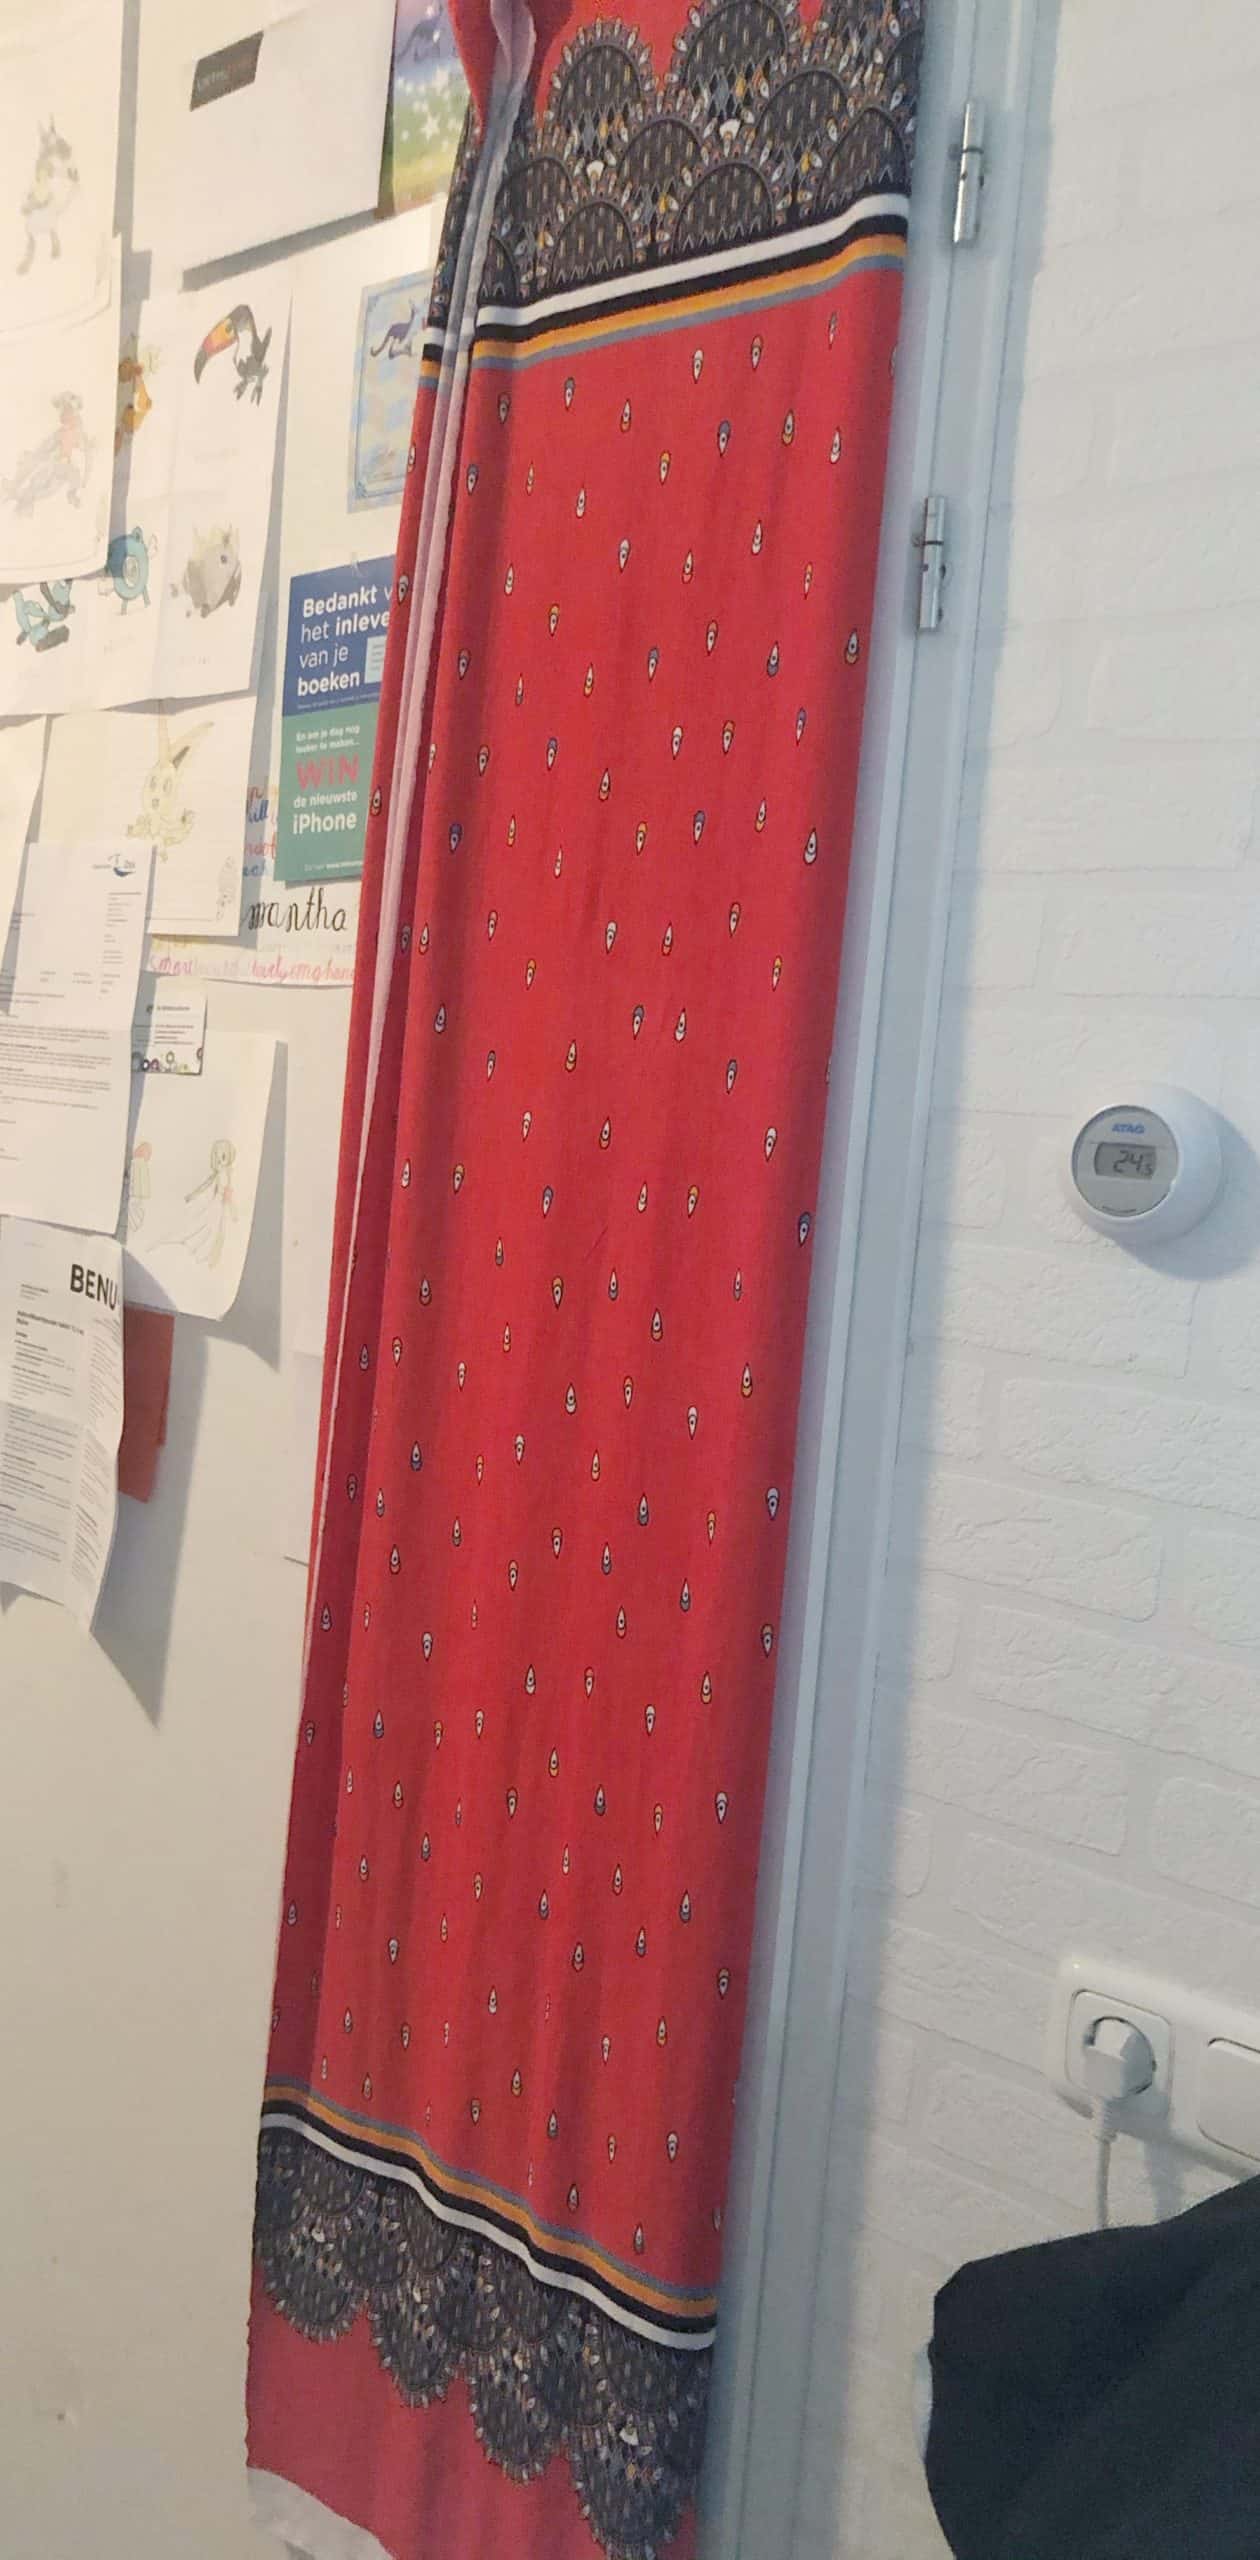
Oh! Before I go… one more tip if you’re making a maxi and your fabric has a lot of vertical stretch.
Hang it for a while to allow for it to grow before cutting into it. I left mine like this overnight and had no issues with my dress getting stretched or too long after making it.
xxx
Livia
Want a little more Alana Fun?? You can use the Willow Tie Strap Hack and Willow Ruffle Crop Hack for even more cute fun versions!




























Leave a Reply