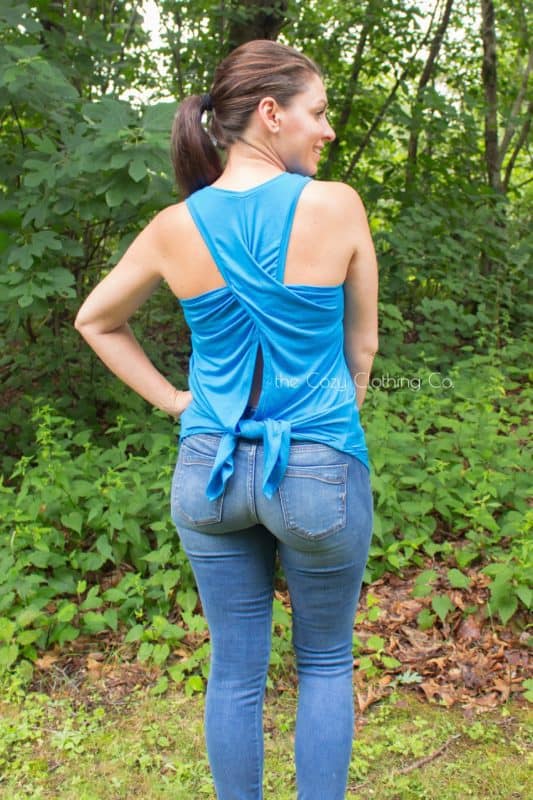
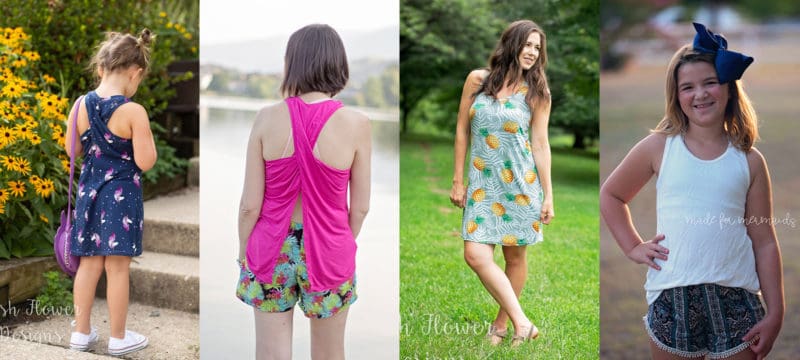
Our two newest patterns, Avery and Women’s Avery, are the tank patterns you’ve been searching for! Avery features a fun twist back to give you boutique-style tanks that can easily be dressed up or worn casually. I personally can’t wait to make a pile to wear to the gym!
Avery options include four lengths (top, curved hem, tunic, and dress), an optional open back, and two necklines (scoop or high). It’s designed for those gorgeous drapes knits like rayon spandex, bamboo, modal, etc. While it’s not a terribly time consuming sew, construction is a bit more challenging. Be sure to make use of the tutorial AND the videos included!!
Of course, you know the mermaid team wouldn’t leave you without Avery hacks! We’ve included a few of our favorite hacks below to give your Avery pattern even more options.
Hood
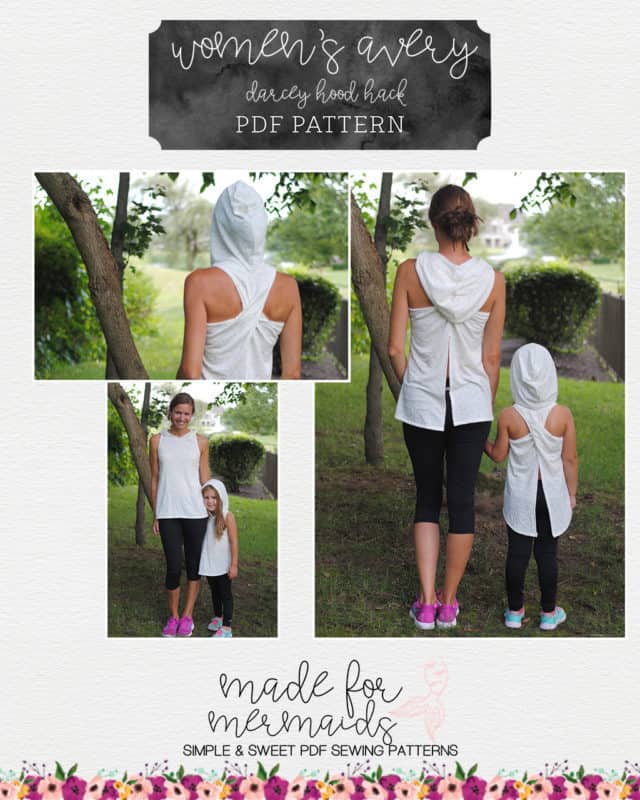
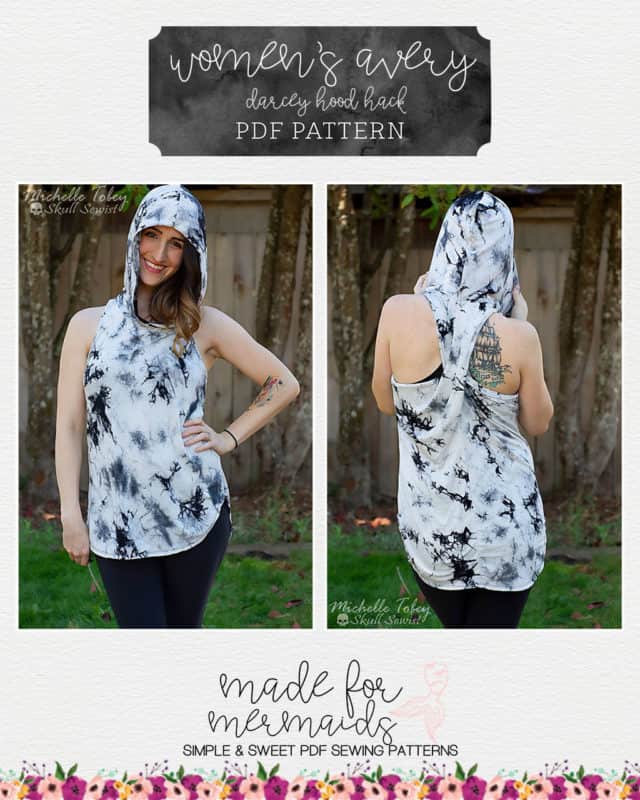
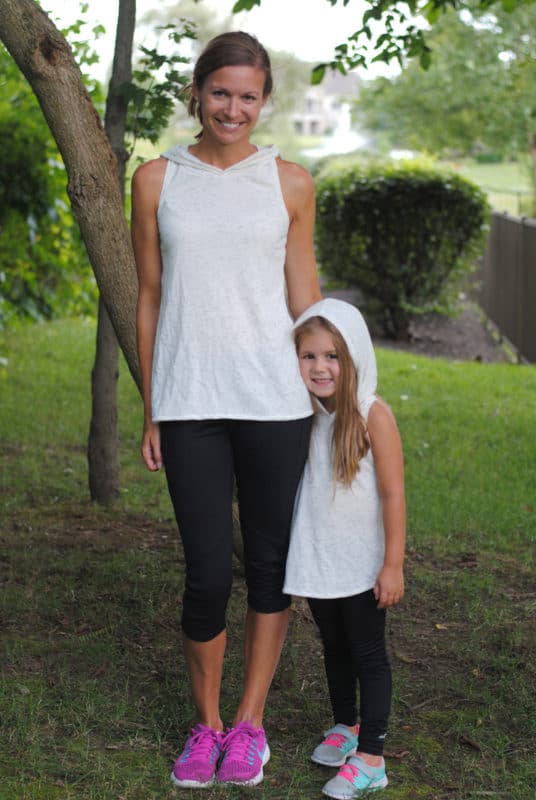
I knew immediately that I needed come up with a hack to add a hood to Avery. It’s already a cute and versatile pattern as is, but I LOVE the simple addition of a hood as well! Thankfully, this hack turned out to be really easy and straightforward! You will need the hood pattern piece from Darcey to do this hack.
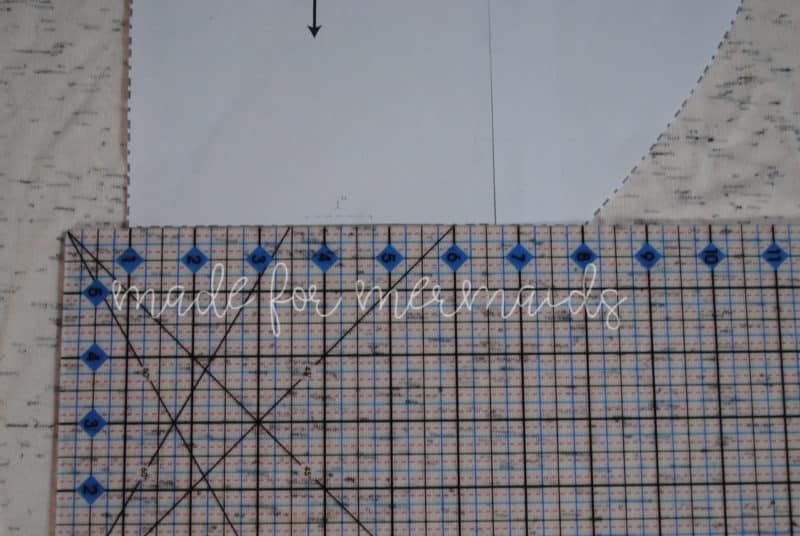
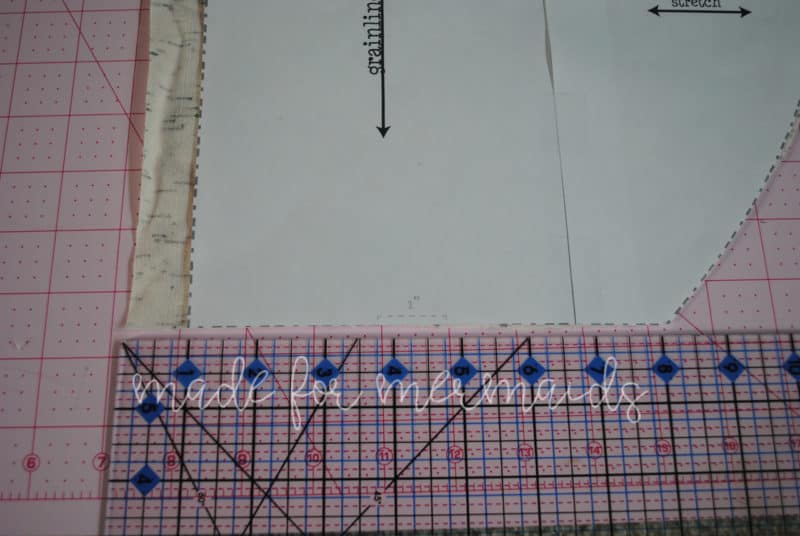
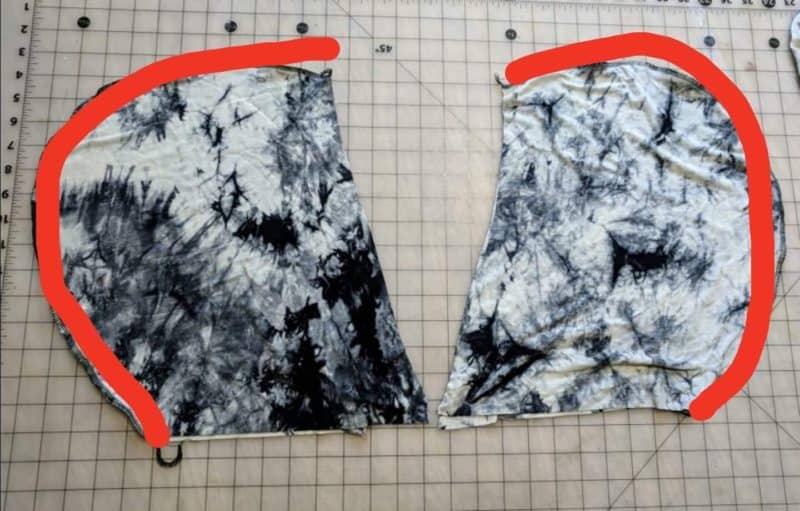
You will cut your front bodice piece, two mirrored back bodice pieces, and arm bands per the pattern, but instead of a neckband, you will need to cut two mirrored hood pieces using Darcey. The only modification you will need to do is to add a hem allowance to the hood pieces you cut (since the hood is banded on the Darcey pattern, and we will want it hemmed here). I added a 1″ hem allowance to the front edge of my hood when I cut it out. Follow the instructions per the pattern for the shirt until you get to the neckband. When you get to the neckband step, follow the steps below to add a hood instead!
Optional:
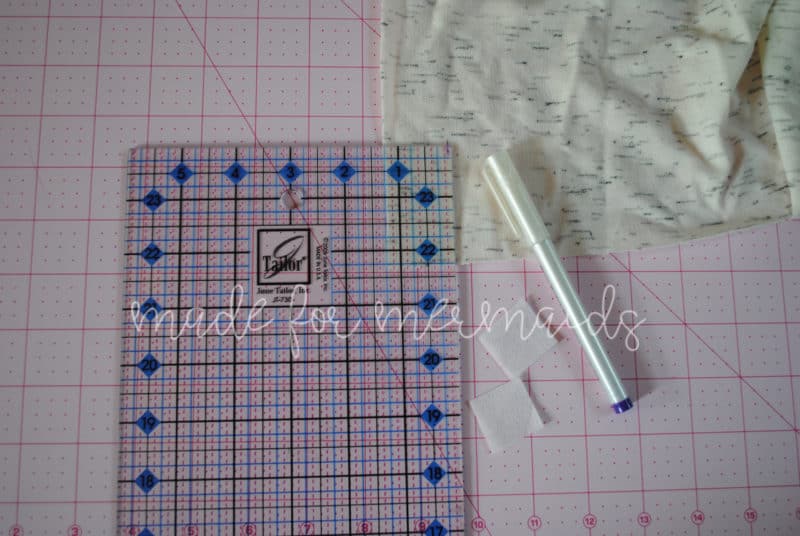
Drawstring – I chose not to add a drawstring to my hoods this time, but it would be super easy to do. You will just measure up about 2″ from the bottom edge, and then in about 1.5″ from the outer edge. Mark there for your grommet or button hole for your drawstring to feed through. You will also want to add 1″ x 1″ squares of interfacing on the wrong side to help stabilize your grommet or buttonhole. You will create the casing for the drawstring when you hem your hood opening!
Lined hood – Should you choose to line your hood, rather than hemming as shown below, you will cut two sets of hood pieces making 4 total hood pieces (two main mirror images and two lining mirror images). You will sew your main pieces together along the back curve, right sides together, and also sew your lining pieces together along the back curve, also right sides together. You will then sew your main and lining hoods together, right sides together, all around the face opening (making extra careful again not to sew them together at the neck opening! Make sure it’s the longer side that you are lining up!) Flip it right side out through the neck opening and you’ve got yourself a lined hood you can now attach to your shirt!
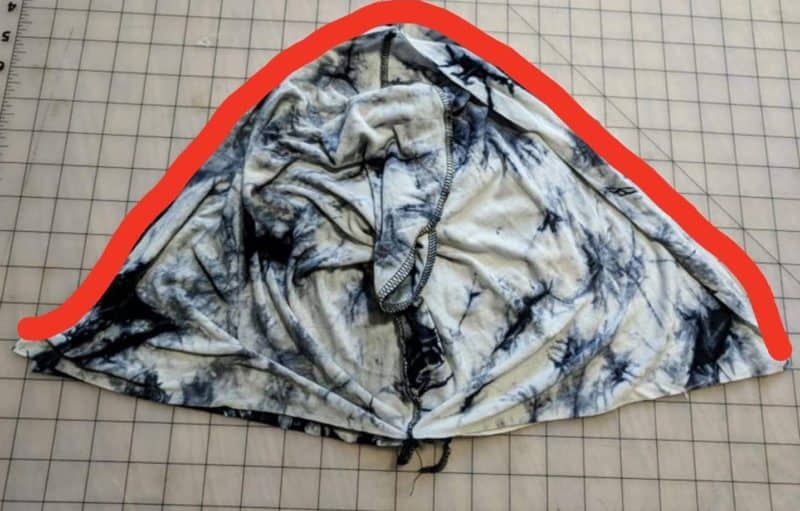
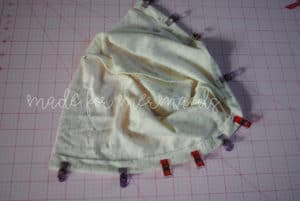
Place your two mirror image hood pieces right sides together and sew them together along the curve. You will then open up it up and hem the front opening, using the 1″ hem allowance you added when cutting. Note: make sure you are hemming the opening for your face, not the neckline where it’ll attach to the shirt. They look similar, so just double check its the correct opening before hemming. The opening for your face is longer than the neckline, so it’s easy to tell when double checking!
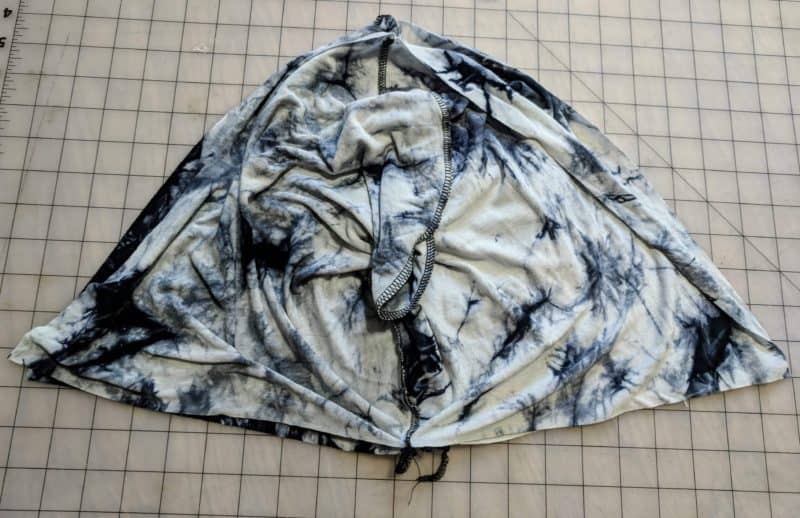
It’s also best double check that your hood will fit properly on the neckline. Below is my daugther’s size 4 hood, which is 15″ long; that is the same length as the the neckband measurement in the chart within the pattern, so I’m good to go!
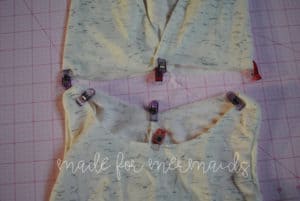
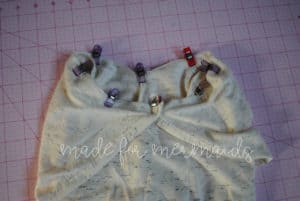
After you have hemmed your hood opening, you will want to bring the two front points together, overlapping them by 1/2″. You can baste this together to keep it even when attaching it. You will put a pin/clip here as your front center point. Mark the back seam of the hood as the back center point, then quarter the sides and place pins/clips there as well. Repeat the quarter markings on your shirt (just as you would for attaching the neckband).
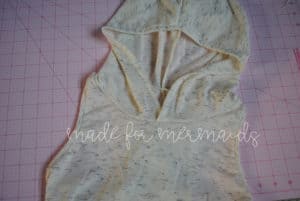
Flip your hood down over your shirt, right sides together, and match up your quarter points. You will need to stretch the hood slightly to fit, just as you would a neckband! Serge or sew your hood on, and you are good to go!
This hack works just the same for Avery and Women’s Avery, and my mini and I both love it! Cheers ~ Jody
Romper
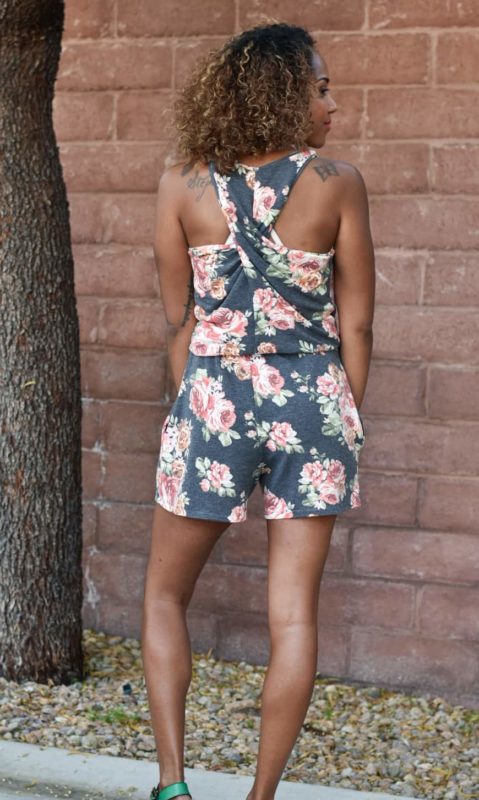
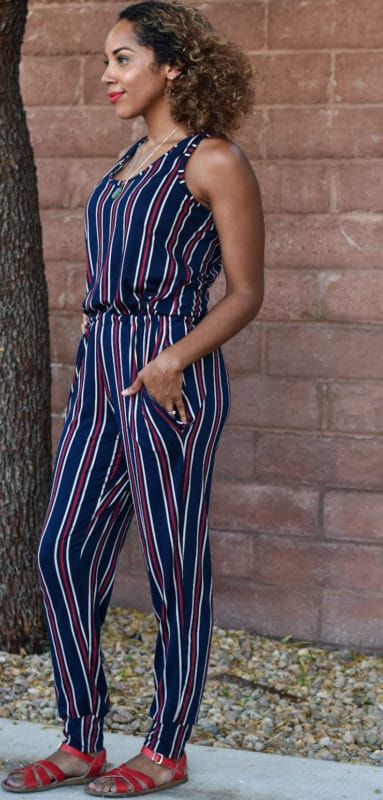
Hey Mermaids! I’m Stephanie, back to show you how to take the super cute and trendy Avery/ Women’s Avery, and turn it into one of my favorite wardrobe staples. You probably guessed it…. a romper! Shocker! Lol. I’m going to mash Women’s with both the Mama Lea bottoms and the Mama Lexi joggers to show you how to get two different but amazing rompers!
*Note: This hack uses the lower neckline of the Women’s Avery only. You may need to add a snap placket if you can not easily squeeze through the neck opening, or if you prefer the higher neckline. Check out our snap placket post for more help!*
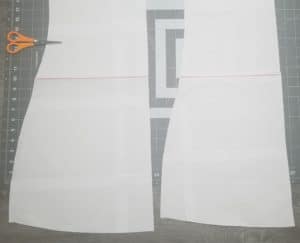
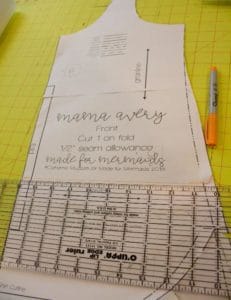
First, you’re going to take your Avery bodice pieces, lay them down, and find where the pieces start to curve out for the waist (where the scissors are pointing in the picture below). By looking at the Lea photos, I can see that the casing hits right at the waist, and there is minimal excess fabric “hanging” over the casing. I want mine baggier in the waist, so I’m going draw my line a few inches below the natural waist curve.
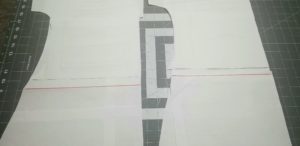
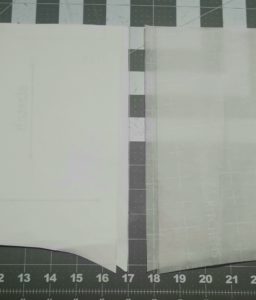
Now, place your Lea bodice pieces over the Avery pieces and make note of the width differences, if any.
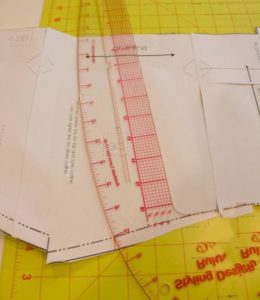
You can see my front Avery piece (right) will need to grade out a tiny bit to match widths of the Lea, while my back Avery piece (left) will need very little modification. Using a ruler or french curve, grade the Avery out to match the Lea. Your bodice bottom edges should now match.
The photo above shows the matching widths. You’ll want to assemble your new Avery bodice per the Avery tutorial, up until you get to hemming the bottom. You can now use this bodice in place of the Lea bodice, and attach it to the Lea romper bottoms as directed in the Lea tutorial. Easy, right? It’s all about getting the bodice you want to use, to match widths of the old bodice.
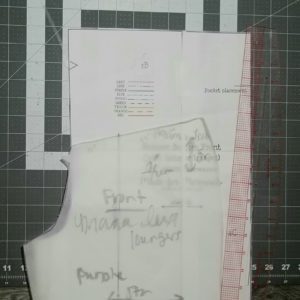
Now, for the jogger bottom romper hack, take Lea’s bottoms pattern pieces and Lexi’s jogger pattern pieces. You want to get the top edge of Lexi to match widths with the top edge of the Lea bottoms. I’ve made the Lexis before, so I know the pants hit right at my hip bones sans waistband. I want them to hit at or right below my natural waist, so I figure I’m going to add approximately 5″ to the rise of the Lexis to get them where I need them to be. (This number may be more or less due to size, personal preference, etc). Place your Lexi piece over the Lea piece, matching crotch seams.
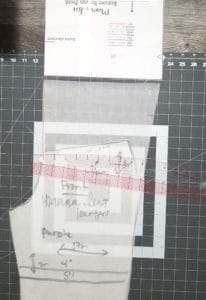
You can see that it’s about 5″ from the highest point of the Lexis to get to the top of the Lea. You are going to grade out from the outside of the leg, up and out, where that ruler is lying, to get the Lexis to match widths of the Lea. Do not grade out from the crotch seam side! You’re just going to follow that Lea crotch the rest of the way up.
Your new piece should look like this. You can see that the top of your new Lexi piece matches widths of the Lea piece. Repeat the process for your other piece, you can then use these new pieces in place of the Lea bottoms! I used my new Avery romper bodice pieces with my new Lexi jogger romper pieces to get the most AMAZING romper ever!
Crop Top
This first one is so easy, it hardly needs any explaining! I wanted a cropped version of this top to wear with flare leg pants, and also wanted something that will look great in a workout performance knit for an upgrade to my athletic wear. I also kept in mind that I am no 20 year old anymore and, quite frankly, don’t feel like bearing my post-4-kiddos tummy much. So, this is on the longer side of a crop top with a slight hi-low hem line. The beauty of this hack is you can make it whatever length you want.
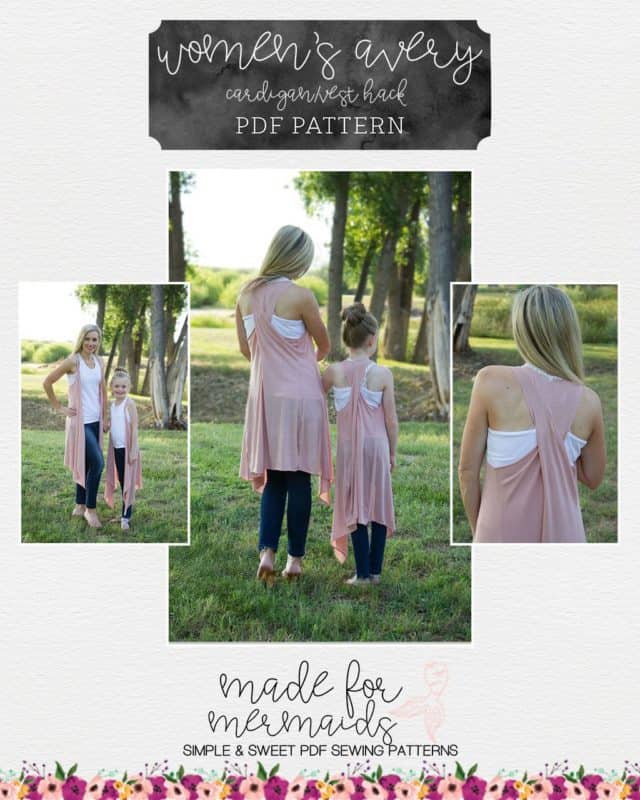
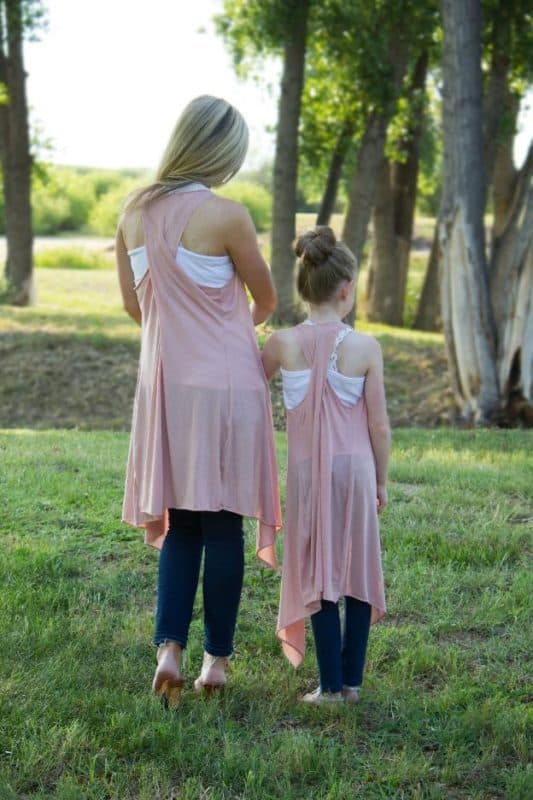
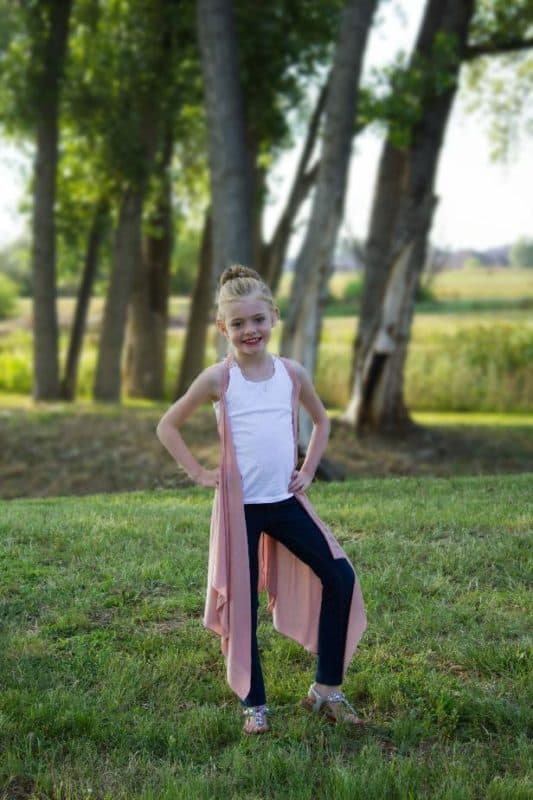
Drape Front Cardigan Vest
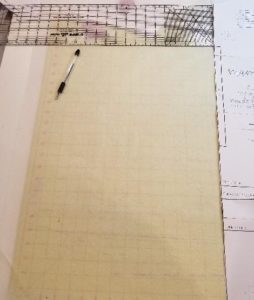
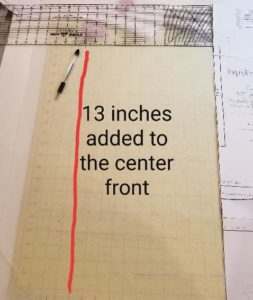
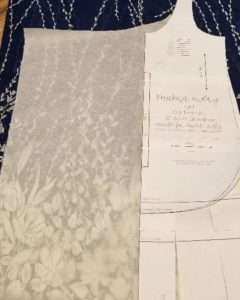
For this gorgeous hack, you will need your Avery Top pattern in the dress length. You will cut your back pieces as is at the dress cut line.
High Low Hem
Looking for a really simple way to add variety to your Averys? Use the top length cutline for the front piece, and the curved hem cutline for the back pieces, and then construct per the tutorial! It looks really cute tied in the back at this length, although the open back Averys can also easily be timed in the regular curved hem or tunic lengths. Of course, it also looks cute knotted in the front on the closed back versions too!
We hope you love your new Avery and Women’s Avery tops and dresses! Don’t forget to share your makes over in our Facebook group!












Leave a Reply