

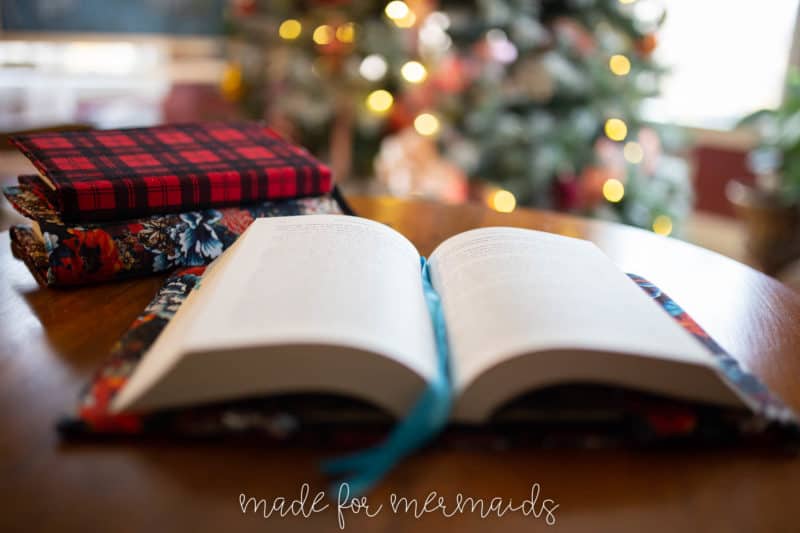
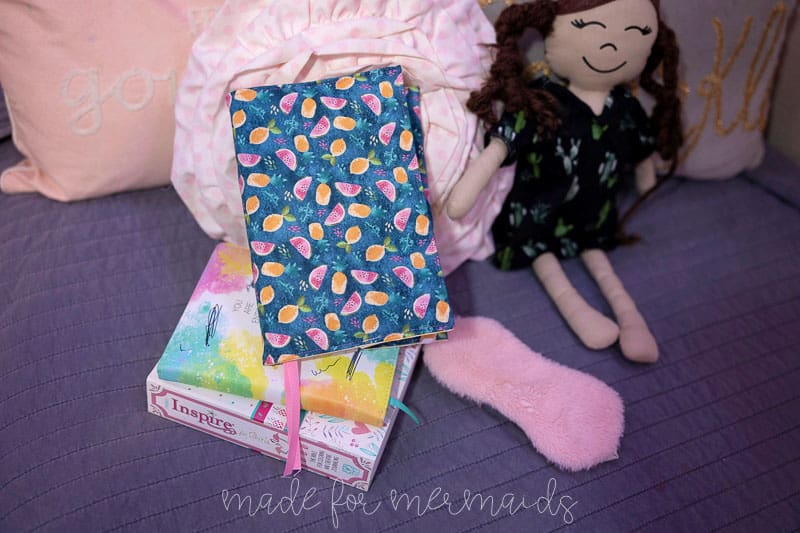
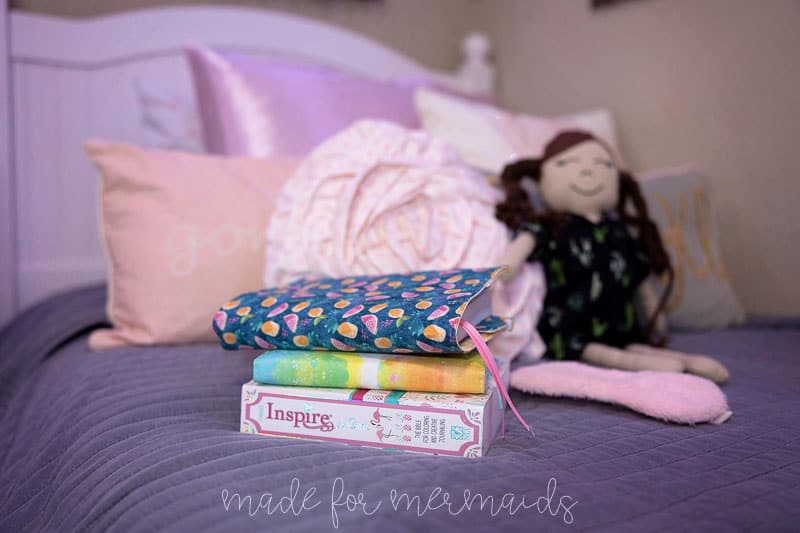
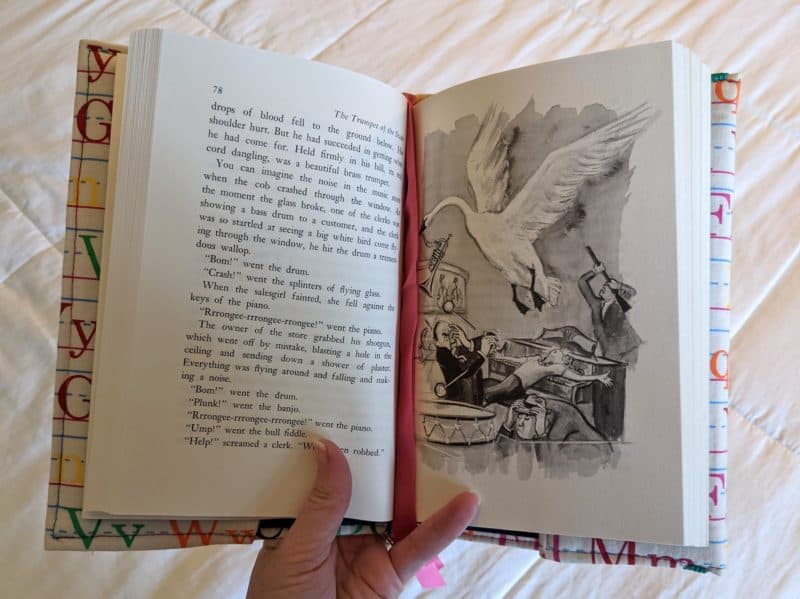
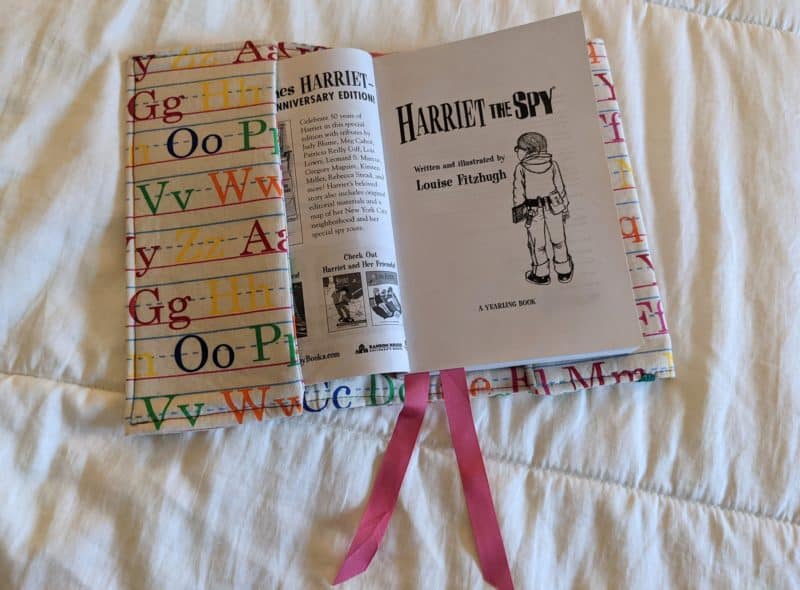
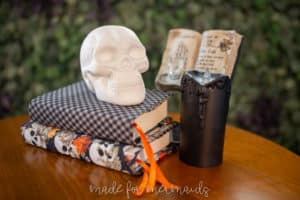
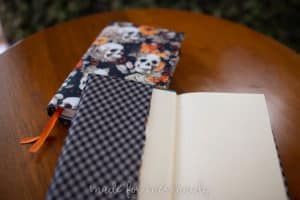
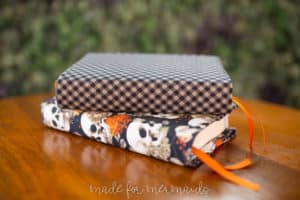
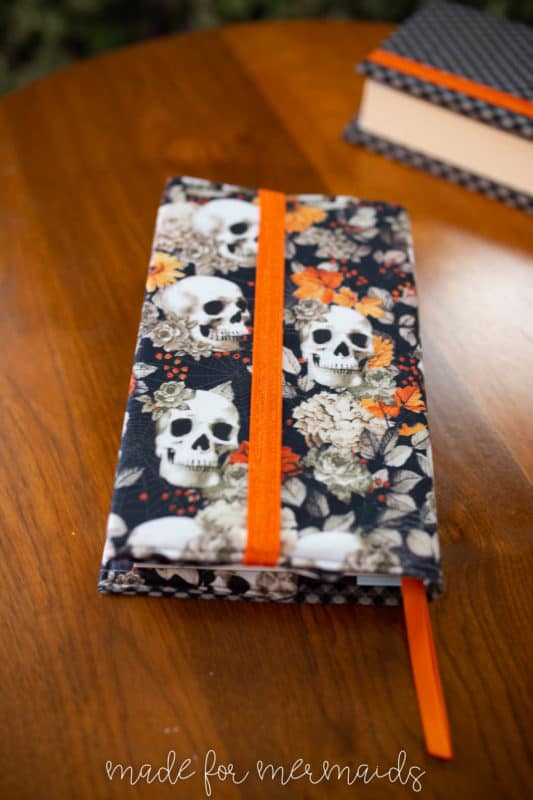
It’s the second day of Christmas at Made for Mermaids! Today, we have a book cover with a ribbon bookmark in two sizes! This is a fun gift for the book lover in your life (or for yourself!). It adds a layer of protection to your paperback or hardback books and allows you to personalize with fabric.
SUPPLIES:
-
3/8 yard woven, cotton – main fabric
-
3/8 yard woven, cotton-lining fabric
-
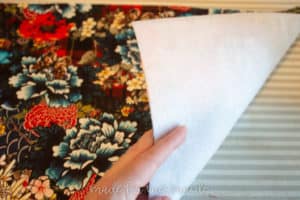
3/8 yard quilting interfacing – fusible fleece (Pellon 987F)
-
1/4″ or 3/8″ elastic
-
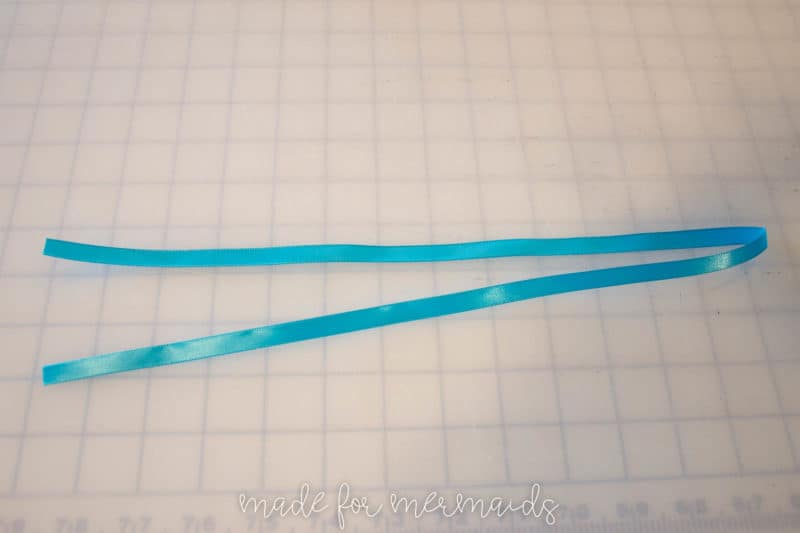
3/4 yard of thin ribbon (I like 1/4″ or 3/8″, but you can use what you have on hand!)
LET’S GET STARTED!
1/2″ seam allowance
Step 1: PREPPING
Go grab the pattern here! The pattern is 100% free, but you do need to add it to your cart and checkout. Then, it will always be available to download from your account. The pattern is a no-trim pattern; if you need help putting the pattern together, pop over to the faqs and troubleshooting page, check out the blog post here, or ask in our Facebook group.
Print and assemble the pattern. Alternatively, you can use the projector file if you’re using a projector. Pattern layout below:
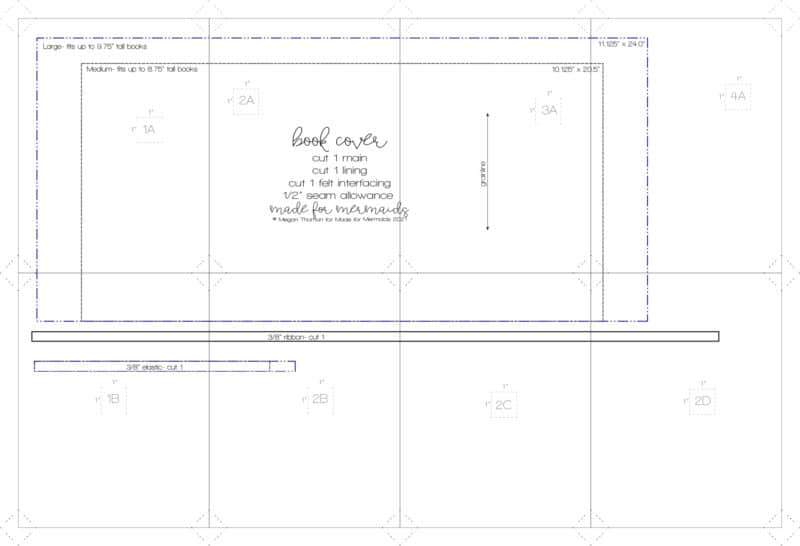
Choose a size! The Medium size fits a book that is up to 8.75″ tall and the Large size fits up to 9.75″.
If you prefer a video tutorial, check out the YouTube video below:
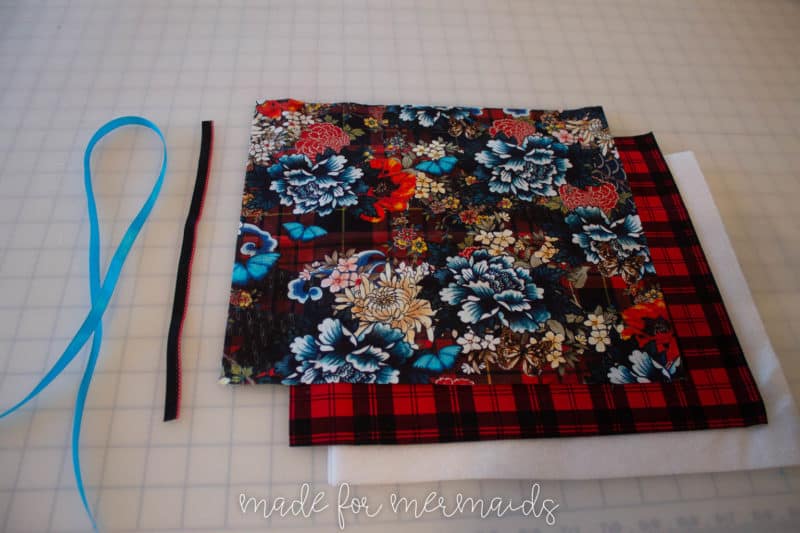
Cut 1 main, 1 lining, 1 interfacing, 1 elastic, and 1 ribbon.
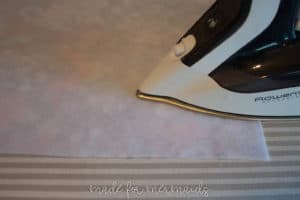
Step 3: Add Interfacing
Press the interfacing to the wrong side of the main fabric piece. Find the top center by folding your fabric in half widthwise. Place a pin.

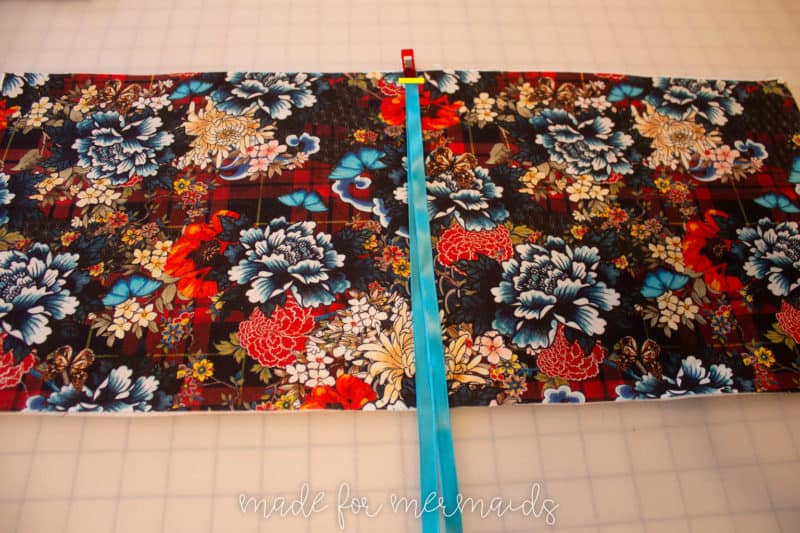
Fold your ribbon in half to find the center. Pin the folded end of the ribbon to the top center of your main fabric. The “tails” of the ribbon should extend down toward the bottom. Baste ribbon in place along the top.
Step 5: Adding elastic
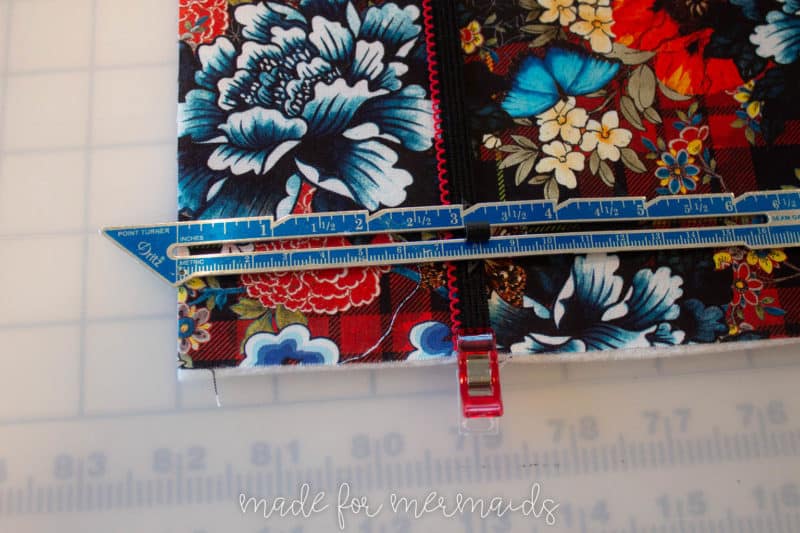
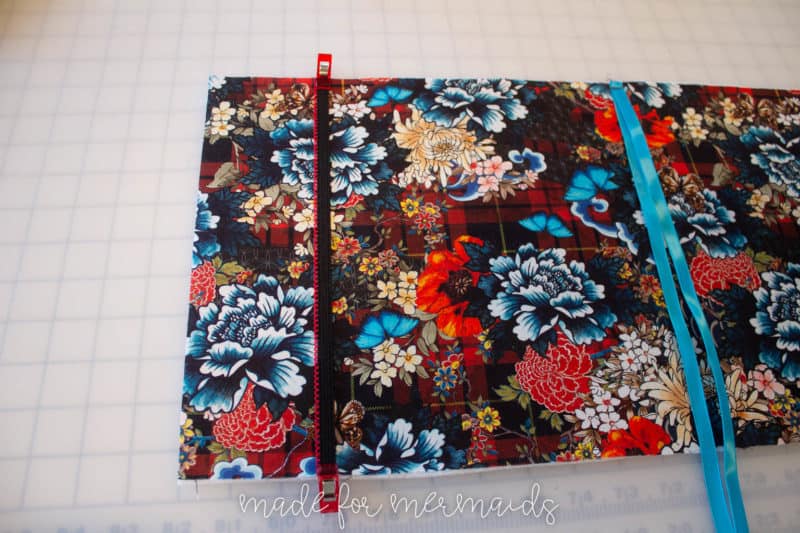
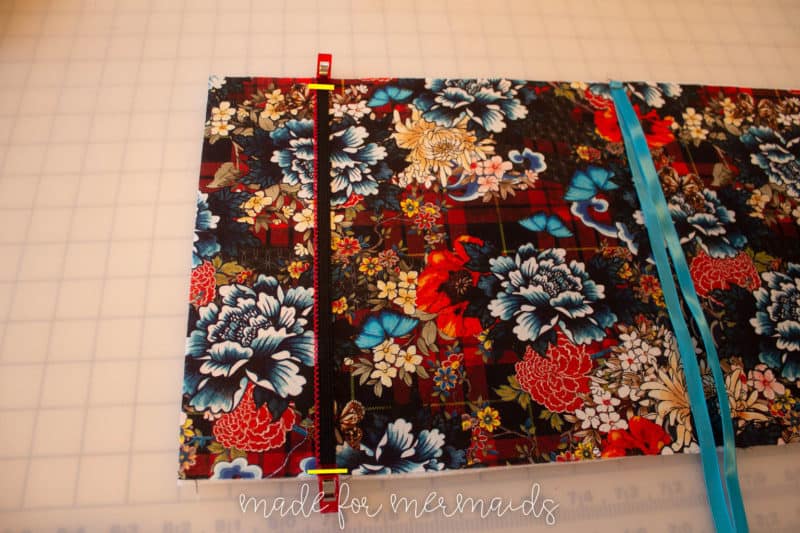
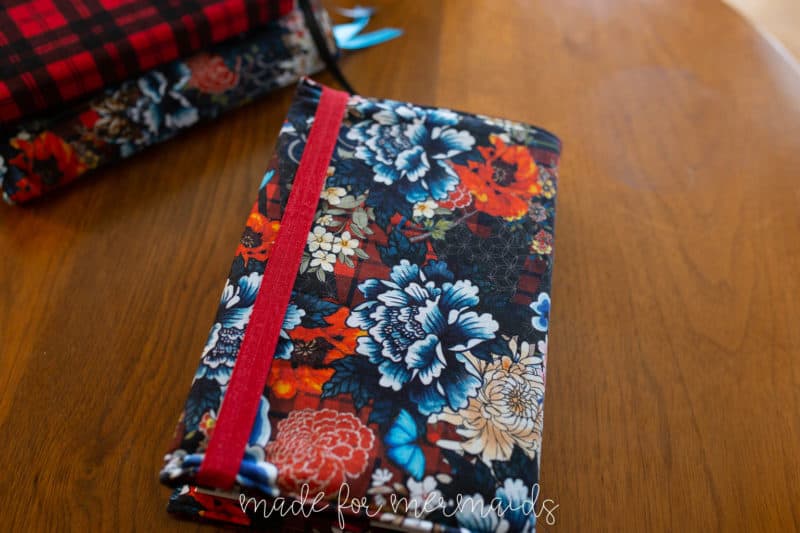
Lay your main fabric with the right side up. Measure 2-3″ from the left edge and place pins at the top and bottom of the main fabric. This is where we will attach the elastic. Pin elastic in place. Stitch elastic to the right side of main fabric with 1/4″ seam allowance.
Step 6: Construction
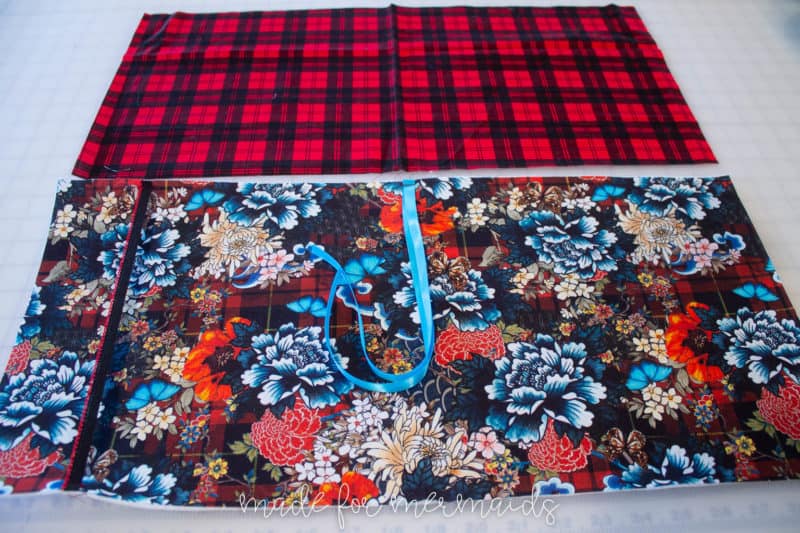
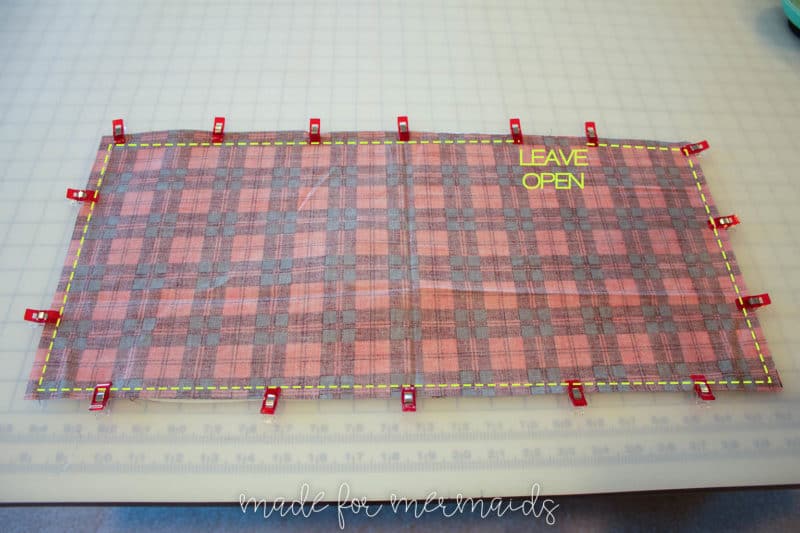
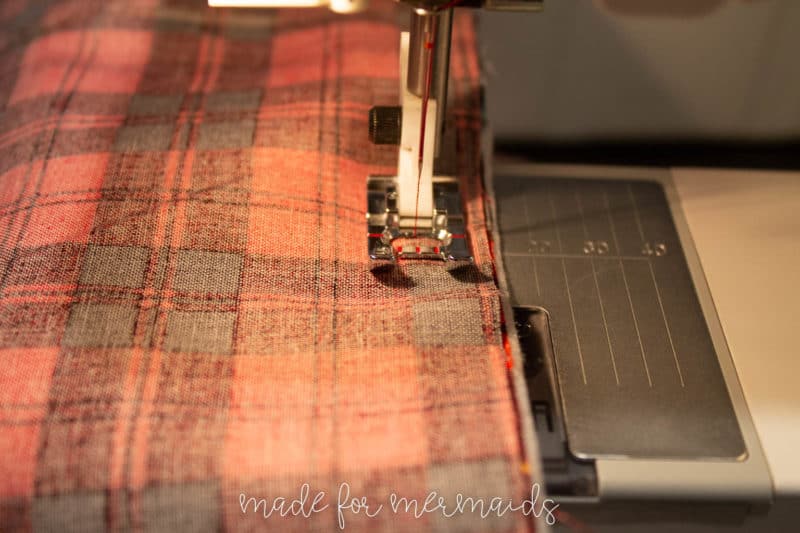
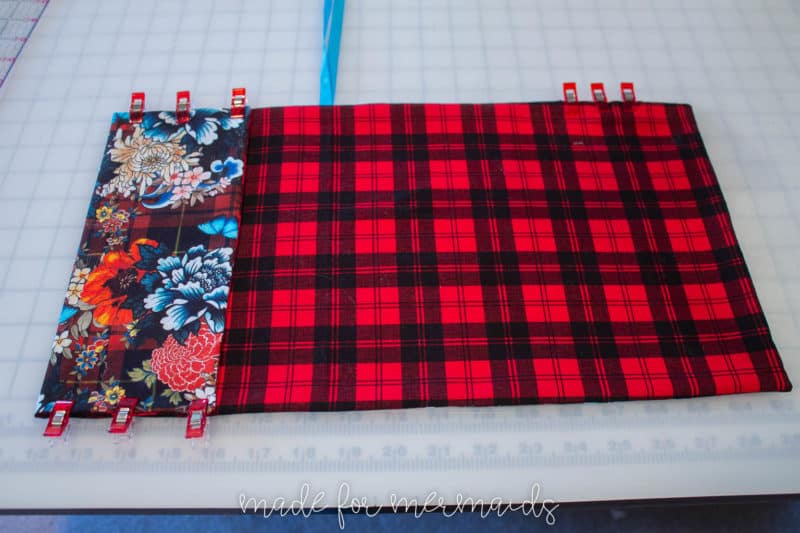
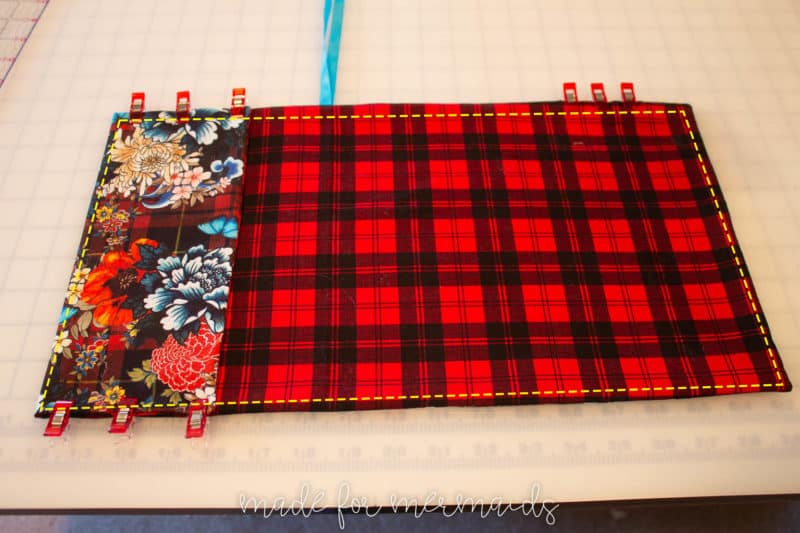
Place the lining and main fabrics right sides together. The elastic and ribbon will be sandwiched in between. Make sure your ribbon is folded up so it does not get caught in your stitching. Pin the entire way around, leaving a 2″ opening for turning. Stitch with 1/2″ seam allowance. Do not stitch your opening shut!
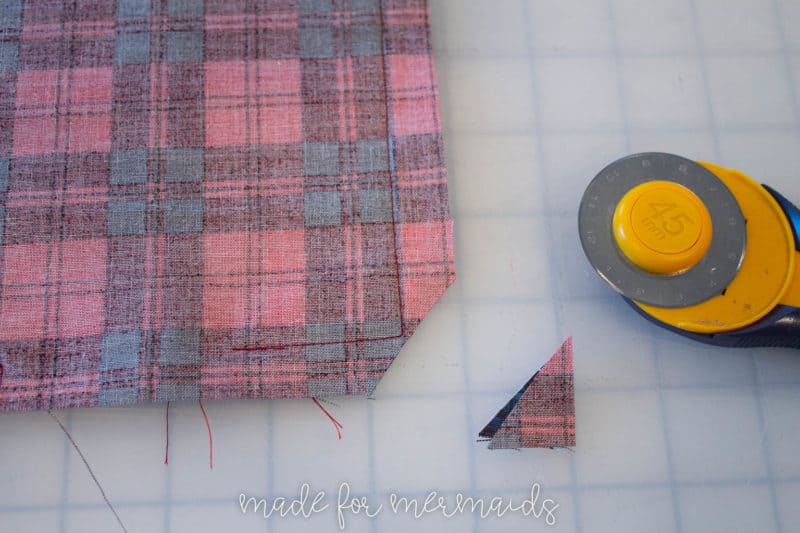
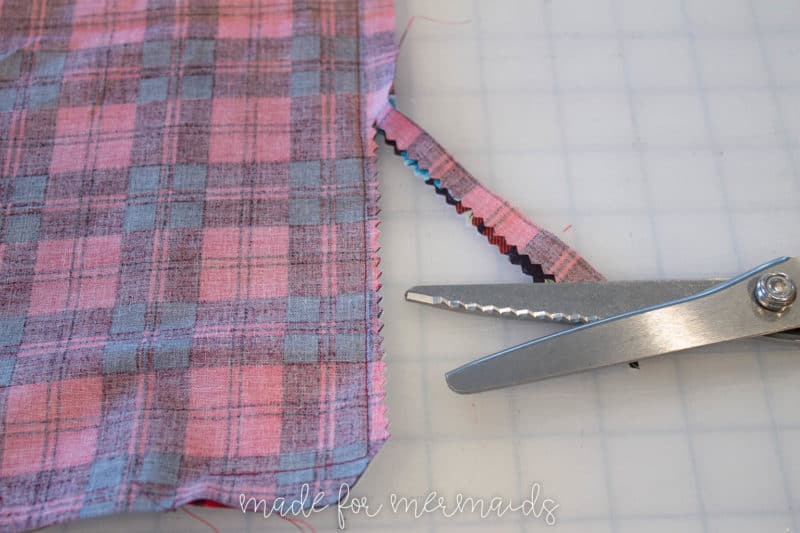
Clip corners and trim seam allowance to 1/4″. Do not trim the opening. I like to use pinking shears to clip and trim at the same time!
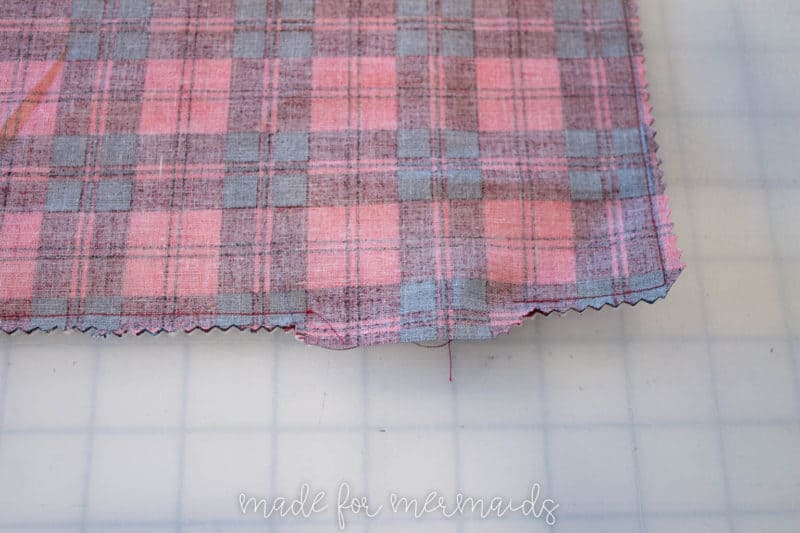
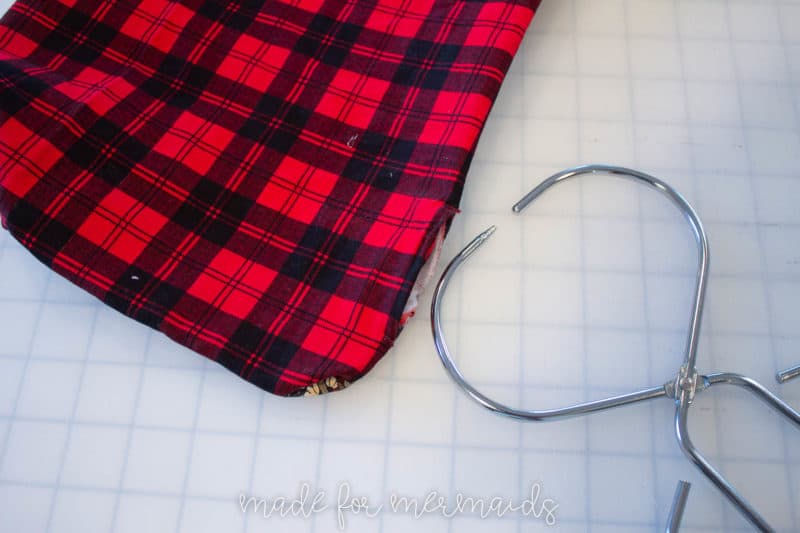
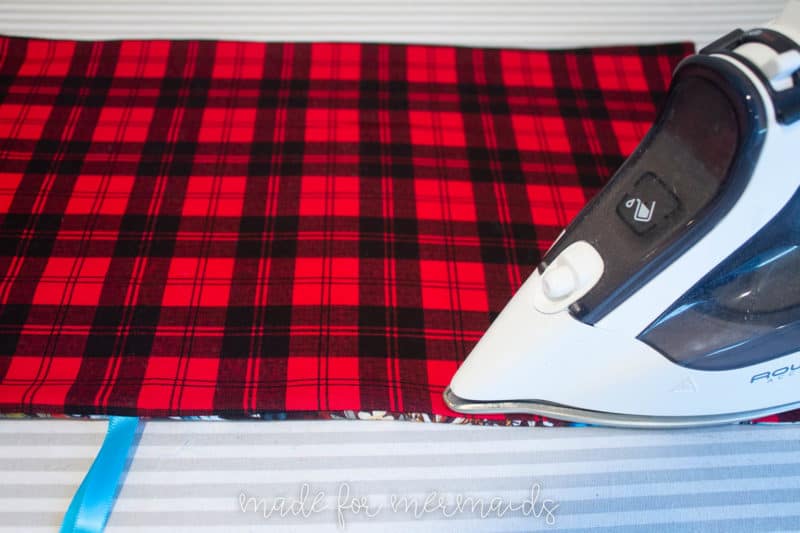
Turn the cover right side out and use a point former, pencil, or chopstick to push out the four corners. Press well. Tuck the opening’s seam allowance in.

Step 7: Front Cover Pocket
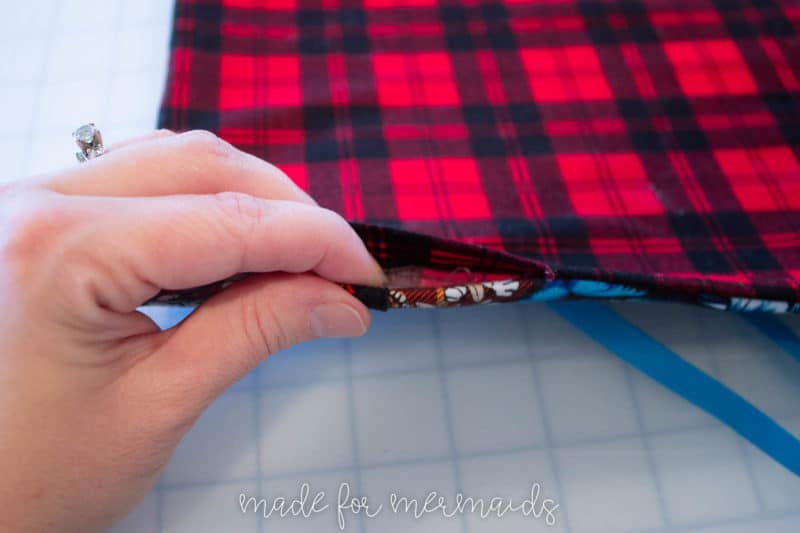
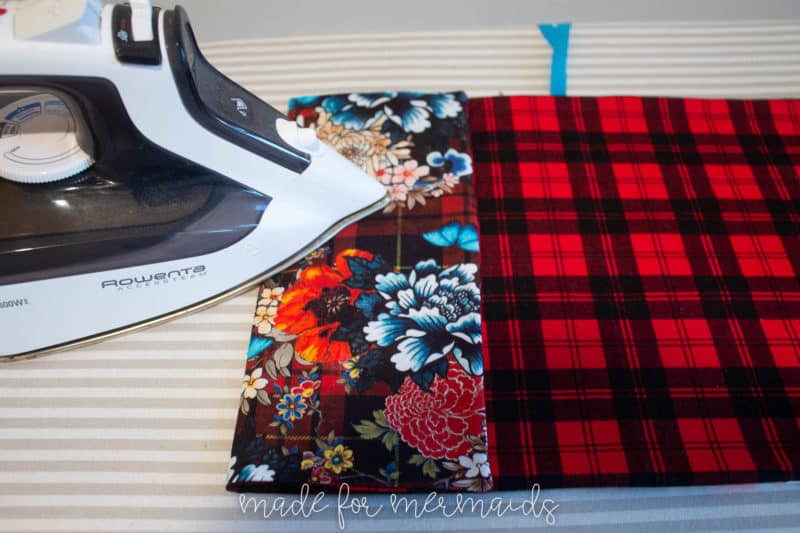
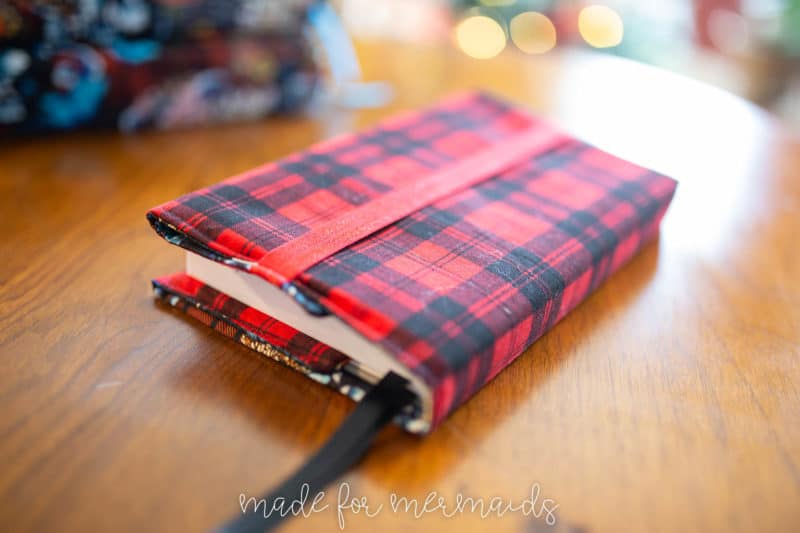
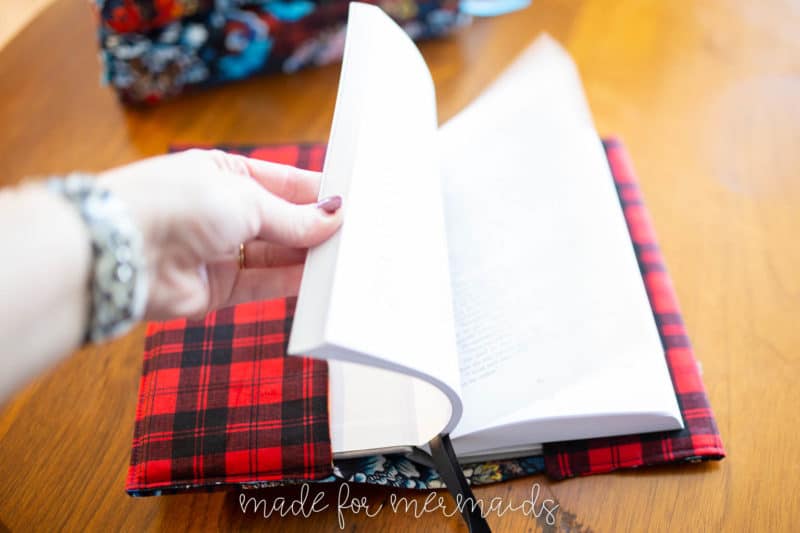
Place cover with the lining side up and your ribbon at the top. Take a ruler and measure 3-4″ from the left end. This should be the end that has no elastic. Draw a line. Fold the left end toward the center. The lining should be together. Press along the fold to form the pocket for your front cover. TIP: If you know what book you are covering, lay it out and wrap the edges around the book’s cover to get an exact, even pocket measurement.

Pin the front cover pocket in place along the top and bottom edges. You can also pin the opening that you used for turning.
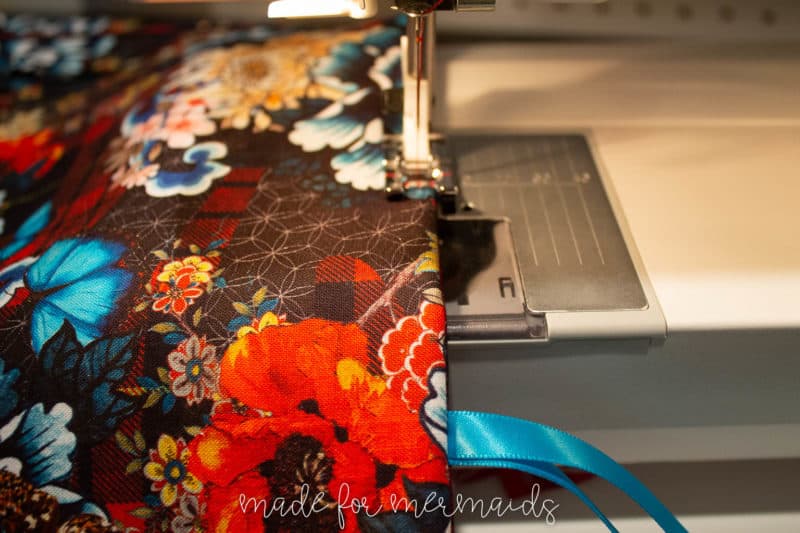
Topstitch around the entire book cover with 1/8″ seam allowance. Your front cover pocket should remain folded in place while you stitch around. Note: The right end of the fabric cover will simply be wrapped around the back book cover. We are not sewing a pocket on this side. Use a lighter to heat seal the edges of the ribbon so they do not fray.

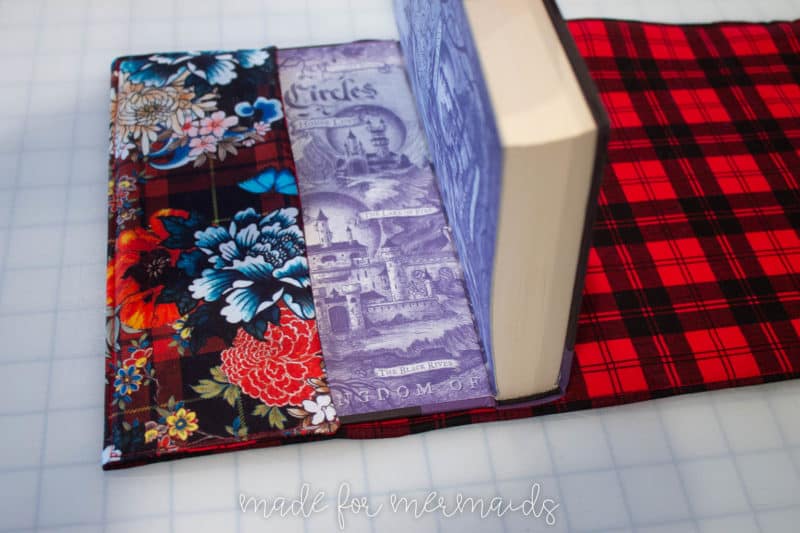
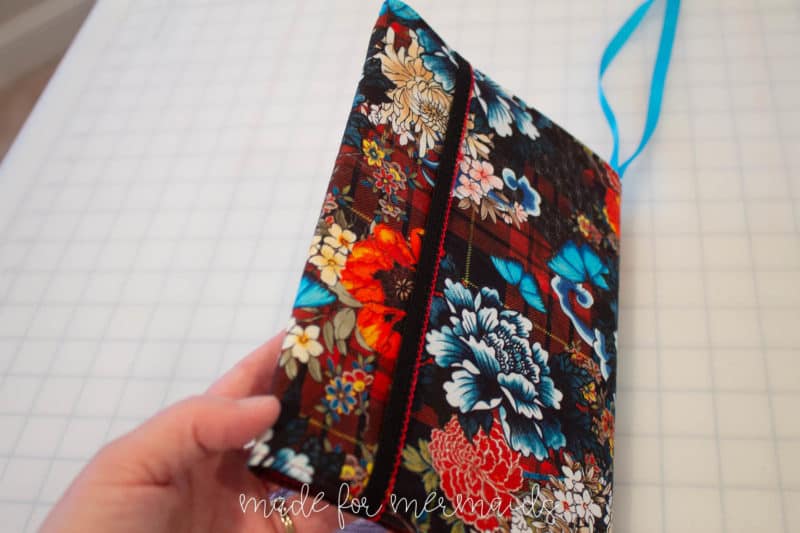
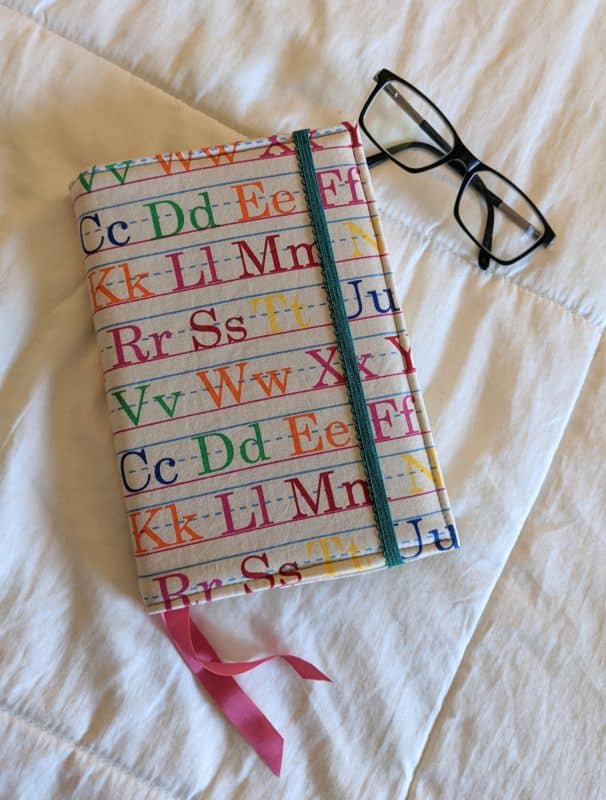
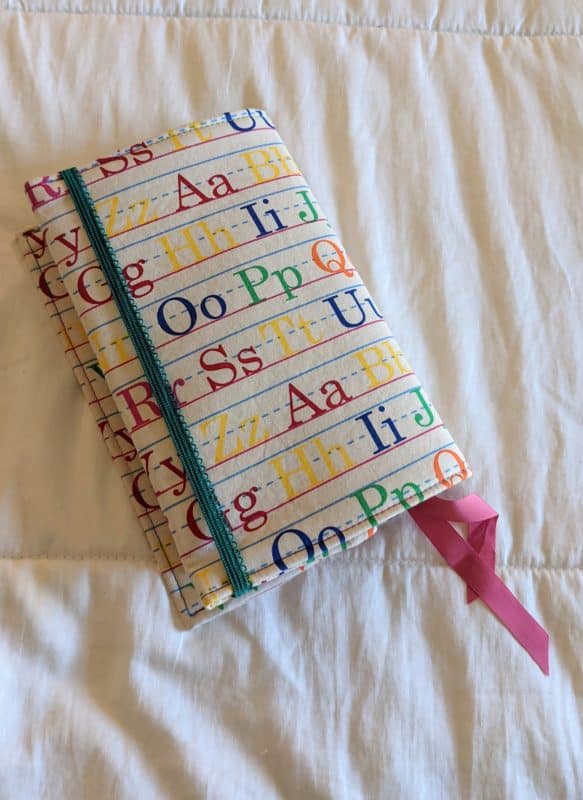
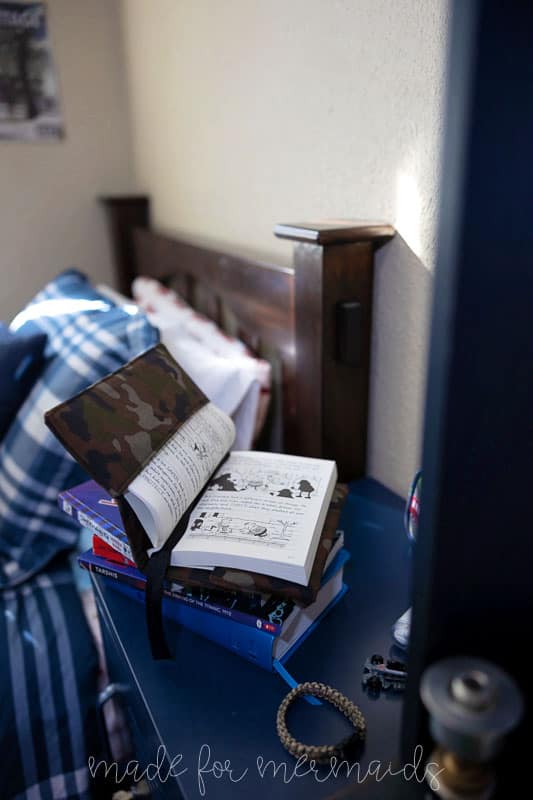
Lay your cover out with lining side up. Slide your book’s front cover into the pocket. If you are using a paperback, you can slide a few of the first pages into the pocket as well. Take the right end of the cover and wrap it around the book’s back cover. Take the elastic and pull it around to the other side of the back book cover. This is what holds the back cover in place.
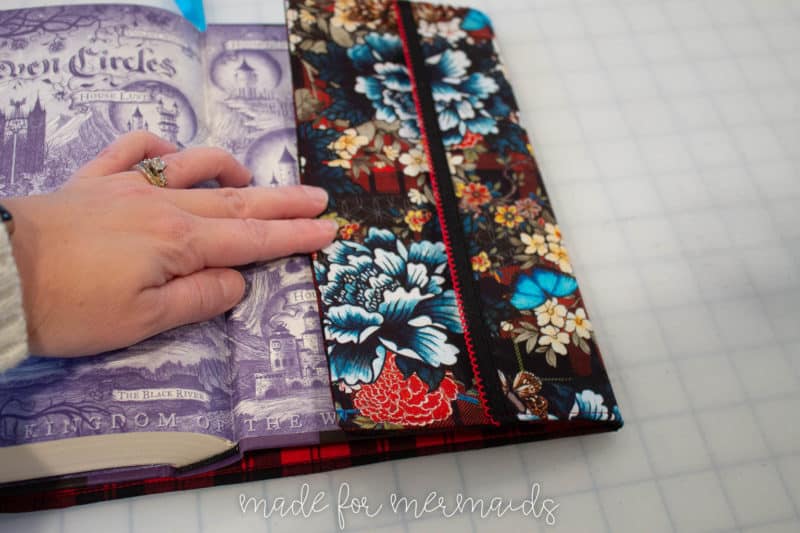
Pull your ribbon down so it lays between the pages of your book.

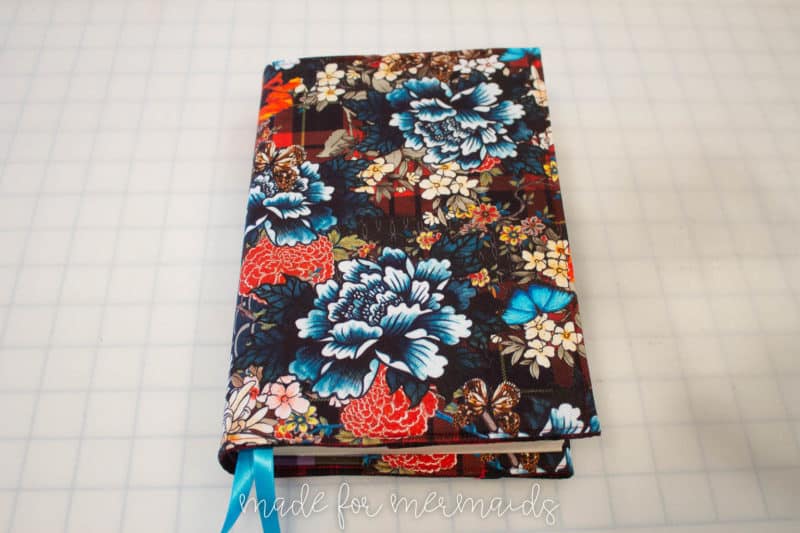
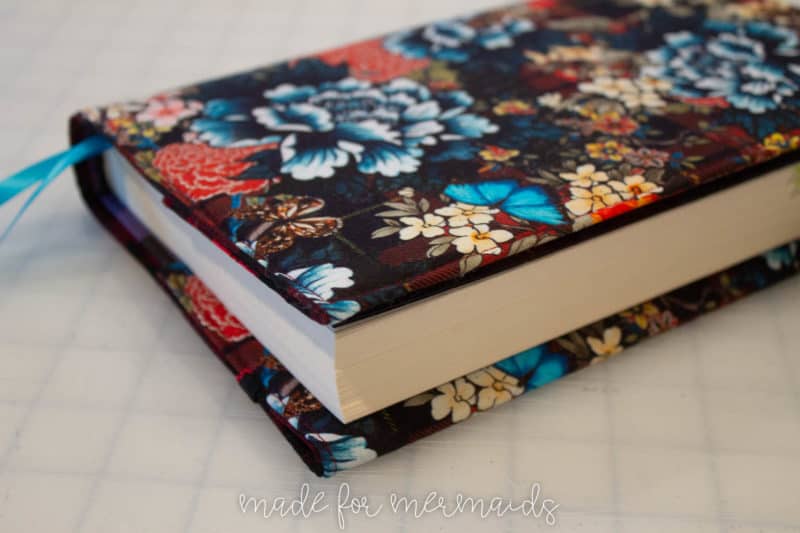
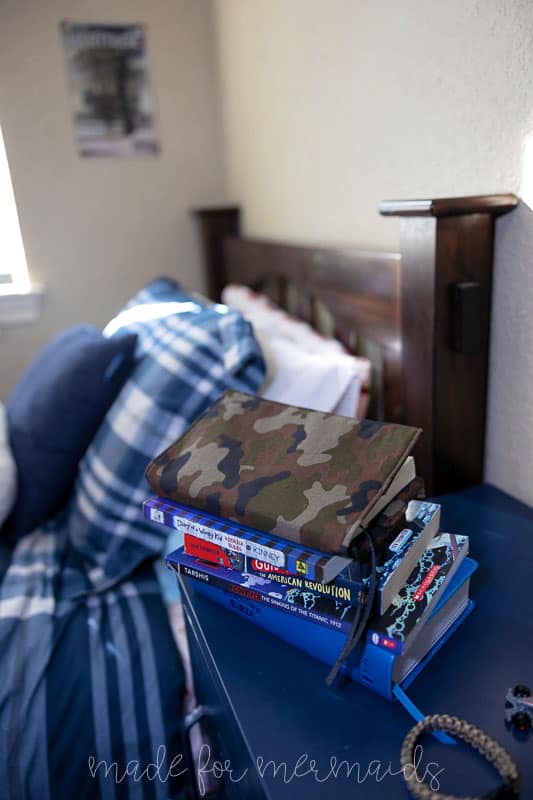
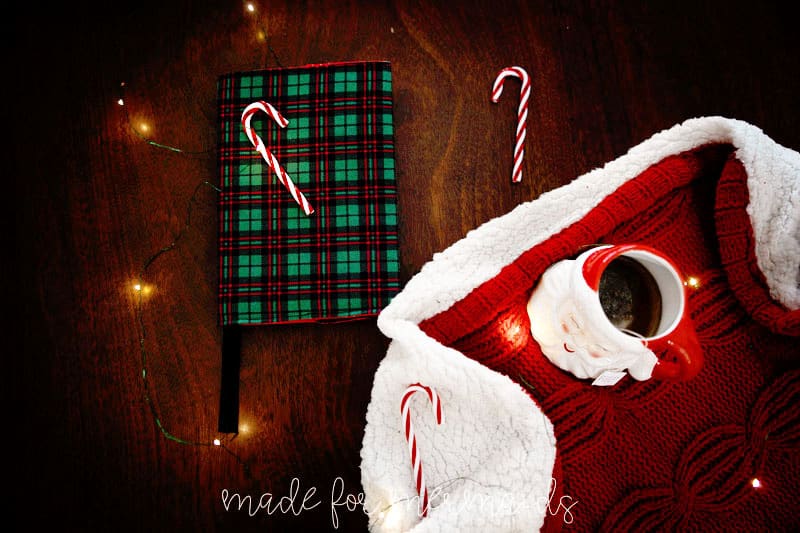
There you have it! I hope you enjoy making and gifting this fabric book cover to your friends and family.


Leave a Reply