
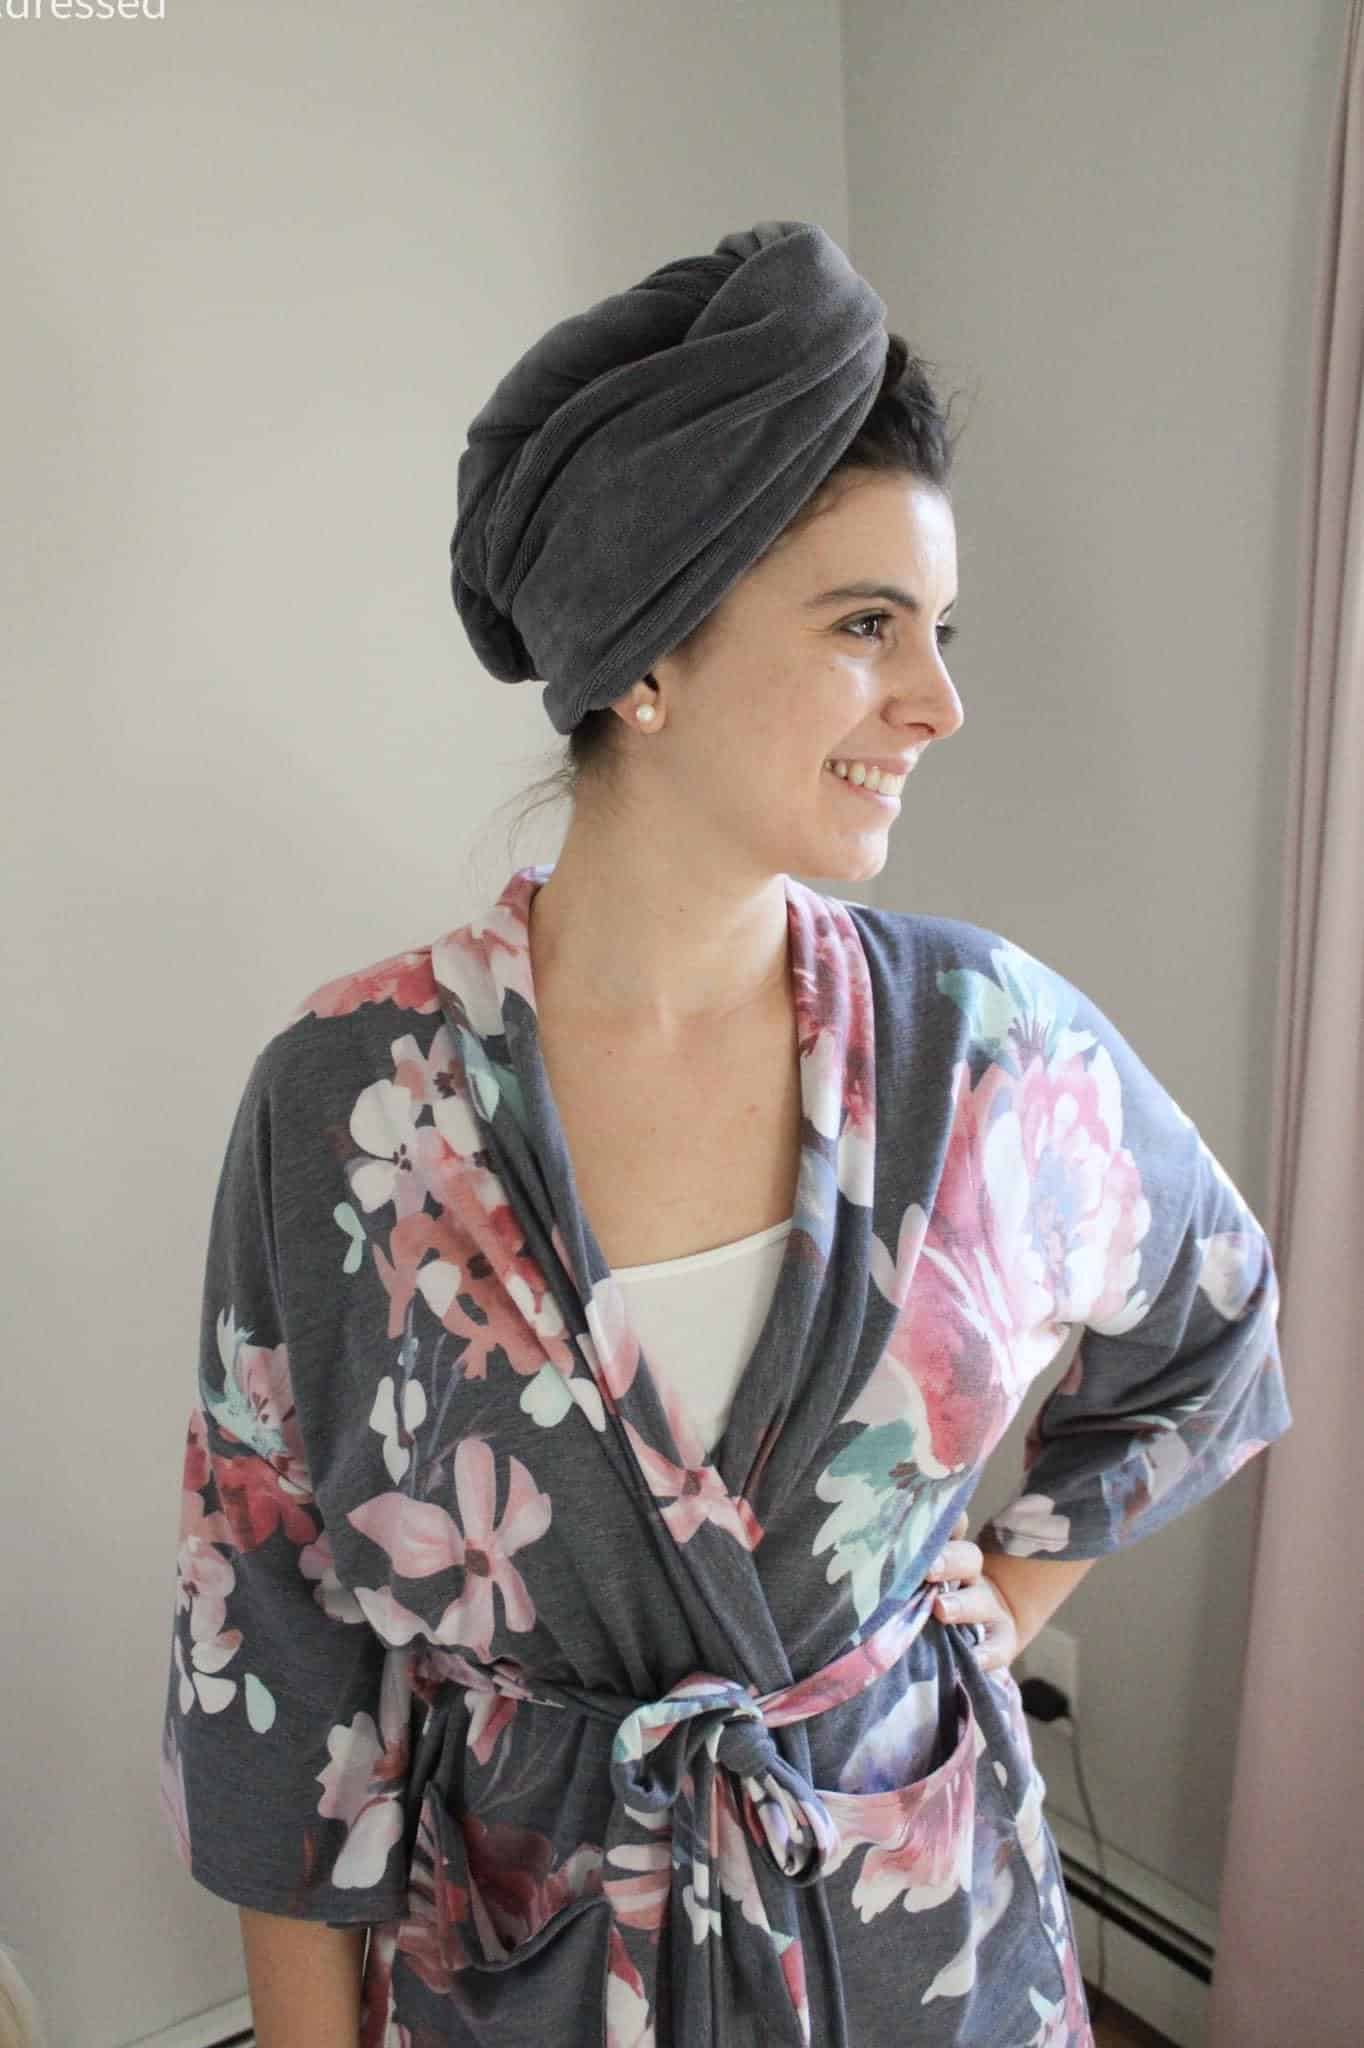
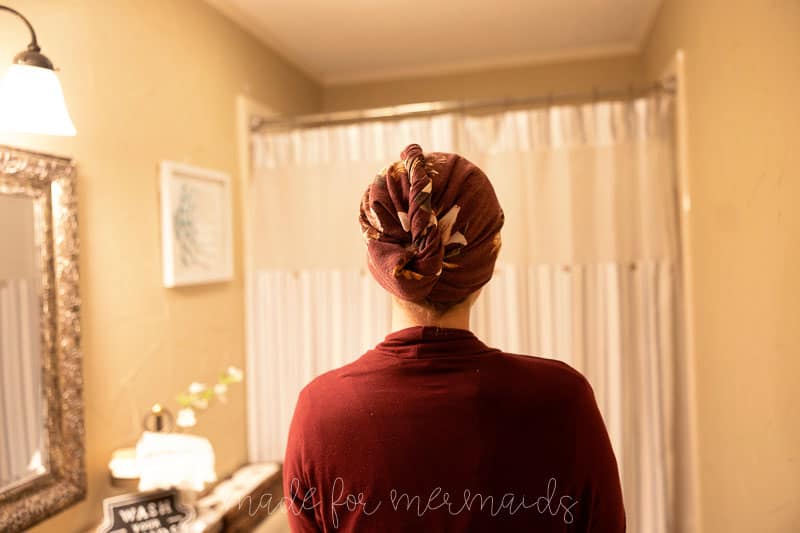
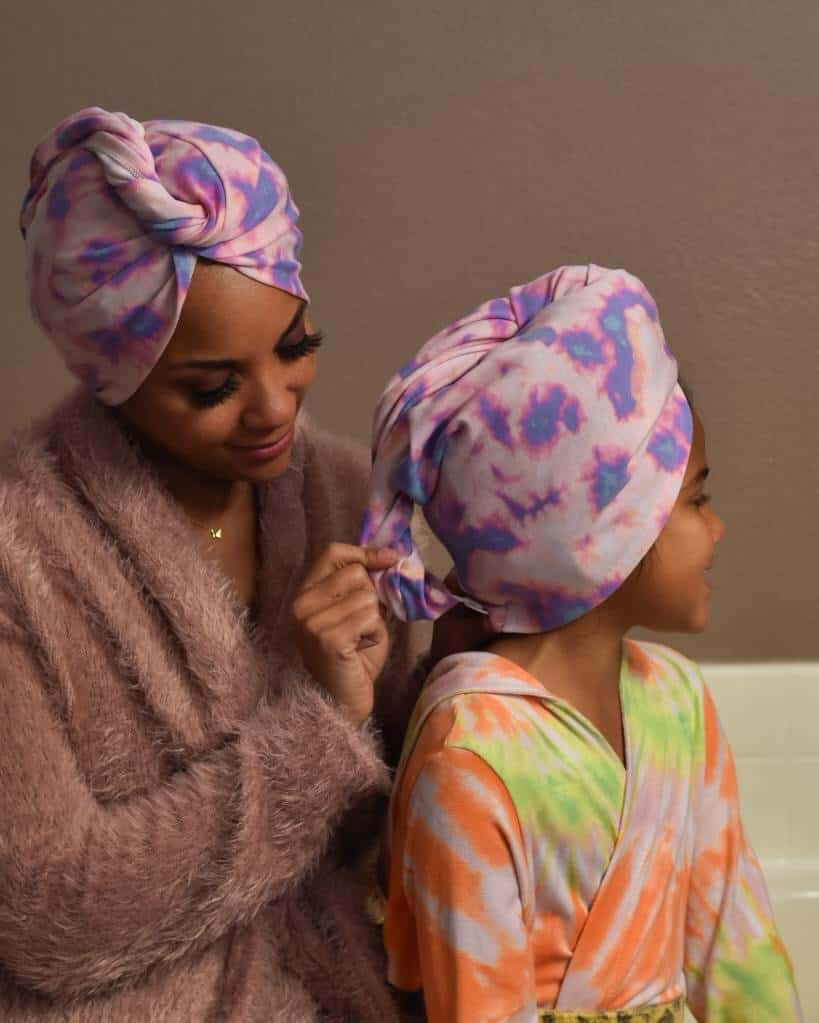
Today is Day 3 of the 12 Days of Christmas Freebies! It’s already going by so fast! Today is one of my favorites – a towel head wrap – perfect for when you get out of the shower! Now I don’t have to use the ratty old t-shirt I’ve been using for years! For this freebie you can use an absorbent fabric such as microfiber towels or french terry. You can also use something that would make a great t-shirt such as a jersey or modal, which would be perfect for those of you with curly hair, like me! These are perfect to pair with some of our other spa-like freebies like the spa headband, eye mask, makeup zip pouch, or drawstring bag! Plus add a Rita robe, Spencer robe, 90s socks, or sleepy slippers and that’s a beautiful gift!!
SUPPLIES:
- 1 button
- small piece of elastic (elastic cording works great!)
- 3/8 yard of absorbent fabric (microfiber, French Terry, jersey, modal, etc.)
LET’S GET STARTED!
1/2″ seam allowances
Step 1: PREPPING
Go grab the pattern here! The pattern is 100% free, but you do need to add it to your cart and checkout. Then, it will always be available to download from your account. The pattern is a no trim pattern; if you need help putting the pattern together, pop over to the faqs and troubleshooting page , check out the blog post here, or ask in our Facebook group .
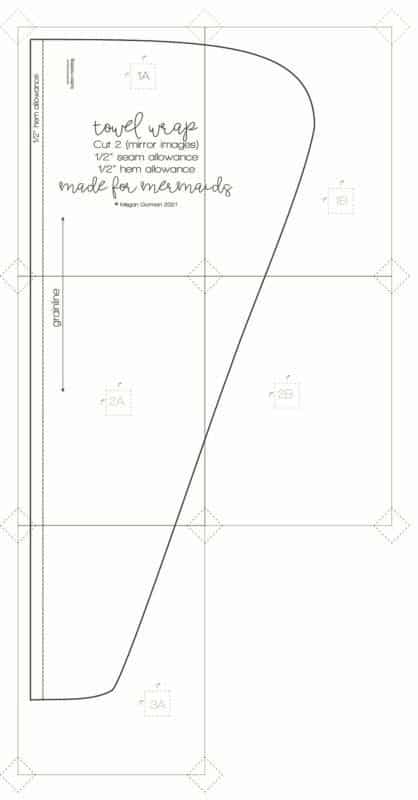
Print and assemble the pattern. Alternatively, you can use the projector file if you’re using a projector. There are five pages to print out. Pattern layout below:
If you prefer a video tutorial, check out the YouTube below:
After you print and assemble your paper pattern pieces, or set up your projector, go ahead and cut your fabric!
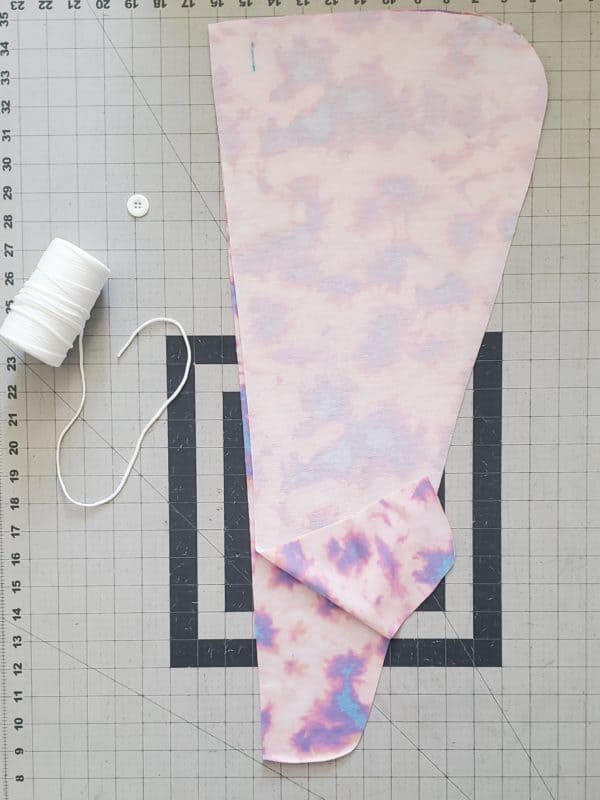
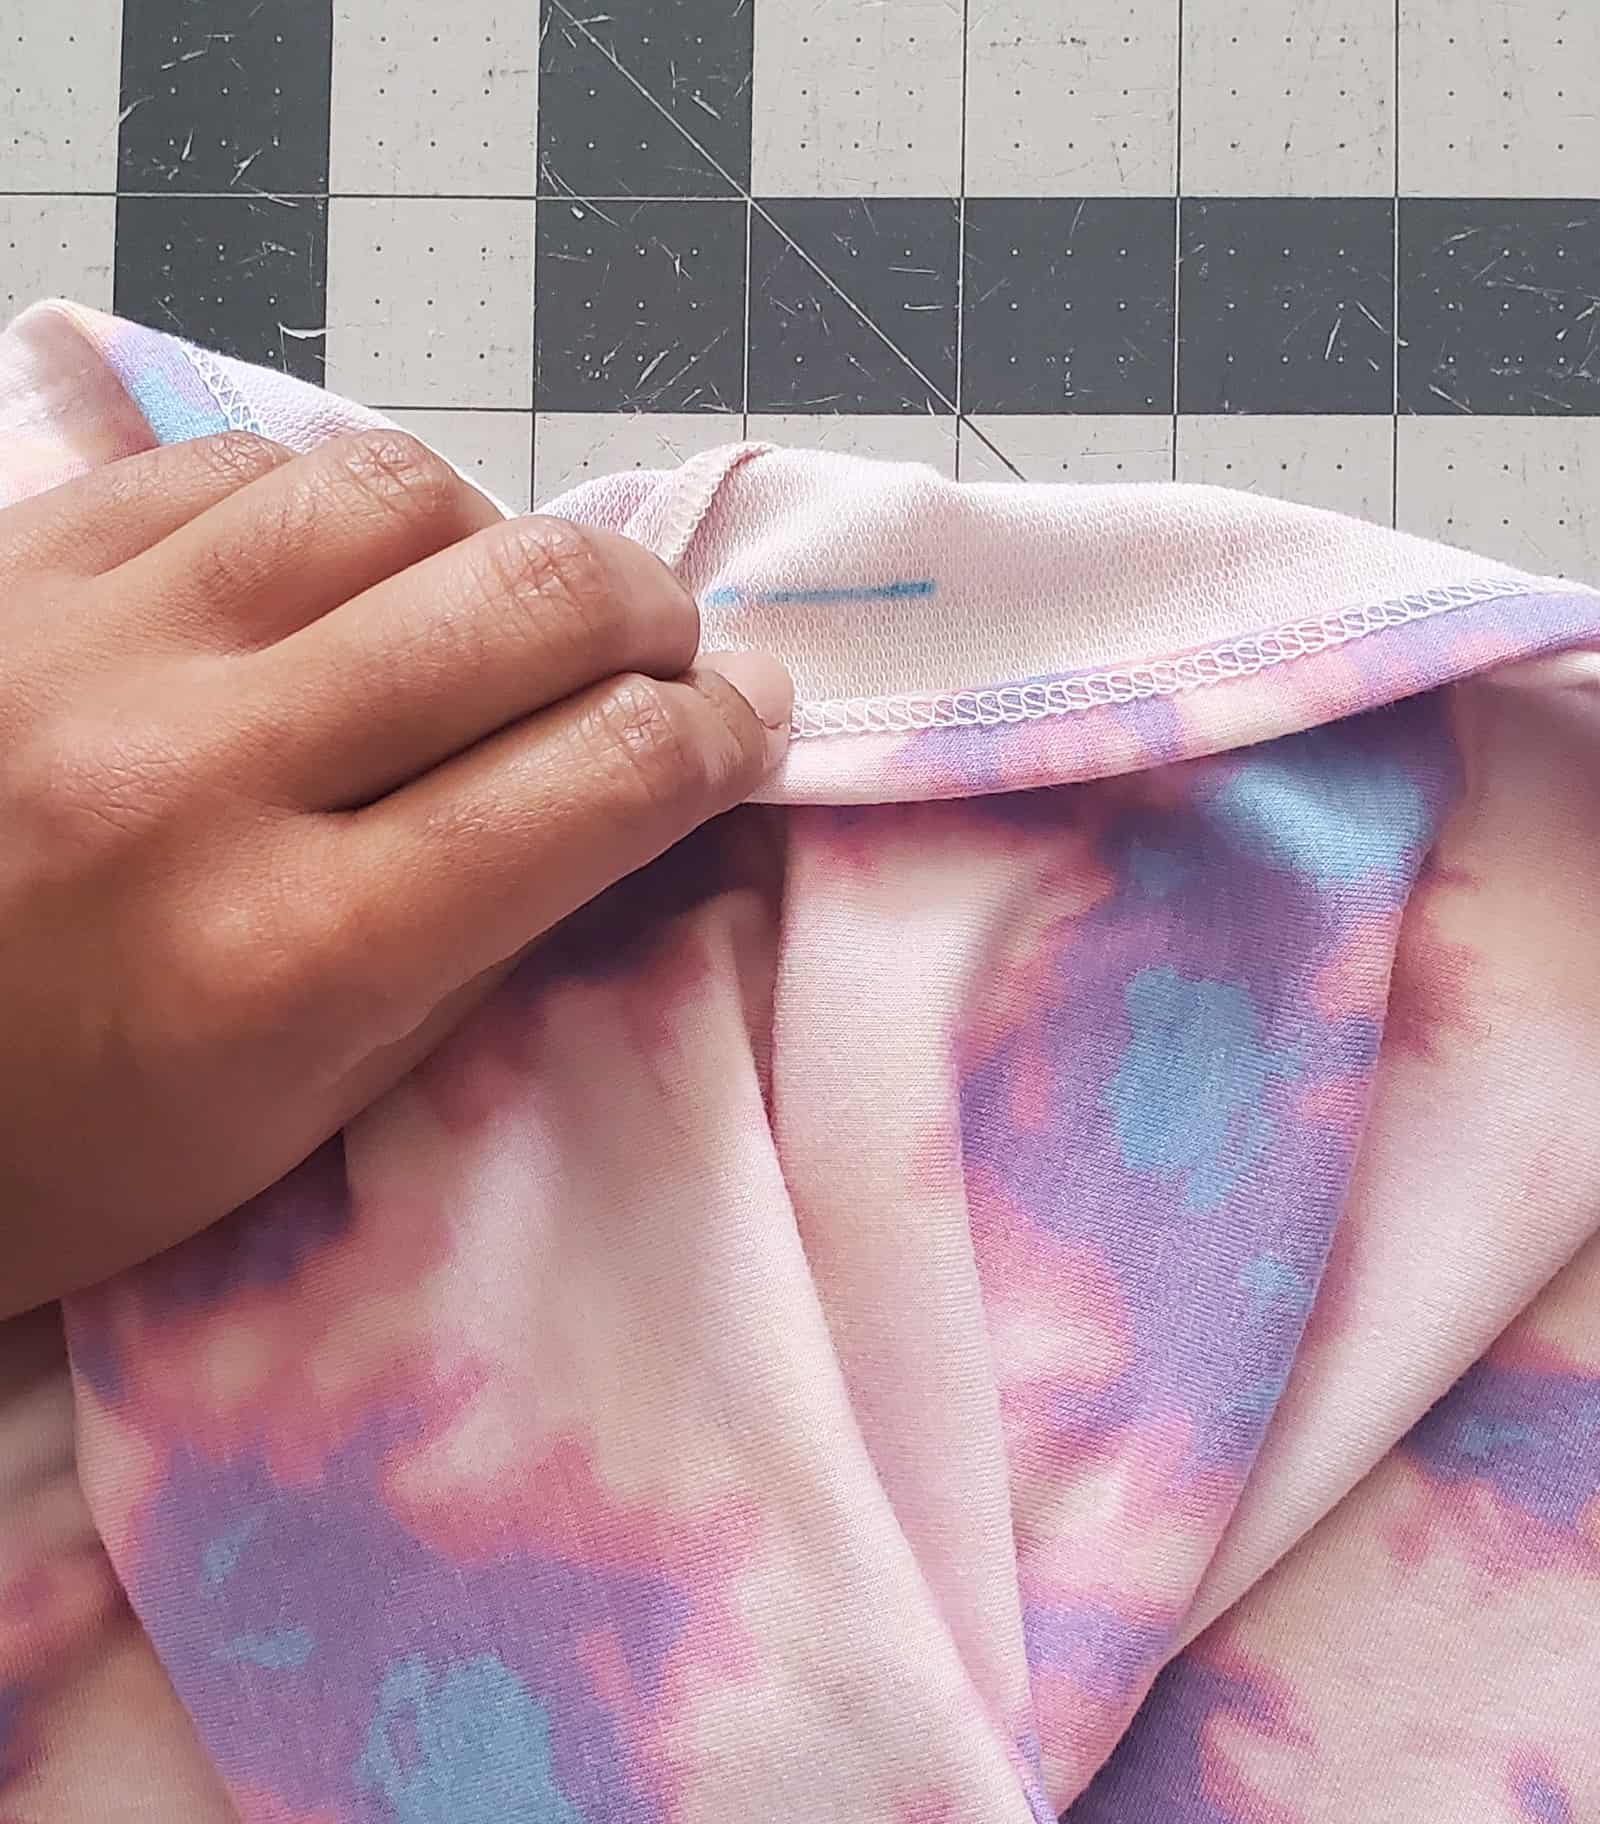
For the towel wrap, you will need to cut two mirror-image fabric pieces, and one piece of elastic. Don’t forget to mark your button placement.
Step 2: SEW CENTER SEAM
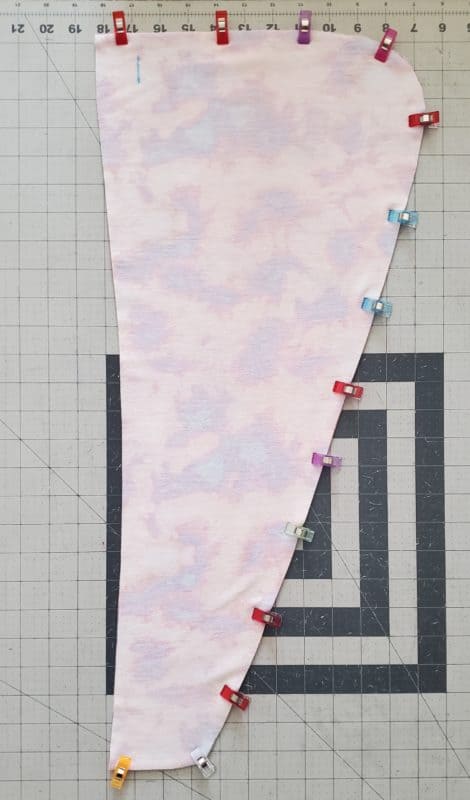
Place your pieces right sides together, clip or pin along the curved edge. Sew together along the curved edge (shown in black below) with a 1/2 inch seam allowance.
Step 3: ELASTIC
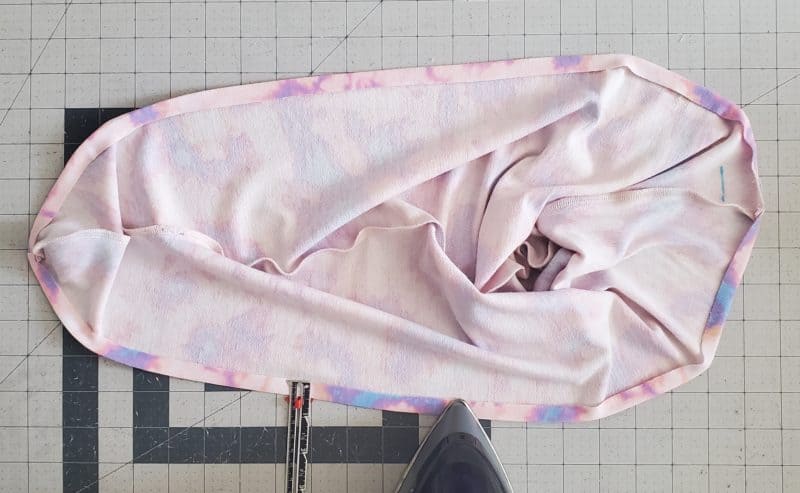
Next, turn your headwrap right sides out and press a 1/2 inch memory hem all the way around the entire straight edge.
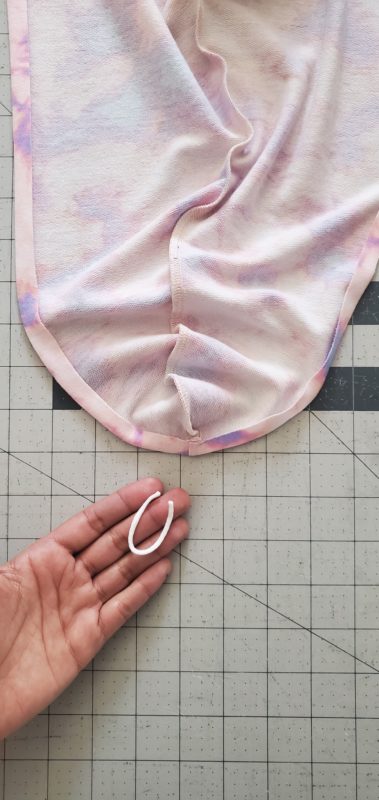
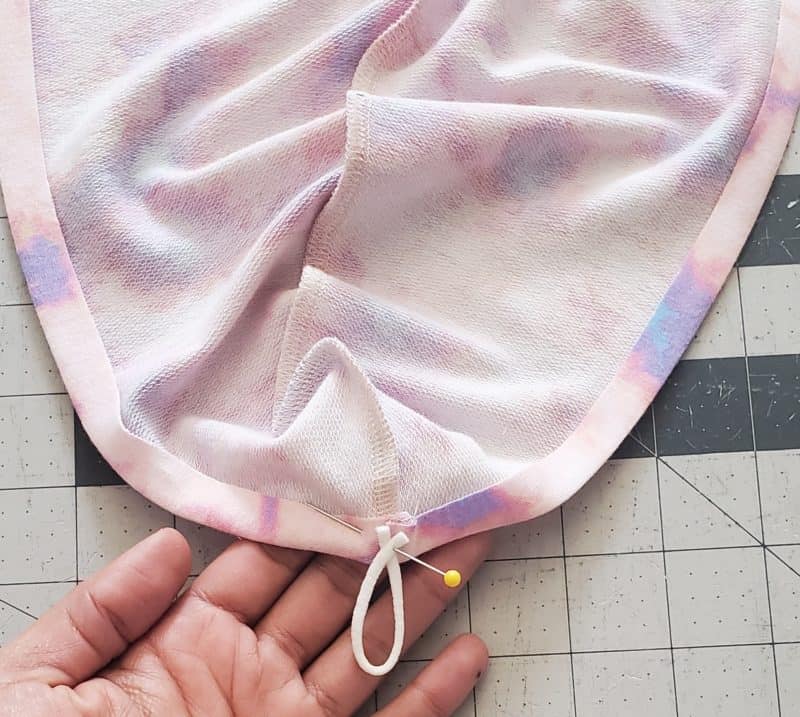
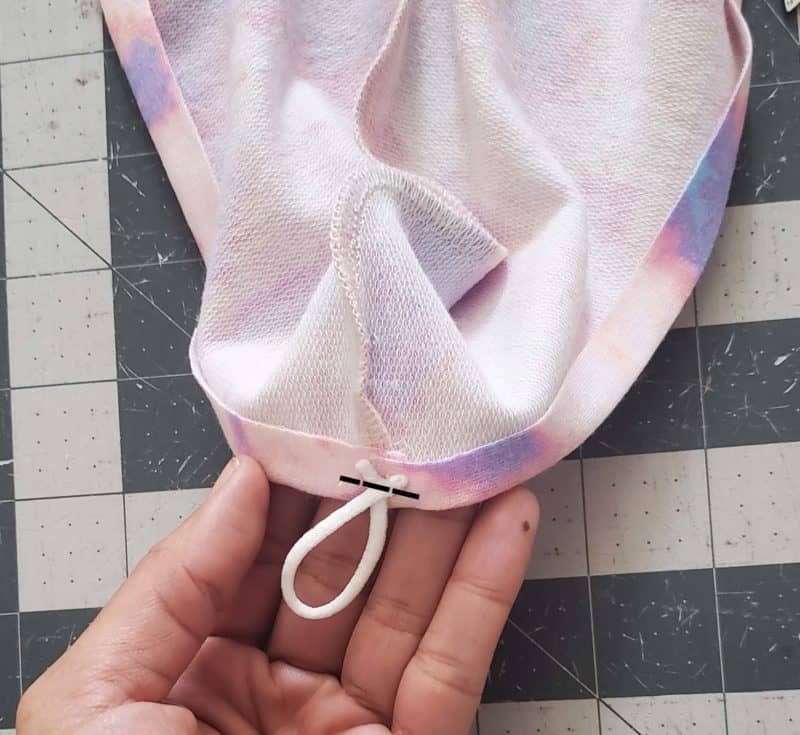
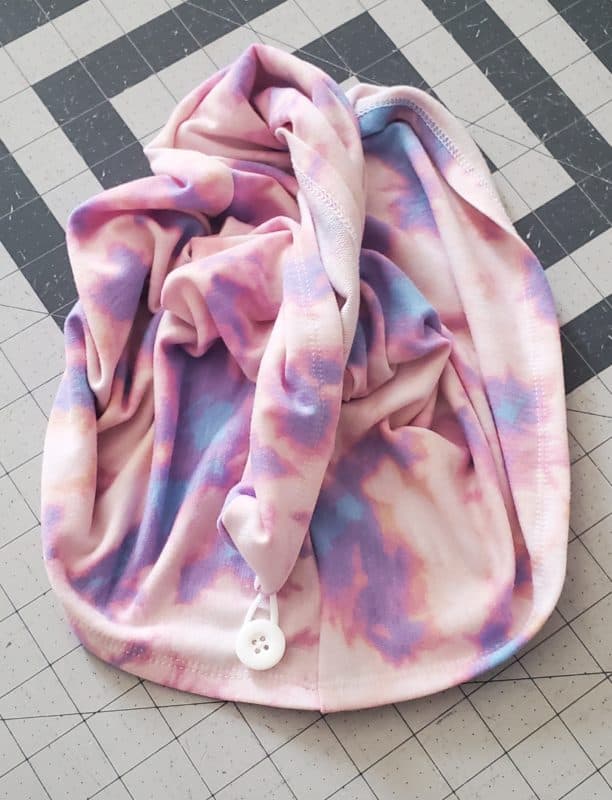
Take your small piece of elastic and make it into a loop. You will pin/clip your looped elastic on the smaller side of your head wrap, at or near the seam, on the wrong side, aligning your elastic edges with the raw edge of your memory hem.
Baste your elastic in place.
Step 4: TOPSTITCH
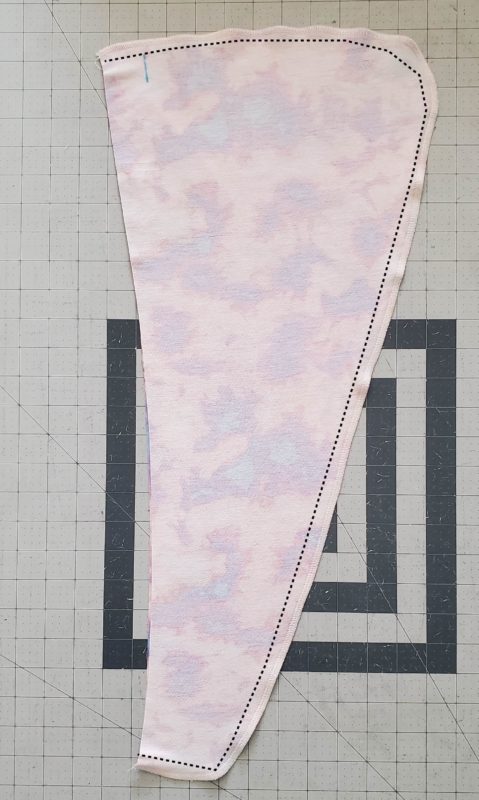
Topstitch your memory hem in place, all the way around (shown in black below), making sure you catch your basted elastic in the stitching.
Step 5: ATTACH BUTTON
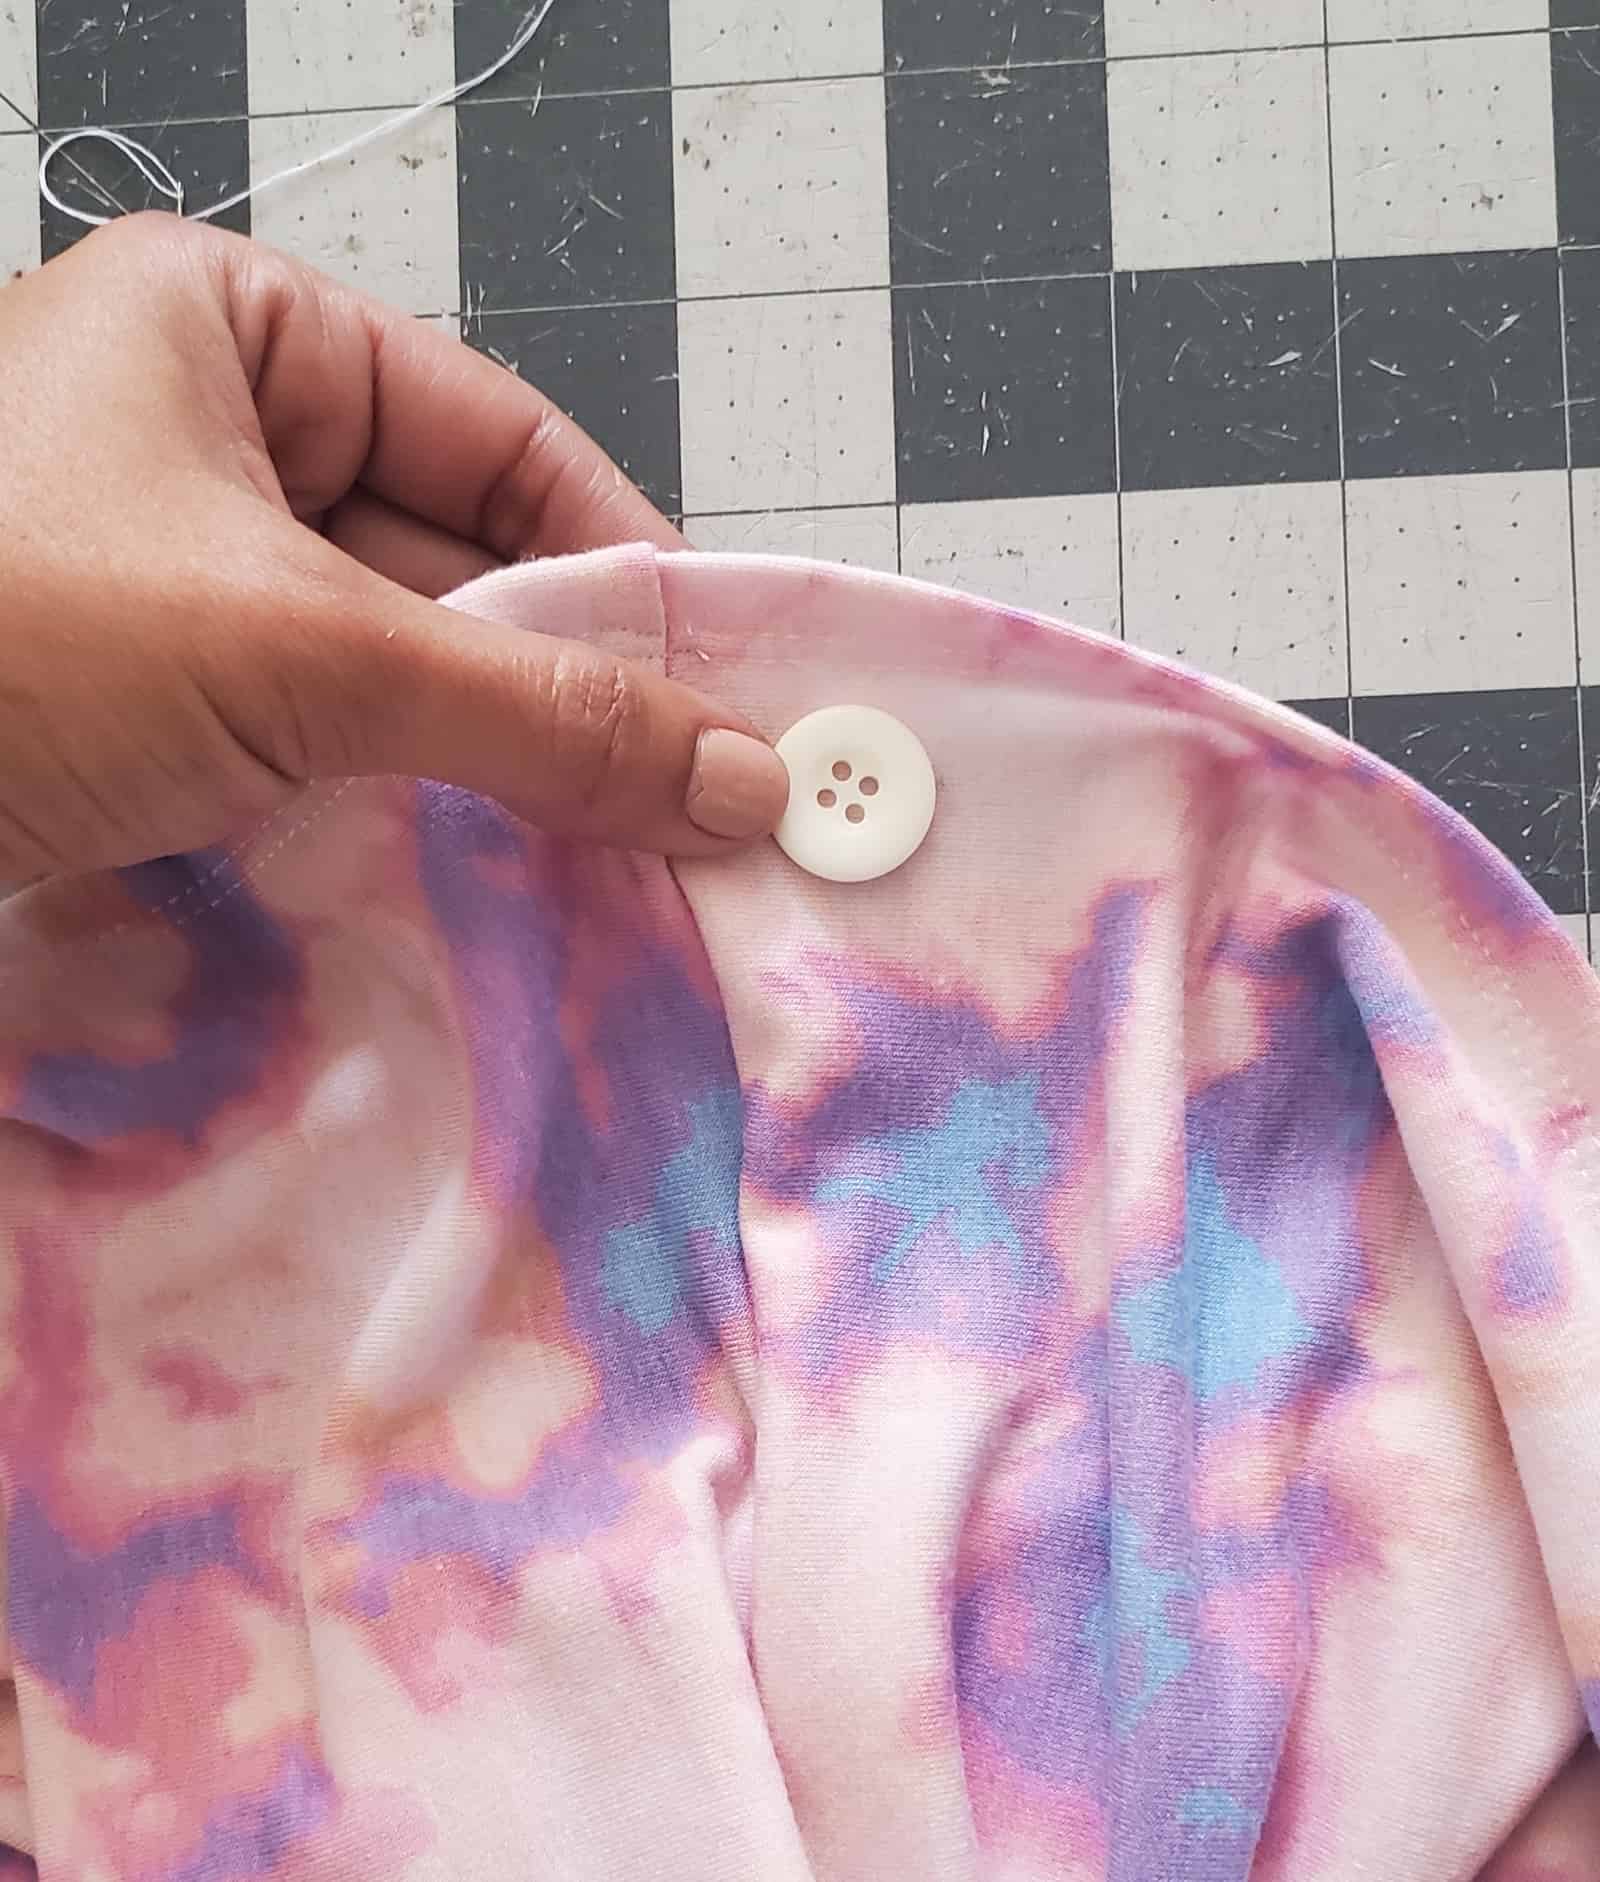
Now it’s time to sew your button to the right side of your head wrap using the marking from the pattern piece, and you’re finished!
That’s it! Super quick and easy, but so useful. These would go great with our Rita Robe, Sleepy Slippers, and Sleep Mask! Or, make a bunch to use as stocking stuffers. If you just want to make one for yourself and call it a day, you can do that too; your secret is safe with us! 🙂
DECEMBER 1 – 12, 2021
DAY 1 –RETRO FELT ORNAMENTS
DAY 2 – BOOK COVER















Leave a Reply