

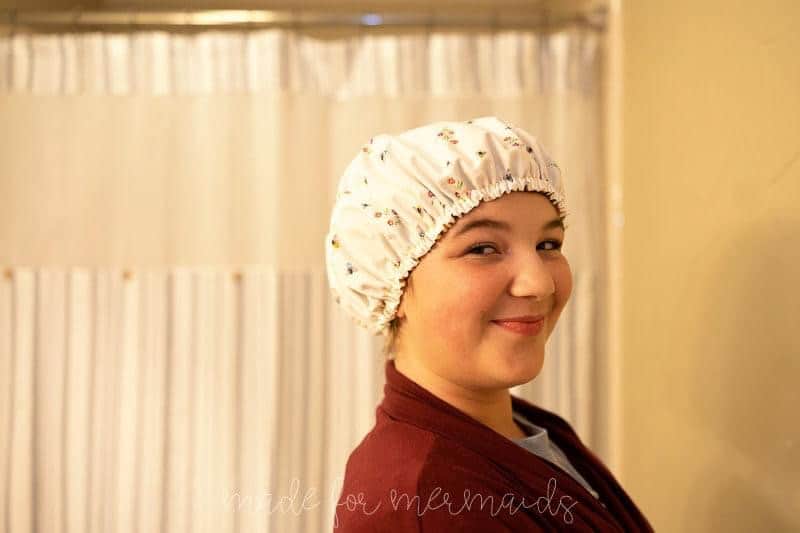
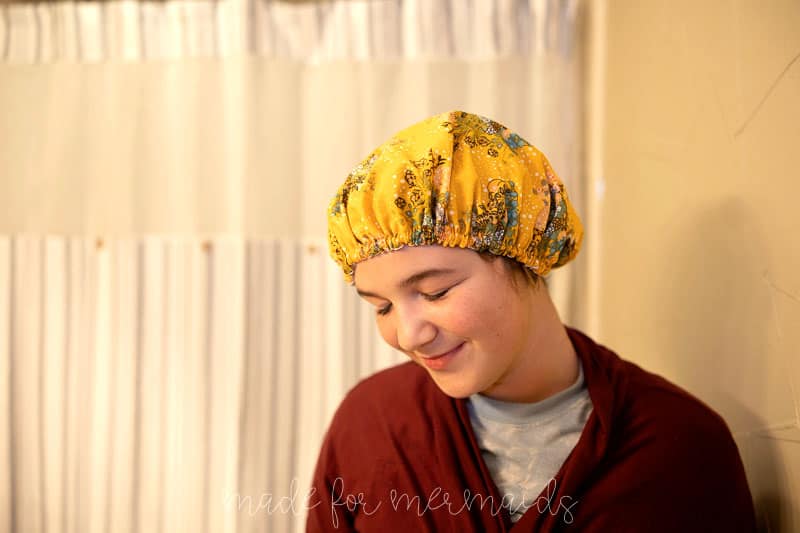
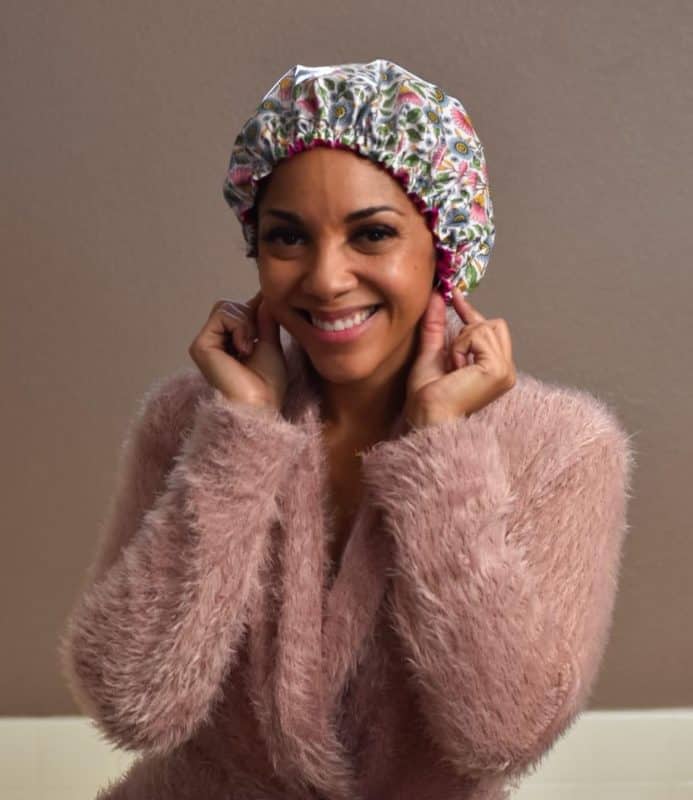
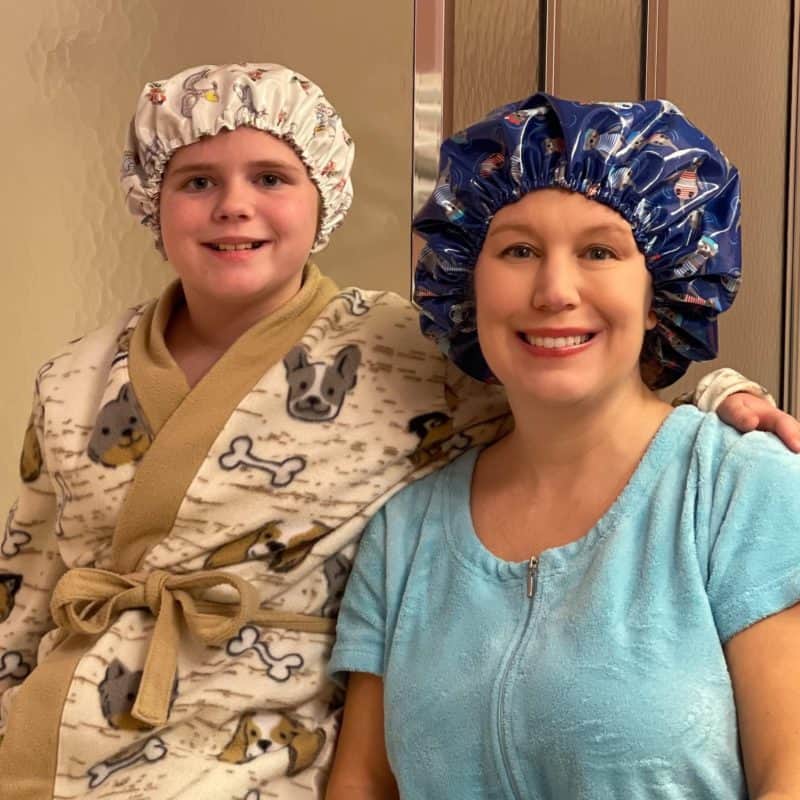
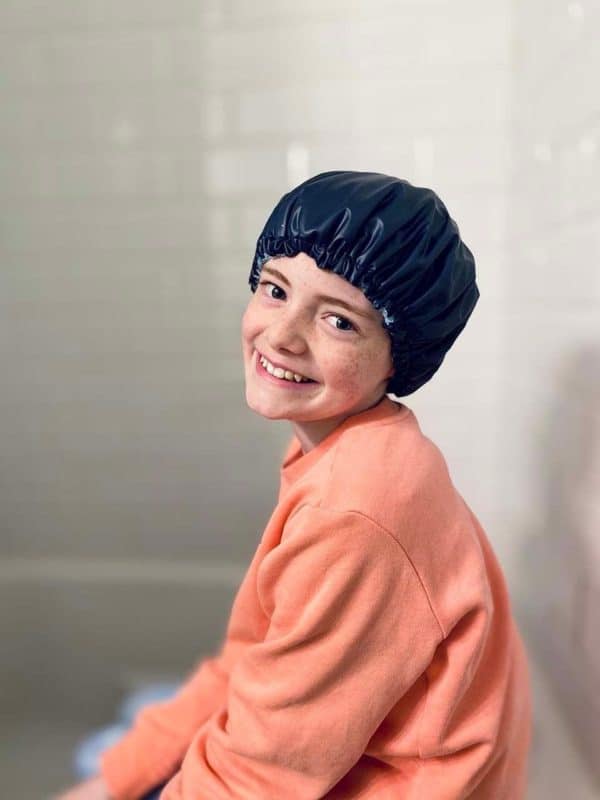
Today is Day 4, and another super practical freebie- A shower cap! It comes in 3 sizes: small, medium, and large that accommodate more hair.

Supplies:
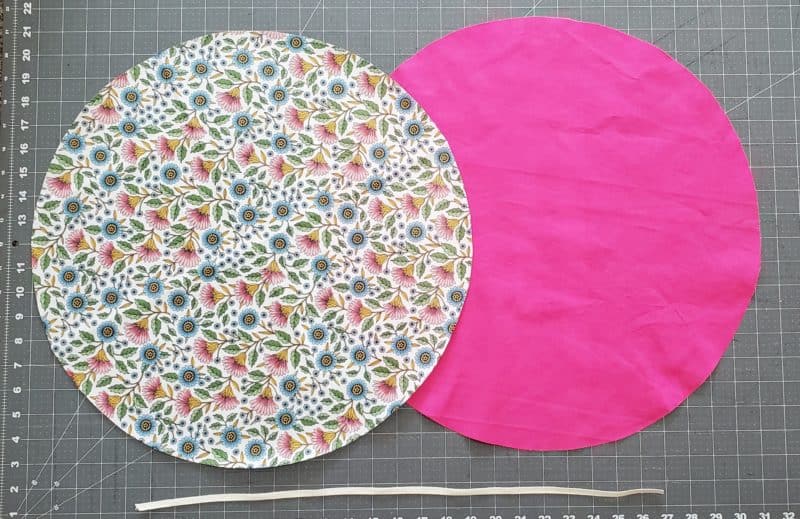
- LINING: most fabrics will work; regular quilting cotton is fine, but you could also get away with using a knit if it had a bit of stability.
- S- 1/2 yard
- M- 5/8 yard
- L- 3/4 yard
- MAIN: you will need a waterproof fabric such as PUL, laminated cotton, or oilcloth. There are also things you can use to make your fabric waterproof: you can use an iron-on vinyl coating, or Heat n Bond makes a gel/liquid vinyl coating for fabrics. Upcycling a vinyl shower curtain lining is another great option! Just as long as it’s waterproof.
- S- 1/2 yard
- M- 5/8 yard
- L- 3/4 yard
- 1/4″ elastic
- S- 5/8 yard
- M- 5/8 yard
- L- 2/3 yard
LET’S GET STARTED!
1/2″ seam allowances included.
Step 1: PREPPING
Go grab the pattern here! The pattern is 100% free, but you do need to add it to your cart and checkout. Then, it will always be available to download from your account. The pattern is a no trim pattern; if you need help putting the pattern together, pop over to the faqs and troubleshooting page , check out the blog post here, or ask in our Facebook group .
Print and assemble the pattern. Alternatively, you can use the projector file if you’re using a projector. Pattern layout below:
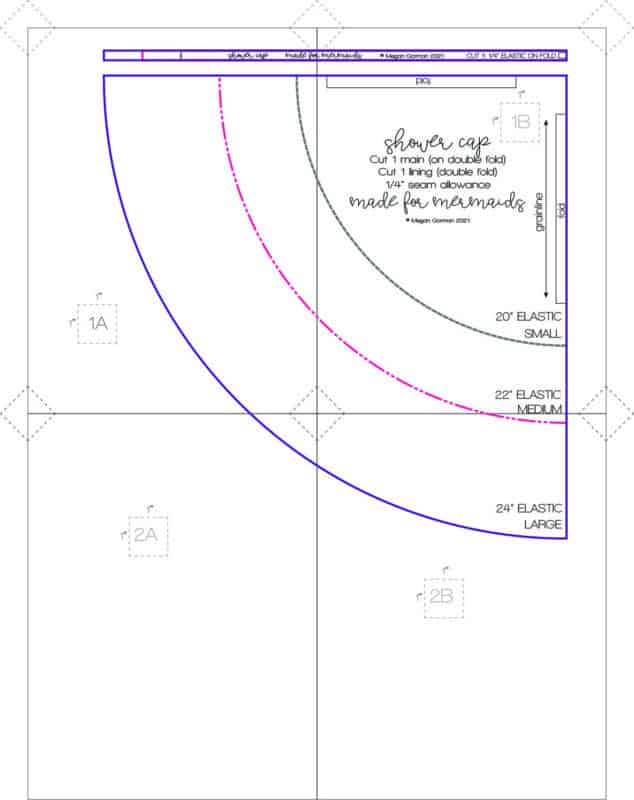
Choose a size! The size will depend on both head size and hair size! 🙂 The small will fit older youth and/or may fit those with less or finer hair. The medium is average adult size with short to medium length hair, with average thickness. The large size is the best option for a fuller head of hair.
If you prefer a video tutorial, see the YouTube video here:
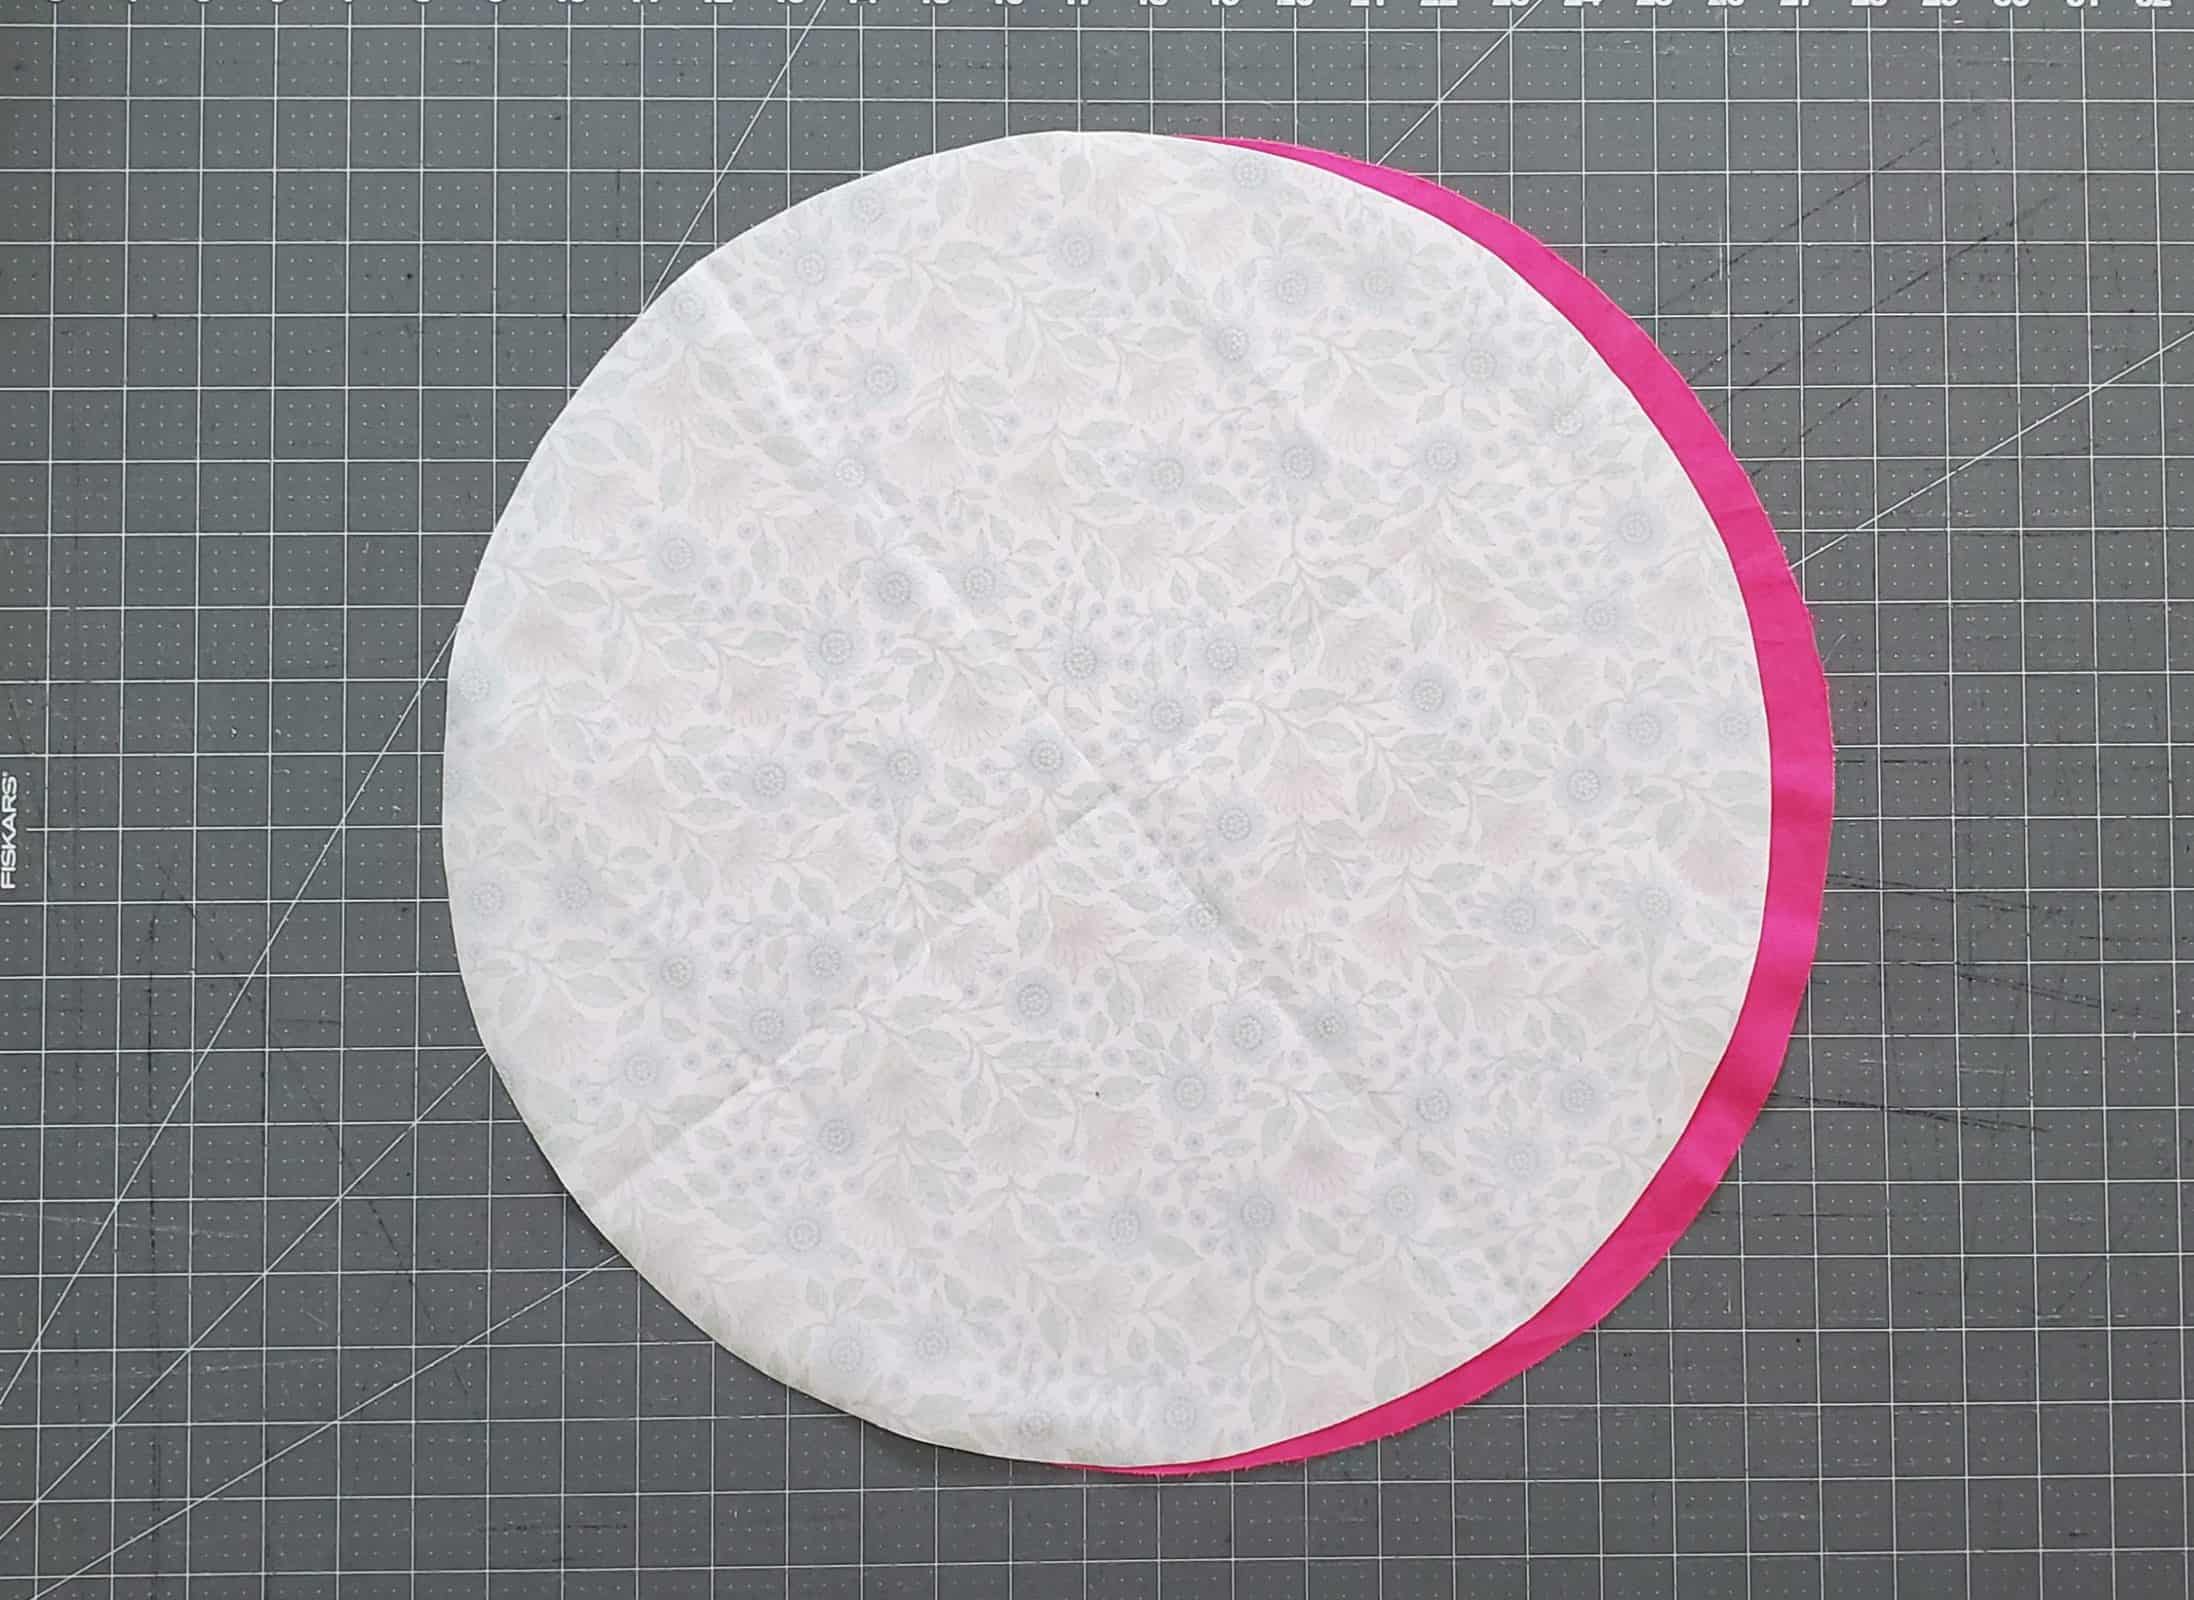
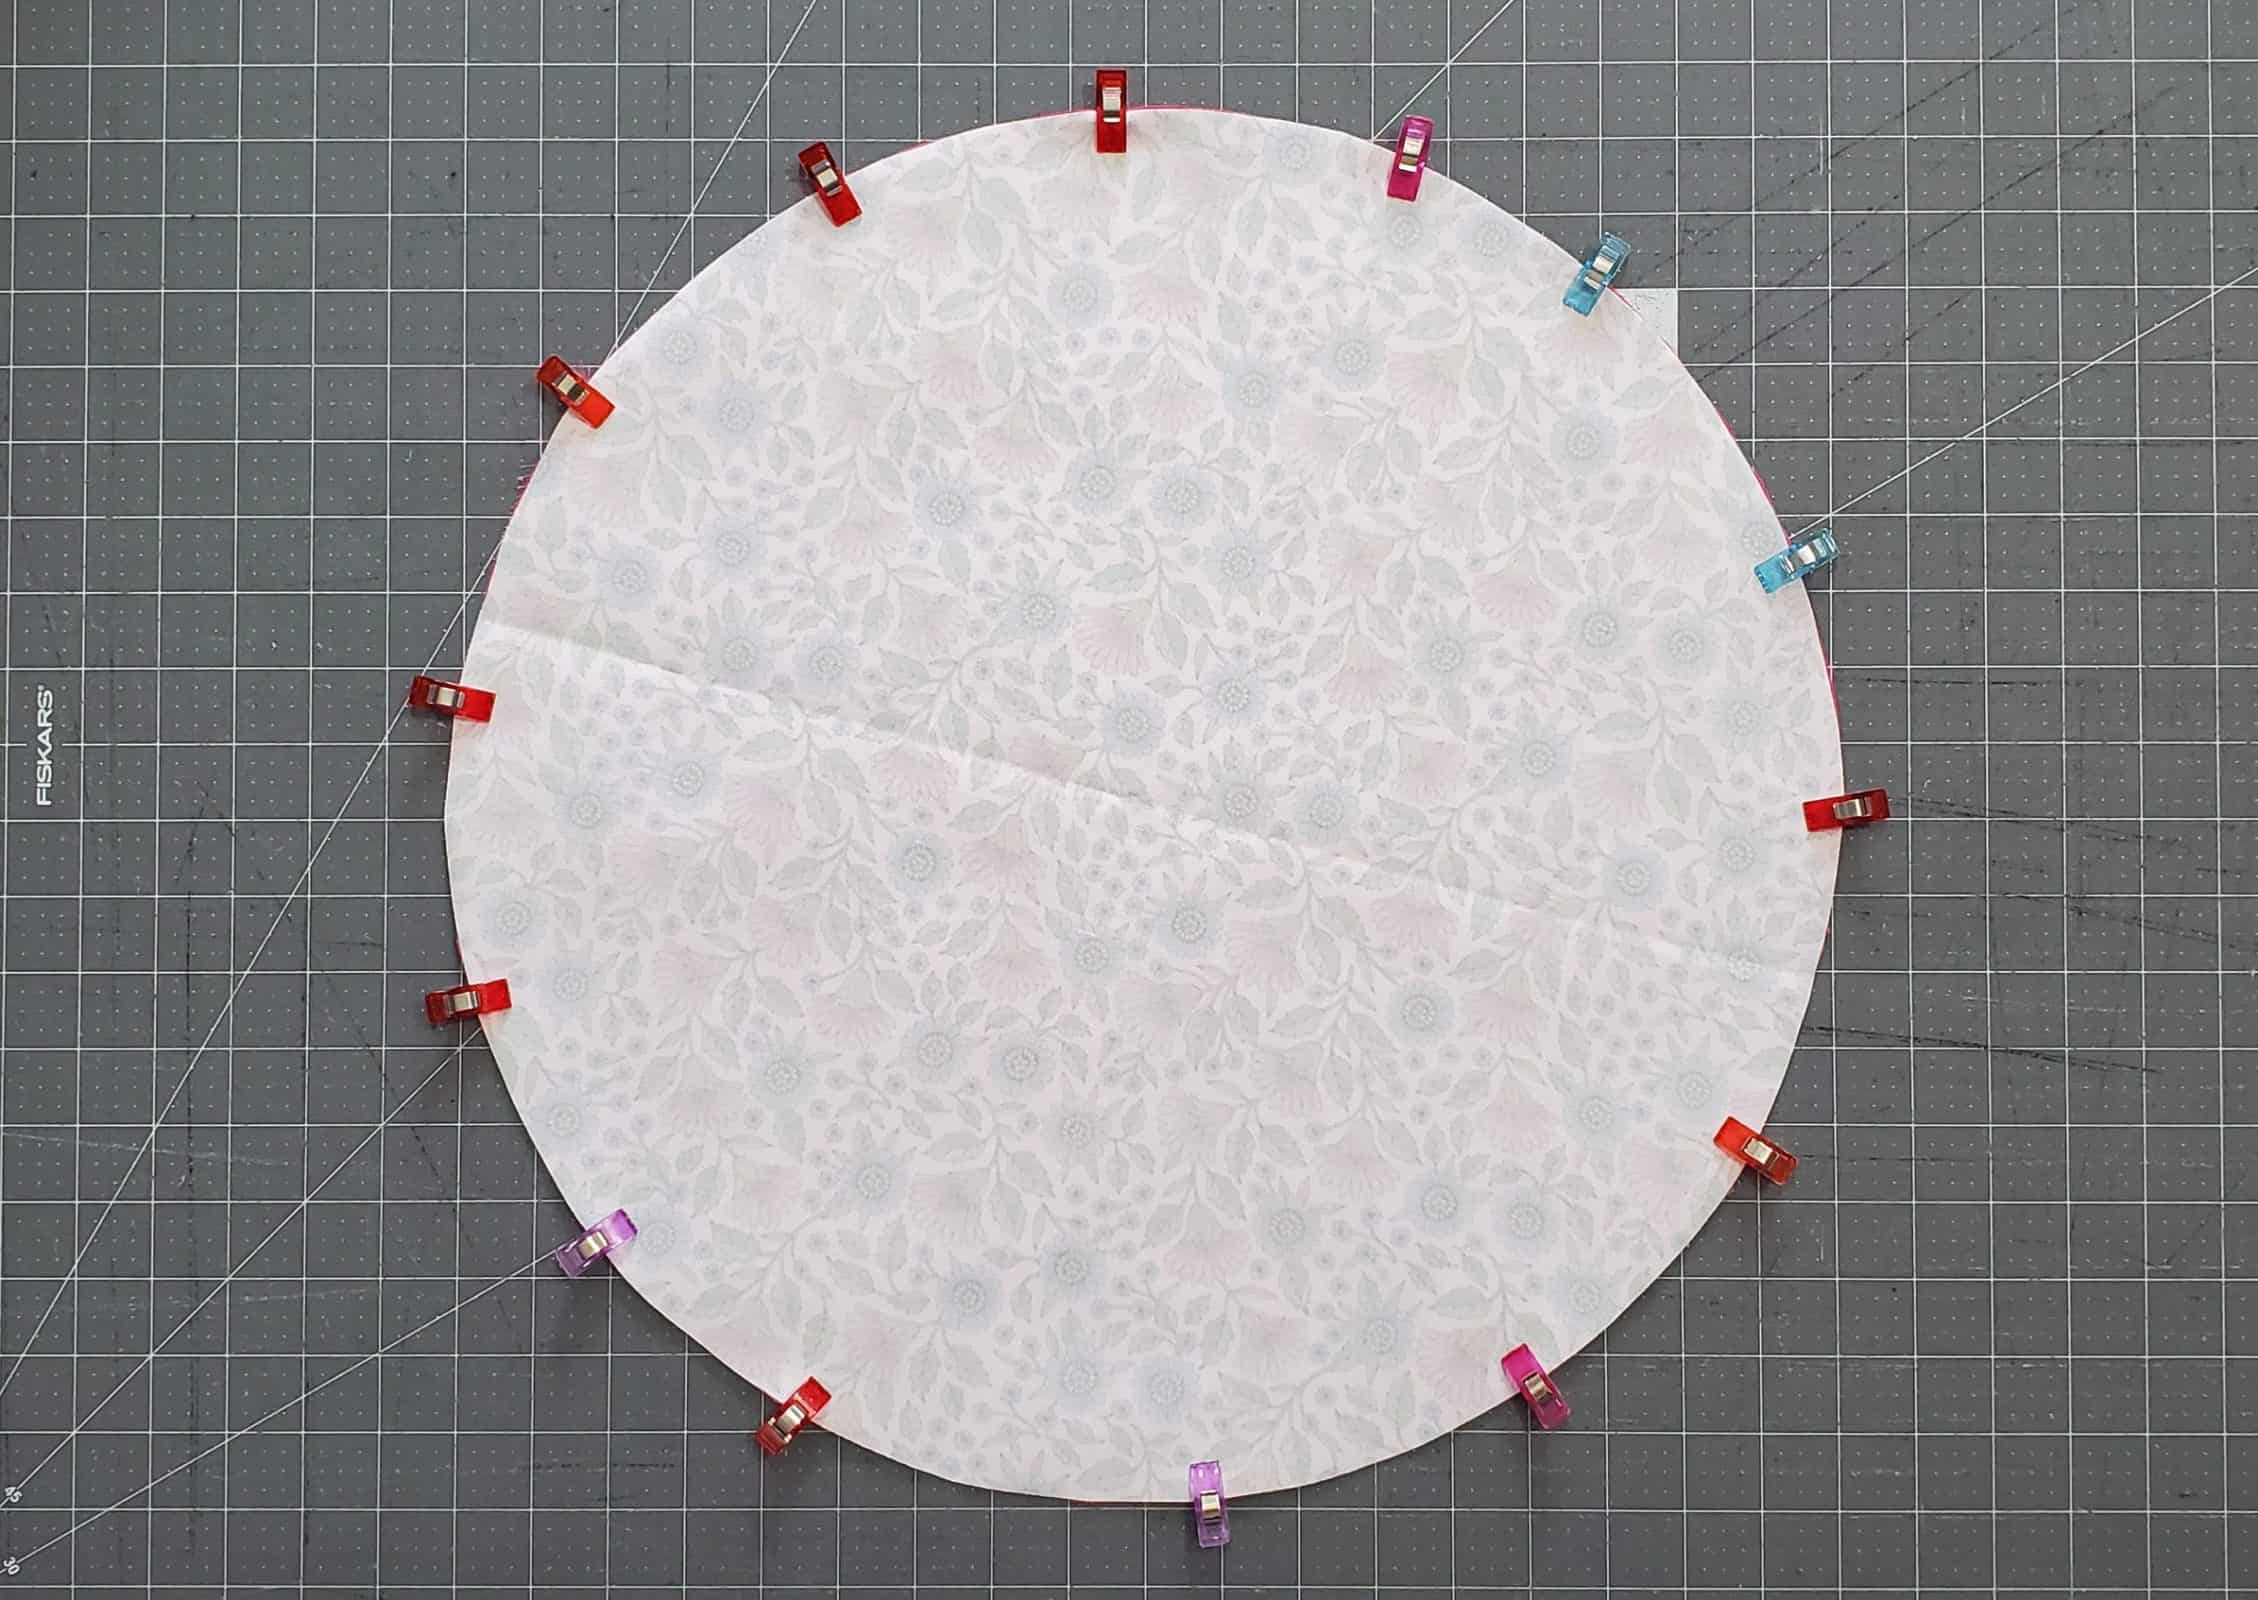
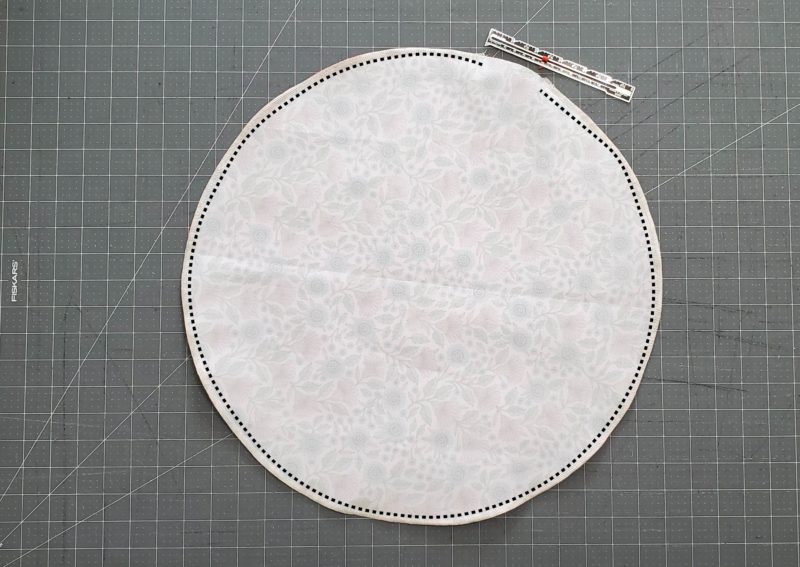
Place your main and lining pieces right sides together, pin or clip them together, and sew all the way around using a 1/2 inch seam allowance, leaving a 1-2 inch gap unsewn for turning right sides out.
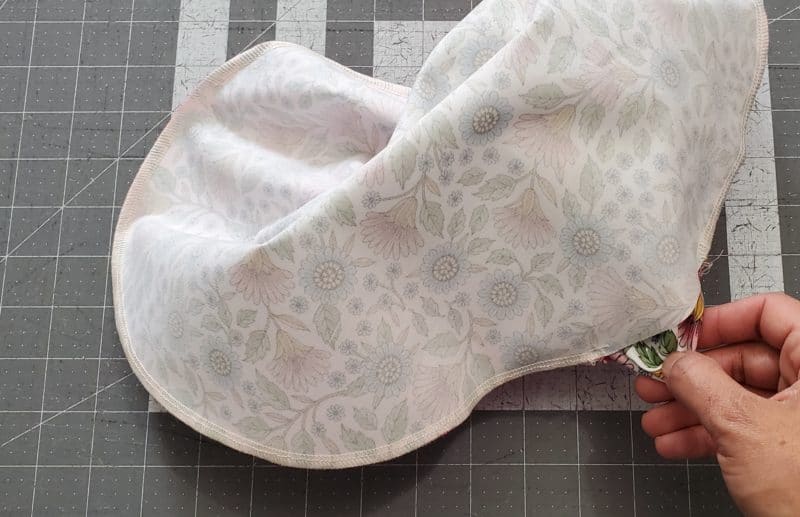
Step 3: TURN RIGHT SIDE OUT
Turn your cap right side out through the hole that was left unsewn.

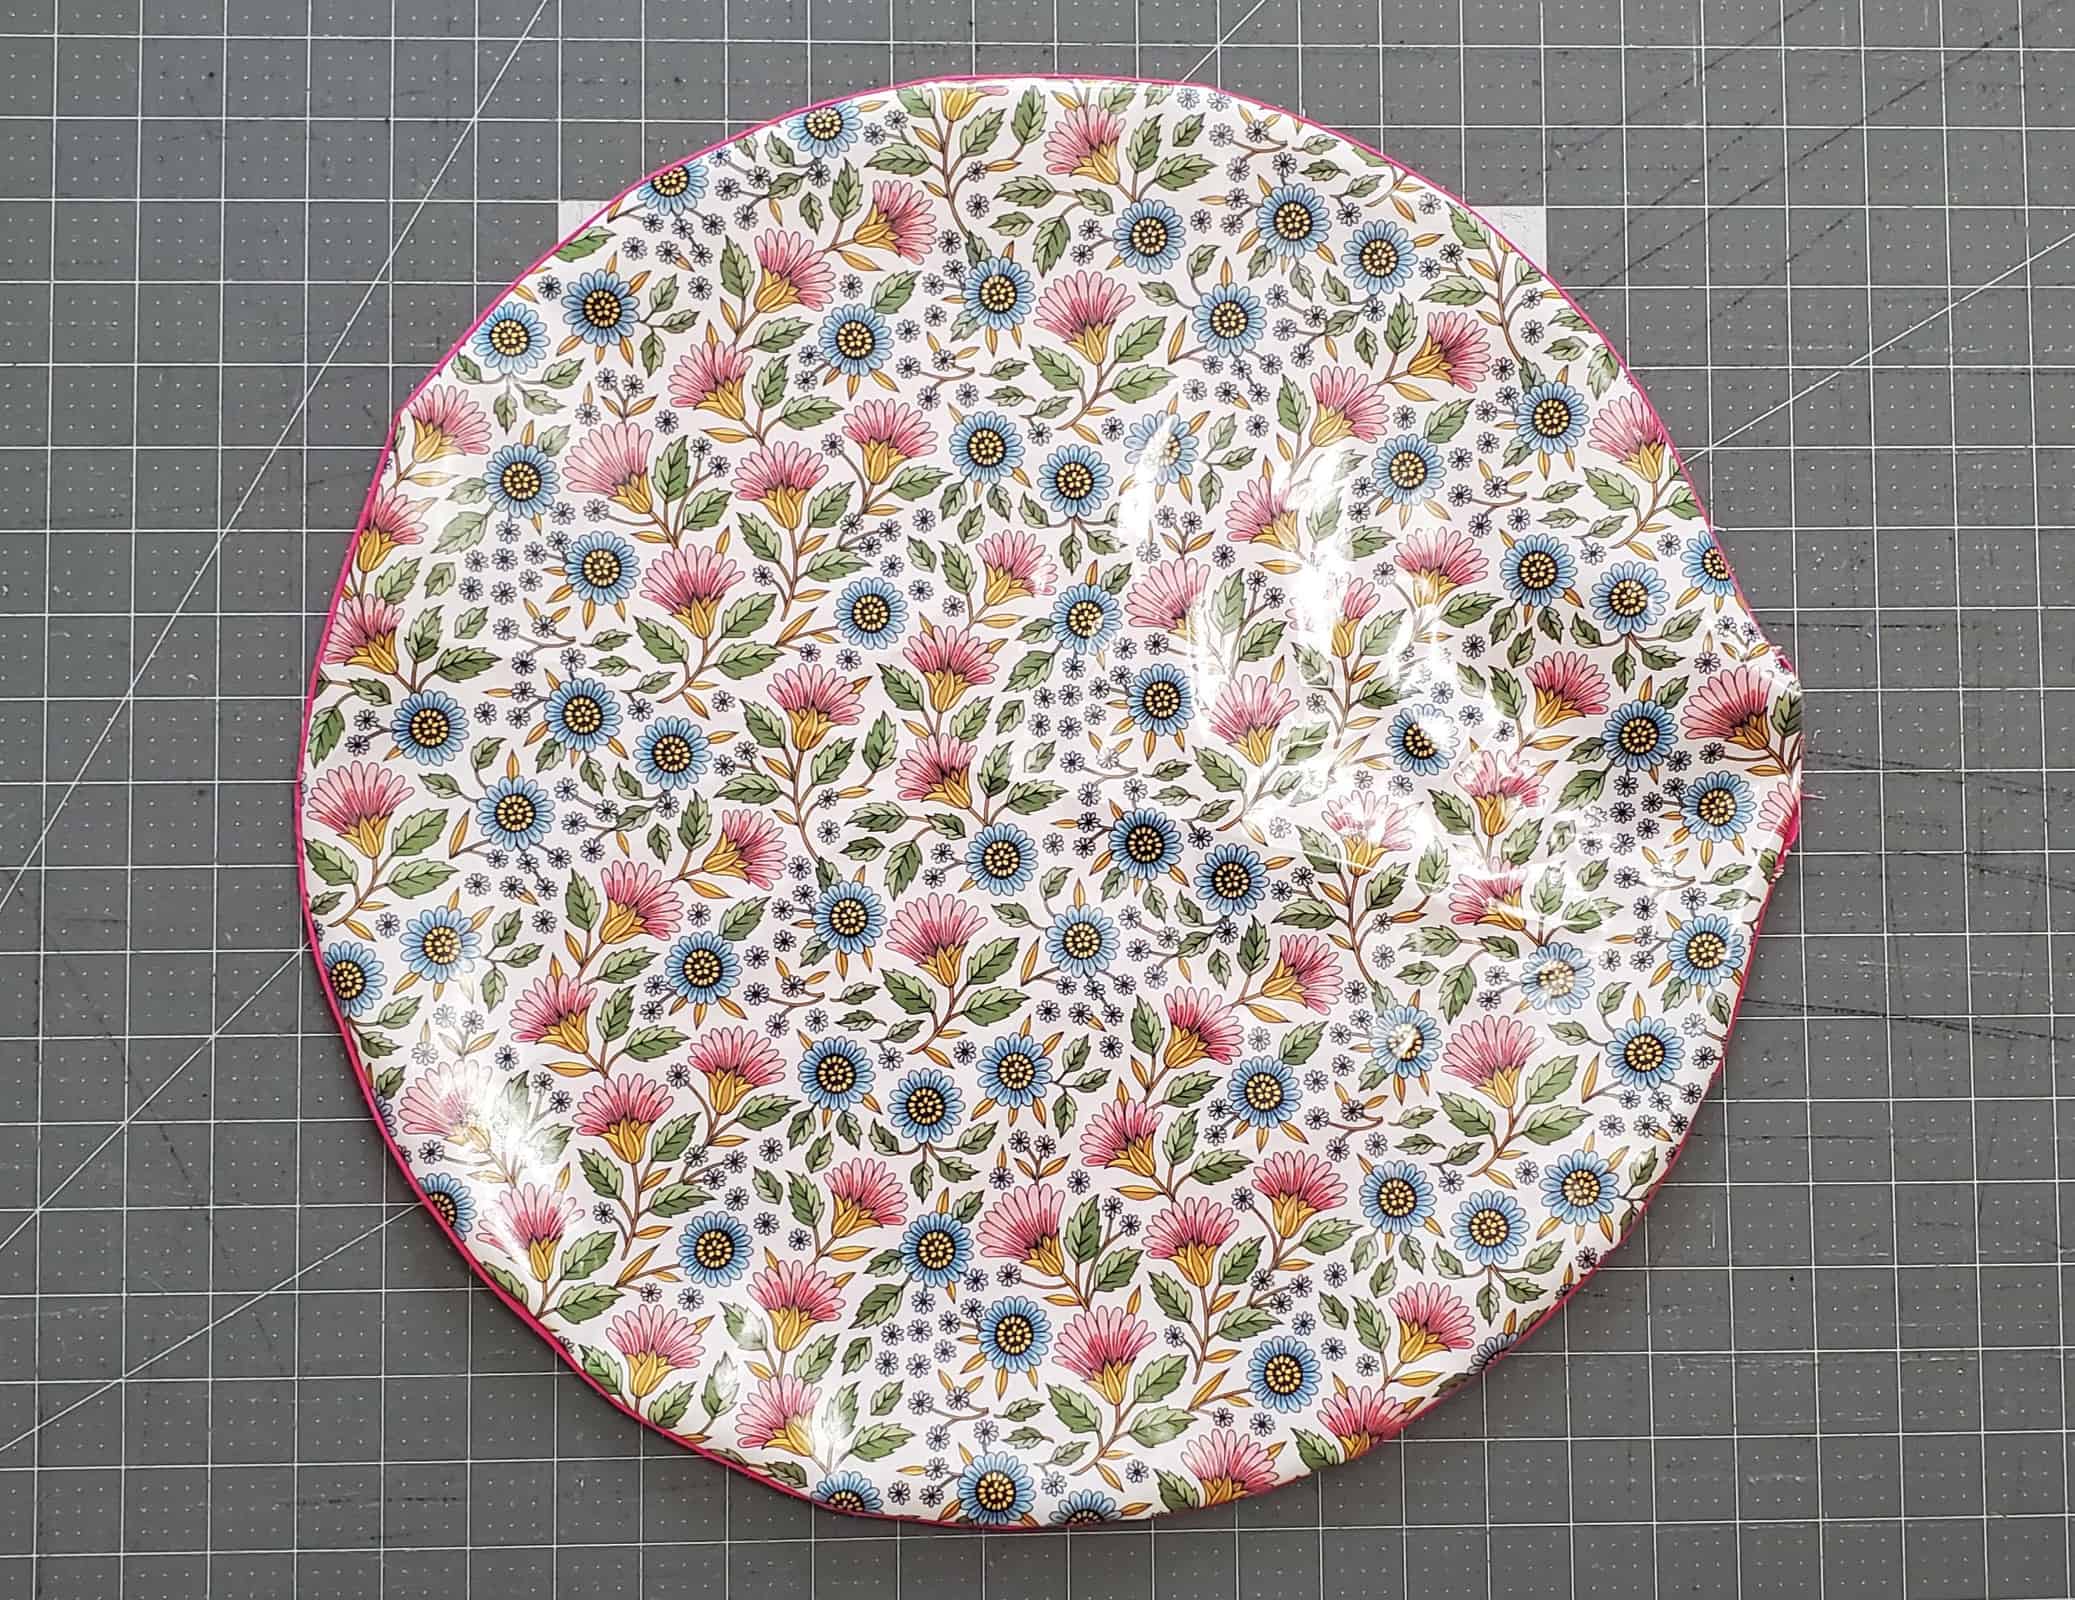
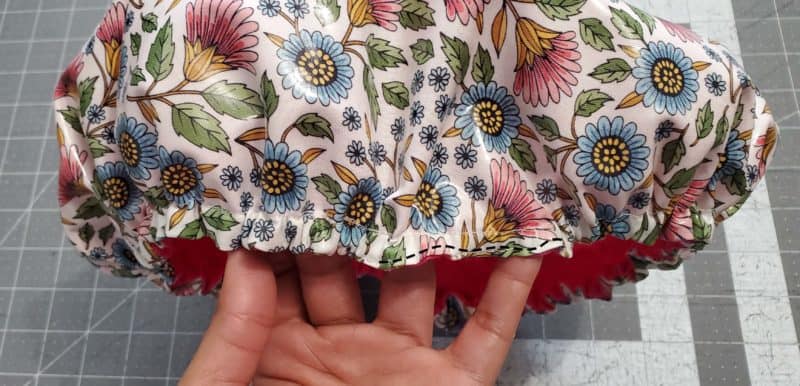
Step 4: CREATE CASING
Create a casing by sewing 3/8 inch away from the edge all the way around, using a regular straight stitch on your sewing machine.
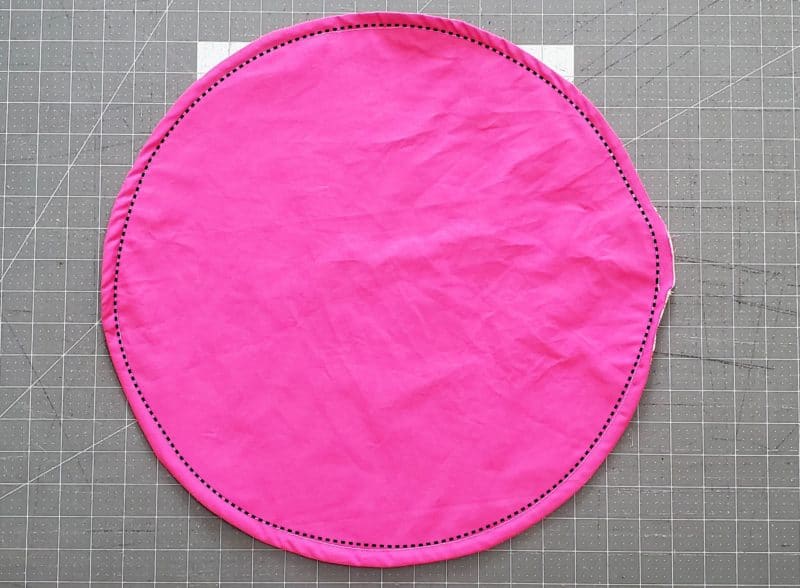
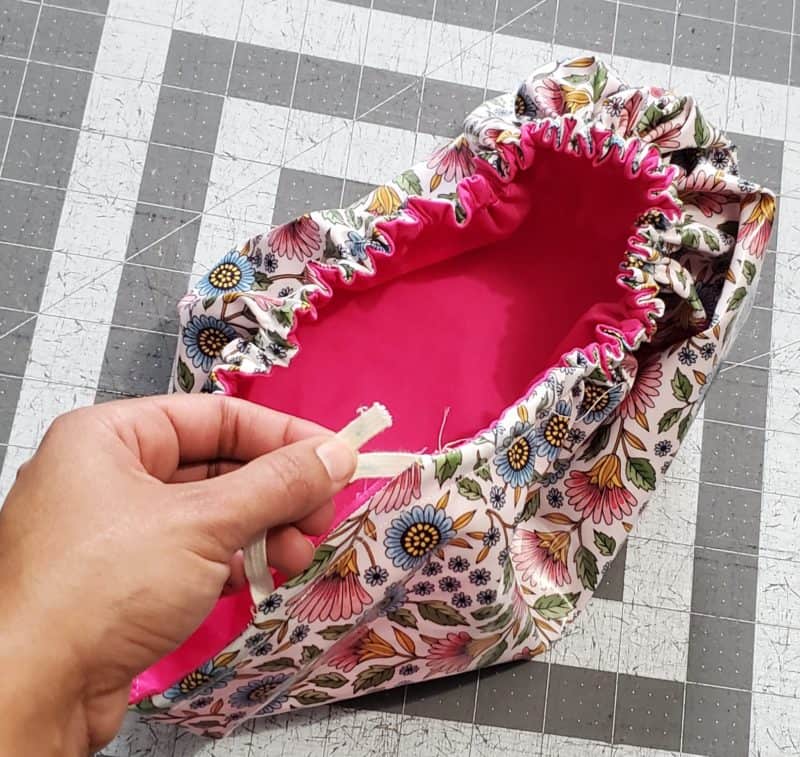
Step 5: THREAD ELASTIC
Thread your elastic through the casing, overlap the ends, and stitch them together.
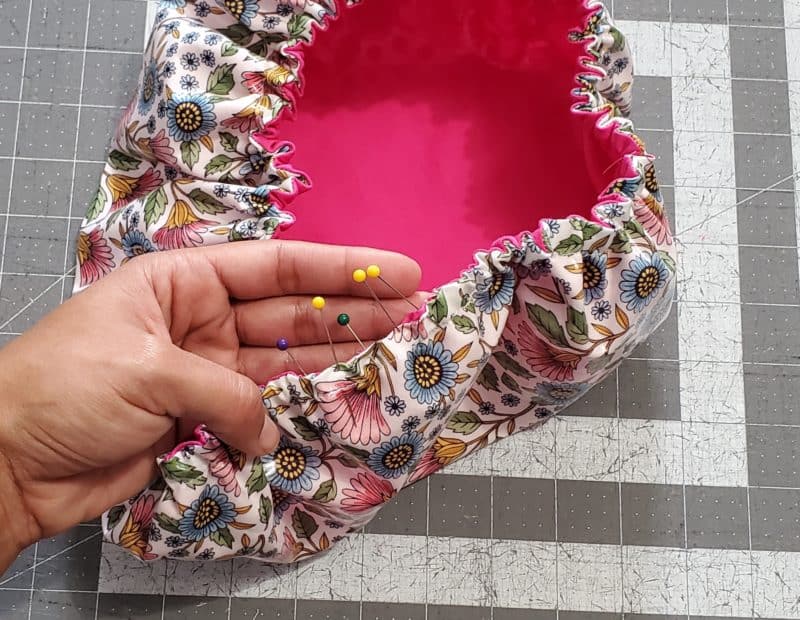
Step 6: TOPSTITCH
Topstitch your casing closed, and you’re finished!


Leave a Reply