

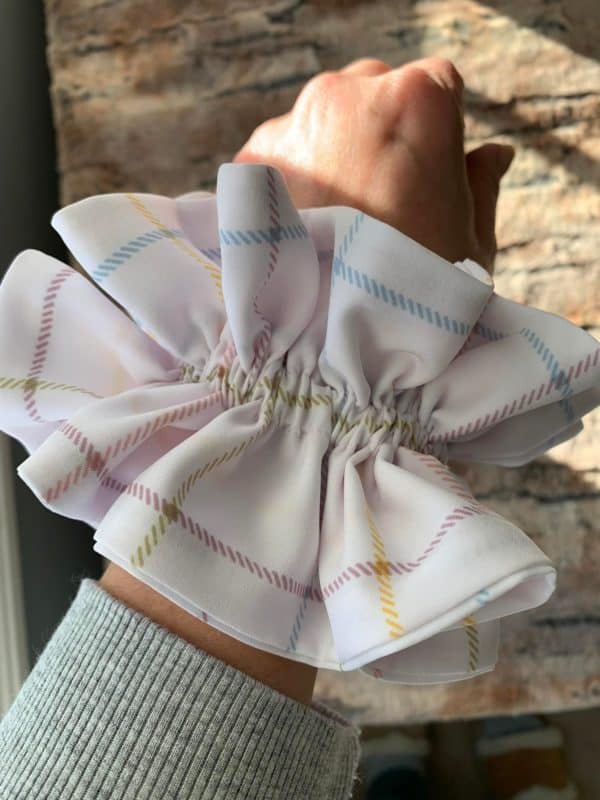
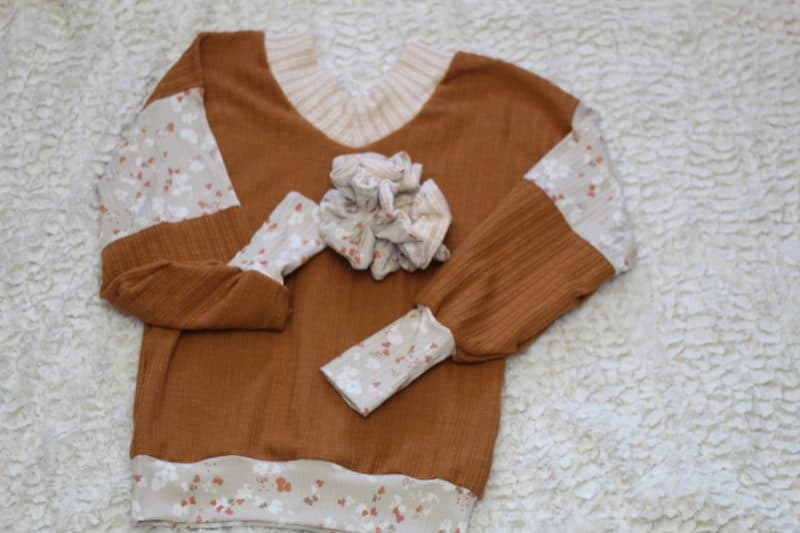
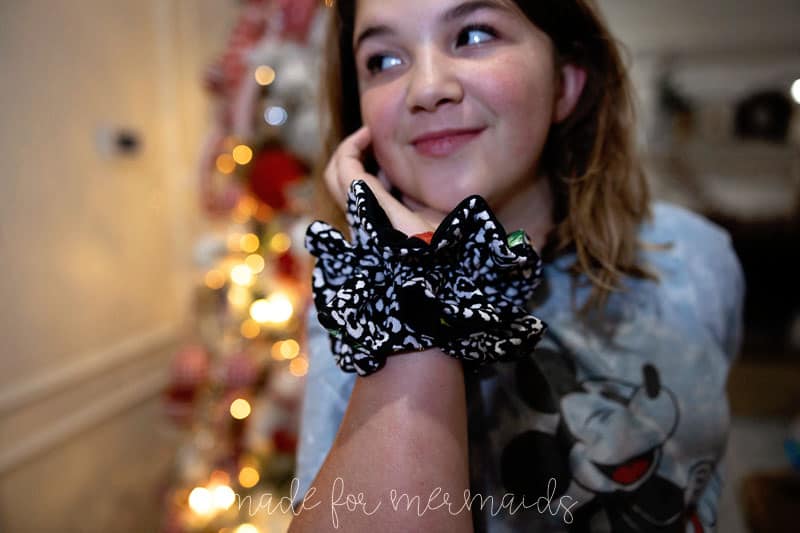
Today we have a ruffle scrunchie. We’ve done a few scrunchies in the past (Scrunchies in 3 Sizes, Super Scrunchie, Scrunchie with Bow and Scarf.….what can we say? We love our scrunchies!!!! ), and this one is another nice oversized one in a different style. These are quick, and fun to sew in coordinating fabrics for a different look.
-

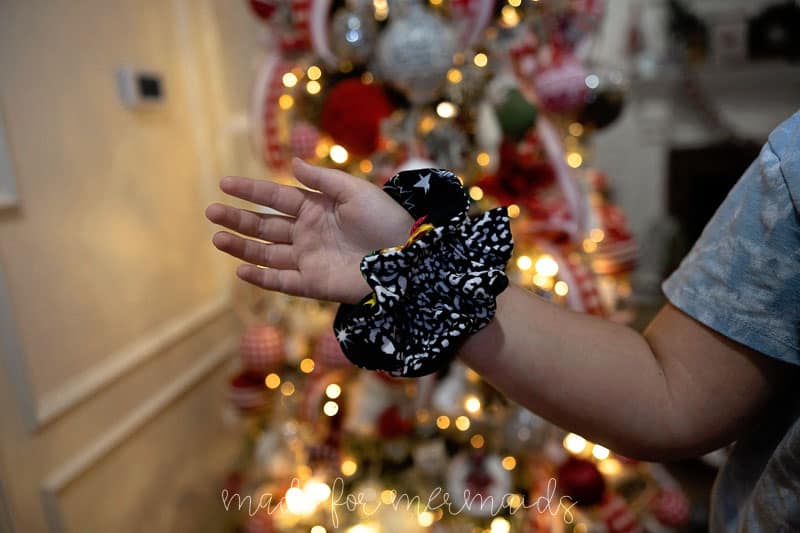
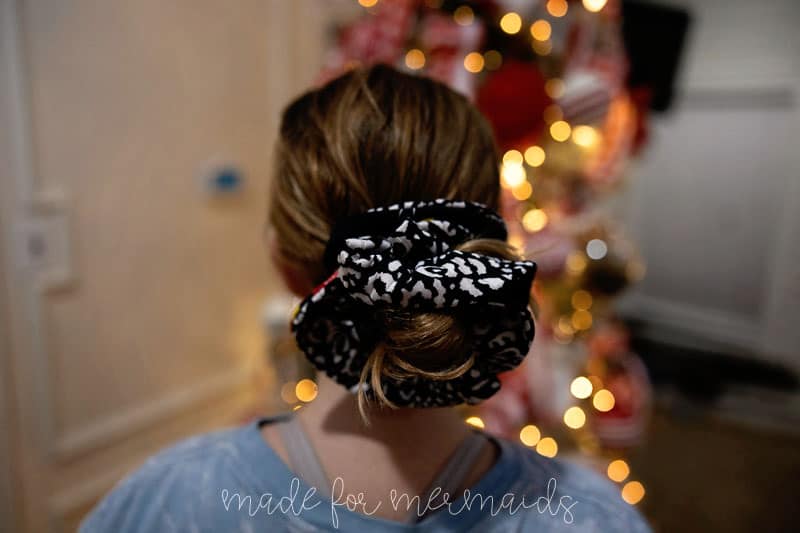
- Ruffle Scrunchie

SUPPLIES:
- scrap fabric, or if purchasing, you’ll need 1/6 yard of each main and lining. Just about any lightweight fabric will work for these, any knit (DBP, jersey, bamboo, CL, etc.) OR woven (woven, velvet, stretch velvet, satin, etc.)
- 7.5″ of 3/8″ elastic
LET’S GET STARTED!
1/4″ SEAM ALLOWANCE INCLUDED
Step 1: PREPPING
Go grab the pattern here! The pattern is 100% free, but you do need to add it to your cart and checkout. Then, it will always be available to download from your account. The pattern is a no trim pattern; if you need help putting the pattern together, pop over to the faqs and troubleshooting page , check out the blog post here, or ask in our Facebook group .
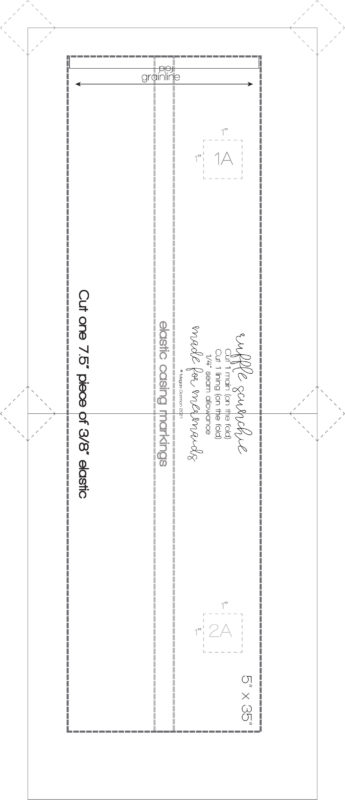
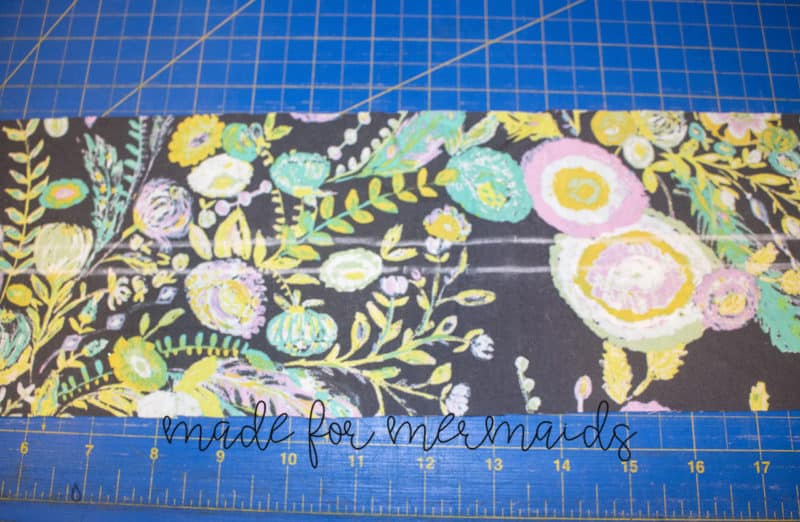
Print and assemble the pattern. Alternatively, you can use the projector file if you’re using a projector, or you can cut with a rotary cutter two pieces 5″ X 35″. The pattern layout is below:
If you prefer a video tutorial, check it out on YouTube here:
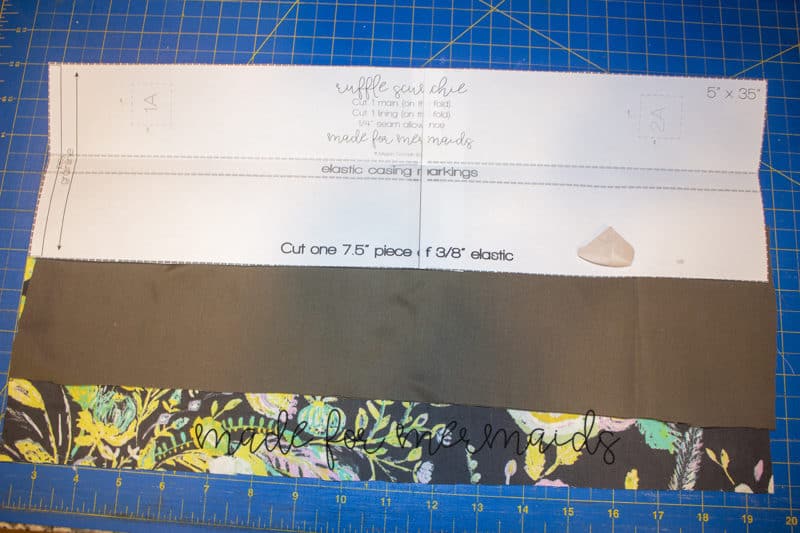
Step 2: CUTTING
You’ll want to cut 2 pieces for your scrunchie. One main, and one lining. You will also need a piece of elastic.
Step 3: PREPARE PIECES
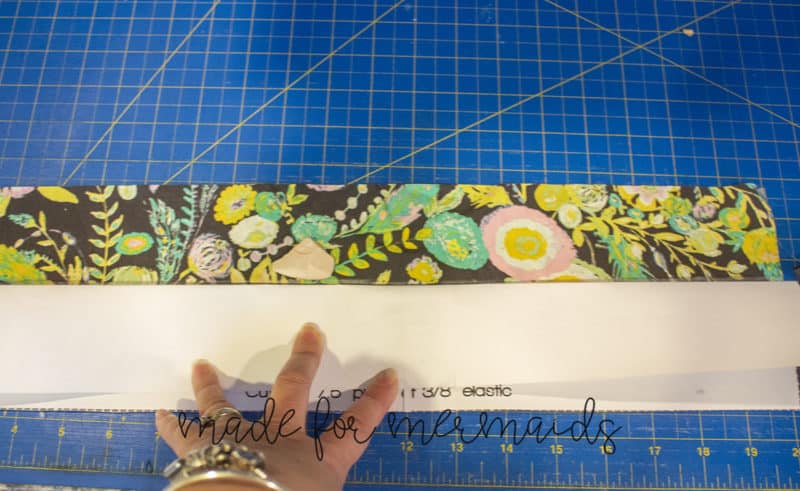
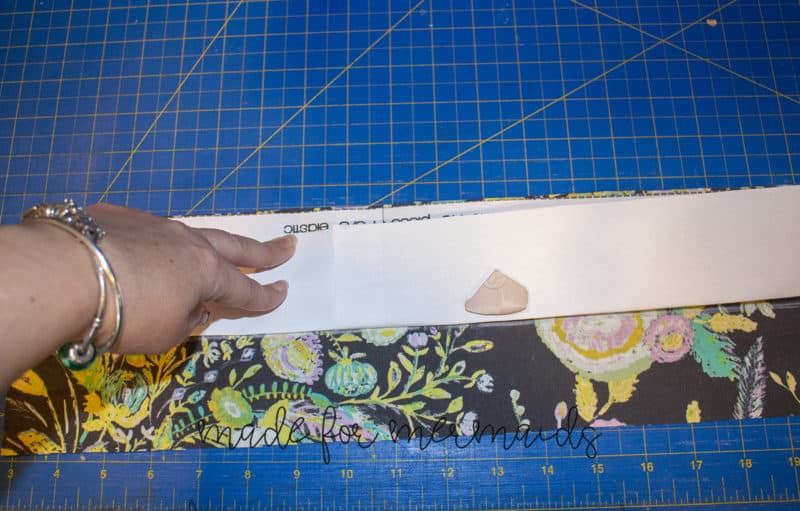
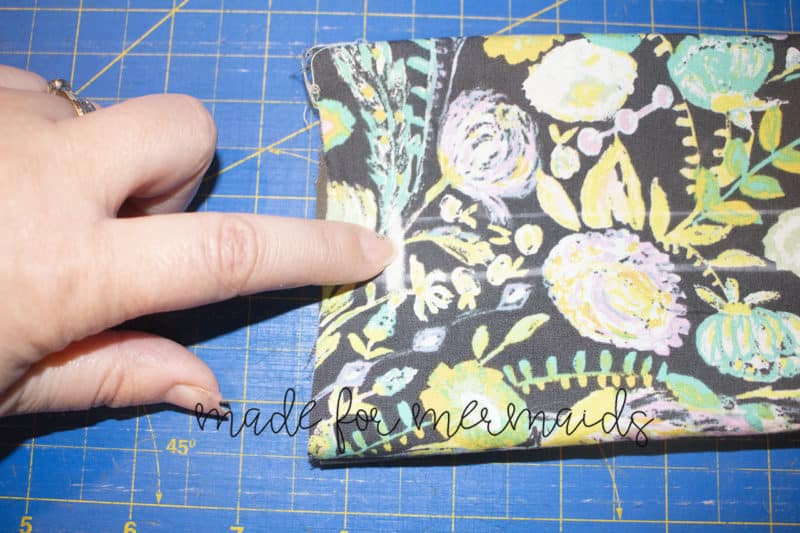
Mark your casing lines on the right side of one of your pieces; I used tailors chalk, but any type of fabric marker will work. Fold along the marking, and then use the edge of the paper as your ruler to mark both your casing lines. Press the top short end on one side of each piece 1/2″ to the wrong side – this will be your memory press.
Step 4: SEW SCRUNCHIE
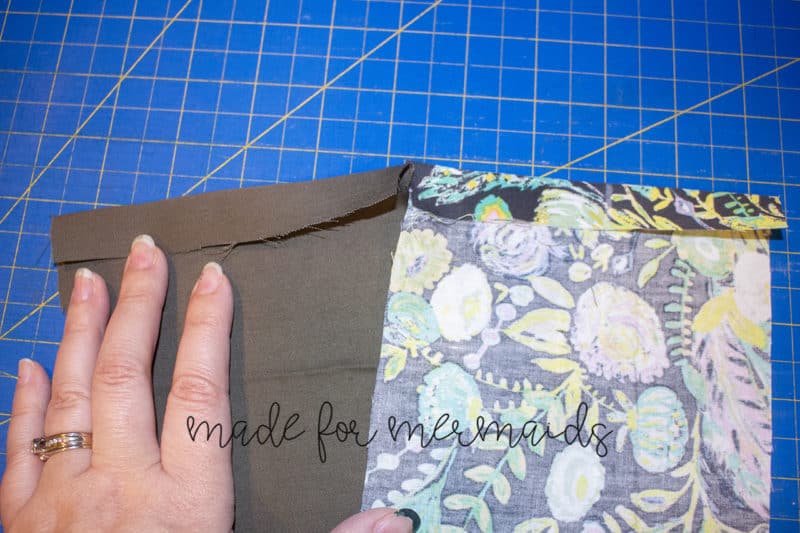
Next, place your two pieces right sides together and sew down each long edge with a 1/4″ seam allowance. Unfold your memory press, then sew from raw edge to raw edge.

Step 5: SEW CASING
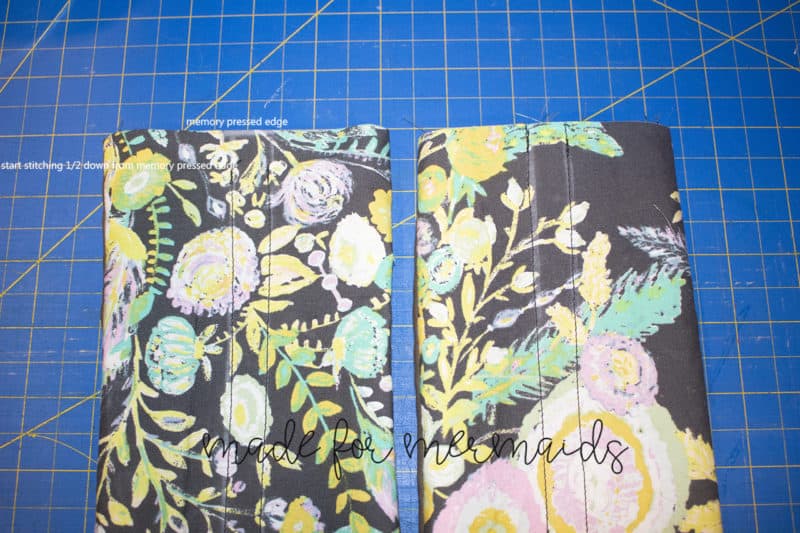
Next turn your scrunchie inside out; you can press with an iron or just finger press the seams so it lays flat. Fold your memory press back in towards the wrong side. You will start sewing 1/2″ down from the memory press, all the way down your marked lines to the raw edge.

Step 6: ELASTIC
Cut a 7.5″ piece of 3/8″ elastic and insert into casing, I used a safety pin to insert my elastic through the casing, but you can use whatever tool you like to use. Overlap your elastic by 1/2″, and sew together using a zig zag stitch.

Step 7: FINISHING
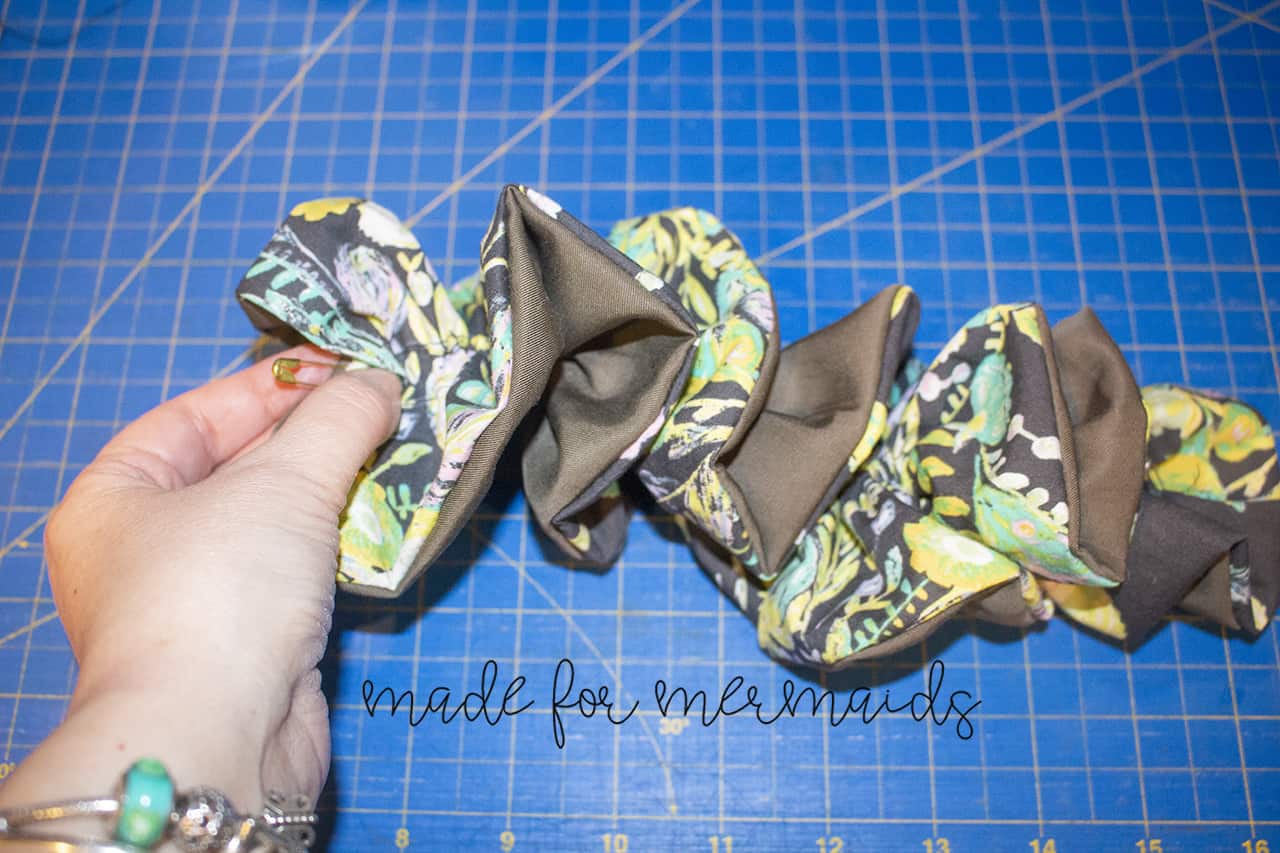
Next you will insert the raw edge into the memory pressed edge making sure it in fully enclosed and no raw edges are exposed. Pin in place and edge stitch along the folded edge all the way across to close the scrunchie.


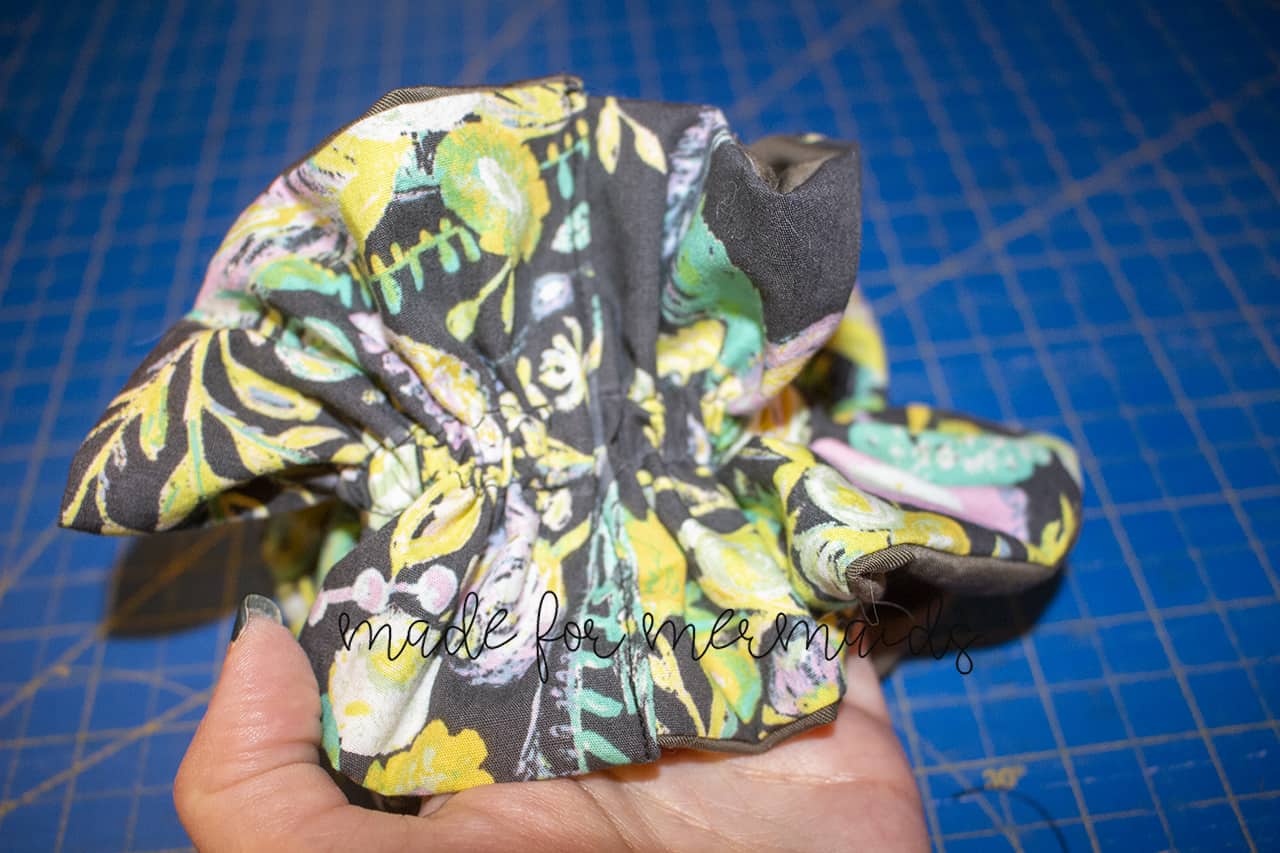
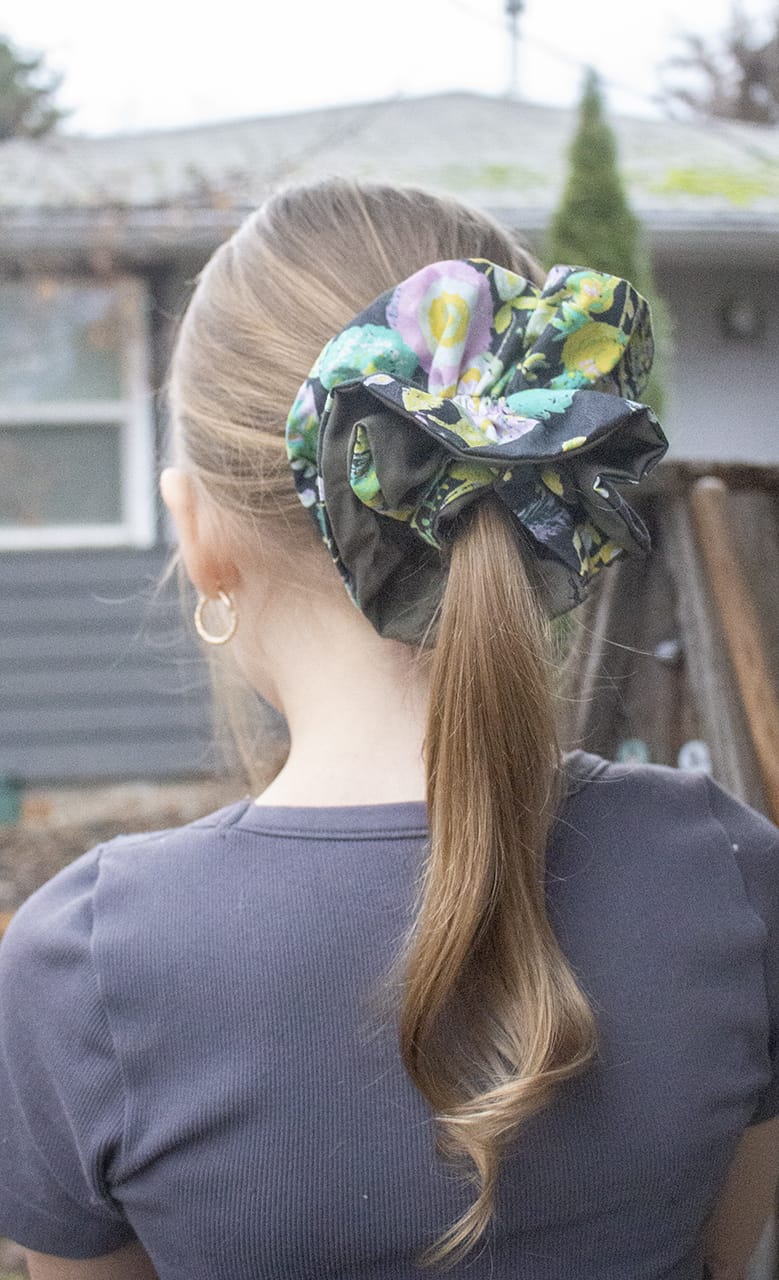
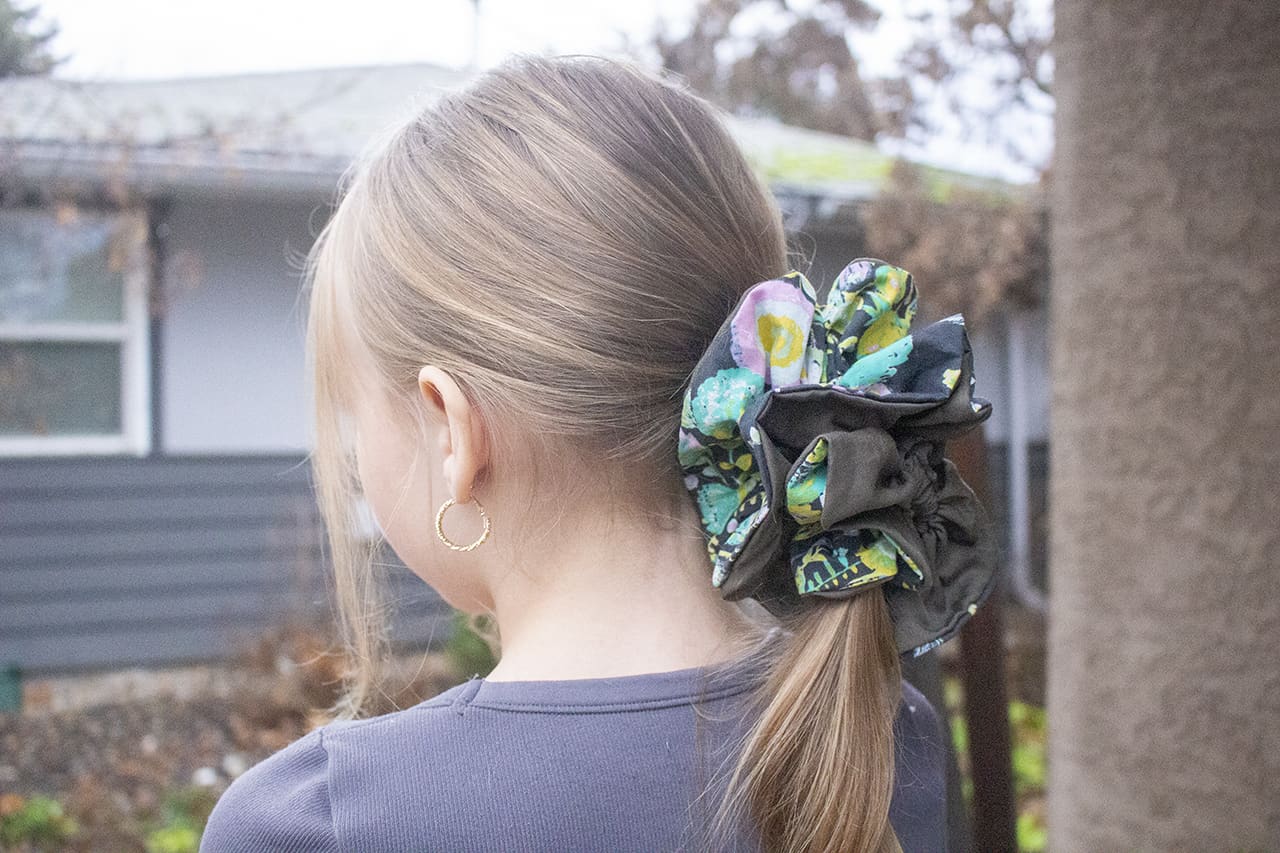
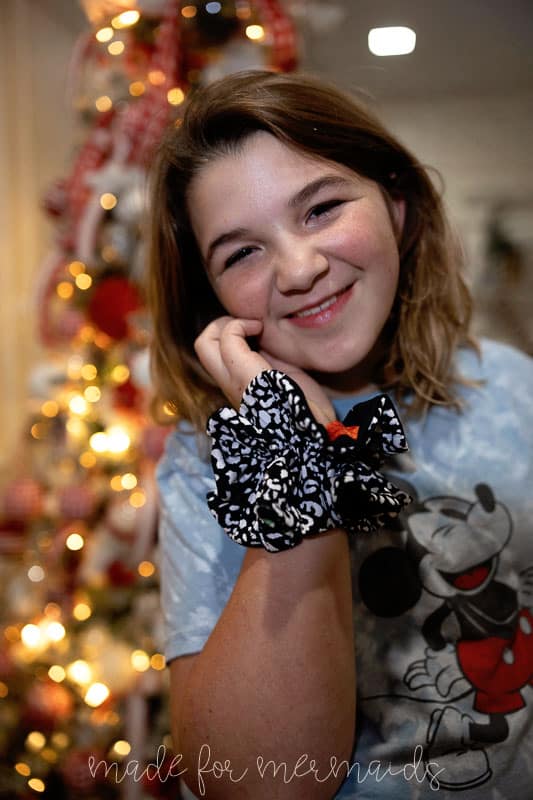
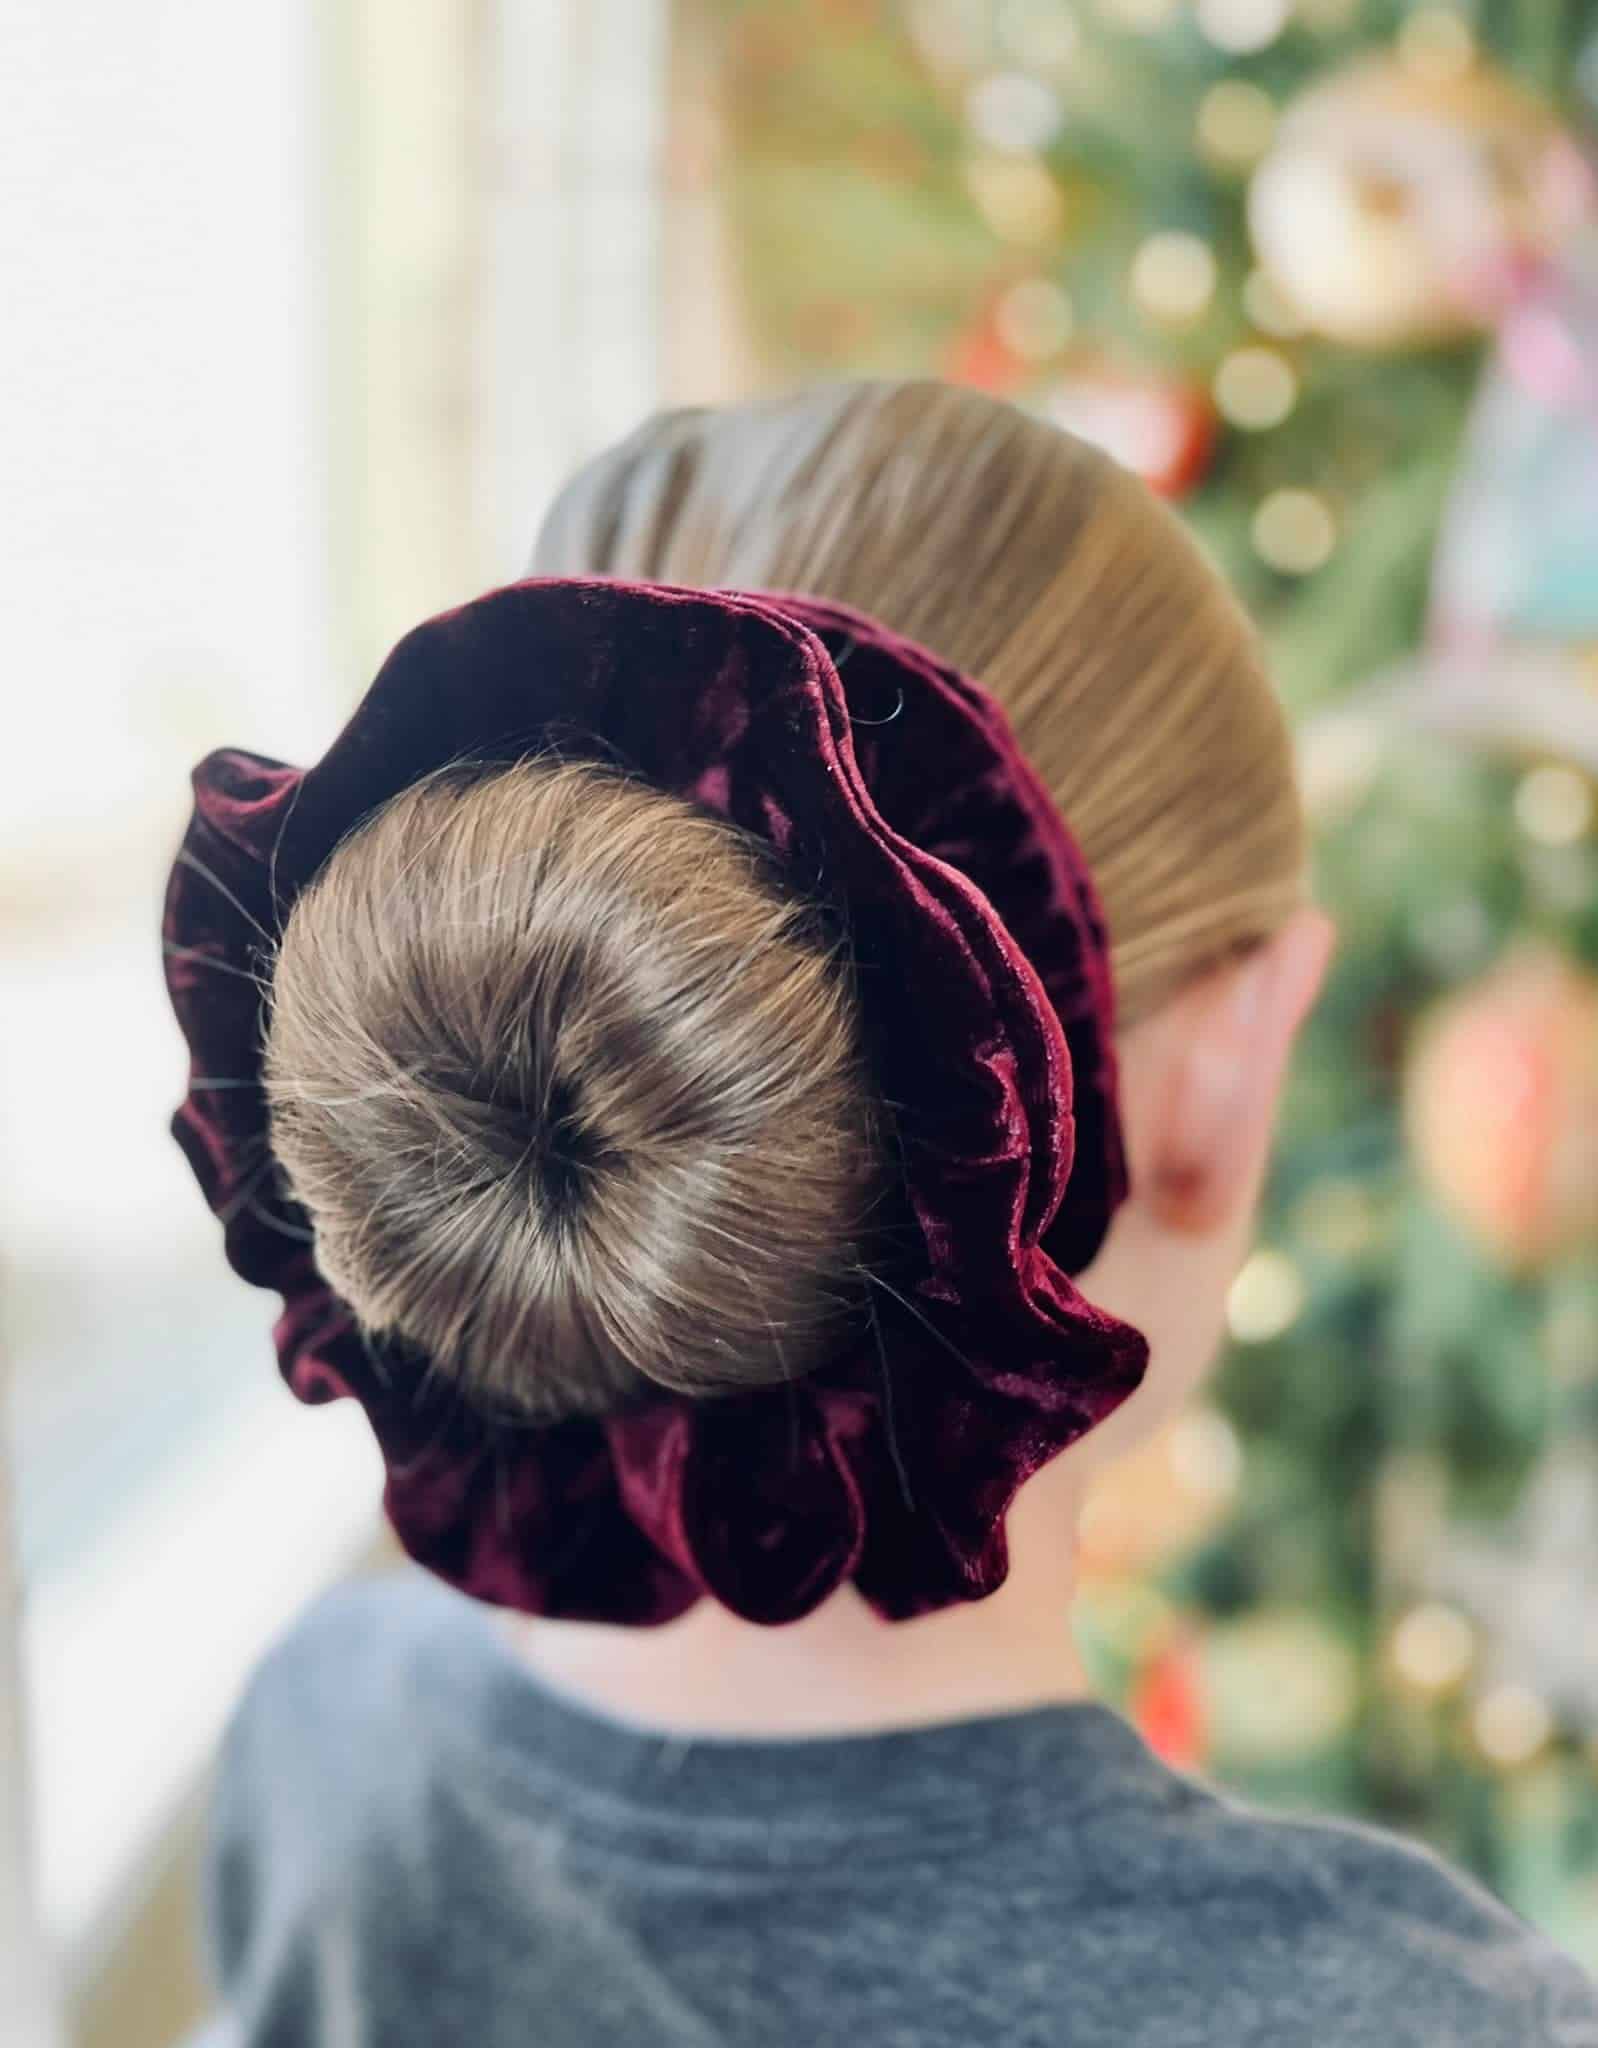
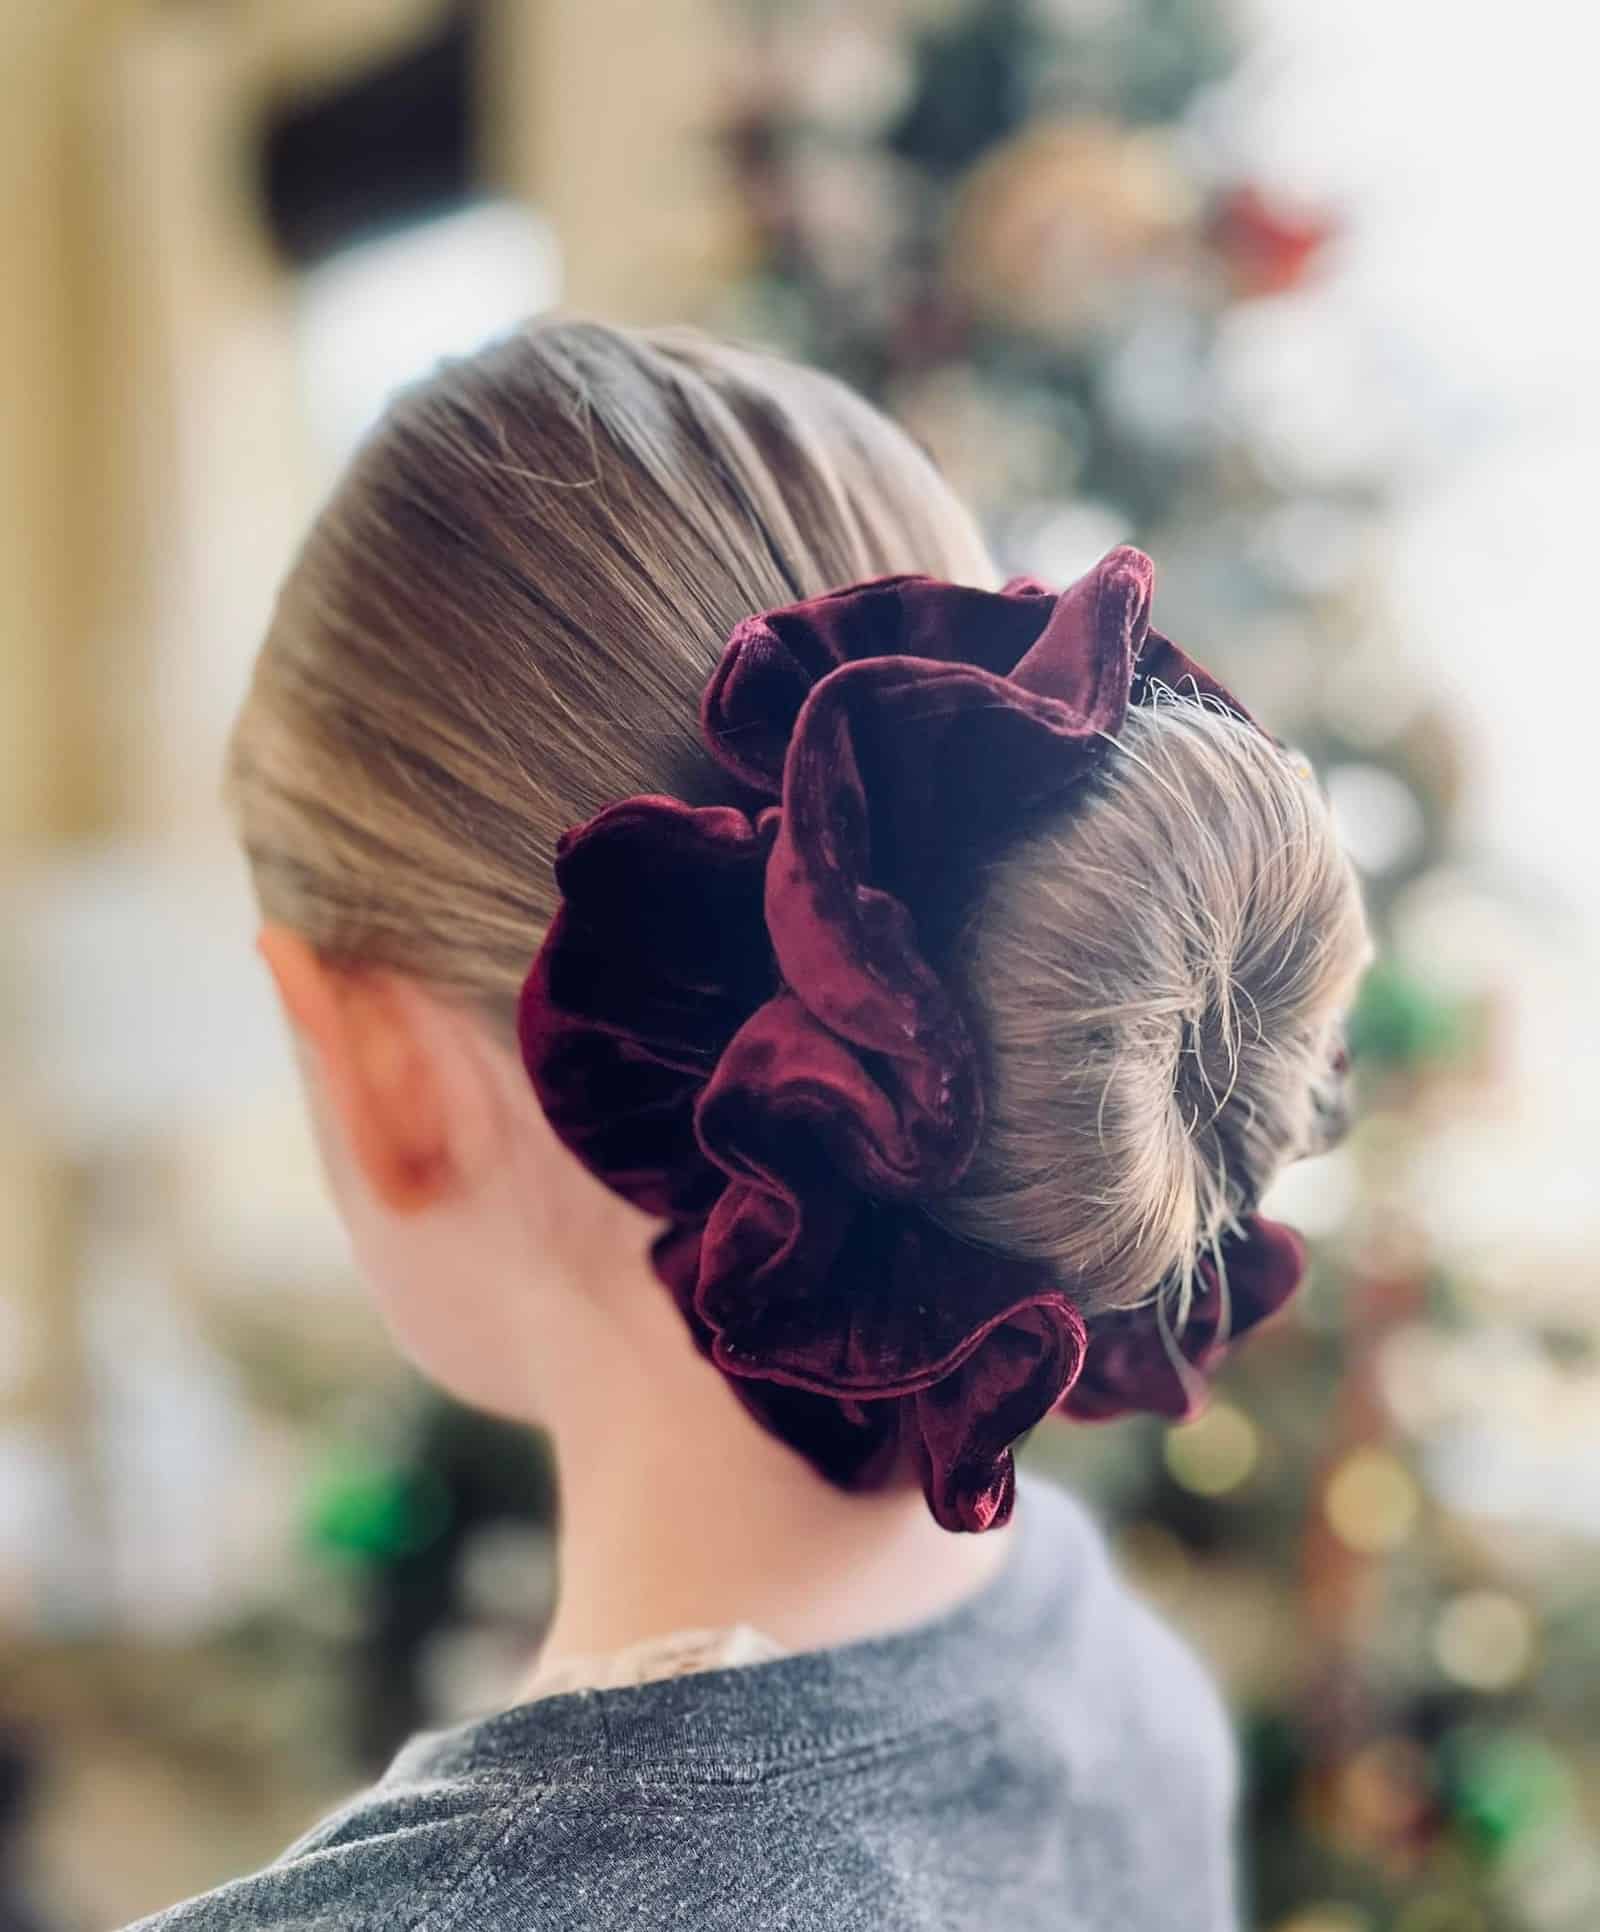
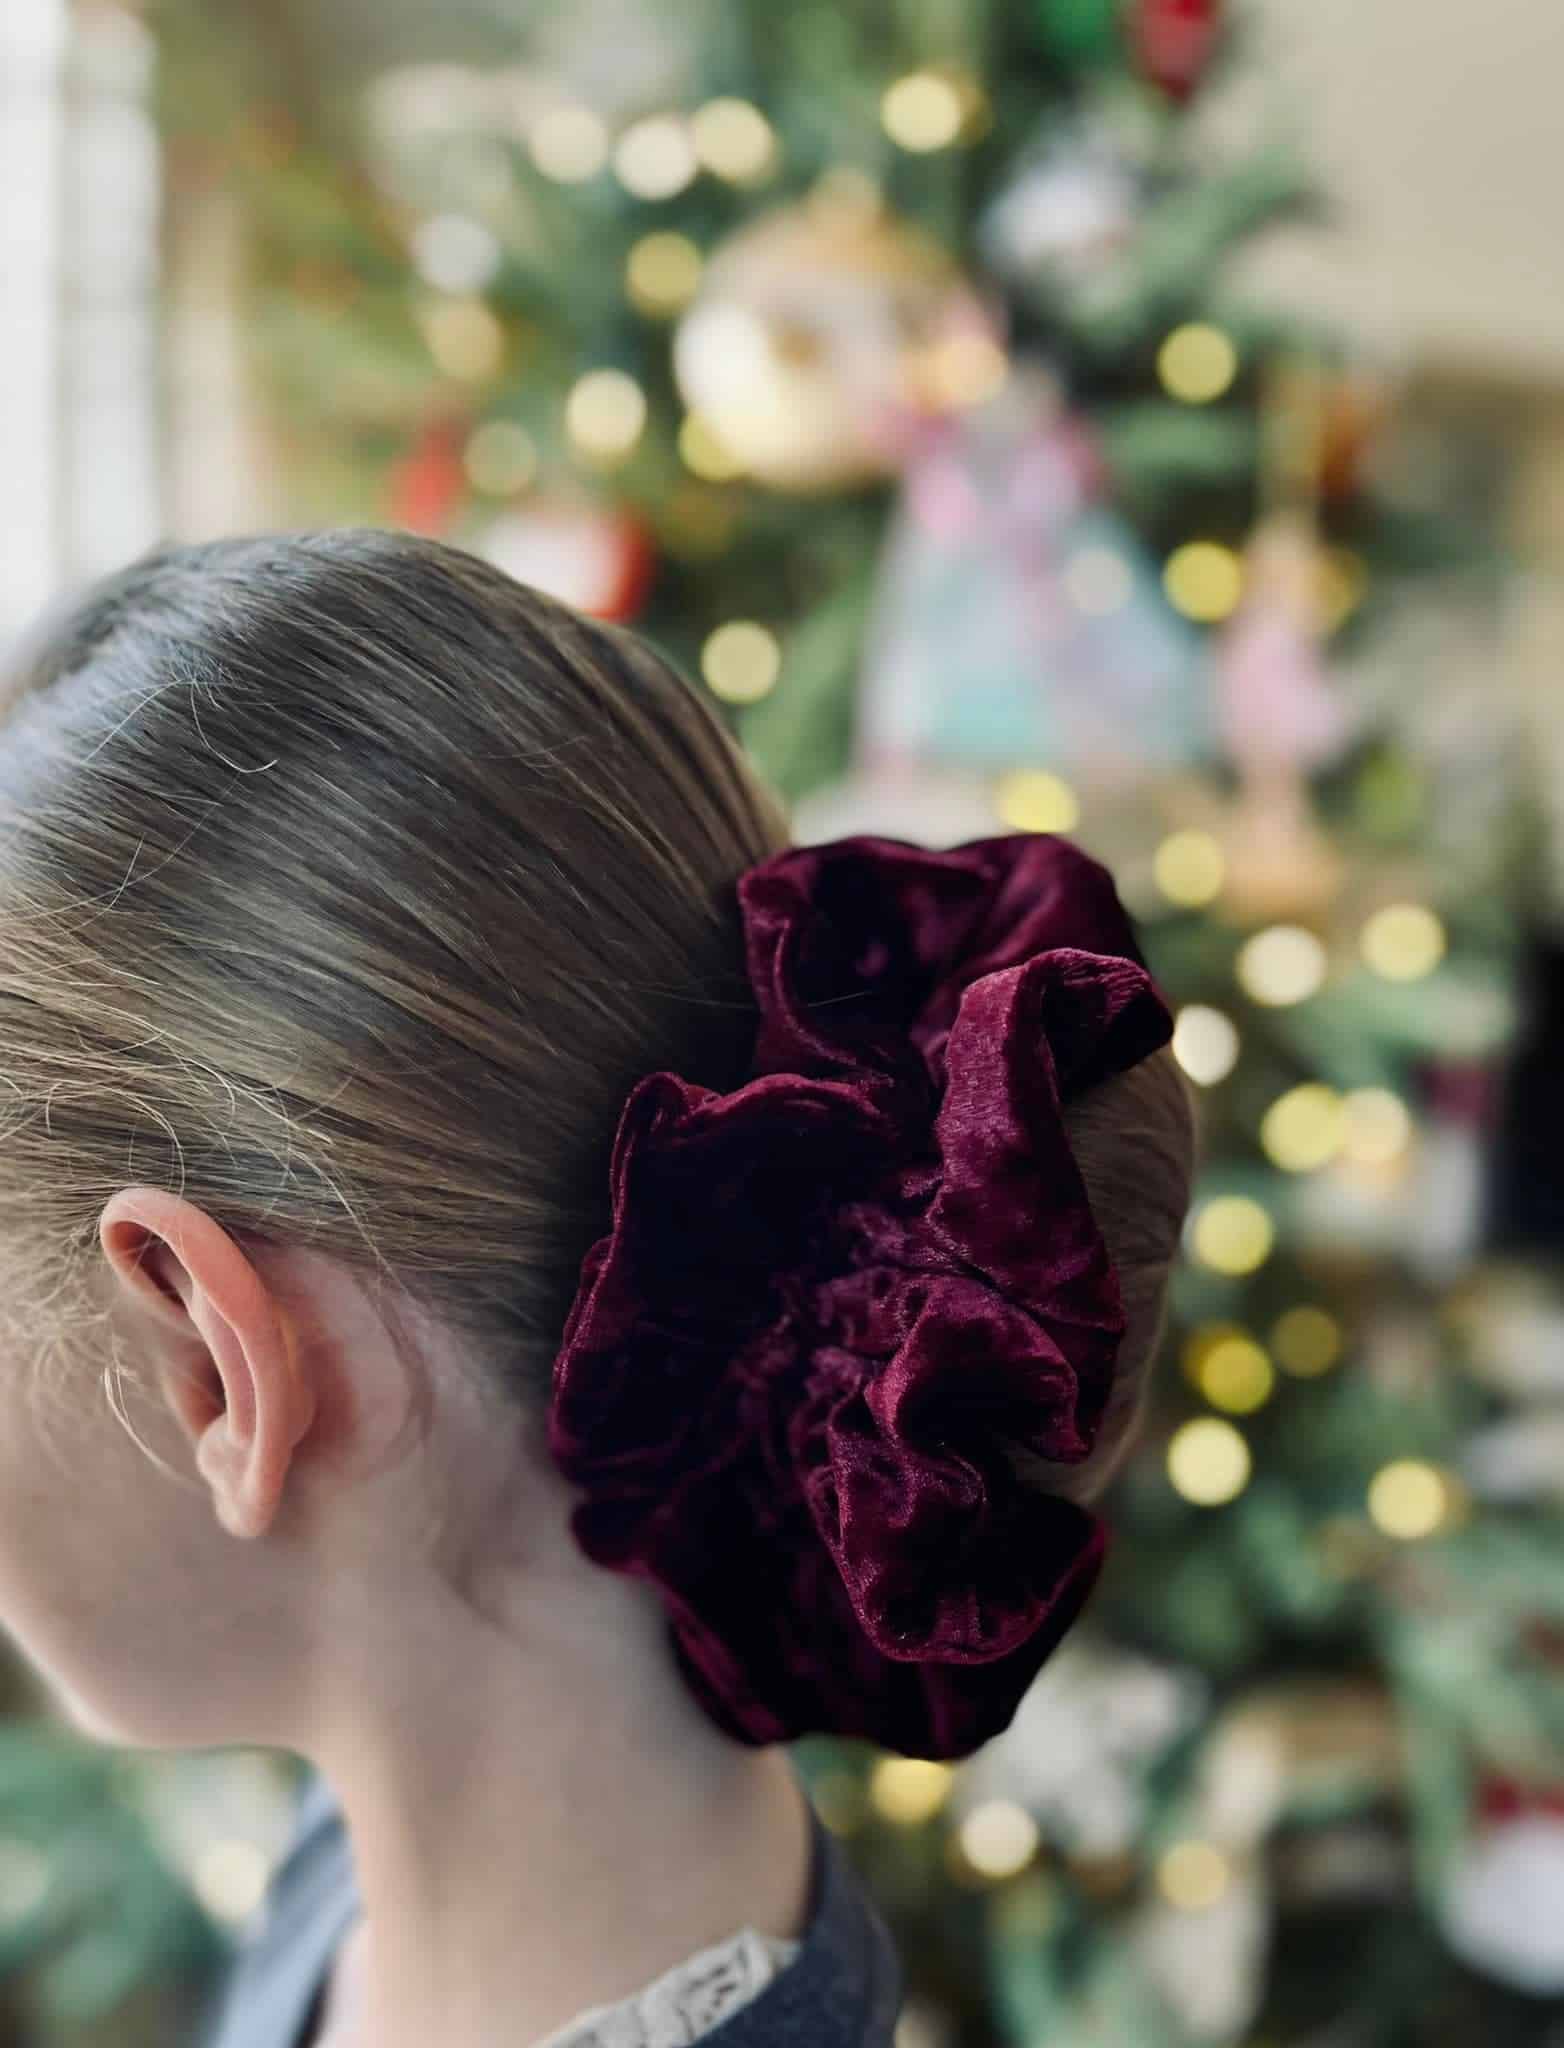
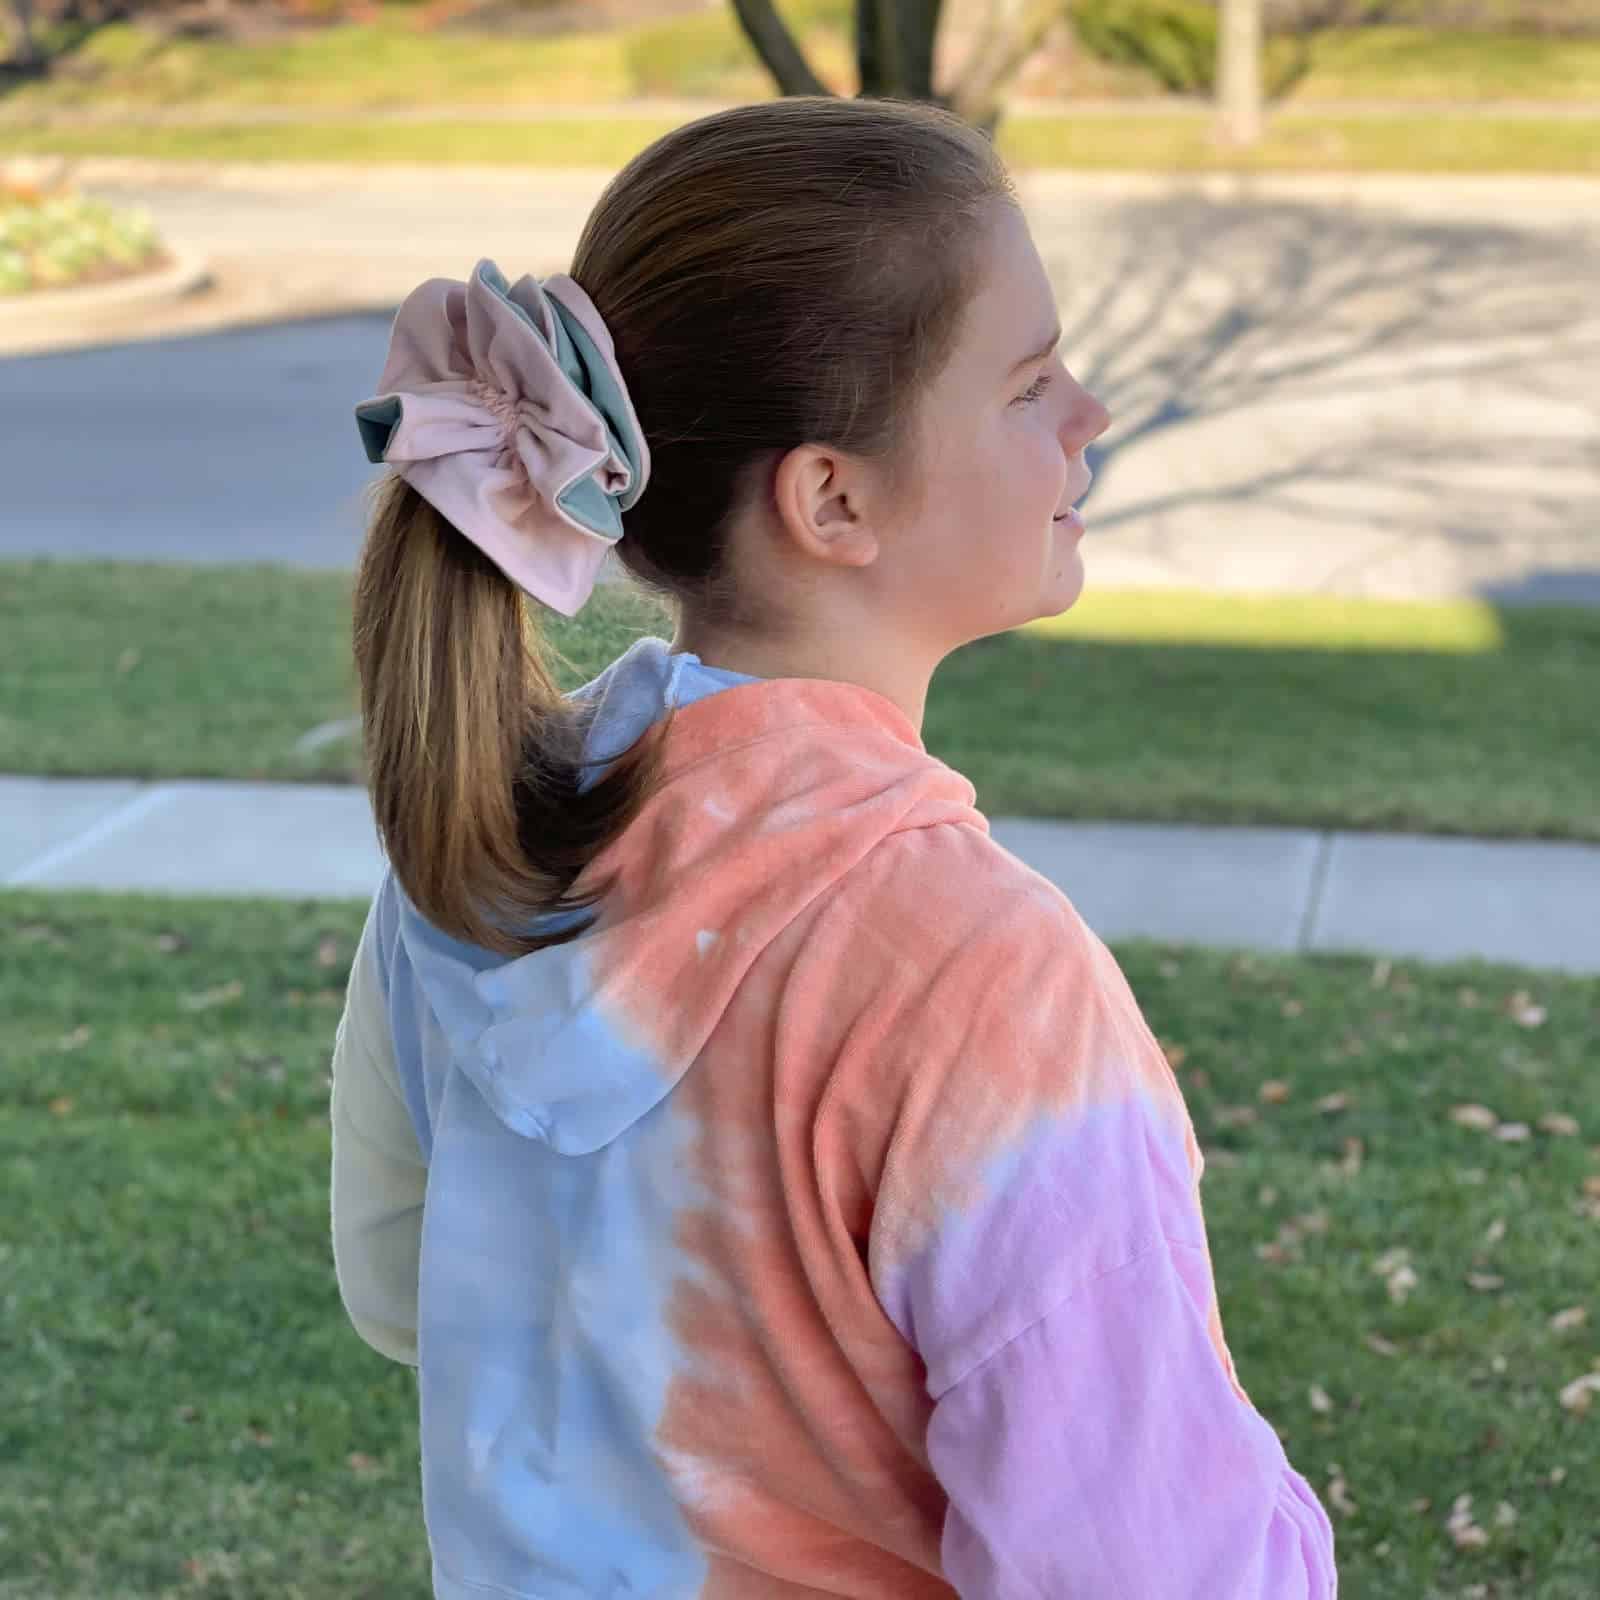
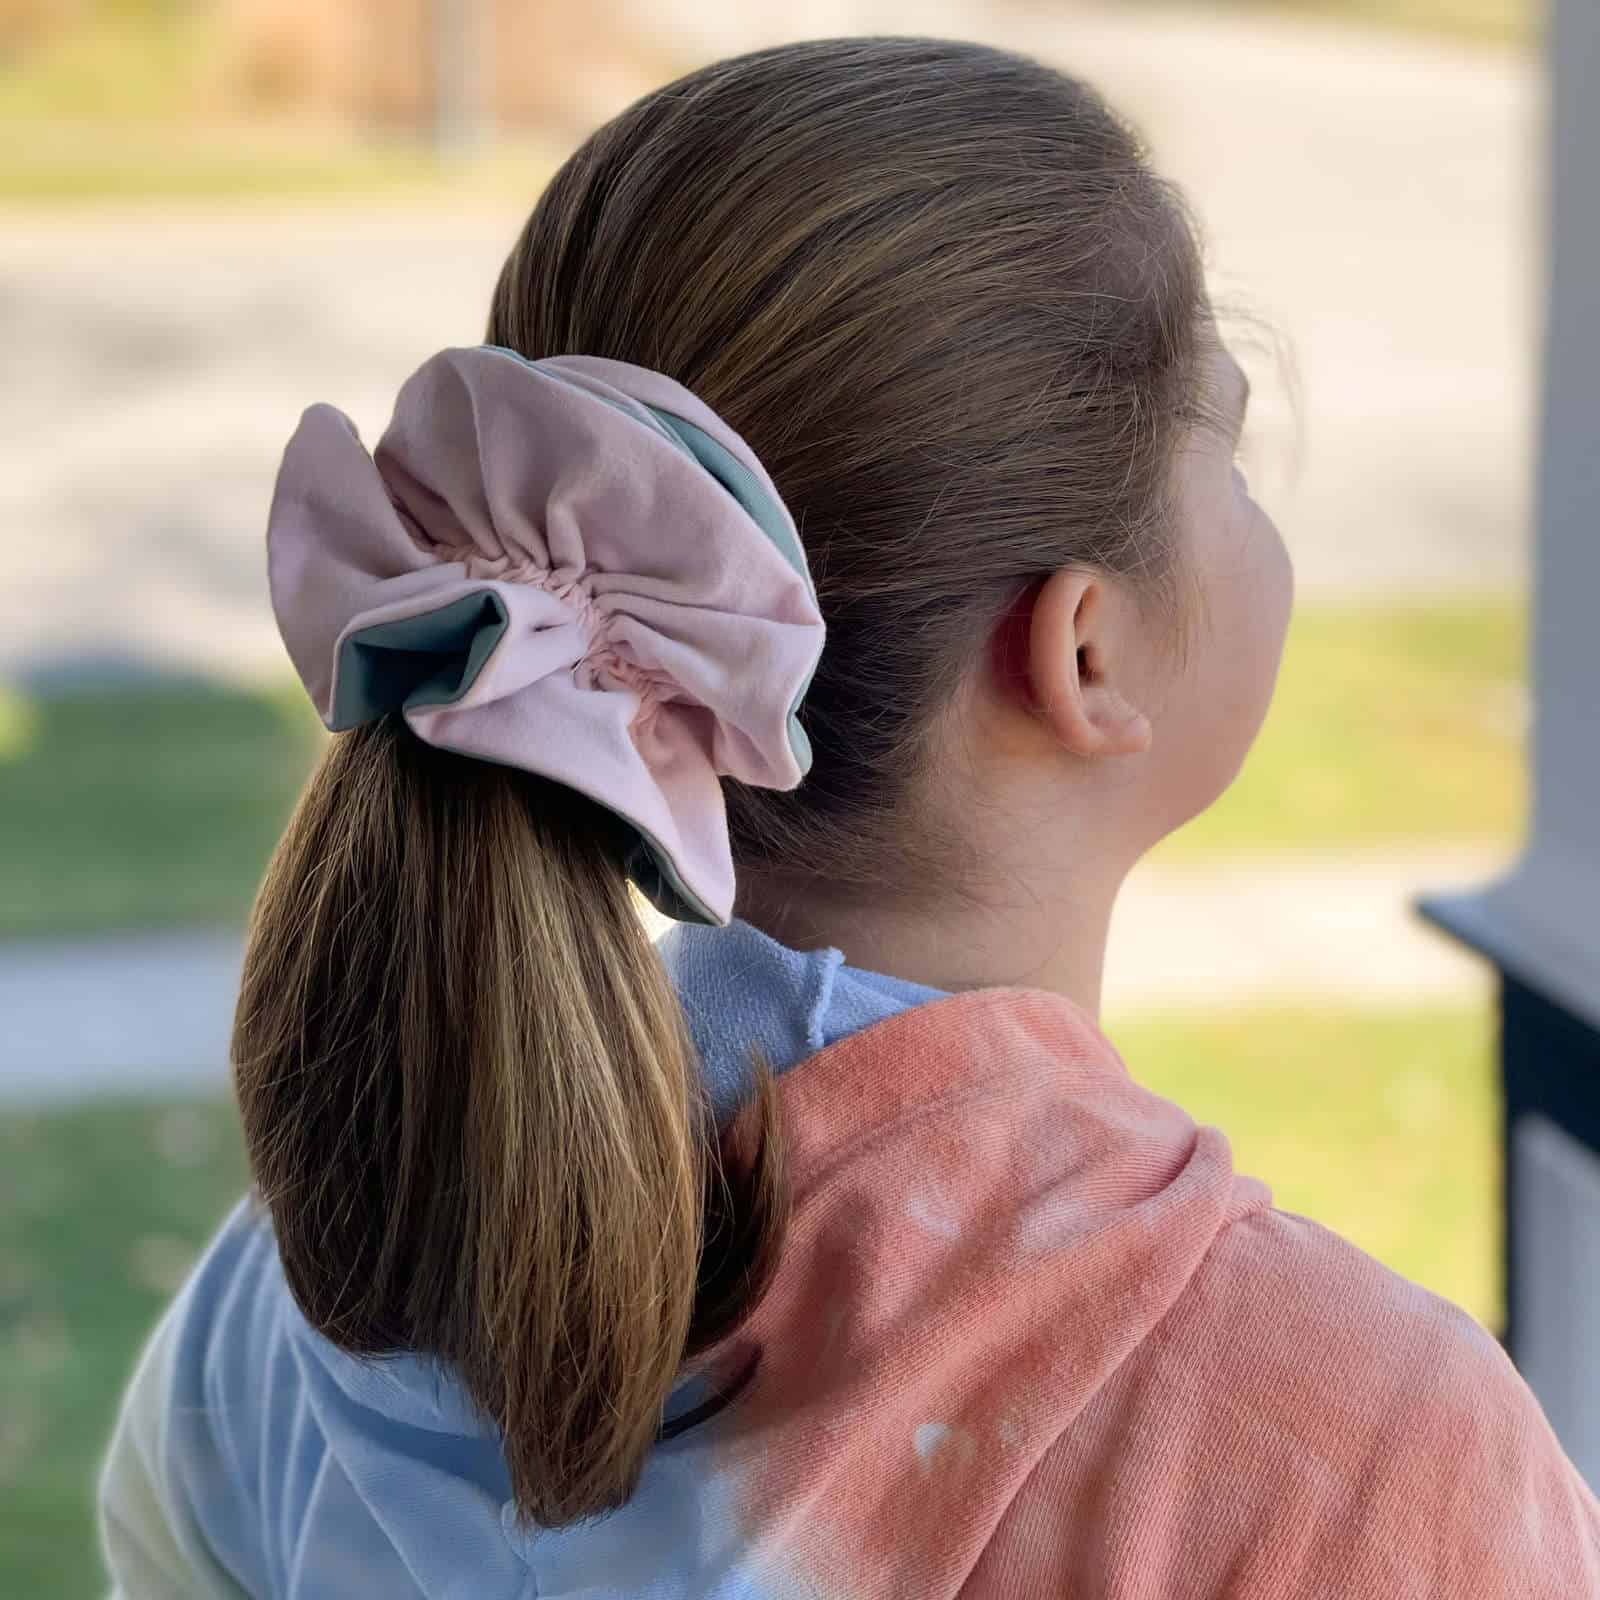
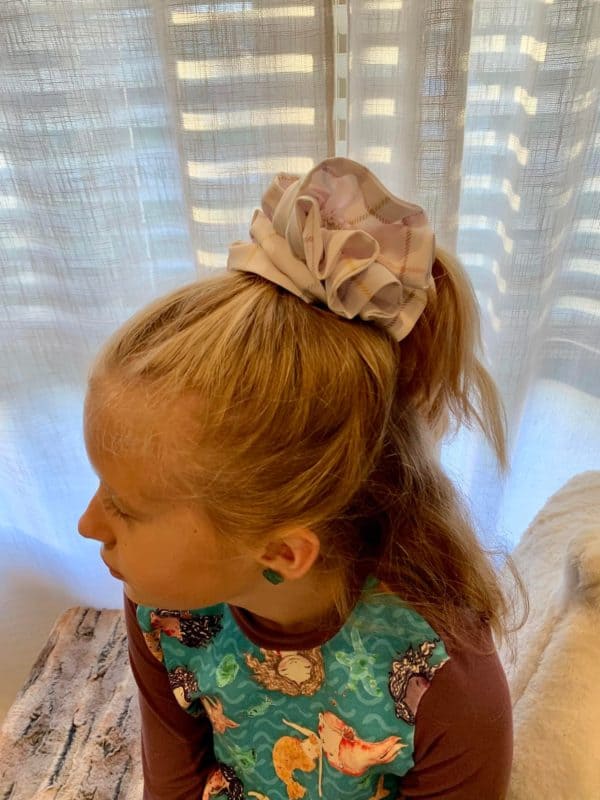
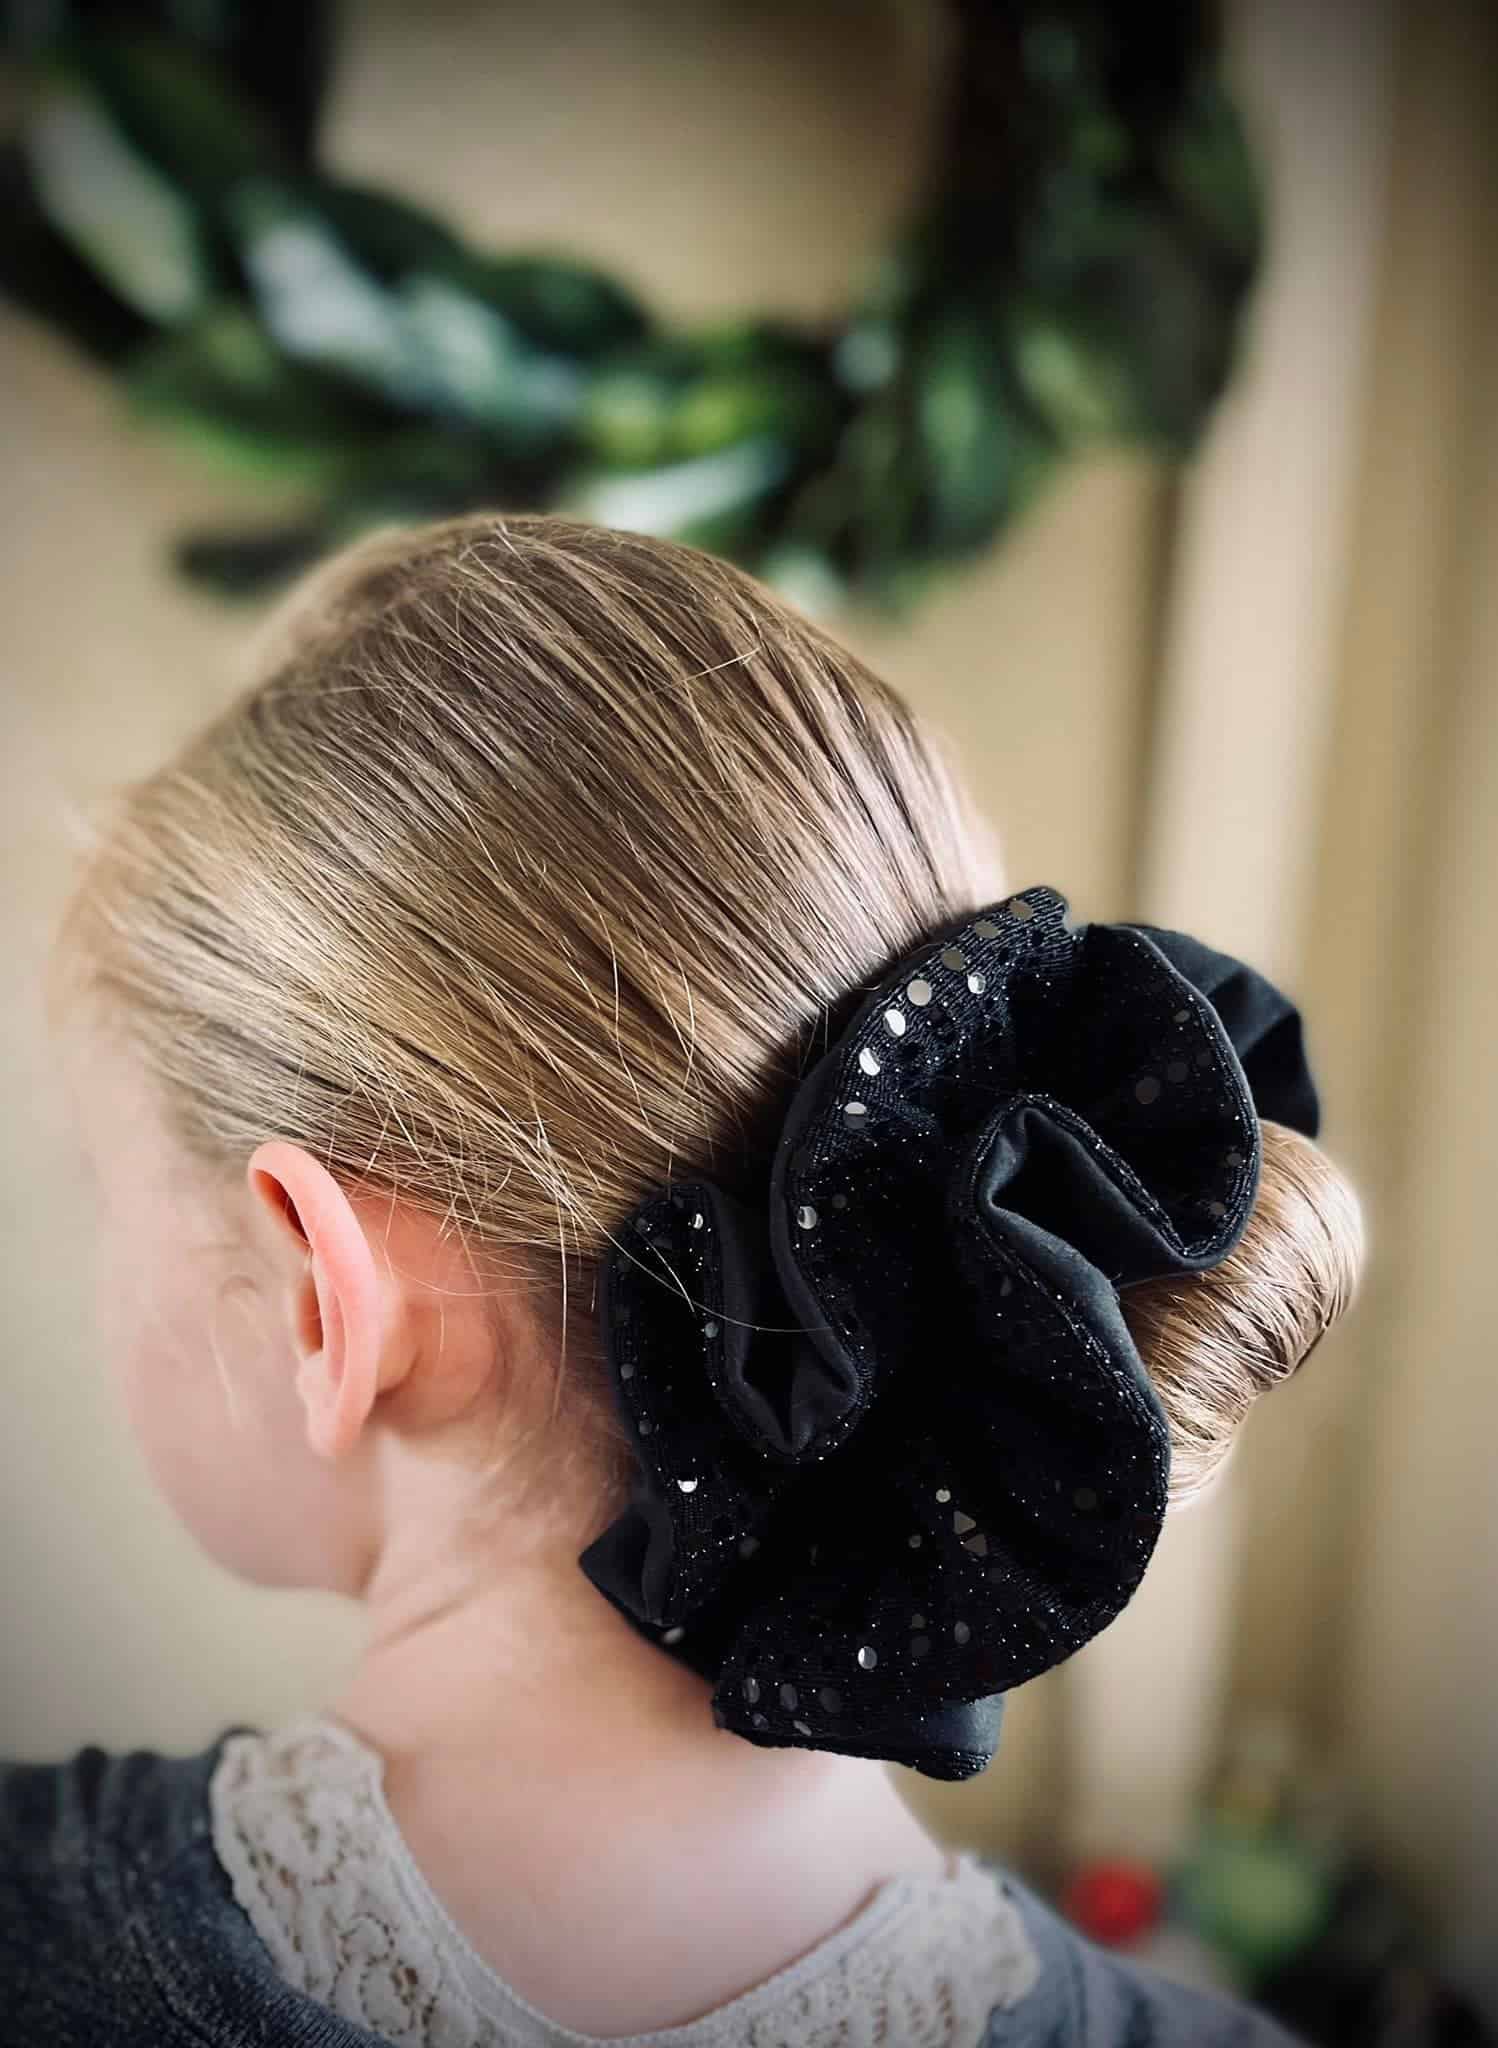
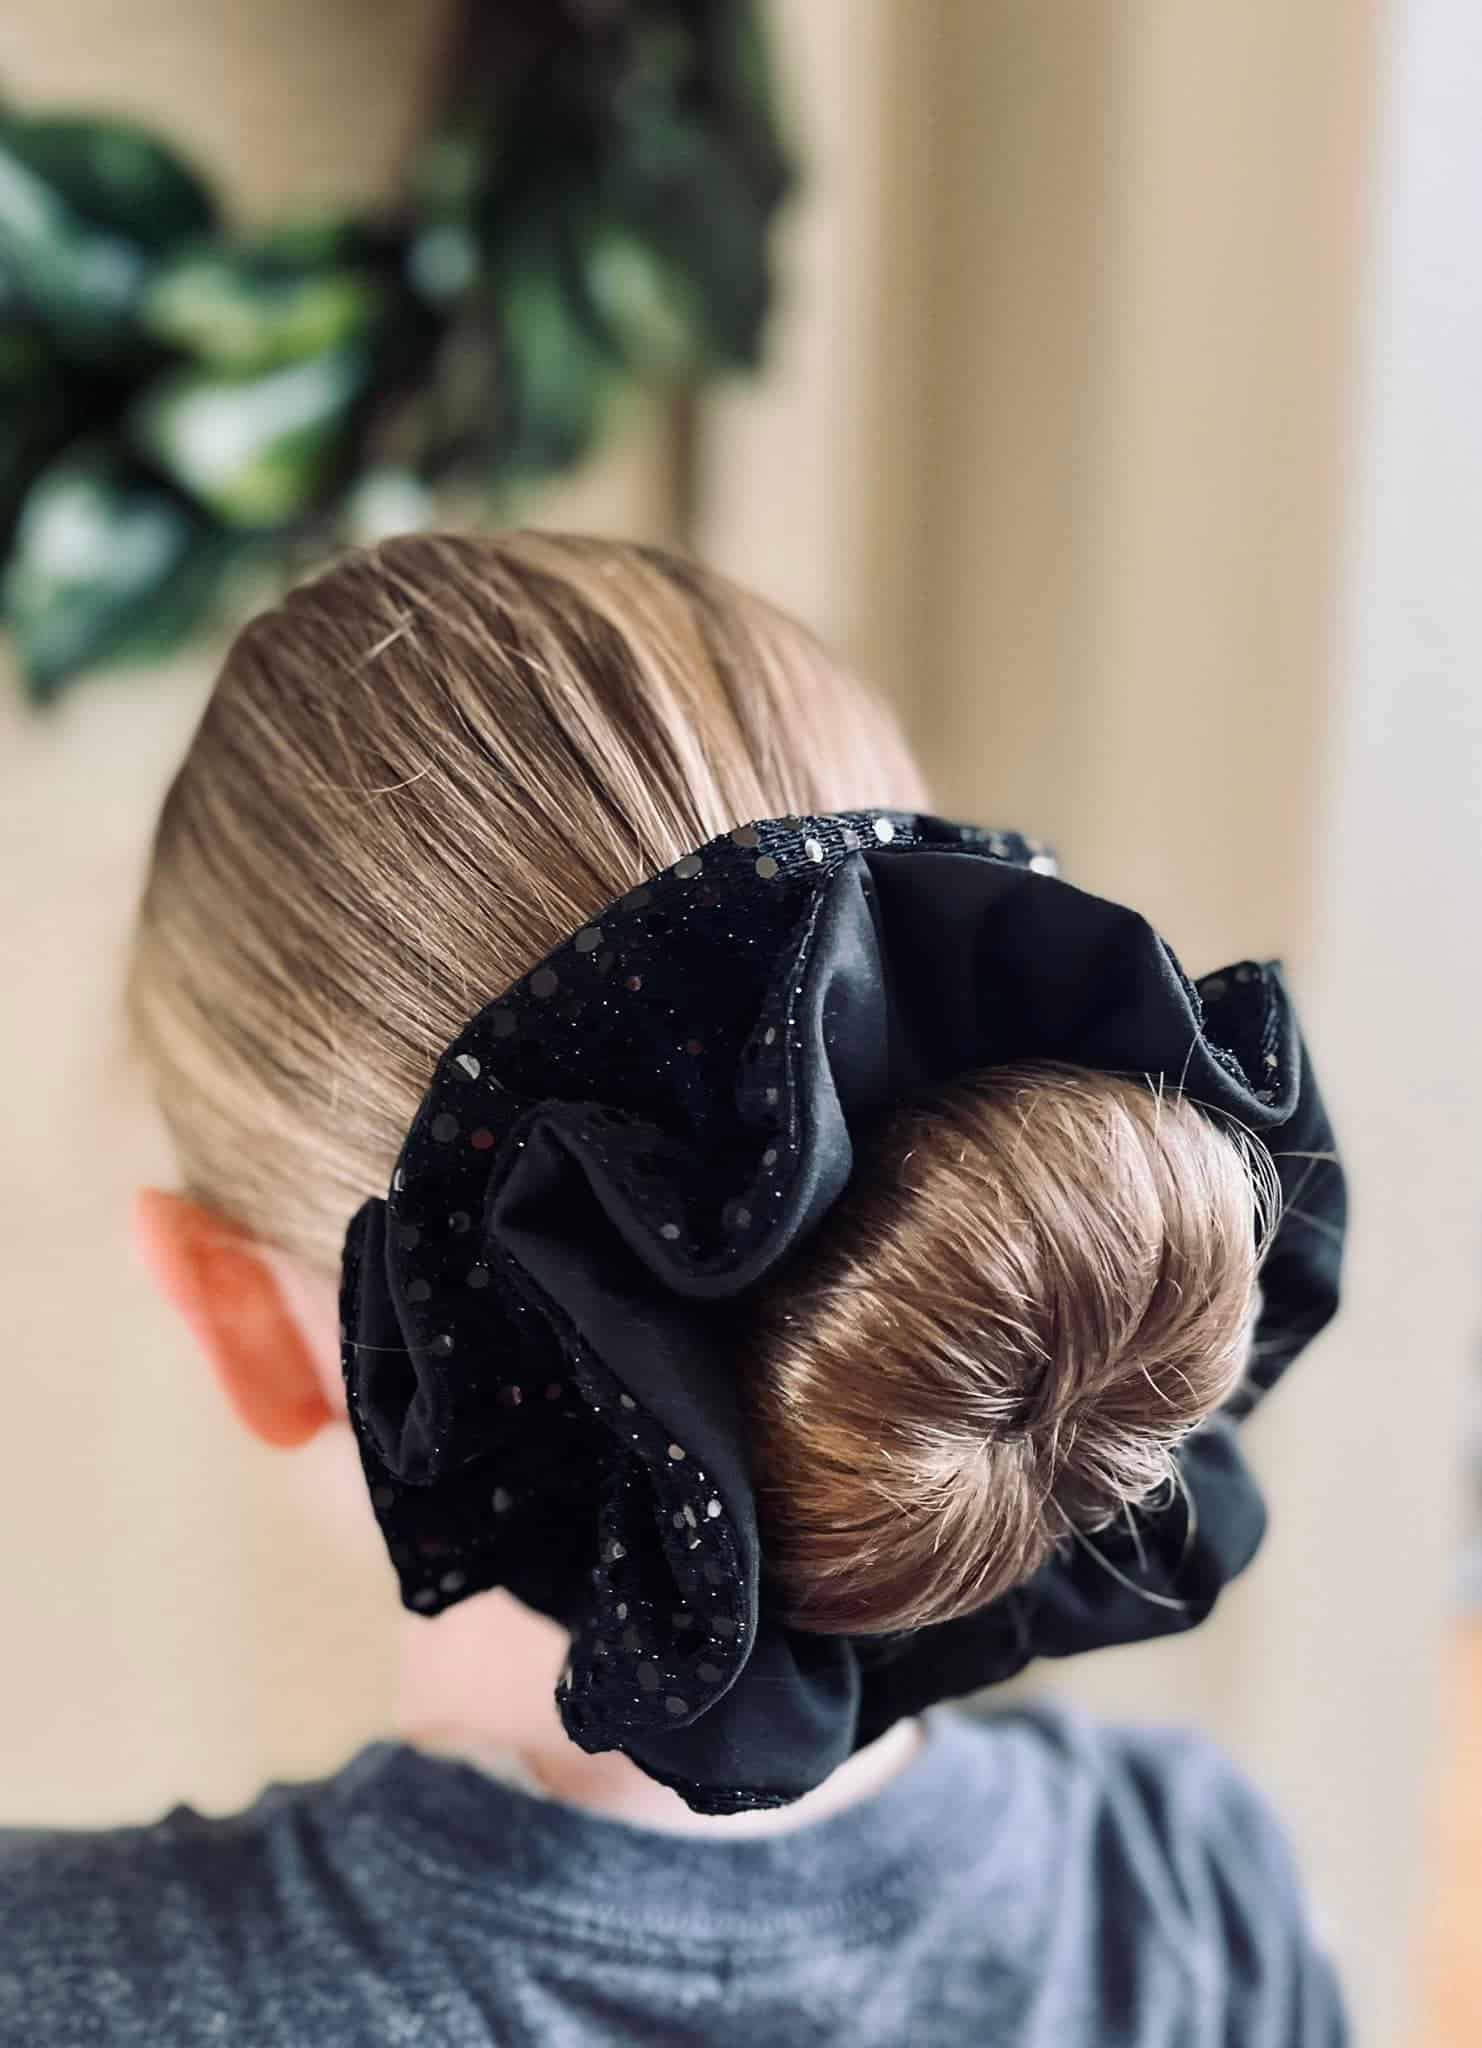
All done! Throw your hair in a cute pony or bun, and admire how cute your ruffle scrunchie looks!


DECEMBER 1 – 12, 2021
DAY 1 –RETRO FELT ORNAMENTS
DAY 2 – BOOK COVER
DAY 3 – TOWEL WRAP
DAY 4 – SHOWER CAP
The ruffle scrunchies are lovely and your instructions are very clear and detailed. Thank you! I have made four and I’m sure mygrandchildren will want more.