
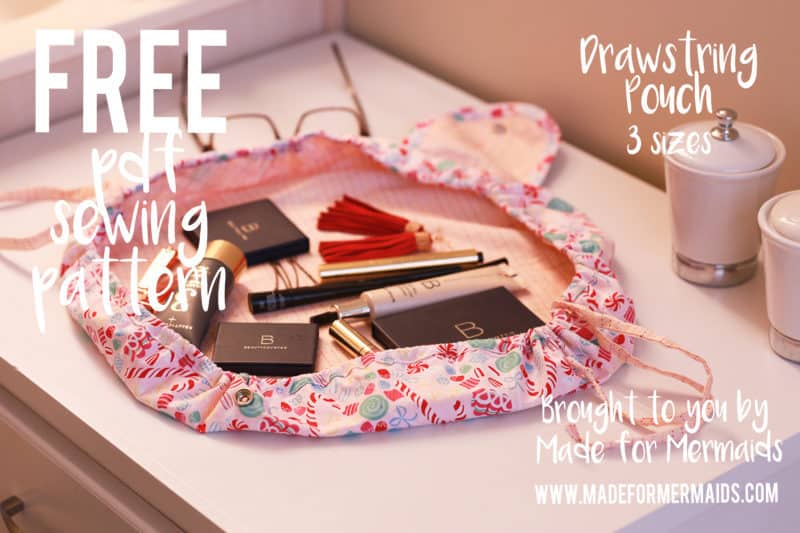
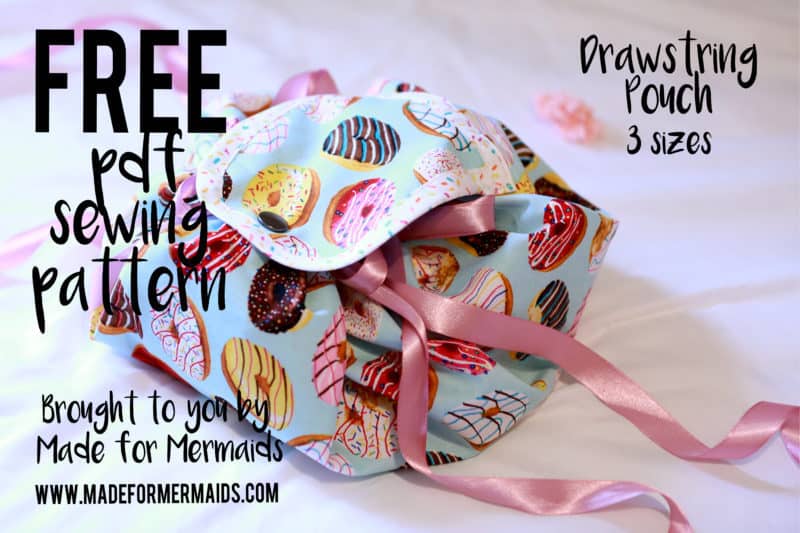
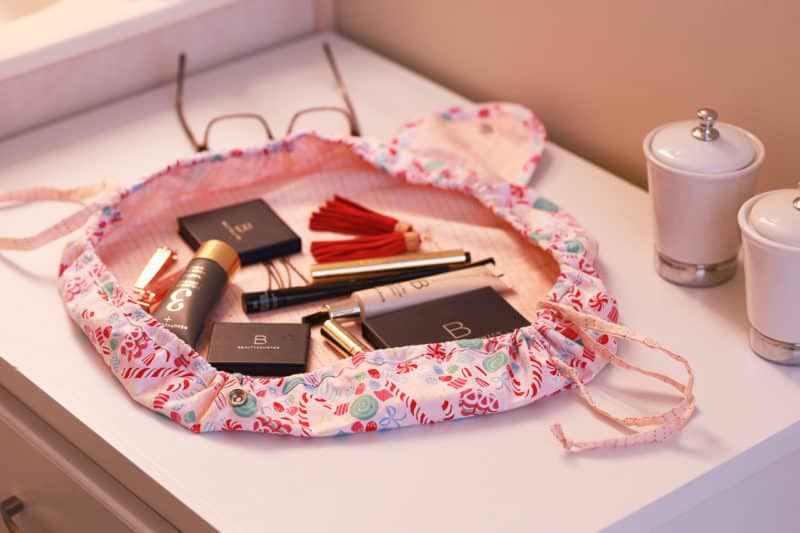
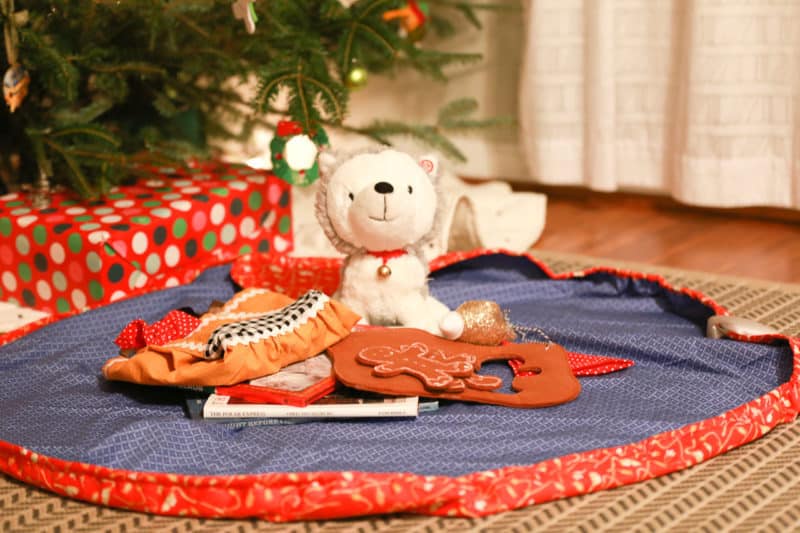
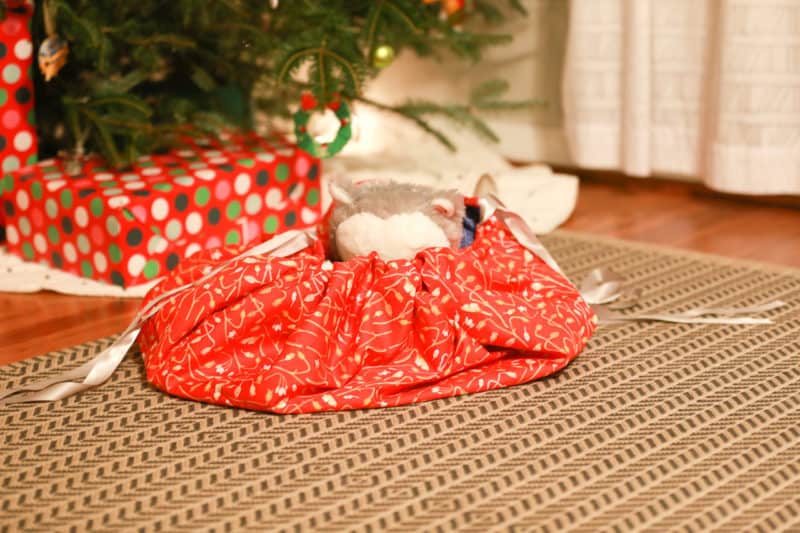
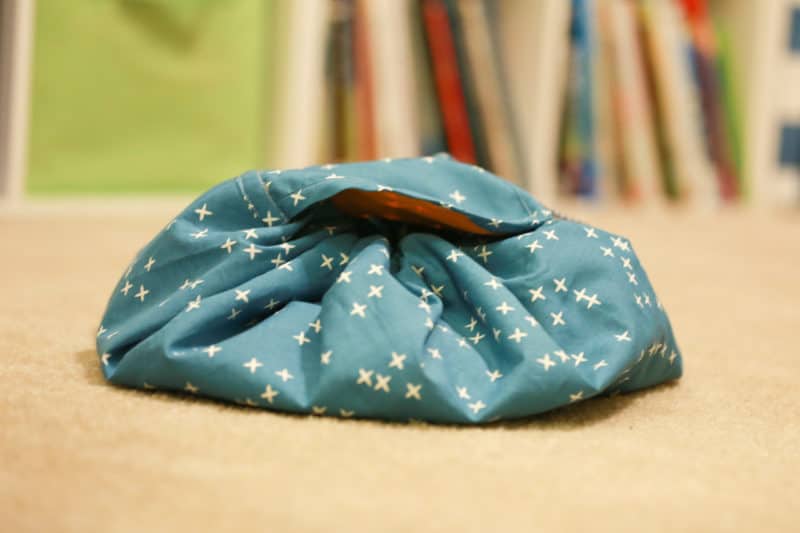
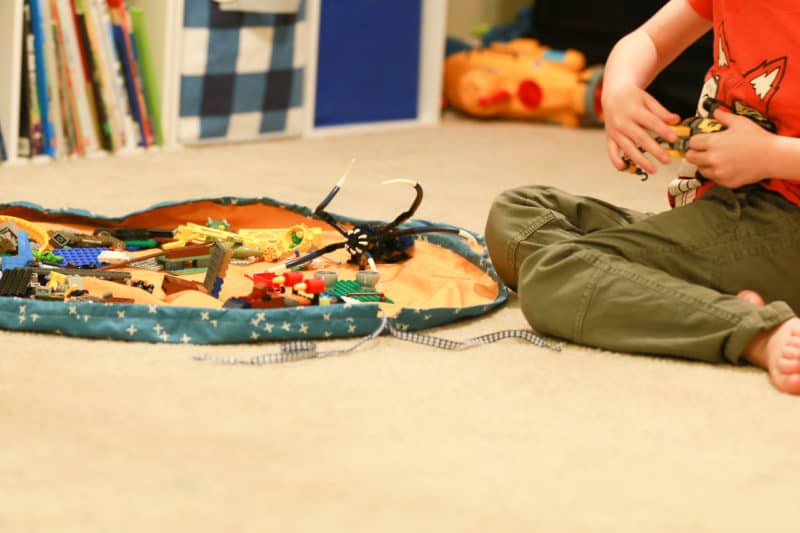
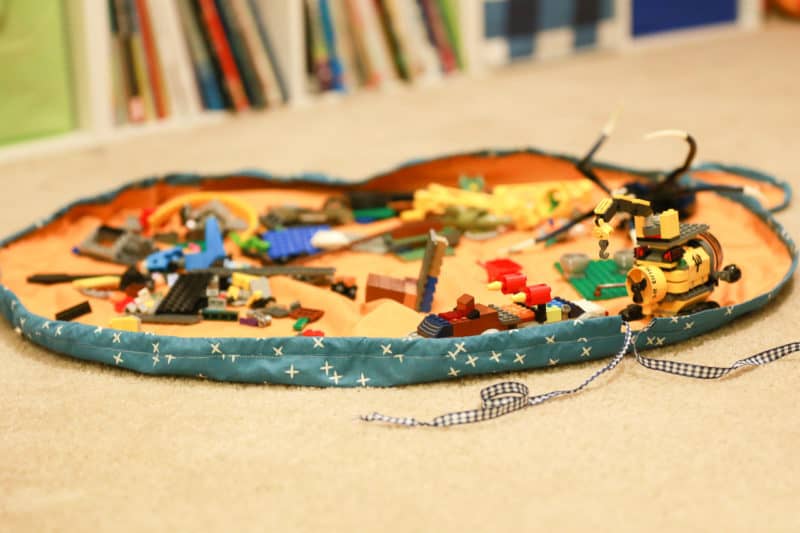
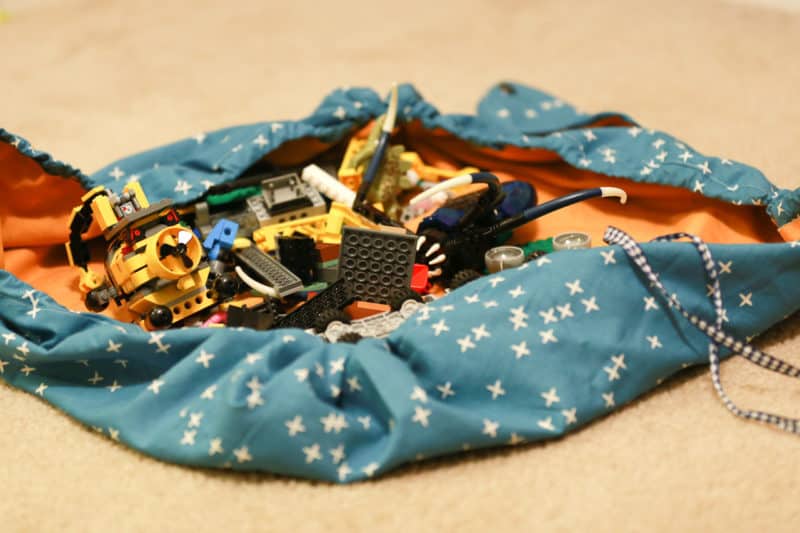
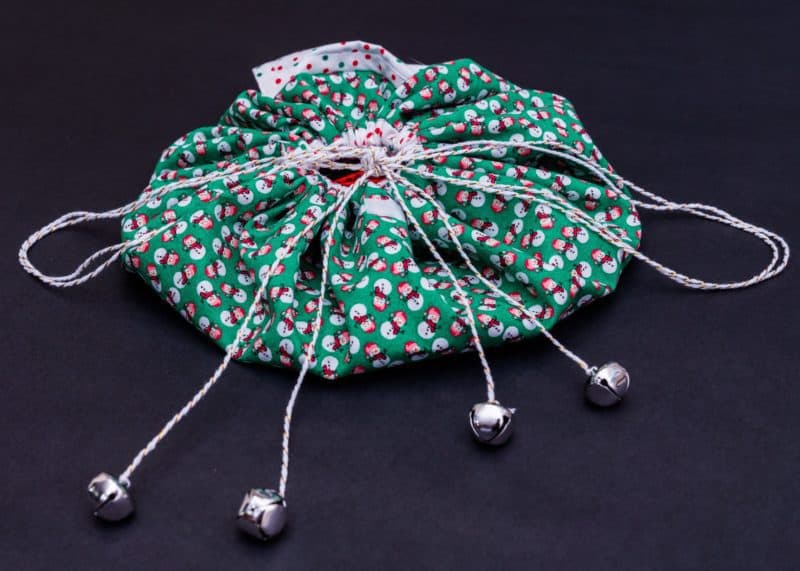
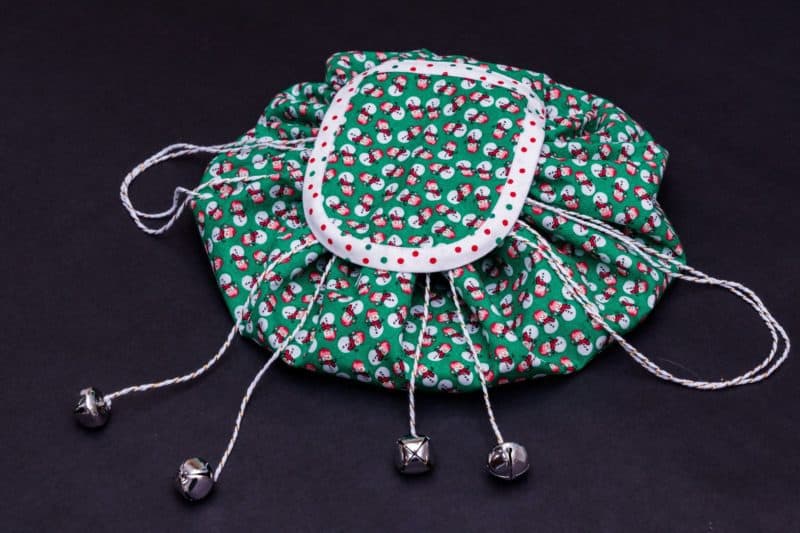
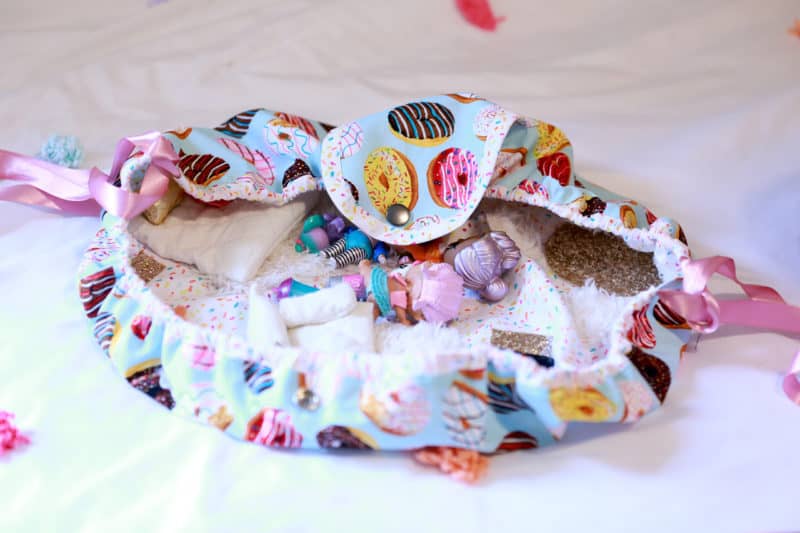
Can you believe it’s already Day 11 of this year’s 12 Days of Christmas? I LOVE today’s freebie; we have three sizes of drawstring pouches for you. They make the best travel makeup bag, the perfect size bag to carry around 400 LOL dolls, a great LEGO bag,….or maybe that’s just what we’re using the three sizes for at my house, haha!
You can download your Drawstring Pouch pattern over in our freebies section, and then head back here for the tutorial!
SUPPLIES:
- 1 (20″ & 30″ bags) to 1.5 yards (42″ bag) of 44″ wide fabric for main
- 1 (20″ & 30″ bags) to 1.5 yards (42″ bag) of 44″ wide fabric for lining
- 2.5 (20″ bag) to 4.5 yards (42″ bag) of double fold bias tape (or you can make your own!)
- drawstring (you can use nylon cord, ribbon, make your own with coordinating fabric, etc.!)
- velcro, button, snap, etc. to use for closure (I would recommend snap or velcro for ease of use)
- optional: cord caps or similar for end of drawstring
- basic sewing tools: thread, pins/clips, turning tool, etc.
LET’S GET STARTED!
1/2″ seam allowances included.
Step 1: PREPPING
Go grab the pattern HERE! The pattern is 100% free, but you do need to add it to your cart and check out. Then, it will always be available to download from your account. The pattern is a no trim pattern; if you need help putting the pattern together, pop over to the faqs and troubleshooting page or ask in our Facebook group .
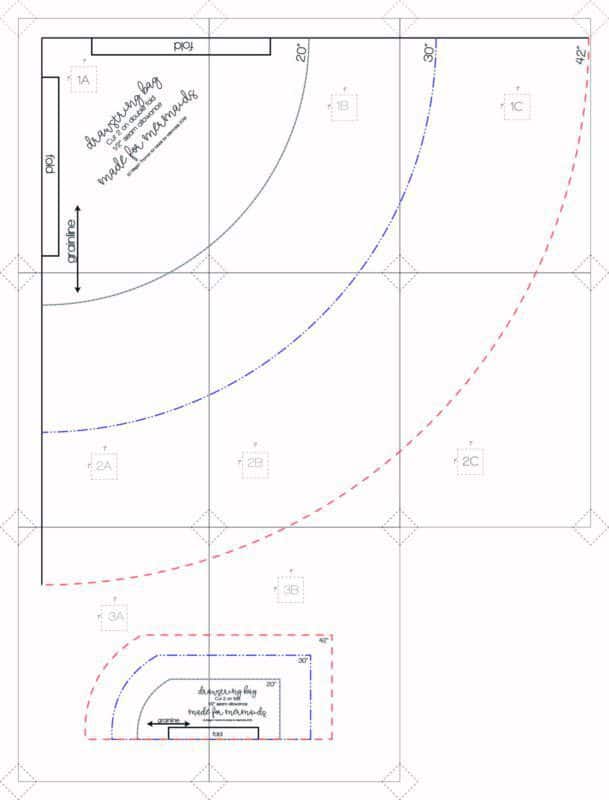
Print and assemble the pattern. Print layout shown below:
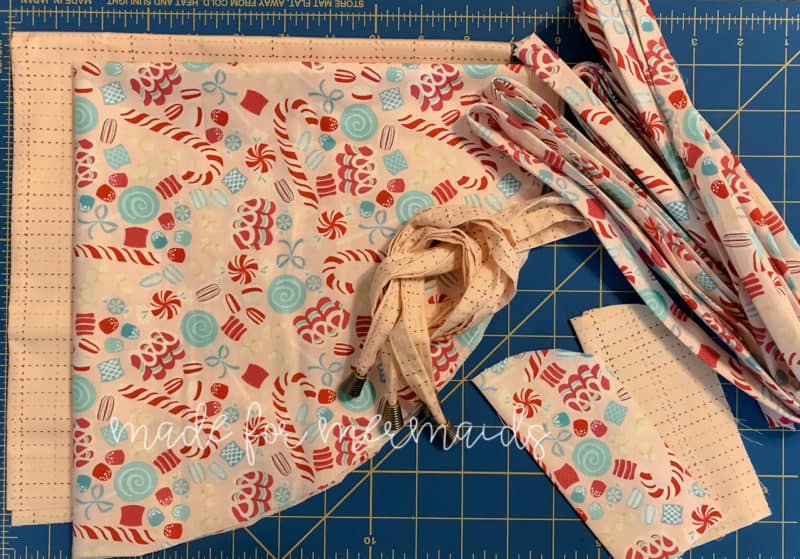
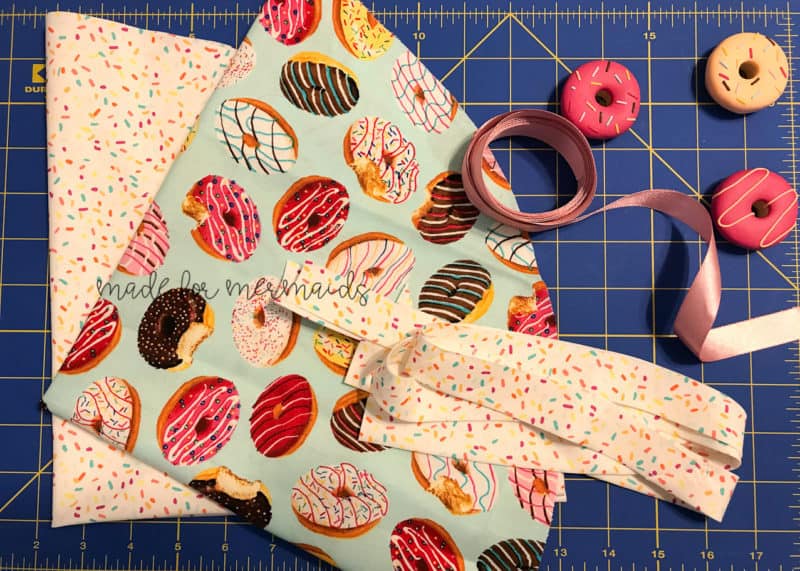
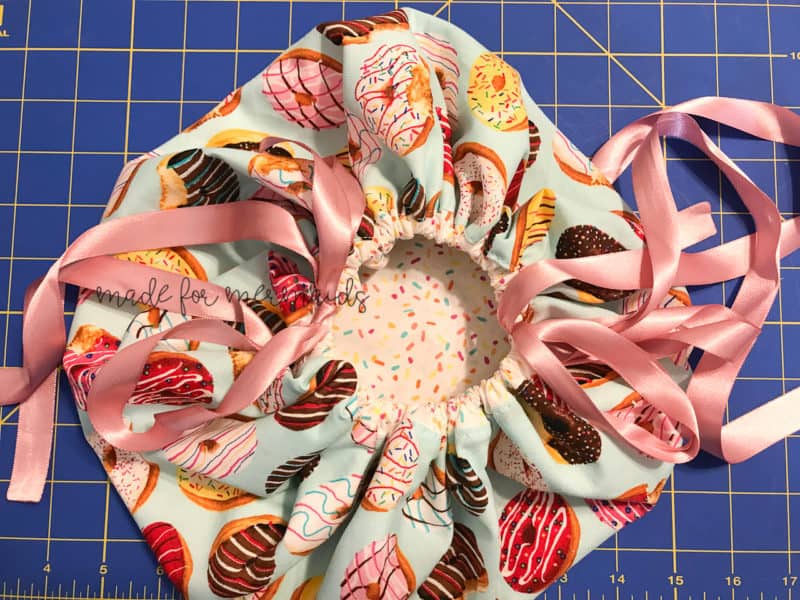
For all sizes, you will need to cut 2 circle pieces (1 main, 1 lining), 2 flap pieces (1 main, 1 lining), double fold bias tape (or make your own binding), and drawstring. You can use quilting cotton for these, but note that the opening will not close up as tightly as with apparel woven, nylon, etc. due to bulk. I used quilting cotton in the tutorial so you will see what the opening looks like.
You may need to make slight adjustments based on cutting/printing precision, but binding measurements for the casing pieces are:
- 20” circle – 34” x 2”
- 30” circle – 50” x 2”
- 42” circle – 68.5” x 2”
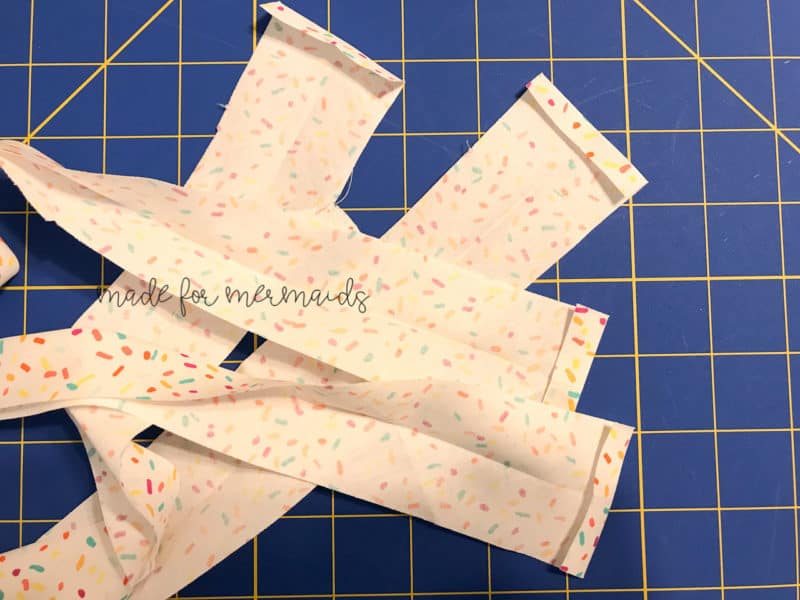
You will also need two shorter pieces of binding for the flap closure.
**Note: some of my pictures are of a smaller sample version so it will not be actual size. There are two slightly different options for construction; the main difference between the two is that the opening on option 1 will be a little more “open” than the opening on option 2 due to bulk of fabric & binding. ***
Step 2: ASSEMBLING BAG
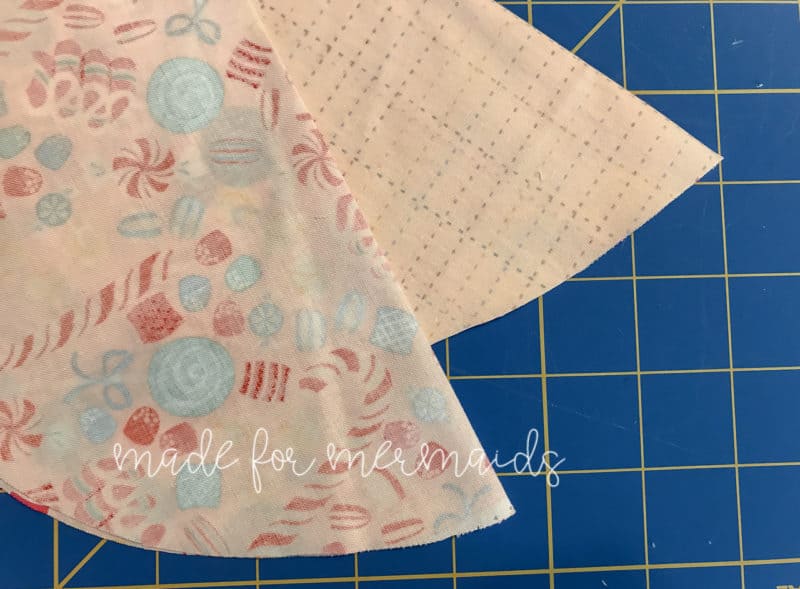
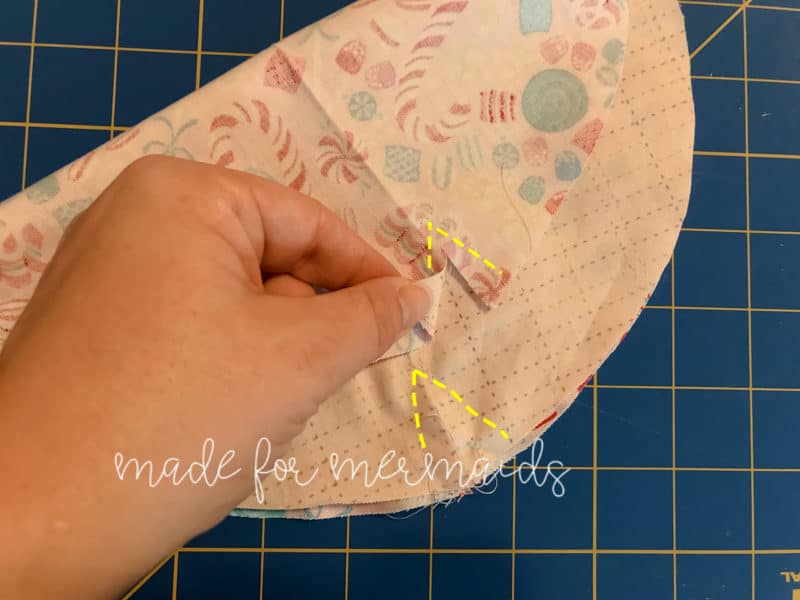
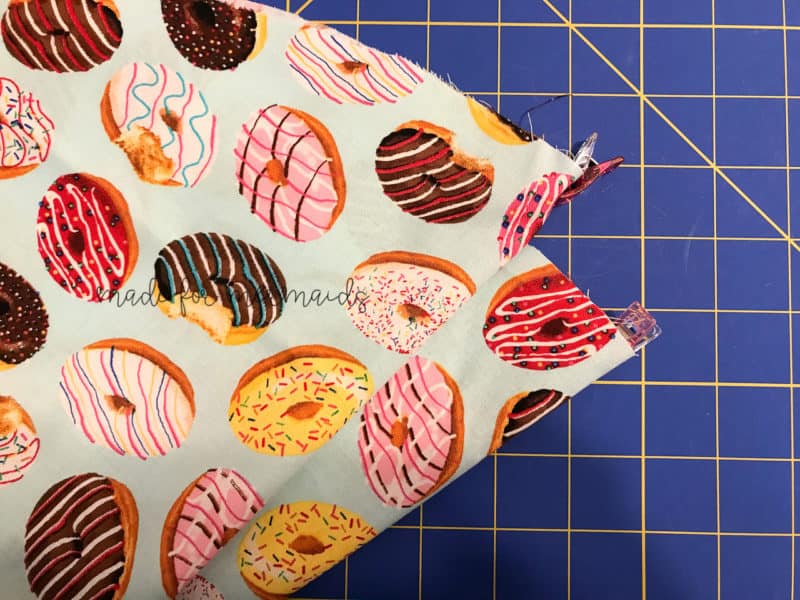
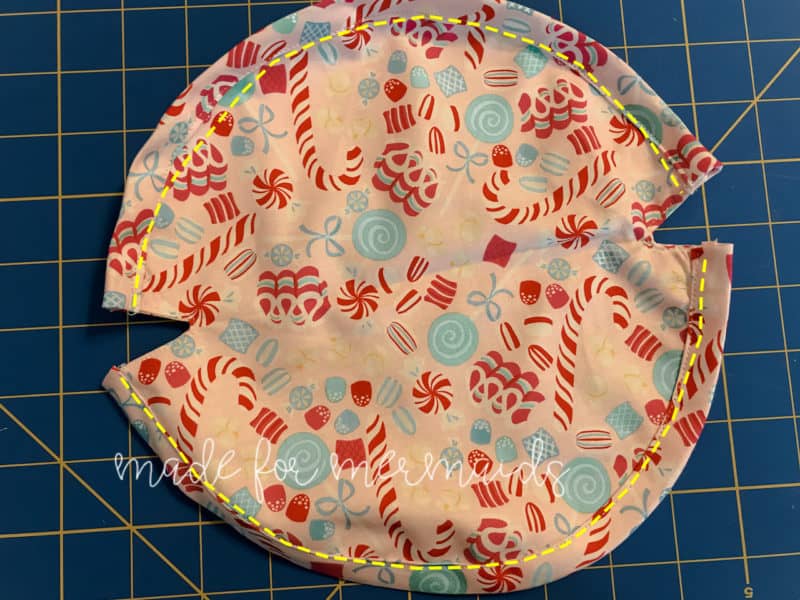
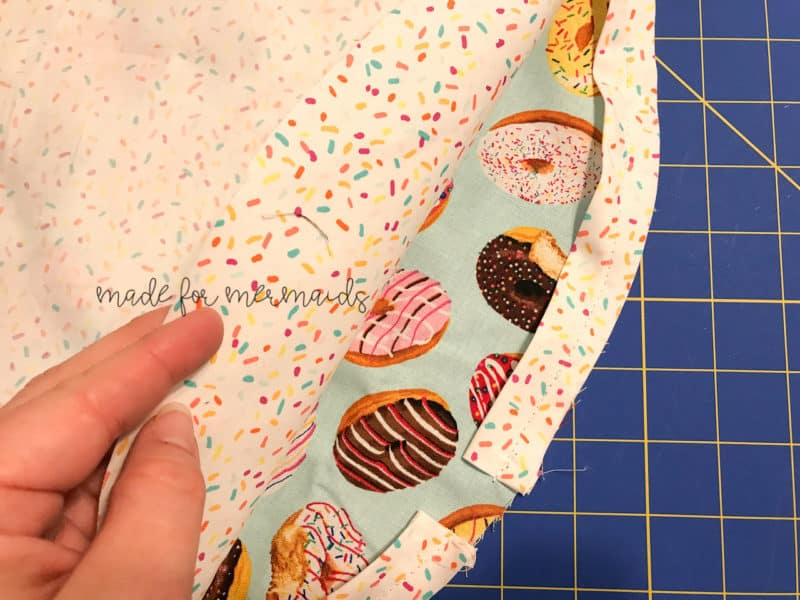
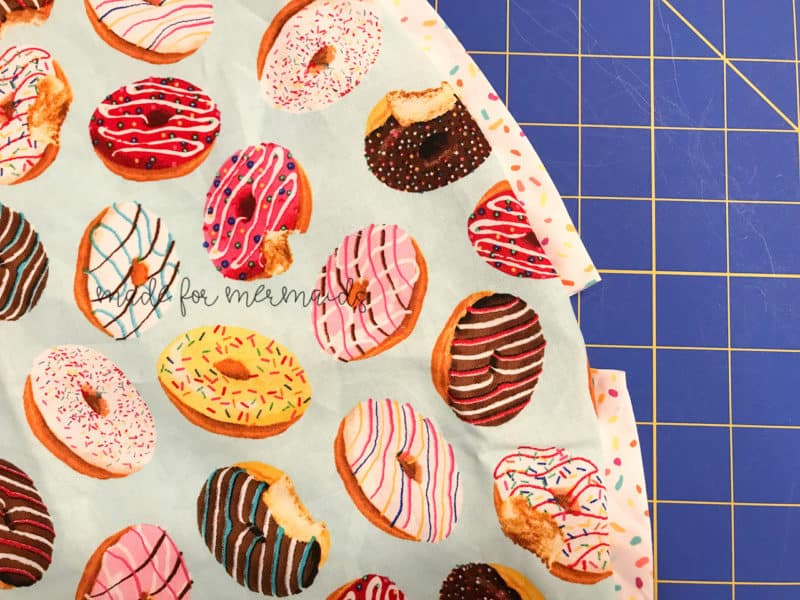
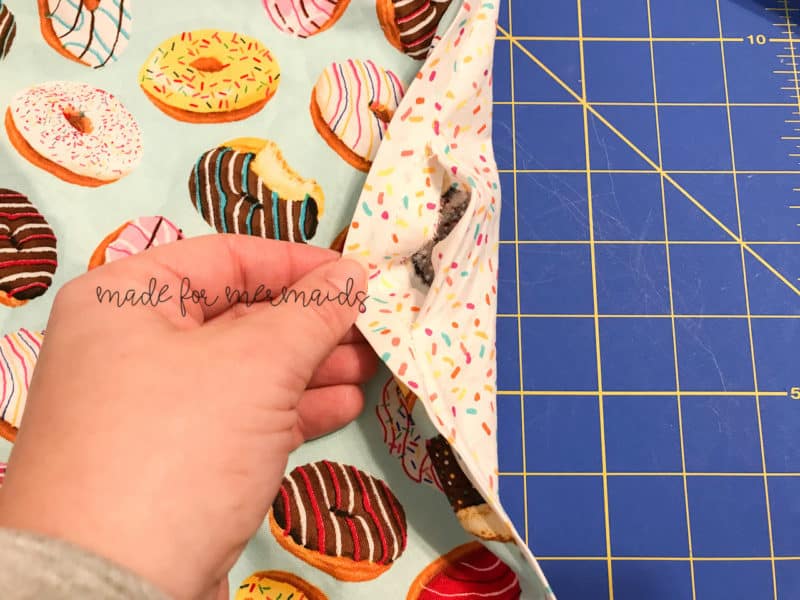
OPTION 1: Fold both main and lining circles in half, with right sides together. Make a 1” snip on either side of the center fold line, on both circle pieces (you will have four 1″ snips in total). Place your main circle piece on top of your lining circle piece, with right sides together, aligning the 1” slits.
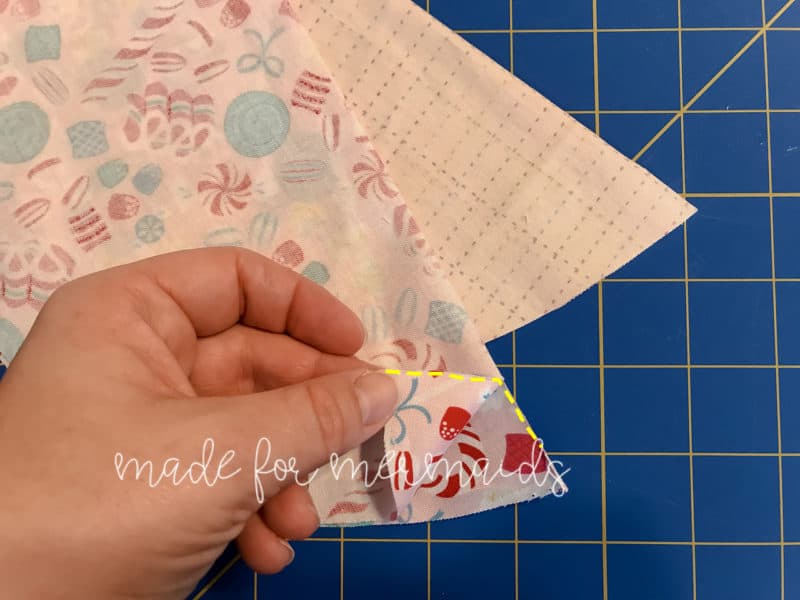
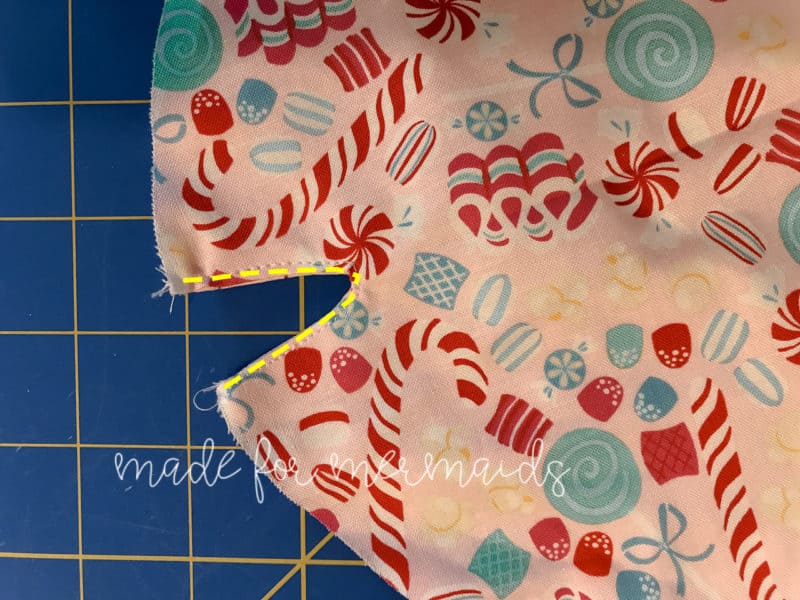
Stitch a “v” shape around both slits, with a 1/2” seam allowance. Trim seam allowance to 1/4”, cutting to, but not through, the point of the “v” shape.
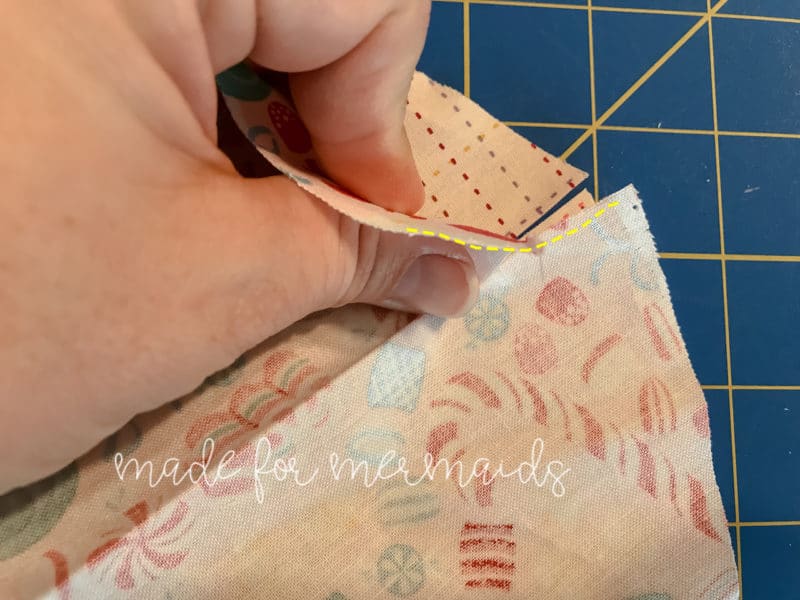
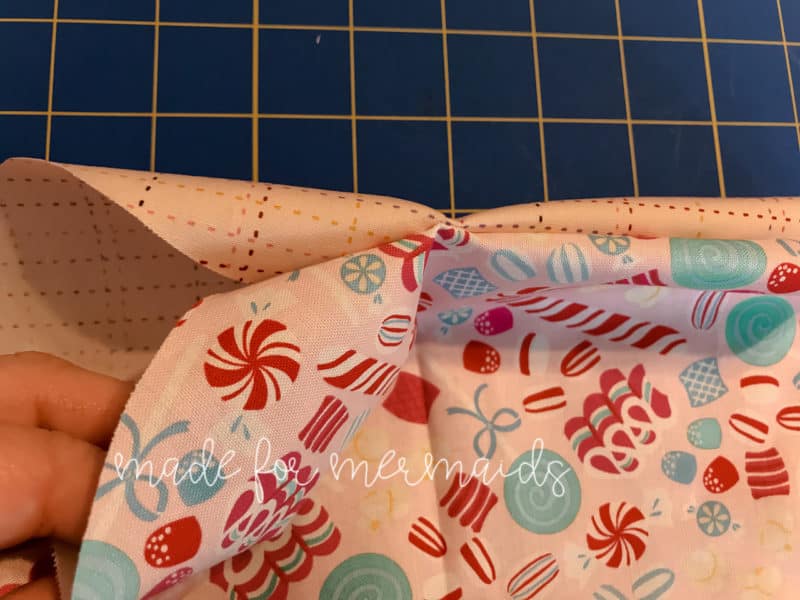
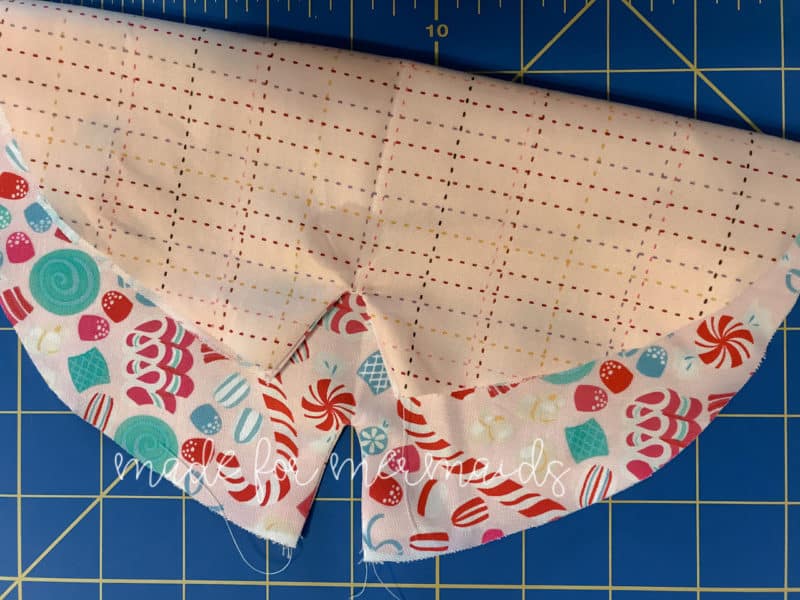
Turn right side out and press. Top stitch around “v”on both sides. Baste both circle layers together, all the way around.
OPTION 2: Fold main circle piece in half. Mark mid point on either side. For option 2, bag assembly will be continued in step 4.
Step 3: CREATING CASING
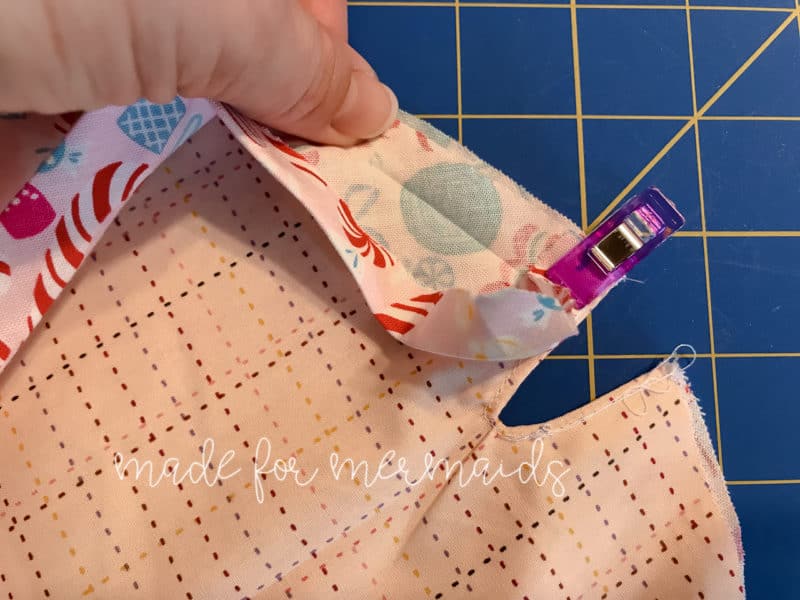
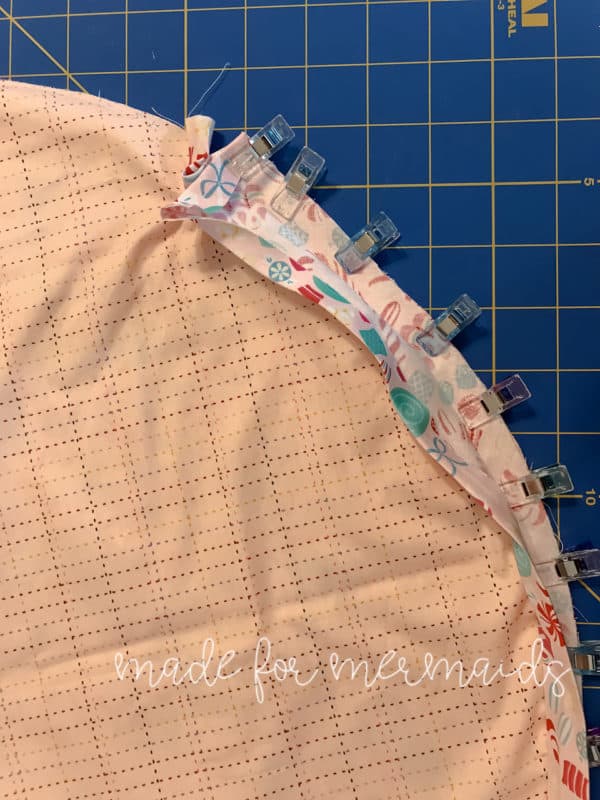
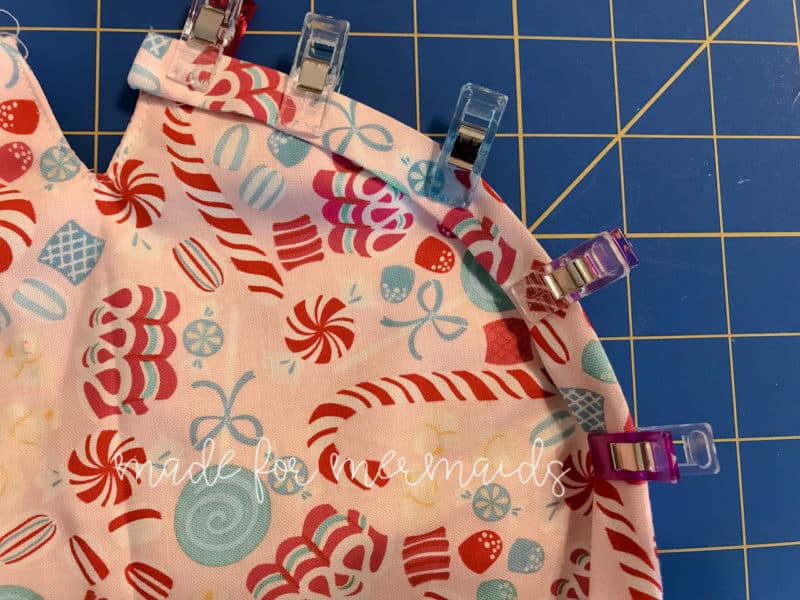
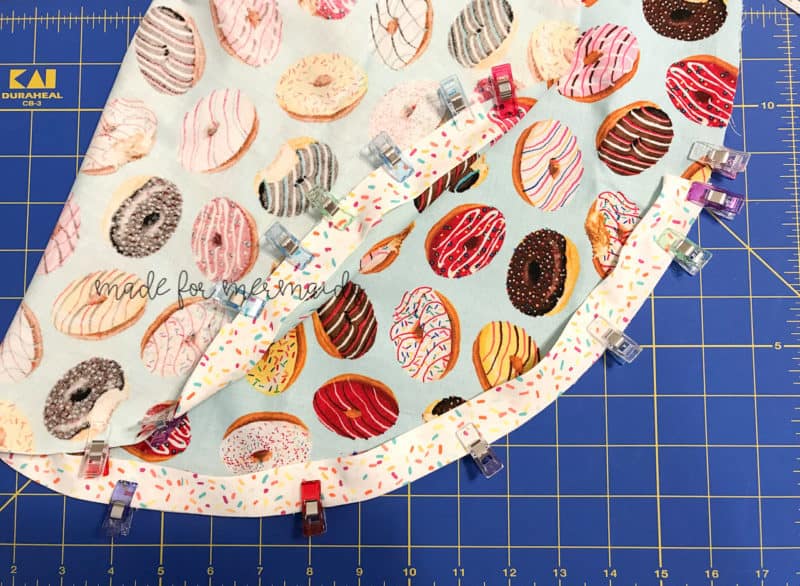
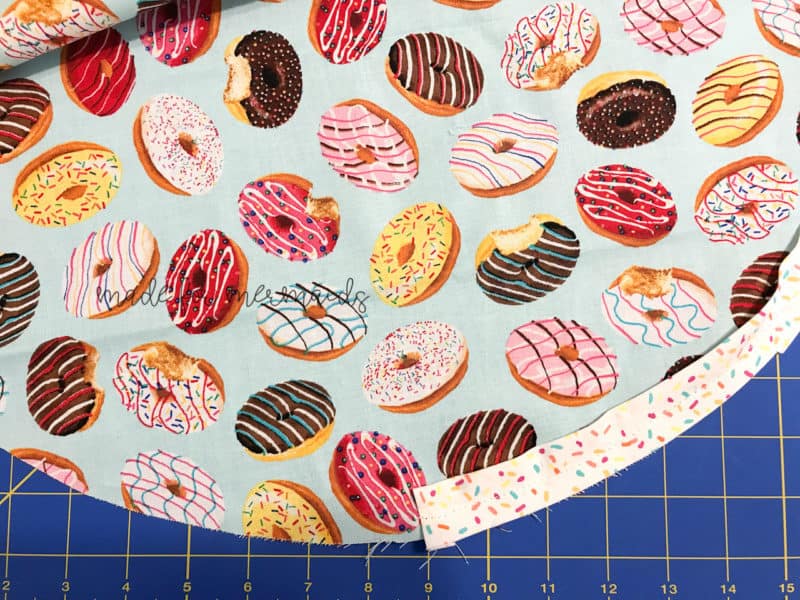
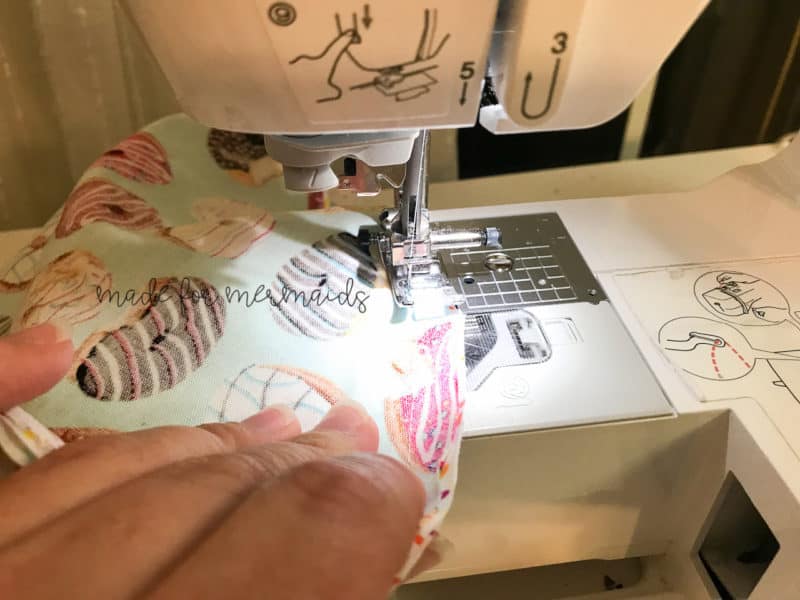
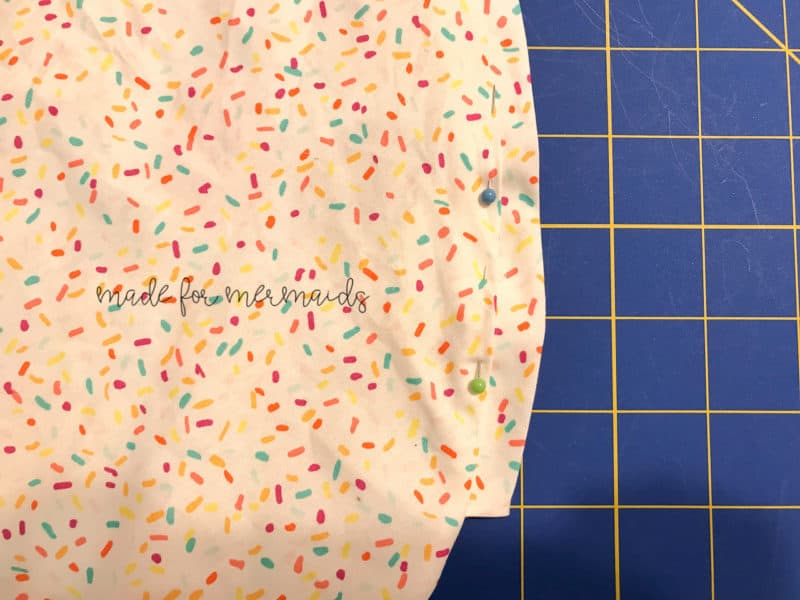
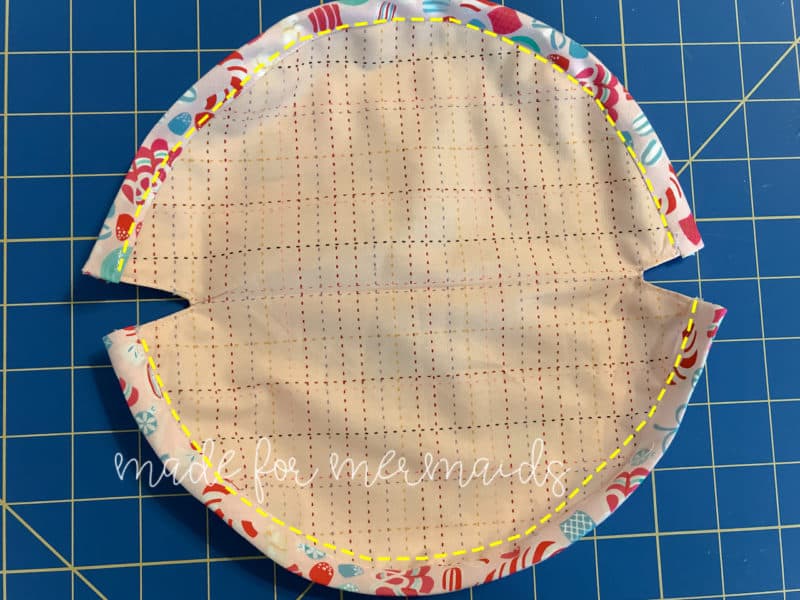
OPTION 1: Cut two strips of binding if you haven’t already. Fold raw edge of binding toward wrong side 1/2″. With right sides together, pin or clip bias binding all the way around one side of circle. Stitch with 1/2” seam allowance.
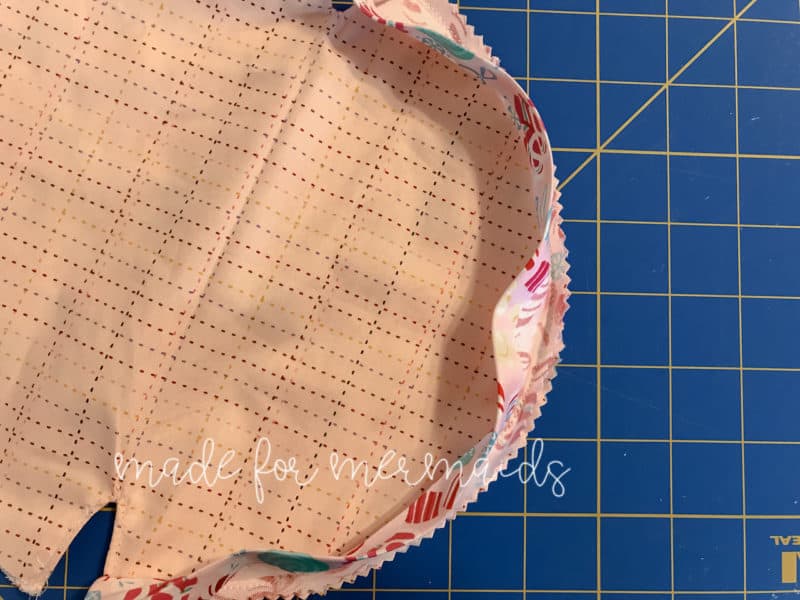
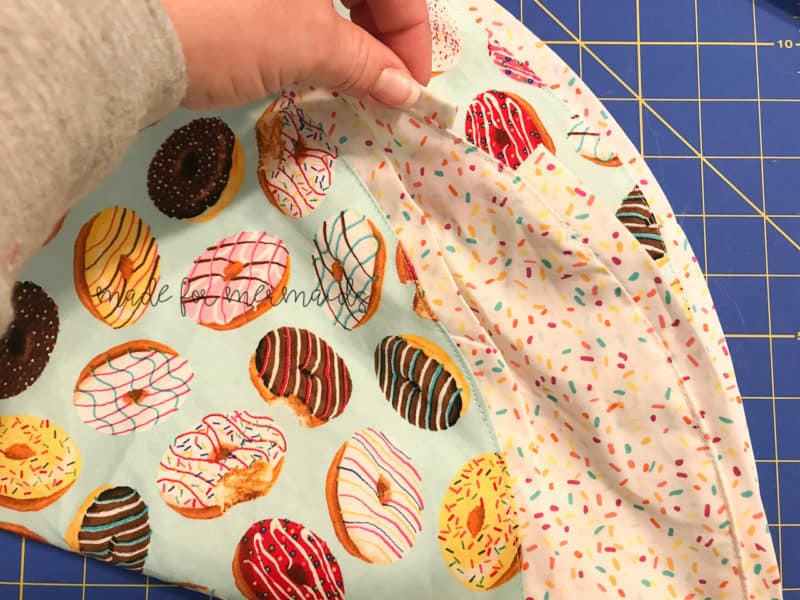
Trim seam allowance to 1/4”. You can also make several snips to, but not through, your stitches to help your circle lay flatter. Fold bias binding over, and pin or clip in place. Stitch in place 1/2” from edge. This is your drawstring casing. Repeat for other side.
OPTION 2: Cut two strips of binding if you haven’t already. Fold raw edge of binding toward wrong side 1/2″. Place binding 1/2″ from one of your mid points, matching raw edge of binding to raw edge of circle. If using pre-made binding, unfold so that your binding is 1″ wide.
Stitch with 1/2″ seam allowance. Repeat for opposite side. You should have 1″ between binding/casing openings.
Step 4: ASSEMBLING BAG CONTINUED
OPTION 1: Skip to step 5.
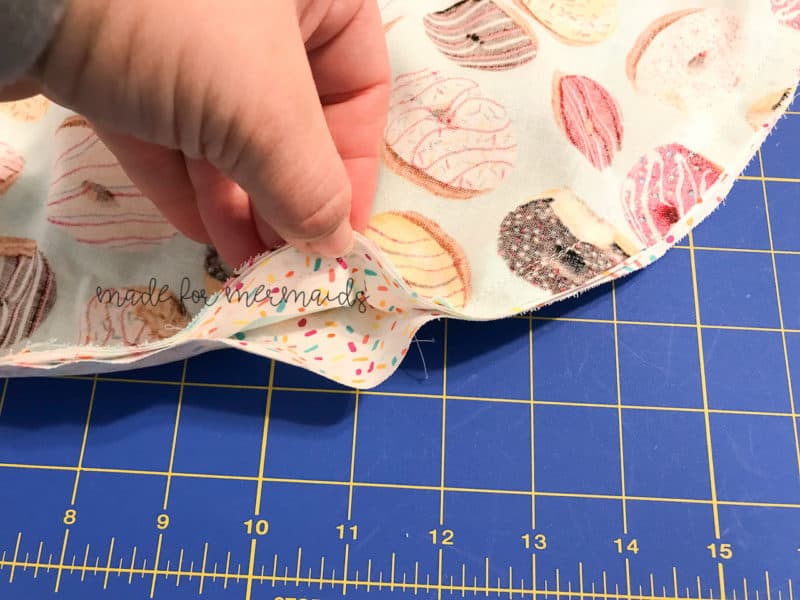
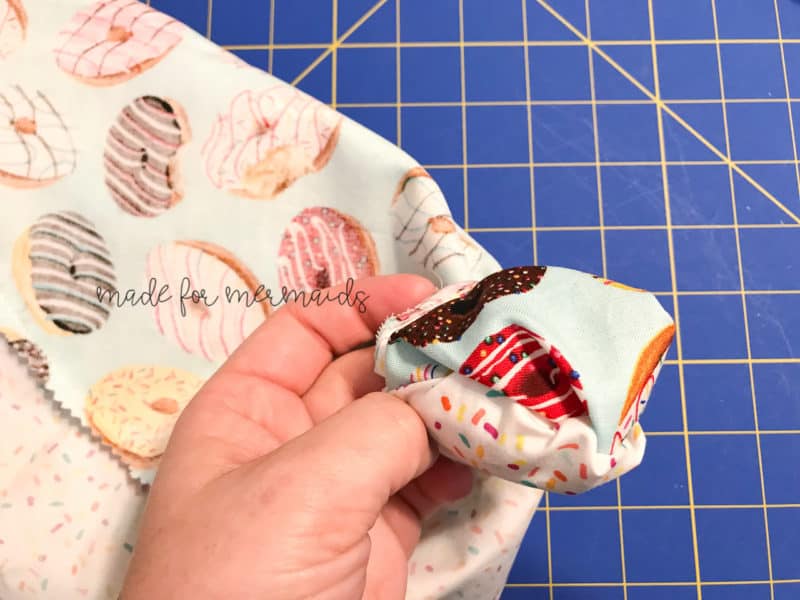
OPTION 2: Place lining fabric top main fabric, with right sides together. Stitch circles together, with 1/2″ seam allowance. Leave a 2″ opening so that you can turn your circles right side out.
Trim seam allowance to 1/4″. Do not trim where your opening is. Turn circles right side out.
After turning right side out, press. You may wish to top stitch, or you may choose to just close your opening. I like to topstitch, especially for the bags my kids will use, just to give the casing a little extra security.
Step 5: INSERTING DRAWSTRING
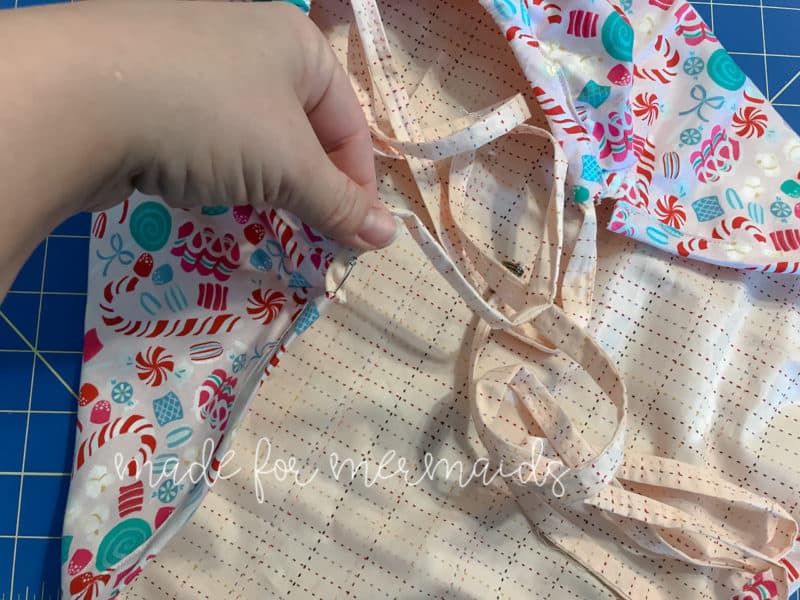
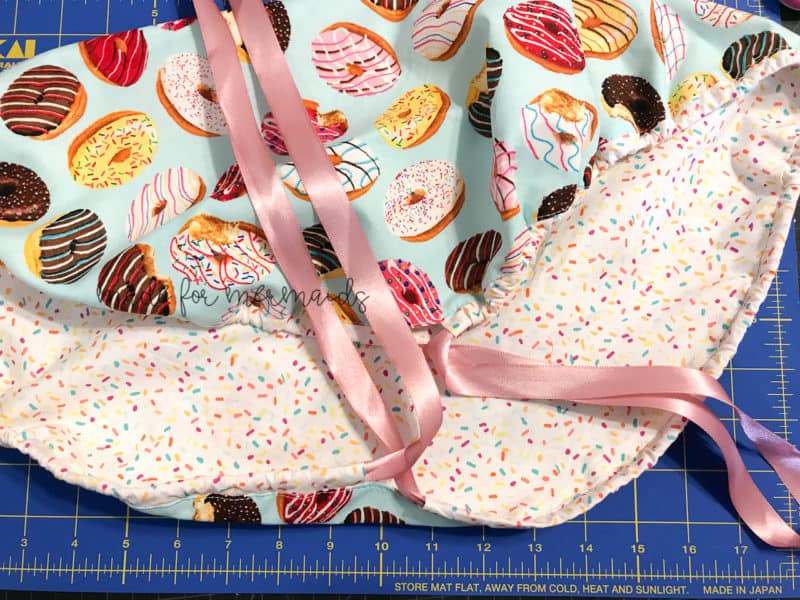
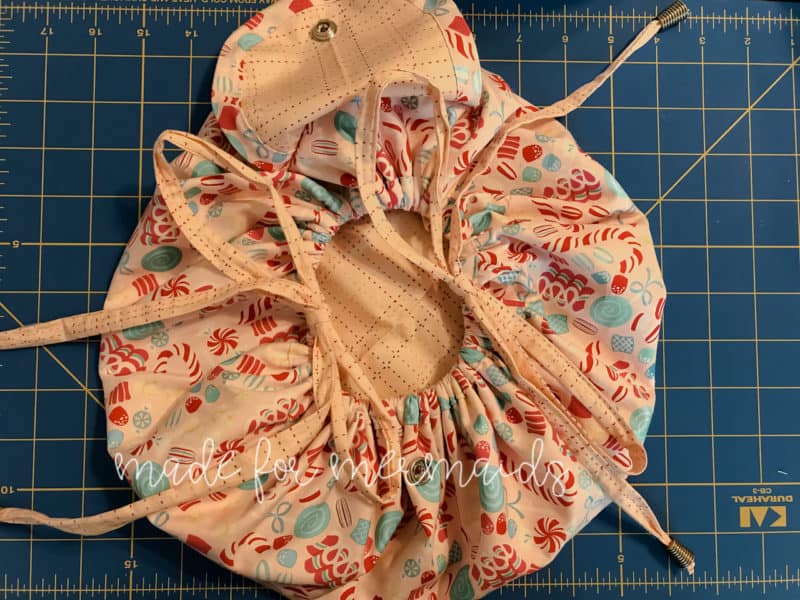
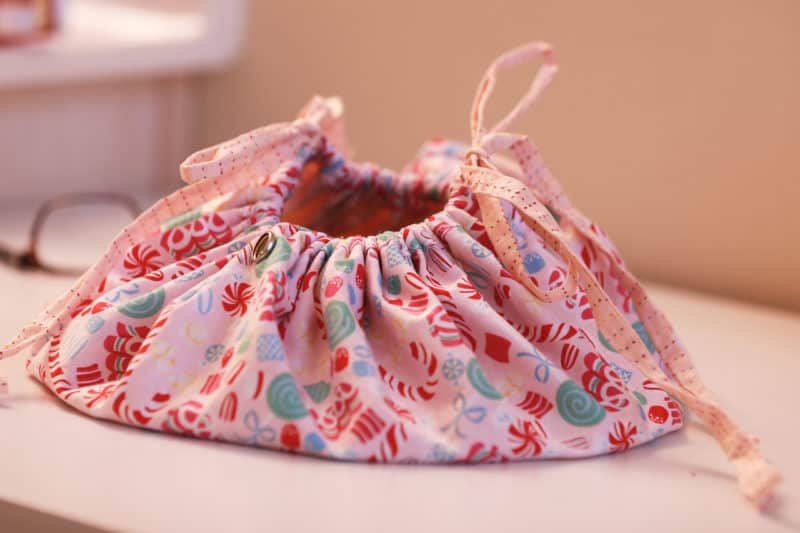
OPTIONS 1 & 2: Insert drawstring through each casing. You can have two drawstring pieces that tie on both sides, or you could have one continuous drawstring that goes through both casings but tie on only one side. I used a safety pin to guide my drawstrings through the casings, and I used cord caps on each end for decoration, but also to keep them from being pulled out of the casing. 🙂
Step 6: CONSTRUCTING FLAP
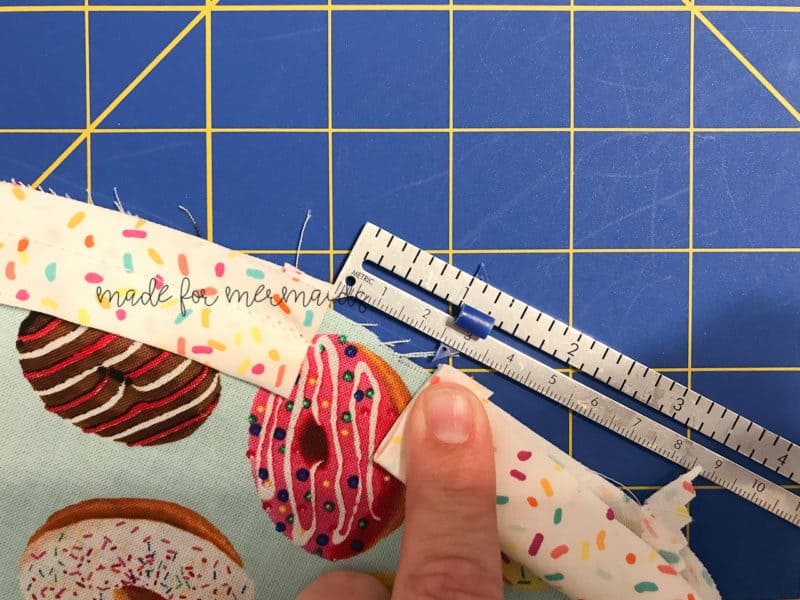
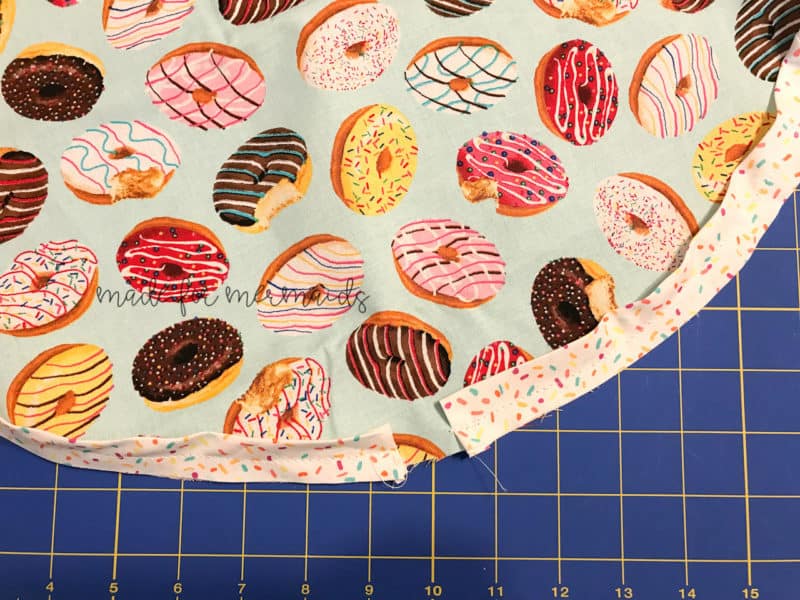
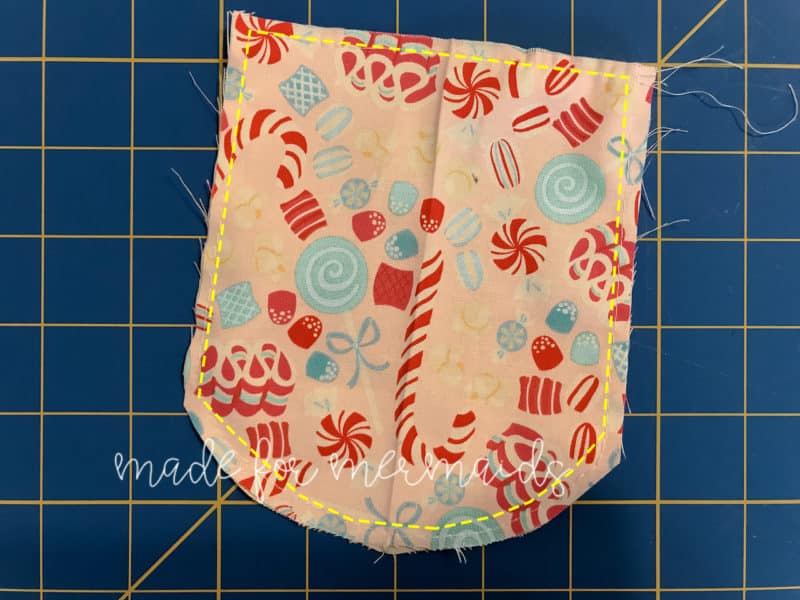
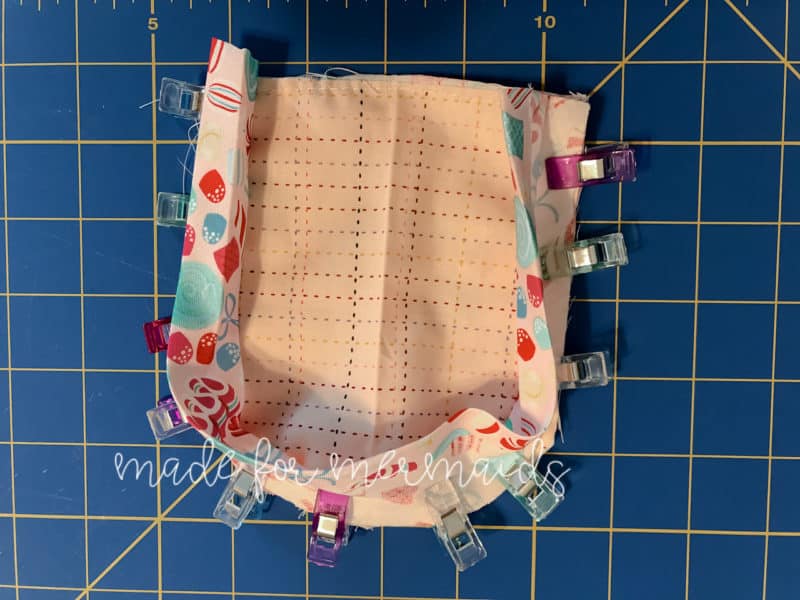
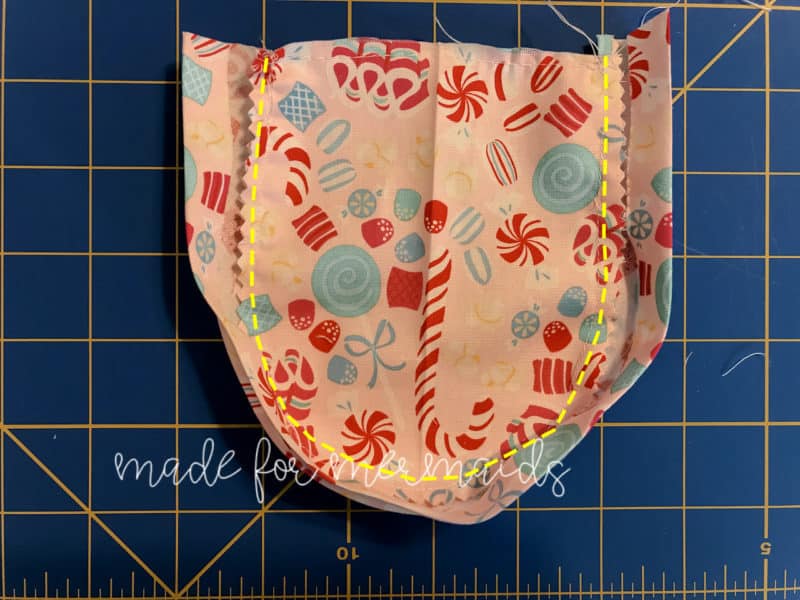
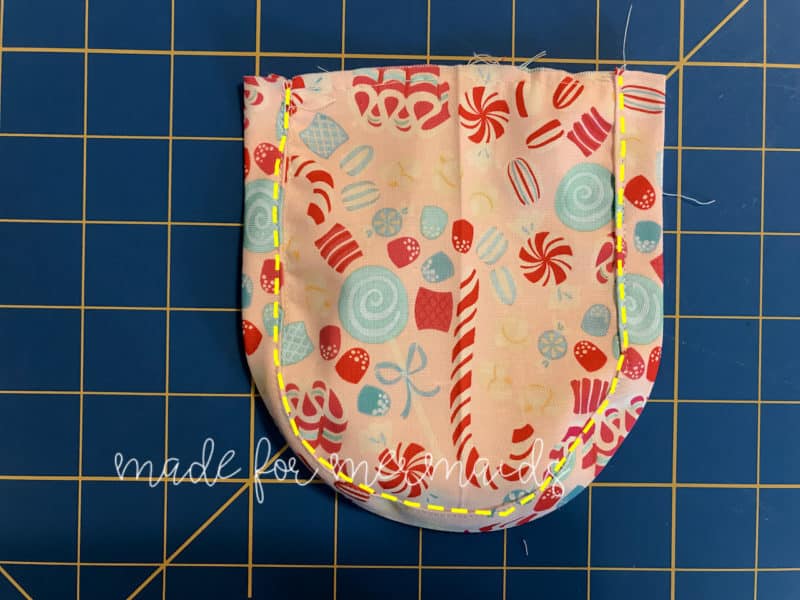
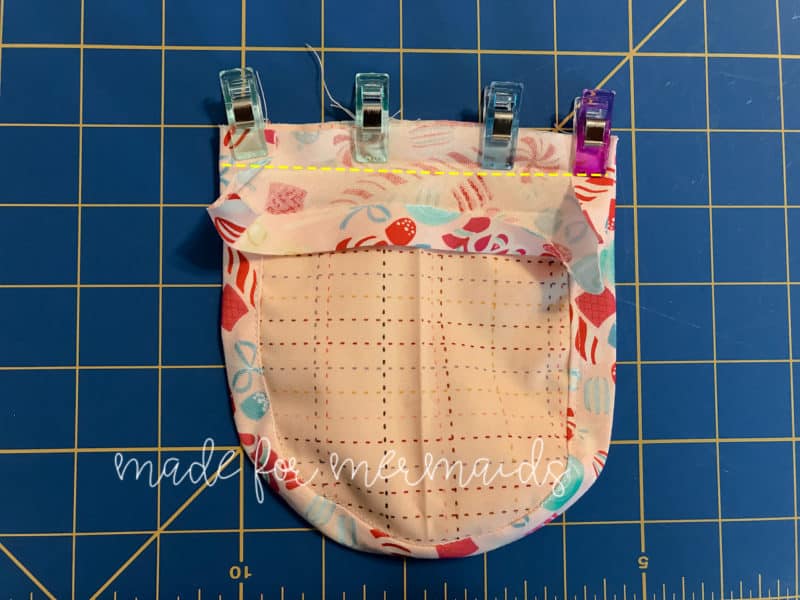
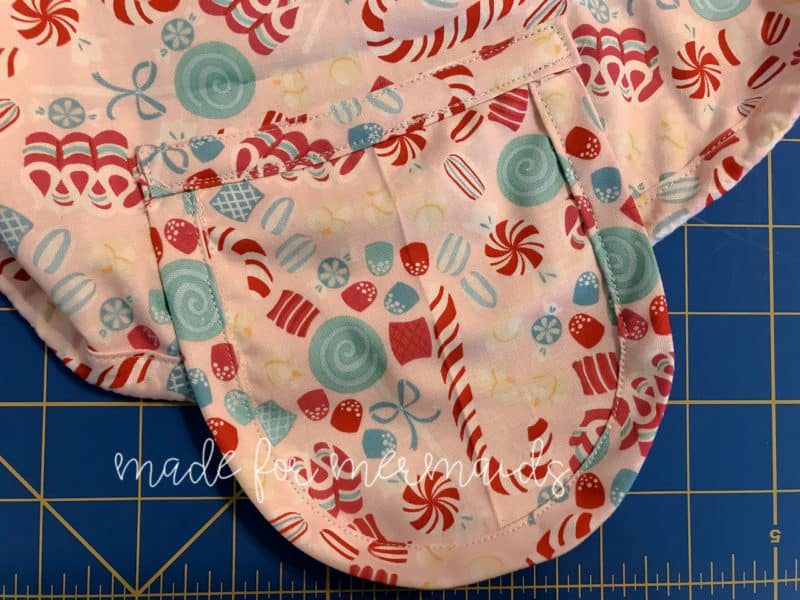
OPTIONS 1 & 2: Set bag to side. Baste main and lining flaps together, with wrong sides together. Pin or clip bias binding around the curved edge of the flap piece. Stitch with 1/2” seam allowance. Trim seam allowance to 1/4”. You can also make several snips to, but not through, your stitches to help your flap lay flatter.
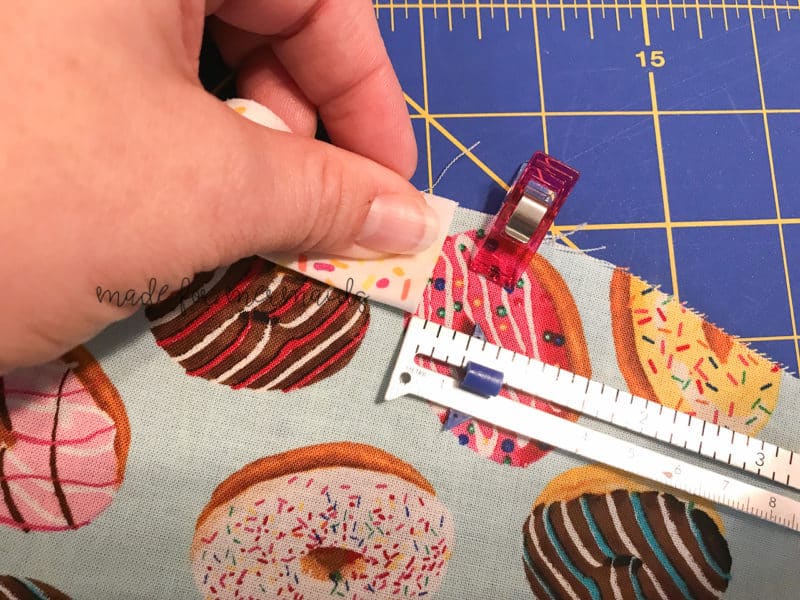
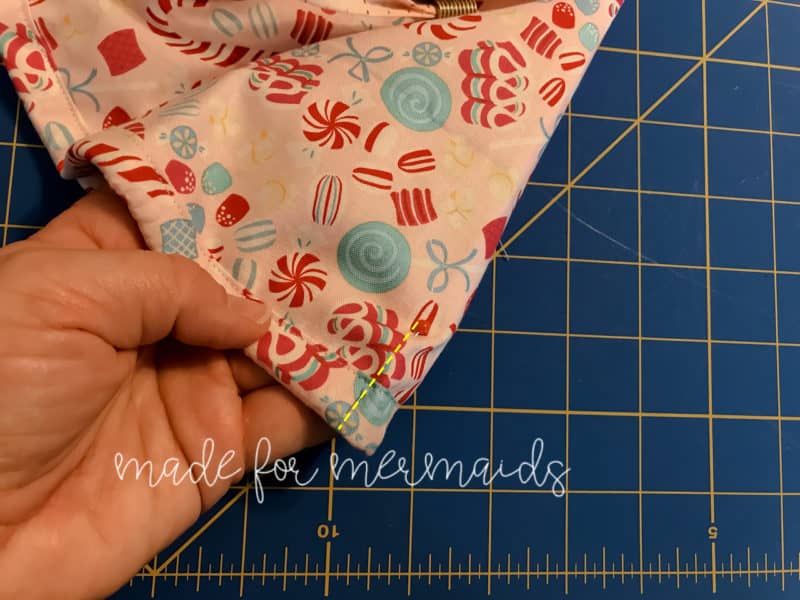
Fold binding over to front. Stitch in place about 1/2” from edge. Fold end of bias binding back, wrong sides together, by 1/4”. Pin or clip bias binding along top edge of flap piece, matching raw edges. Stitch with 1/2” seam allowance. Fold binding over to front. Stitch in place about 1/2” from edge.
Step 7: ATTACHING FLAP
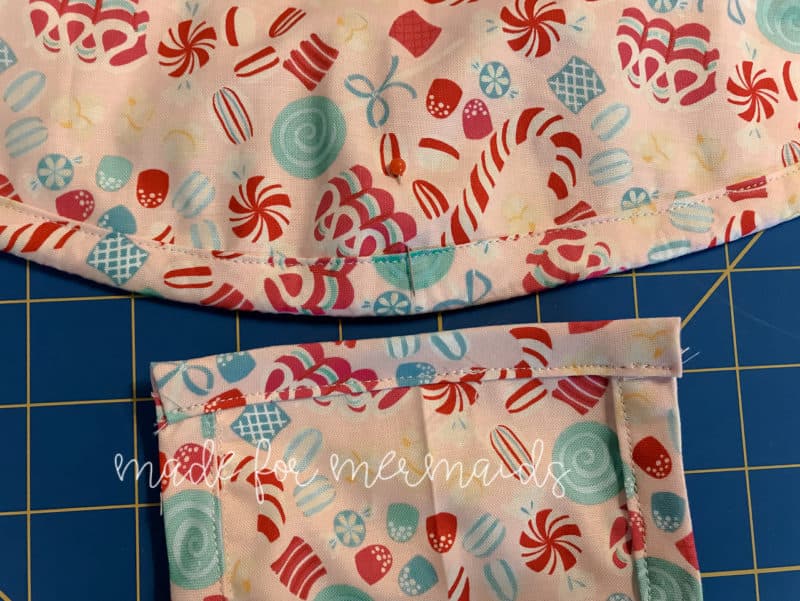
OPTIONS 1 & 2: Find center of one side of circle. Place a pin or clip to mark center. Find center of flap piece.
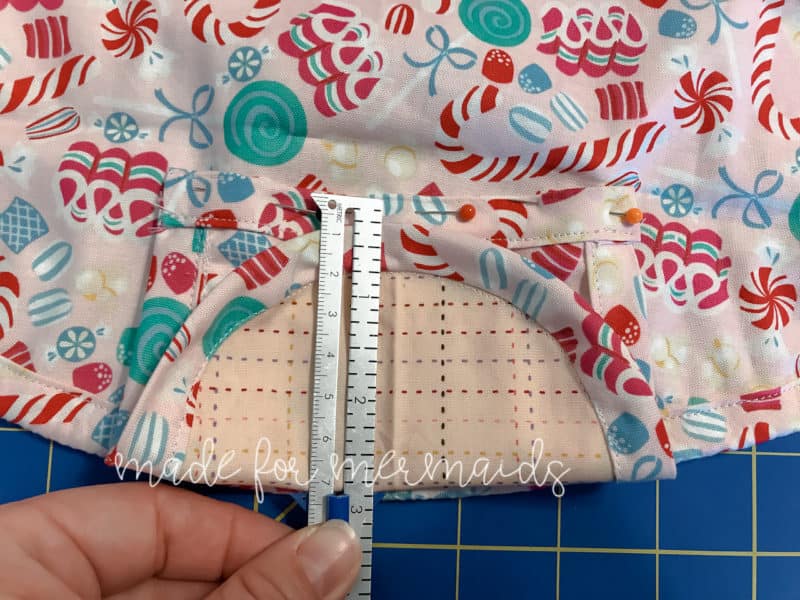
Using your center markings, pin the top edge of the flap piece 3” from edge of circle. Stitch top edge binding of flap piece to bag.
Step 8: CLOSURE
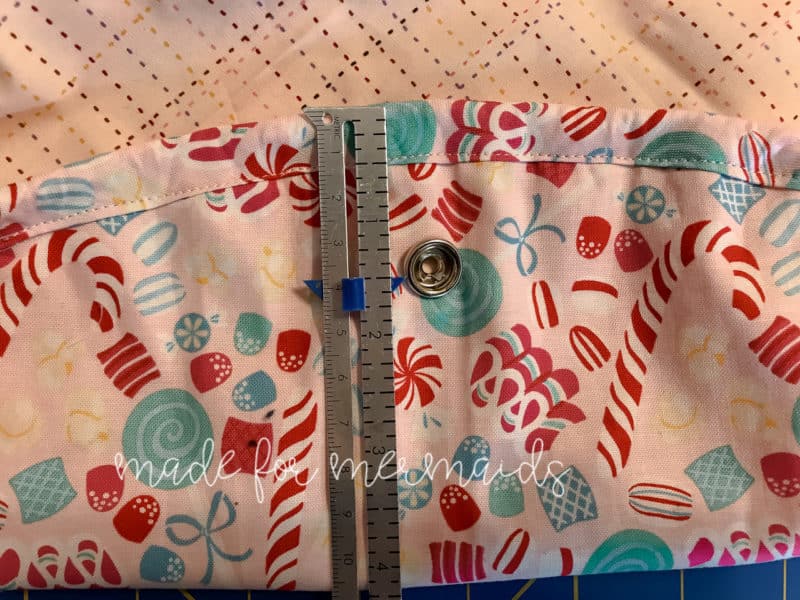
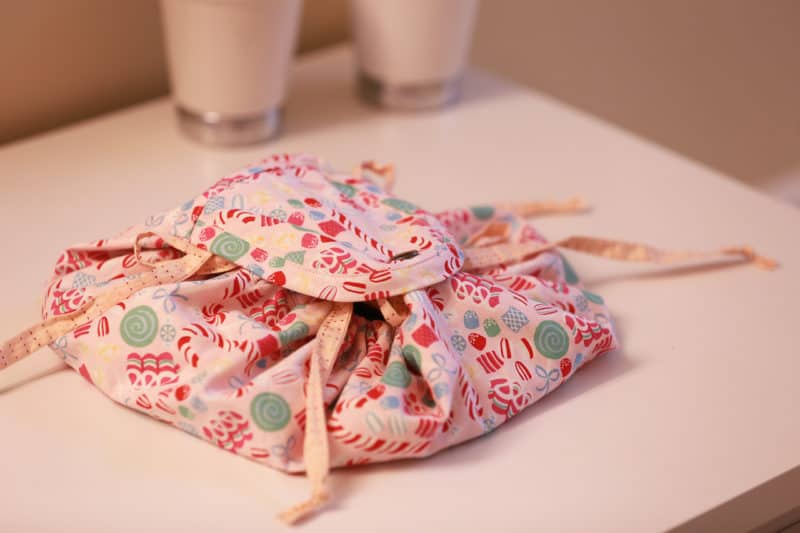
OPTIONS 1 & 2: Place a snap, Velcro, button, etc in the center of flap piece, about 1” from bottom edge of flap piece. Place the opposite side of the snap, Velcro, etc. 1.5” from the edge of the other side of the circle.
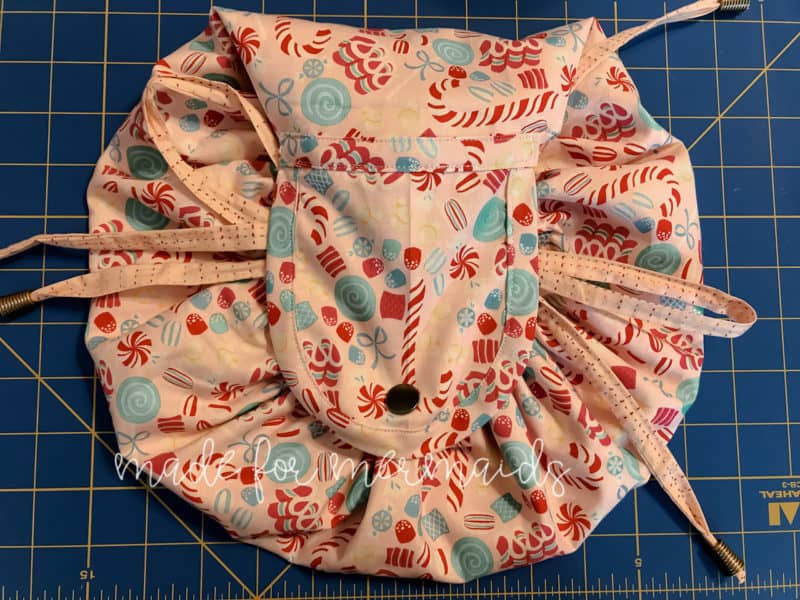
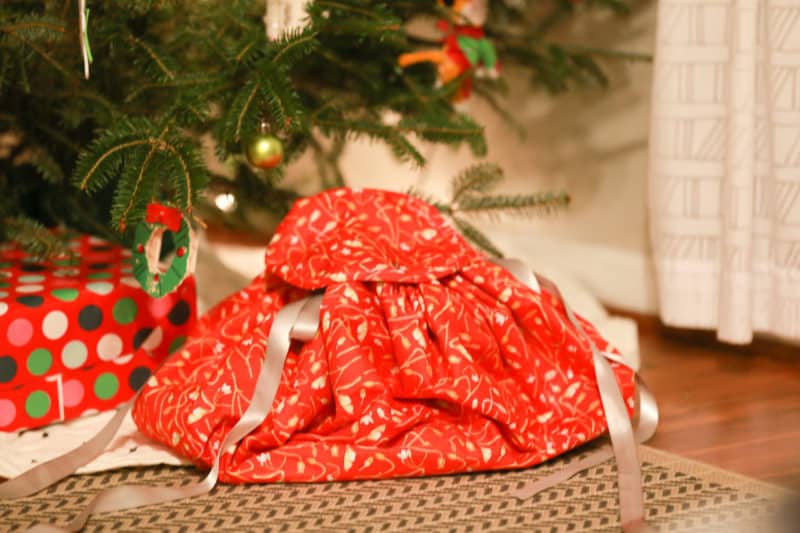
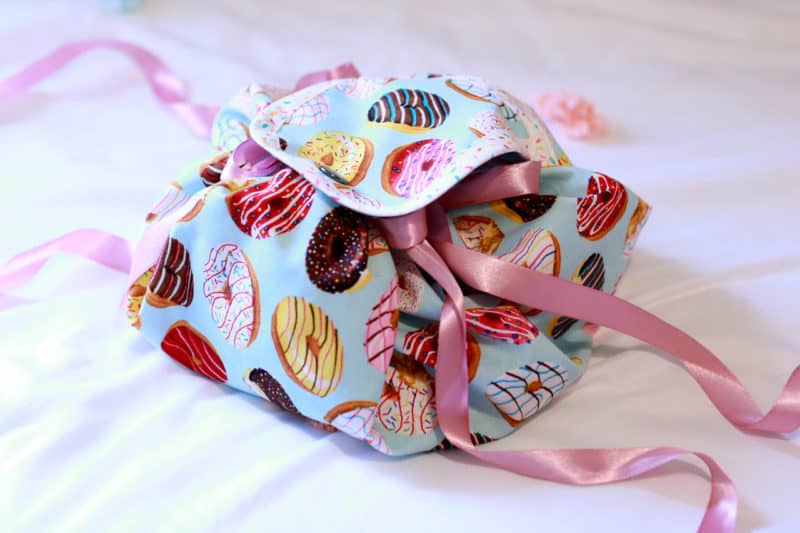
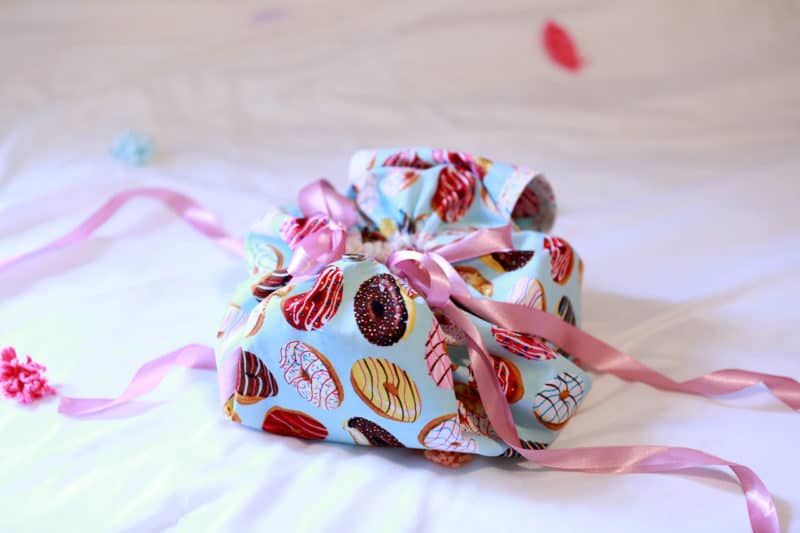
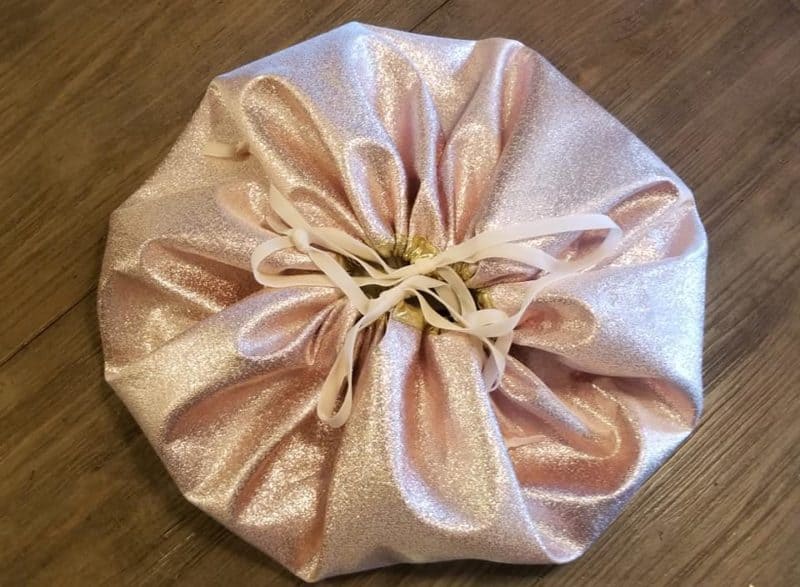
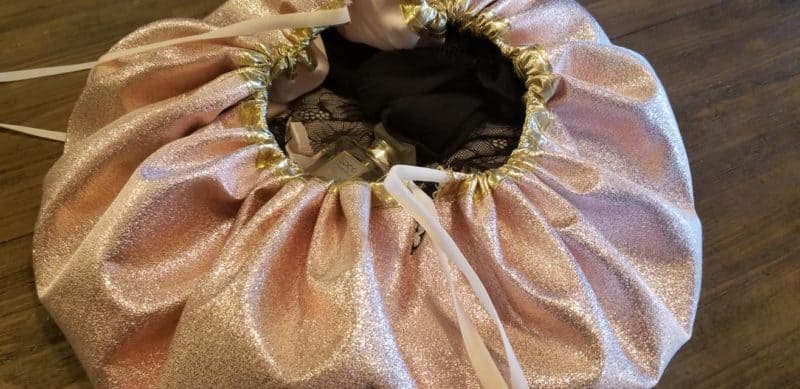
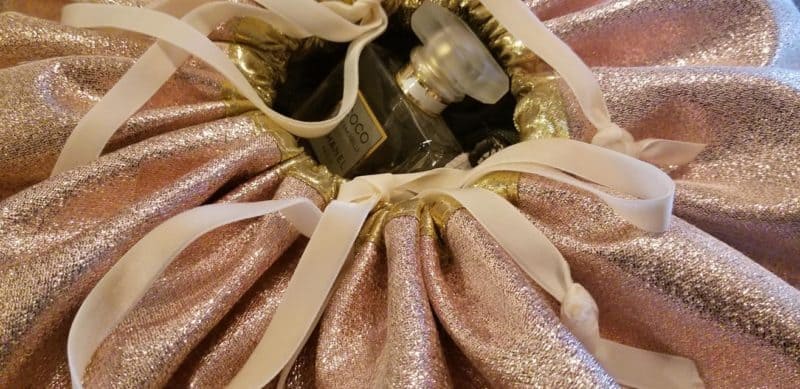
All finished! Use your new drawstring pouch to hold any number of times!
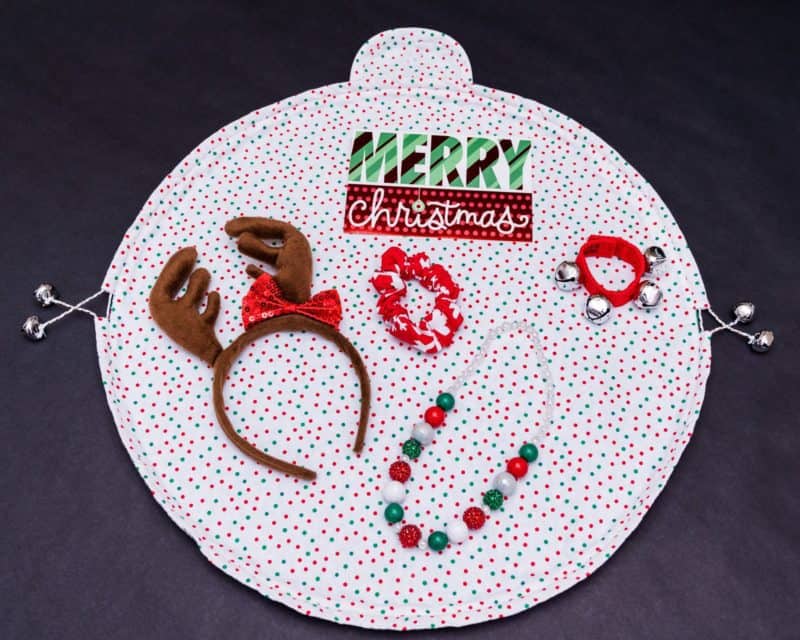
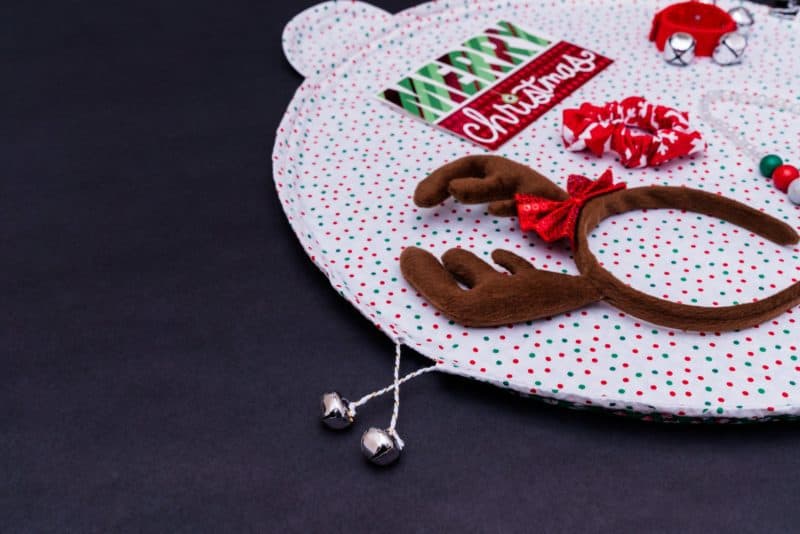
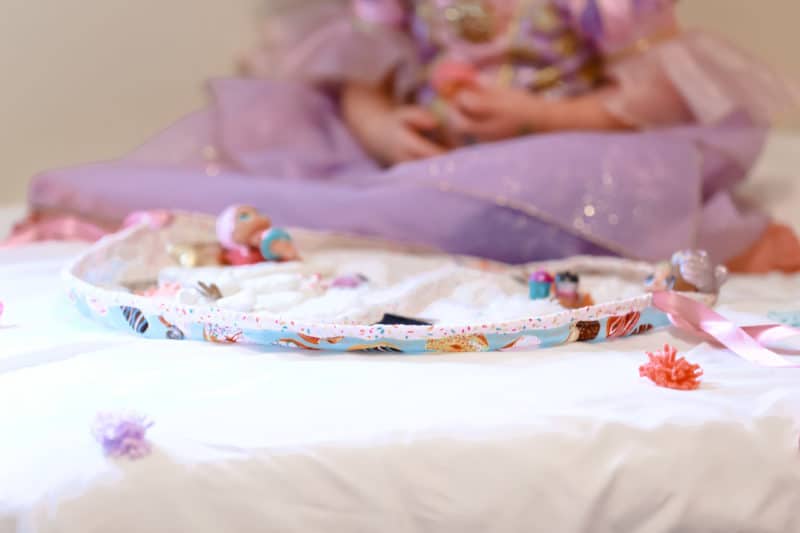
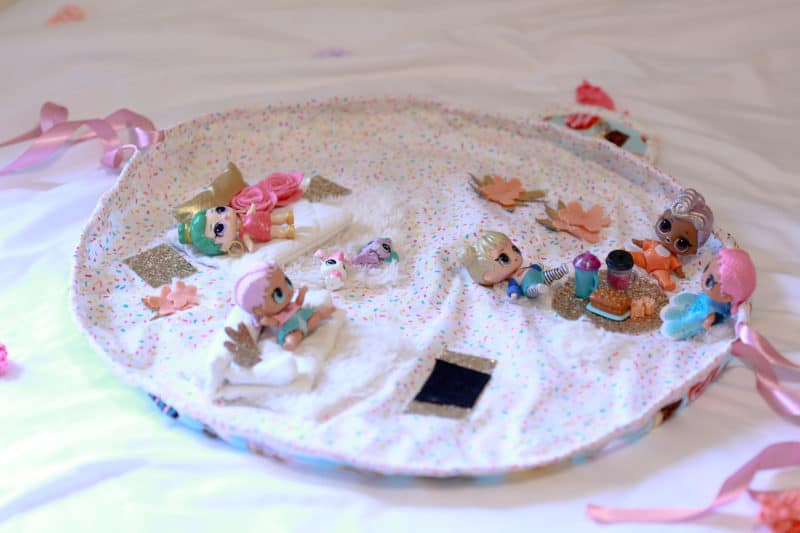
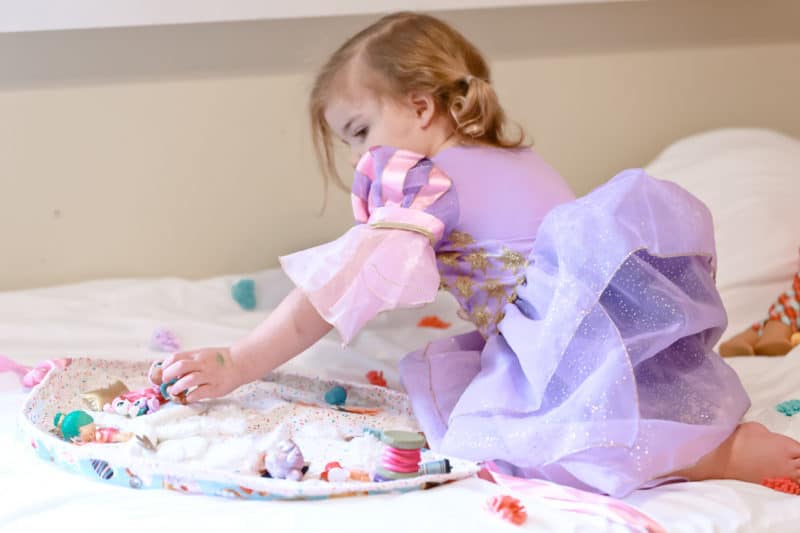
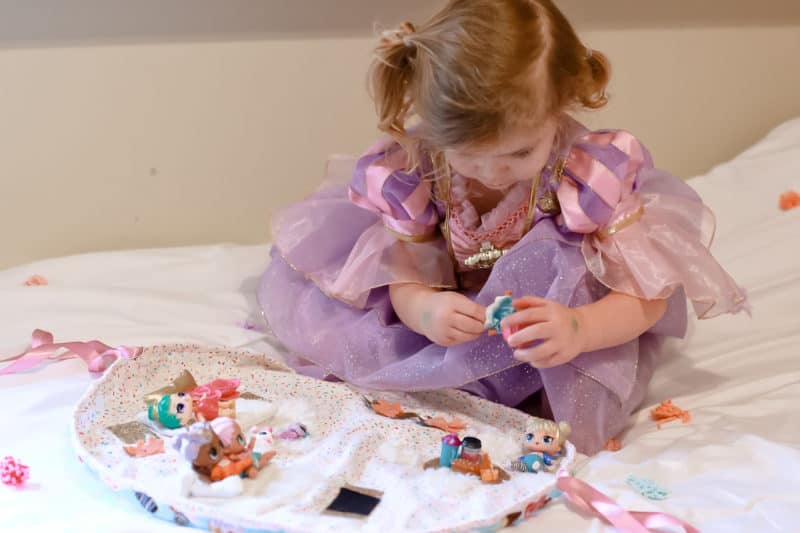
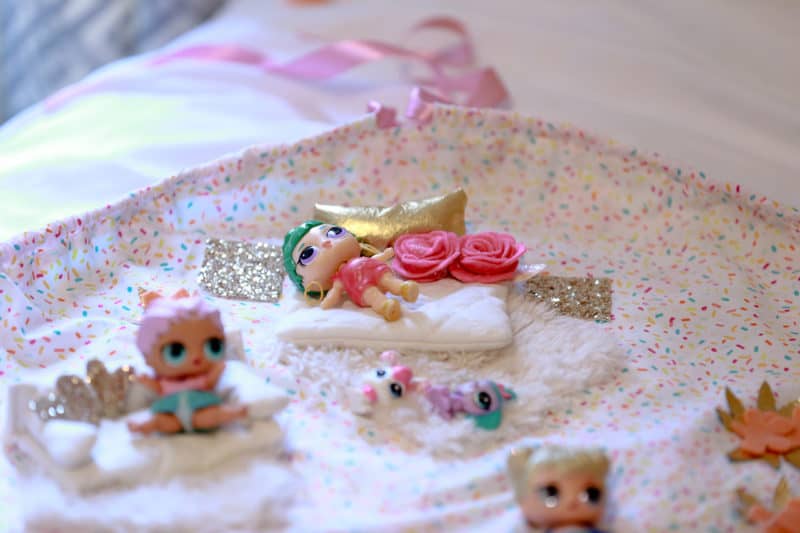
For a cute gift idea for little ones, you can even turn the inside of the pouch into a little playmat for dolls, cars, etc. I used small scraps and some hot glue to add fun little “furniture” details to the inside of my daughter’s drawstring pouch. Most of them are just basic shapes so she can use her imagination. She was so excited to have everything she needed to play right in the bag already!
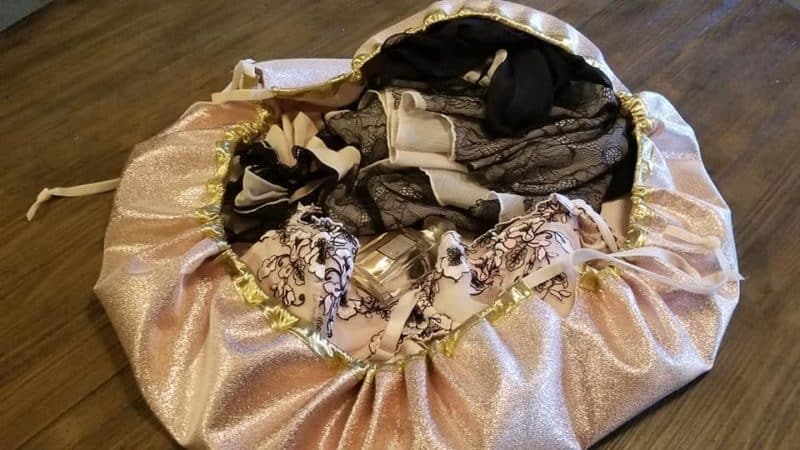
You can also skip the flap/closure if you’d like! Even without the closure, the drawstring pouch makes a great travel bag for items like lingerie that you’d like to keep separate!
DECEMBER 1 – 12, 2018
DAY 1 –BARNACLE BUDDY BAG
DAY 2 – FUR POM POM
DAY 3 – BOWL COZY
DAY 4 – FELT BAKE SET
DAY 5 – CLARA APRON
DAY 6 – FABRIC GARLAND & NECKLACE
DAY 7 – POCKET PILLOW WITH CUT FILES
DAY 8 – FELT ORNAMENTS
DAY 9 – CLOTH NAPKIN
DAY 10 – LOG CARRIER




Leave a Reply