
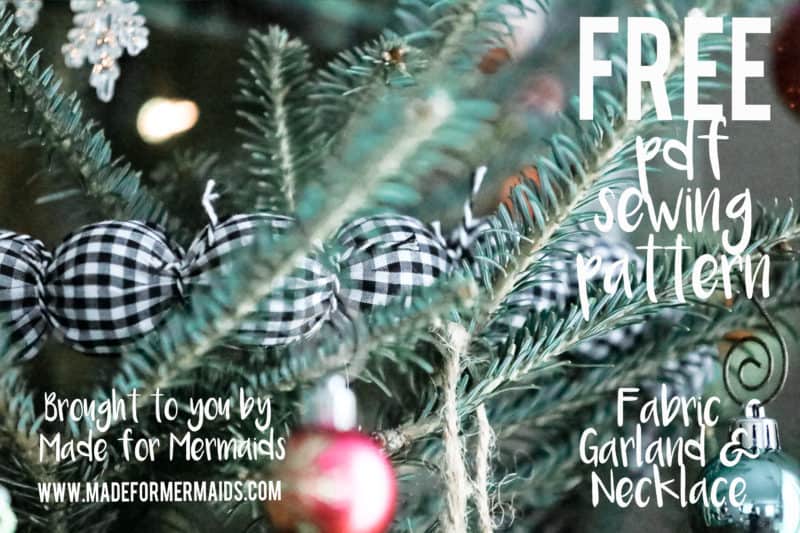
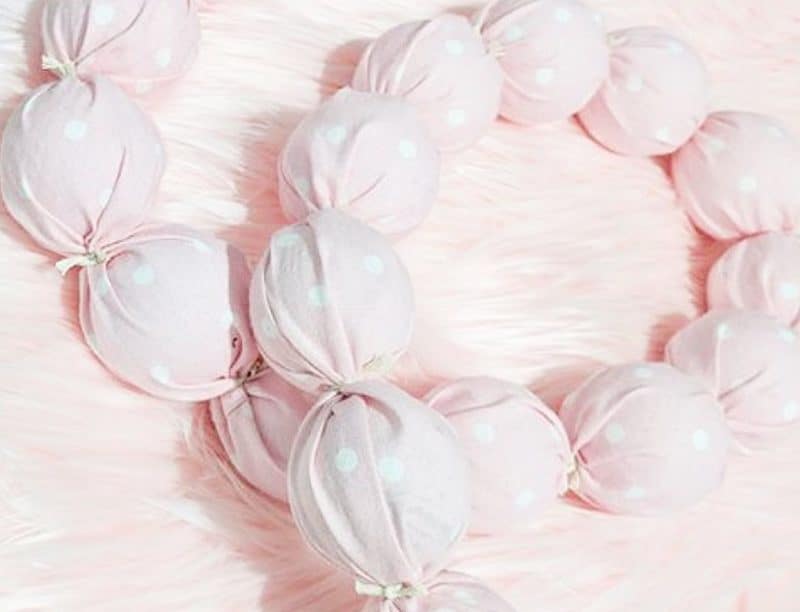
We are halfway through this year’s freebies! Which has been your favorite so far? The M4M team has been loving these simple and pretty tree garlands, although our husbands have been a little confused by the influx of ping pong balls from Amazon!
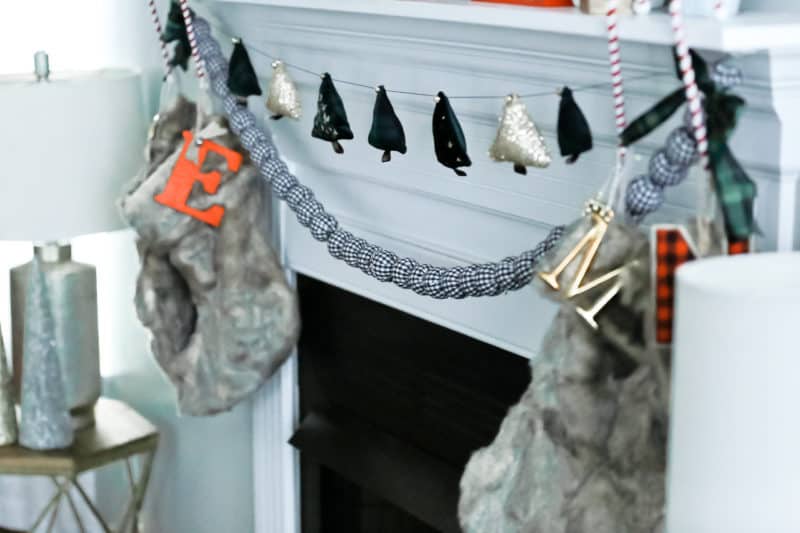
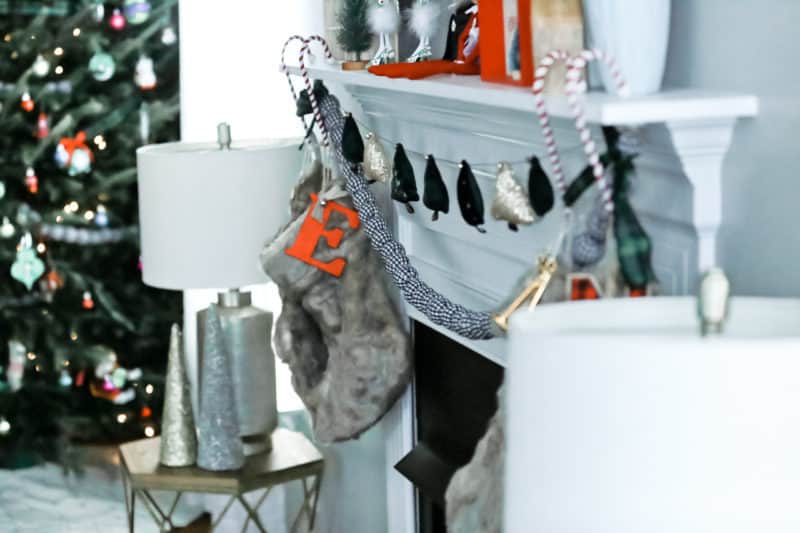
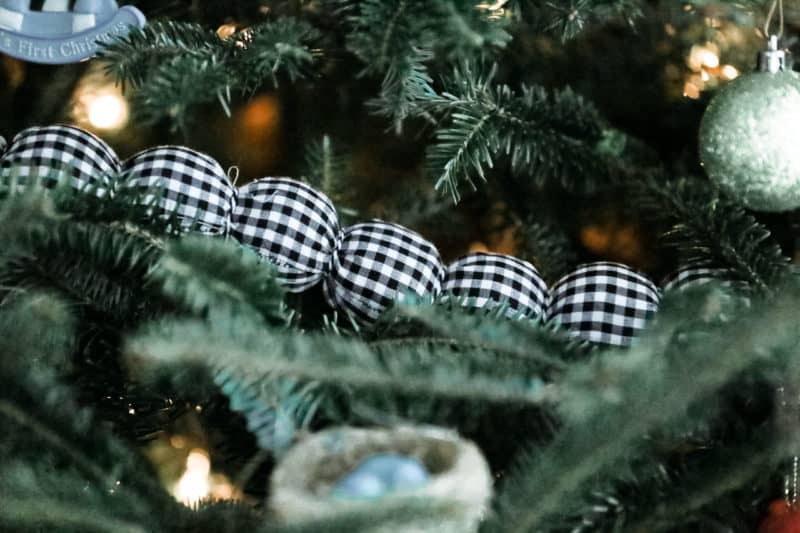
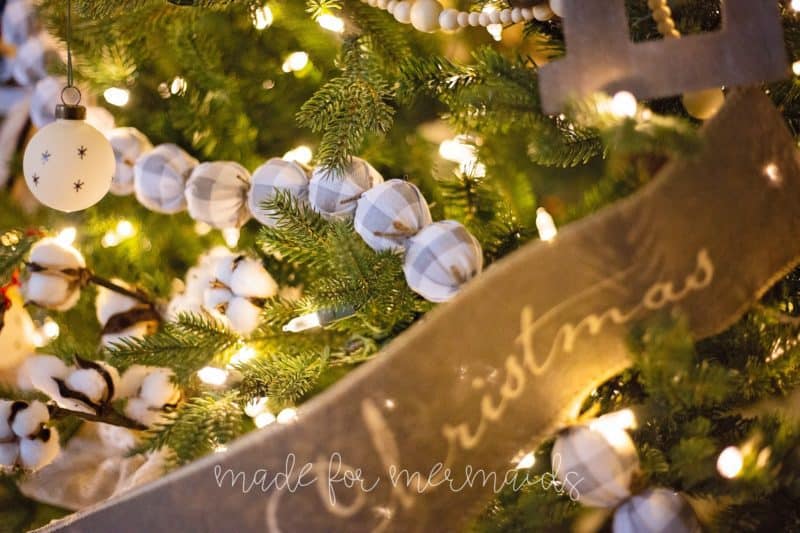
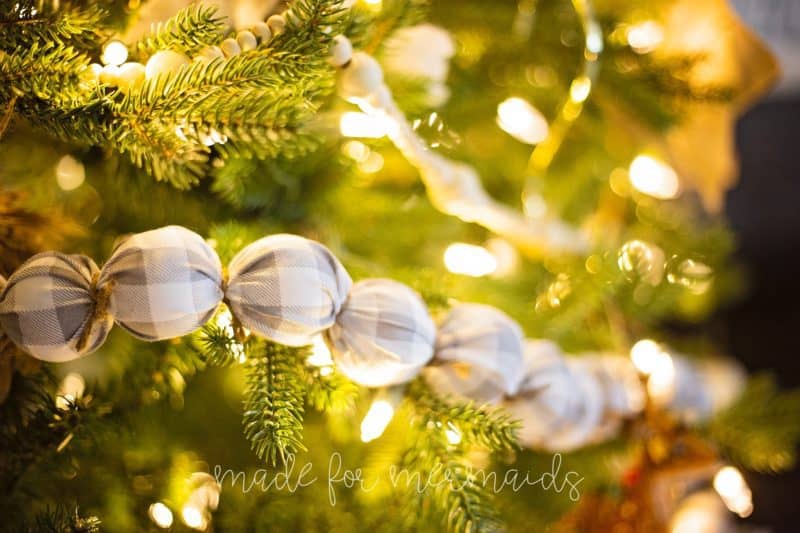
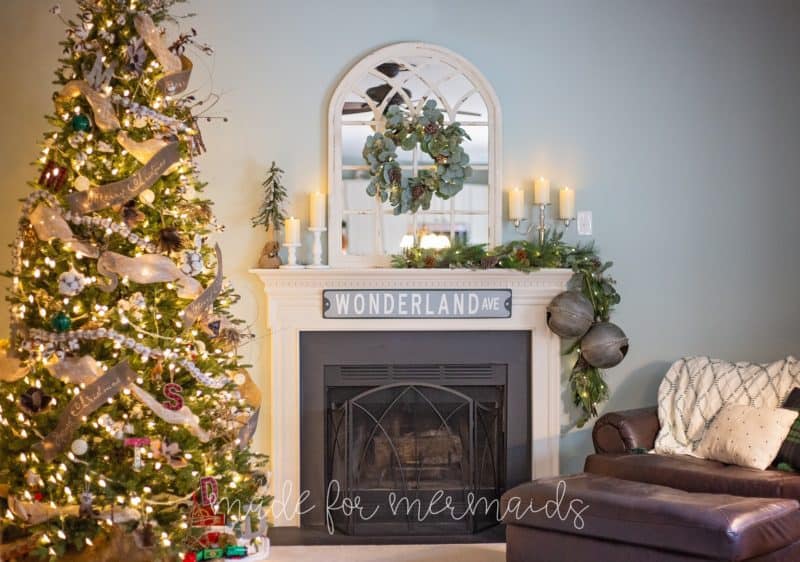
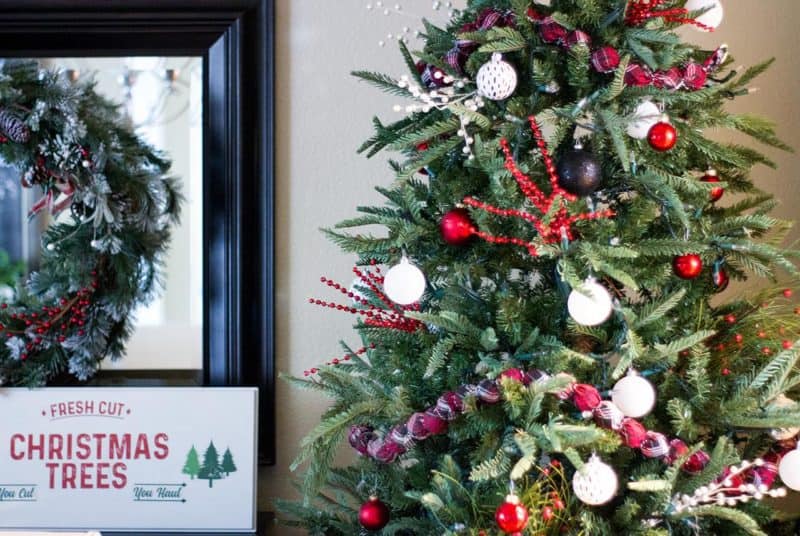
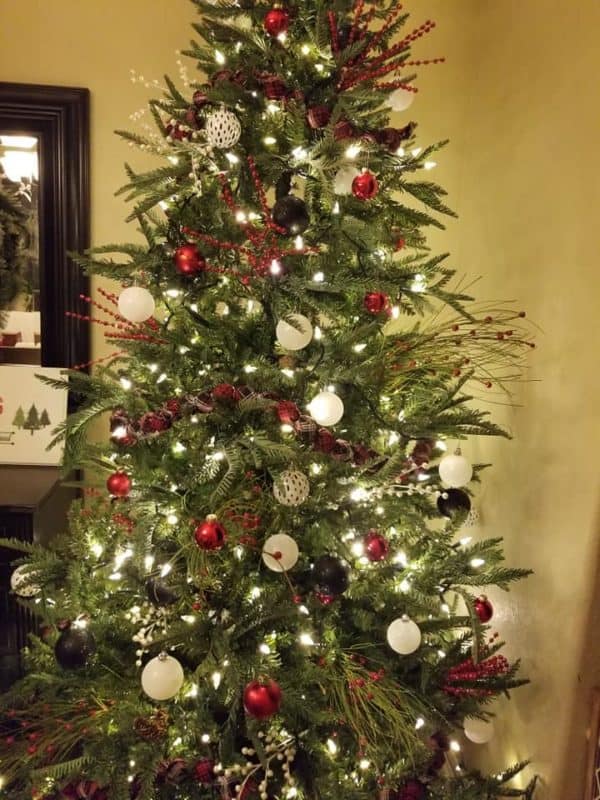
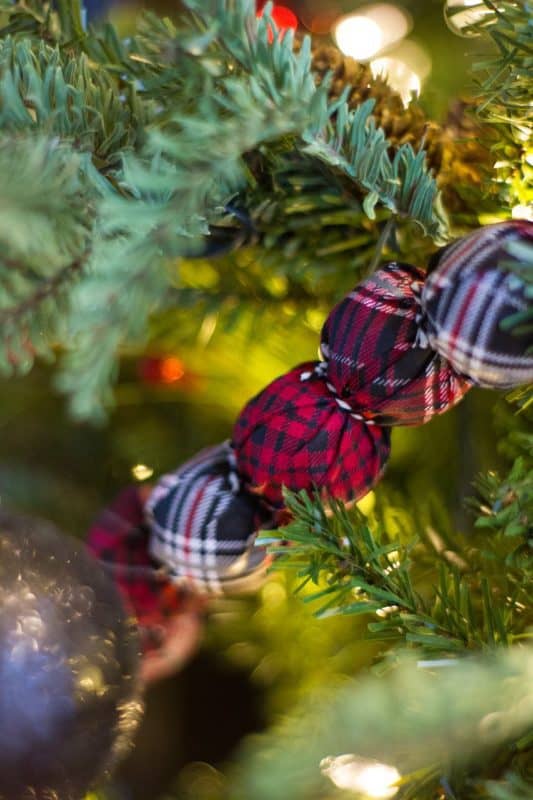
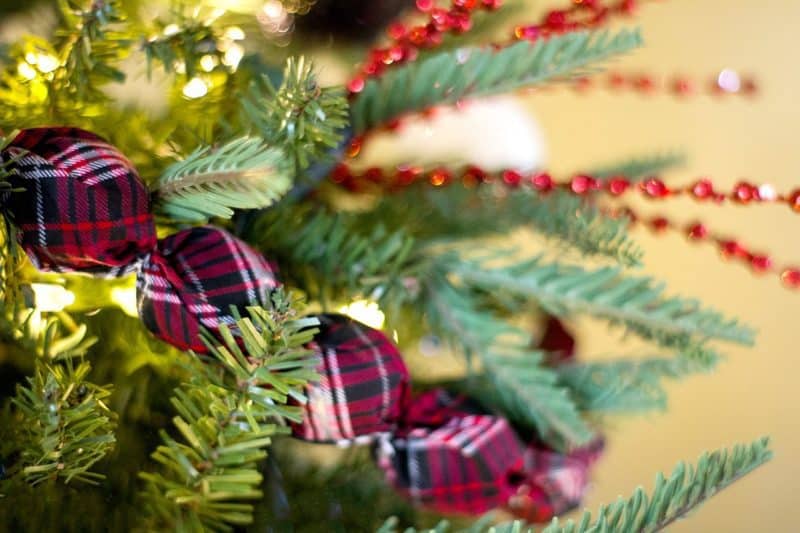
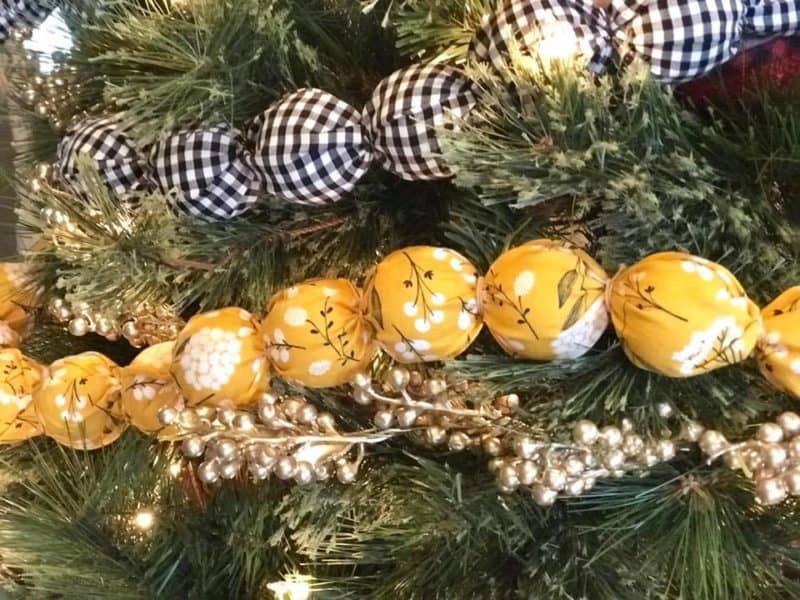
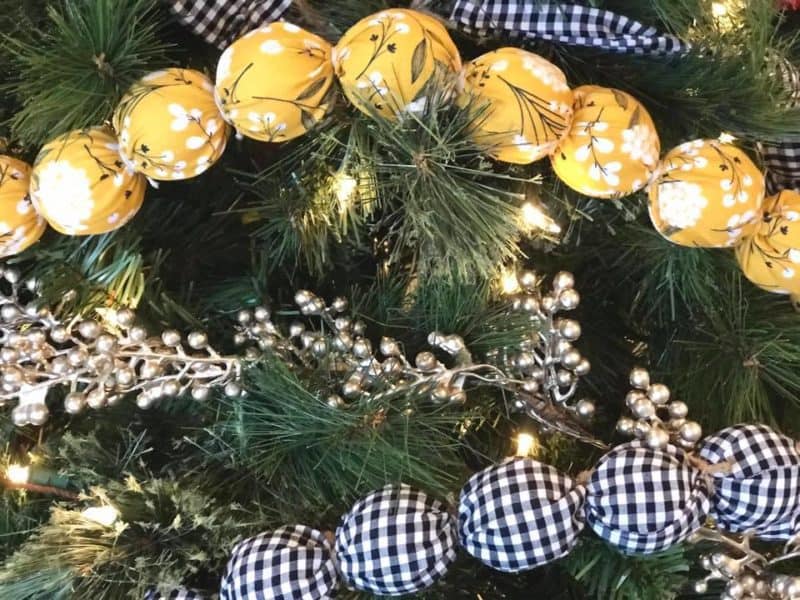
The garland looks adorable hung from a mantle or woven into tree branches, and it even pairs nicely with our tree garland freebie from last year!
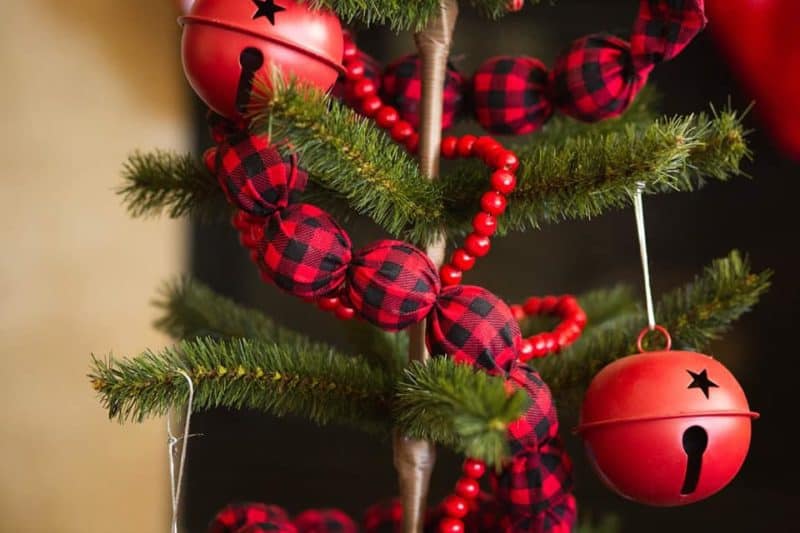
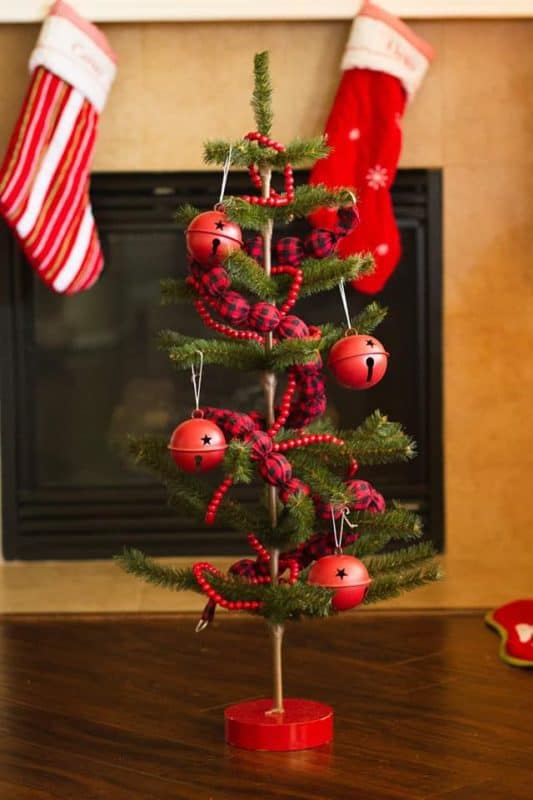
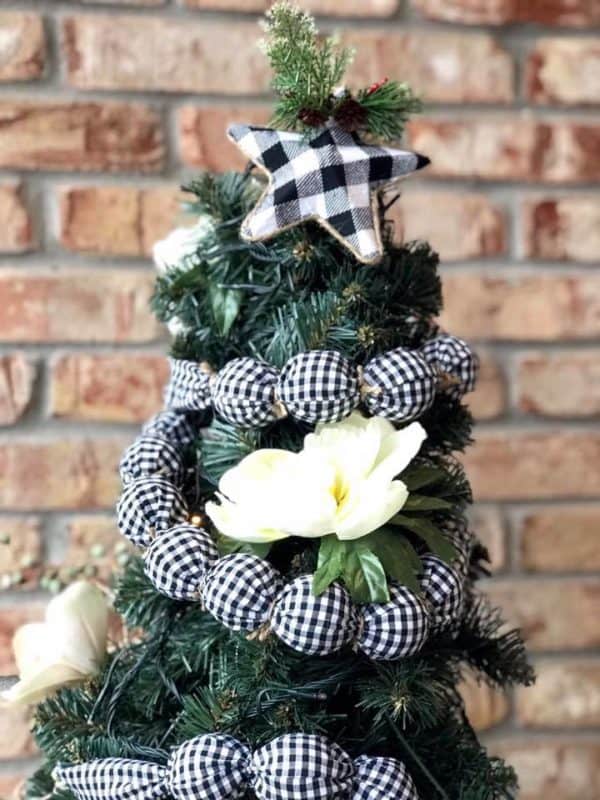
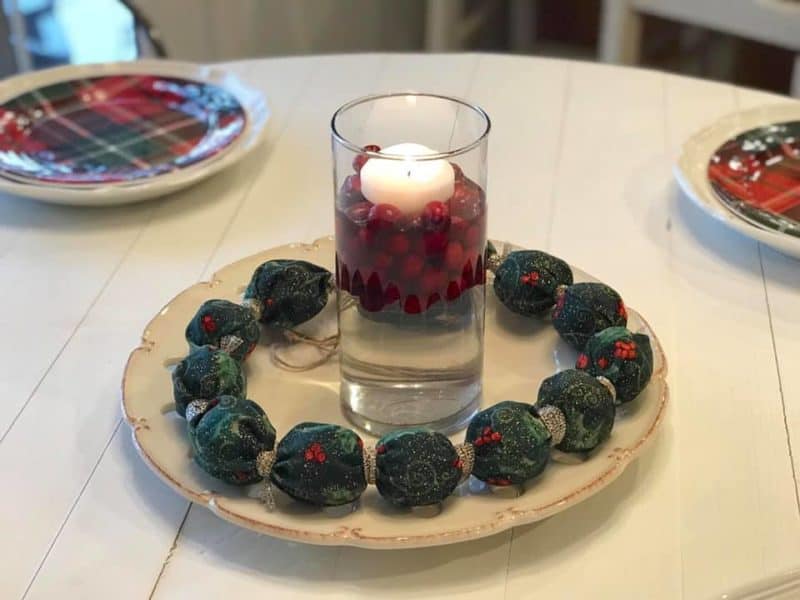
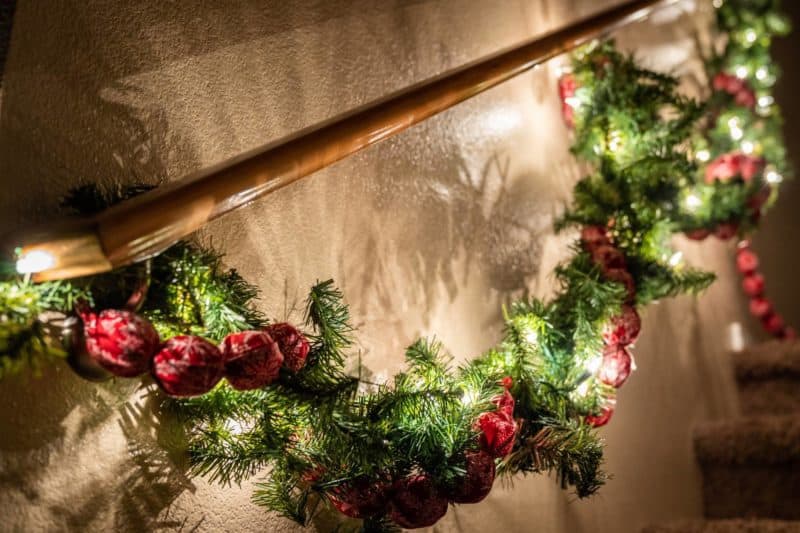
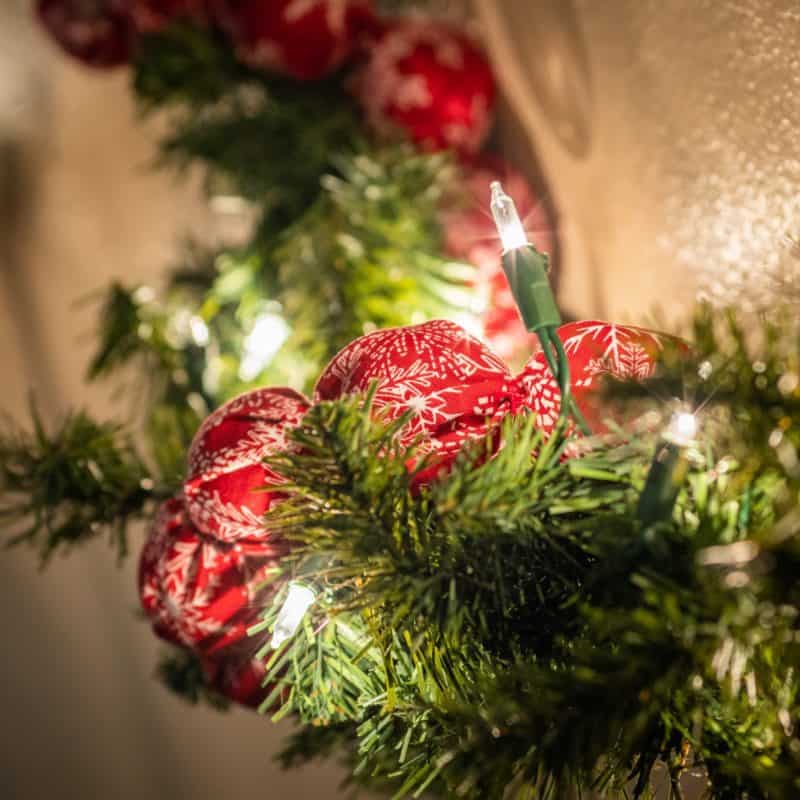
Don’t have a regular-sized tree, or want to use the garland elsewhere? Look how some of our testers decorated their homes:
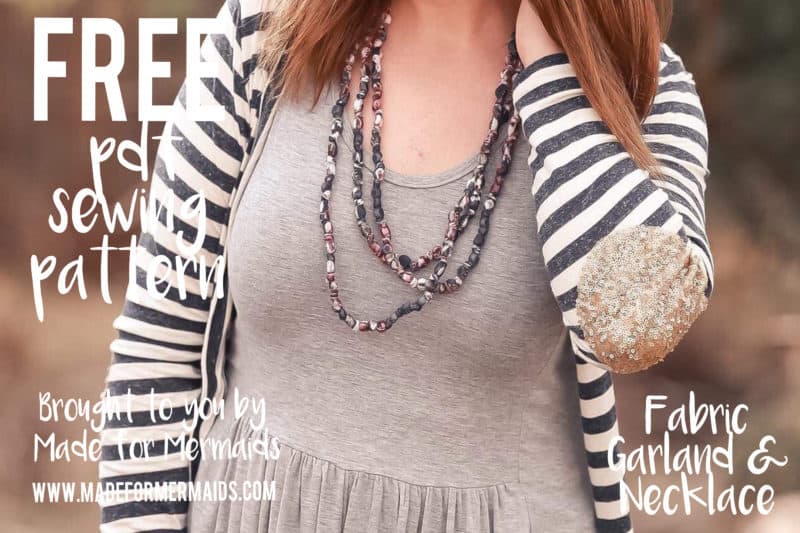
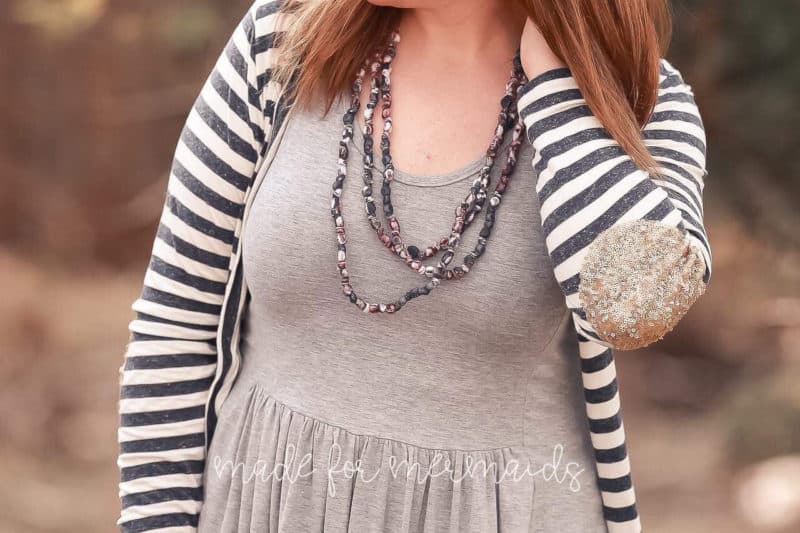
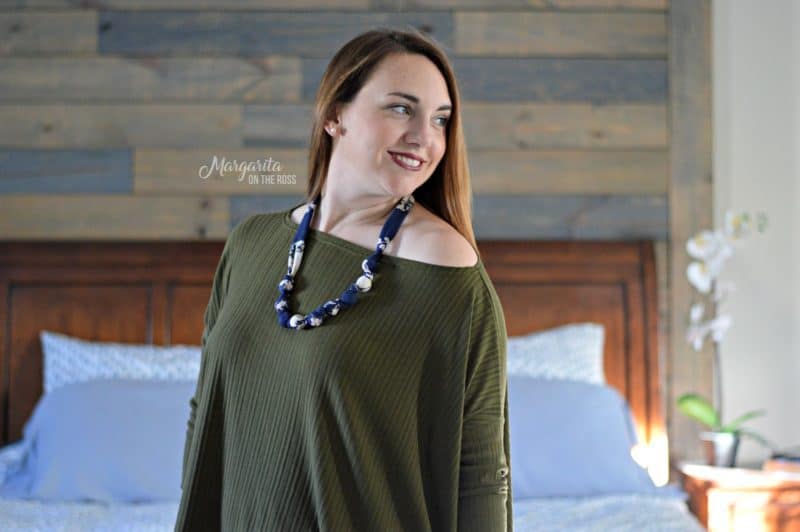
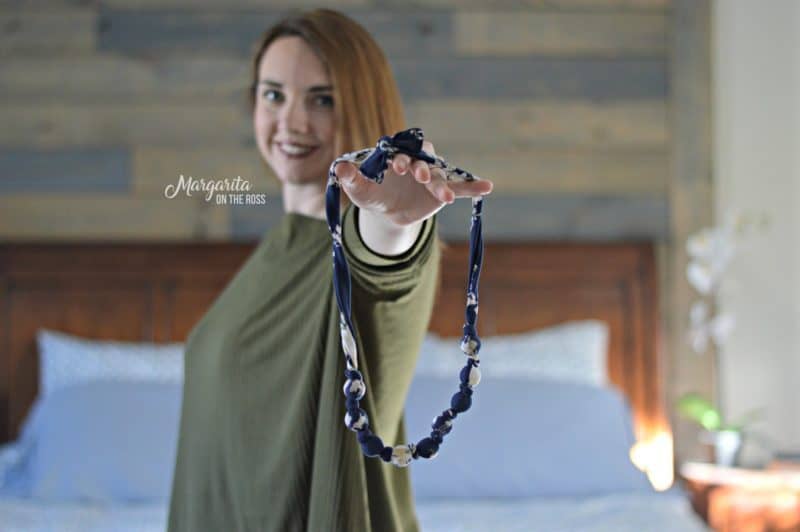
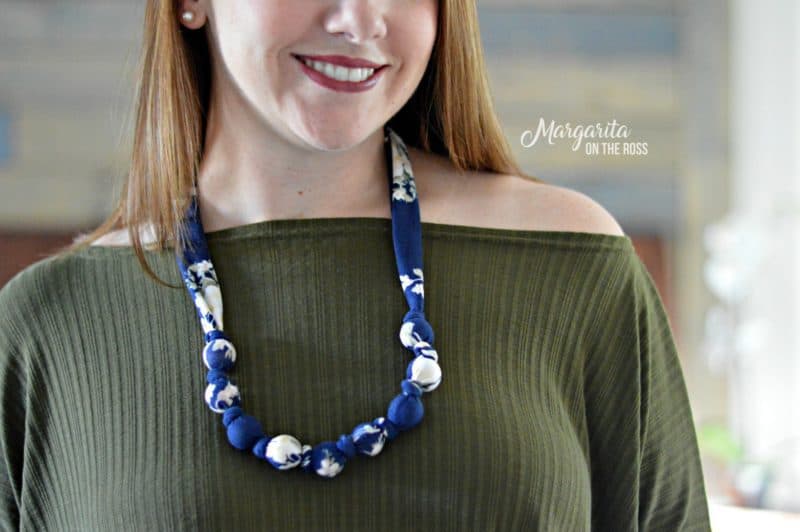
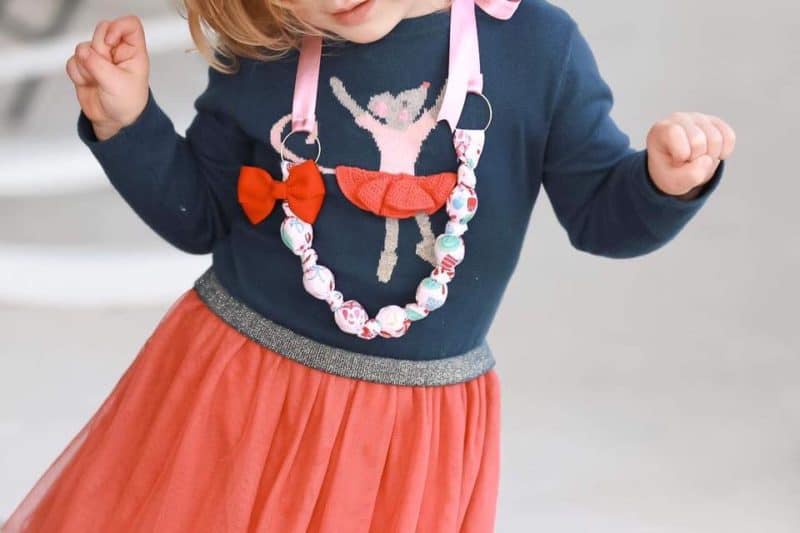
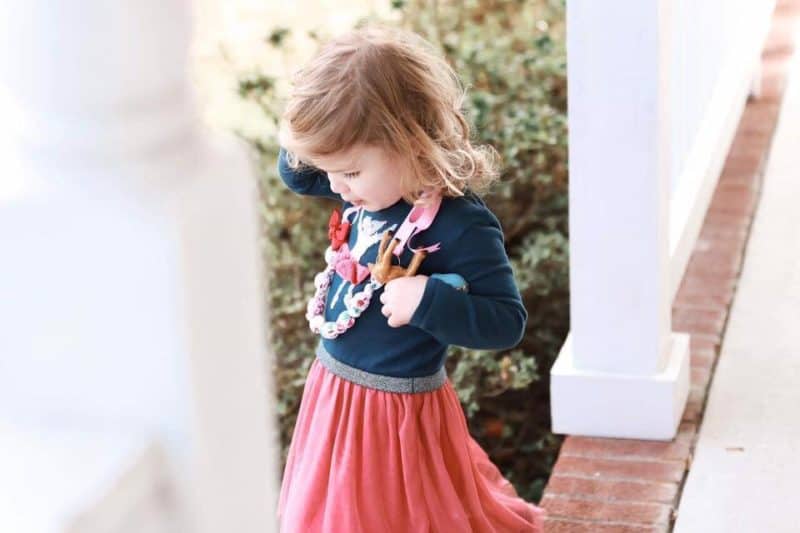
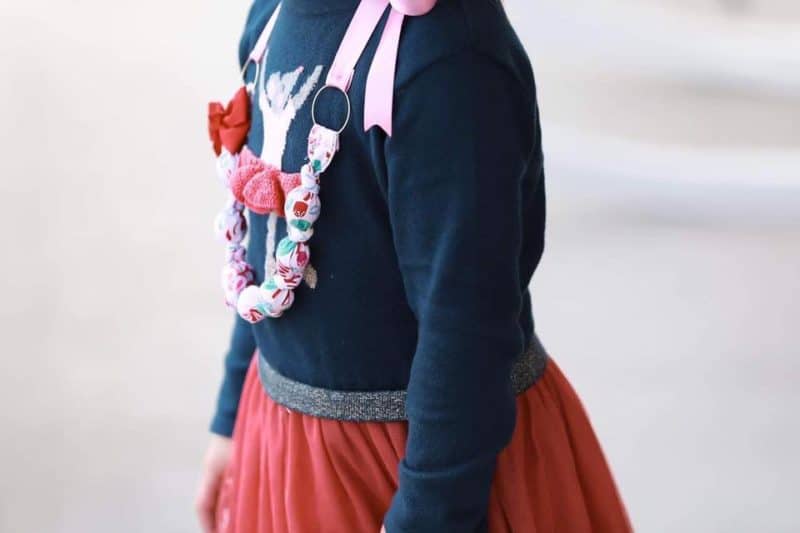
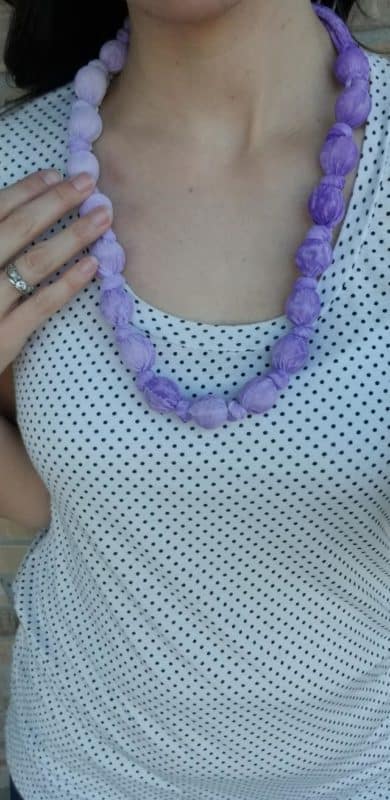
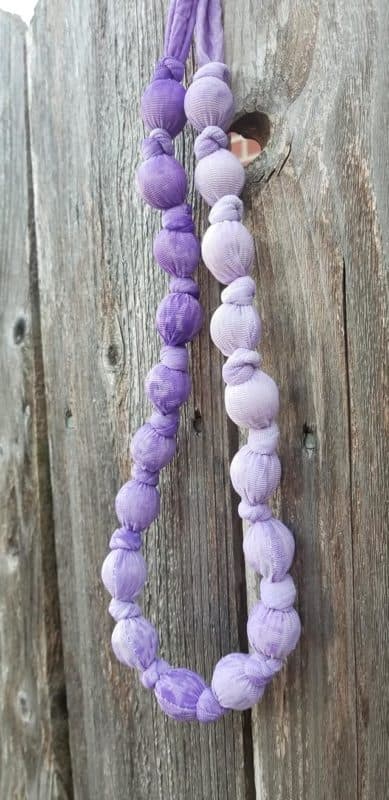
The necklaces are just as fun and simple, and make great gifts for friends, teachers, daughters, nieces, and so many others! My favorite is the long knit one I made during testing (shown below on left).
SUPPLIES:
For garland:
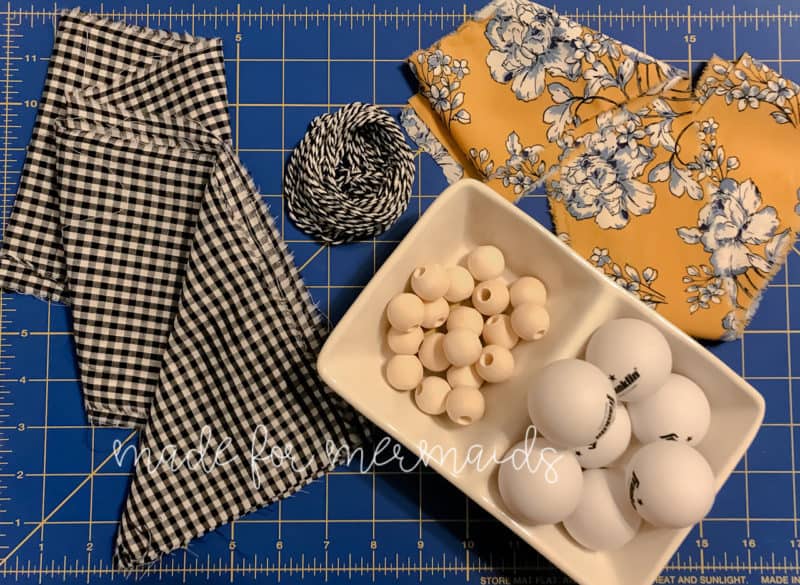
- woven fabric – 1/4 yard – 2 yards – exact amount of fabric will depend on how much area you are trying to cover. For reference, Megan T. has a 9′ tree, and she used 8 WOF strips + 150 ping pong balls to cover only the front of the tree. I would suggest cutting/ripping your strips and using those strips to determine how much coverage you want/need)
- 40 mm ping pong balls (each strip will hold roughly 20 ping pong balls, so after you determine how many strips you’ll use, you can determine how many ping pong balls to use)
- baker’s twine or similar
- large jump rings or split rings, or shower curtain grommets, etc. (2 per garland – these will be your “hangers”; you can also use grommets at the end if you don’t want to use rings! )
- basic sewing tools
For necklace:
- lightweight woven fabric – 1/4 yard (You can certainly use quilting cotton for the necklaces, but note that it is much harder and bulkier to tie in knots. I used quilting cotton for my daughter’s [the candy fabric shown in various steps below], and she likes it just fine, but I would not recommend using it for women’s necklaces. Knit can also be used for a different look!)
- 5/8″ beads or pony beads (if using a different size, see alternative directions in step 1)
- small jump ring or split ring (optional – you can also finish with just fabric ties)
- felt flowers, small bows, or other optional embellishments
- basic sewing tools
LET’S GET STARTED!
1/2″ seam allowances included
Step 1: PREPPING
Go grab the pattern HERE! The pattern is 100% free, but you do need to add it to your cart and check out. Then, it will always be available to download from your account. The pattern is a no trim pattern; if you need help putting the pattern together, pop over to the faqs and troubleshooting page or ask in our Facebook group .
Print and assemble the pattern. Cut out the pattern pieces. Pattern layout shown below:

You can use either the paper pattern pieces, or you can use the snip-and-rip method to create your strips. If you choose to use measurements, the measurements of the pattern pieces are:
- pony bead necklace size = WOF x 2″
- 5/8″ wooden bead necklace size = WOF x 3.5″
- ping pong ball garland size = WOF x 6.25″
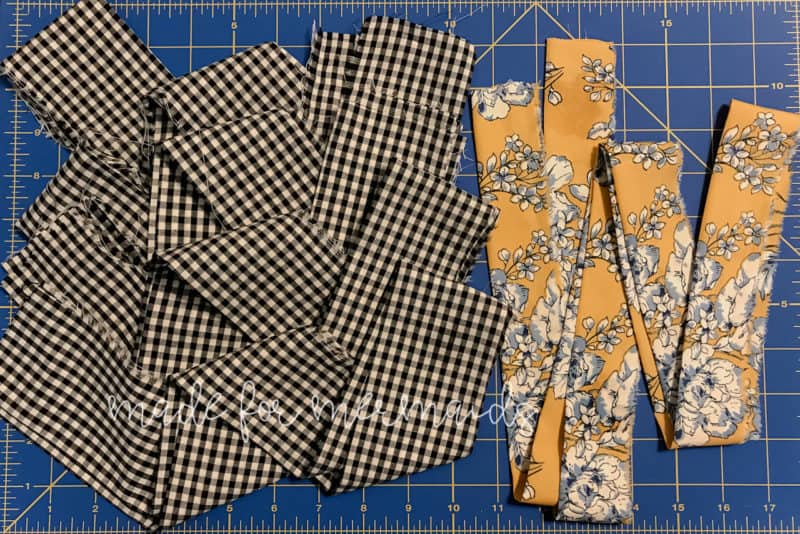
Cut, or rip, fabric strips.
For necklaces, you will generally only need one strip. For the garland option, how many strips you need will depend on what length you want your final garland to be; for example, a mantle may only require 2-3 strips, while an entire tree will require many more!
Beads or ping pong balls measure differently than mine? Not to worry! If your beads measure different than mine did, take fabric and wrap all the way around the bead. Make sure you are keeping it snug, but not pulling it right. Add 1” for seam allowance to the measurement you got from wrapping. You *may* want to add an extra 1/8”-1/4” to your measurement, so your beads have a tiny bit more room. You don’t want it too loose, but it does need to be loose enough that you can place your beads! Once you have your measurement, snip and rip your fabric strips! You can also cut, but I always prefer to rip when I can!
Press all fabric strips in half, lengthwise, with right sides together.
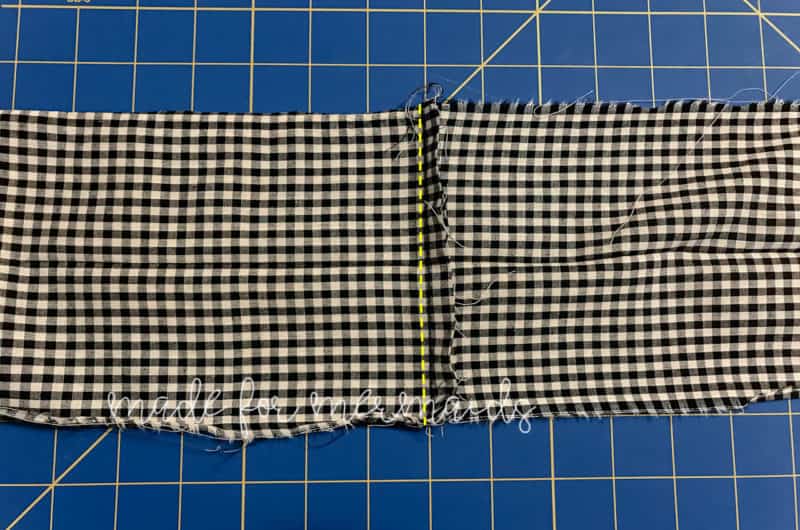
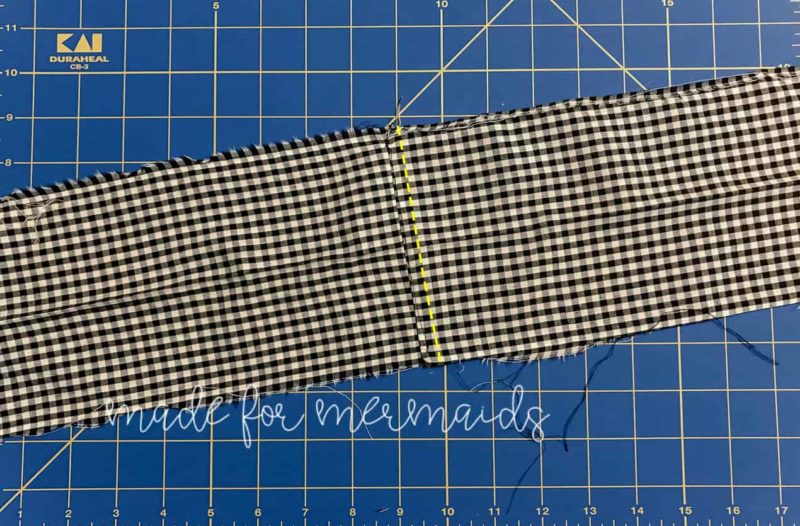
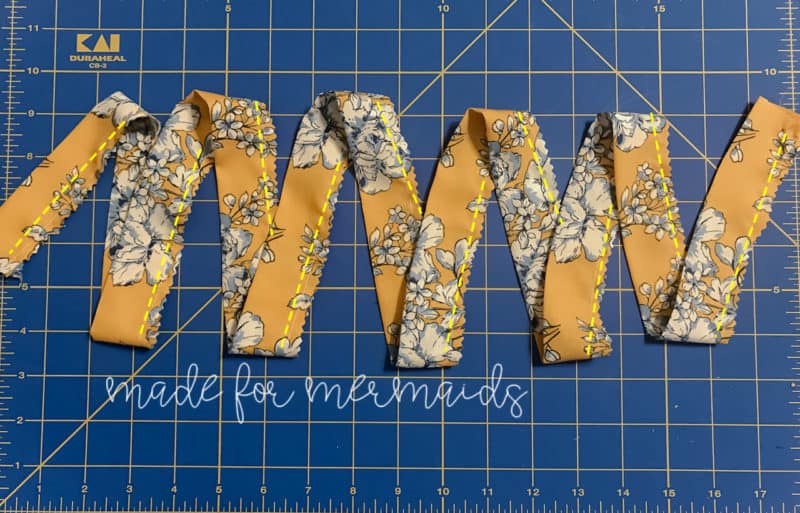
Want to make a long garland instead of several short strands? Attach strips together by sewing with right sides together, using a 1/2” seam allowance. Trim seam allowance to 1/4”, using pinking shears if desired to prevent fraying.
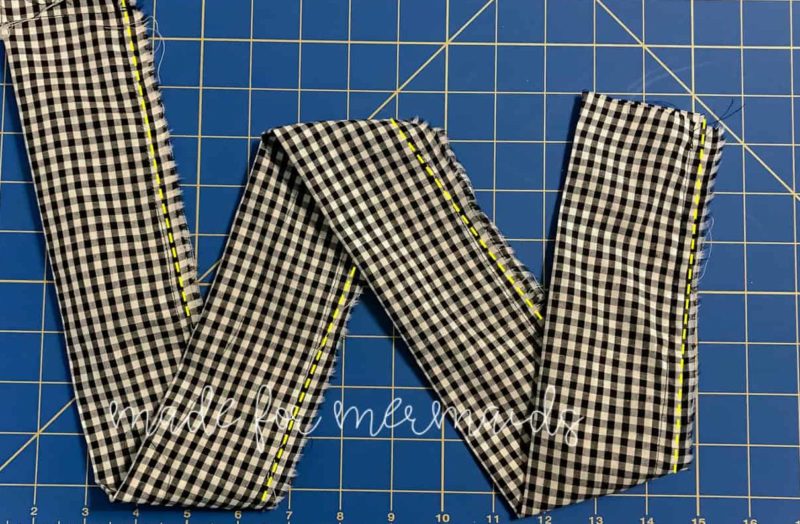
Turn so that right sides are facing up. Top stitch in place, so that there is less resistance when you go to place your ping pong balls.
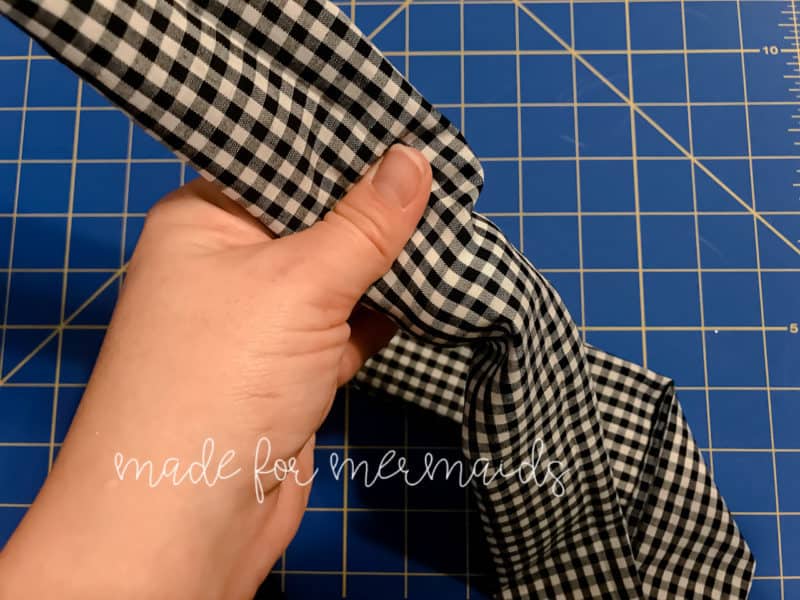
All options: Once your garland piece is as long as you’d like it, fold in half lengthwise with right sides together, and stitch only the long edge closed with 1/2” seam allowance. Trim seam allowance down to 1/4”; I like to use pinking shears to prevent fraying. Use your favorite turning tool to turn fabric right side out.
Step 2: FILLING
For garlands:
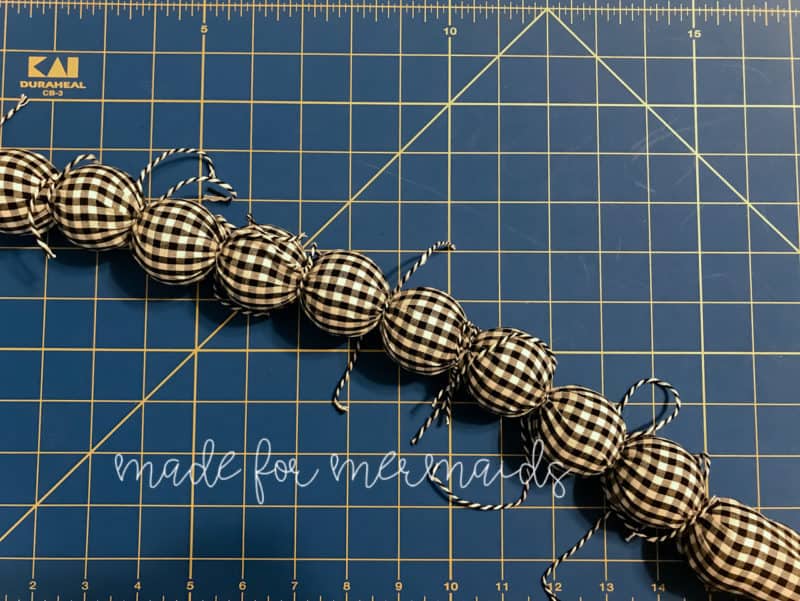
Place ping pong balls in garland. Leave about a finger’s width in between each ping pong ball. Fill garland!
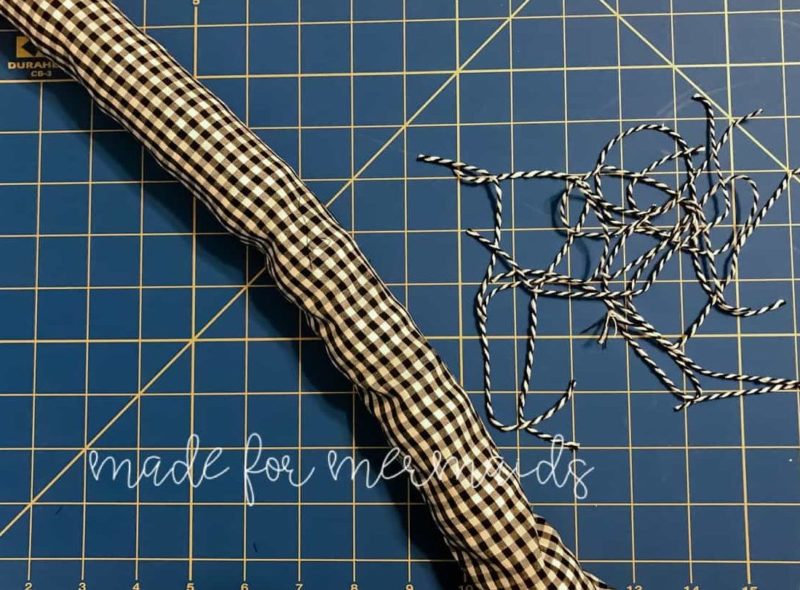
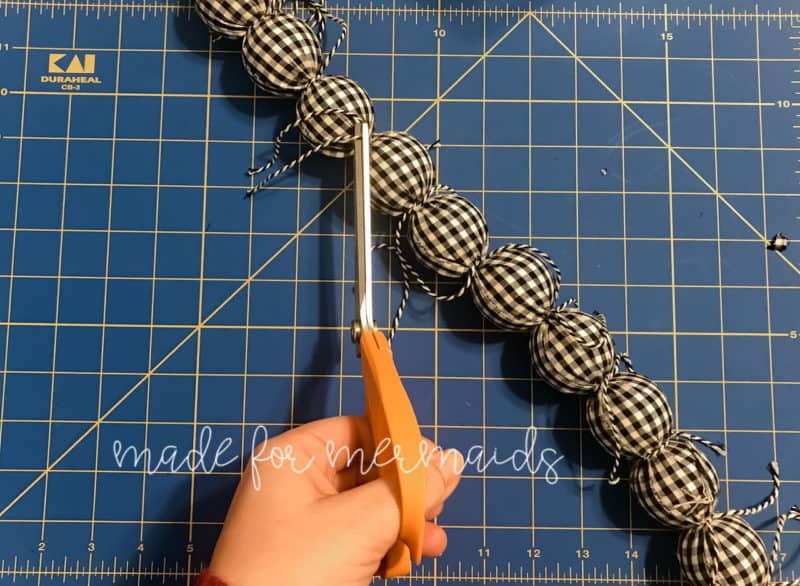
Once garland is full, cut small pieces (about 5-6” long each) of baker’s twine. You can also use regular twine, thin ribbon, fabric scraps, embroidery floss, etc.
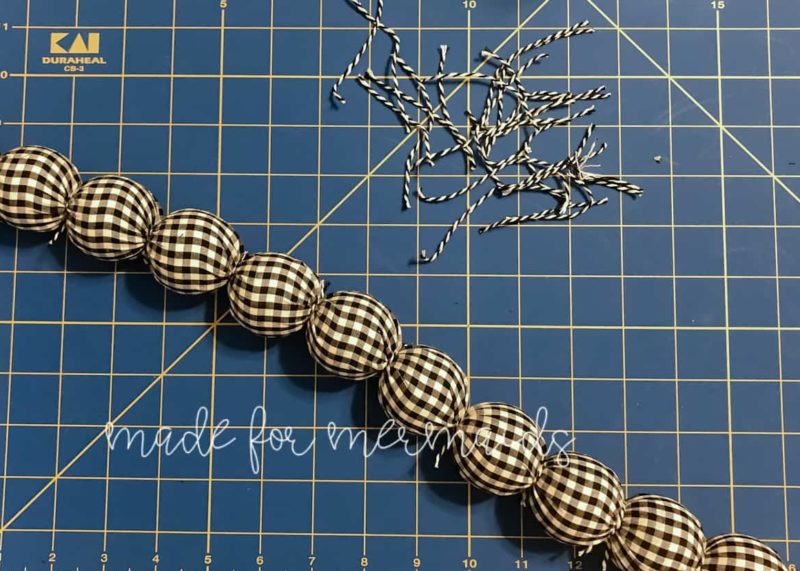
Tie one small piece in between each ping pong ball. You could tie in a bow, but I just did a knot! Trim excess twine. Repeat between all ping pong balls. Press any remaining fabric on either end of garland
For necklaces:
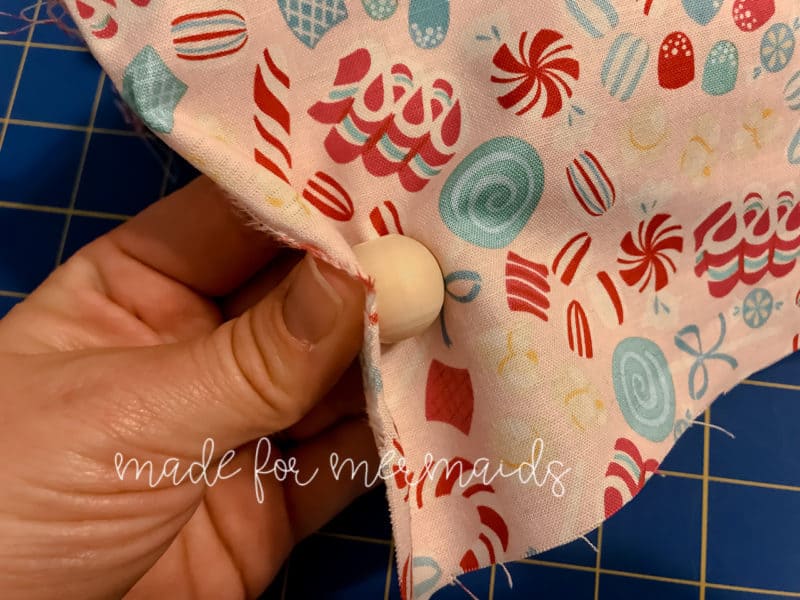
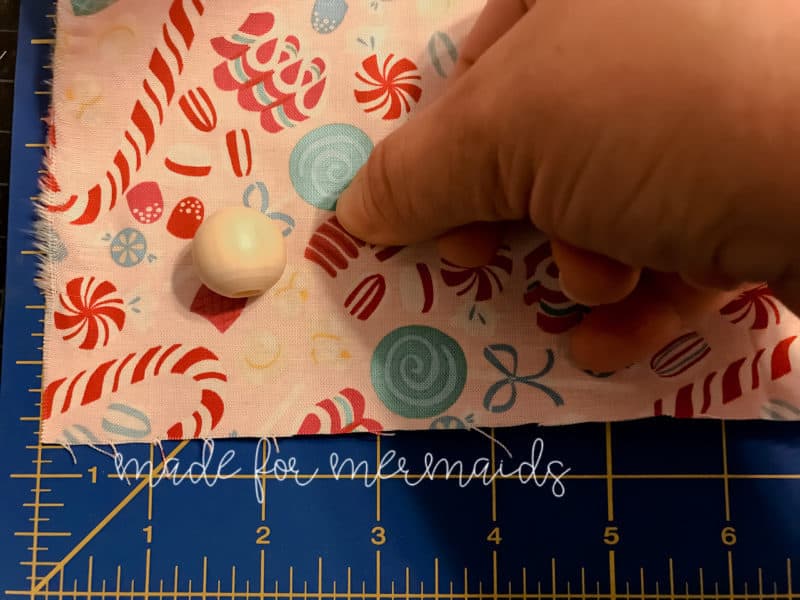
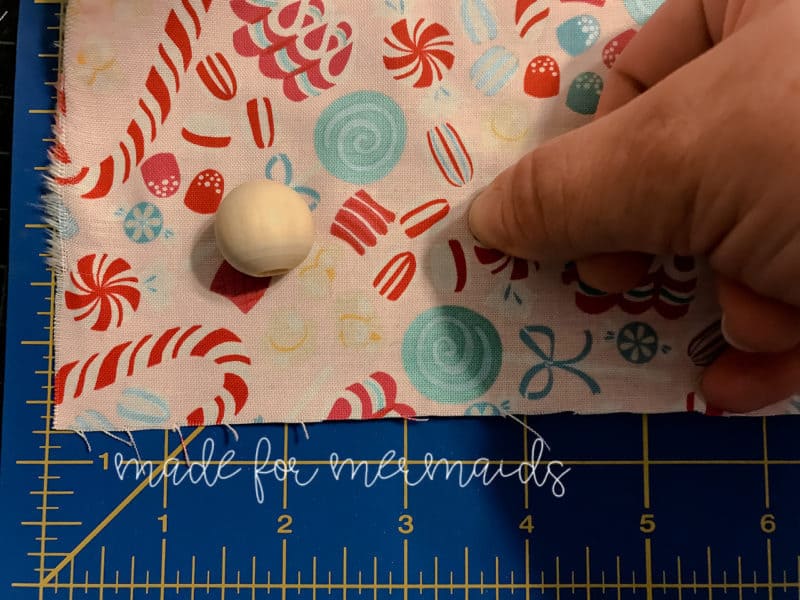
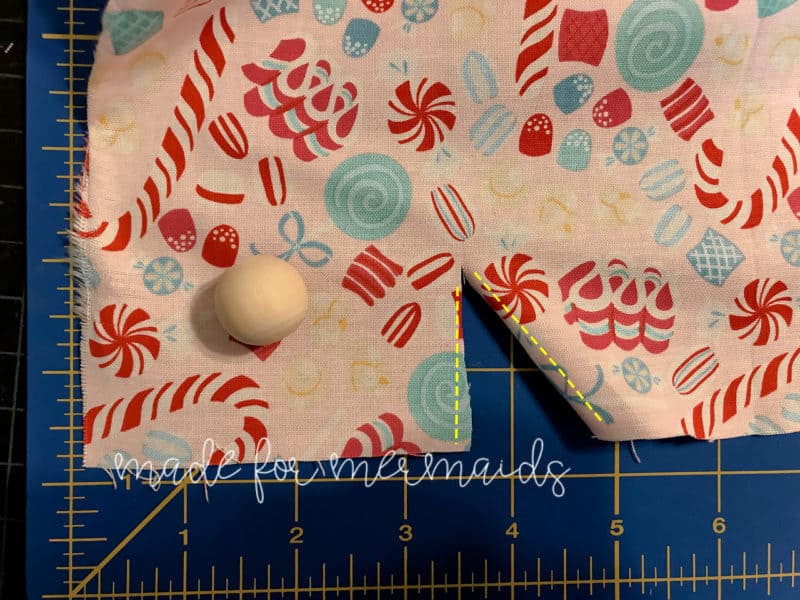
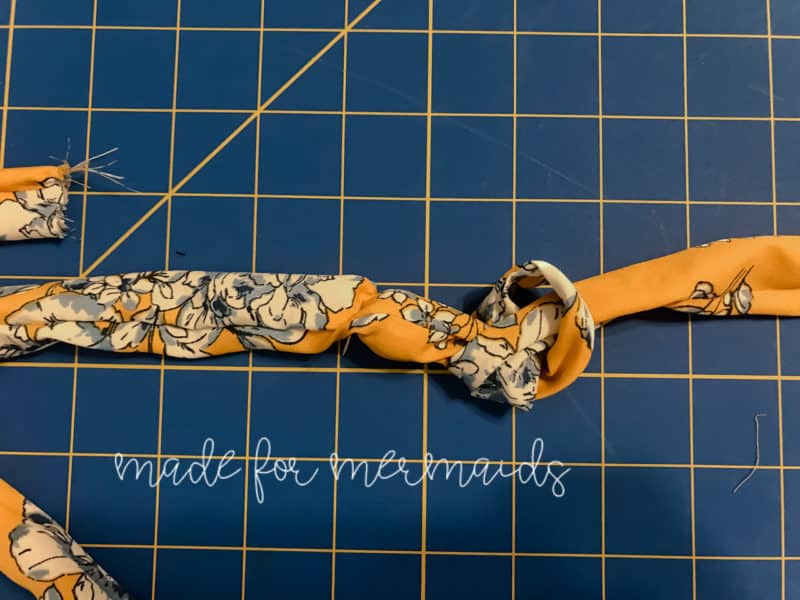
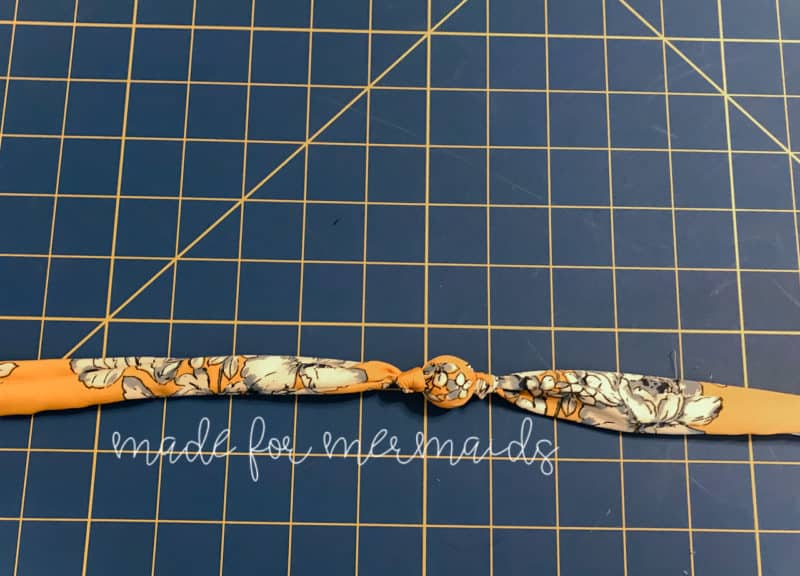
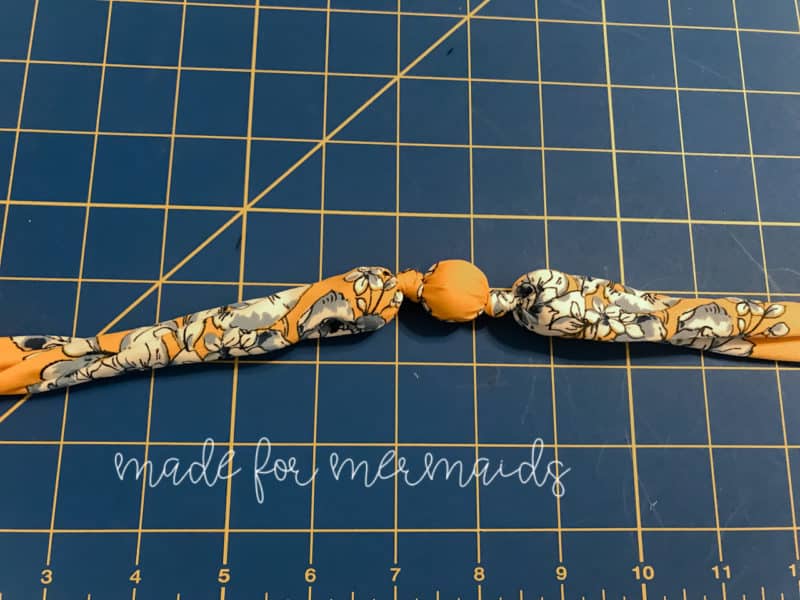
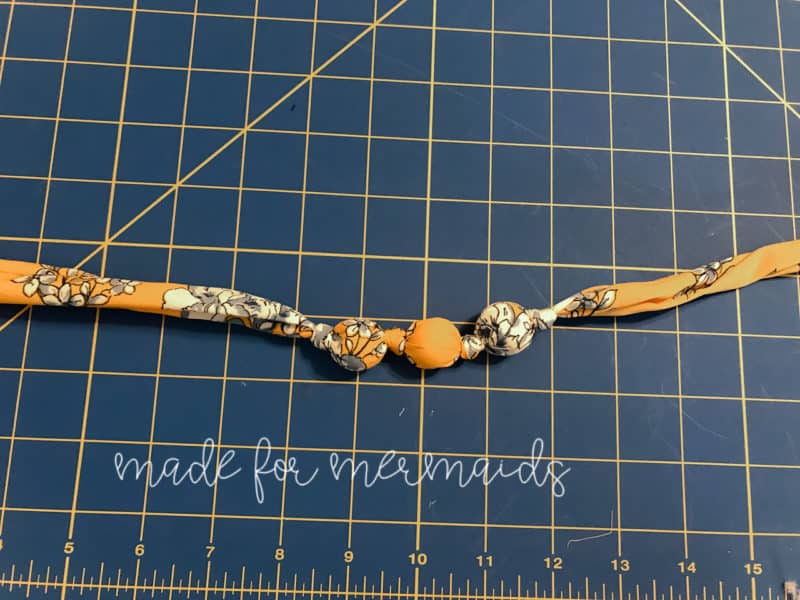
Find center of fabric tube. Place first wooden bead in center. Create a knot next to the bead. Add an additional bead on either side. Place another knot on either end of the beads.
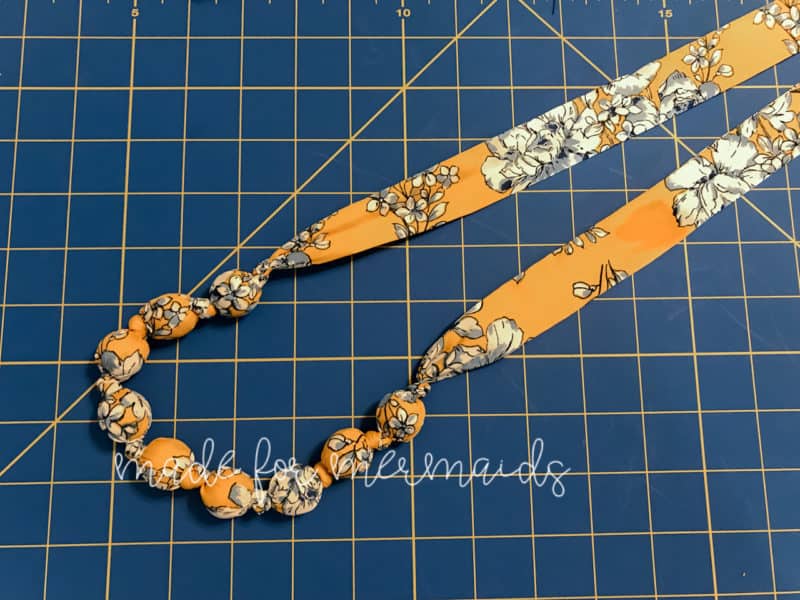
Place another knot on either end of the beads. How many beads you use is up to you; I used 9 for my necklace and 5 for my daughter’s, but you could get creative with length, layering pieces, etc! Press remaining fabric on either side of beads.
Step 3: FINISHING
For garlands:
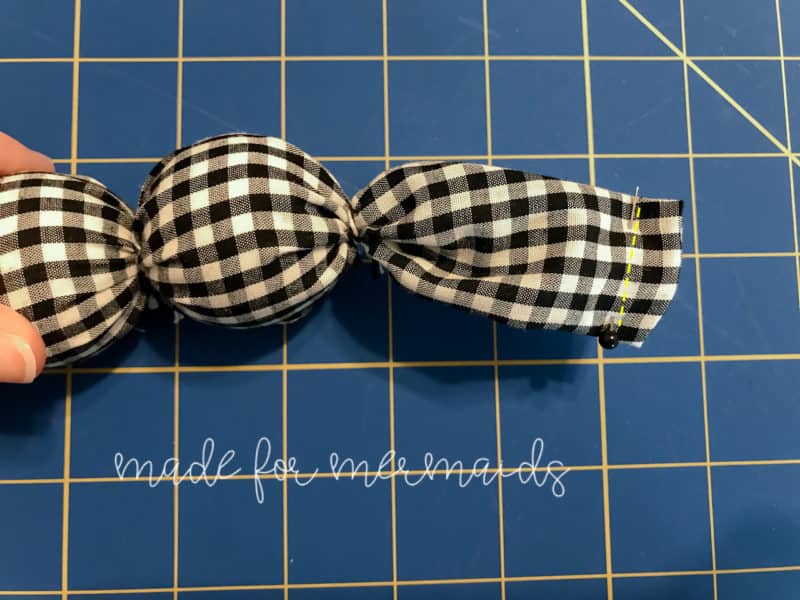
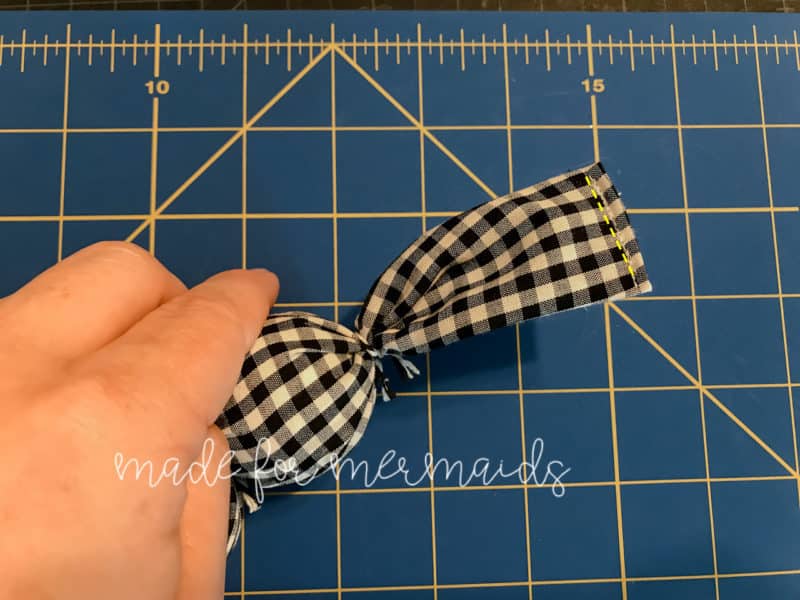
Garland ready to be finished? Tuck the raw edges in 1/4-1/2” (I did 1/4”). Pin “pleat” in place. Edge stitch.
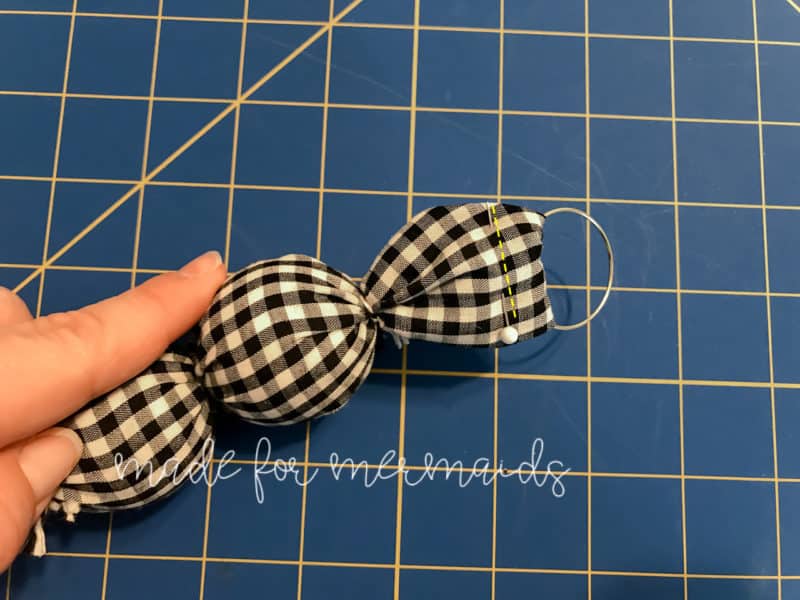
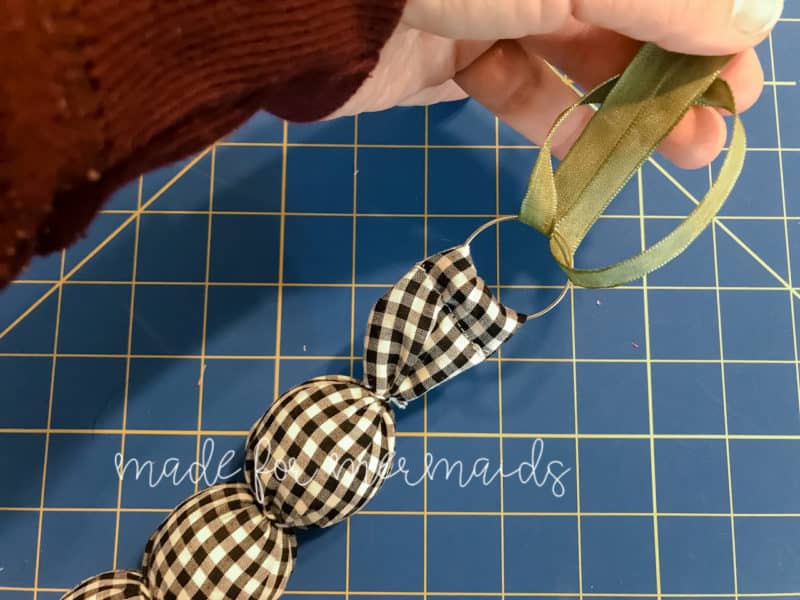
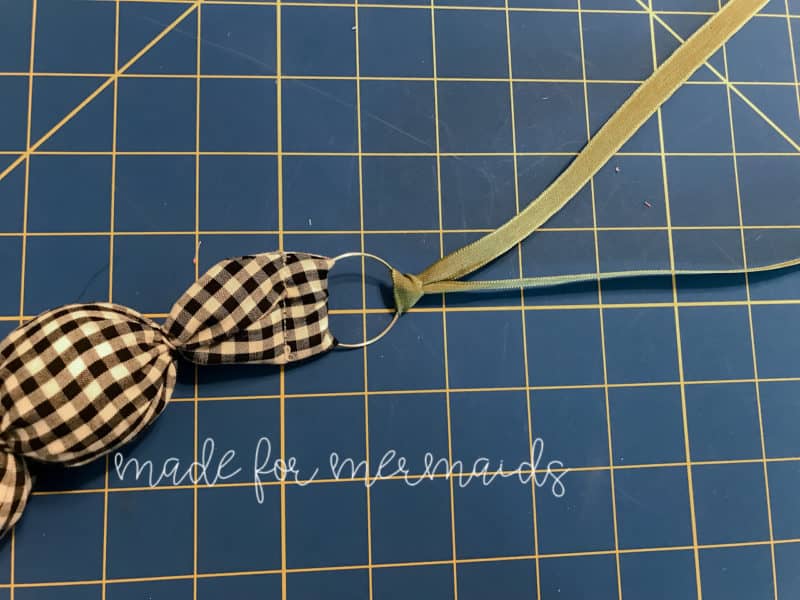
After stitching tube closed, fold edge over 1/2”, enclosing a ring (you can use large jump rings or split rings – usually in the jewelry findings section, or you can even use shower curtain grommets if you want something a little bigger!). Pin in place. You can leave with just the ring, or you can add ribbon. Put ribbon loop through the ring.
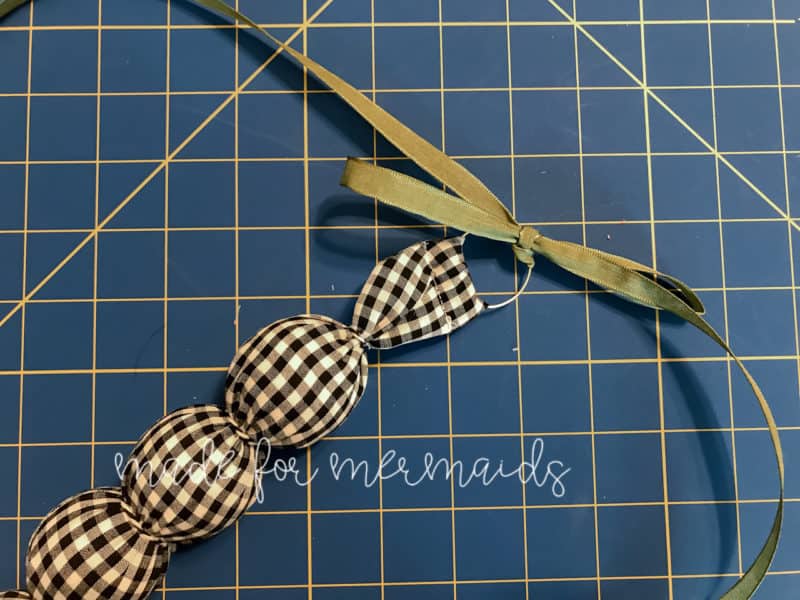
Pull loose ends through the loop. Pull tight. You can tie it in a bow, or use the ribbon to hang your garland!
For necklaces w/ rings:
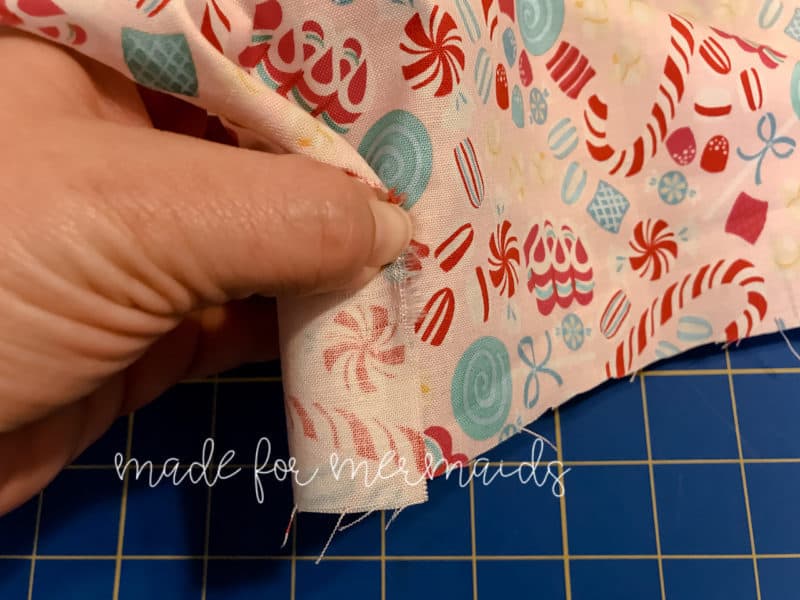
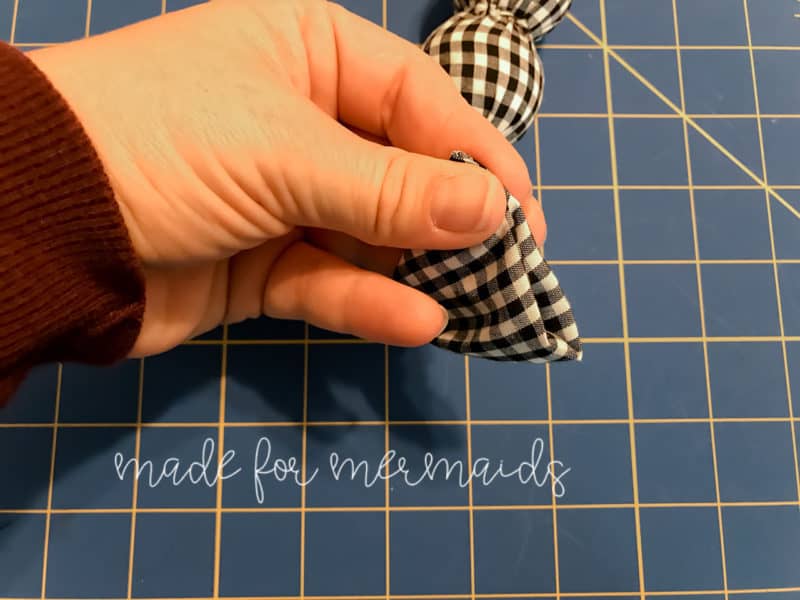
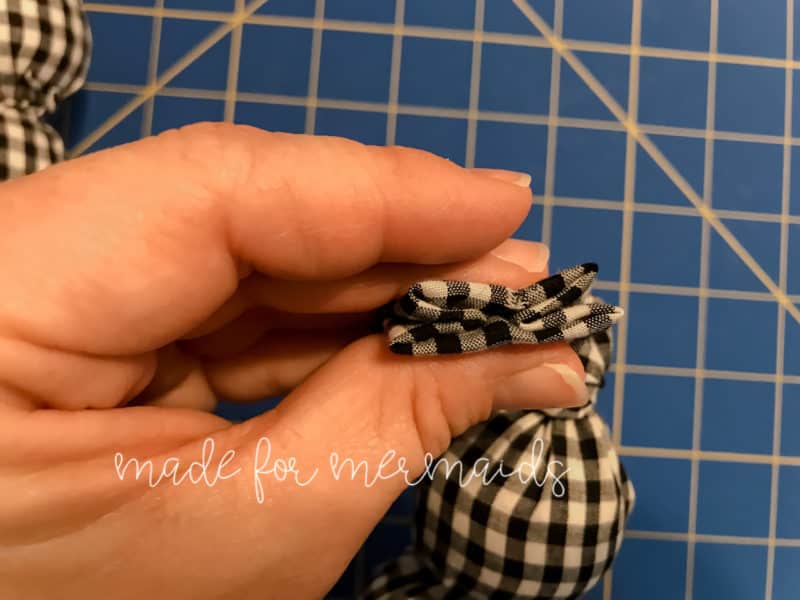
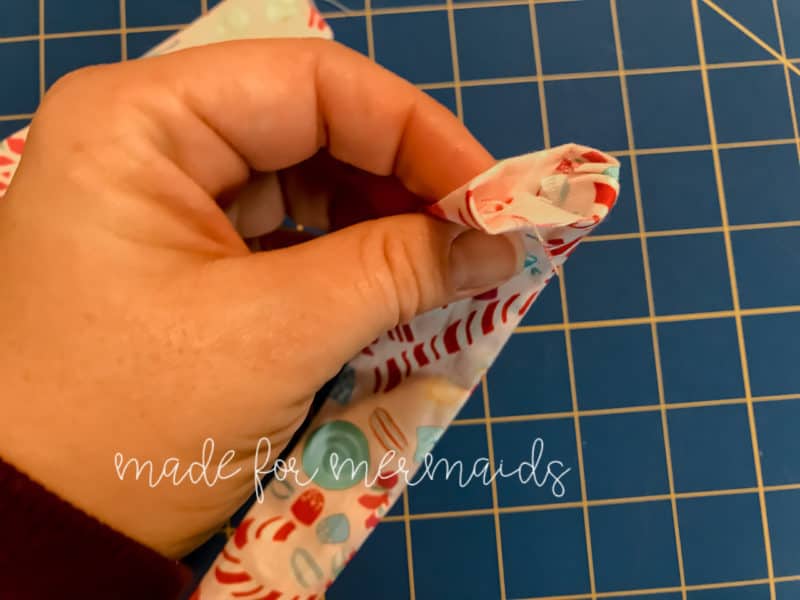
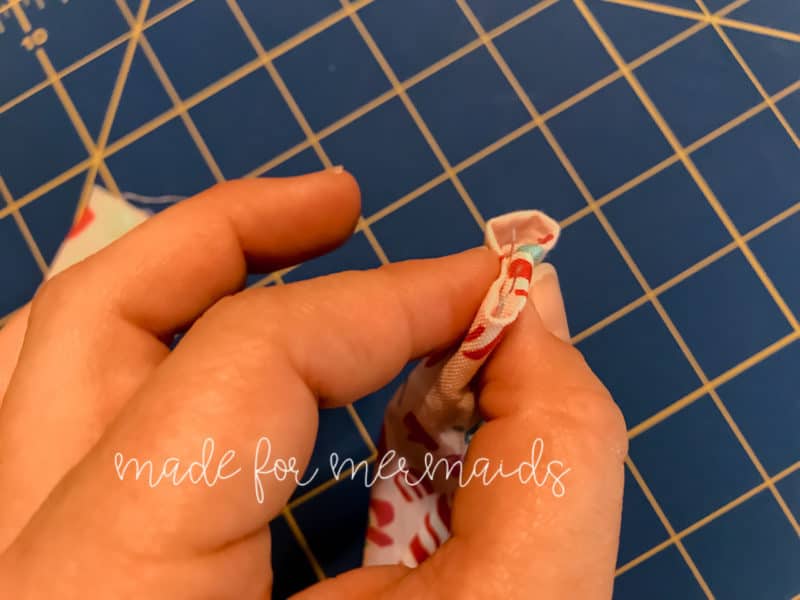
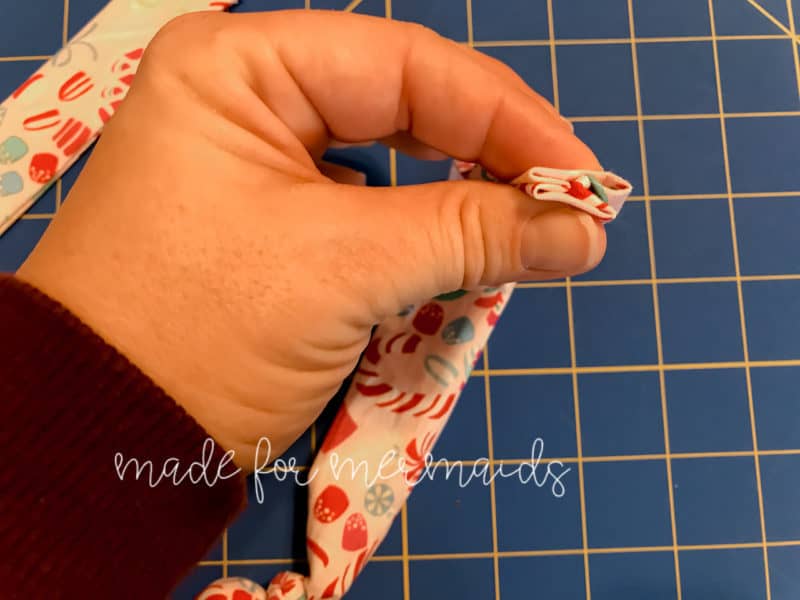
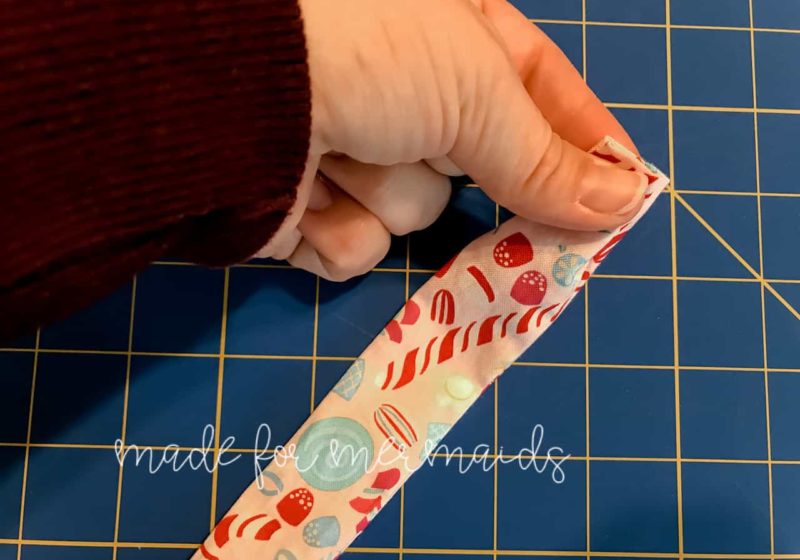
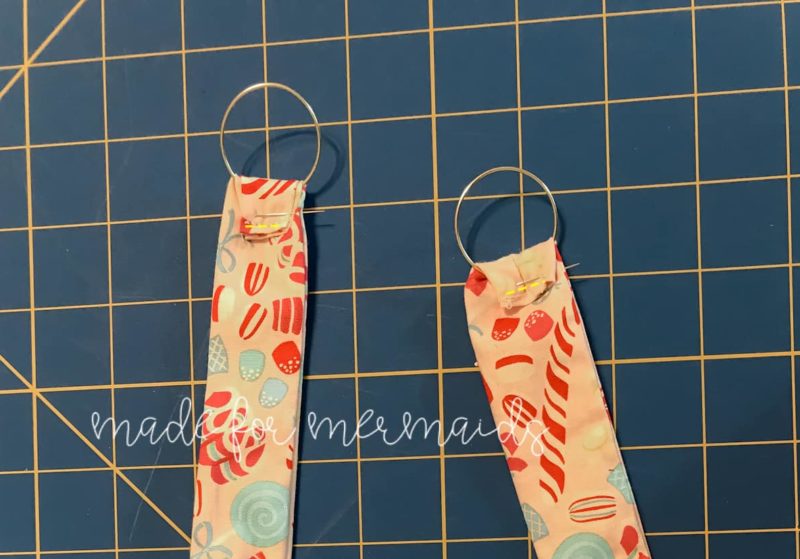
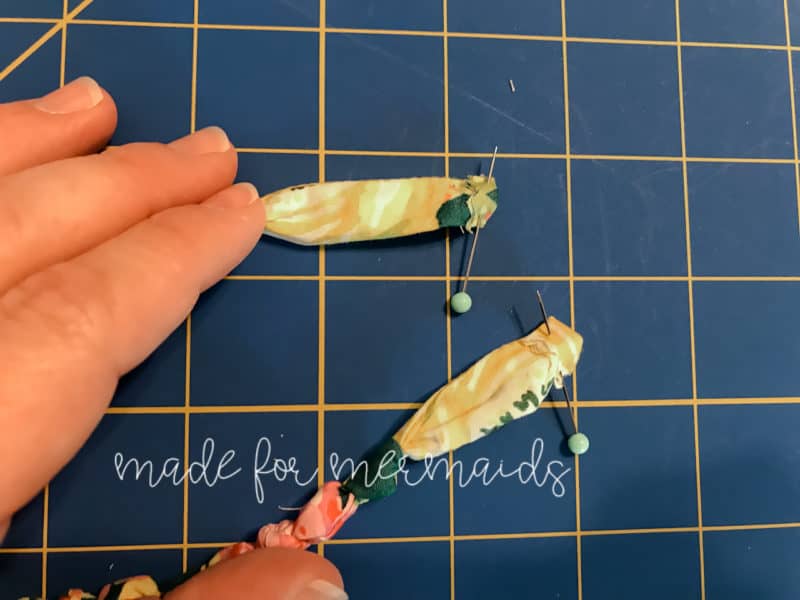
To finish the necklace edges, tuck the raw edges in 1/4-1/2” (I did 1/4”). Pinch end of fabric “tube” together. Flatten tube to create a “pleat”.
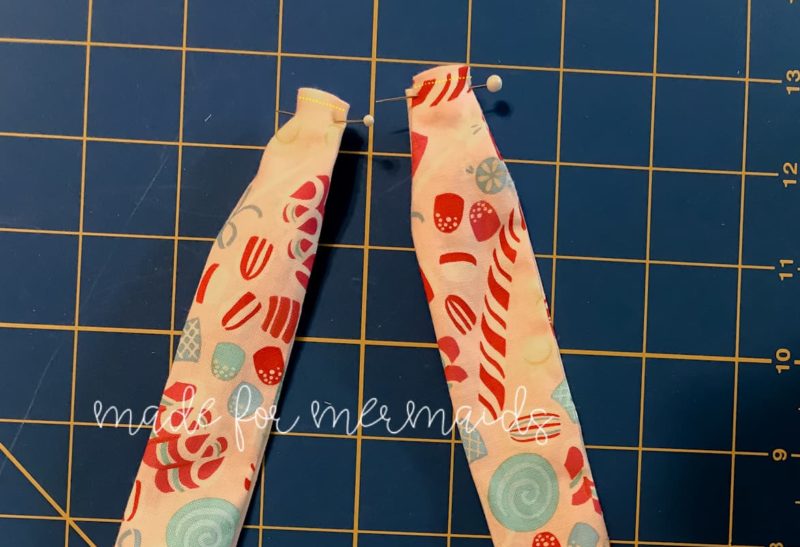
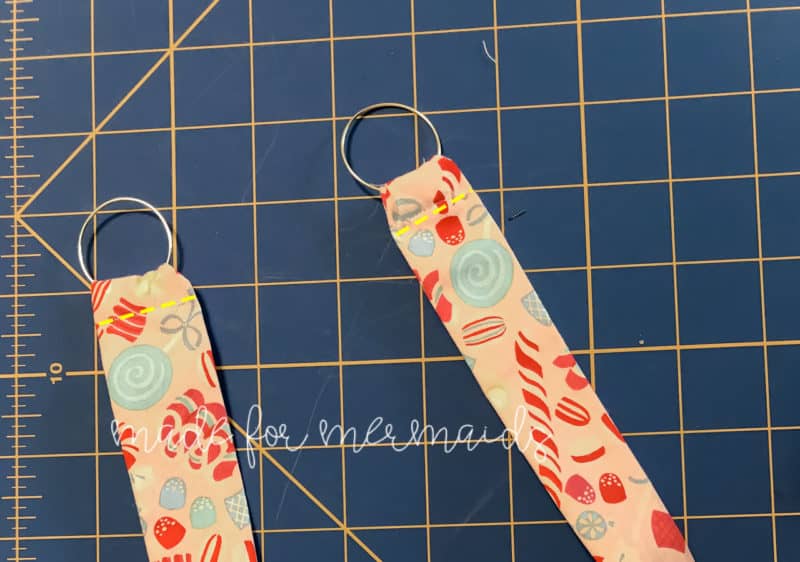
Flatten/pinch open end of tube. Pin “pleat” in place. Edge stitch. After stitching tube closed, fold edge over 1/2”, enclosing a ring (you can use small jump rings or split rings – usually in the jewelry findings section). Pin in place. Stitch together, being sure not to catch your ring in your stitch. Repeat for opposite side.
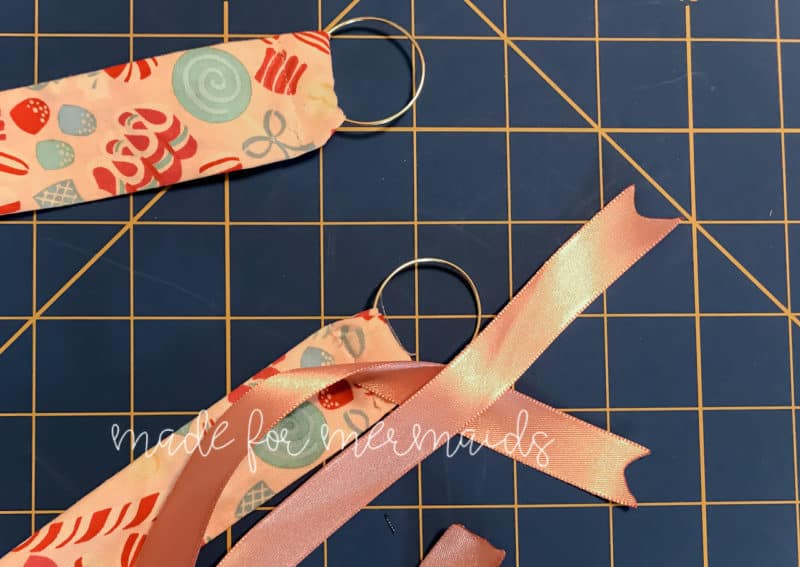
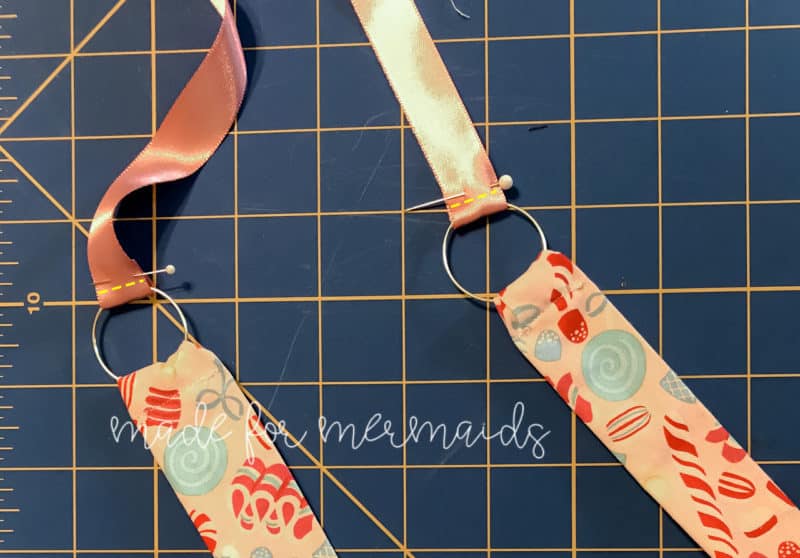
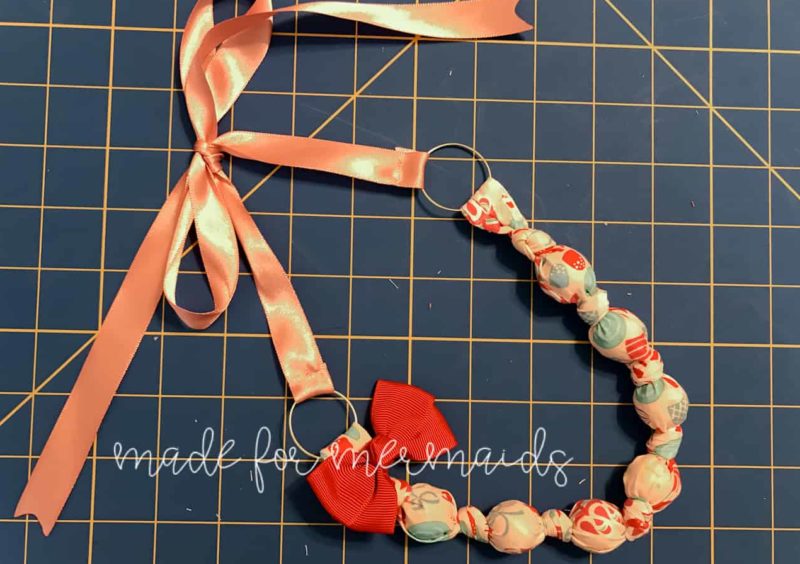
To finish this necklace, you will use ribbon. You can use any ribbon, or create a thin fabric “ribbon” if you’d like! I like to heat set my ribbon edges to prevent fraying. Length is up to you, depending on where you want your necklace to hit. Enclose the rings in the ribbon just as you did with the fabric. Tie the ribbon in a bow, and done! I added a little fabric bow for embellishment.
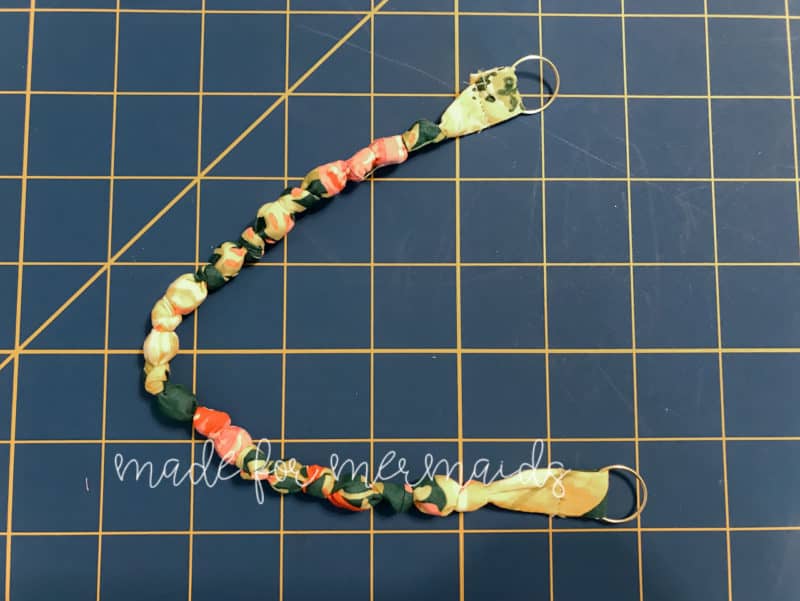
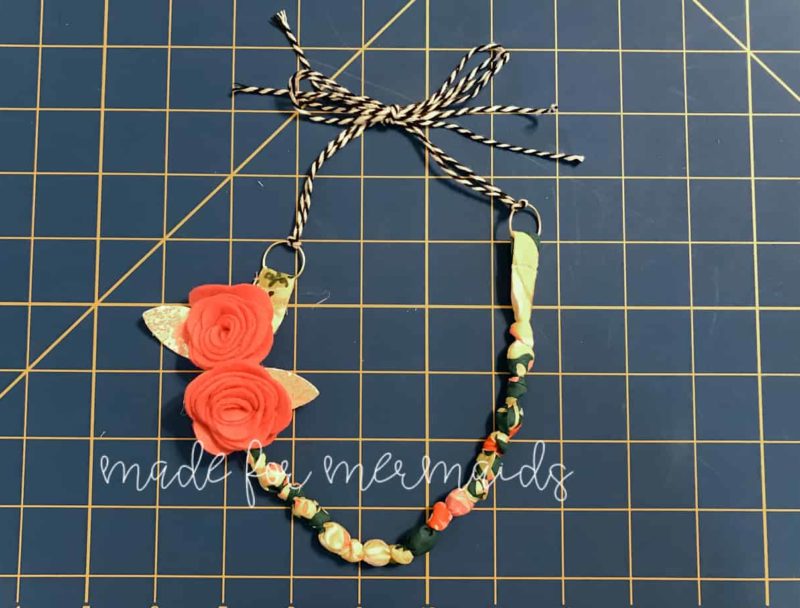
Want a thinner version? You can also use pony beads! When you’ve reached your desired length, you can finish with just the fabric straps (as described below), or you can trim your extra length and add jump rings.
Because these are so much more narrow than the other necklaces or the garland pieces, I omitted the pleat and just used pinking shears. Fold raw edge over 1/2” to the “back” of your necklace.
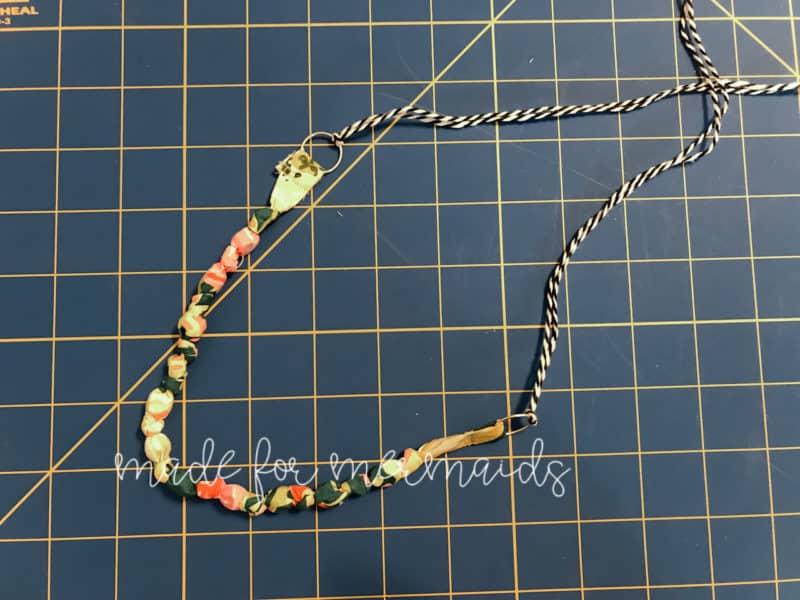
Fold over again 1/2”, enclosing the jump ring. Stitch in place, being sure not to catch your ring in the stitches. Repeat on opposite side. I used leftover baker’s twine to finish this one off!
For necklaces w/ only fabric ties:
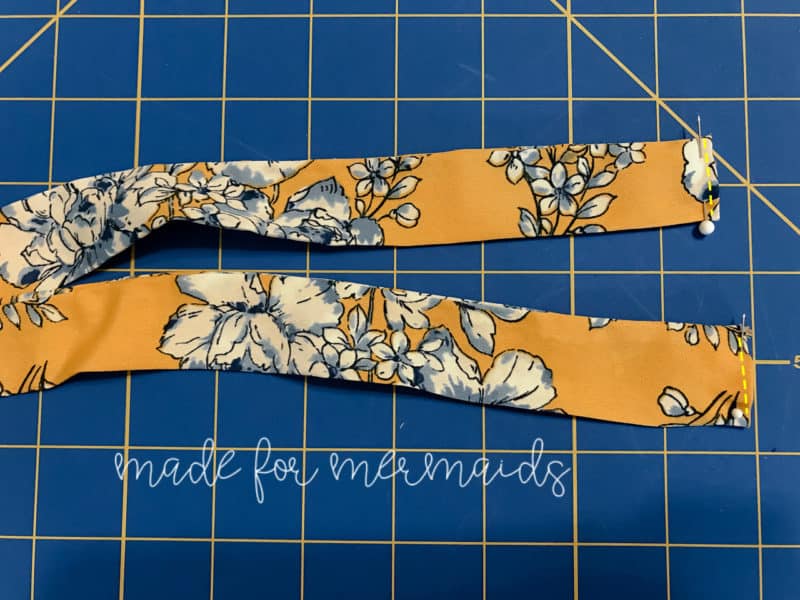
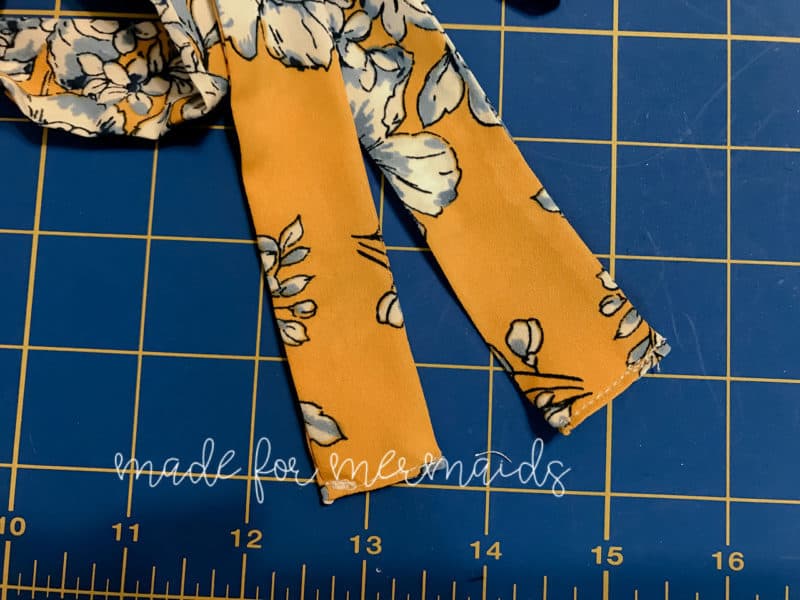
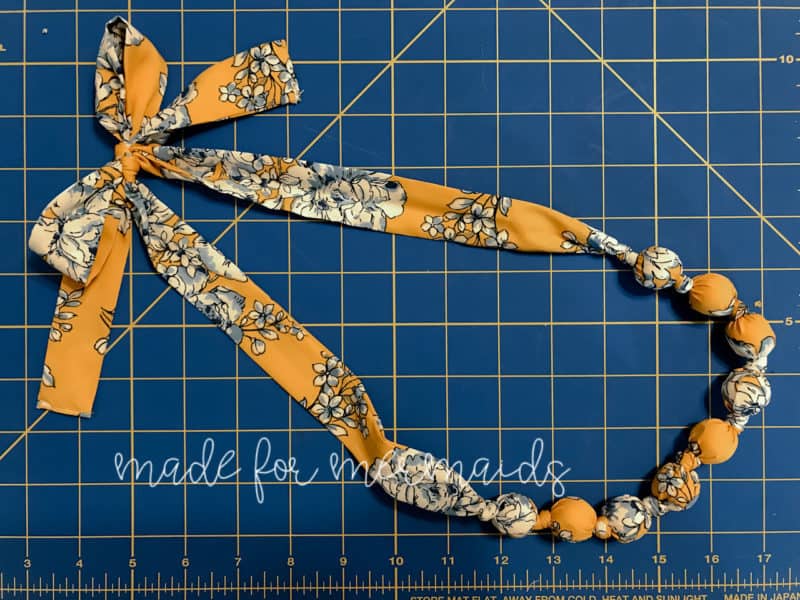
Tuck the unfinished edges on both sides of the necklace in about 1/2”, and pin. Edge stitch to close the openings. Tie the necklace straps in a bow, and done!
That’s it! Enjoy your new decor and jewelry!
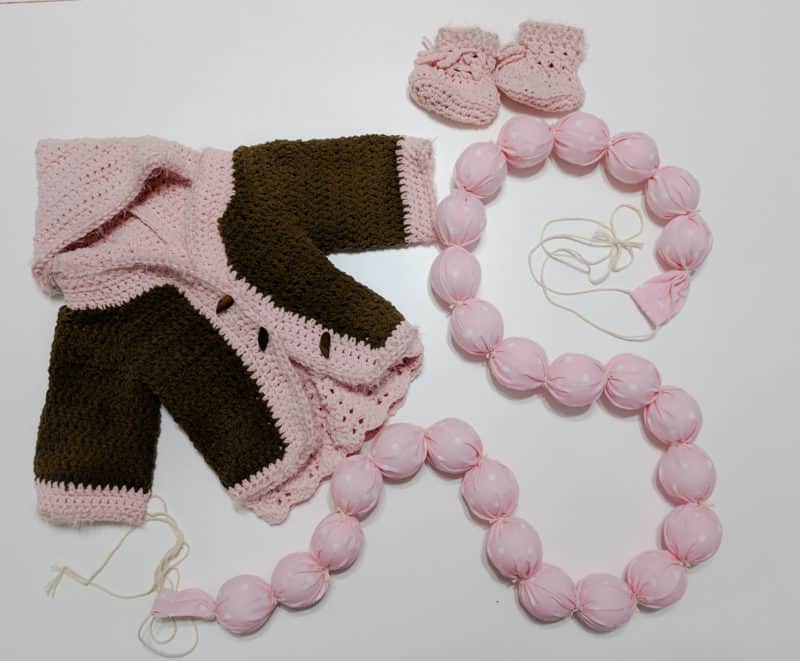
And, I can’t wait to see how Michelle uses her sweet garland as part of her nursery decor!












Leave a Reply