
Happy Day 7 of our 12 Days of Christmas freebies! Today’s freebie is pillow covers in THREE sizes, plus cut files you can use with your Silhouette/Cricut machines!
I LOVE mixing my own pillow covers with store-bought pillows. They make the perfect accent pieces for couches, chairs, window seats, really anywhere! My husband will tell you I have too many pillows, but I say there’s no such thing!!
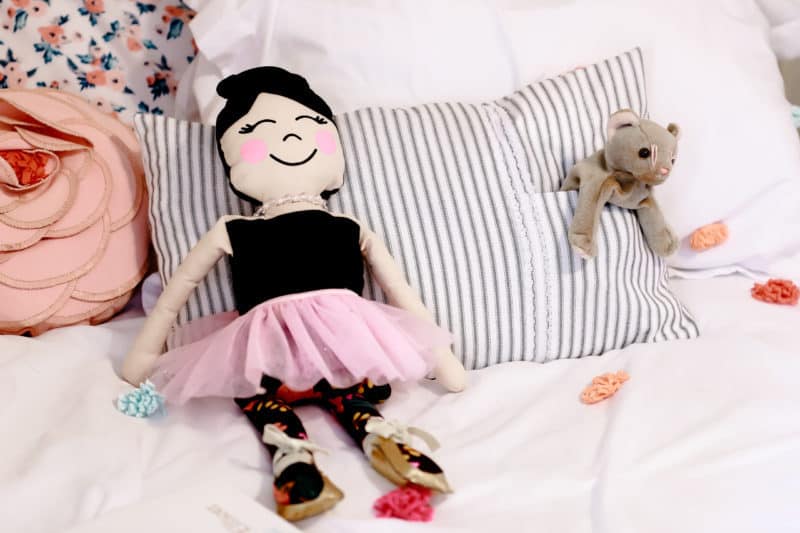
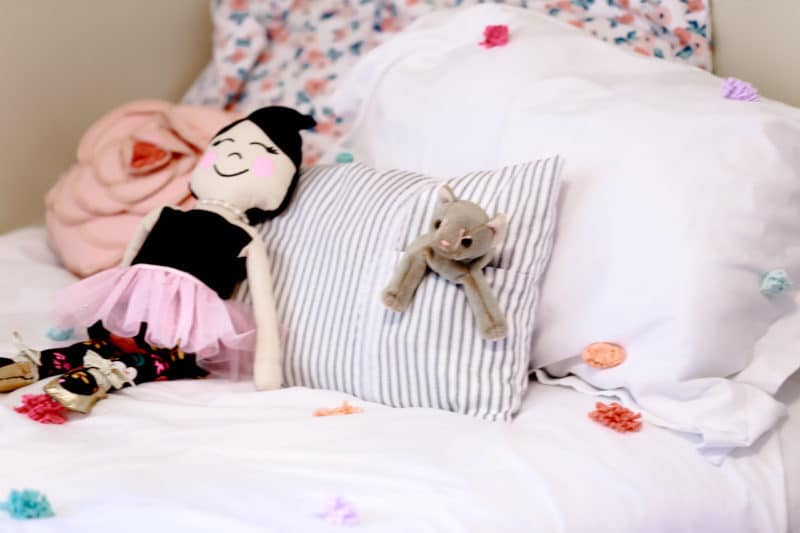
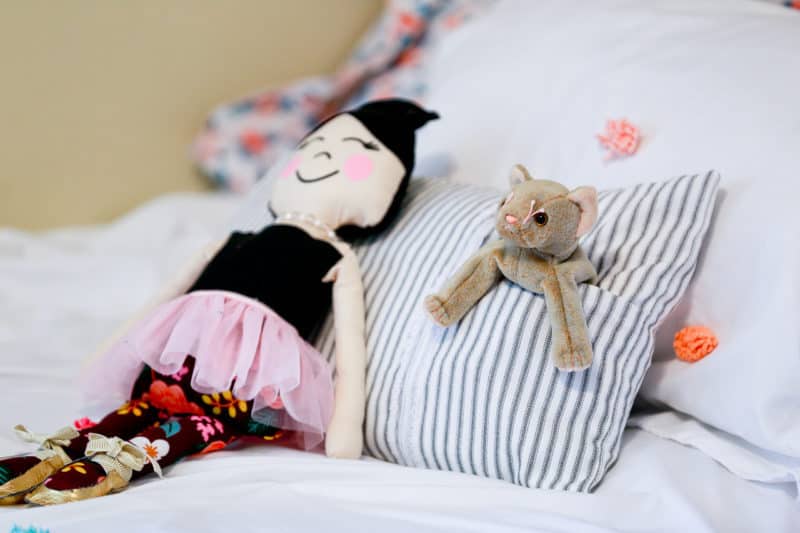
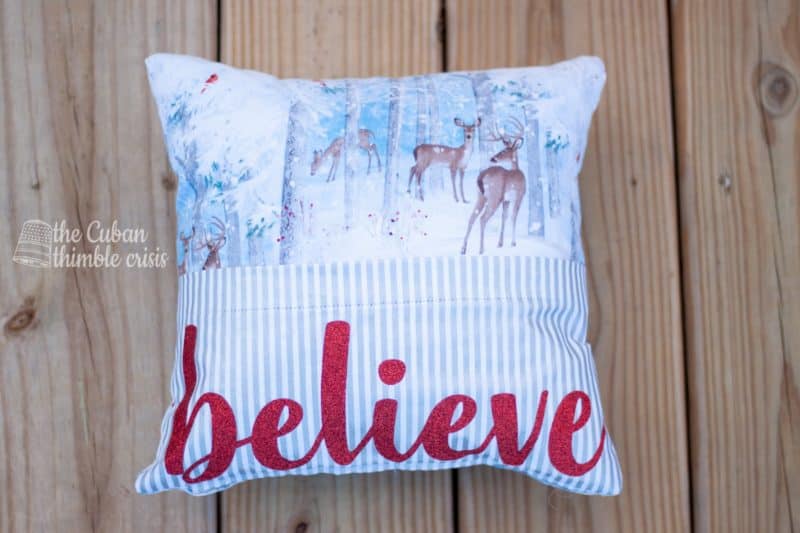
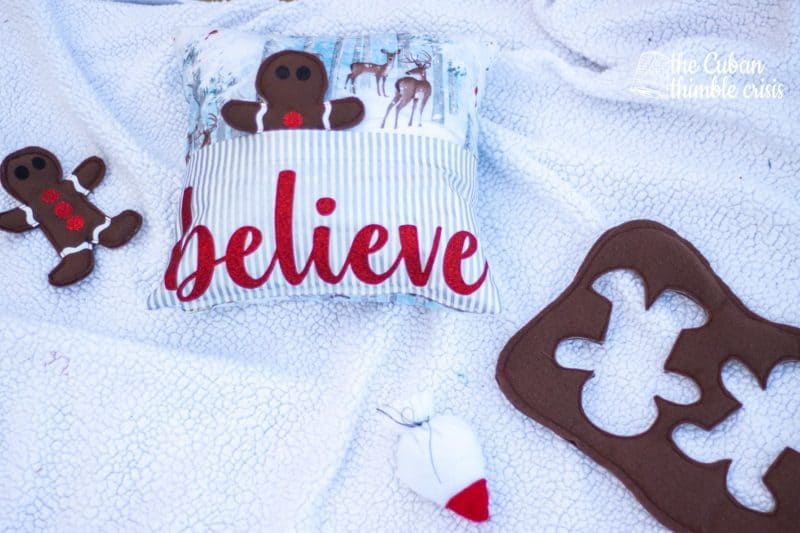
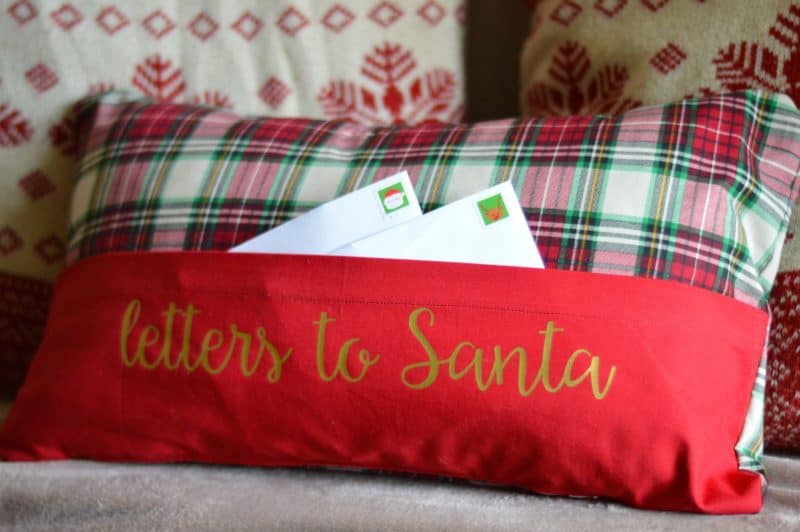
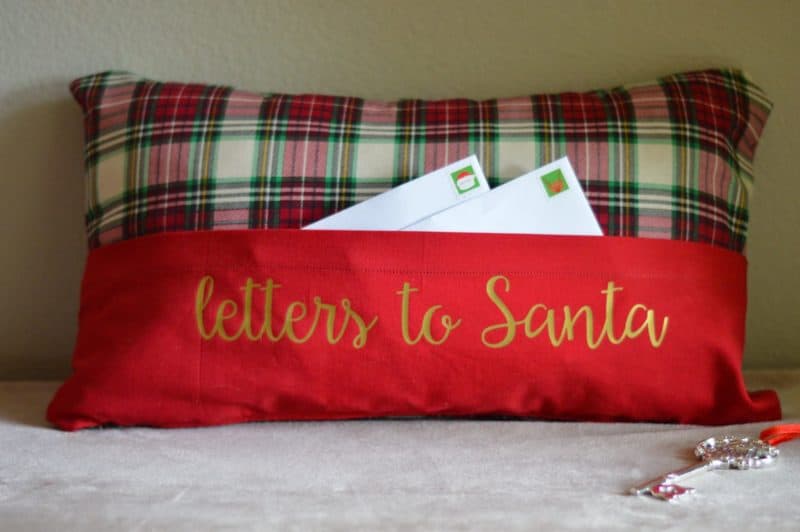
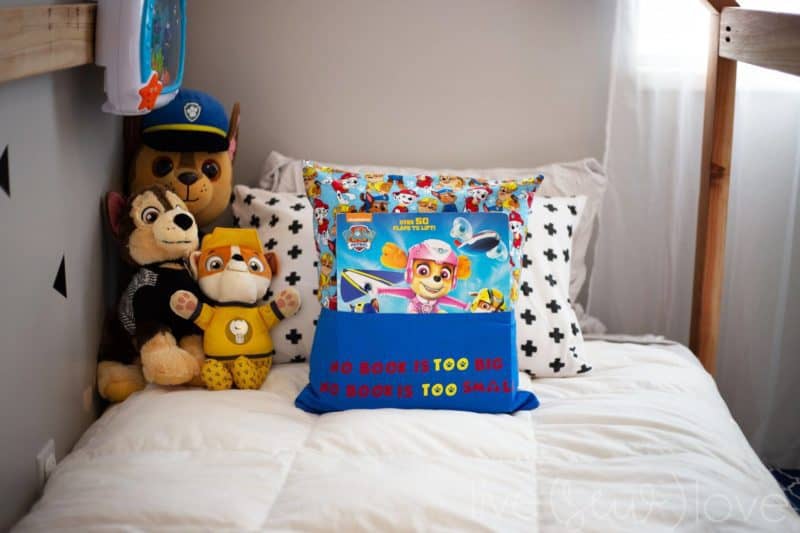
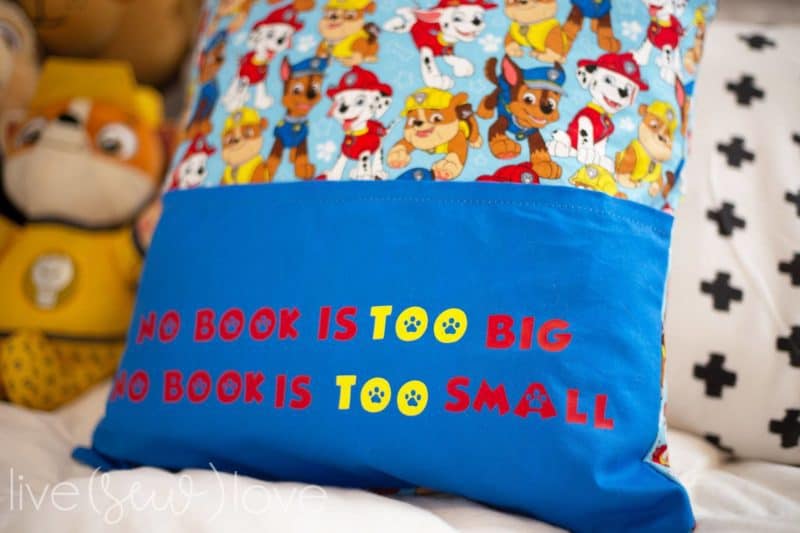
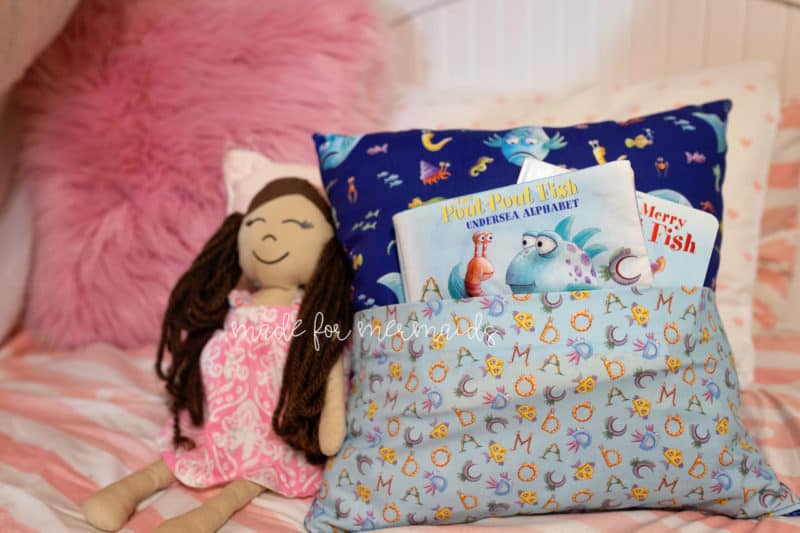
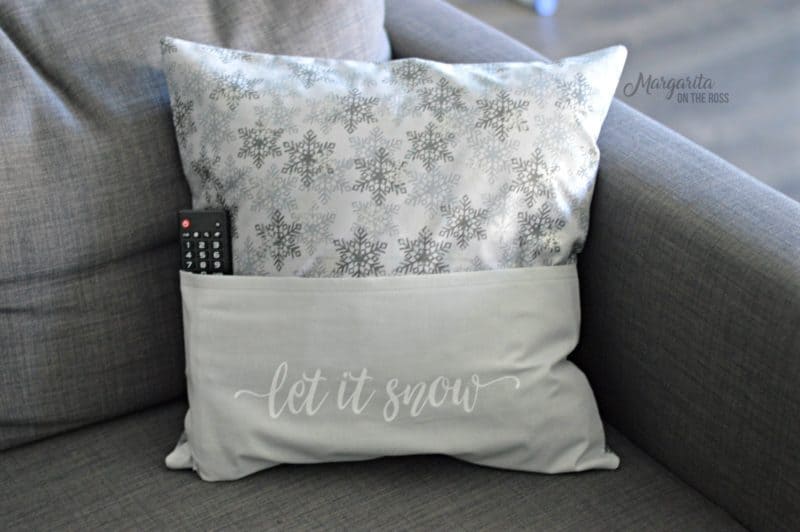
Of course, these pillow covers aren’t just for Christmas. The two different pocket sizes are great for books, small stuffed animals or dolls, or other little treasures. Gift them to teachers, friends, the little ones in your life, librarians, etc!
SUPPLIES:
- 1/2 yard of woven fabric for 12″ or 18″ pillow OR 2/3 yard of woven fabric for 12″ x 20″ pillow cover (does not account for directional prints, multiple pockets, etc.)
- pillow insert
- zipper ( should be just a few inches shorter than pillow length; I used a 16″ zipper for the 18″ and 12″ x 20″ because I had a bunch of them!)
- basic sewing tools
- optional: HTV/cut files, Sydney Sailor Bows, trim, other embellishments
- optional: felt & interfacing for antlers
LET’S GET STARTED!
1/2″ seam allowances included.
Step 1: PREPPING
Go grab the pattern HERE! The pattern is 100% free, but you do need to add it to your cart and check out. Then, it will always be available to download from your account. The pattern is a no trim pattern; if you need help putting the pattern together, pop over to the faqs and troubleshooting page or ask in our Facebook group .
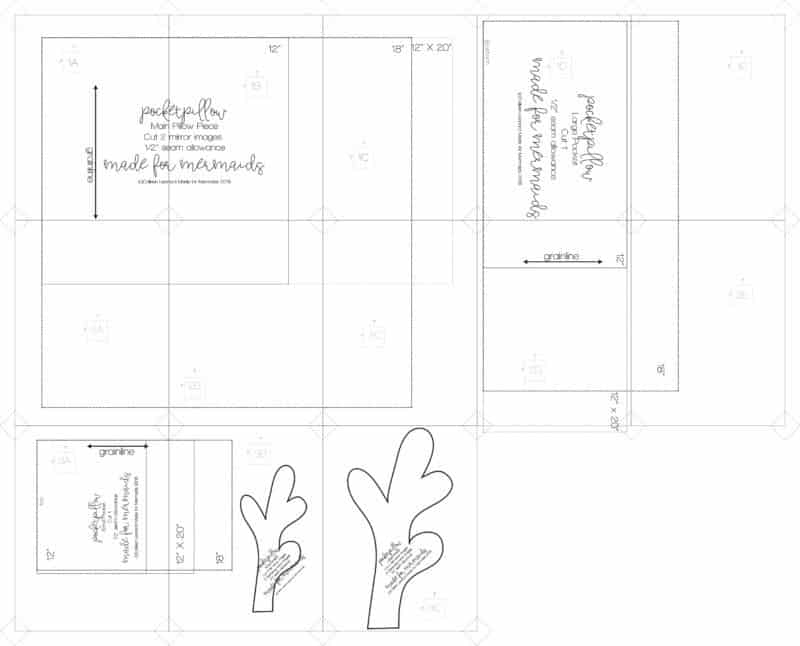
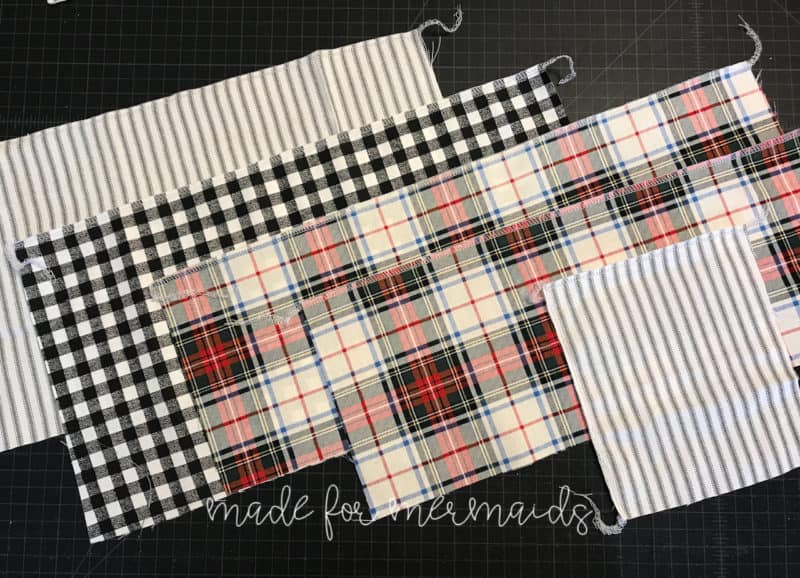
Print and assemble the pattern. Cut out the pattern pieces. Pattern layout shown below:
After you print and assemble your paper pattern pieces, go ahead and cut your fabric!
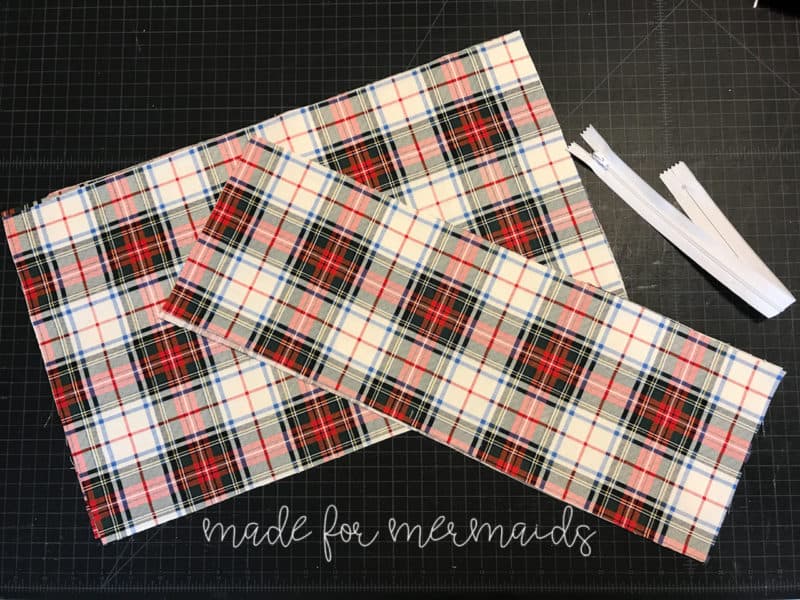
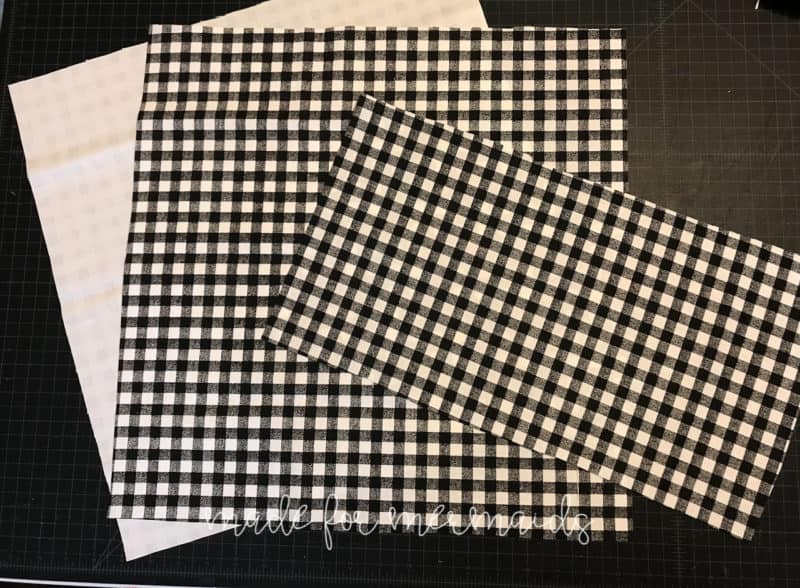
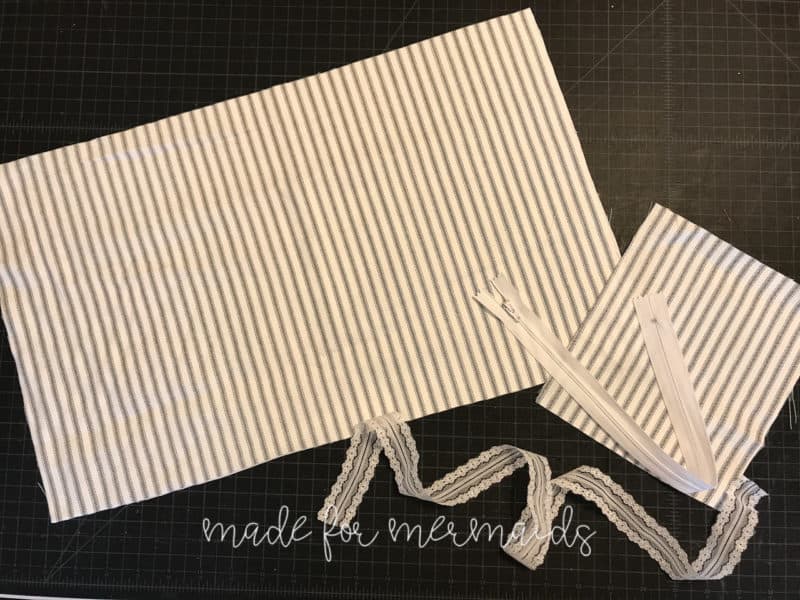
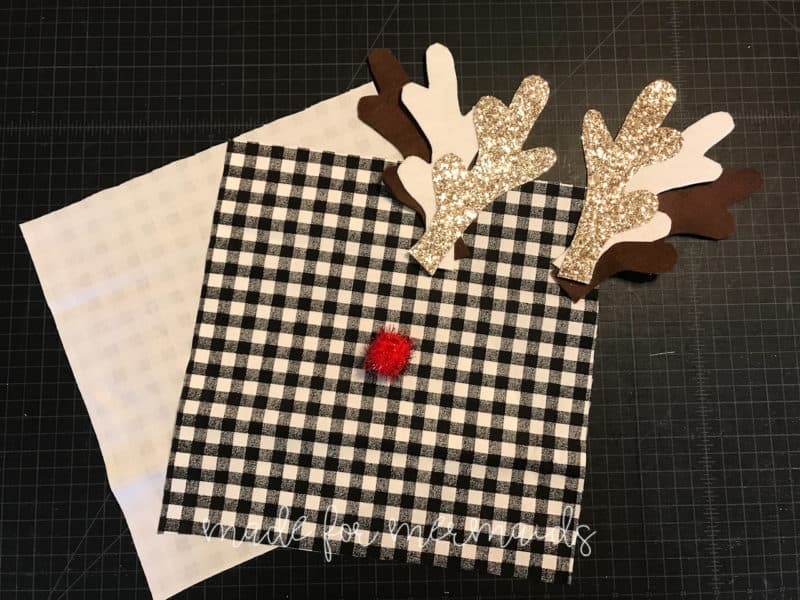
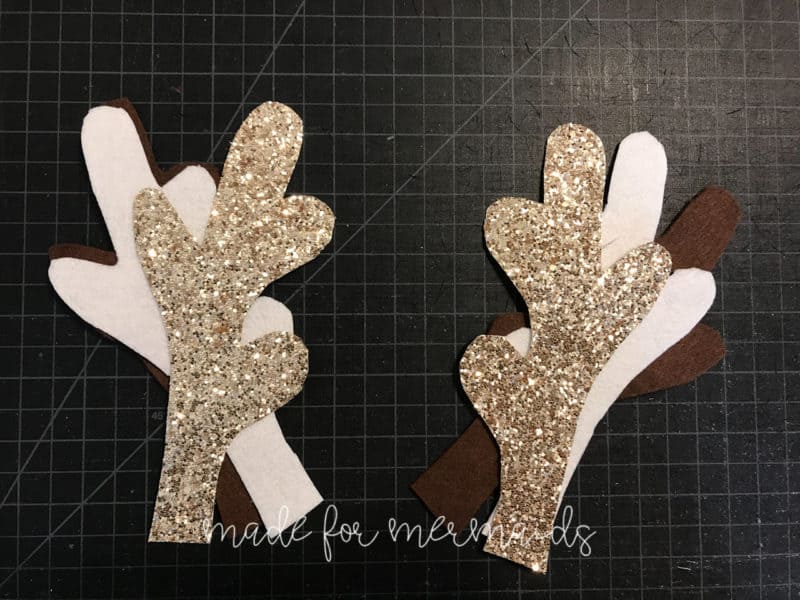
For all pillows, you will need two main pillow pieces (a front and back), and a zipper. If you are making the large pocket option, you will also need to cut a large pocket piece. If you are making the small pocket option you will need to cut a small pocket piece as well as a piece of trim. If you are adding antlers, you will need to cut 4 felt antlers (two sets of mirror images) and 2 interfacing antlers (mirror images).
Step 2: POCKETS
All pocket options: serge top raw edge of pocket pieces, without cutting any off. You can also press toward the wrong side 1/4” instead, if you prefer.
If your top edge has been serged, press toward the wrong side 1/2”. If you pressed 1/4” instead, press another 1/4”. Top stitch along top edge. For small pocket pieces, you may wish to serge your side edges as well.
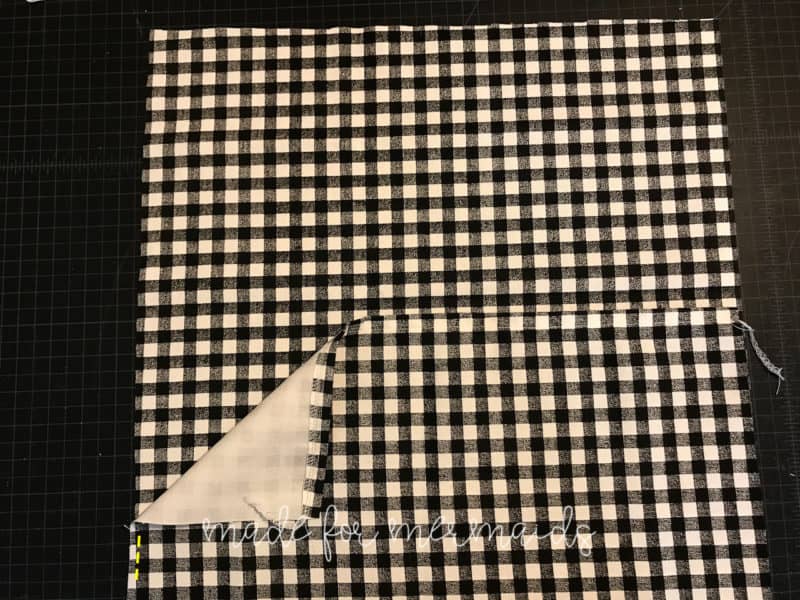
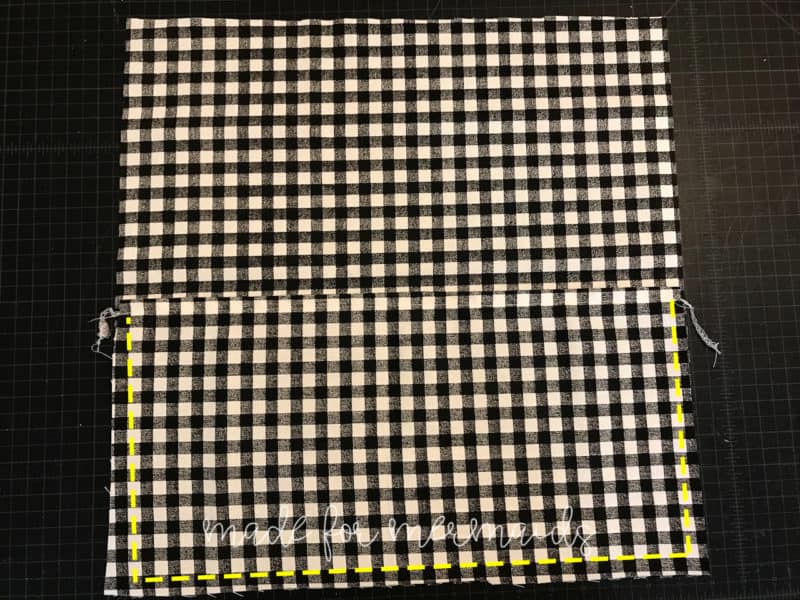
Large pocket option: Place large pocket piece on top of main pillow piece (you can choose either front or back – either will work!). Match bottom and side raw edges. Baste your pocket piece in place.
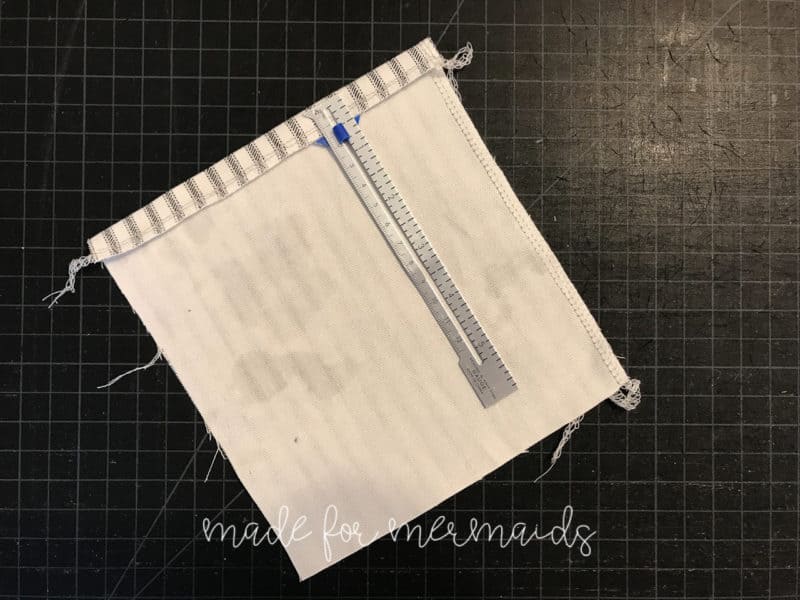
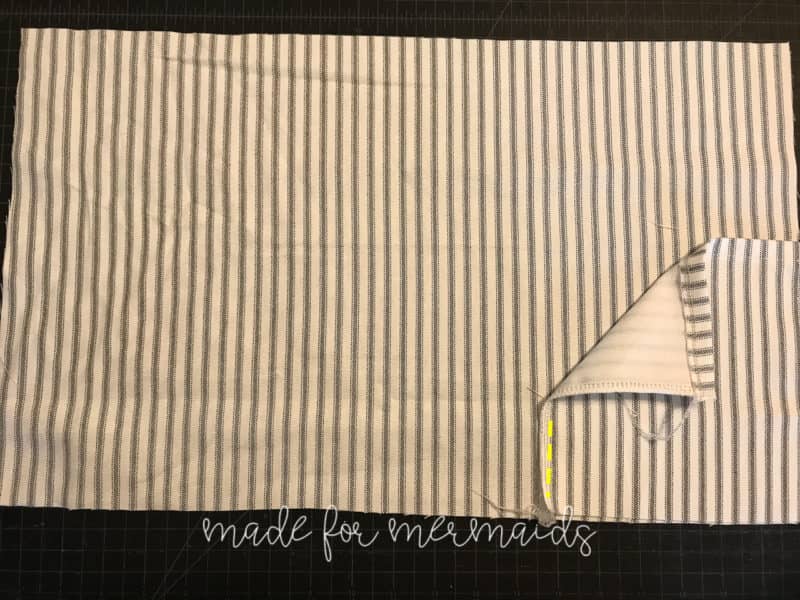
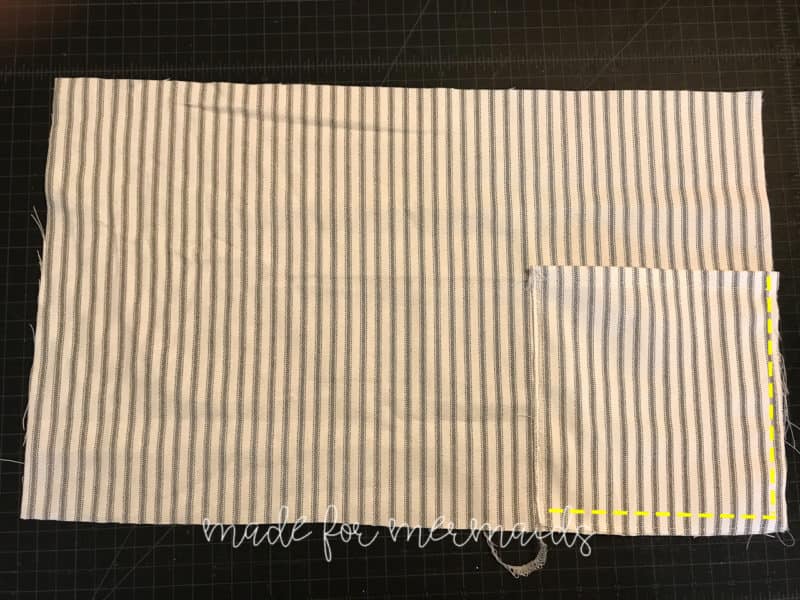
Small pocket option: For small pocket option, line up bottom and one side raw edge. Baste in place.
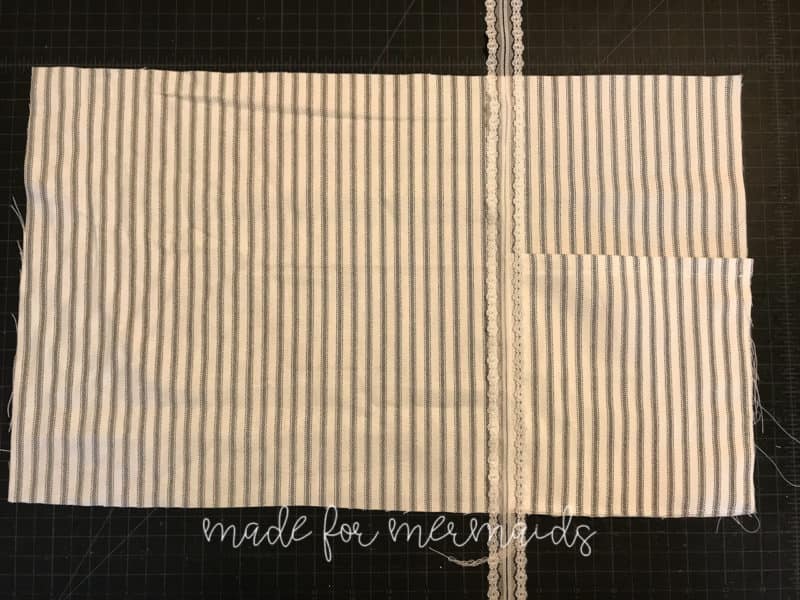
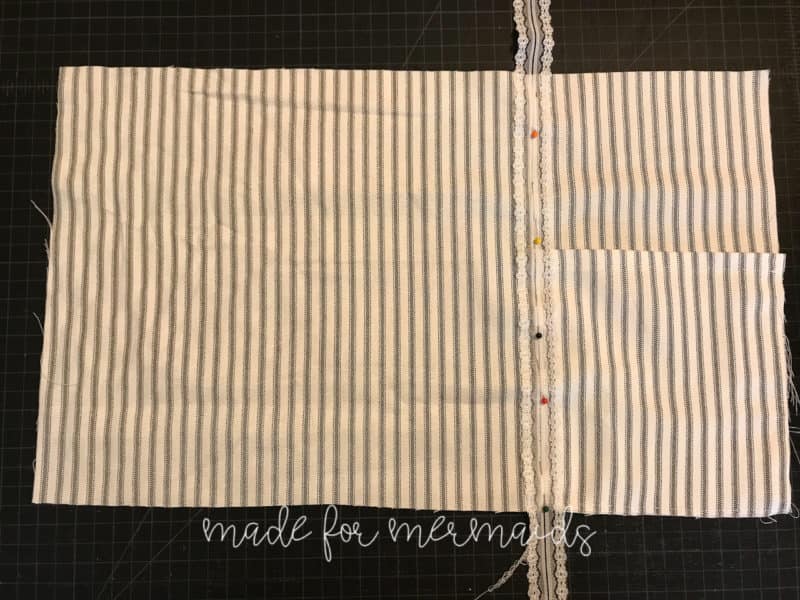
Small pocket option: Place ribbon or trim over the side edge of the small pocket. Pin ribbon or trim in place. Stitch down. This finishes the raw inner edge of your small pocket!
Step 3: ADDING ZIPPER
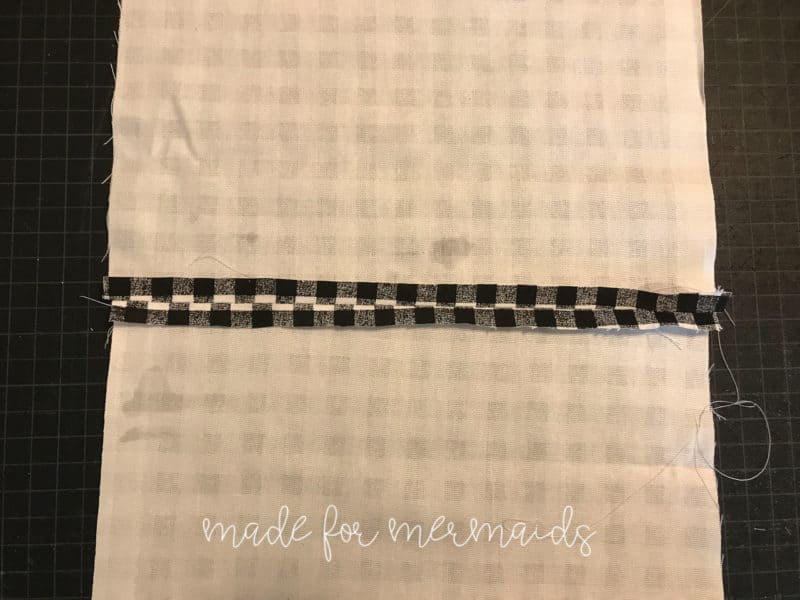
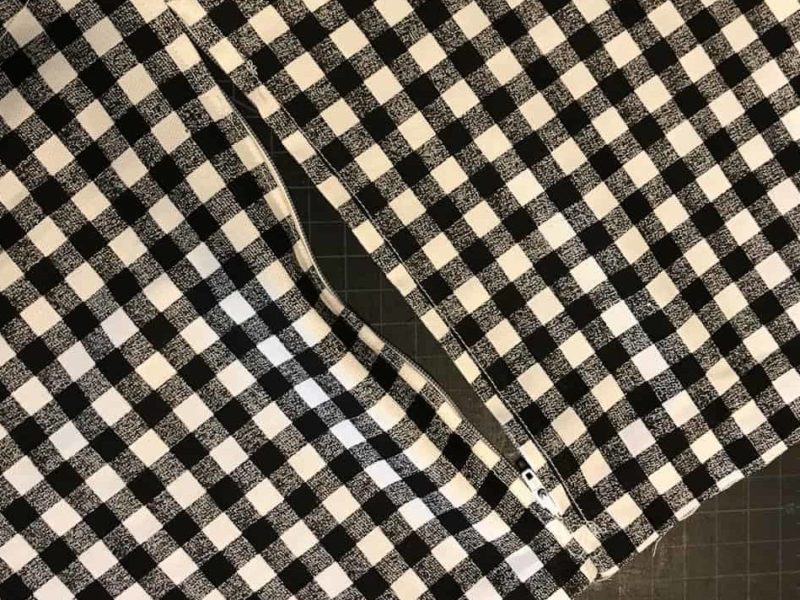
Place main pillow pieces with right sides together. Place pins at either edge of your zipper. Baste between pins. Use a regular straight stitch outside of the pins. Press seam allowance open.
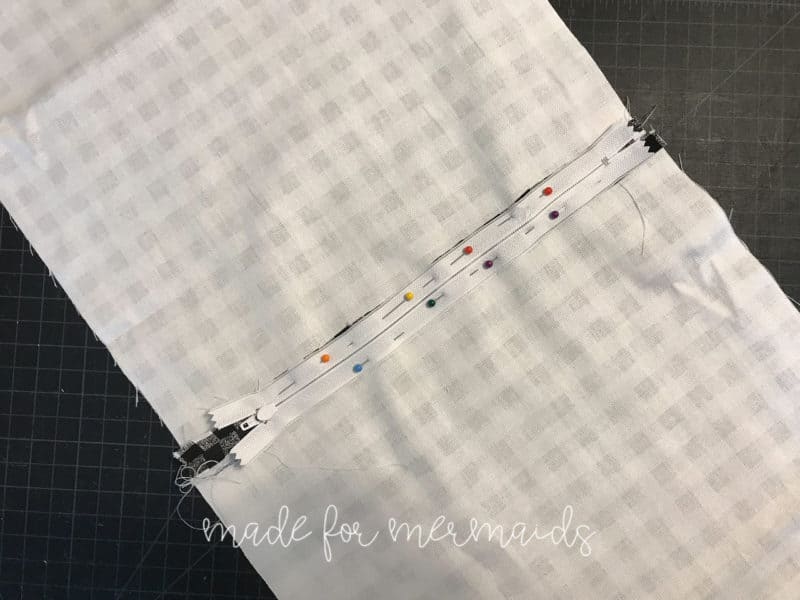
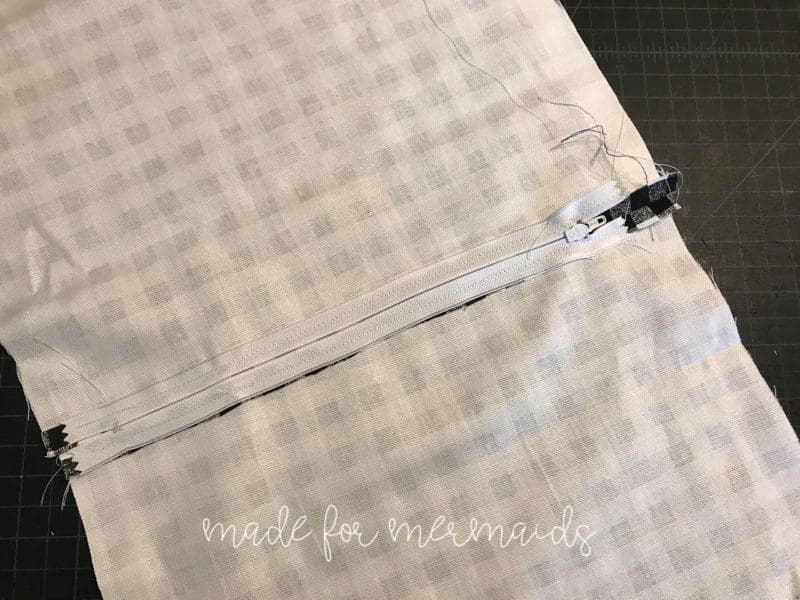
Pin zipper tape, with zipper facing down, to pillow cover. Stitch in place. If you’re using a regular sewing machine foot, make sure you don’t sew too close to the teeth or your zipper will not be able to open/close.
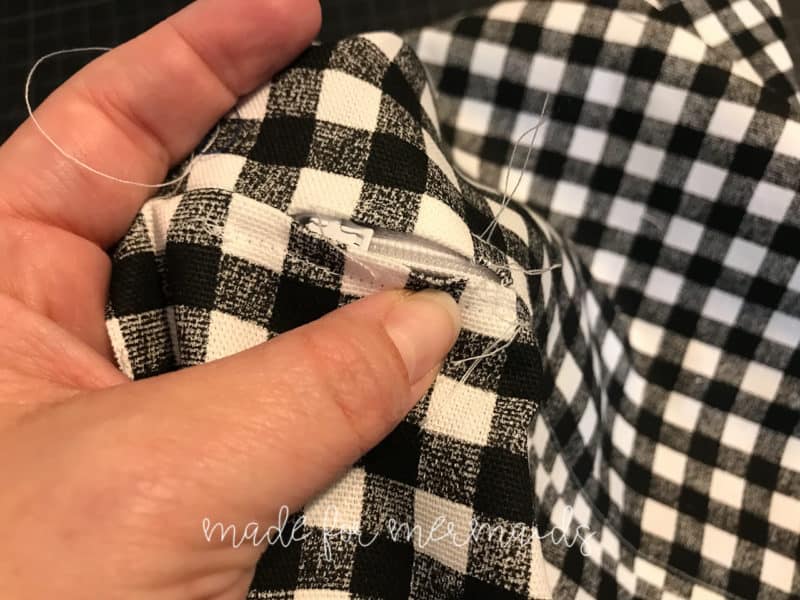
Using a seam ripper, remove basting stitches. Open your zipper up and continue on!
Step 4: OPTIONAL ANTLERS
Use the small antler pieces for the 12″ pillow, and the large antler pieces for the other two sizes.
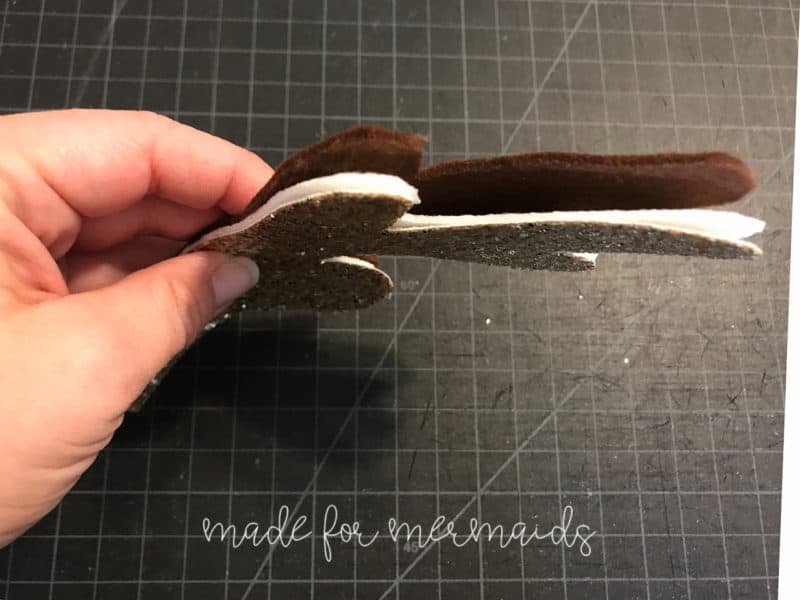
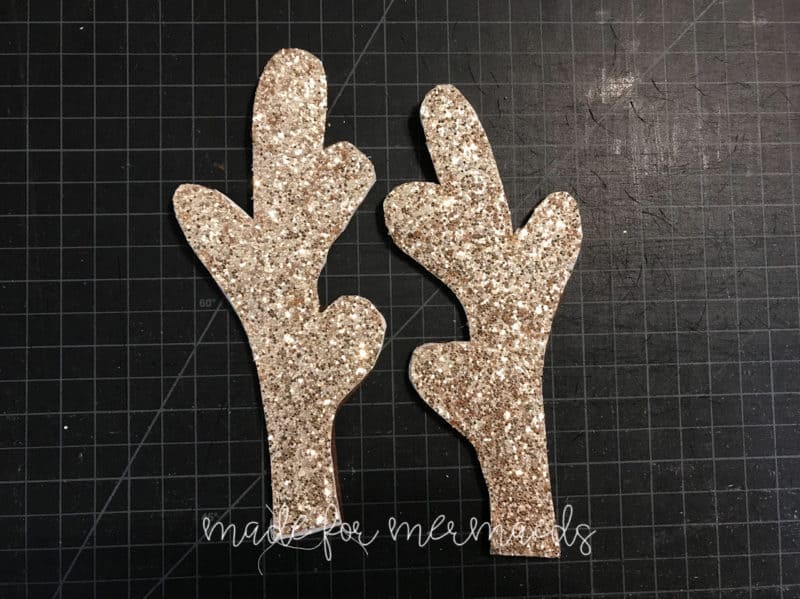
Sandwich interfacing between two layers of felt. Stitch around the outside with 1/4” seam allowance.
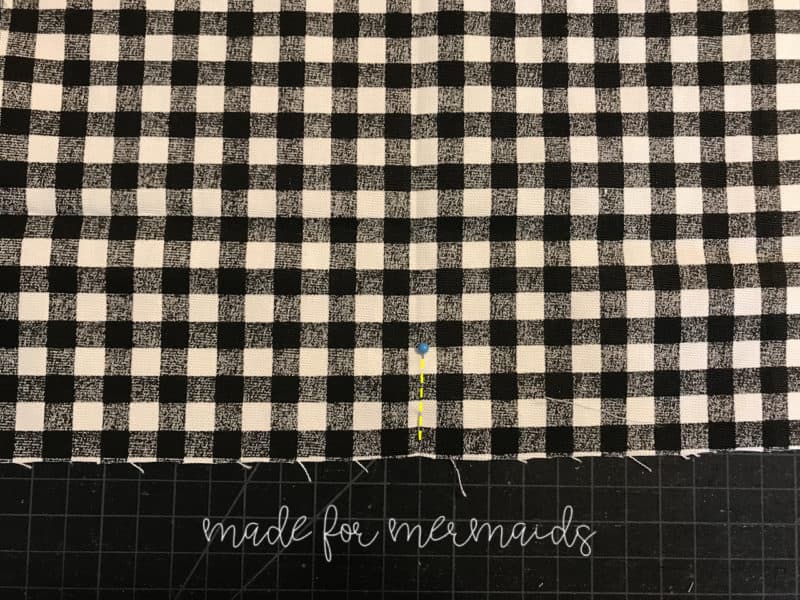
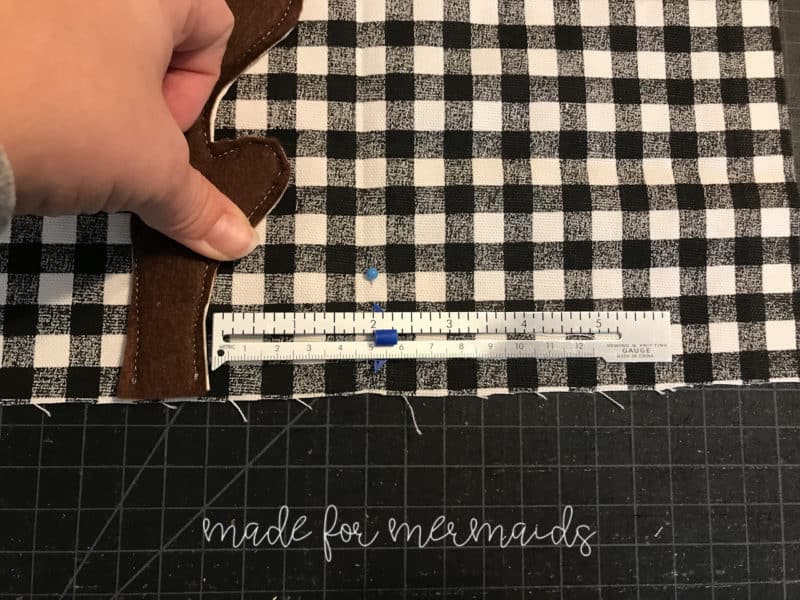
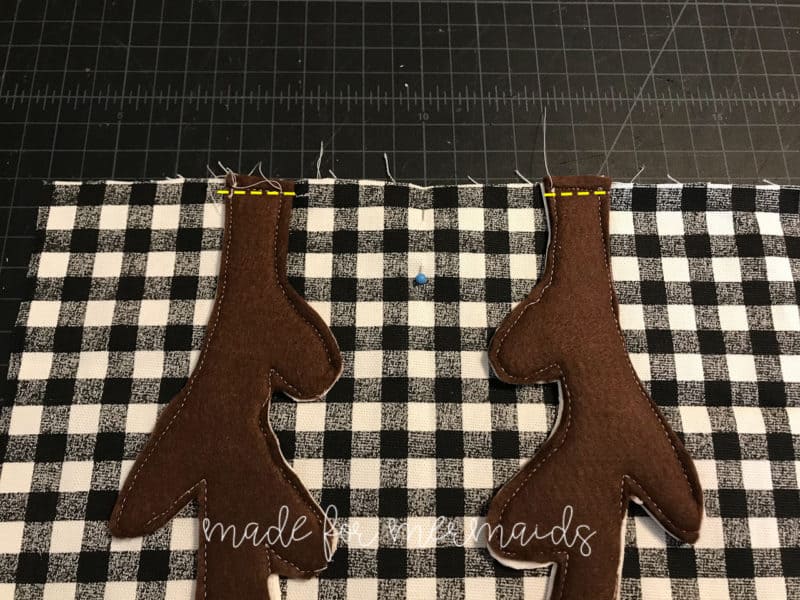
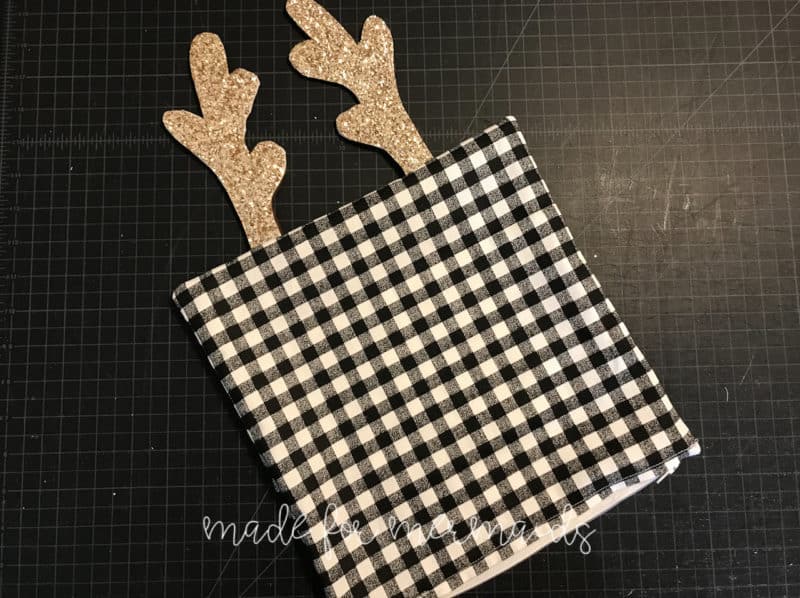
Find the top center on the front pillow piece. Press. Mark top center with a pin or clip. Measure 2” from the center to place antler. Antler and pillow should be right sides together, with antler pointing toward zipper/bottom of pillow.
Repeat for opposite side. Baste in place.
Step 5: FINISHING PILLOW
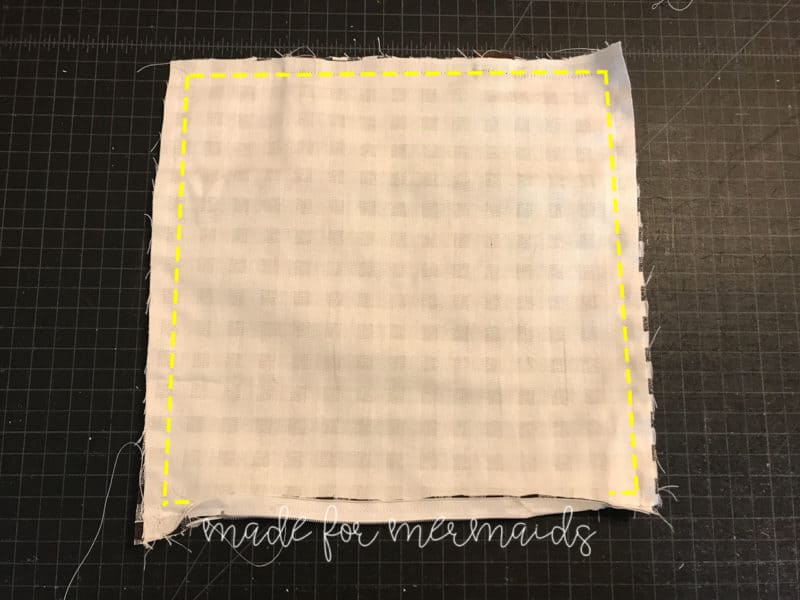
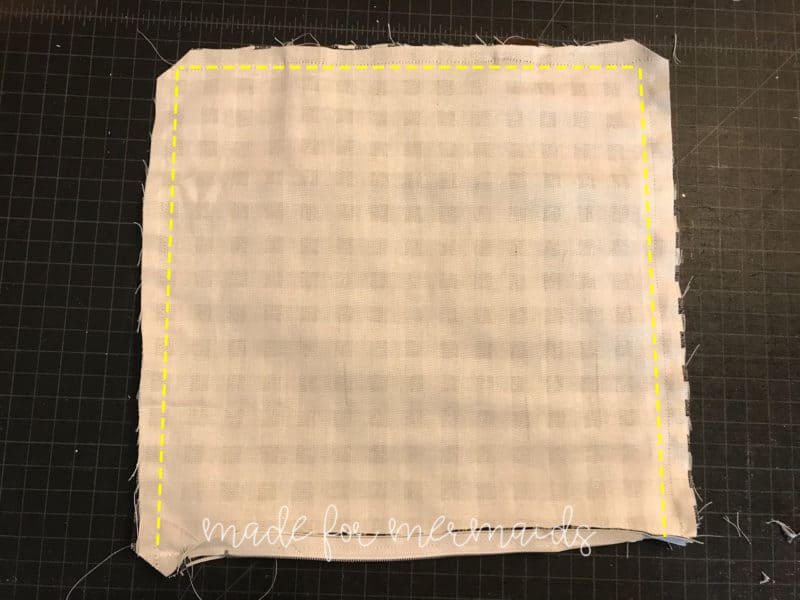
Stitch pillow closed with 1/2” seam allowance. Trim corners at a diagonal. Turn right side out, pressing corners out.
Embellish and enjoy! You can use any number of things to give your pillow a little personality, including the free cut files. Mix and match text and leaves to create something unique!
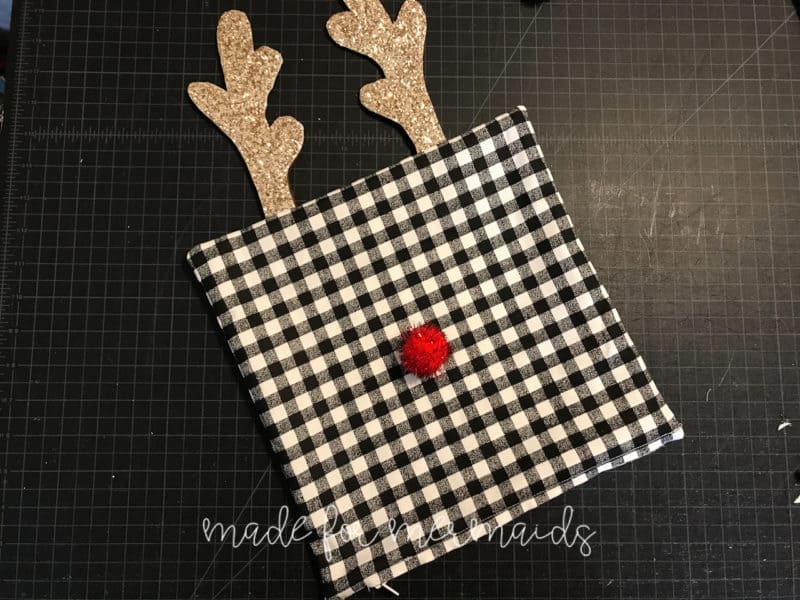
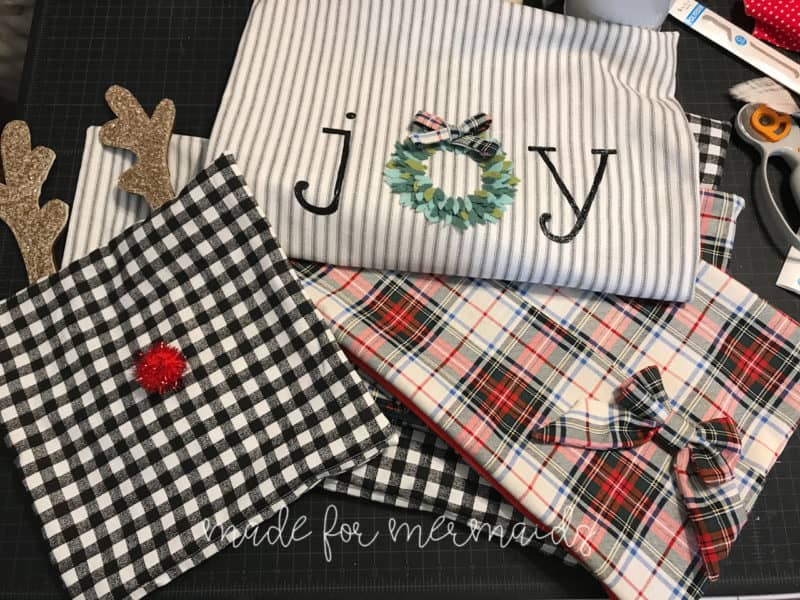
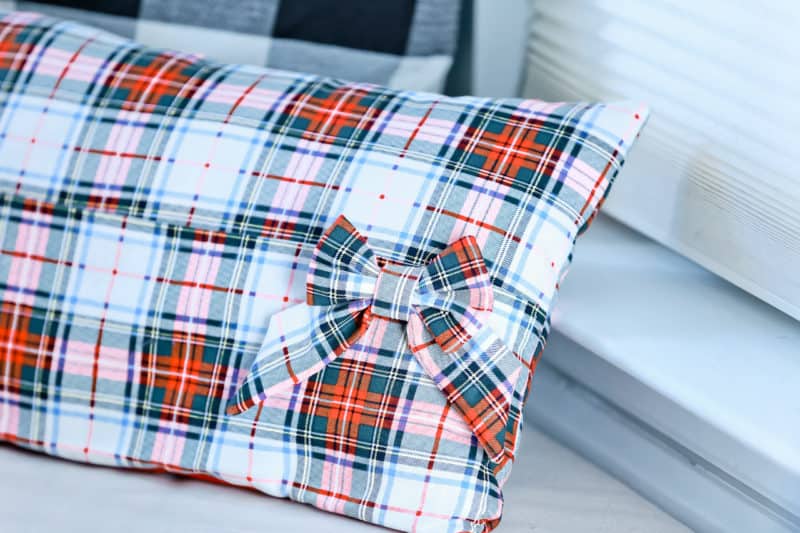
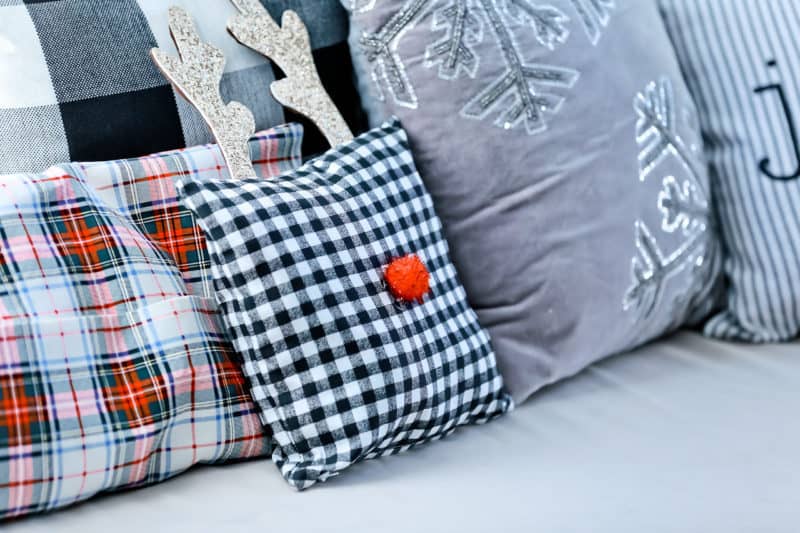
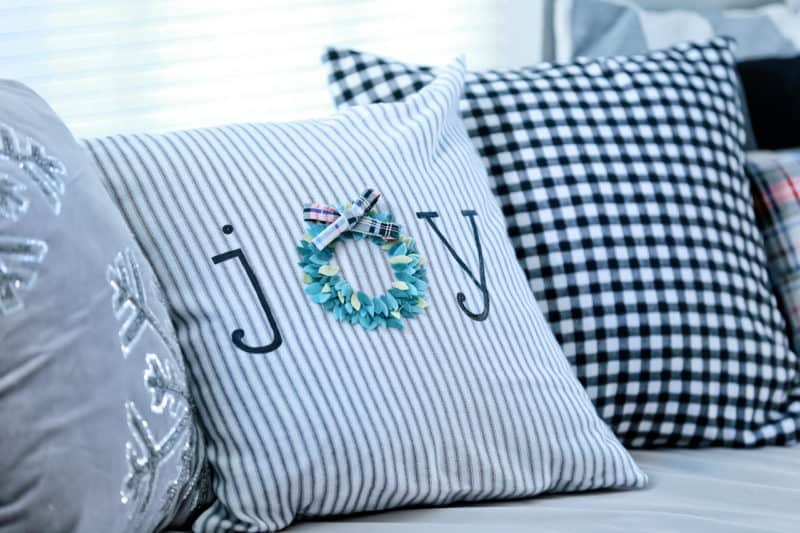
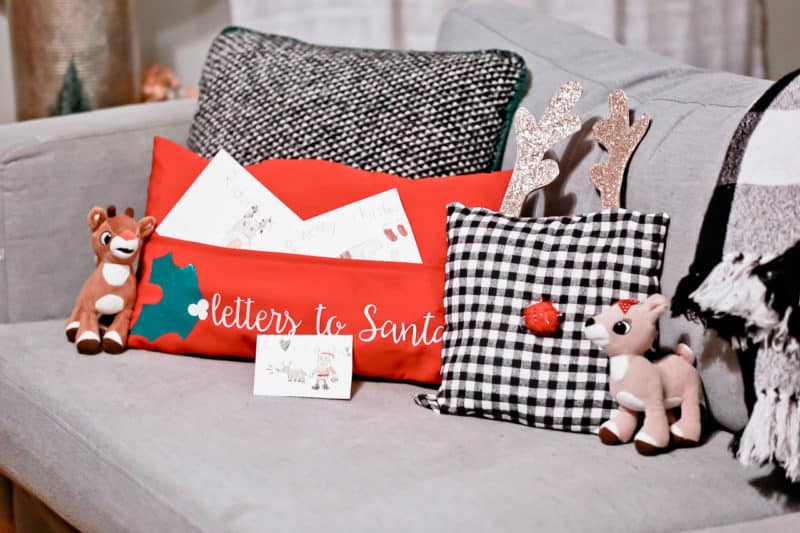
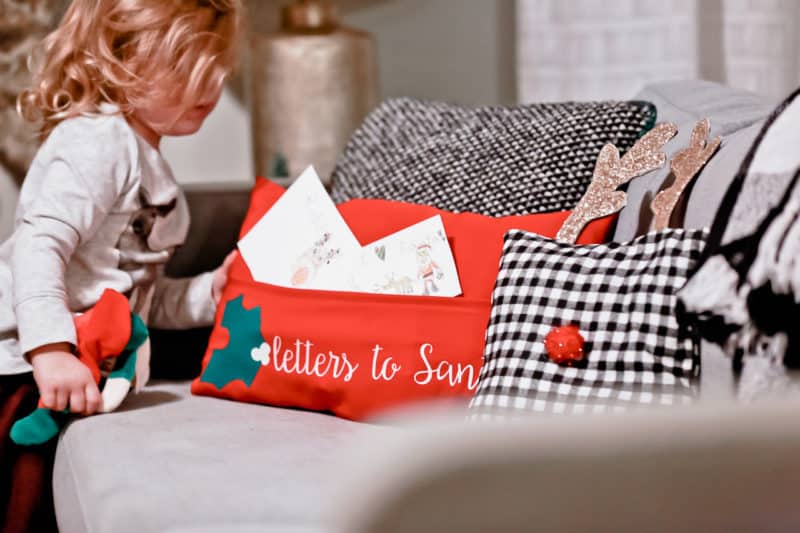
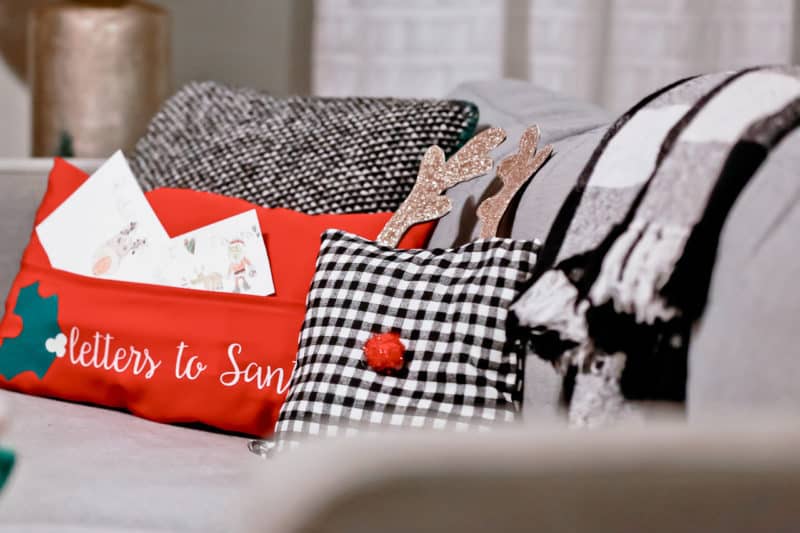
I used the Sydney Sailor Bow for my daughter’s plaid pillow (I made an identical one for my son, so the bow is an easy way for them to distinguish between the two). For my reindeer pillow, I attached a red pom pom as well as the optional antlers! The “JOY” pillow is my favorite, I think. You can use the vinyl cut file letters, but I hand painted mine! For the wreath “O”, I drew a very light outline on the pillow, cut a bunch of leaves out of felt, and hot glued them on! You could definitely stitch them on, too, if you prefer. 🙂
Enjoy your new pillows!
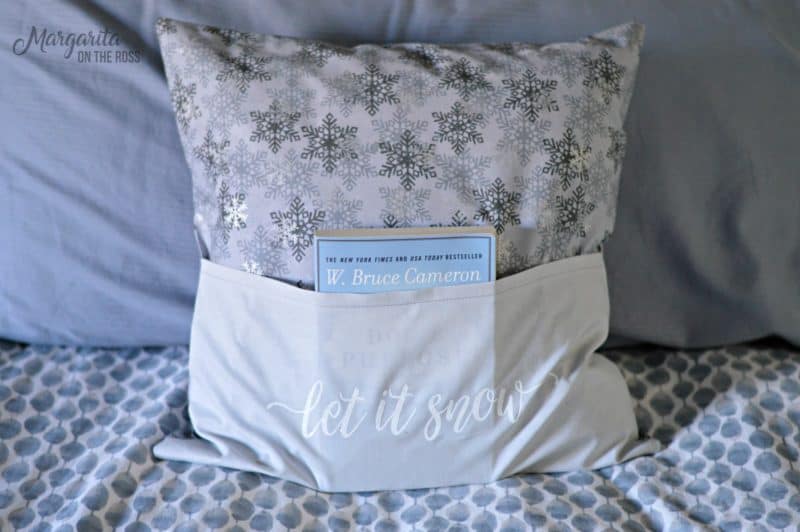
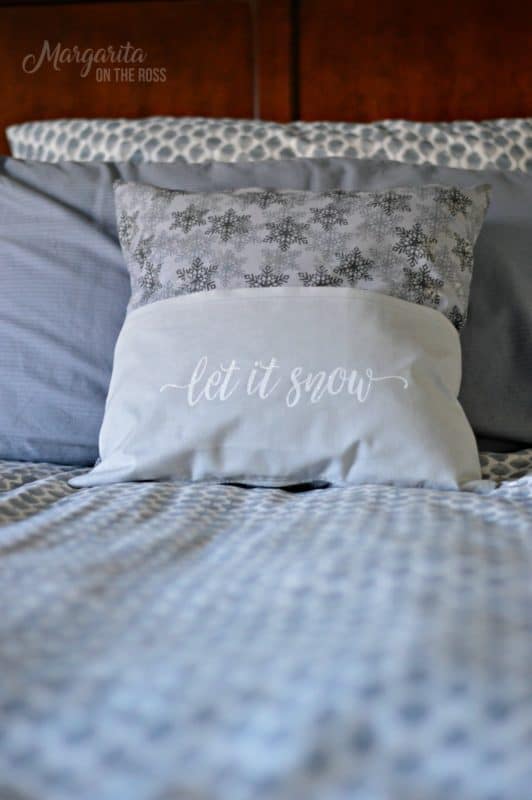
- *snowflake pillow cover is store-bought*














Leave a Reply