
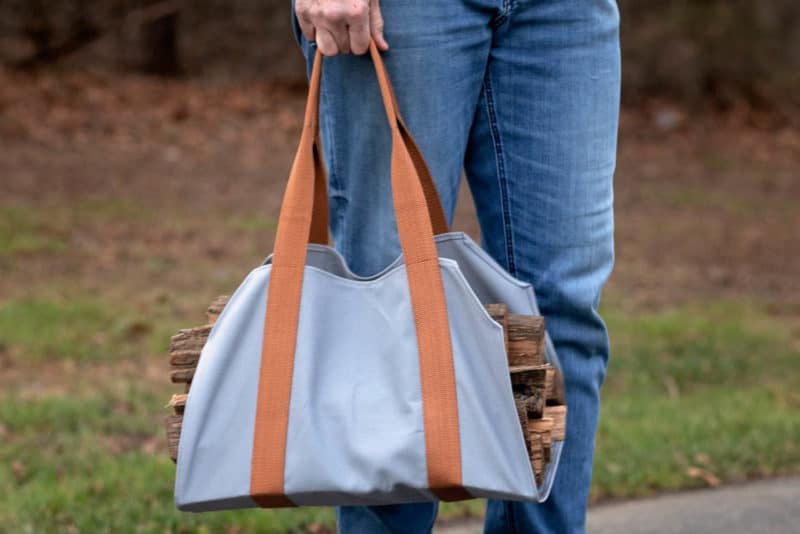
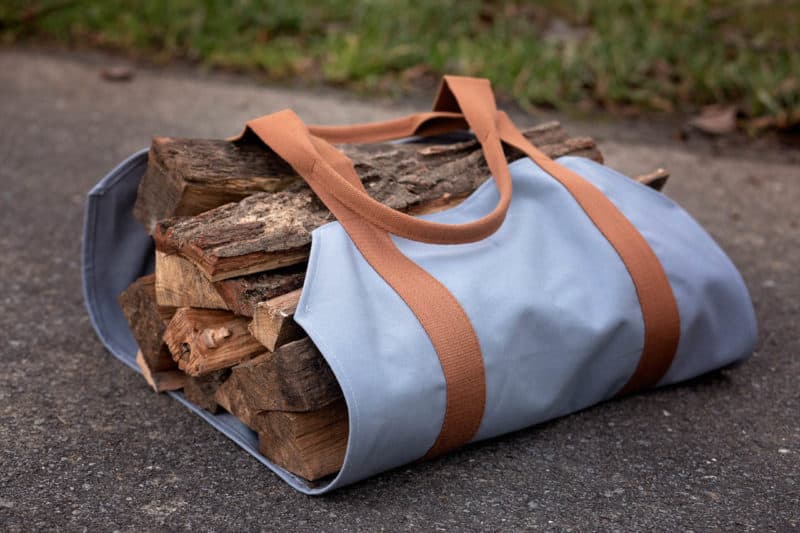
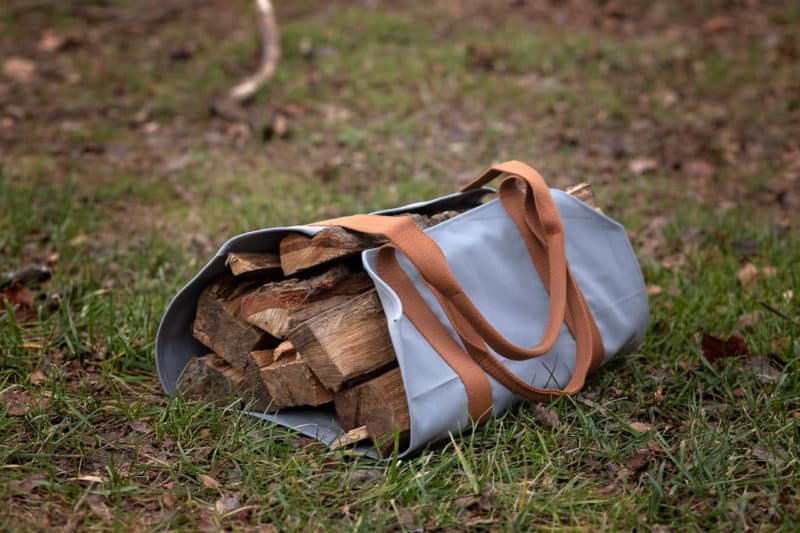
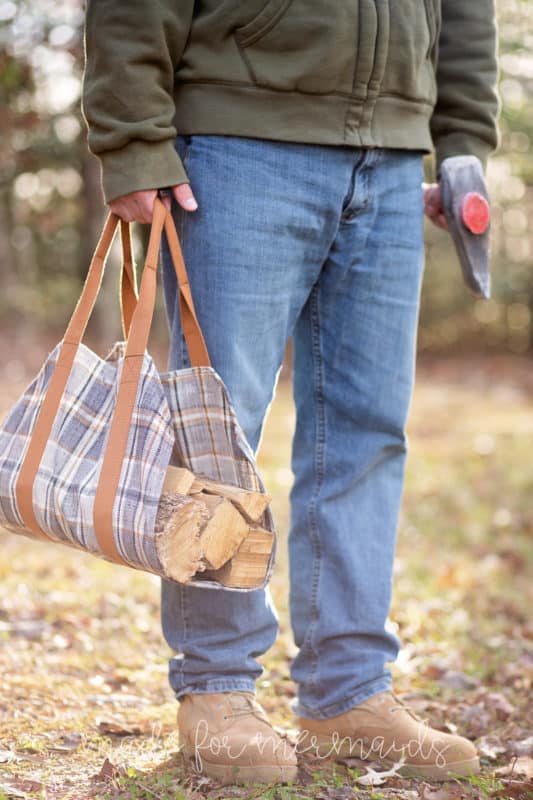
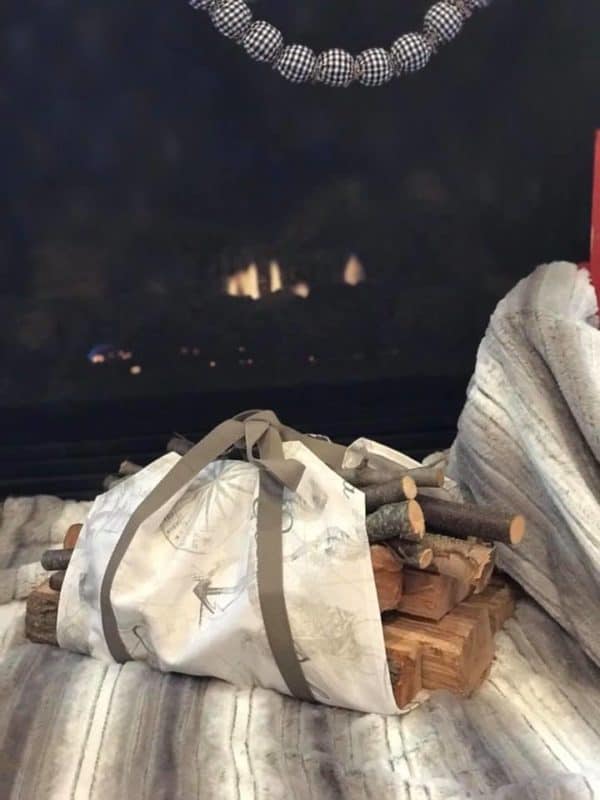
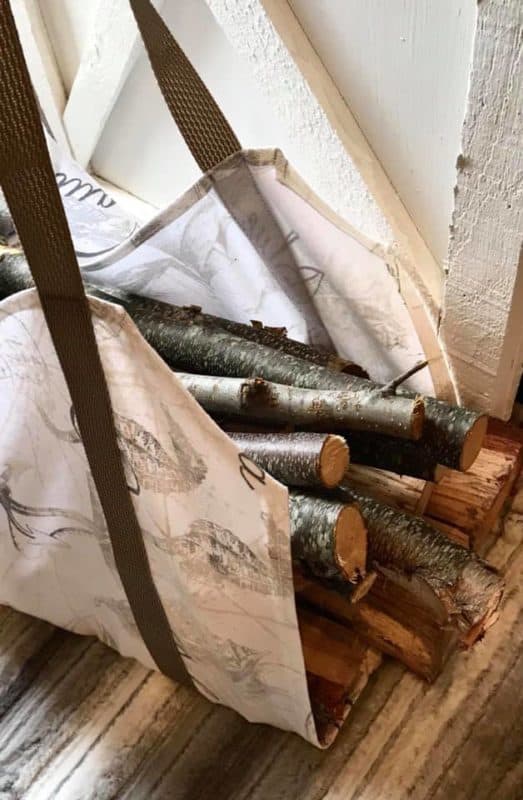
We are almost through ALL 12 DAYS of freebies! Today’s freebie is a log carrier, perfect for helping you carry wood indoors! It’s a quick and simple sew, making it a great gift as well.

You can download your log carrier pattern here in our freebies section, and then head back here for the tutorial!
SUPPLIES:
- 1/2 yard of heavy duty fabric, such canvas, twill, or heavy duty upholstery fabric
- 1 yard of 1/4″ rope or cording (optional for handle)
- Heavy duty thread
- Wash away marking tool
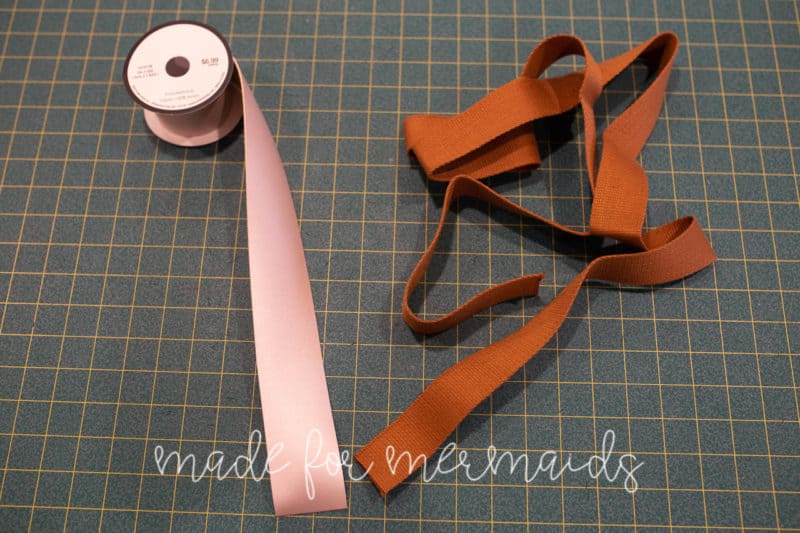
- 3 yards of 1.5″ wide webbing/strapping/belting. I used a faux leather trim (non-stretch) for one and strapping for the other. See image below.

LET’S GET STARTED!
1/2″ seam allowances included.
Step 1: PREPPING
Go grab the pattern HERE! The pattern is 100% free, but you do need to add it to your cart and check out. Then, it will always be available to download from your account. The pattern is a no trim pattern; if you need help putting the pattern together, pop over to the faqs and troubleshooting page or ask in our Facebook group.
Print and assemble the pattern.
Pattern layout shown below:
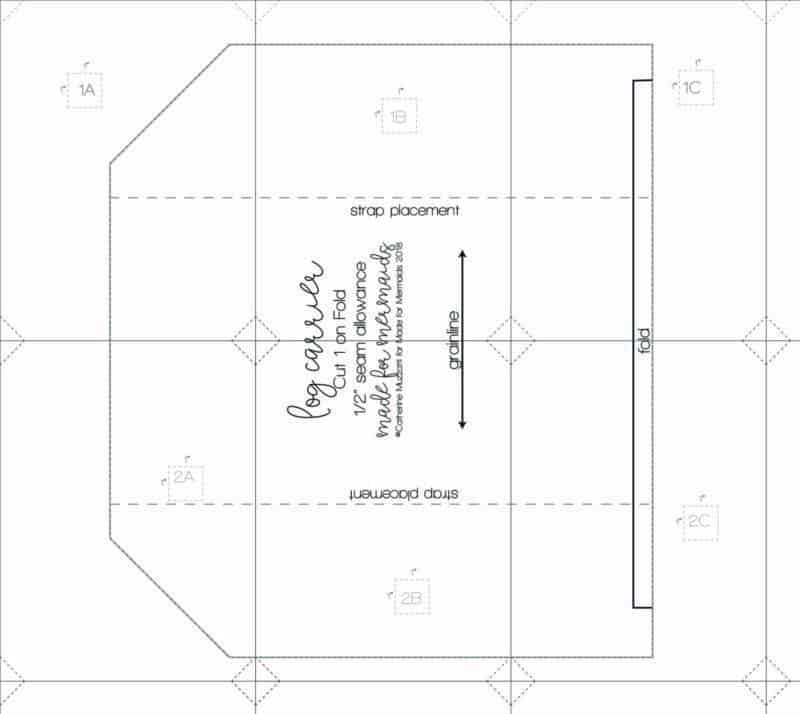
You will need to cut 1 (on fold) from the pattern piece out of the fabric. Cut two pieces of rope/cording 10″ long. **Note, my pattern piece is smaller than the actual pattern piece, as it is easier to photograph. I also have a seam in my pattern piece to help indicate where the fold line should be.
Want a longer/shorter log carrier?? Simply move the pattern piece away/over the fold line to adjust!
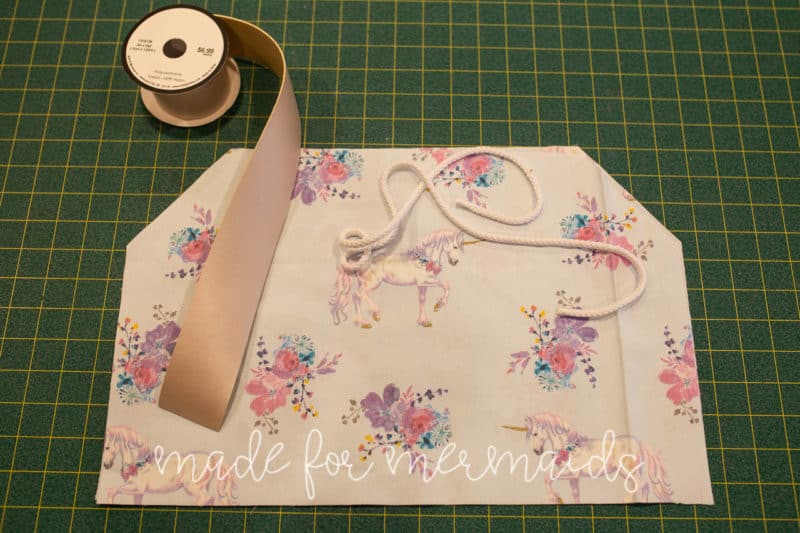
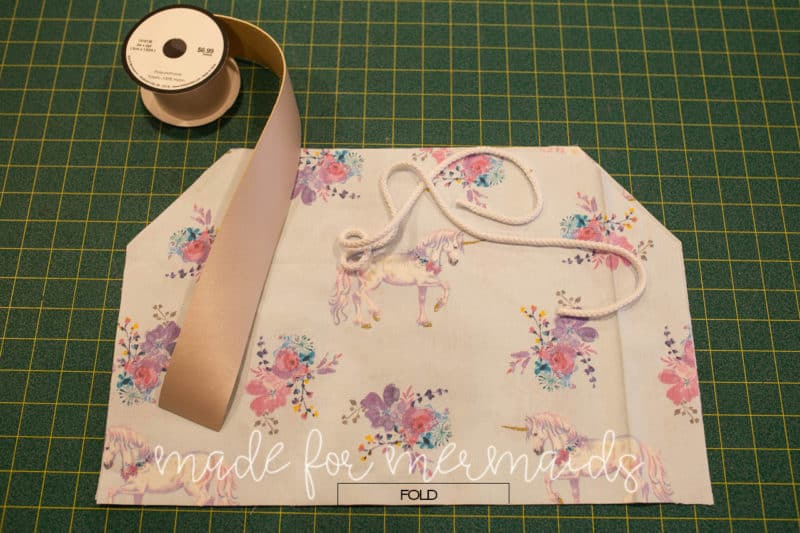
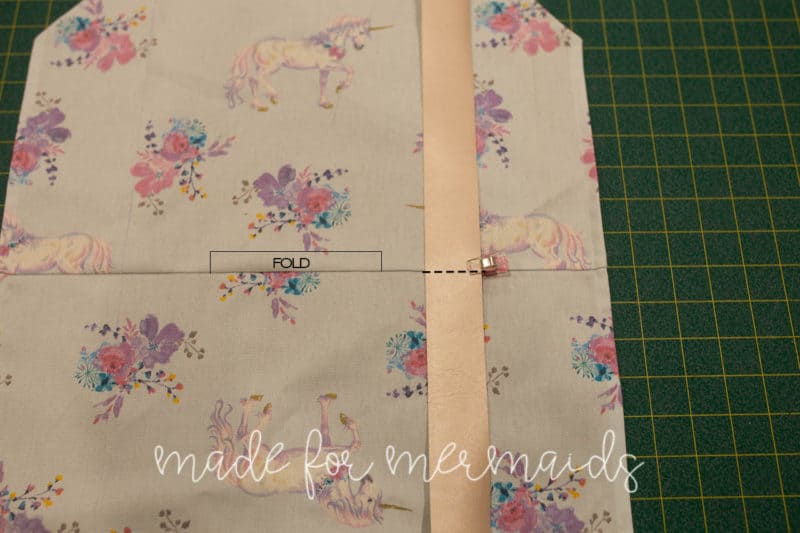
Press along the fold line to create a crease in your fabric (This will help in the strap section of the tutorial).
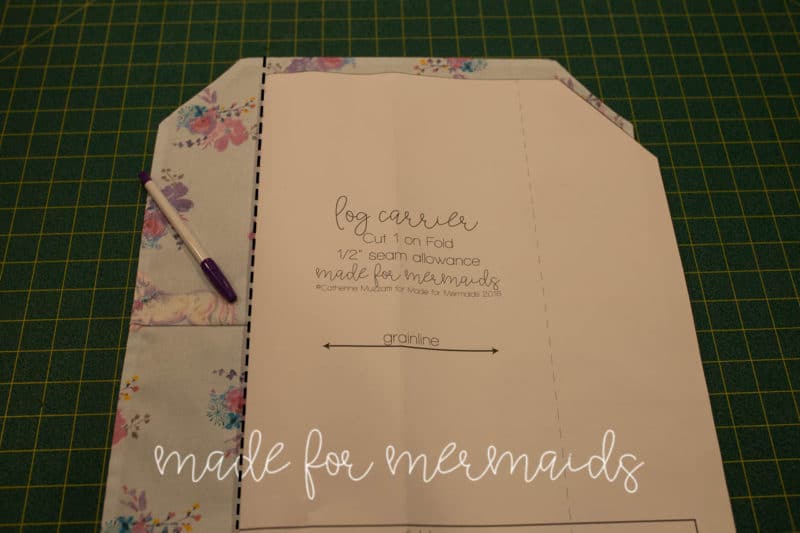
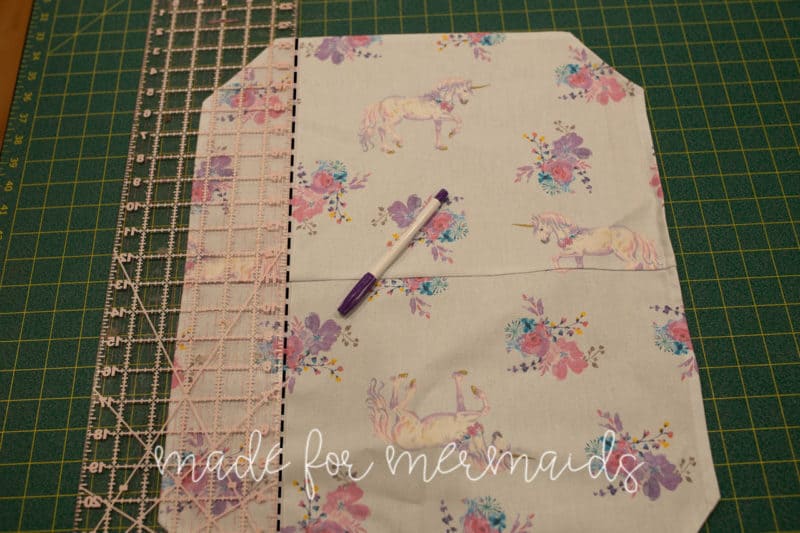
Fold the pattern piece along one of the dashed lines. Using a wash away marking tool, align the pattern piece on top of the fabric and draw a straight line onto your fabric. This will be used for the strap placement. Repeat with other side/dashed line.
Step 2: HEMMING
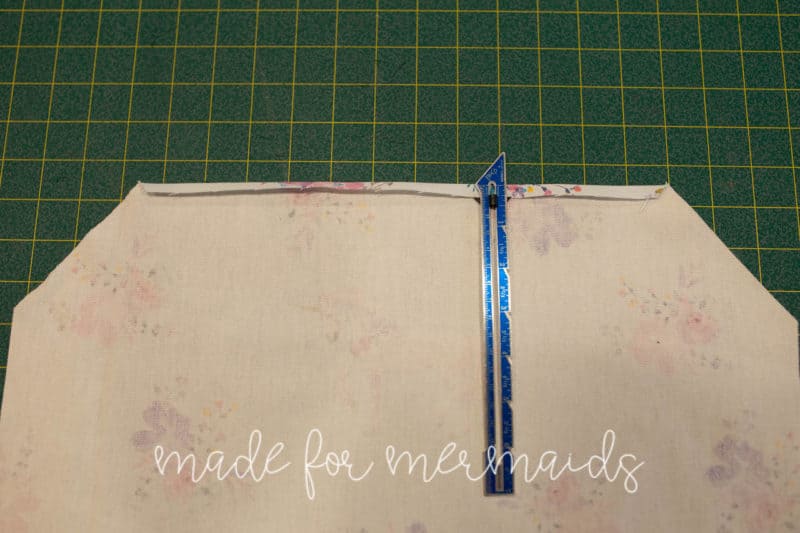
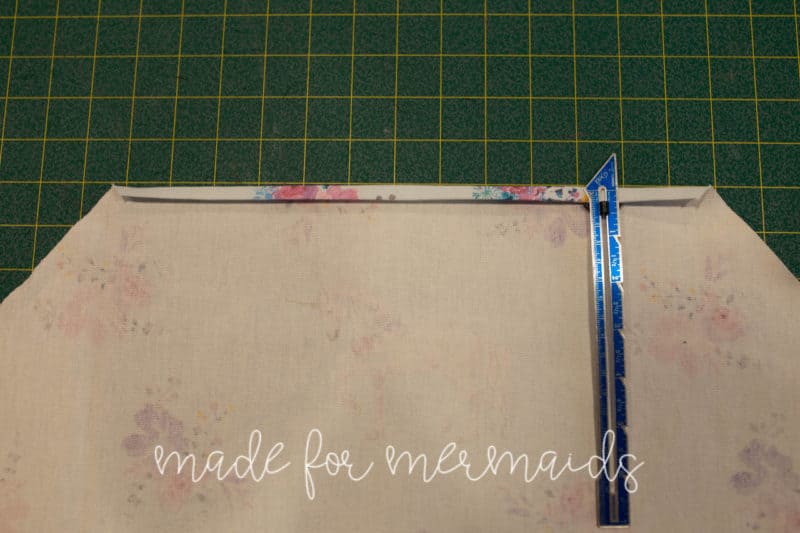
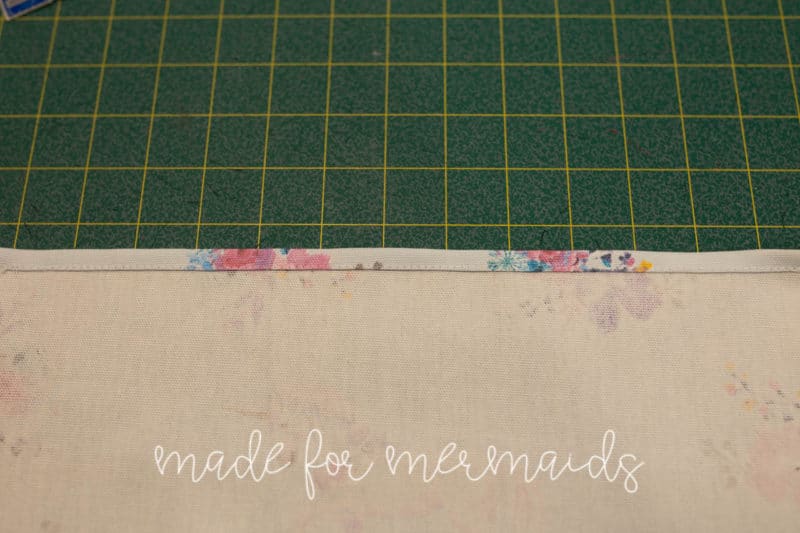
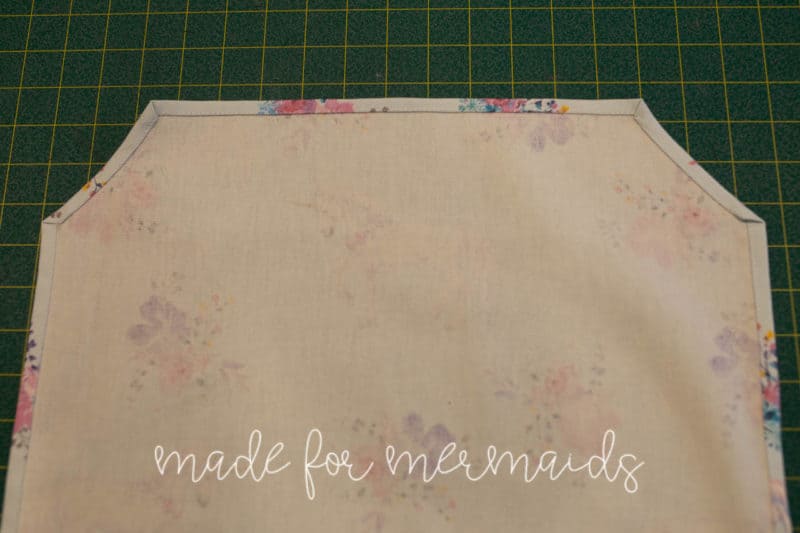
Press both top edges 1/4″ towards the wrong side. Then press that edge 1/4″ towards wrong side again, enclosing the raw edge. Edge stitch the hem in place.
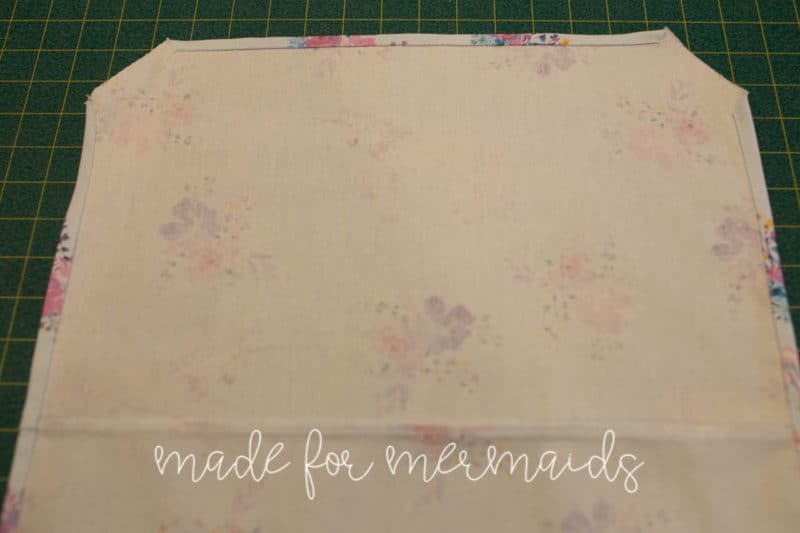
Repeat with both side edges. All 4 straight edges are now hemmed.
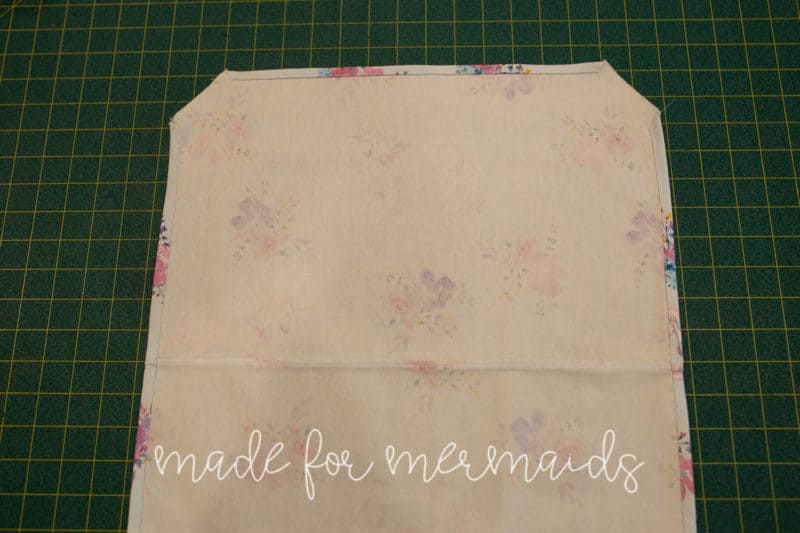
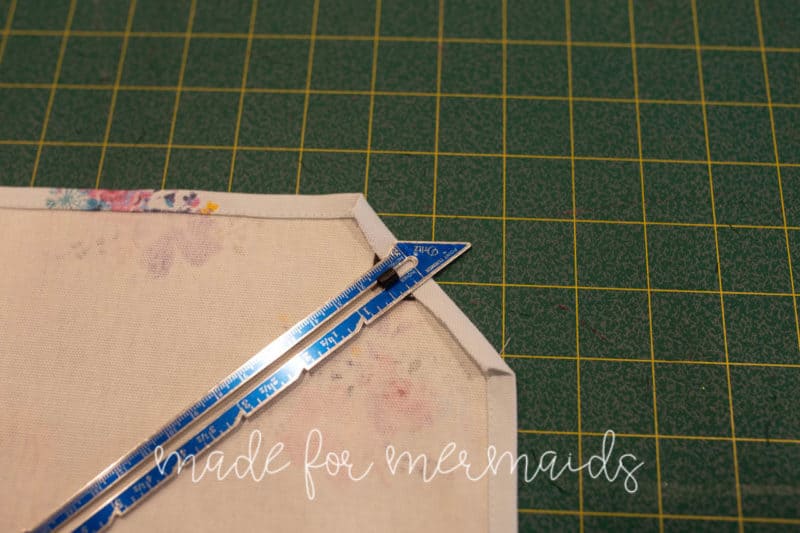
Press one diagonal edge 1/4″ towards wrong side. Then press that edge 1/4″ towards wrong side again, enclosing the diagonal raw edge. Edge stitch the hem in place. Repeat with the rest of the diagonal edges.
Step 2: ATTACHING THE STRAPS
Lay the fabric out flat and right side up. If you did not already mark your strap placement lines, do so now. Measure in 4″ from each side edge and using a ruler/wash away marking tool, draw a straight line on your fabric.
Optional – sew the raw edges of the strap piece together with a 1/4″ seam allowance, creating a loop. Press the seam allowance open. Alternatively, you can leave this seam raw and heat seal the edges.
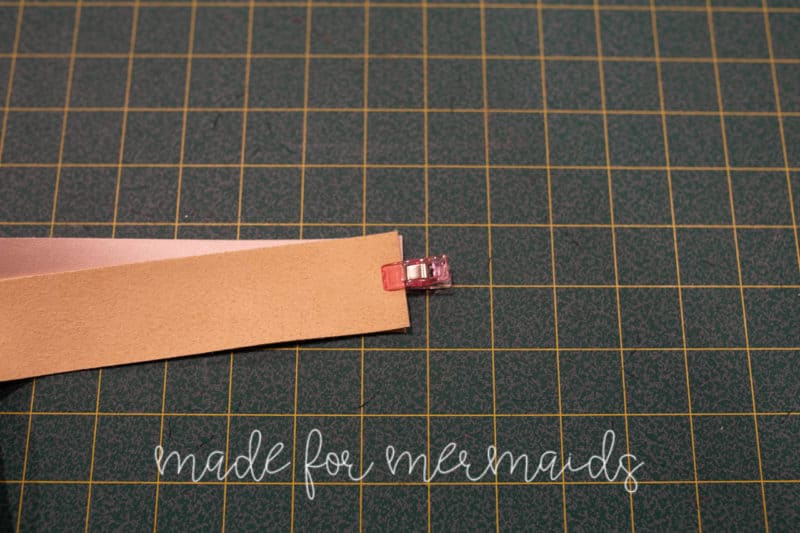
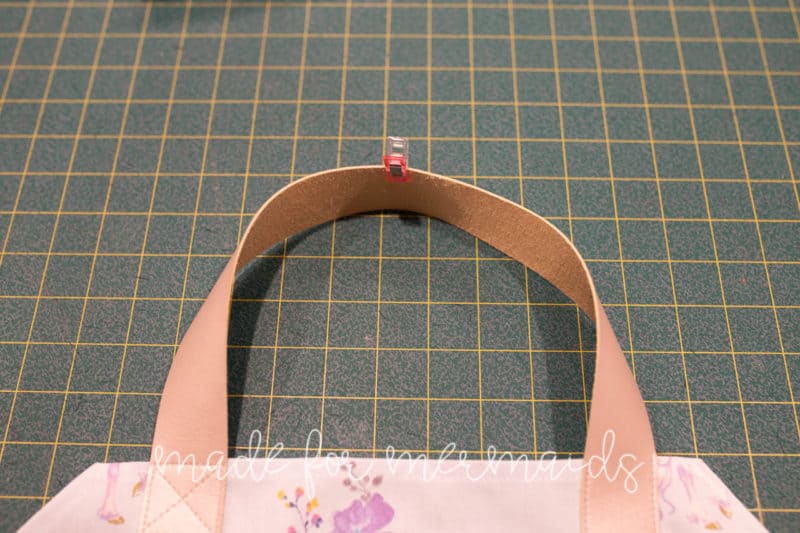
Find the center point of the strap and place a pin/clip at that point.
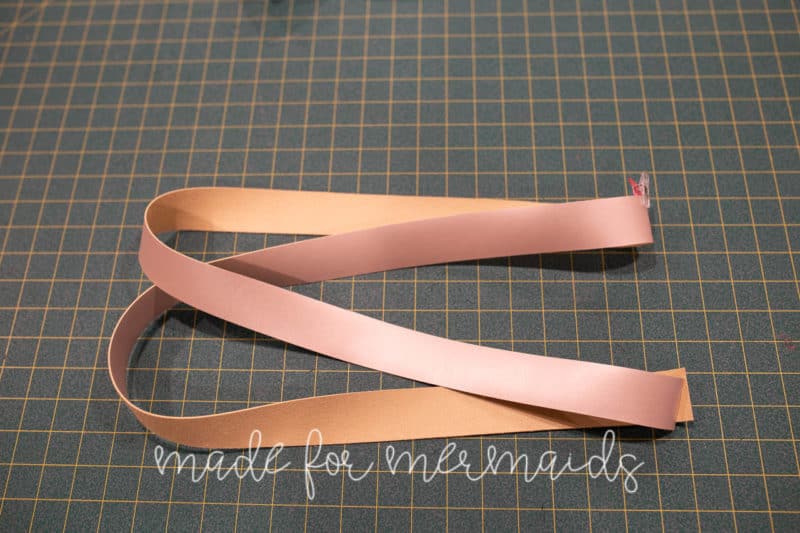
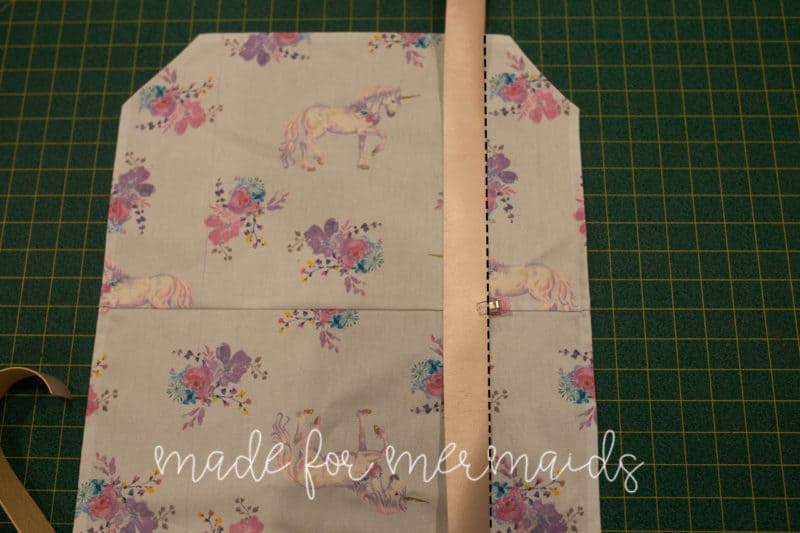
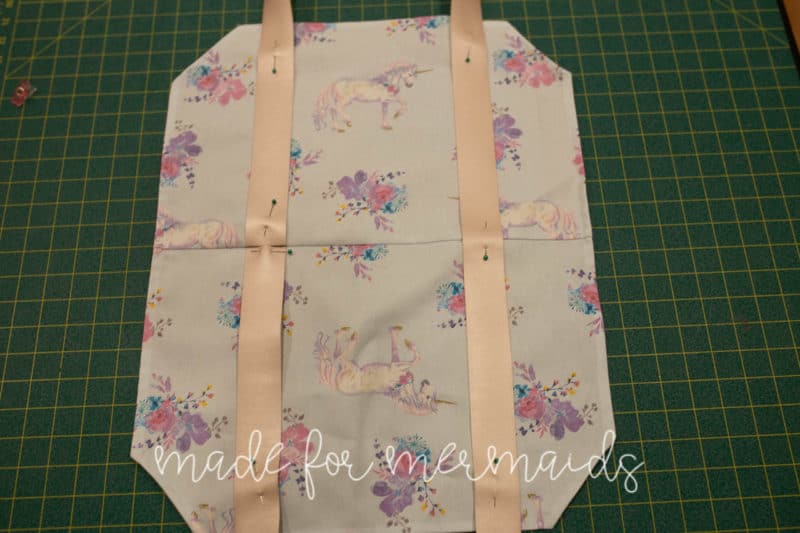
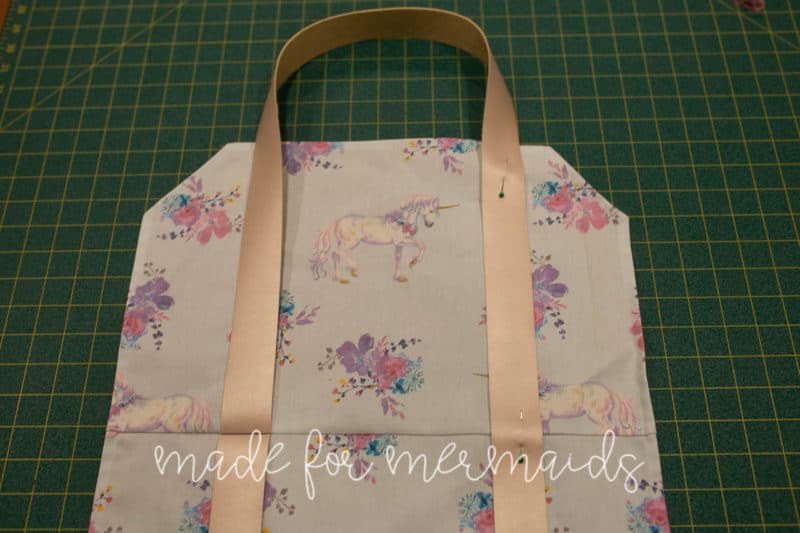
Match the center point of the strap to the fold line on the pattern piece. Pin the strap in place at this point, using the strap placement line as a guide. The outside edge of the strap should line up along the strap placement guideline. Pin the strap in place along the entire length of that side.
Then place the raw edges or seam of the strap along the fold line of the strap placement. Make sure to butt the short raw edges of the strap together if they were not sewn together. Pin strap in place. Your strap will now create two loop handles.
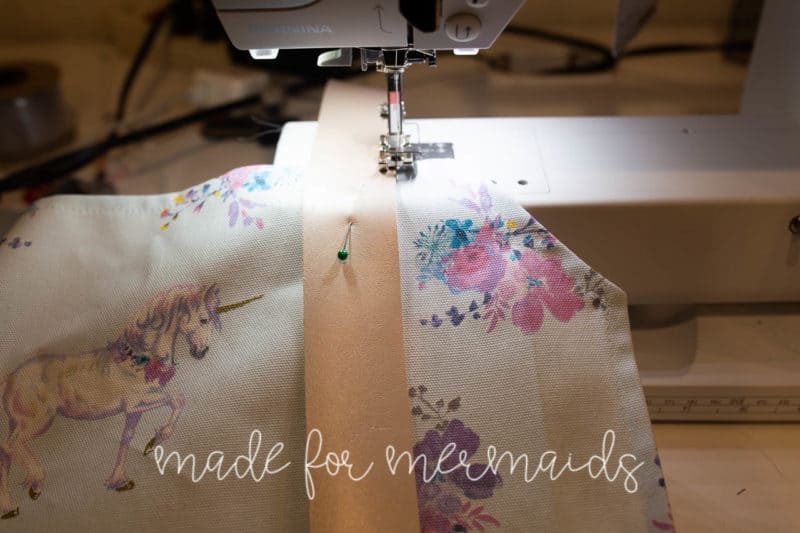
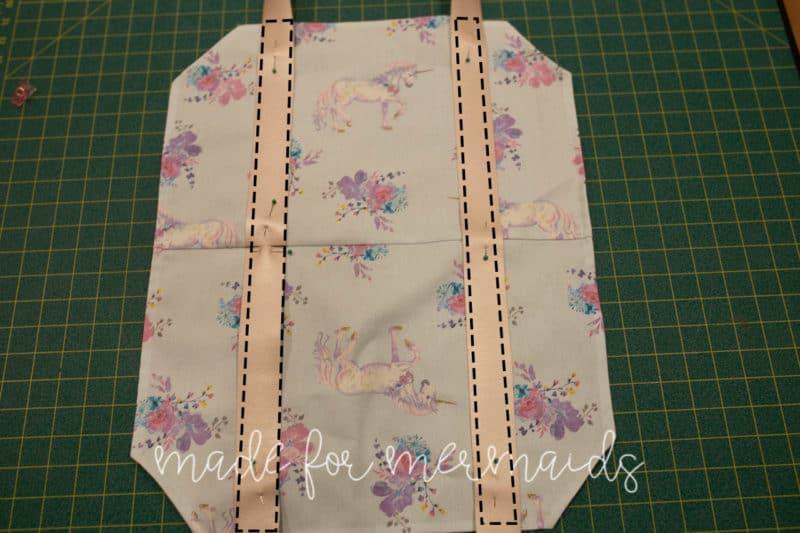
Sew the straps to the fabric along both sides of each strap.
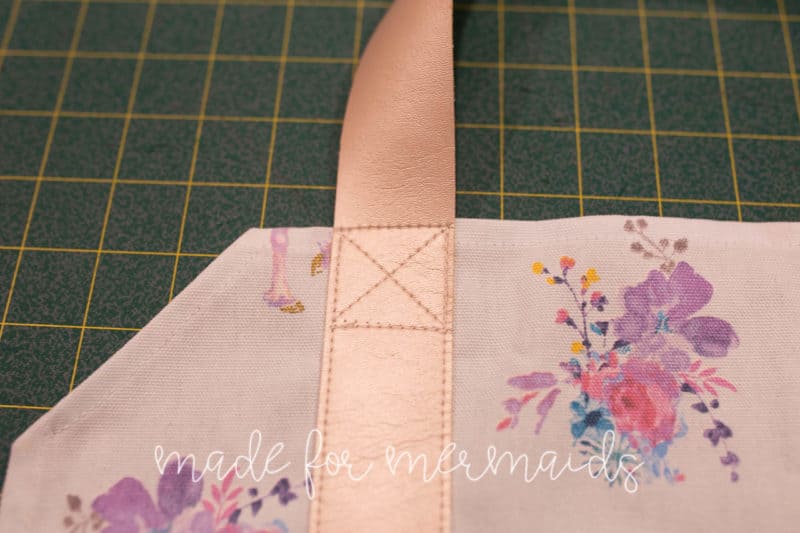
Optional – reinforce the straps along the top edge of the log carrier by sewing a ‘box’ and an ‘X’ inside it. I recommend using a marking tool to draw out the box and x prior to sewing it for a professional looking finish.
Step 2: FINISHING THE STRAPS (optional)
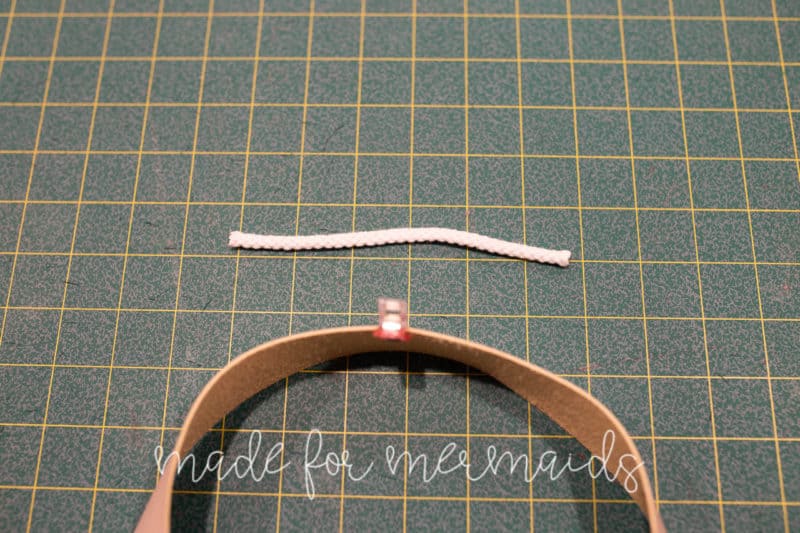
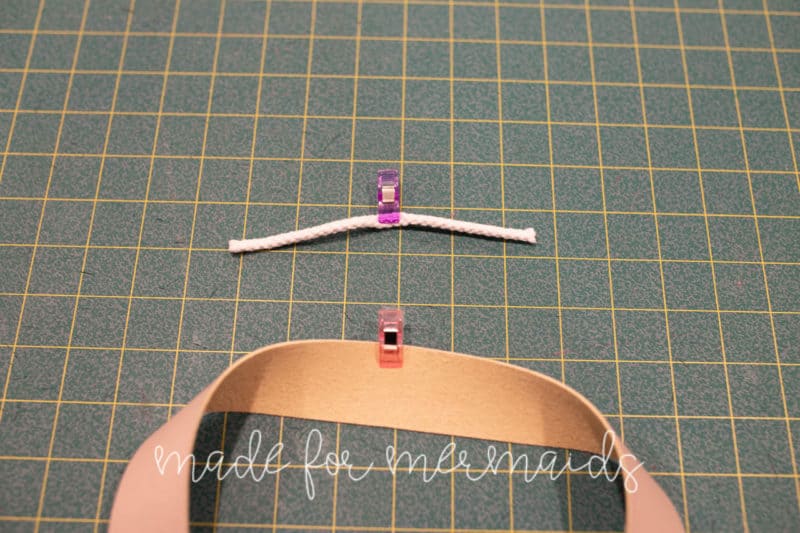
Find the center point of both the rope/cording and the center point of the handle.
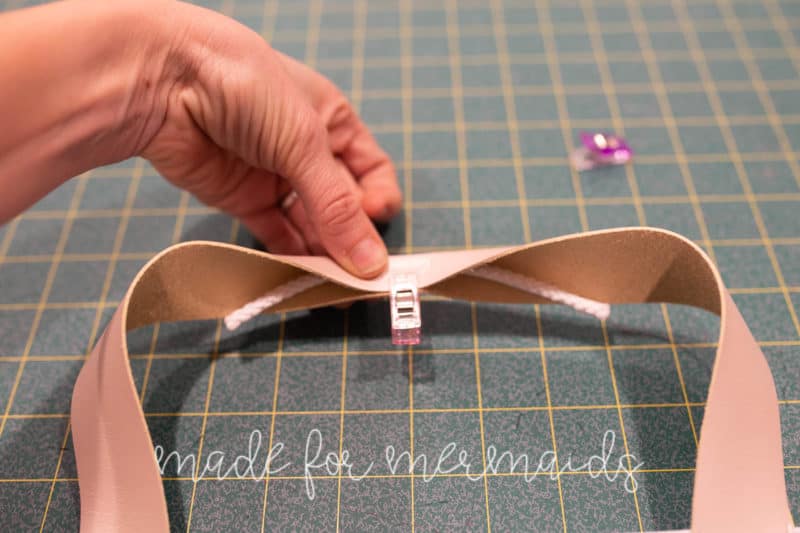
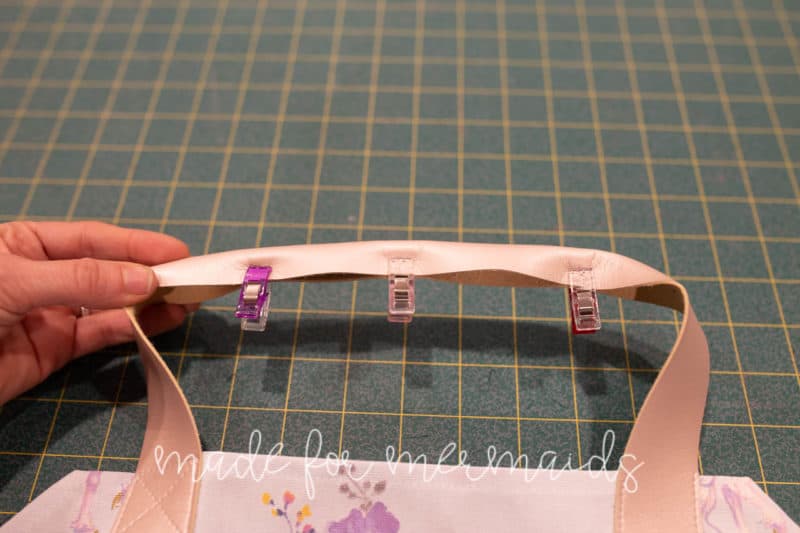
Matching center points, place the piece of rope inside of the handle.
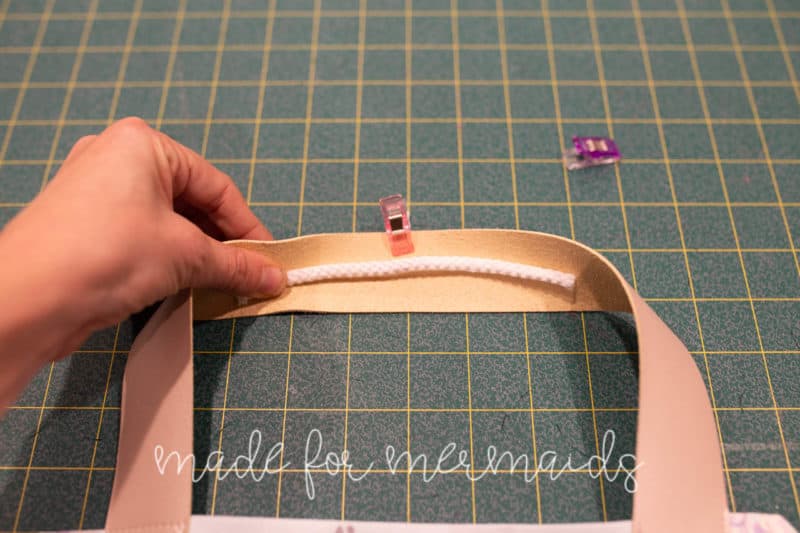
With wrong sides together, fold the strap in half around the rope.
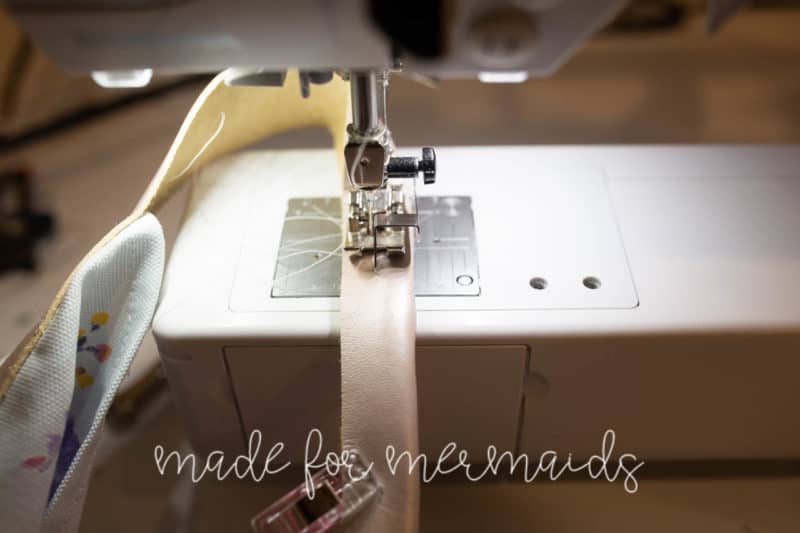
Sew the rope in place by edge stitching along both raw edges of the rope, catching the rope in the sewn edge. This will secure the rope to the strap.
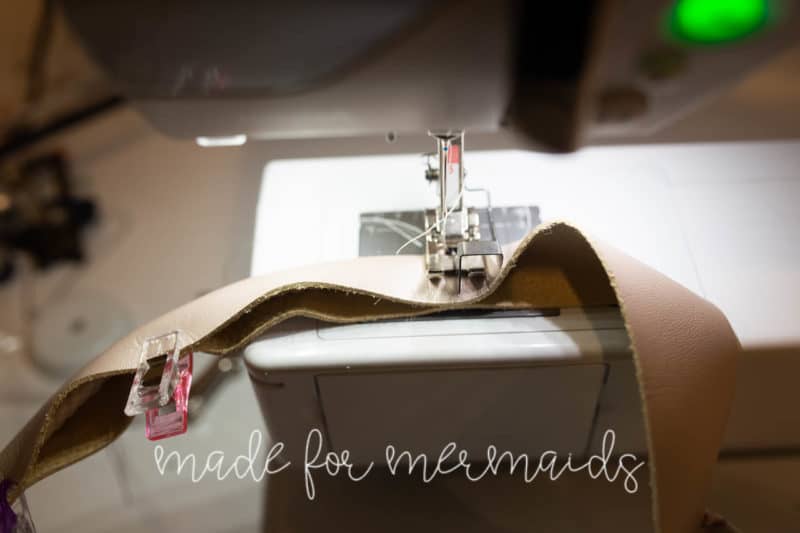
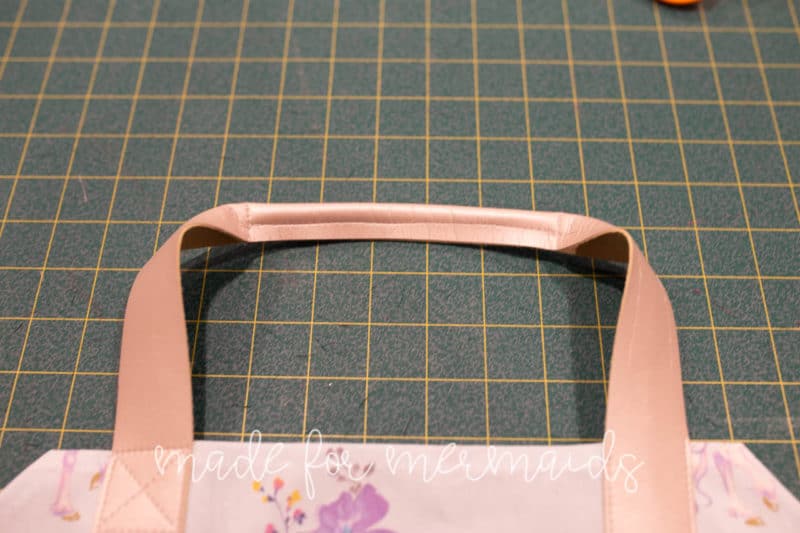
Then sew the strap together along the long edge of the rope. Make sure to sew right next to the rope, not on top of the rope.
Repeat with the other handle. Load your wood logs inside your log carrier and enjoy!
DECEMBER 1 – 12, 2018
DAY 1 –BARNACLE BUDDY BAG
DAY 2 – FUR POM POM
DAY 3 – BOWL COZY
DAY 4 – FELT BAKE SET
DAY 5 – CLARA APRON
DAY 6 – FABRIC GARLAND & NECKLACE
DAY 7 – POCKET PILLOW WITH CUT FILES
DAY 8 – FELT ORNAMENTS
DAY 9 – CLOTH NAPKIN




I can’t wait to whip up a couple of these for my husband. One question: what kind of needle did you use to sew the strapping? I’ve got some jeans needles that I think could be suitable, but I really have no idea.
I think that would work!
I am so excited to get some of these sewn up for my brother and brother in law for Christmas.
Is there some place that shows how long you cut the webbing and robe for the handles? Did I miss it?
Thank you for these free patterns. They are great!!
Duh. I see now that the webbing was made into one piece. I’m thinking the rope would be cut approx hand width. Correct?
Thanks again.