
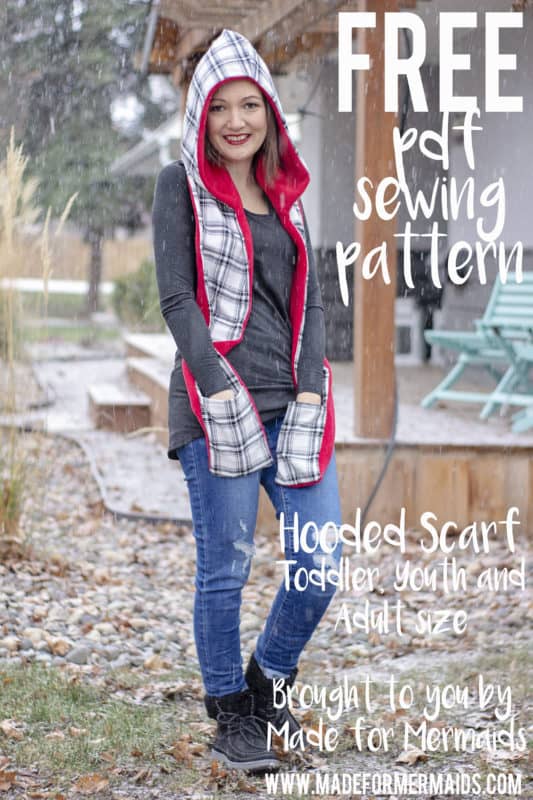
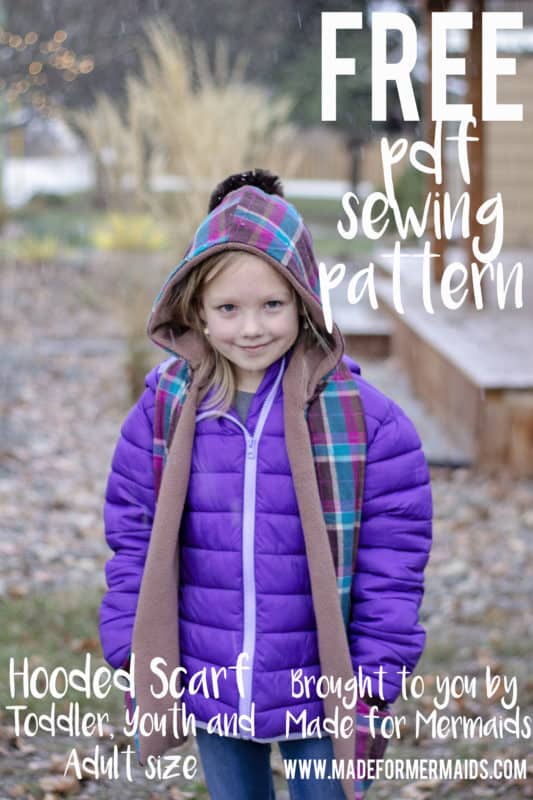
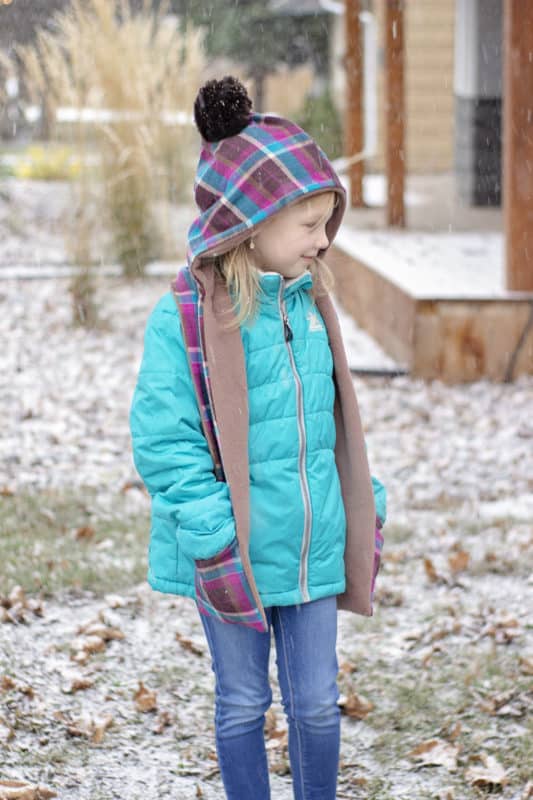
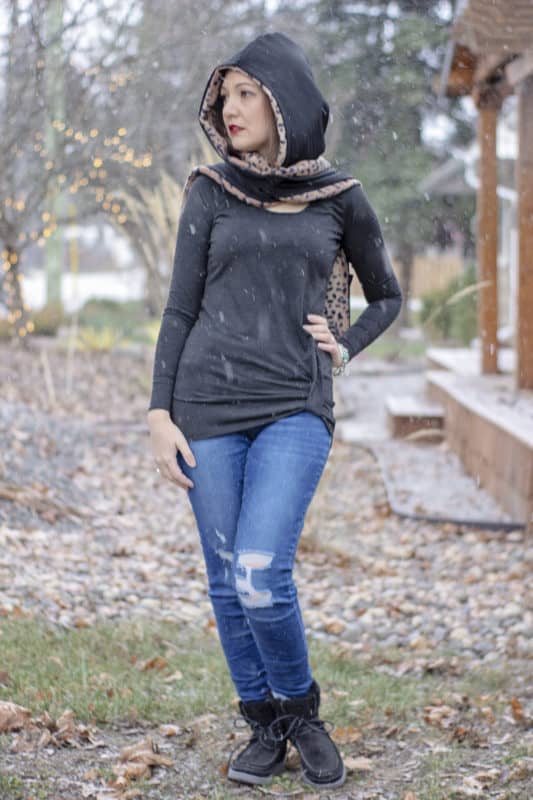
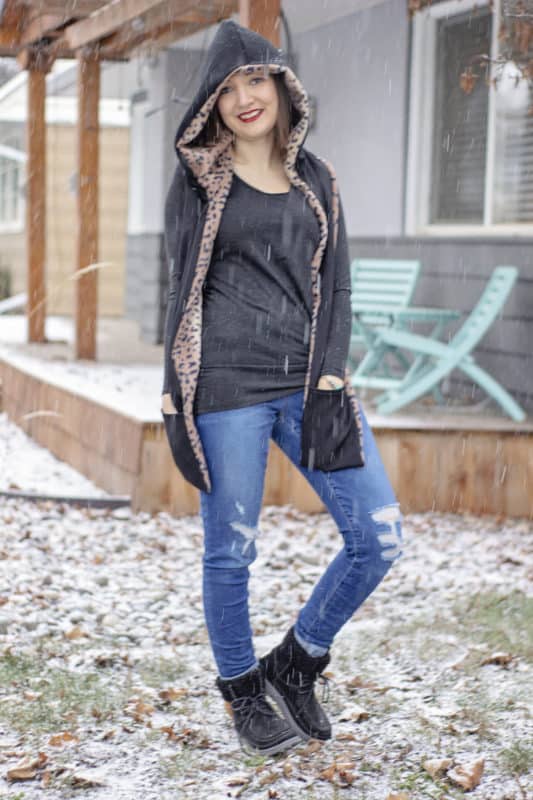
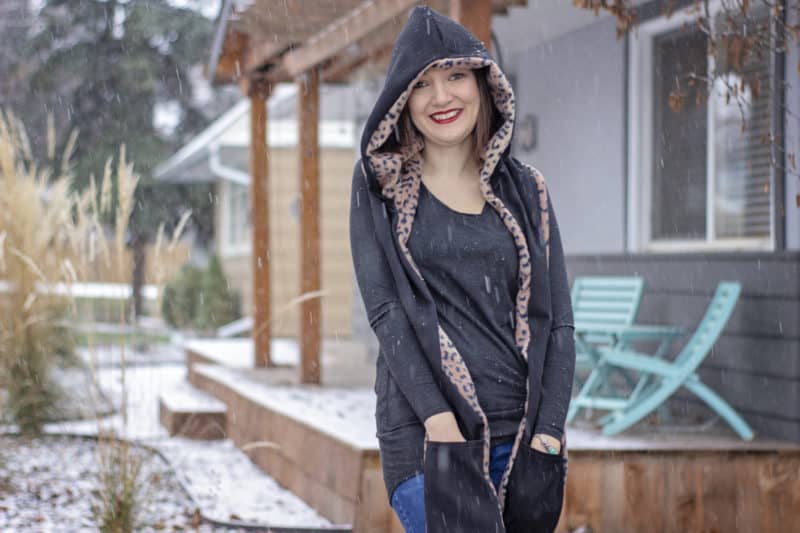
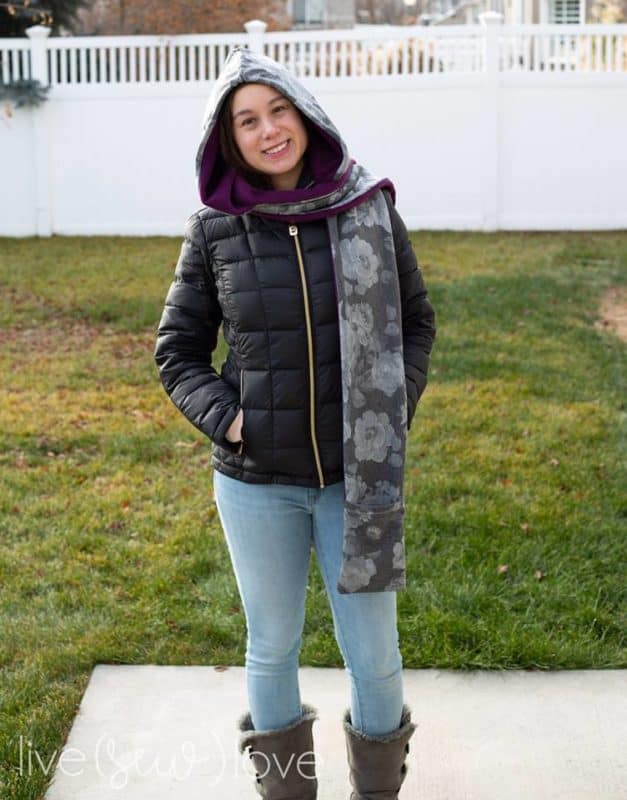
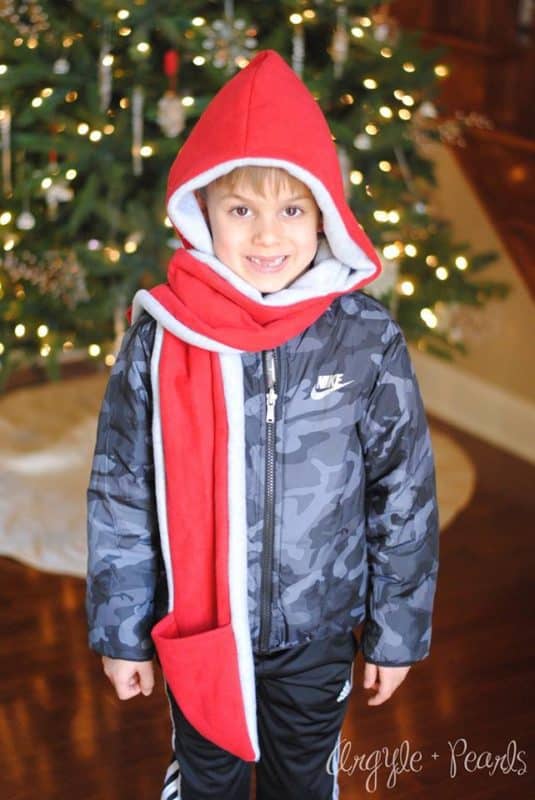
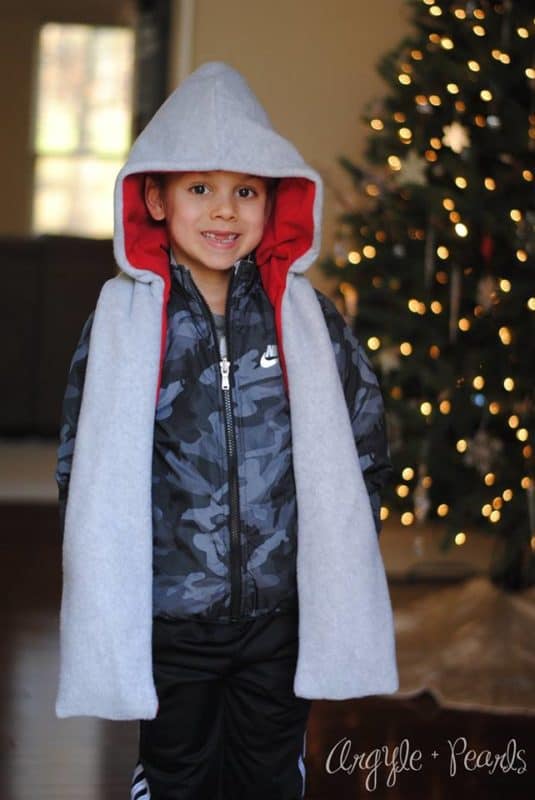
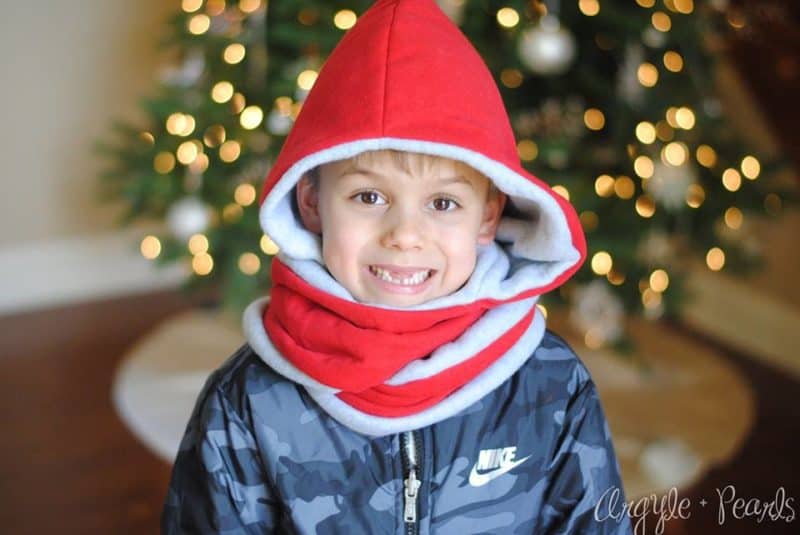
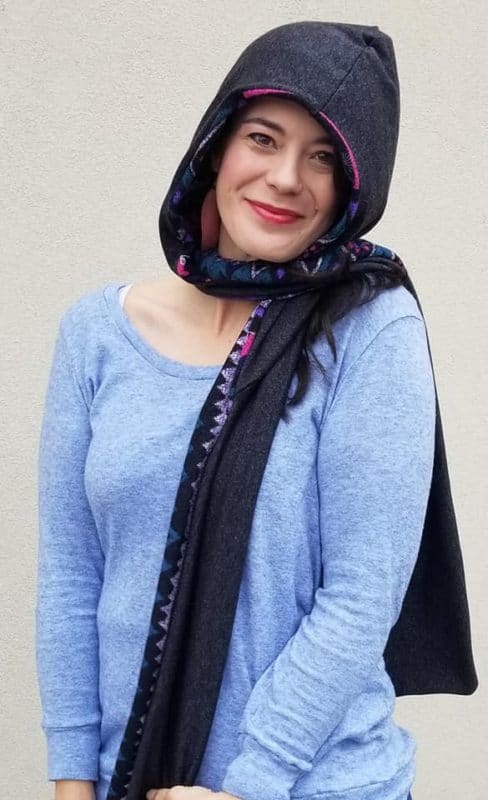
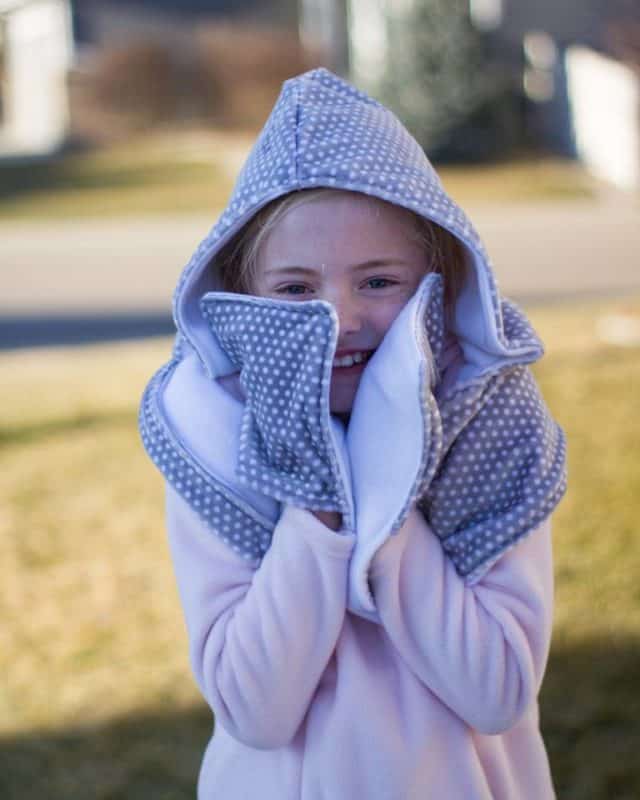
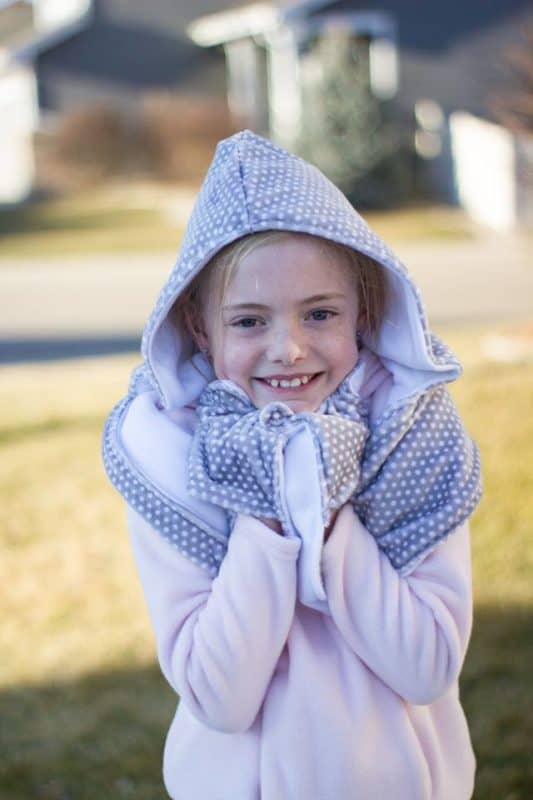
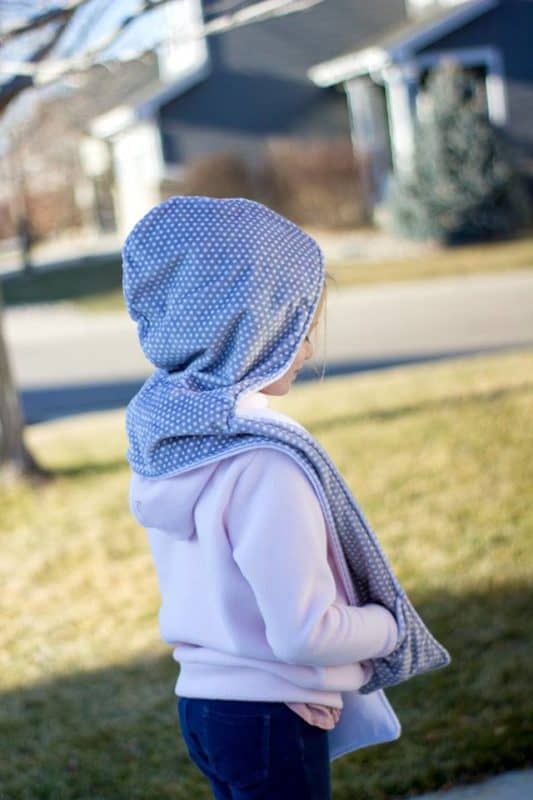
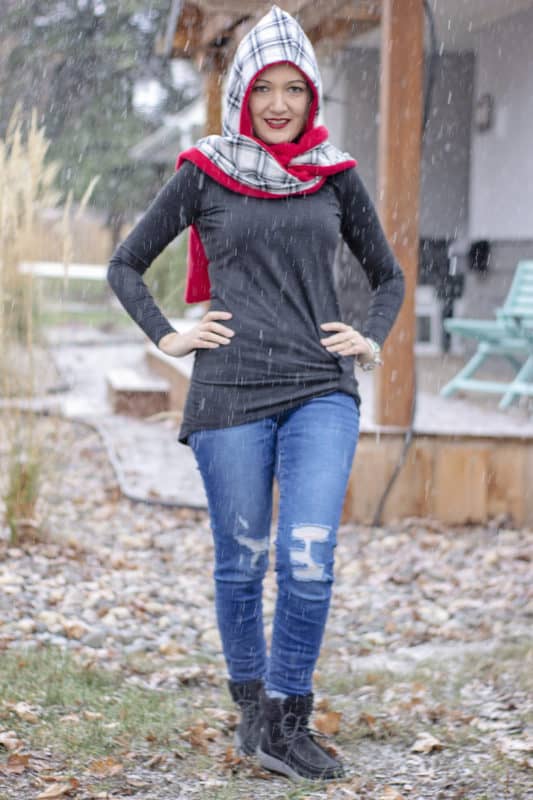
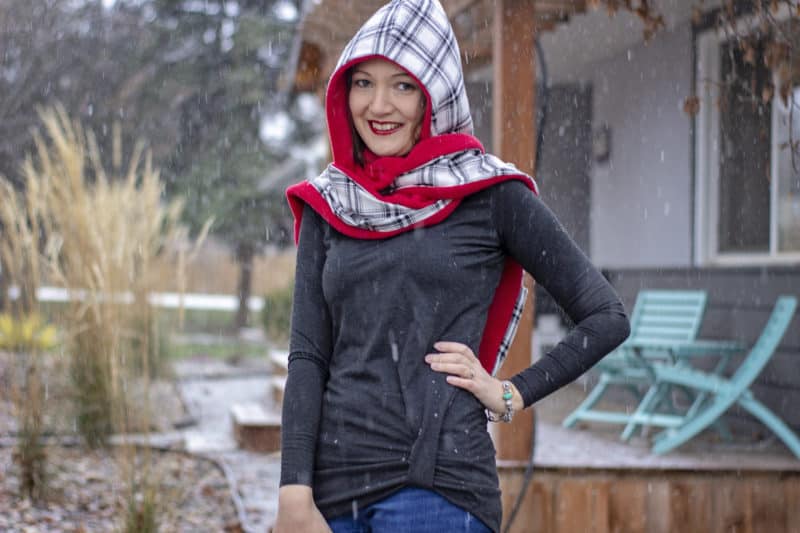
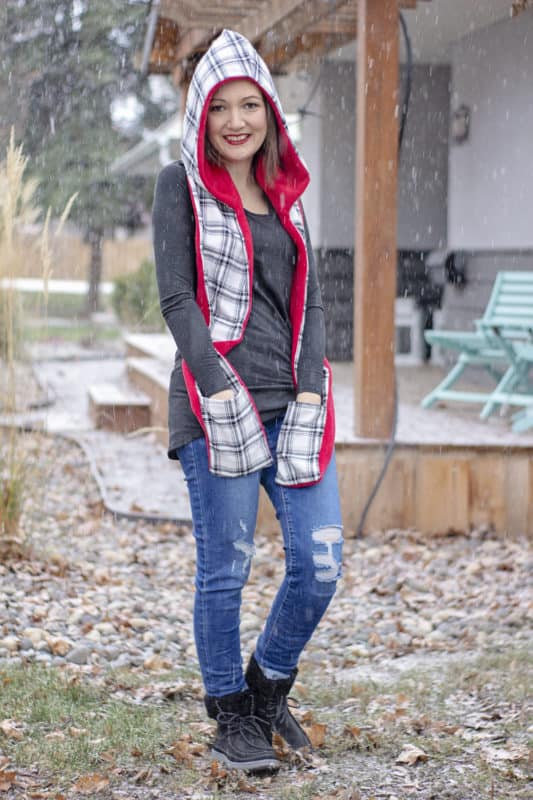
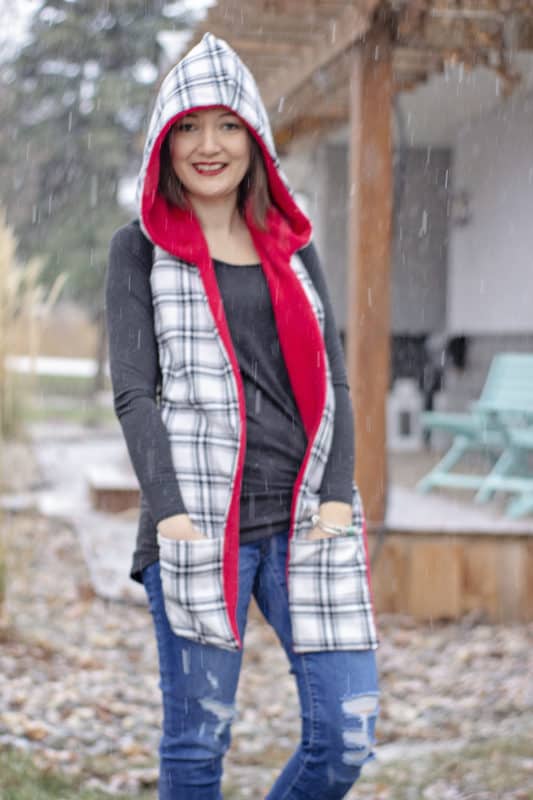
On the twelfth day of Christmas, Made for Mermaids gave to me … a hooded scarf for the family!! Cute cozy and ultra comfy with an oversized hood and optional pockets! These make fantastic gifts, stocking stuffers and are so practical for everyday use in the cold winter months.
SUPPLIES:
- 1 yard of fabric main
- 1 yard of fabric lining – stable knits, fleece and wovens all work well. You can also mix and match different fabric types.
- Needle and Thread
1/2 seam allowance included
LET’S GET STARTED!
Step 1: PREPPING AND CUTTING
Go grab the pattern HERE! The pattern is 100% free, but you do need to add it to your cart and check out. Then, it will always be available to download from your account. The pattern is a no trim pattern; if you need help putting the pattern together, pop over to the faqs and troubleshooting page or ask in our Facebook group .
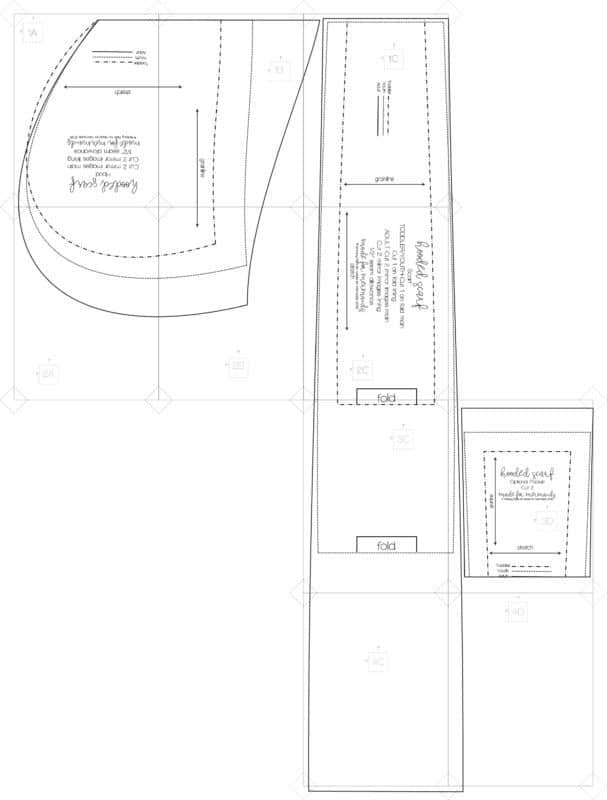
Print and assemble the pattern. Choose either toddler, youth or adult. Only 3 piece to print for each size. Pattern layout shown below.
- TODDLER SIZE PRINT PAGES 1-6 and page 8 for optional pocket.
- YOUTH SIZE PRINT PAGES 1-7 and page 8 for optional pocket.
- ADULT SIZES PRINT ALL, PAGES 1-10.
CUTTING:
- Hood- cut 2 mirror images from main and 2 mirror images from lining.
- Scarf-
- TODDLER/YOUTH: cut 1 on fold main and cut 1 on fold lining.
- ADULT: cut 2 mirror images main and cut 2 mirror images lining.
- Optional pockets- cut 2 mirror images.
- Note- Pockets can be placed on the right or wrong side of scarf, so can be cut from either main or lining depending on which side you prefer them on.
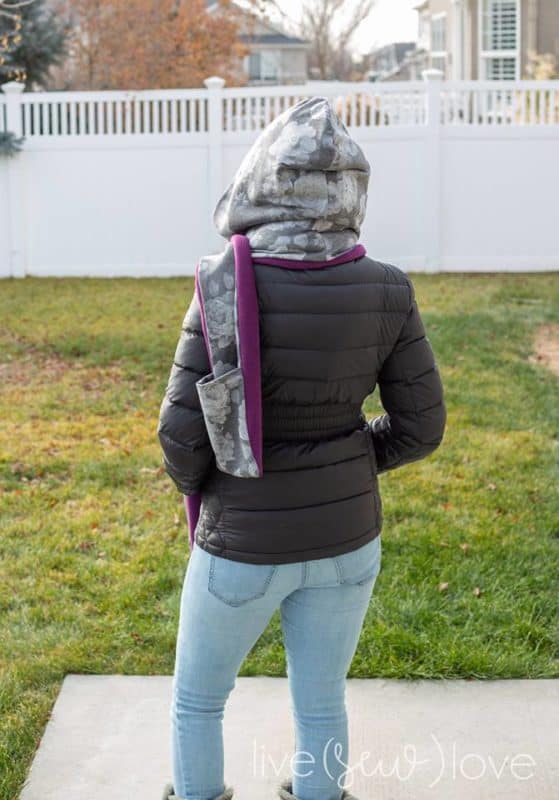
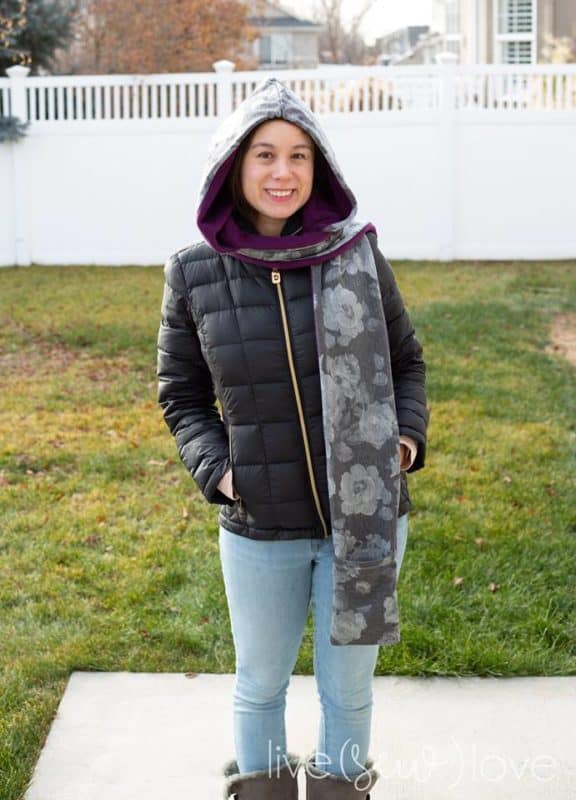
TIP: You may need to adjust the length of the scarf for your height. I recommend holding the pattern piece up to the center of your neck to see the approximate length, remember that if you are using a knit it can grow a bit as well. I ended up taking a couple inches off each scarf piece for myself at 5’1″. If you are adding or removing length do so on the wider side of the scarf piece so that you don’t have to adjust your pockets.
Step 2: HOOD AND ADULT SCARF SEAM
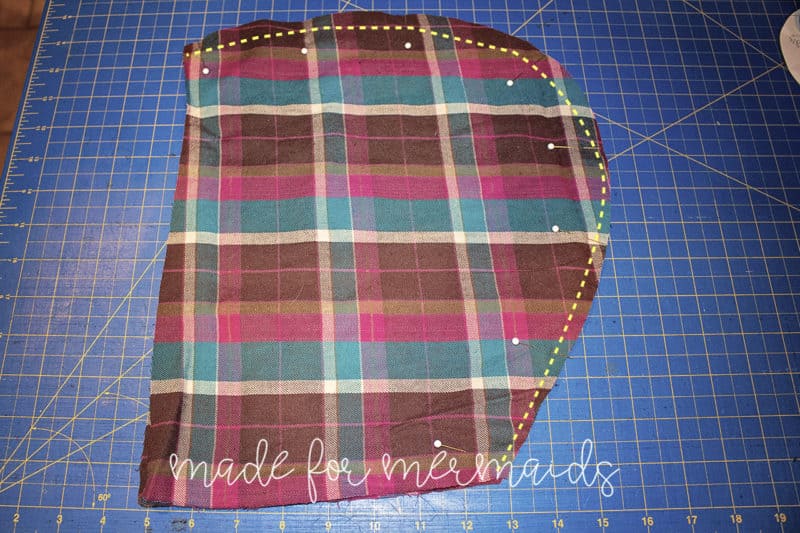
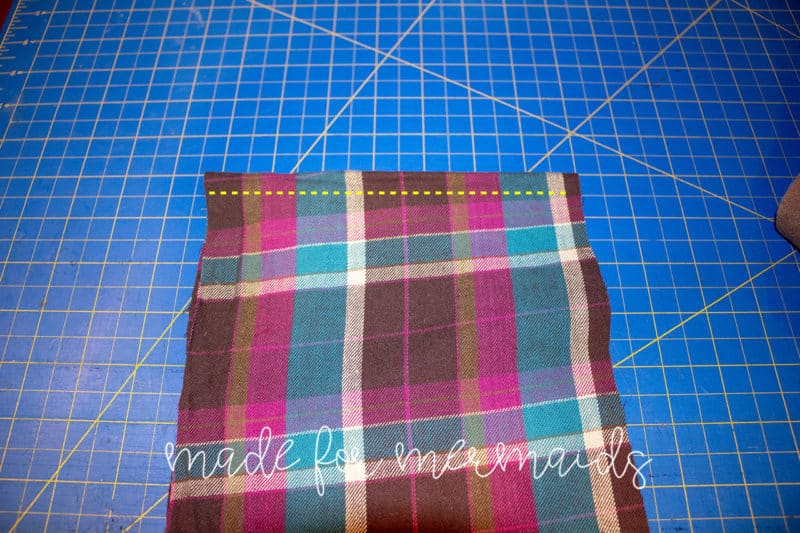
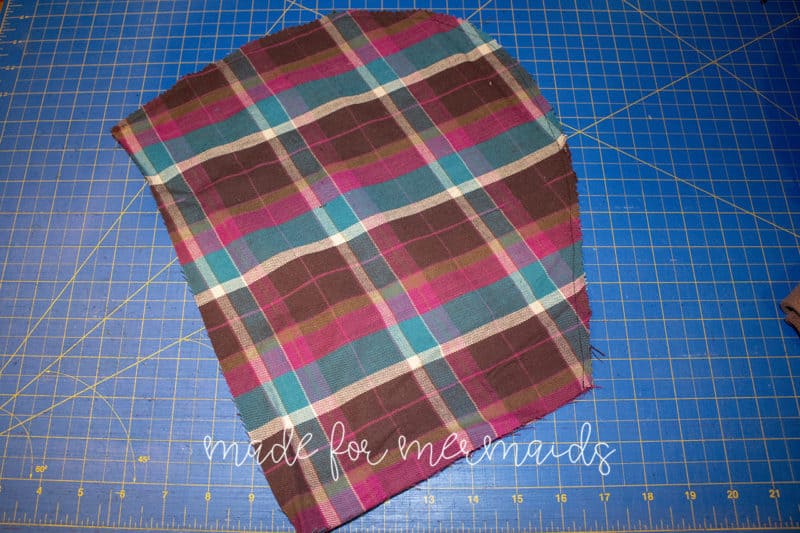
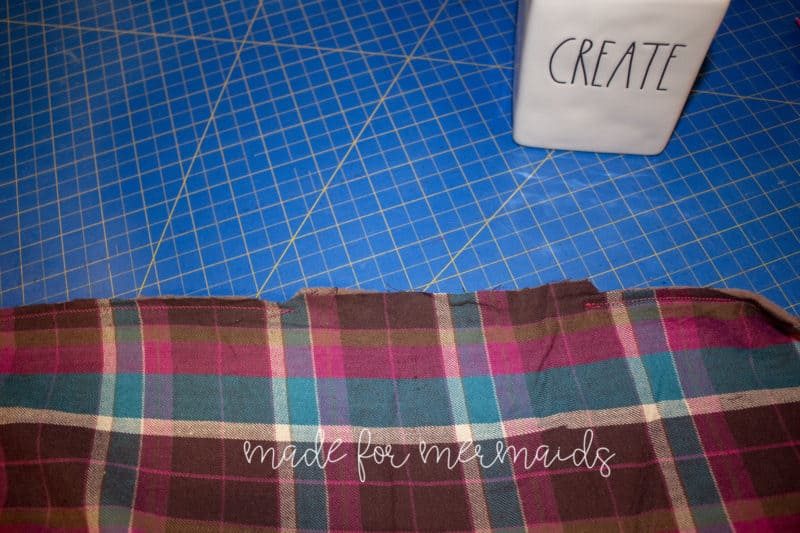
With right sides together stitch your hood together with a 1/2 inch seam allowance. If you are sewing the adult size stitch your 2 scarf pieces together along the enter back (wider side of the scarf). Repeat steps for lining pieces.
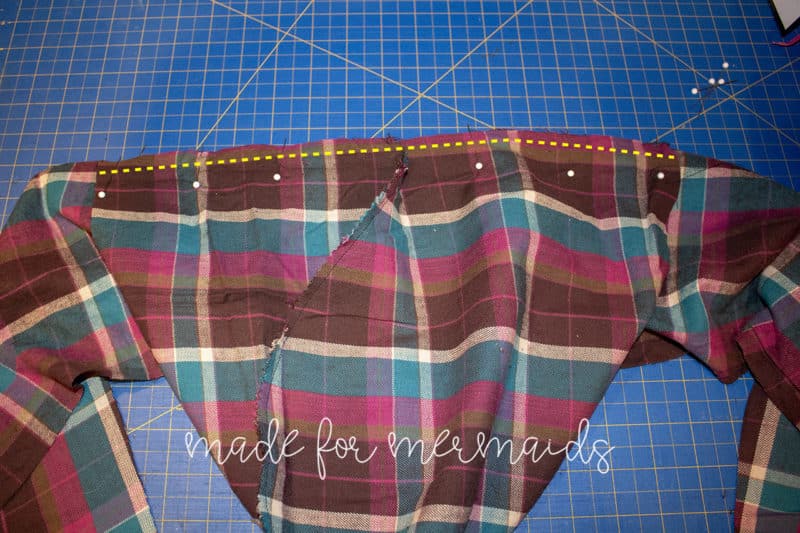
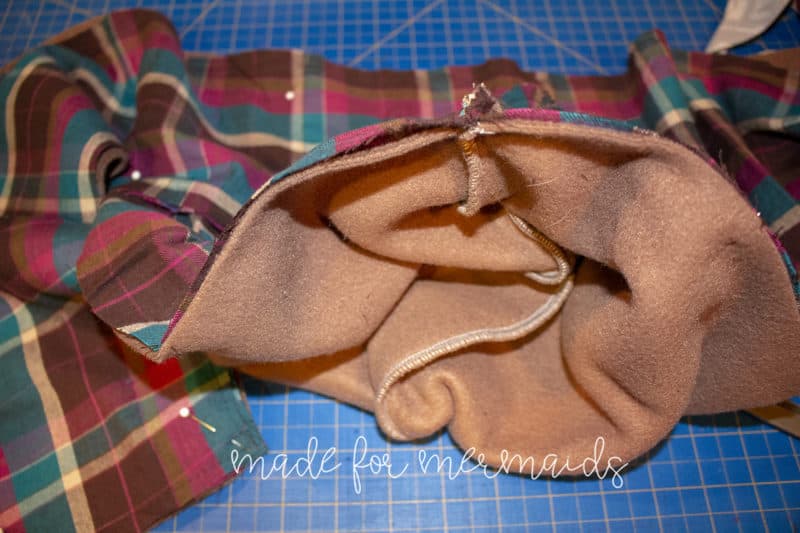
Step 3: ATTACHING HOOD TO SCARF
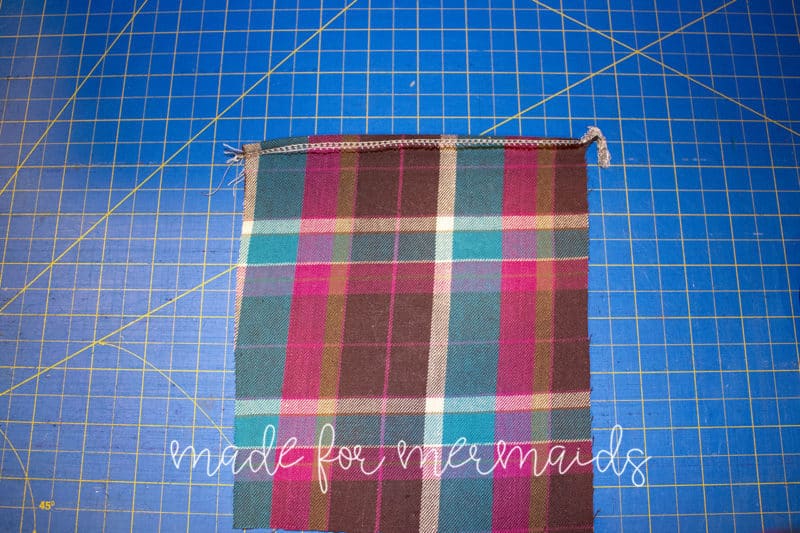
Right sides together pin hood seam to the center back of scarf. Stitch hood to scarf. Flip hood up so right side of hood and scarf are facing up. Repeat for lining pieces.
Step 4: OPTIONAL POCKETS
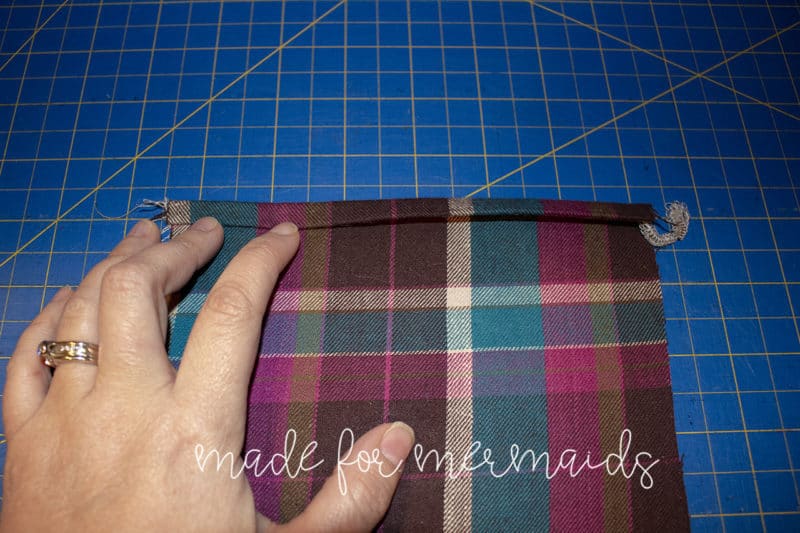
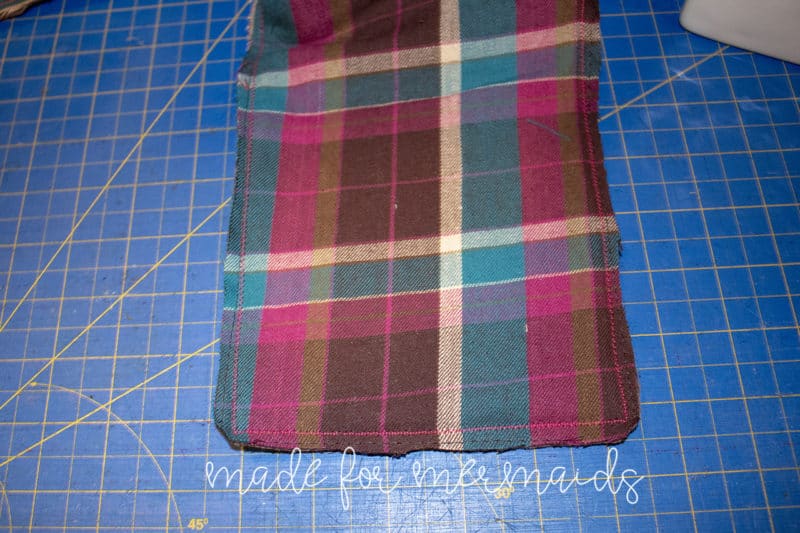
If using woven, press 1/4″ of pocket toward wrong side and then another 1/4″, enclosing your raw edge. Edge stitch to hem the top edge
If using a knit, press 1/2″ to the wrong side. Edge stitch to hem the top edge.
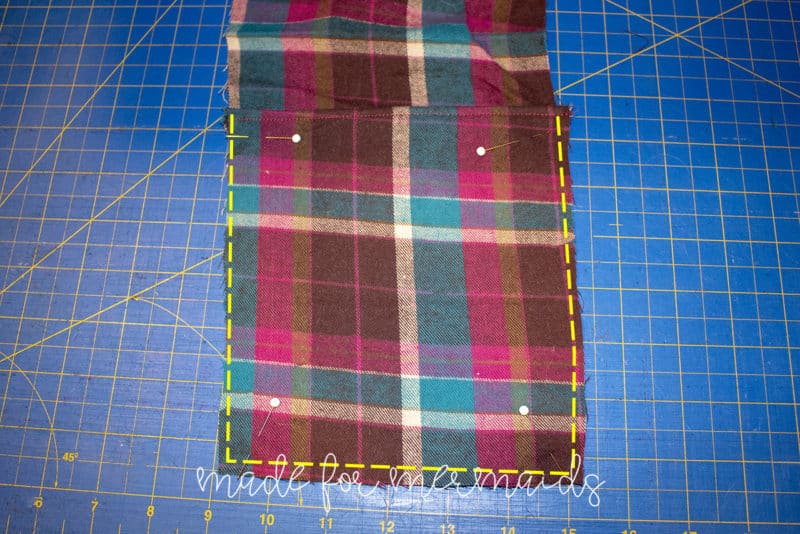
Align your pockets to the bottom ends of the main scarf piece. Both scarf and pocket should be right side up. Baste the pockets in place leaving the top edge open.
Step 5: ATTACHING LINING
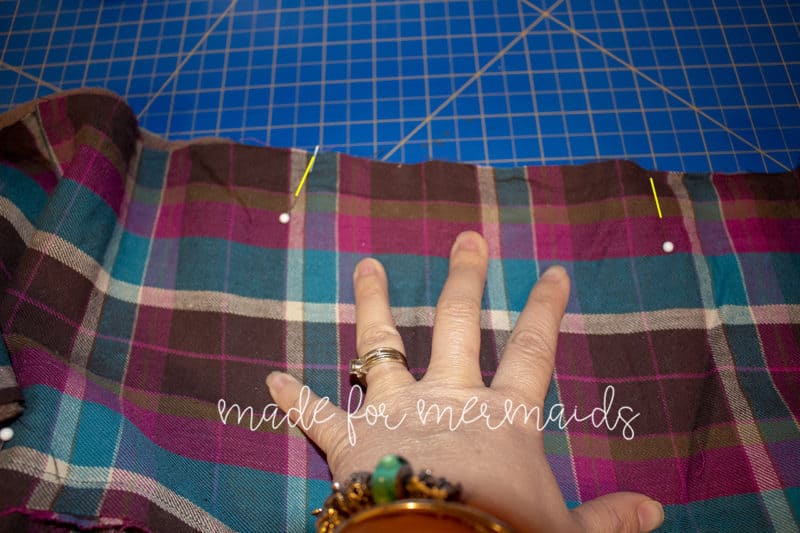
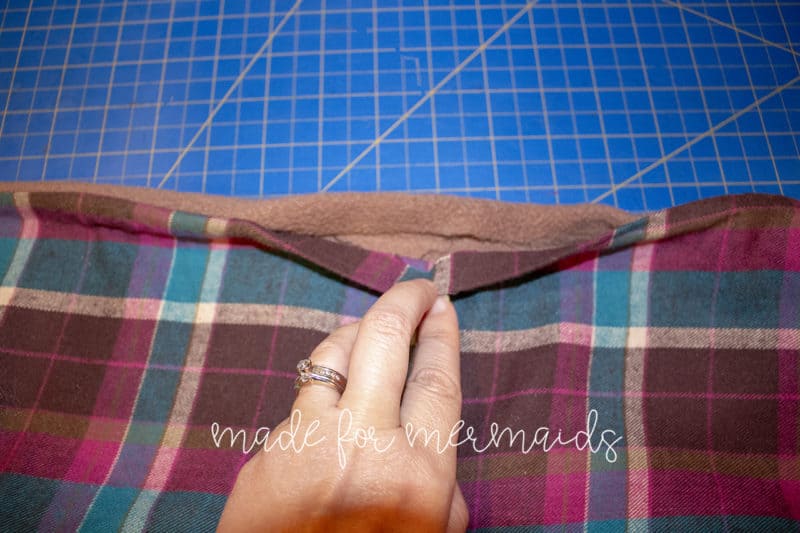
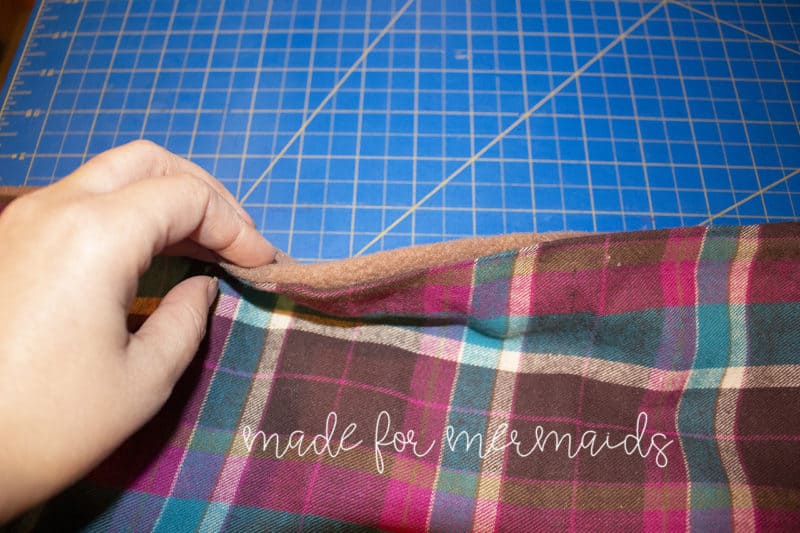
With right sides together, matching seams and raw edges, pin lining to main along all sides- scarf length, pocket edges and hood pieces. Stitch together, leaving a 6″ opening at the center back of scarf. Use your sewing machine for this step so that you can easily turn at each corner.
Step 6: FINISHING
Trim corners and seam allowances. I like using pinking shears for this step. Clip into the corners where the hood attaches to the scarf. DO NOT TRIM YOUR 6 INCH SPACE. Turn your scarf inside out making sure your pockets are on the right side and press. Press your seam allowance from your 6 inch opening into the scarf and hand stitch closed or if you prefer you can topstitch all the way around your scarf.
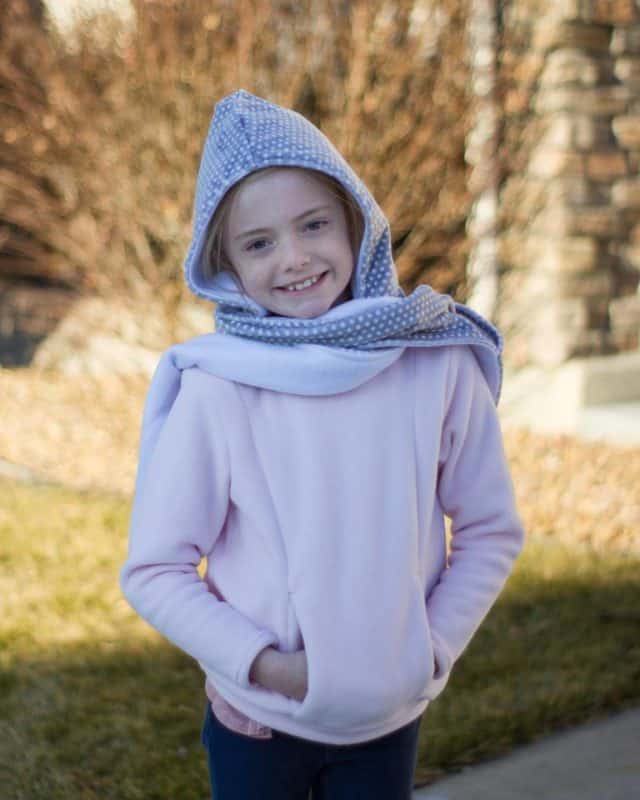
All done!! Throw on for those cold winter days and stay warm! Remember it’s a scarf so wear it up on your shoulders or your hands won’t fit in those pockets 😉
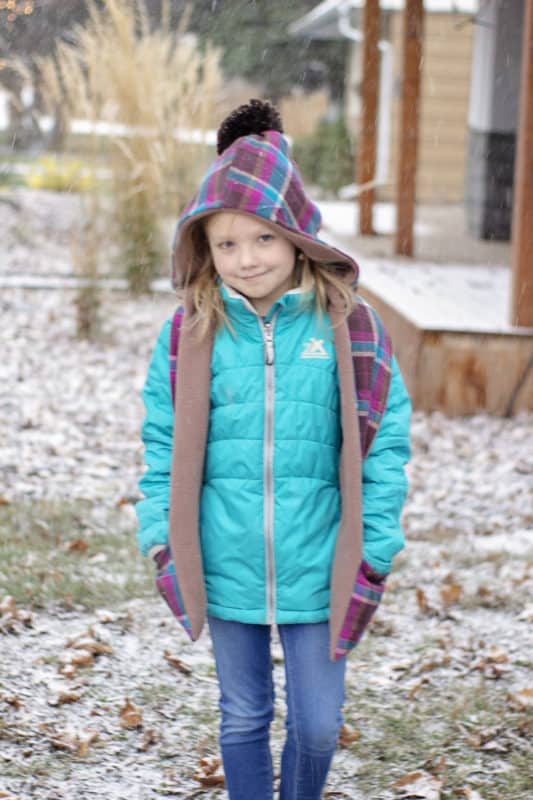
For another cute look, try adding a pom pom to the hood. Grab your pom pom pattern HERE for free!
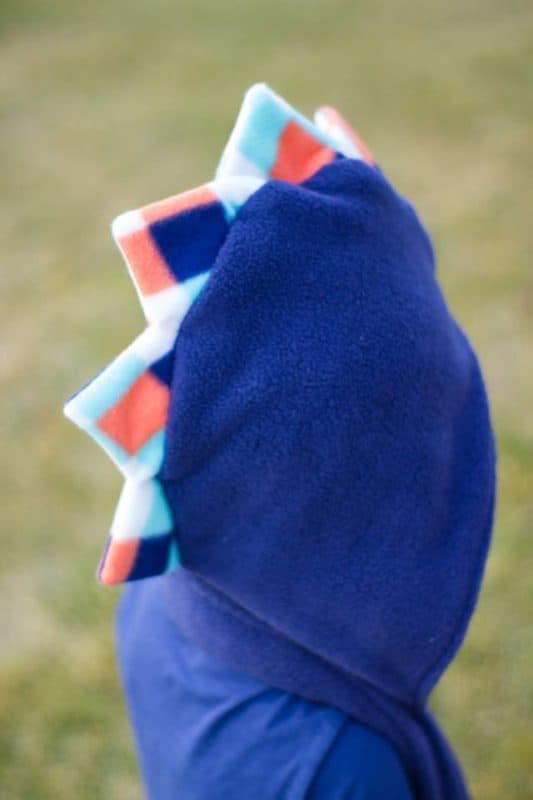
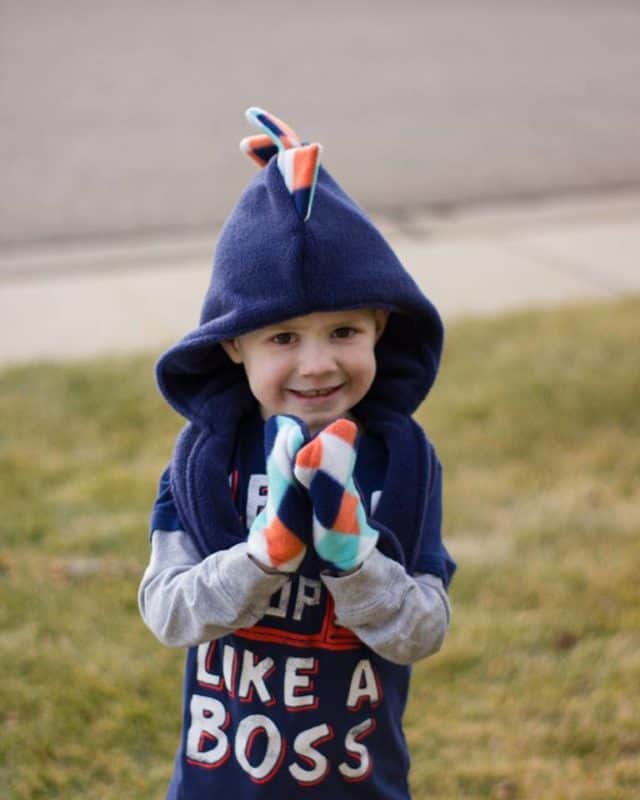
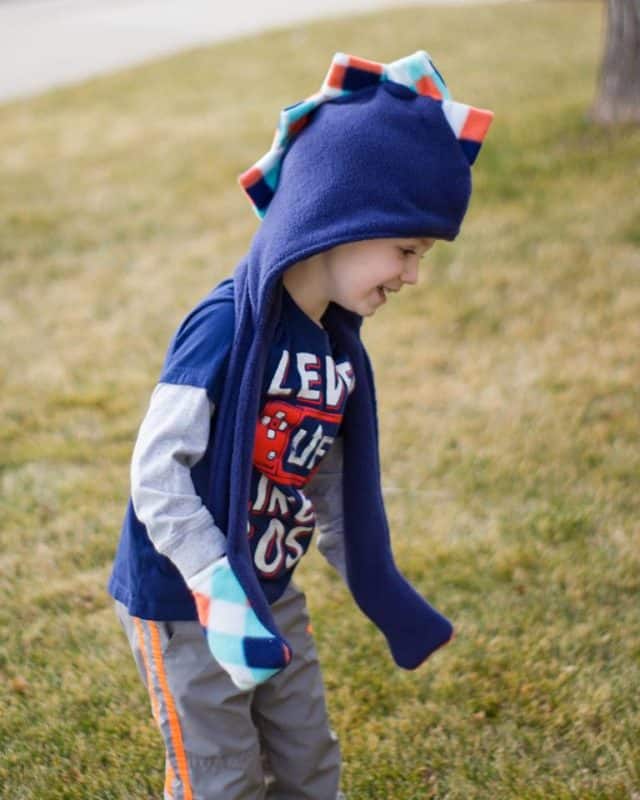
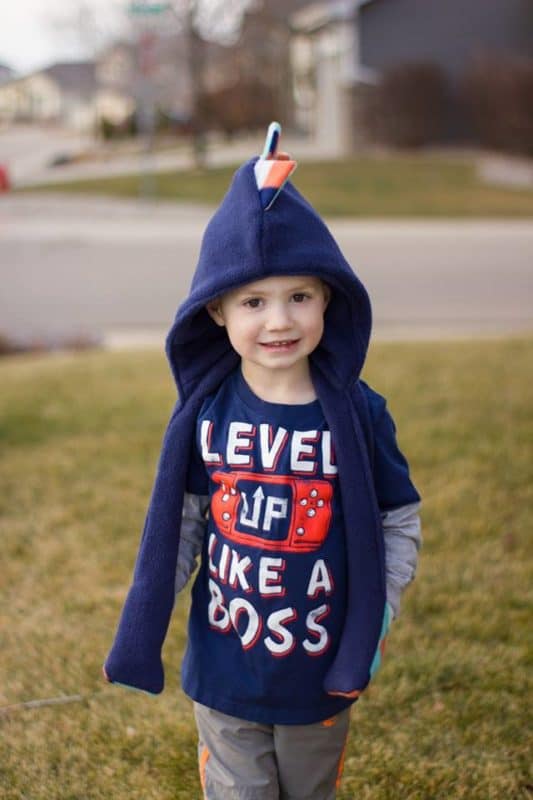
You can also add fun details to the hood, like Shannon did with the dinosaur spikes! How cute is that?!?


DECEMBER 1 – 12, 2018
DAY 1 –BARNACLE BUDDY BAG
DAY 2 – FUR POM POM
DAY 3 – BOWL COZY
DAY 4 – FELT BAKE SET
DAY 5 – CLARA APRON
DAY 6 – FABRIC GARLAND & NECKLACE
DAY 7 – POCKET PILLOW WITH CUT FILES
DAY 8 – FELT ORNAMENTS
DAY 9 – CLOTH NAPKIN
DAY 10 – LOG CARRIER
DAY 11 – DRAWSTRING POUCH
Hello,
I just found your page because I googled looking for a hooded scarf pattern. Wow! And it’s a free pattern and tutorial. I want to thank you so much for offering these amazing patterns for free. You are very generous and I appreciate this.
Thank you!
Liz
This was my first M4M pattern, and I just love it! As someone very new to sewing, I found this pattern to be very easy to follow. My results turned out great. Thank you, I am looking forward to making more M4M projects.
You need to download the actual pattern from a separate page, there is a hyperlink towards the top of this page
Ok so I gave you my information. I would do love to have this pattern but there doesn’t seem to be any way I can actually print it.
You can download the pattern anytime from your account, under ‘downloads’. It is a PDF file you will print from your computer 🙂
I can’t figure how the youth and toddler sizes work out on the fold, unless you attach the hood to the center long side of the scarf? It’s not in the instructions. Seems like the scarf ends would be awfully long otherwise. And attaching the hood that way would make the scarf ends narrower rather than wider like the adult. Please explain. I’m doing these in a group with my refugee sewing class.
Yes, the hood will be attached to the center long side just like the adult. For the adult versions, you just have to do the center seam first, but the step to attach the hood is the same for both. The starf ends for all three sizes are narrower at the bottoms (pocket ends) vs in the center around the neck/where the hood attaches. 🙂
Hi! Ich have looked a while for such a pattern – luckily I found yours! Thanks a lot. I’m looking forward to winter 😀
Best wishes Anja