Calliope is here and dare we say, fabulous??? This fun and trendy waterfall cardigan has a little something for everyone – hoods, pockets, and even a couple hacks too! We are so excited to bring this cozy pattern to you, just in time for fall and winter to arrive. The Calliope pattern is a waterfall front knit cardigan, drafted for knit fabrics with at least 30% stretch. You can use most any fabric you’d like, but Brittany’s favorite recommendations are fabrics with good drape, such as chenille, waffle, French Terry, sweater knits, rayon spandex, brushed poly, ribbed knit, etc.
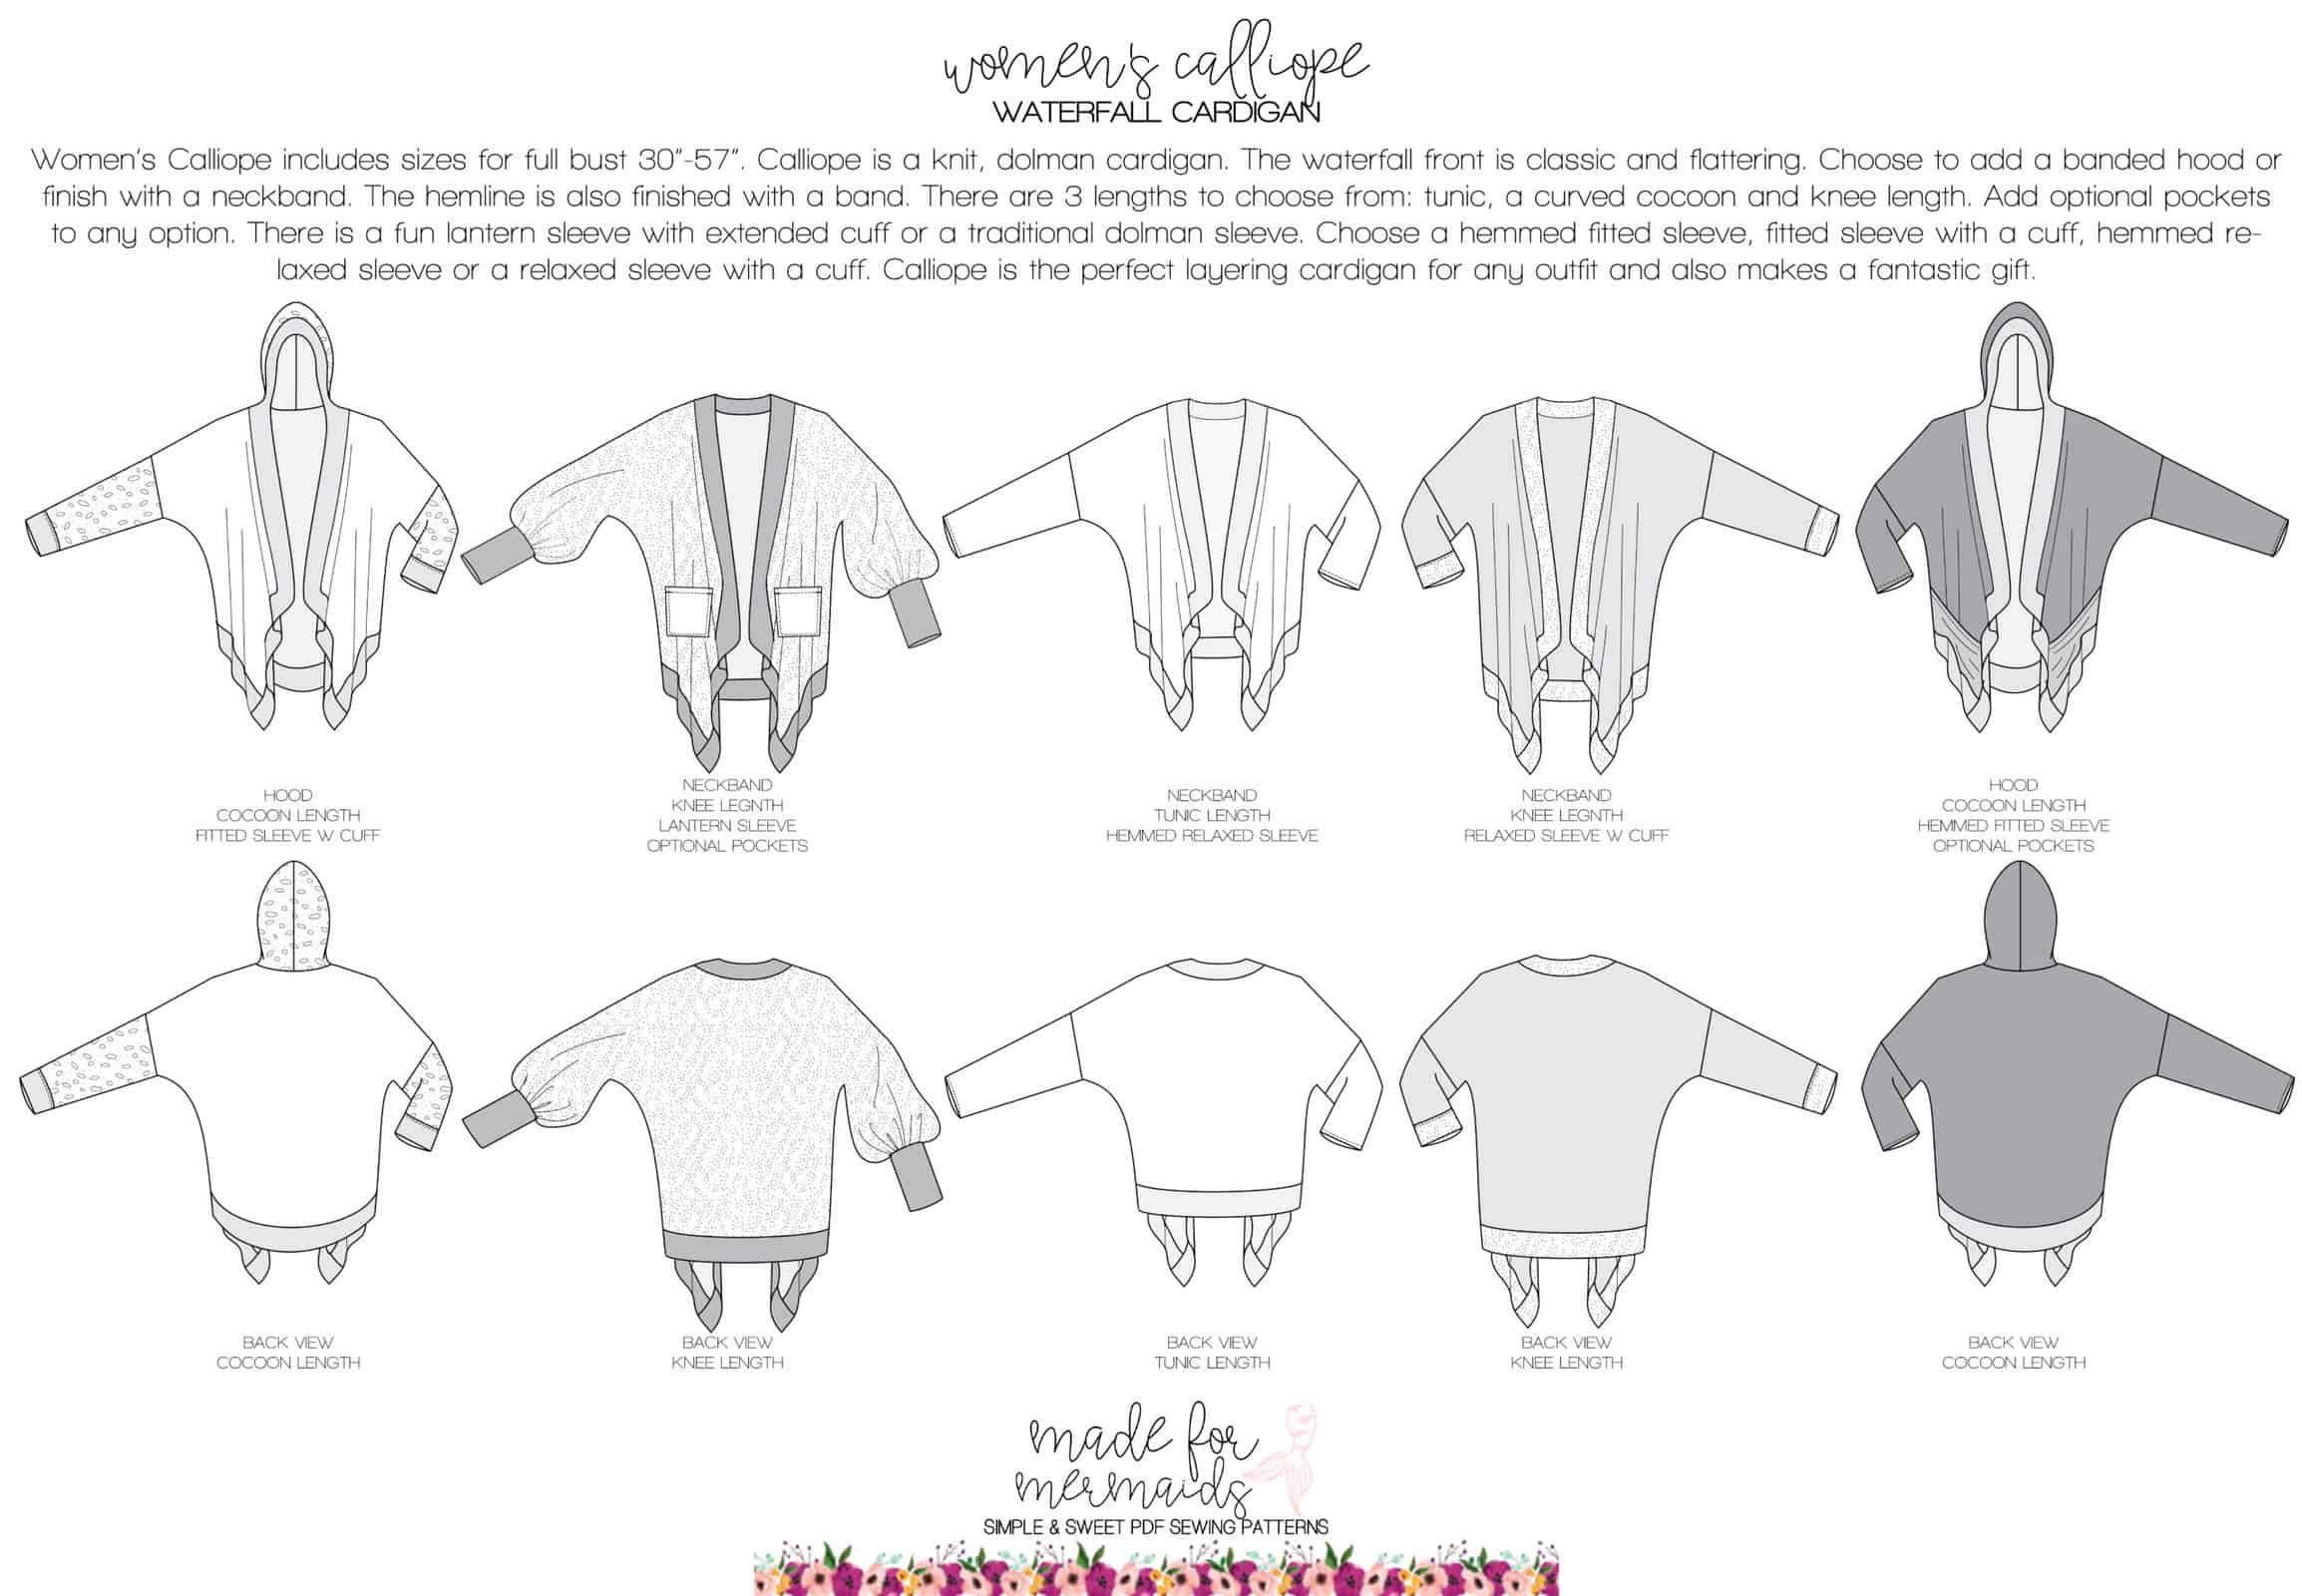
Calliope features cocoon, straight tunic, or straight knee lengths for hem options. Choose between a hood or a neckband. Sleeves include a one-piece lantern sleeve, slim long sleeve, or a relaxed fit long sleeve. The exaggerated cuff on the lantern sleeve option is the kind of drama I live for!! Finally, you can opt to put pockets on any of the options.
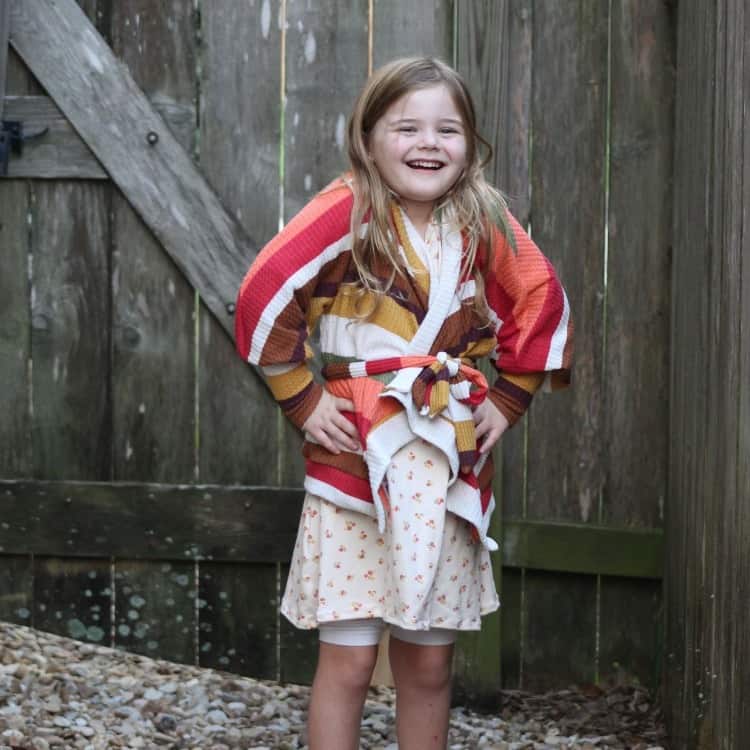
Belt Hack
This belt hack is a fun way to style your Calliope cardigan a little differently.
You will first sew up your Calliope cardi per the instructions.
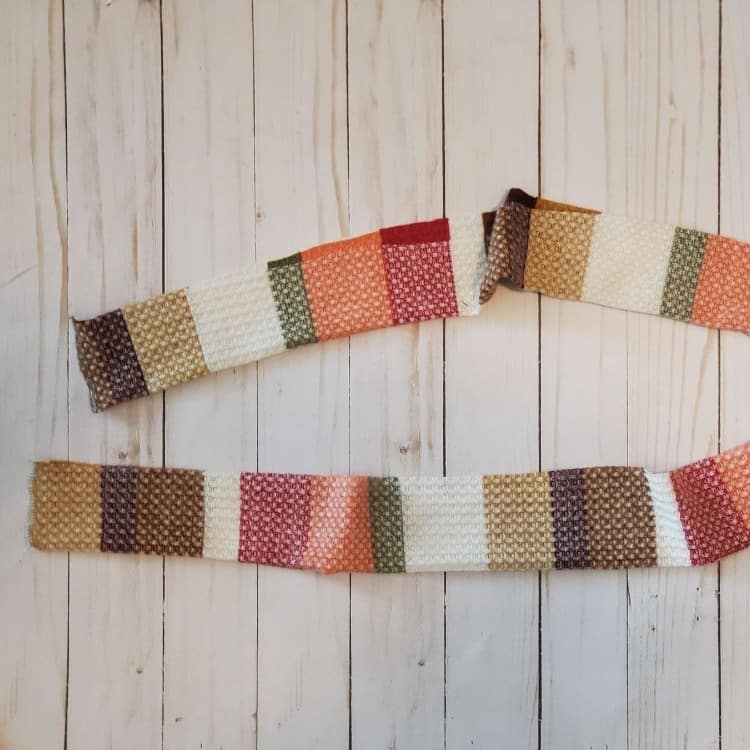
Now you’re ready to cut out the belt. To determine the length, you will make it 2x your waist plus 6″. For example, if your waist is 30″, you will make the belt 66″ long. I made the width 5″ for mine. You can make it wider if you prefer a chunkier belt for the look. You can also make it longer if you want an extra long bow or ties.
Fold the belt in half lengthwise. Take the short ends of the belt and stitch with 1/4″ seam allowance.
If serging, tuck in the serger tails and tack in place.
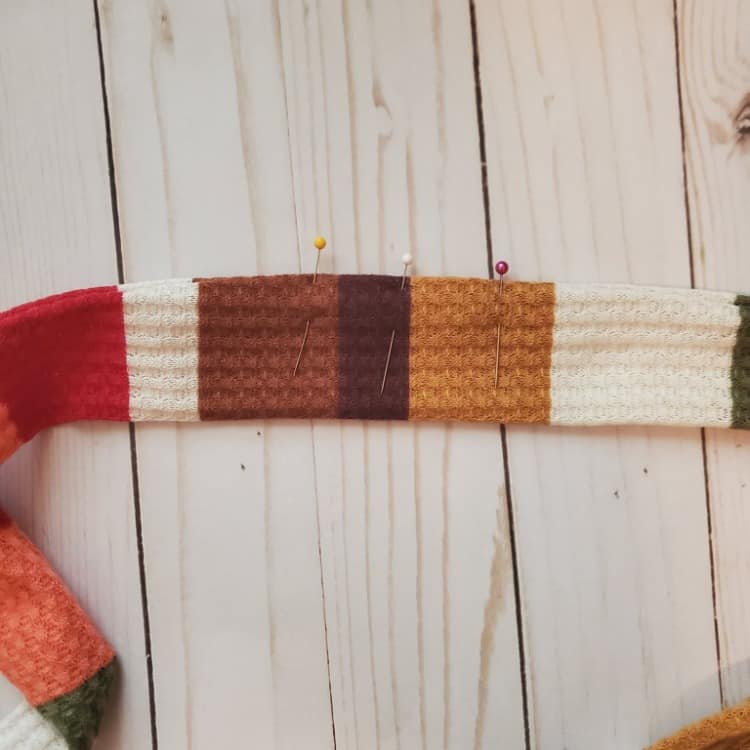
Stitch the remaining long raw edges of the belt RST, leaving a small 1.5″-2″ gap for turning later. I like to leave the gap in the middle of the belt as it will end up in the back later. For my belt, I used a 1/2″ seam allowance for this portion, so my gap would be easier to close.
Turn the belt right sides out through the small gap. You will now pin together the gap with wrong sides together and stitch it closed.
You can use your sewing machine or hand stitch it closed. I used my sewing machine and just used a straight stitch.
Now you have another way to style your new cardi!
~Lindsay~
Bodice Hack
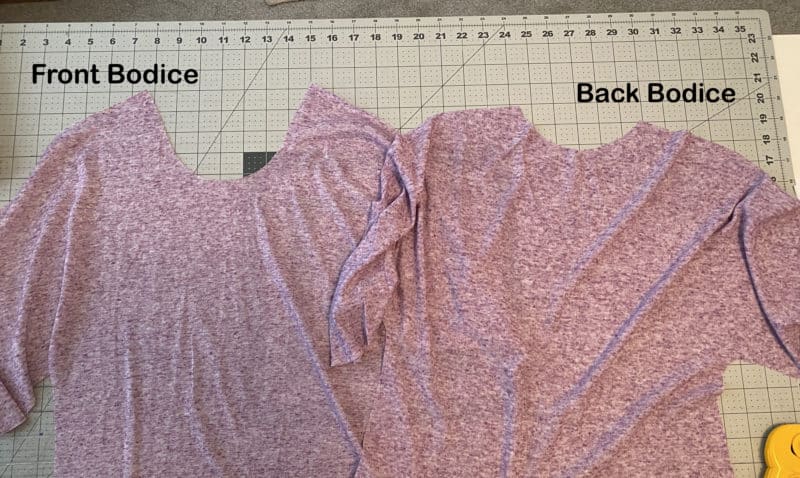
The lantern sleeve option on the Calliope cardigan is my absolute favorite. They are just so unique and trendy, and I am going to show you how get that same look with a solid front bodice.
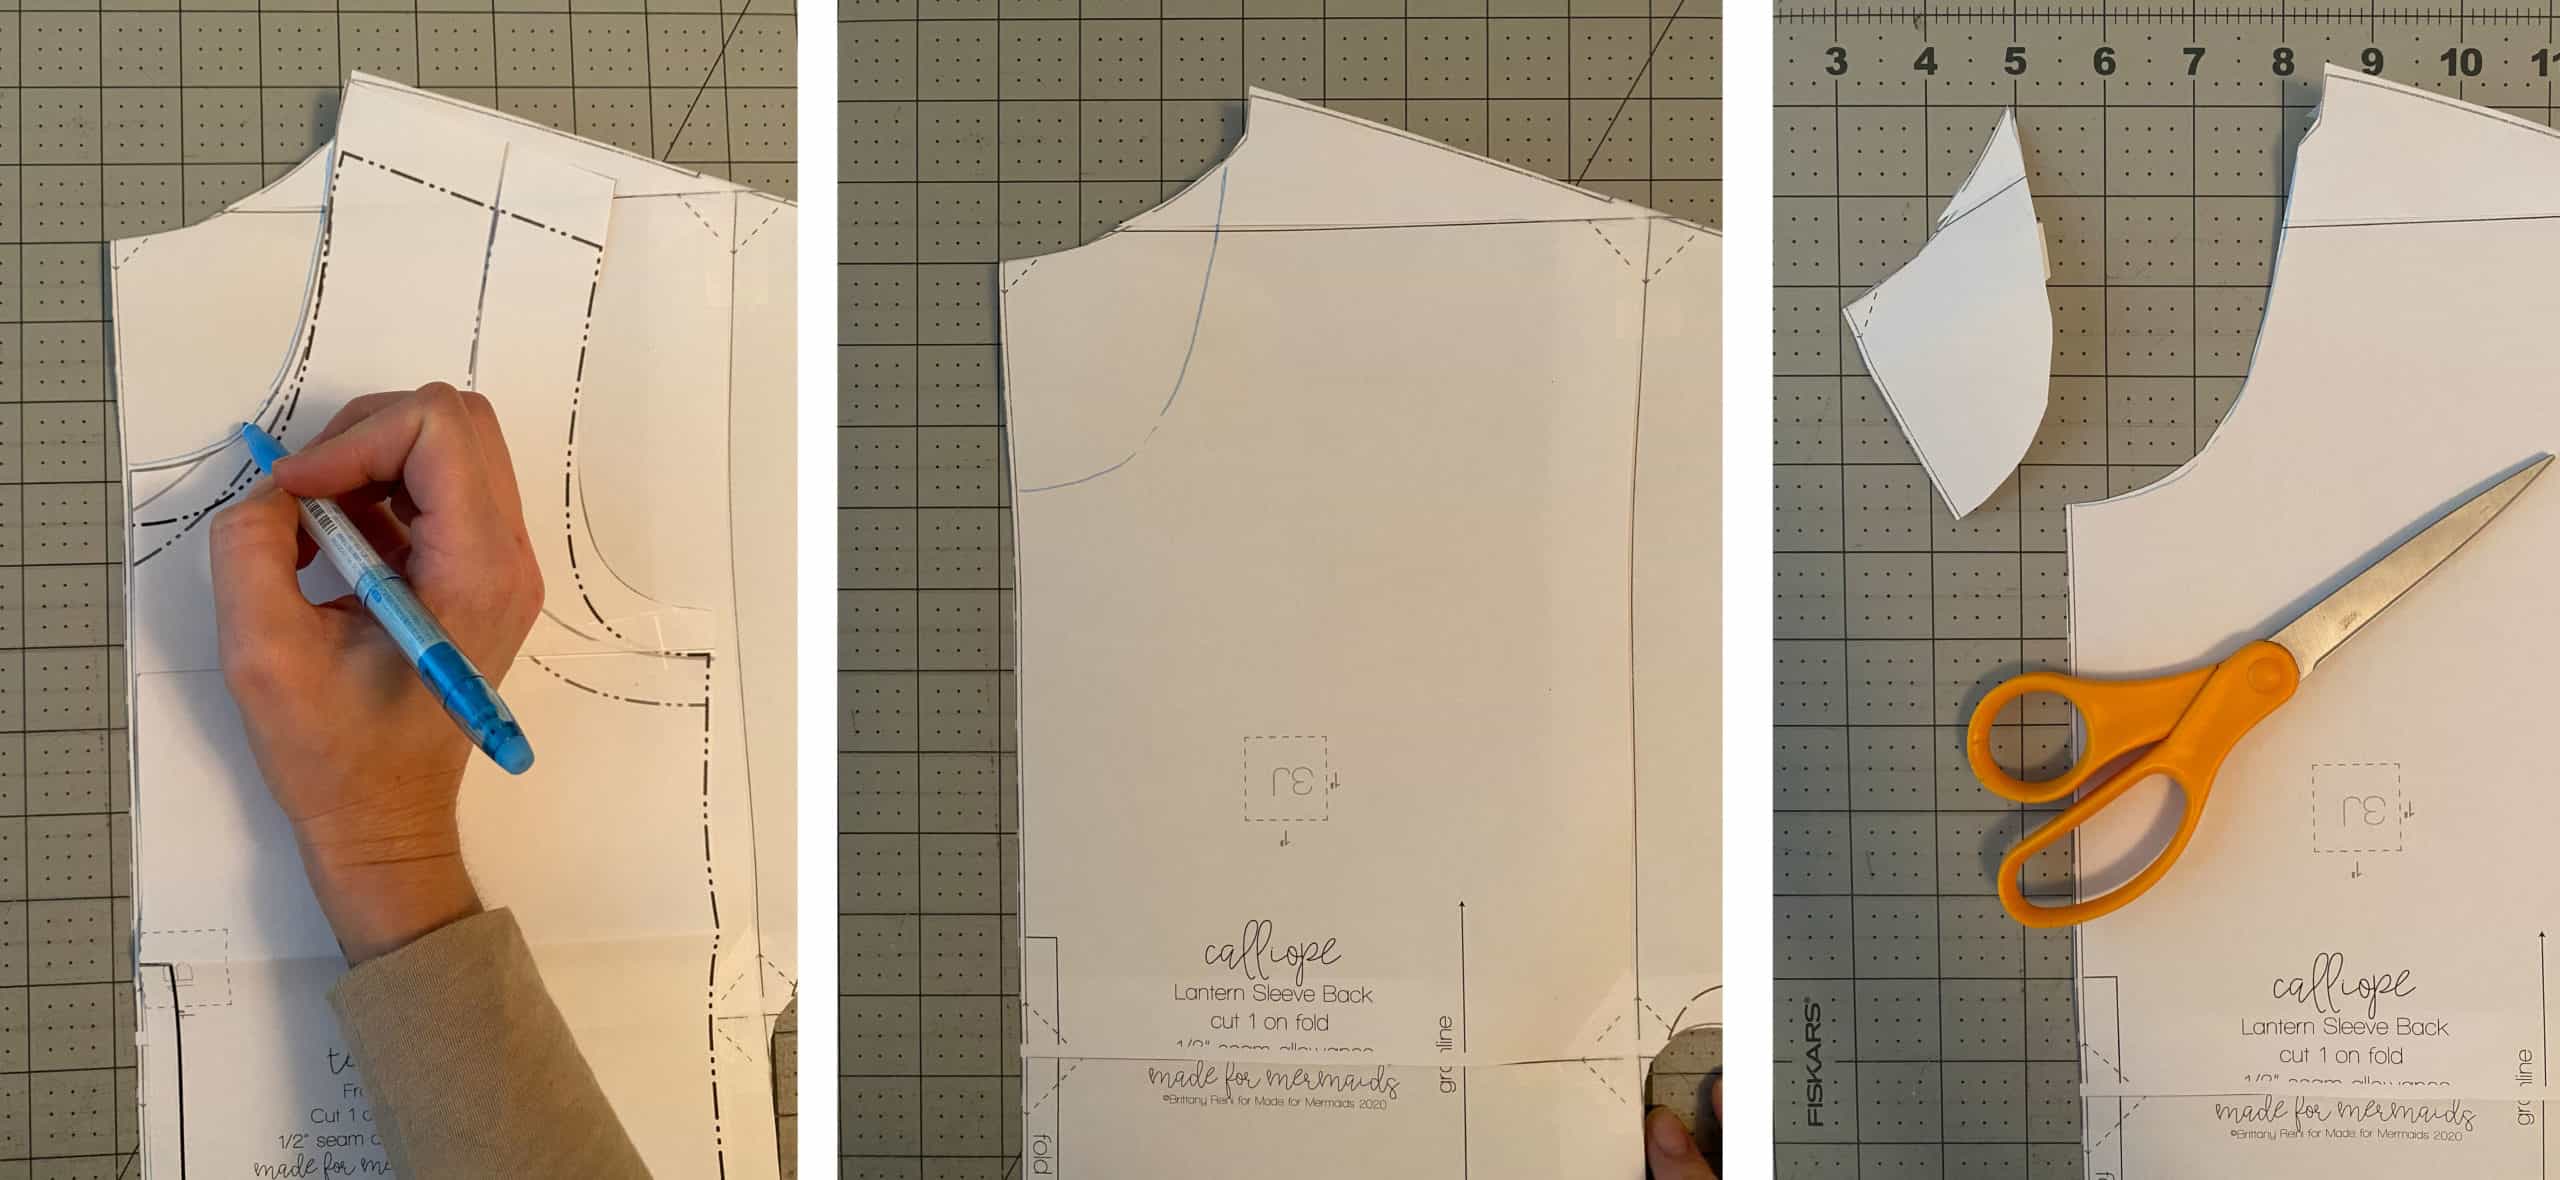
First up is printing your pattern. For this hack you will only need to print the Back Lantern Bodice piece and the Lantern Sleeve Cuff piece. Once pieced together, you can cut out your back bodice piece as is. I cut at the Tunic length.
We are then going to take our back lantern bodice piece and trace out a lower neckline to create our Front Lantern Bodice piece. You can free hand this by just dropping the neckline a bit, or you can grab your the front bodice pattern piece of your favorite top pattern and trace the neckline onto the back bodice piece.
I grabbed my Tess Top bodice piece for this one and show in the pictures above how to line up the pieces to create your new neckline. Simply cut that extra piece off and then you are ready to cut out your new Front Lantern Bodice piece.
Since I used the Tess top to trace the neckline, I was also able to use the Tess neckband pattern piece to cut out my neckband. All that is left now is to follow the tutorial and sew up your new top, adding the neckband at the end! I was able to just hem the tunic length but you could always add a band to the bottom as well if you prefer. Happy sewing! – Megan K
Duster Hack
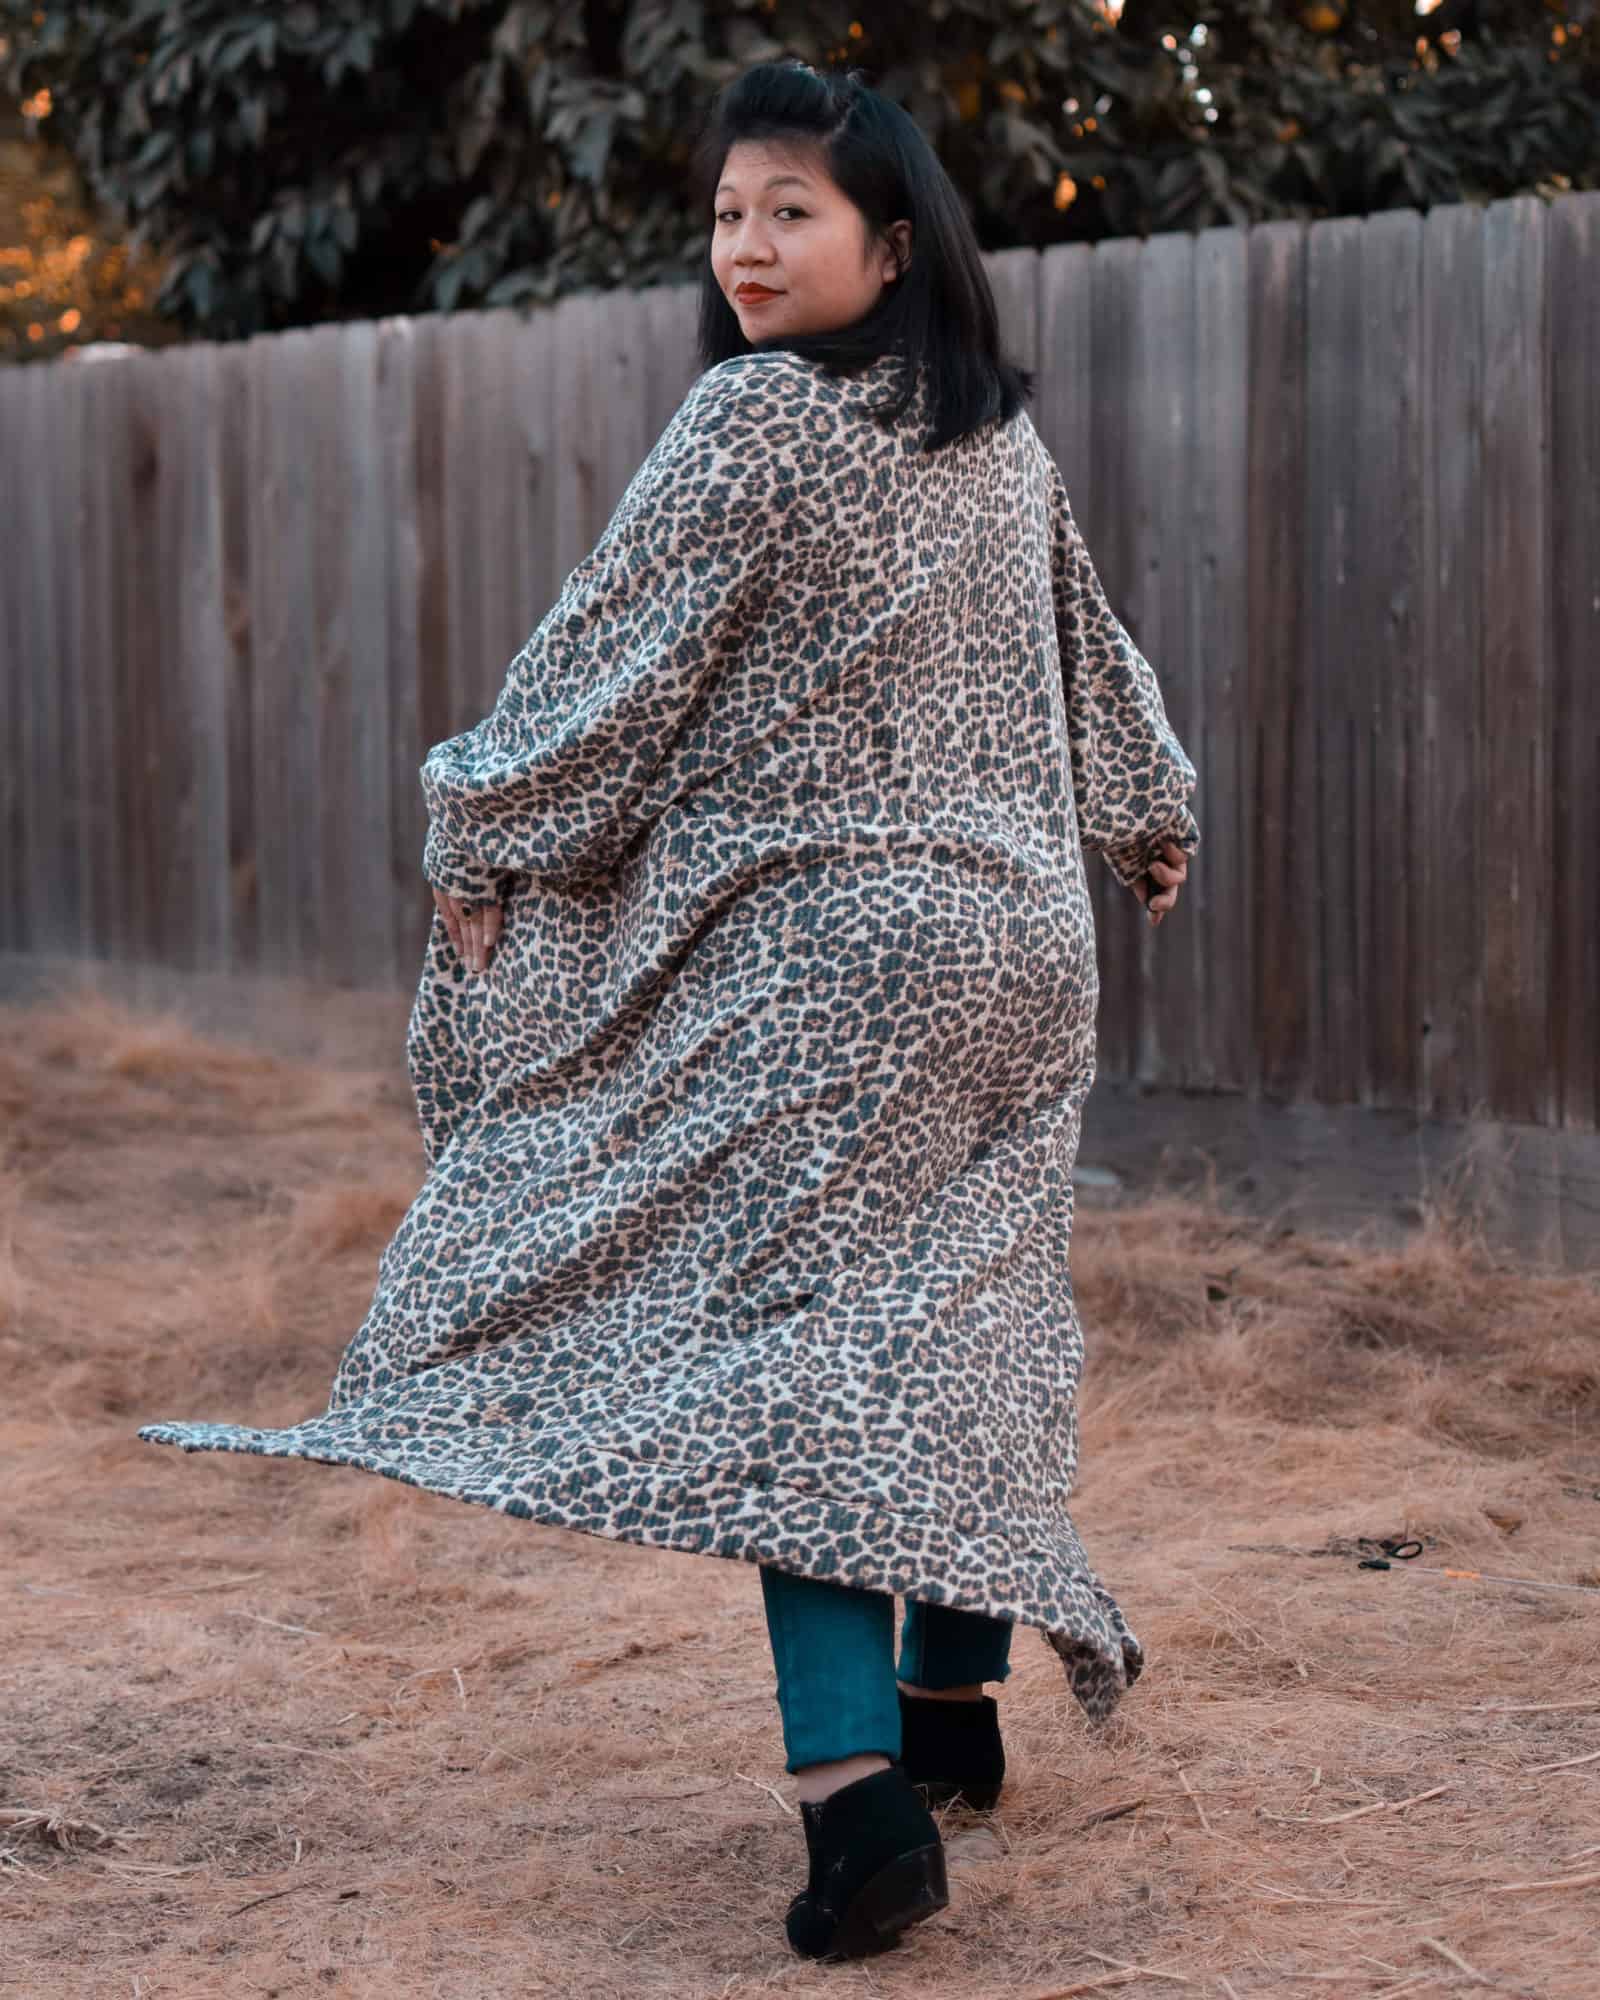
I have been living in my Calliopes since testing. Something about the lantern sleeve is just so cozy. The pattern already includes a cocoon option, tunic, and knee length, but let’s make even more of a statement with a maxi length duster!
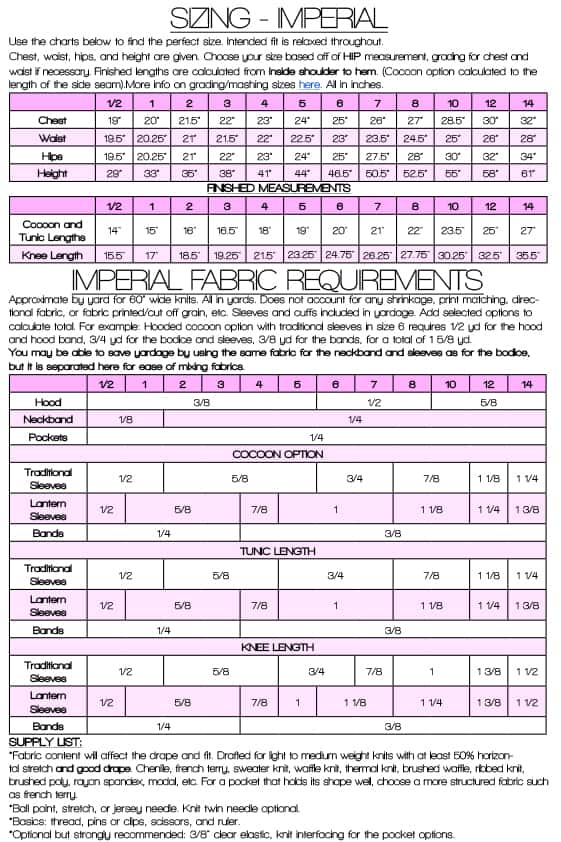
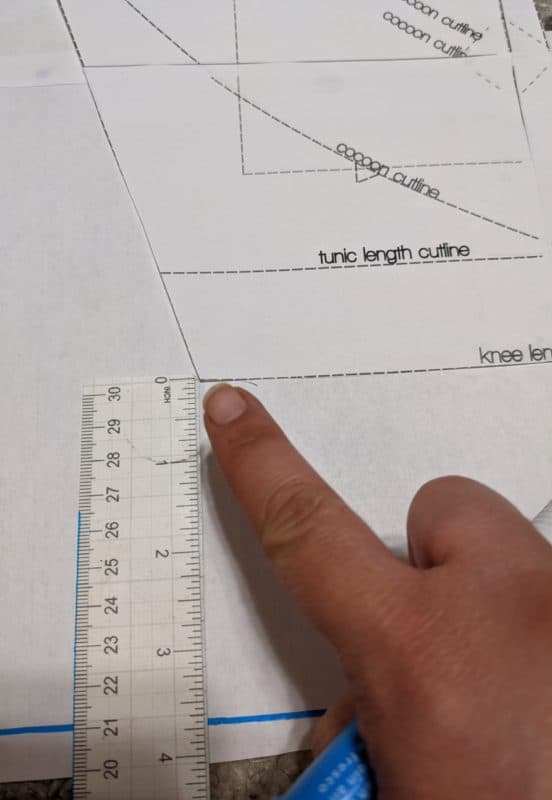
Your first move to get started will vary depending on your height. If you don’t usually make changes for height, measure the distance from your knee down to your preferred maxi length (mine was 12”). NOTE: If, like me, you have to usually grade for height, you’ll start by measuring from the top of your shoulder down to your preferred maxi length. In the tutorial you’ll find finished measurements. Find the finished length corresponding to your size. Now take your measurement and subtract the finished length measurement. The difference will be the amount you need to add (ex. 48″-30″=18″).
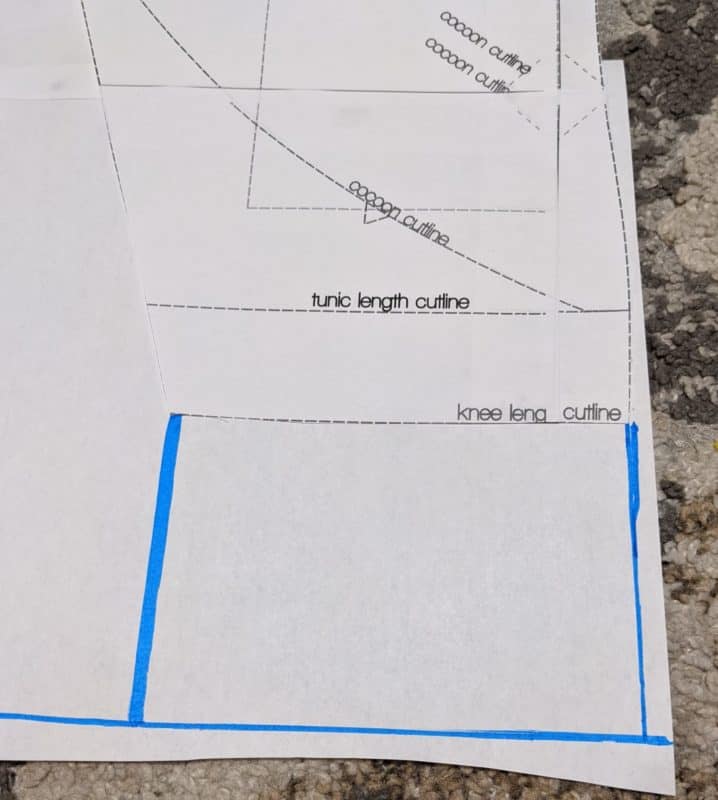
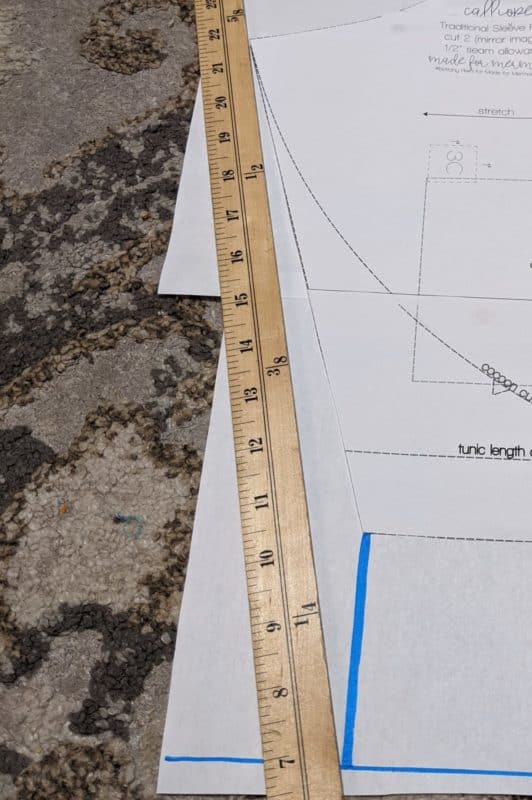
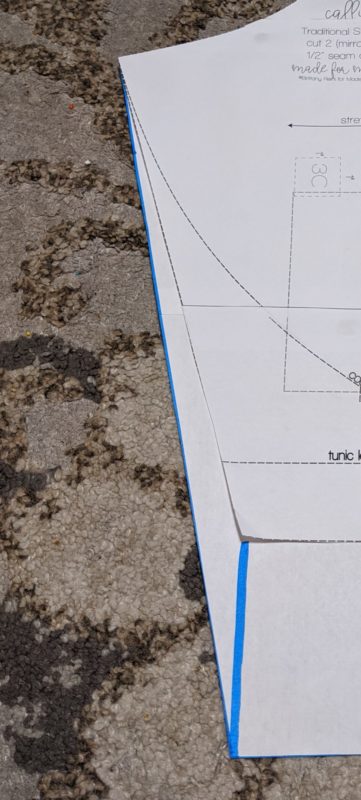
Alright, now that we’ve got the length we need to add, let’s adjust the pattern pieces! We’ll be adding length to the two front pieces, the back piece, and the center front bands. Let’s start with the front piece. Draw a line straight down measuring the length you figured out you needed to add from both corners of the current piece at knee length. Keep in mind we will be keeping the hemline opening the same width as drafted.
Now, we’ll need to adjust the center front line to the new point. To do this, take a ruler, match up the front center neckline and the new line you’ve created for duster length, then re-draw the line.
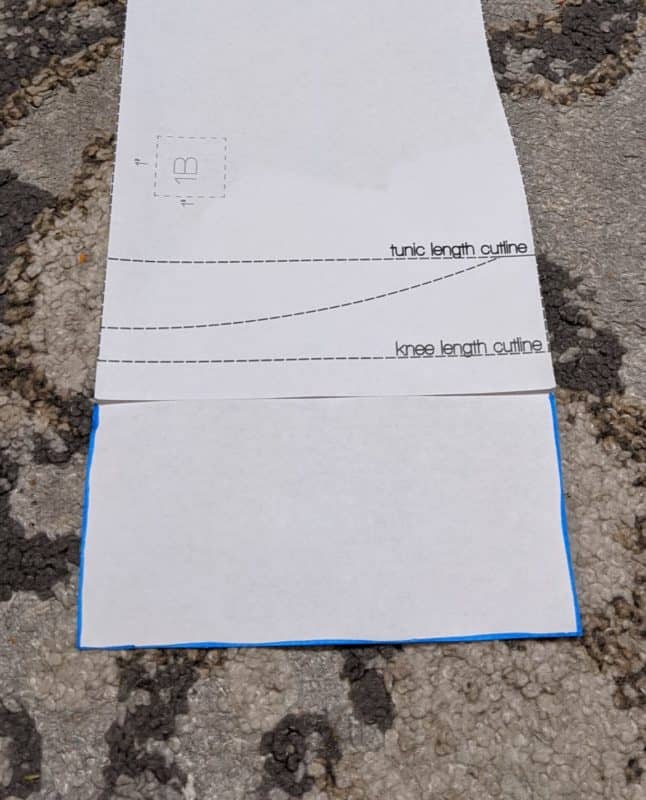
You’ll need to add length to the back piece as well, but you won’t have to make any other adjustments.
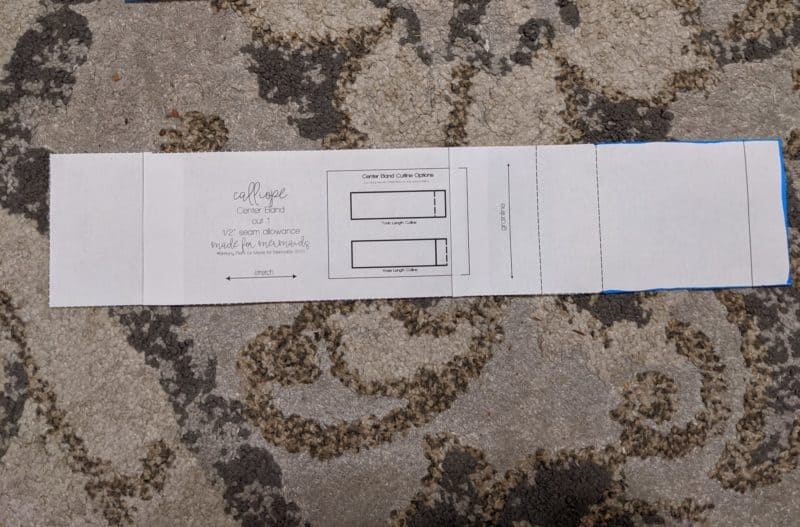
Finally, we need to adjust the center front band piece. To do this, add the adjustment length to the width of your band piece and then we’re set to sew!
Just follow the normal instructions in the tutorial for the knee length version!
Happiest Sewing!
xxo, Christina
We hope you love your new Calliope Cardigan patterns! We can’t wait to see what version you decide to sew up first. 🙂














Leave a Reply