I love that spring is finally in the air down here in Southern California! Don’t get me wrong, in winter I fully enjoy snuggling up in a warm and cuddly sweatshirt, but in spring I like to bring out all of my pretty dresses and tops that show off a bit more skin. The So Cal sunshine can wreak havoc on my skin even when I do slather on the sunscreen, so I like to always have a light layer on to keep a bit more covered.
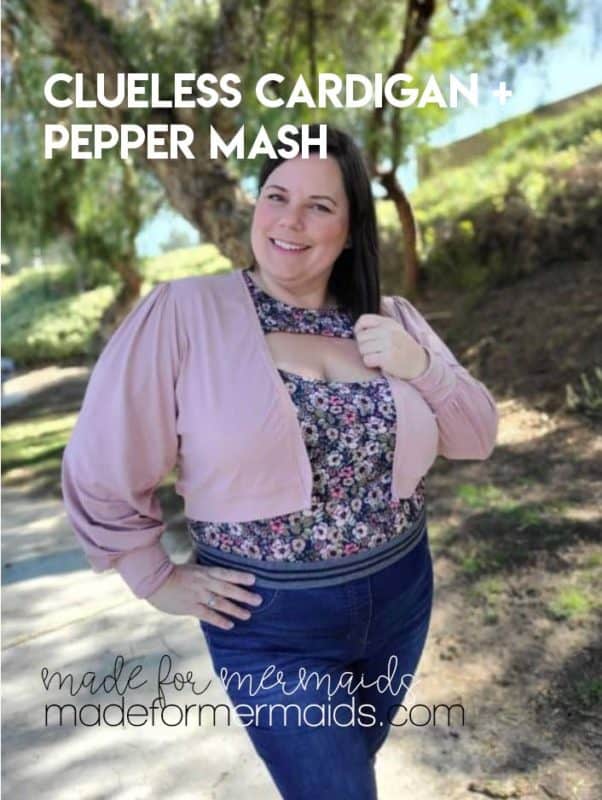
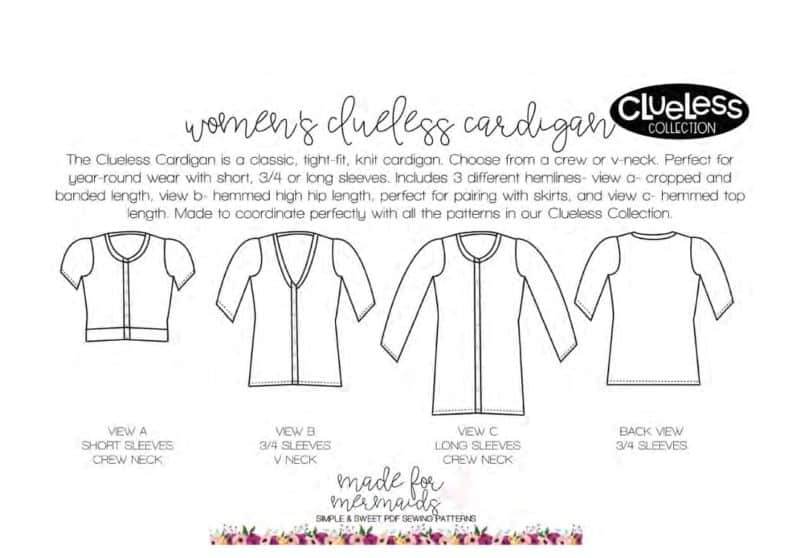
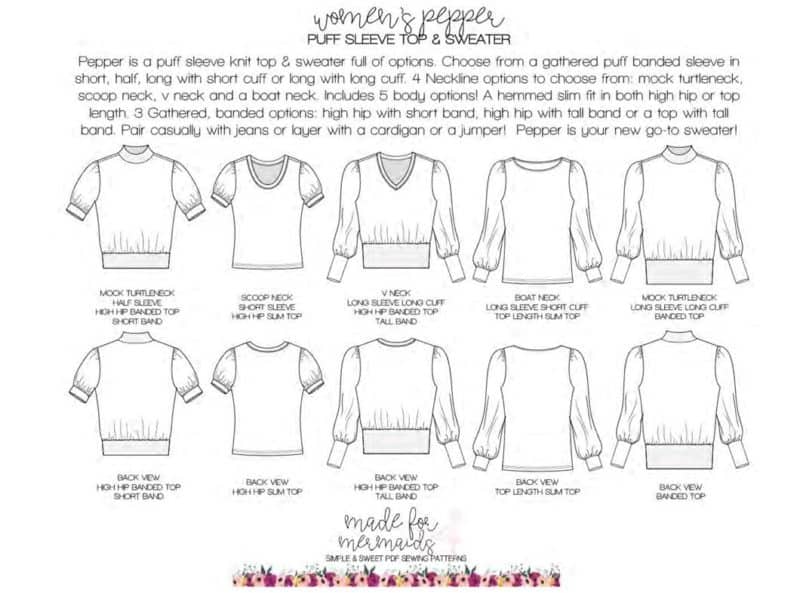
The Clueless Cardigan is a classic tight-fit cardigan with 3 hemline lengths, sleeves in 3 lengths, and either a v-neck or crew neck option. To give that classic silhouette a twist, today I’m showing you how to use the puff sleeve from the Pepper Puff Sleeve Top & Sweater with the bodice of the Clueless Cardigan to create a fun new cardigan.
The best part of this mash is that we don’t need to alter any pieces. With the Pepper sleeve cap being gathered, it will fit right into the Clueless pieces.
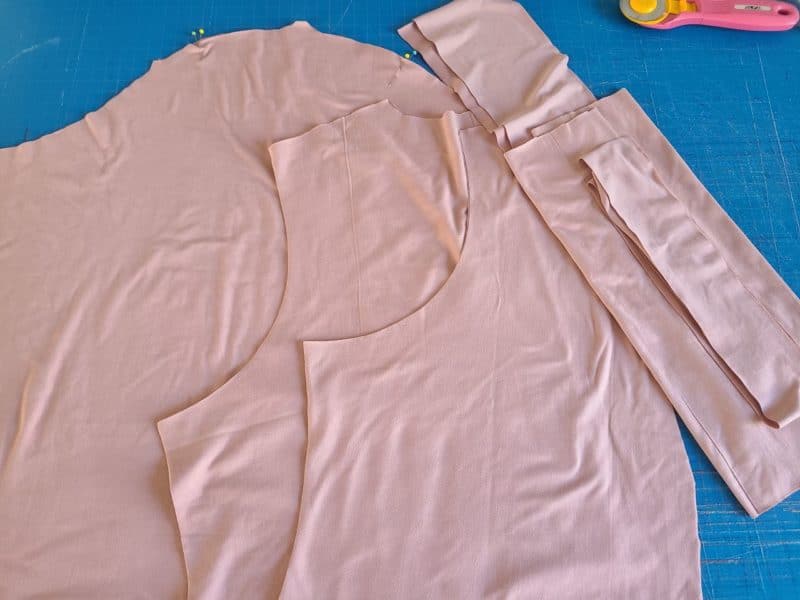
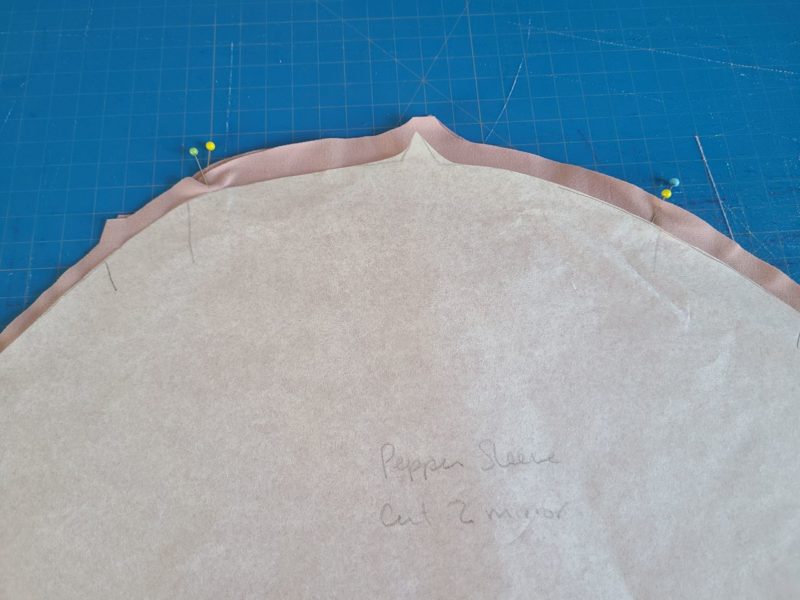
Cut out the bodice pieces for the cardigan style you want – option A, B, or C for length, and either v-neck or crew neck. Don’t forget the bands from the cut chart as well. You will need to cut out the sleeve length you want as well as your cuffs. For the sleeve, I like to have the full piece printed (or traced when using a projector) and I just fold the pattern to the length I’m wanting to sew. Mark all markings from the pattern pieces to your fabric, including the points between which you will gather your sleeve cap.
Pattern pieces that you will need:
- Clueless Cardigan Bodice front x 2 mirrored (choose option A, B, or C)
- Clueless Cardigan Bodice back x 1 on fold
- Pepper Puff Sleeve Top & Sweater Sleeve x 2 mirrored
- Pepper Puff Sleeve Top & Sweater Cuffs x 2 on fold
- Clueless Cardigan Waistband x 1 on fold (view A) cut according to cut chart
- Clueless Cardigan Neckband x 1 cut according to cut chart
- Clueless Cardigan Center bands (Crew option) x 2 cut according to cut chart
NOTE: You will also need interfacing for neck/center bands as described on page 6 of Clueless Cardigan tutorial
Construction:
Using a ½” seam allowance, we will first construct the bodice. Sew the front to back at the shoulder seams.
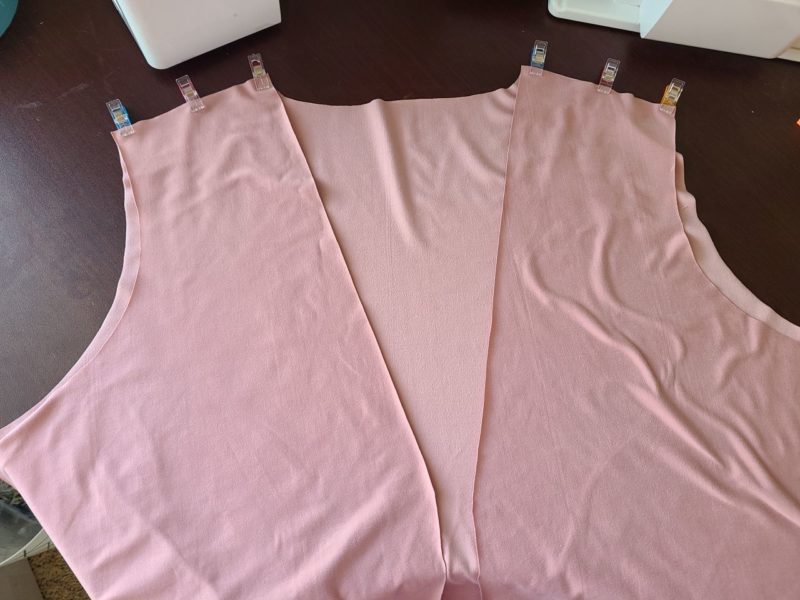
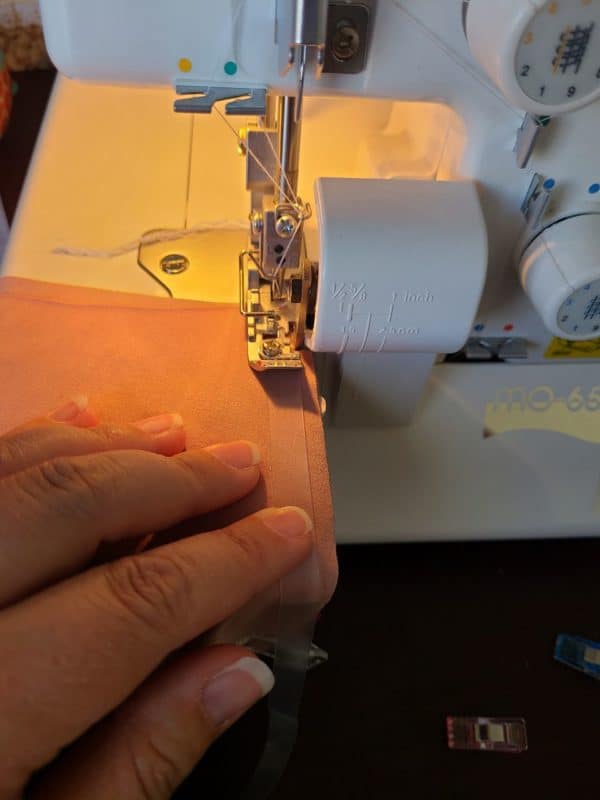
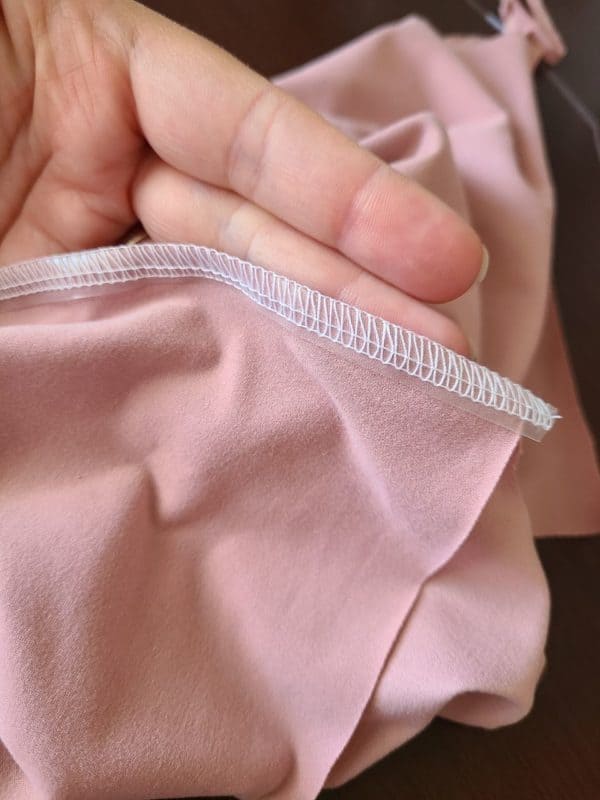
I’m adding some clear elastic to my shoulder seams for some stability because my fabric is lightweight. I’m just going to add it right where I’m stitching, without stretching the elastic at all.
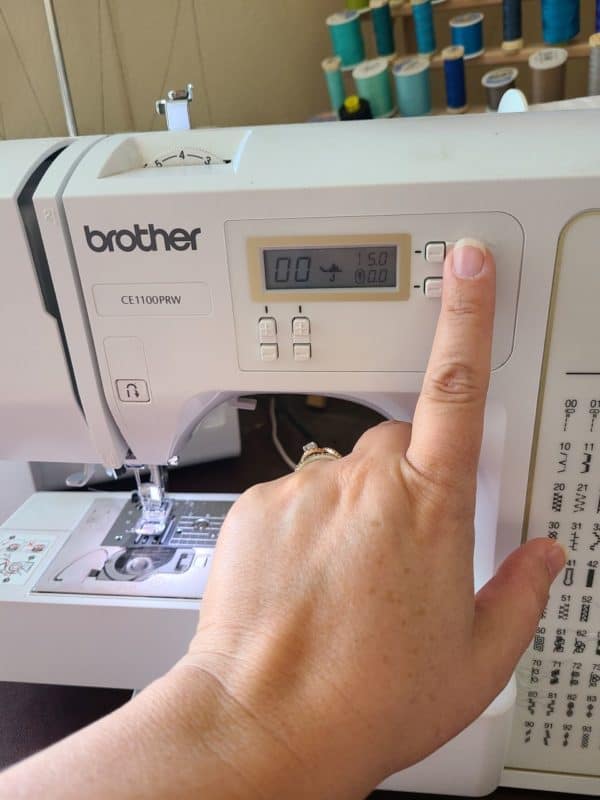
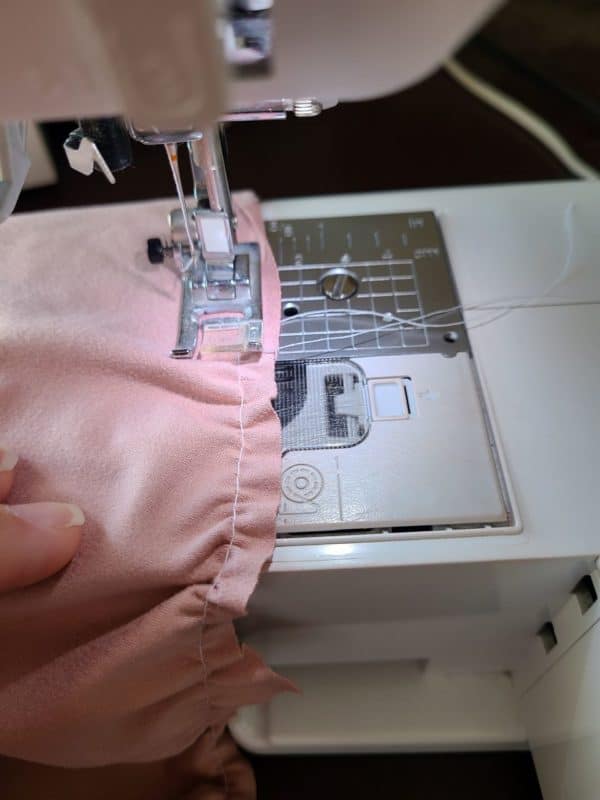
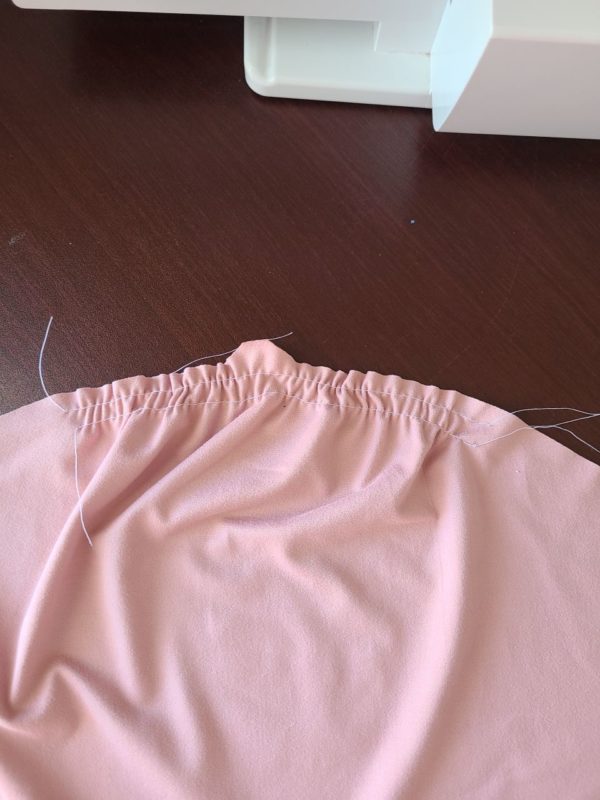
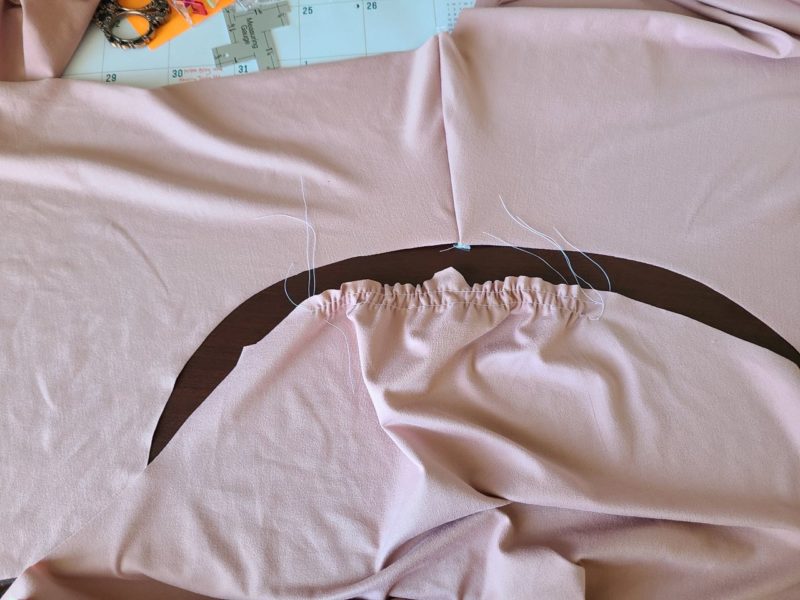
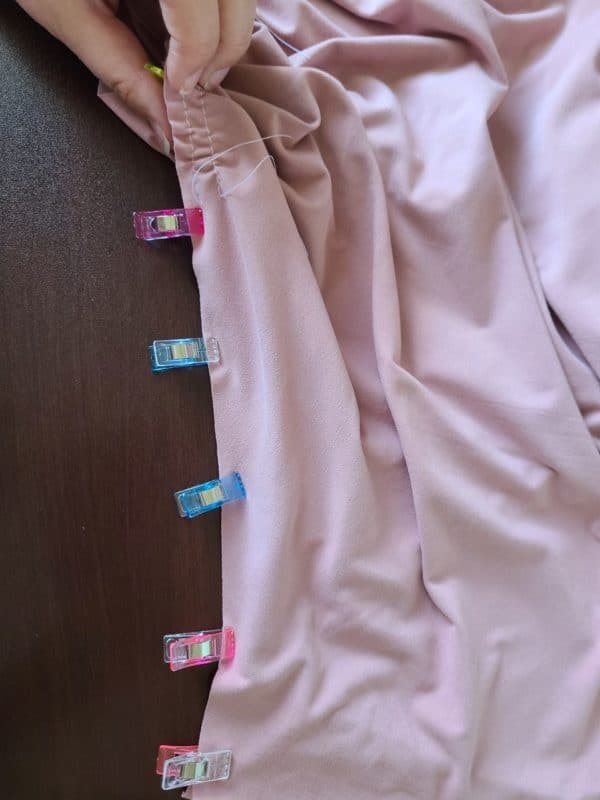
Next, we are going to prepare the sleeve by gathering with a long straight stitch between the lines we marked earlier while cutting out the pattern. Do this with a basting stitch (straight stitch at the longest length) at ¼” and 5/8” from the top of the sleeve.
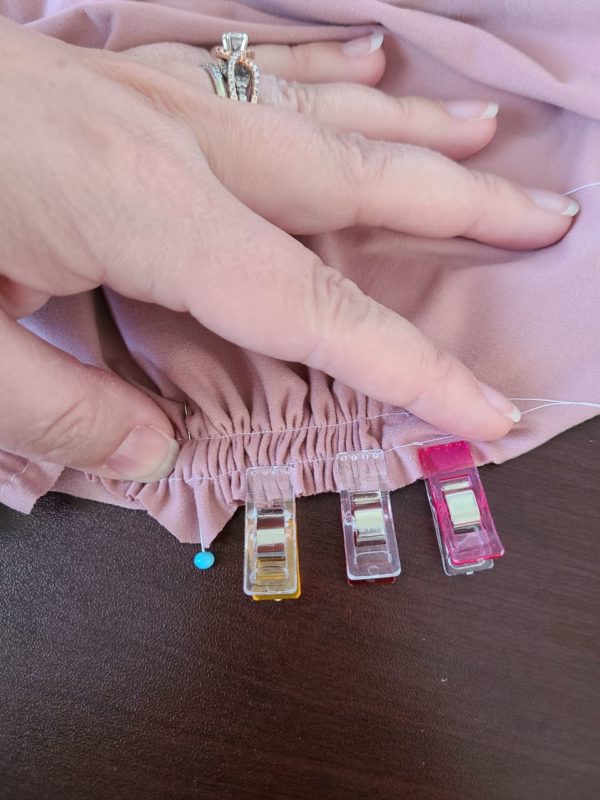
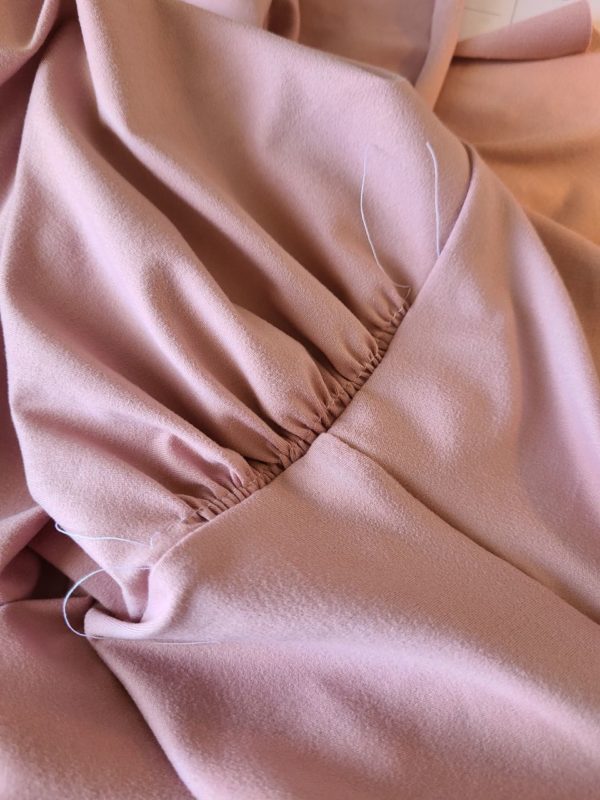
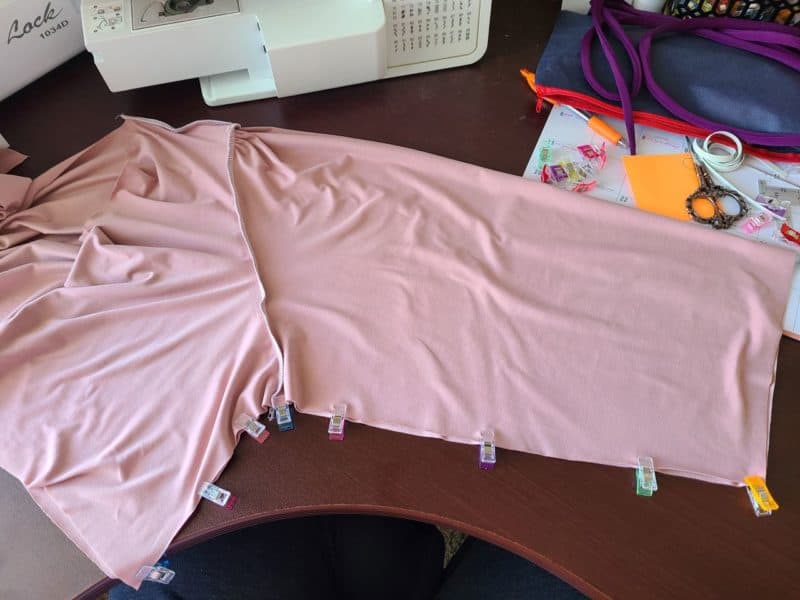
Match the edges of the sleeve head to the edges of the bodice, and the top center of the sleeve to the shoulder seam. Pin or clip your sleeve to the bodice until you get to the gathers, then gather the sleeve head into the bodice and sew.
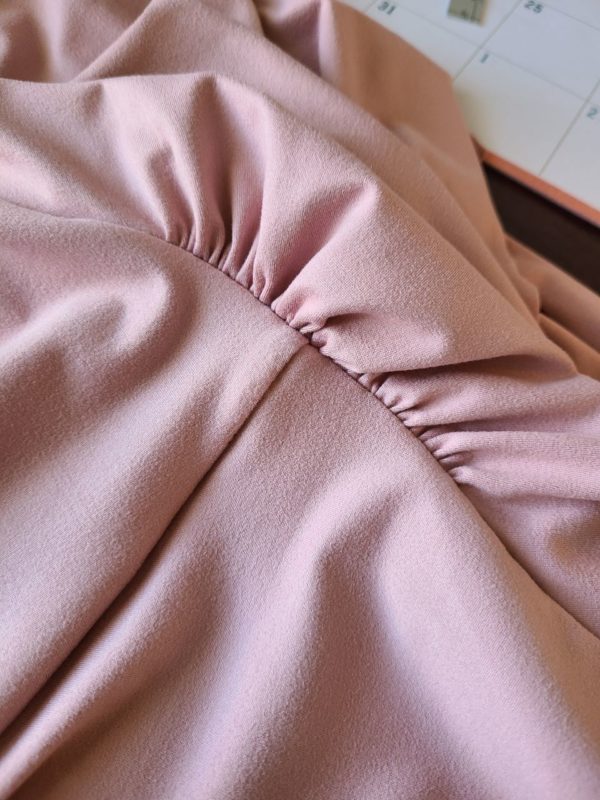
Once you’ve got the sleeve sewn on, you can go ahead and take out your basting stitches. Isn’t the gathering so pretty? This is what puts the puff into the Pepper Puff Sleeve.
From here, you can choose to finish the sleeves in the round or flat. Both methods are explained in the instructions for the Pepper Puff Sleeve Top starting at page 14. I prefer to work in the round, so I sewed up the side seams from sleeve edge to the bottom of the bodice on each side.
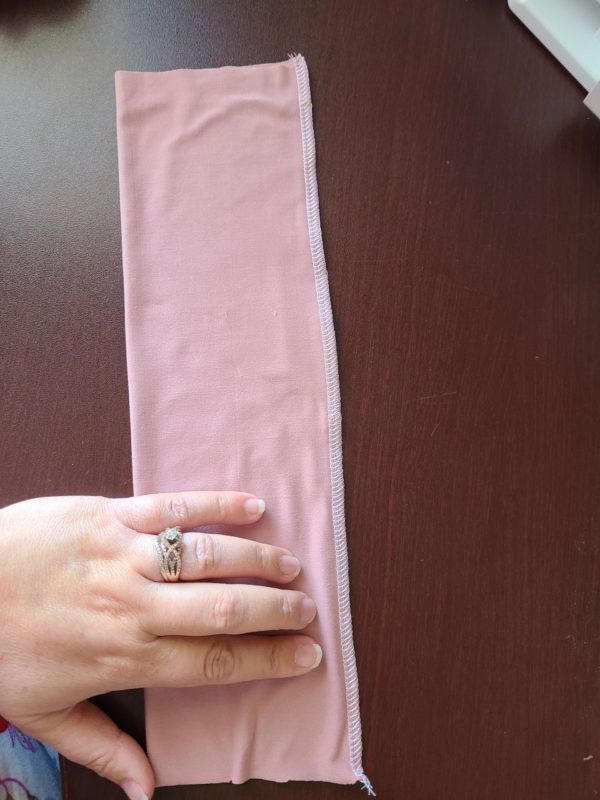
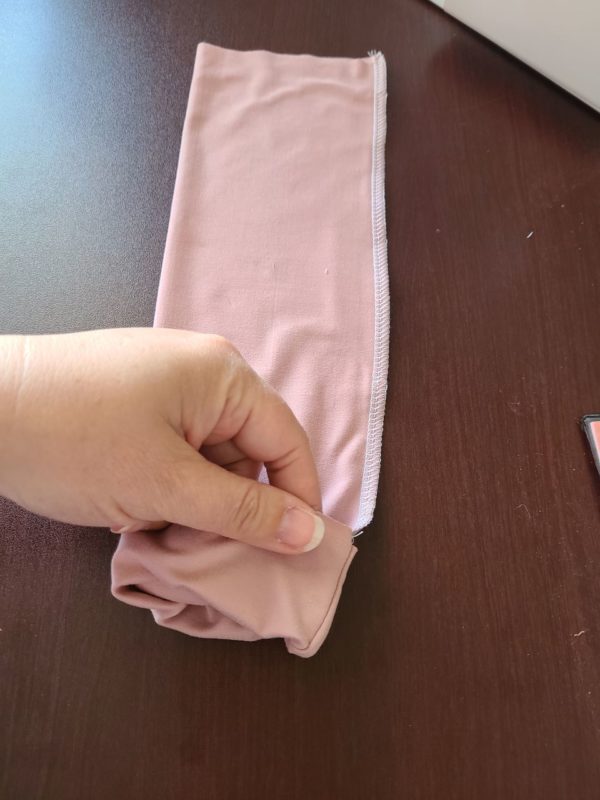
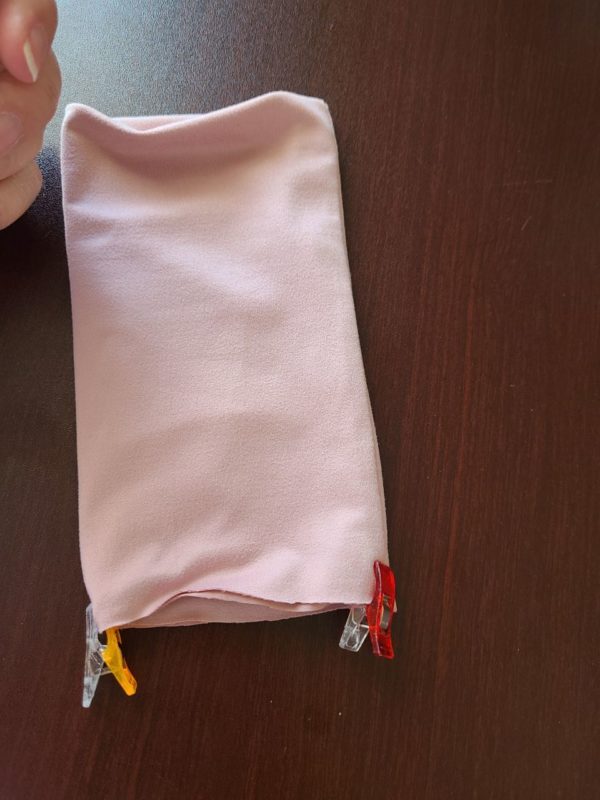
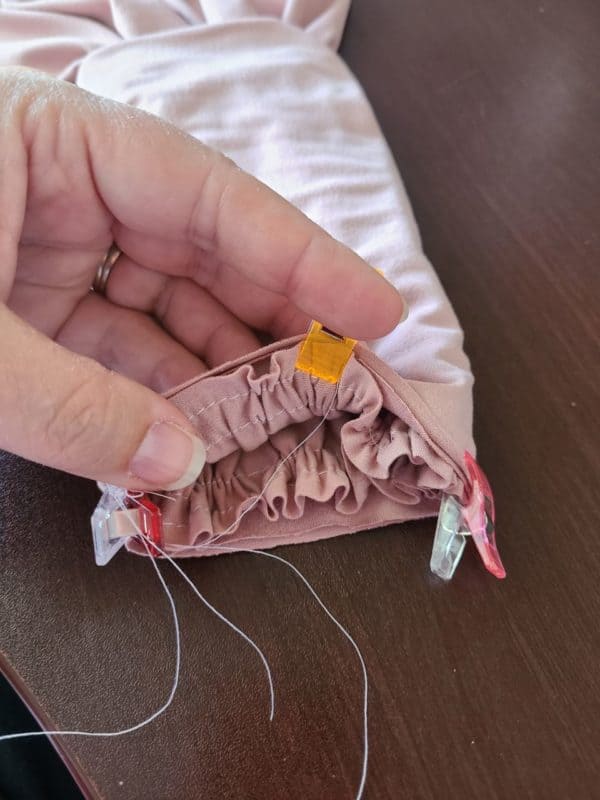
The cuffs are sewn on the side, and then turned out halfway to create the cuff. Mark your halfway point on the cuff opposite the seam and do the same for the sleeve. For the sleeve, remember to mark your halfway point before gathering.
Once you’ve teased the gathers into place evenly along the sleeve edge to match the opening of the cuff, place the cuff over the sleeve matching raw edges. Now you can sew the cuff onto the sleeve.
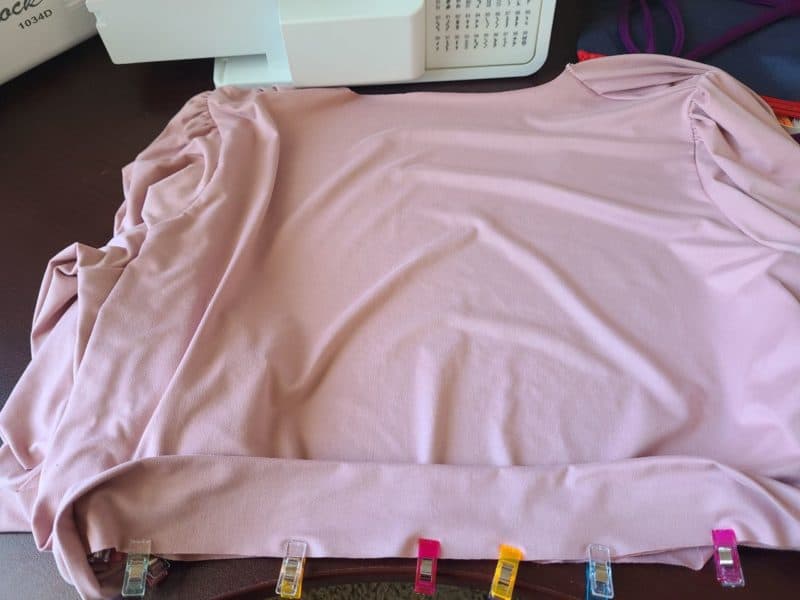
When you have finished the sleeves and side seams you can move back to the instructions from the Clueless Cardigan starting at step 6 on page 9. Do the waist/neck/front bands following the tutorial for the style cardigan you’re making. My pictures show option A (cropped) with a v-neck, so I first sewed on the waistband. (Topstitching the bands is optional.)
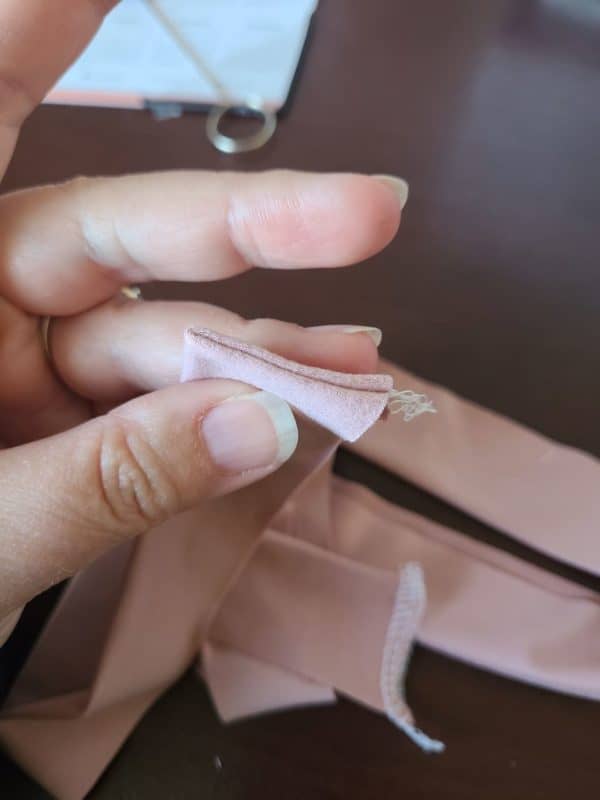
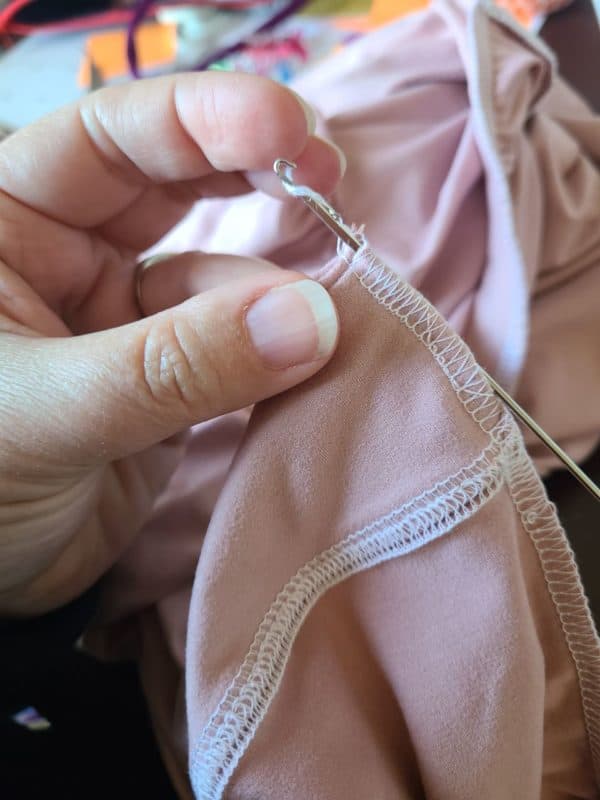
The neckband is the last step for option A v-neck before adding buttonholes/buttons. (I knew that I was not going to be adding buttons onto my cardigans, so I skipped the interfacing in the bands. If you will be adding buttons, do not forget to interface your neck/center bands.) Sew the ends of the band first to create a nicely finished edge. If you’re using a serger to attach the neckband, at the beginning and end you will want to tuck your serger tail into the stitching at the side seam. I use a loop turner hook to pull the thread through. If you will be adding buttons go to step 11 on page 16 and follow the instructions.
The Results:
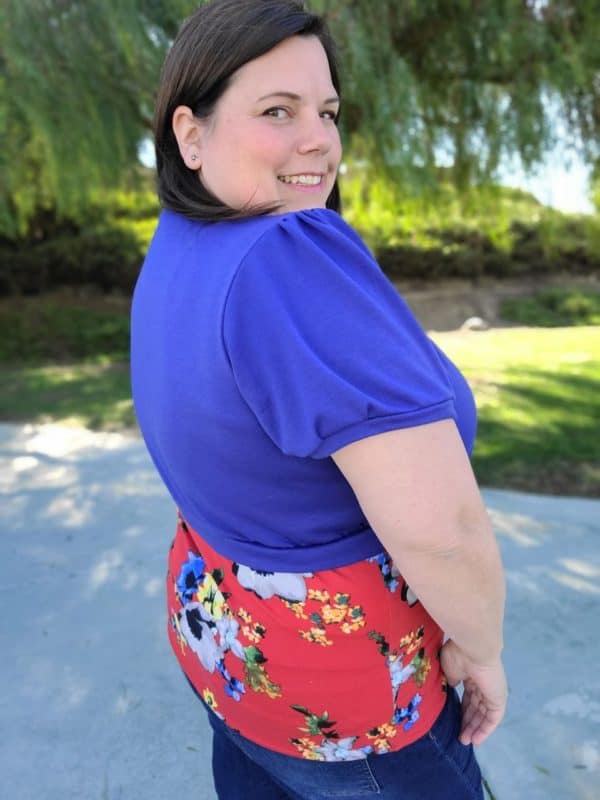
I sewed up two versions of option A (the cropped style). The first one I made is a crew neck with short puff sleeves. I used a vibrant solid blue French Terry from a Walmart pre-cut bundle. It will be fantastic this spring and summer to cover my shoulders and still stay cool. I paired this cardigan with a bold floral Remi Racerback Tank.
My second cardigan is made with a brushed mystery knit, also from Walmart. The delicate color combined with the longer puff sleeve is so dramatic and romantic! I paired this version with a Corinne Crop, Top & Bodysuit. I love that I can cover my shoulders and arms when it’s a bit chillier out, but still keep the peekaboo visible at the front. I chose the longer cuff for this version, which is so fun because you can wear it long or fold it over once or even twice for different looks.
I hope I have inspired you to give your own Clueless Cardigan with Pepper Puff Sleeve a try. I would love to see your own, so please do share in the Facebook group.
Kelly is an avid pattern tester and fabric hoarder. She loves to post about her makes and what works for her curvy body on her Instagram at kellygonthierart.







Leave a Reply