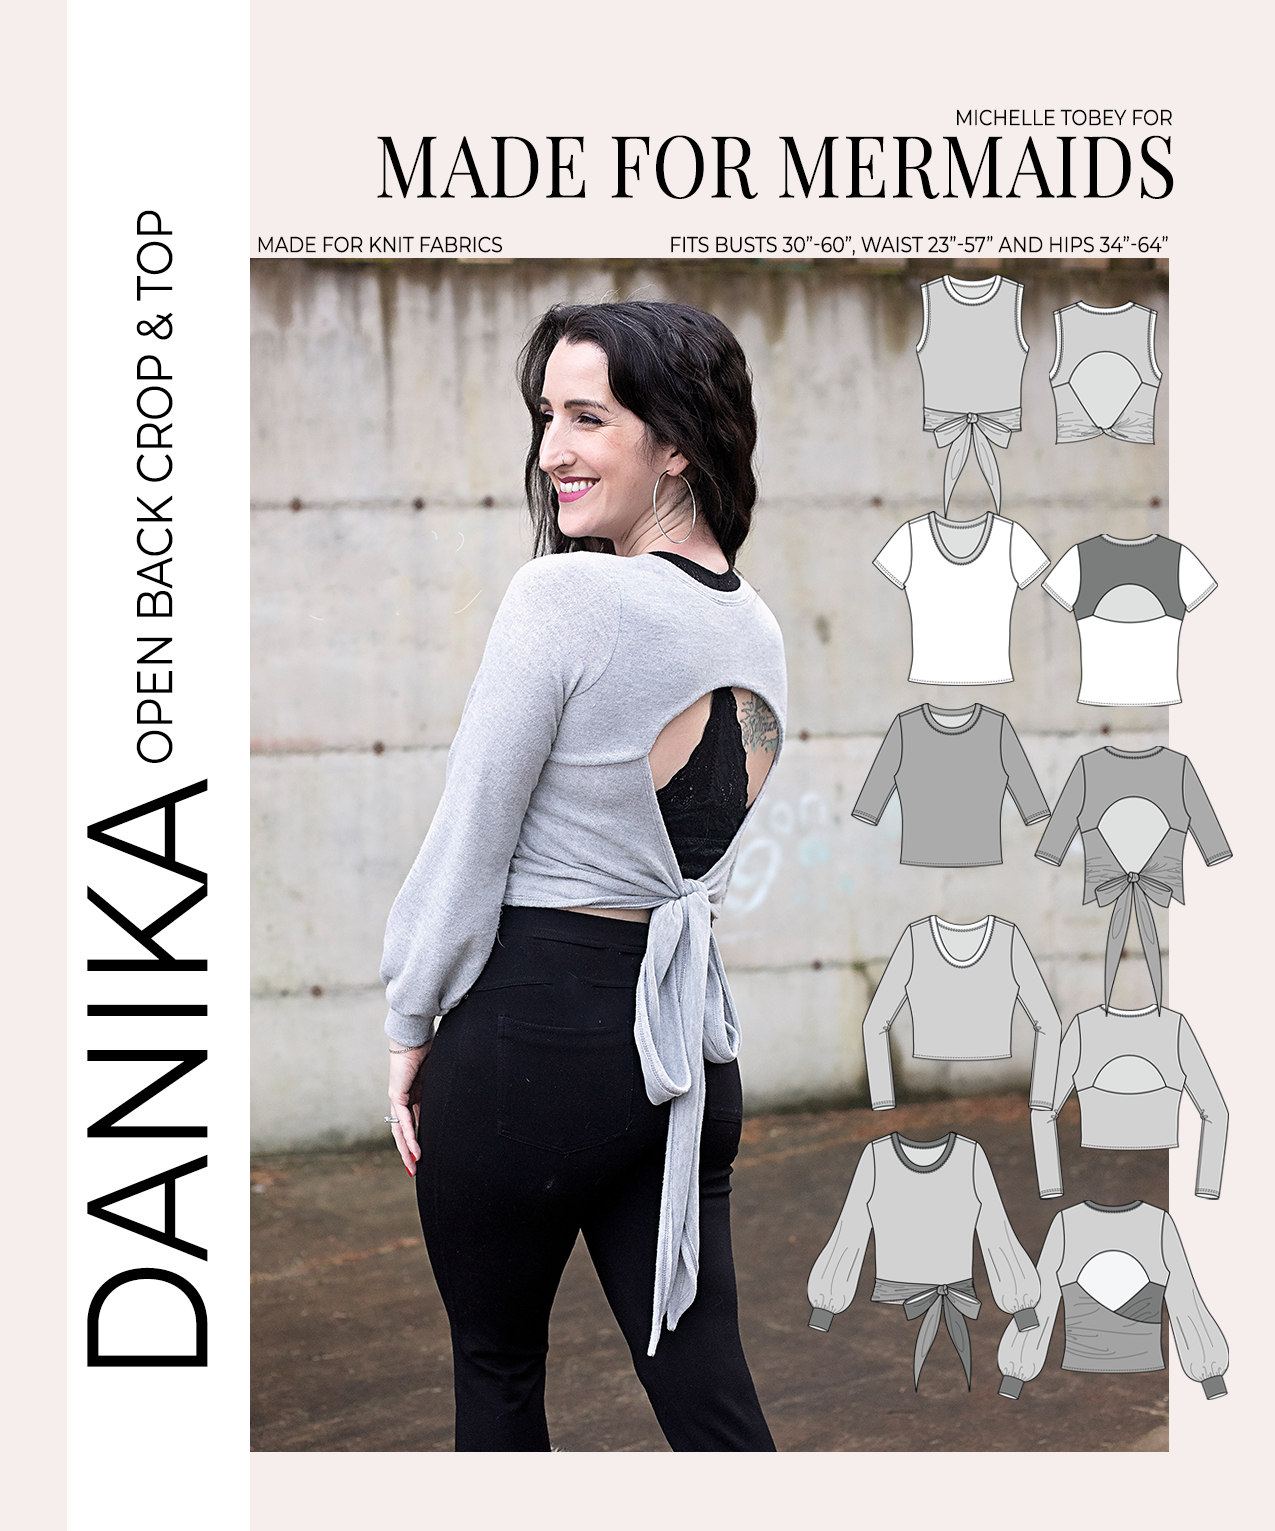
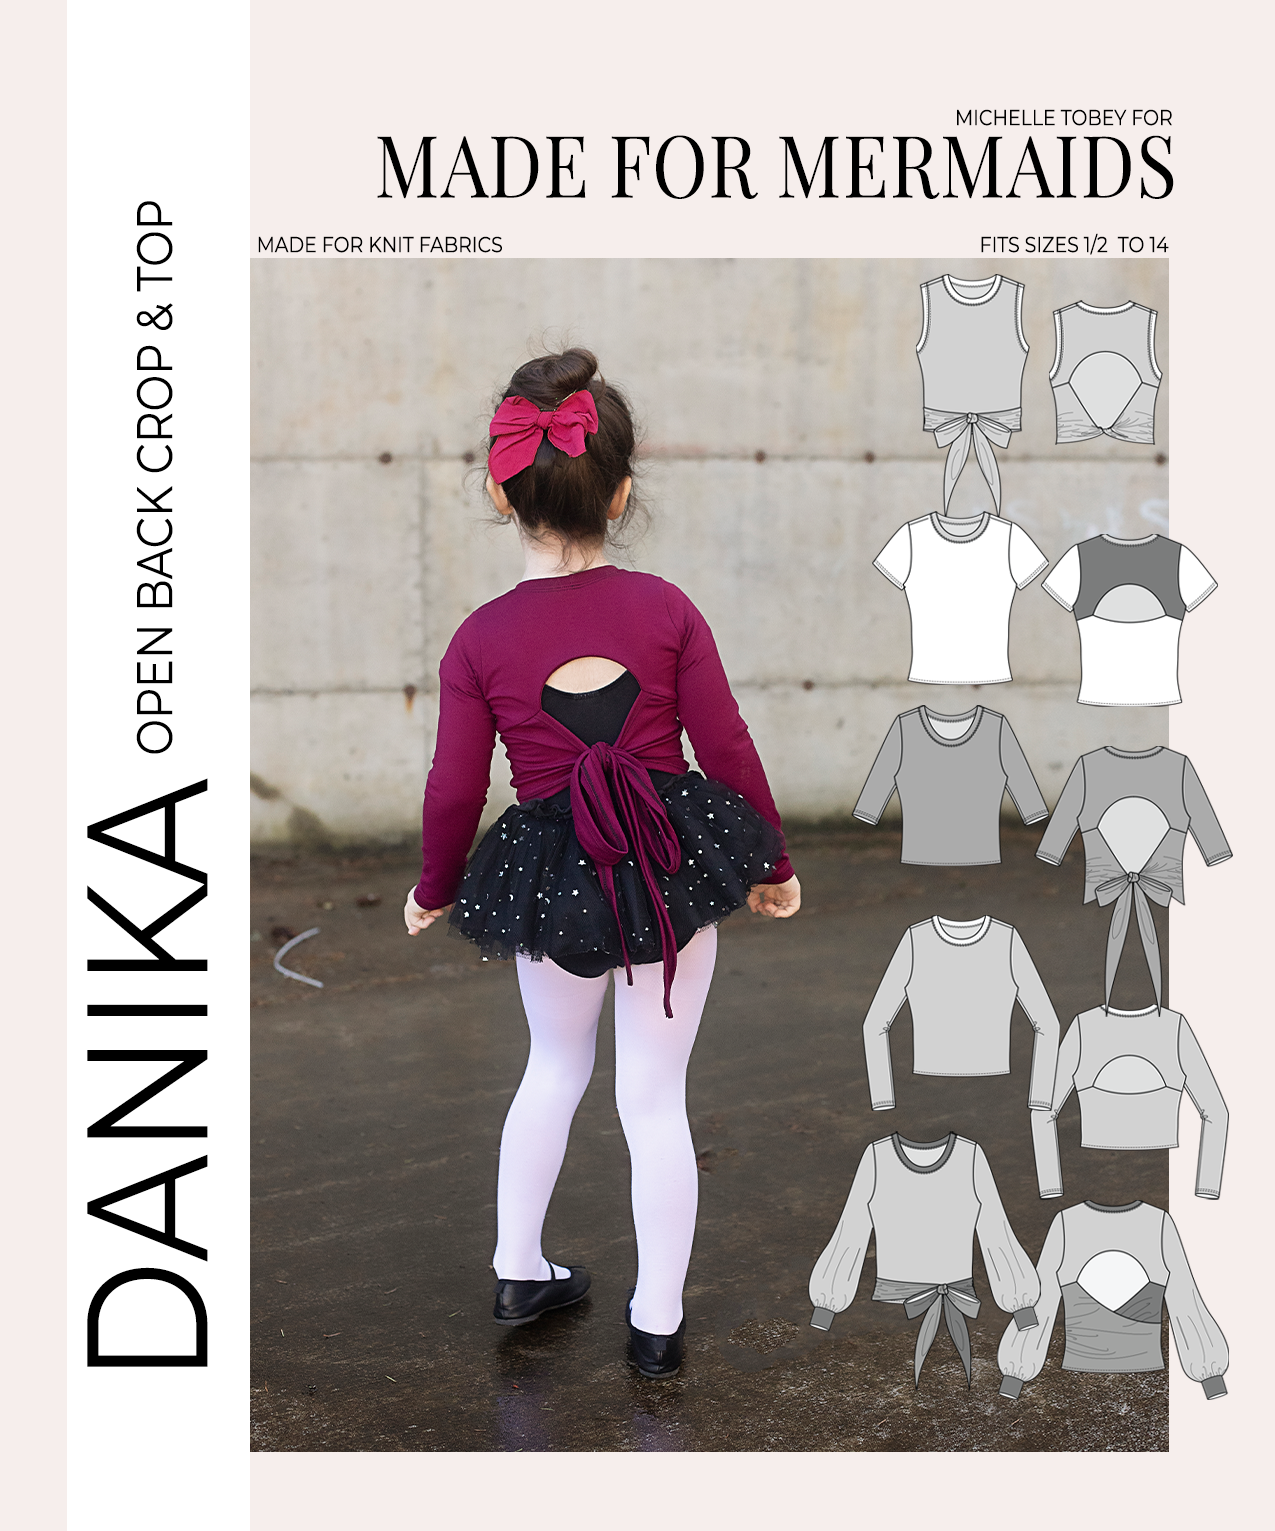
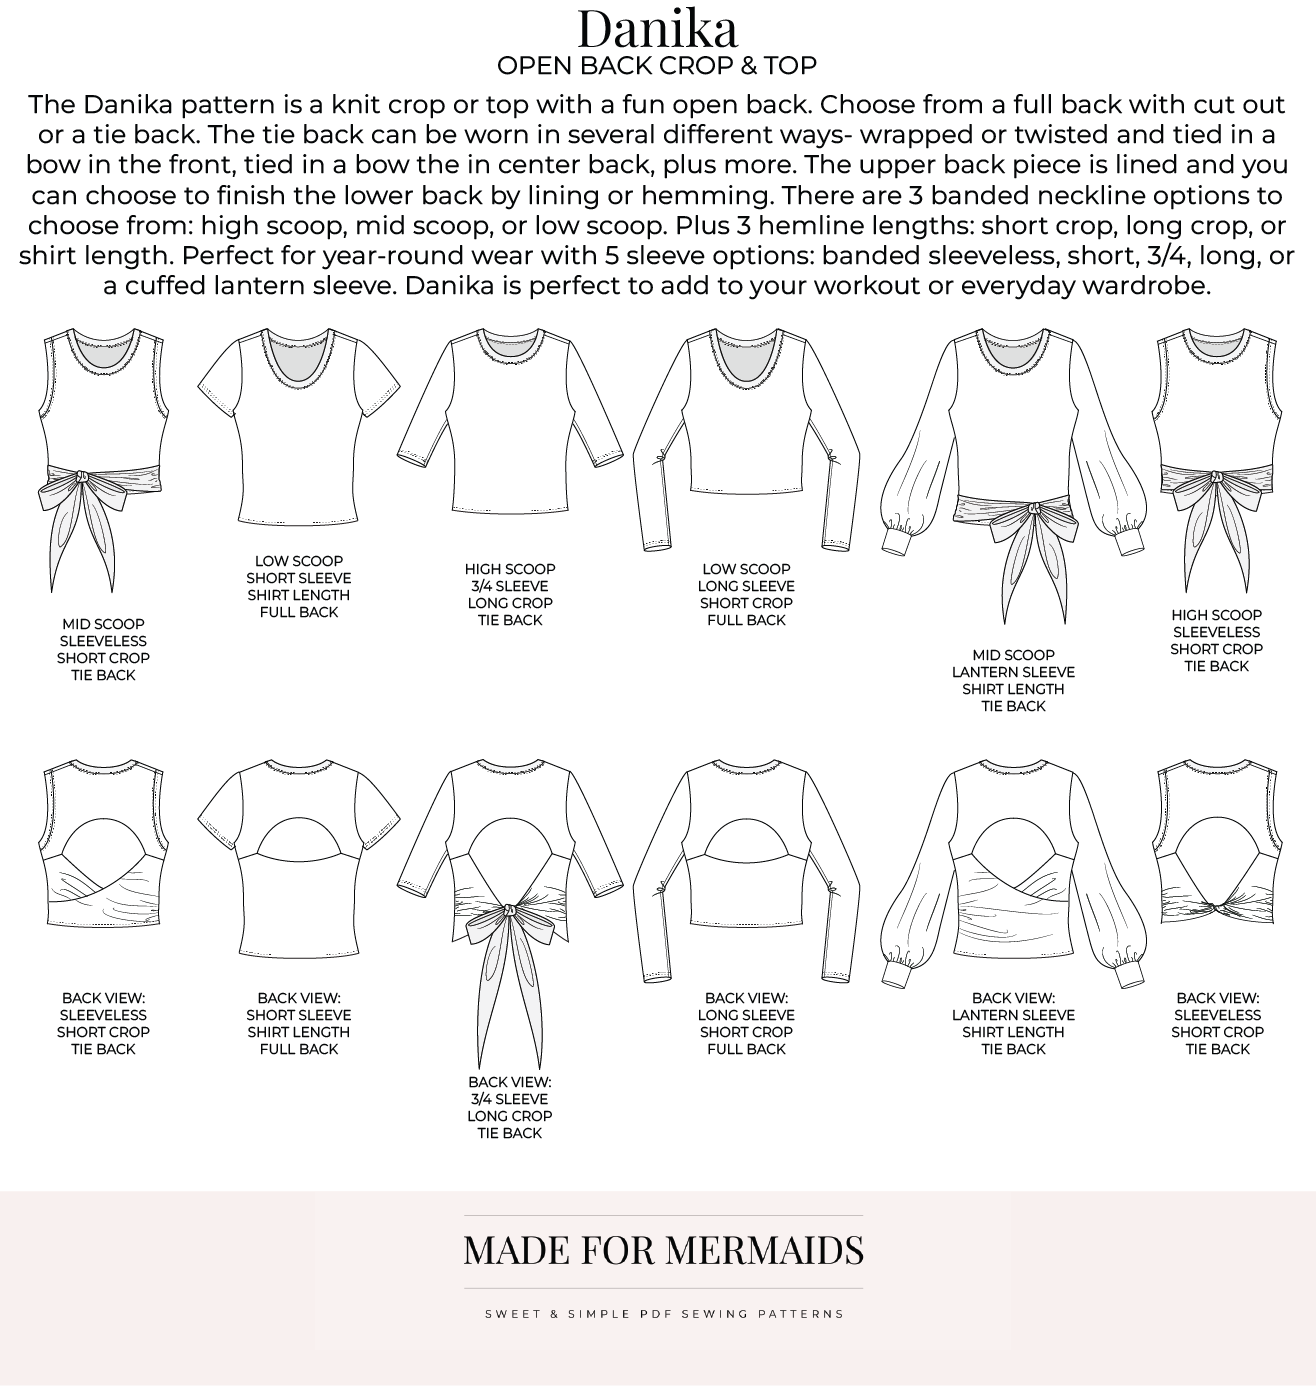
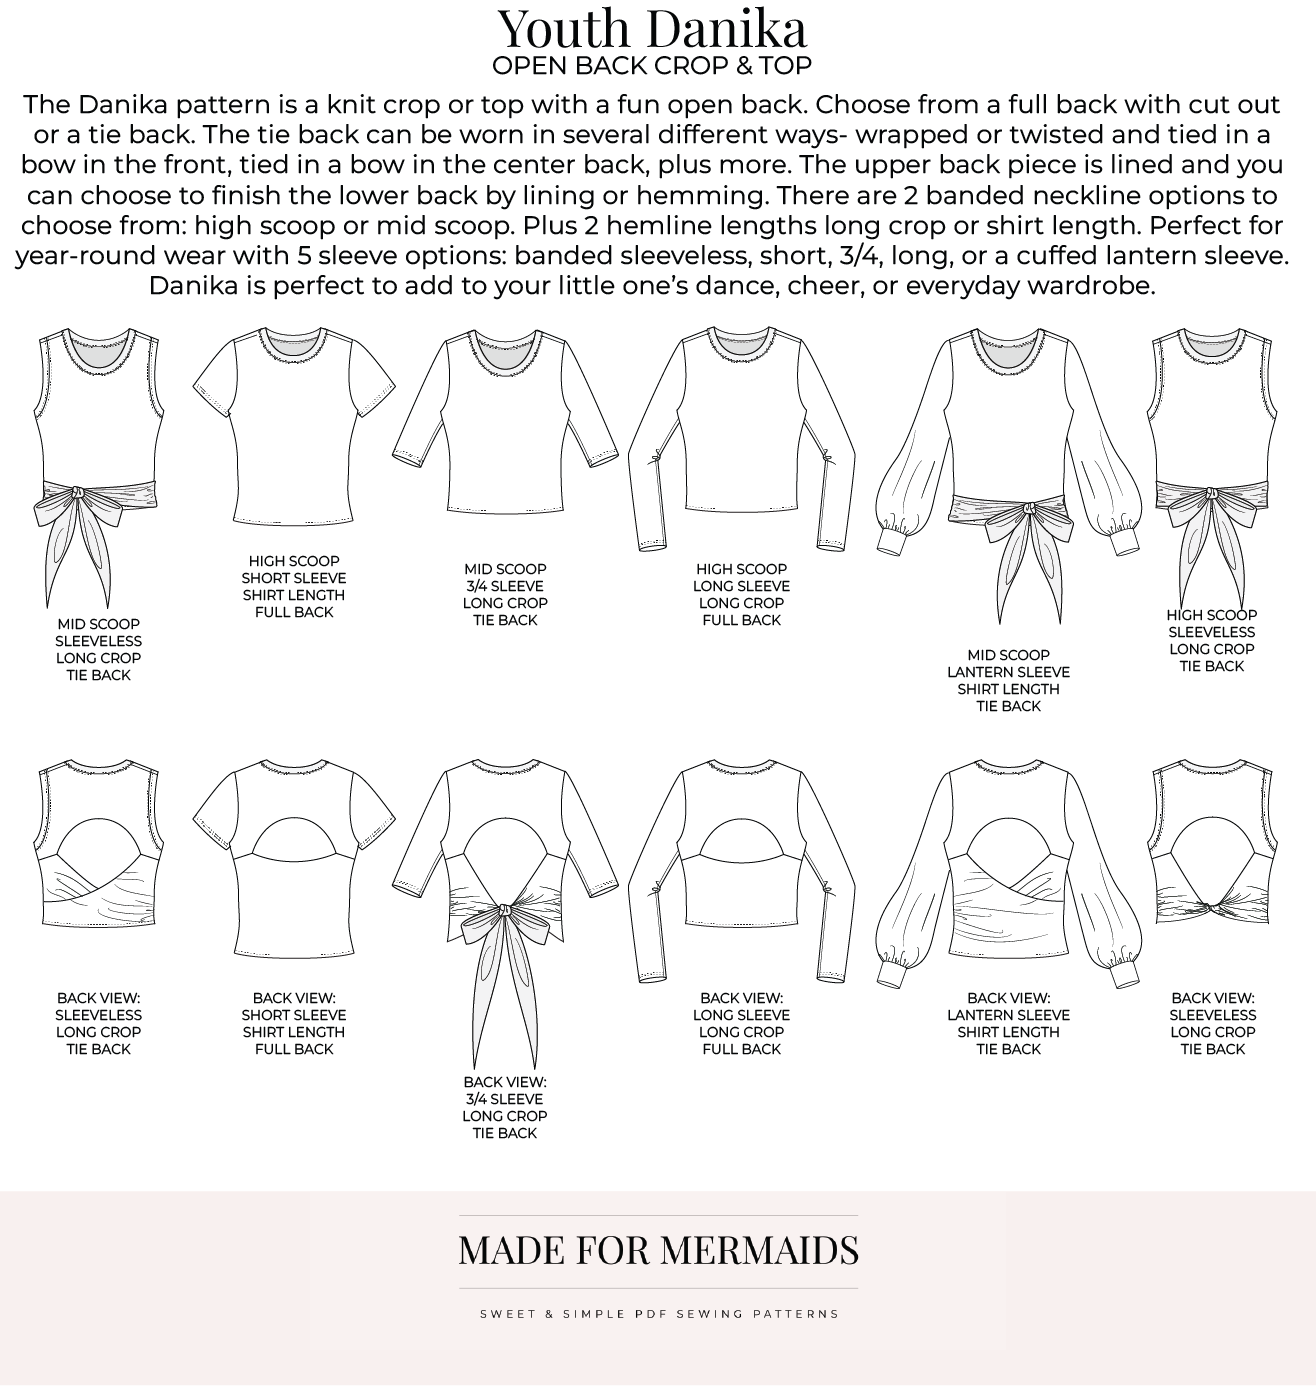
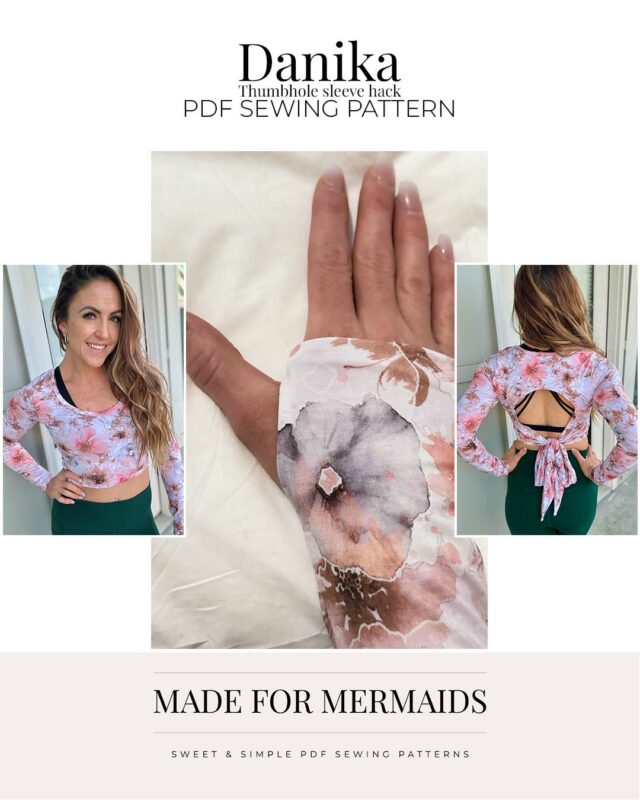
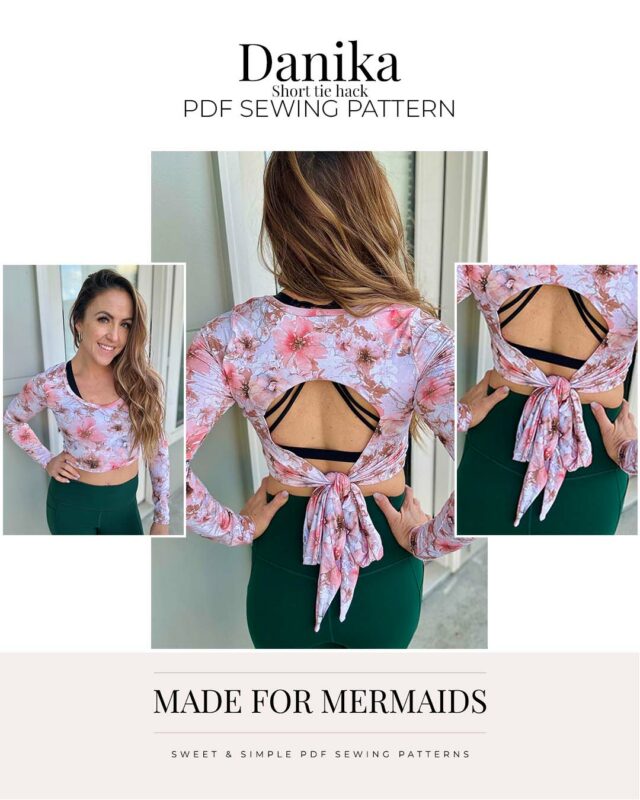
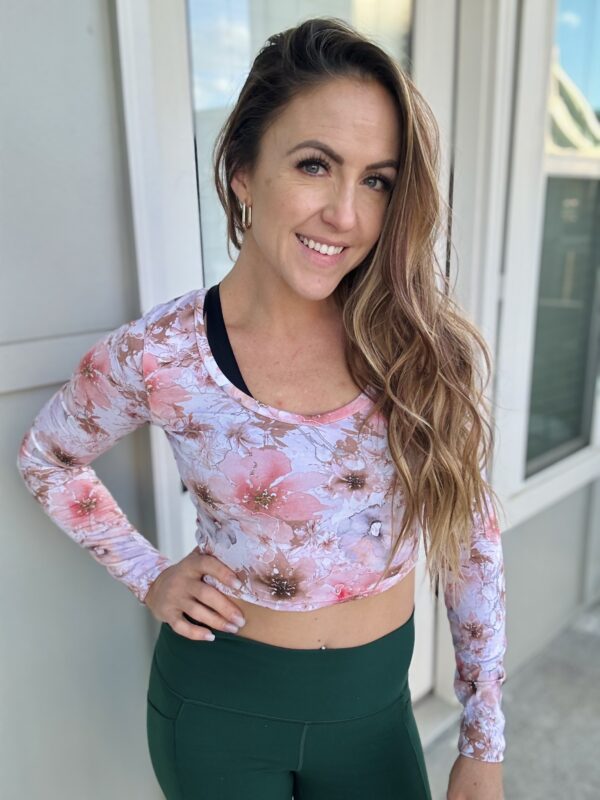
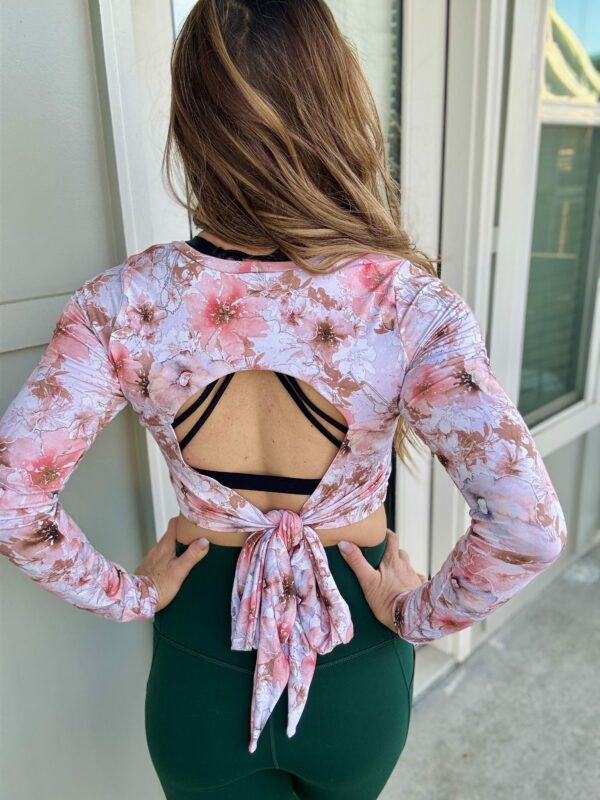
The Danika pattern is a knit crop or top with a fun open back detail. It’s available in both youth and adult sizes. Choose from a full back with cut out, or a tie back. The tie back can be worn in several different ways – you can wrap, twist, or tie in a bow in the front or back, or even on the side. The upper back piece is lined; you can choose to finish the lower back by lining or hemming. There are three banded neckline options to choose from – high scoop, mid scoop, or low scoop. Danika also boasts three hemline lengths – short crop, long crop, or shirt length. Danika is perfect for year-round wear, with five sleeve options: banded sleeveless, short, 3/4, long, or a cuffed lantern sleeve (my favorite!). The youth Danika is slightly different, omitting the low scoop and short crop options. Add this pattern to your workout or everyday wardrobe. It pairs perfectly with any patterns in our Barbelle collection!
Getting Started
Before you purchase your patterns, there is a ton of helpful beginner information between the M4M and P4P blogs, in case you are new to knits, or new to PDF patterns in general:
- New to PDF patterns? Check out our helpful tips here
- Not quite sure how to measure yourself accurately? Don’t worry; check out the post here!
- Having issues printing? Most issues can be resolved by using our FAQs/troubleshooting tips
- Join our Facebook group here.
- Looking for help with “tricky knits” like gorgeous sweater knits? Caitlin has tips for you here.
- For help with wovens and gathering, check out Wovens 101, Gathering 101, and Fabric Choice 101.
- We also have a new Height Adjustment 101 post for you! Check it out here.
Choosing Your Options
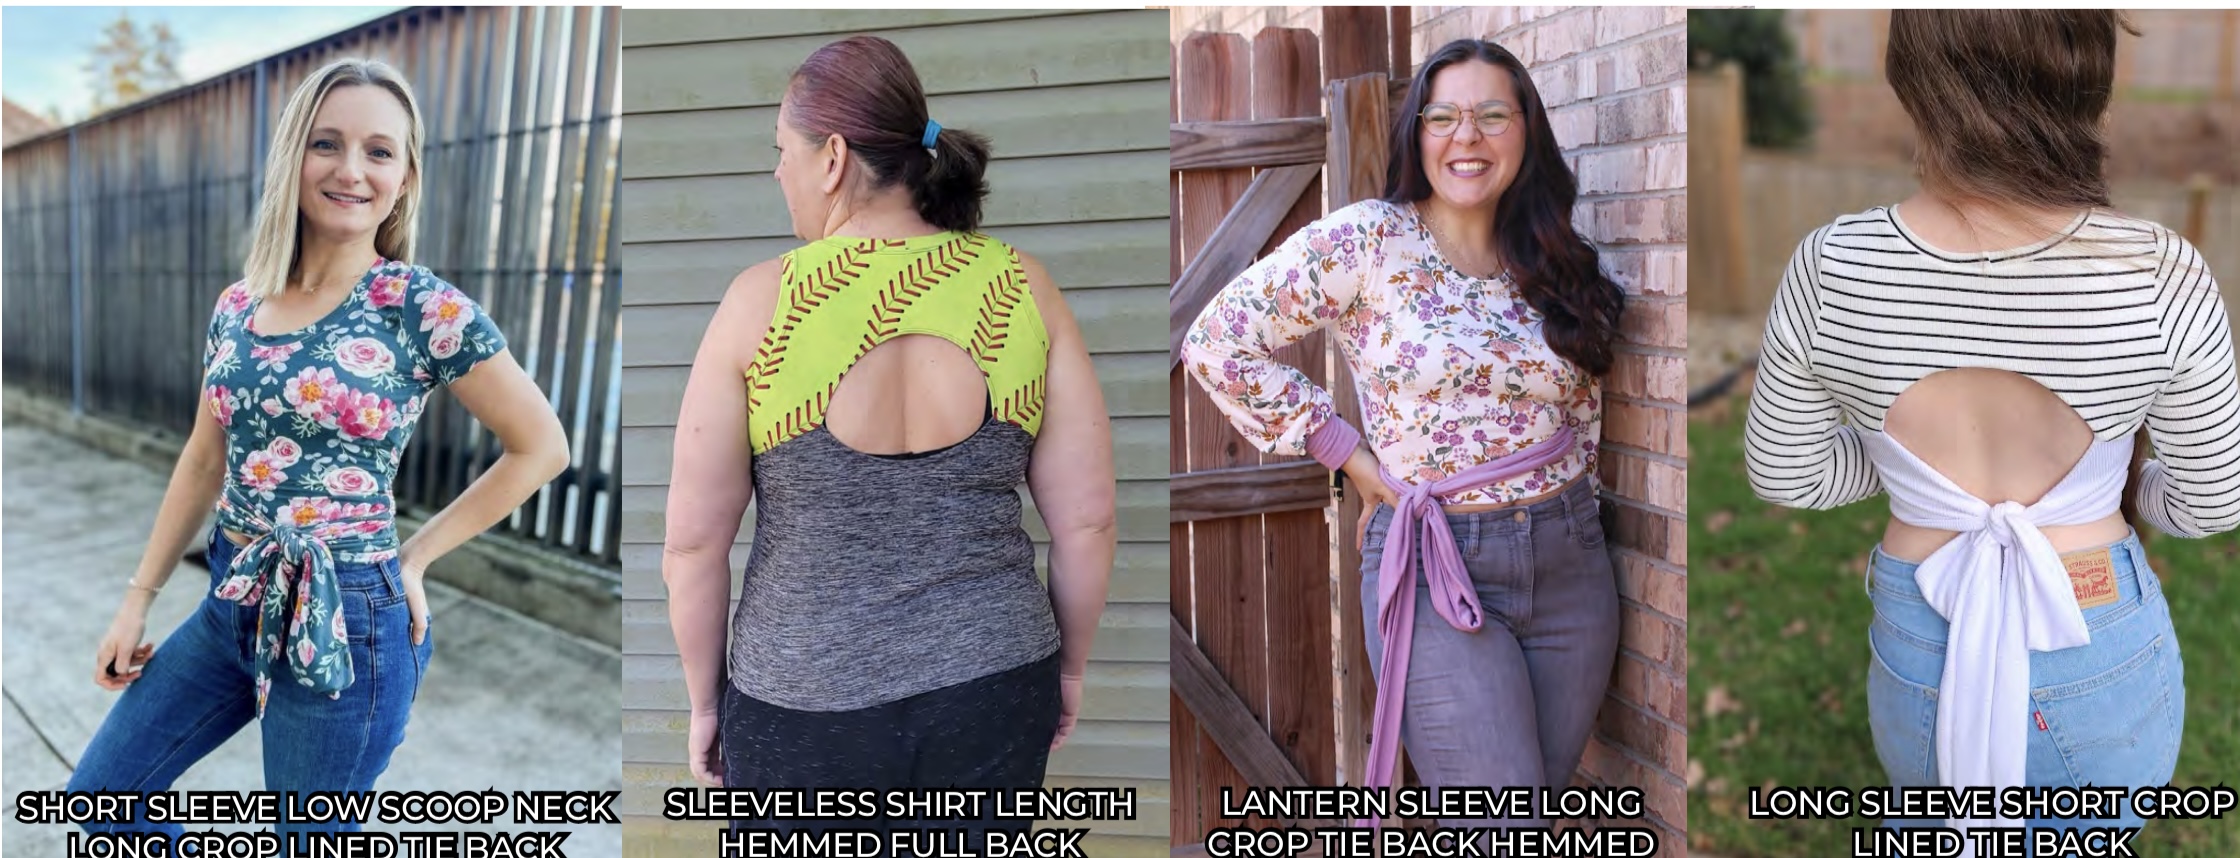
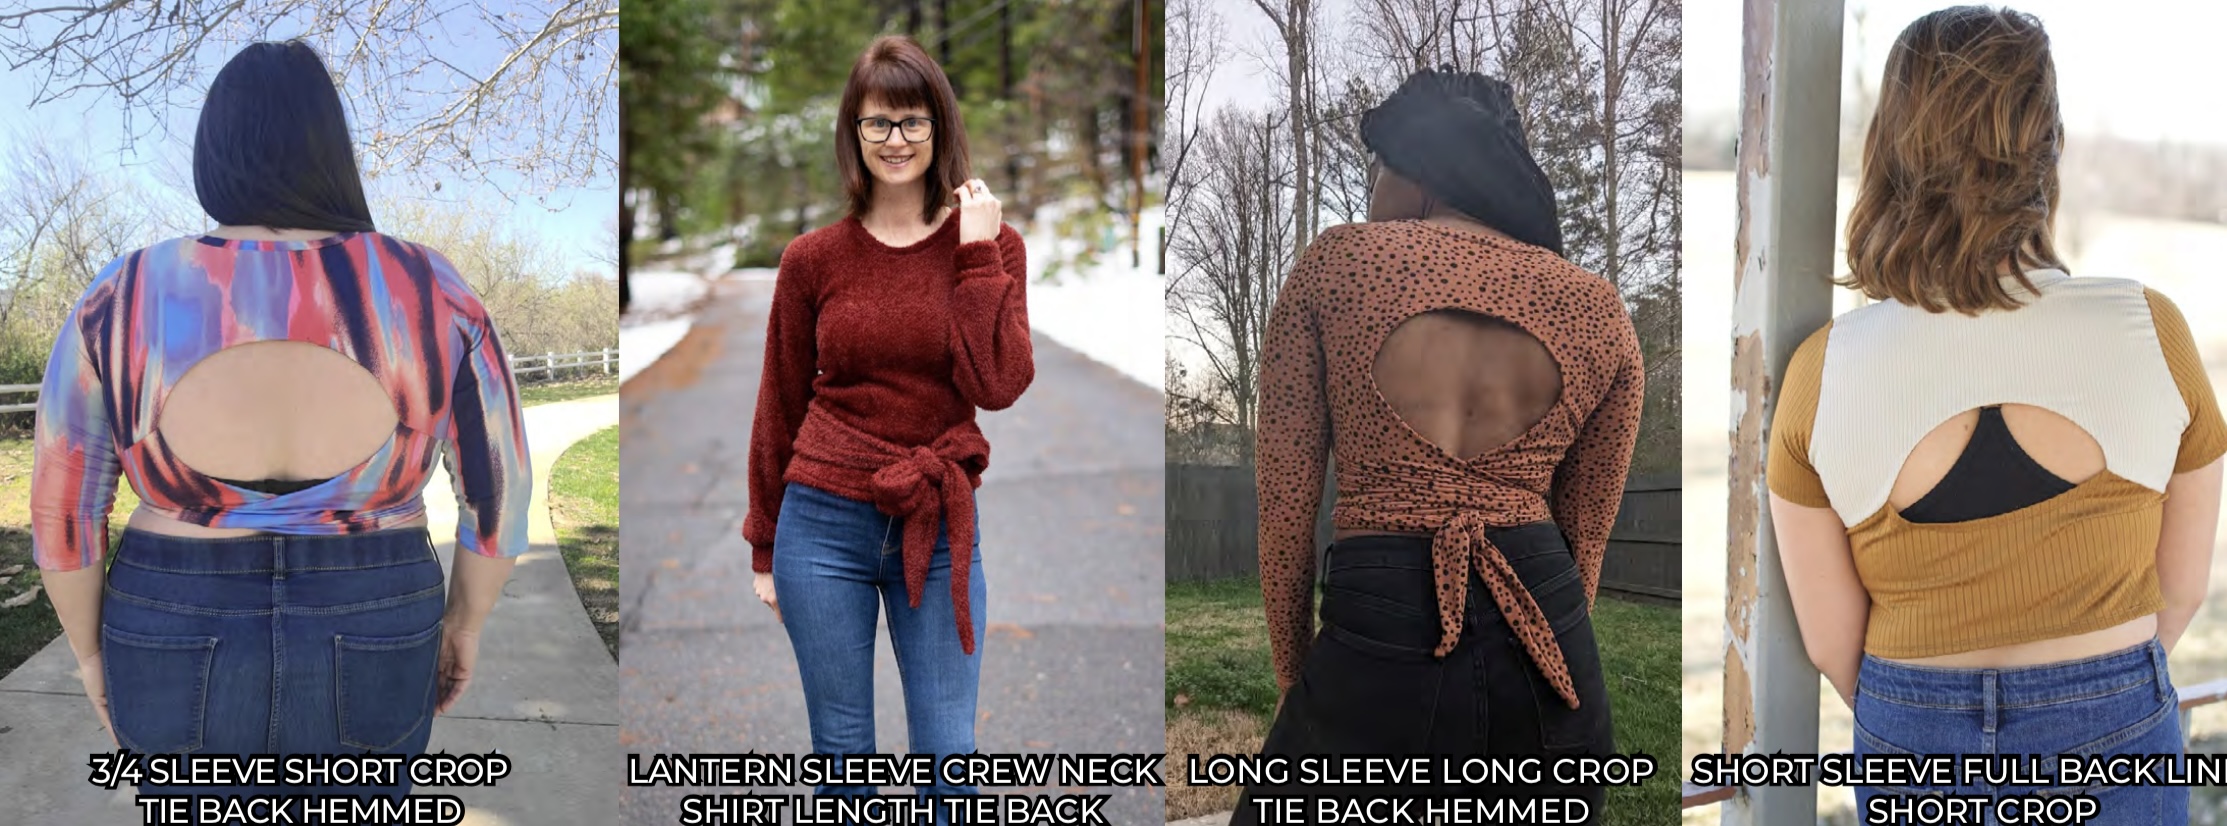
We have lots of tester photos in our FB group and on the site if you want to see a variety of photos of each option before you decide! Here is a quick snapshot of the different options:
Fabric + Notions
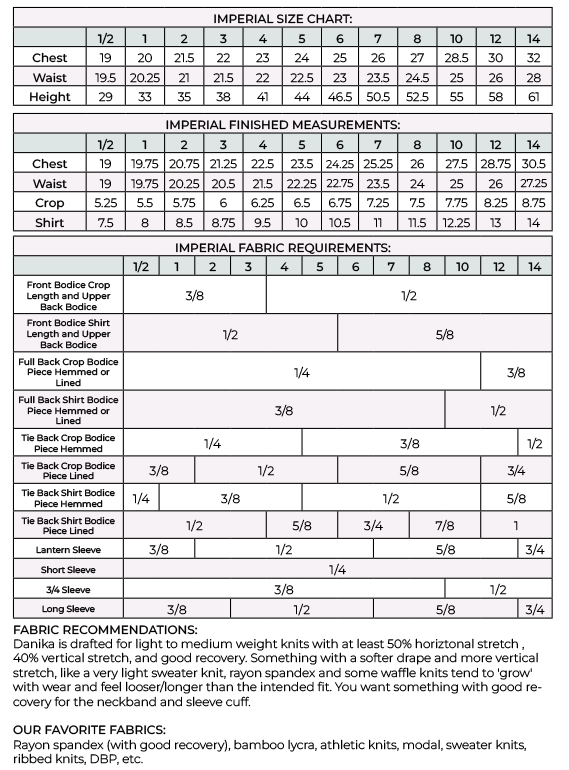
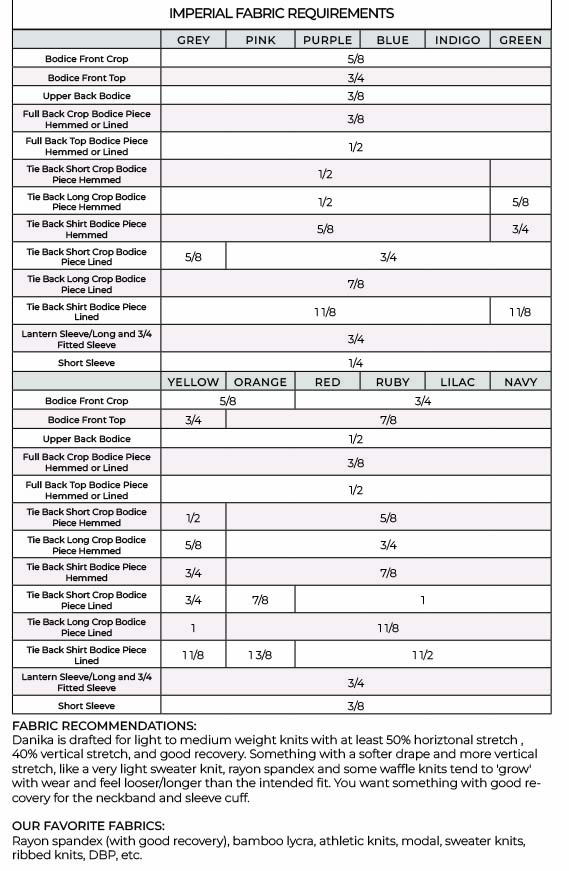
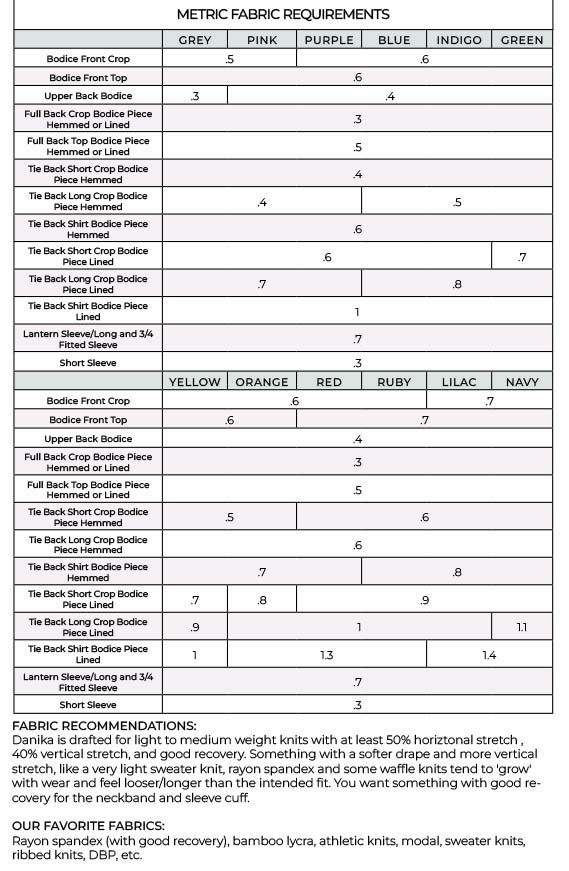
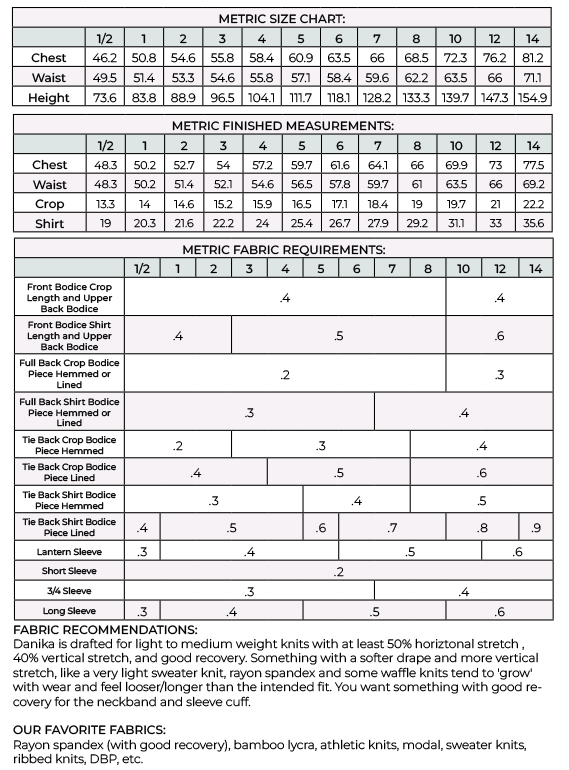
Danika is drafted for light to medium weight knits with at least 50% horizontal stretch, 40% vertical stretch, and good recovery. Fabrics with a softer. drape and more vertical stretch, such as light sweater knits, rayon spandex, and some waffle knits, tend to “grow” with wear and may fit longer/looser than intended. Use fabric with good recovery for the neckband and sleeve cuffs especially. Our favorite fabrics for Danika include bamboo lycra, athletic knits, modal, sweater knits, ribbed knits, double brushed poly, etc.
You may also need:
- clear elastic for stabilizing seams
Danika Hacks
Kelly and Sonia are on the blog today with a few cute hacks for you!
Ultra Cropped Shrug Hack
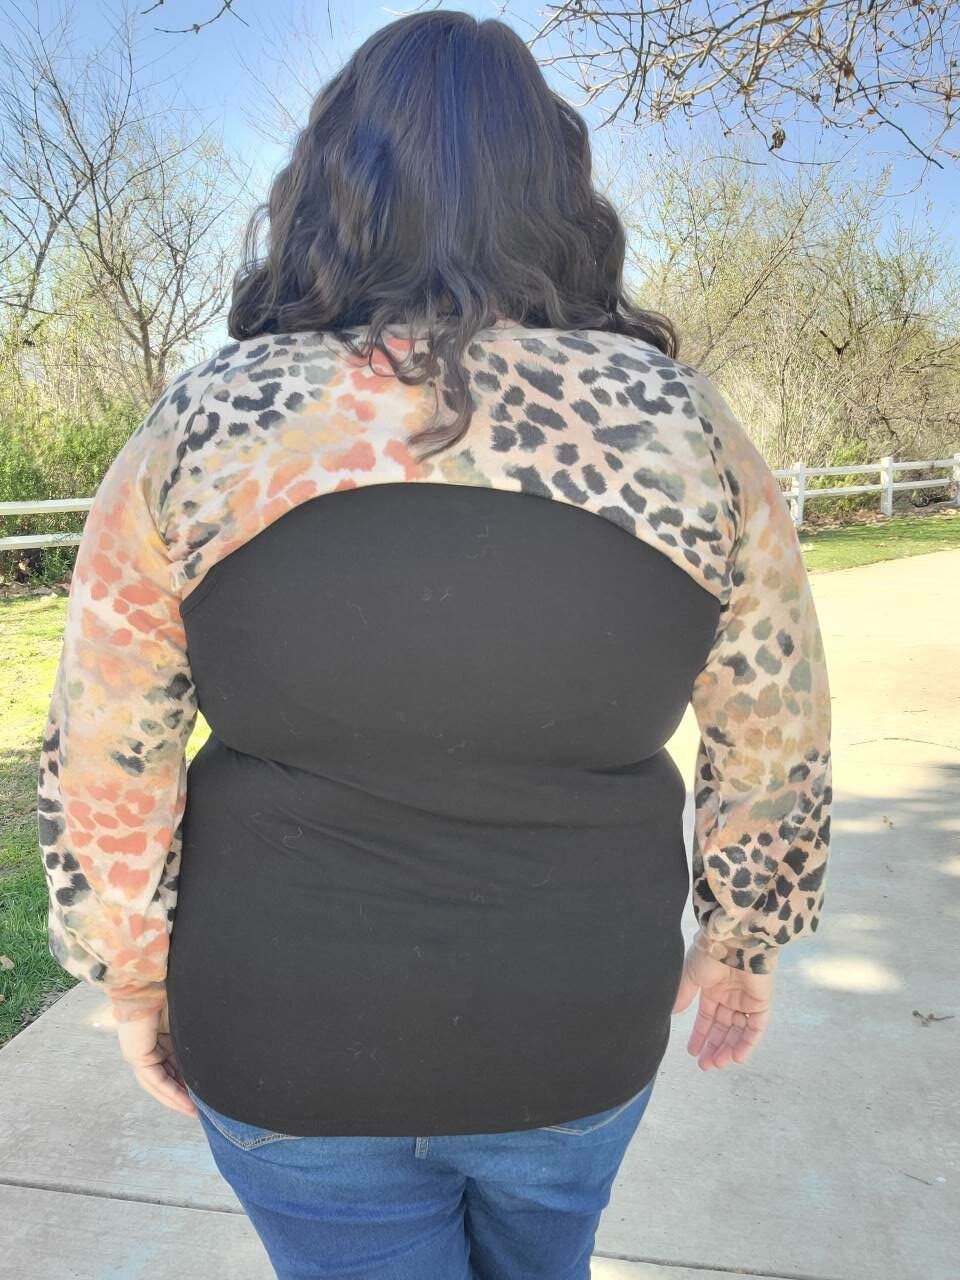
Hello everyone! Kelly here to show you how to use your Danika pattern with a few simple mods to create a super cute ultra cropped shrug.
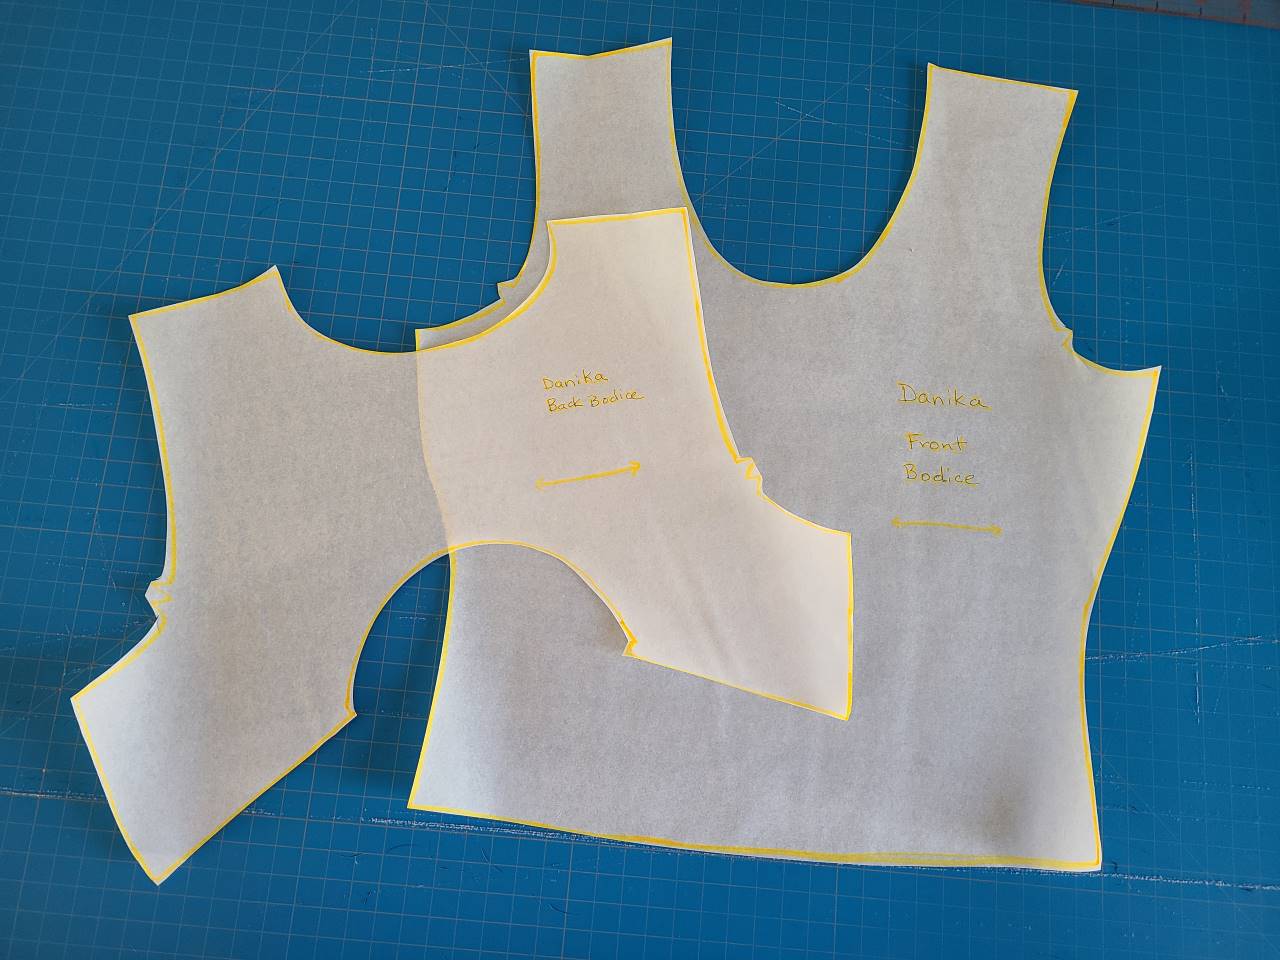
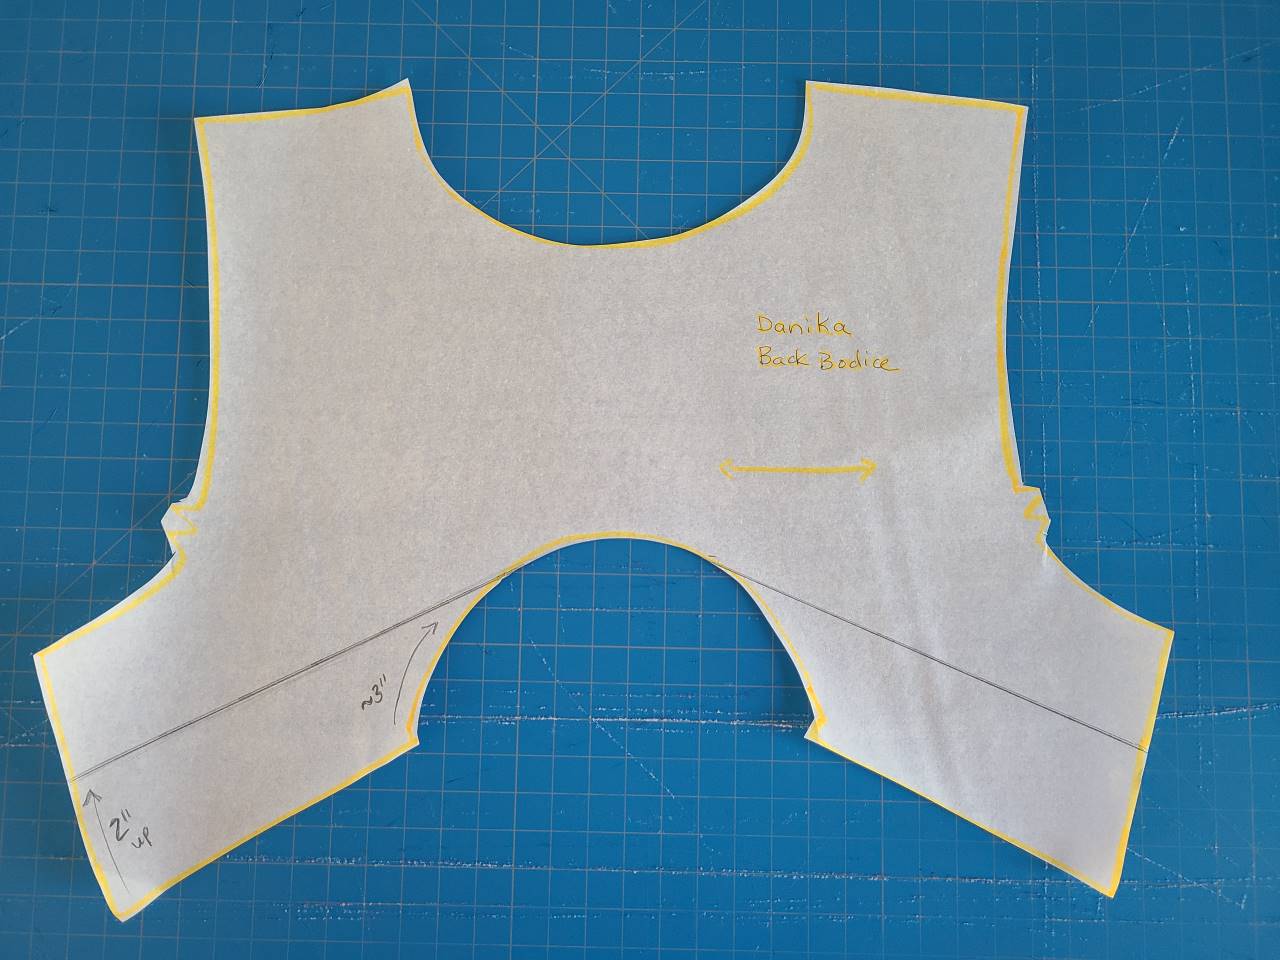
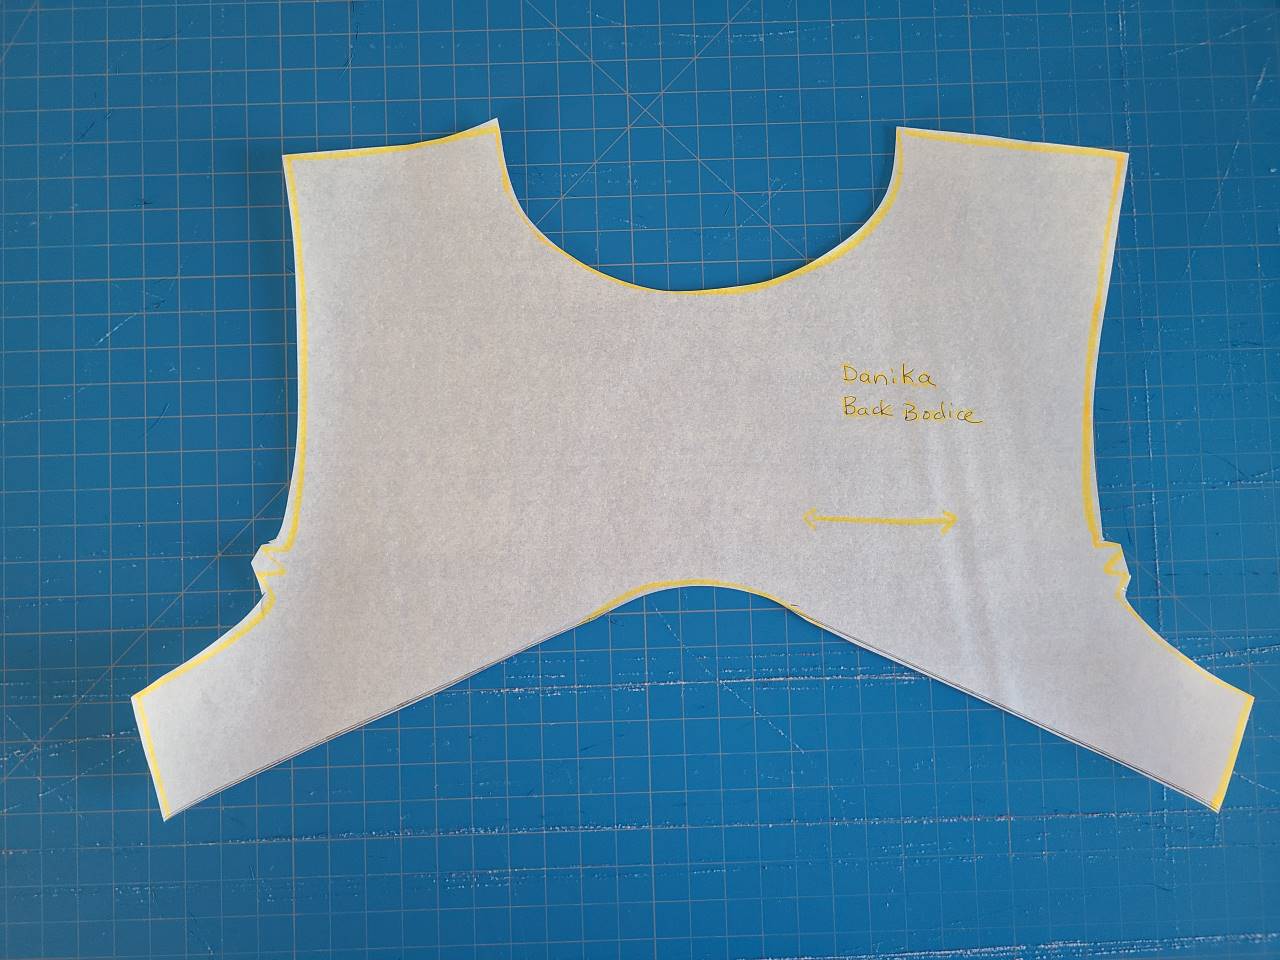
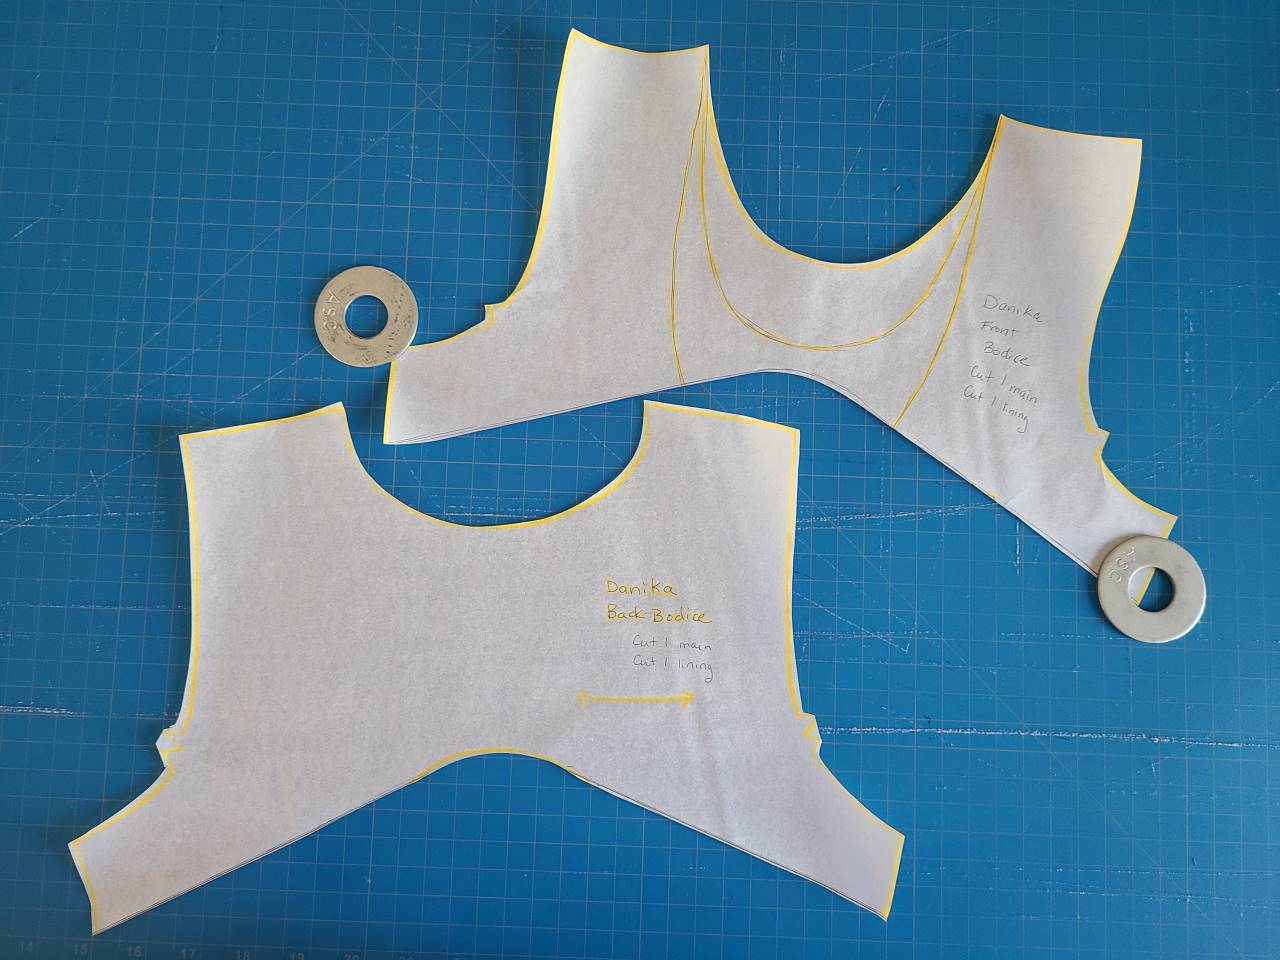
First off, you’re going to take the top back bodice piece and smooth out the curve along the bottom. I just eyeballed this – you can make it more or less of a curve depending on your tastes. I reduced the fabric right under the arm so that it wouldn’t stick out and have a chance to roll.
- Front and back bodice pieces
- Create your curve
- Cut your new back bodice curve
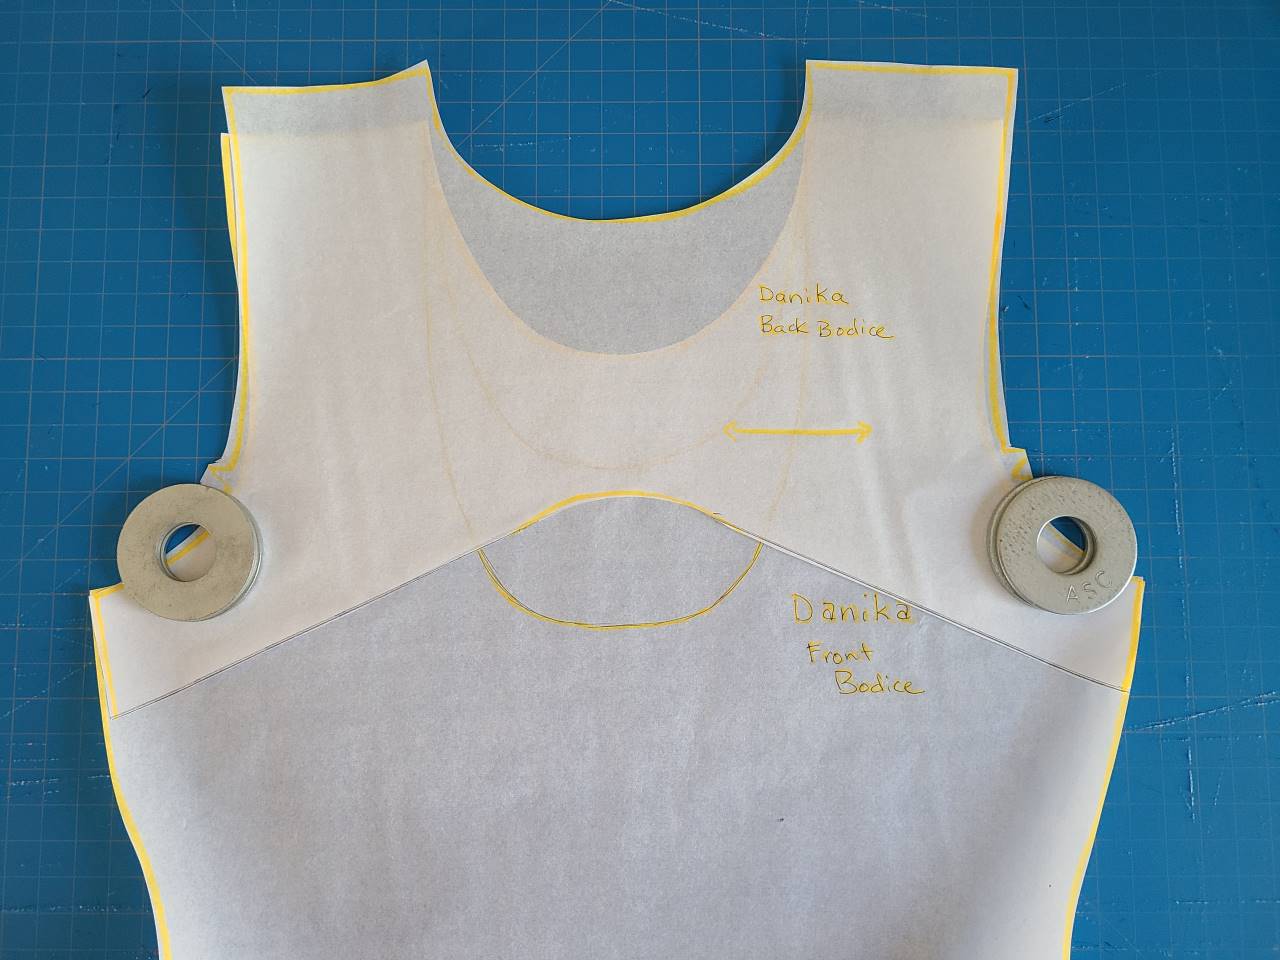
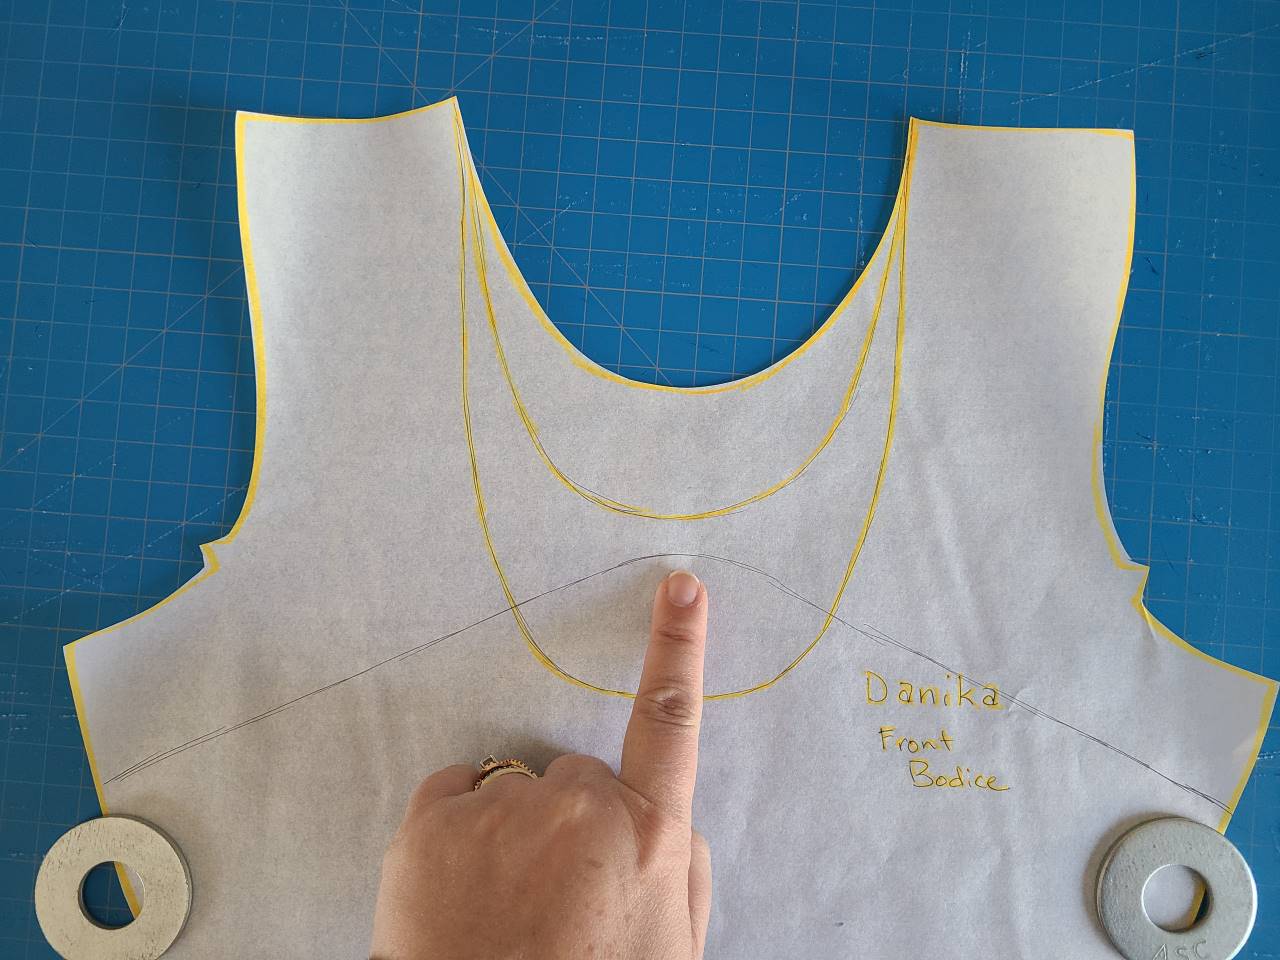
Next, you’re going to take this back piece and lay it down on top of your front piece, lining them up at the underarm. This is a great time to choose which neckline you’ll go with. Depending on your pattern size you may have to cut the highest neckline. Copy the curve to your front piece and cut it out.
- Line up back and front bodices at underarm
- Make sure you have room for the neckline you want
- New front and back pieces
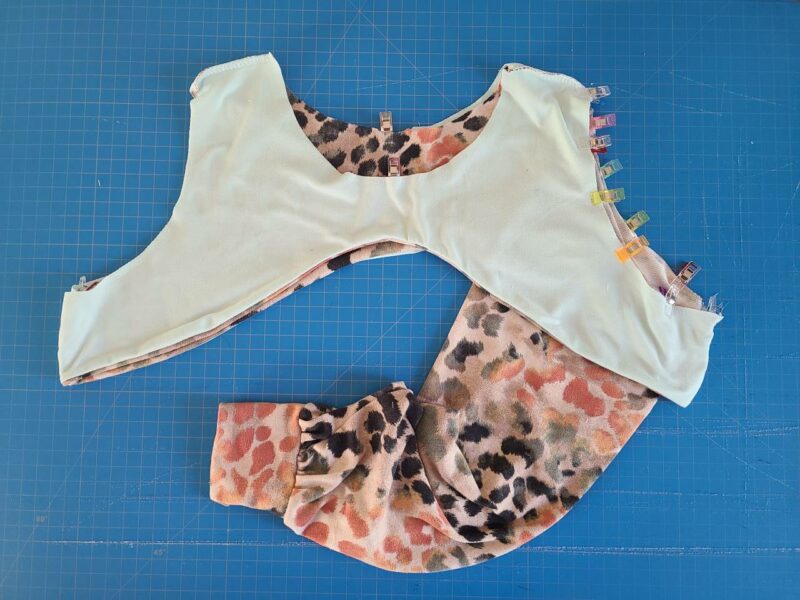
I made mine with the front and back both lined so that I didn’t need to hem it. Cut a main and lining for both the front and back bodices.
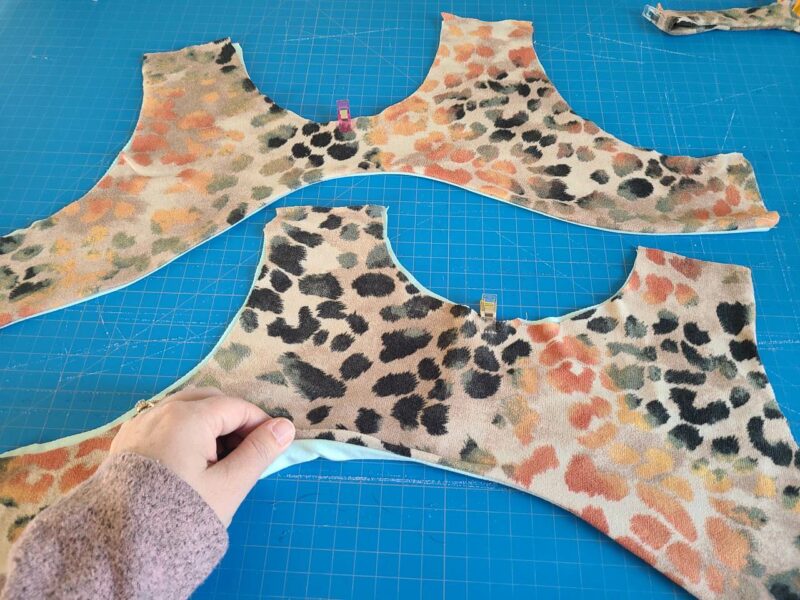
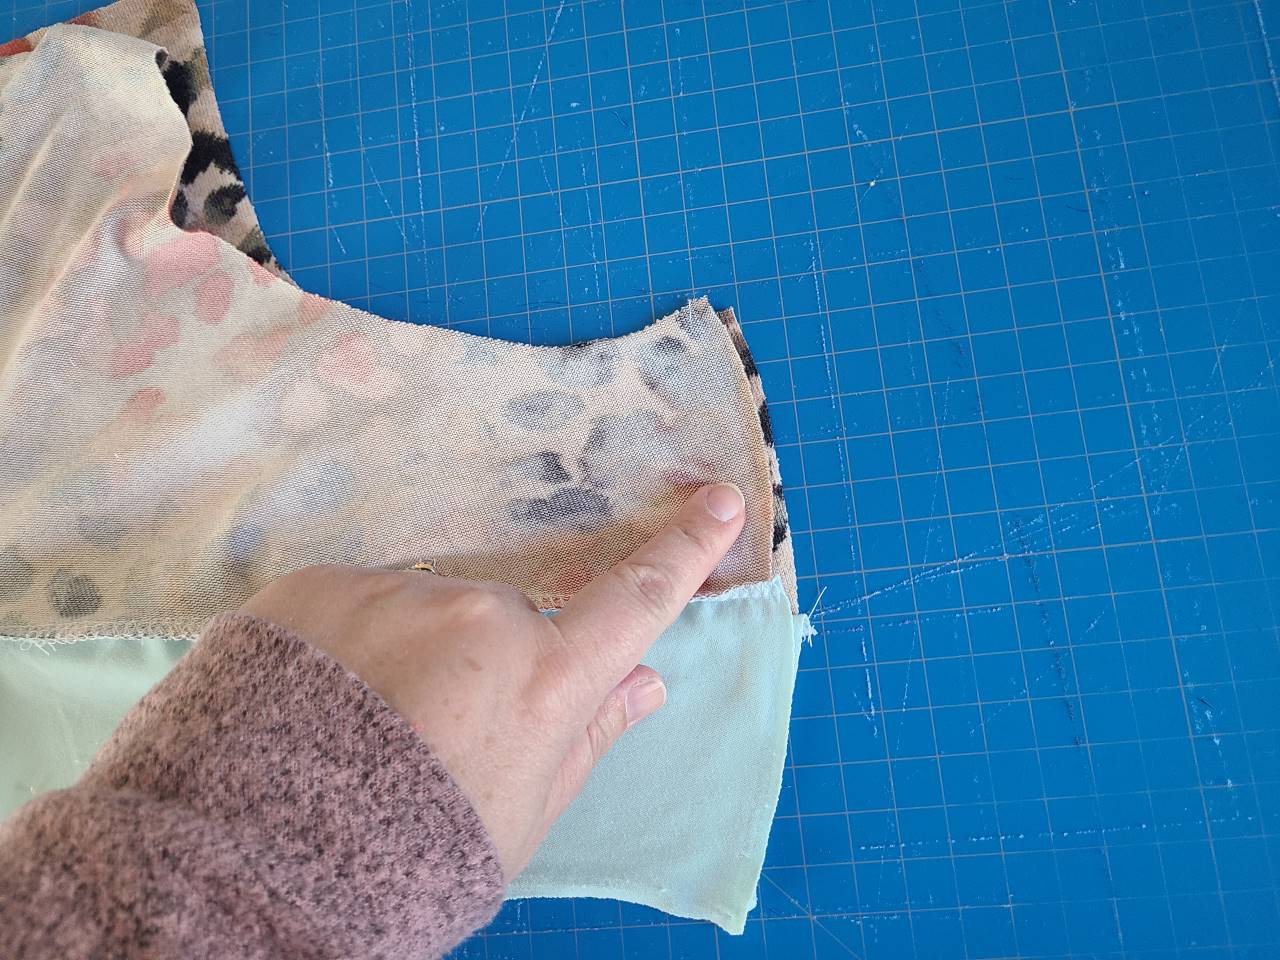
Take your front bodice and front bodice lining and place them right sides together. Sew along the bottom curve with a 1/2″ seam allowance. Repeat with your back bodice and back bodice lining. Turn them so the bodice and lining are wrong sides together.
- Bodice main and lining are sewn together at the bottom curve
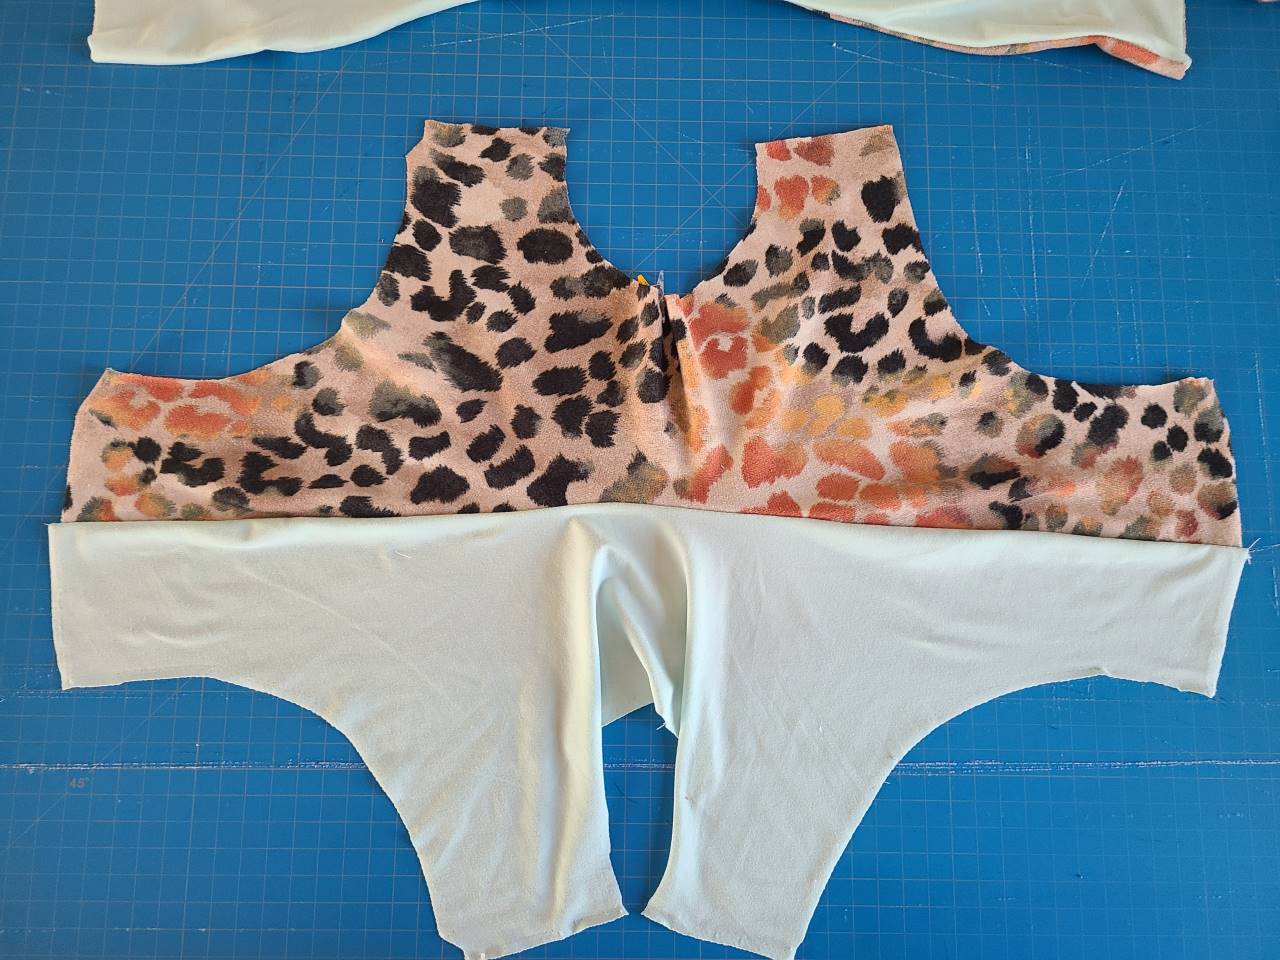
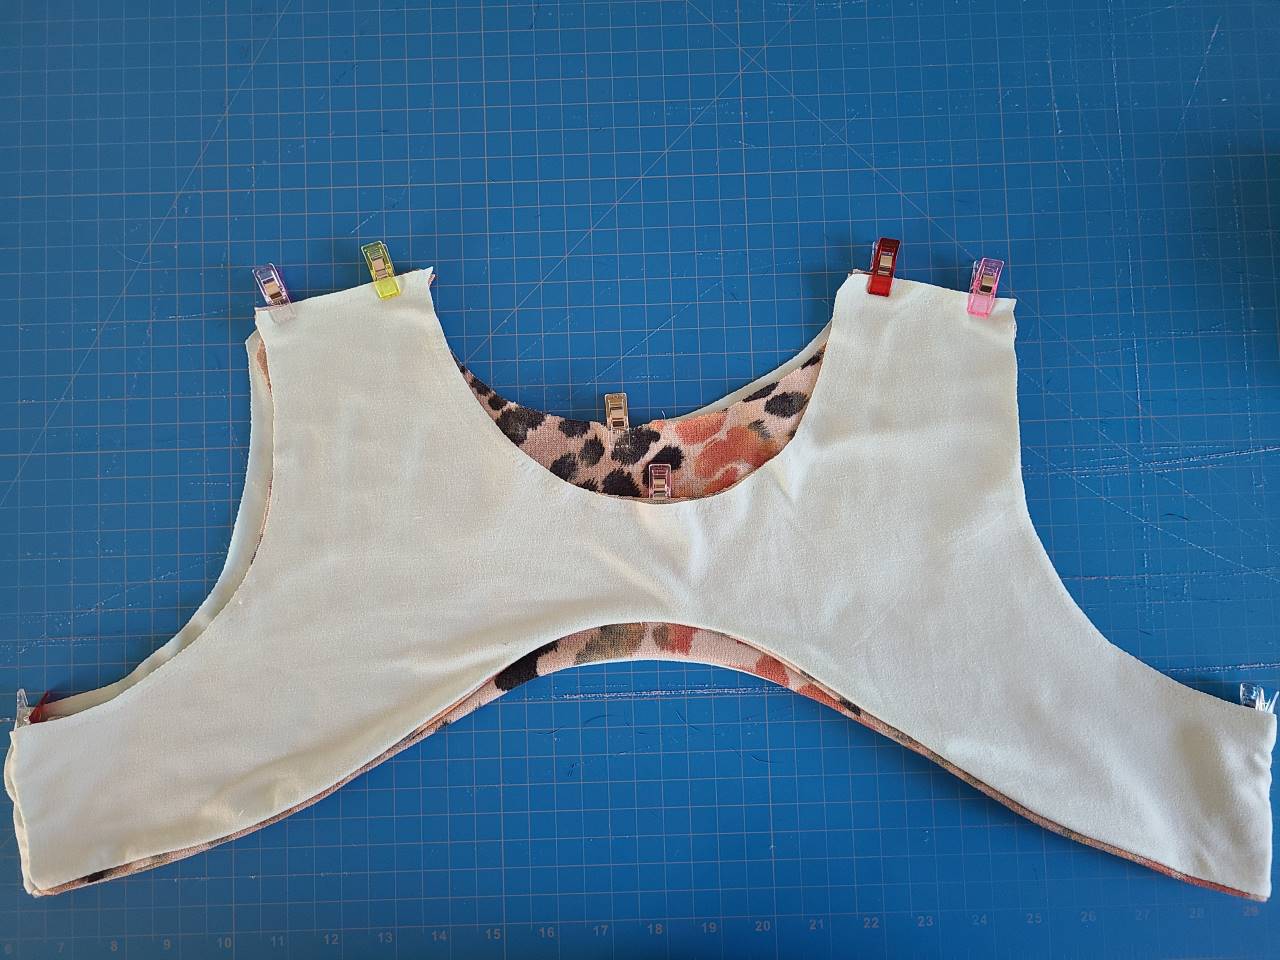
Take your front bodice and lining piece and open face up. Open up your back bodice and lining piece and place it face down on the front bodice and lining. Sew the side seams with a 1/2″ seam allowance.
- Open bodice main and lining flat
- Place back and front bodices/linings right sides together
- Sew side seam with 1/2″ seam allowance
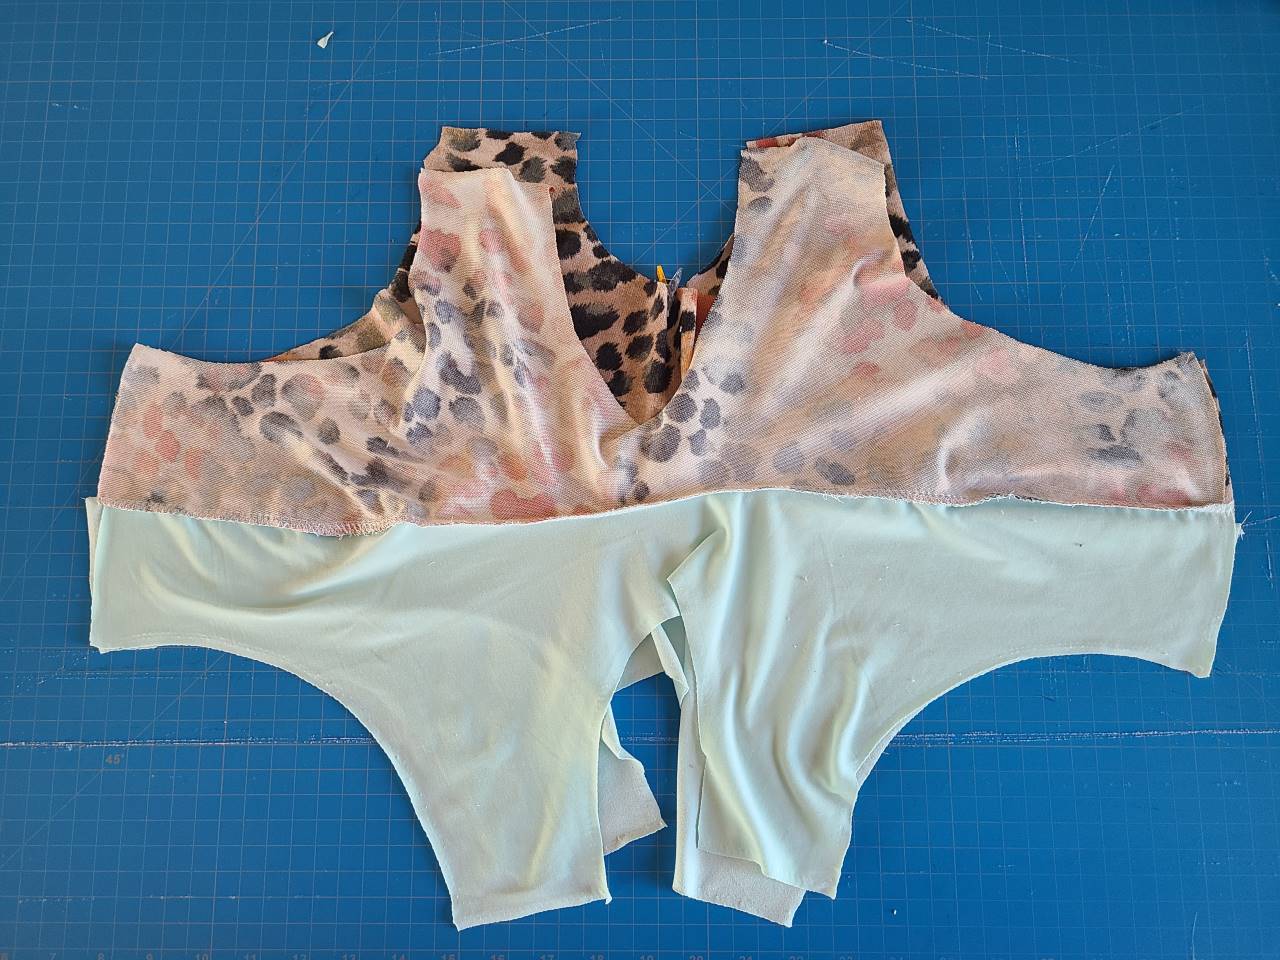
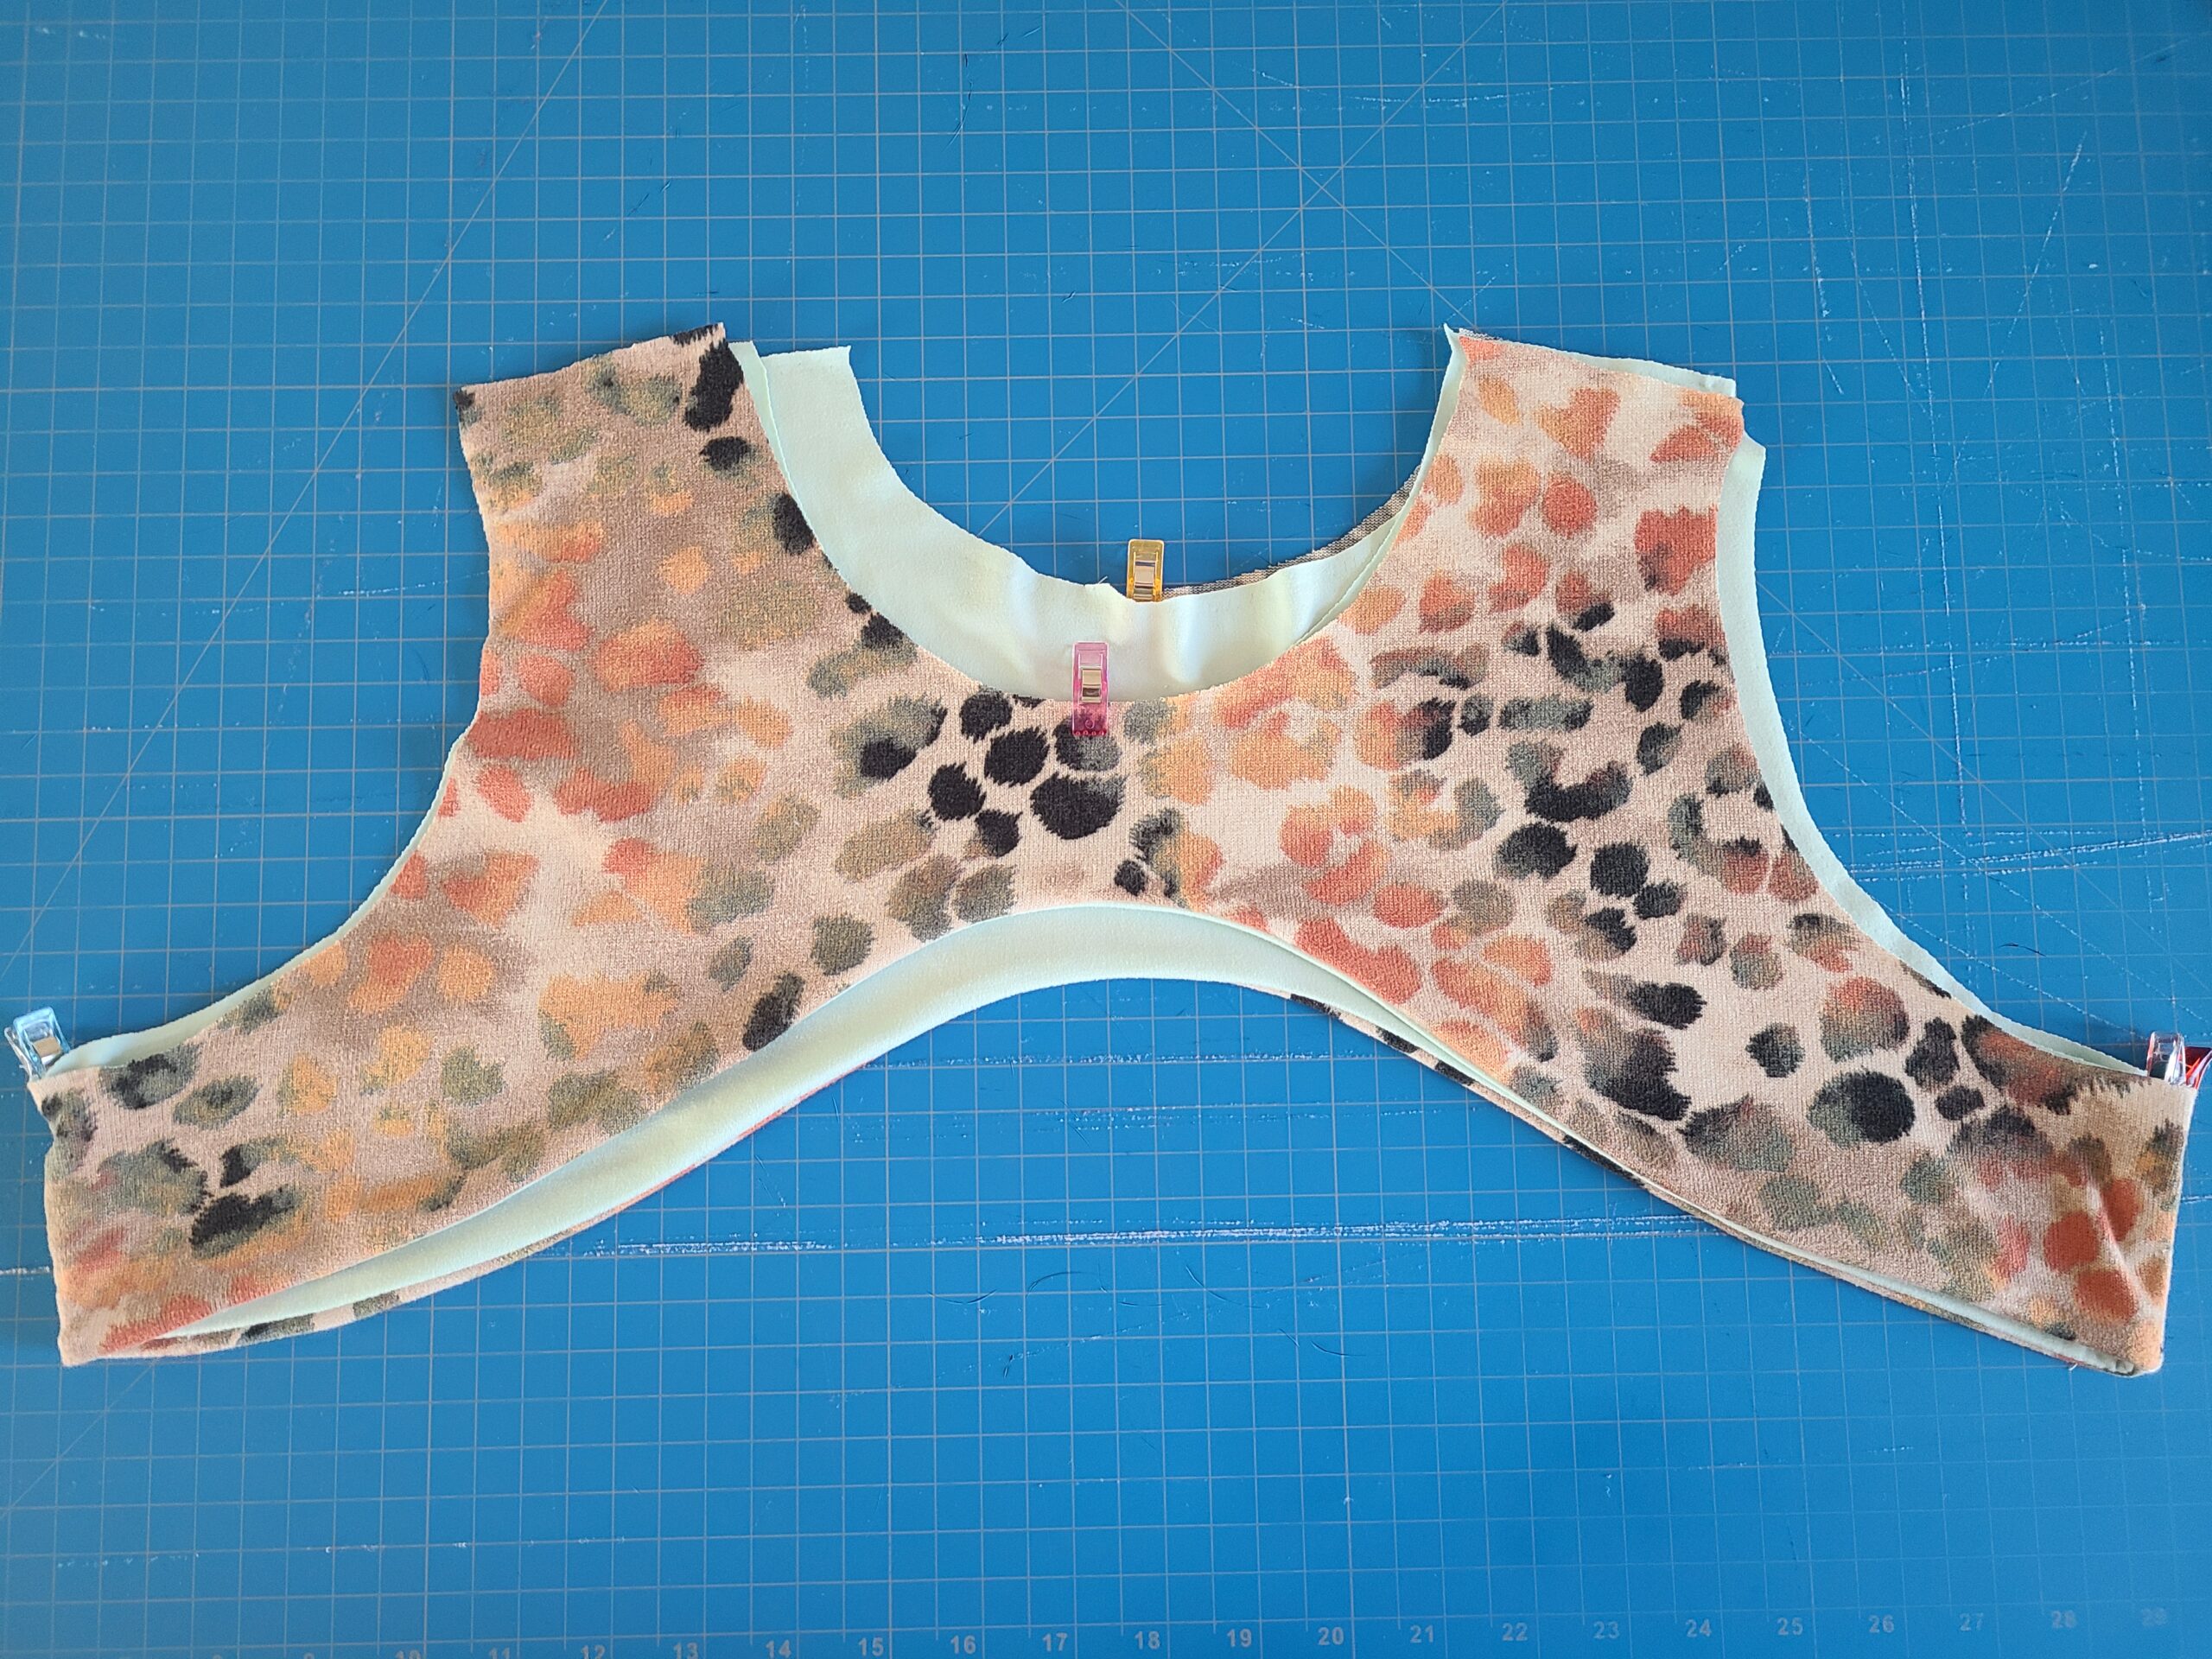
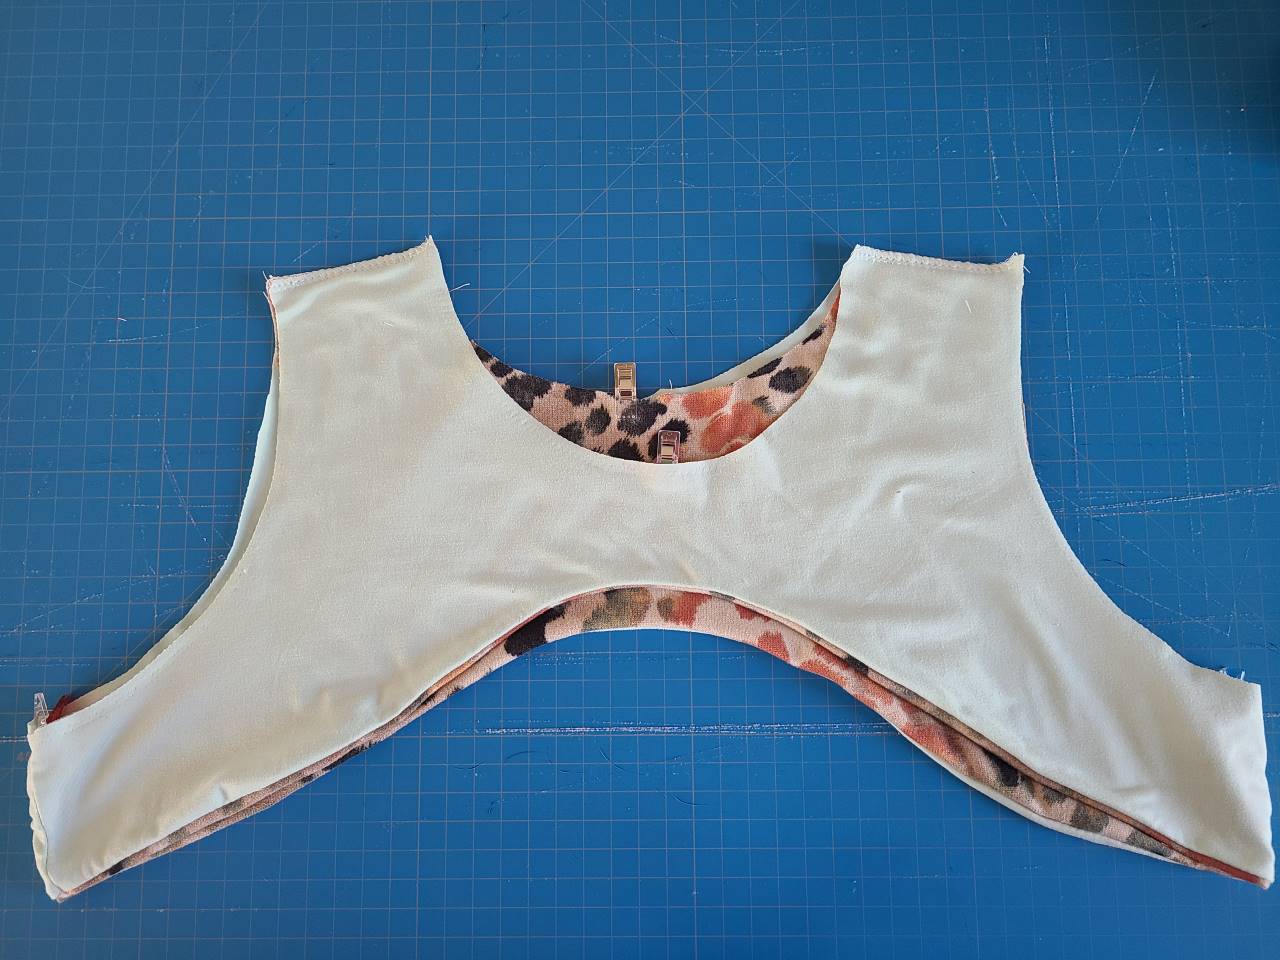
Flip the lining up to the inside of the bodice. The bodice pieces and their linings will now be treated as one. You can baste the armhole and necklines at this point if you would like to. Turn the top inside out and line up your shoulders and sew with a 1/2″ seam allowance.
- Lining flipped up to back side of bodice
- Turn bodices inside out and line up shoulders
- Sew shoulders with 1/2″ seam allowance
If you are doing the sleeveless version, follow the tutorial to attach the armbands.
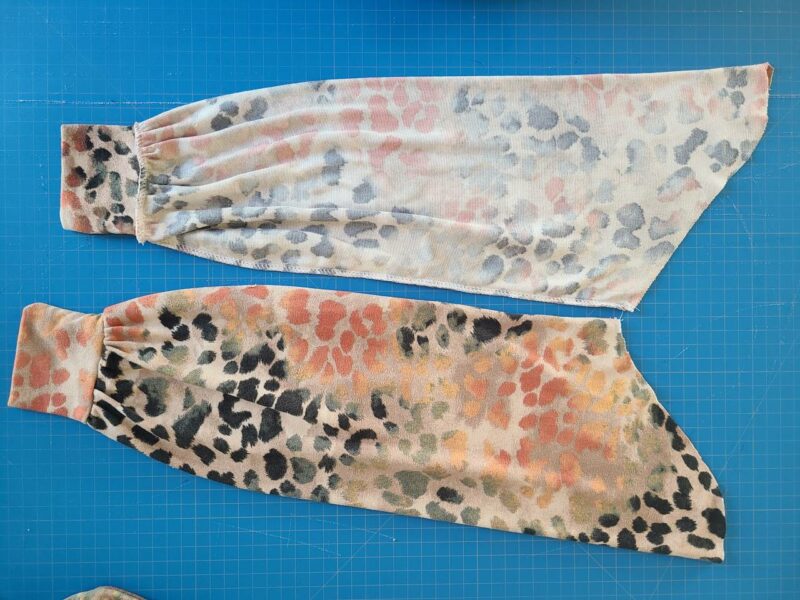
If you are adding sleeves, take the sleeves and sew them each right sides together with a 1/2″ seam allowance. You can finish the sleeve with cuff or hem by following the tutorial.
- Sew sleeves and finish with cuff or hem
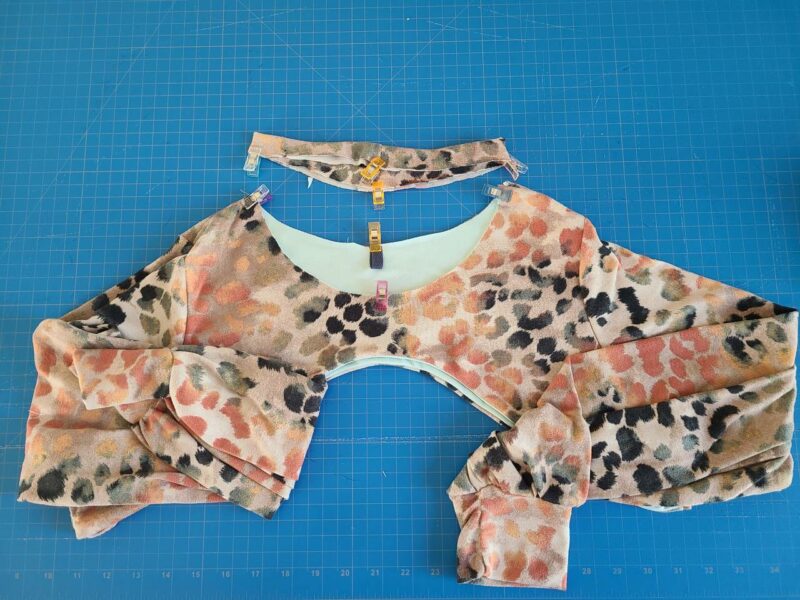
We’re going to set the sleeves in. Have your bodice inside out and slide your sleeve (right side out) into the arm hole. Line up your notches and seams from the sleeve with the armscye and ease in the rest of the sleeve. Sew with a 1/2″ seam allowance. Repeat with the other sleeve.
- Set in the sleeve and sew with a 1/2″ seam allowance
Attach the neckband as per the tutorial.
- Attache neckband per the tutorial
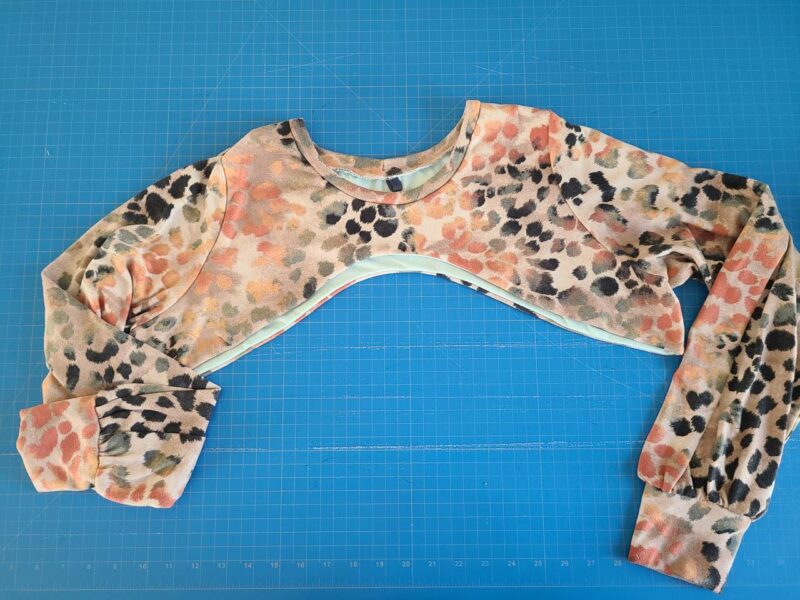
- All finished!
Your new top is finished and ready to show off. I hope you love your new ultra cropped shrug as much as I do!
Thumbhole Sleeve Hack
Start by lengthening your sleeve piece. I added an extra 5 inches to the bottom of the sleeve.
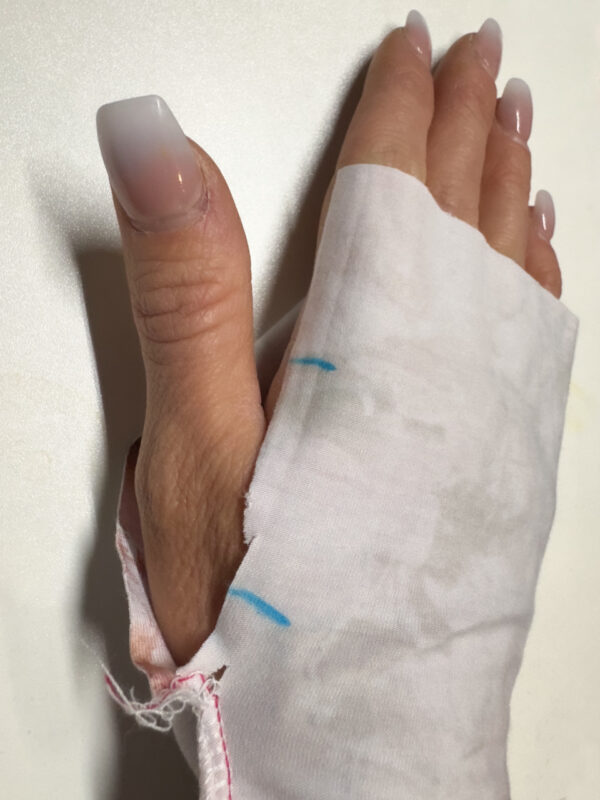
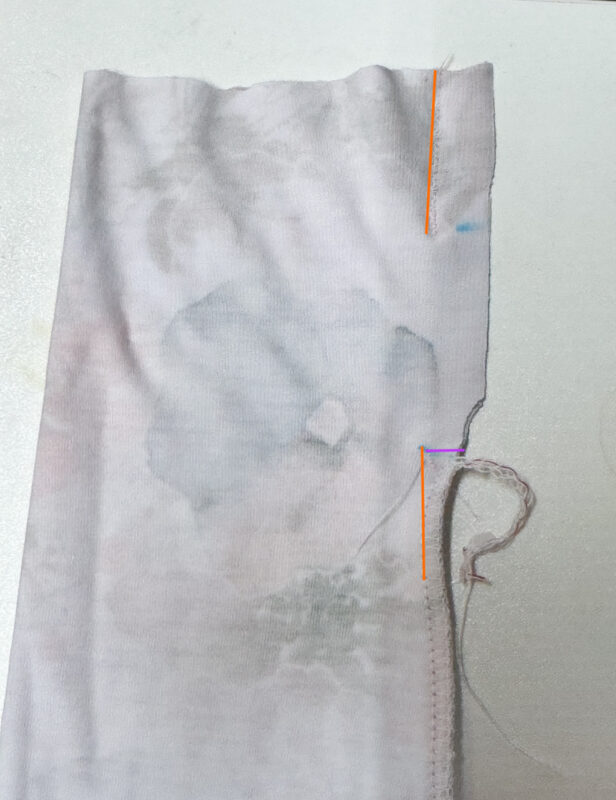
Next, assemble your top all the way through the step where you sew the side seam and down the sleeve. When you sew down the sleeve, stop a minimum of 8 inches before the end of the sleeve. My serger stitches are a bit too far down in this photo, don’t make that mistake! Try on your top and use a water-soluble marking tool to mark where you want the thumb hole to start and end.
Next, we move over to our sewing machine, as you can’t use a serger for this part. Leaving a gap between the two lines you drew, sew with a stretch stitch from the bottom line to meet up with your sleeve seam, and between the top line and the raw edge of the sleeve (marked in Orange). If you sewed the side seam with a serger, carefully snip from the edge to your stitch line on the side where your serger stitches are. (marked in Purple) This allows you to press this seam open! Don’t skip pressing, it makes the next step much simpler.
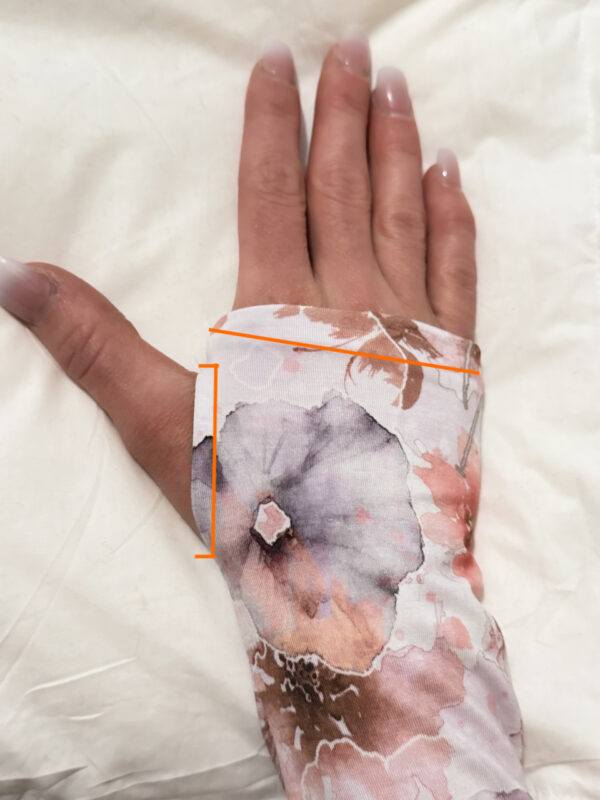
Now, we hem! Using a stretch zigzag stitch, sew a box around the thumb hole, making sure to only catch the fabric you pressed underneath (marked in Orange). Then I recommend trying it on again to see if you want to remove any length before hemming. Once you have the sleeve around where your knuckles are, you’re done!
Short Tie Hack
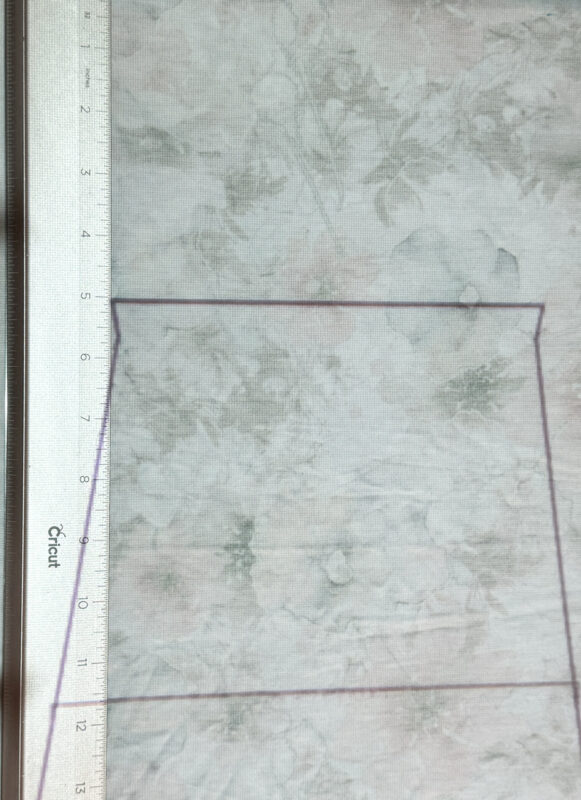
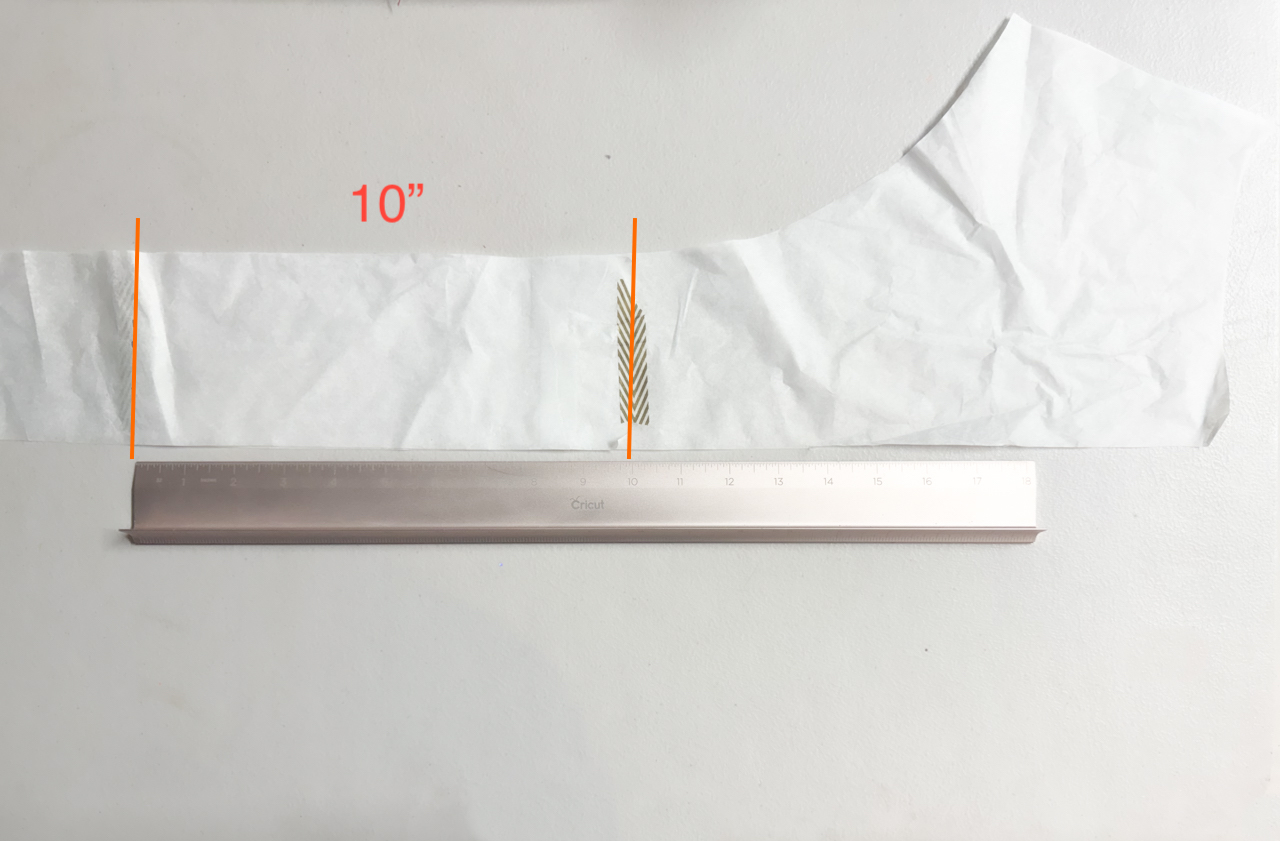
This hack is incredibly simple! If you want to bow in just the back rather than wrapping all the way around, all we have to do is shorten the tie. I did this by tracing out the tie pattern piece onto tissue paper, then cutting around the middle and overlapping approximately 10 inches. Smooth out the overlap by cutting off any dog ears, and assemble the rest of the pattern as normal!
We hope you love your new Danika pattern! We can’t wait to see what you sew up and how you style it.
#danikapattern #madeformermaids #madeformermaidspatterns






Leave a Reply