
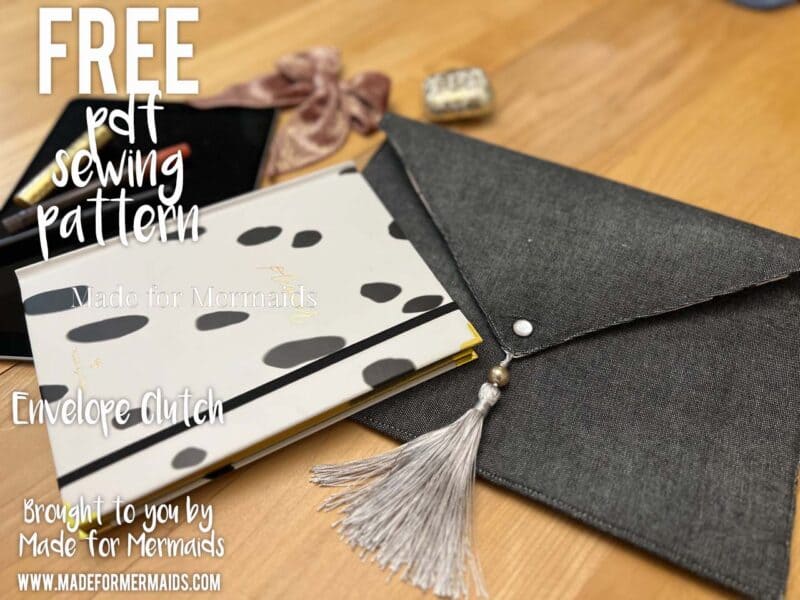
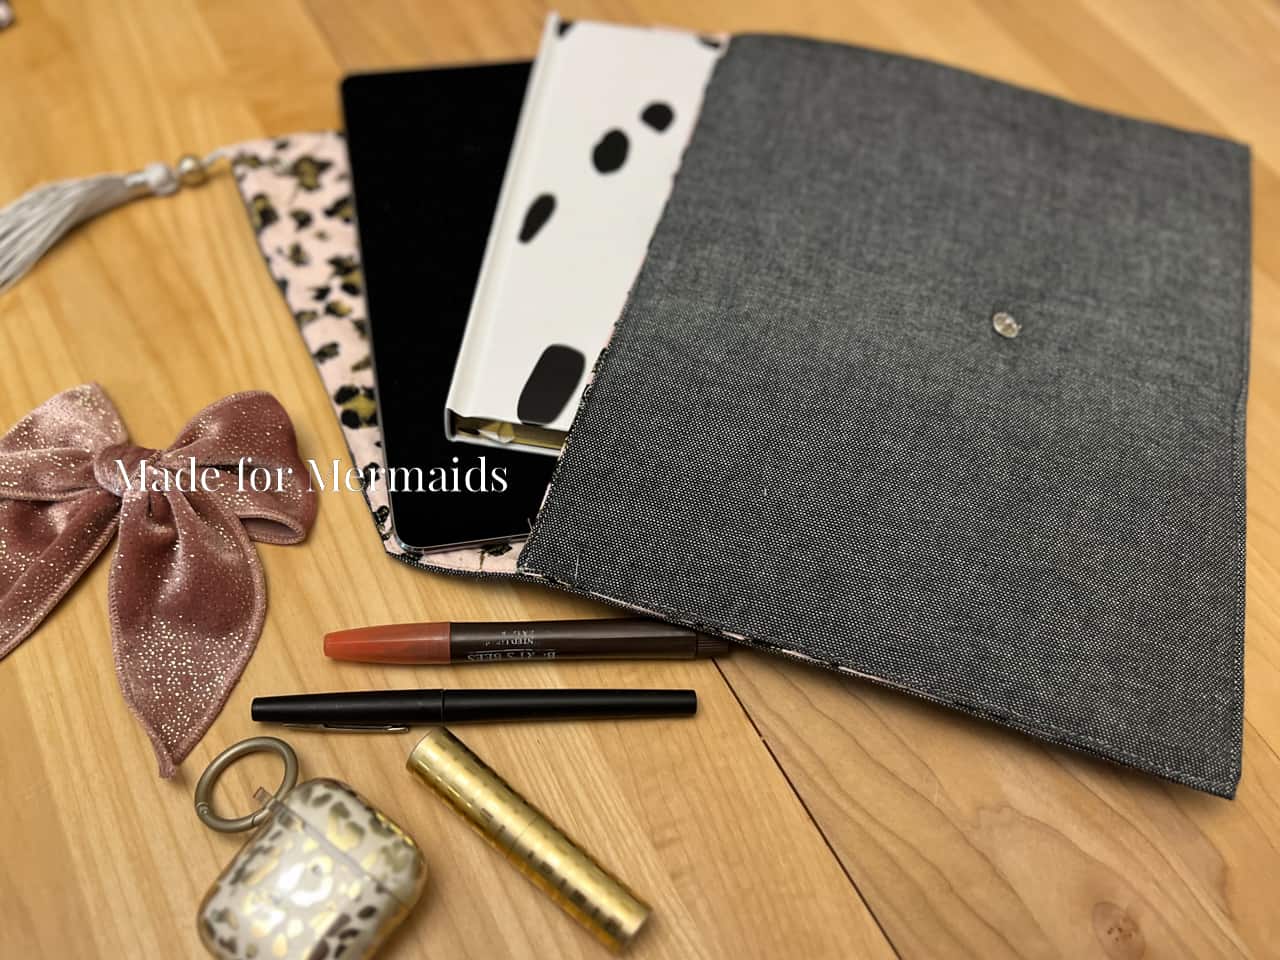
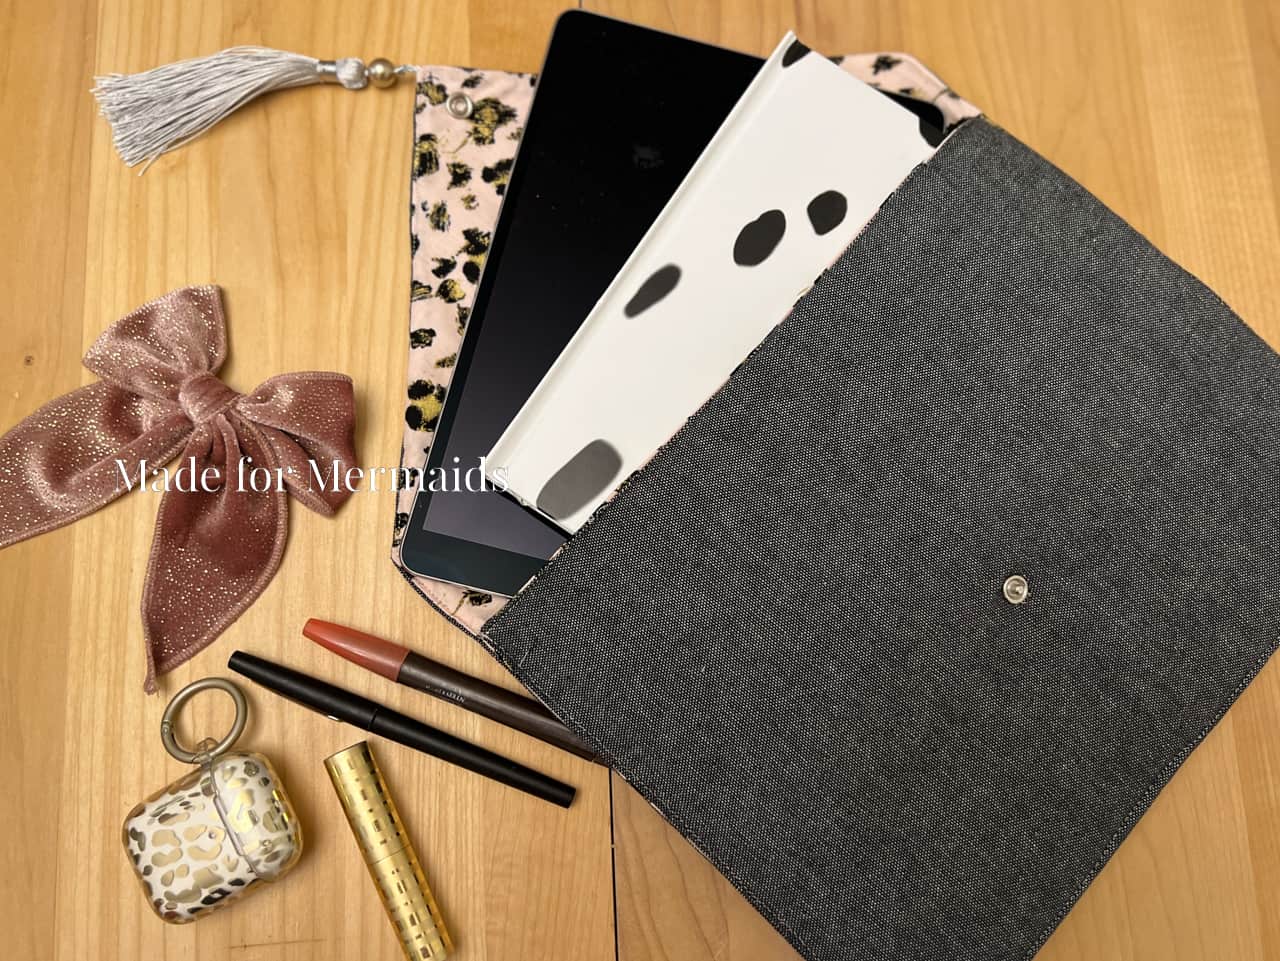
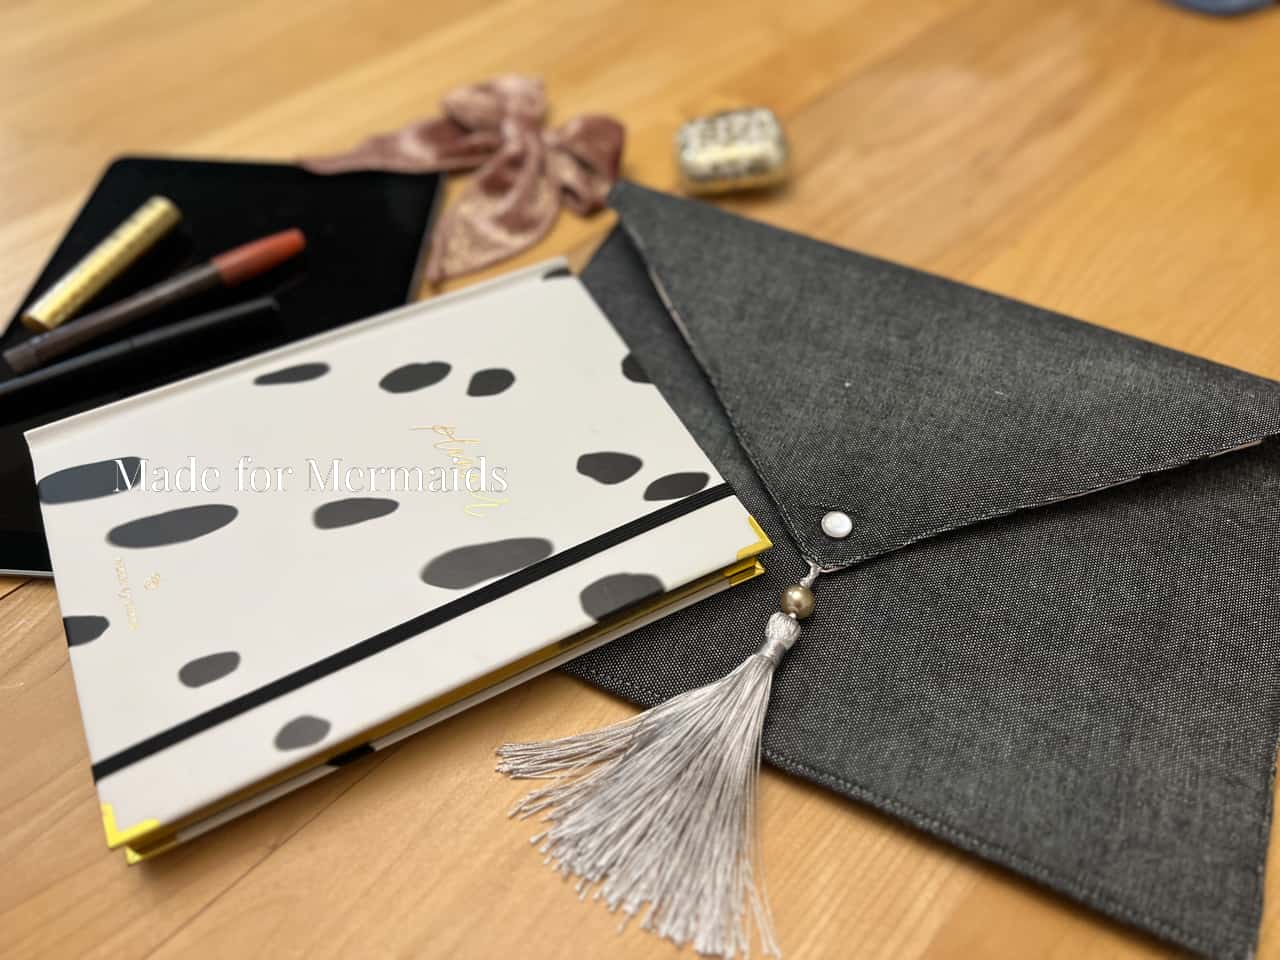
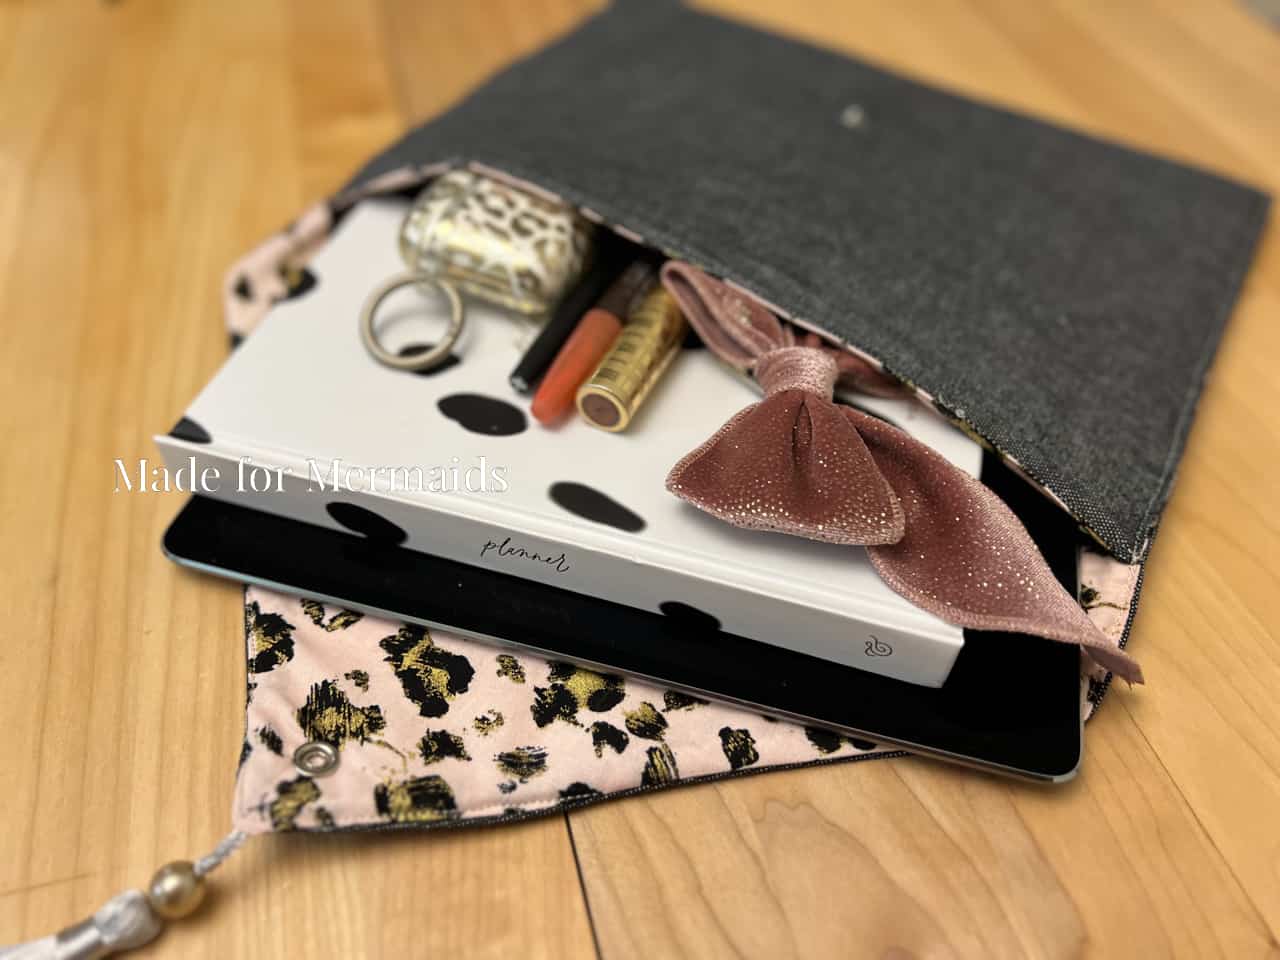
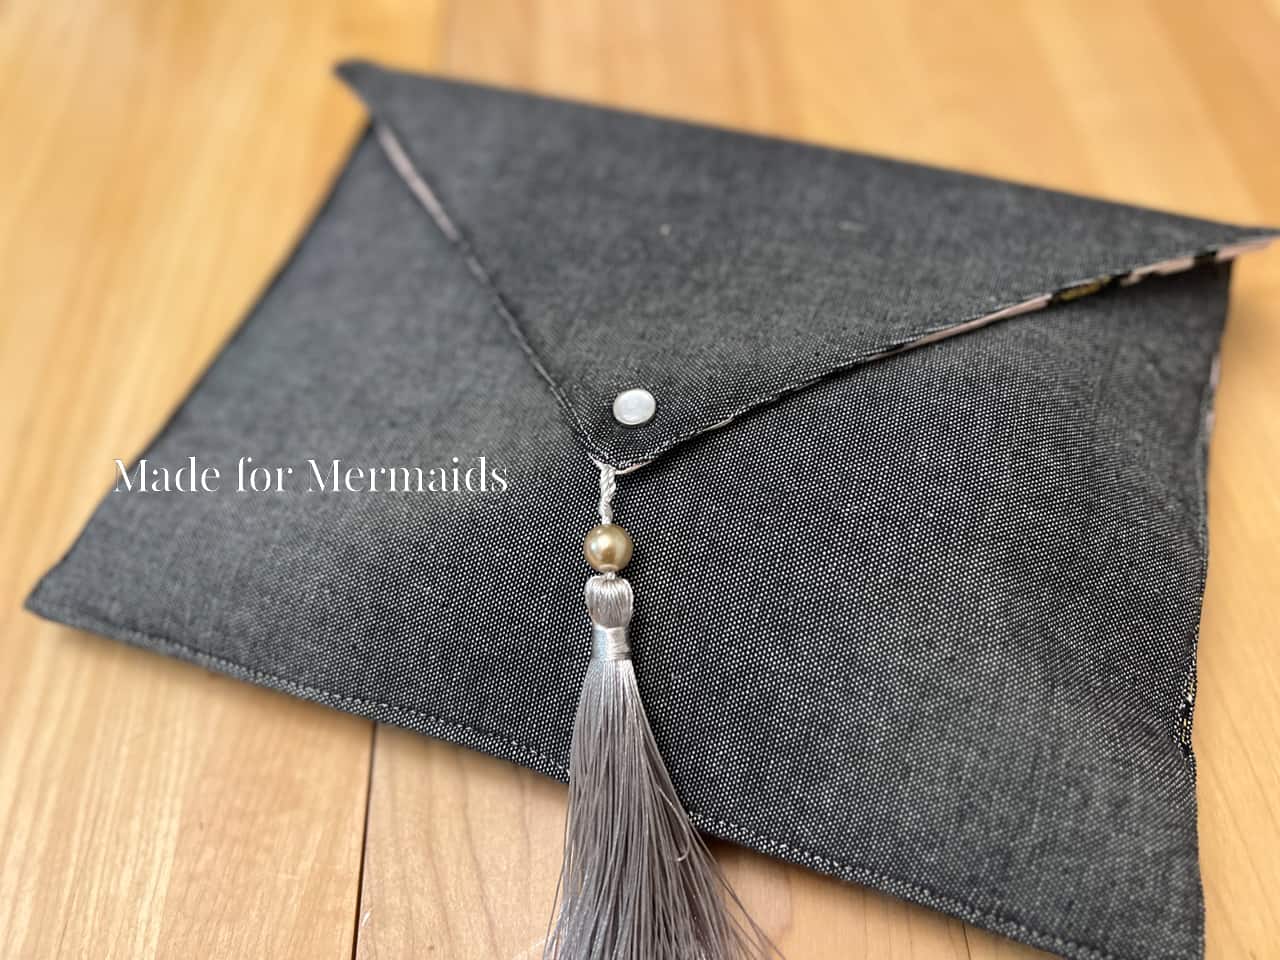
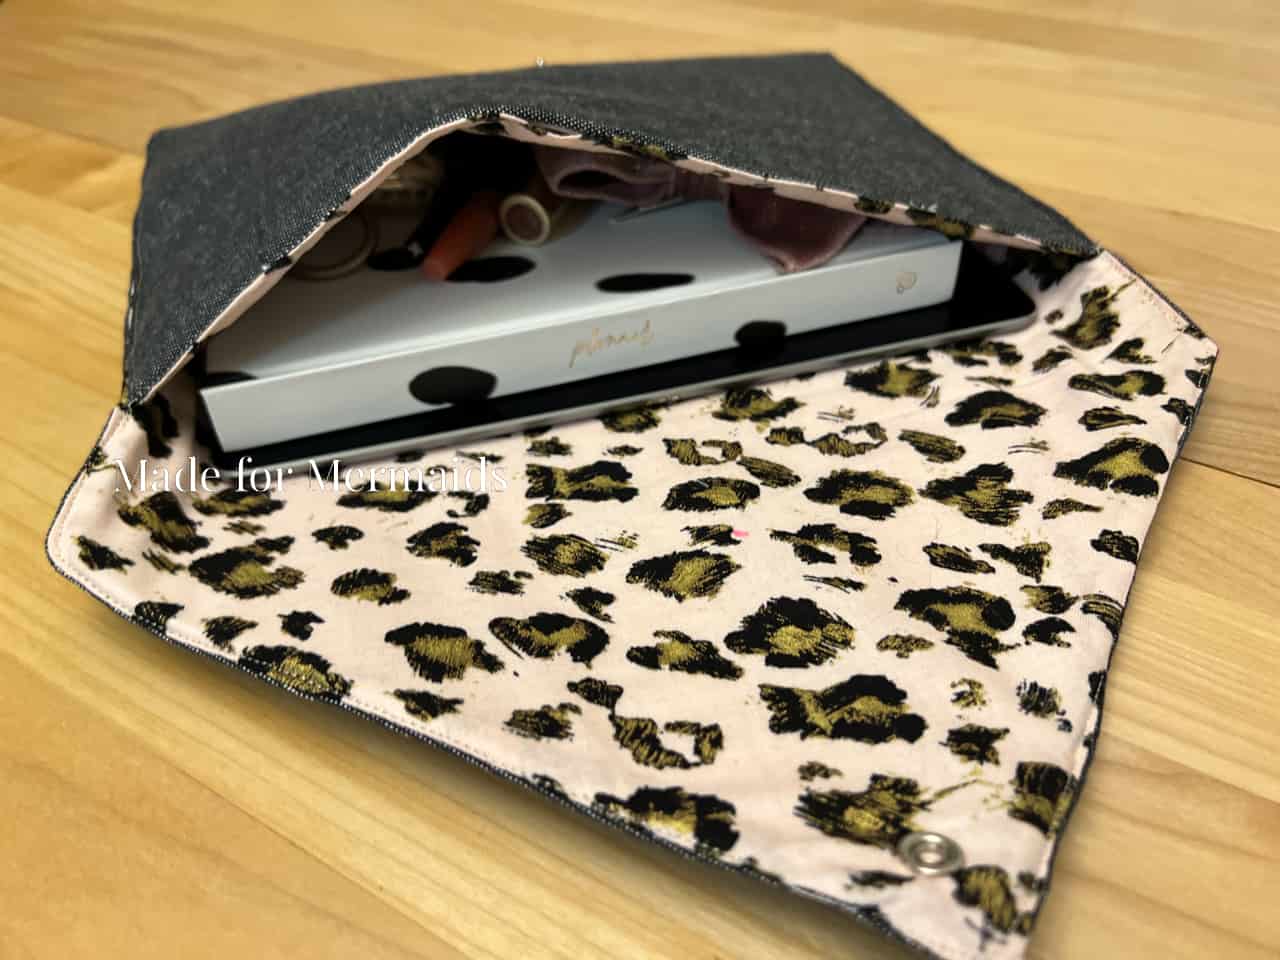
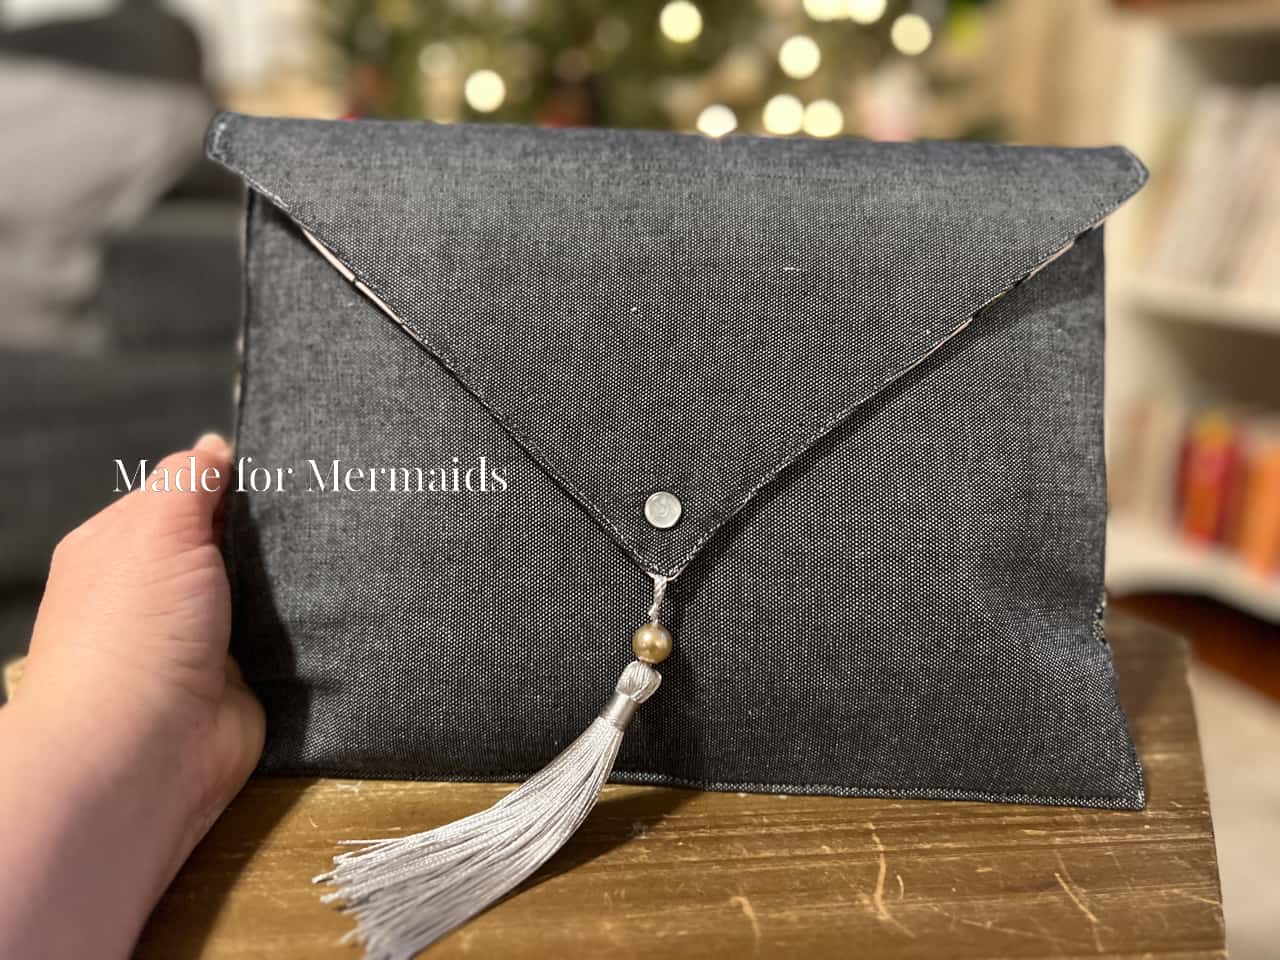
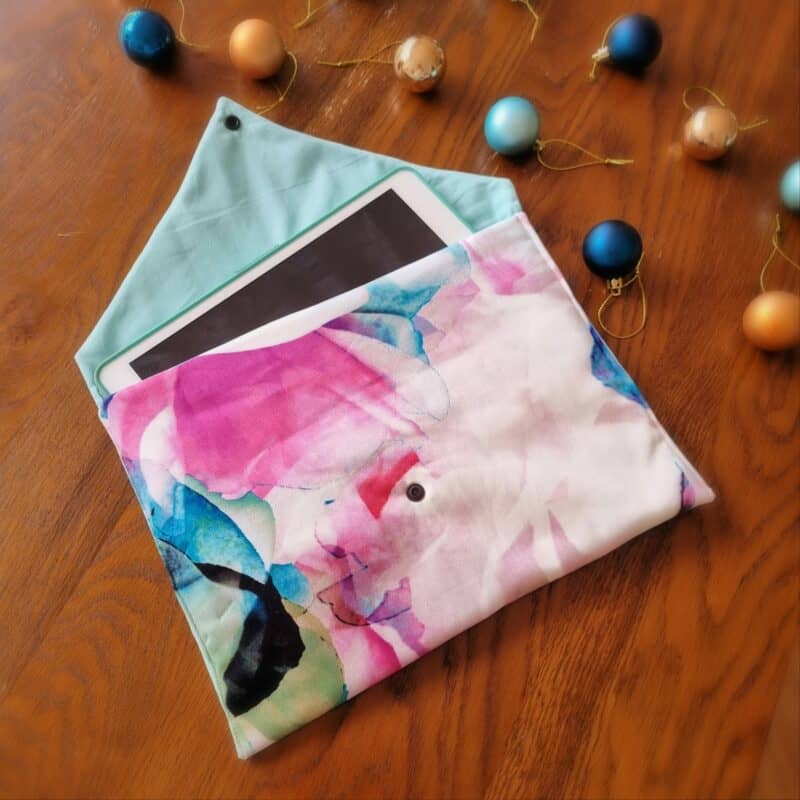
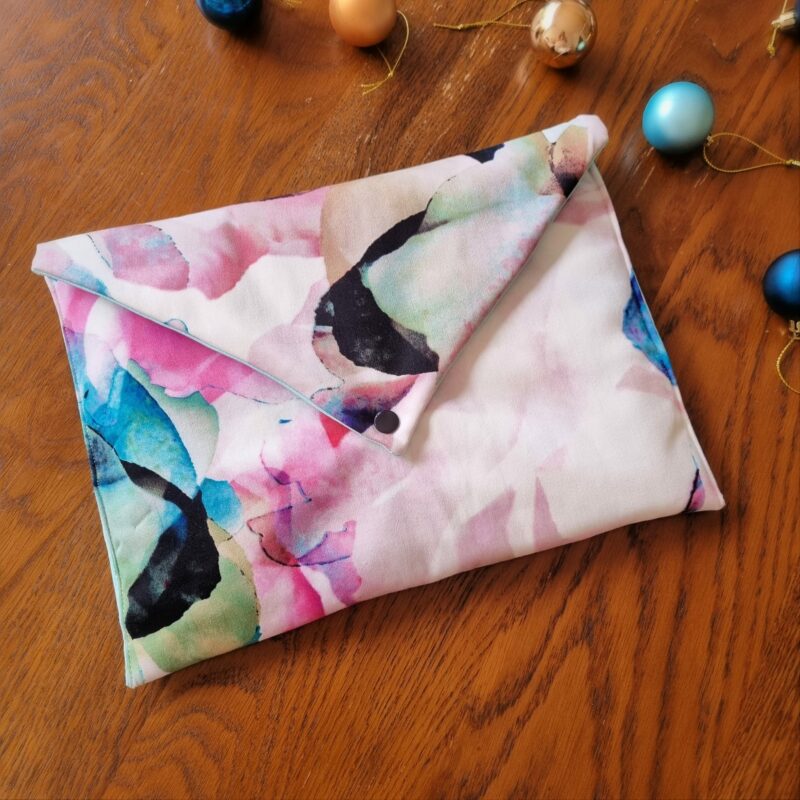
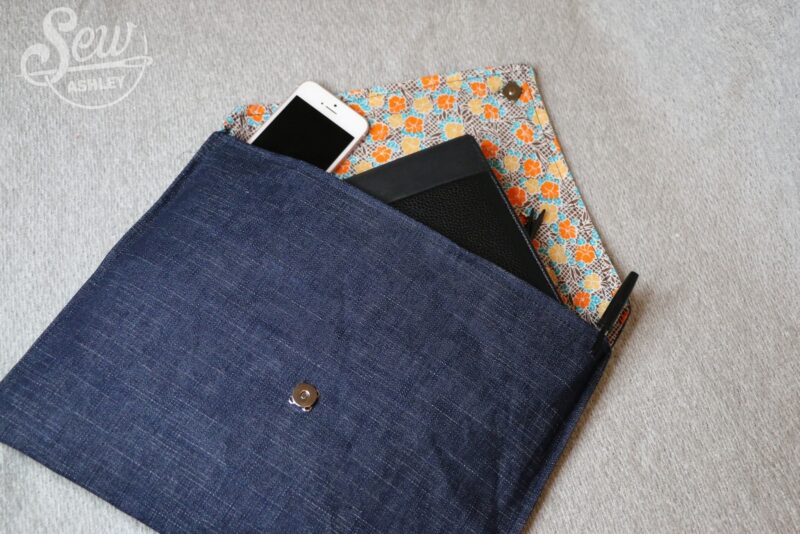
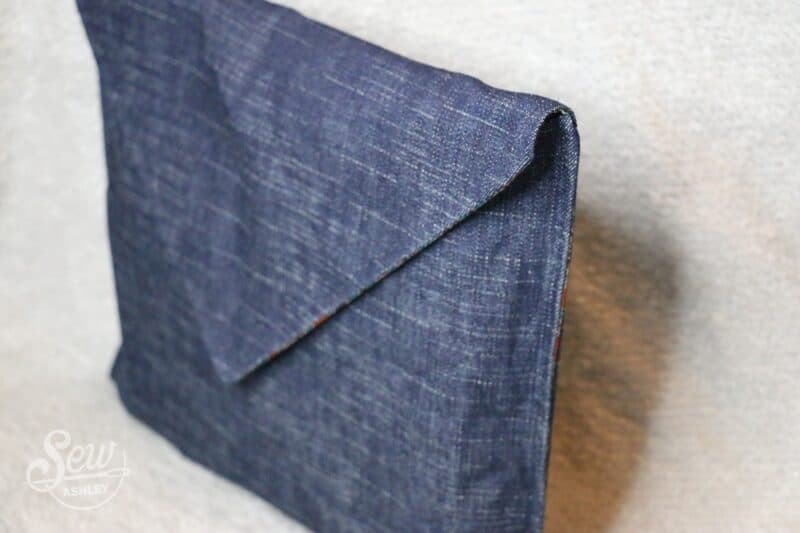
On the second day of Christmas, Made for Mermaids gave to me… an adorable envelope clutch! These are so fun and perfect for a tablet, planner, or to use as a purse.
SUPPLIES:
- 1/2 yard of woven fabric for the Main
- 1/2 yard of woven fabric for the Lining
- 1/2 yard of interfacing – use a medium weight, OR you can use a heavy weight interfacing; steps will vary slightly
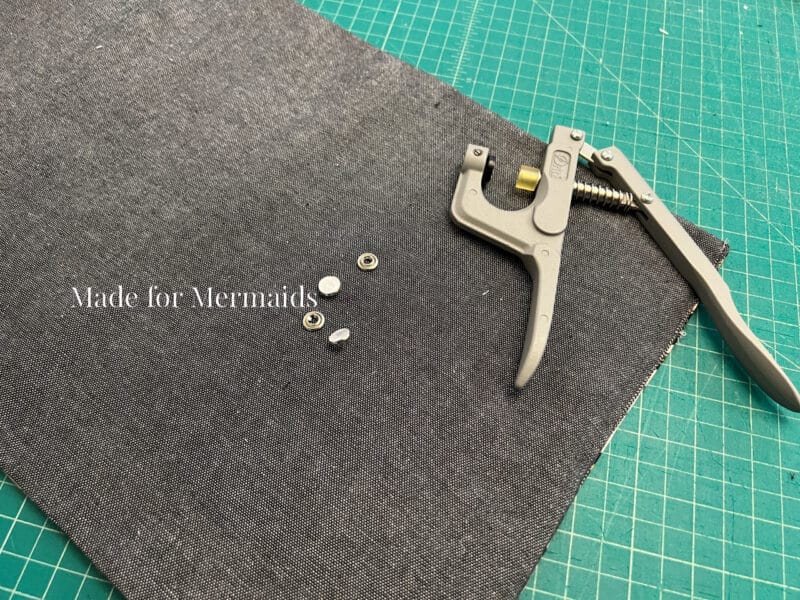
- Fastener – I used a pearl snap, but you can use anything; buttons, velcro, whatever you want!
- OPTIONAL – embellishments; you can hand embroider, beading, add a tassel, etc.
LET’S GET STARTED!
1/2″ seam allowances included.
Step 1: PREPPING
Go grab the pattern here! The pattern is 100% free, but you do need to add it to your cart and checkout. Then, it will always be available to download from your account. The pattern is a no-trim pattern; if you need help putting the pattern together, pop over to the faqs and troubleshooting page or ask in our Facebook group .
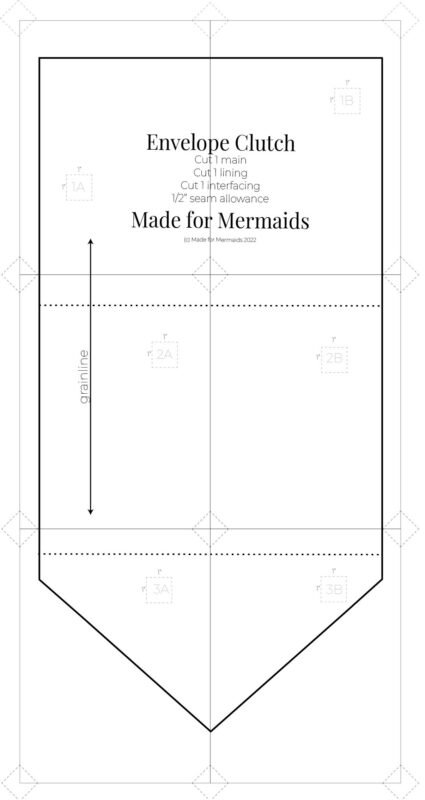
Print and assemble the pattern. Alternatively, you can use the projector file if you’re using a projector. Pattern layout below:
Step 2: CUTTING
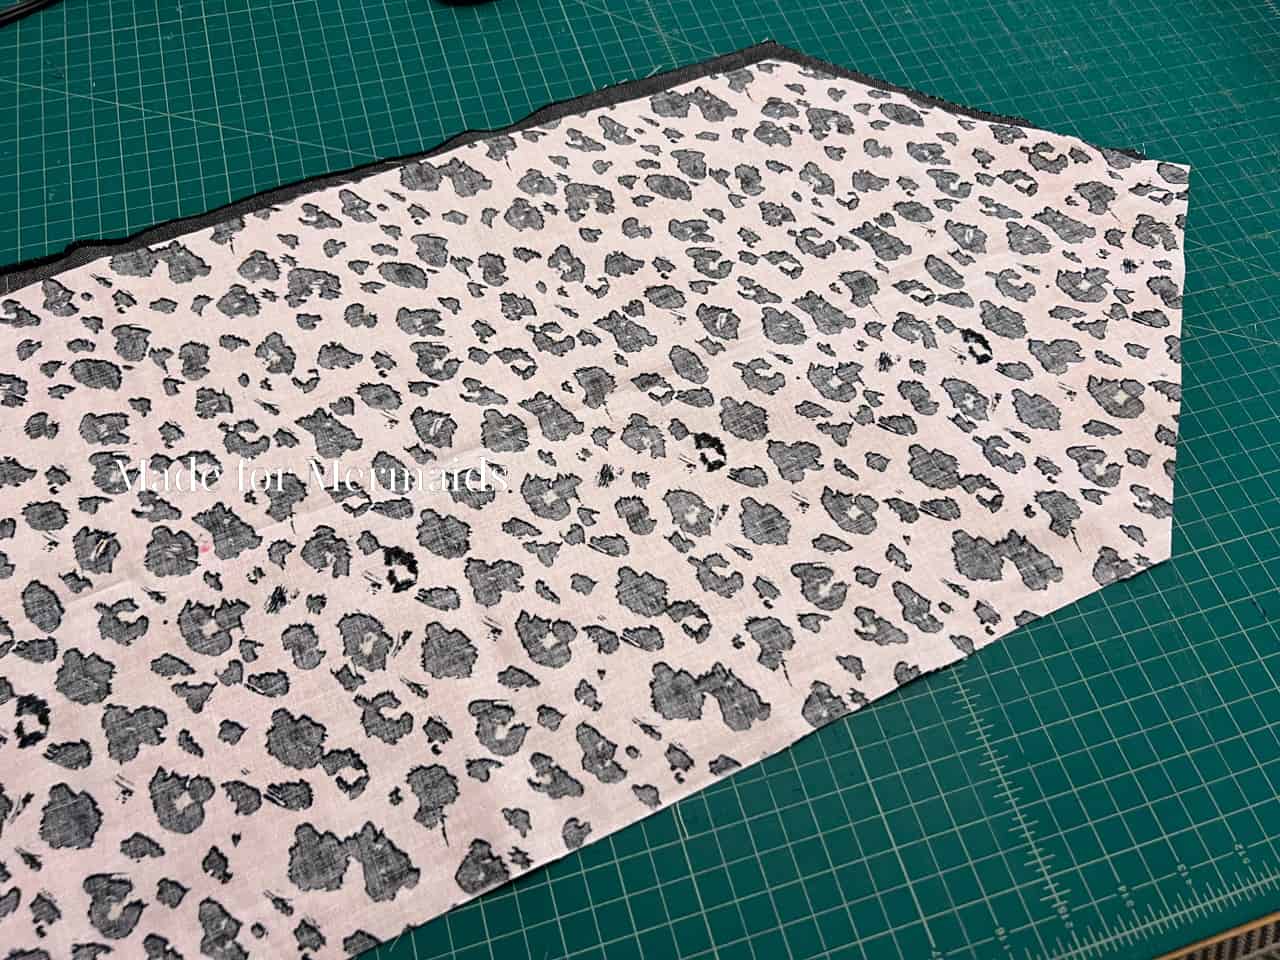
Cut 1 in your main, 1 in your lining, and 1 in interfacing.
Step 3: ATTACHING EMBELLISHMENTS
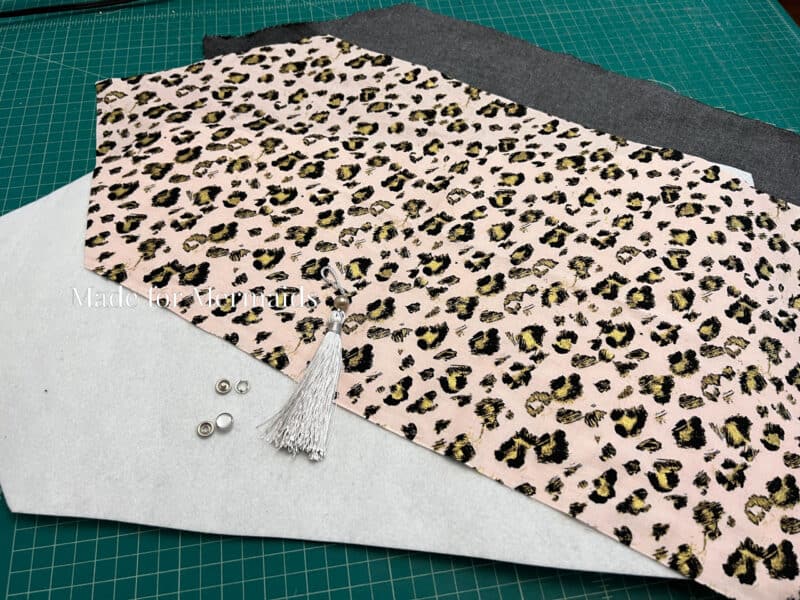
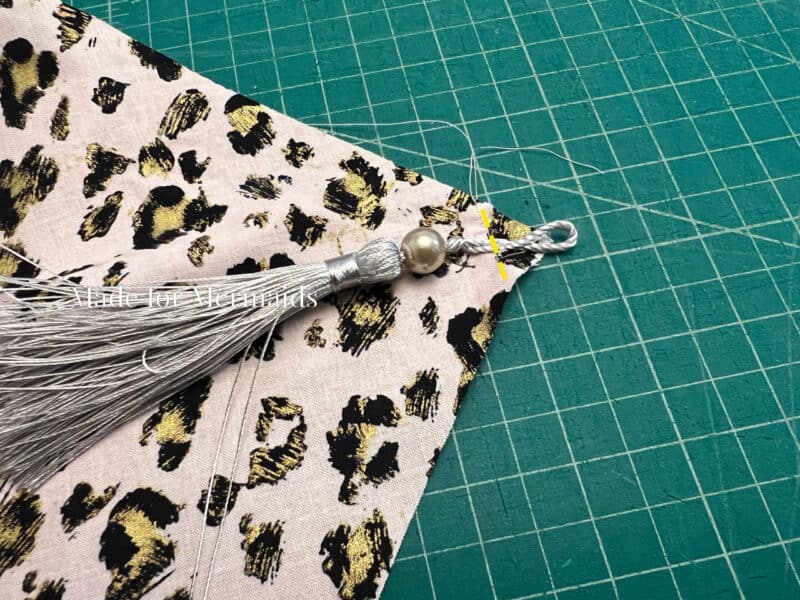
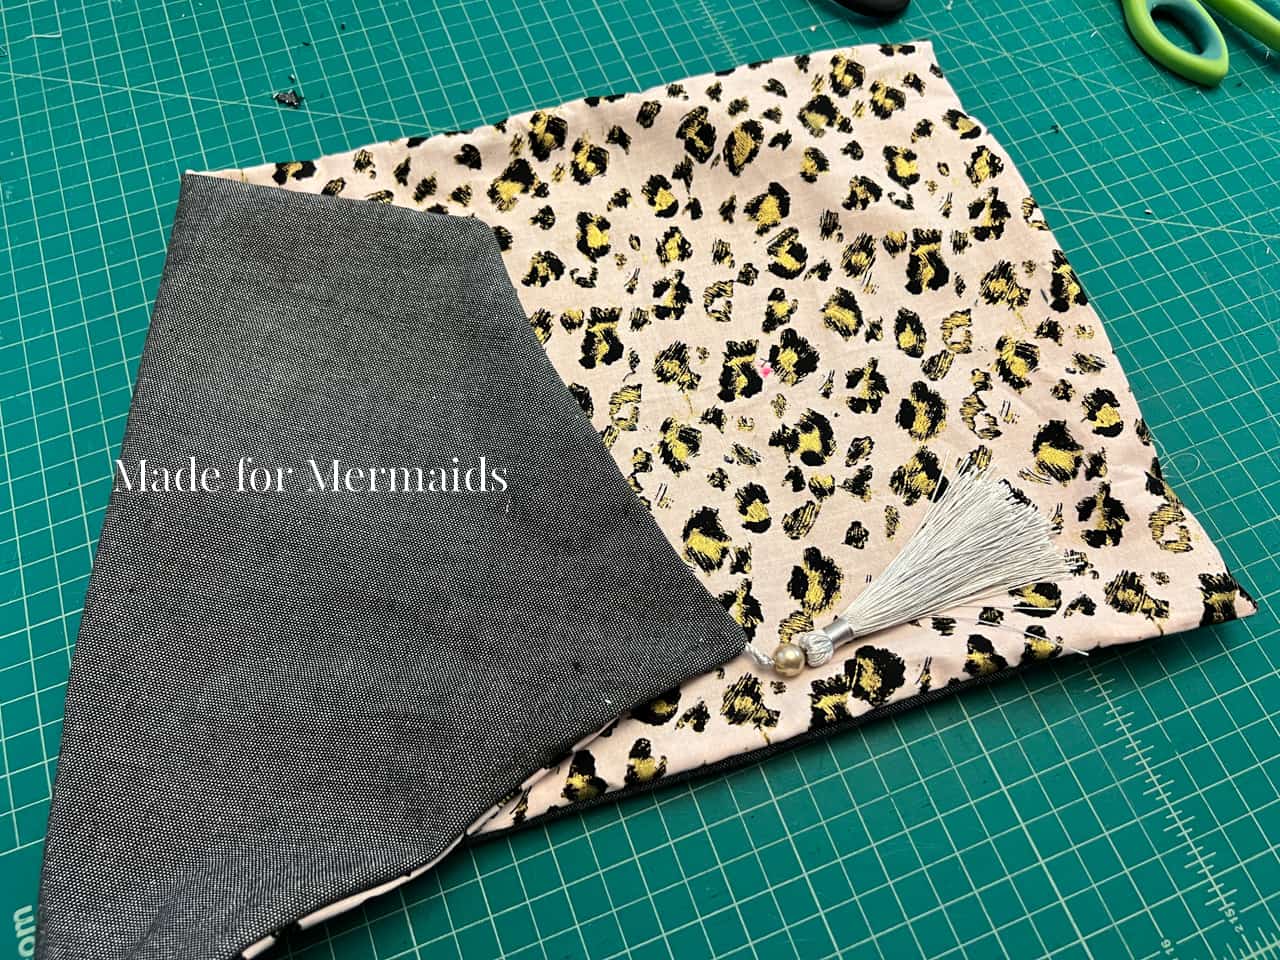
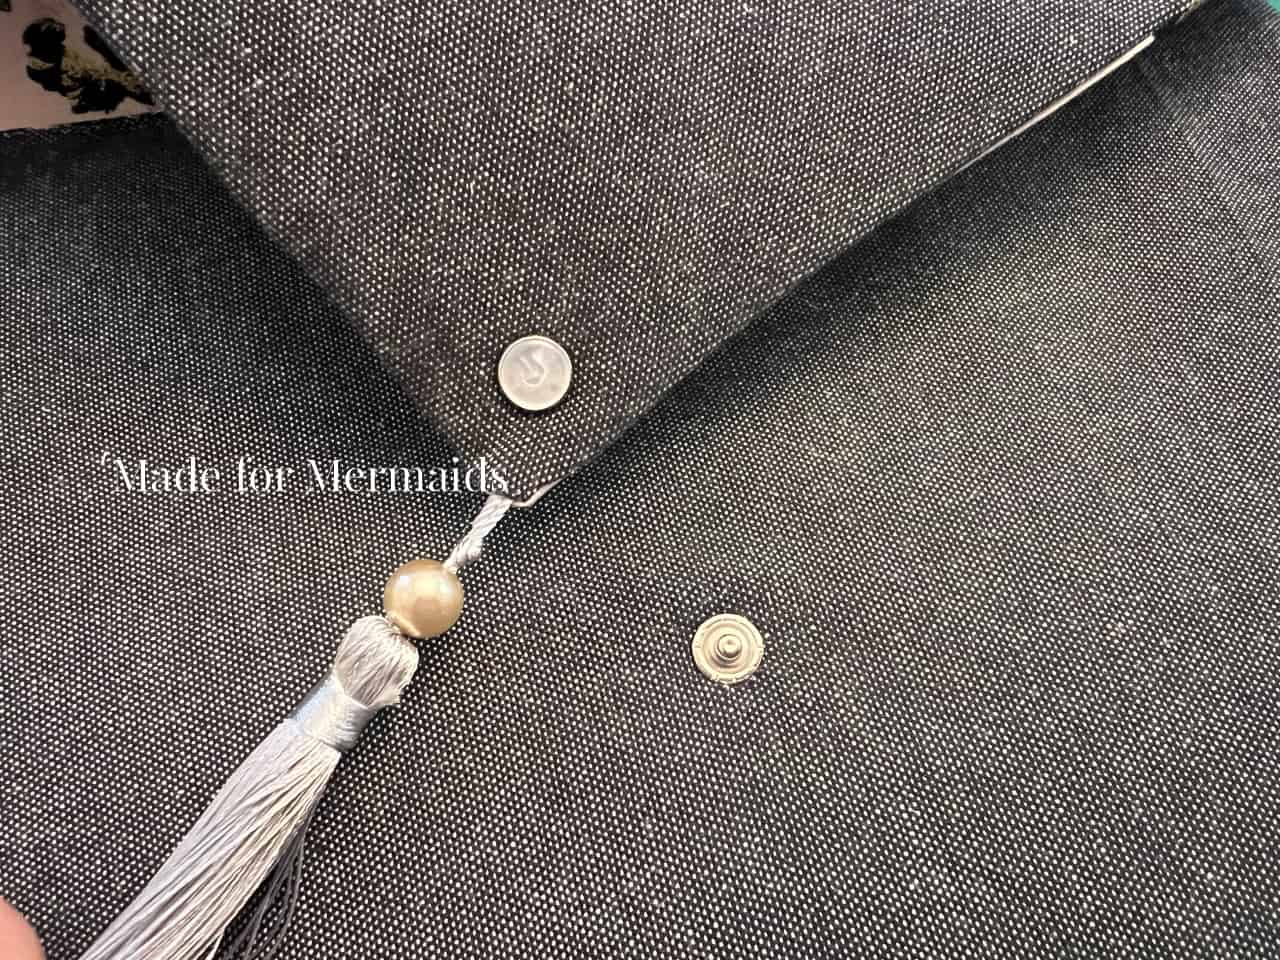
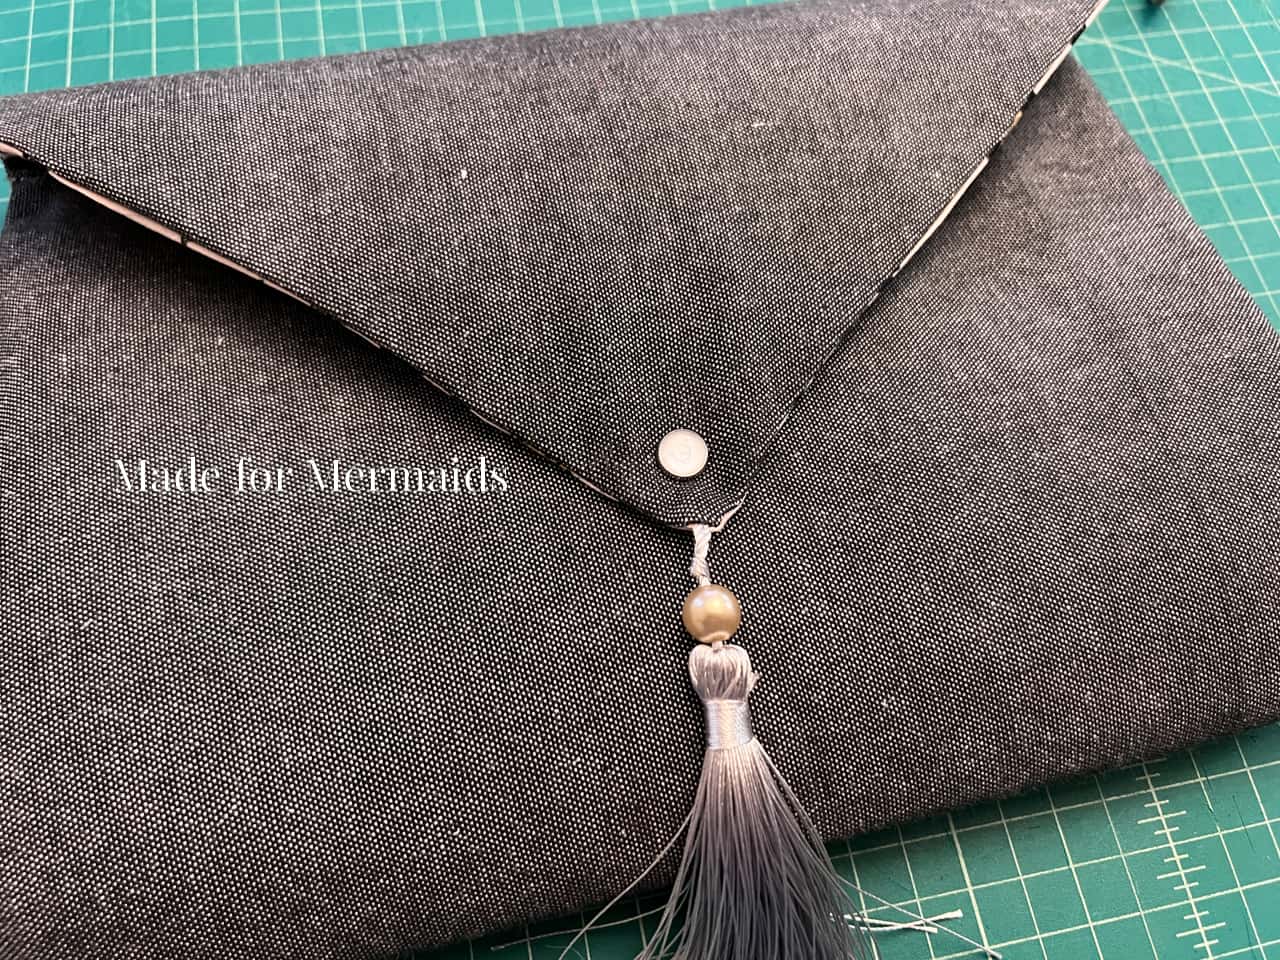
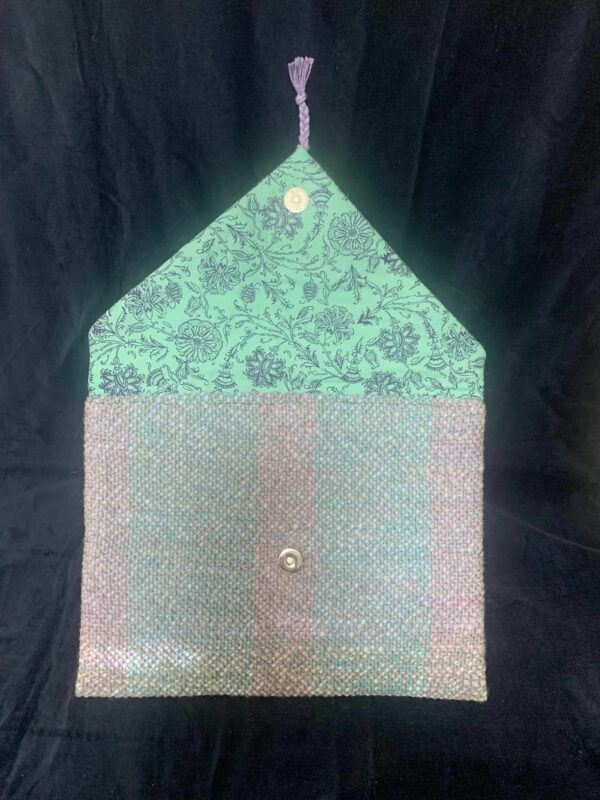
If you’re adding embellishments, embroidery, beading, etc., you’ll want to do so before beginning construction. I wanted to add this tassel that I found at Target (it’s supposed to be a gift topper, but I thought it would be a cute addition here!), so I attached it to the right side of my lining piece just over 1/2″ in from the point.
Step 4: CONSTRUCTING CLUTCH
If you are using a light to mid-weight interfacing, fuse or baste to the wrong side of your main fabric before proceeding. After fusing or basting, you’ll treat it as one piece moving forward. It will be referred to as the “main fabric” for the rest of the tutorial. If you are using a heavier, more structured interfacing or insert, follow the steps below!
NOTE: Curious why the interfacing I’m using is being inserted vs. fused? The one I selected is non-fusible, and very thick; I knew it wouldn’t keep its shape as well if I had to turn it inside out/right side out, and I really wanted this amount of structure/thickness. For lighter weight interfacing, you will fuse/baste before hand as mentioned above.
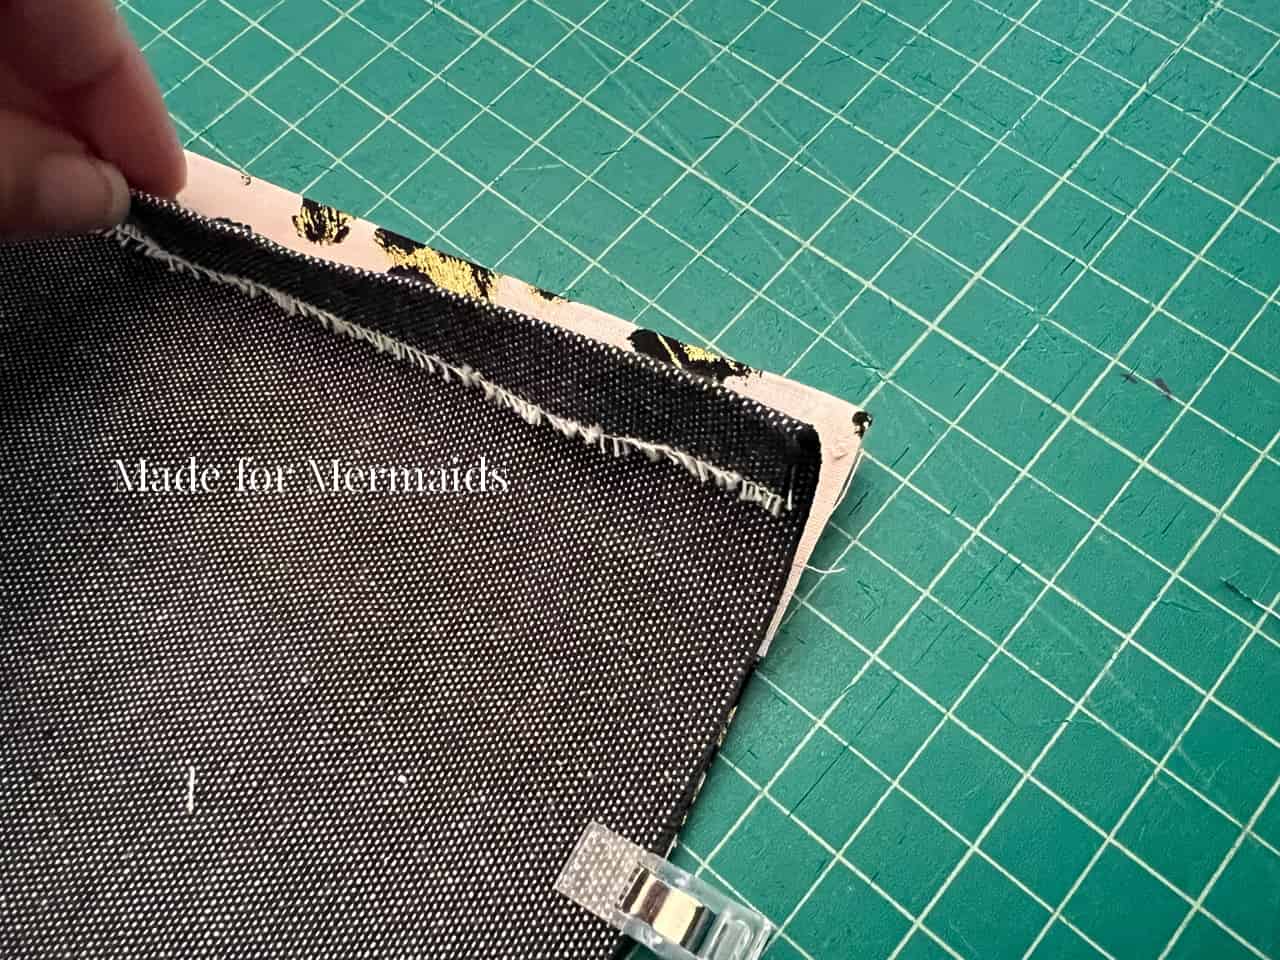
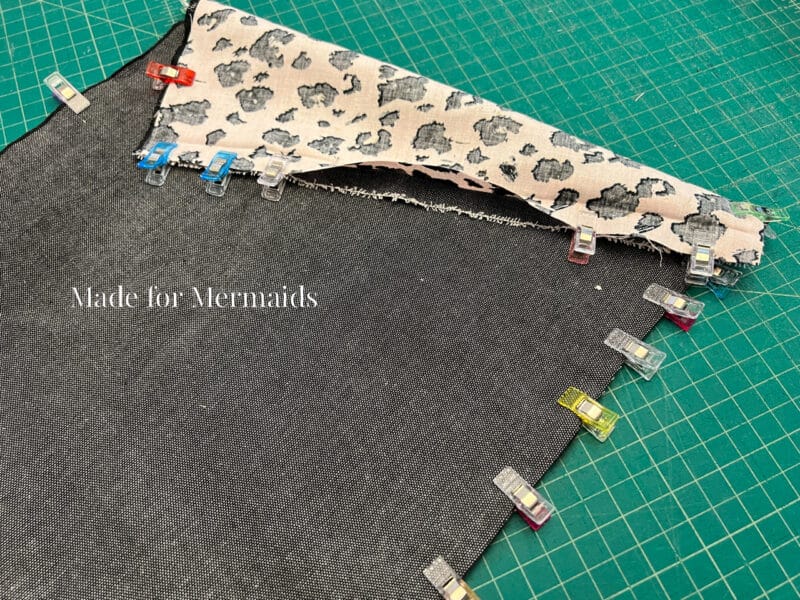
Along the bottom straight edge, fold both the main fabric and lining fabric back 1/2″ toward the wrong side. Create a memory press.
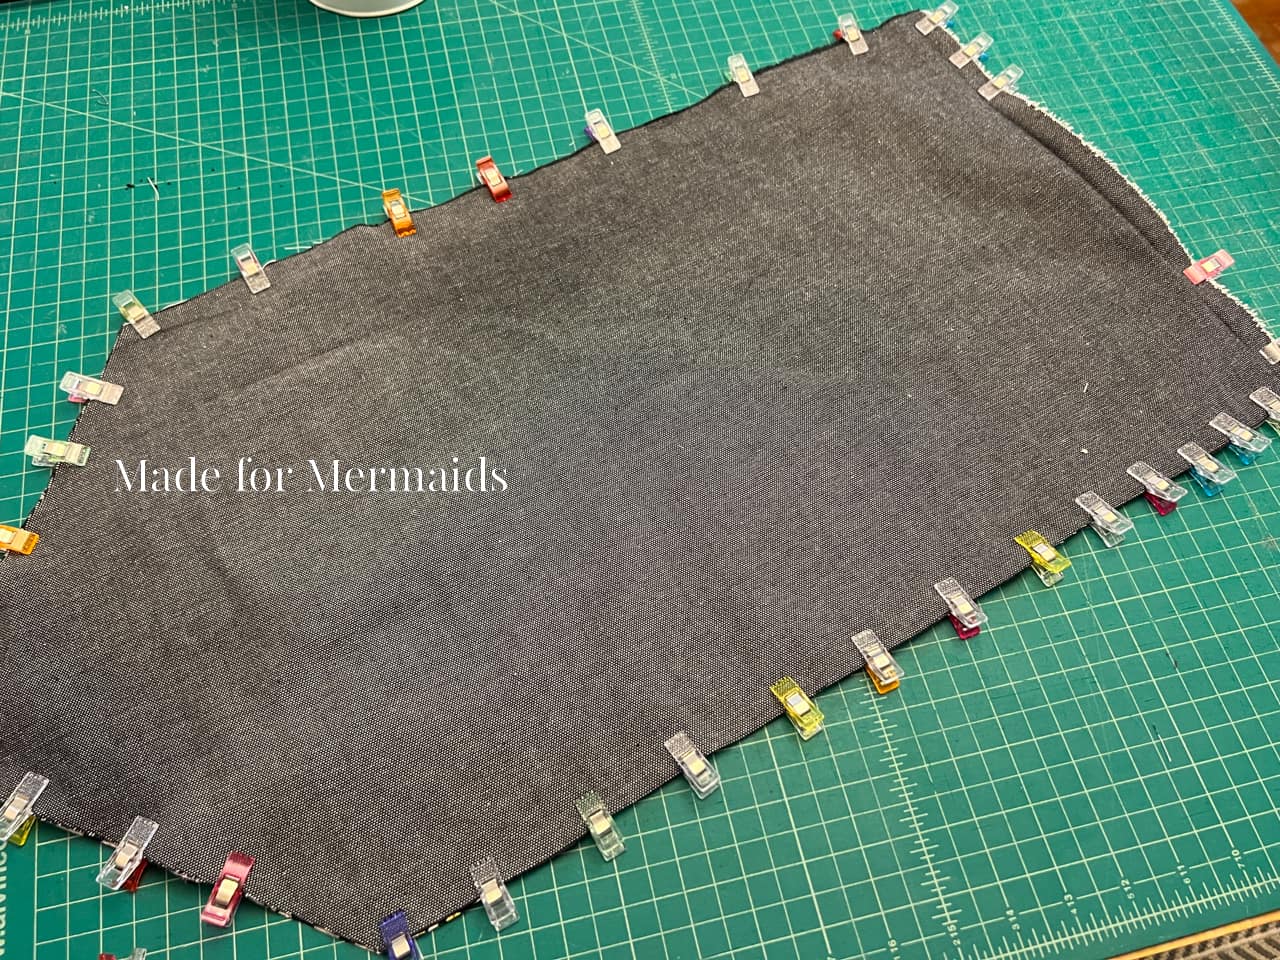
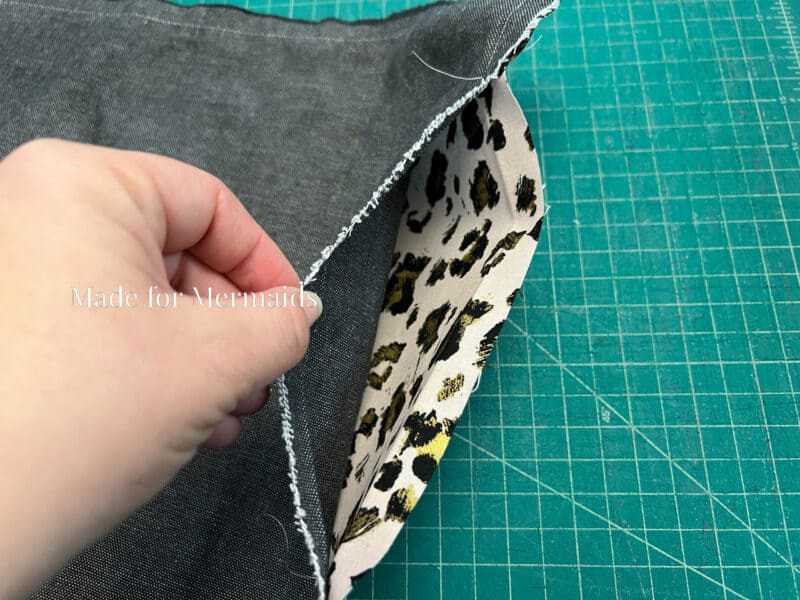
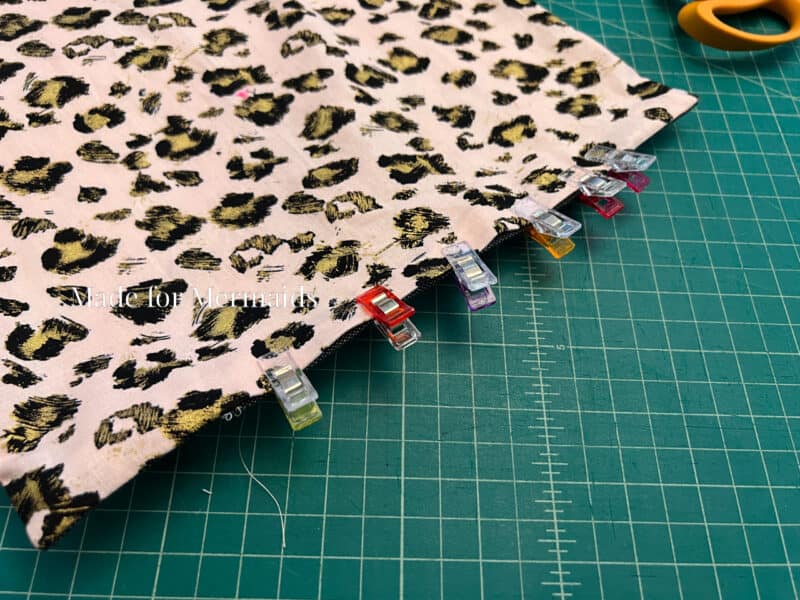
With the right sides together, pin or clip the main fabric and lining together. If you’re using a heavy/sturdy weight interfacing, leave a 5-6″ opening along the straight edge bottom to insert your interfacing after turning right side out. If you’ve already basted your interfacing, you only need to leave about a 2″ opening to turn your clutch right side out.
Stitch with a 1/2″ seam allowance.
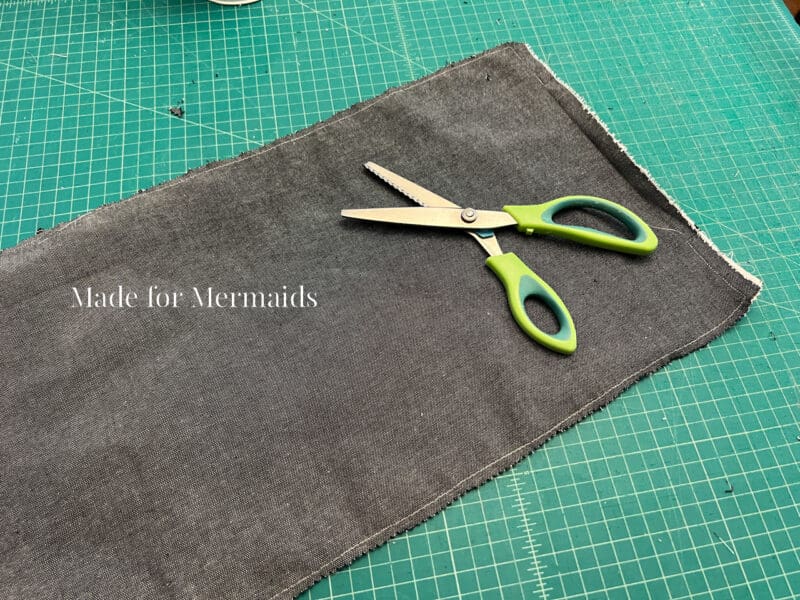
Trim seam allowance with pinking shears if desired.
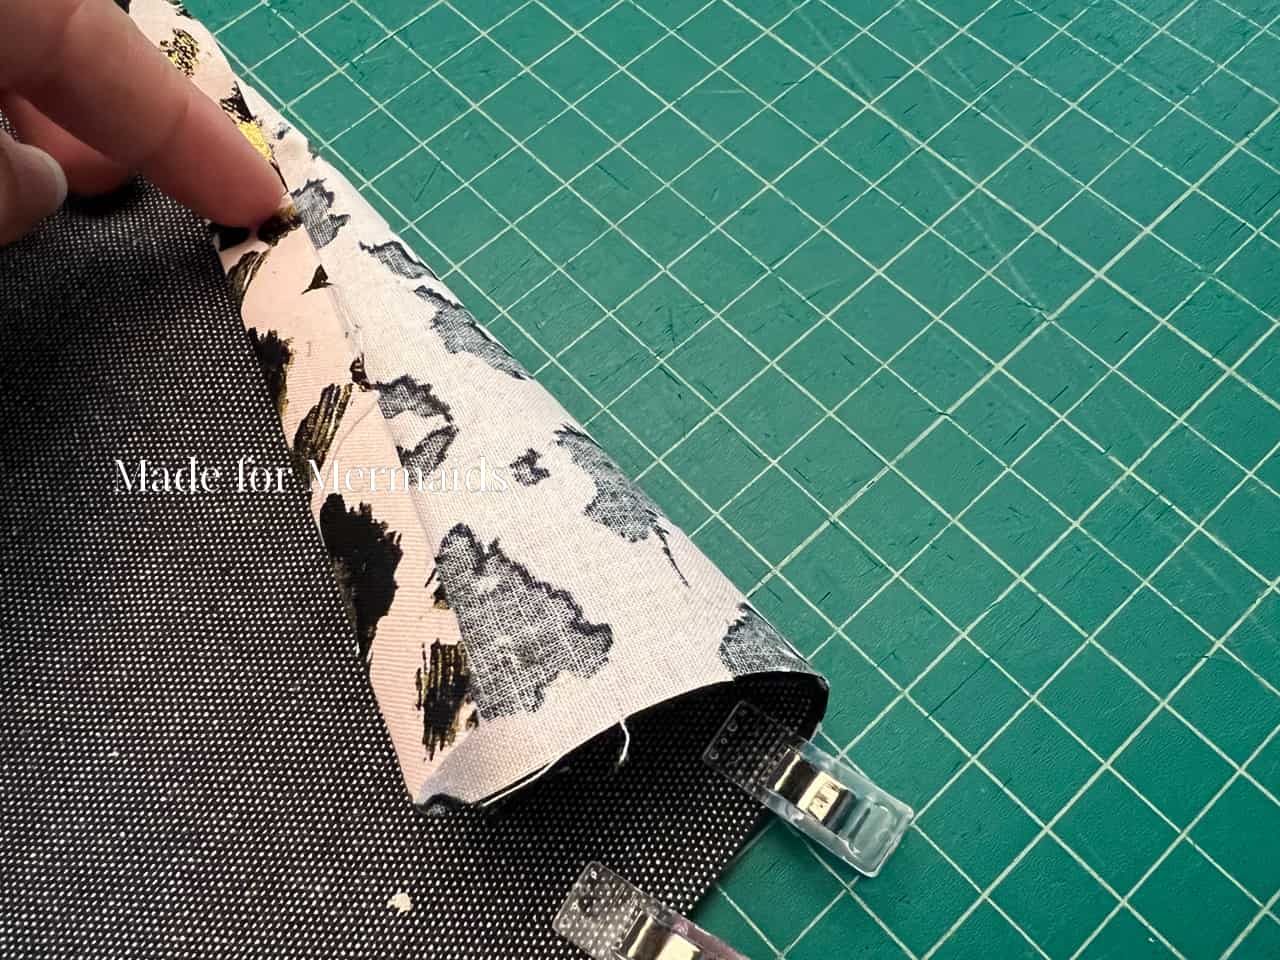
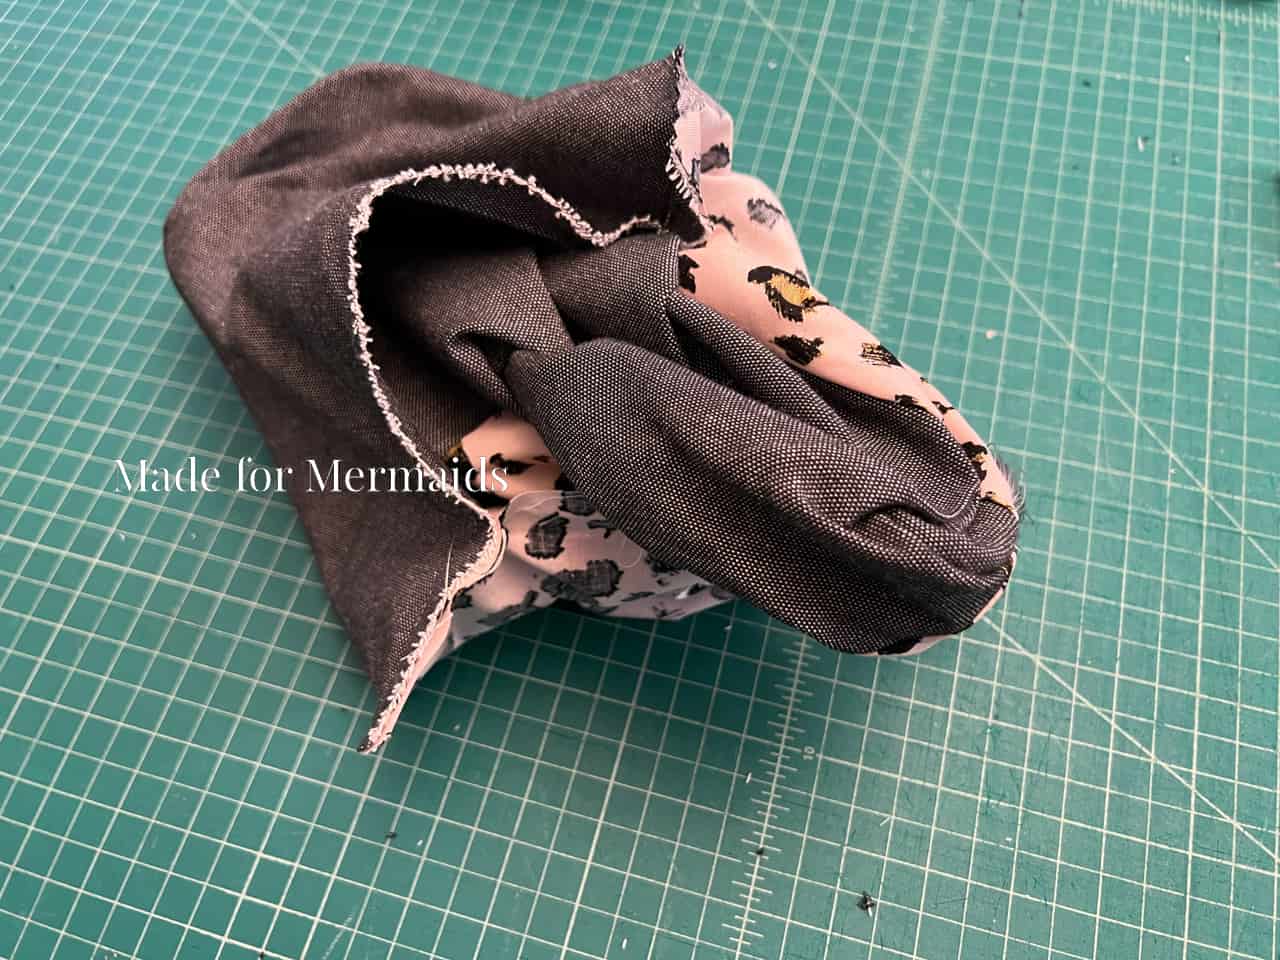
Turn right side out. Push all corners out using your favorite turning tool.
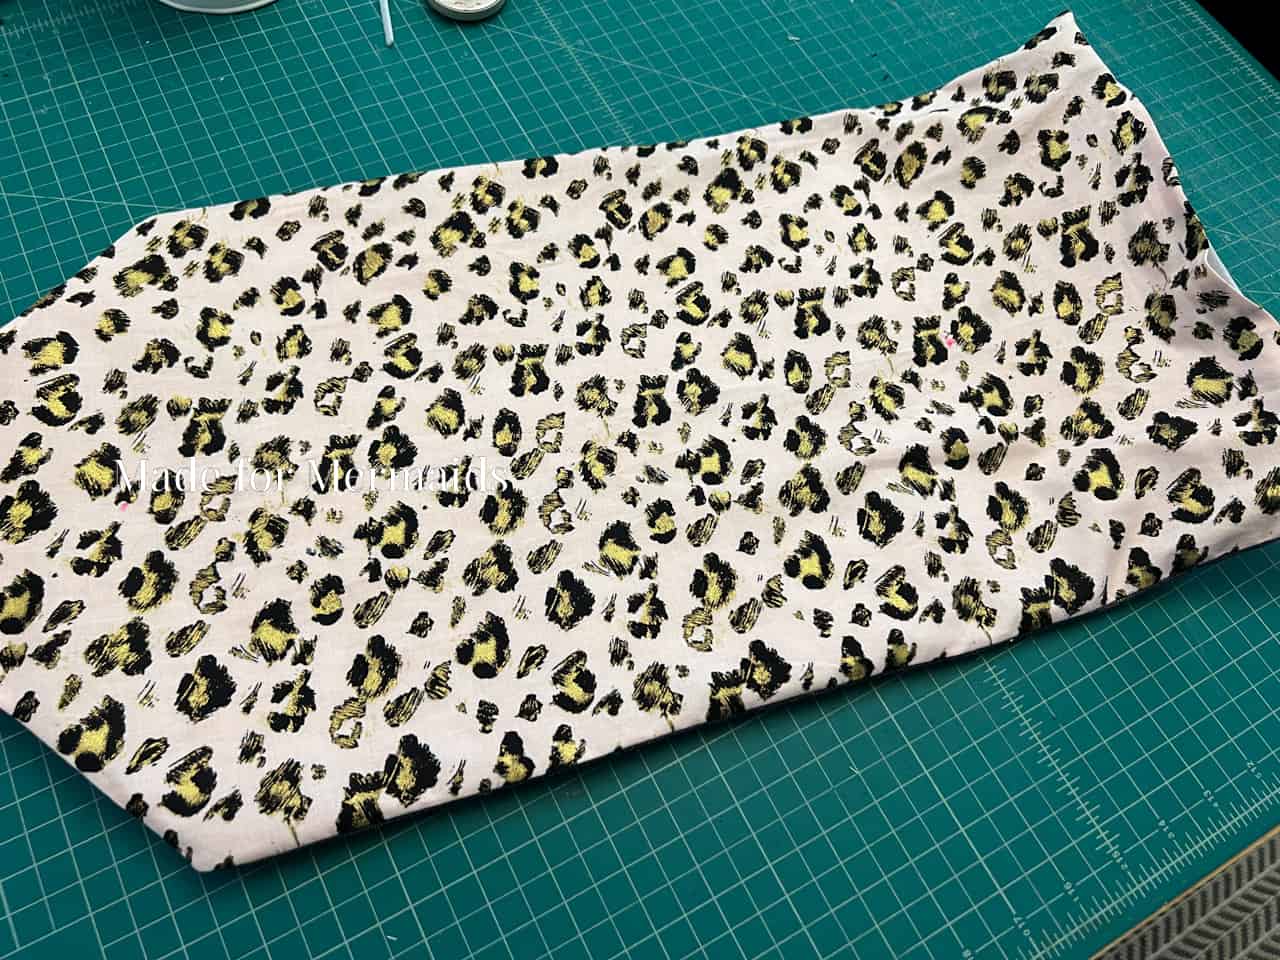
Press.
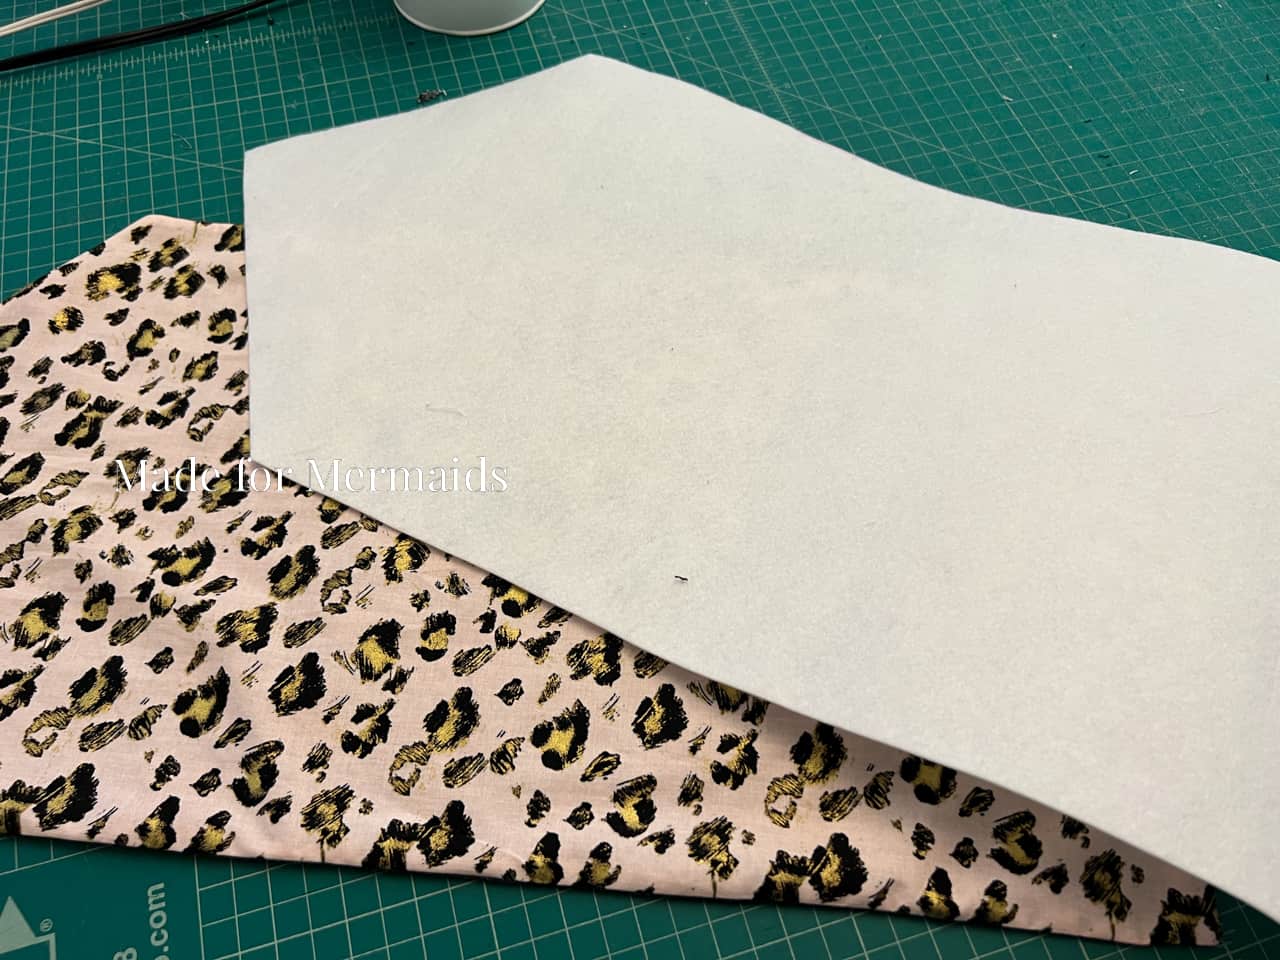
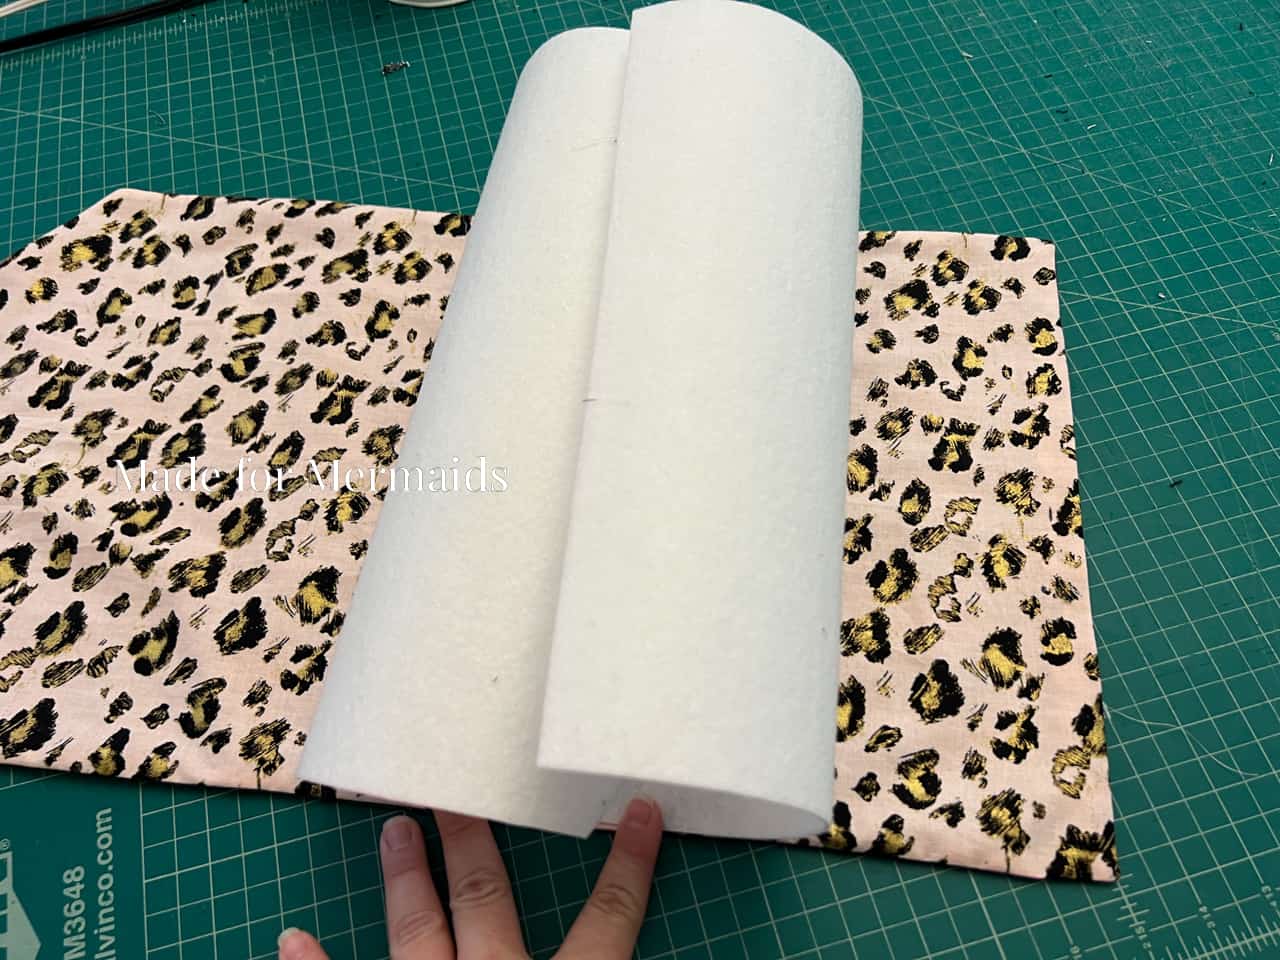
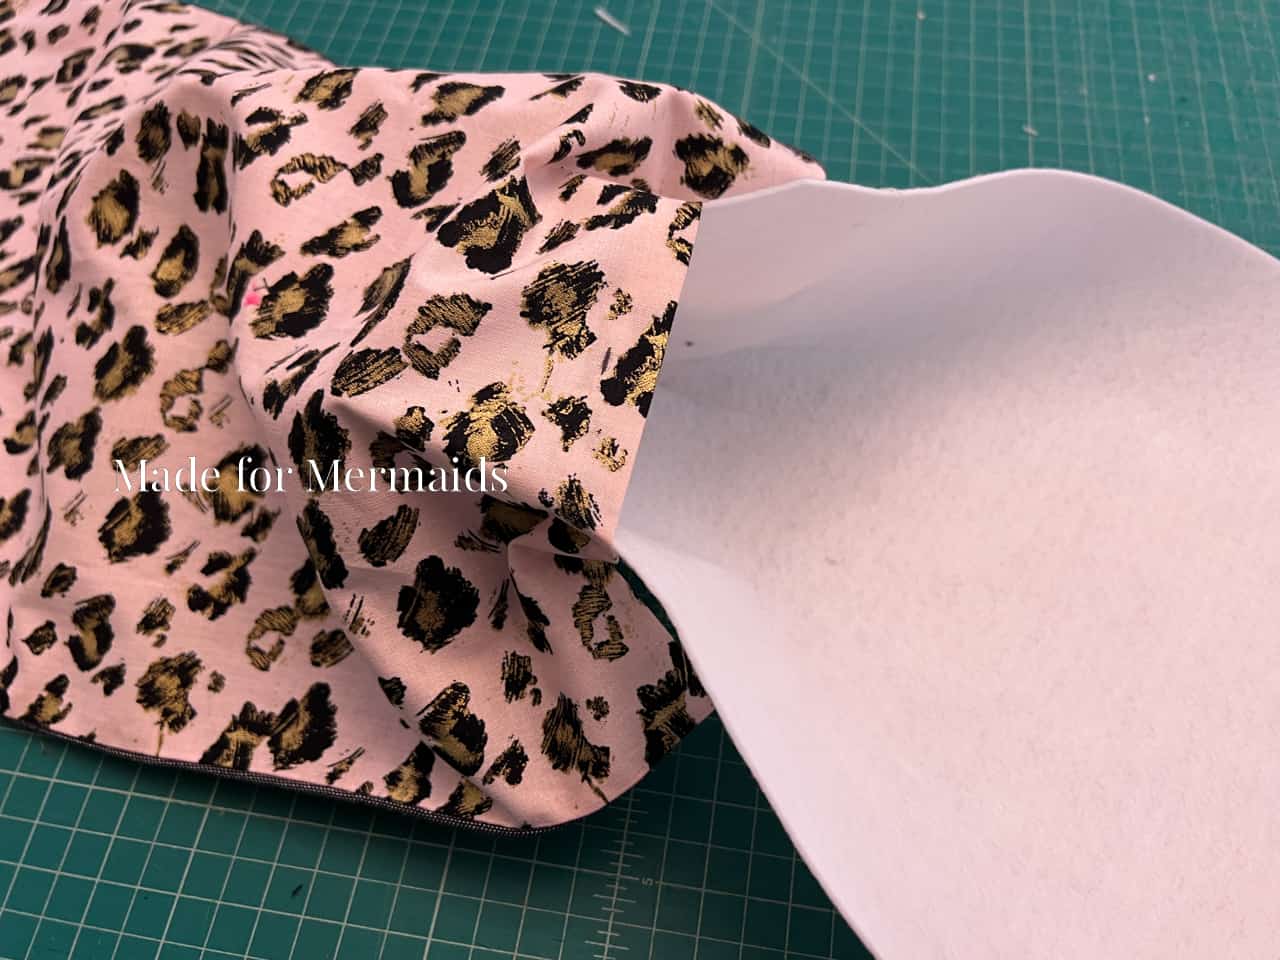
If using heavy interfacing, you’ll insert it here. Trim the interfacing piece slightly to fit. If your piece has the inclination to curl already, make sure the curl goes toward the inside when you fold the clutch up.
Pin or clip opening closed.
Stitch it closed, as close to the edge as possible.
Step 5: ATTACHING FASTENER
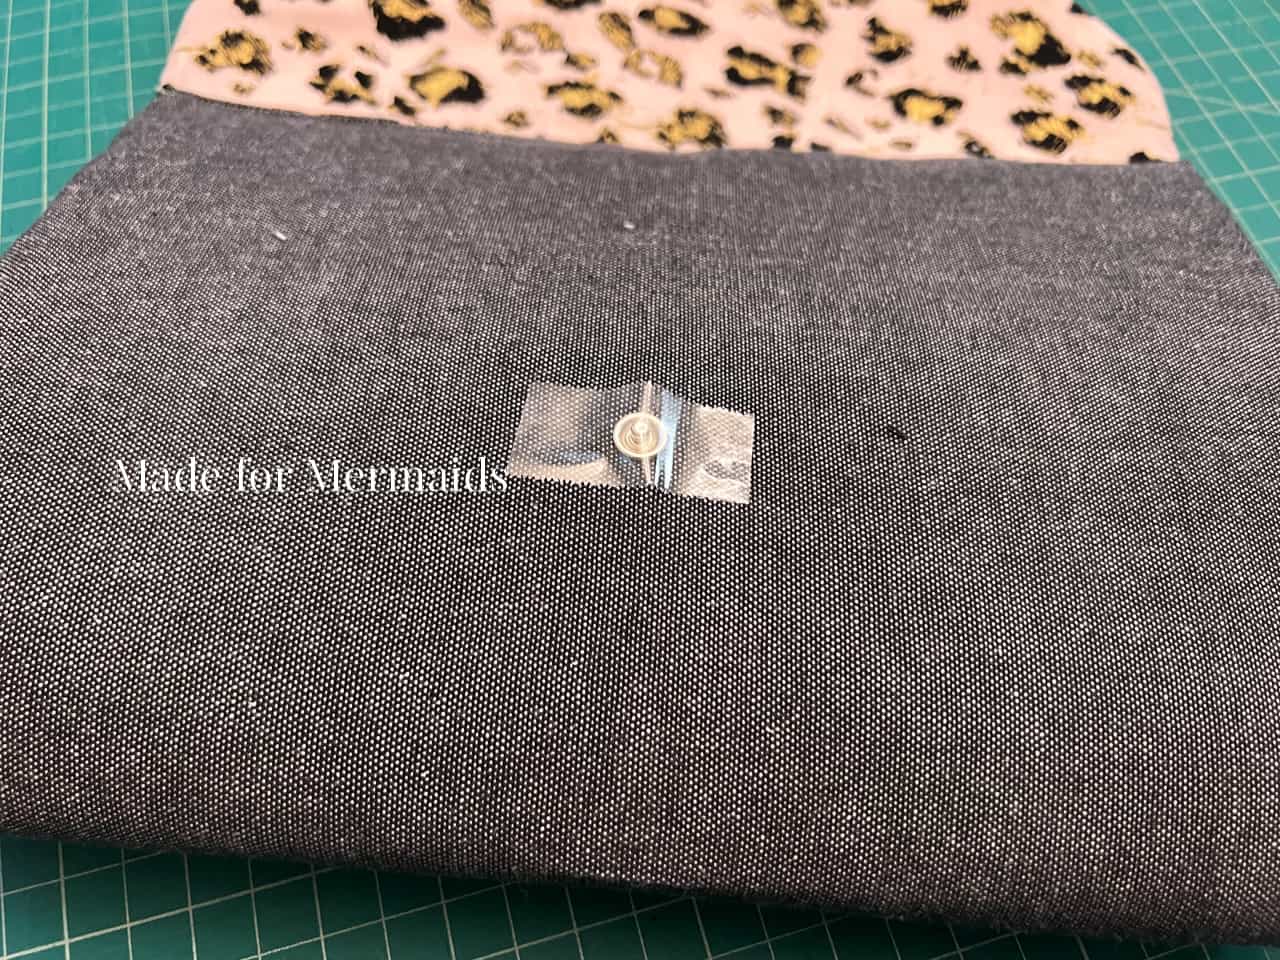
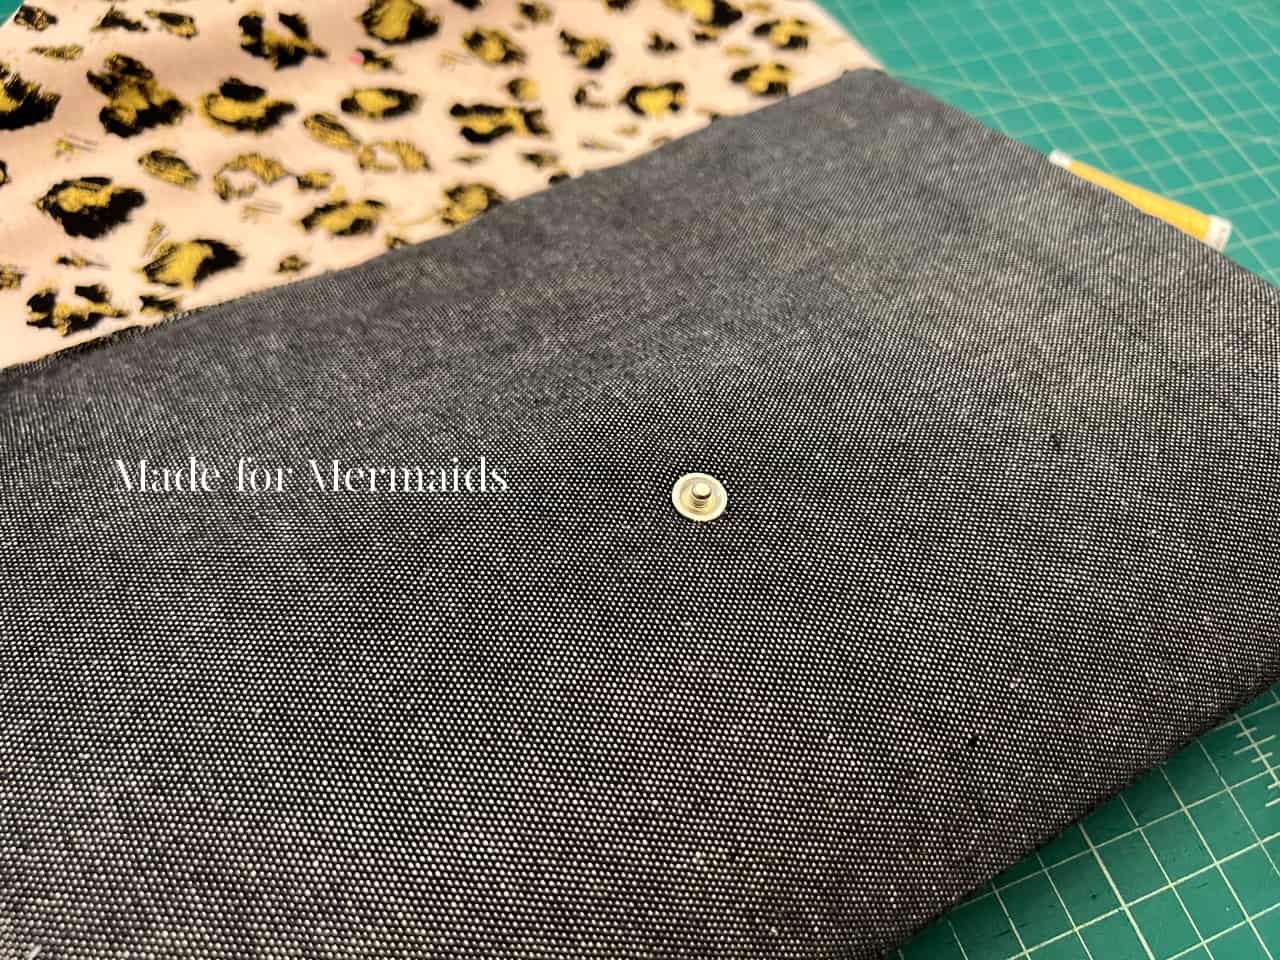
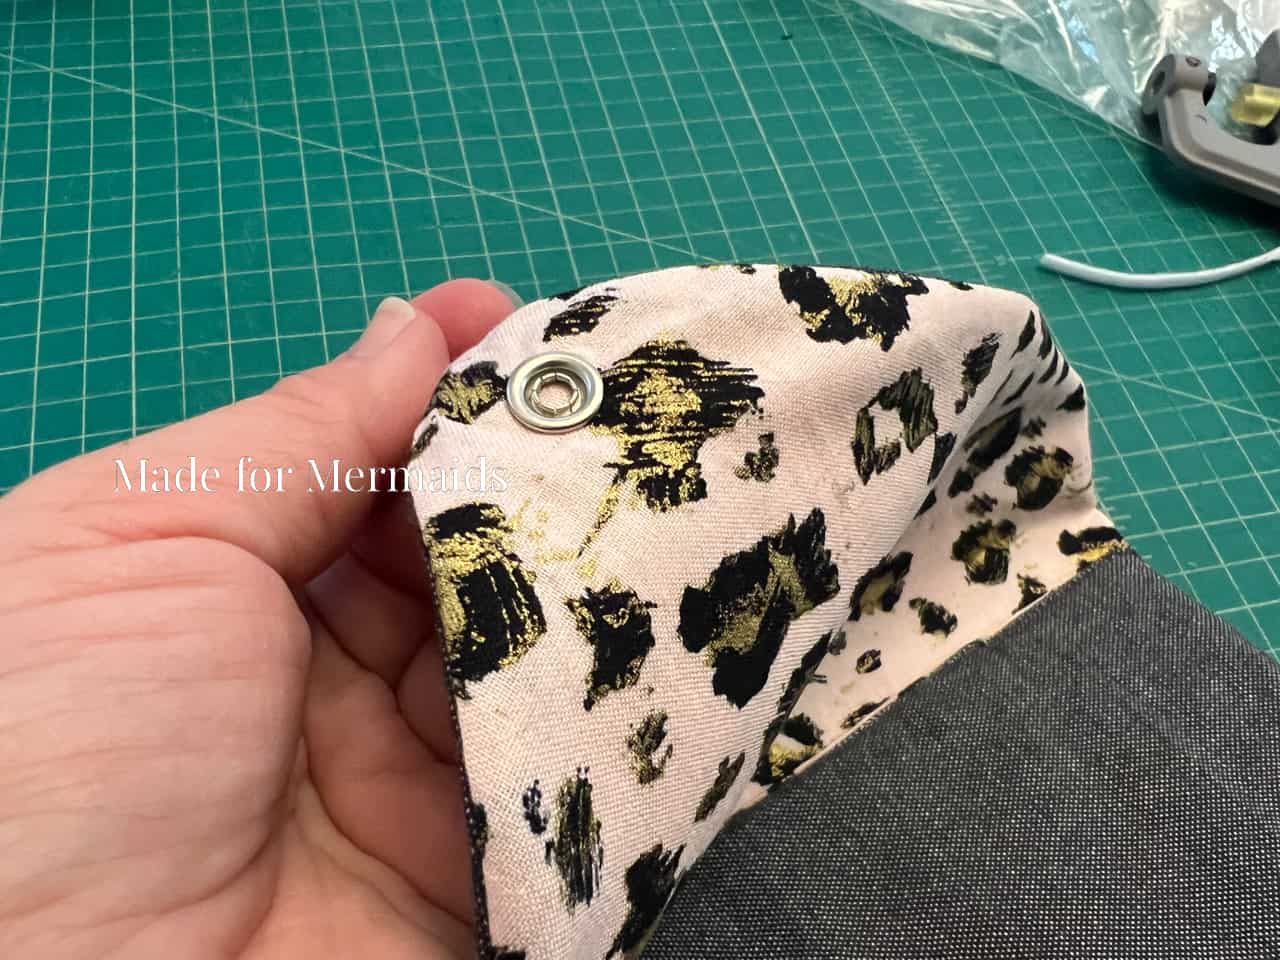
Place fasteners before stitching side seams. I placed my fasteners 6″ from the straight edge and 1.25″ from the point. Follow the directions on the package for your specific fasteners to determine the best steps for installation.
I used tape to hold my fasteners in place! This helped keep them from shifting around on me.
Step 6: TOPSTITCHING
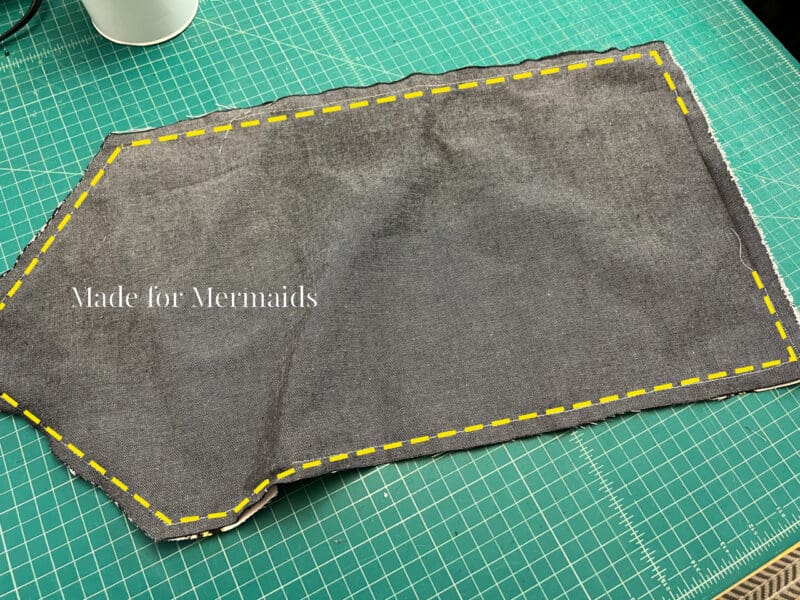
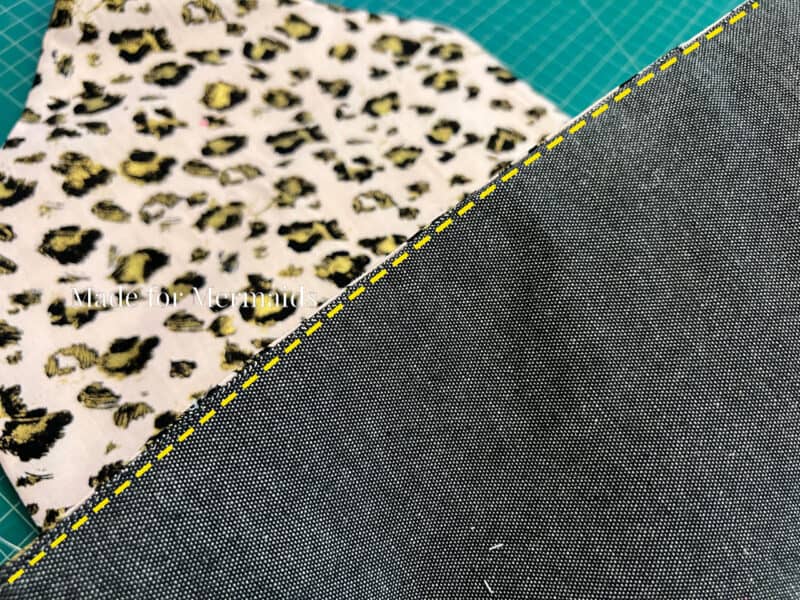
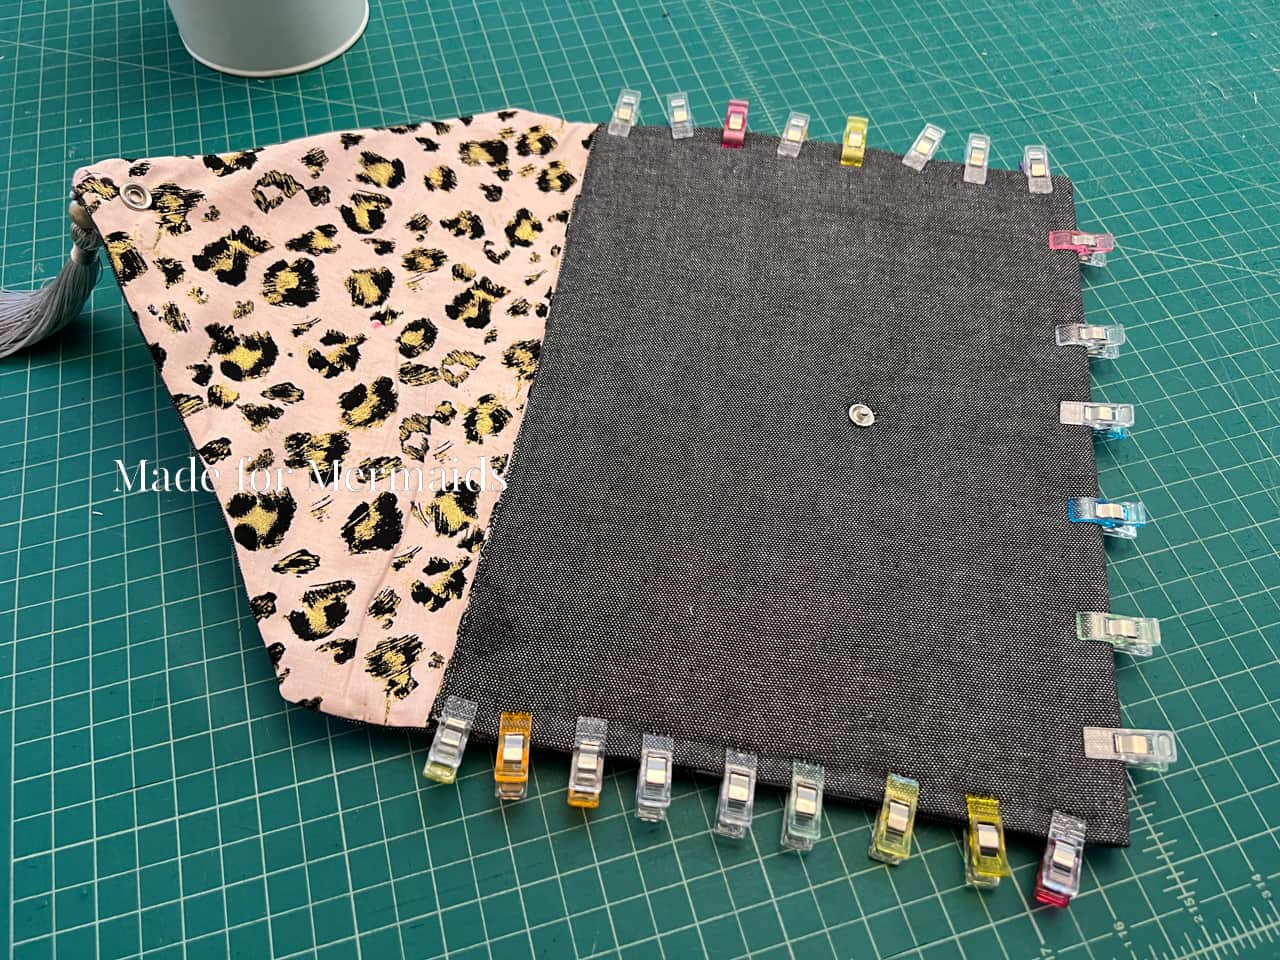
With the clutch fastened/closed, press and pin or clip your side seams.
Once pins or clips are placed, unfasten the clutch.
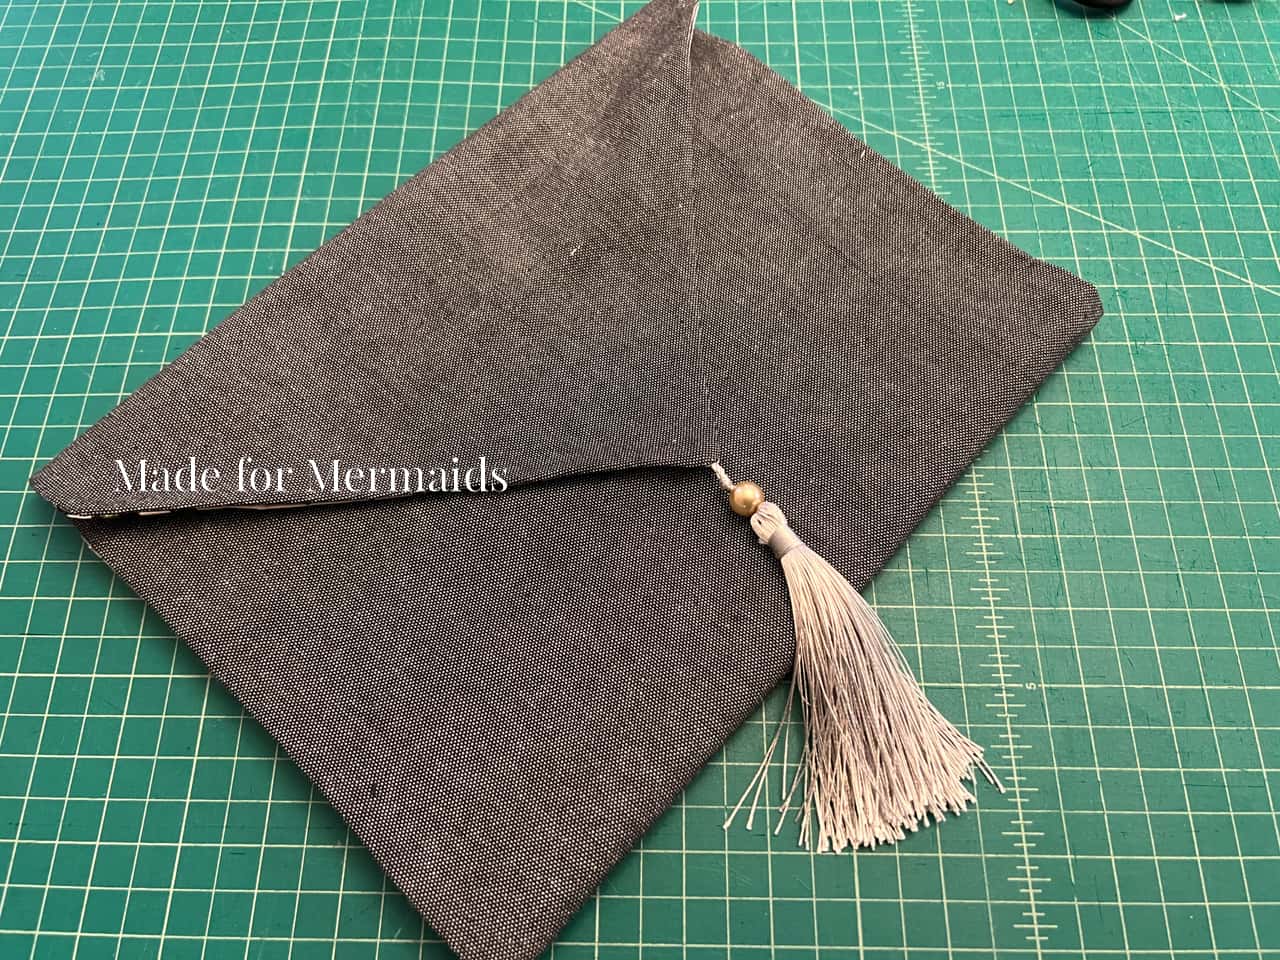
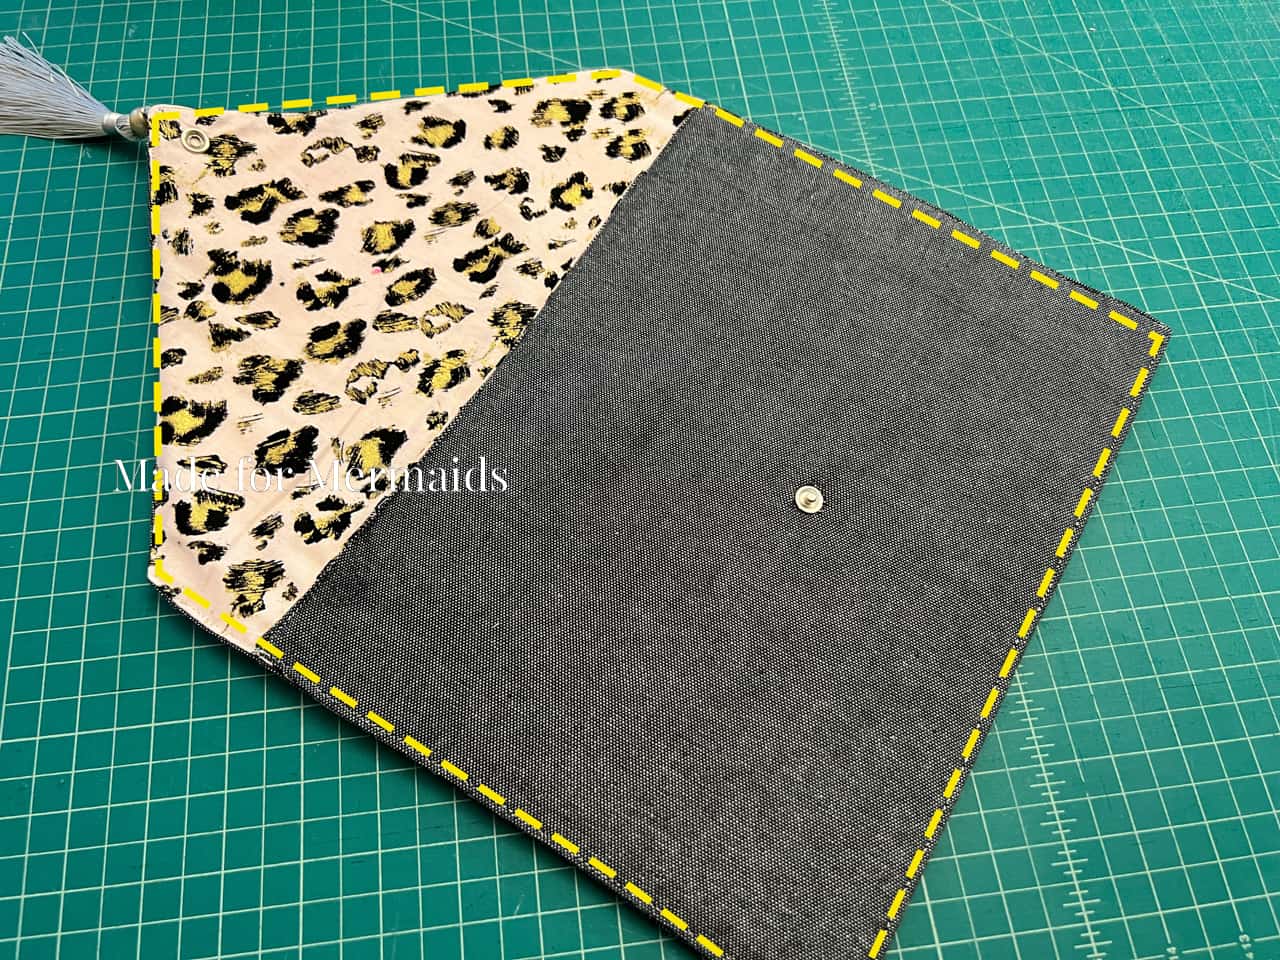
Stitch all the way around. I stitched the top flap and the bottom edge as well, just for a consistent look; however, you only *need* to stitch the side seams.
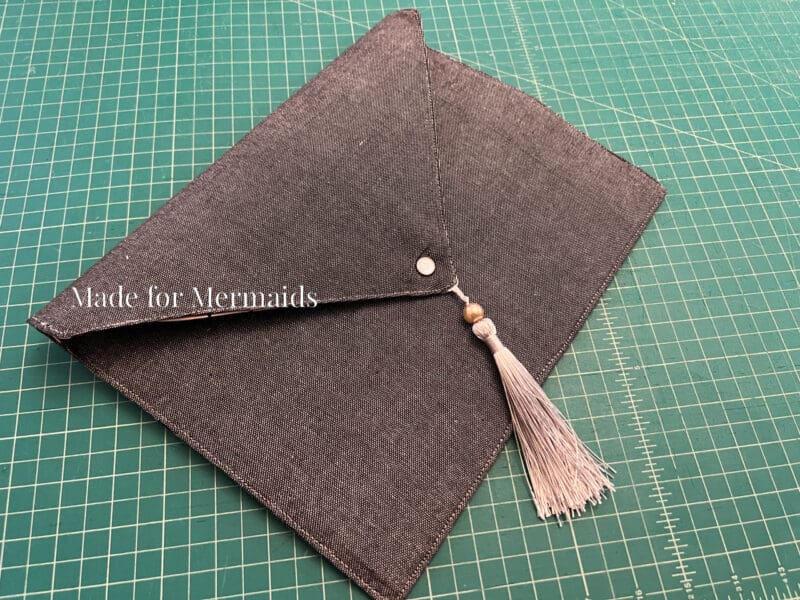
Give your clutch another good press, and enjoy!
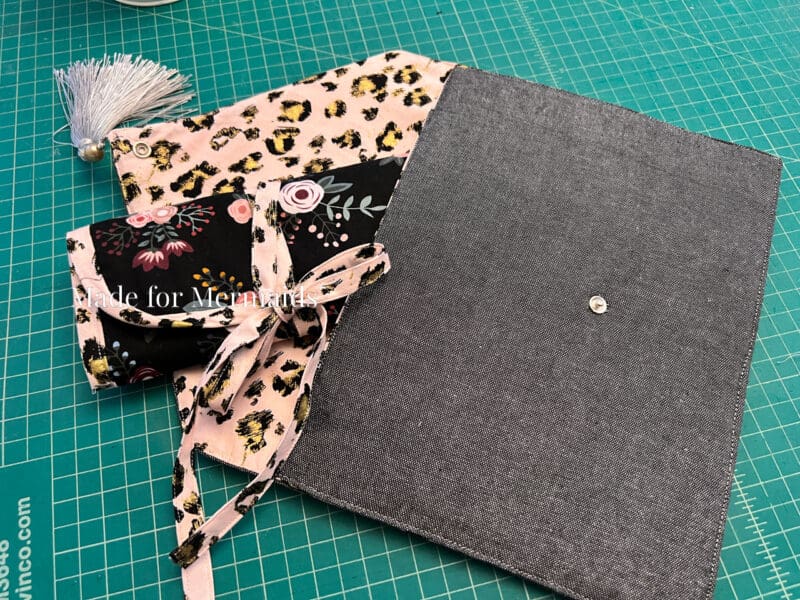
Gift our Envelope Clutch with a Glasses Case, Cord Keeper, Fabric Book Cover, Hand Sanitizer Keychain Holder, or the Scarf and Bow Scrunchie!


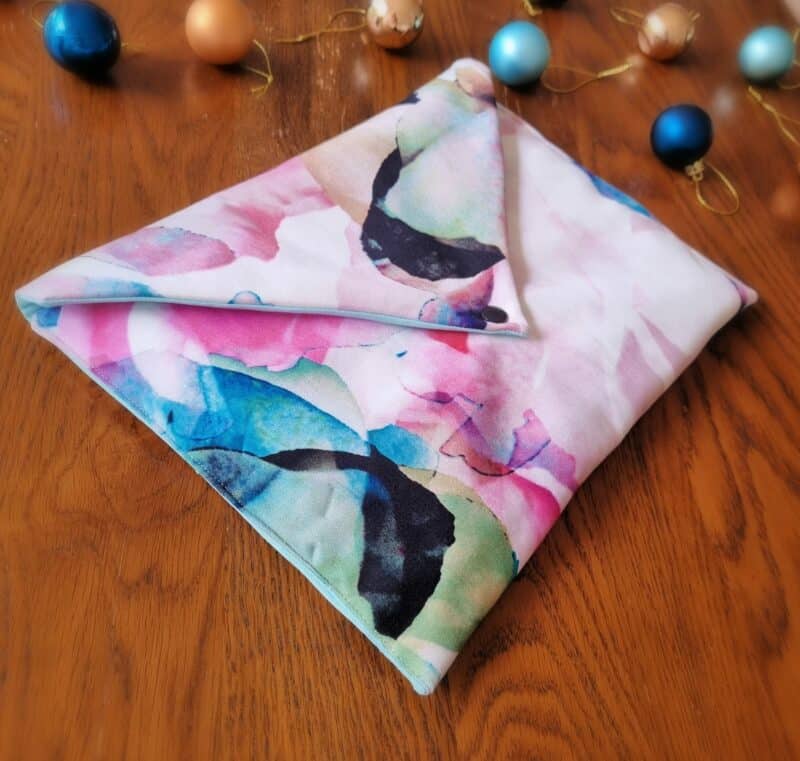

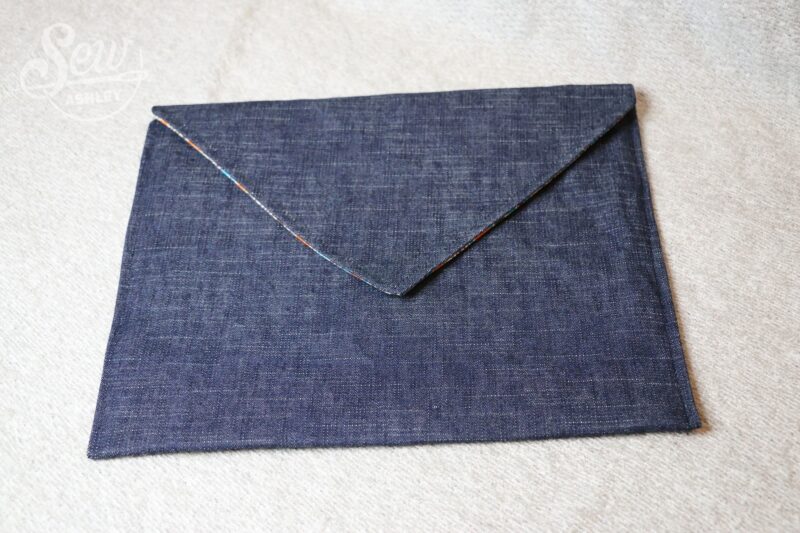
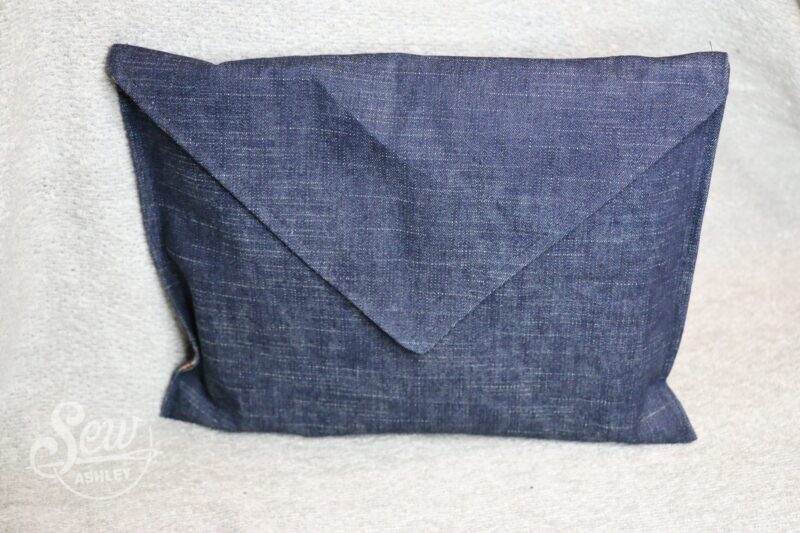
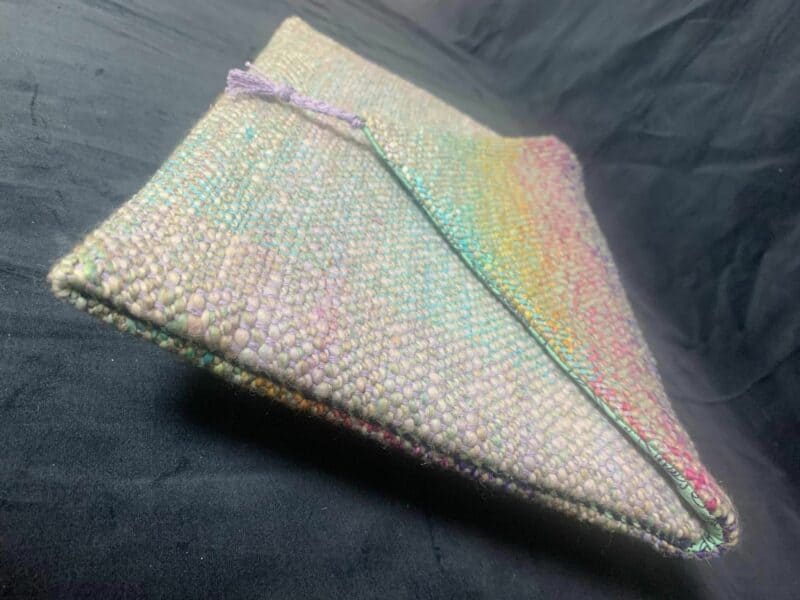
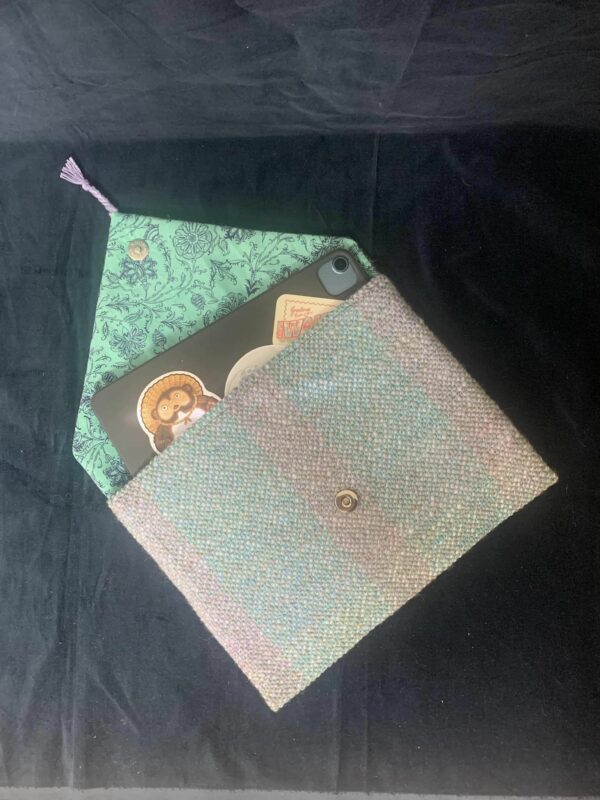
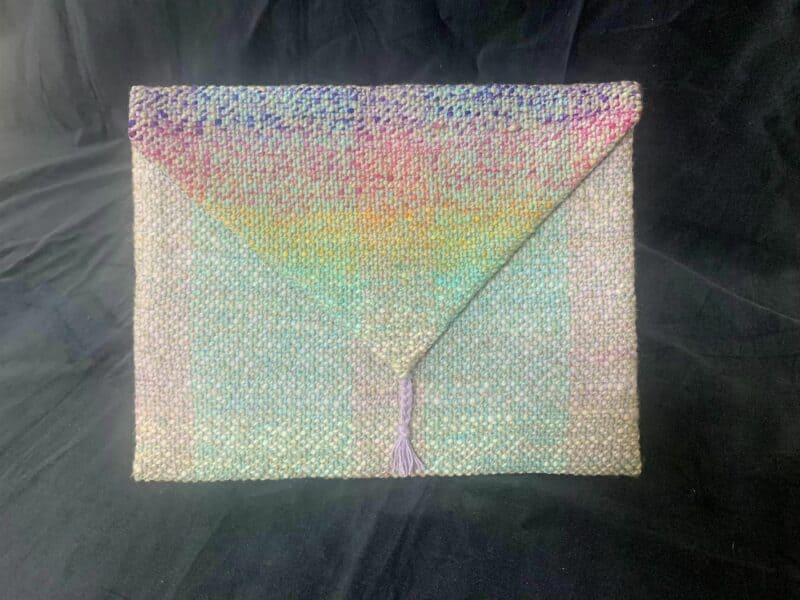
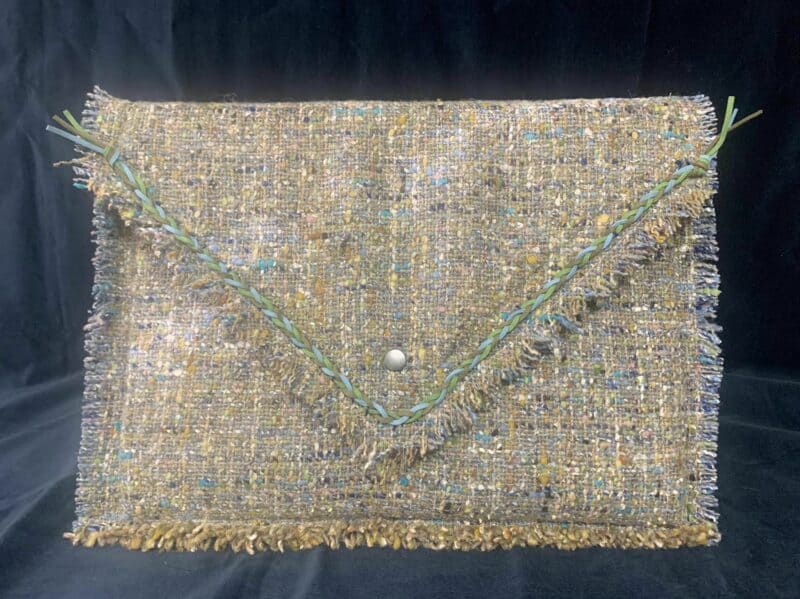
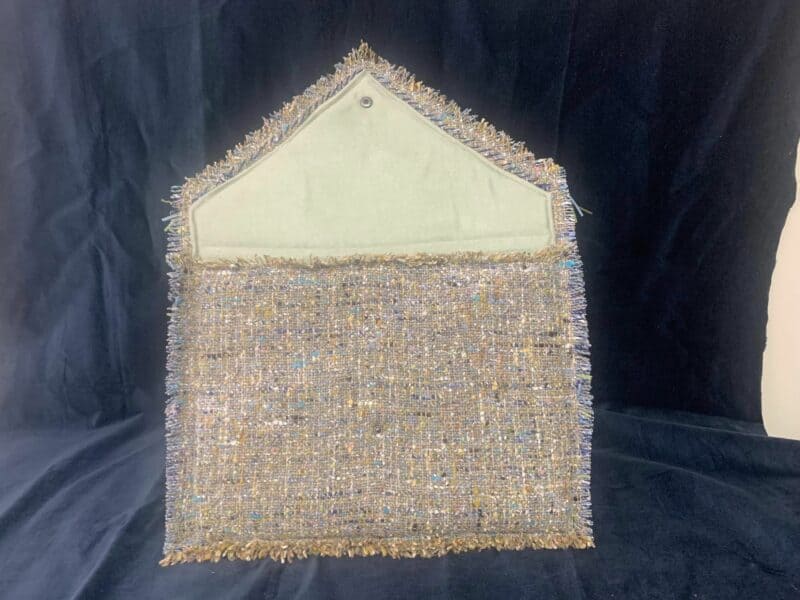
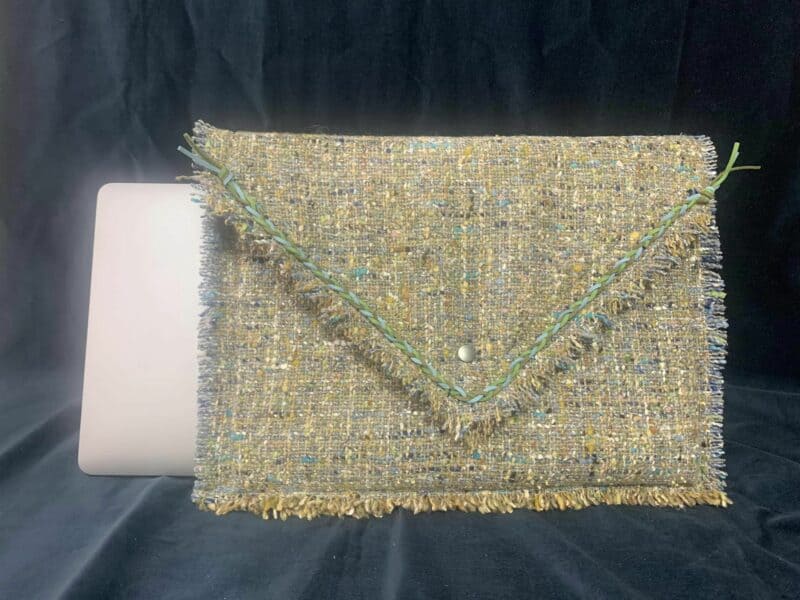
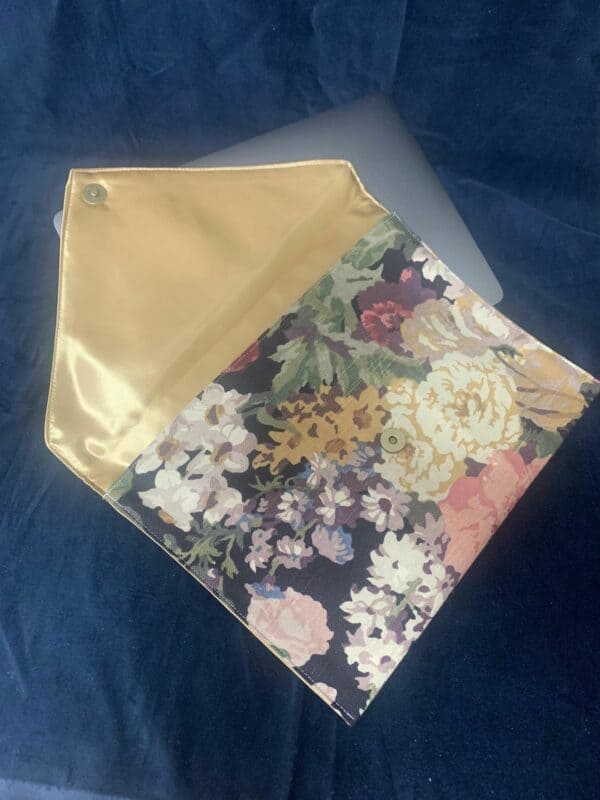
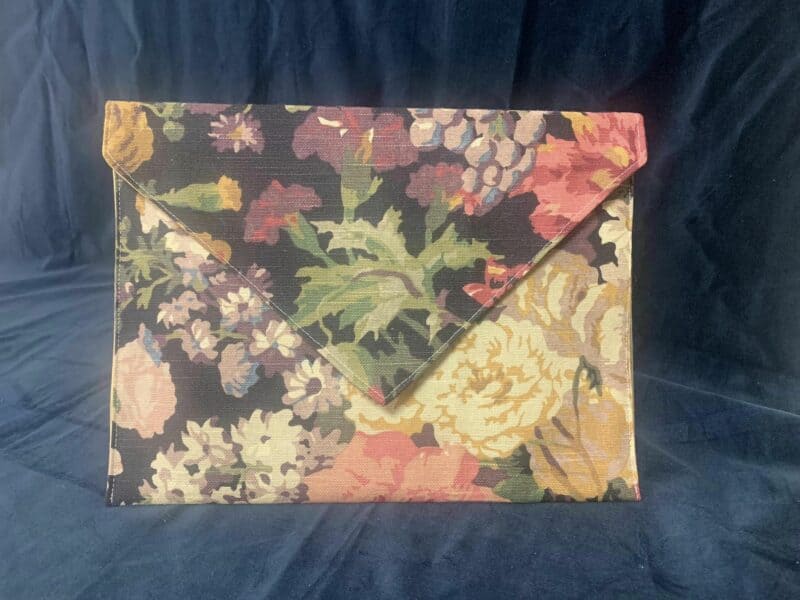
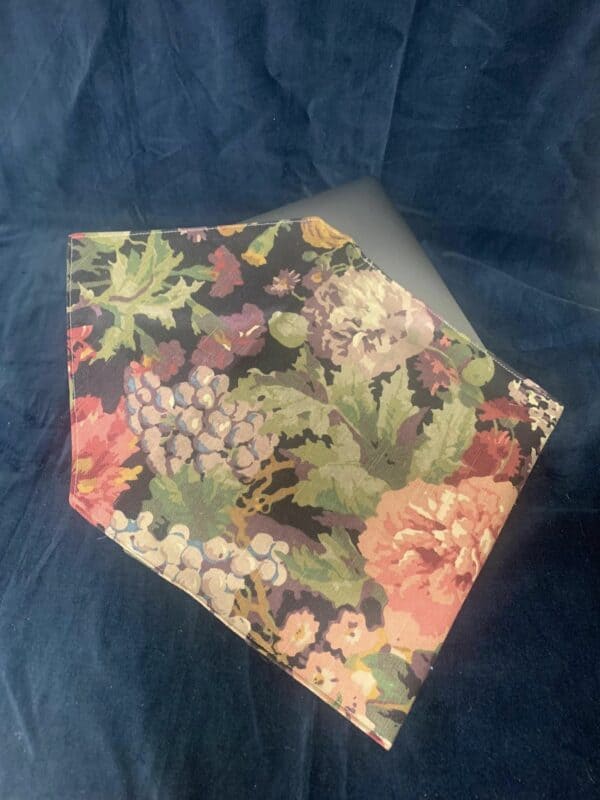
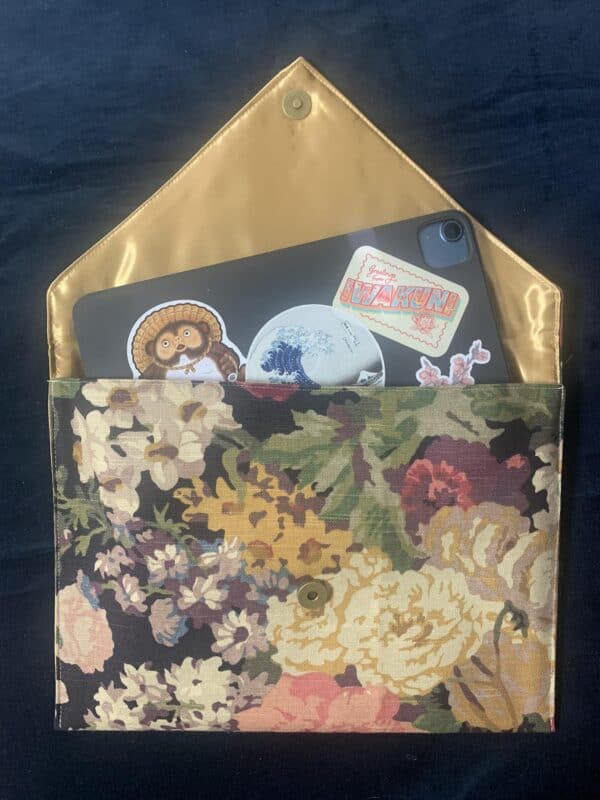
This is such a wonderful project! The pattern printed out nicely and directions were easy to follow. Very thorough! This beginner really appreciates this pattern! Can’t wait to make more! I used light Interfacing so my bag is floppy but it’s still cute!
Oh we’re so glad you enjoyed it!!