

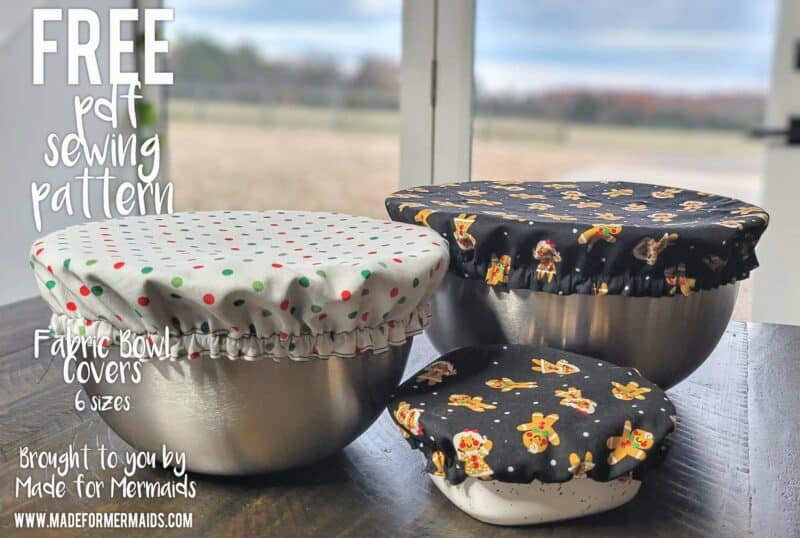
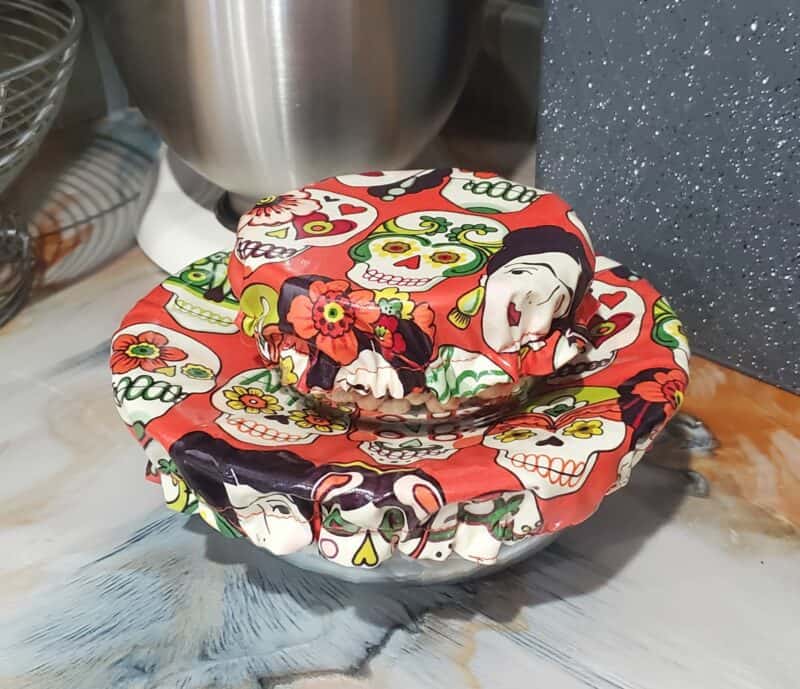
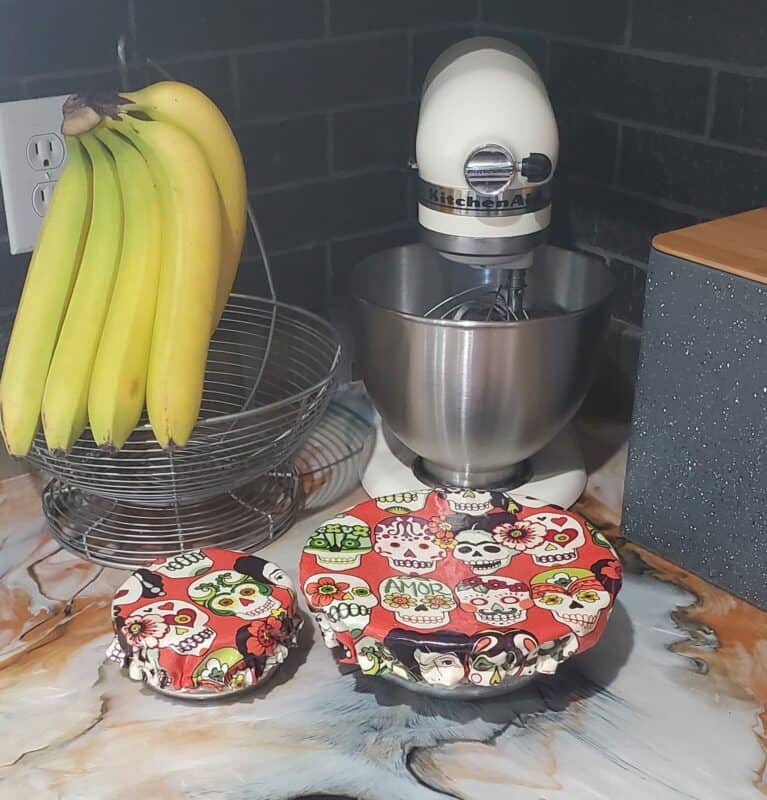
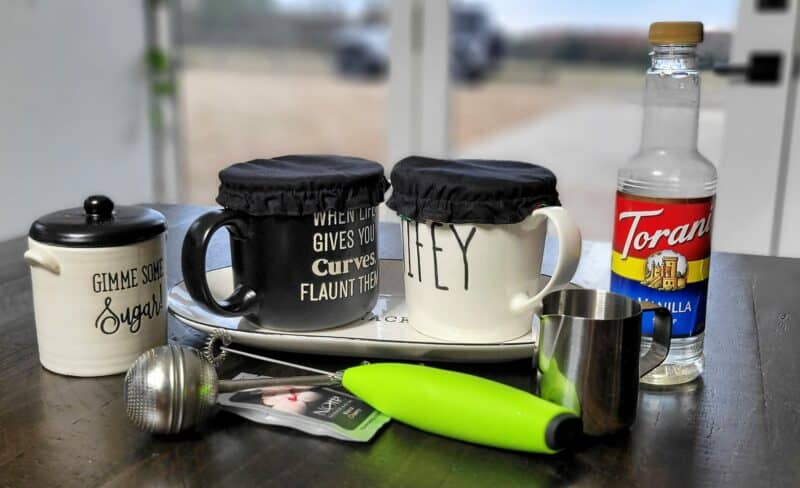
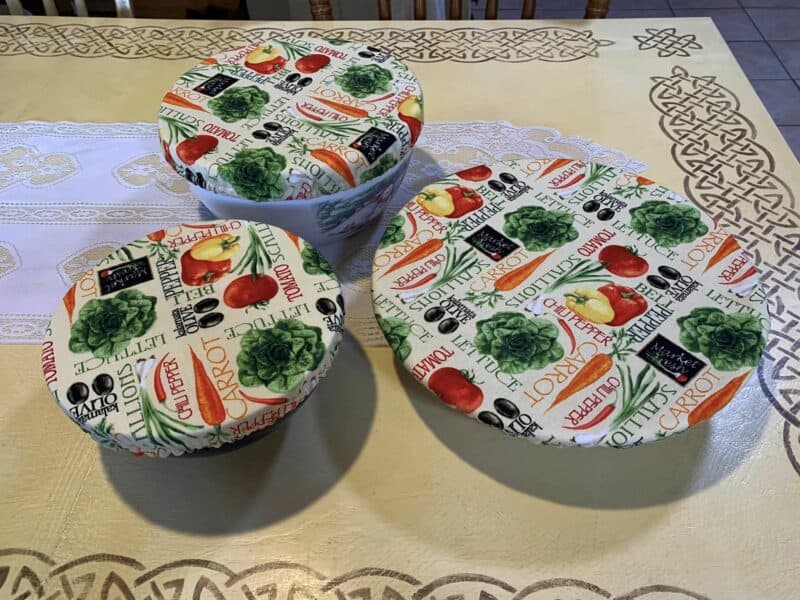
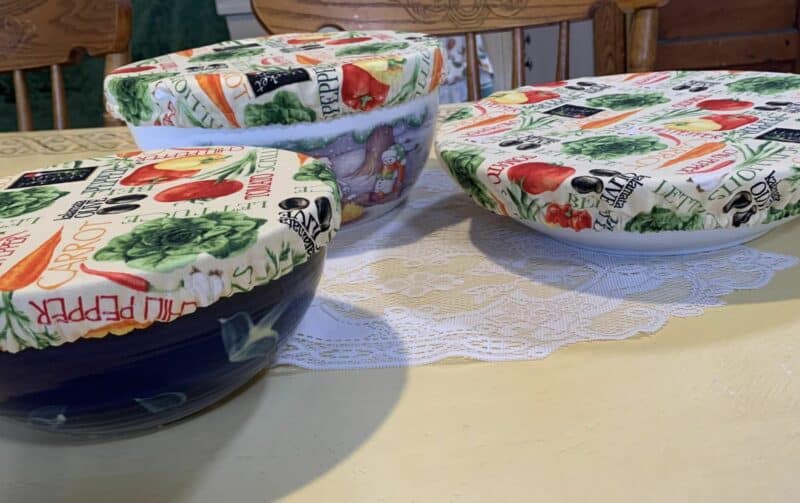
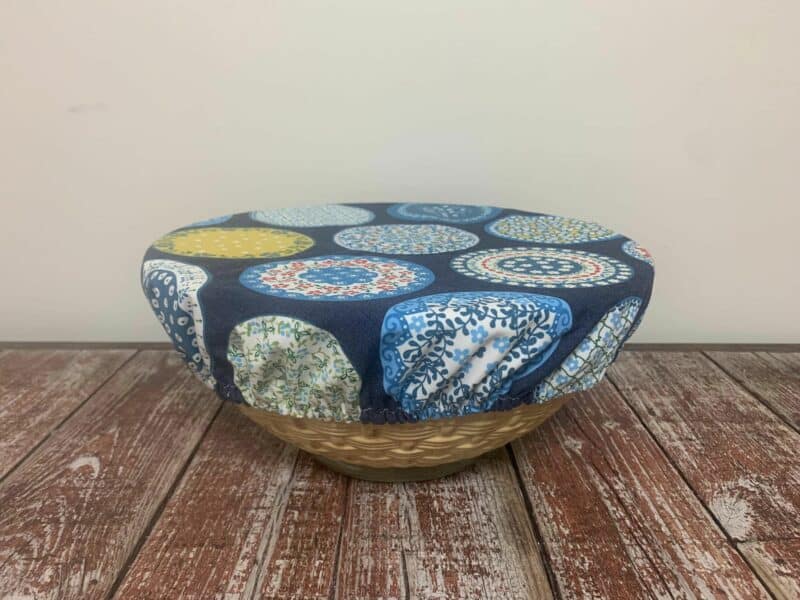
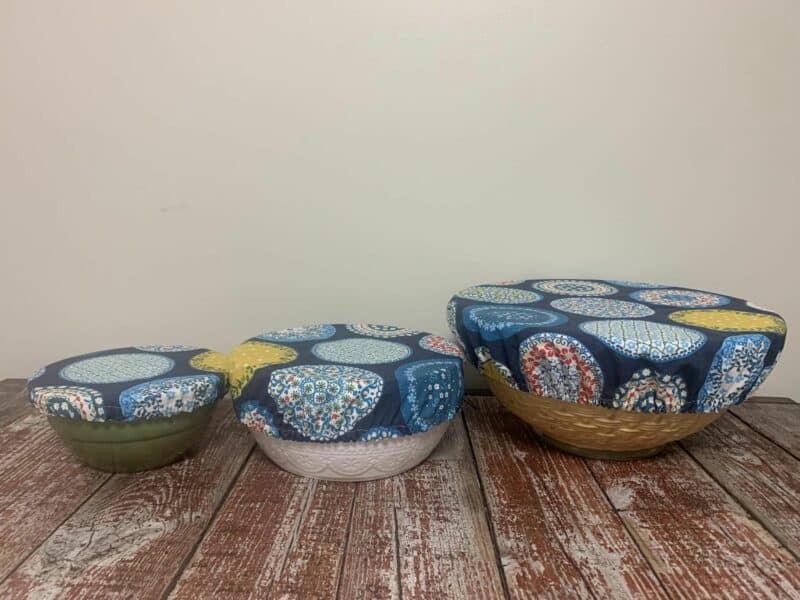
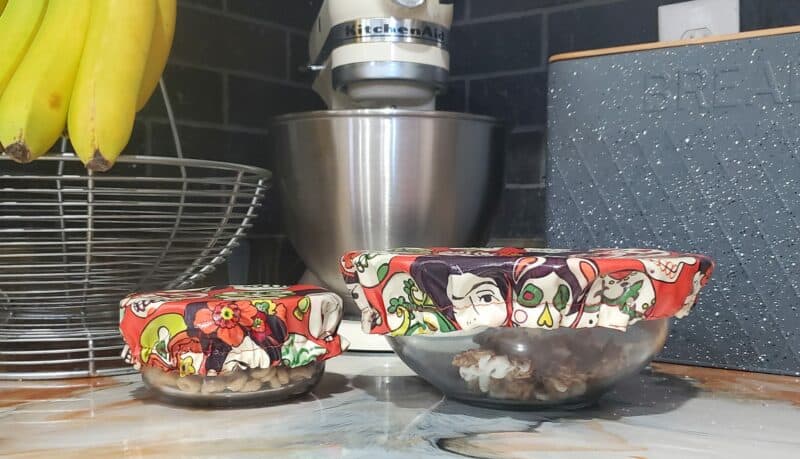
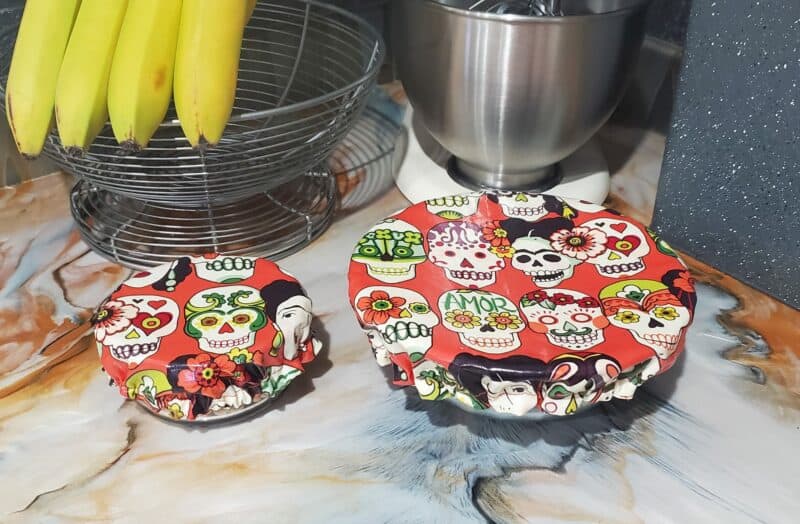
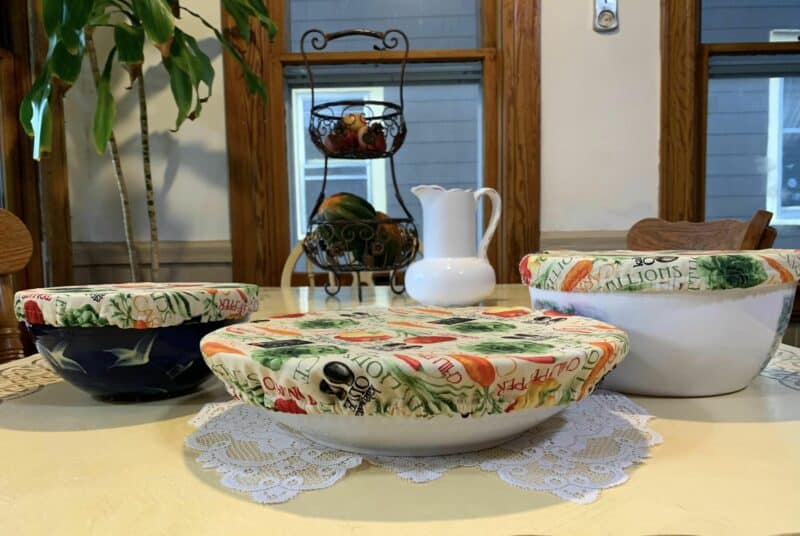
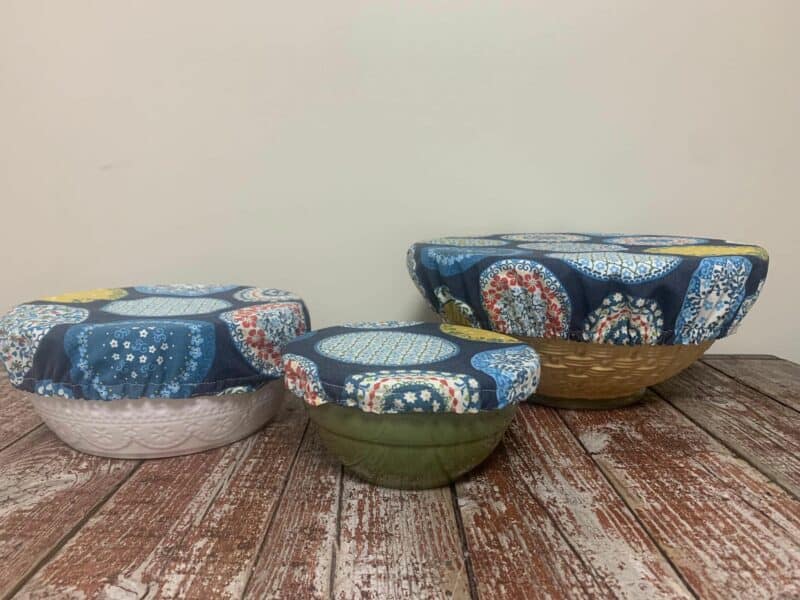
Today’s freebie is so simple yet useful and perfect for all those holiday get-togethers… a fabric bowl cover in 6 sizes! Reusable in place of cling wrap, these are perfect for taking to potlucks, covering food before a party, or gifting homemade treats!
SUPPLIES:
- Main fabric
- Woven fabric
- Lining fabric
- Ripstop nylon, ProCare waterproof fabric, OR food grade PUL. For true food safe bowl covers, get food grade PUL!
- 1/4″ elastic
- You can use the pattern piece to cut your 1/4″ elastic, or you can use the measurements below:
- XS Bowl – 8″
- Small Bowl – 12″
- Medium Bowl – 16″
- Large Bowl – 20″
- XL Bowl – 28″
- XXL Bowl – 36″
- You can use the pattern piece to cut your 1/4″ elastic, or you can use the measurements below:
LET’S GET STARTED!
1/2″ seam allowances included
NOTE: For a little more wiggle room when inserting your elastic in the casing, you can use a 5/8″ seam allowance instead.
Step 1: PREPPING
Go grab the pattern here! The pattern is 100% free, but you do need to add it to your cart and checkout. Then, it will always be available to download from your account. The pattern is a no-trim pattern; if you need help putting the pattern together, pop over to the faqs and troubleshooting page or ask in our Facebook group .
Print and assemble the pattern. Alternatively, you can use the projector file if you’re using a projector. Pattern layout below:

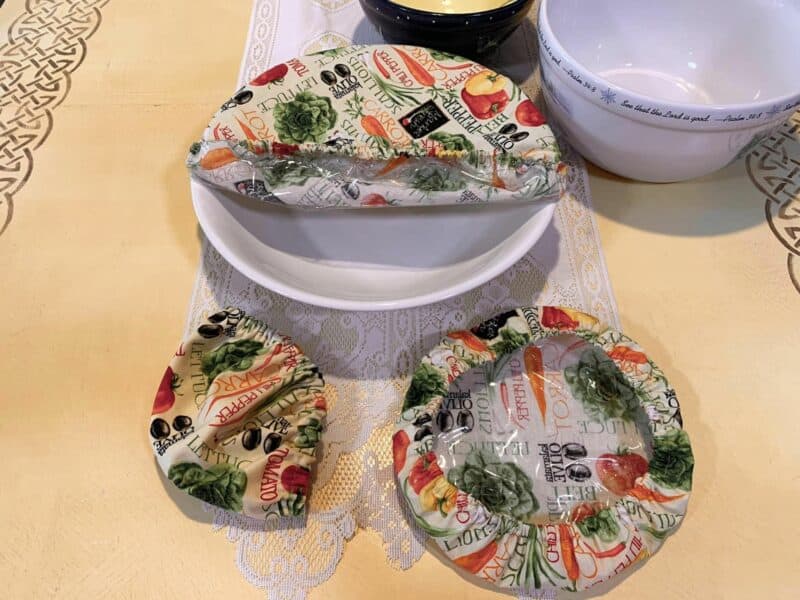
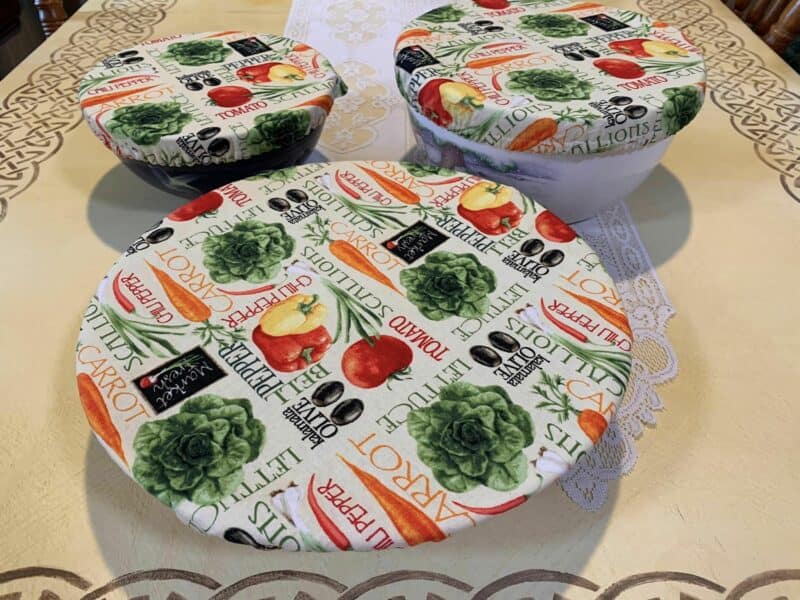
Choose a size! There are several bowl sizes covered, so select the one that best meets your needs.
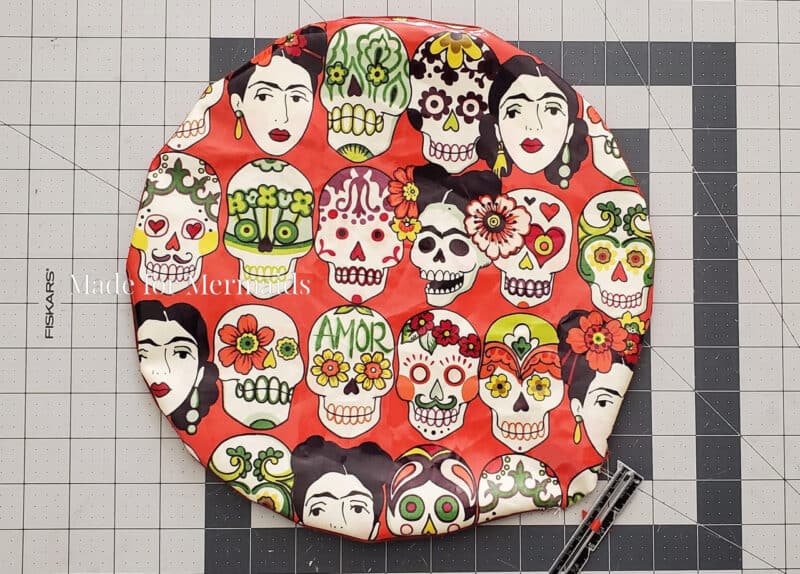
Step 2: CONSTRUCTING COVER
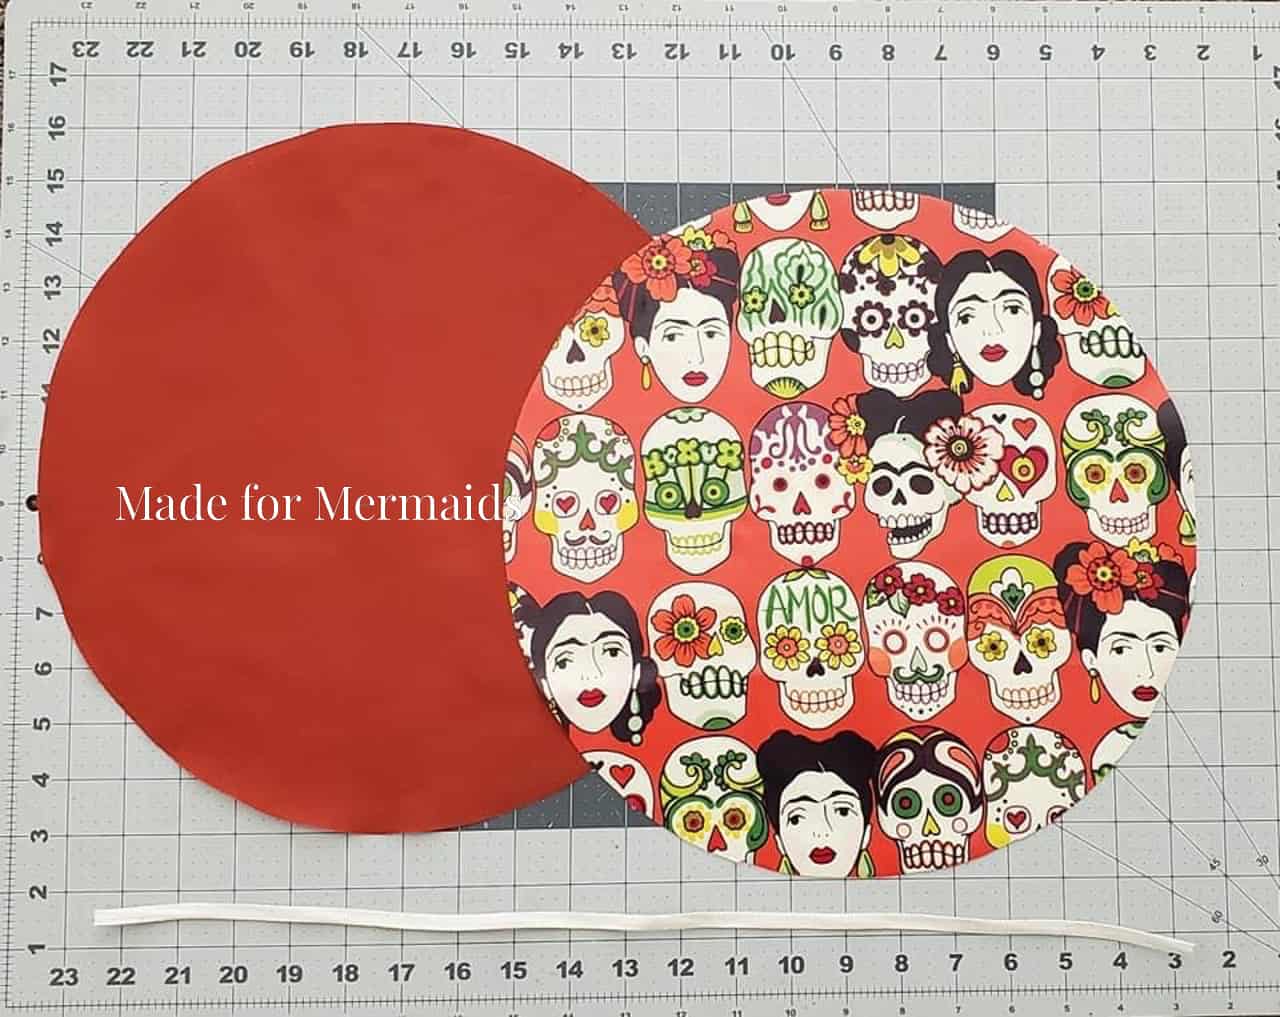
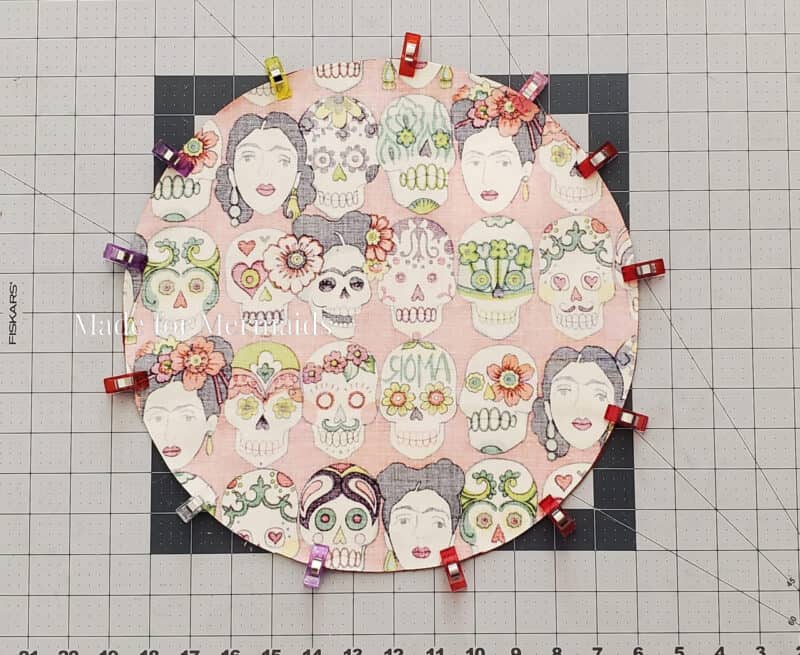
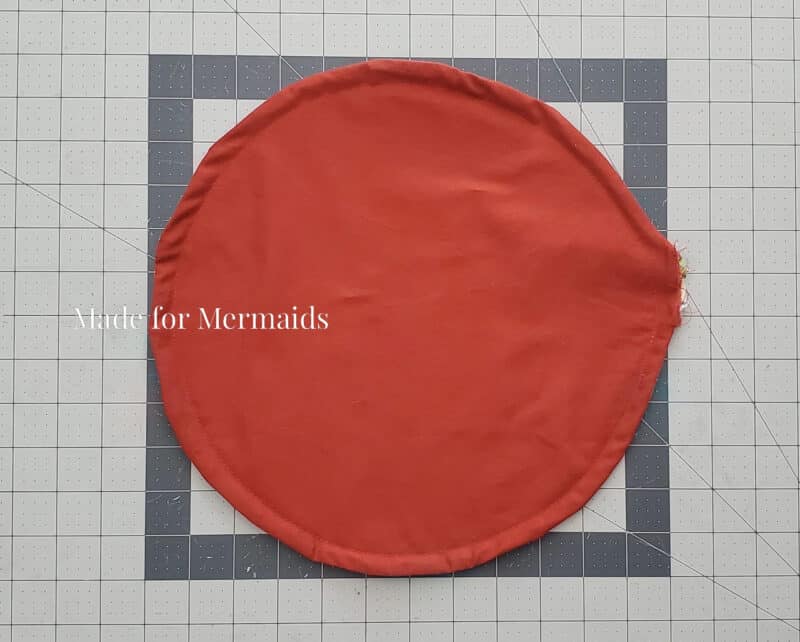
Place your main and lining pieces right sides together, then pin or clip them together.

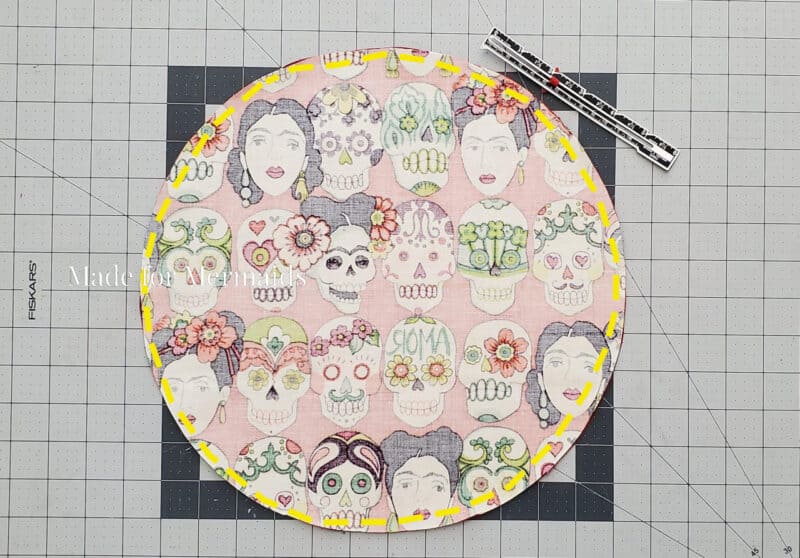
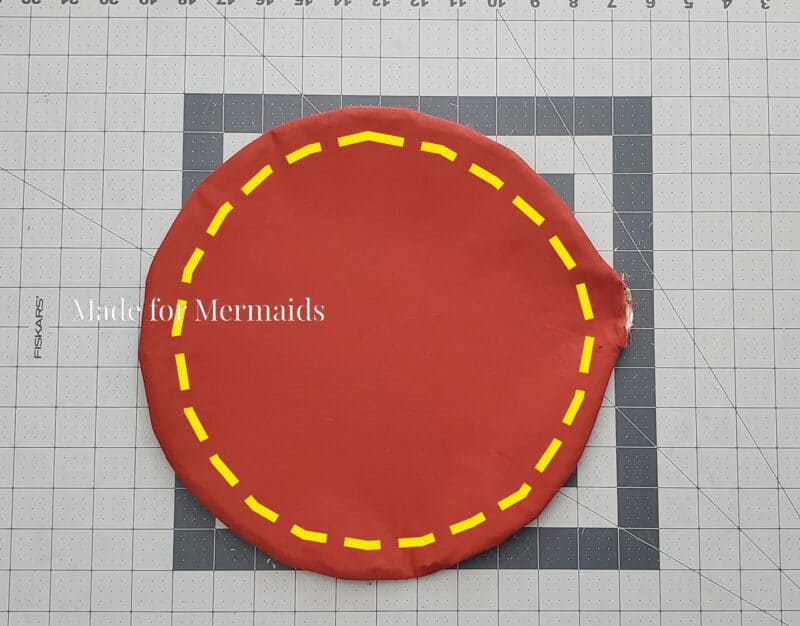
Sew all the way around using a 1/2 inch seam allowance, leaving a 1-2 inch gap unsewn for turning right sides out.
Step 3: TURN RIGHT SIDE OUT
Turn cover right side out using your favorite turning tool.
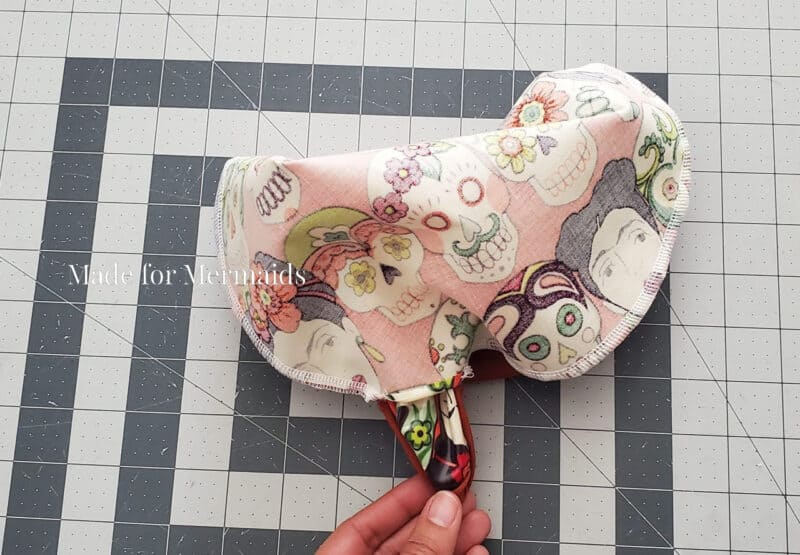
Once the cover has been turned right side out, you can give it a good press.
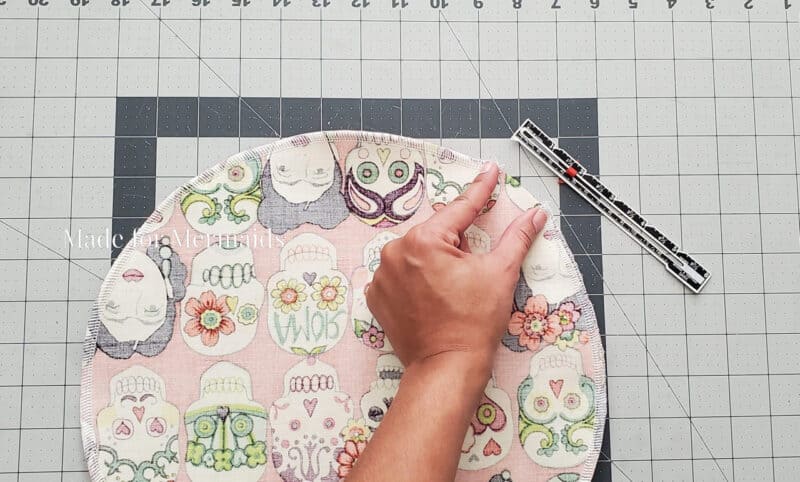
Step 4: CREATE CASING
Create a casing by sewing 3/8 inch away from the edge all the way around, using a regular straight stitch on your sewing machine.
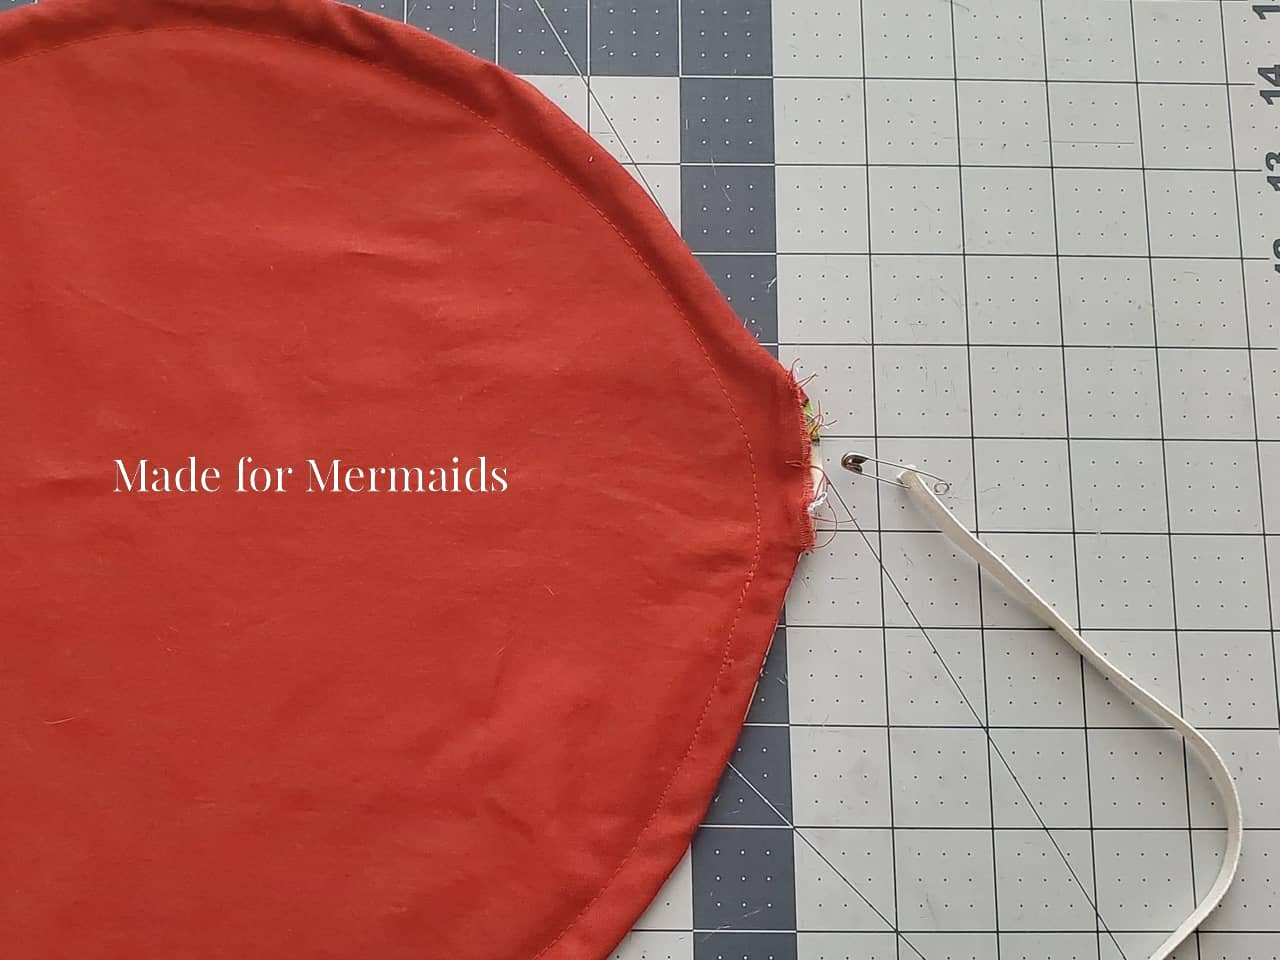
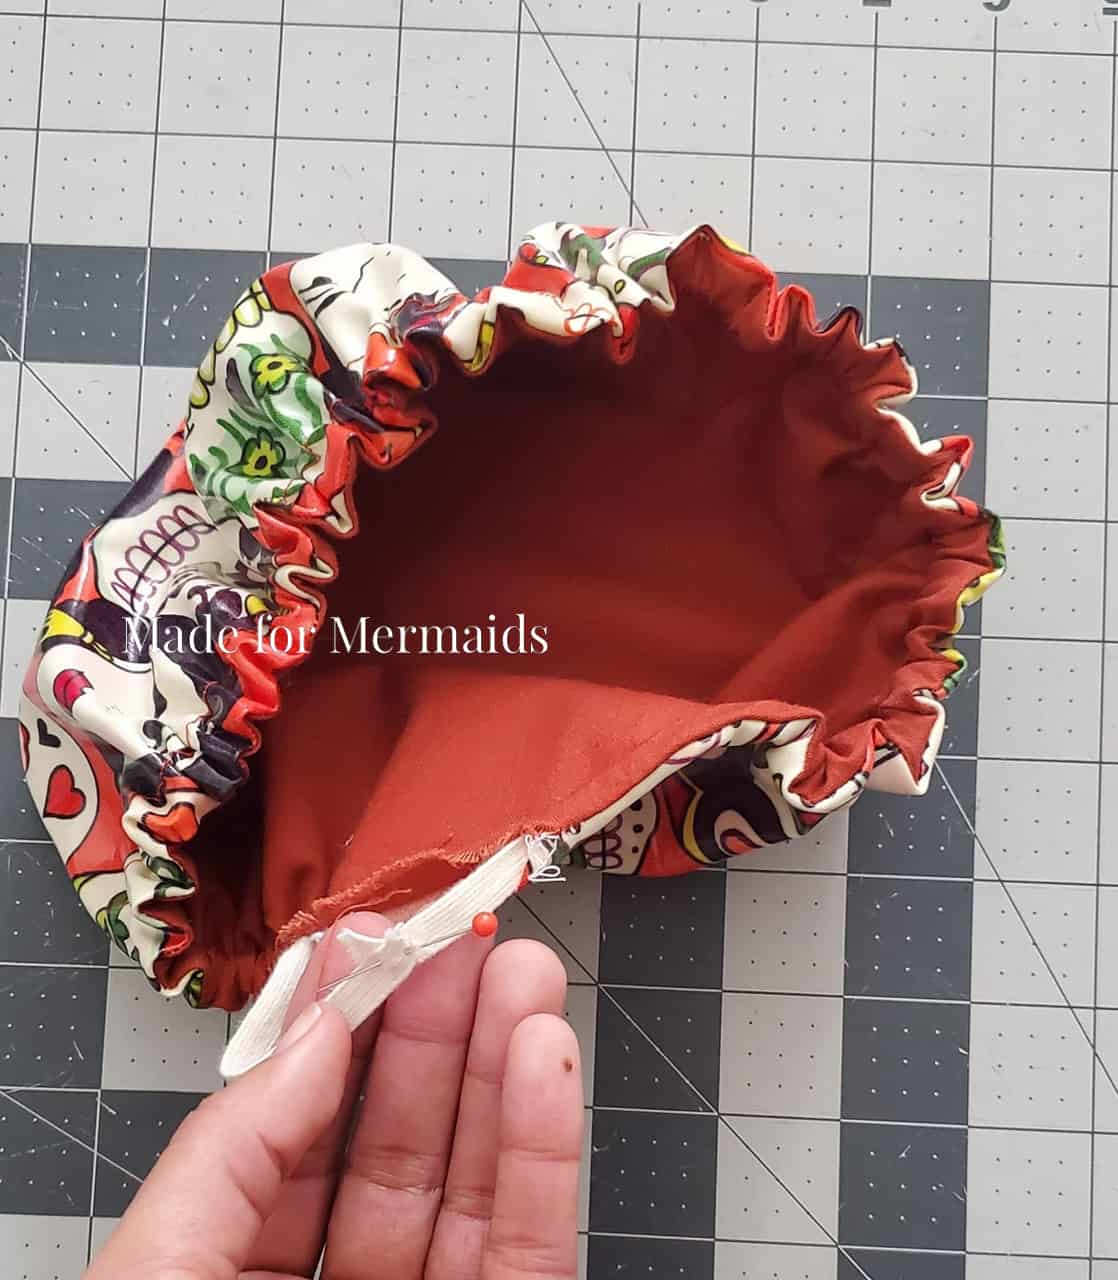
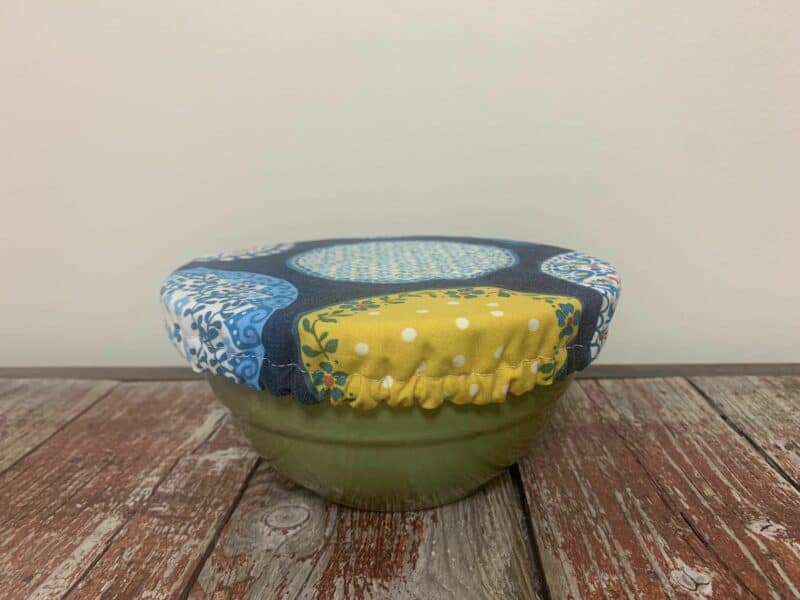
Step 5: THREAD ELASTIC
Thread your elastic through the casing, overlap the ends, and stitch them together.
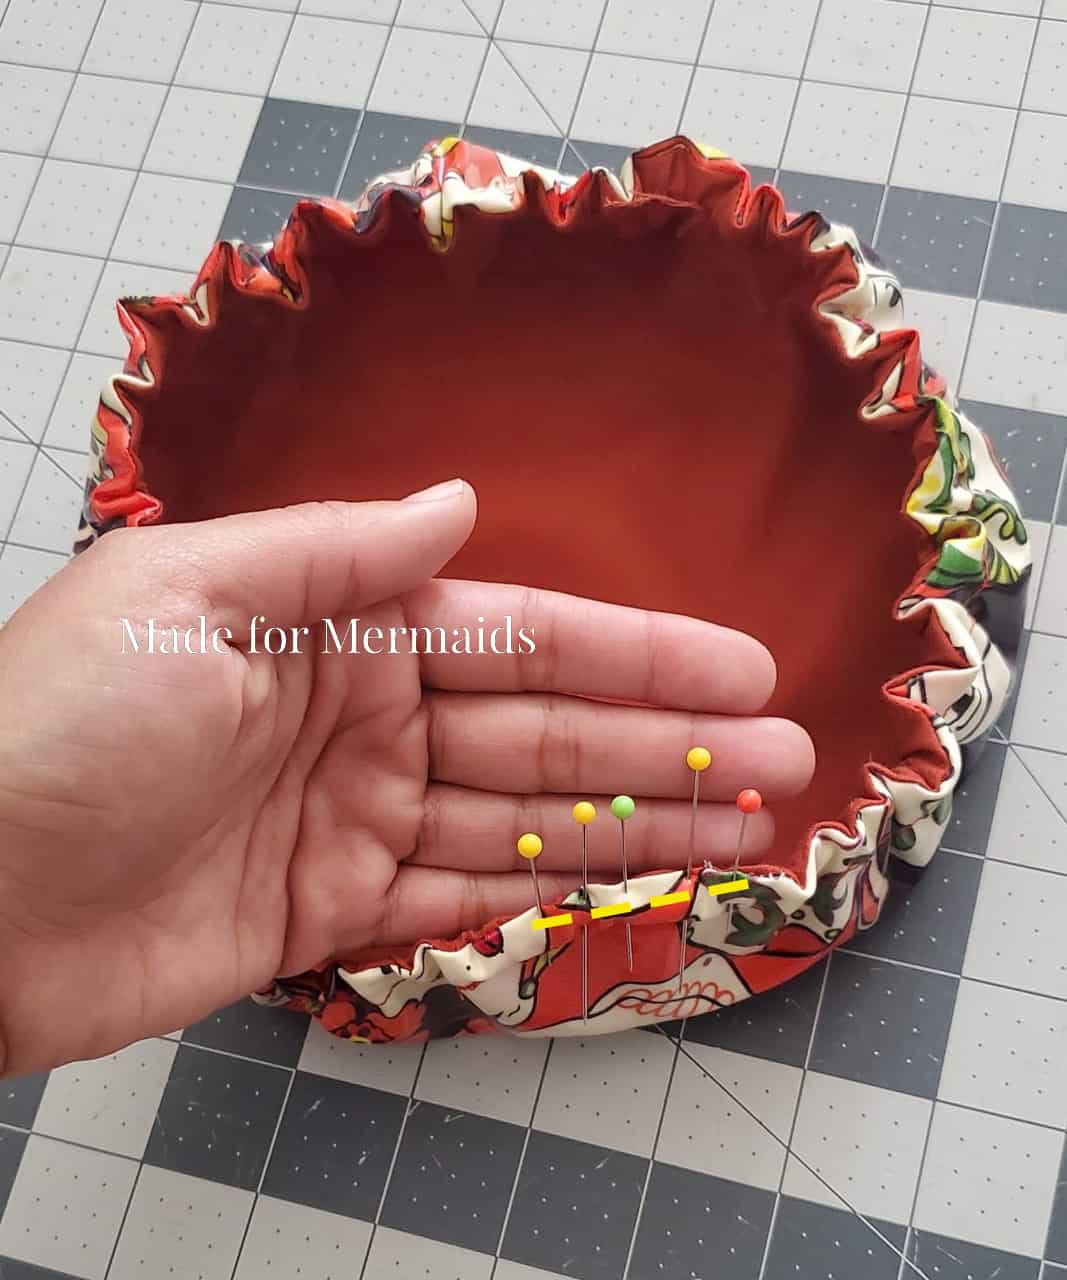
Step 6: TOPSTITCH
Once you’ve threaded your elastic through, you’ll want to stitch your casing closed.
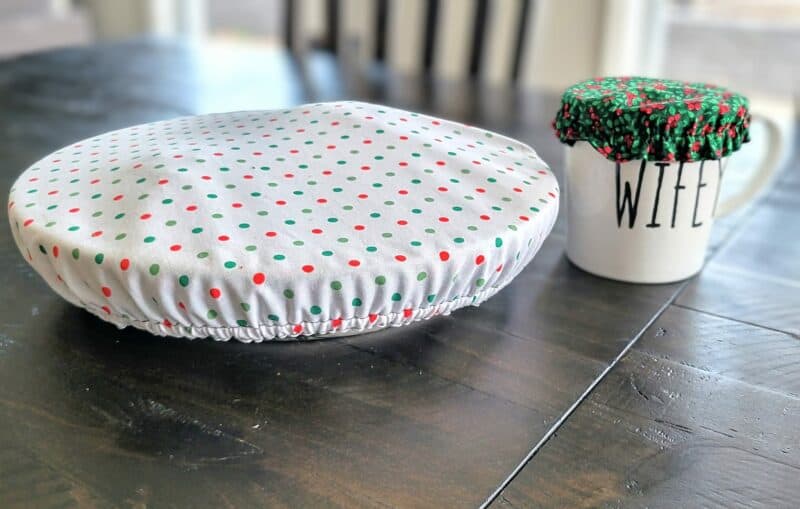
For gifting, the Bowl Covers pair well with our Table Runners, Chef’s Hat, and Produce Bags!
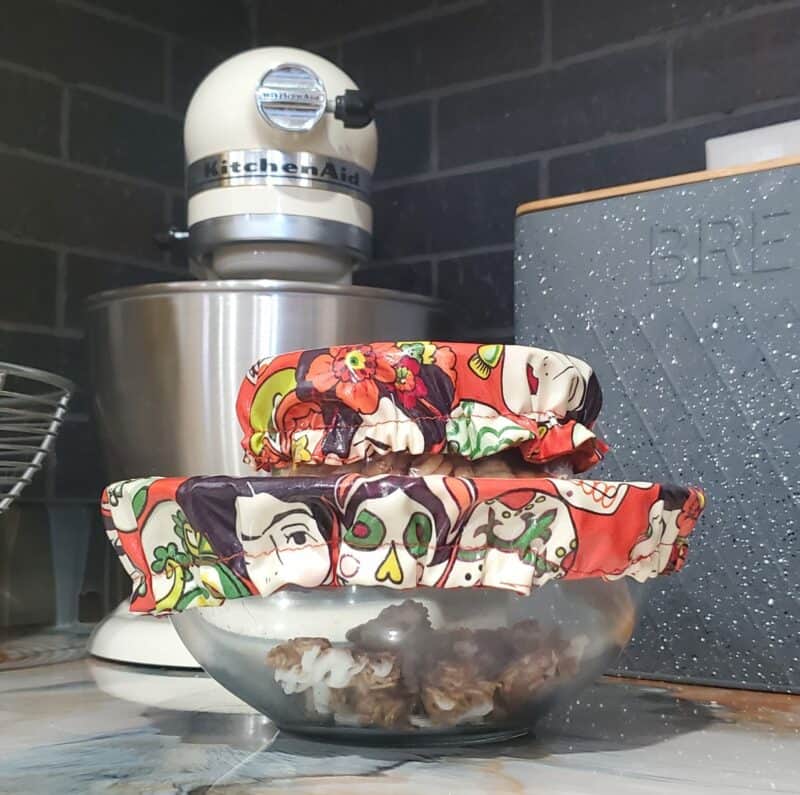

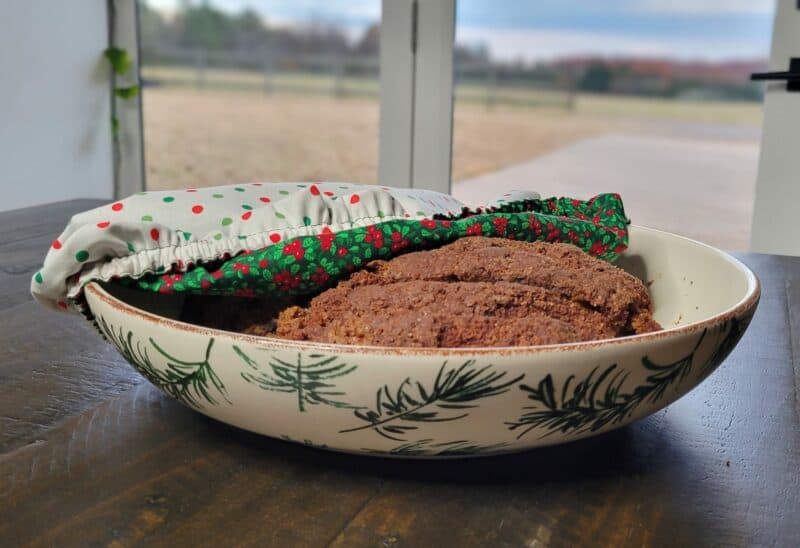
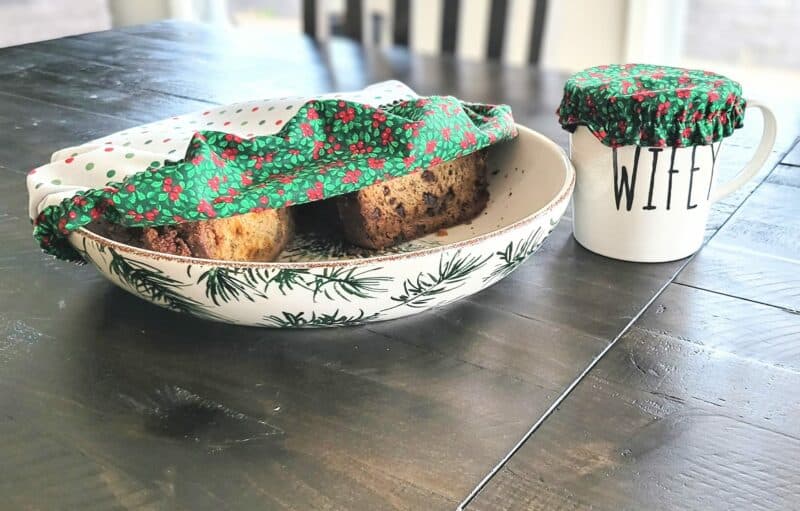
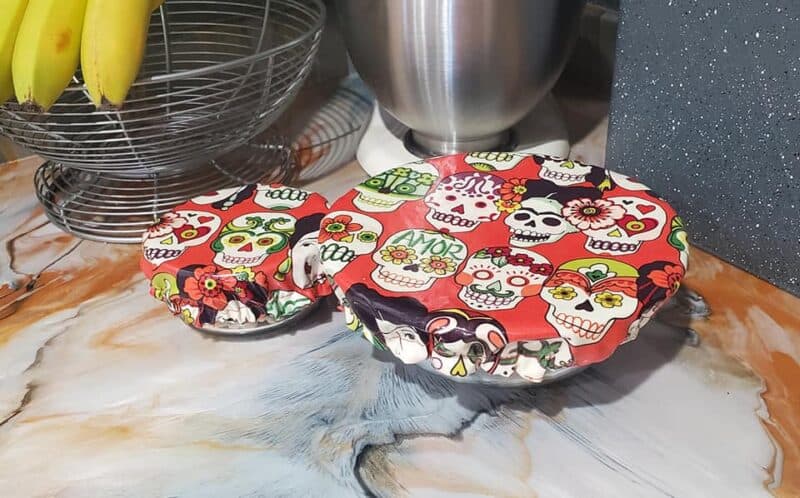

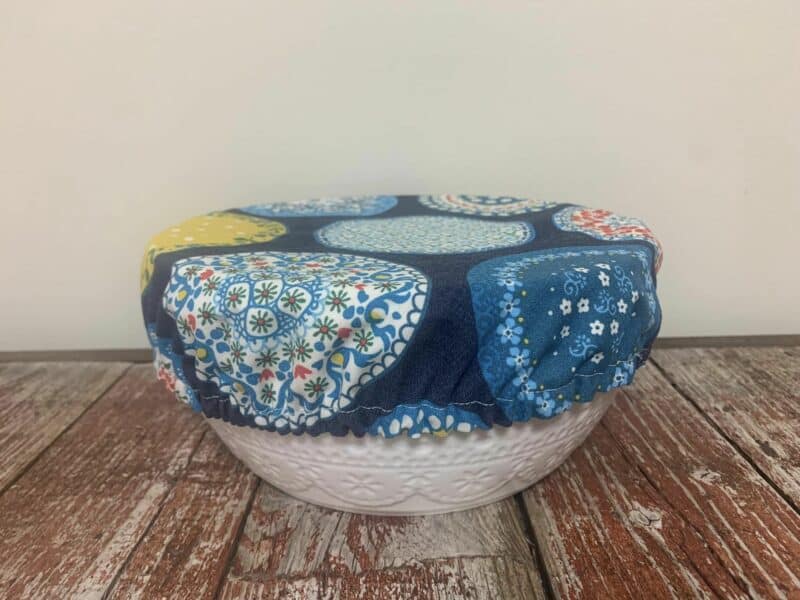
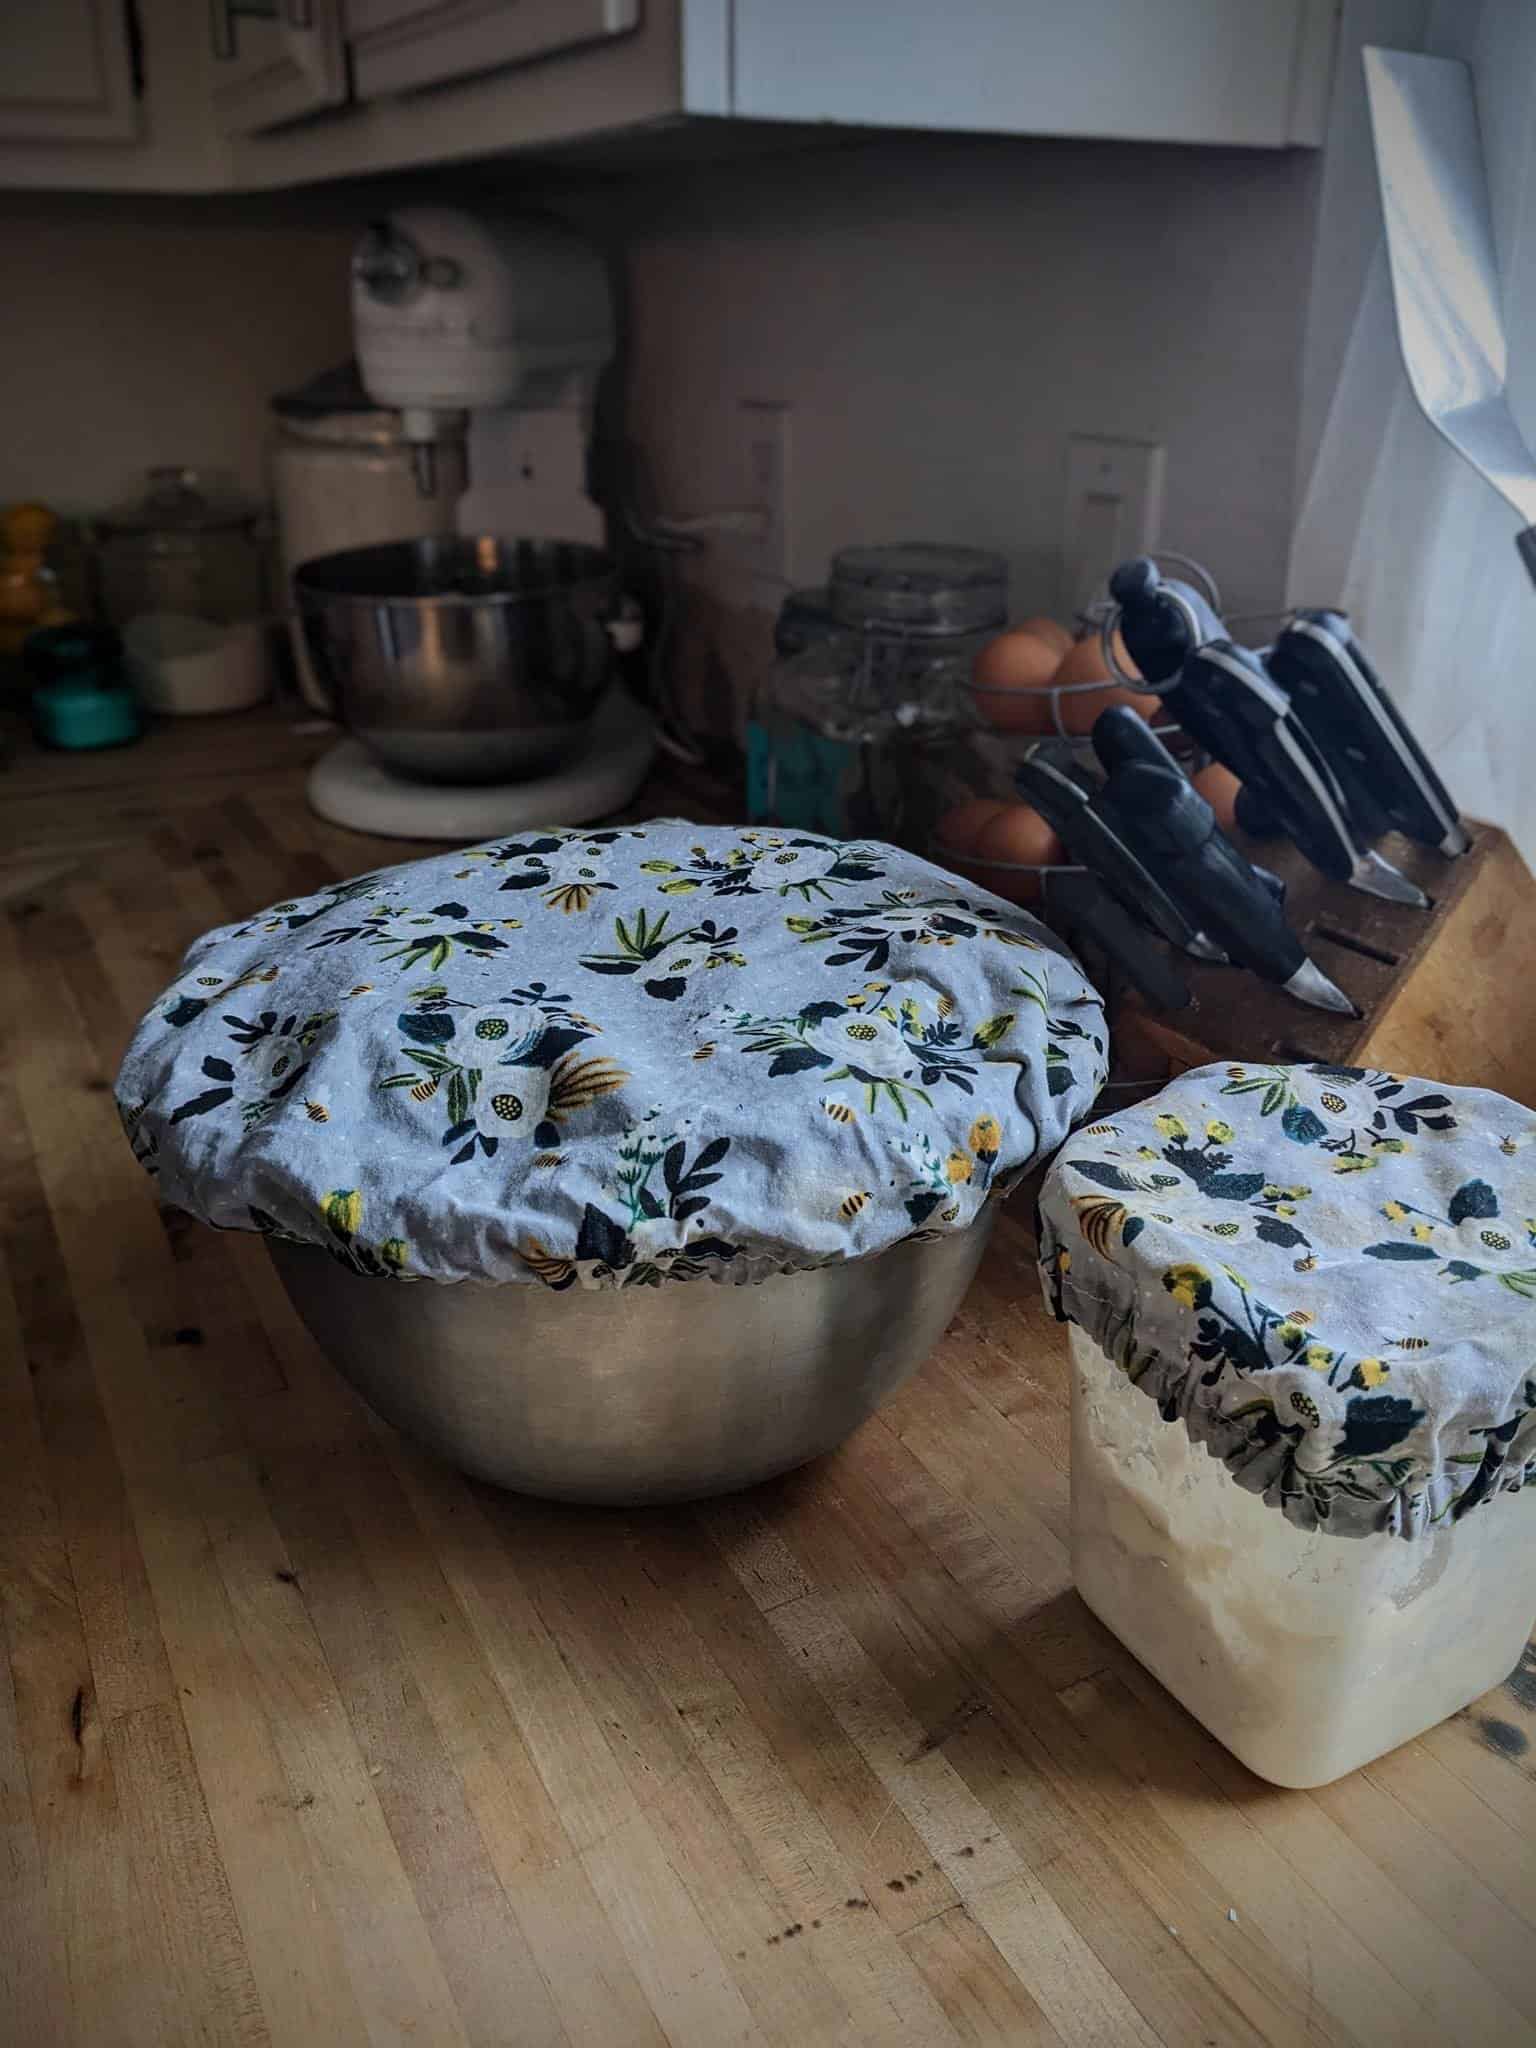
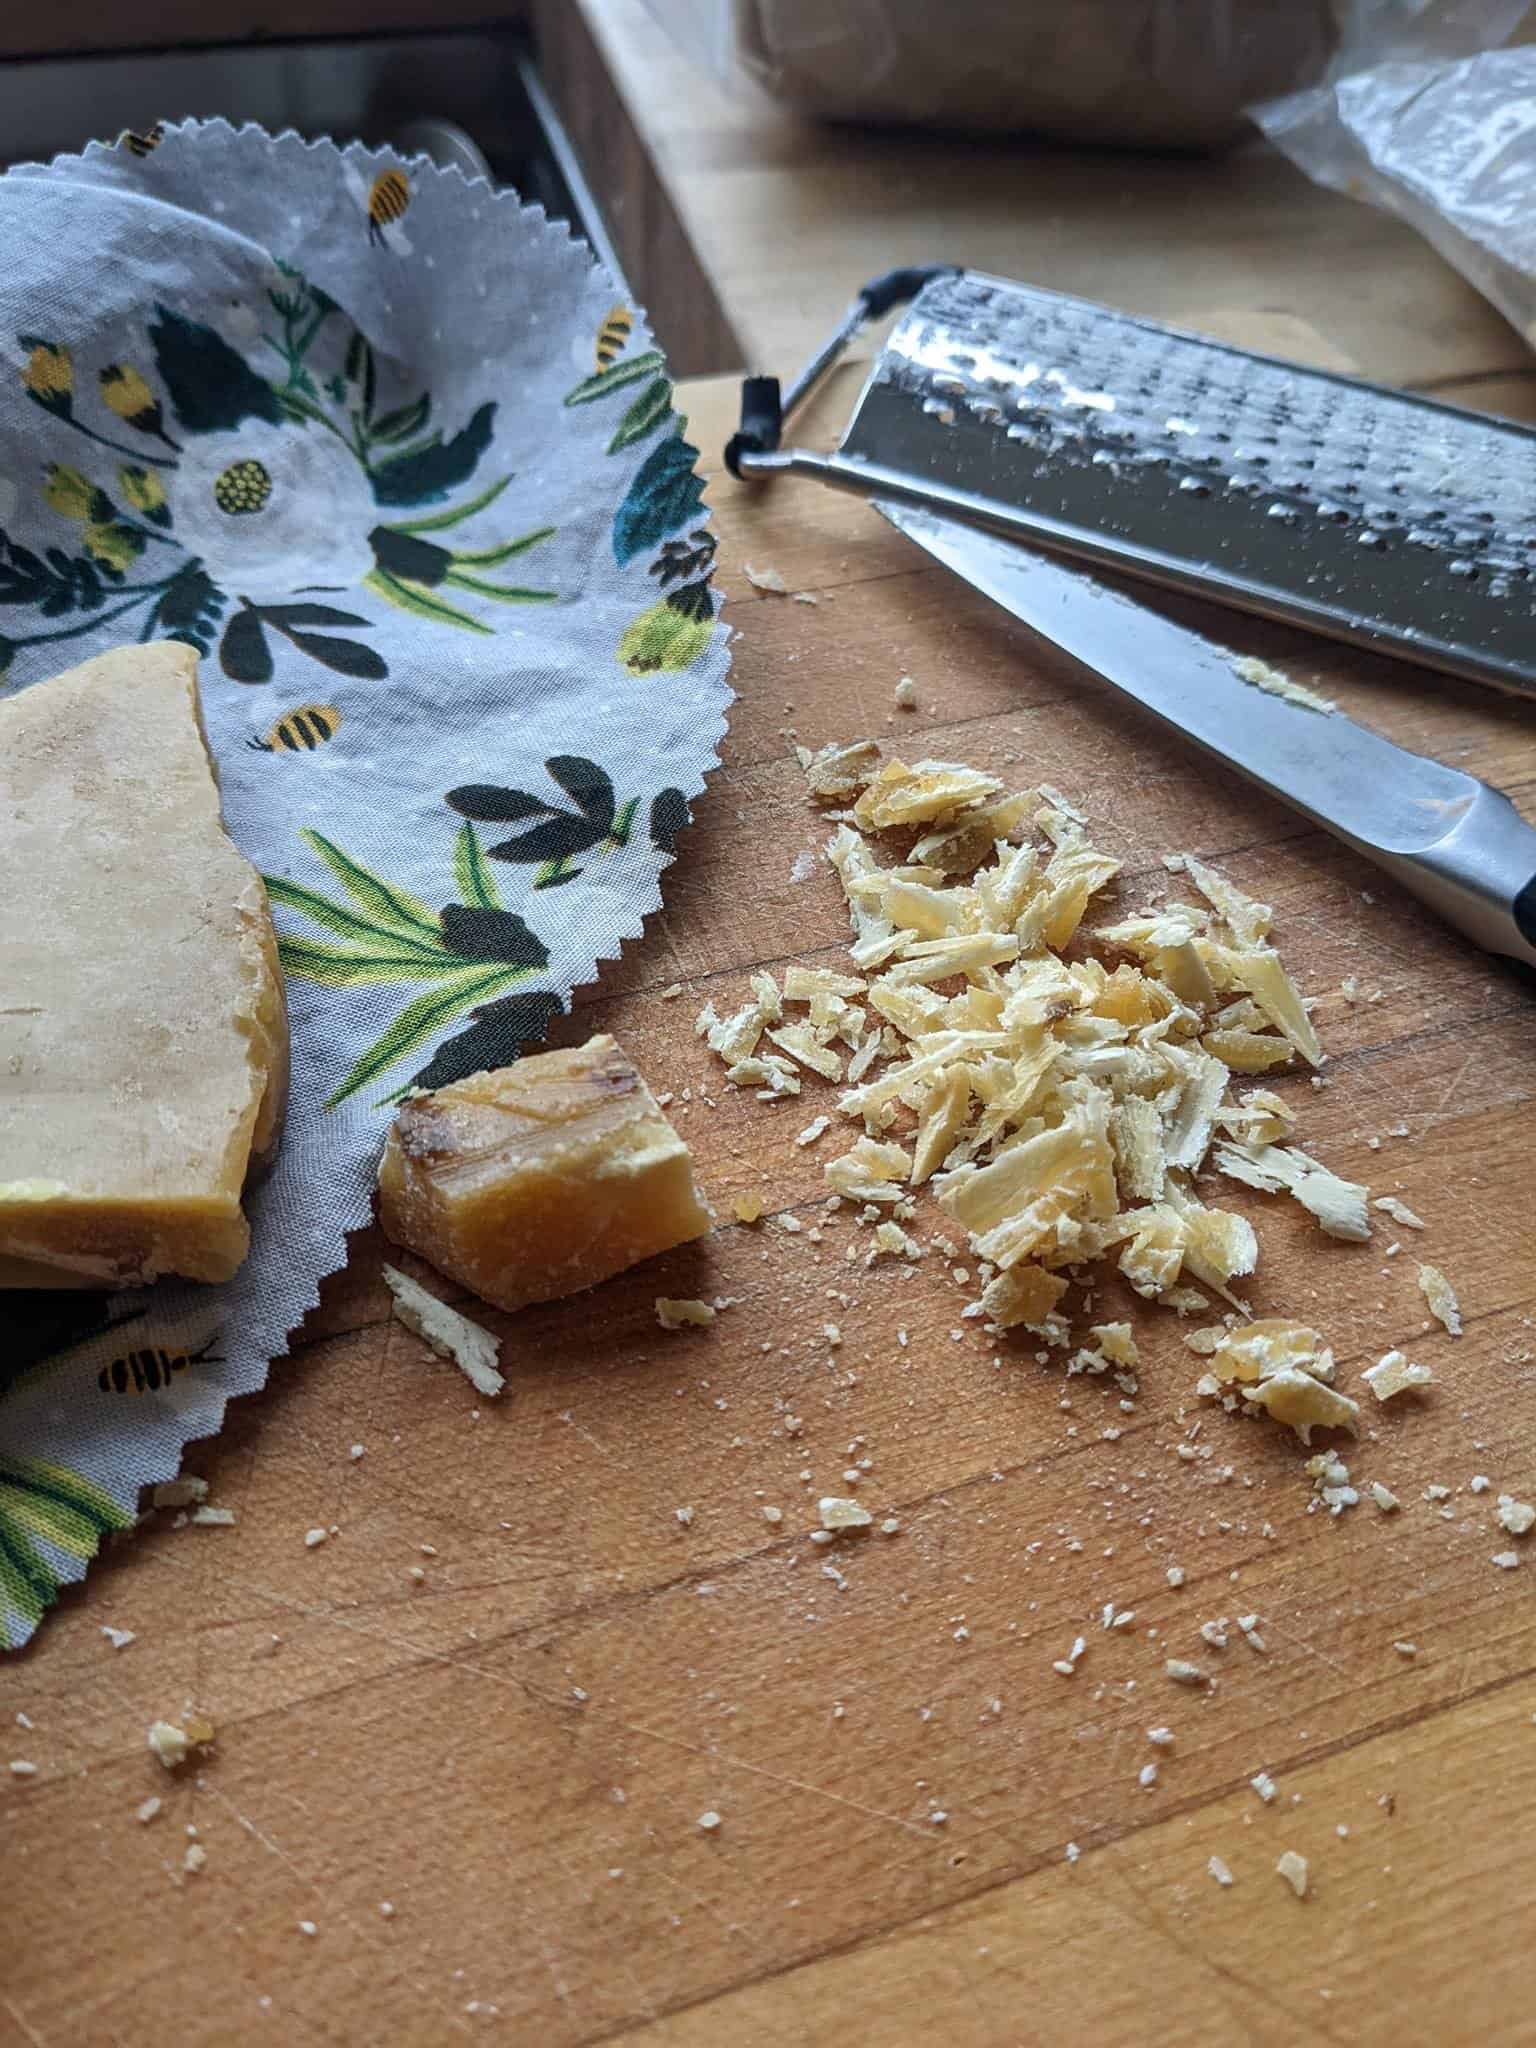
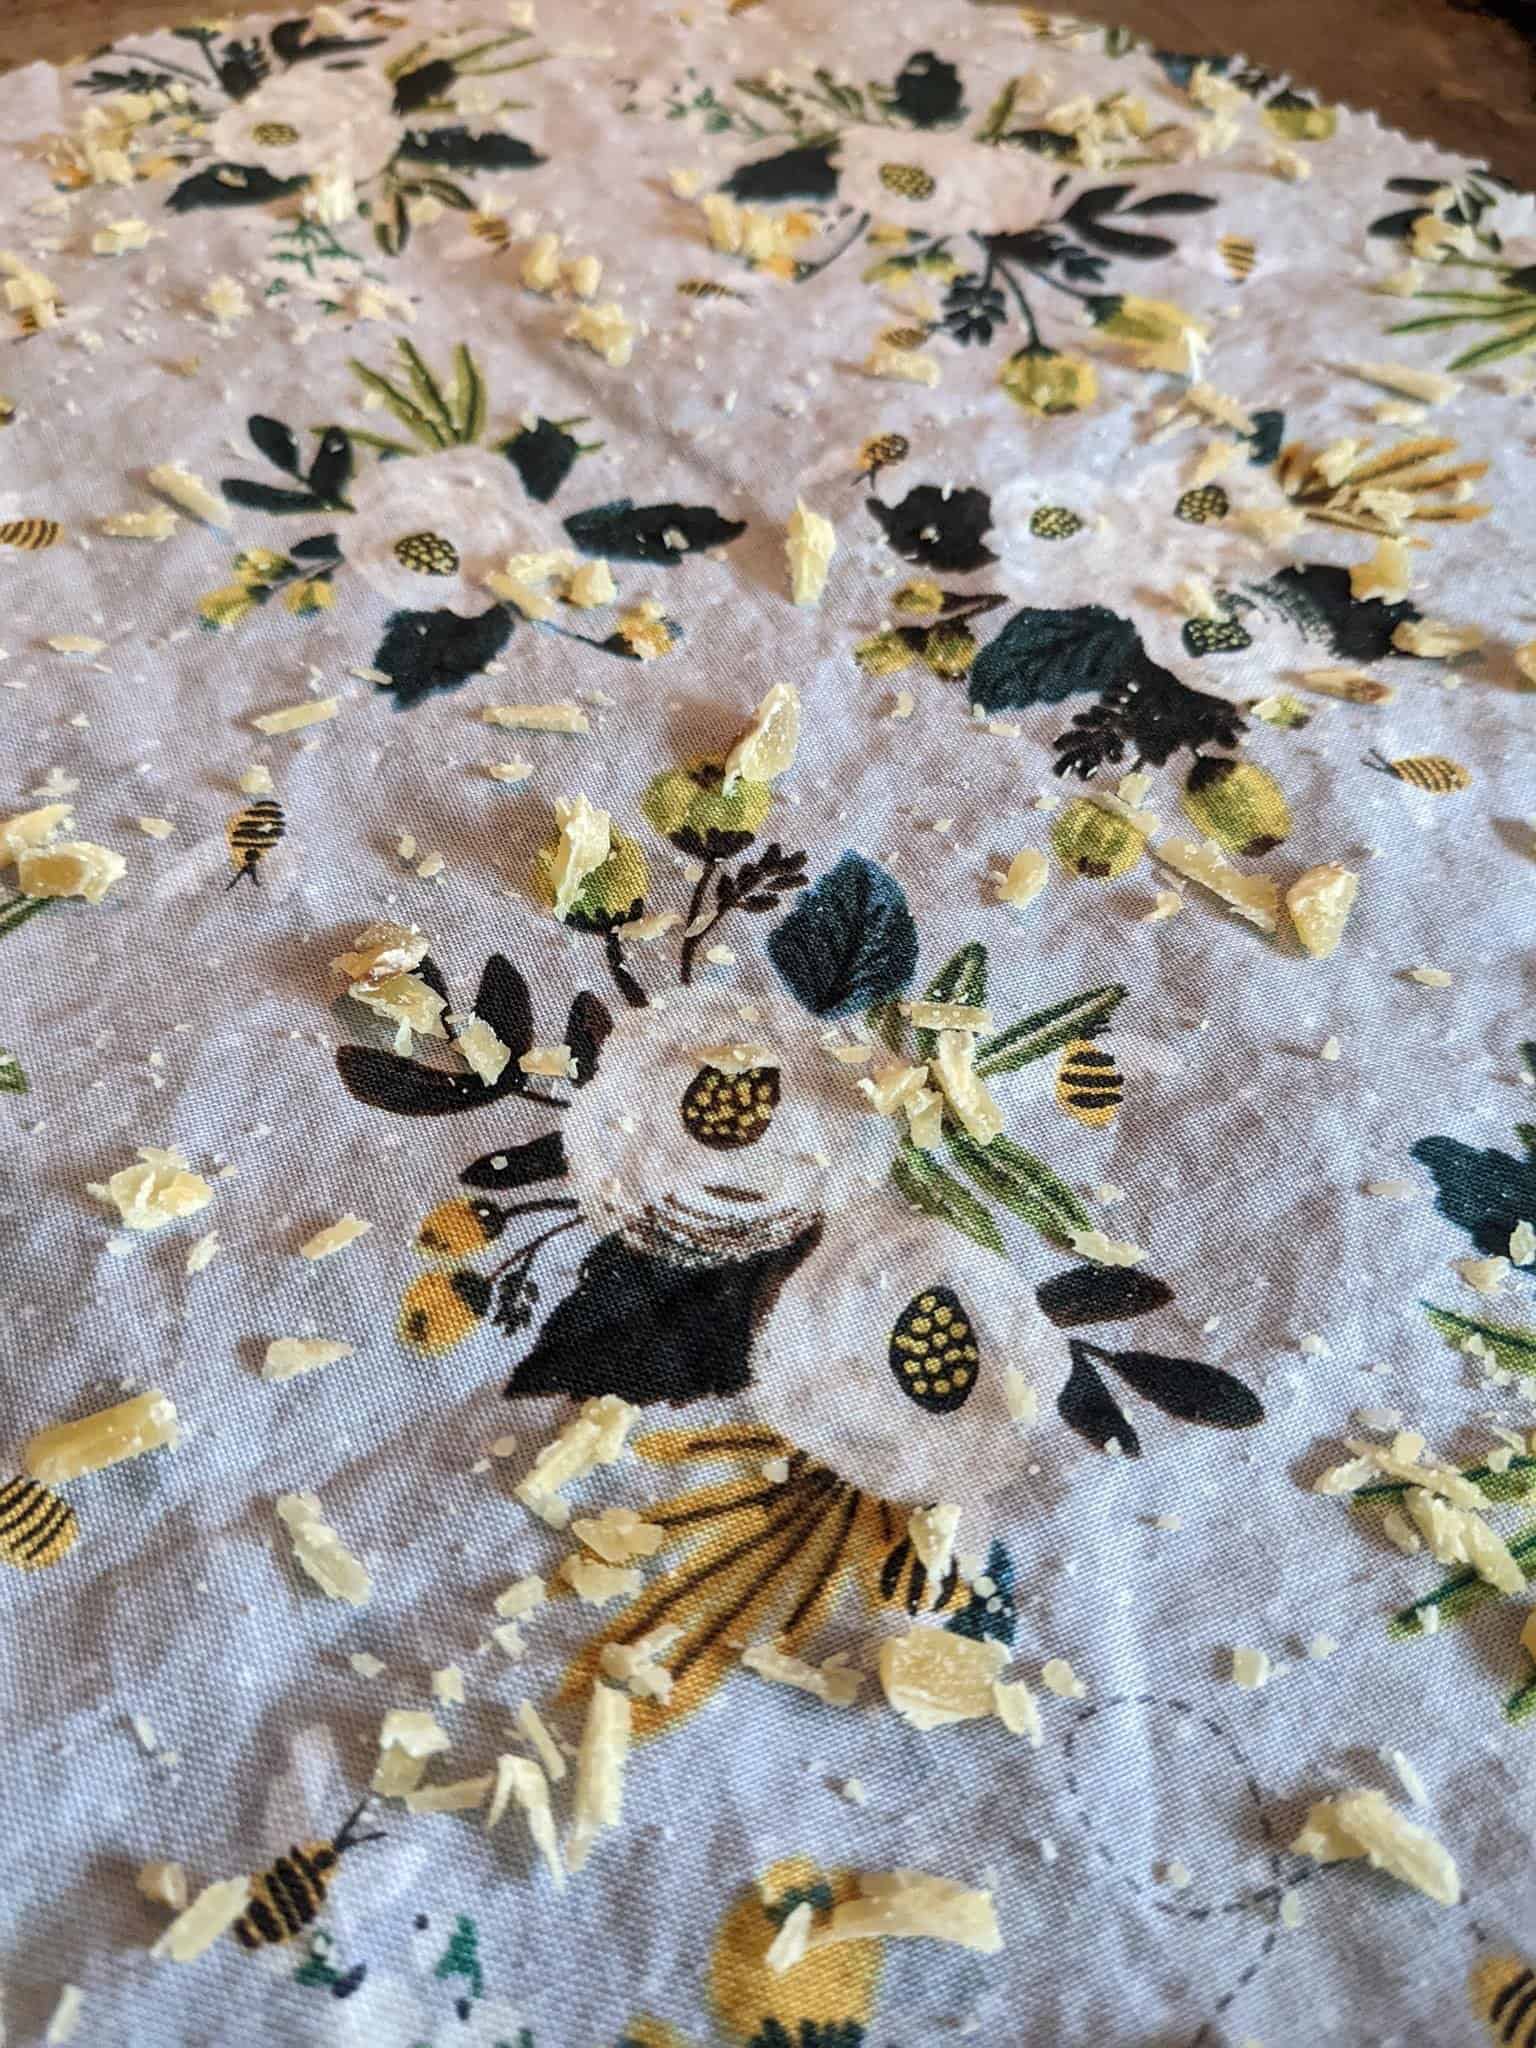
Bekah shared that she loves these fabric Bowl Covers for her sourdough starters! She modified the covers a bit by treating her fabric with broken up beeswax melted in the oven. Give her a shout in our Facebook group for beeswax tips!
DECEMBER 1 – 12, 2022
DAY 1 –FELT CORNER BOOKMARK
DAY 2 – ENVELOPE CLUTCH
DAY 3 – FABRIC BOWL COVER
Leave a Reply