
SUPPLIES:
- 1/4 yard woven fabric
- 1/4 yard Insul-Bright
- 1/4 yard batting
- Double-fold bias tape for binding (or make your own)
- OPTIONAL: Grommets, buttonhole attachment, etc. to create a loop/hook for hanging potholder
LET’S GET STARTED!
1/2″ seam allowances included.
Step 1: PREPPING
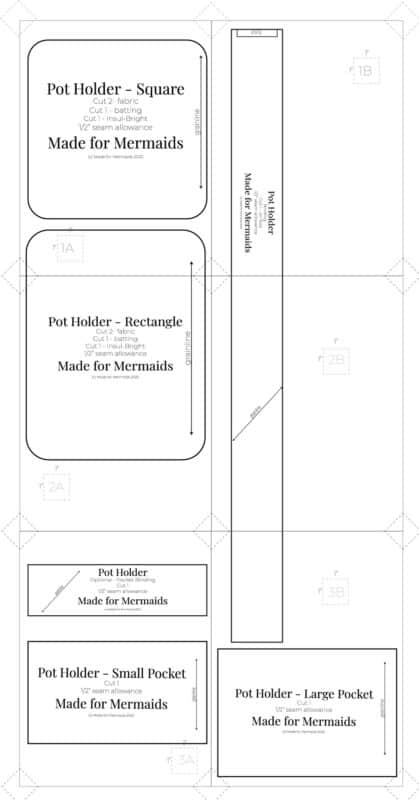
Go grab the pattern here! The pattern is 100% free, but you do need to add it to your cart and checkout. Then, it will always be available to download from your account. The pattern is a no-trim pattern; if you need help putting the pattern together, pop over to the faqs and troubleshooting page or ask in our Facebook group .
Print and assemble the pattern. Alternatively, you can use the projector file if you’re using a projector. Pattern layout below:
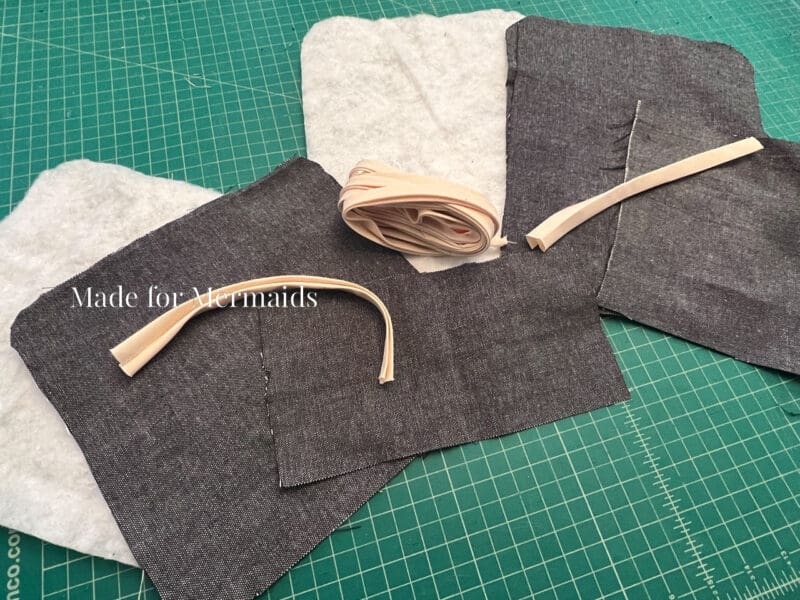
You’ll also want to prep your binding if you didn’t purchase double-bias tape. I usually prefer to make my own, so I can get the exact colors and prints I’m looking for! We have a blog post here on how to prep your binding.
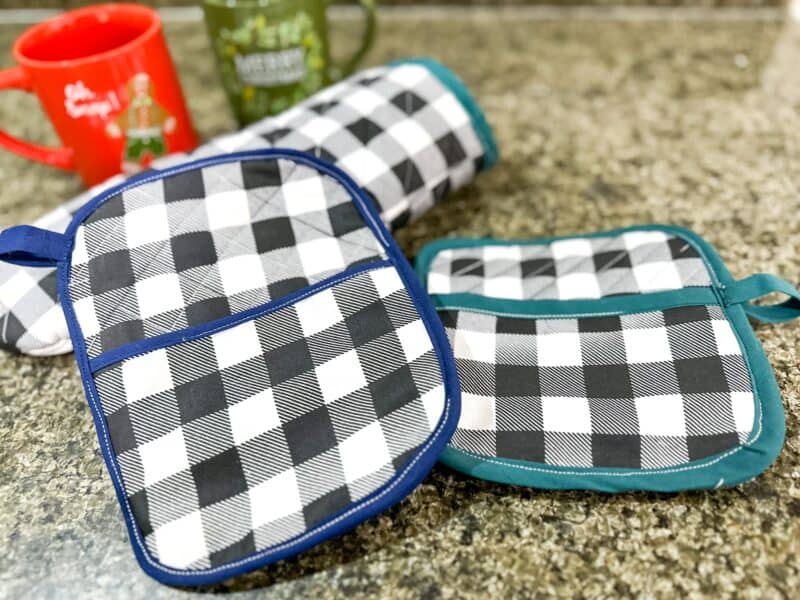
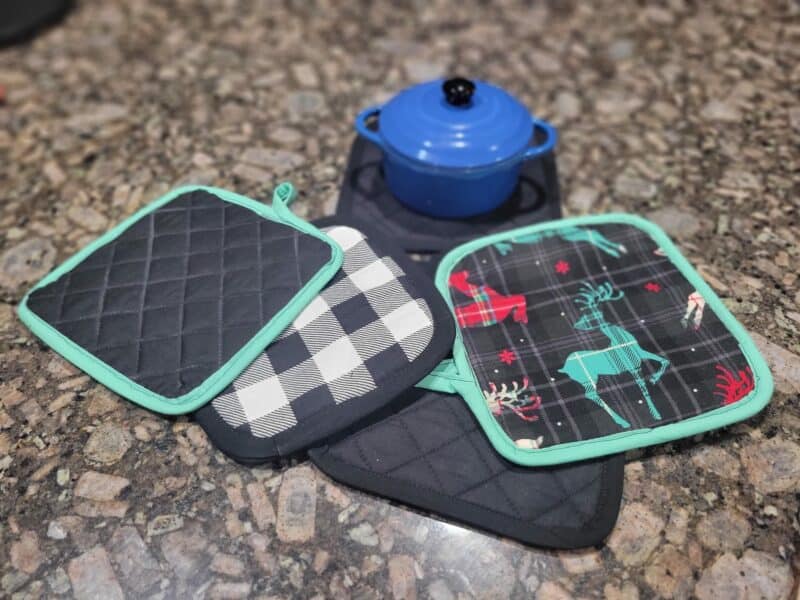
Step 2: CONSTRUCT MAIN POT HOLDER
Cut your main fabric pieces, plus batting and Insul-Bright. You can also cut out pocket pieces and binding, and set those to the side for the time being.
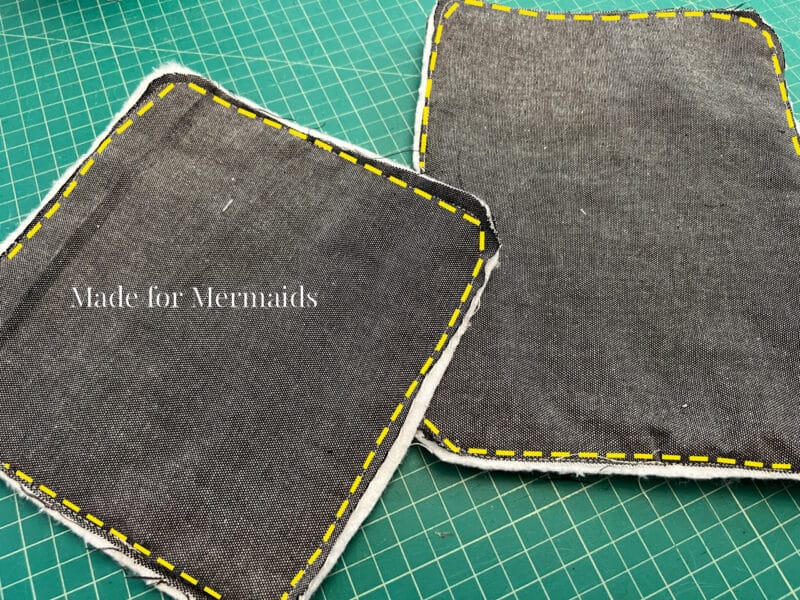
Layer batting and Insul-bright between front and back main fabrics. Right side of fabric should be facing out on both front and back sides. Pin or clip in place. I’m sewing up both the square and the rectangle potholders below.
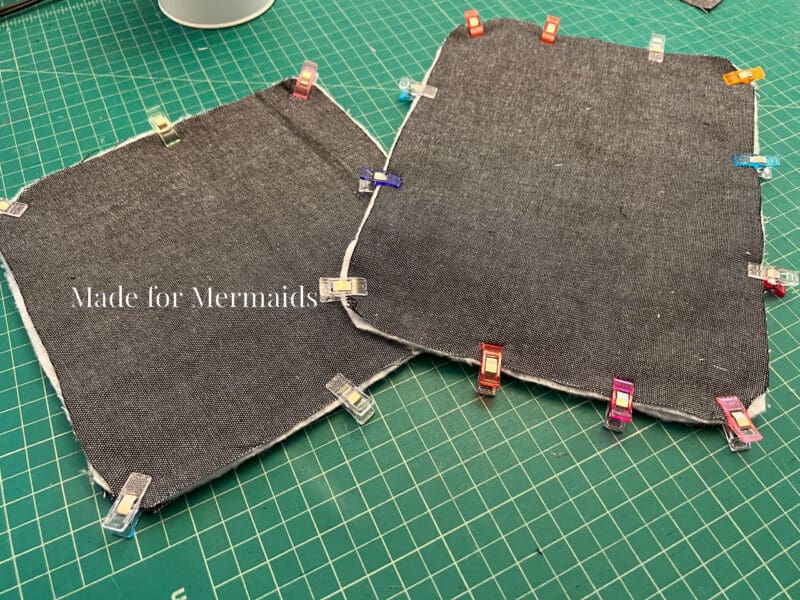
Baste together with 1/4″ seam allowance.
Step 3: QUILTING YOUR POTHOLDER
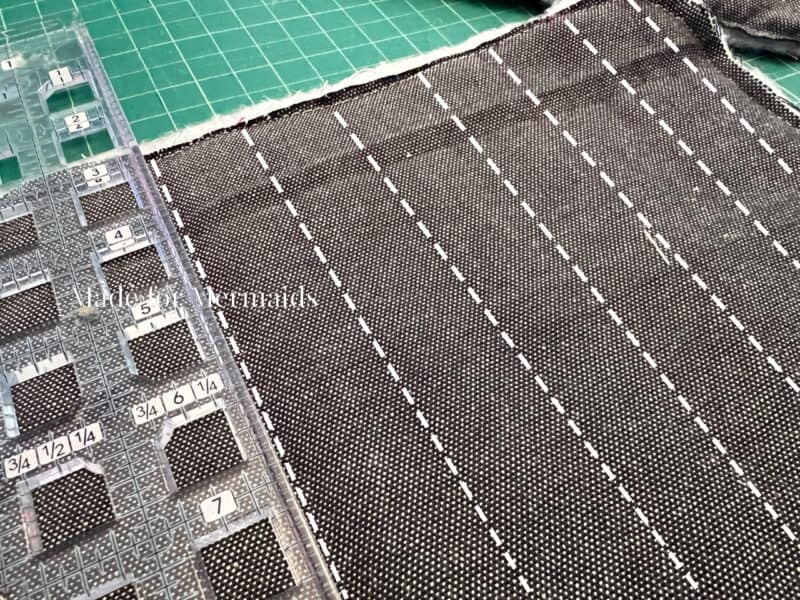
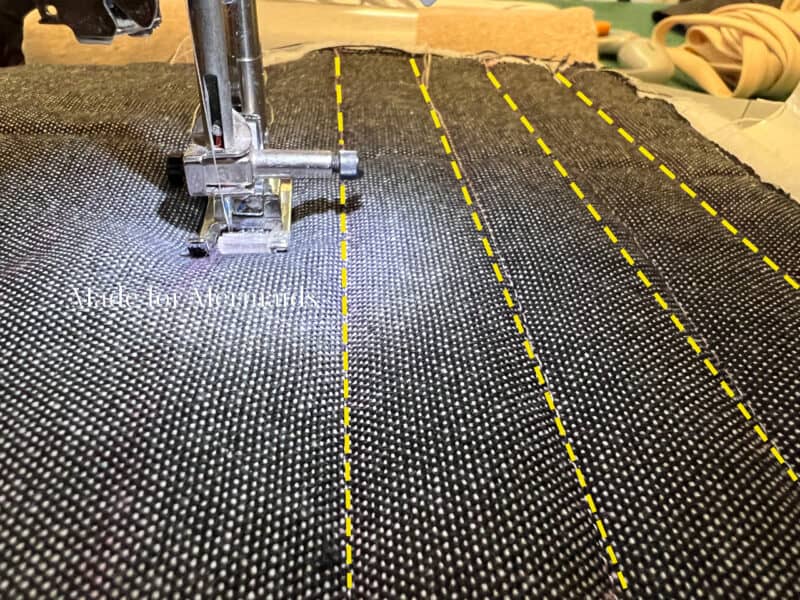
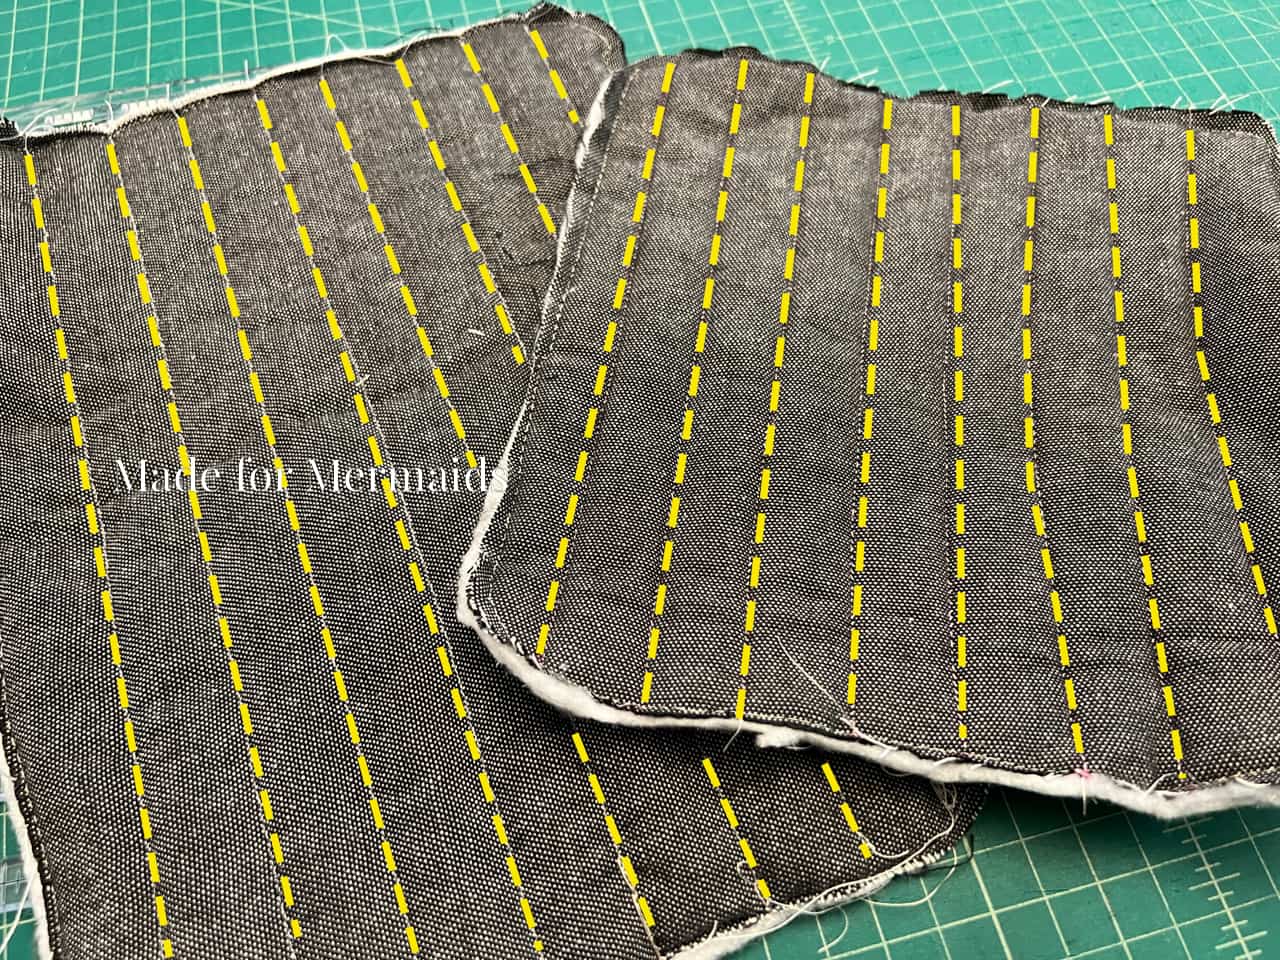
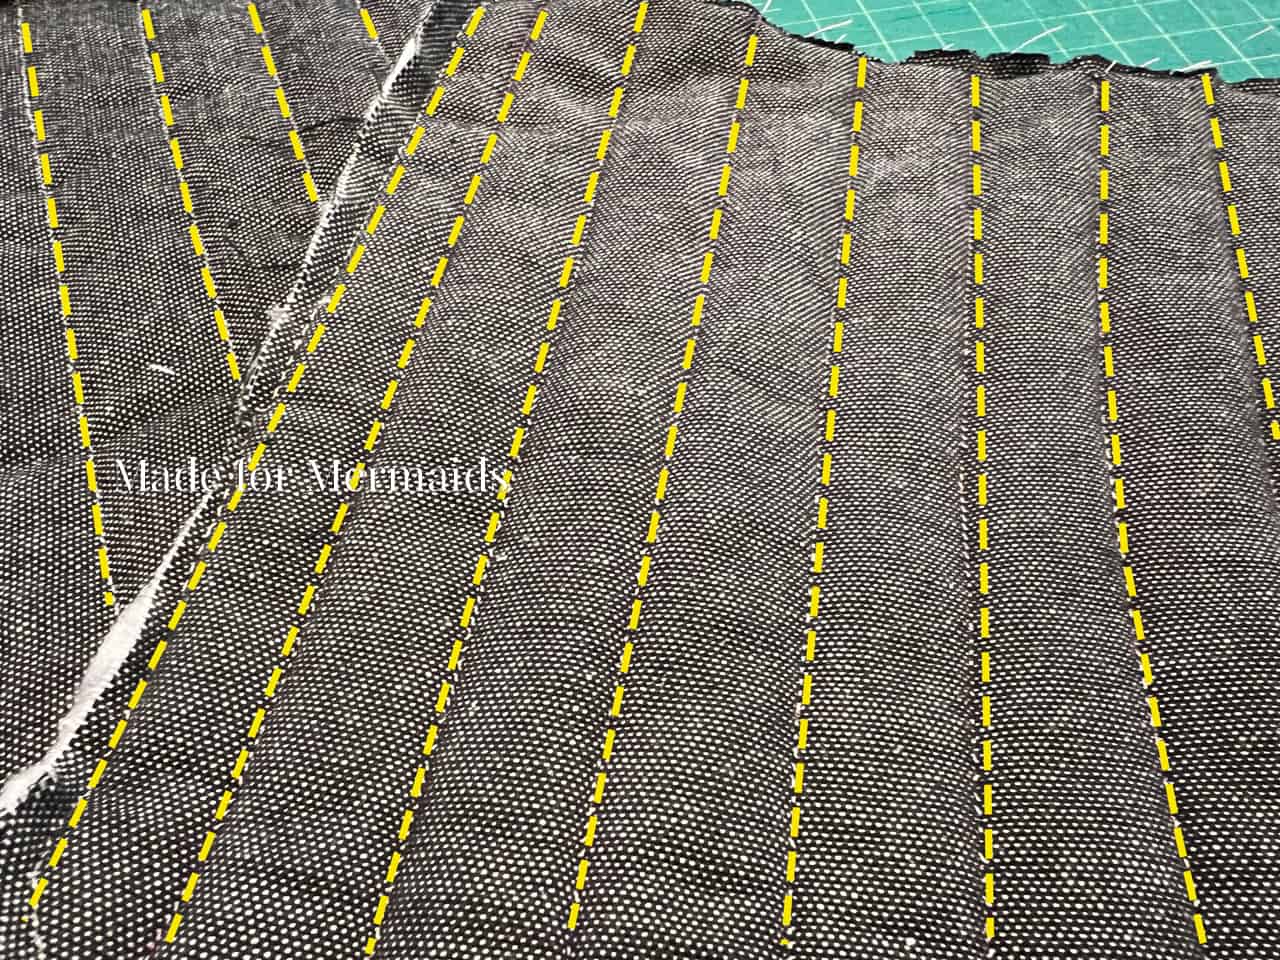
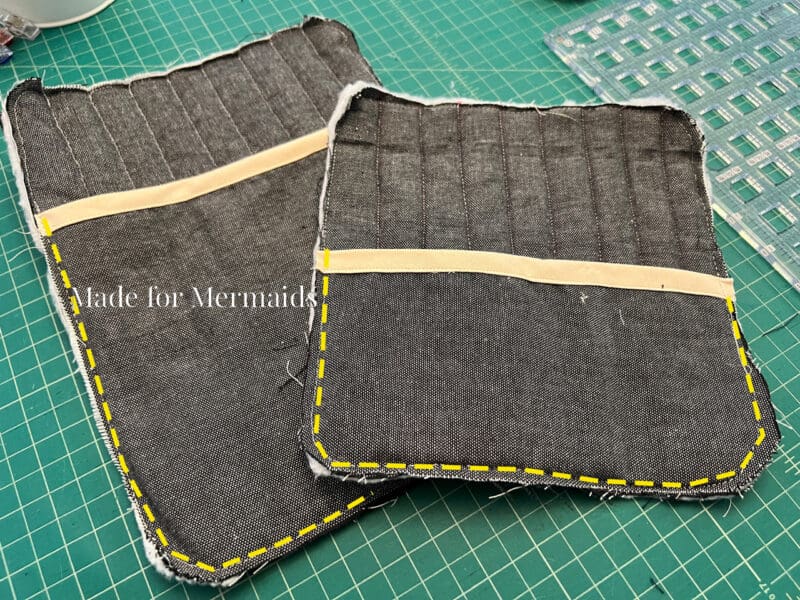
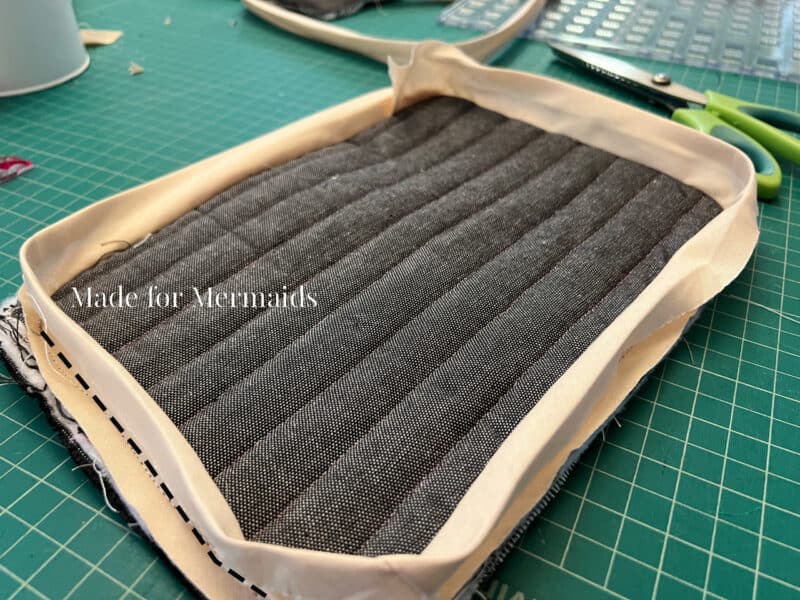
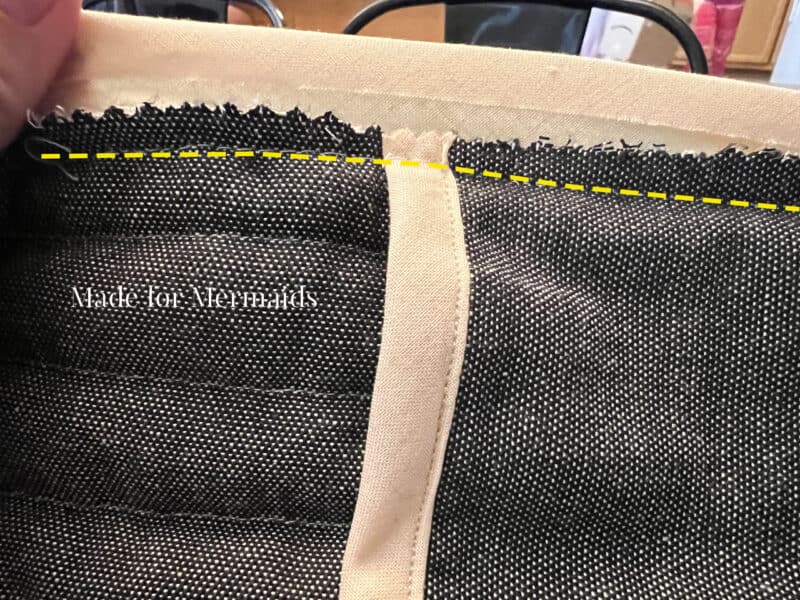
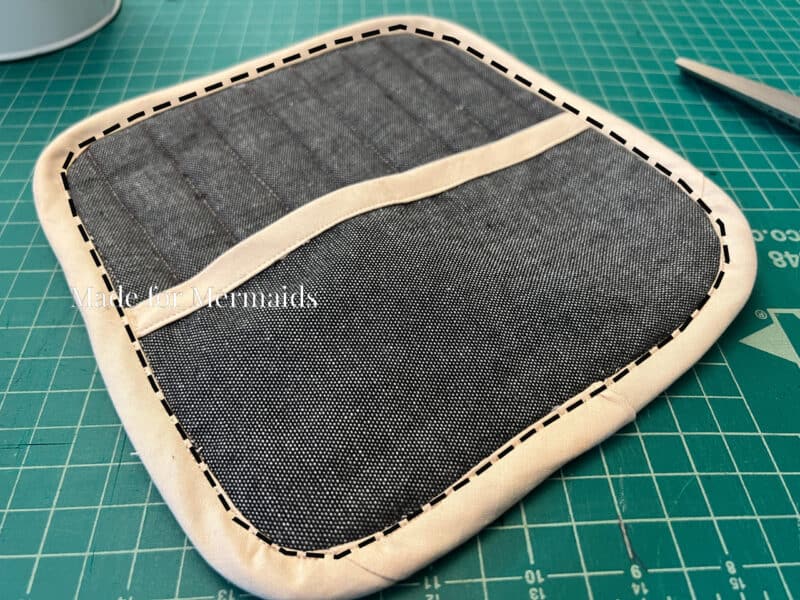
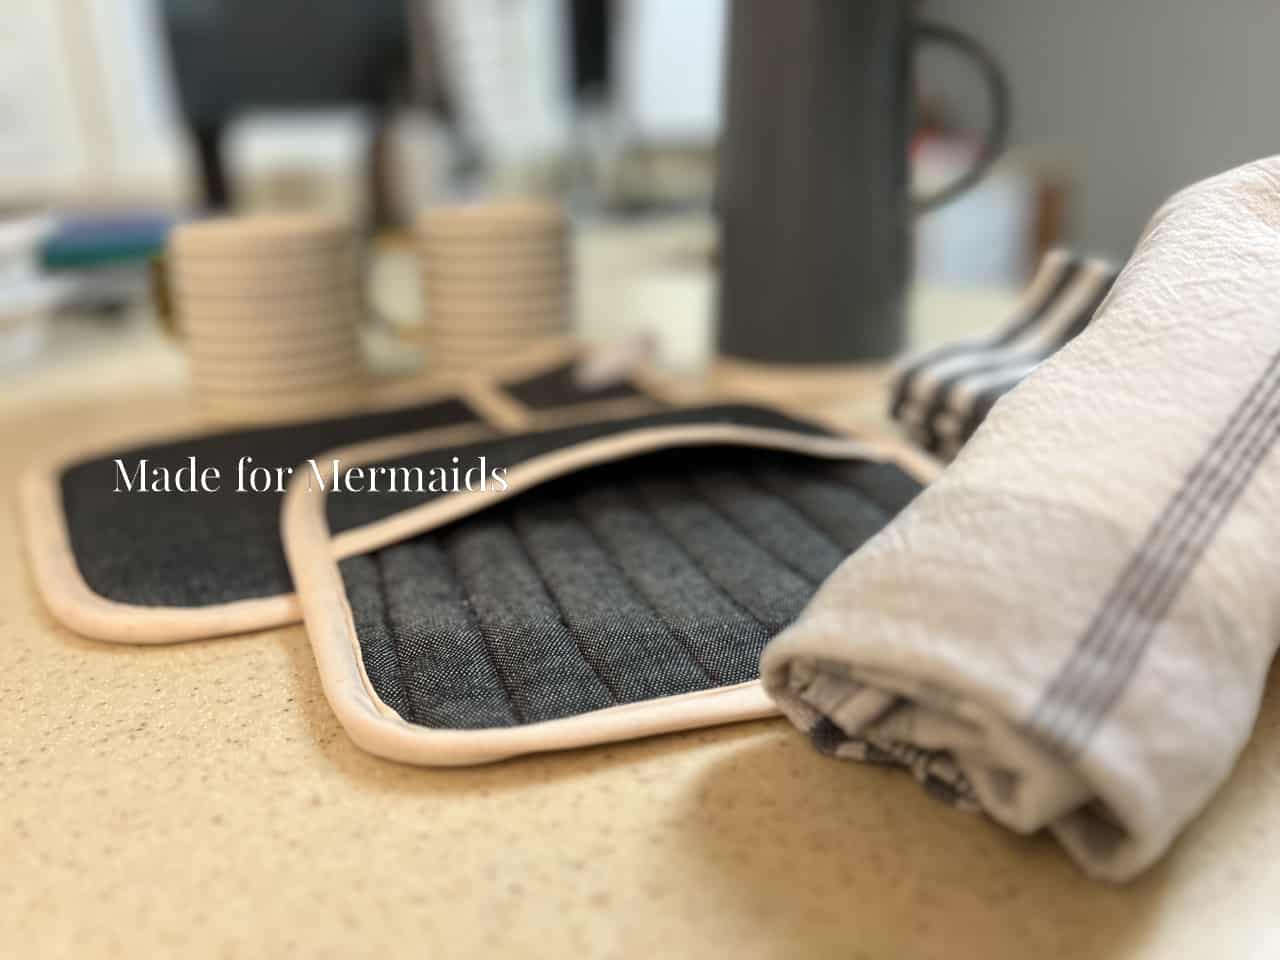
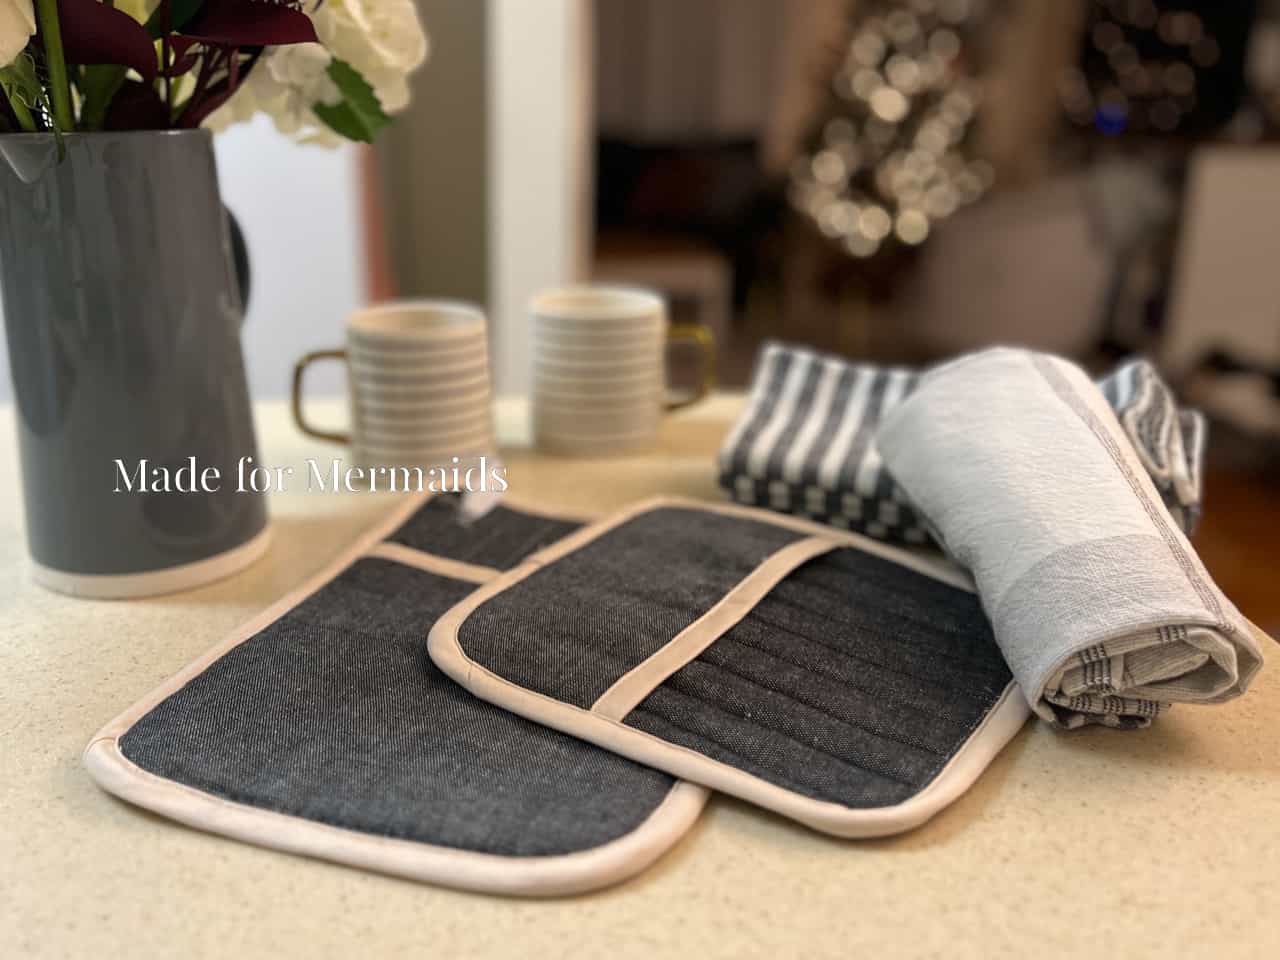
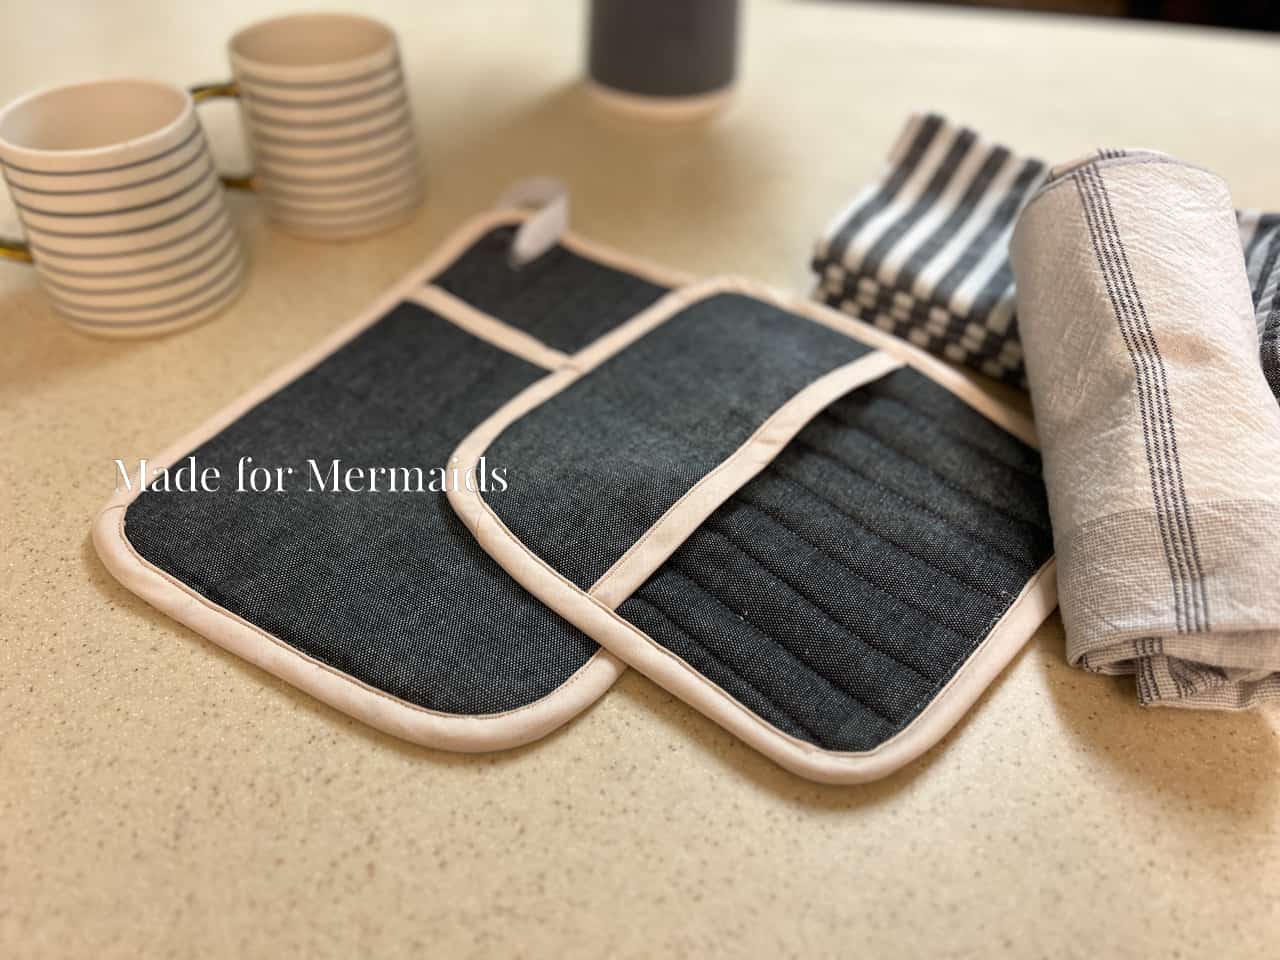
Quilt your potholder if desired. I opted for vertical “stripes”, each 1″ apart. You can do any design or style that you wish; this step just ensures that each layer stays in place. I used a quilting ruler to mark my fabric (white lines shown below), and then used a regular straight stitch to do the quilting (yellow lines shown below).
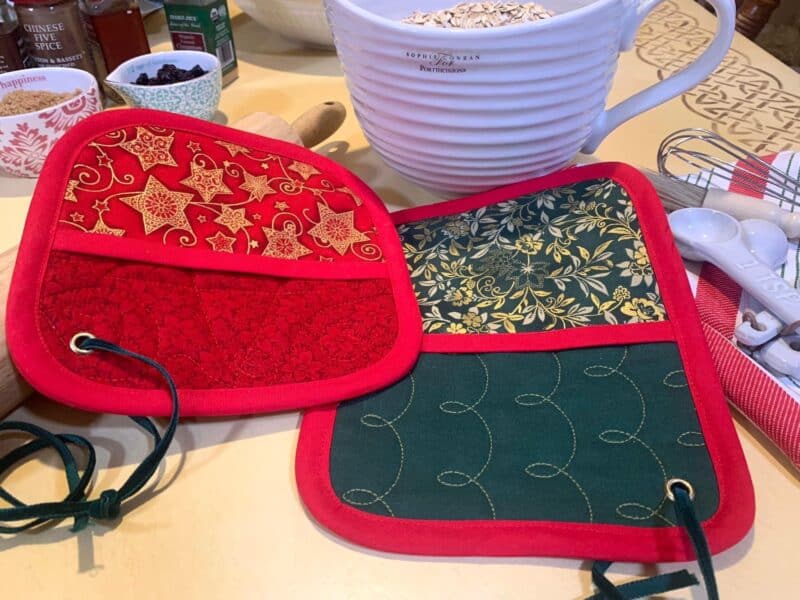
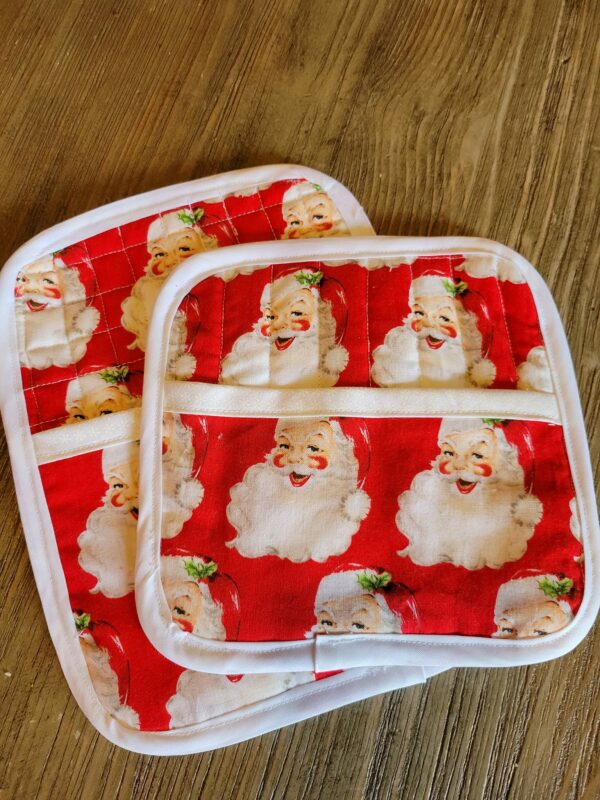
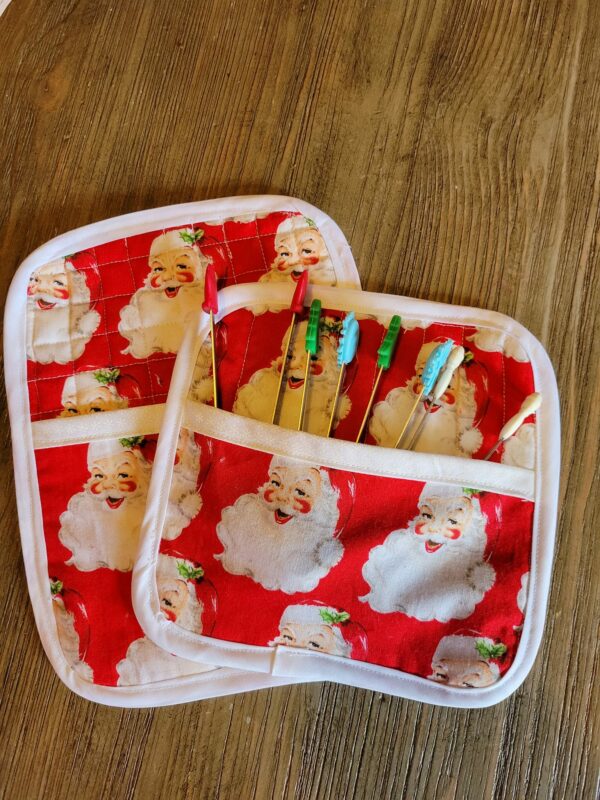
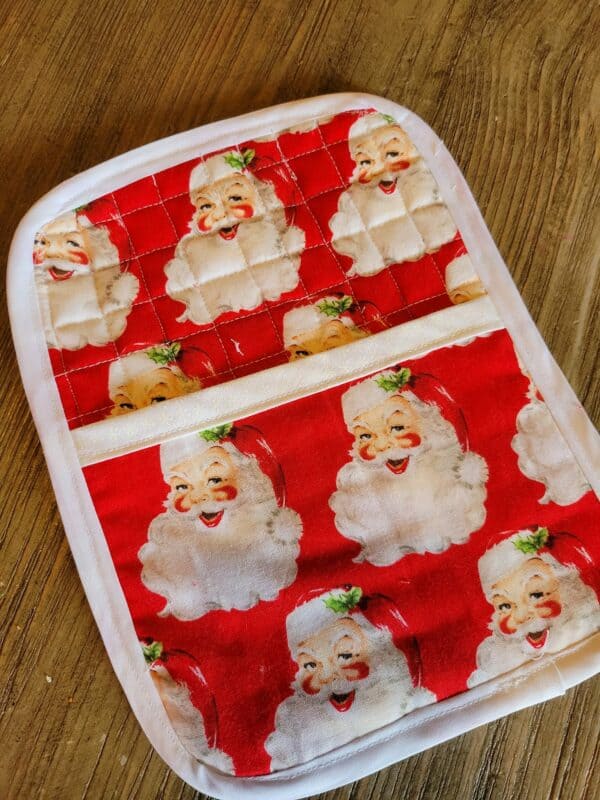
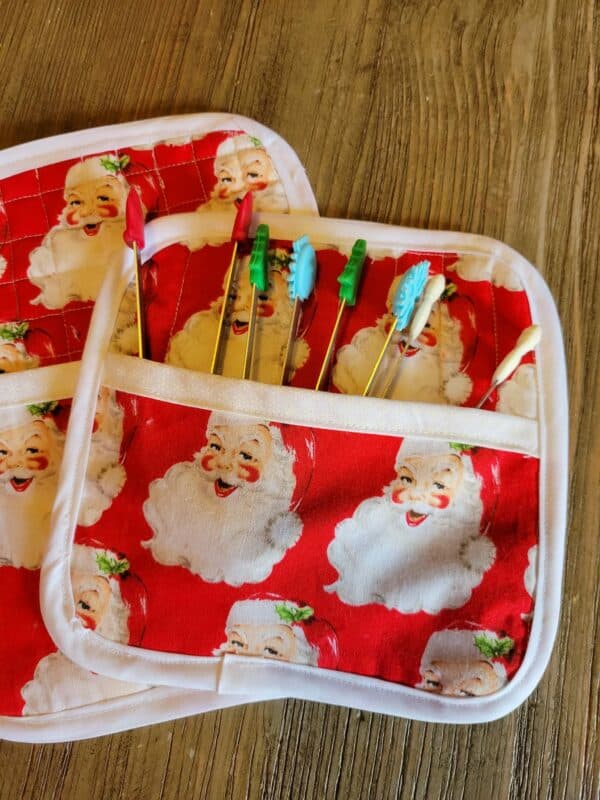
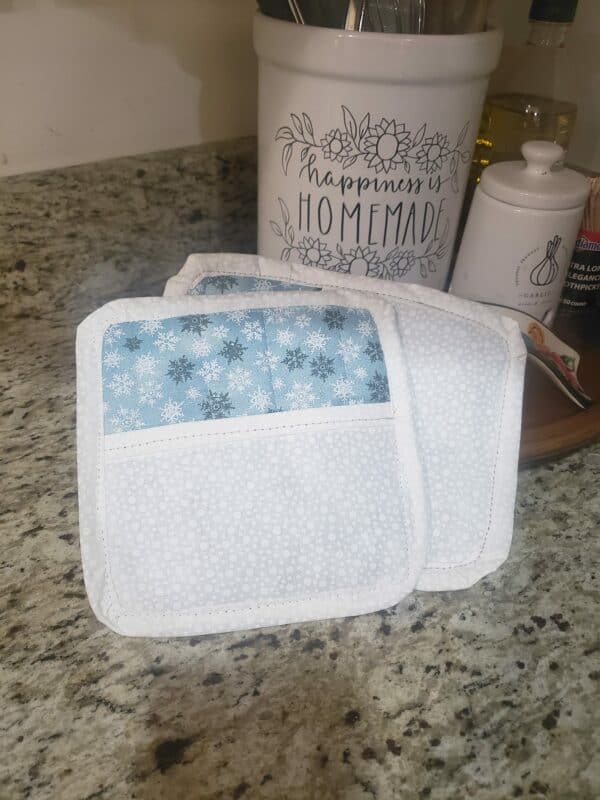
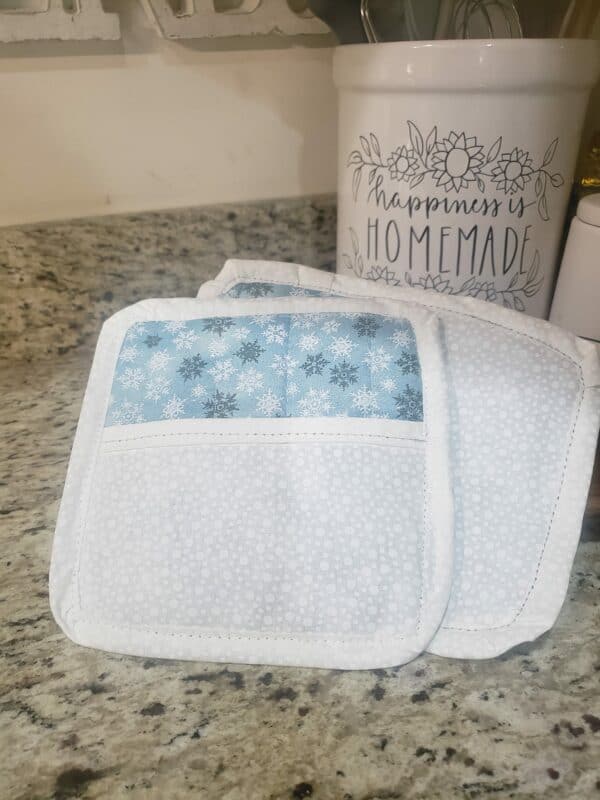
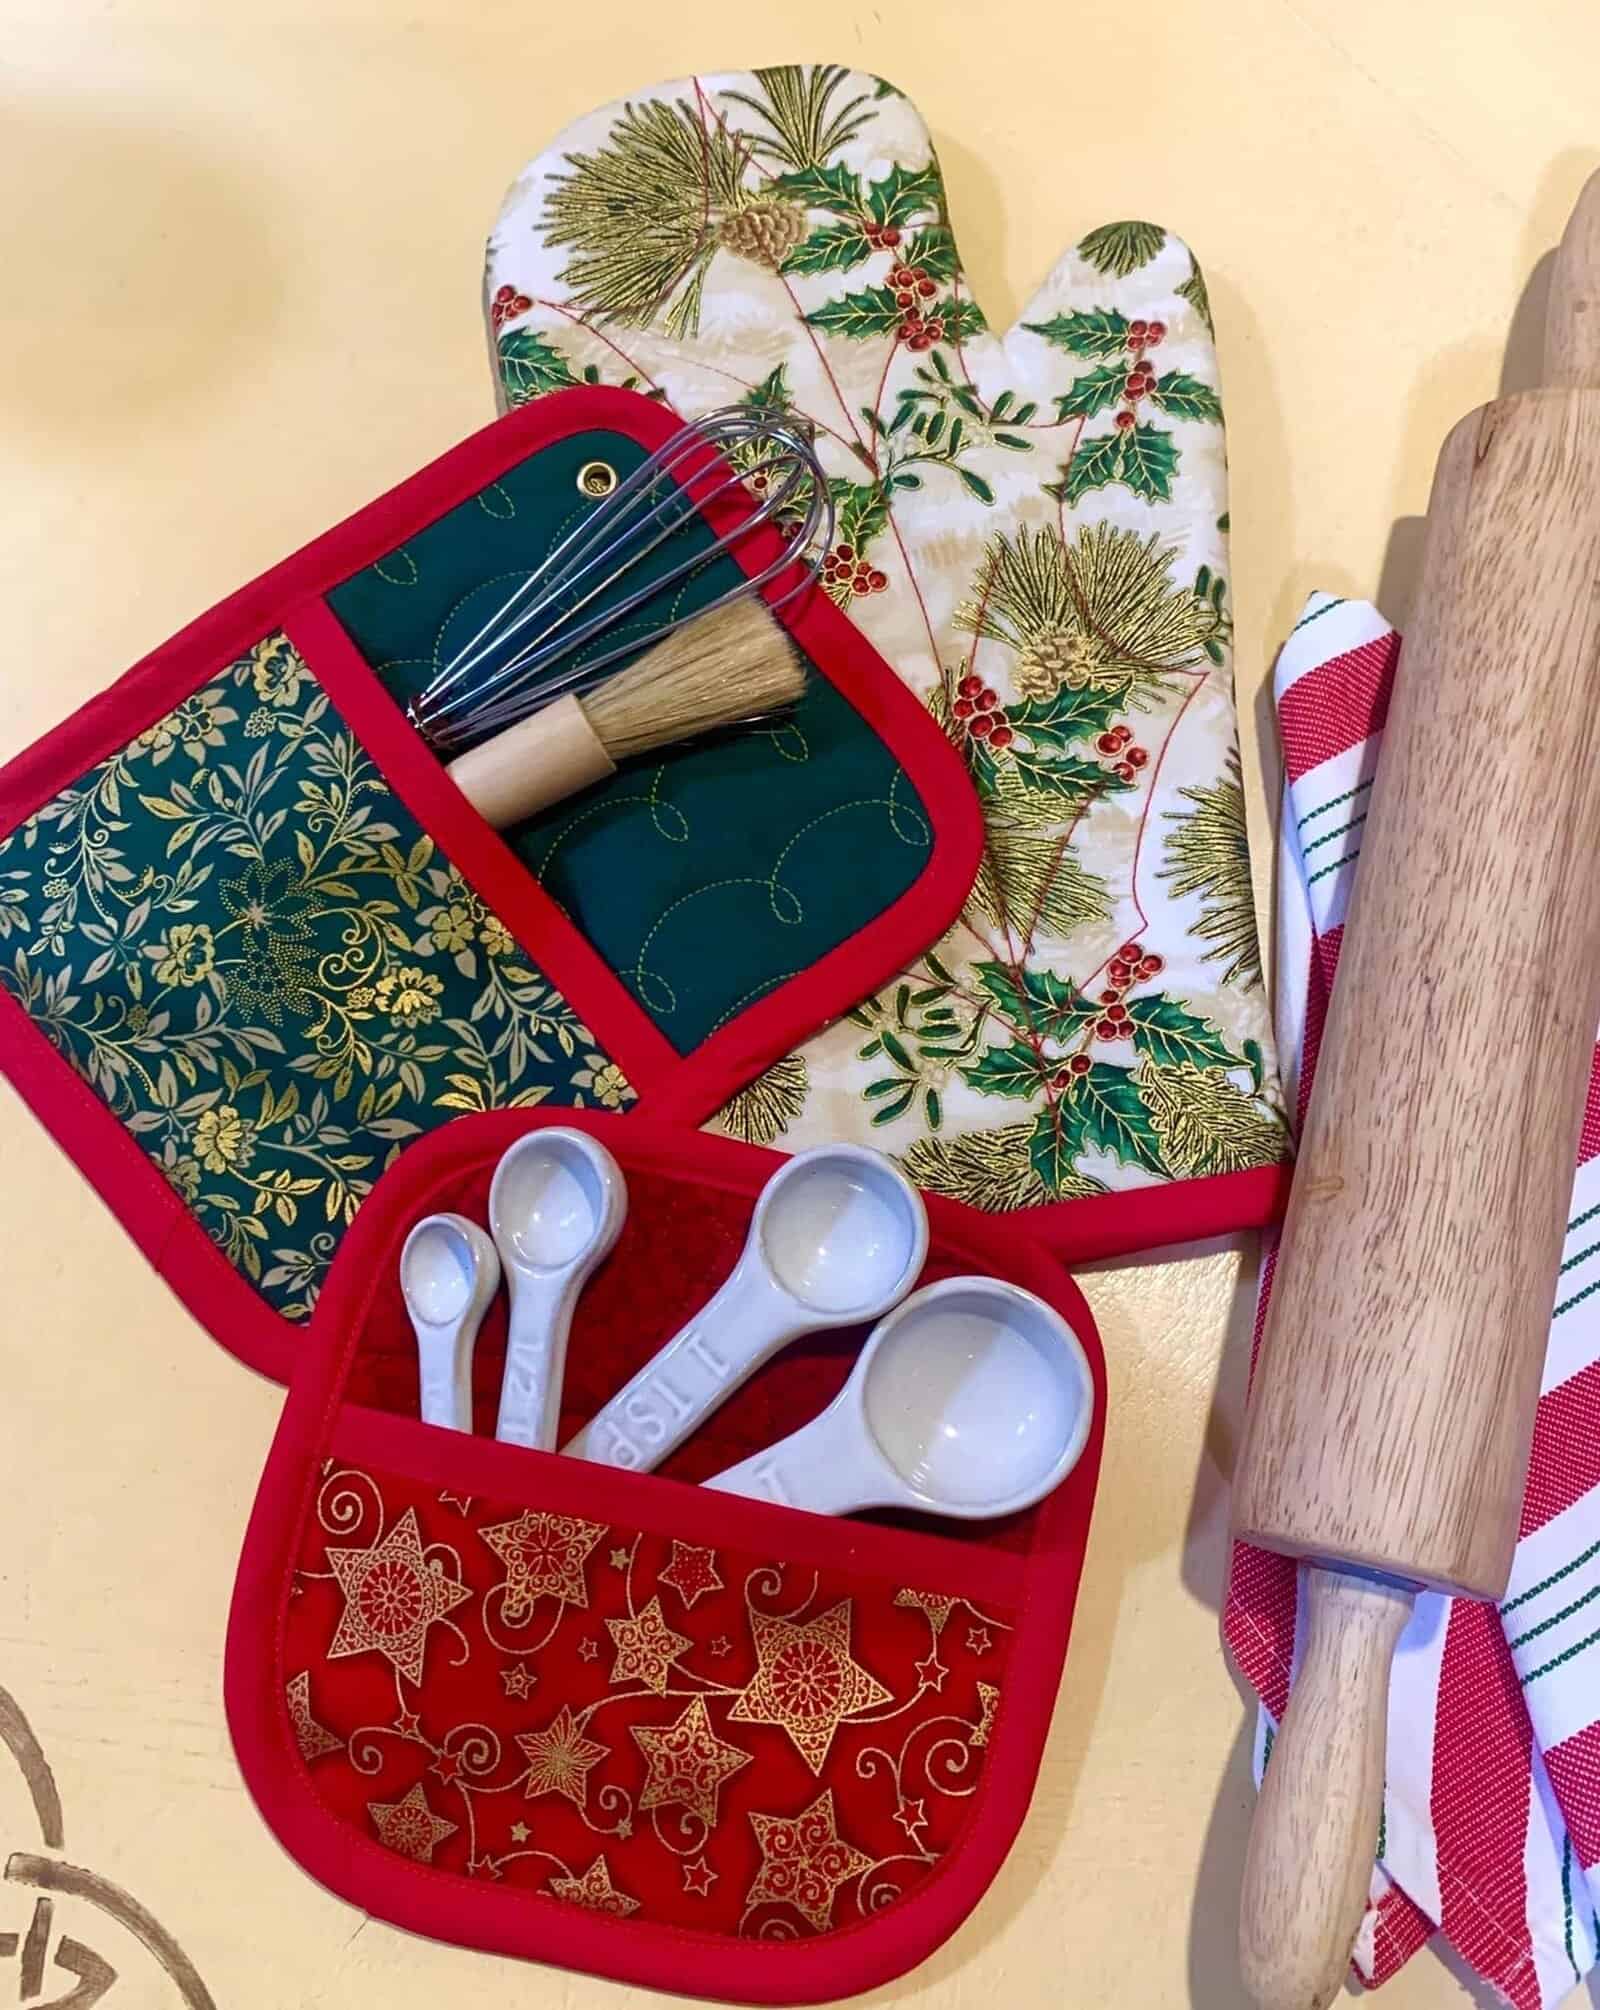
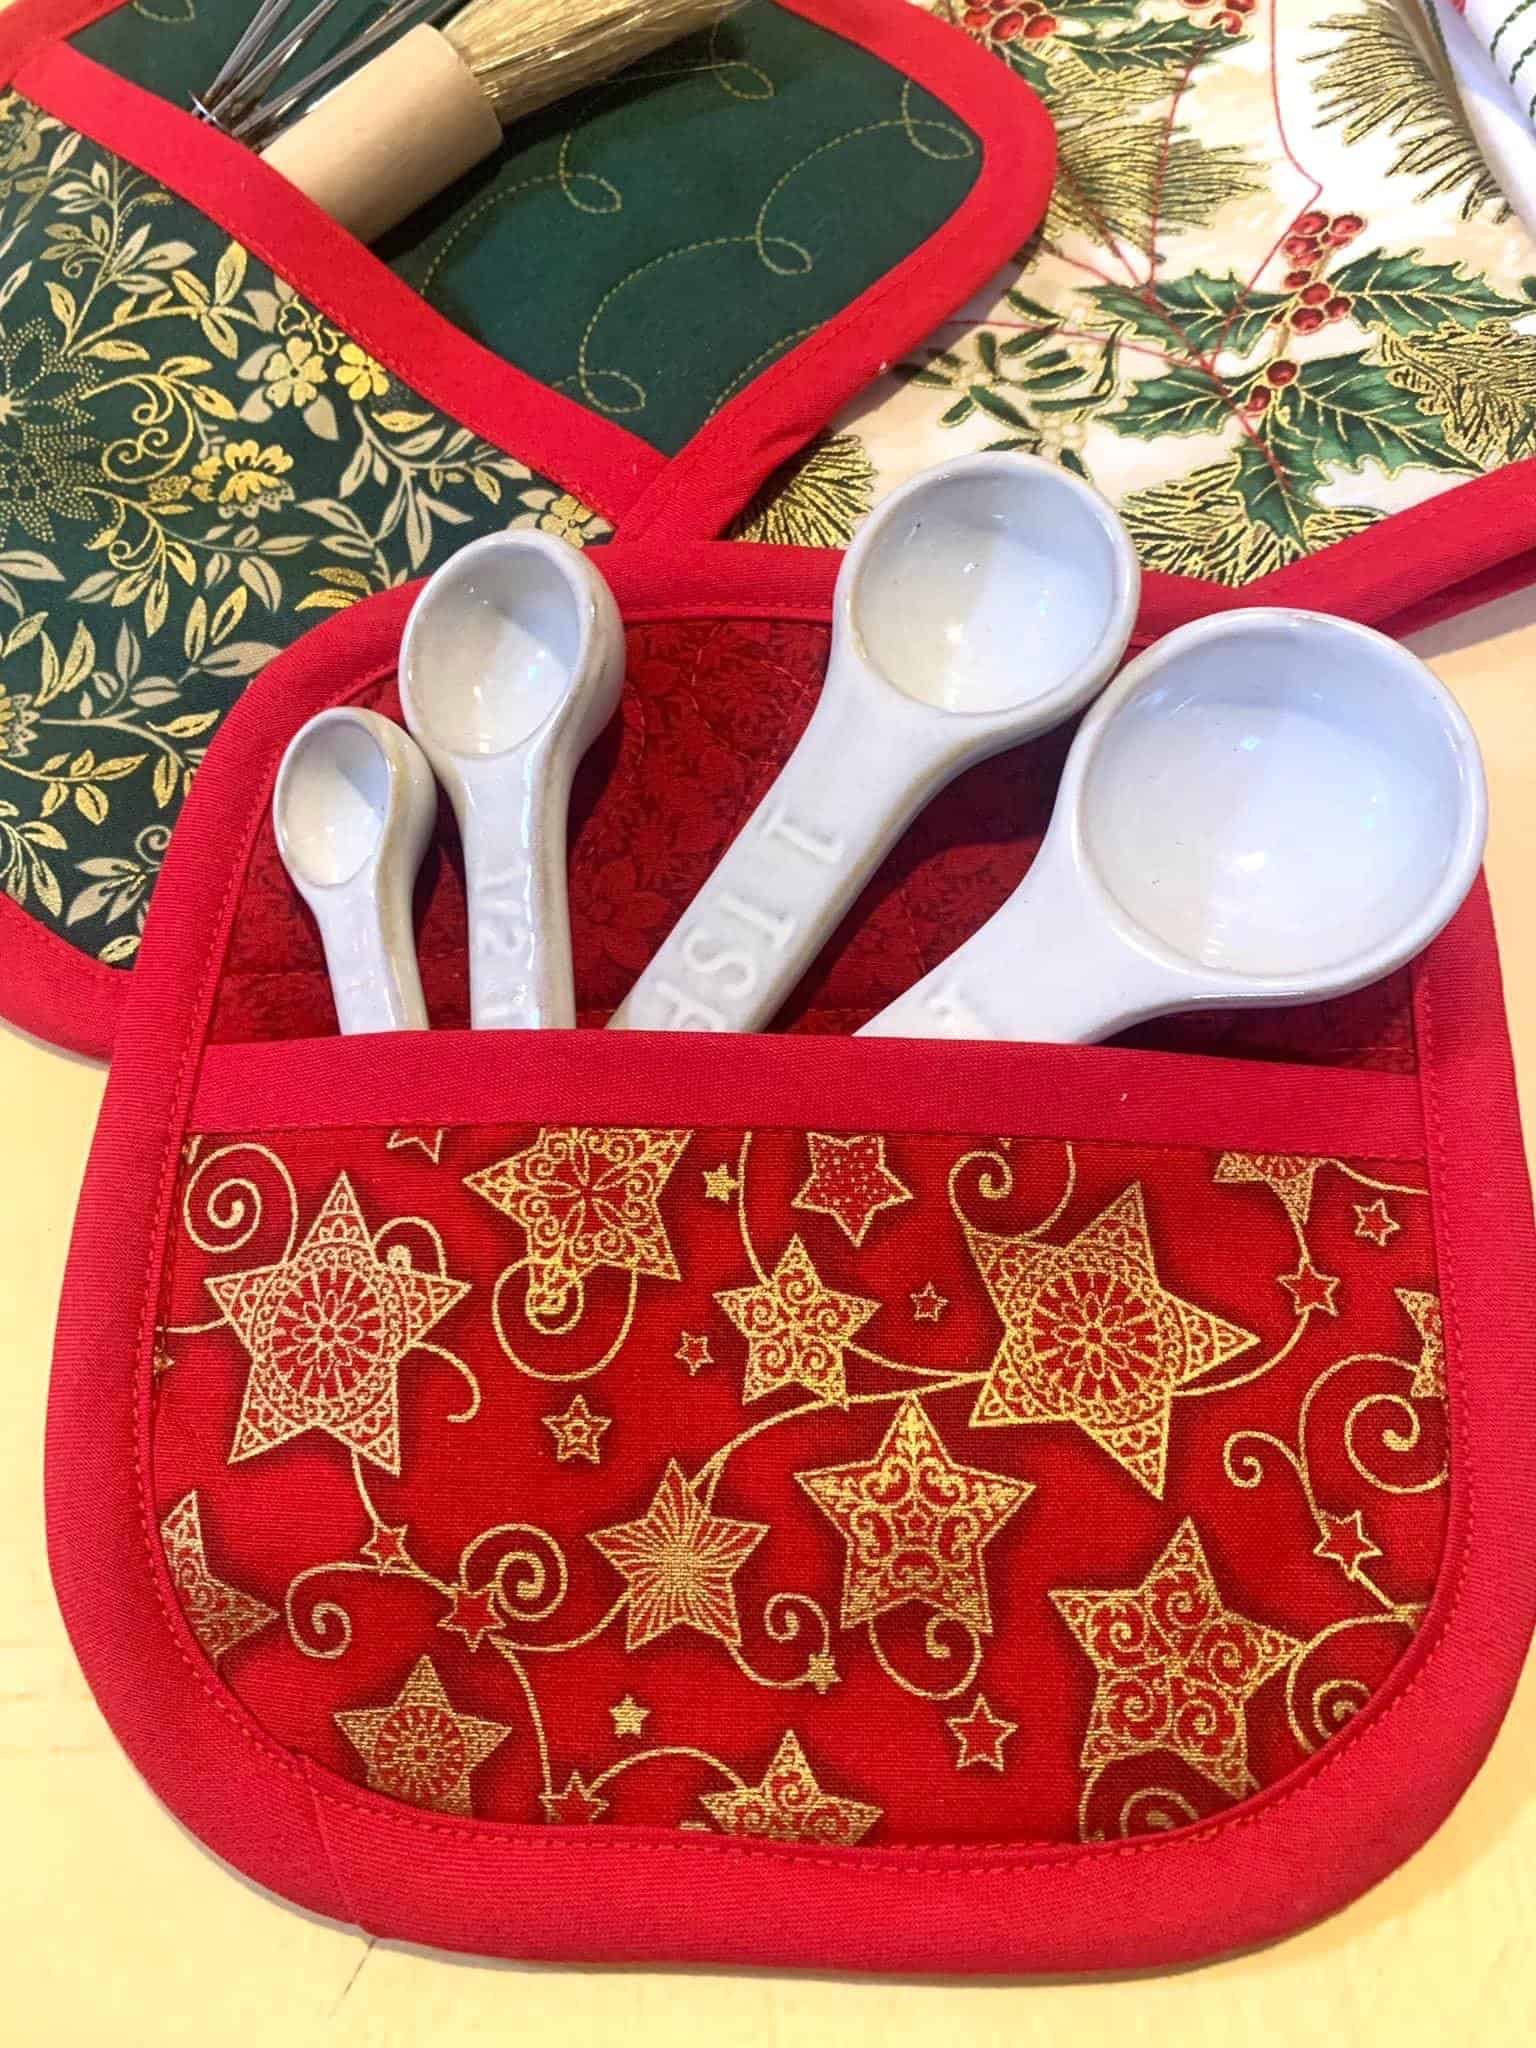
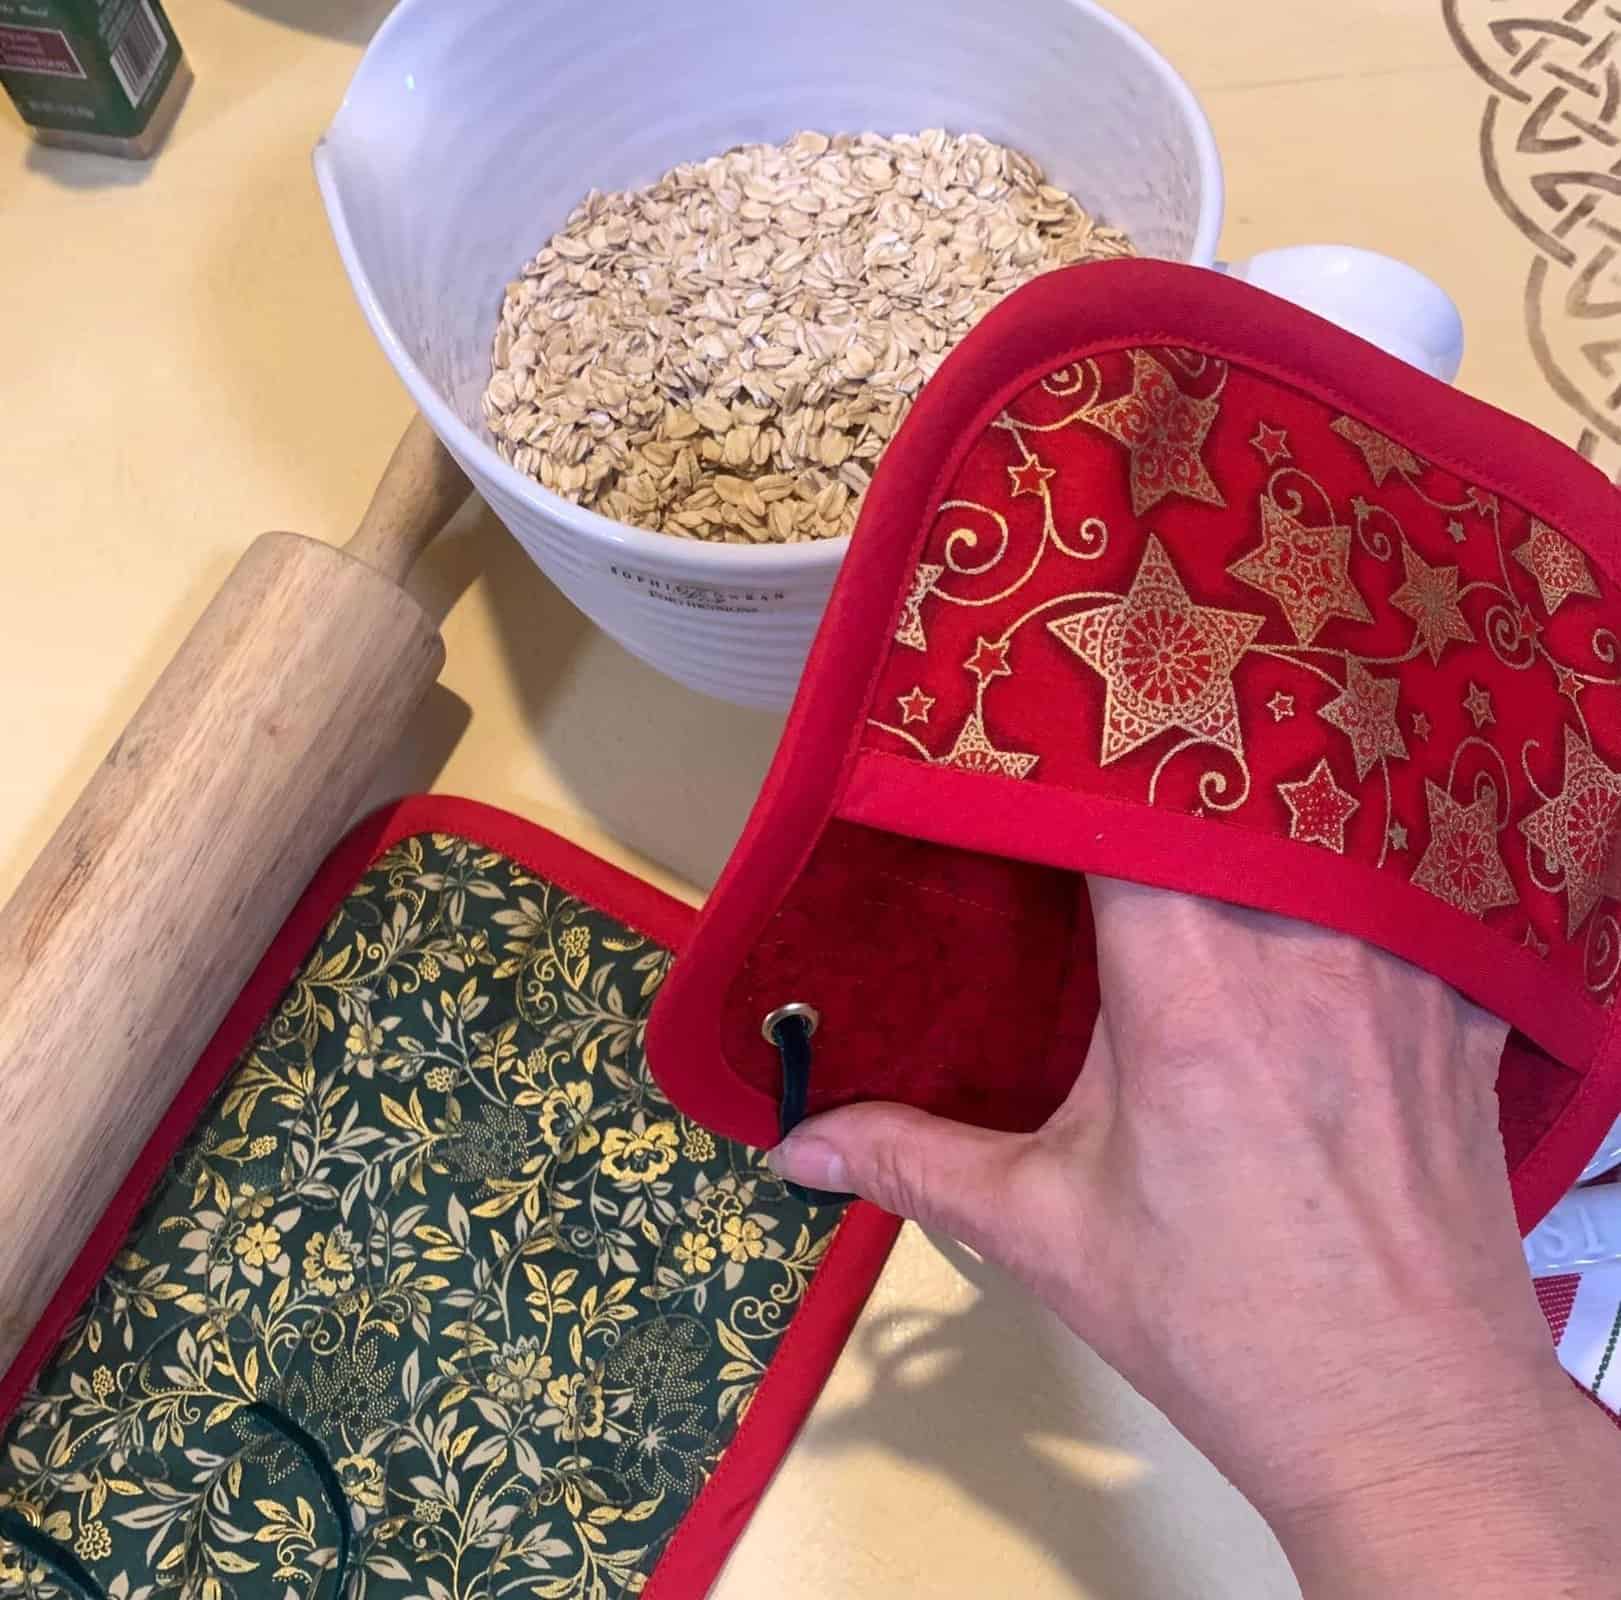
Step 4: CONSTRUCTING POCKETS
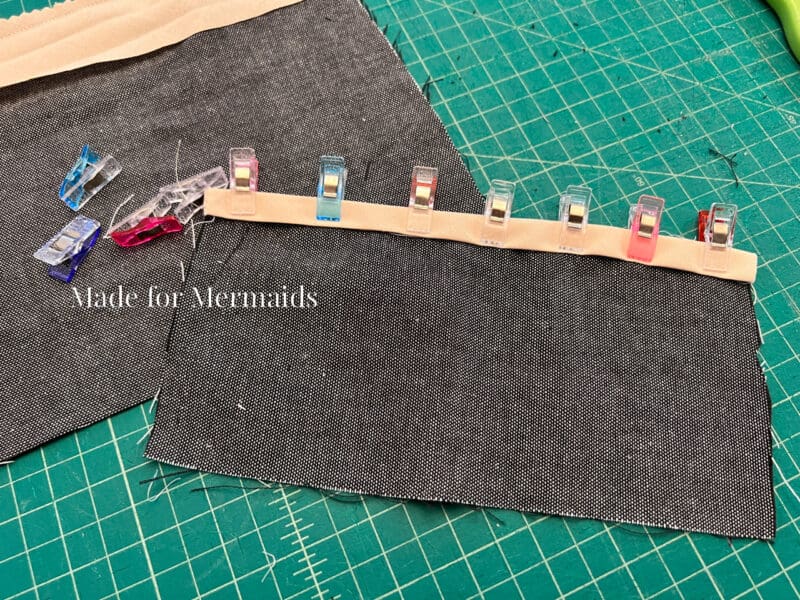
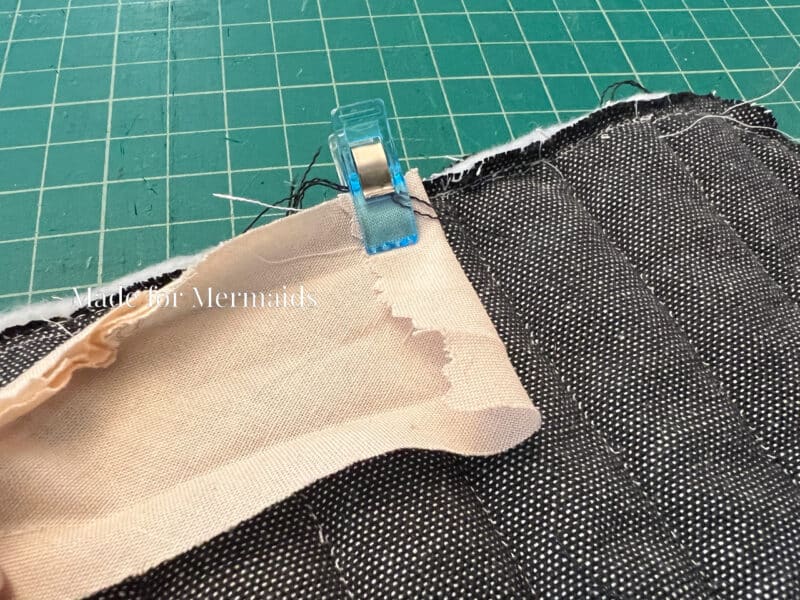
If you want a pocket on your potholder, we’ll start by attaching binding to the pocket piece. Place right side of binding to top raw edge of the wrong side of pocket piece.
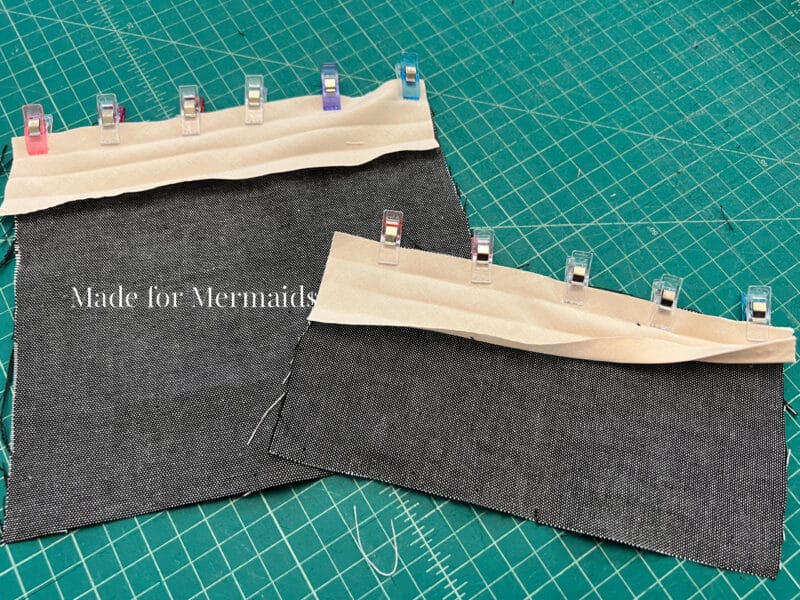
Stitch binding with 1/2″ seam allowance.
Trim seam allowance with pinking shears if desired.
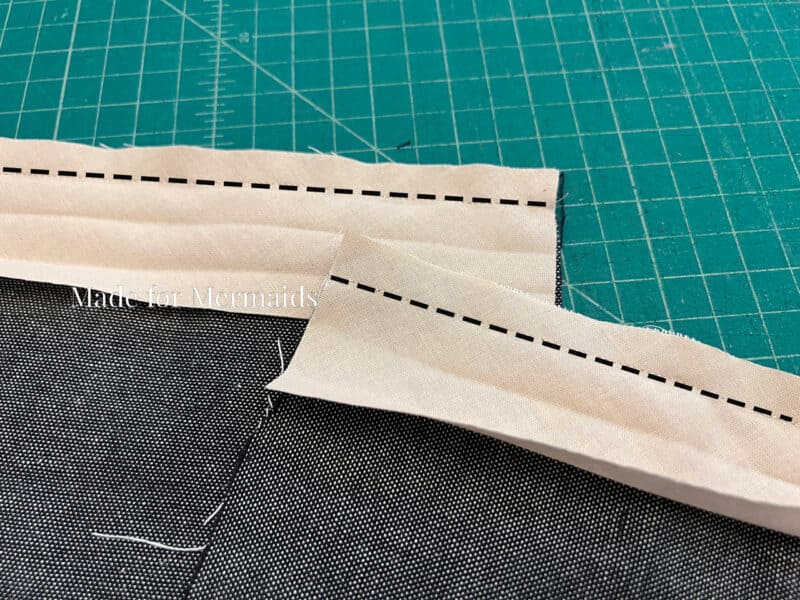
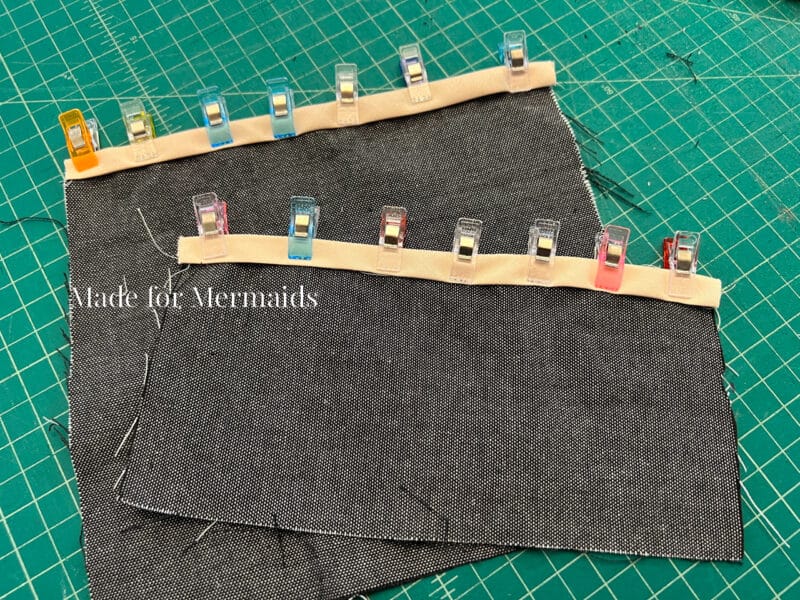
Refold the binding to enclose the seam and raw edge.

Stitch binding closed, as close to the edge as possible.
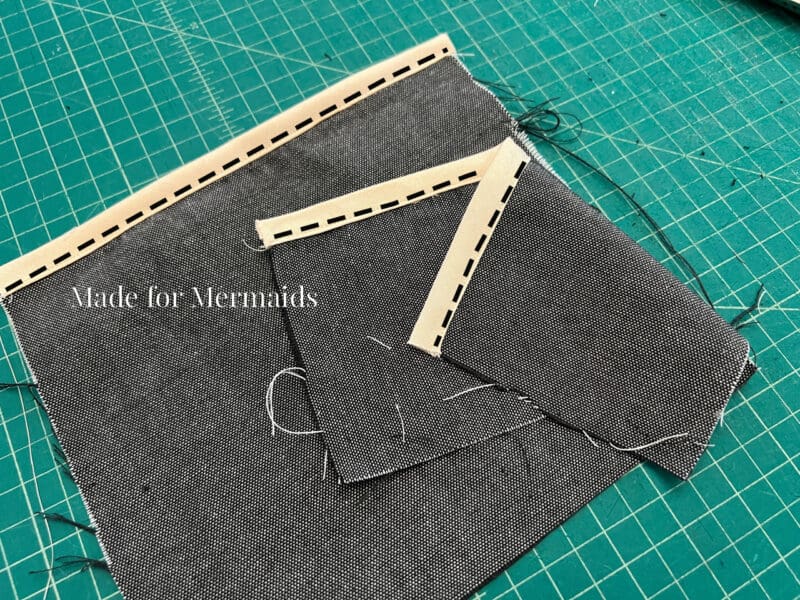
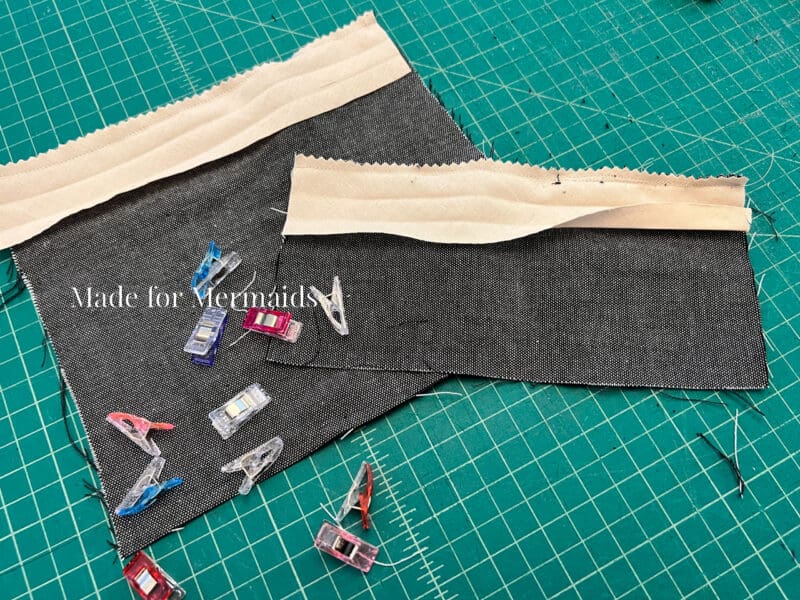
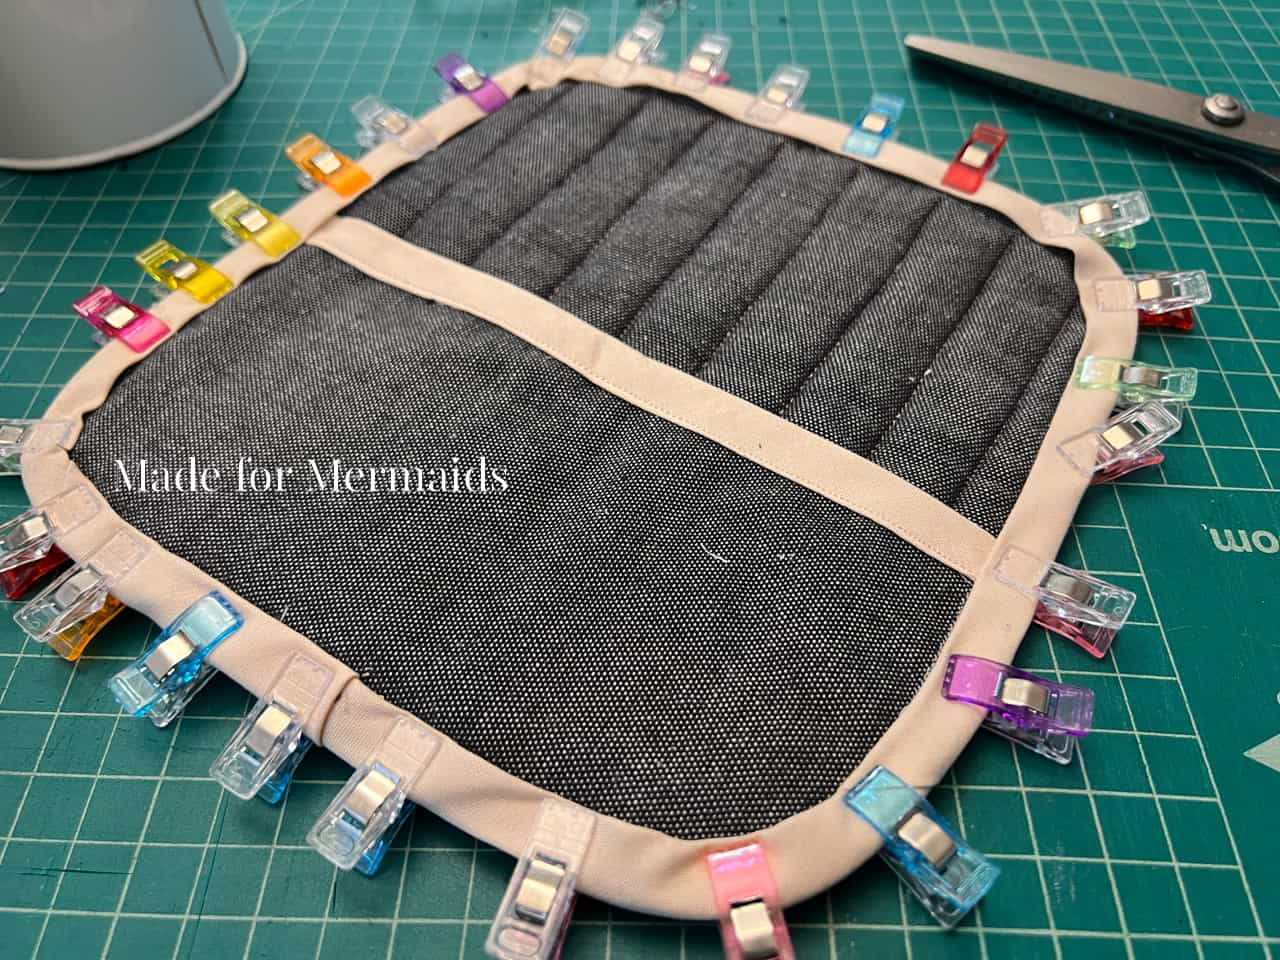
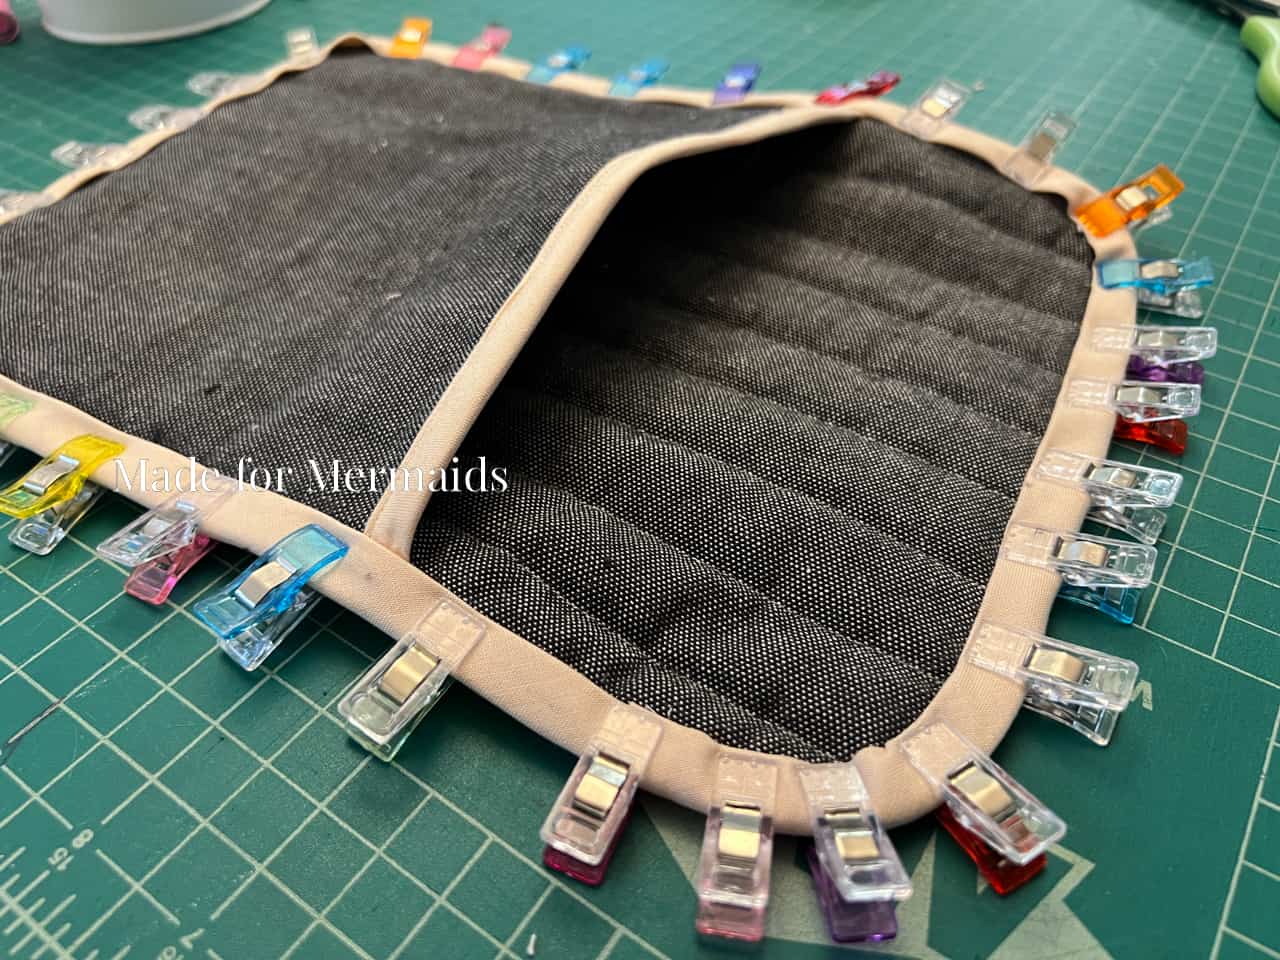
Place pocket piece(s) on top of potholder pieces, with right side of pocket facing up. Pin or clip the raw pocket edges in place. Trim the corners of the pocket to match the rounded edge of the potholder piece.
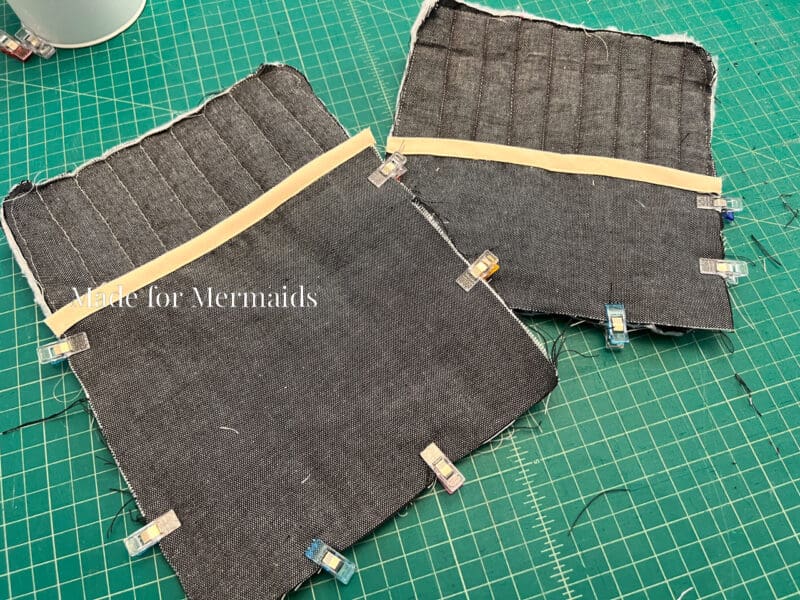
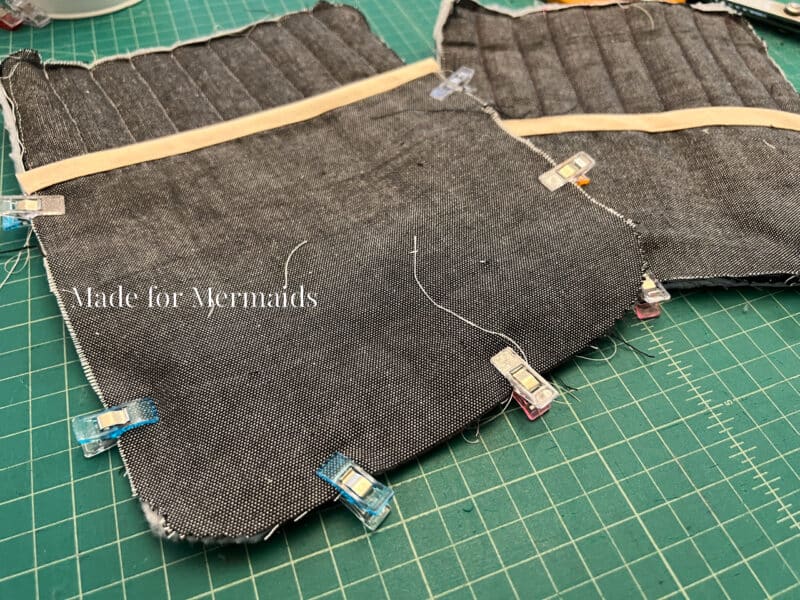
Baste along outer edges; do not stitch pocket opening closed!
Step 5: BINDING
Once pocket is basted on, we will attach the outer binding. Fold or press one raw short edge of the binding toward the wrong side 1/2″.
Pin or clip binding edge to outer potholder edge, right sides together. Continue along the entire outer edge of potholder, overlapping the binding by about 1-2″.
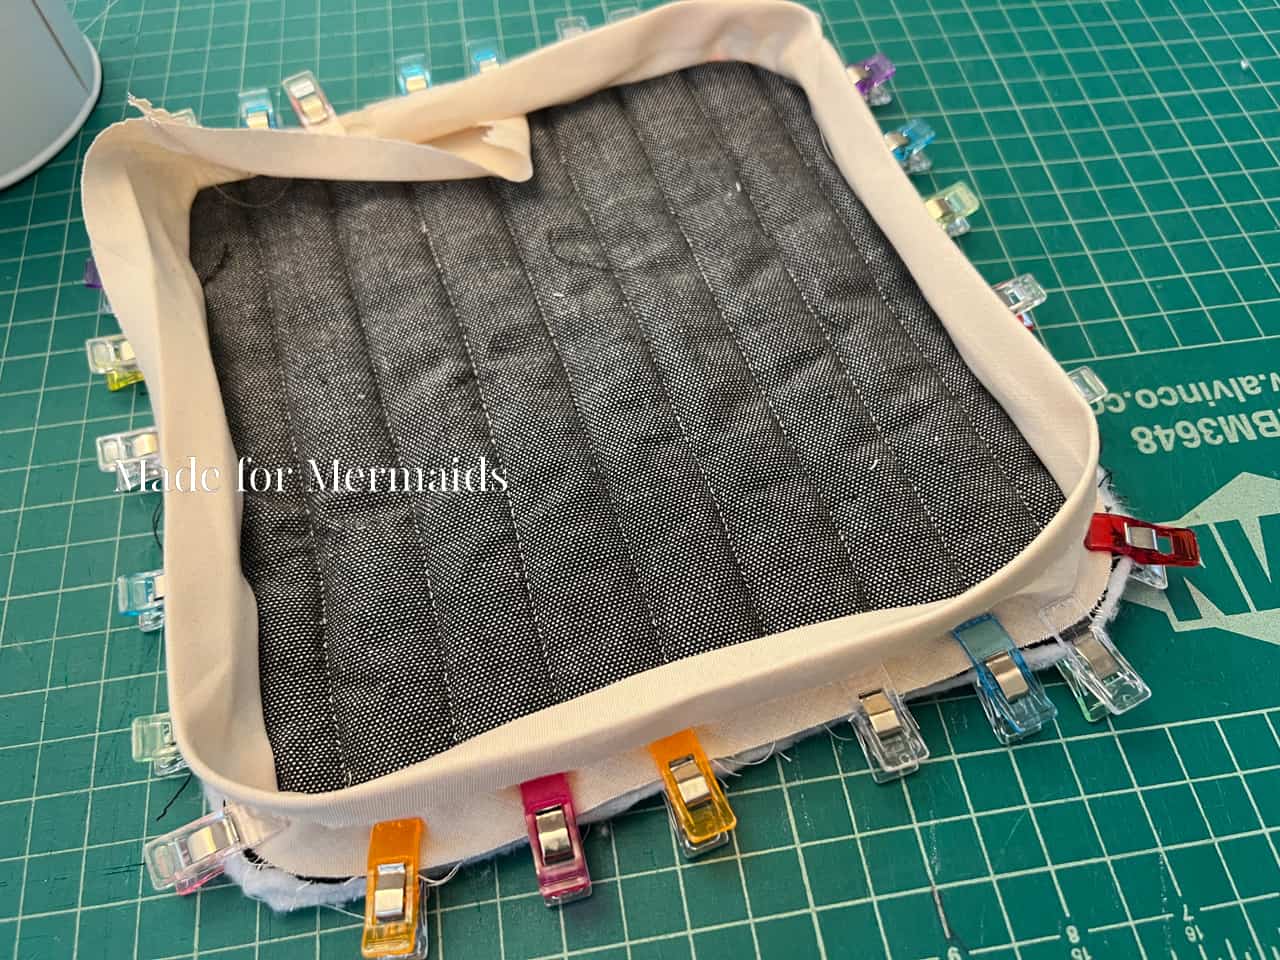
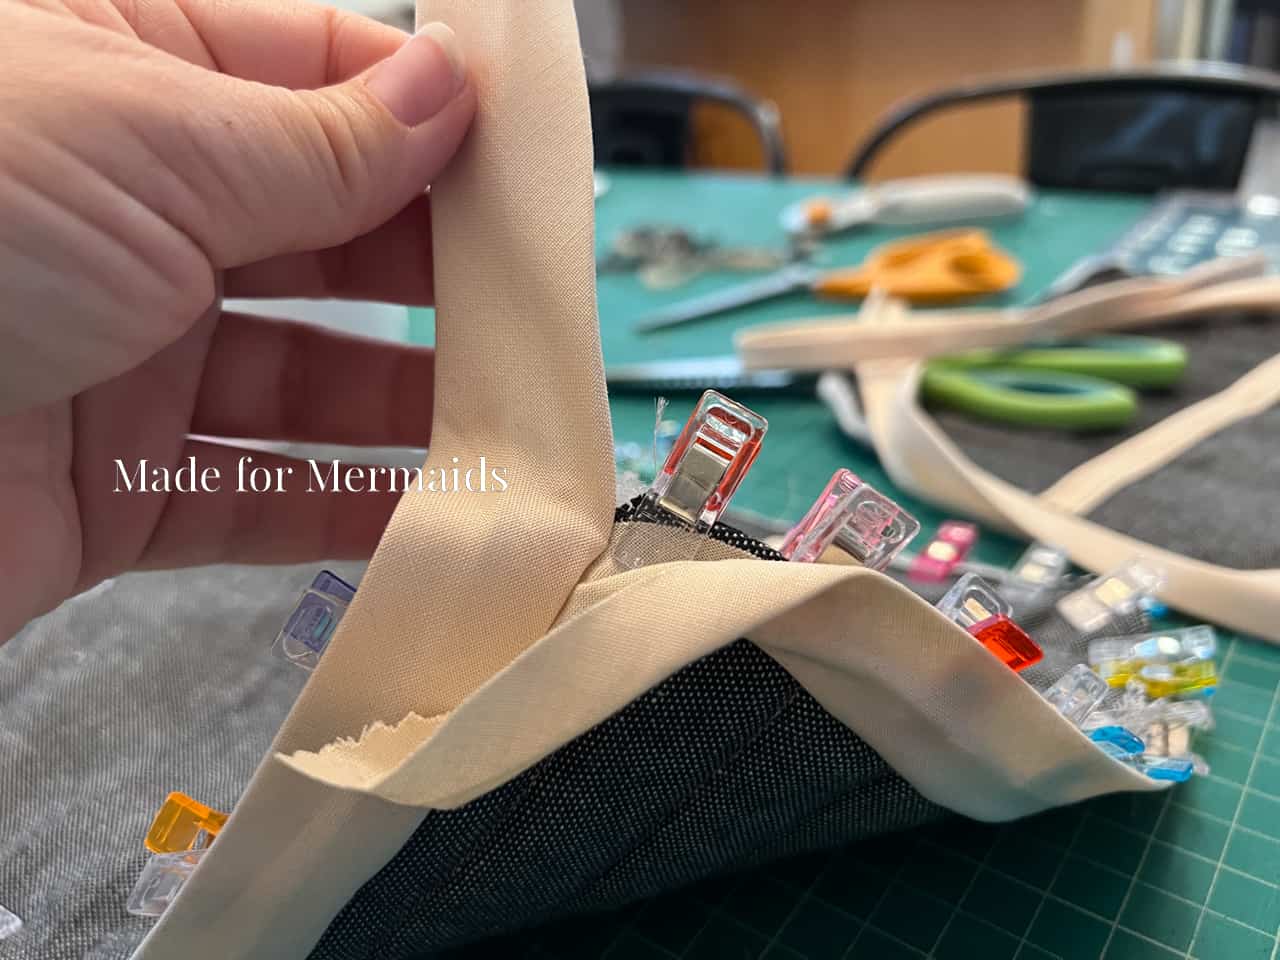
Stitch binding to the potholder with 1/2″ seam allowance.

Trim seam allowance with pinking shears if desired.
Refold binding. Pin or clip in place.
Stitch in place, as close to the binding edge as possible.
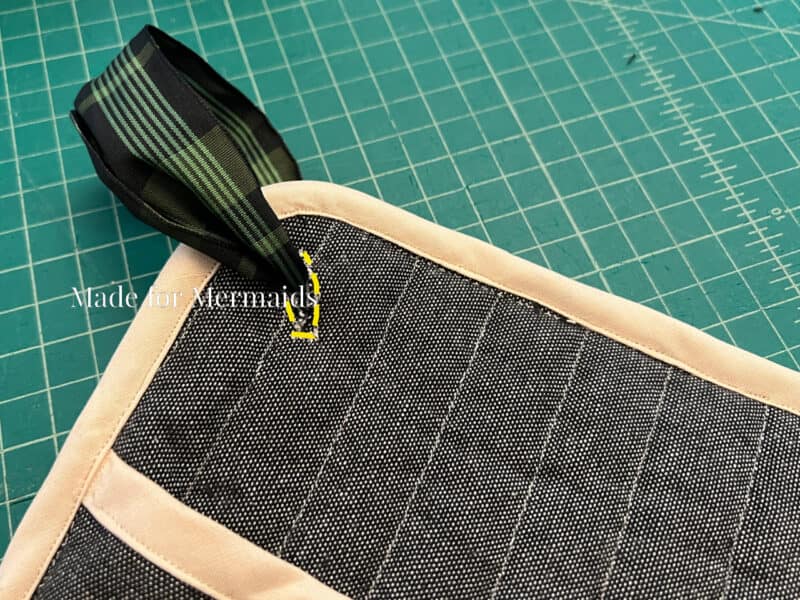
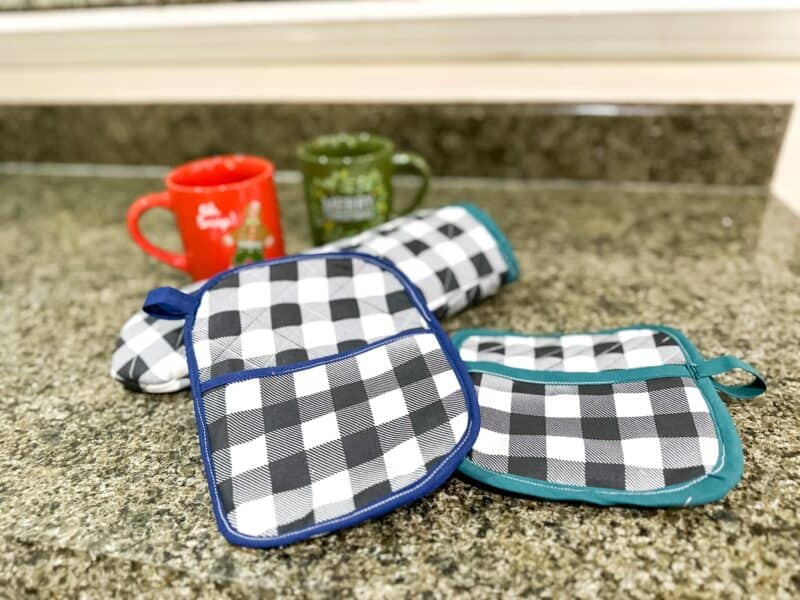
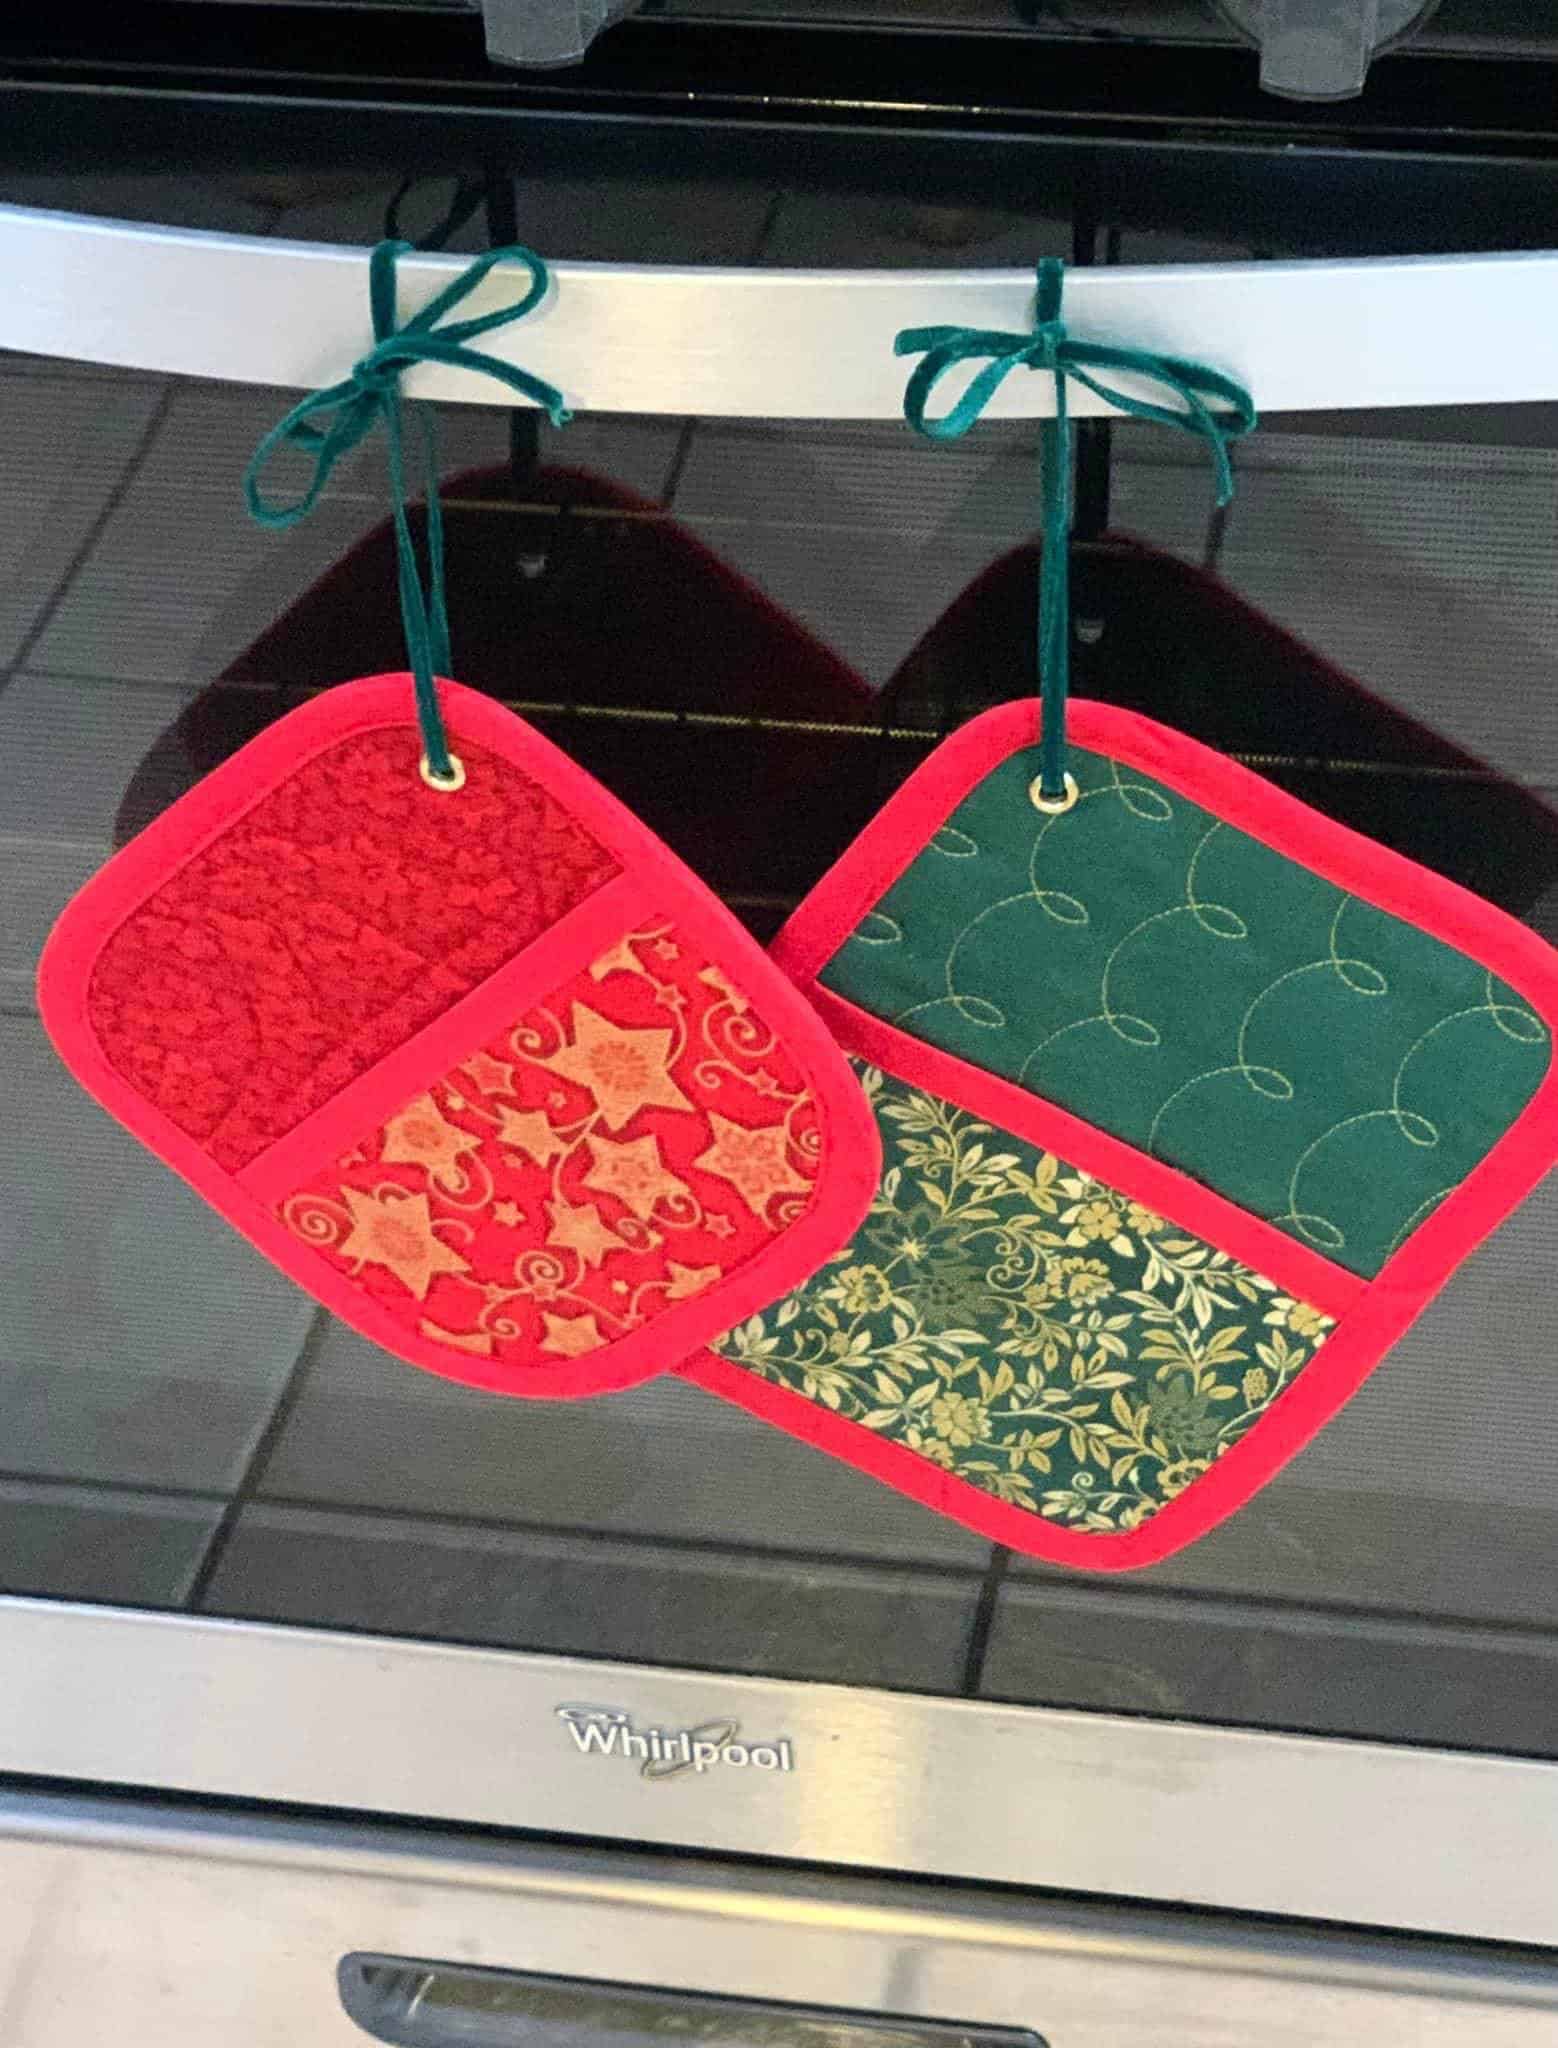
Step 6: OPTIONAL – BUTTONHOLE, GROMMET, ETC.
If you want, you can add a buttonhole, grommet, ribbon, etc. to create a loop/hook. You can also add a small piece of binding as a loop, attach a ribbon, really anything you’d like! Our potholders just live in a drawer, so I wasn’t too worried about creating a way to hang mine up.
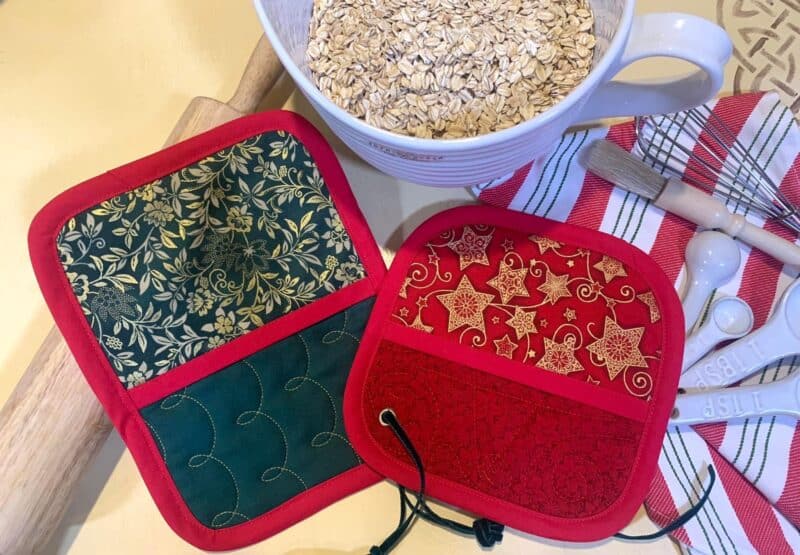
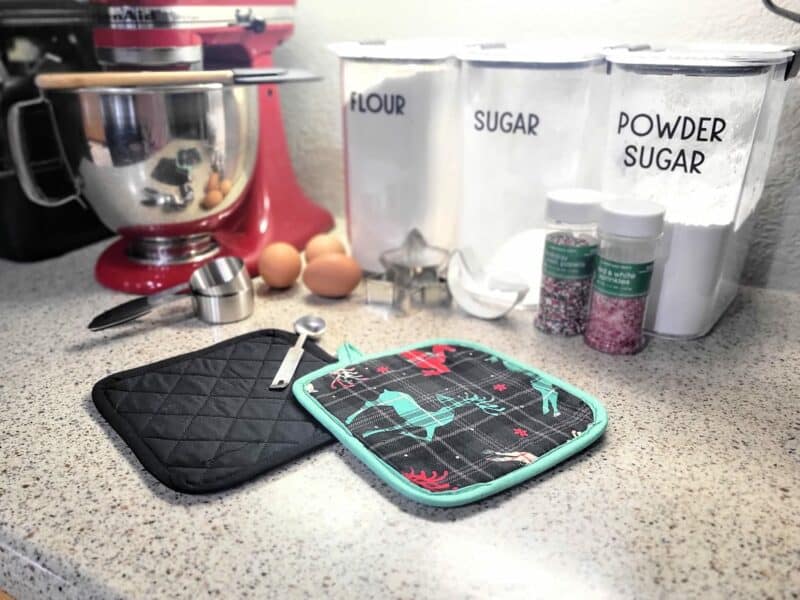
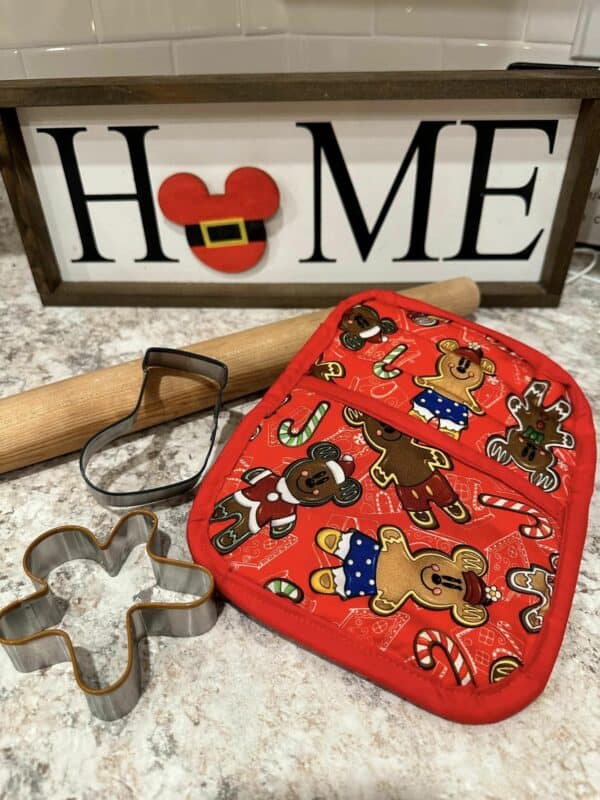
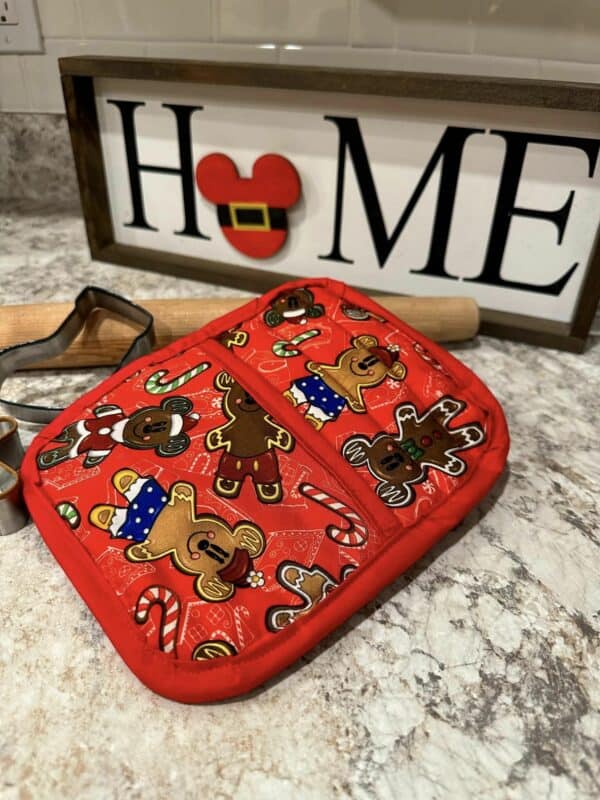
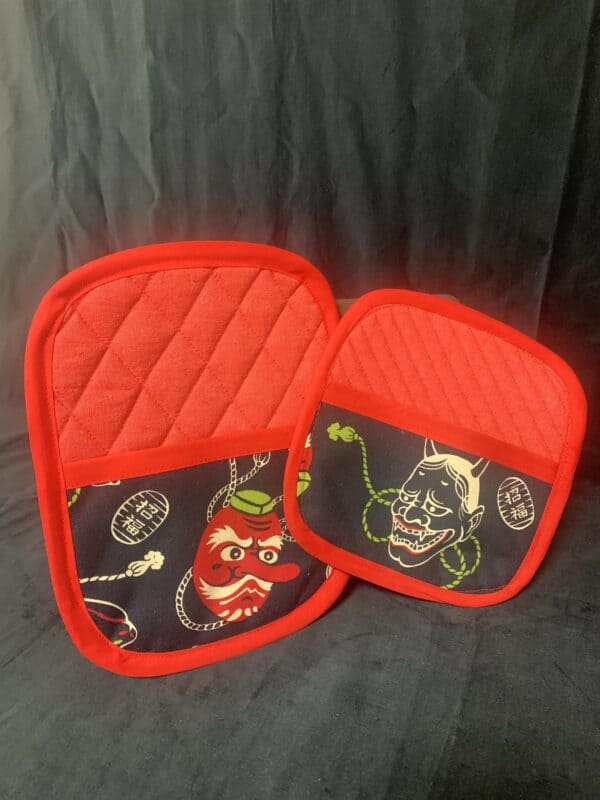
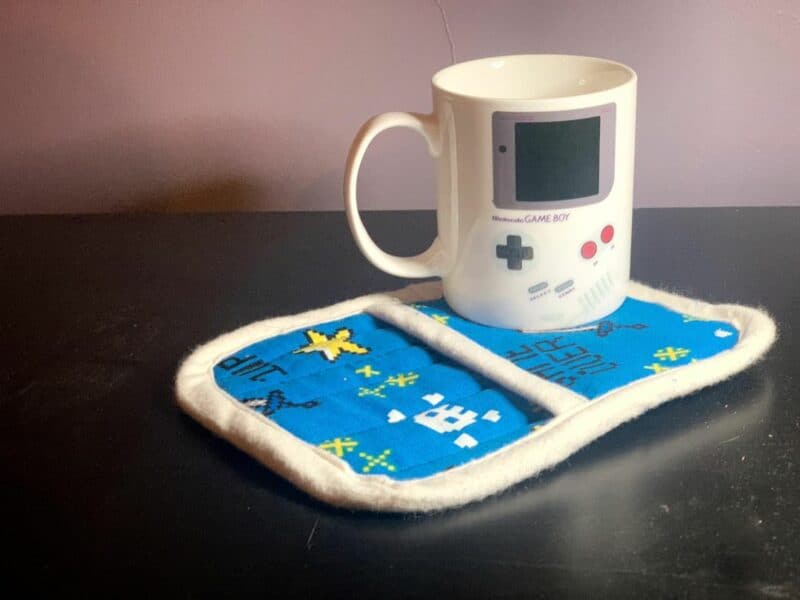
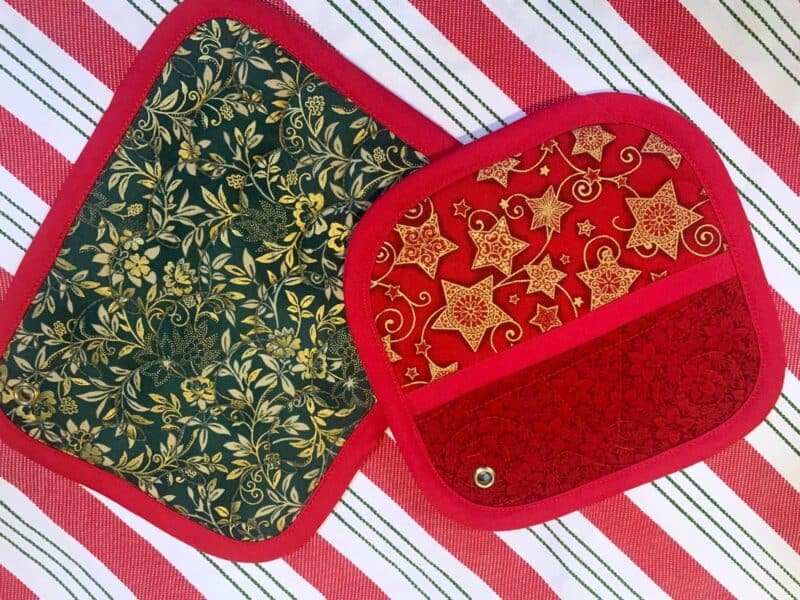
These would make a great hostess gift, especially if you pair it with our oven mitts, chef hat, cloth napkins, and reusable kitchen sponge and cleaning cloth.


Leave a Reply