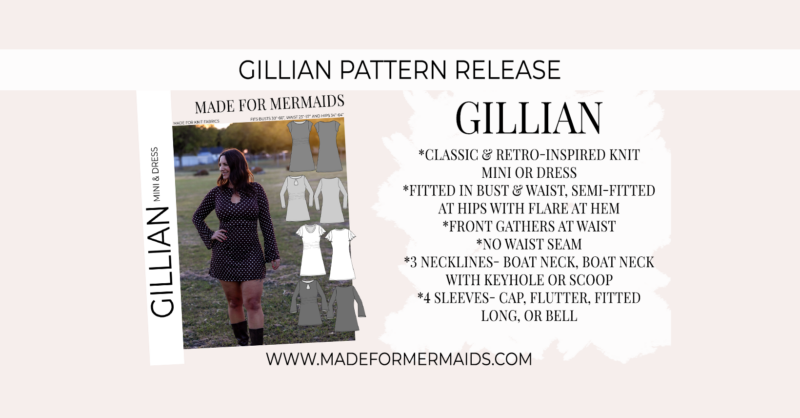
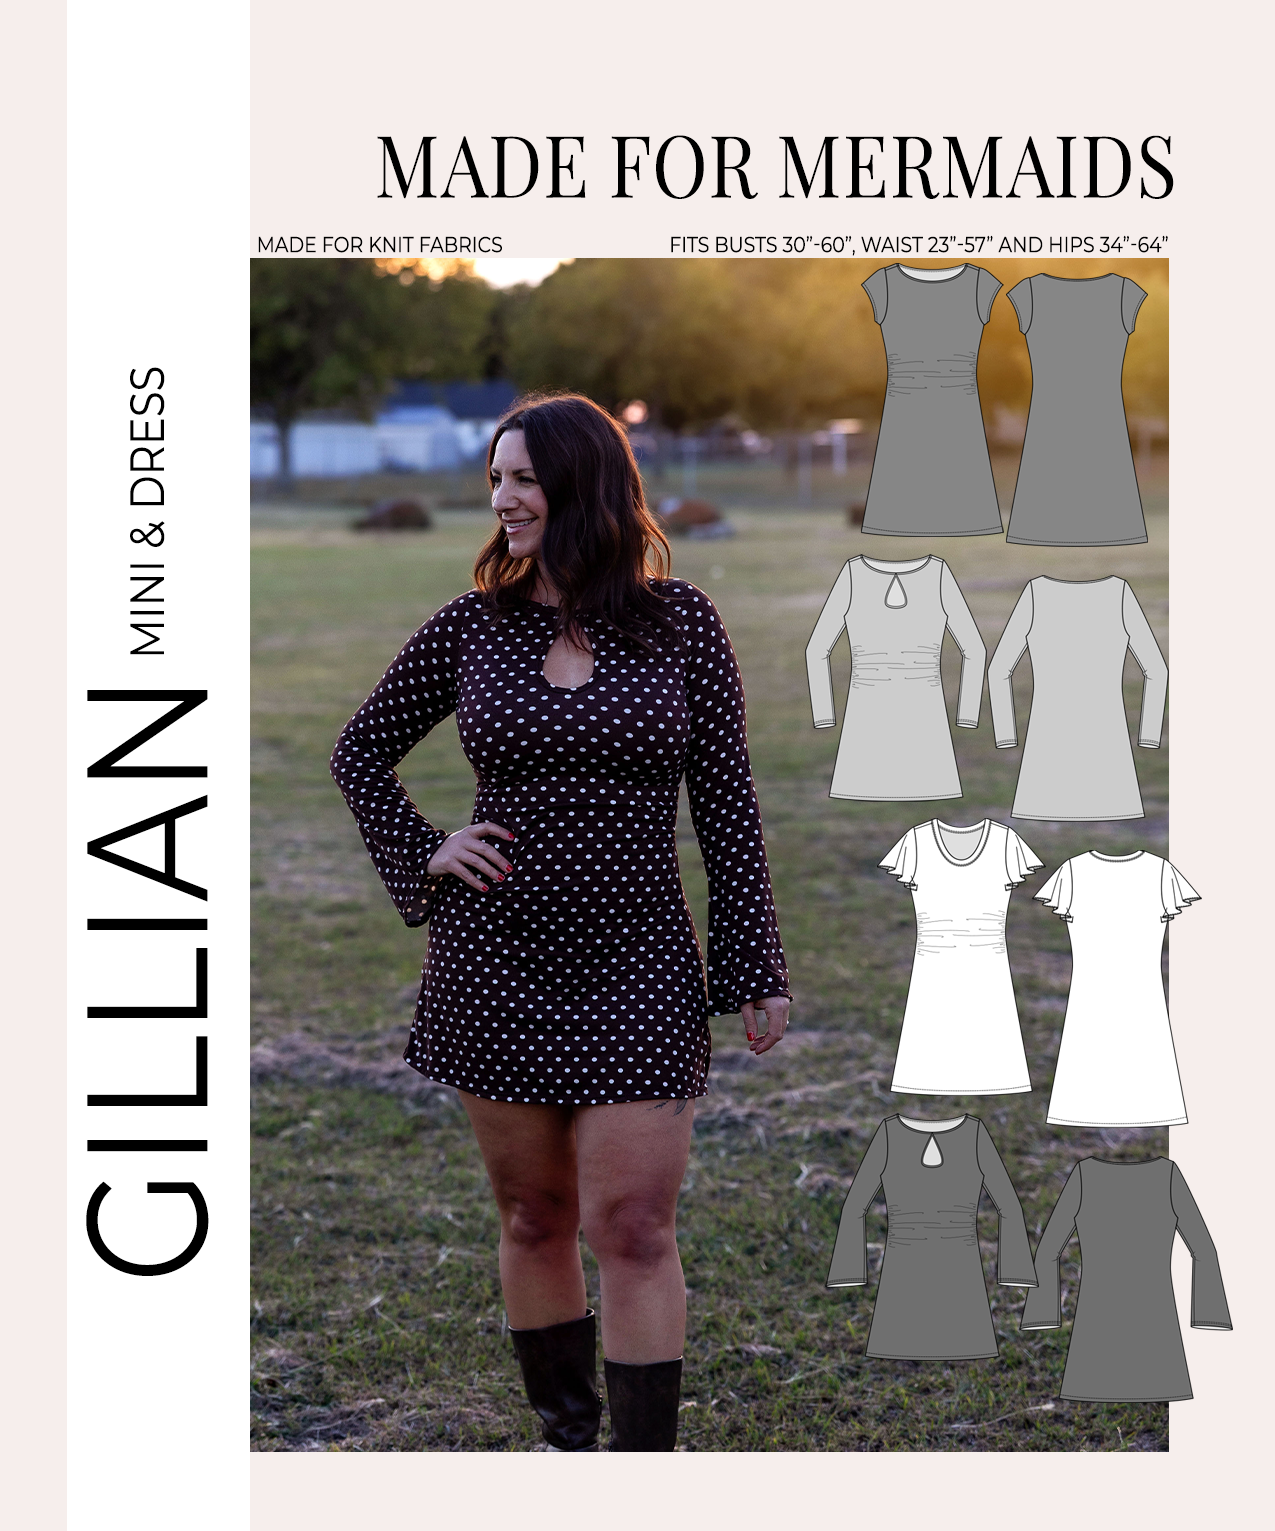
Our newest pattern is here, and I’m so excited to introduce Gillian! This fun knit dress has a classic, slightly retro-inspired feel, with so many ways to make it your own!
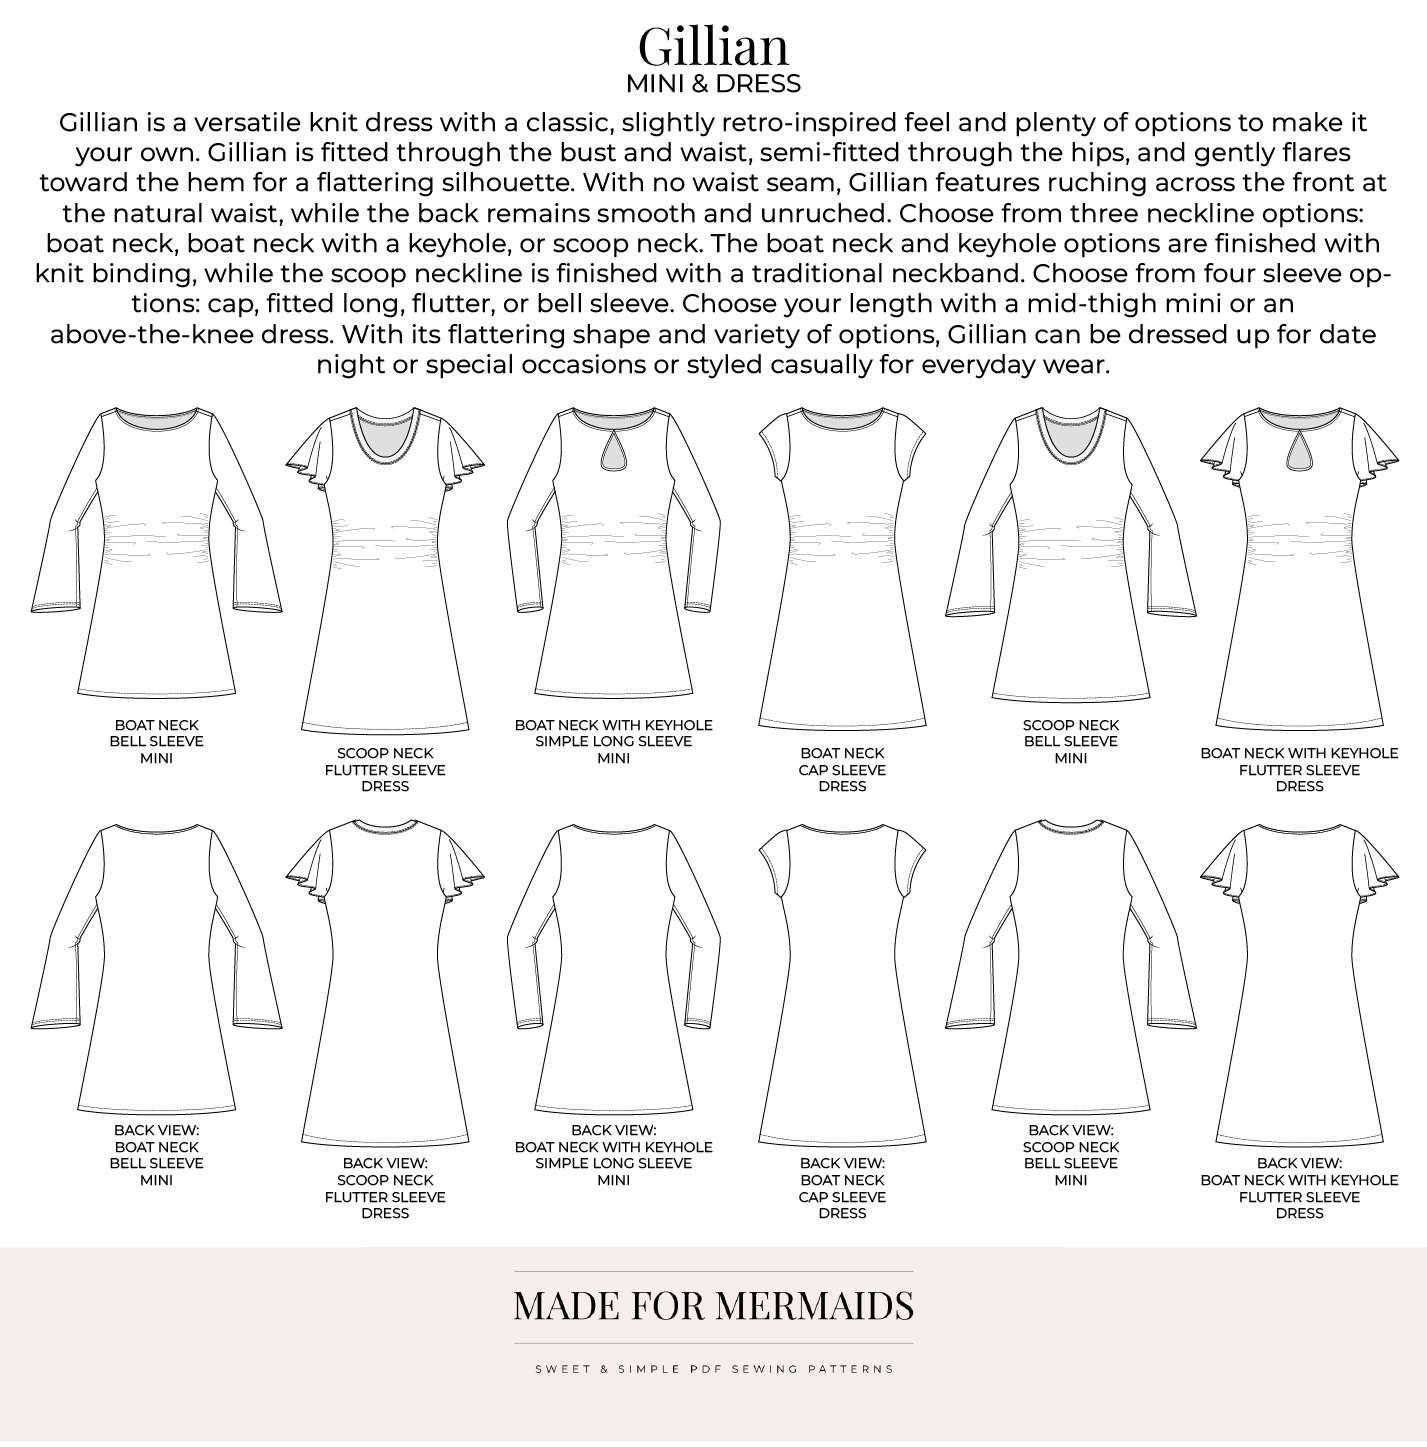
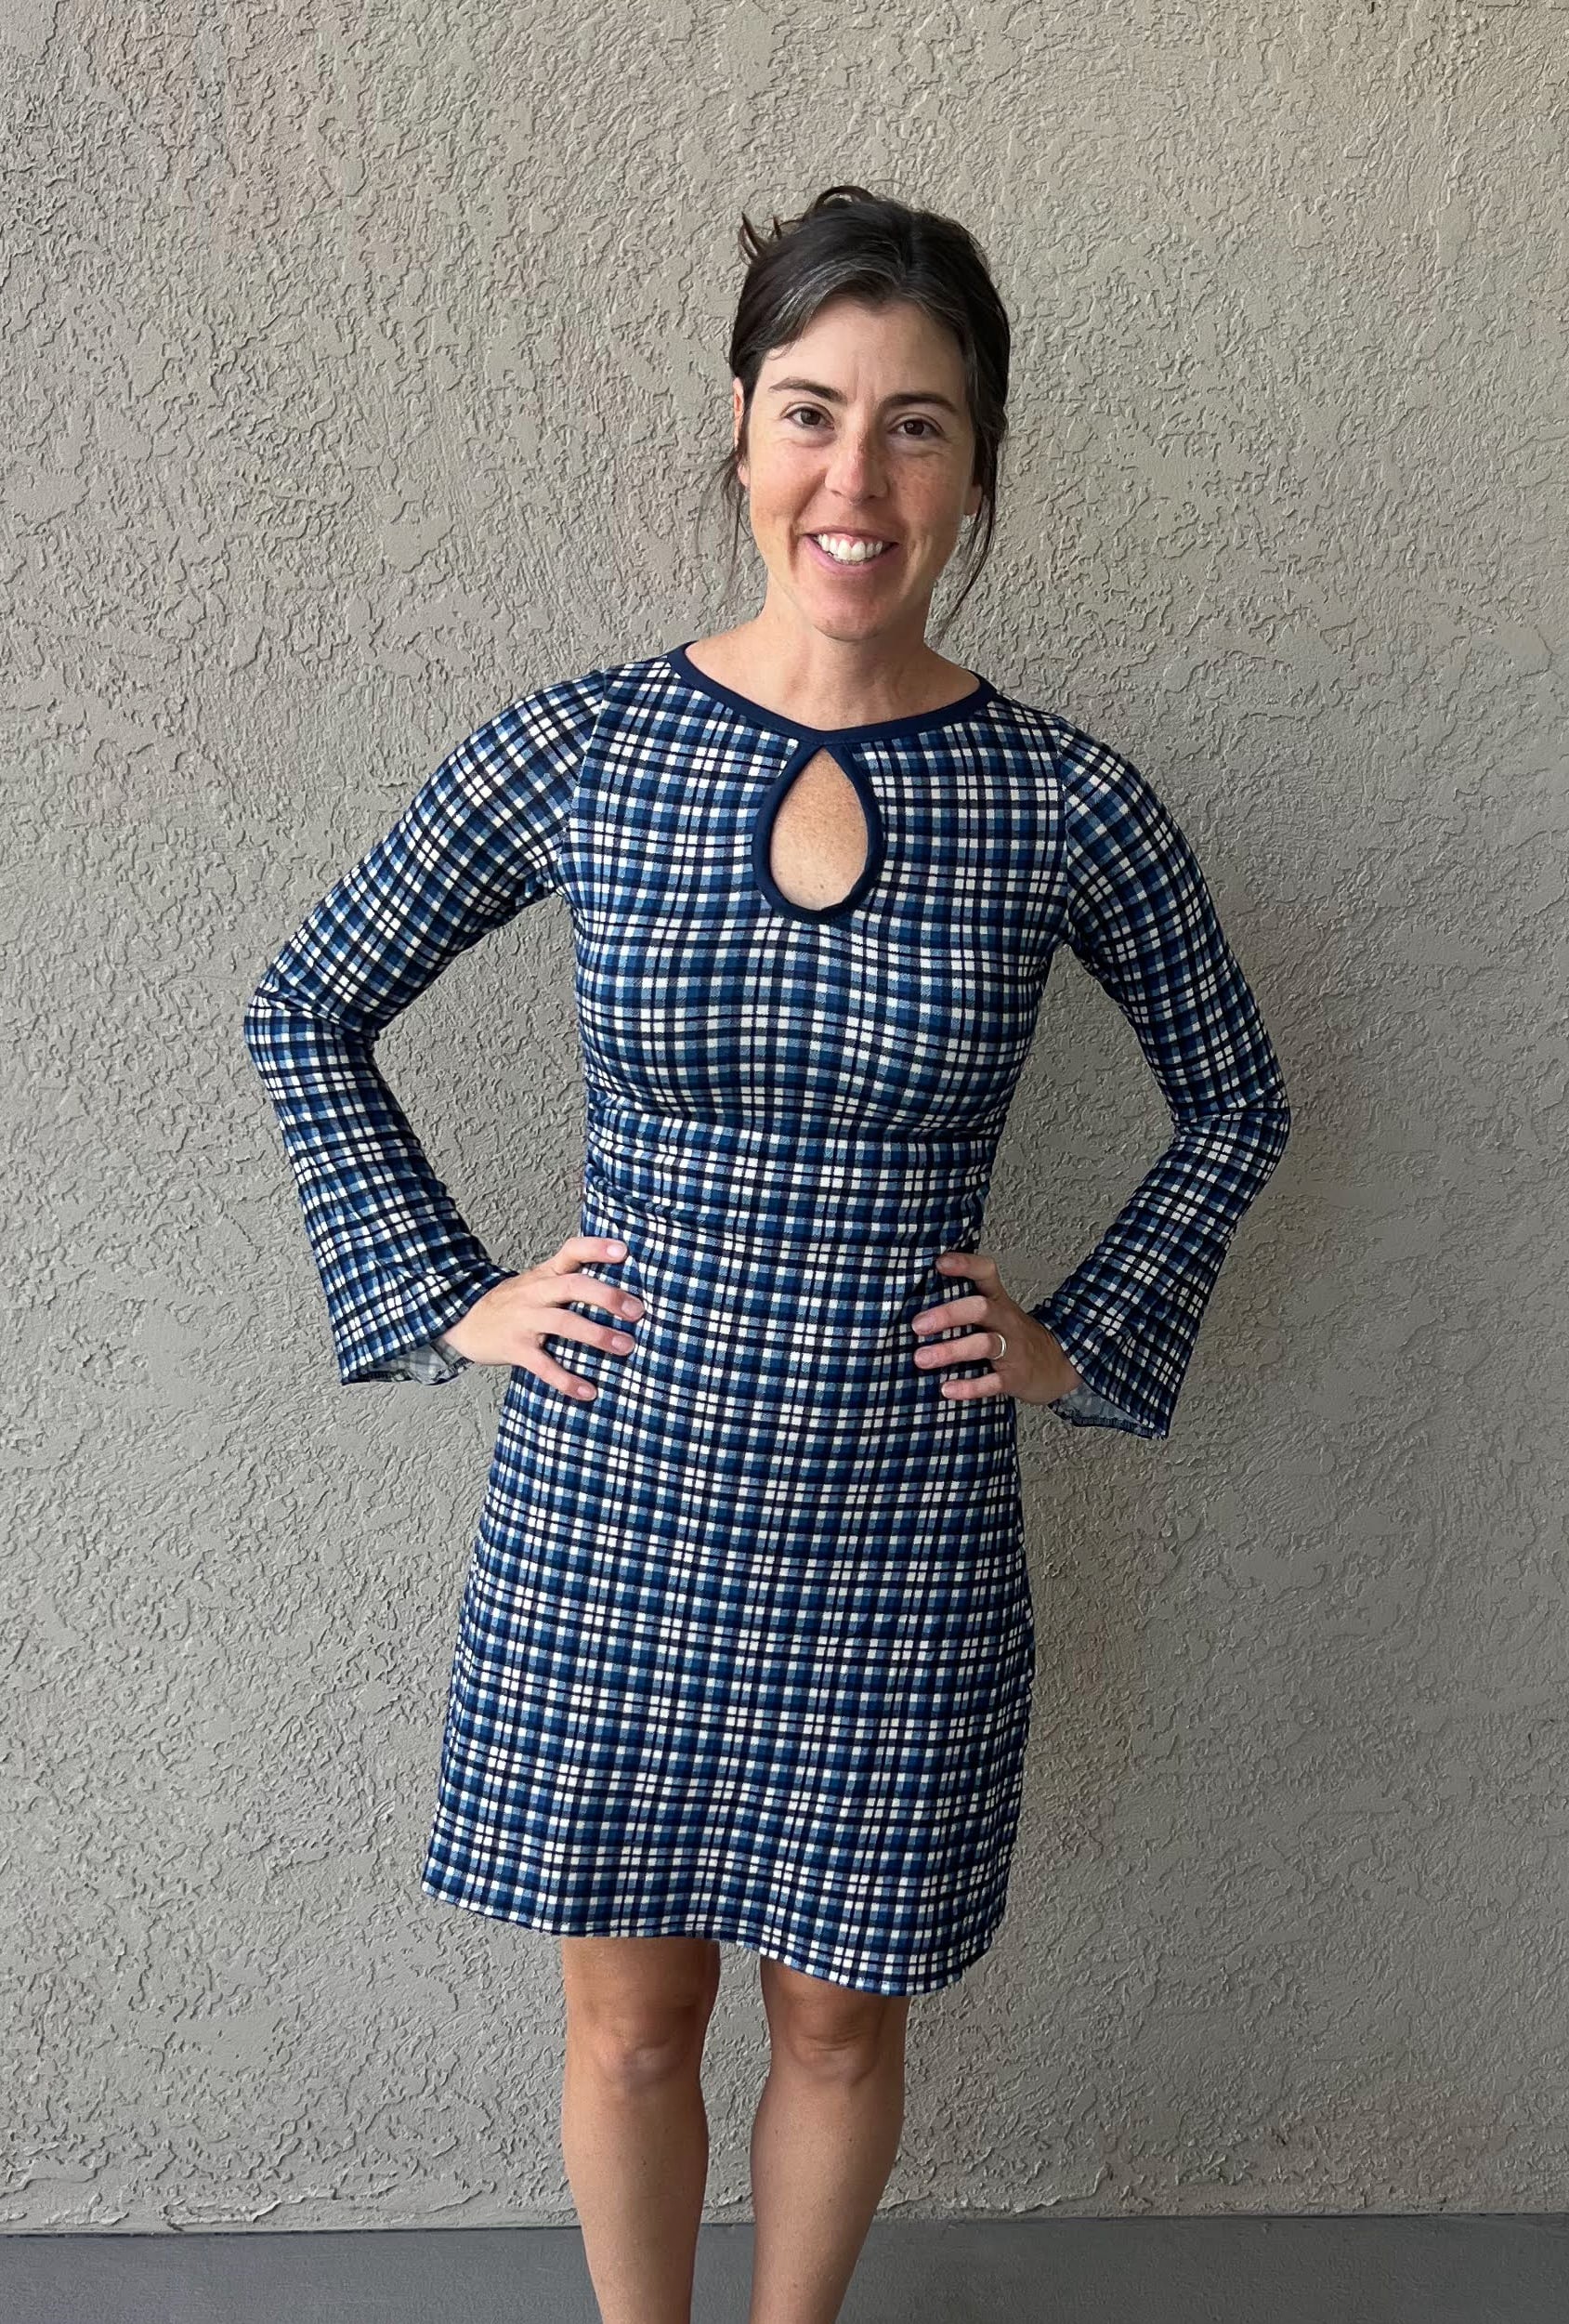
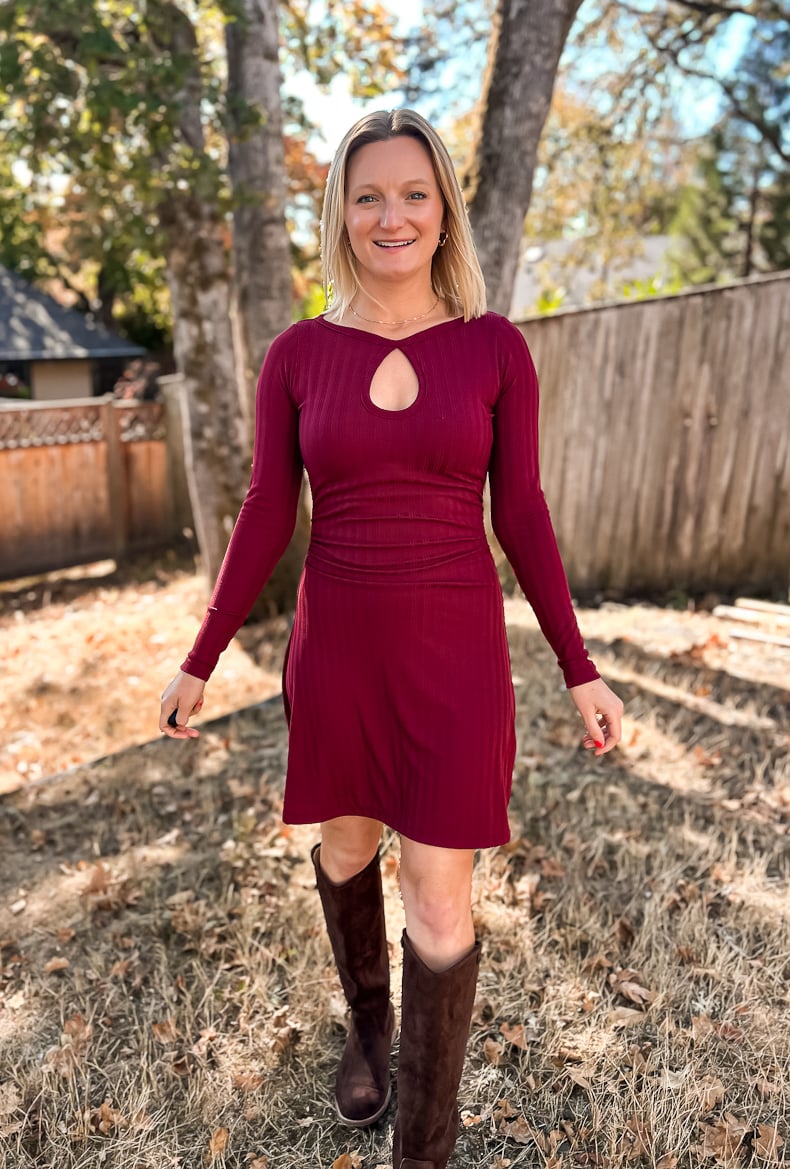
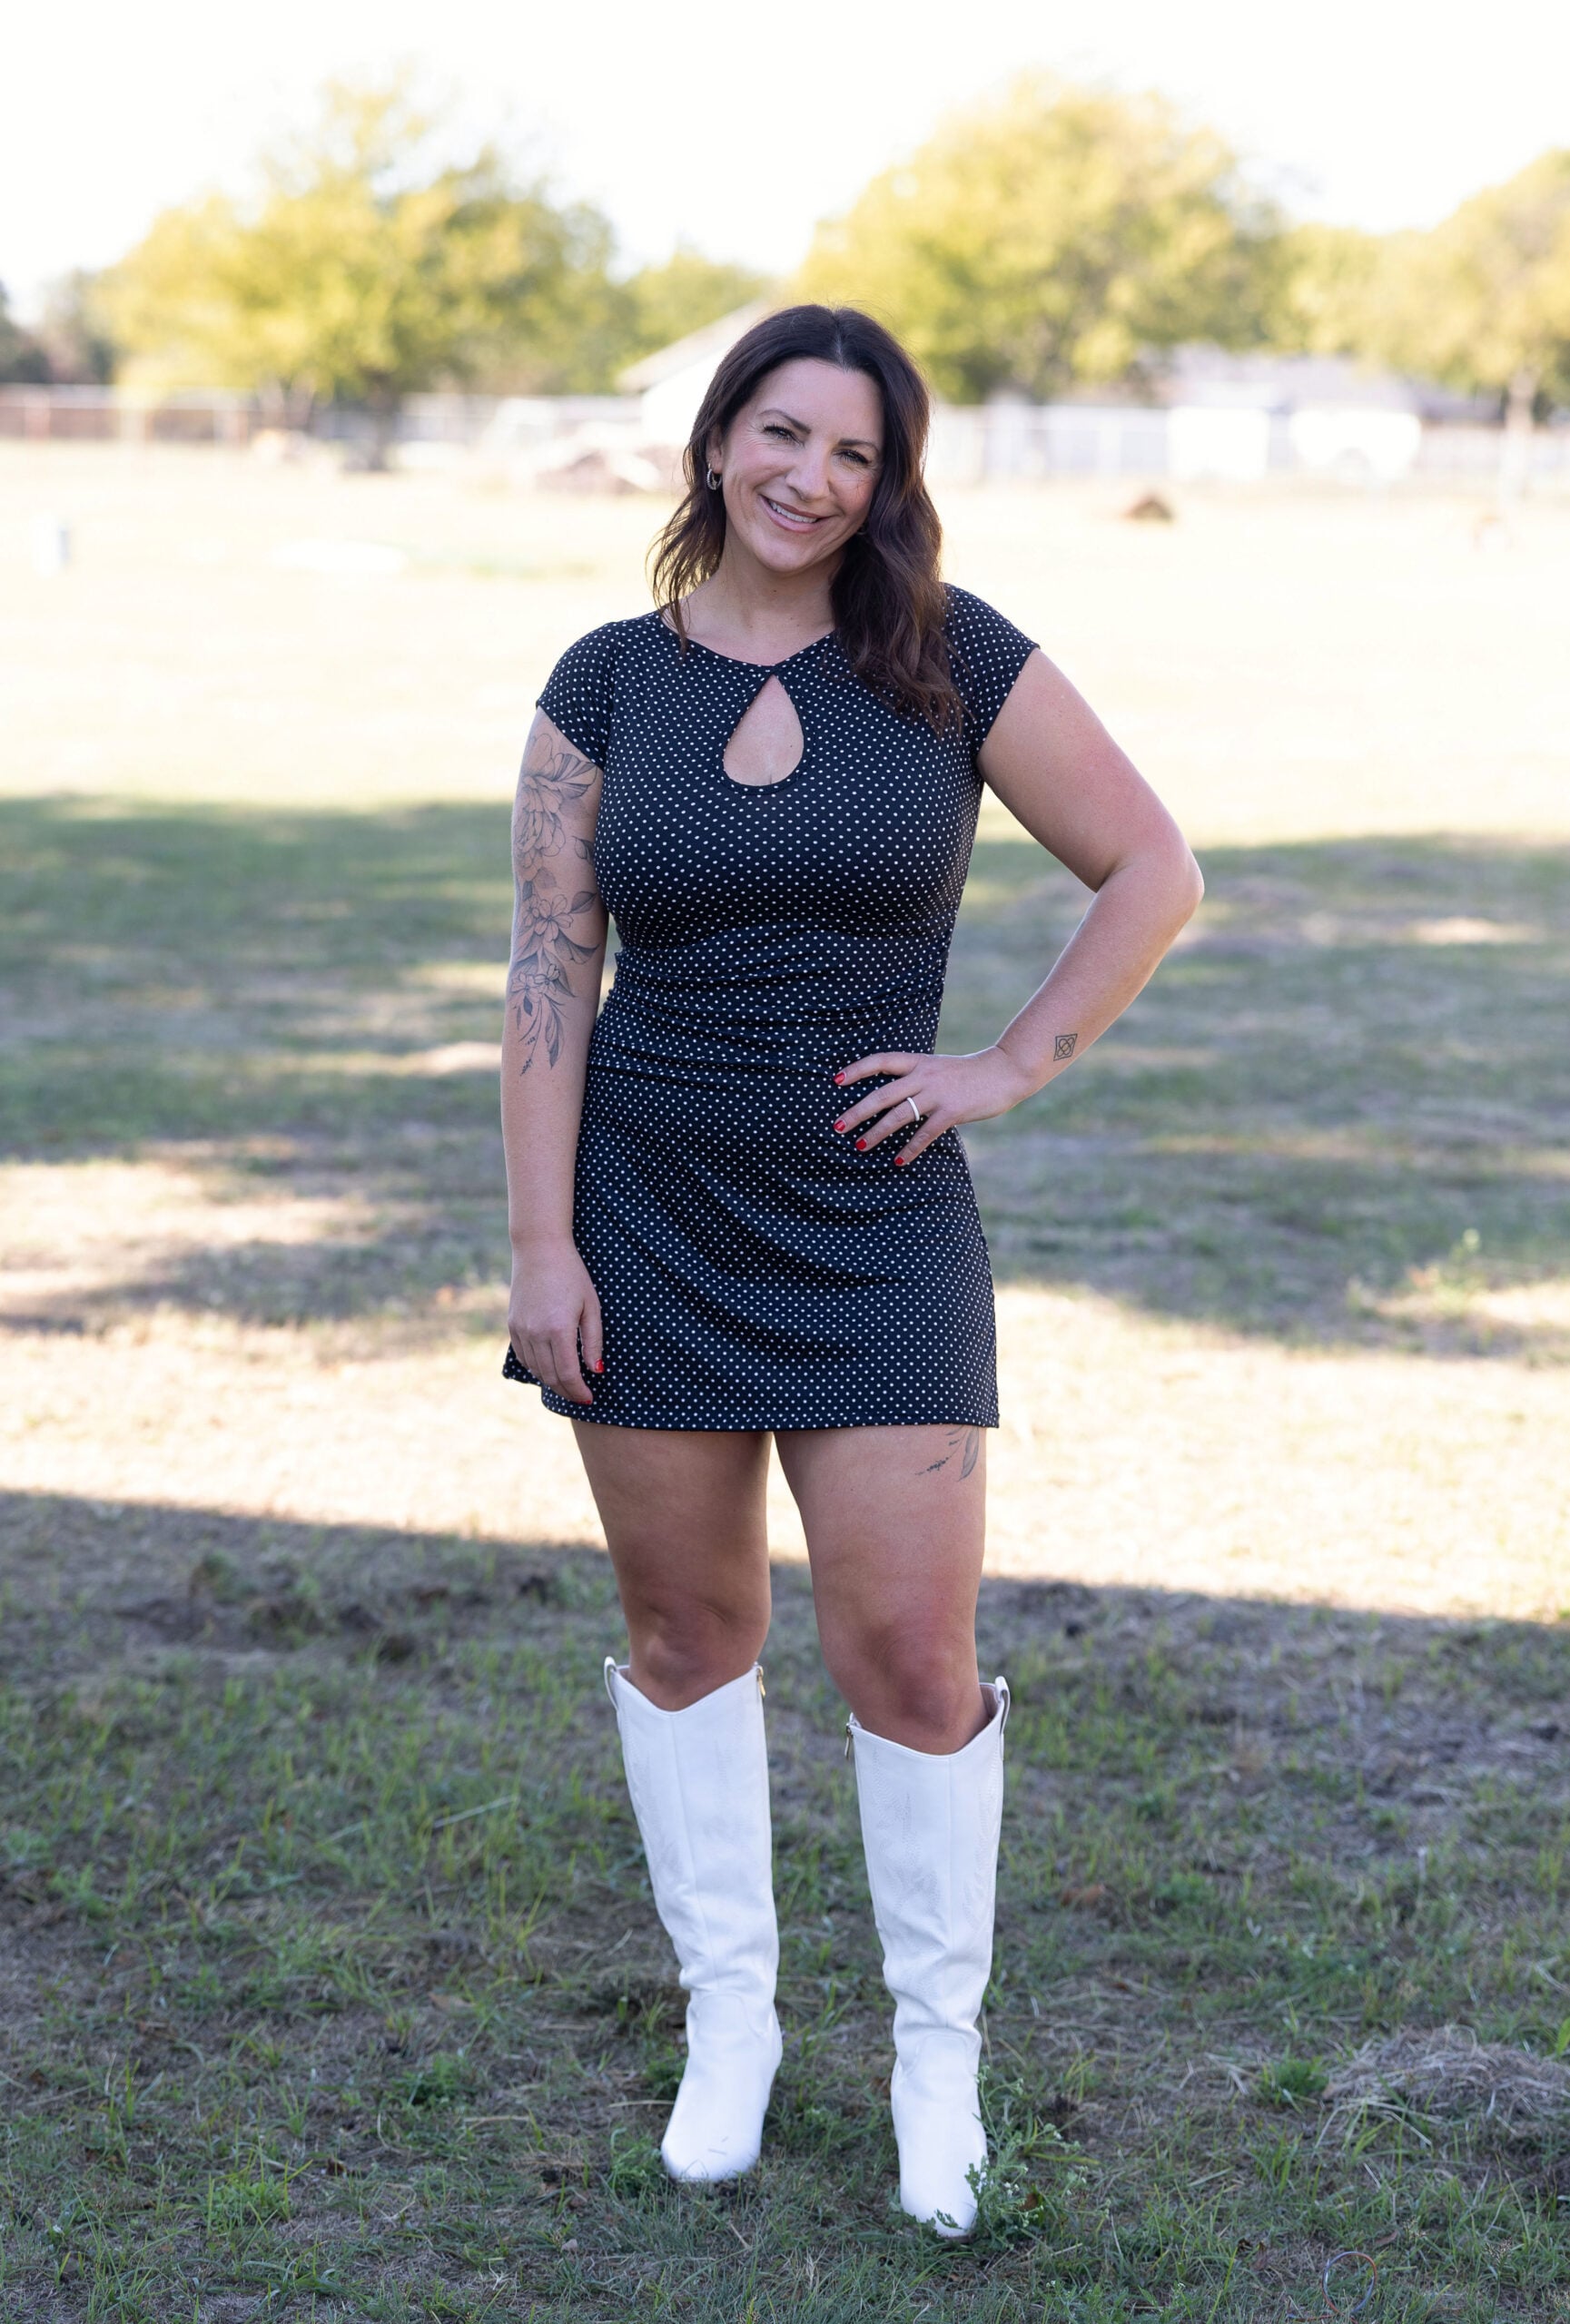
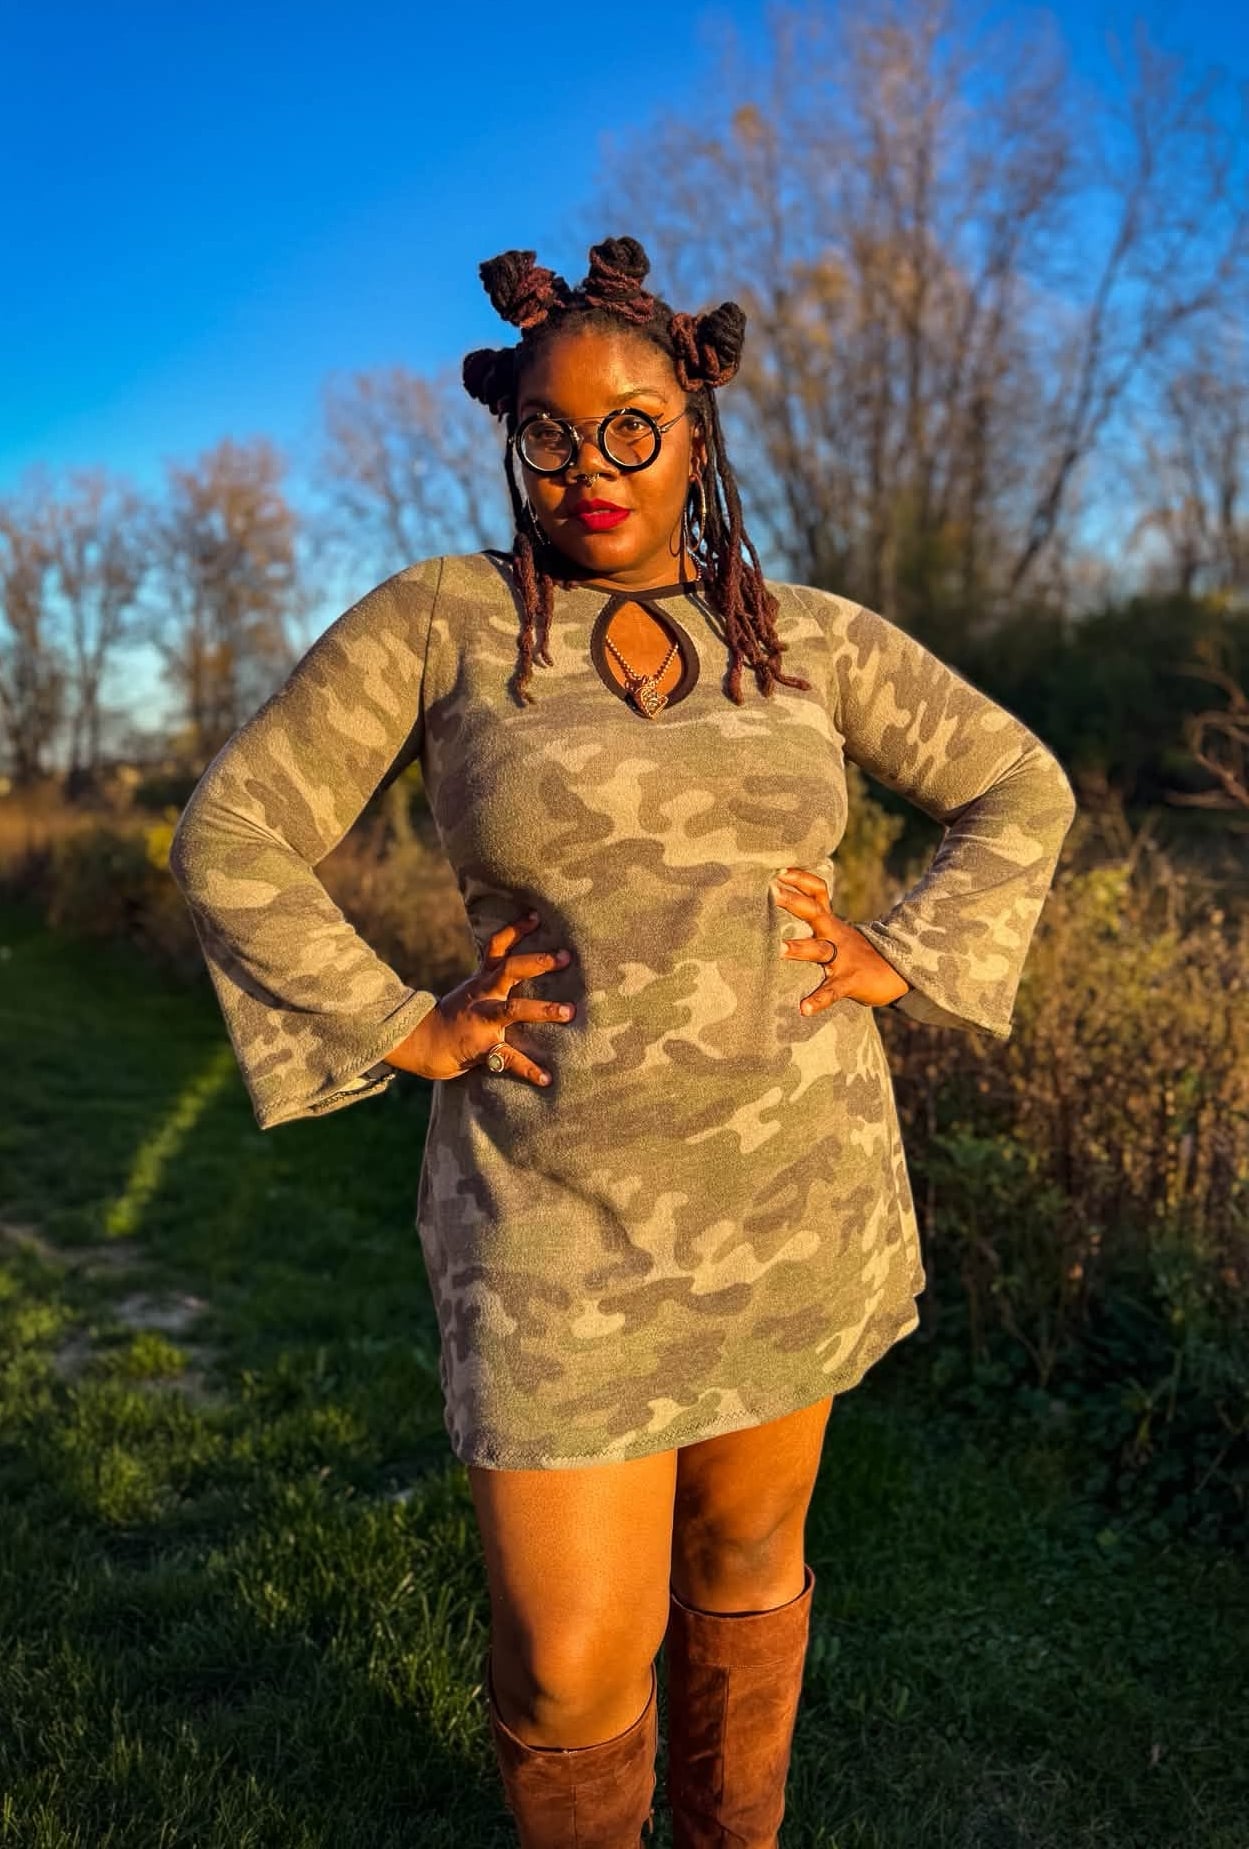
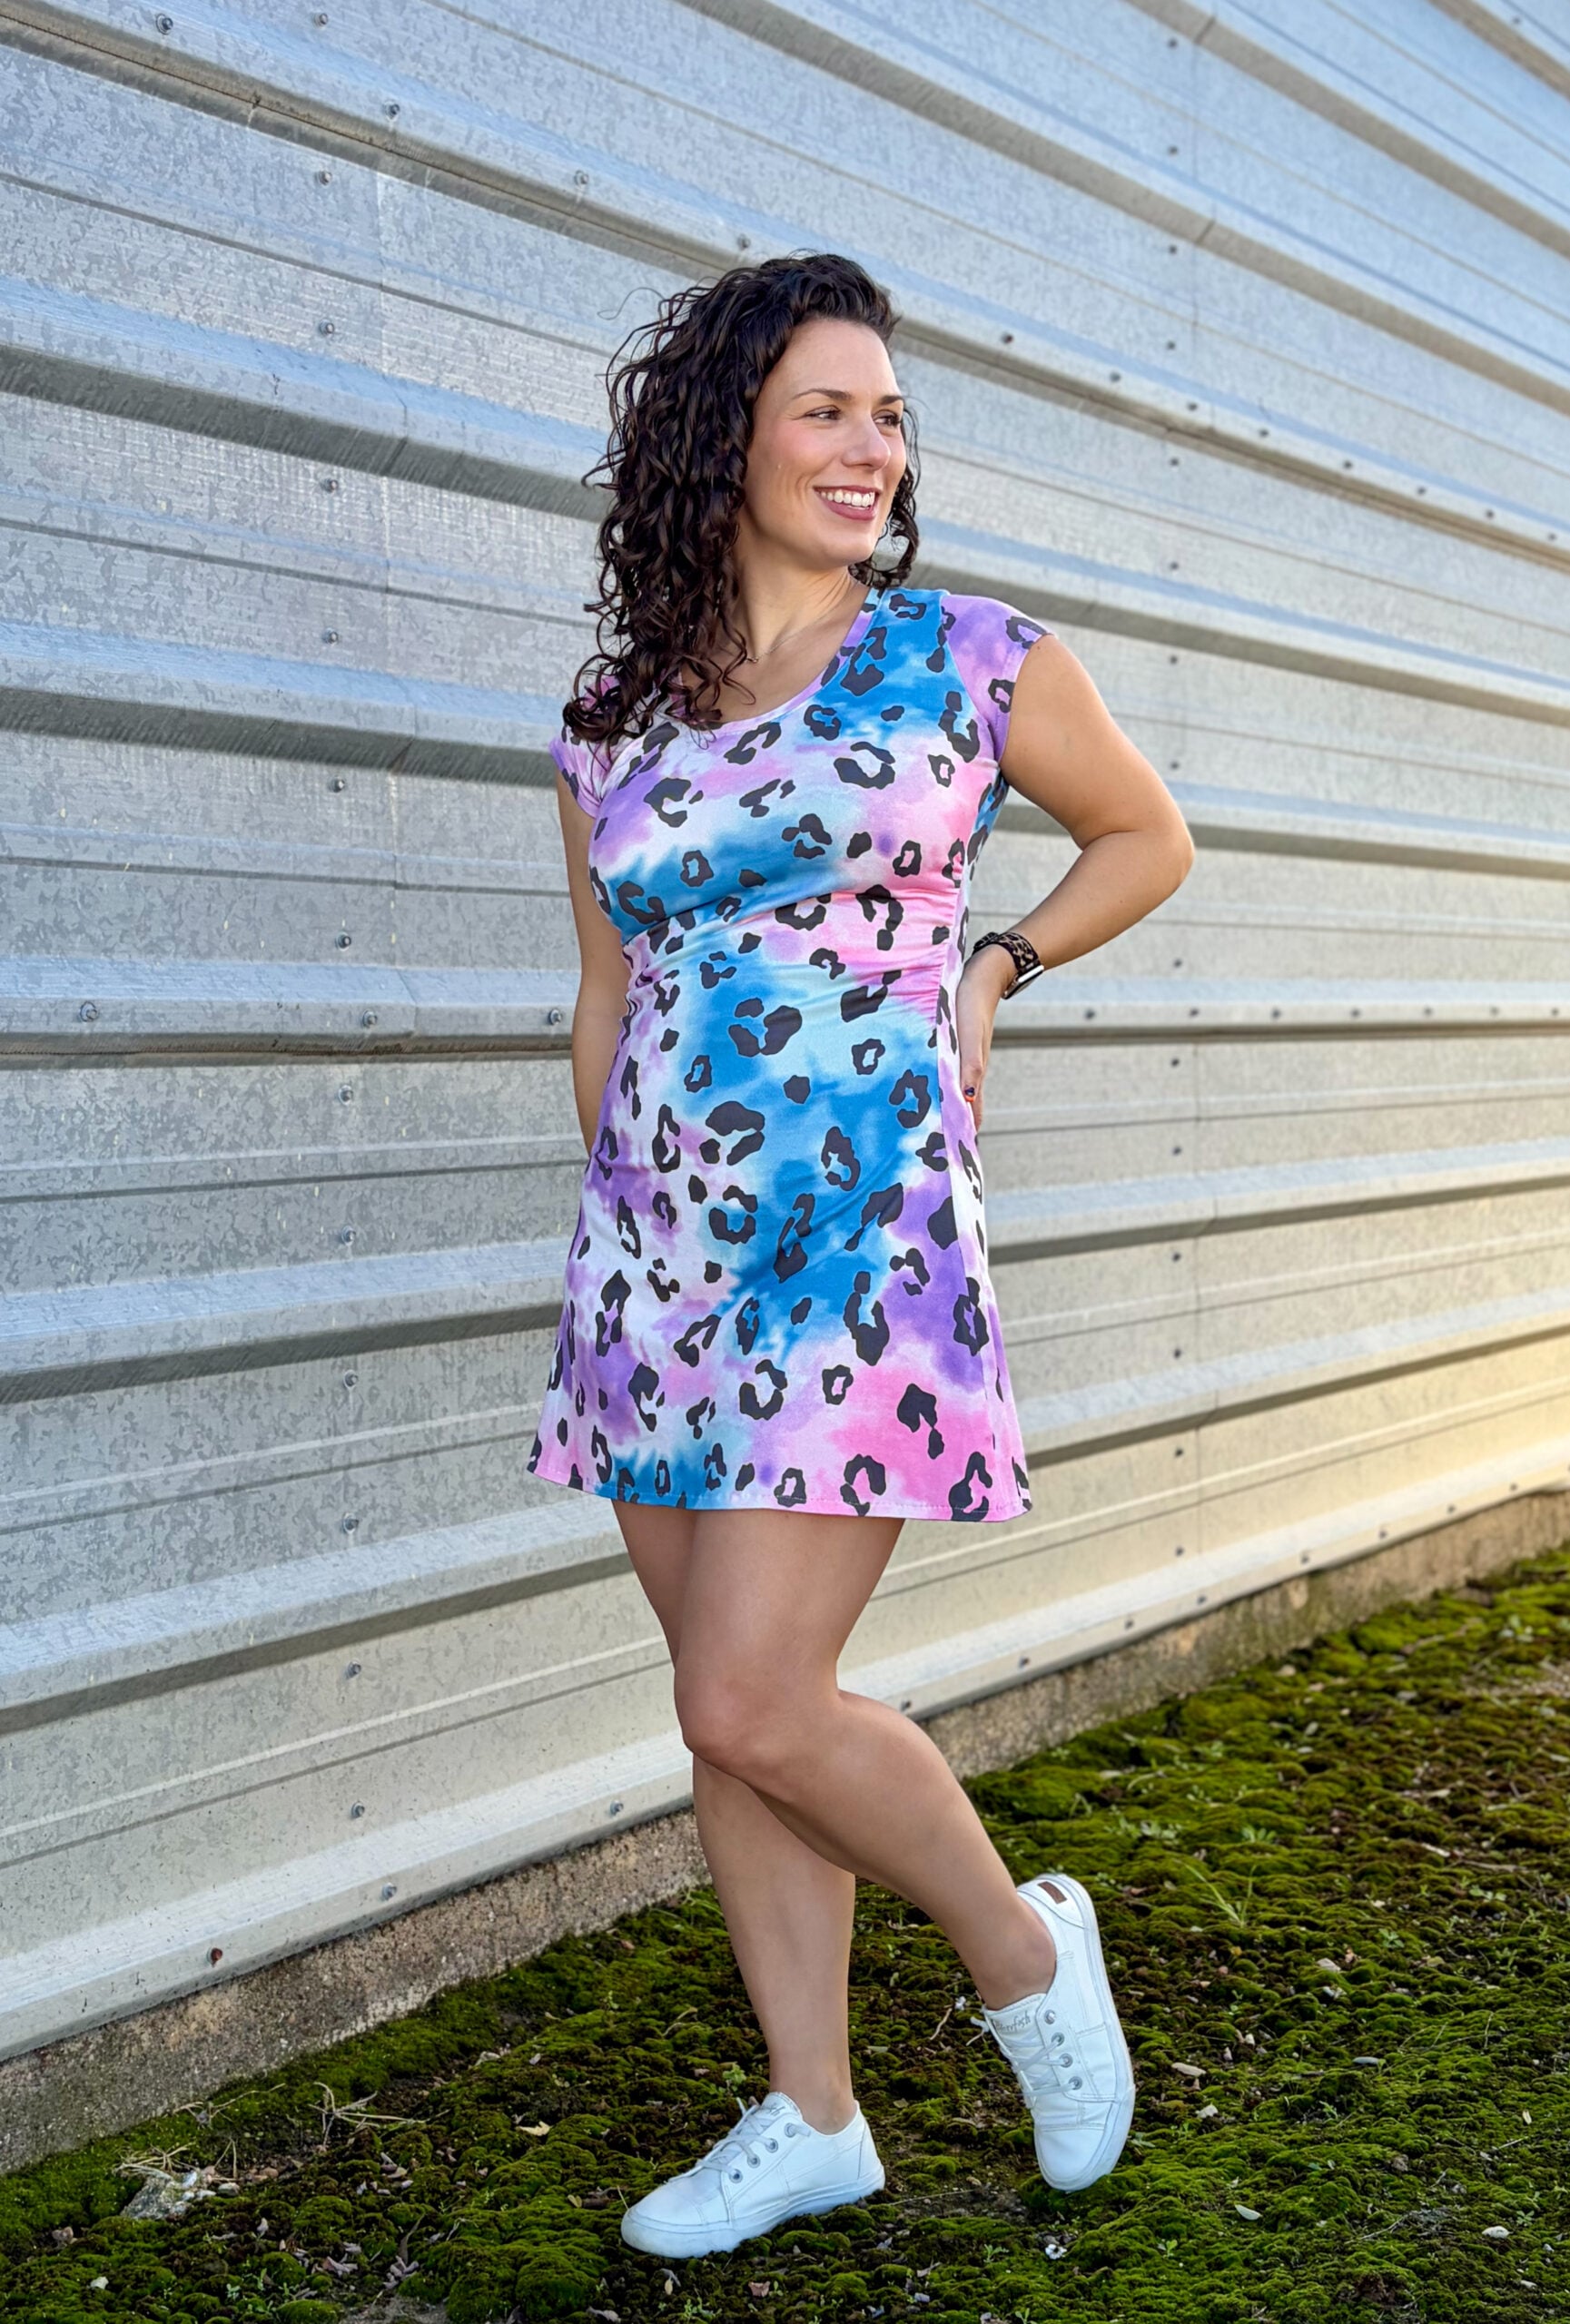
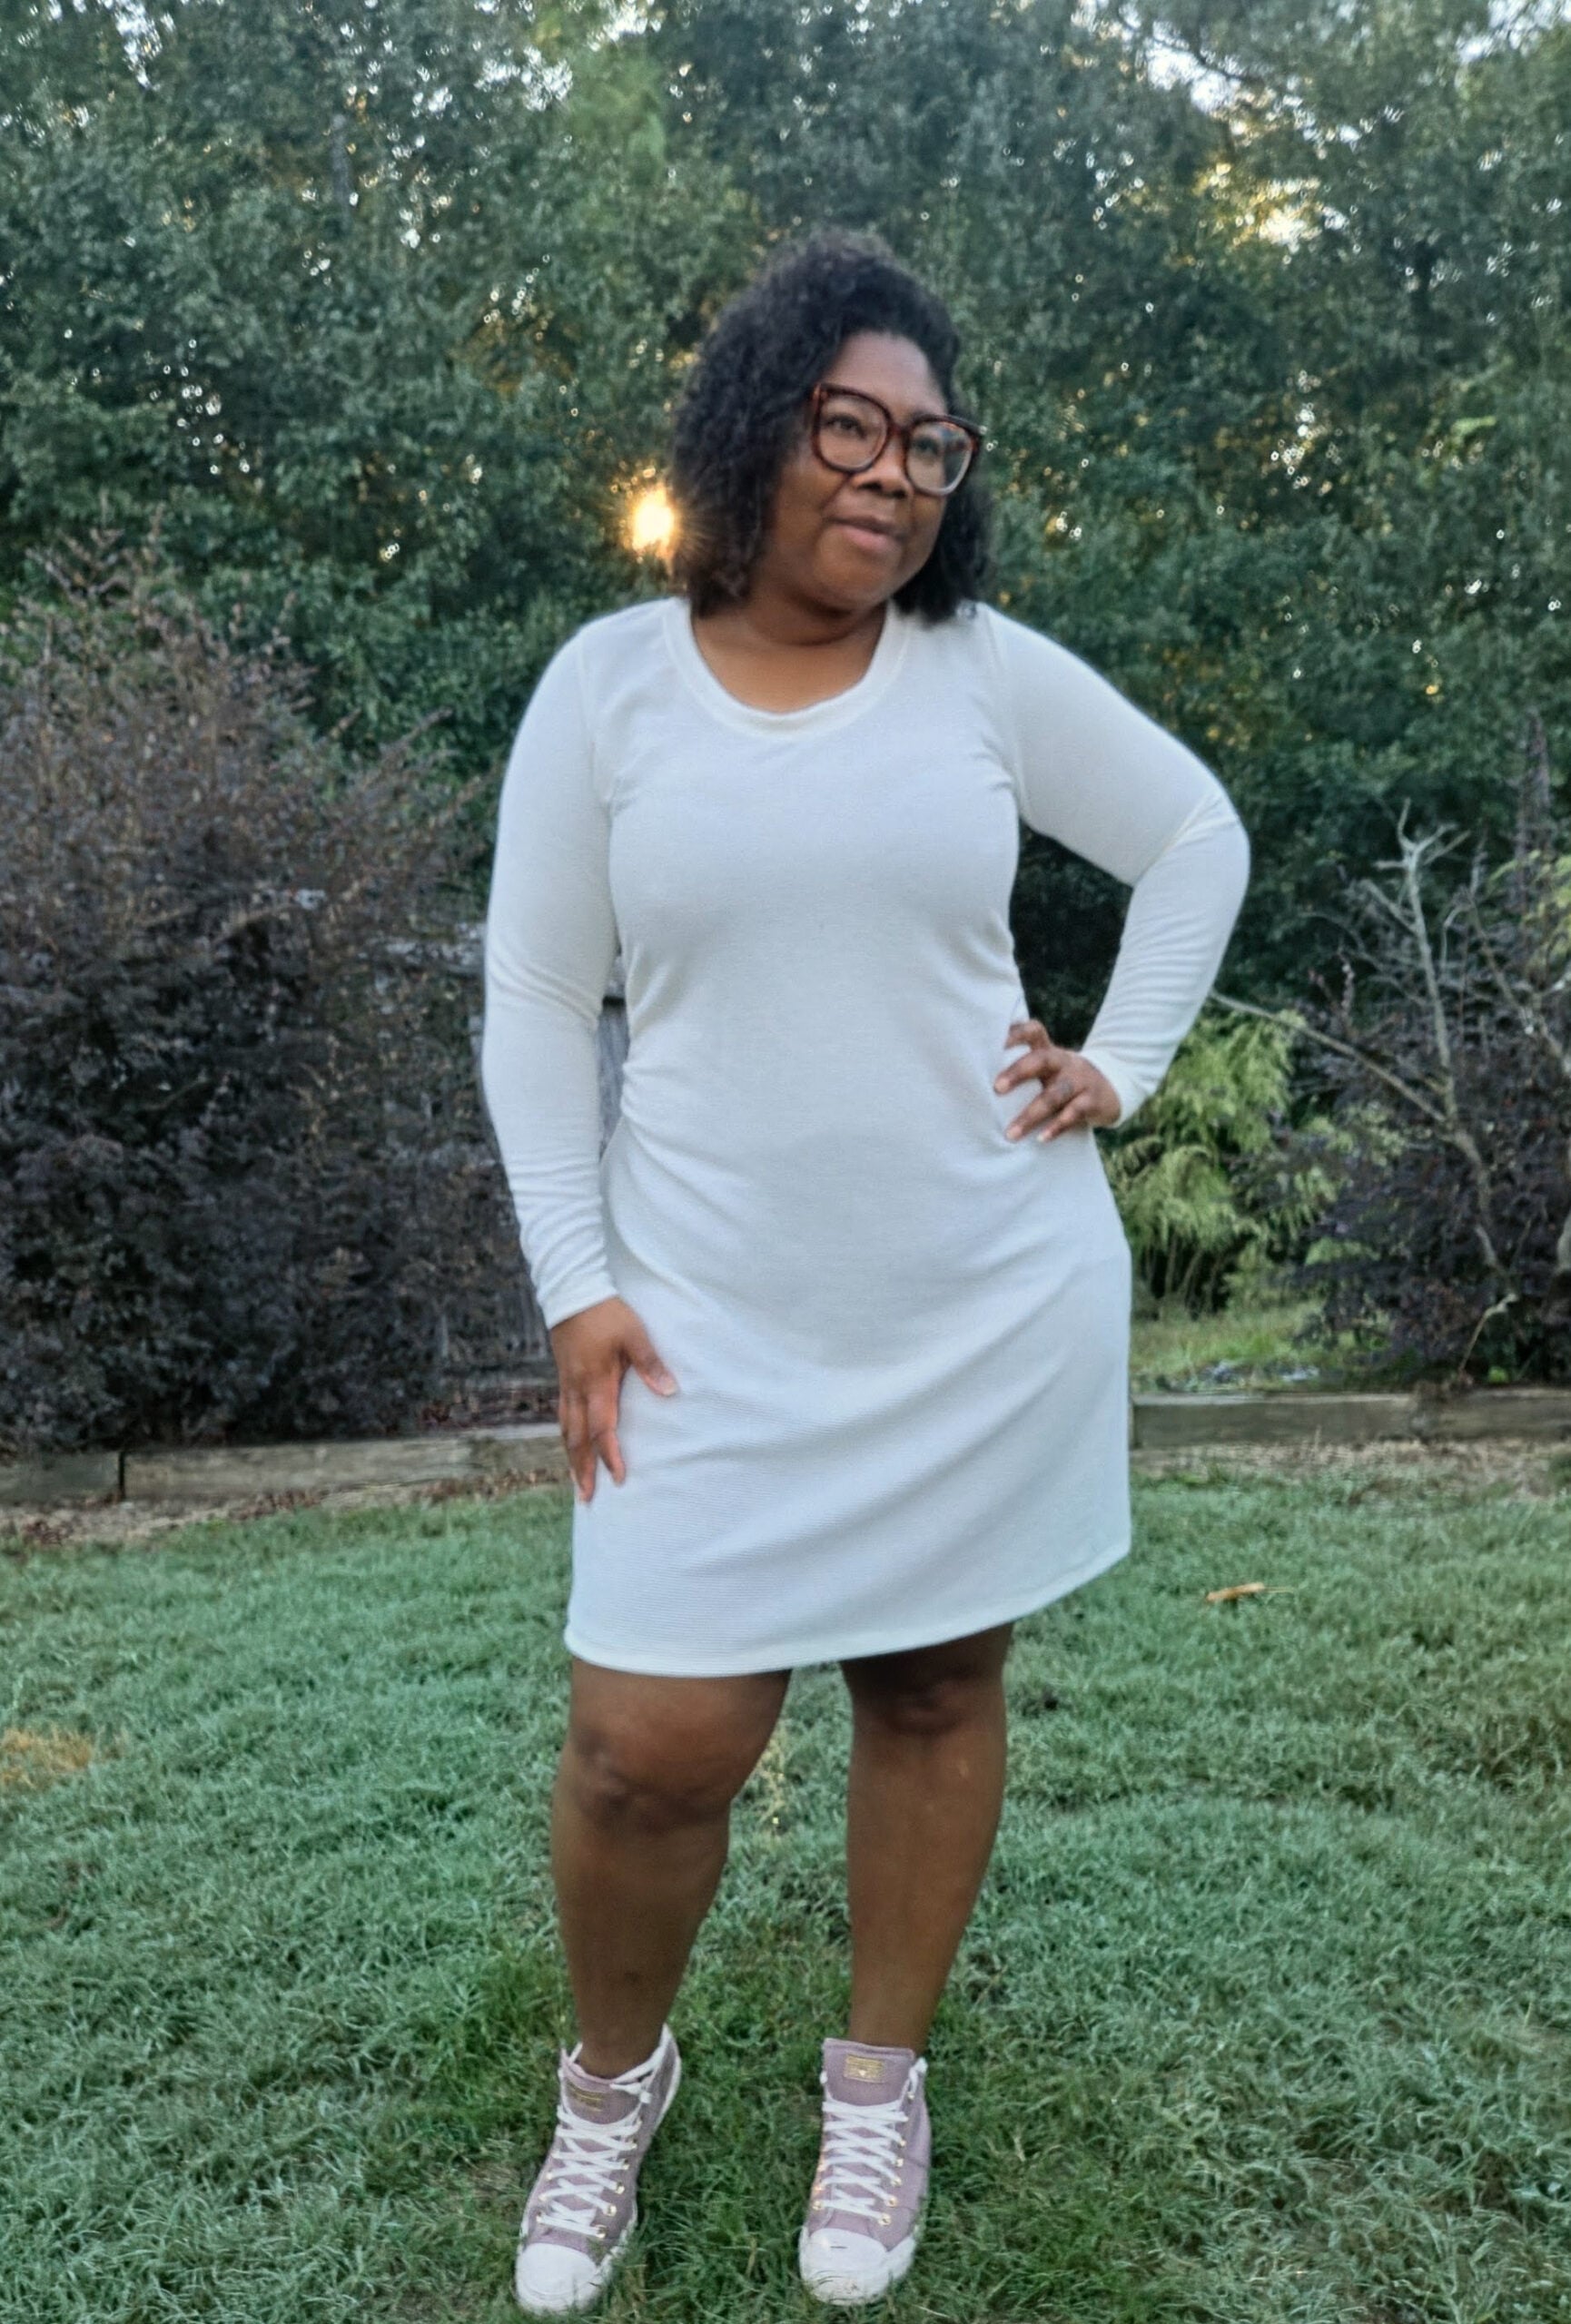
Gillian features a fitted bust and waist, a semi-fitted hip, and a gentle flare toward the hem. The front waist ruching adds a fun detail, while the back stays smooth for a clean finish. Choose from three necklines (boat neck, boat neck with keyhole, or scoop), four sleeve options (cap, fitted long, flutter, or bell), and two lengths (mid-thigh mini or above-the-knee dress). Whether you’re making something cute and casual or dressing up for a night out, Gillian has you covered!
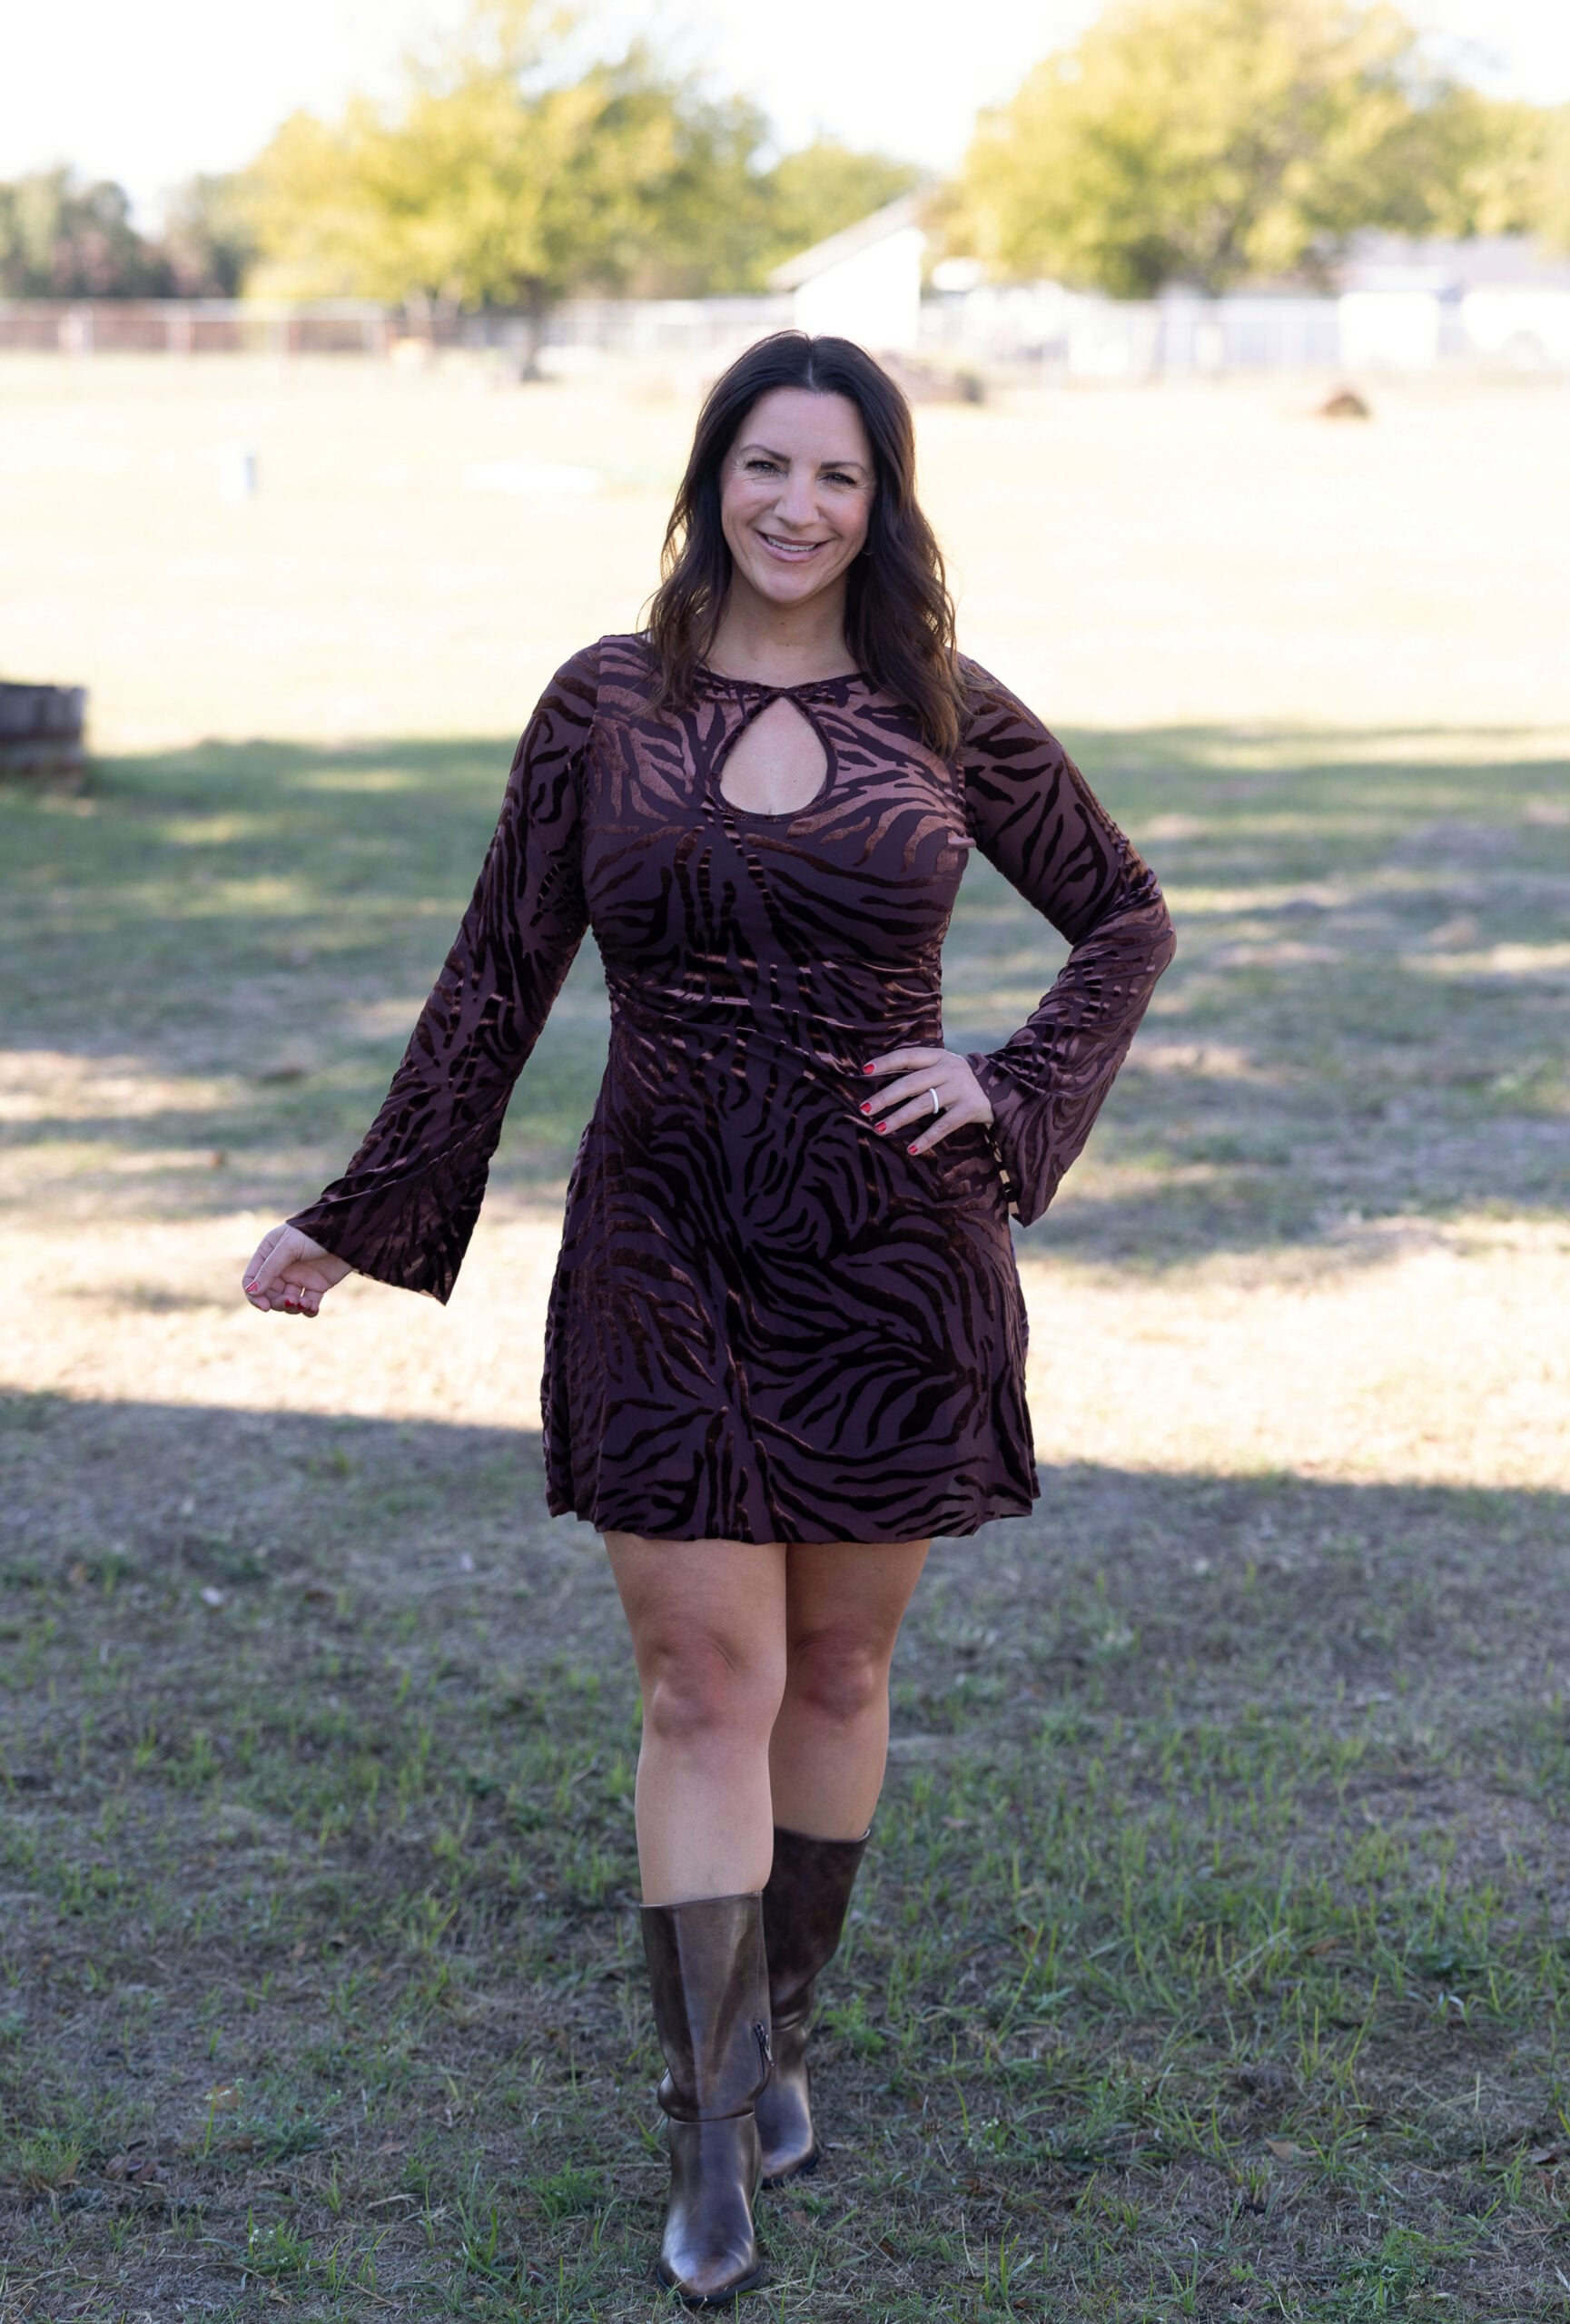
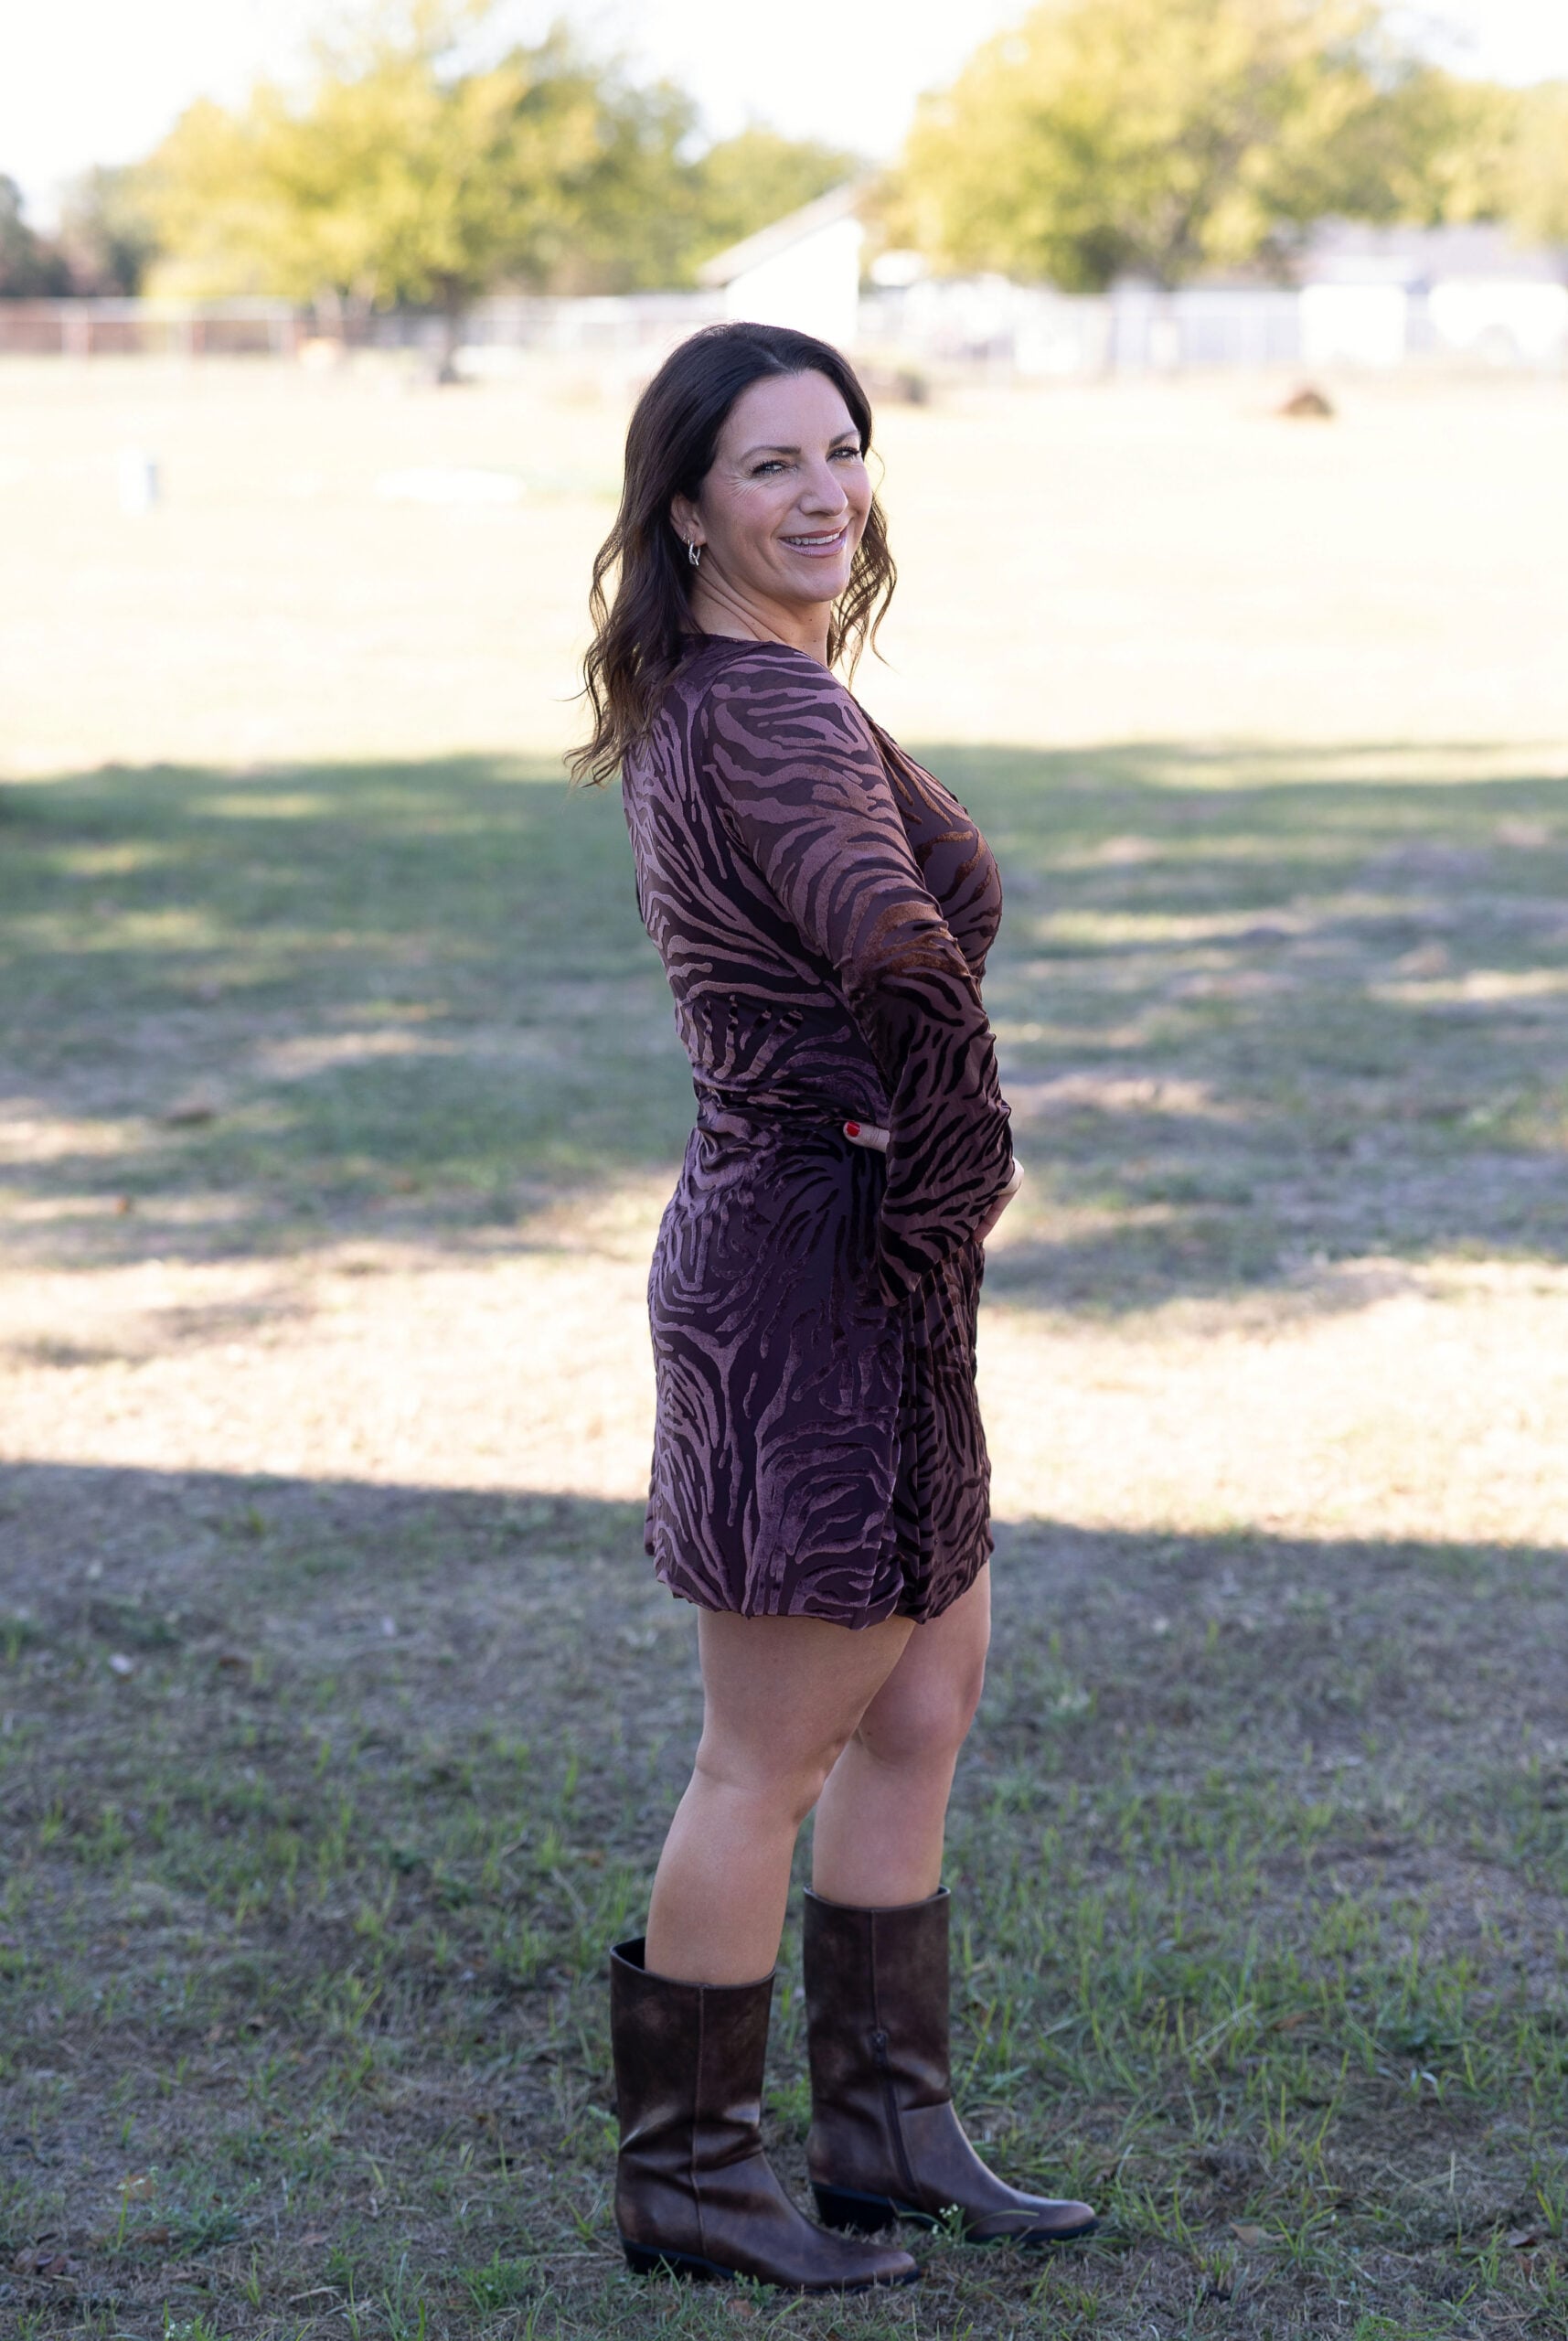
And because I can’t resist playing around with a new pattern, I’m sharing three easy Gillian hacks below! I’ll show you how to turn Gillian into a top, add a fun ring detail to the keyhole neckline, and create a sheer overlay for fabrics like lace, mesh, or burnout velvet. These simple changes give you even more ways to make Gillian your own!
Getting Started
Before you purchase your patterns, there is a ton of helpful beginner information here on the blog, in case you are new to knits or new to PDF patterns in general:
- New to PDF patterns? Check out our helpful tips here
- New to sewing with knits? Brittany has some great info here
- Not quite sure how to measure yourself accurately? Don’t worry; check out the post here!
- Having issues printing? Most issues can be resolved by using our FAQs/troubleshooting tips
- Join our Facebook group here.
- We also have a new Height Adjustment 101 post for you! Check it out here.
Choosing Your Options
We have lots of tester photos in our FB group and on the site if you want to see a variety of photos of each option before you decide! Here is a quick snapshot of the different options:
Top Length Hack:
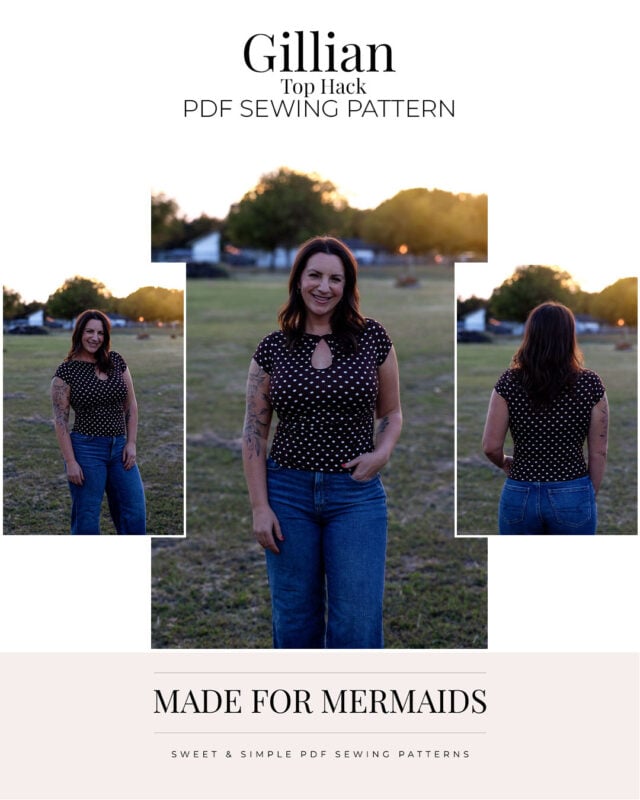
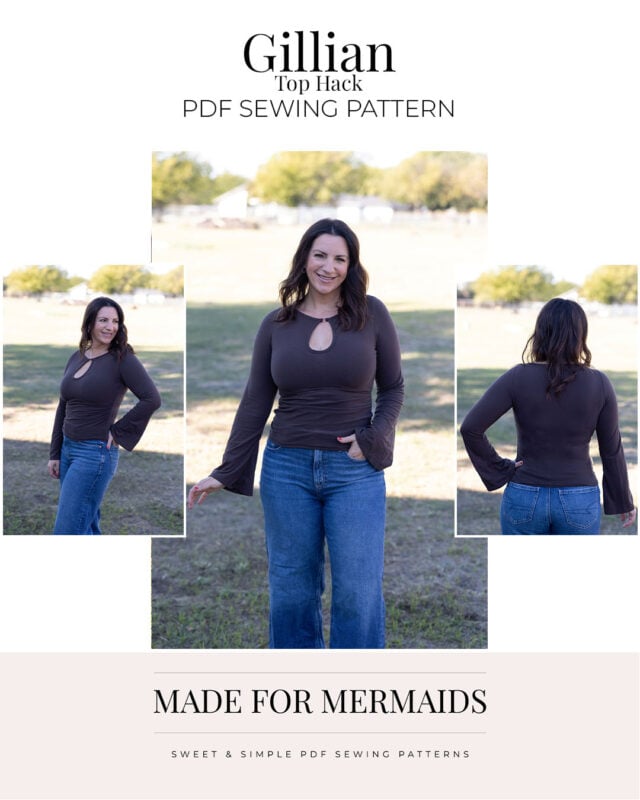
Want to turn your Gillian dress into a top? This is a super simple hack!
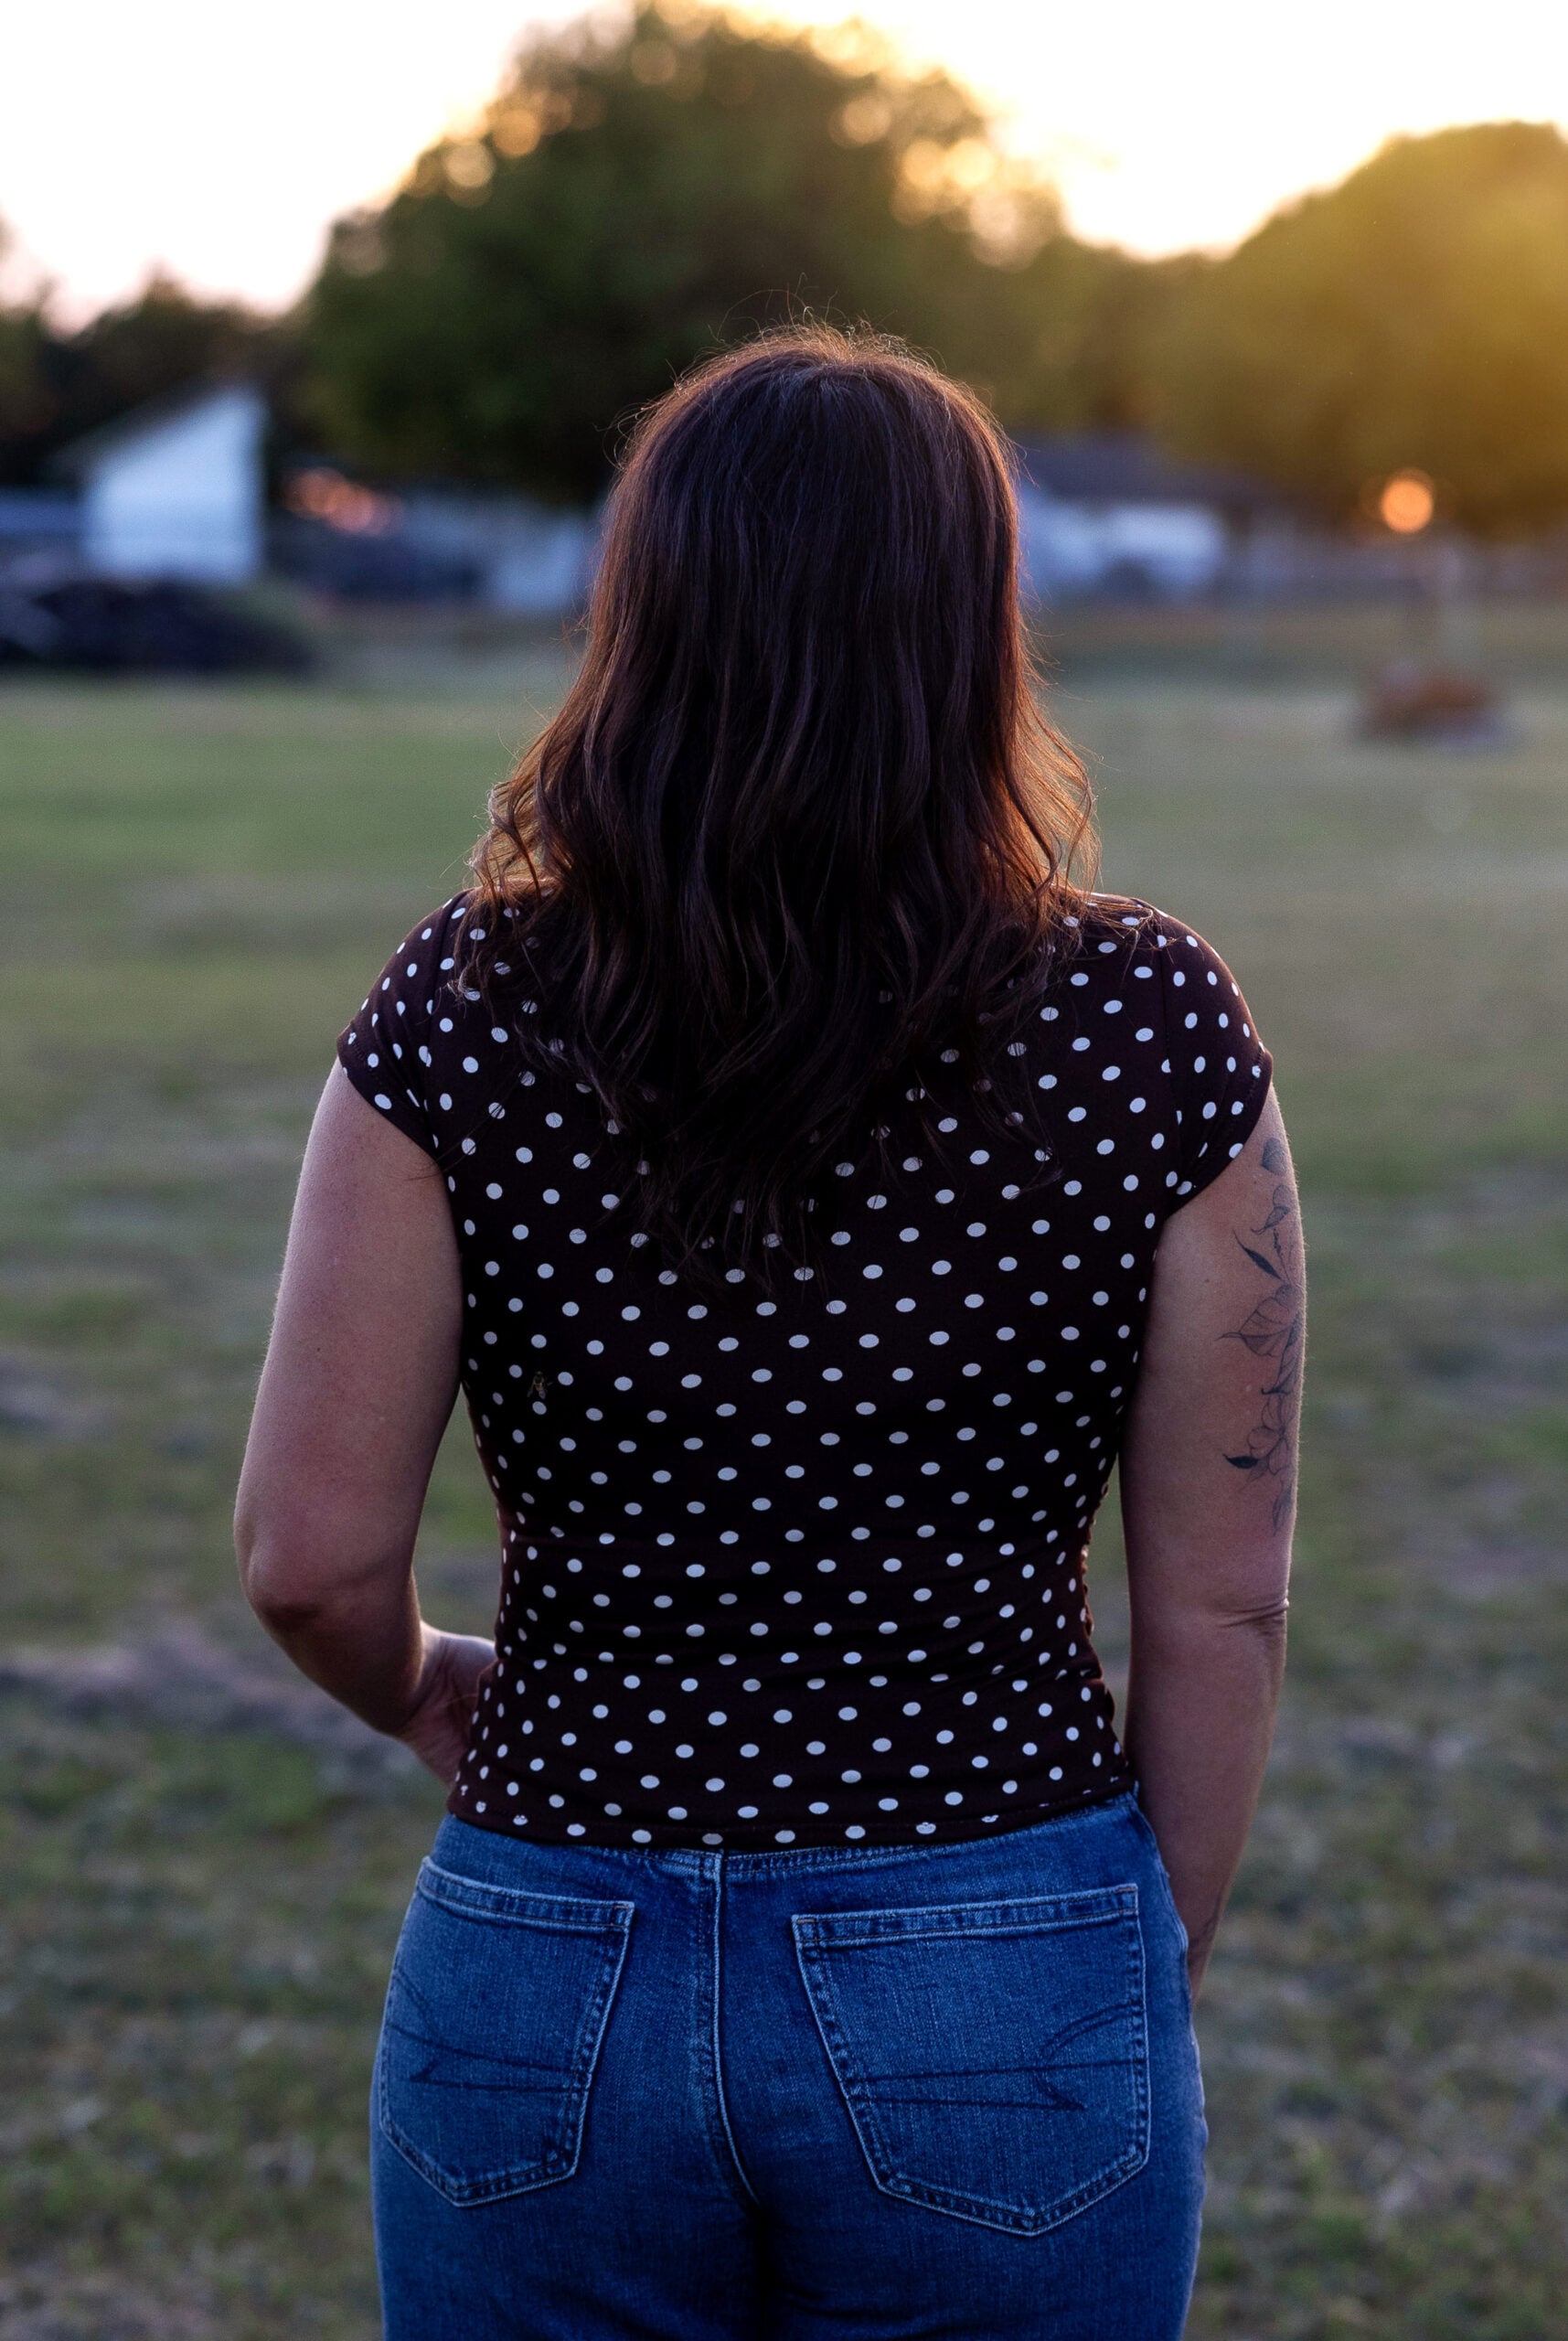
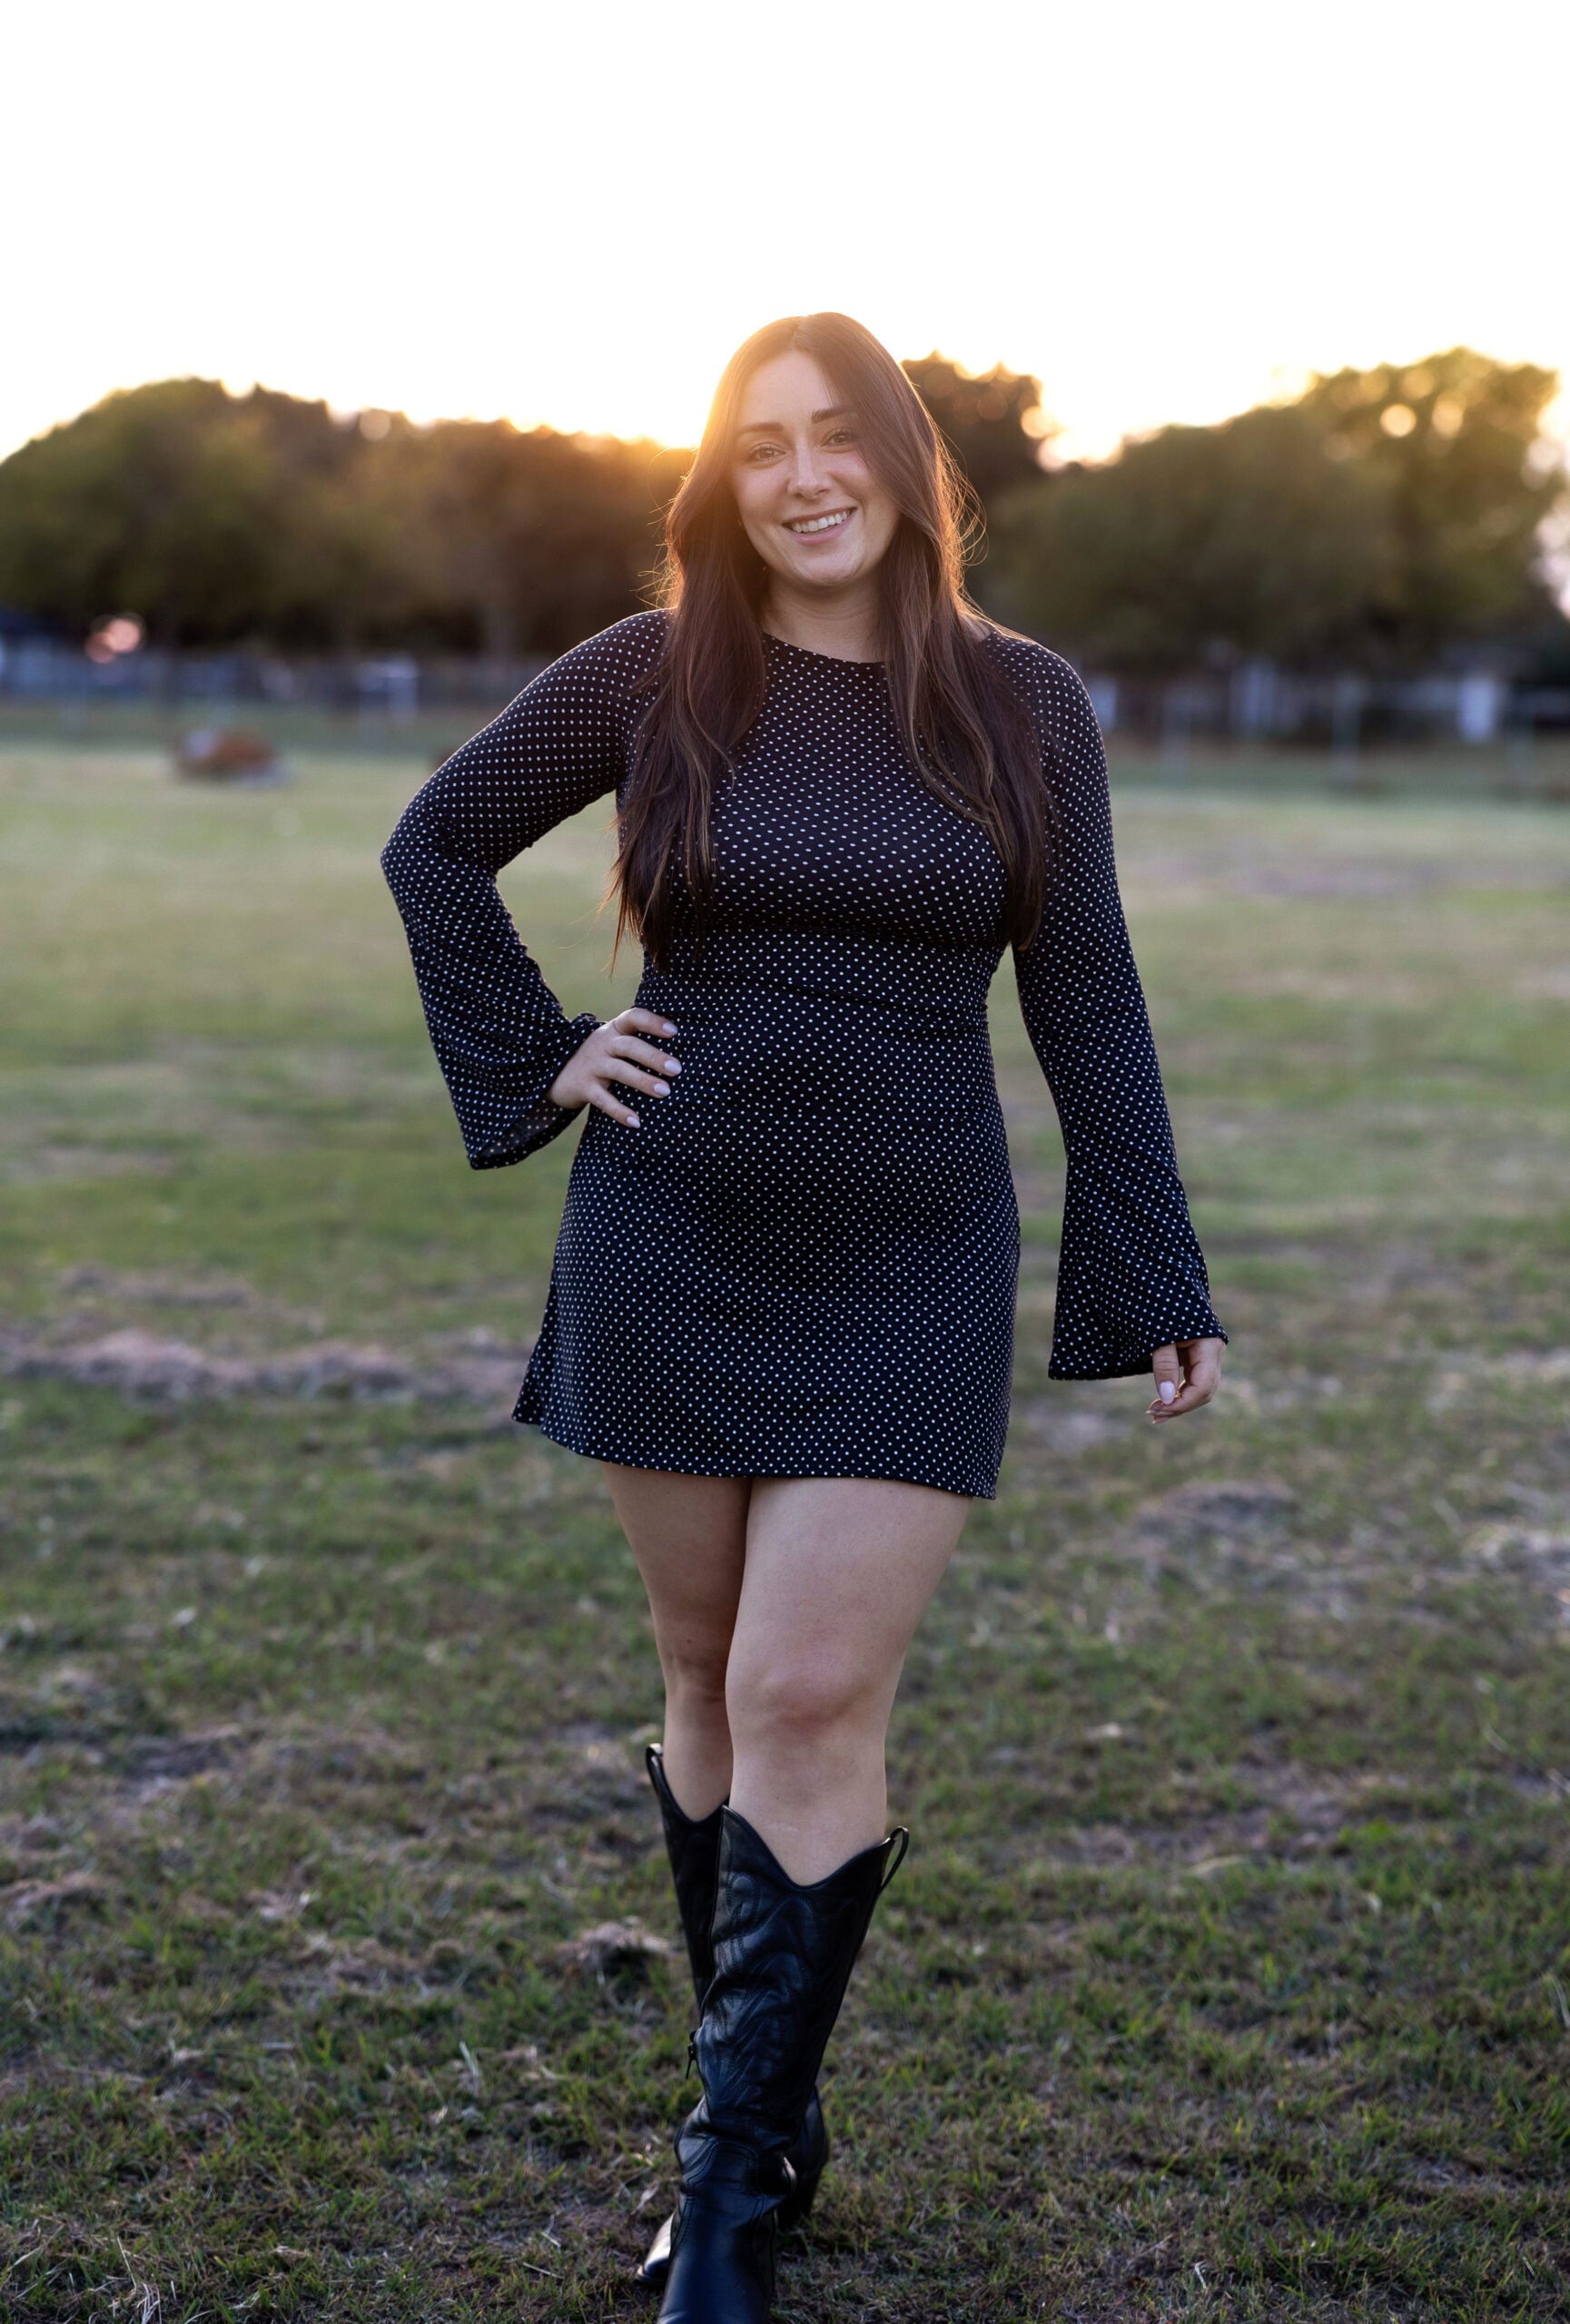
Start by locating the hip marking on your front and back pattern pieces. Depending on your desired top length, you can cut at the hip marking or a few inches above it. To help determine your length, measure from the underarm to the hem on your back pattern piece, subtracting 1″ for the seam and hem allowances. Be sure to use the back piece for this measurement, since the front has extra length added for the ruching. For reference, my solid top measures 14.75″ and my polka dot top measures 14″, to give you an idea of the finished lengths.
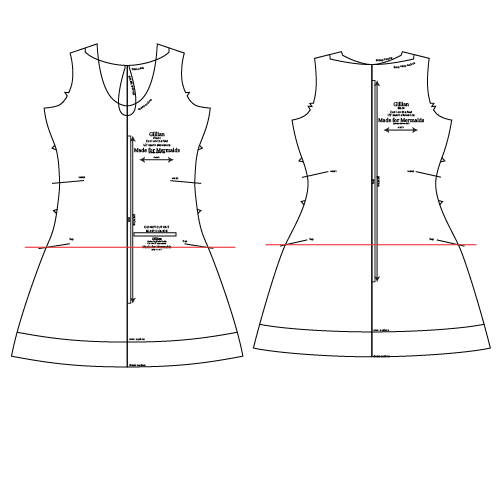
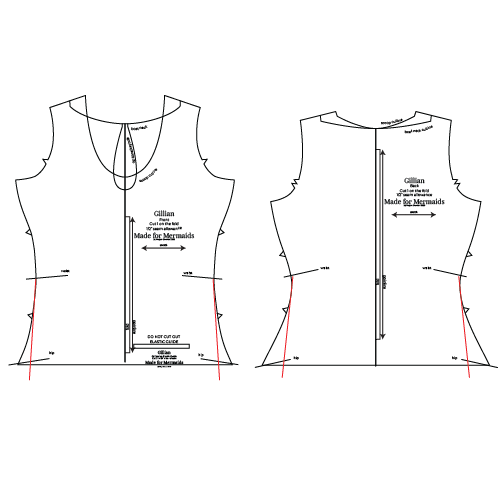
Next, remove some of the flare at the hips by blending from the waist marking down to your new hemline. You can also wait until after sewing your side seams to try on your top and adjust the fit to your preference. Don’t forget to transfer your notches to your new side seams!
For my version, I also remove 1/2″ from the center back length for a sway back adjustment and add a little extra length at the center front to accommodate my bust.
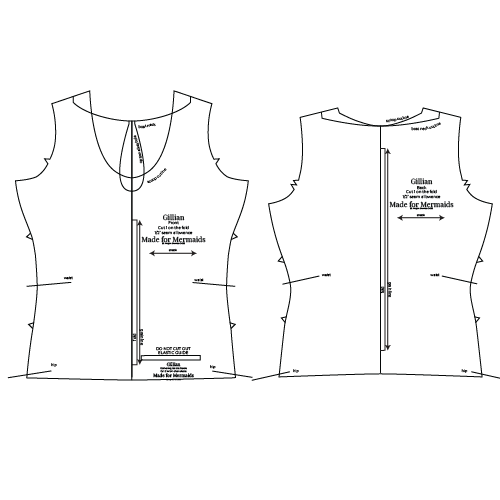
That’s it! A few quick adjustments, and you have a Gillian top!


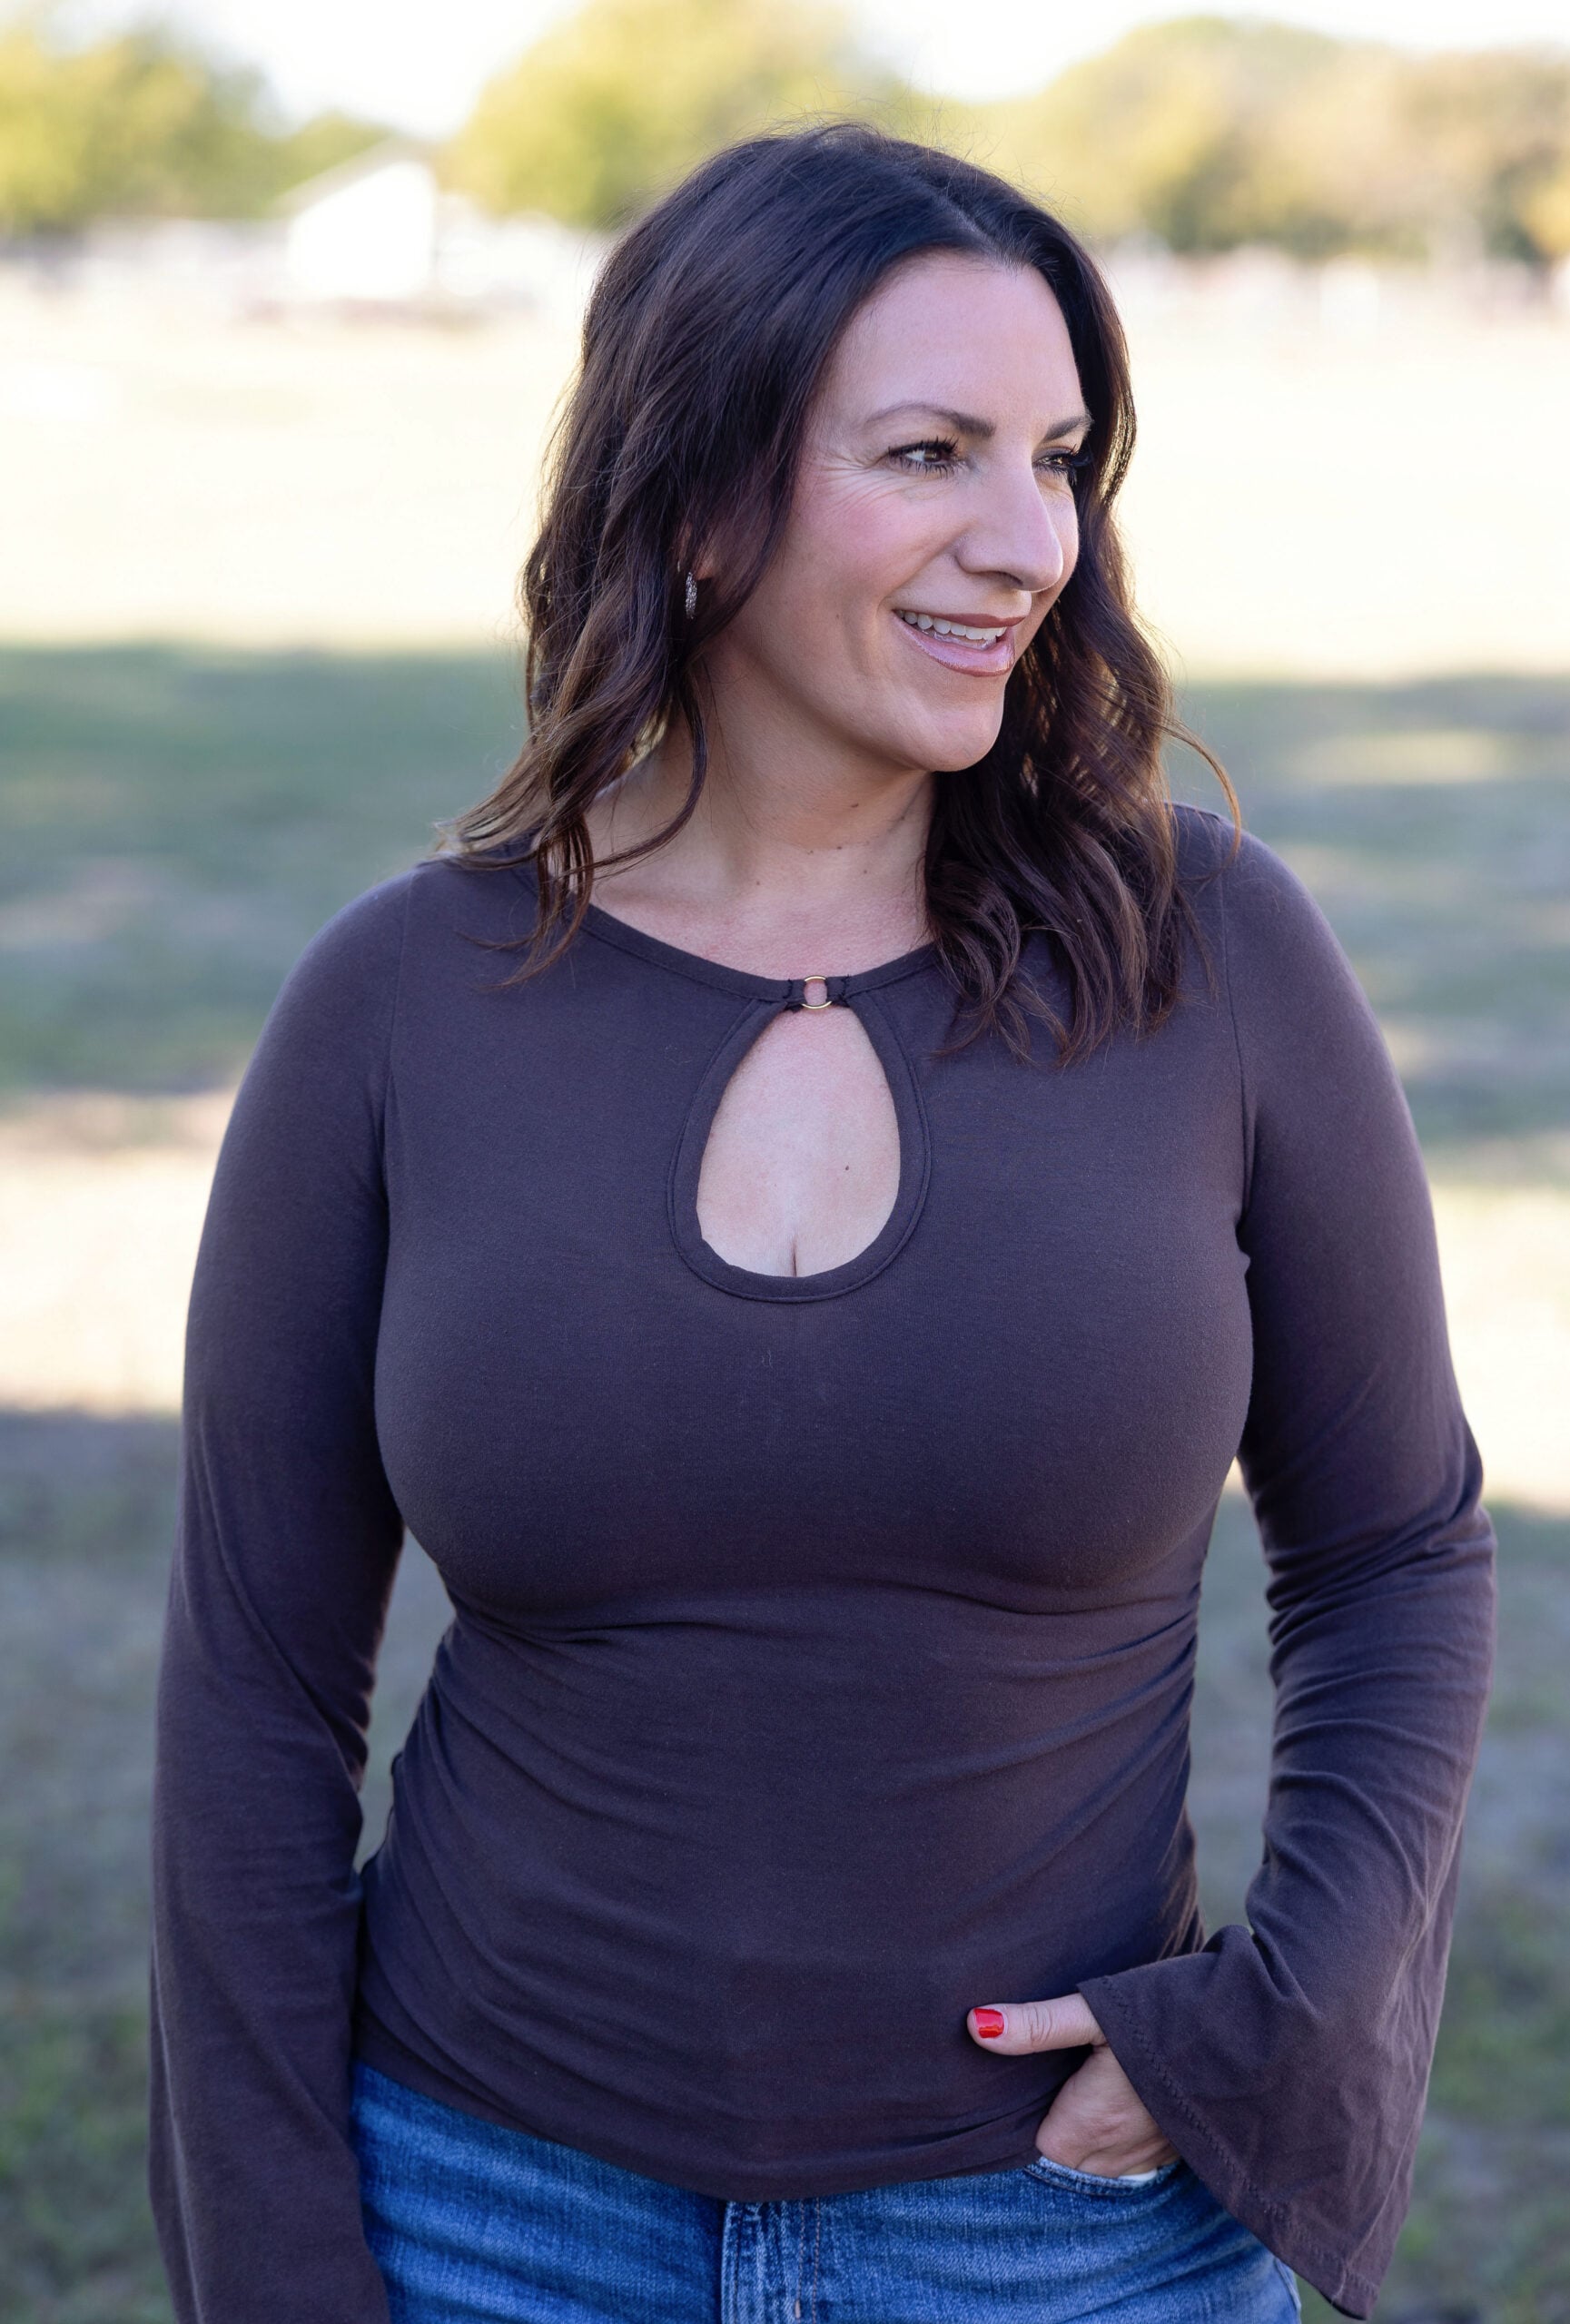
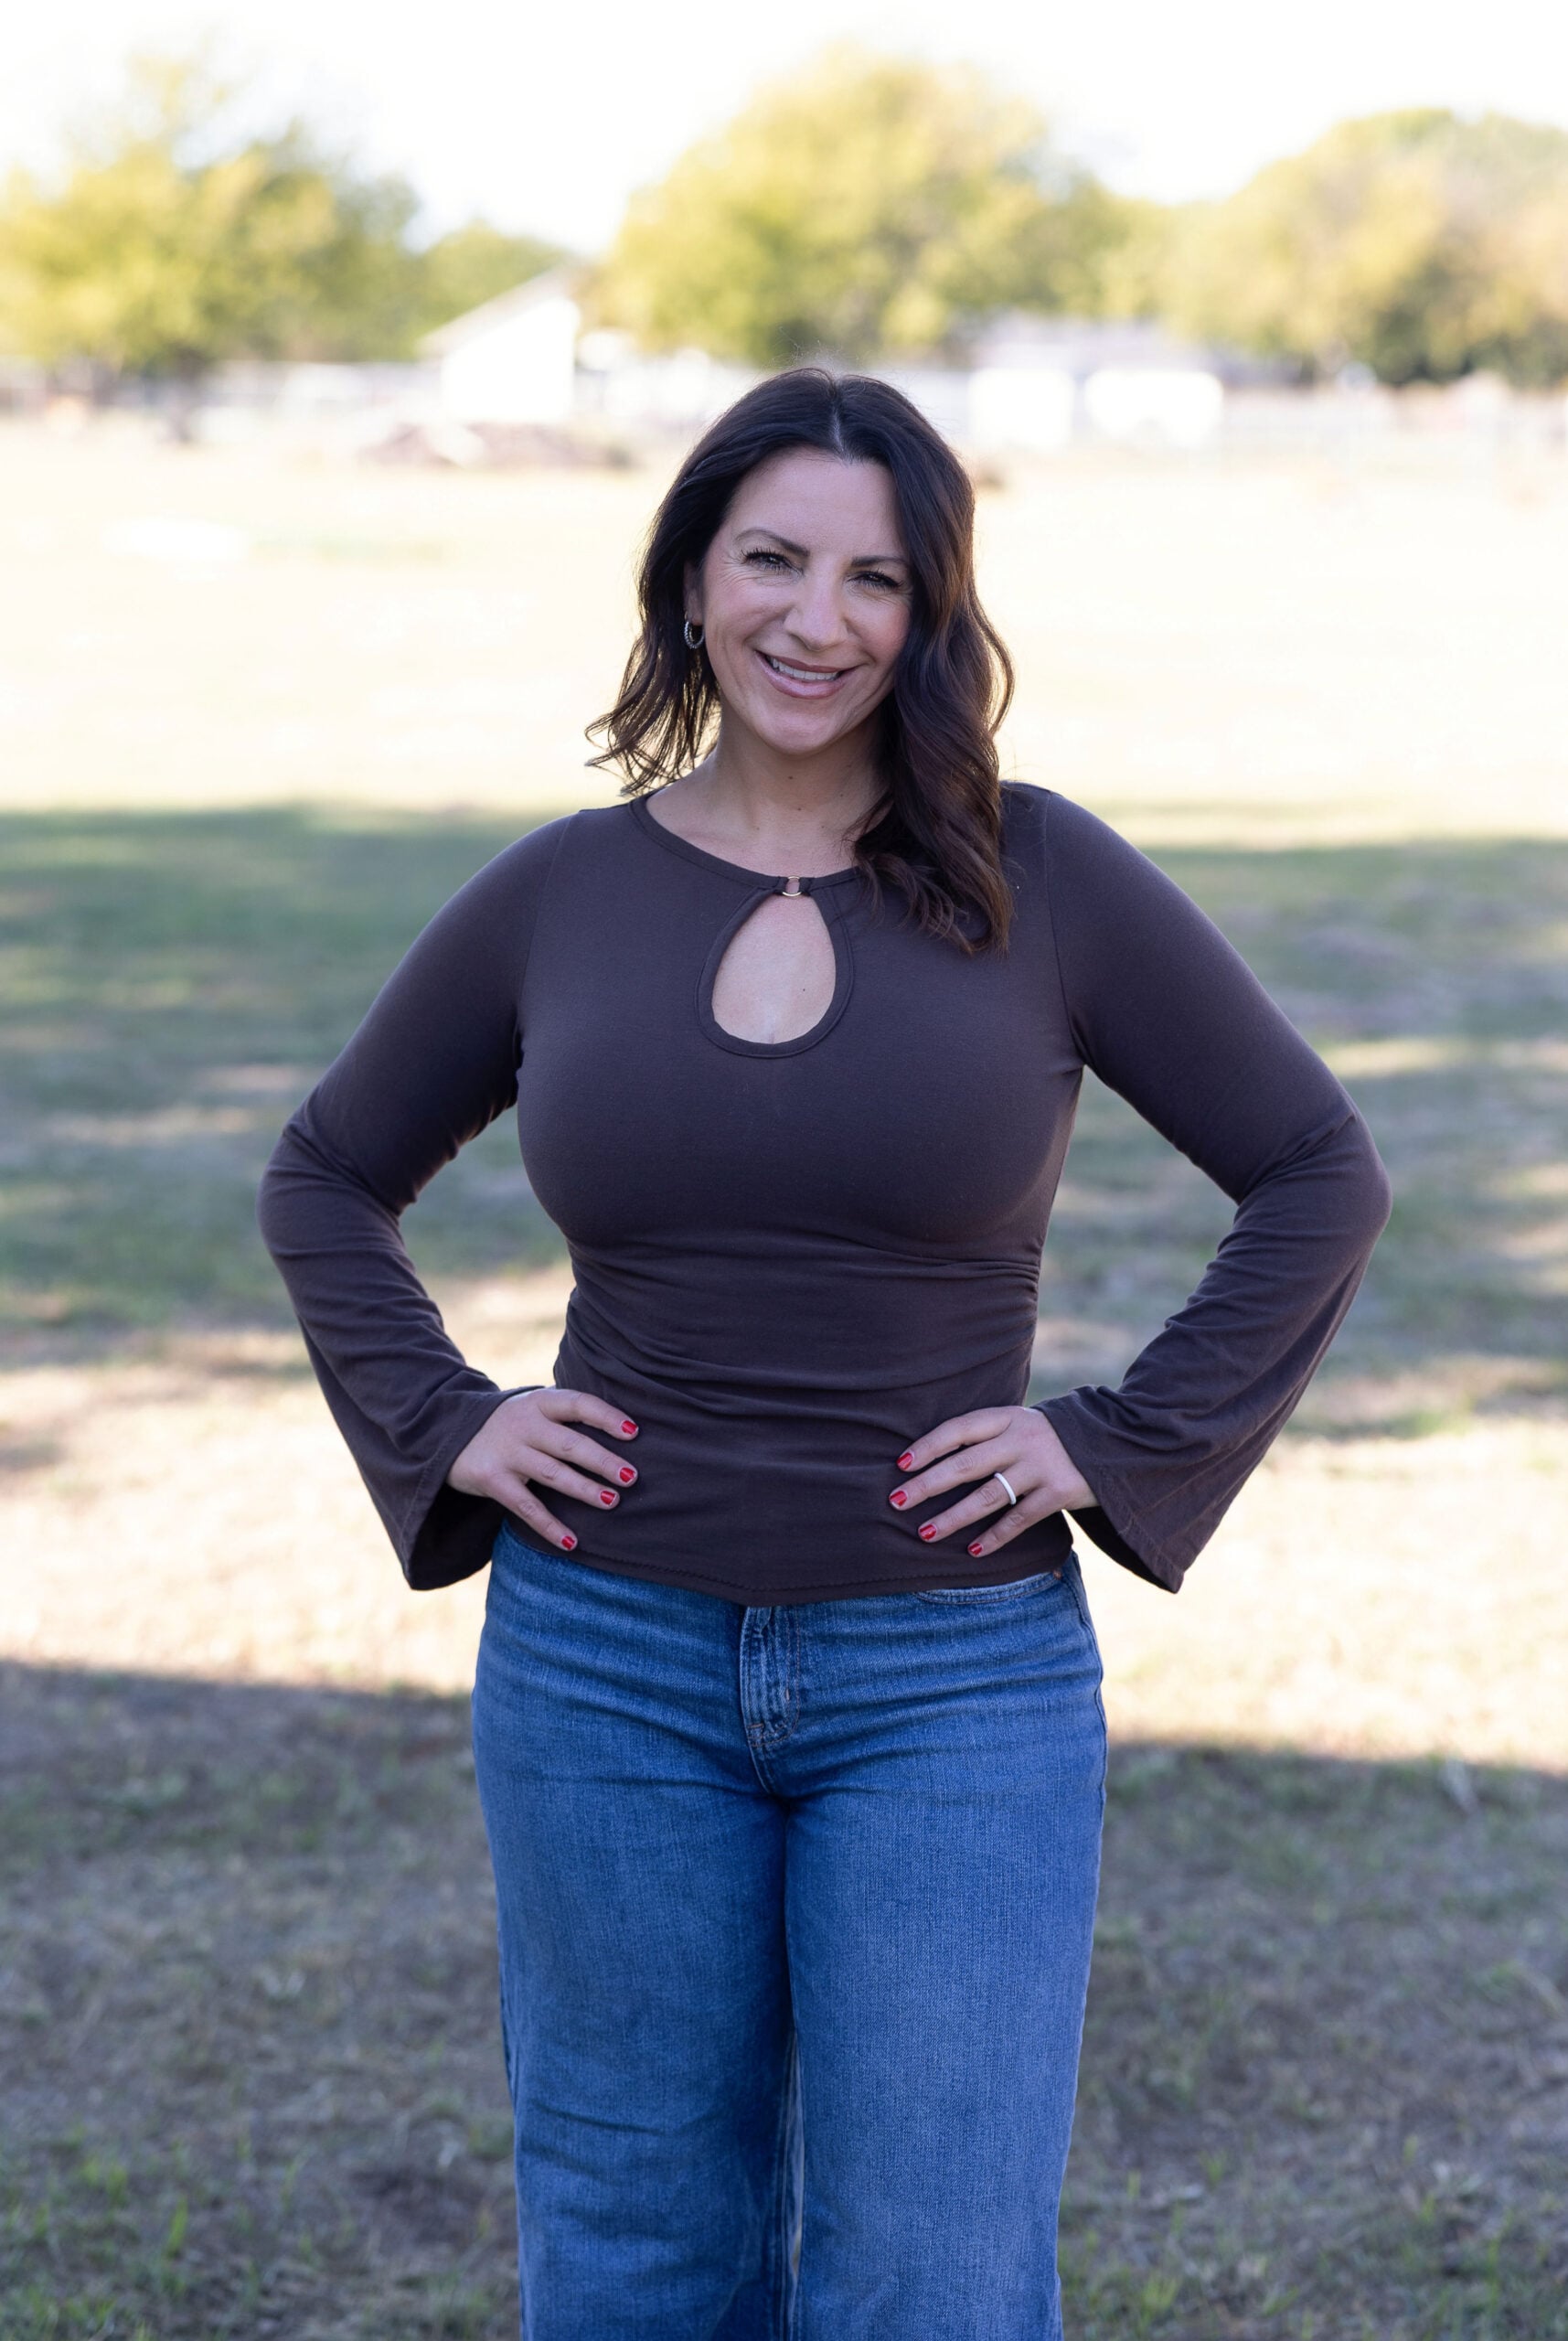
Ring Keyhole Hack:
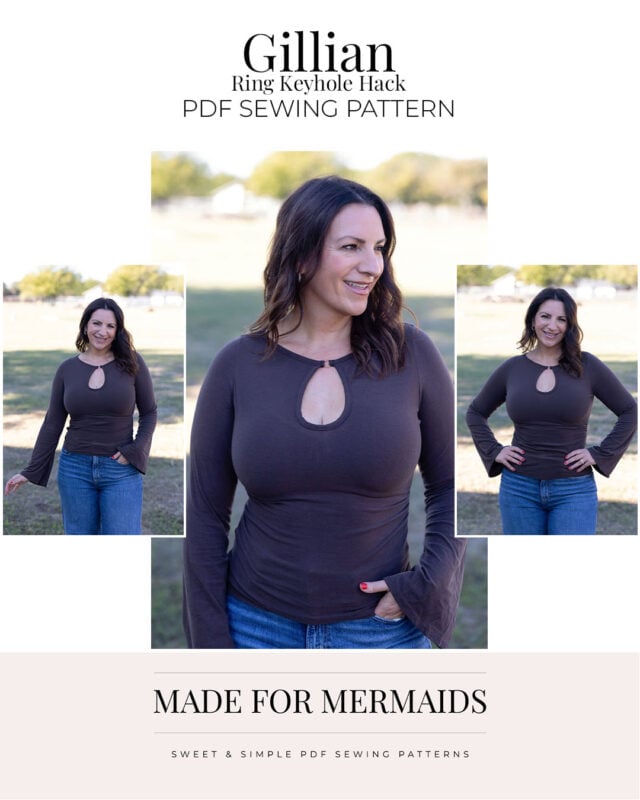
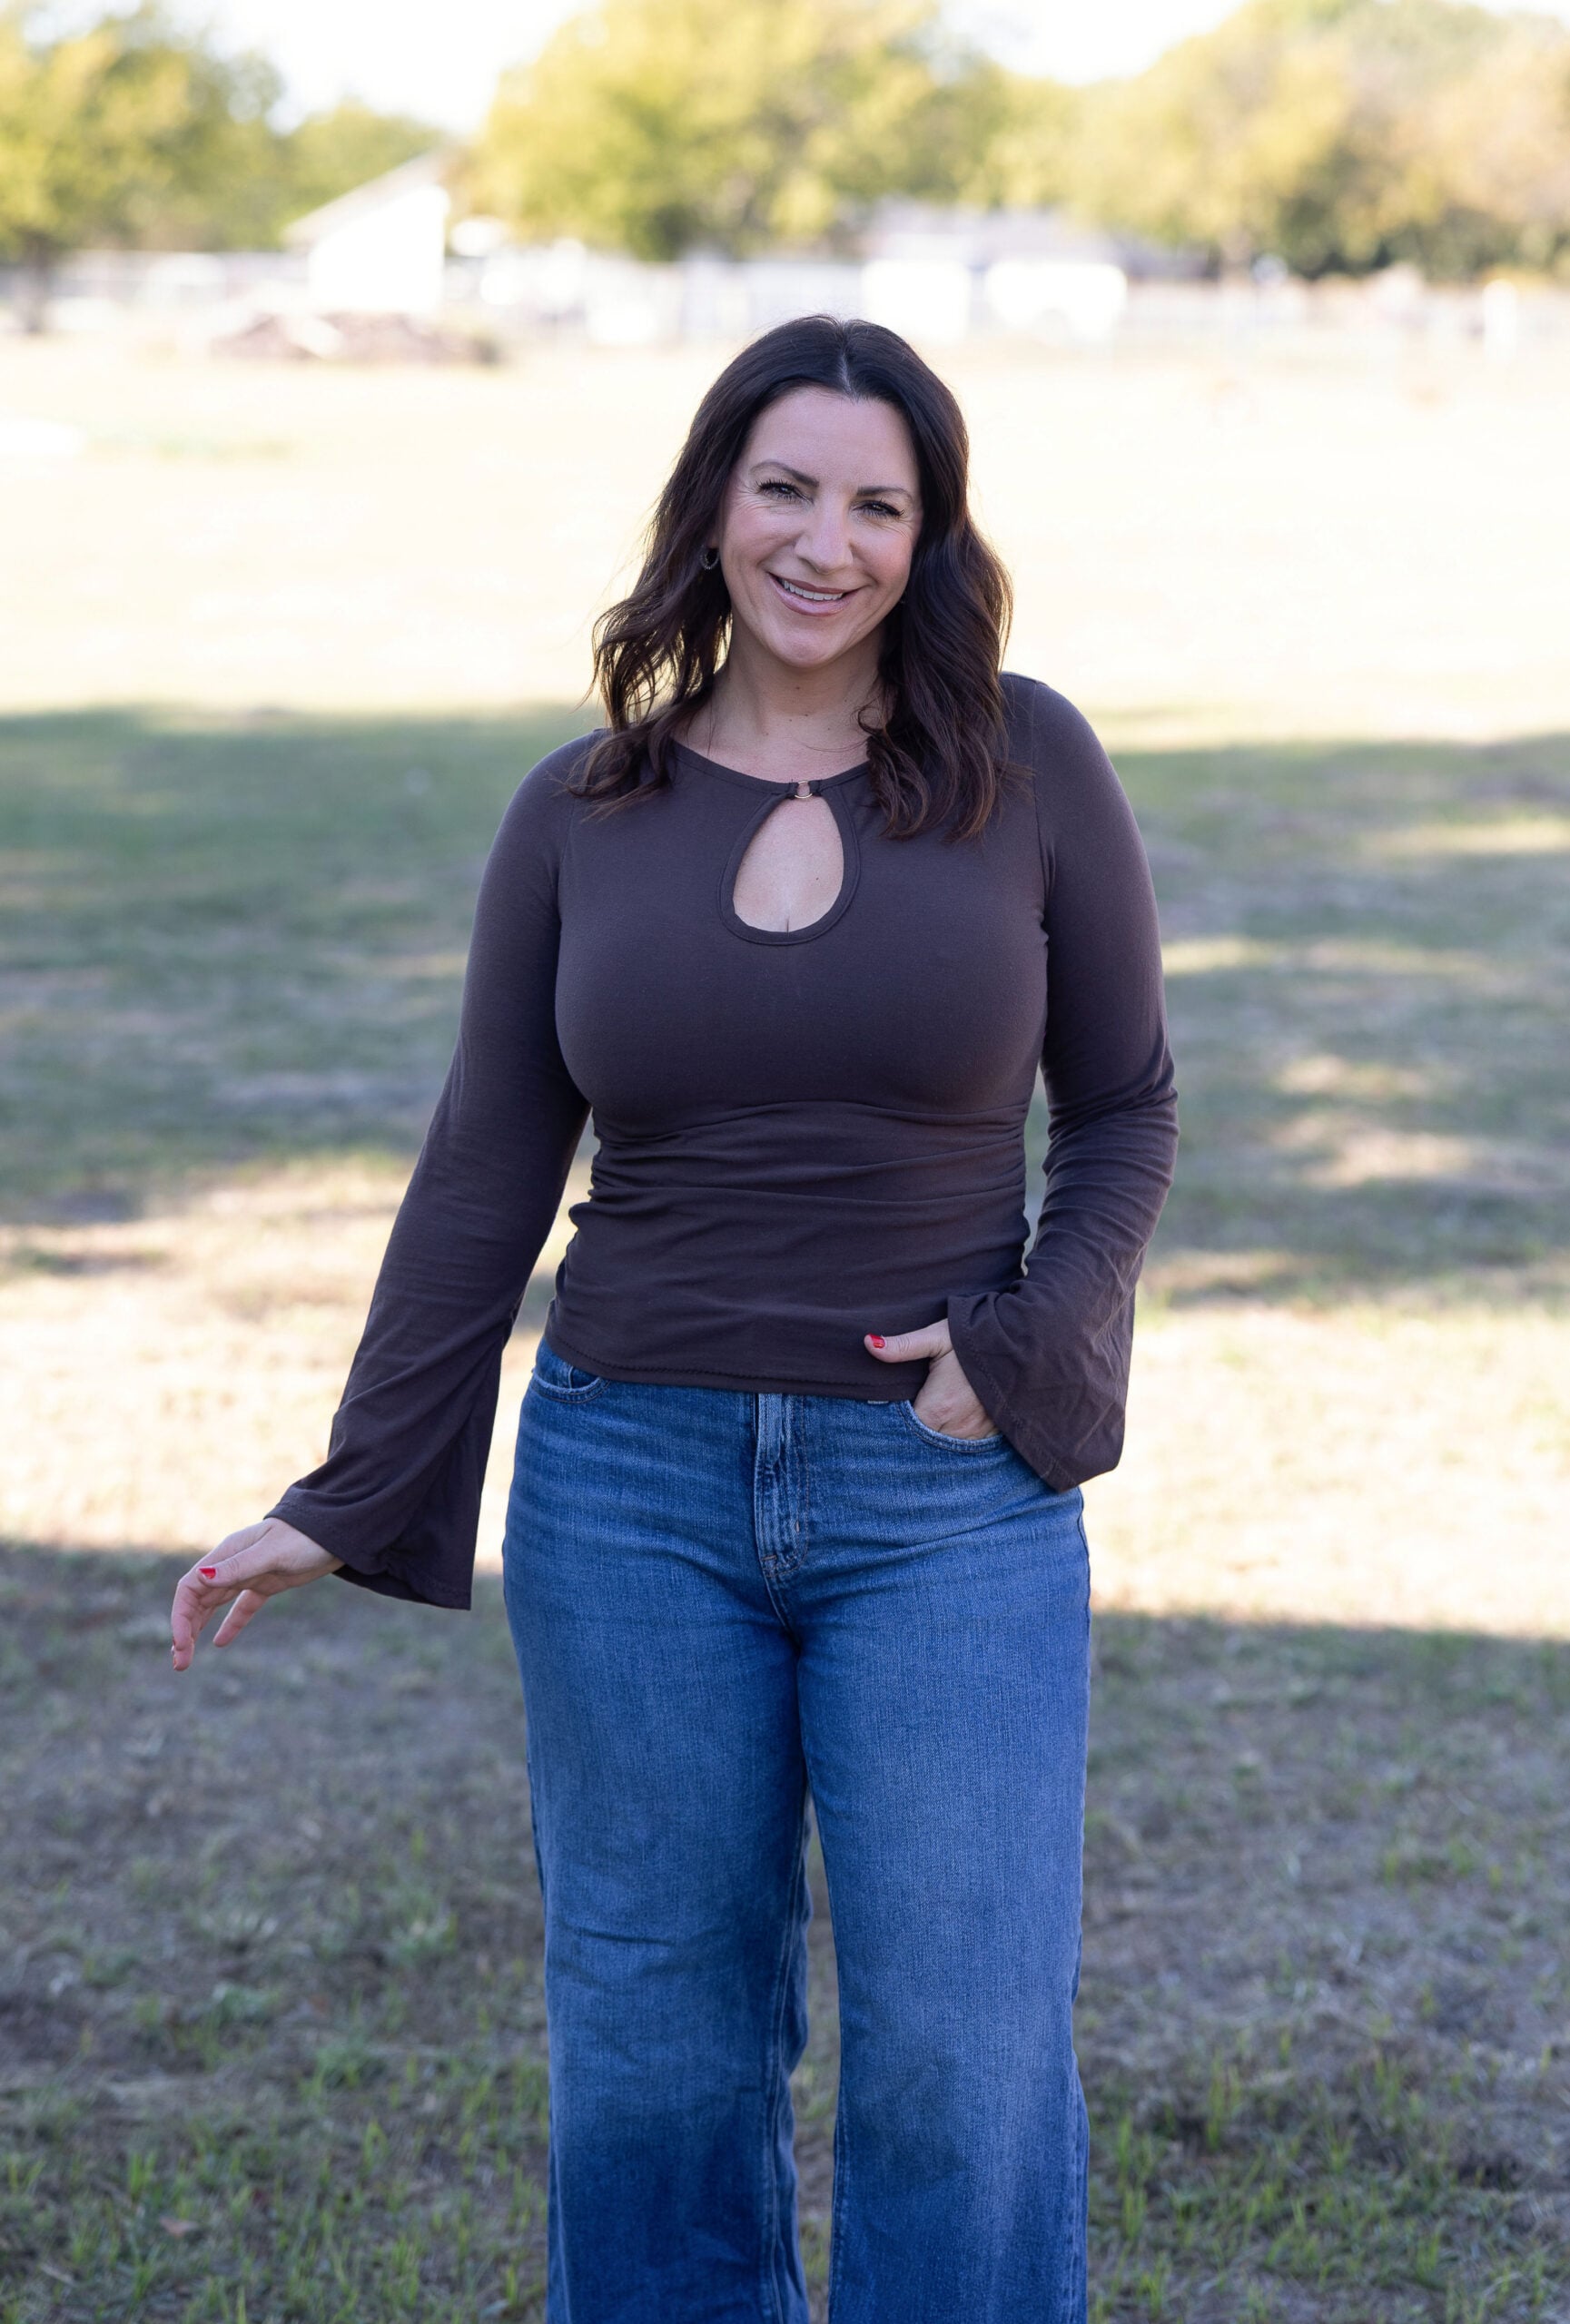
I saw a few ready-to-wear wrap tops with this ring keyhole neckline and knew I had to make one!
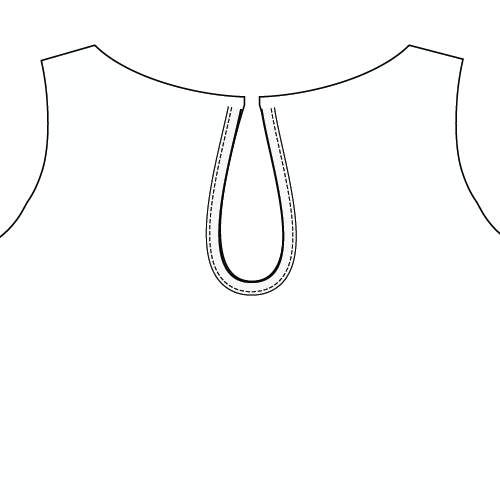
This hack is so simple, and you won’t need to make any changes to your pattern pieces. Cut all your pieces as usual and bind the keyhole following the tutorial.
When you get to the neckline, instead of sewing your neck binding into a loop, leave it open. Bind the neckline as usual, leaving 1/2″ of binding extending past each side of the center front.
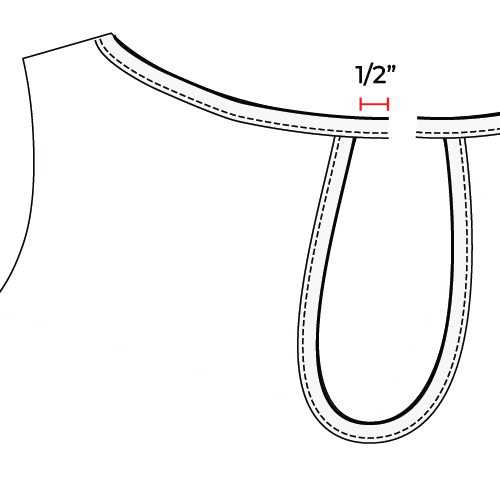
Once your neckline is bound, slide your ring onto one end of the binding. Wrap the binding around the ring and stitch it in place to secure. Repeat on the other side.
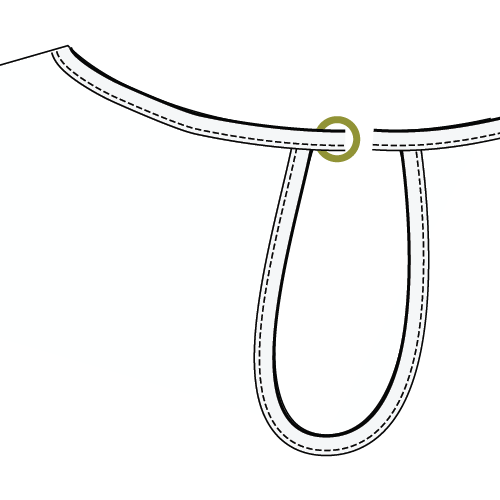
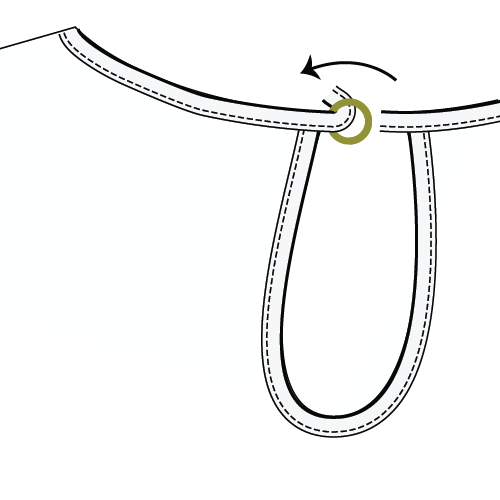
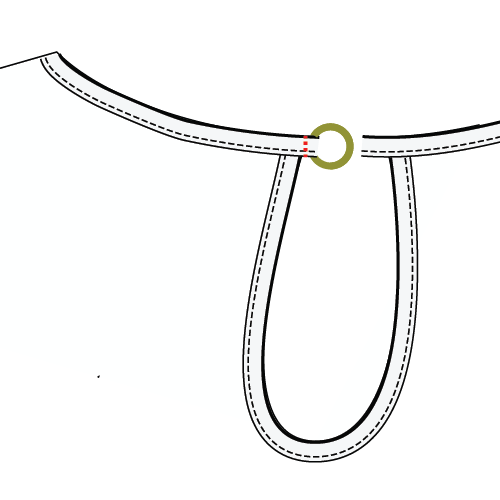
Ta-da! All done! Such a simple little change, but I love how it looks!
I used a bra strap ring for mine, but you could use any similar-sized ring.
Sheer Overlay Hack:
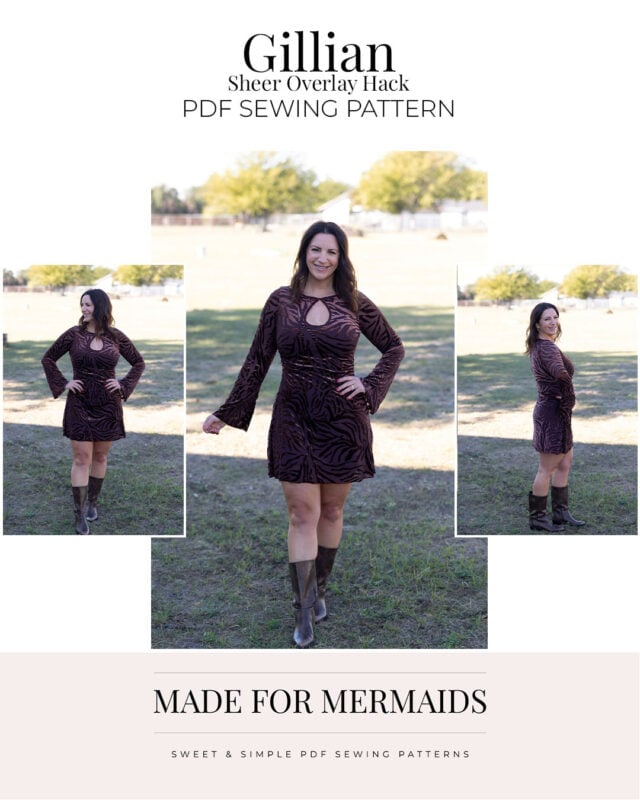
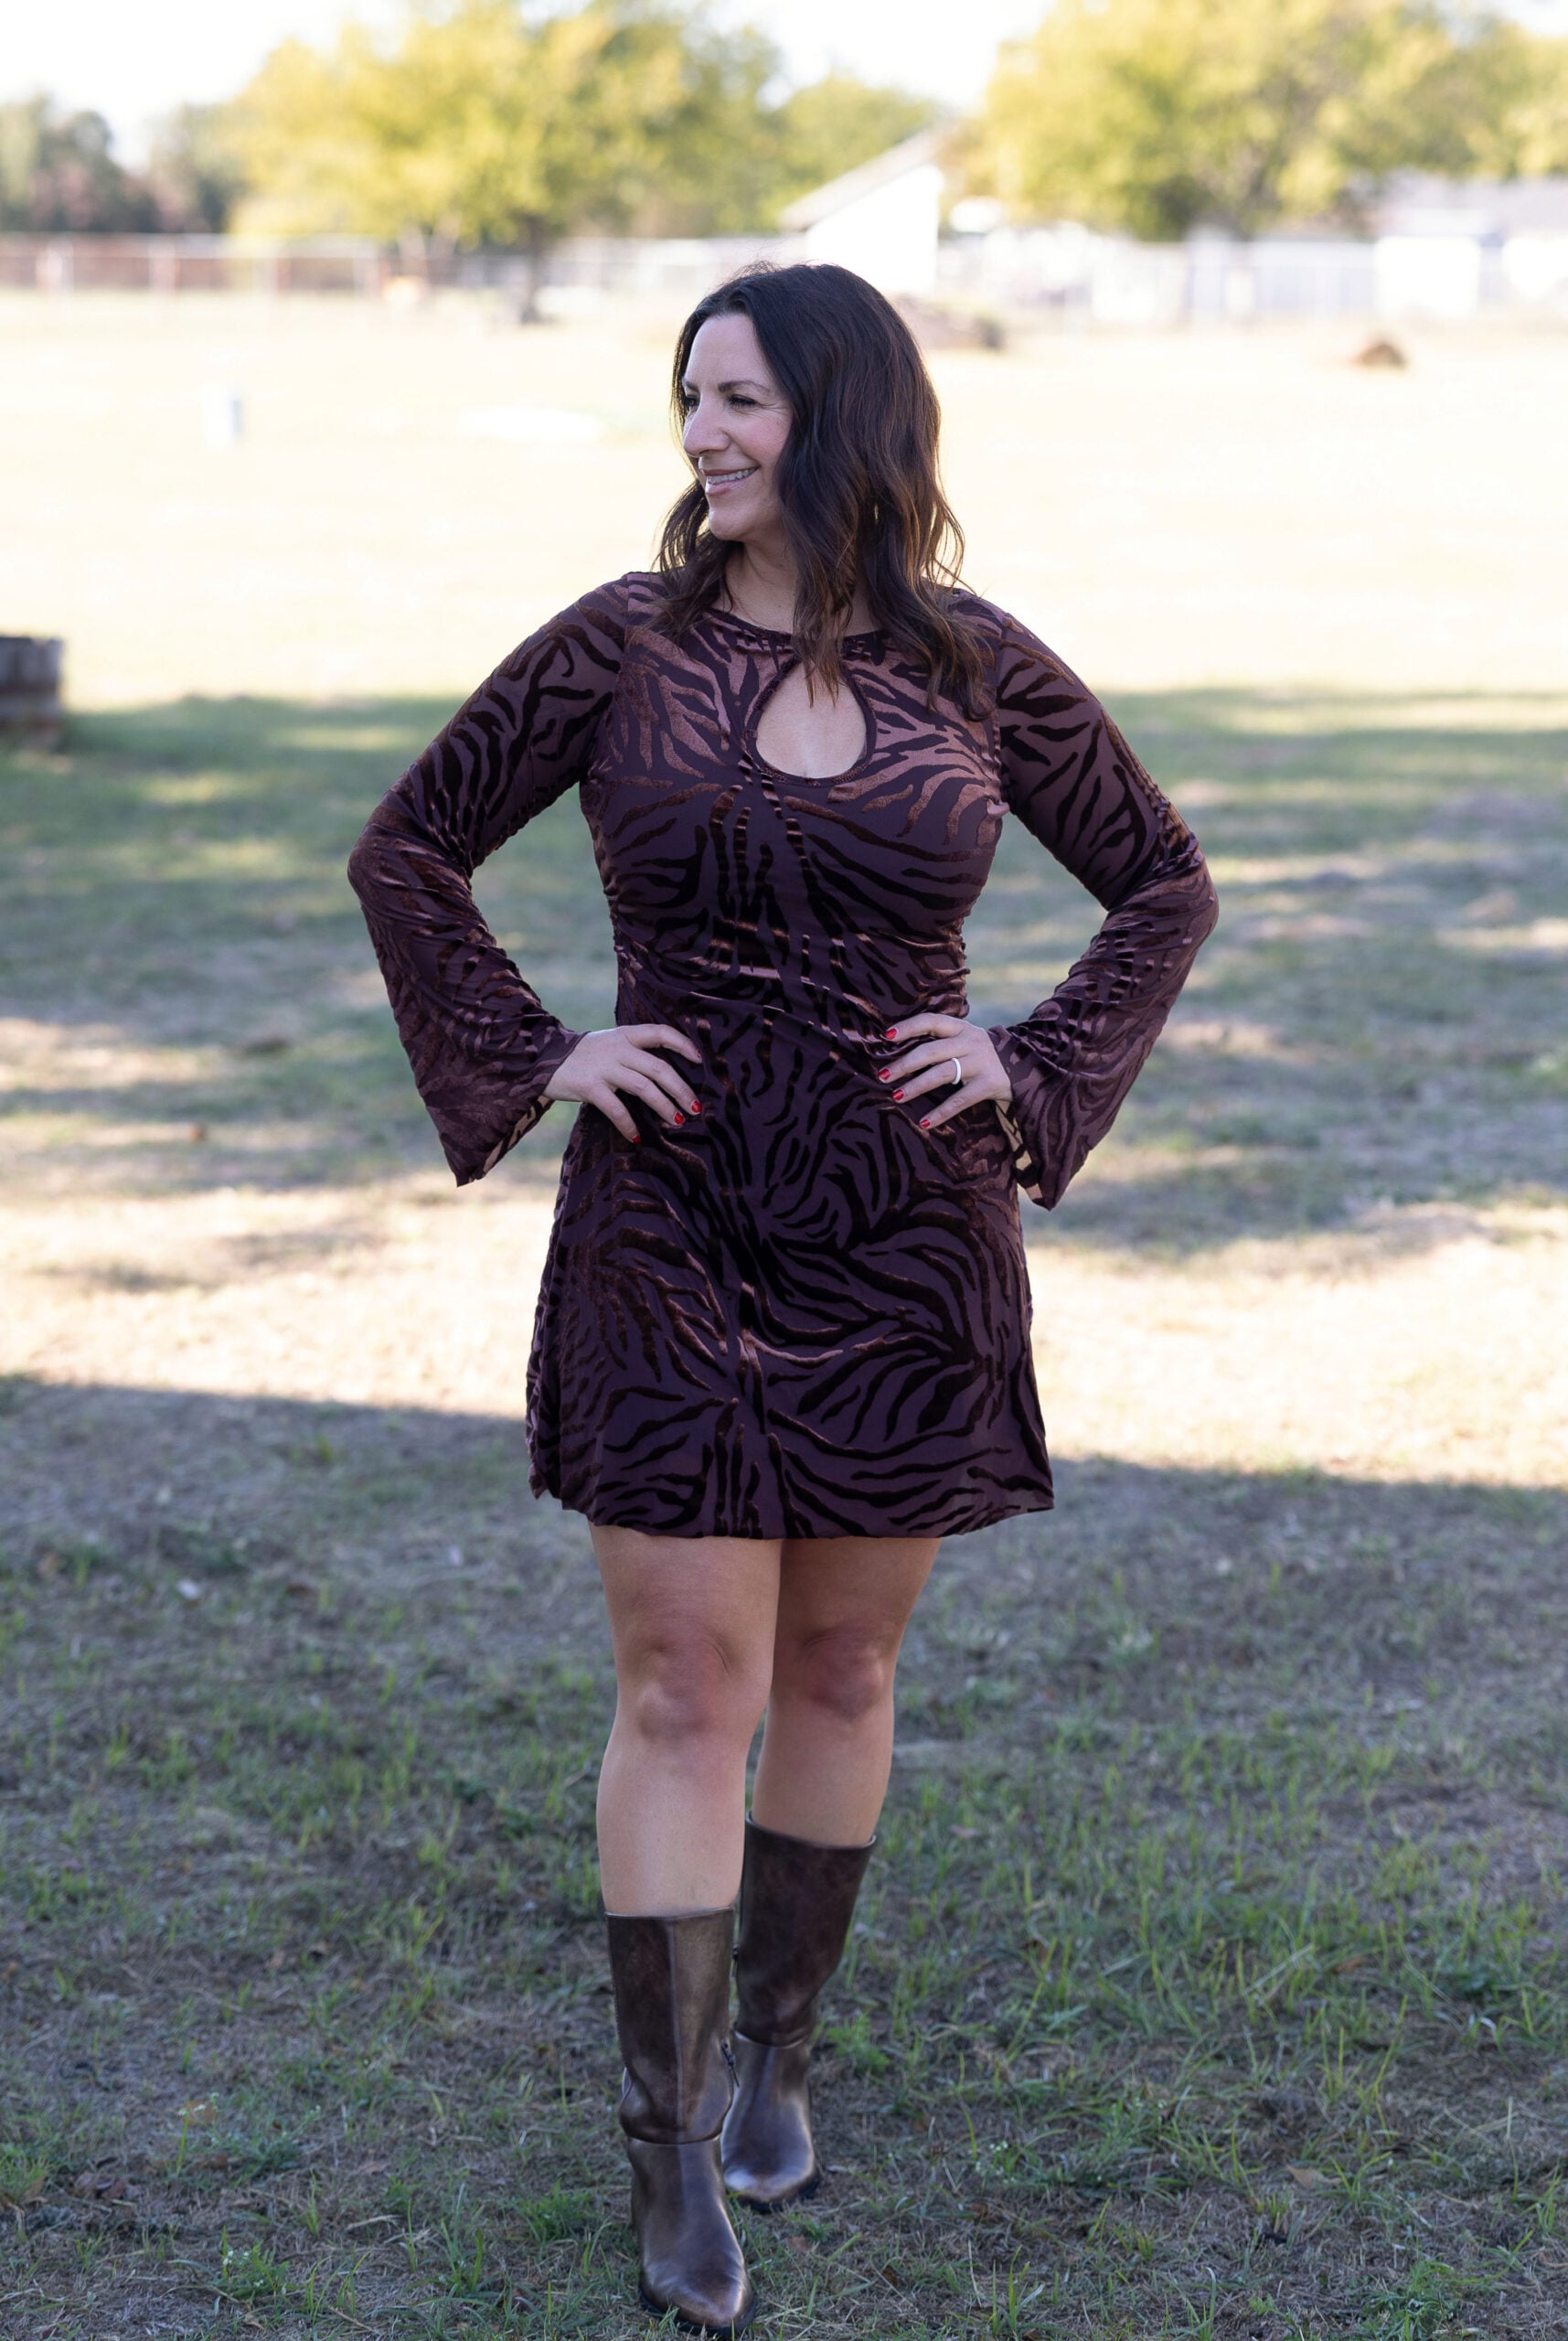
Want to make Gillian in a sheer fabric like lace, mesh, or burnout velvet? Adding a layer underneath is super easy!
For my version, I used a sheer burnout velvet for the outer layer and a solid cotton lycra underneath. I cut my burnout velvet in the dress length and my underlayer in the mini length, so the sheer fabric extends past the lining. I used only the burnout velvet for my sleeves, but if you want them lined too, you can cut an additional set of sleeves from your lining fabric.
Cut both layers using the same front and back pattern pieces, then layer them together with the wrong side of the outer fabric against the right side of the lining. Treat both layers as one when sewing. I like to baste the layers together along the shoulder seams, side seams, and neckline first to keep everything in place.
I left my lining unhemmed, so I didn’t have to worry about leaving the bottom of the side seams open for hemming. One less step! 😉
That’s it! Such an easy way to use those fun sheer fabrics while adding a little extra coverage!
Looking at the Options
Necklines
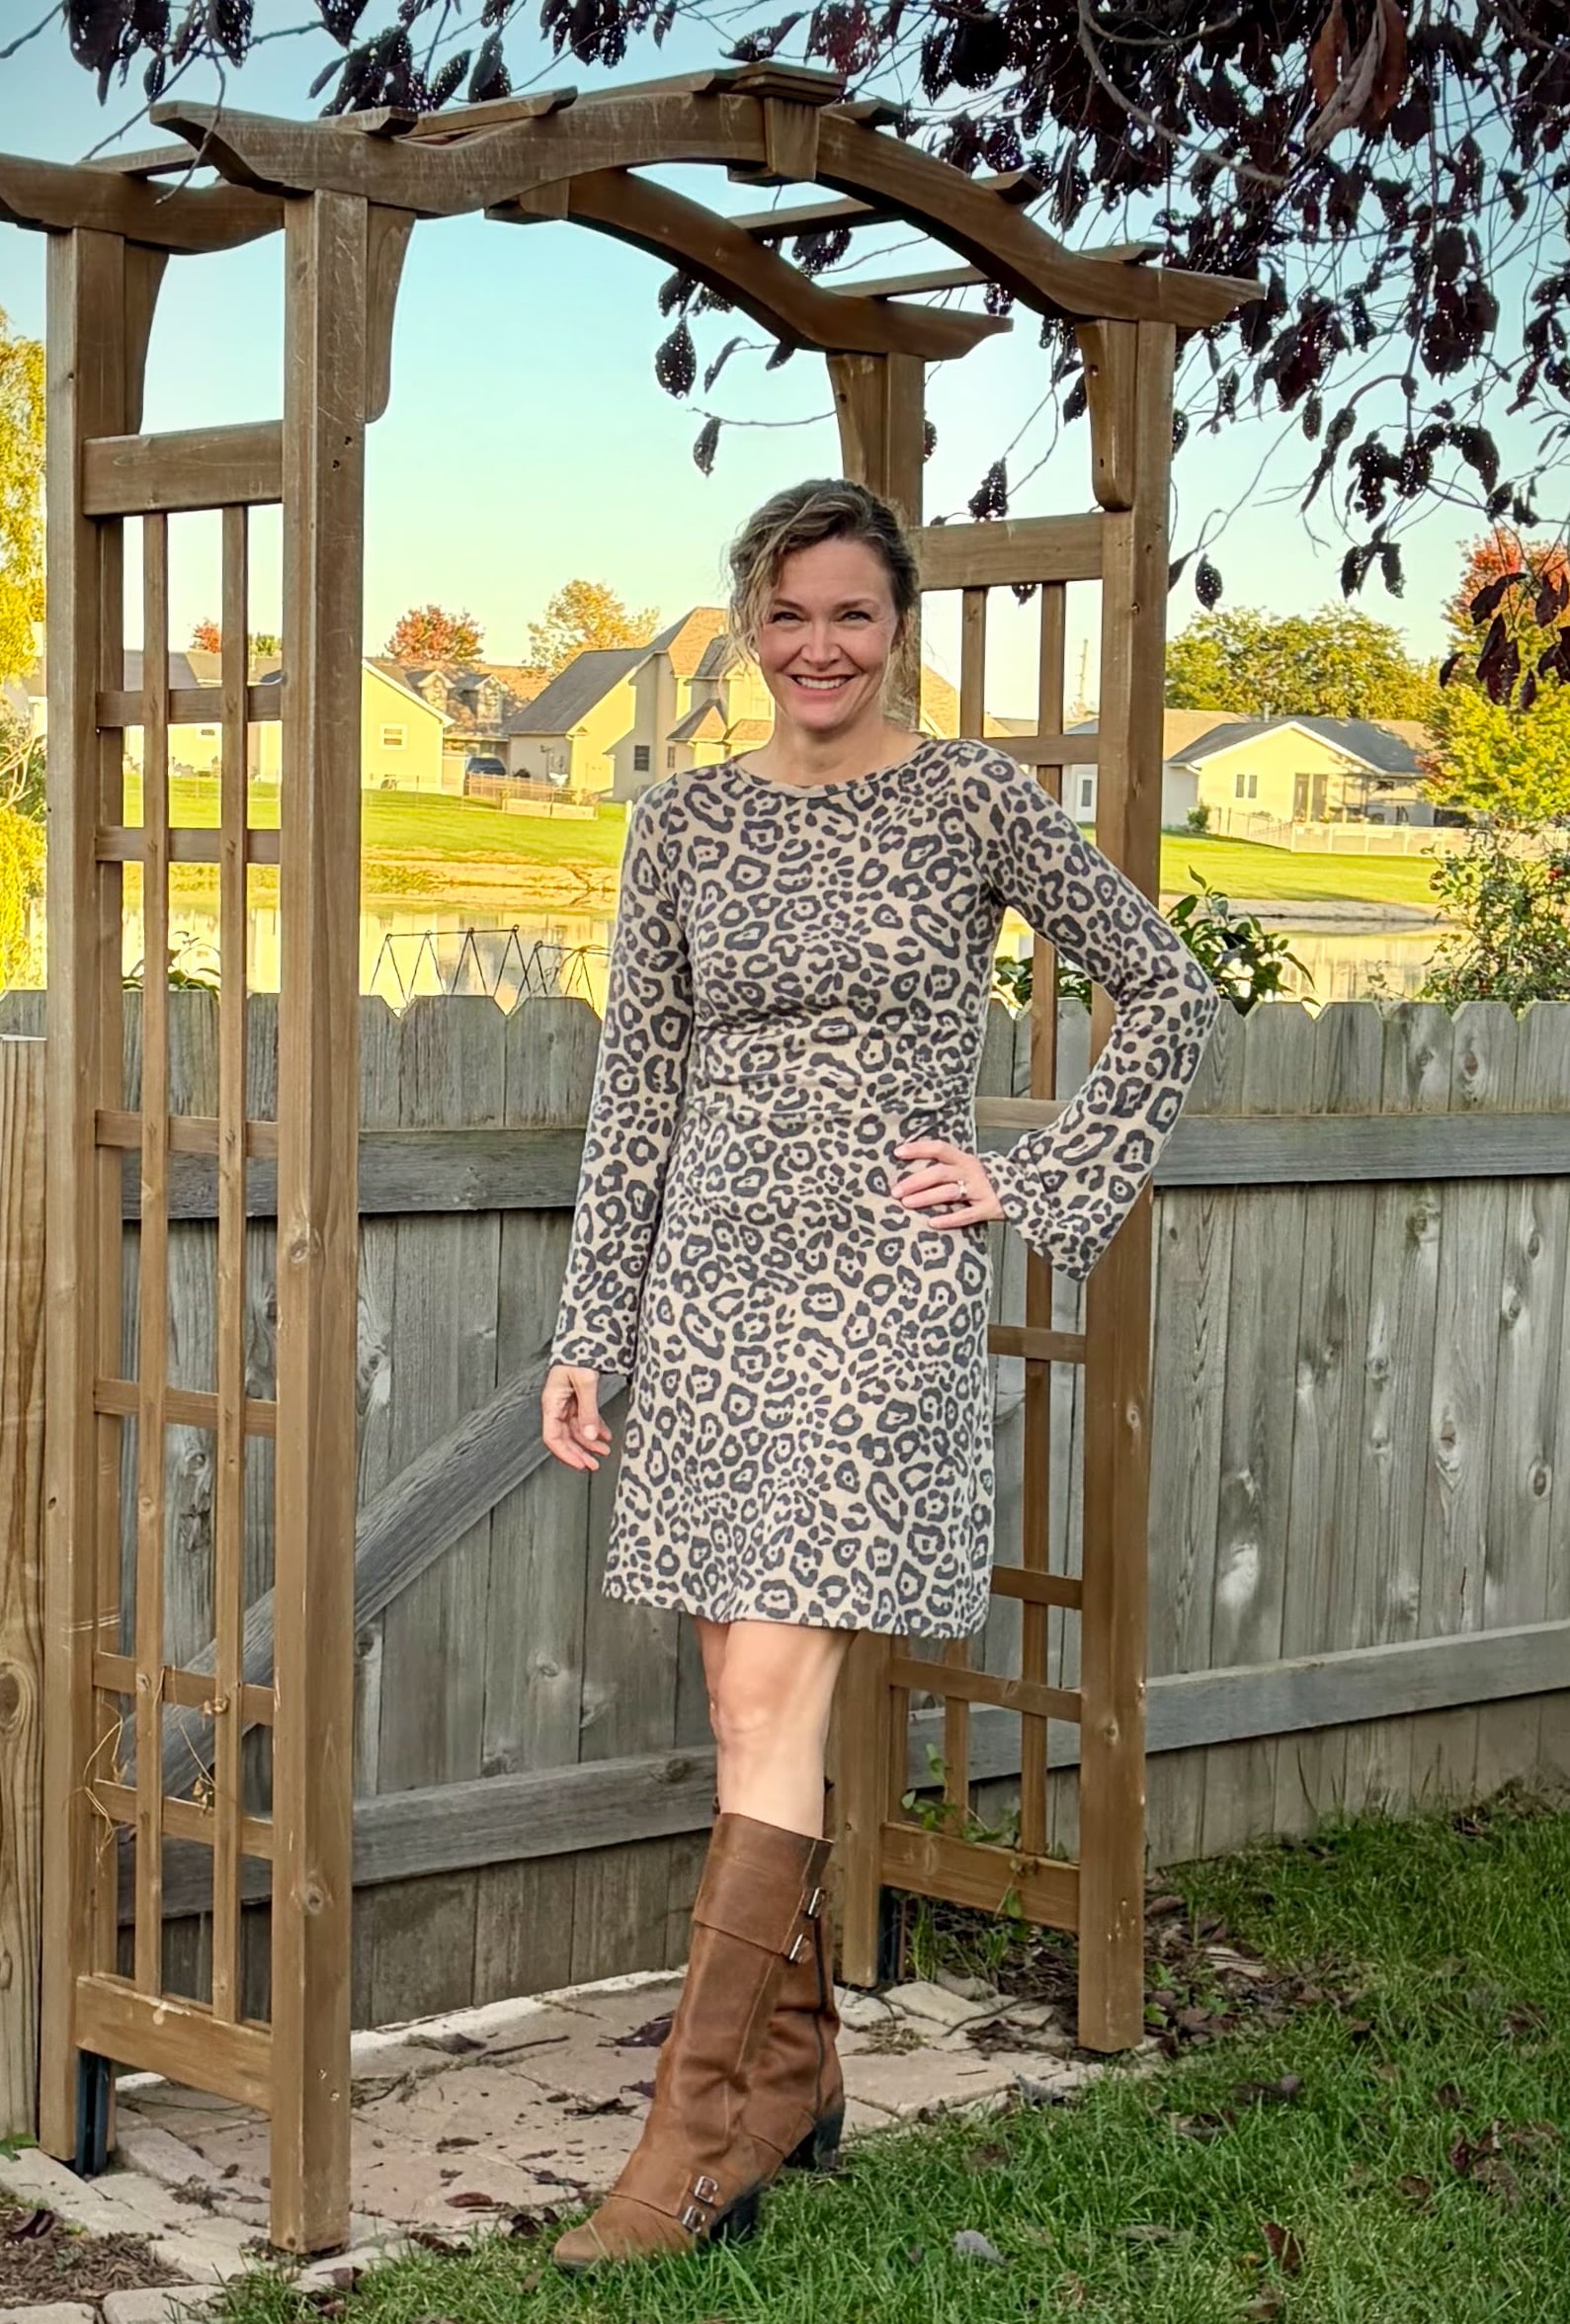
Boat neck:
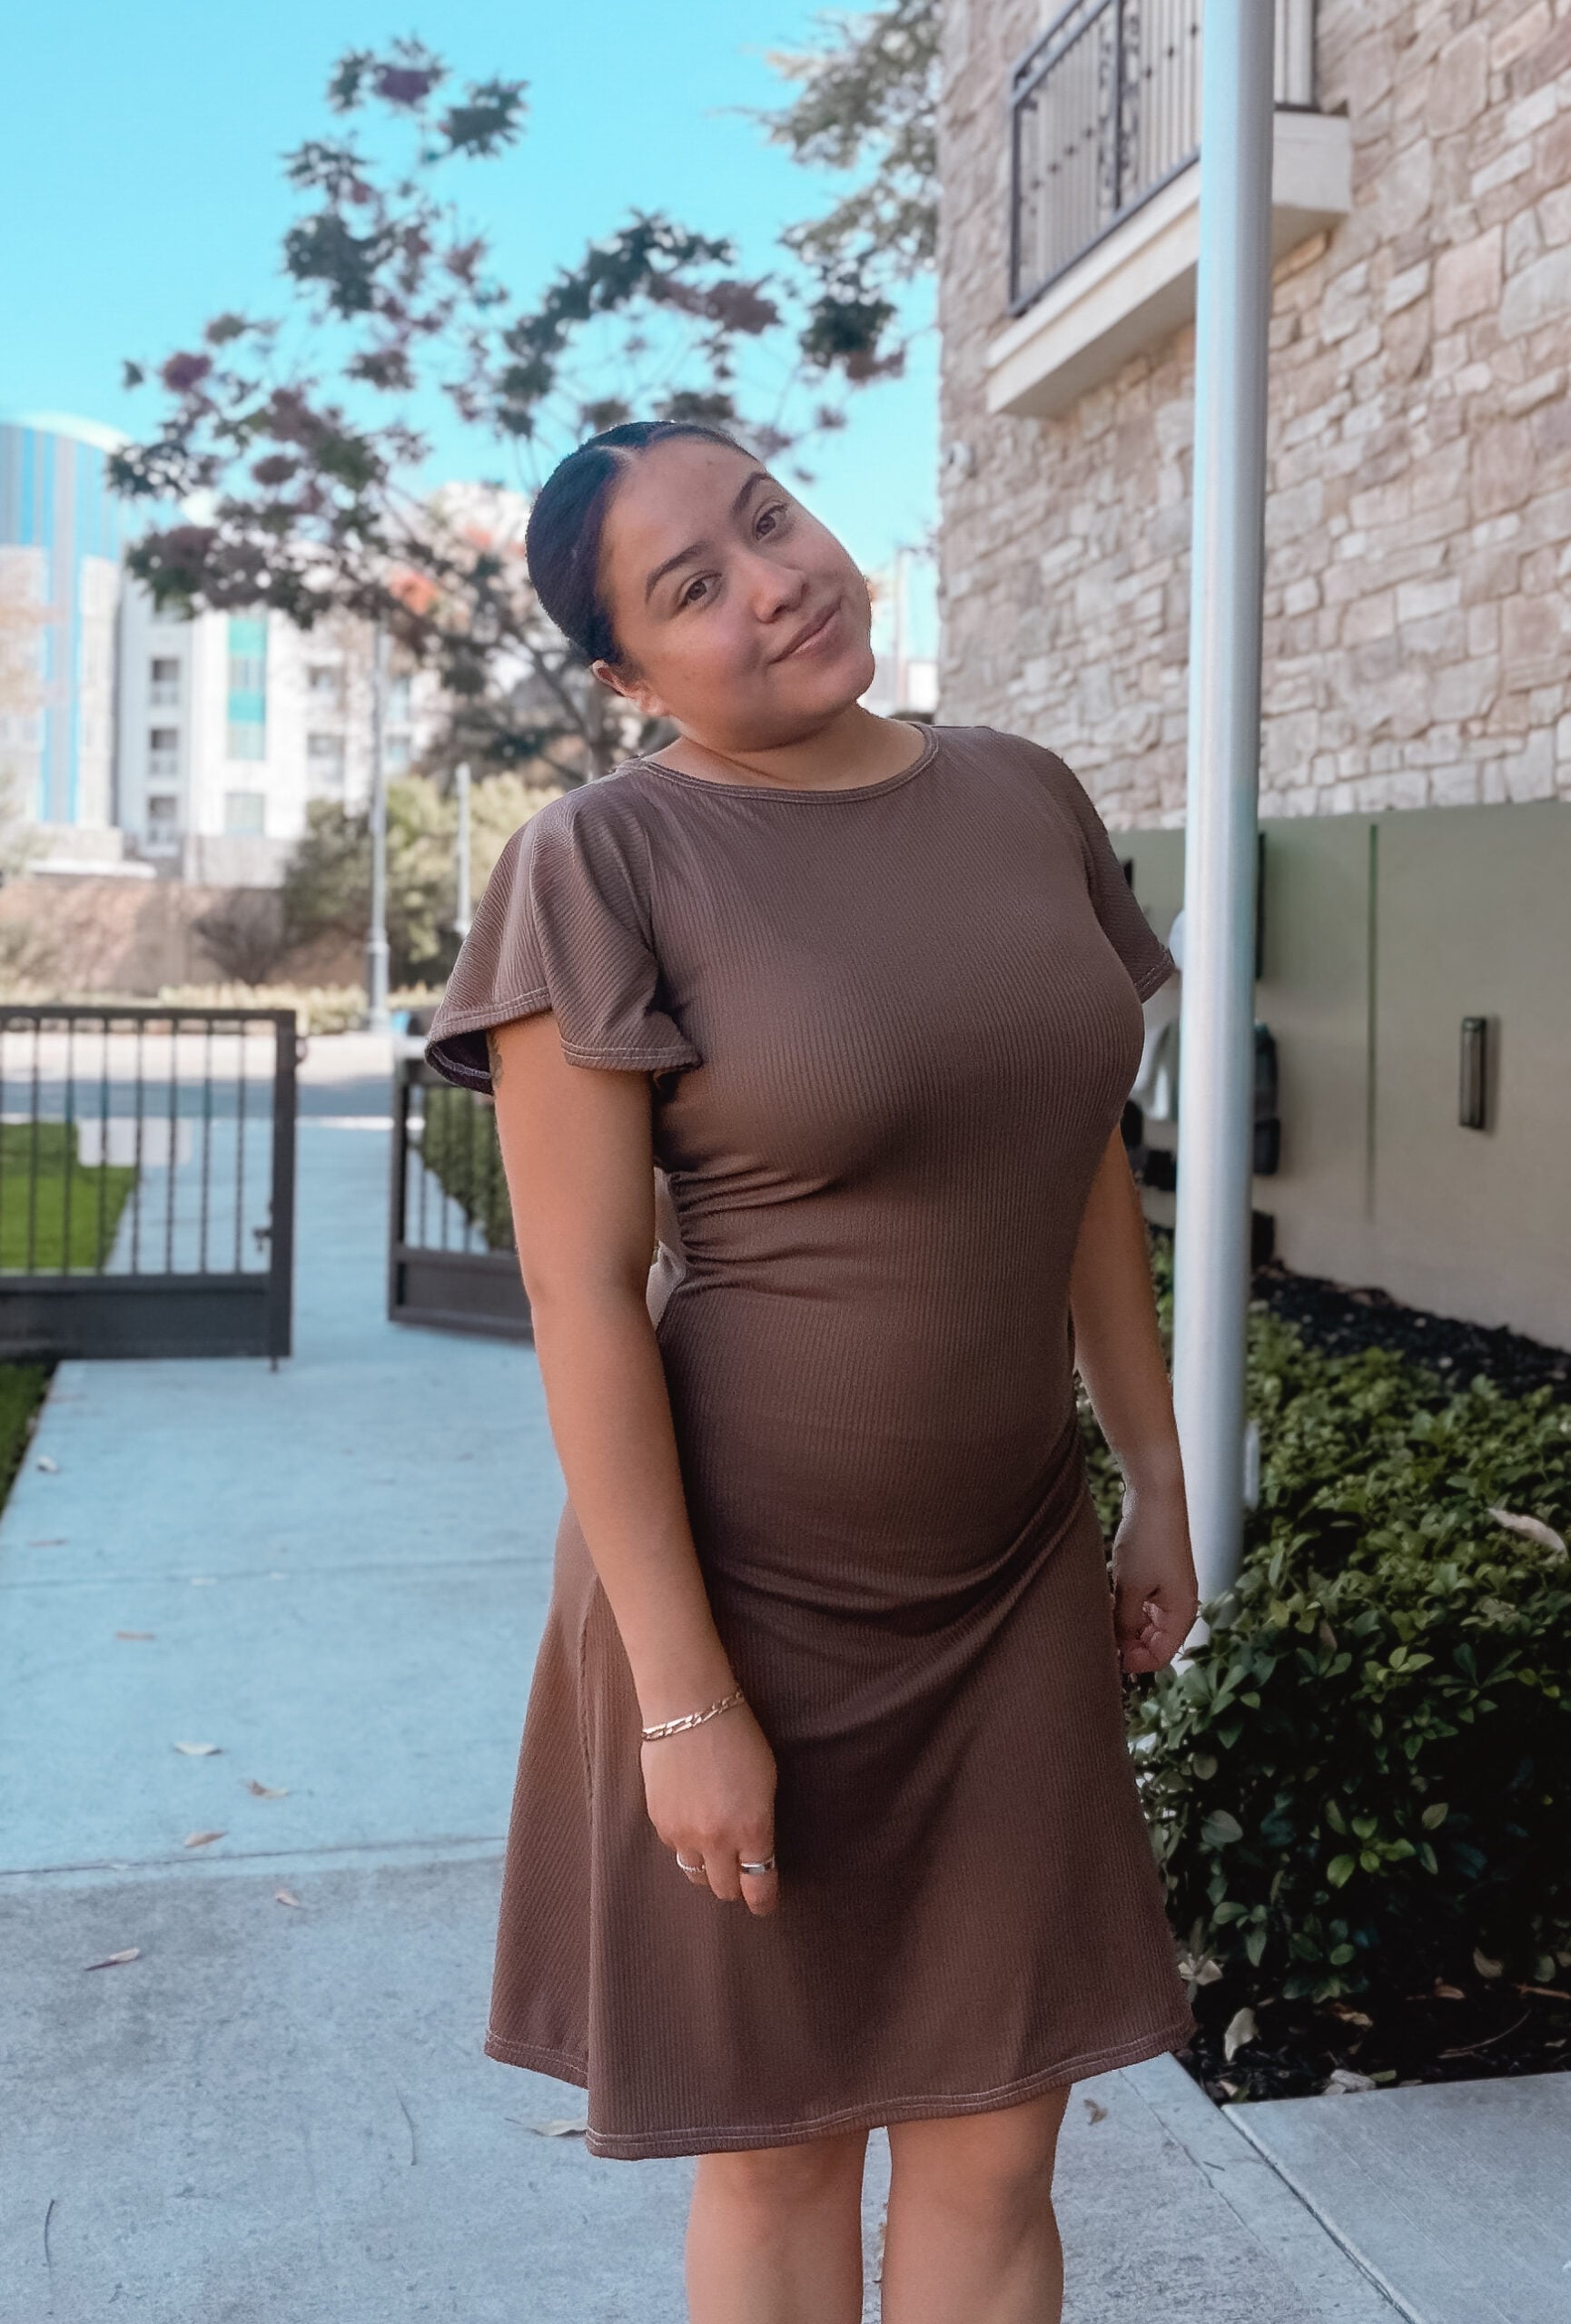
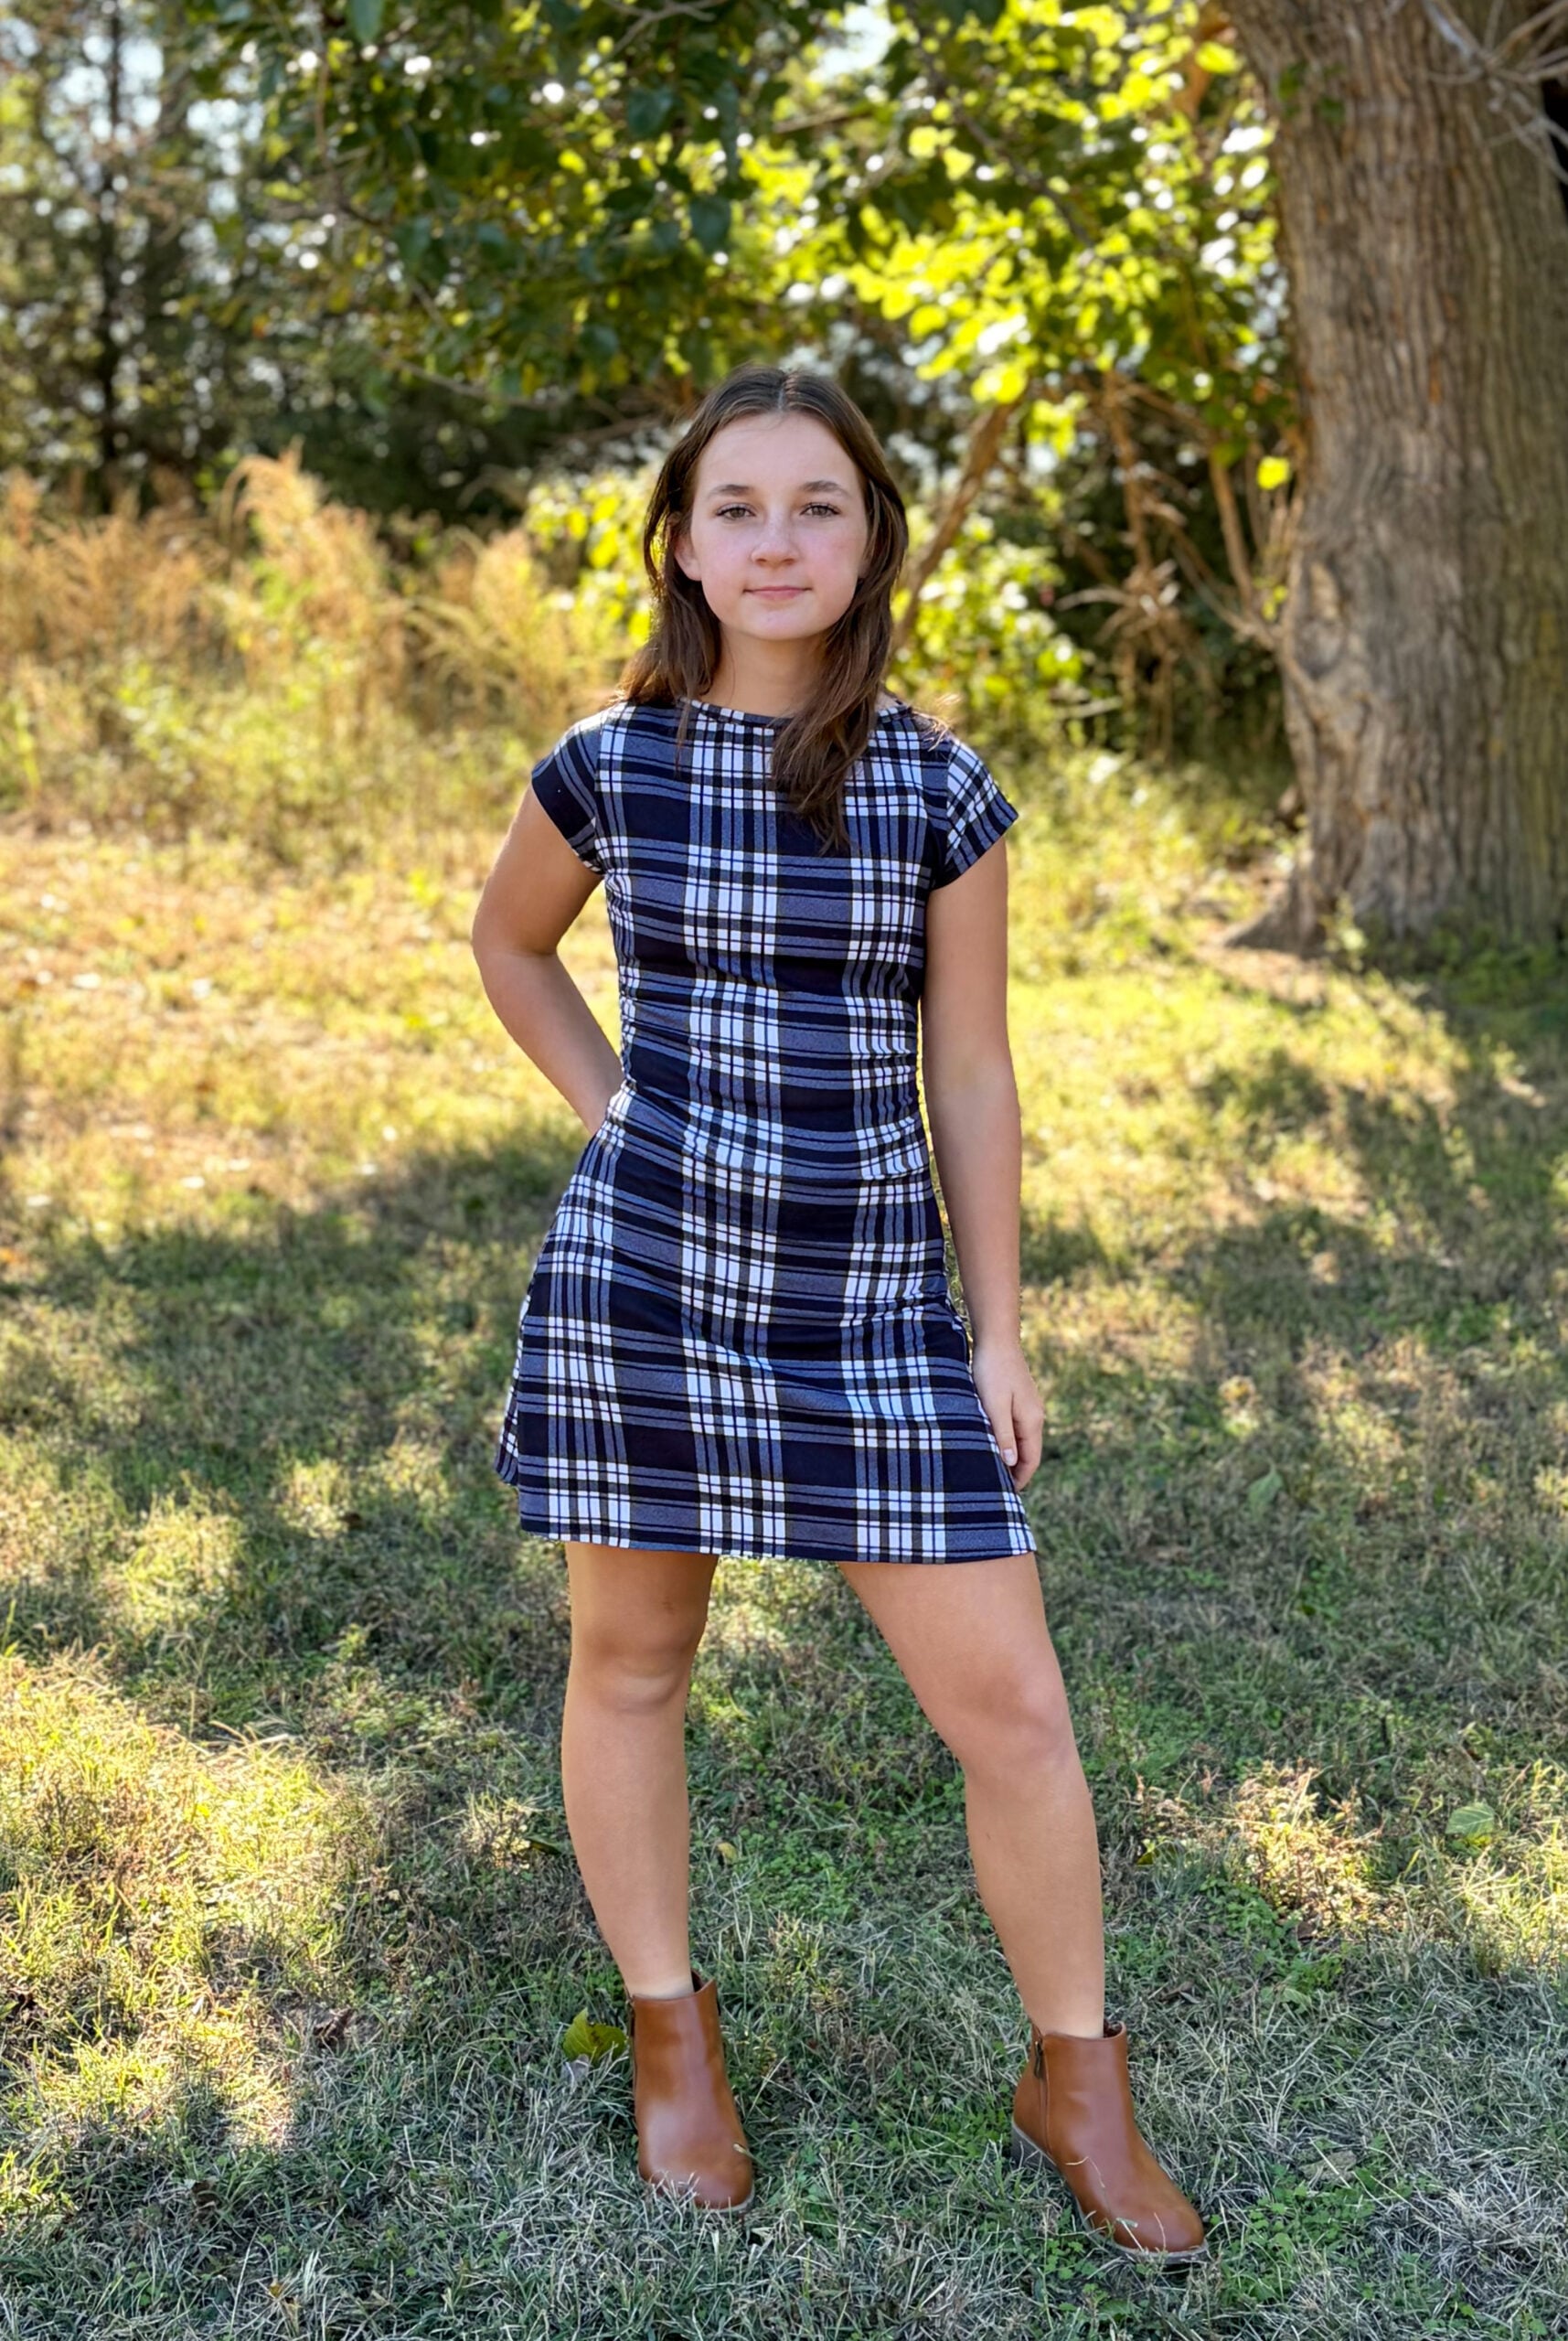
Boat neck with keyhole:

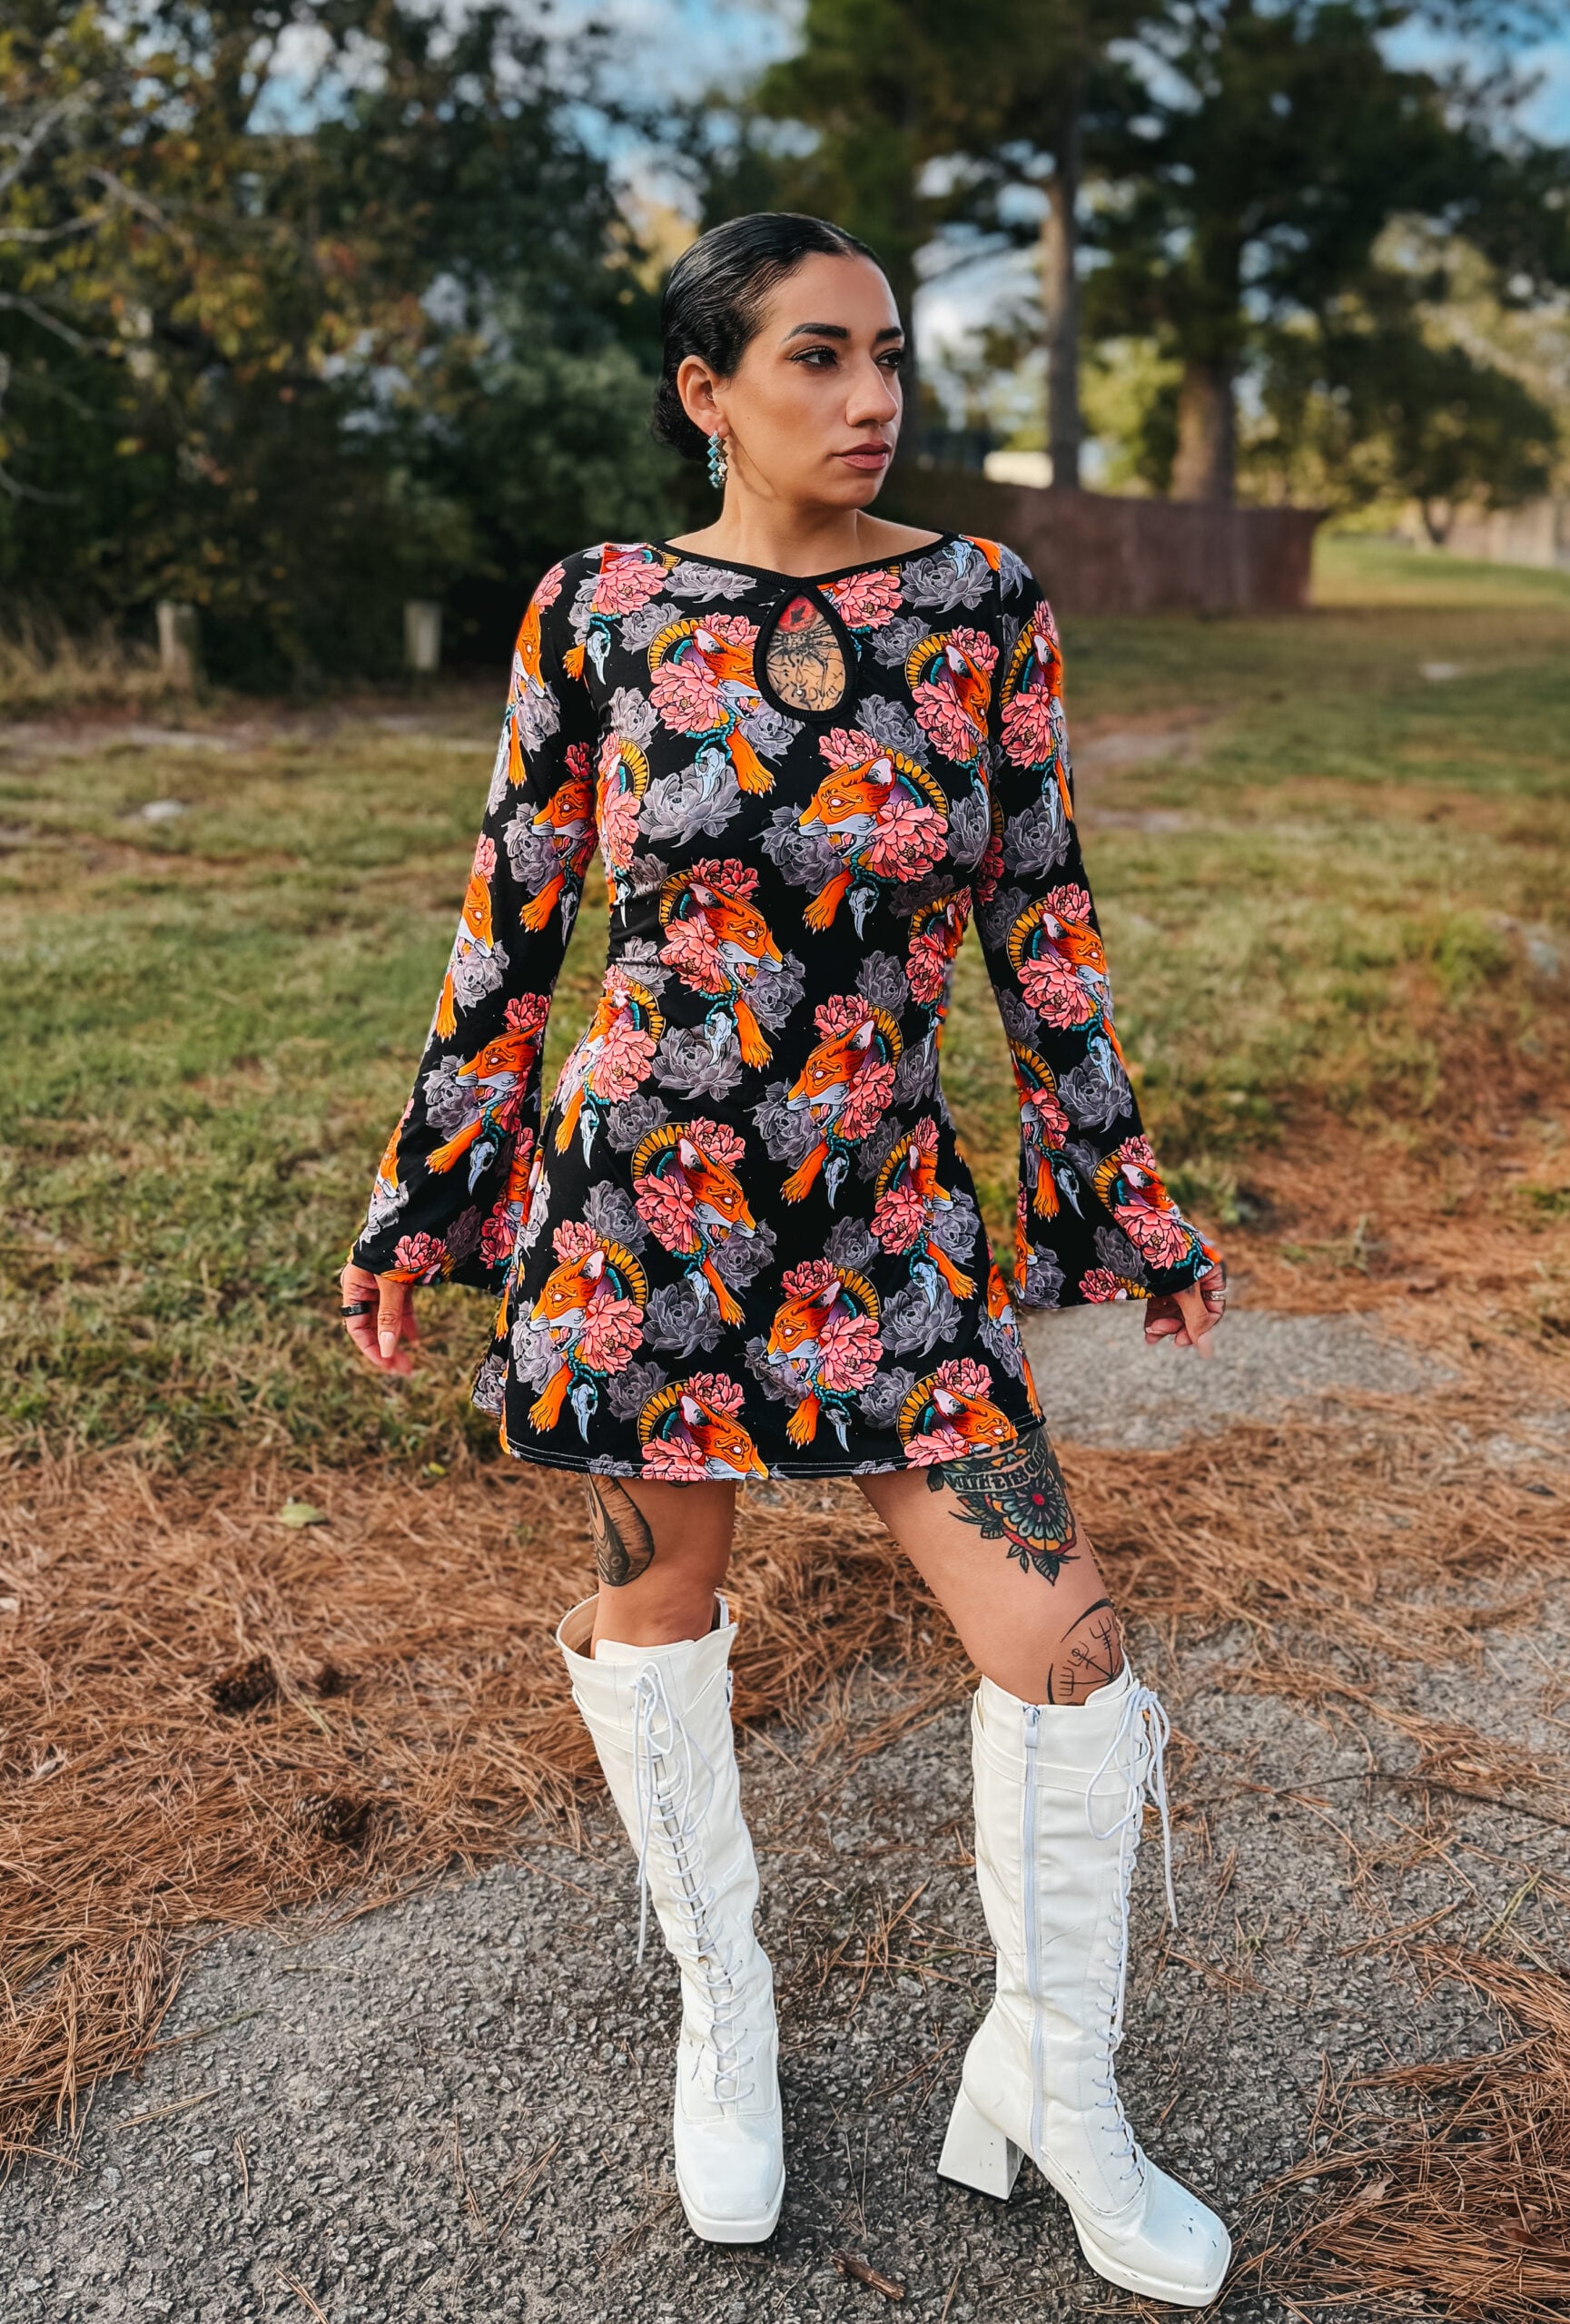
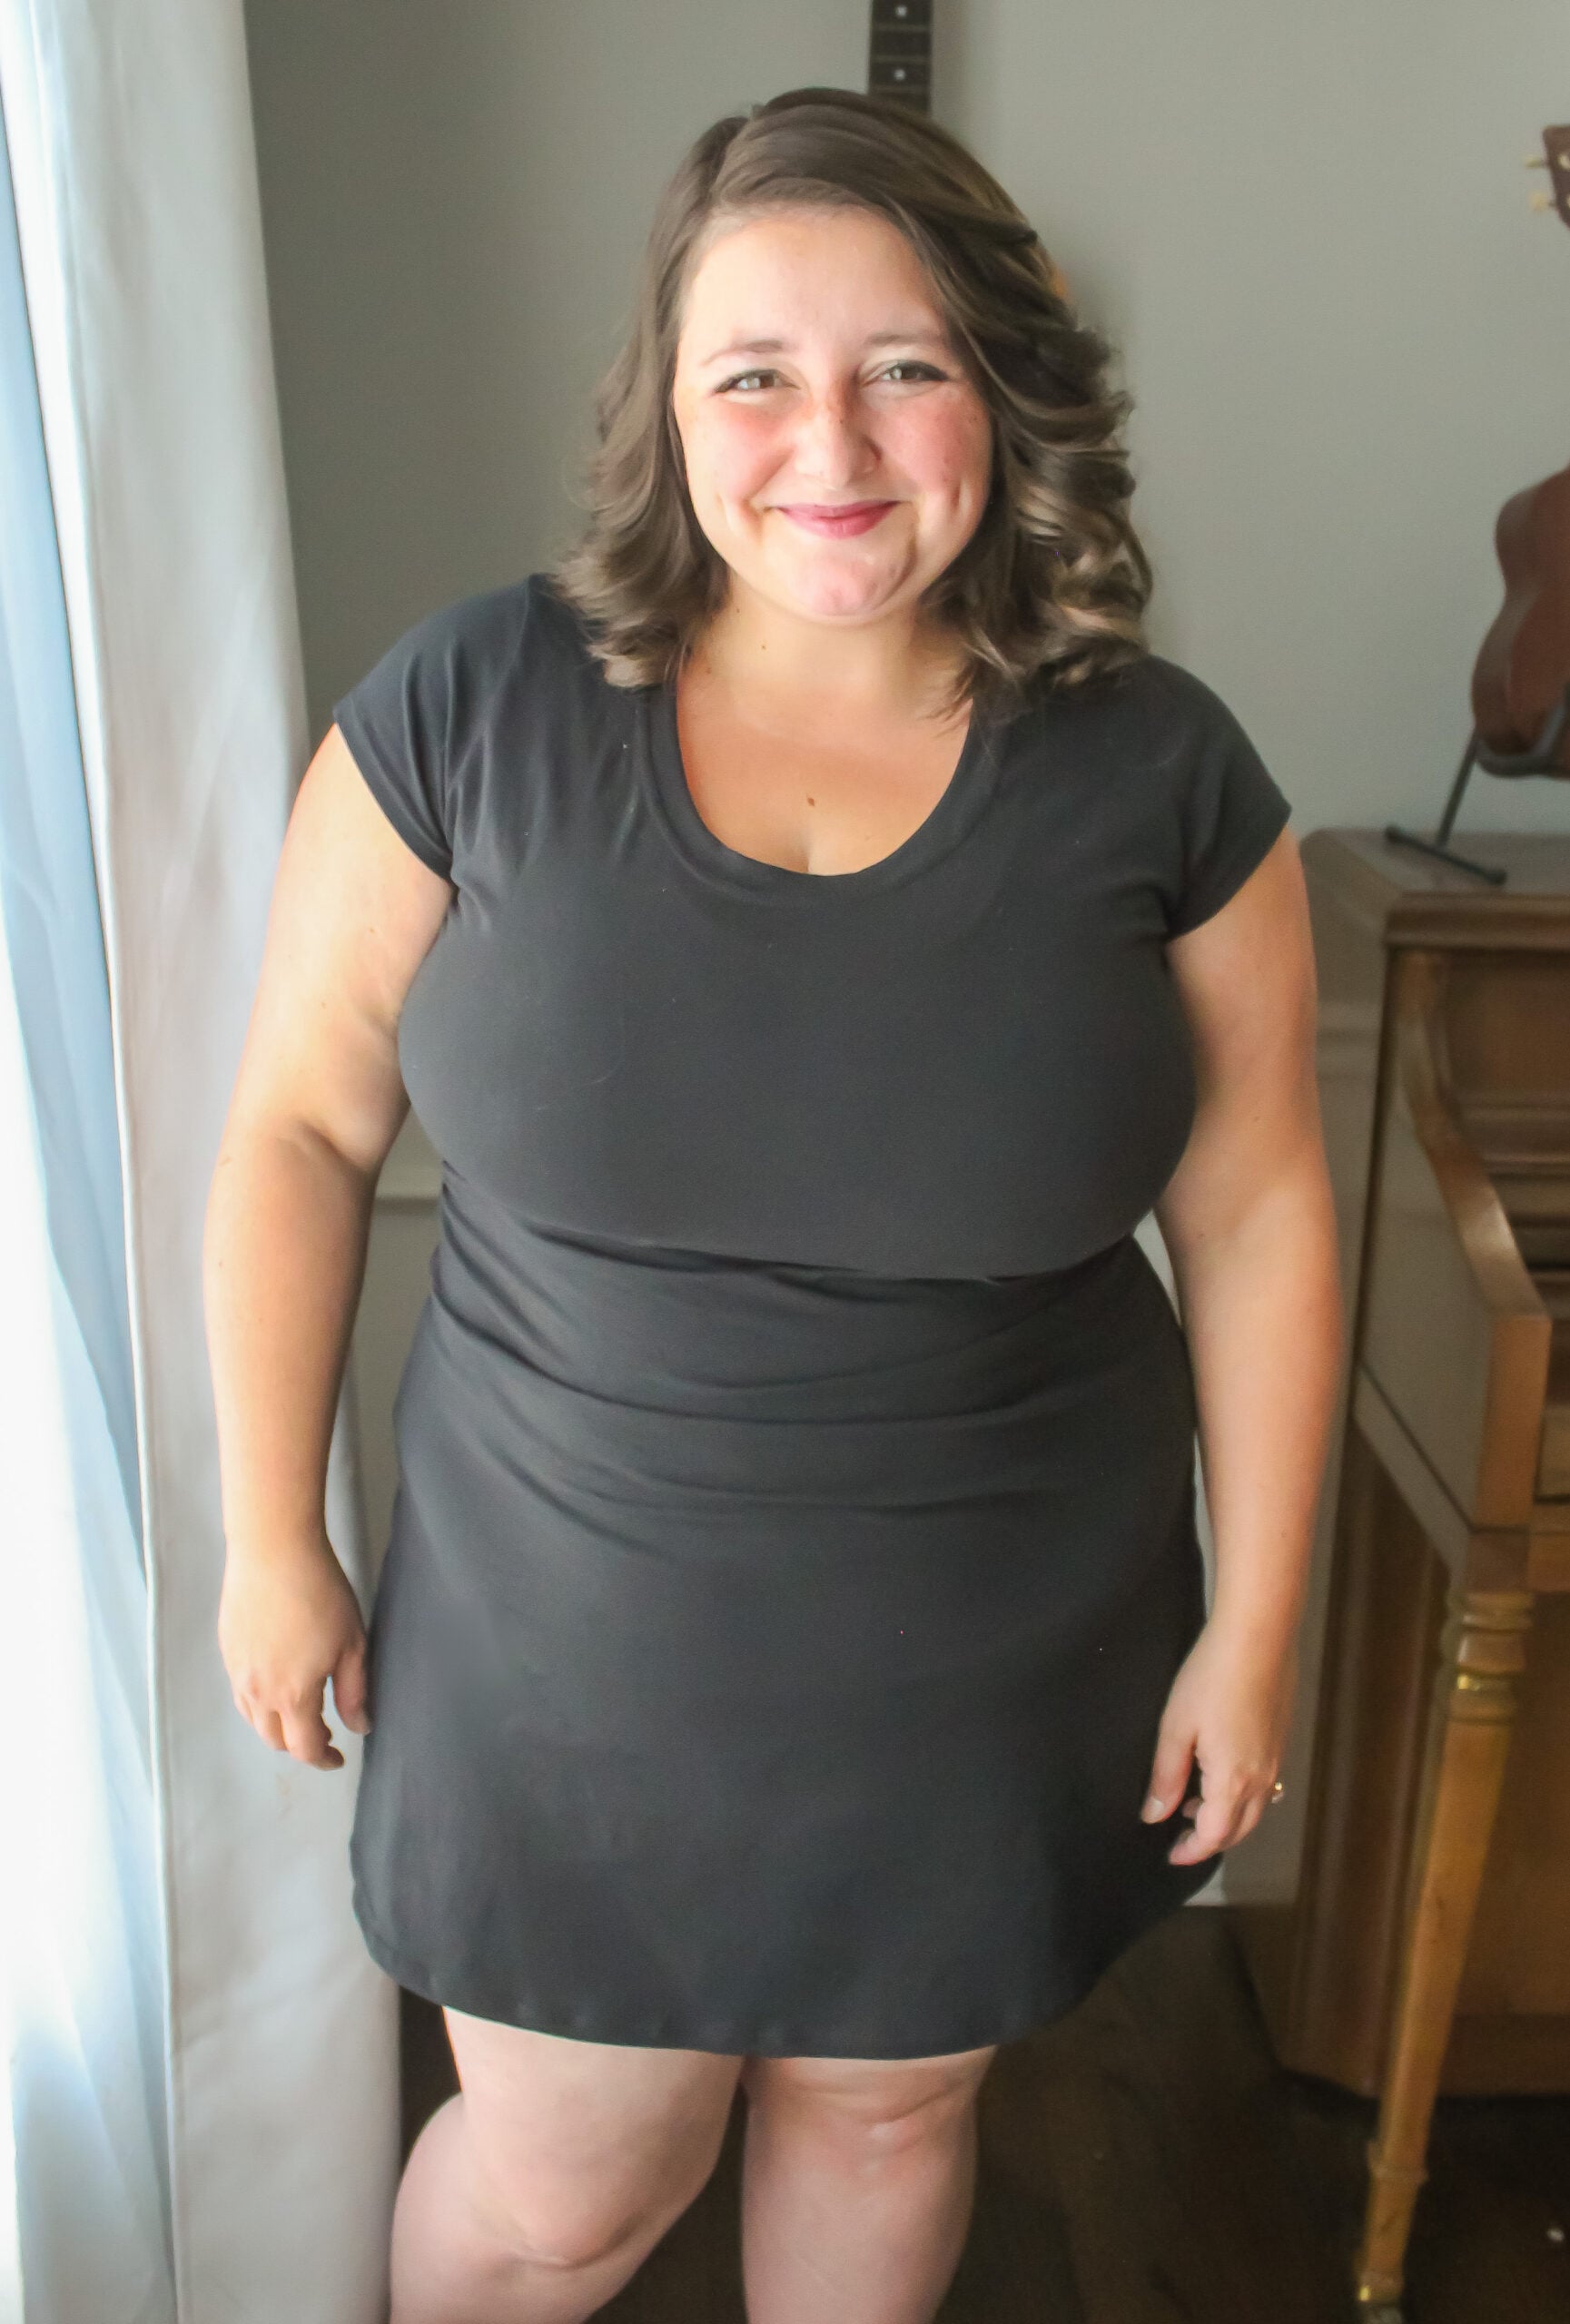
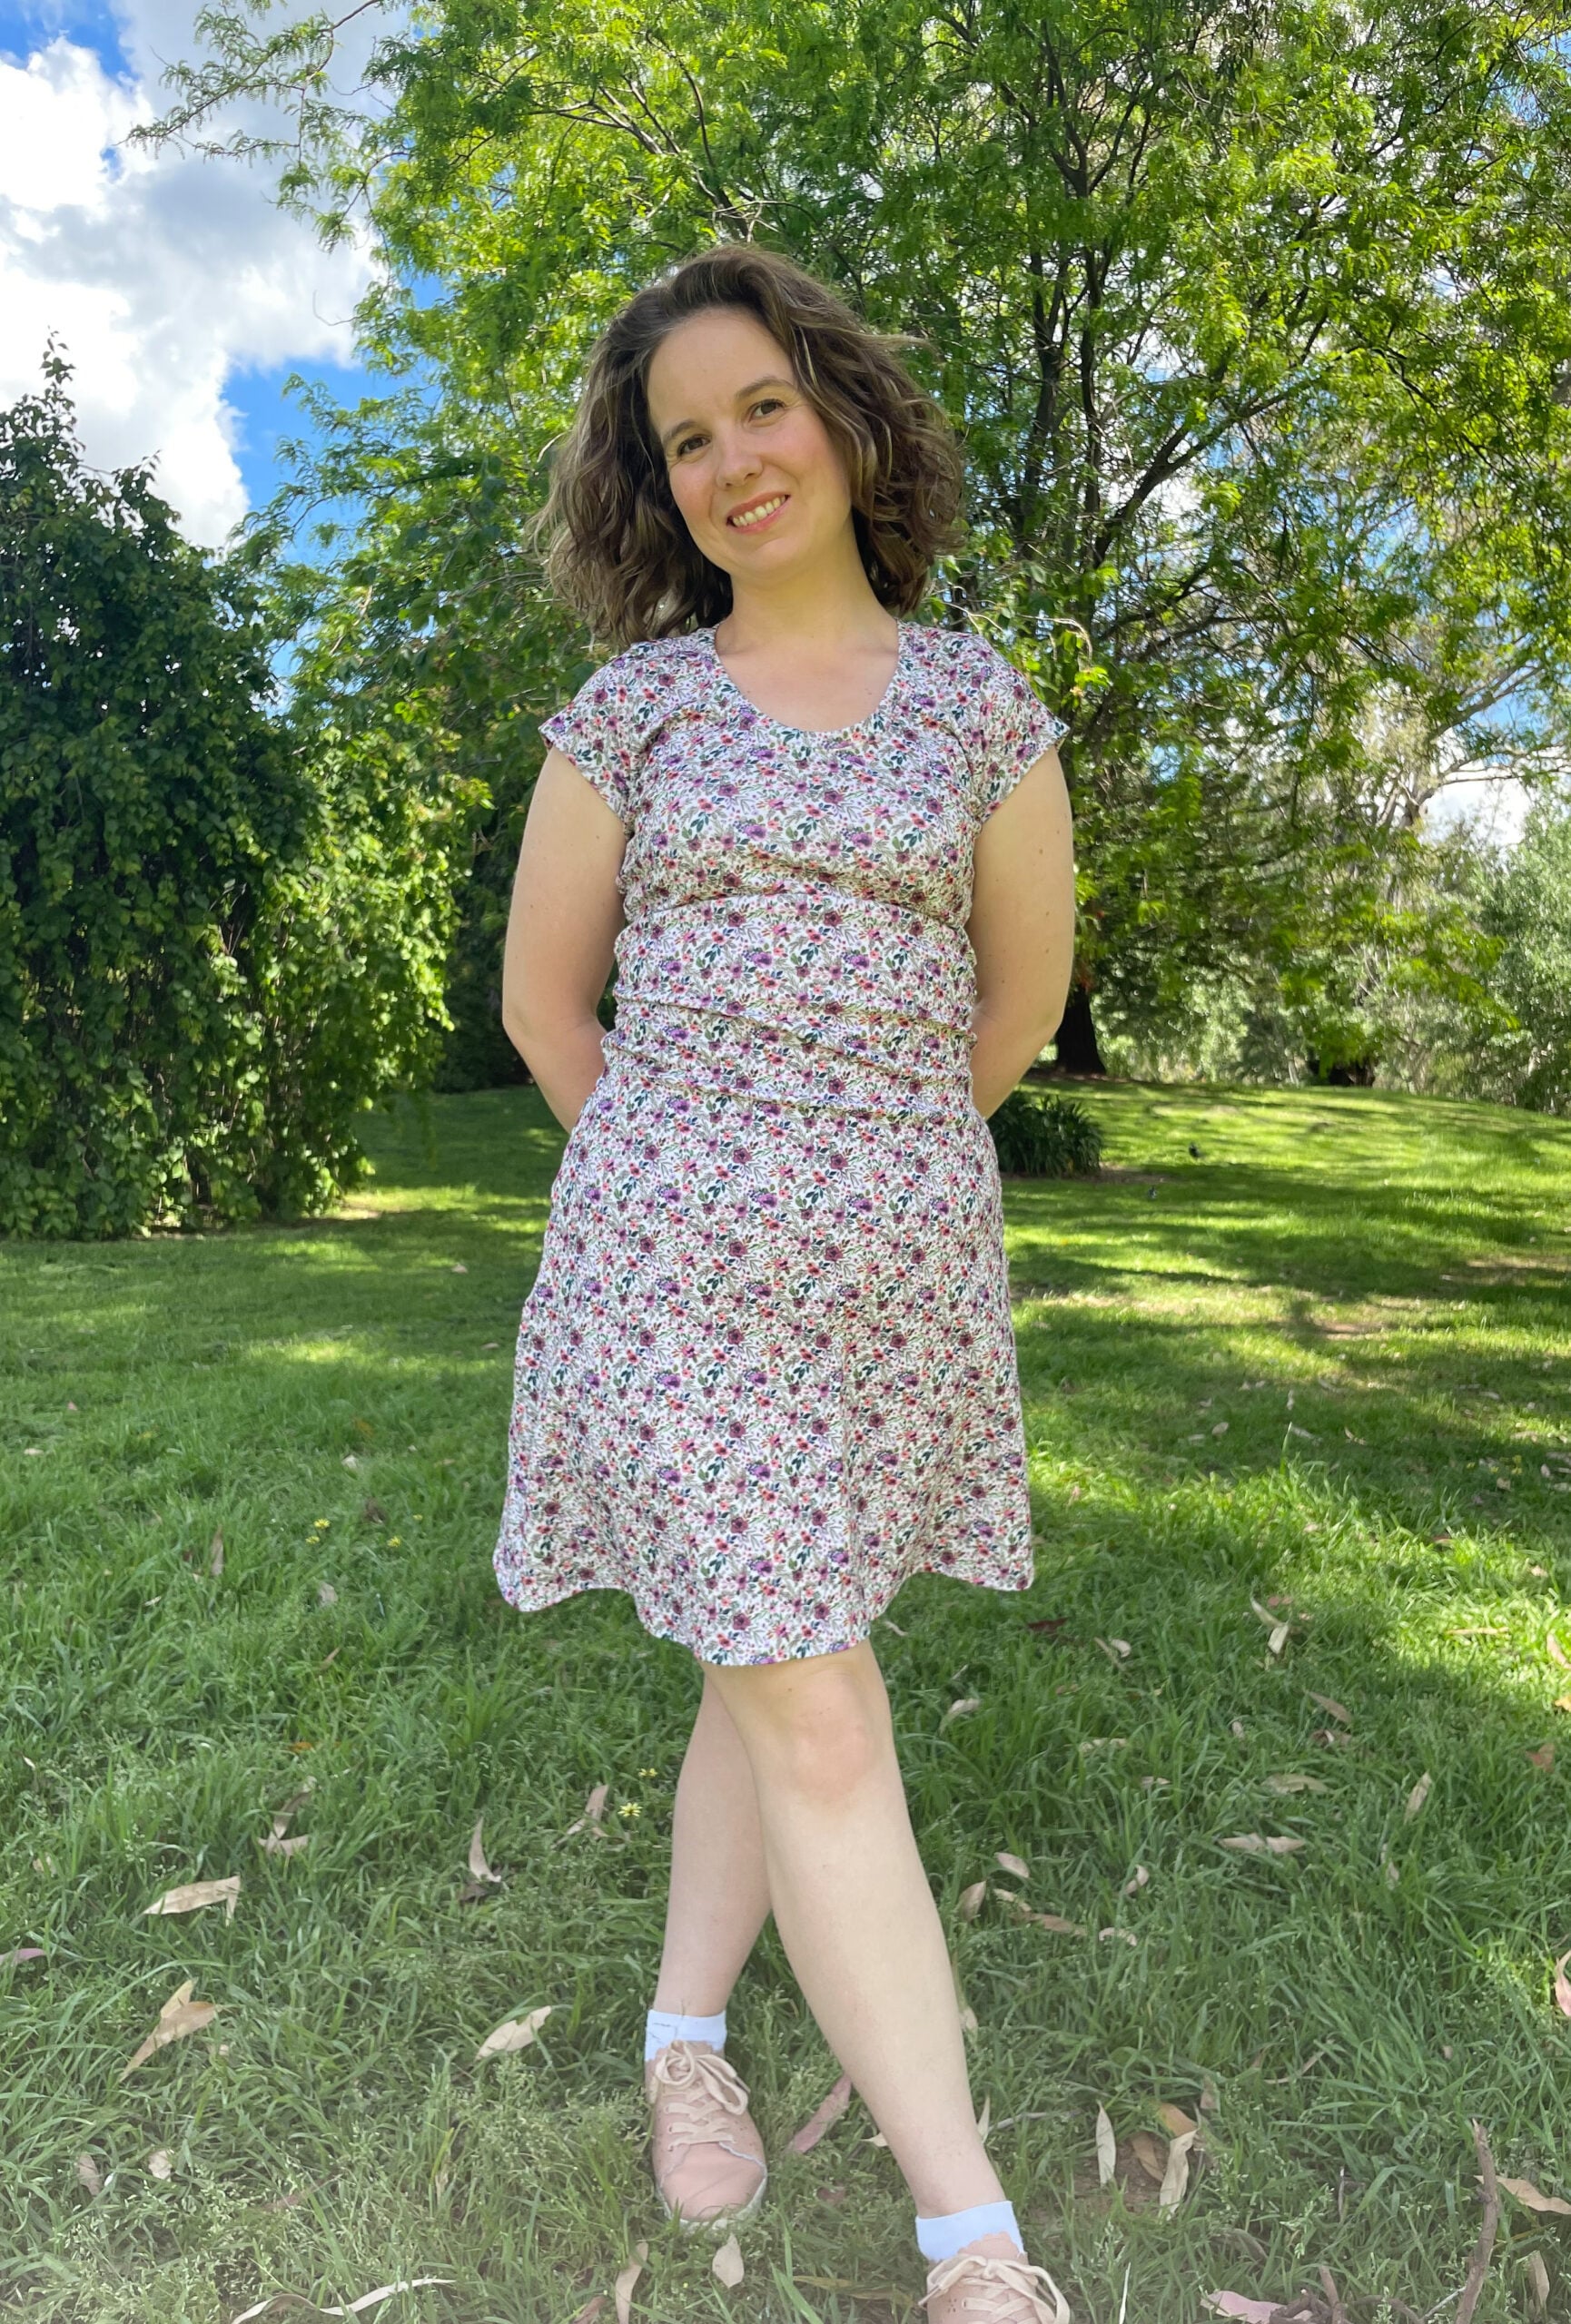
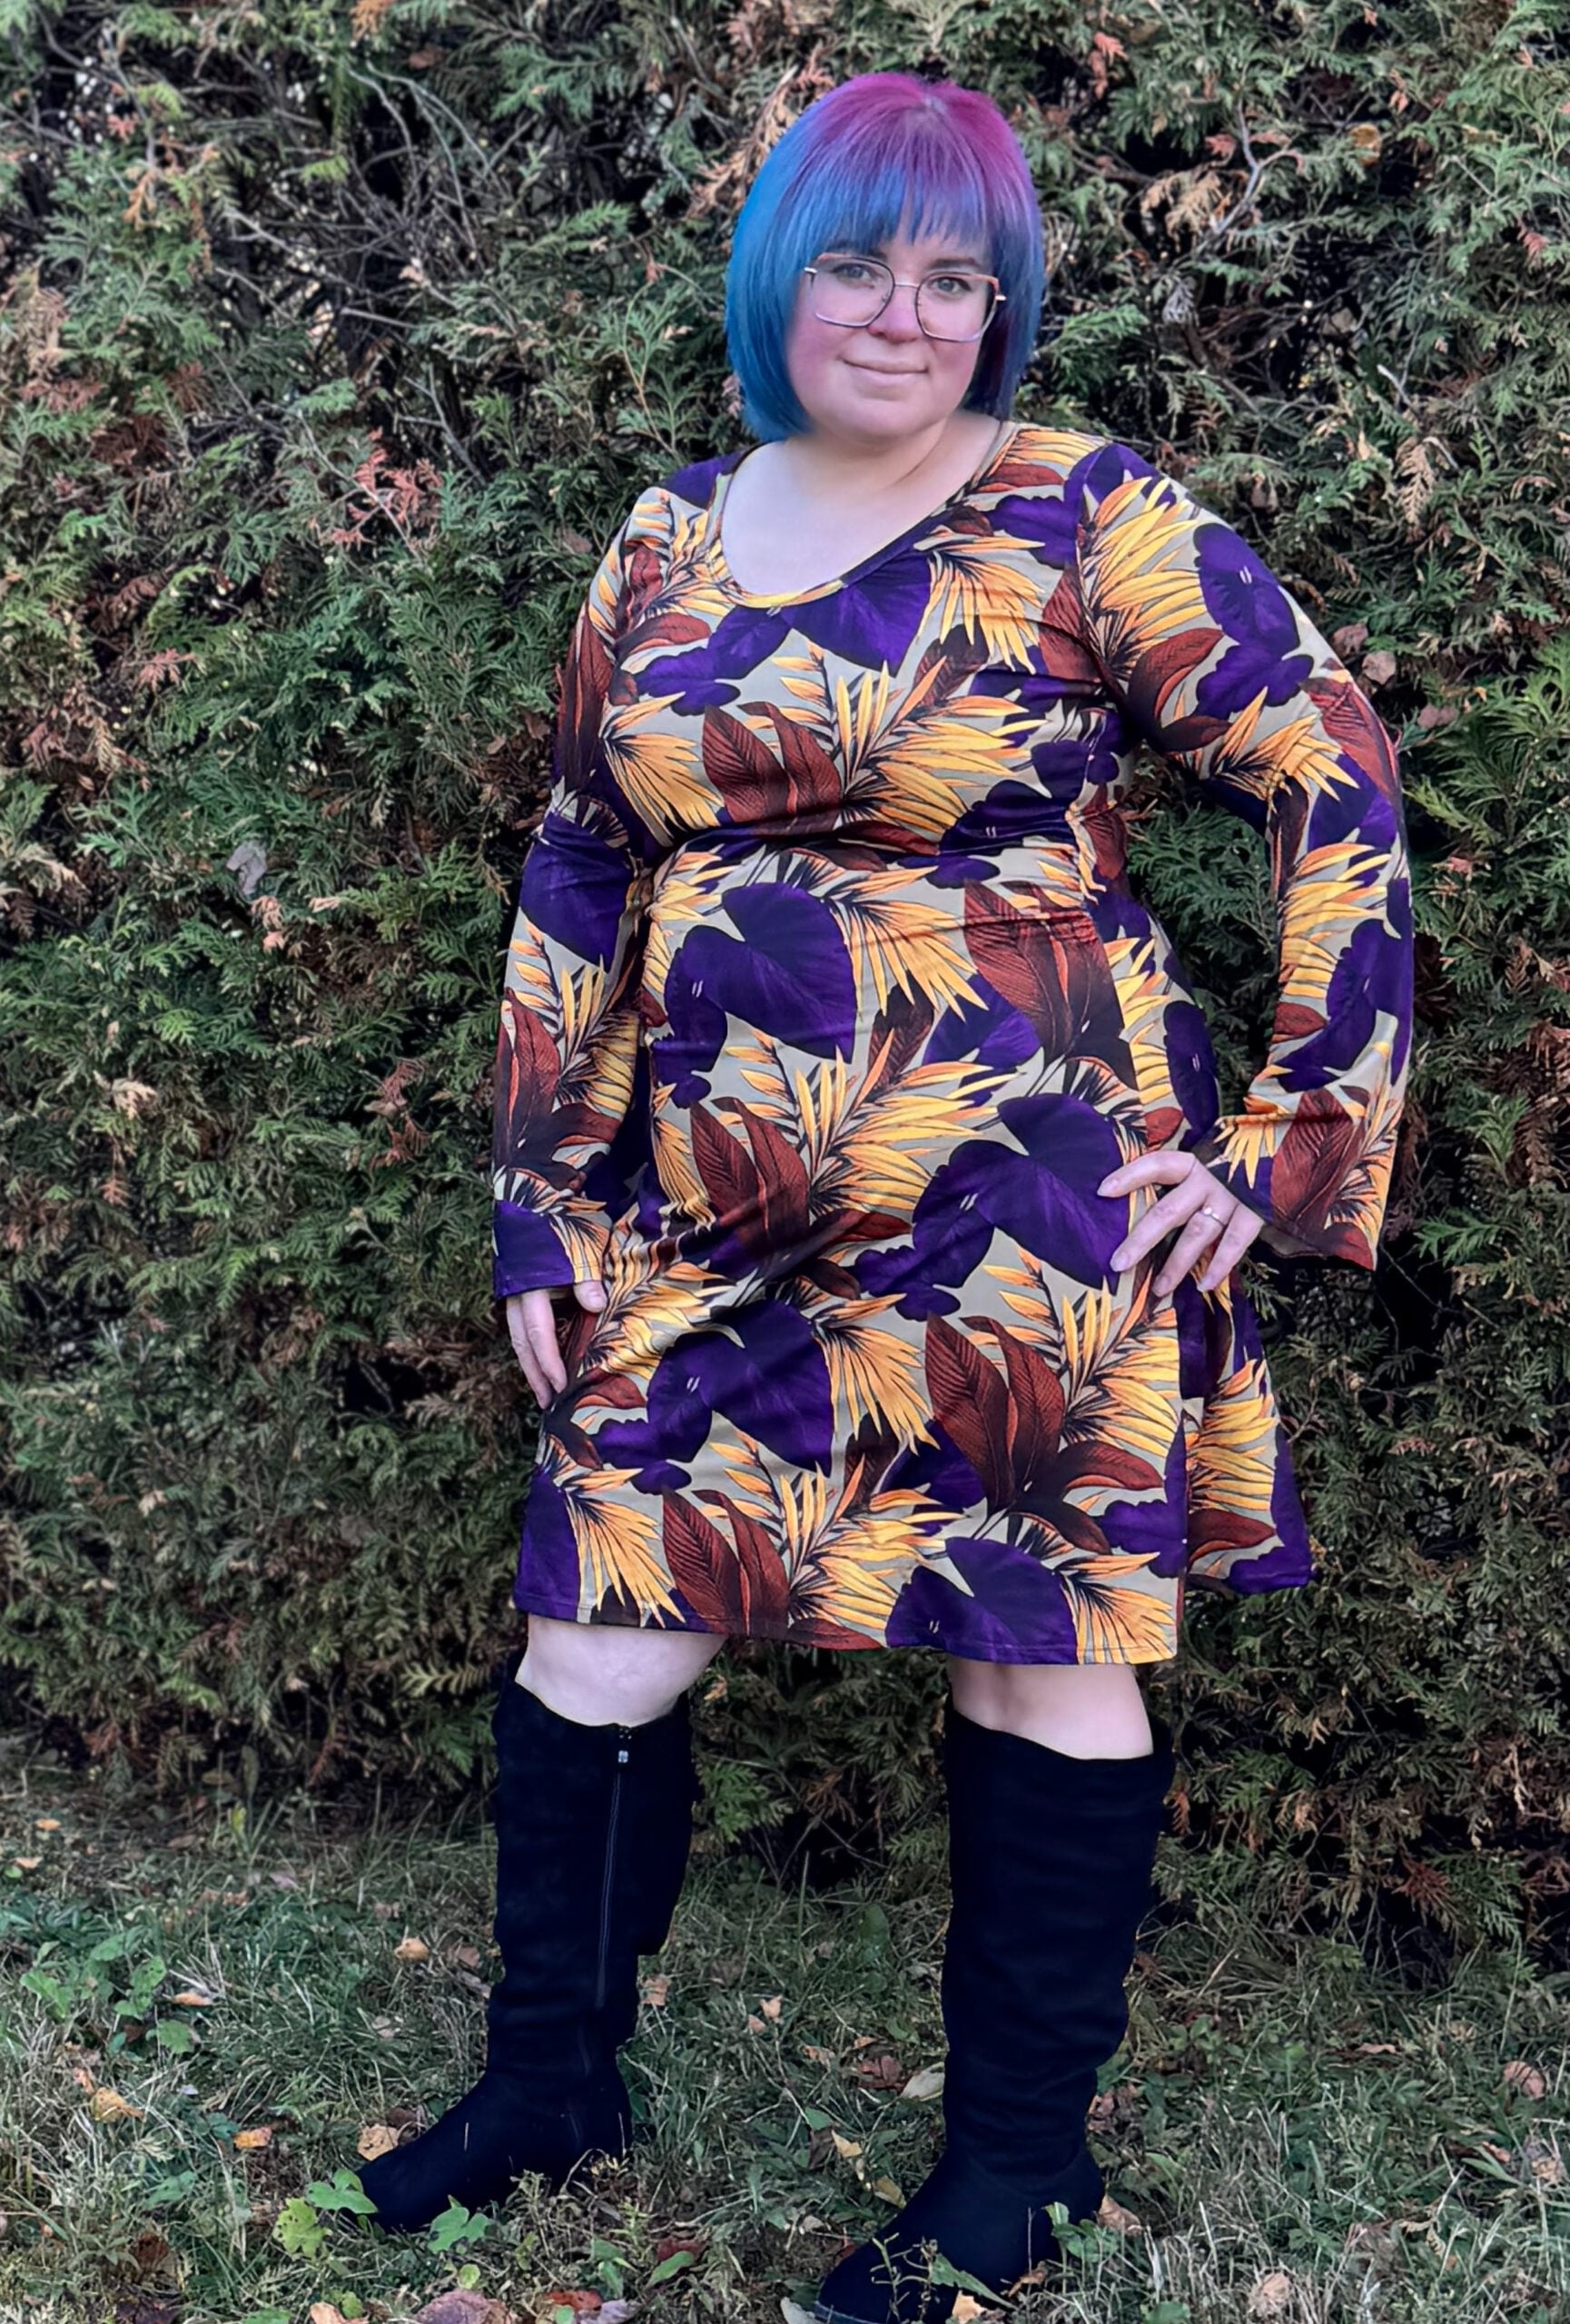
Scoop:
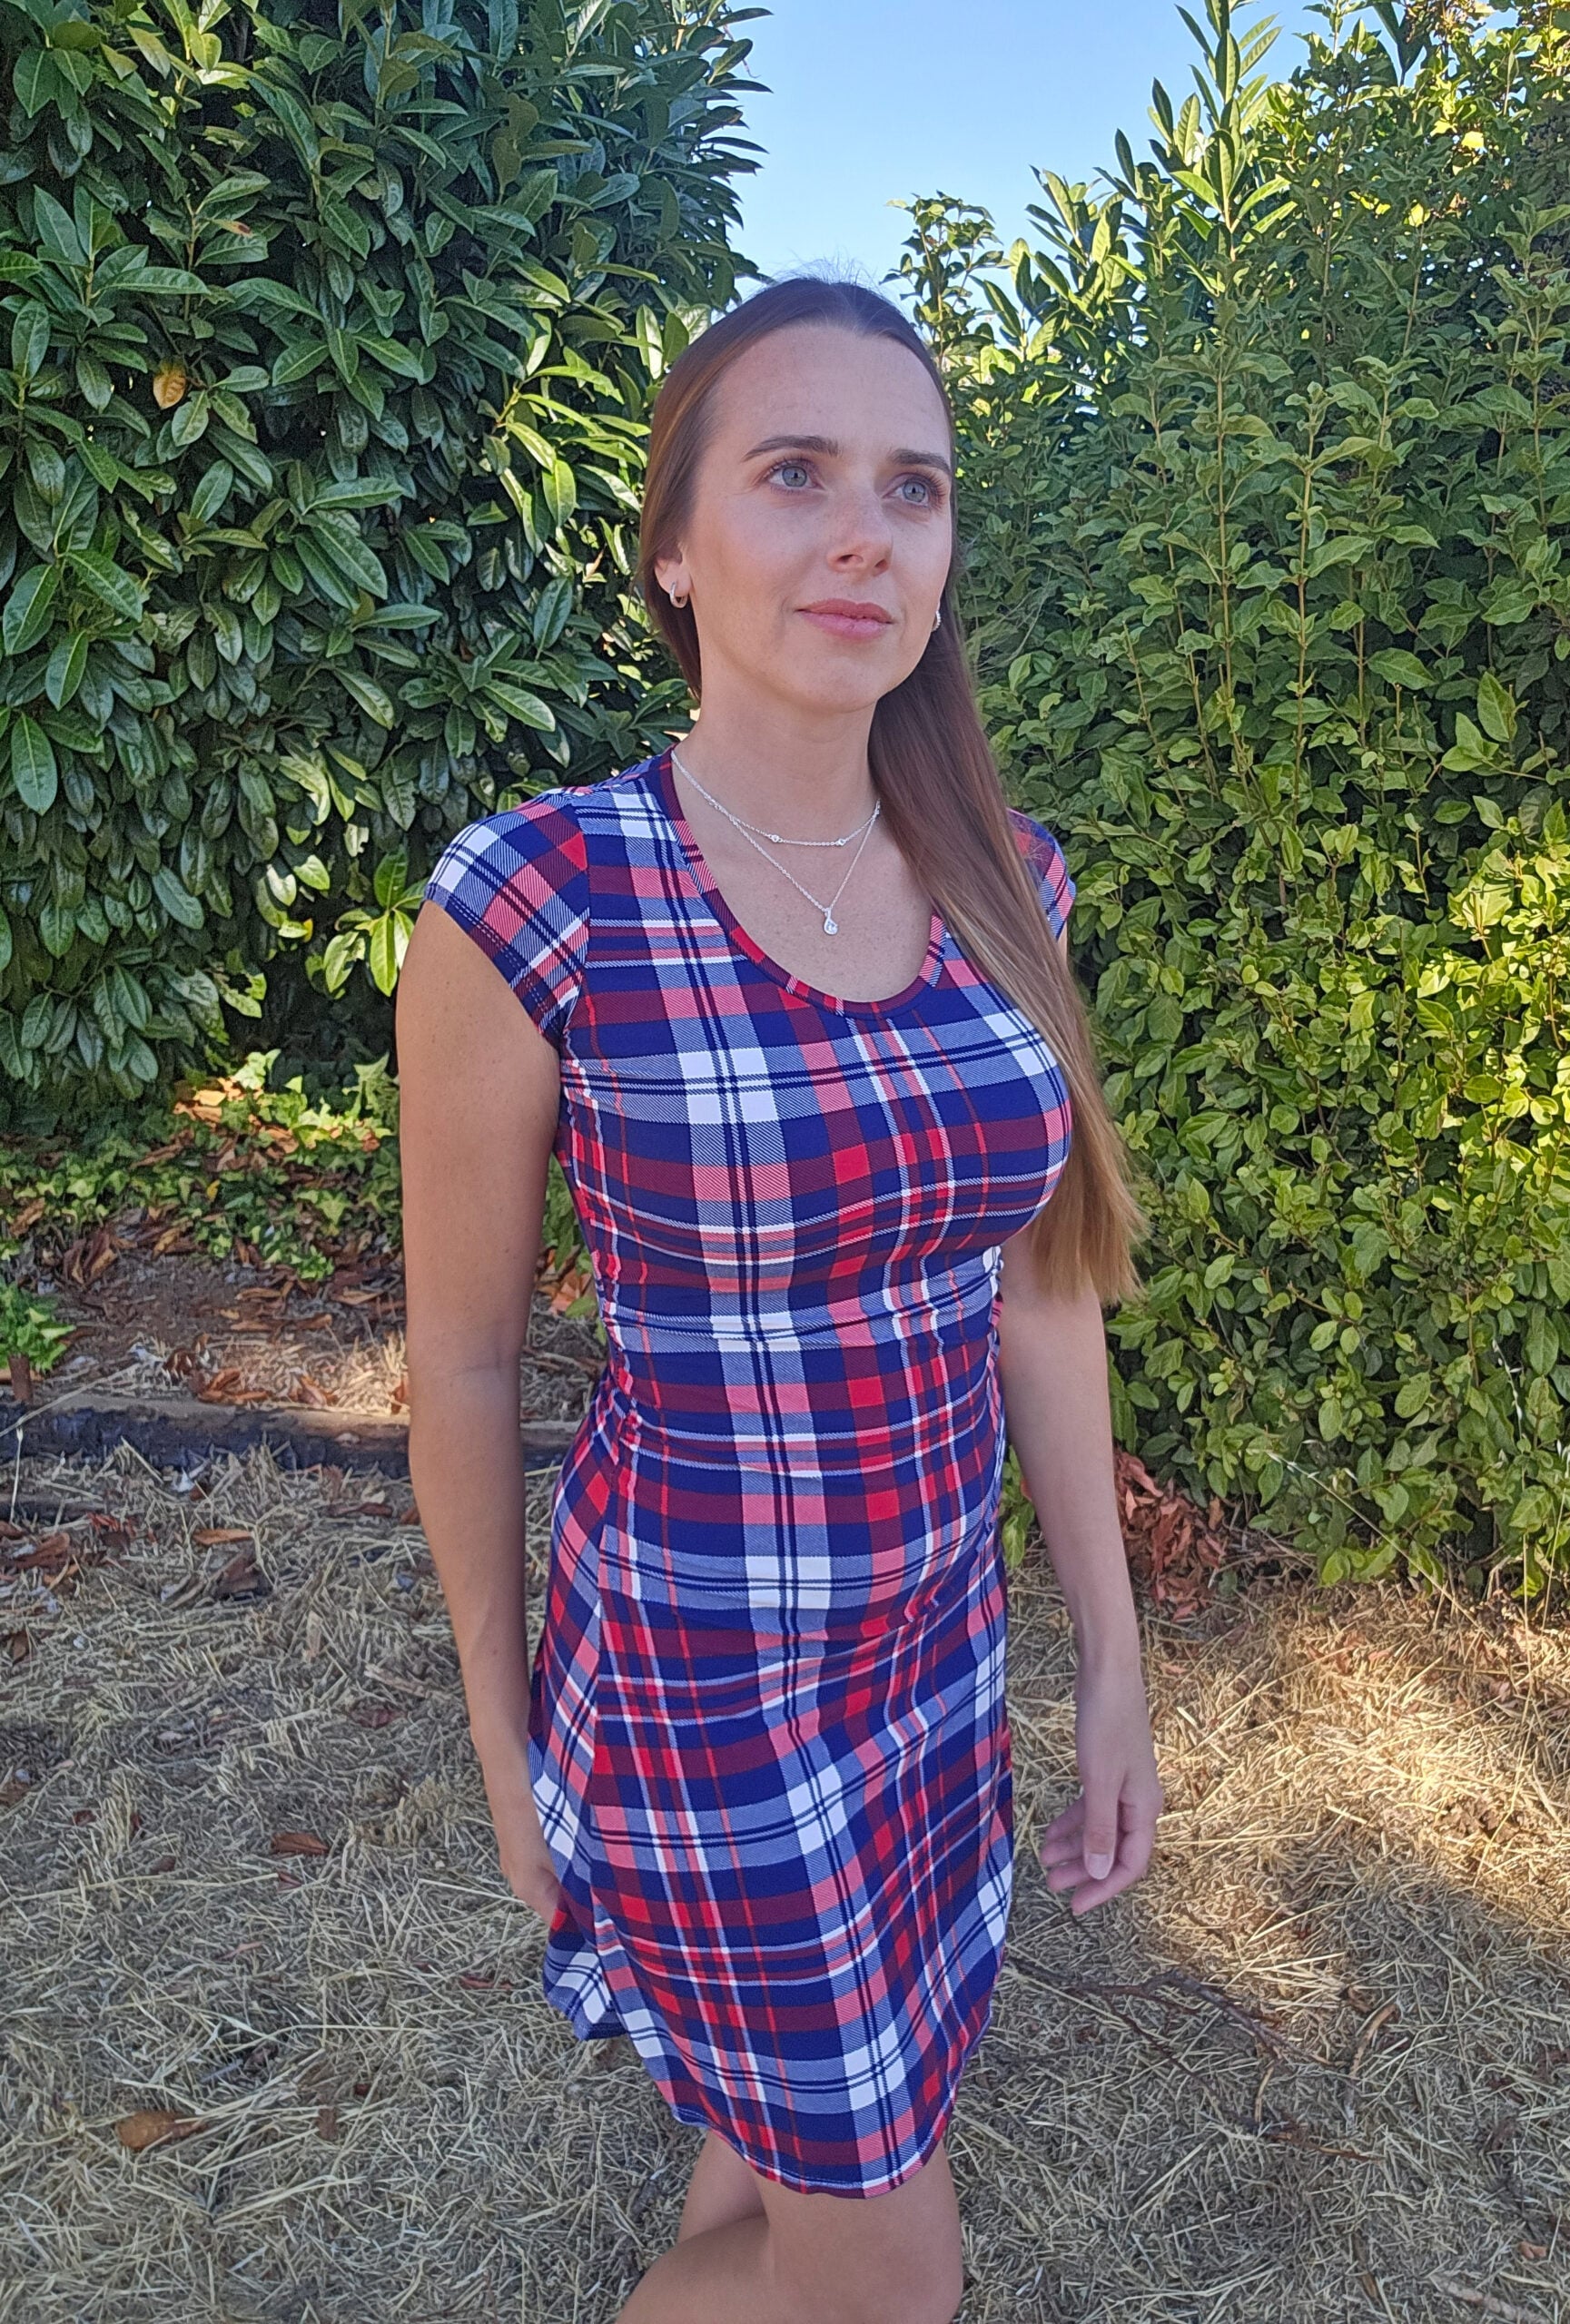
Sleeves
Cap sleeve:
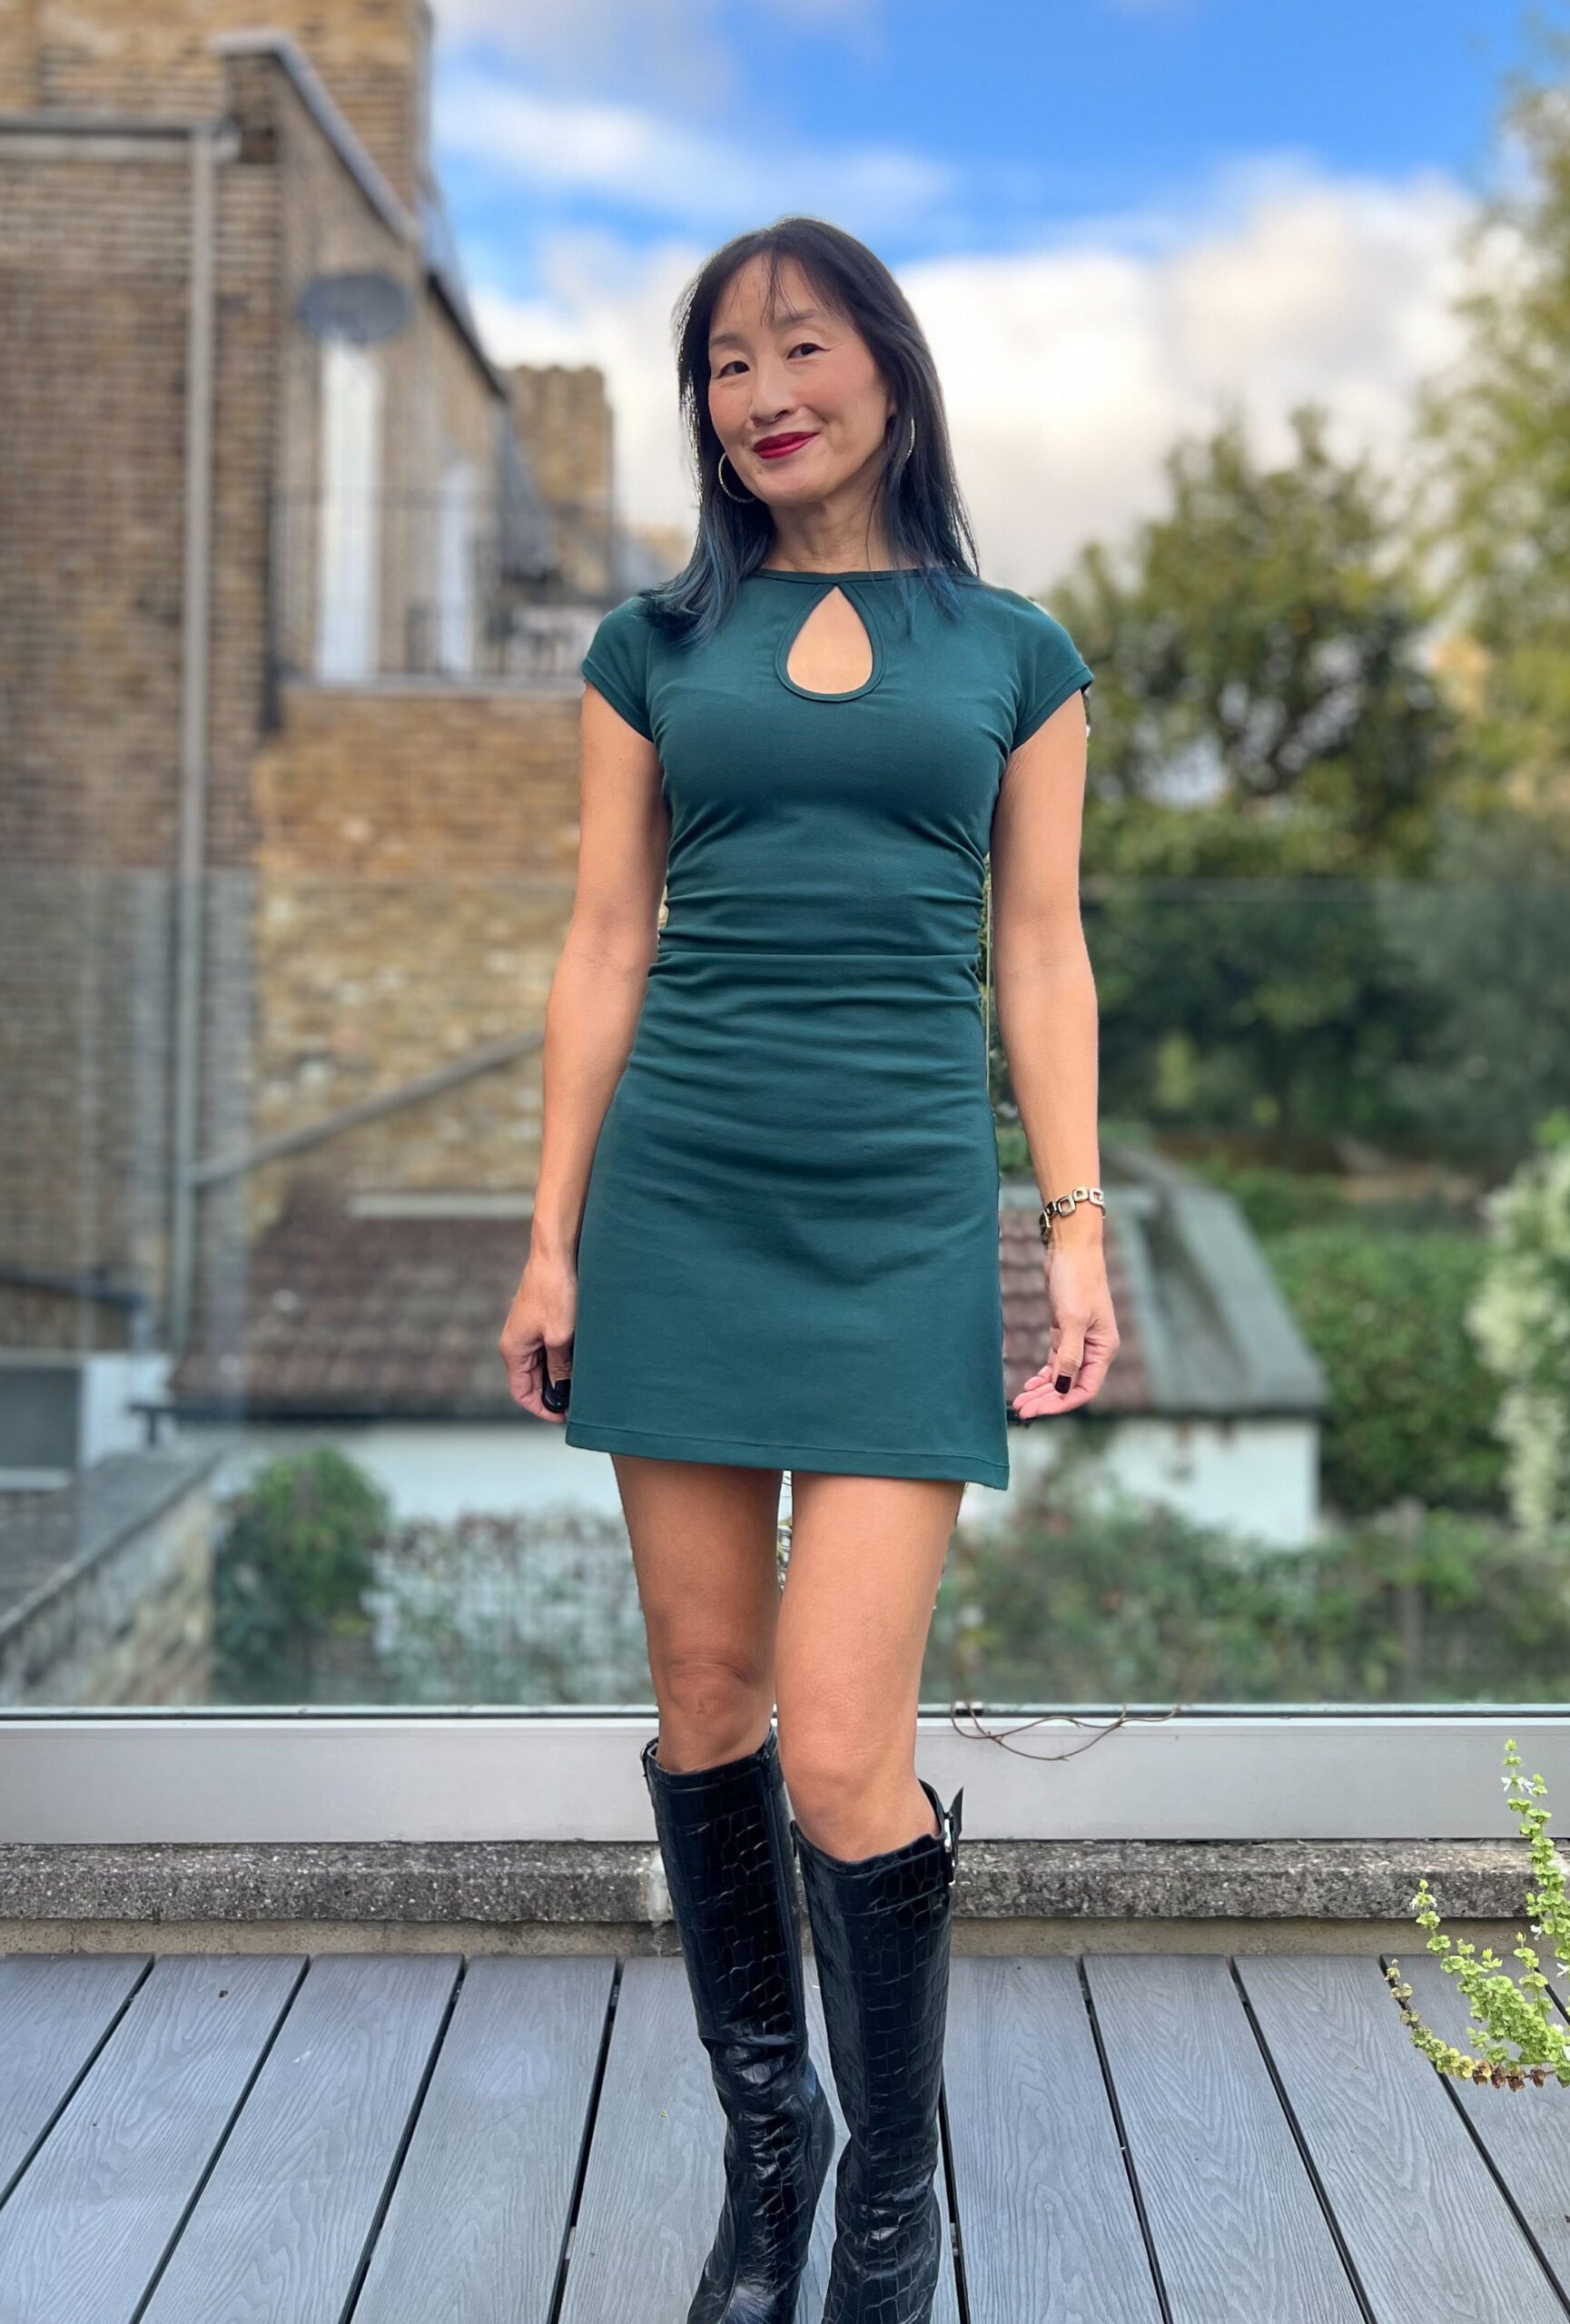
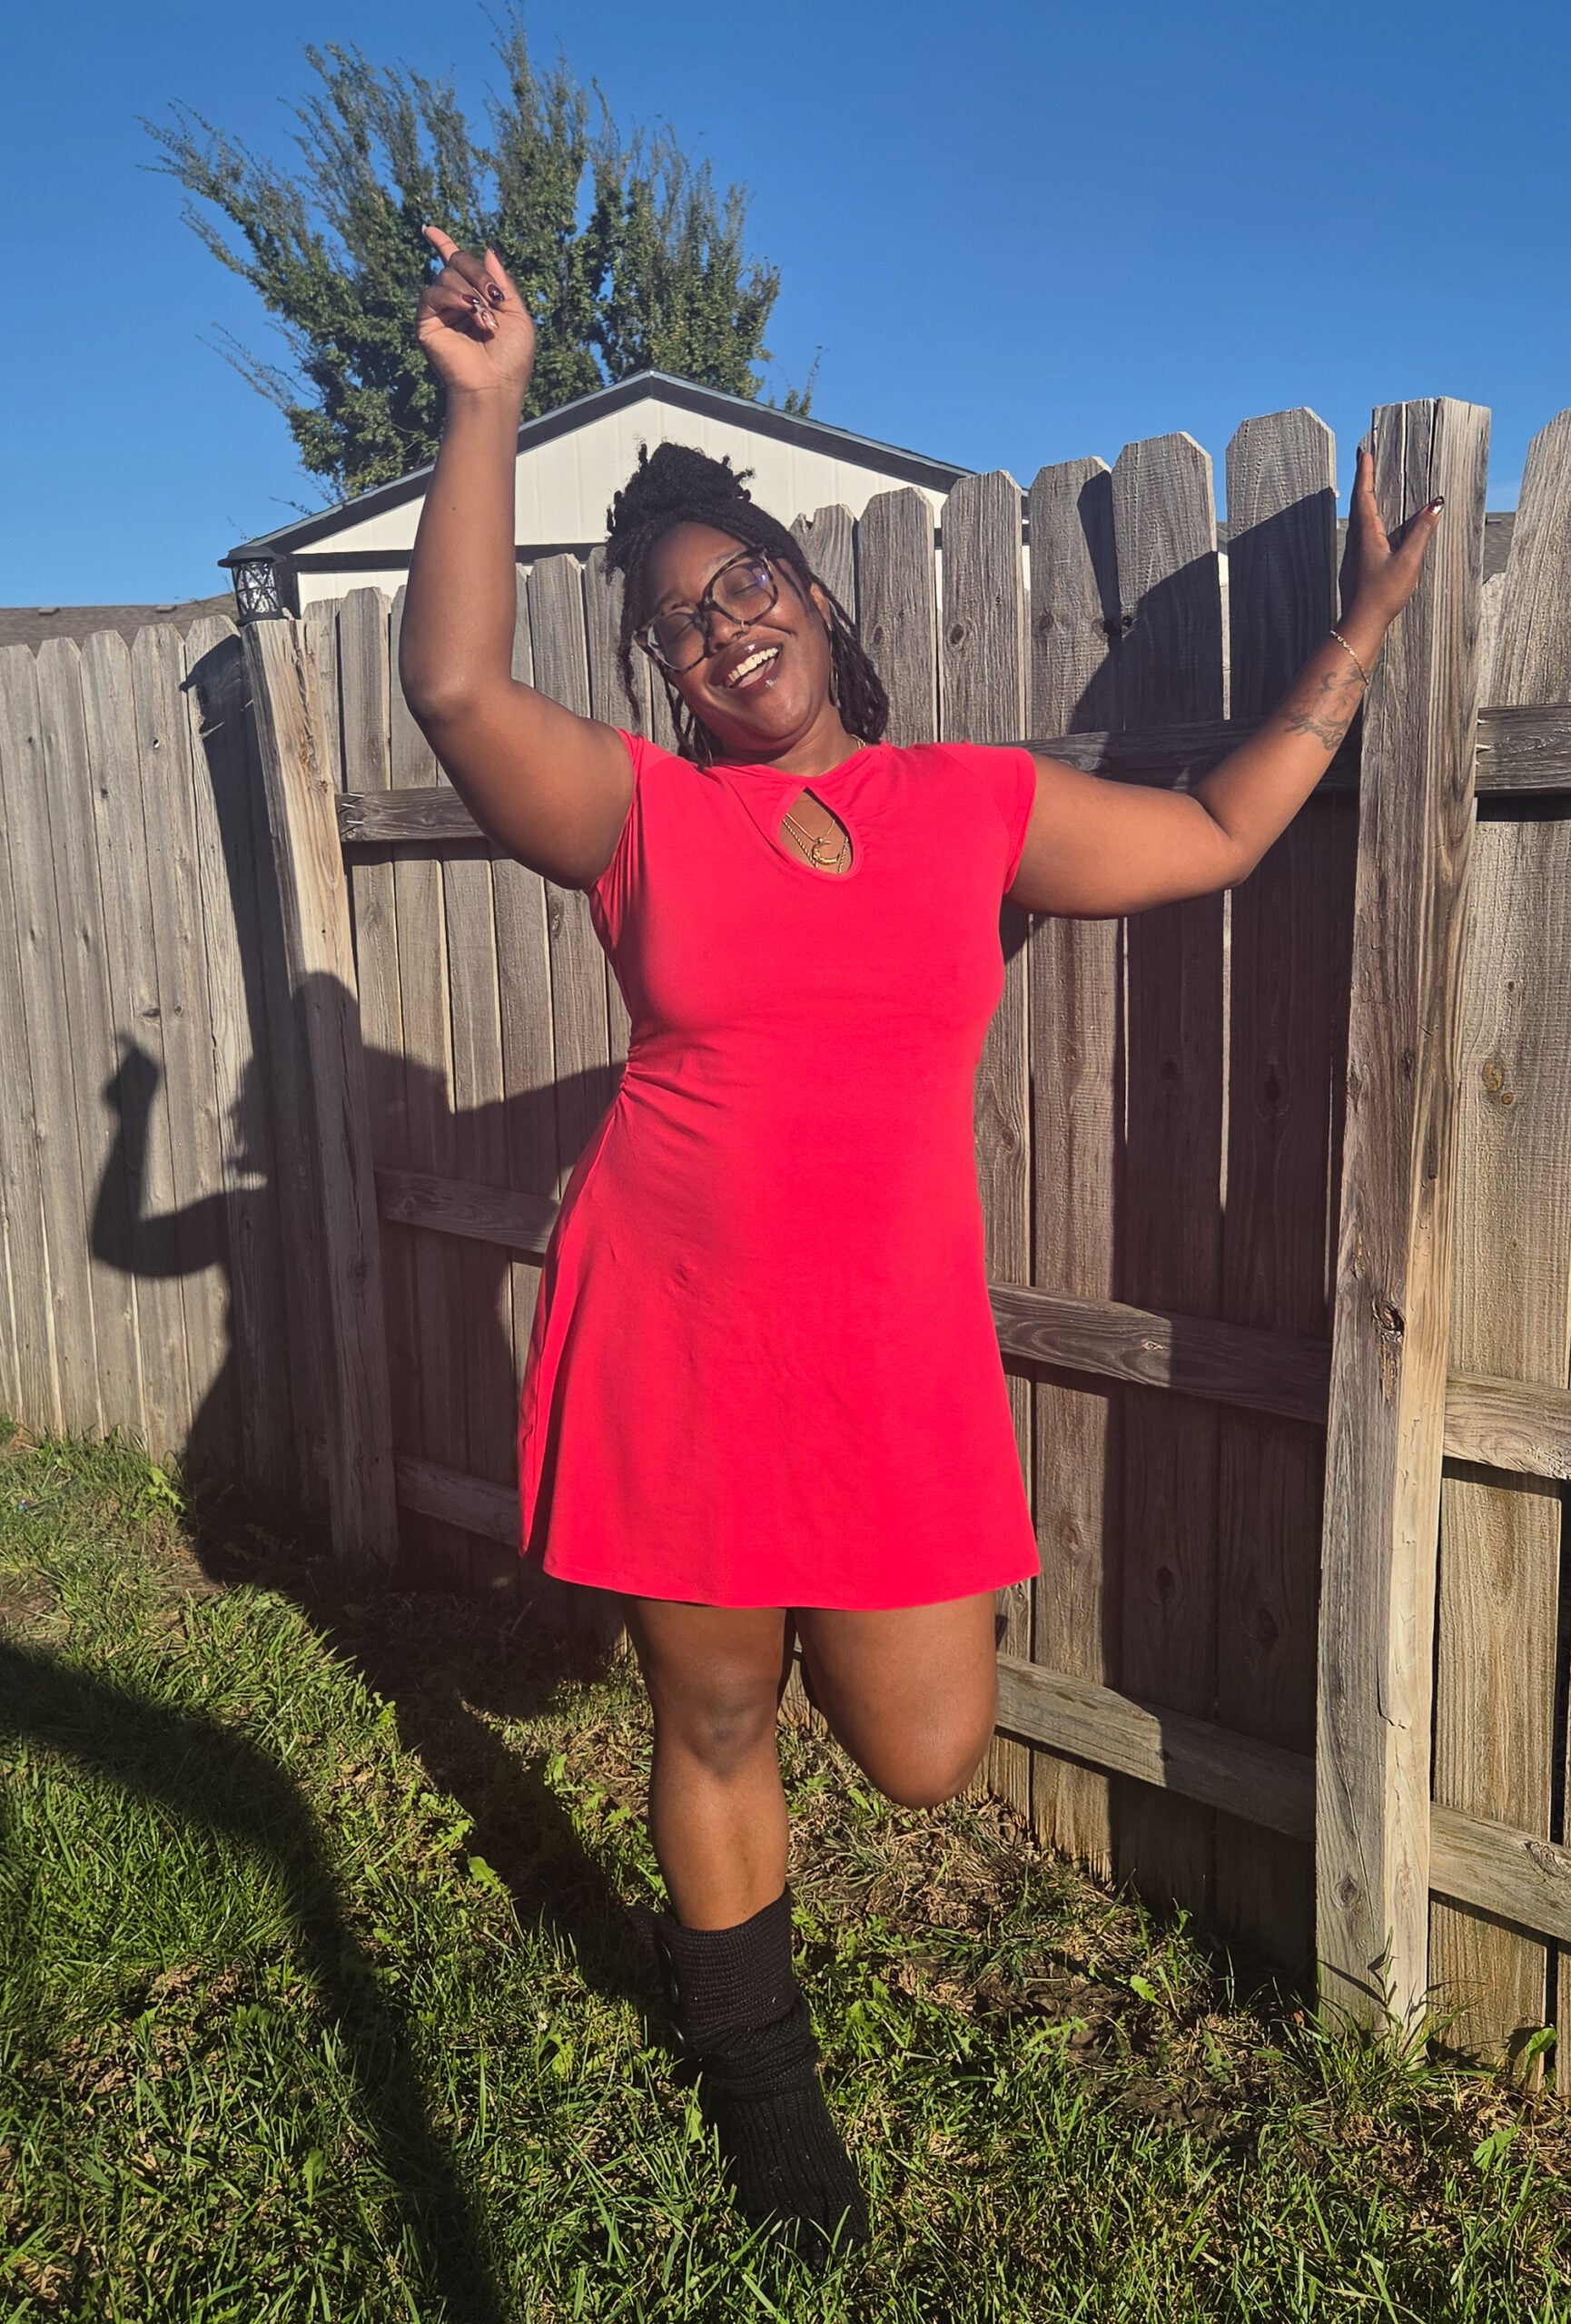
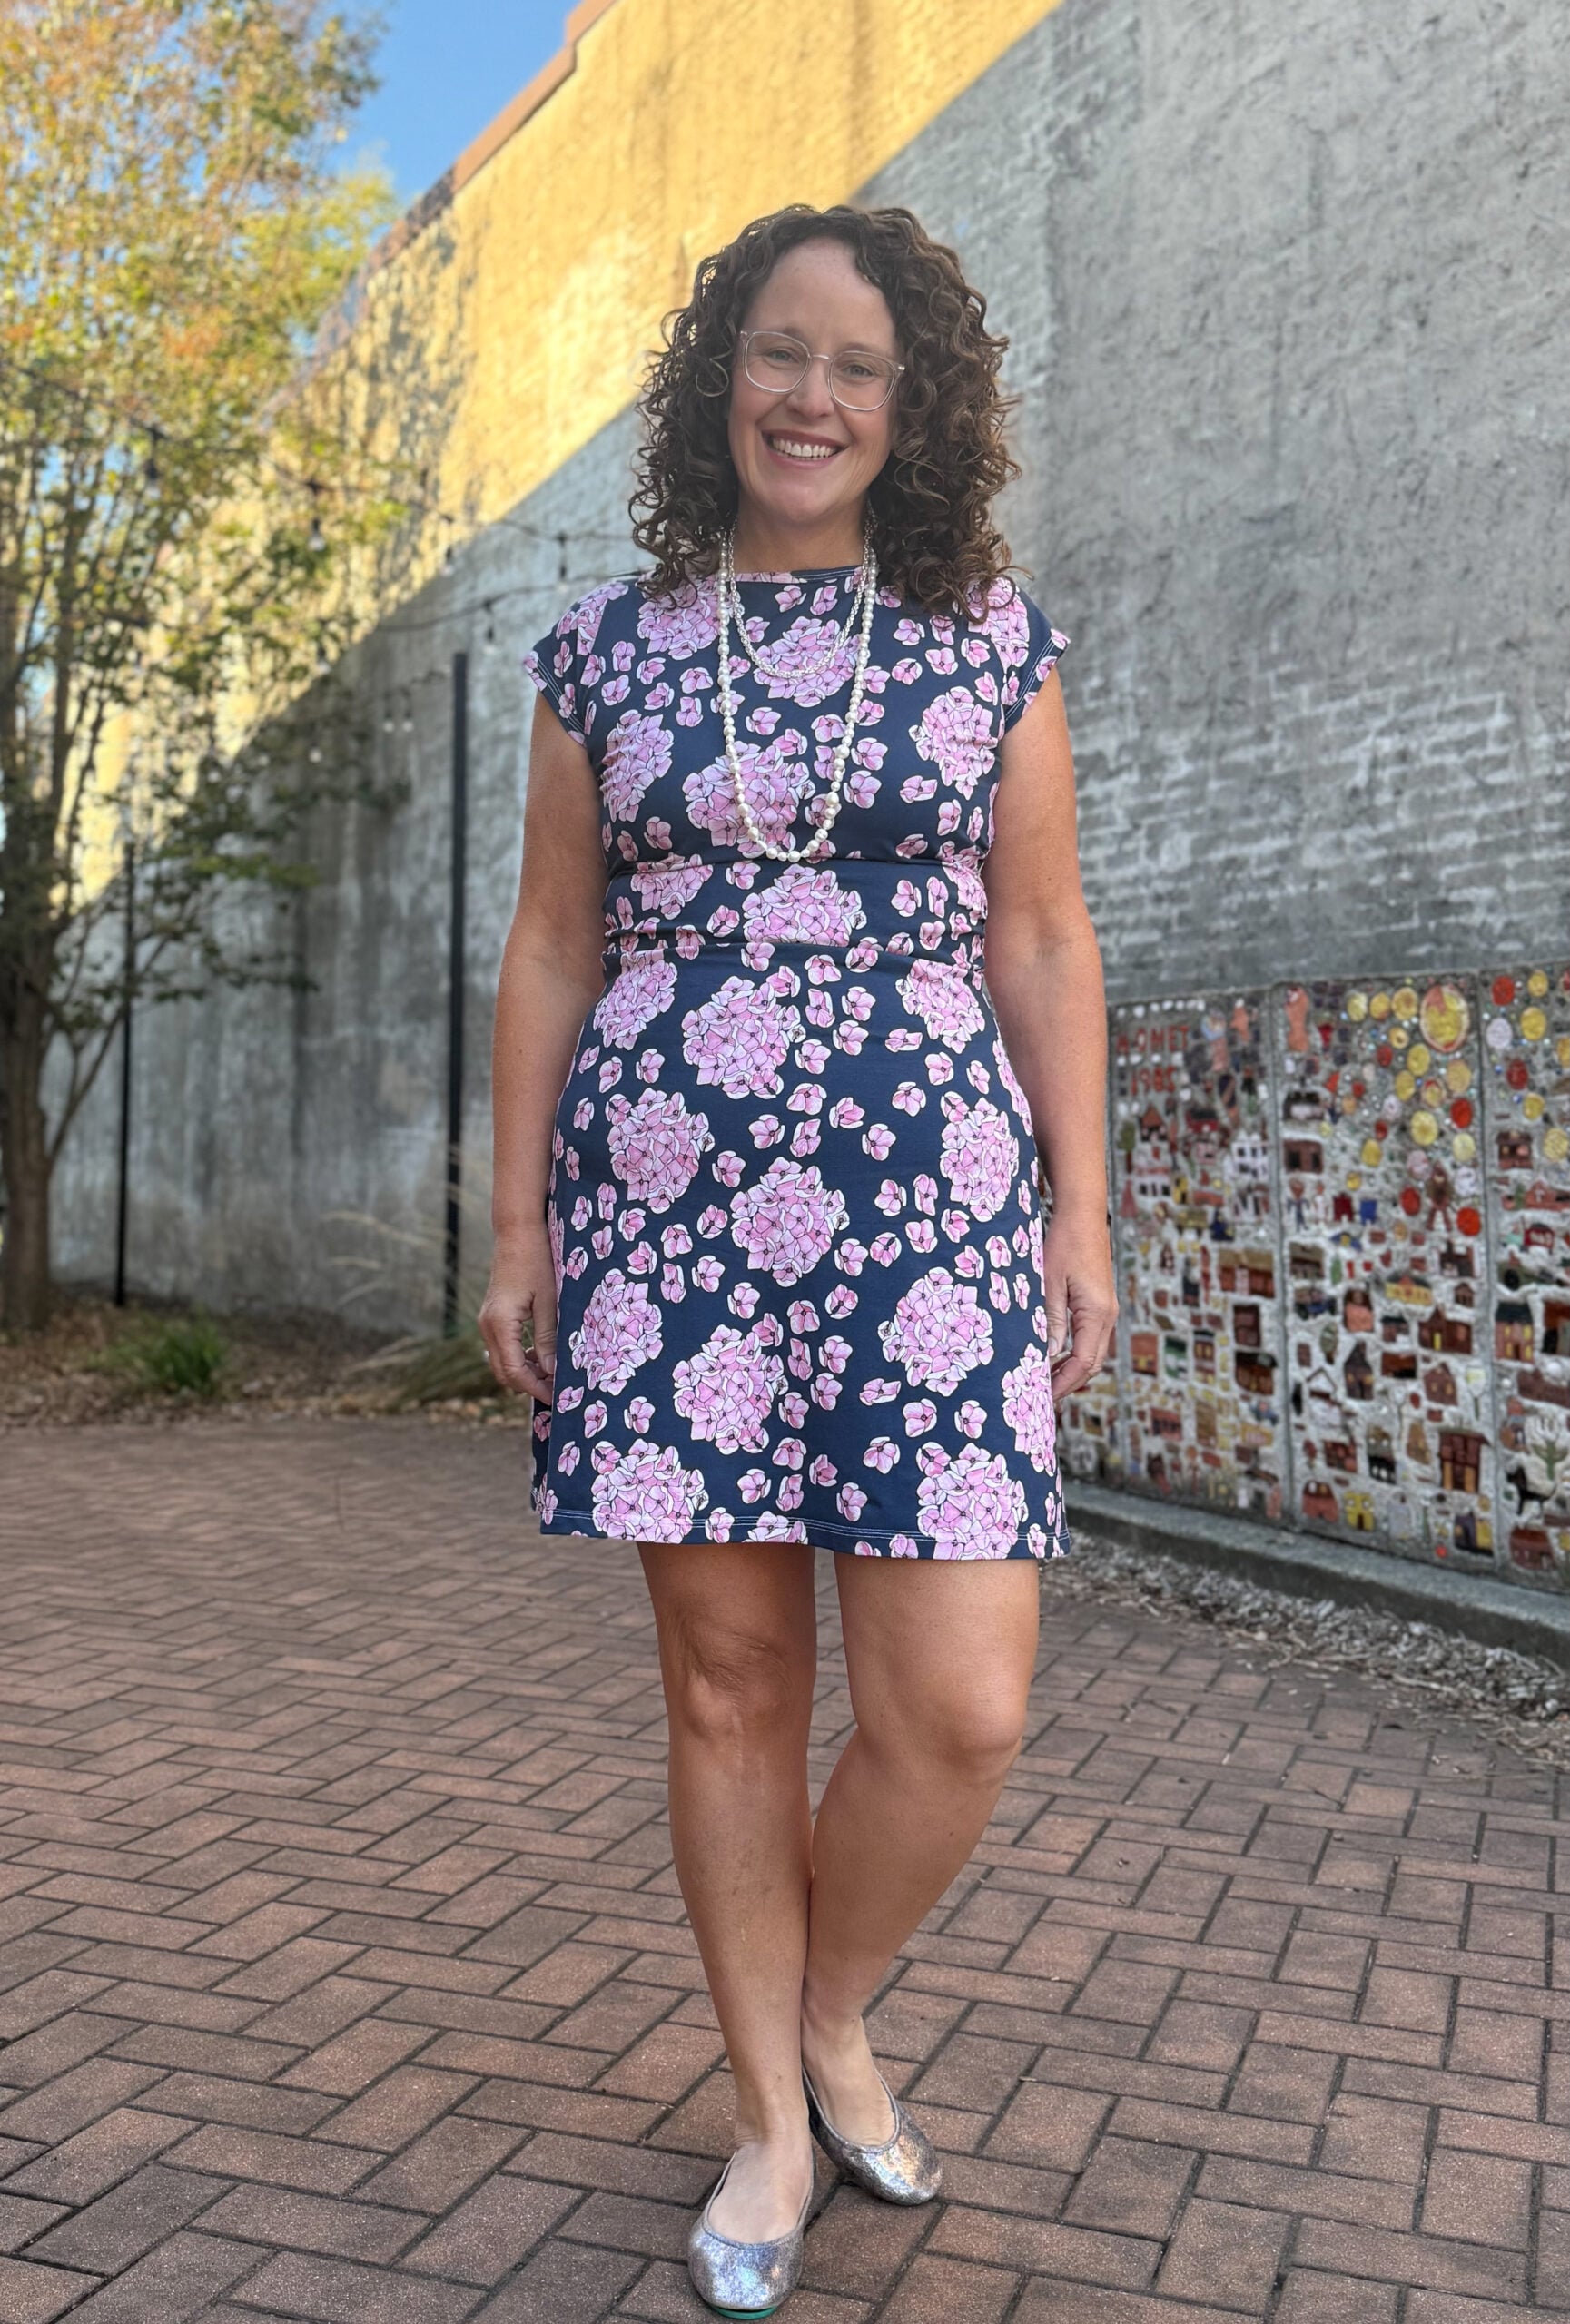
Flutter sleeve:
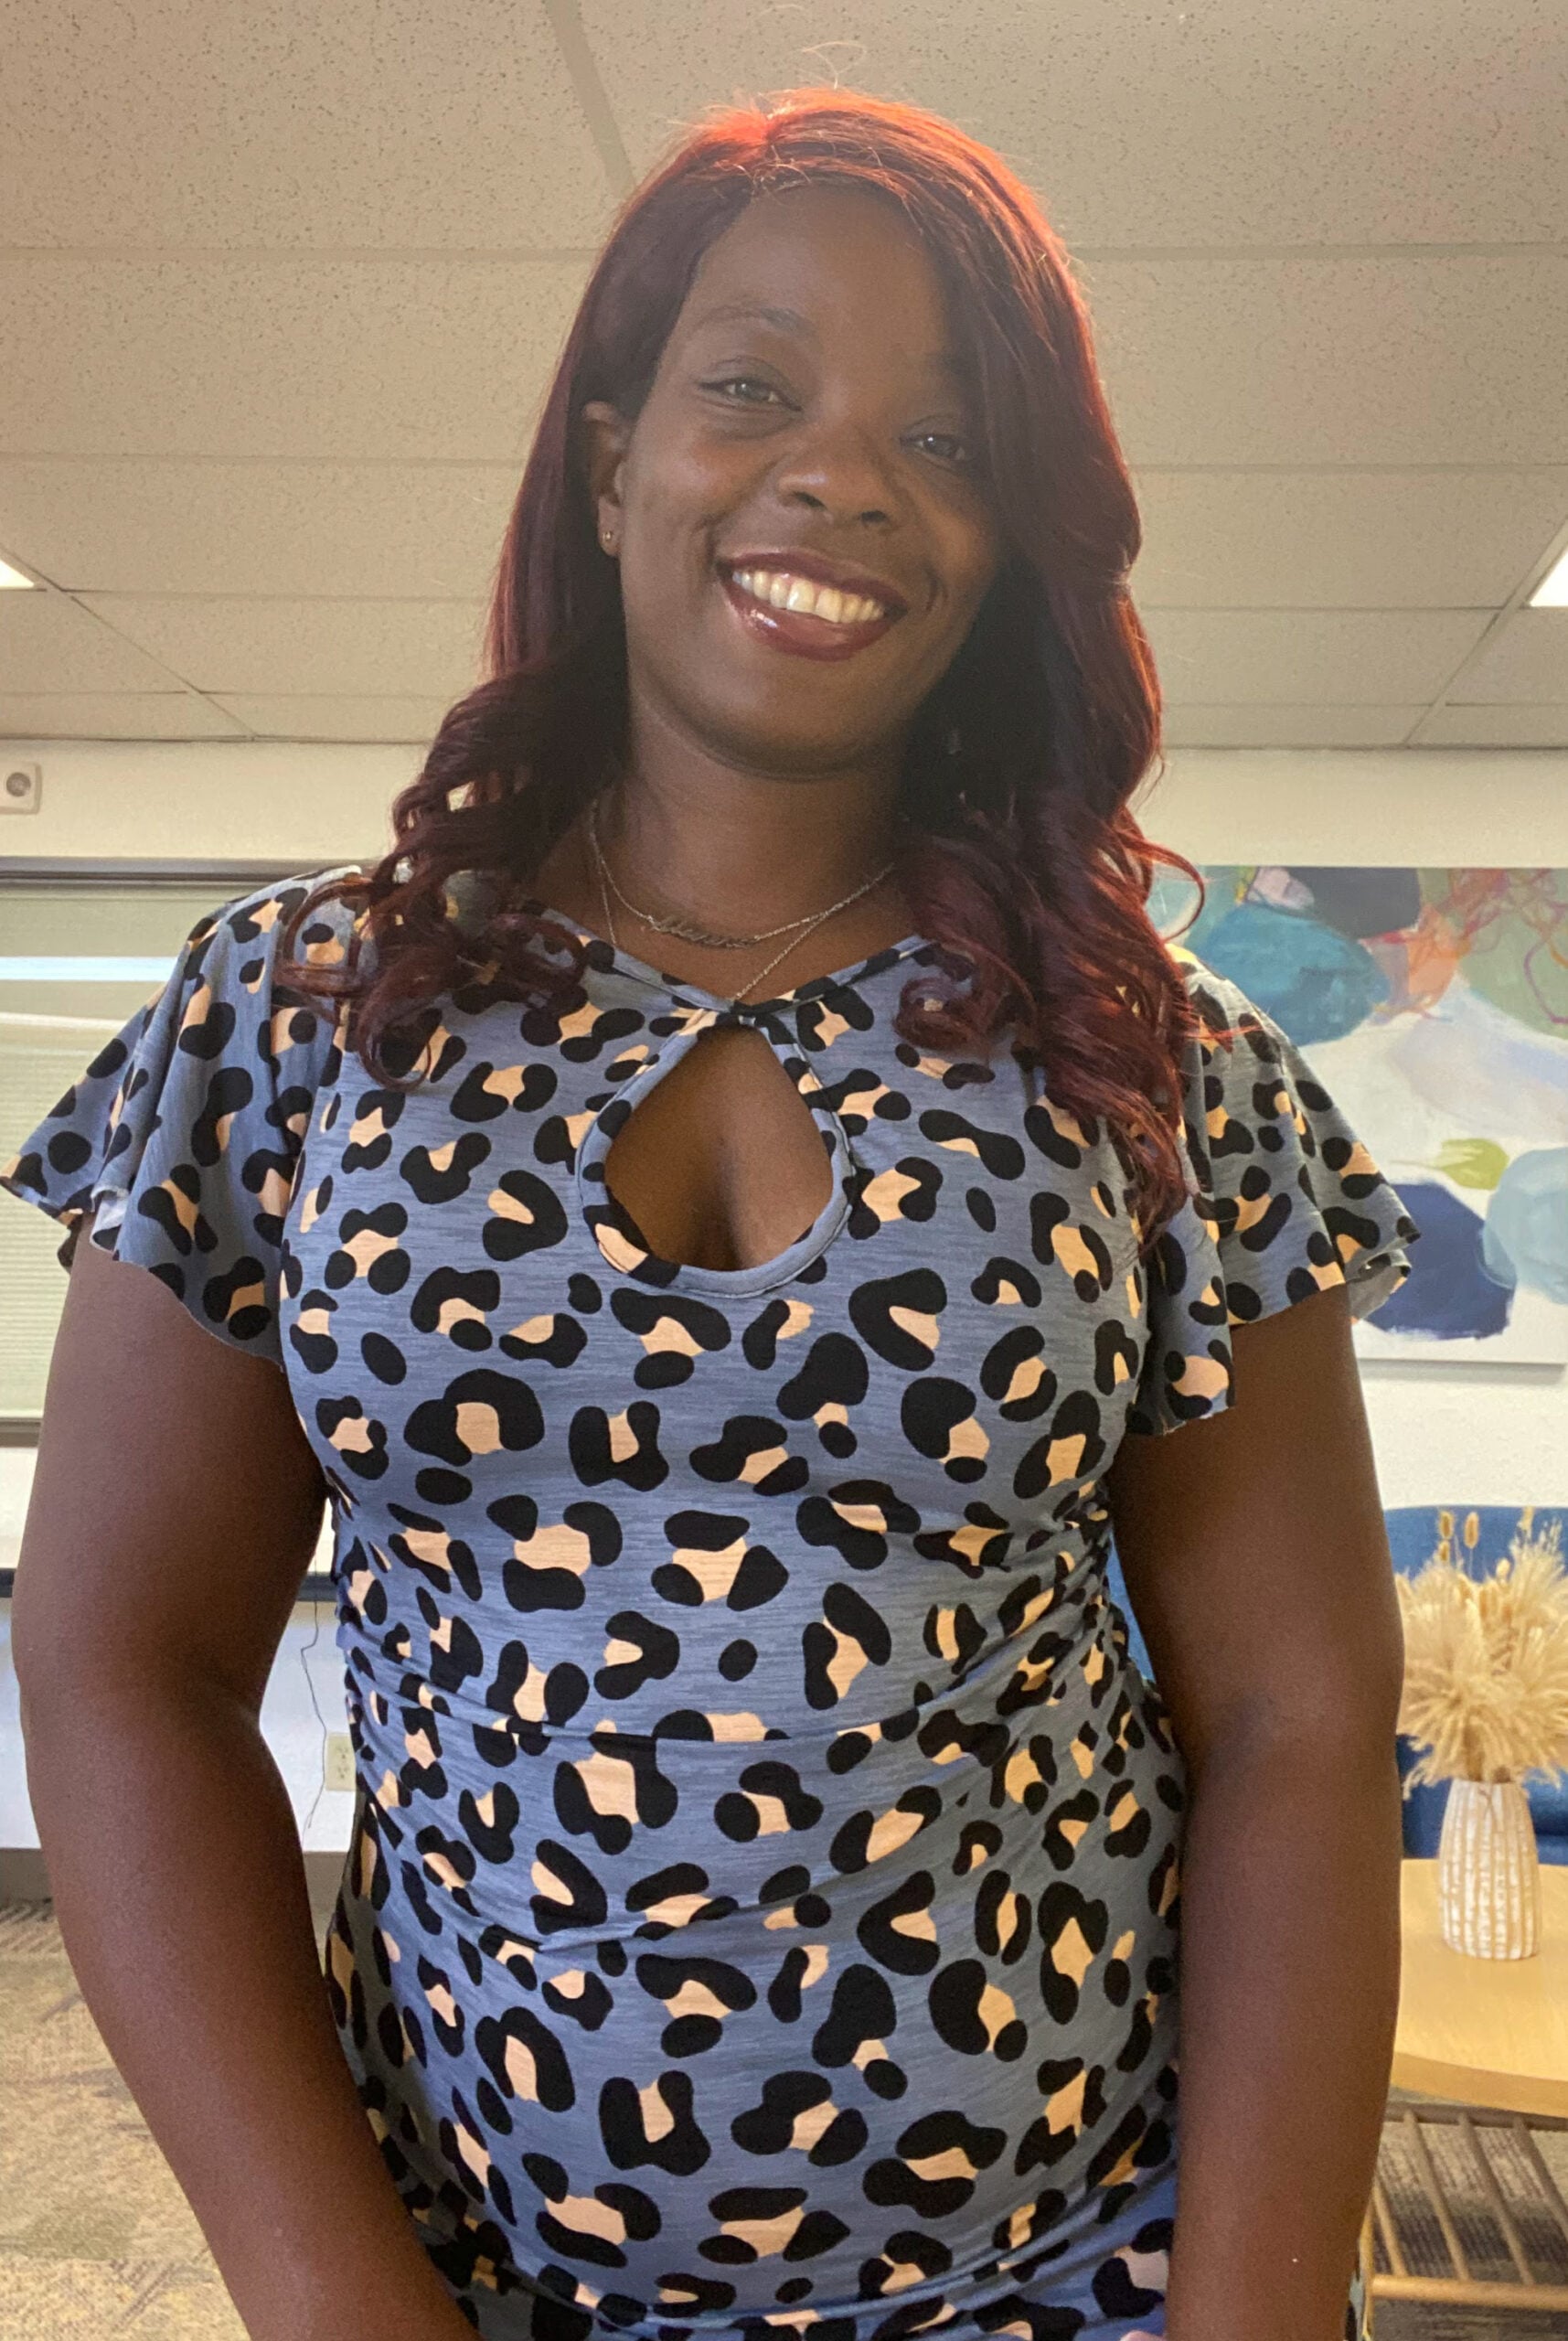
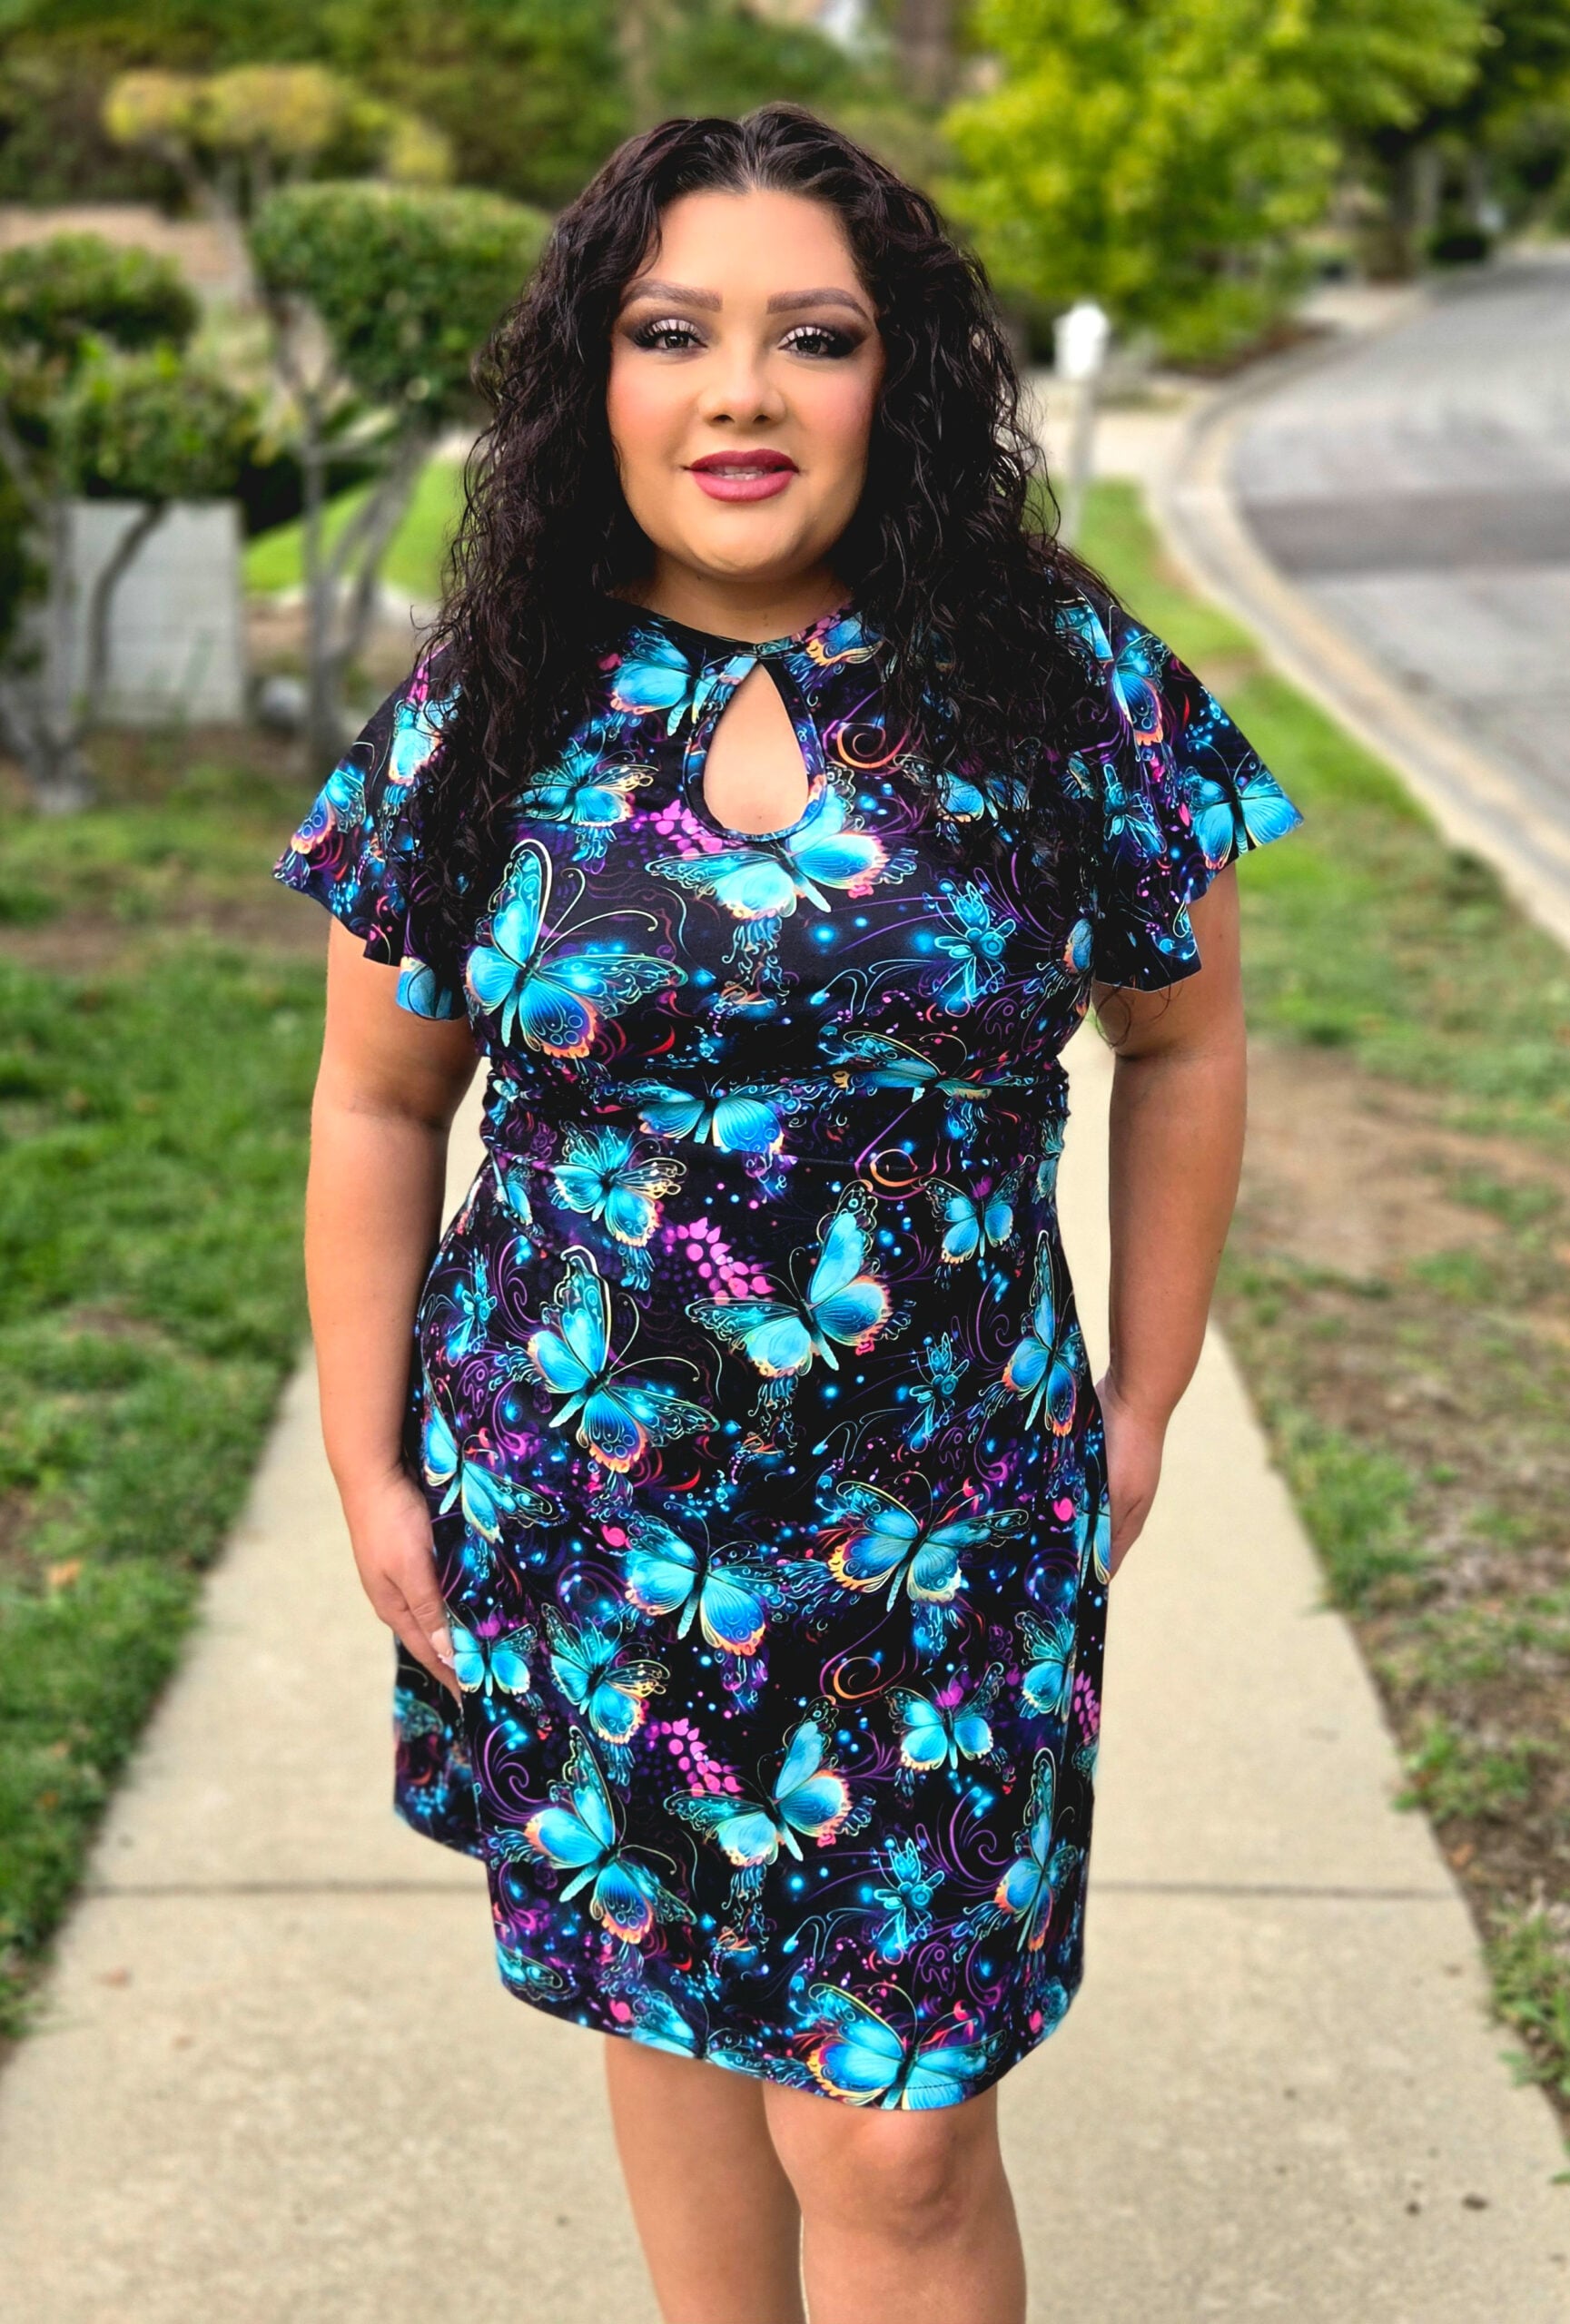
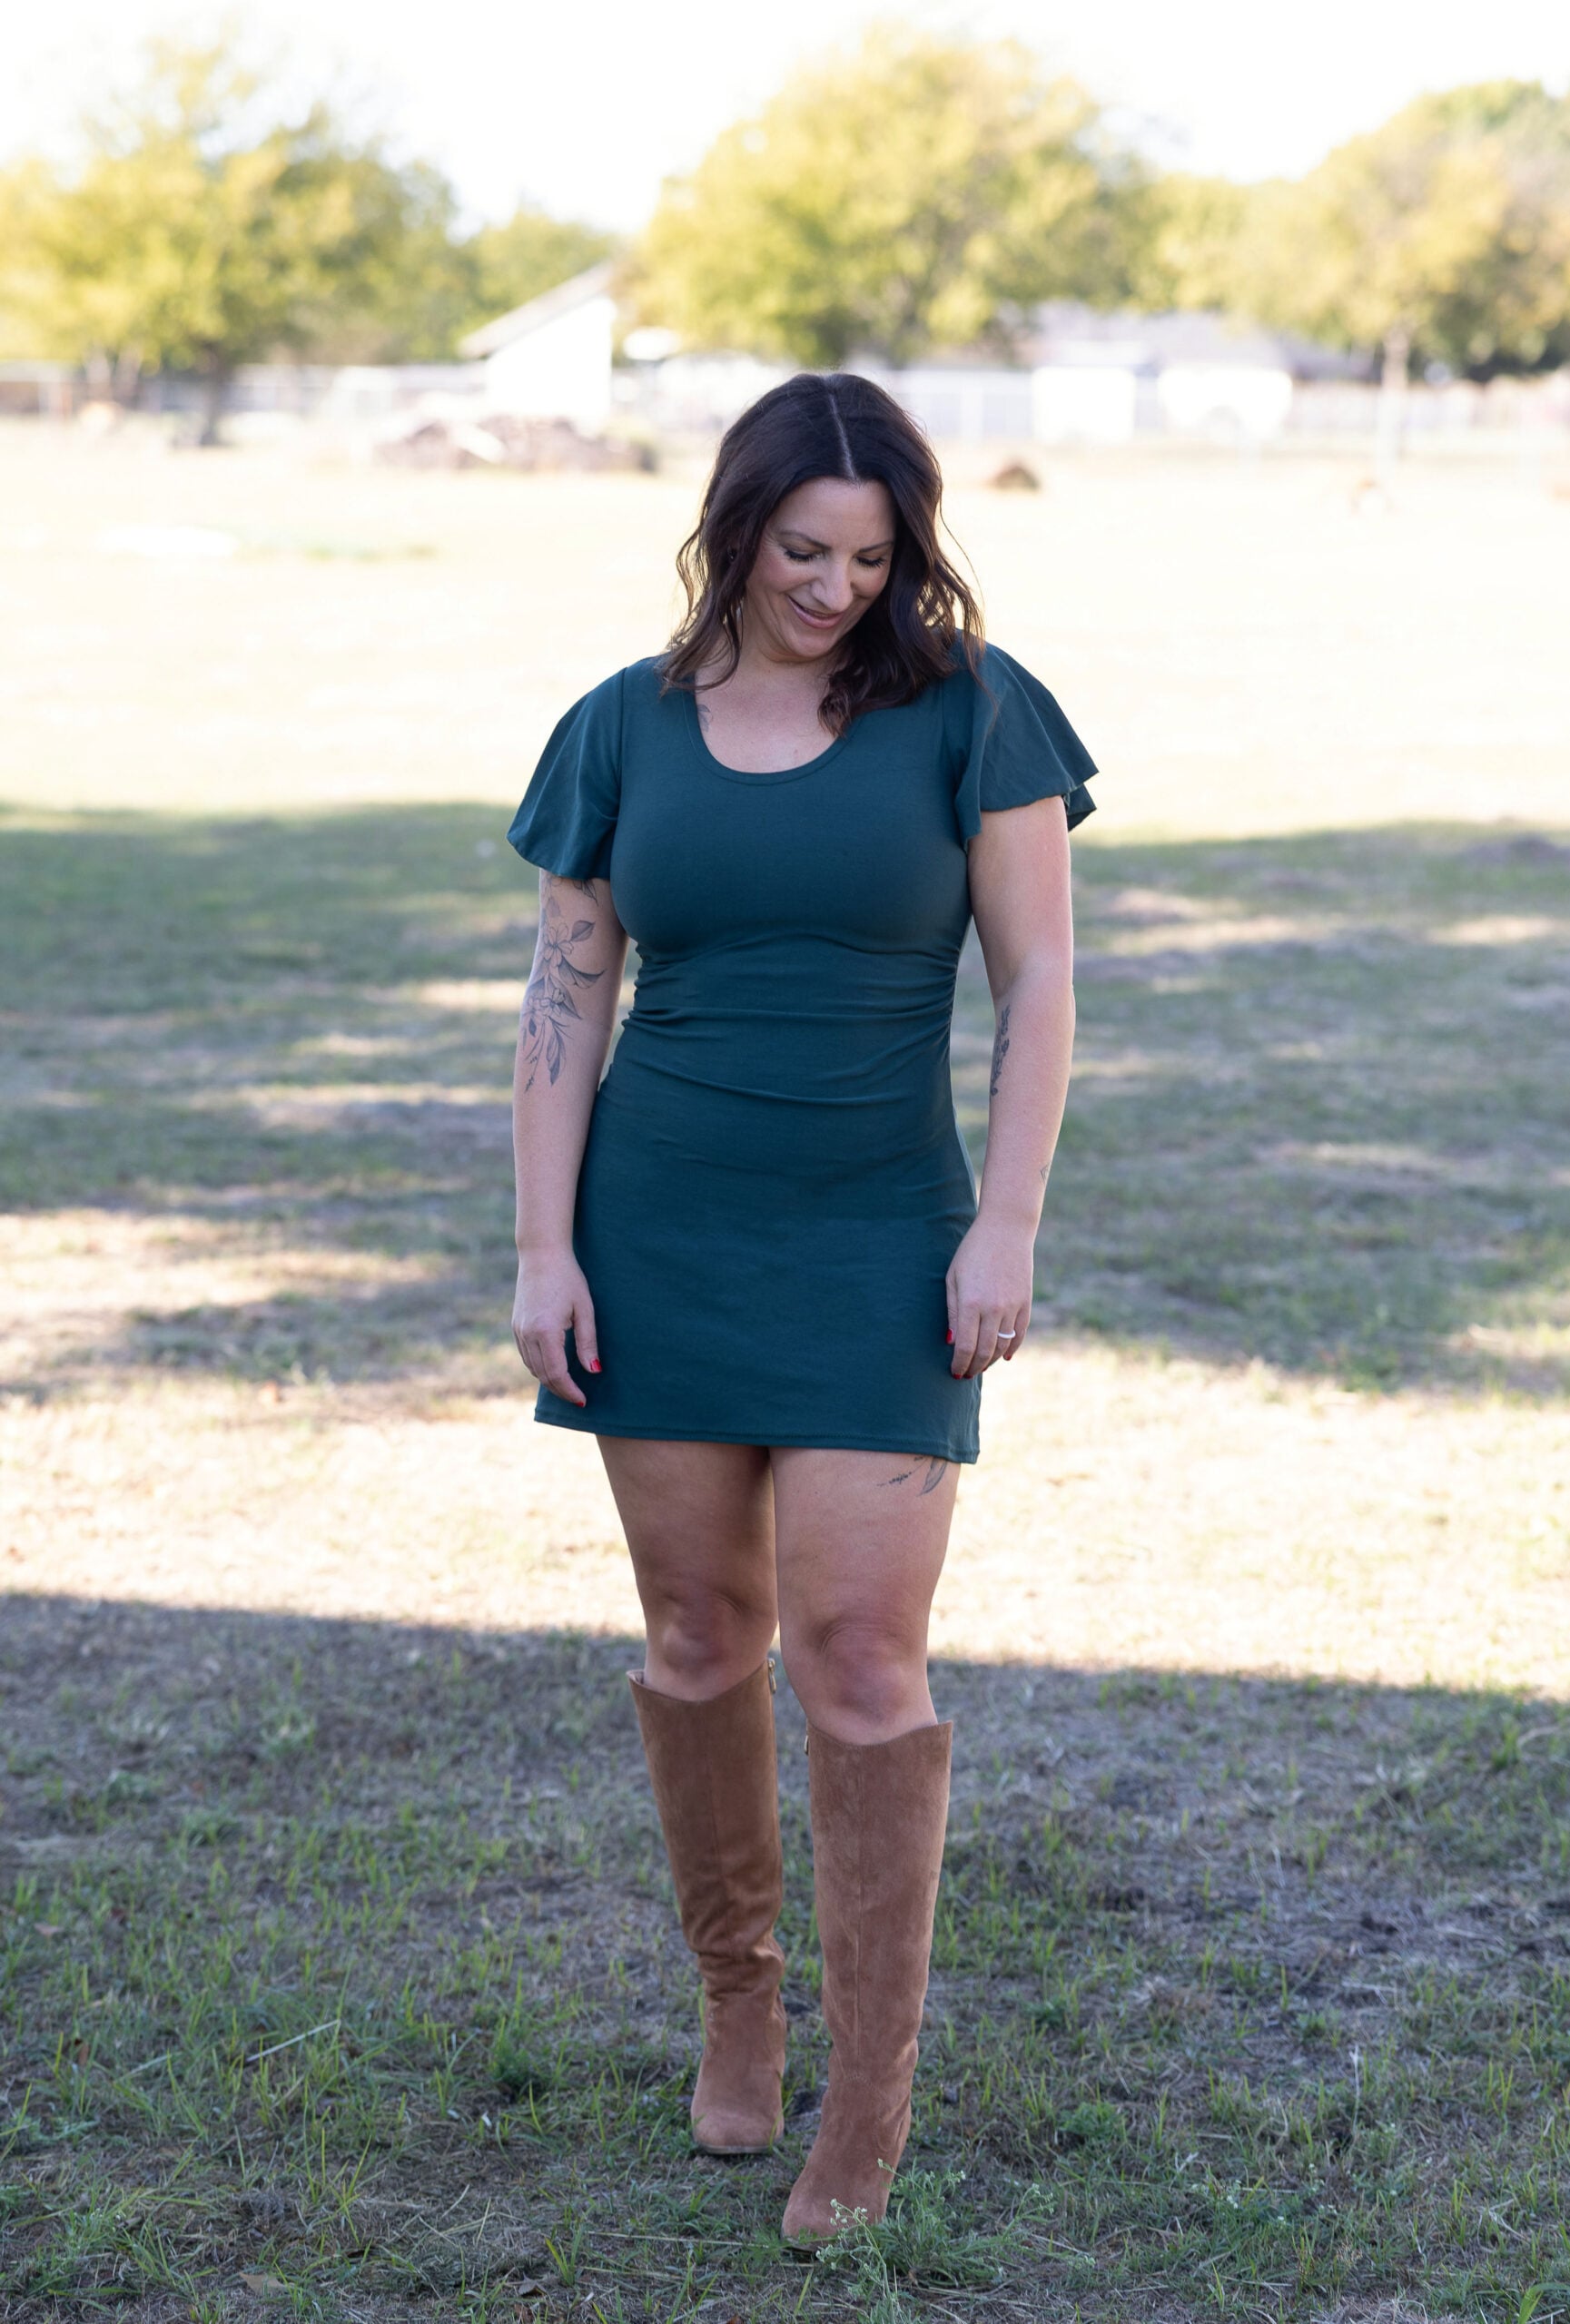
Fitted long sleeve:
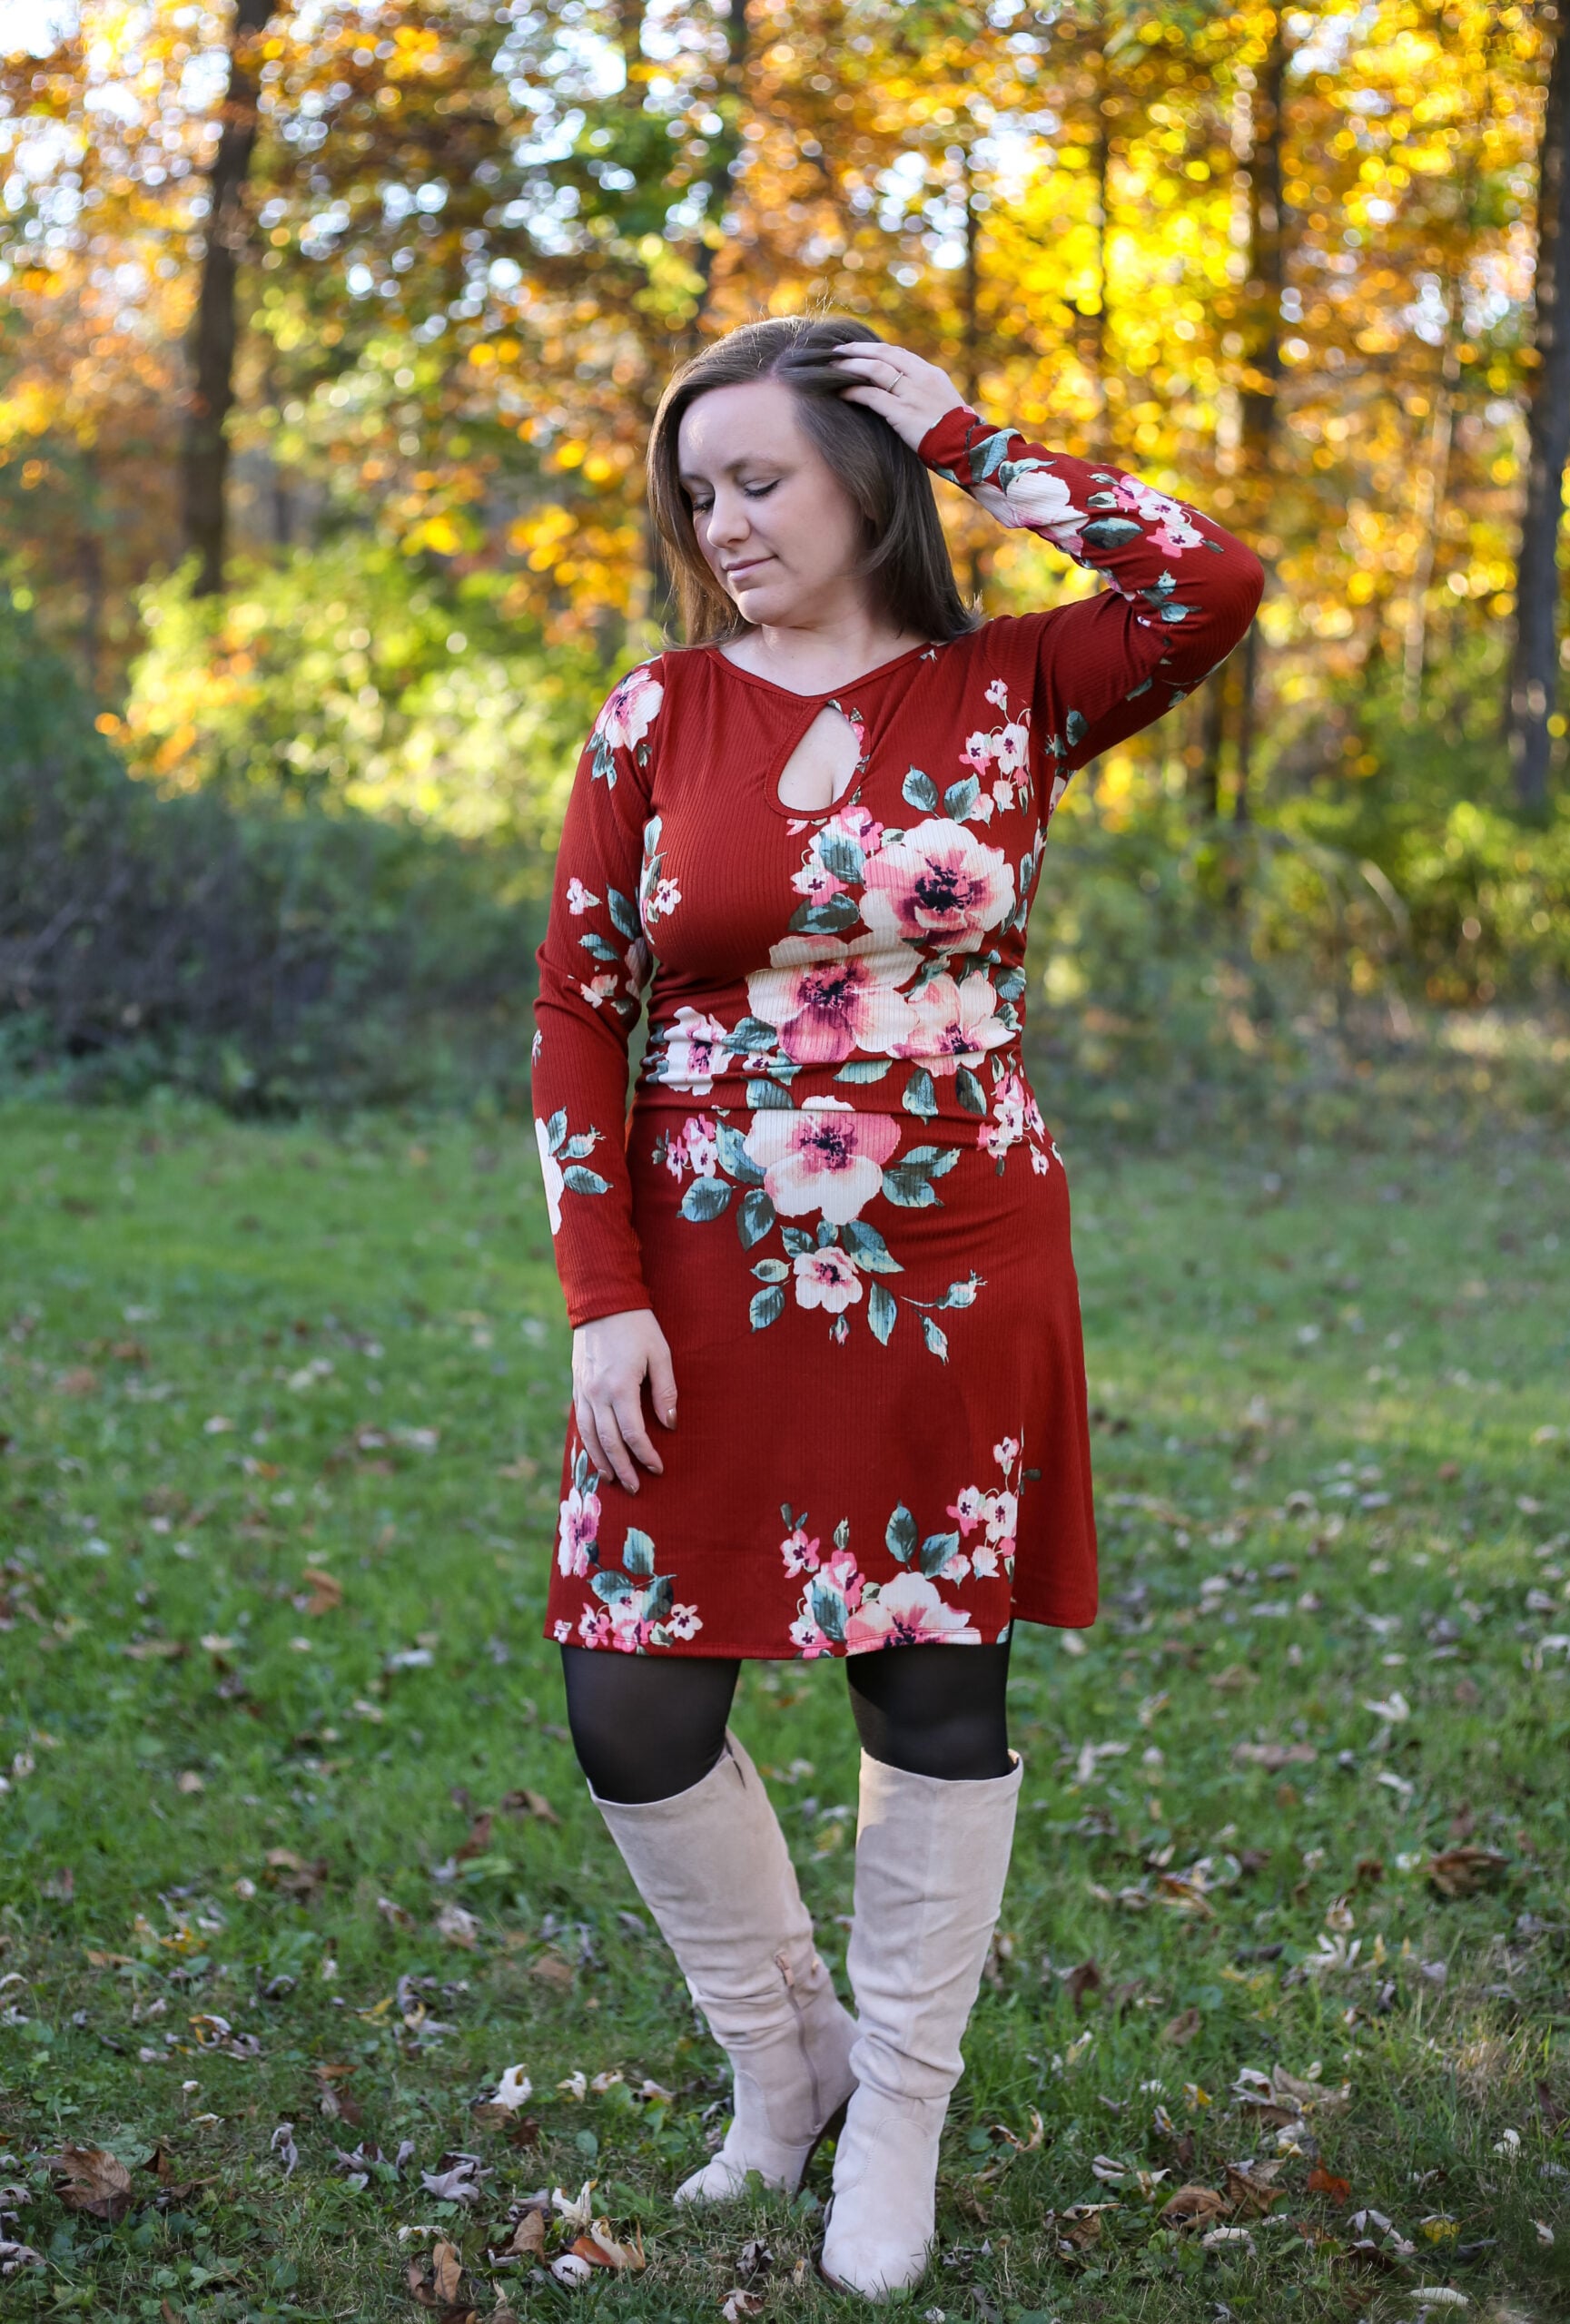
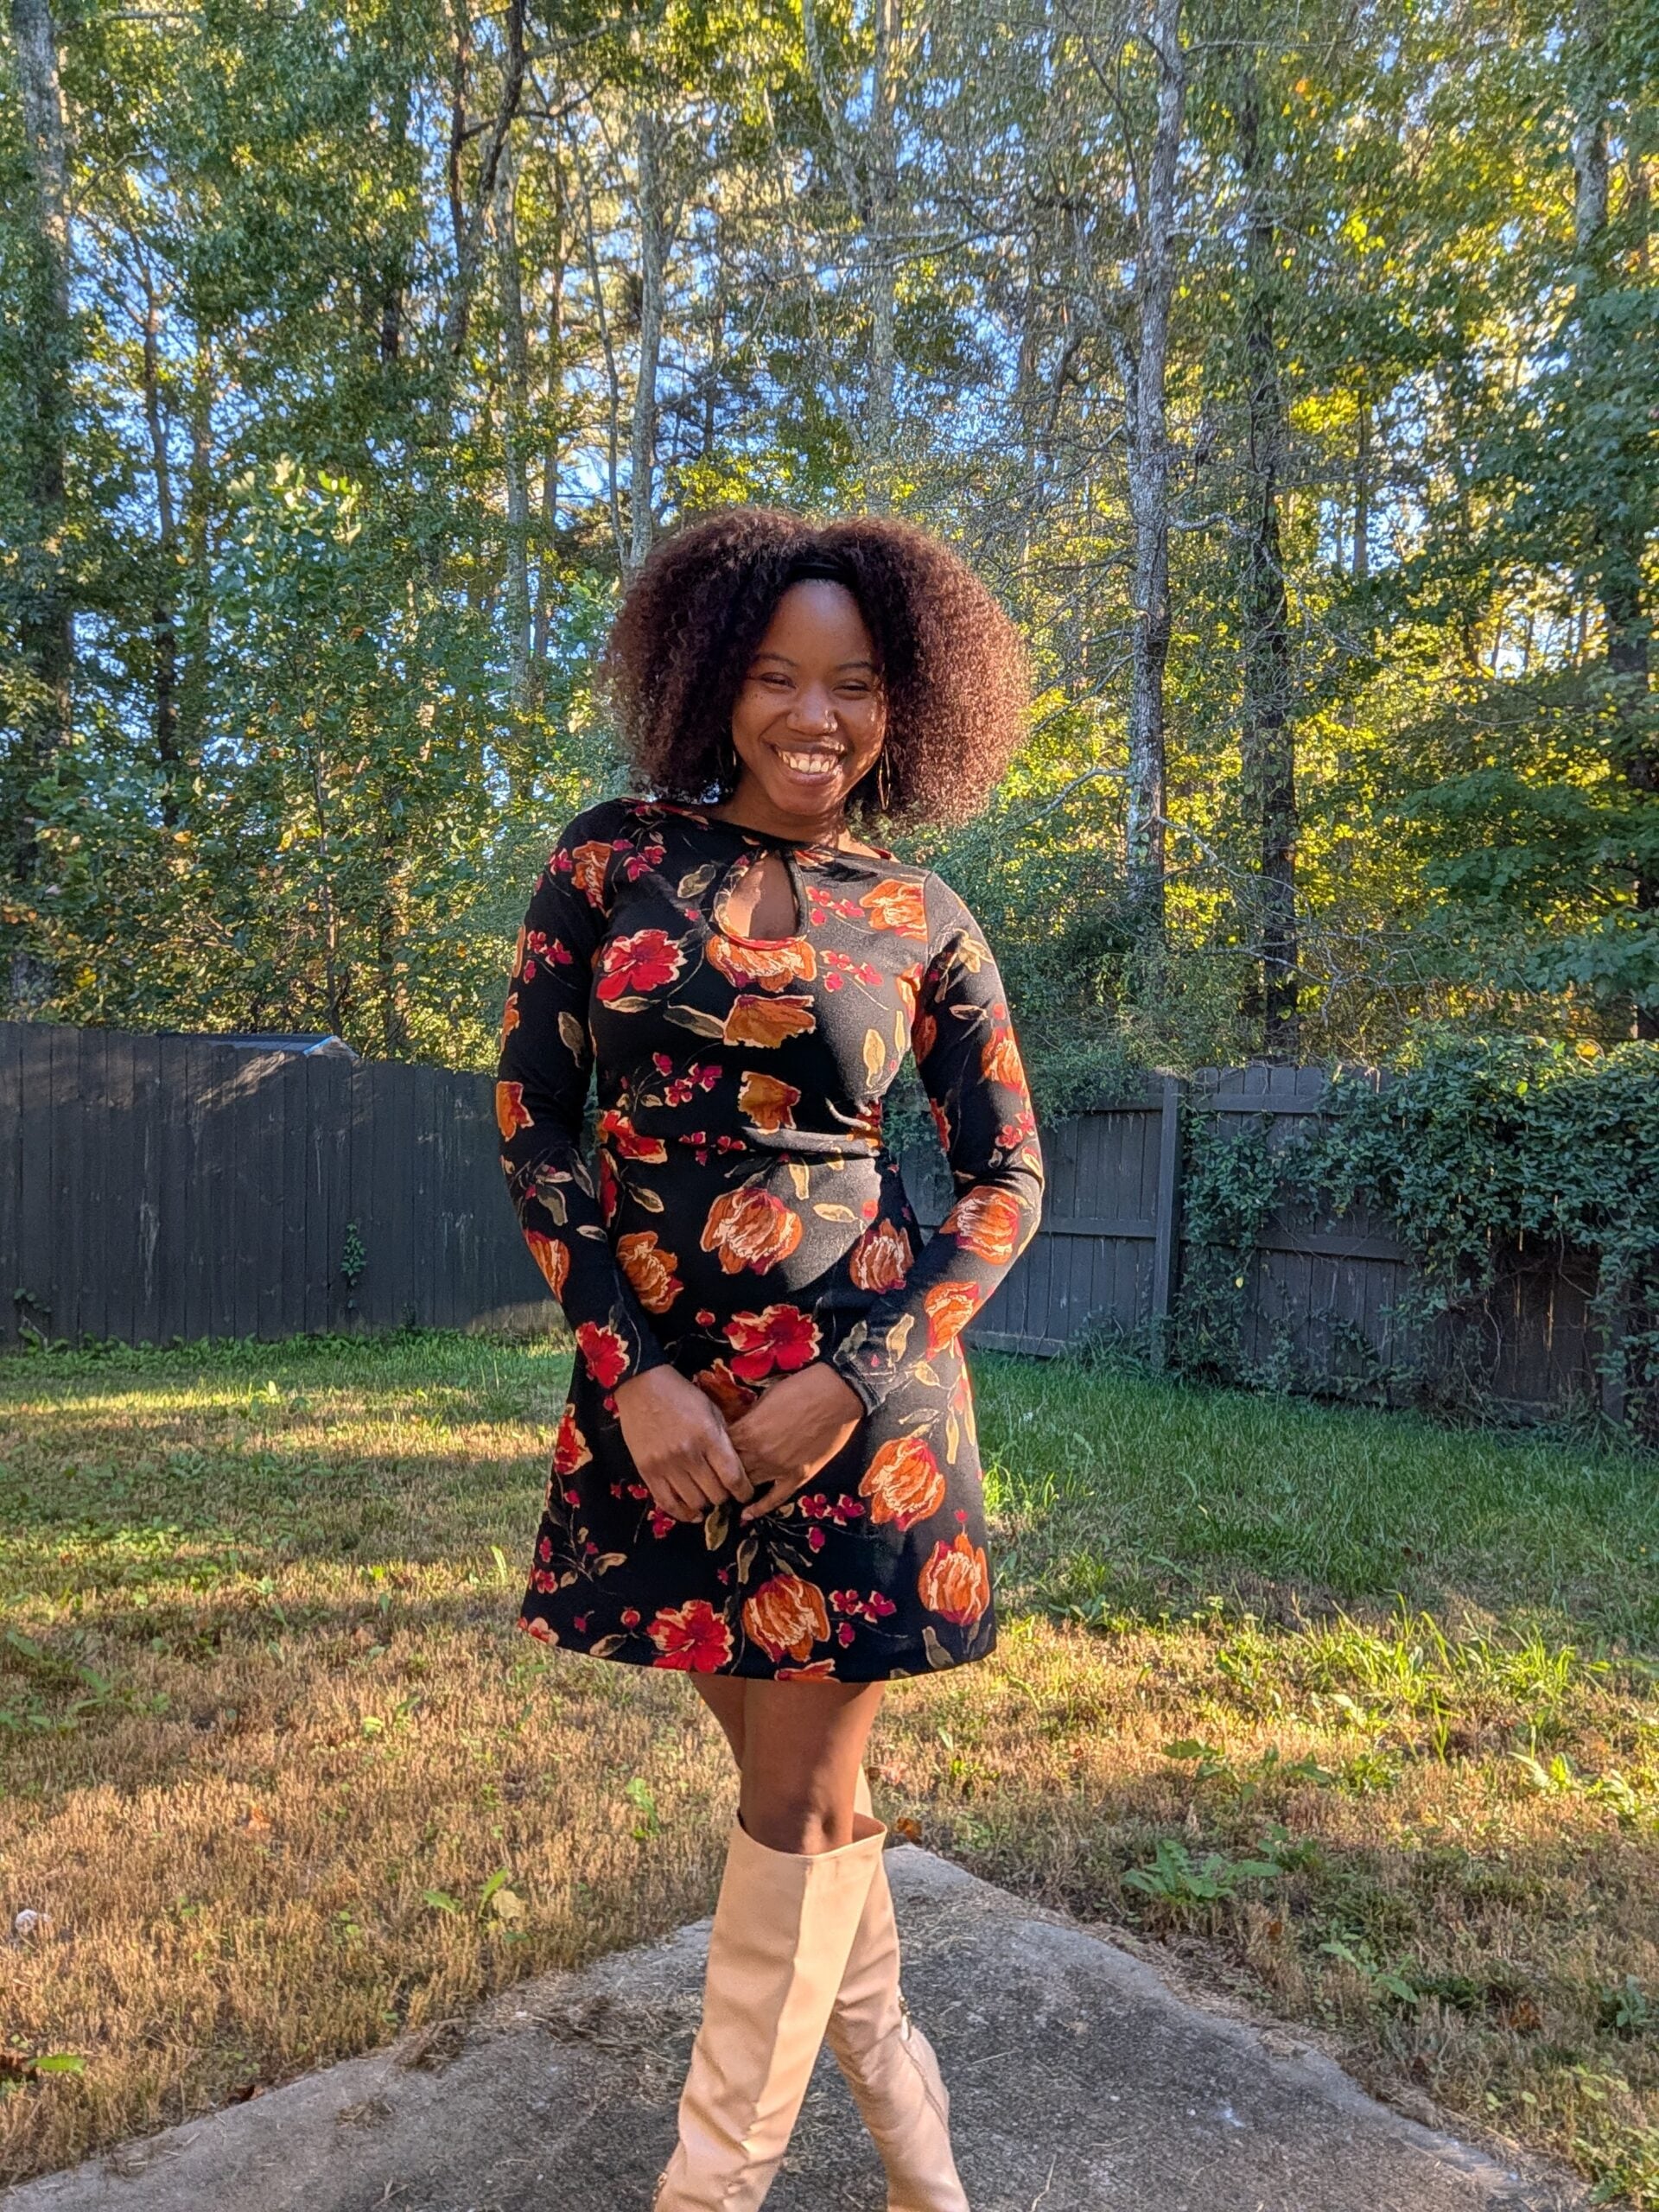
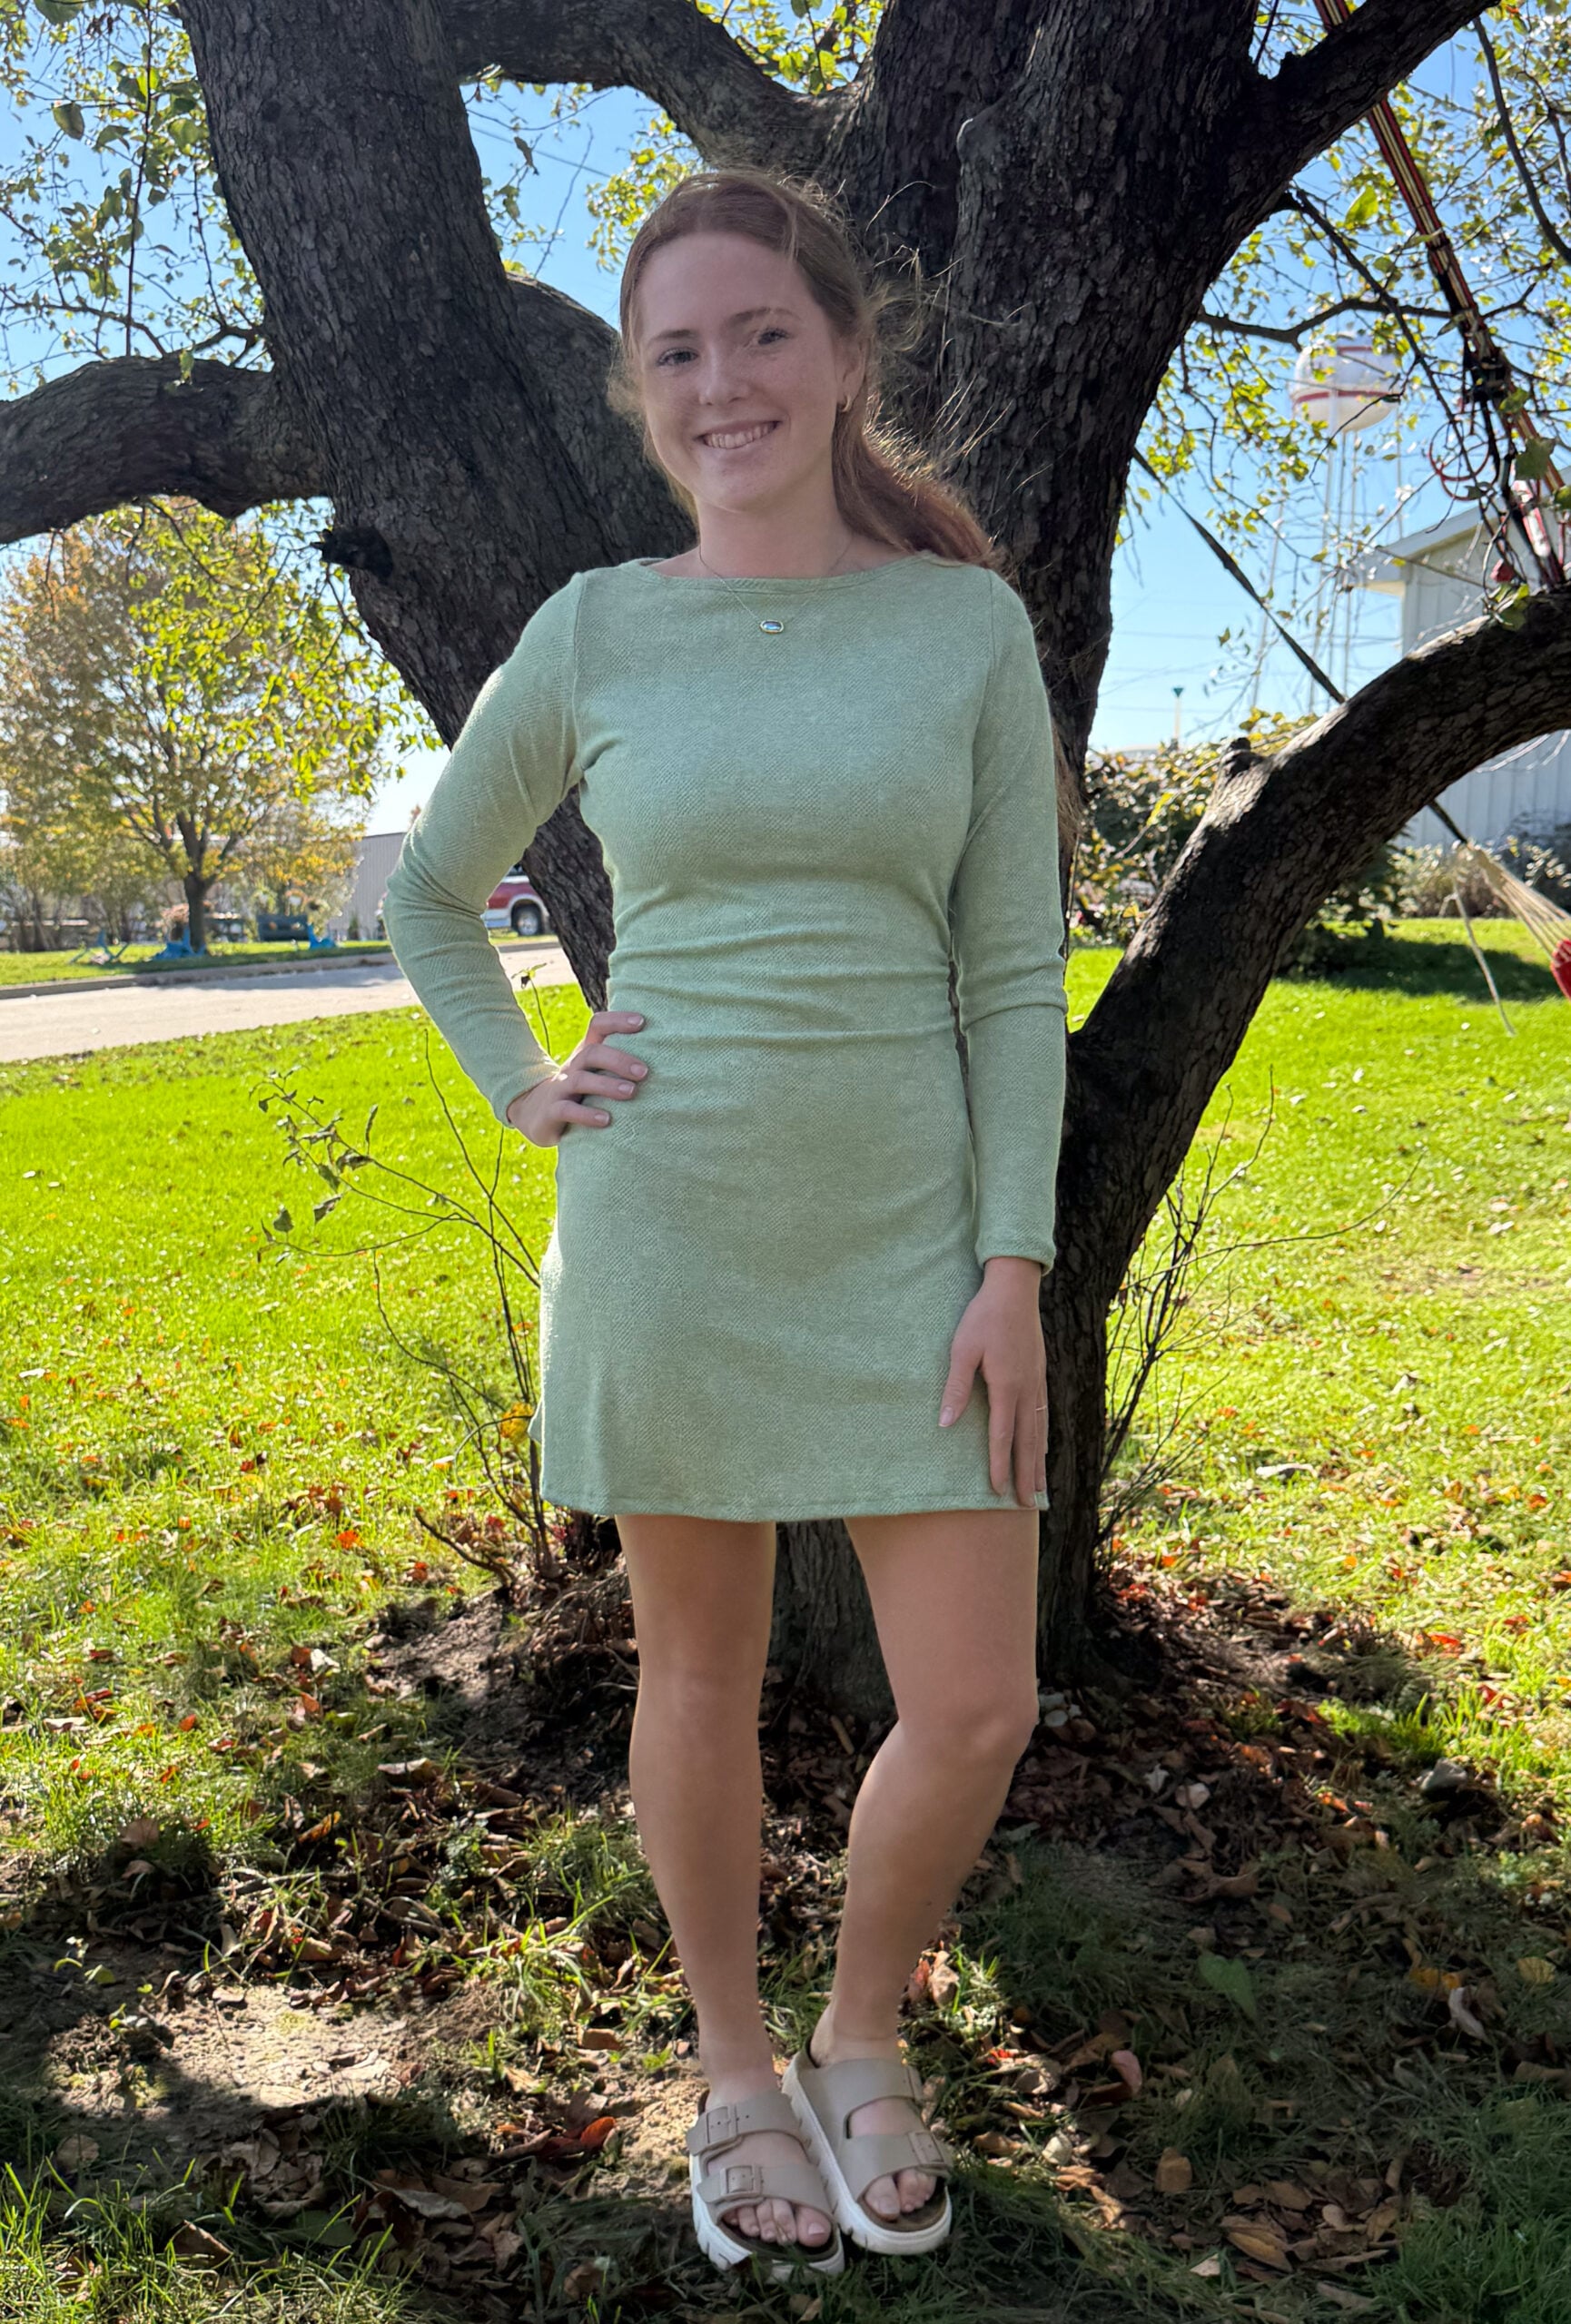
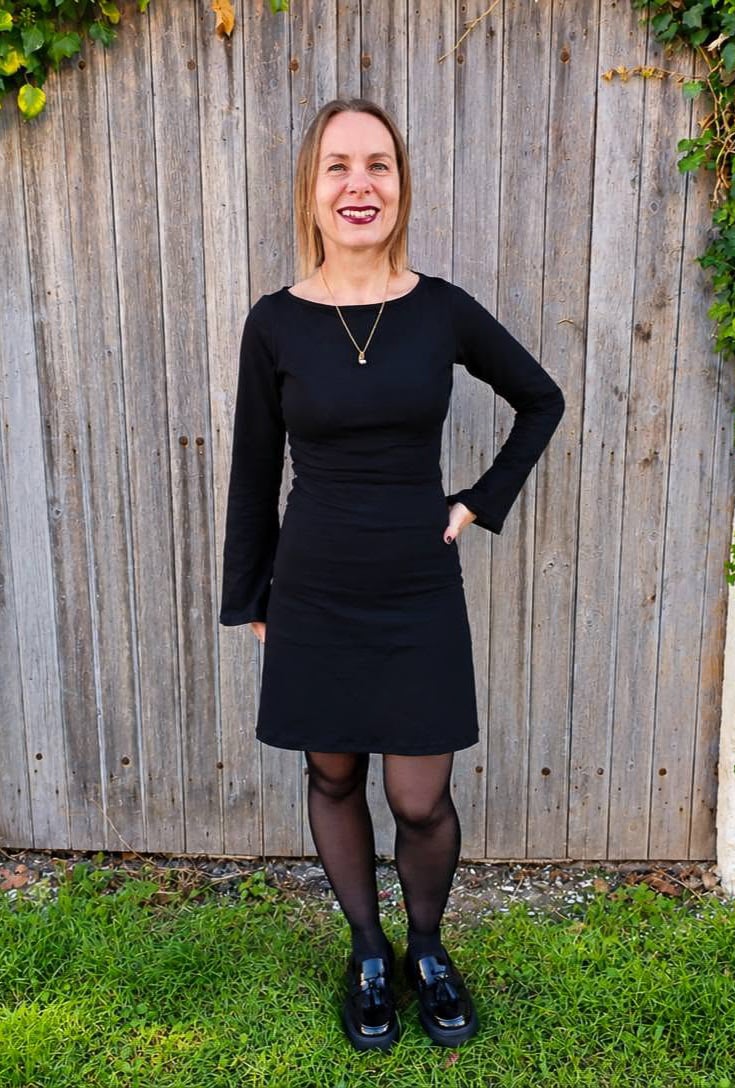
Bell sleeve:
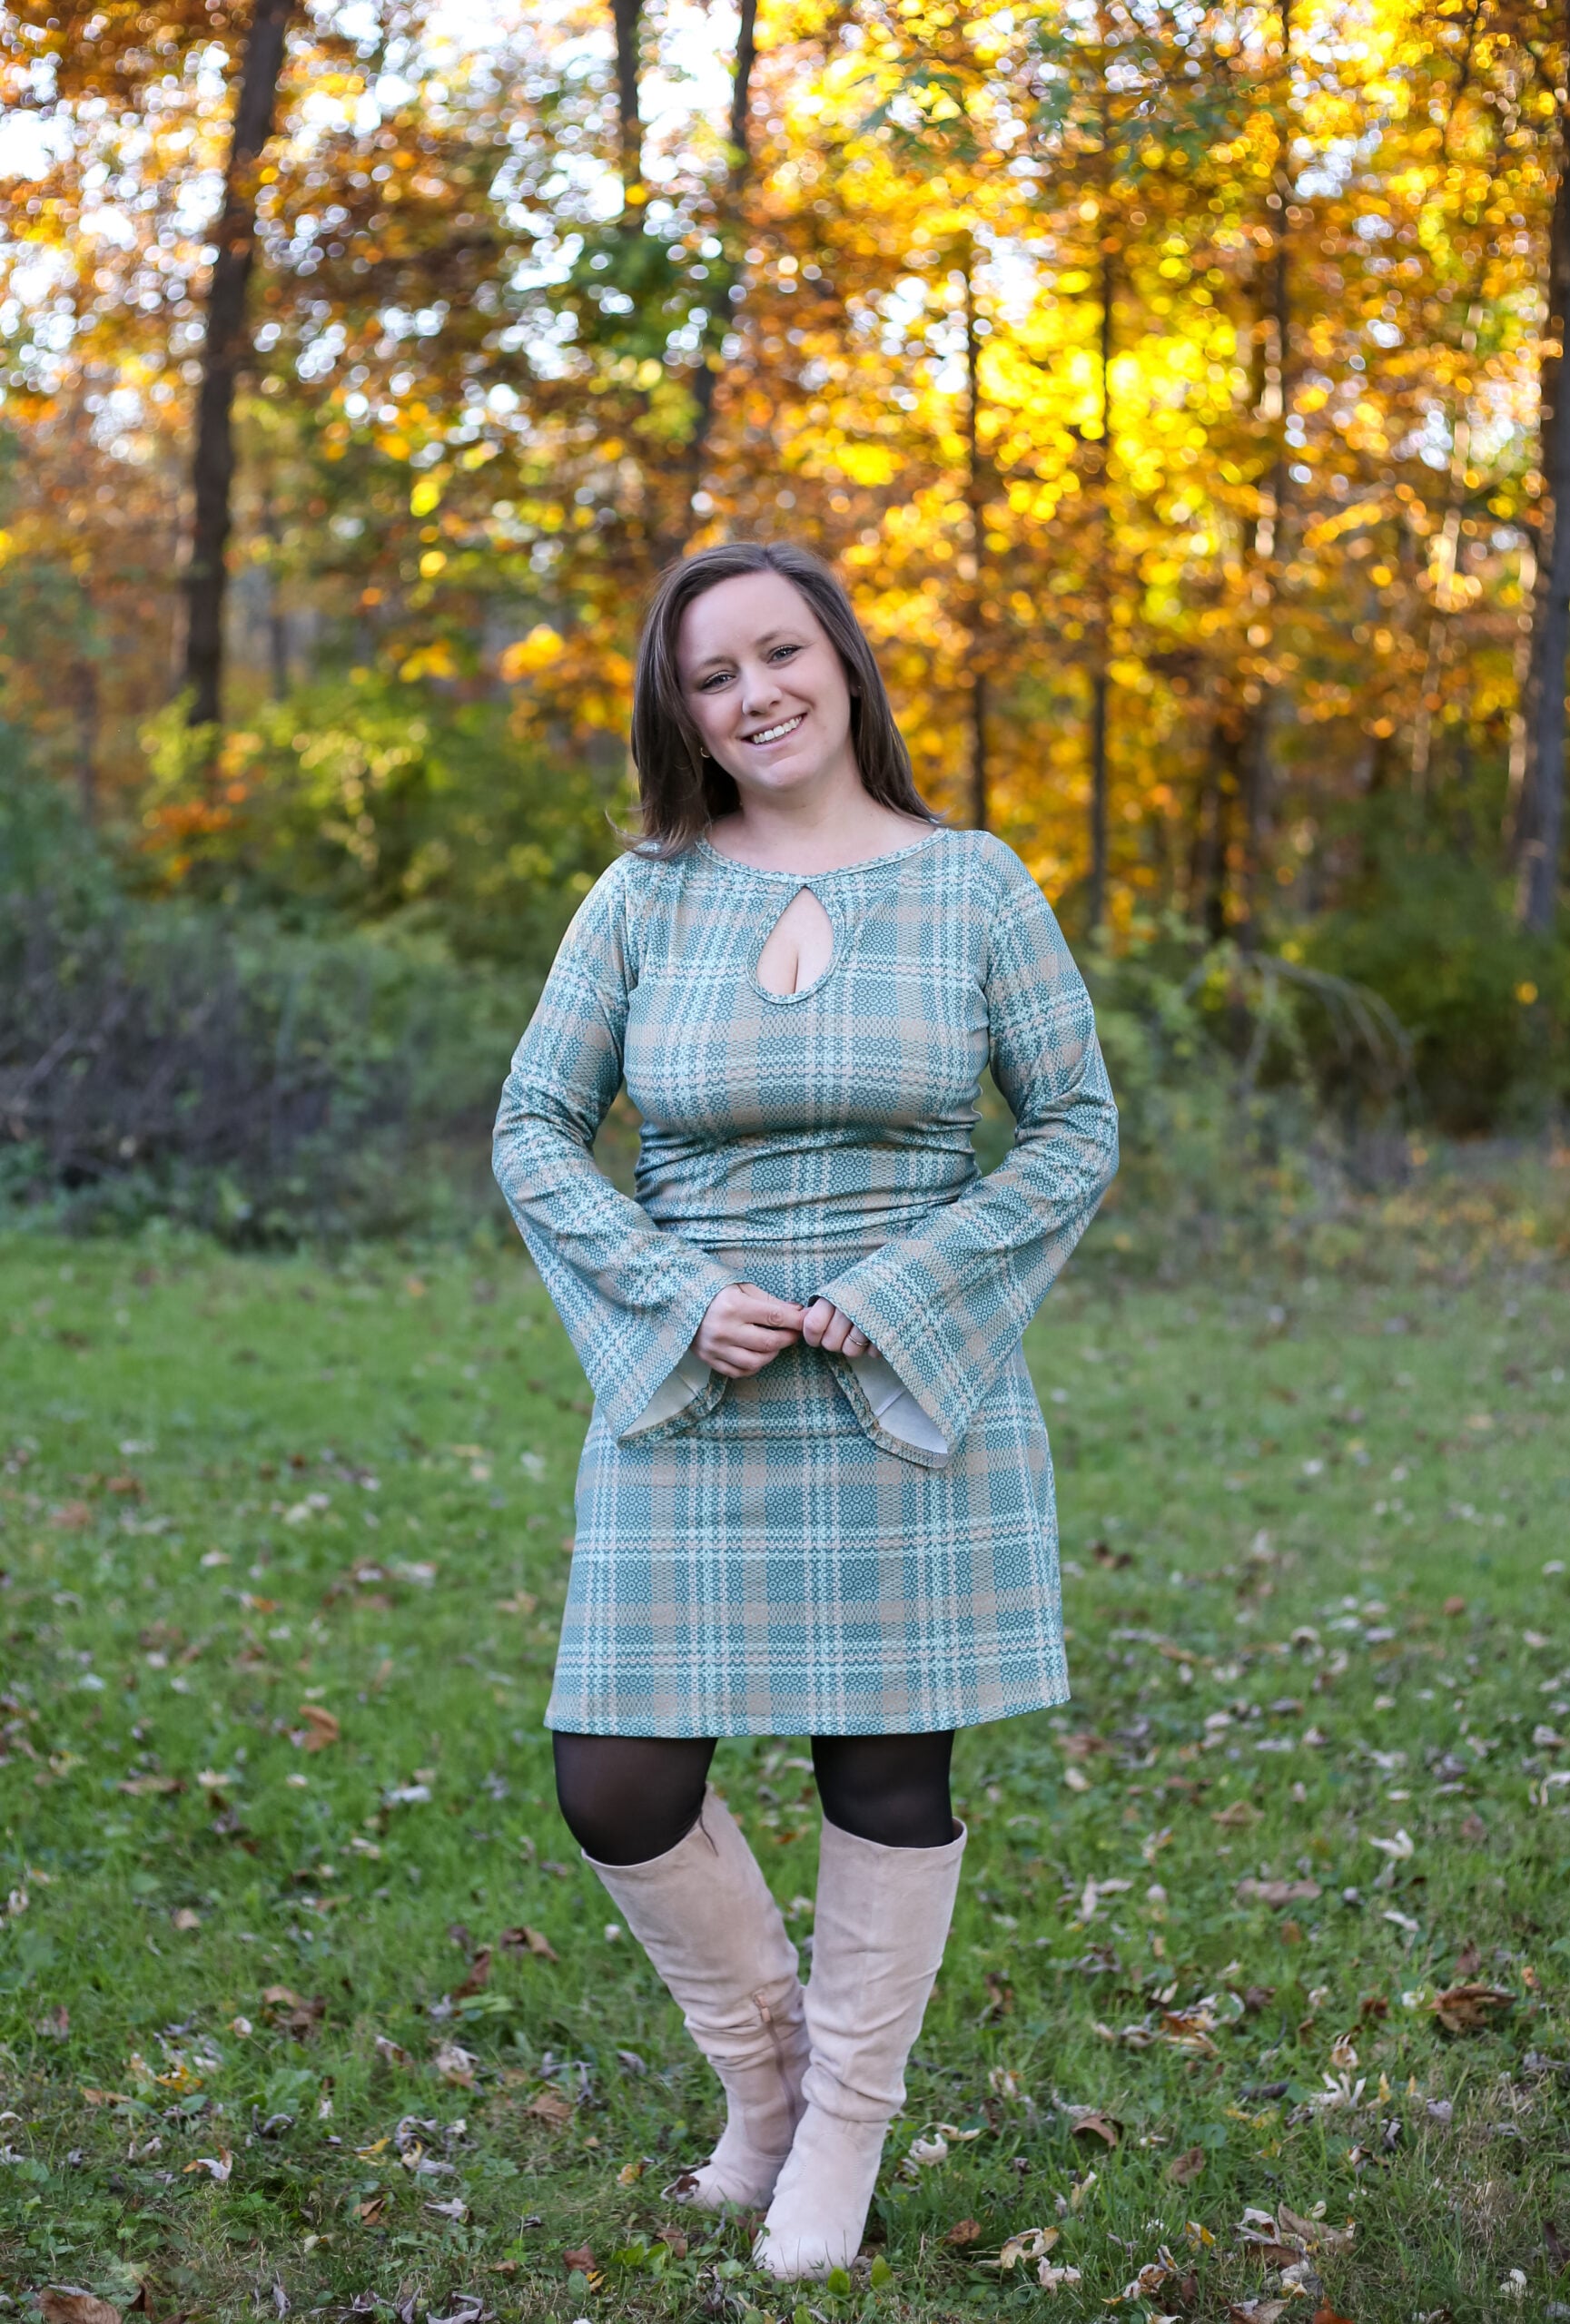

Length
Mini:
Dress:

Fabric + Notions
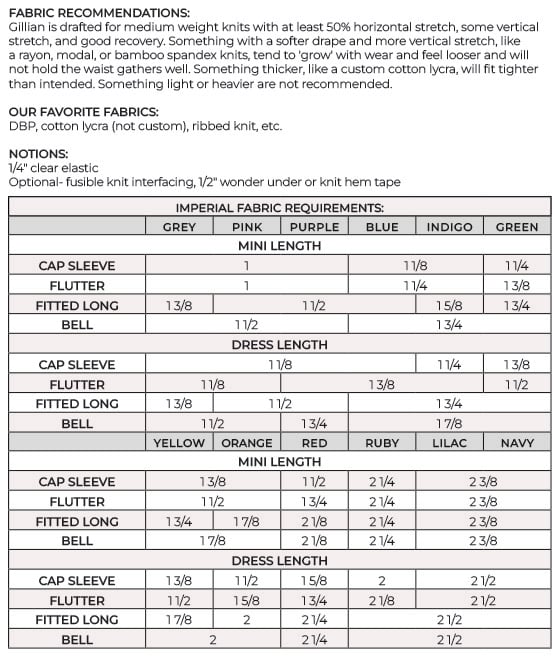
Gillian is drafted for medium weight knits with at least 50% horizontal stretch, some vertical stretch, and good recovery. Something with a softer drape and more vertical stretch, like a rayon, modal, or bamboo spandex knits, tend to ‘grow’ with wear and feel looser and will not hold the waist gathers well. Something thicker, like a custom cotton lycra, will fit tighter than intended. Something light or heavier are not recommended. OUR FAVORITE FABRICS: DBP, cotton lycra (not custom), ribbed knit, etc.
You also need:
- 1/4″ clear elastic
- Optional: 1/2″ knit interfacing or knit hem tape for stabilizing and hemming.
-
I hope you love the Gillain pattern, and I can’t wait to see how you style yours!
#gillianpattern #madeformermaidspatterns
Leave a Reply