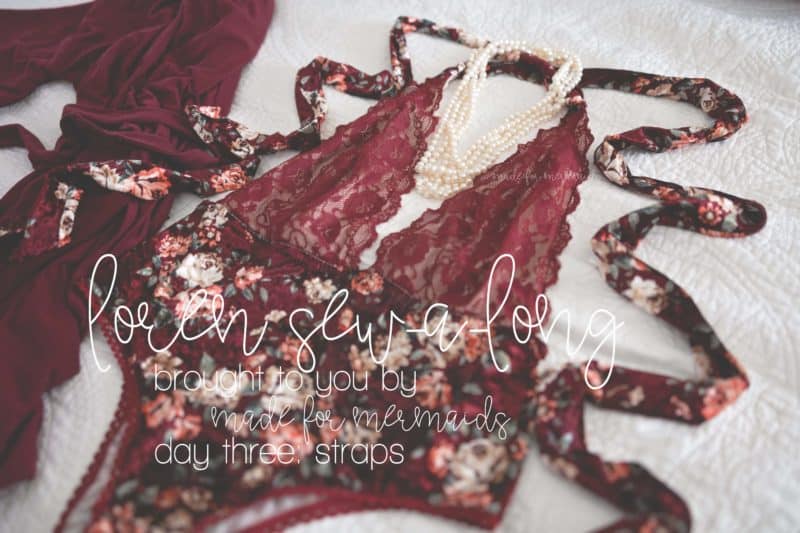
Today is our first sewing day for the Loren SAL! If you’re just joining us, Day 1 was tips and helpful info, Day 2 was cutting our fabric, and today we will be constructing our straps. The best part about the straps is all the different ways you can tie them. Our testing team had fun trying out different looks,
Thankfully, the straps are pretty generous the way the pattern was drafted and designed. I came up about an inch or so short for my strap pieces, so I felt comfortable shortening them by that small amount. Be careful about shortening them too much, though; it will limit you quite a bit. If needed, you can always cut an additional strap piece(s) and stitch the short edges together (right sides together, using 1/4″ seam allowance). You’ll notice that sizes Yellow-Navy already call for this in the tutorial, so it would be a simple modification to make.
Another thing to pay attention to is the stretch direction. Even though I would have had enough fabric for the straps if I had rotated my pattern piece, I wanted to make sure the stretch was going the correct direction.
Don’t forget:
- Use a stretch stitch or your serger to construct your straps; I used a triple stitch for mine
- You do not need a special turning tool; a safety pin or something similar works just fine to turn your straps!
- Stitch strap together with 1/4″ seam allowance
- Stitch one short edge of each strap closed with 1/4″ seam allowance; top stitch using a stretch stitch
Want to sew along with me? Check out today’s video:

DAY 1: Tips + Measuring
DAY 2: Cutting + Prep
DAY 3: Straps
DAY 4: Cups
DAY 5: Bottoms
DAY 6: Waist Seam
DAY 7: Winners!
ABOUT OUR SPONSORS:
Surge Fabric Shop offers fabrics and elastics that are PERFECT for Loren, in addition to carrying lots of other quality products and fabrics.


Leave a Reply