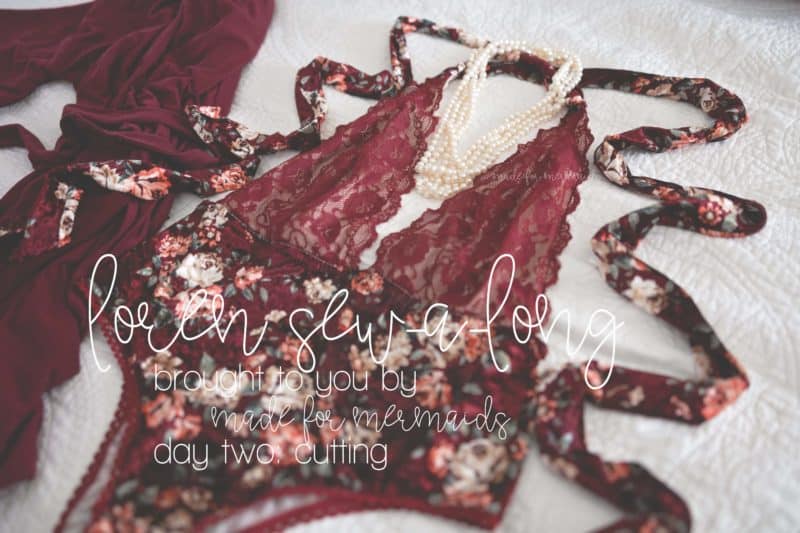
Today is the second day of our Loren sew-a-long, but our first “work” day. 🙂 If you missed it, yesterday’s post was links, tips, and info to help make the Loren just a bit easier! You can check it our here.
For your reference, I’m sewing up the cheeky version with unlined bodice pieces. The “unlined” is *slightly* deceiving, because you will need a lining of some sort. The big difference will be in the finishing.
-
LINED – seams will be enclosed; perfect for knit fabrics
-
UNLINED – the only enclosed seam will be the top of the cups, where the straps are attached. For the remaining sides of the cup, you will simply stitch the lining to the cup, with wrong sides together. After stitching, trim back any lining that is visible between the scallops.
Hopefully that clarifies! I’m using the following fabric and notions from our sponsor, Surge Fabric Shop:
-
BOTTOMS / STRAPS / LINER – Black crosshatch Nylon Spandex
-
MAIN CUPS – 6.75″ Galloon Stretch Lace
-
CUP LINING – Swim Lining
-
LEG ELASTIC – 3/8″ Picot Elastic
-
WAIST ELASTIC – Braided Knit Elastic
If you wish to finish your Loren with a hook and eye closure, be sure to have that as well!
Don’t forget:
- Seam allowance is already included on all pattern pieces
- Seam allowance will vary in this pattern
- Grade and mash for your measurements as needed
- Utilize the “layers” feature when you print to make life easier!
Ready to get started? Check out today’s video to get your pattern and fabric ready:

DAY 1: Tips + Measuring
DAY 2: Cutting + Prep
DAY 3: Straps
DAY 4: Cups
DAY 5: Bottoms
DAY 6: Waist Seam
DAY 7: Winners!
ABOUT OUR SPONSORS:
Surge Fabric Shop offers fabrics and elastics that are PERFECT for Loren, in addition to carrying lots of other quality products and fabrics.



Leave a Reply