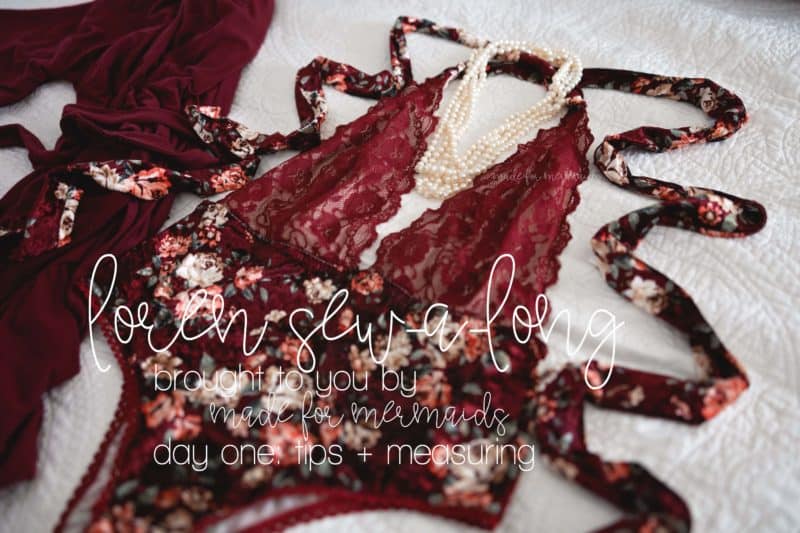
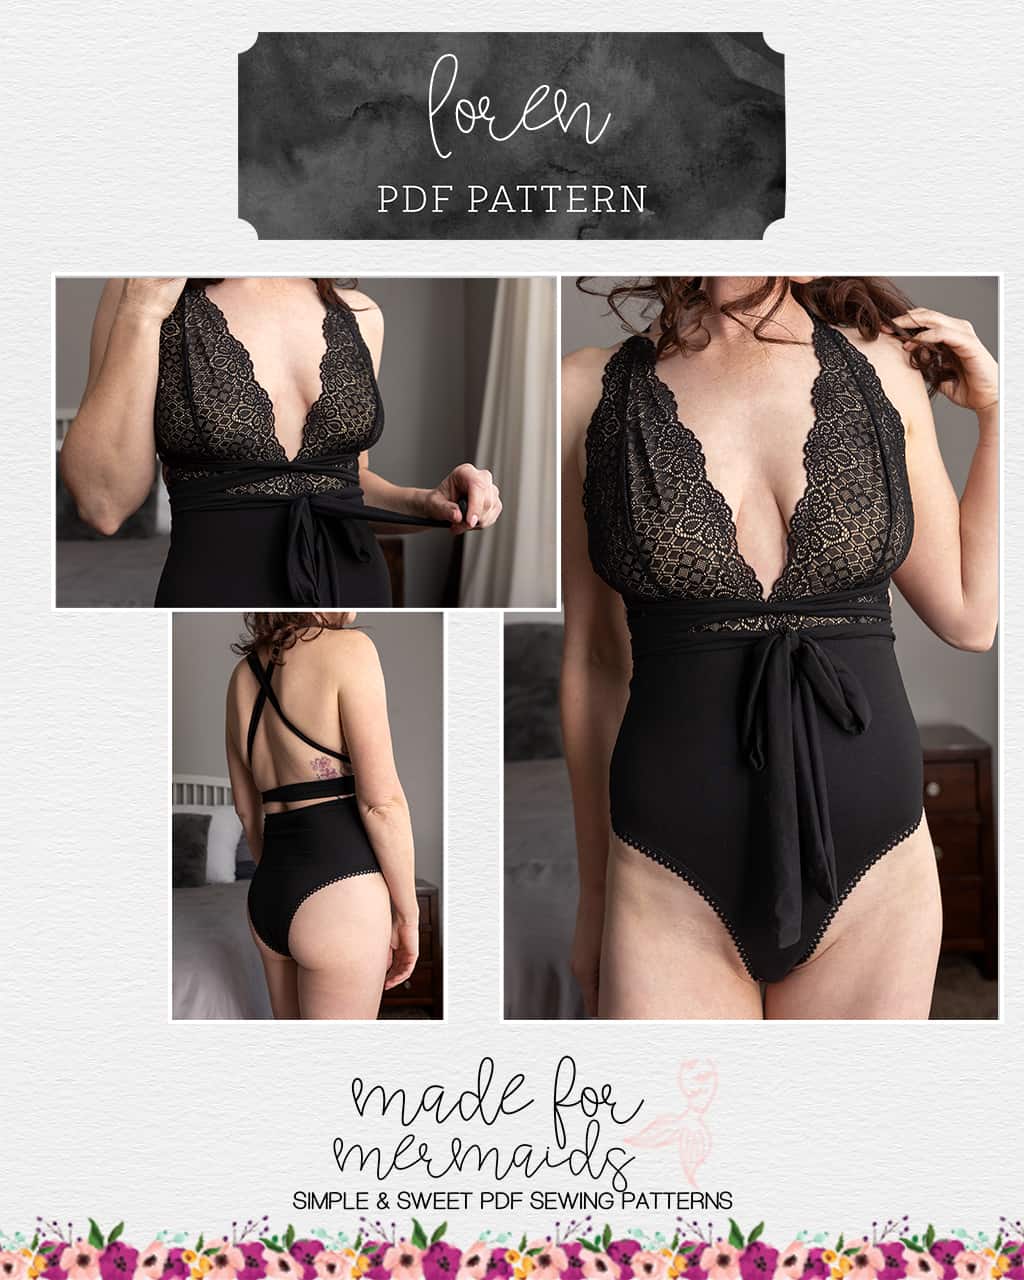
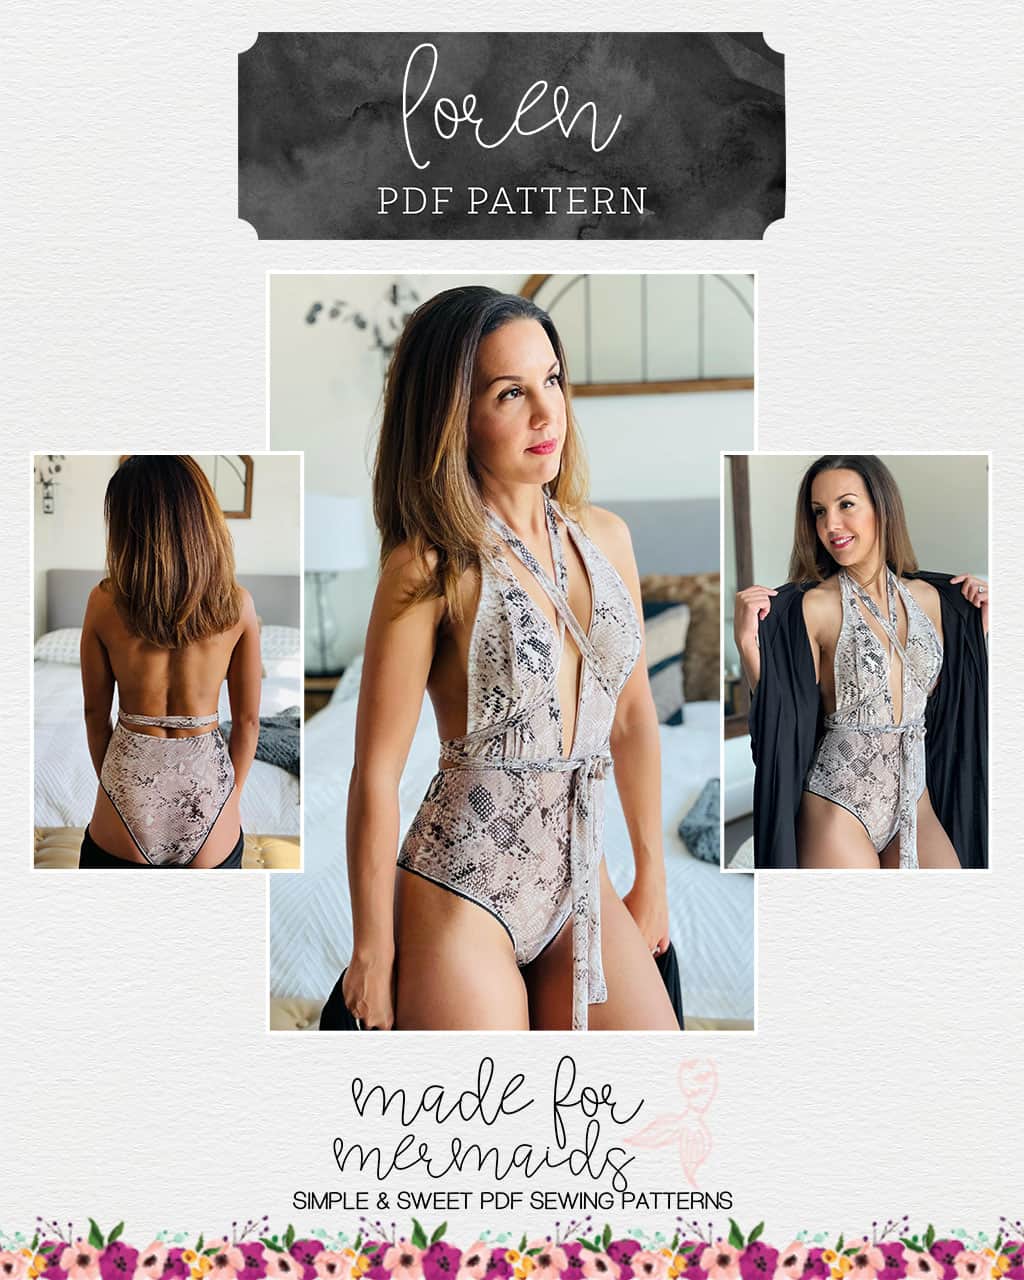
We have been LOVING all the Lorens so many of you have already sewn up! This week, we are kicking off our Loren sew-a-long in our SAL Facebook group. If this is your first time sewing lingerie, you picked a great pattern to start with; it truly is not as difficult or complicated as it may seem. Before we jump in and start sewing, I wanted to share some resources and other tips with you.
Getting Started
First, if you’re brand new to sewing, sewing with knits, or using PDF patterns, we have lots of helpful blog posts for you to get started.
- New to PDF patterns? Check out our helpful tips here
- New to sewing with knits? Brittany has some great info here
- Not quite sure how to measure yourself accurately? Don’t worry; check out the post here!
- Wondering if a pattern is “true to size”? Read more about sizing and intended fit here.
- Having issues printing? Most issues can be resolved by using our FAQs/troubleshooting tips
- Looking here for more extensive grading help!
- Not in our official SAL group yet? Join here 🙂
Choosing Your Size
Measuring for something like Loren can be a bit challenging! In addition to determining measurements for things like bust and hips, we also really have to consider trunk measurement, side waist measurement, etc. We have a great blog post with visuals here, but I’ll also give a quick run down of the main measurements you’ll want to take for the Loren pattern:
- Upper Bust – Wrap measuring tape around back, under arms, up and over the bust
- Full Bust – Wrap measuring tape around back, under arms, and around fullest part of the bust
- Trunk – Start tape at top/middle of shoulder. Measuring vertically, wrap measuring tape through the legs (comfortably – not too tight), around the crotch, and return tape to starting point at shoulder
- Side Waist – Start measuring tape at bottom of arm pit and measure down to natural waist.
- Waist – Wrap measuring tape around natural waist (typically about 2″ above belly button)
- Hips – Wrap measuring tape around fullest part of booty
For reference, Made for Mermaids drafts to a height of 5’5″, and a side waist of 8″.
Choosing Small Bust Adjustment or Full Bust Adjustment
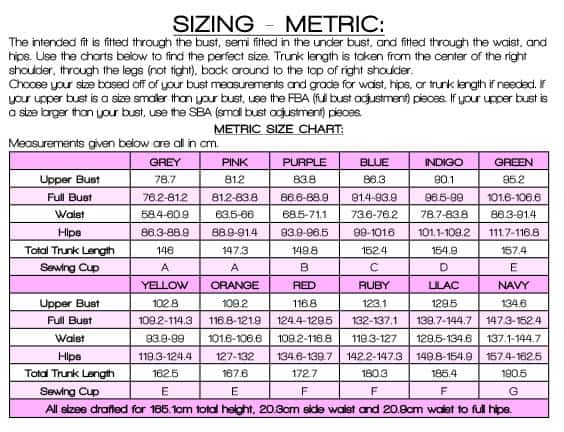
Wondering if you need either an SBA or an FBA? Often, people assume they need one if they have “small” or “full” busts; however, this is not the case! Made For Mermaids drafts for a curvy figure, and that includes a larger cup size than many other commercial or independent pattern designers. Check the size chart; if your upper bust measurement and your full bust measurement fall within the same size, then you should not need to make any changes to your pattern pieces for your bust.
Megan has already included pattern pieces for a 1 cup size variant of a Full Bust Adjustment and a Small Bust Adjustment within the Loren pattern itself, so if your full bust measurement is one size above or below your upper bust measurement, then just choose the either the FBA or the SBA cup pieces, and you are ready to go!
Adding/Subtracting Length + Mashing Sizes
For Loren, pages 10 and 11 of the written tutorial give more detailed information on adding or subtracting length, and about mashing sizes. For every 1″ taller than 5’5″ you are, you will want to add 1/2″ throughout the pattern. Depending on where you need your height, you will slash and spread your top pieces, your bottom pieces, or potentially both. If you are shorter than 5’5″, you will do the opposite. If your side waist is 8″ and your trunk measurement falls within your size range, you may find that you don’t need to add/subtract height for this particular pattern. You can hold the paper pattern pieces up to your body to determine if you need height adjusted above/below the apex; alternatively, you could use practice fabric to create a muslin if you’re unsure.
Choosing Elastics
- Picot Elastic from Surge Fabric Shop
- Plush Back Elastic, Picot Elastic, and Hook and Eye Closures from Surge Fabric Shop
- Plush Back Elastic from Surge Fabric Shop
We have more information about elastics and types of lace on our Bridgette and Victoria FAQ page here, but Loren calls for Picot or lingerie elastic, and either knit or clear elastic for the waist.
Many suppliers use “lingerie elastic” as their umbrella term to cover all elastic used in bra/underwear sewing.
Lingerie elastic includes “picot” elastic. The term picot refers to the small loops or scalloped trim on one edge of the elastic. Picot elastic is probably the most widely recognized of lingerie elastic. It’s especially common in underwear waistbands.
Choosing Fabrics
- Lined Version
Galloon lace refers to stretch lace that has a scalloped, lacy edge on both sides. You can use Galloon lace for the unlined version of Loren, and choose to back with stretch mesh, power mesh, swimsuit lining, etc.
Stretch lace yardage, jersey knit, double brushed polyester, ribbed knit, cotton spandex/cotton lycra, stretch velvet, stretch tulle, or stretch mesh could all be great options as long as you have the appropriate stretch percentage! Keep in mind, different fabrics may give you a slightly different fit. For example, rayon spandex will tend to grow with wear, so may not fit your preference or offer much in the way of support. Stretch velvet or athletic fabrics tend to have less vertical stretch, so length may need to be added.
Choosing Complementary Patterns
Looking for other patterns to add to your Loren pattern? Be sure to check out the whole Lounge and Lace Collection!
Join us the rest of this week as we sew up the Loren Teddy pattern!

DAY 1: Tips + Measuring
DAY 2: Cutting + Prep
DAY 3: Straps
DAY 4: Cups
DAY 5: Bottoms
DAY 6: Waist Seam
DAY 7: Winners!
ABOUT OUR SPONSORS:
Surge Fabric Shop offers fabrics and elastics that are PERFECT for Loren, in addition to carrying lots of other quality products and fabrics.






Leave a Reply