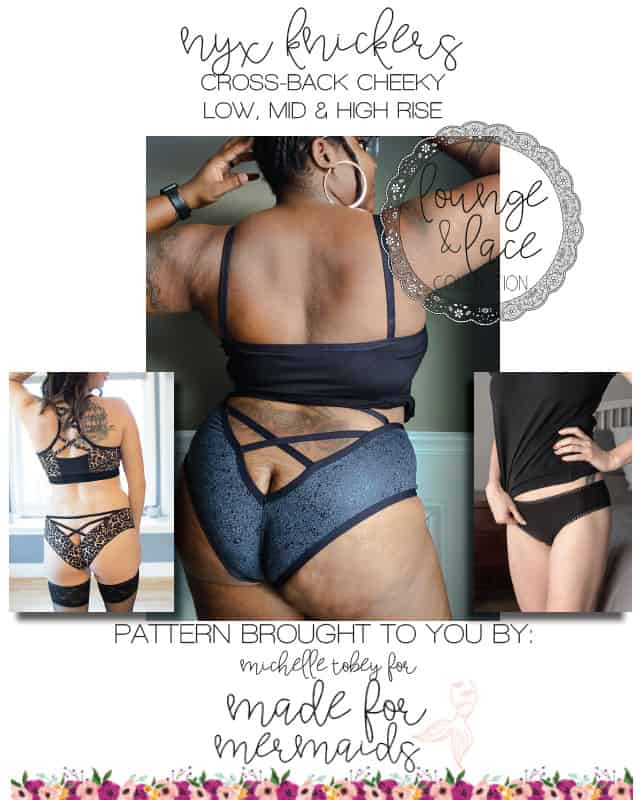
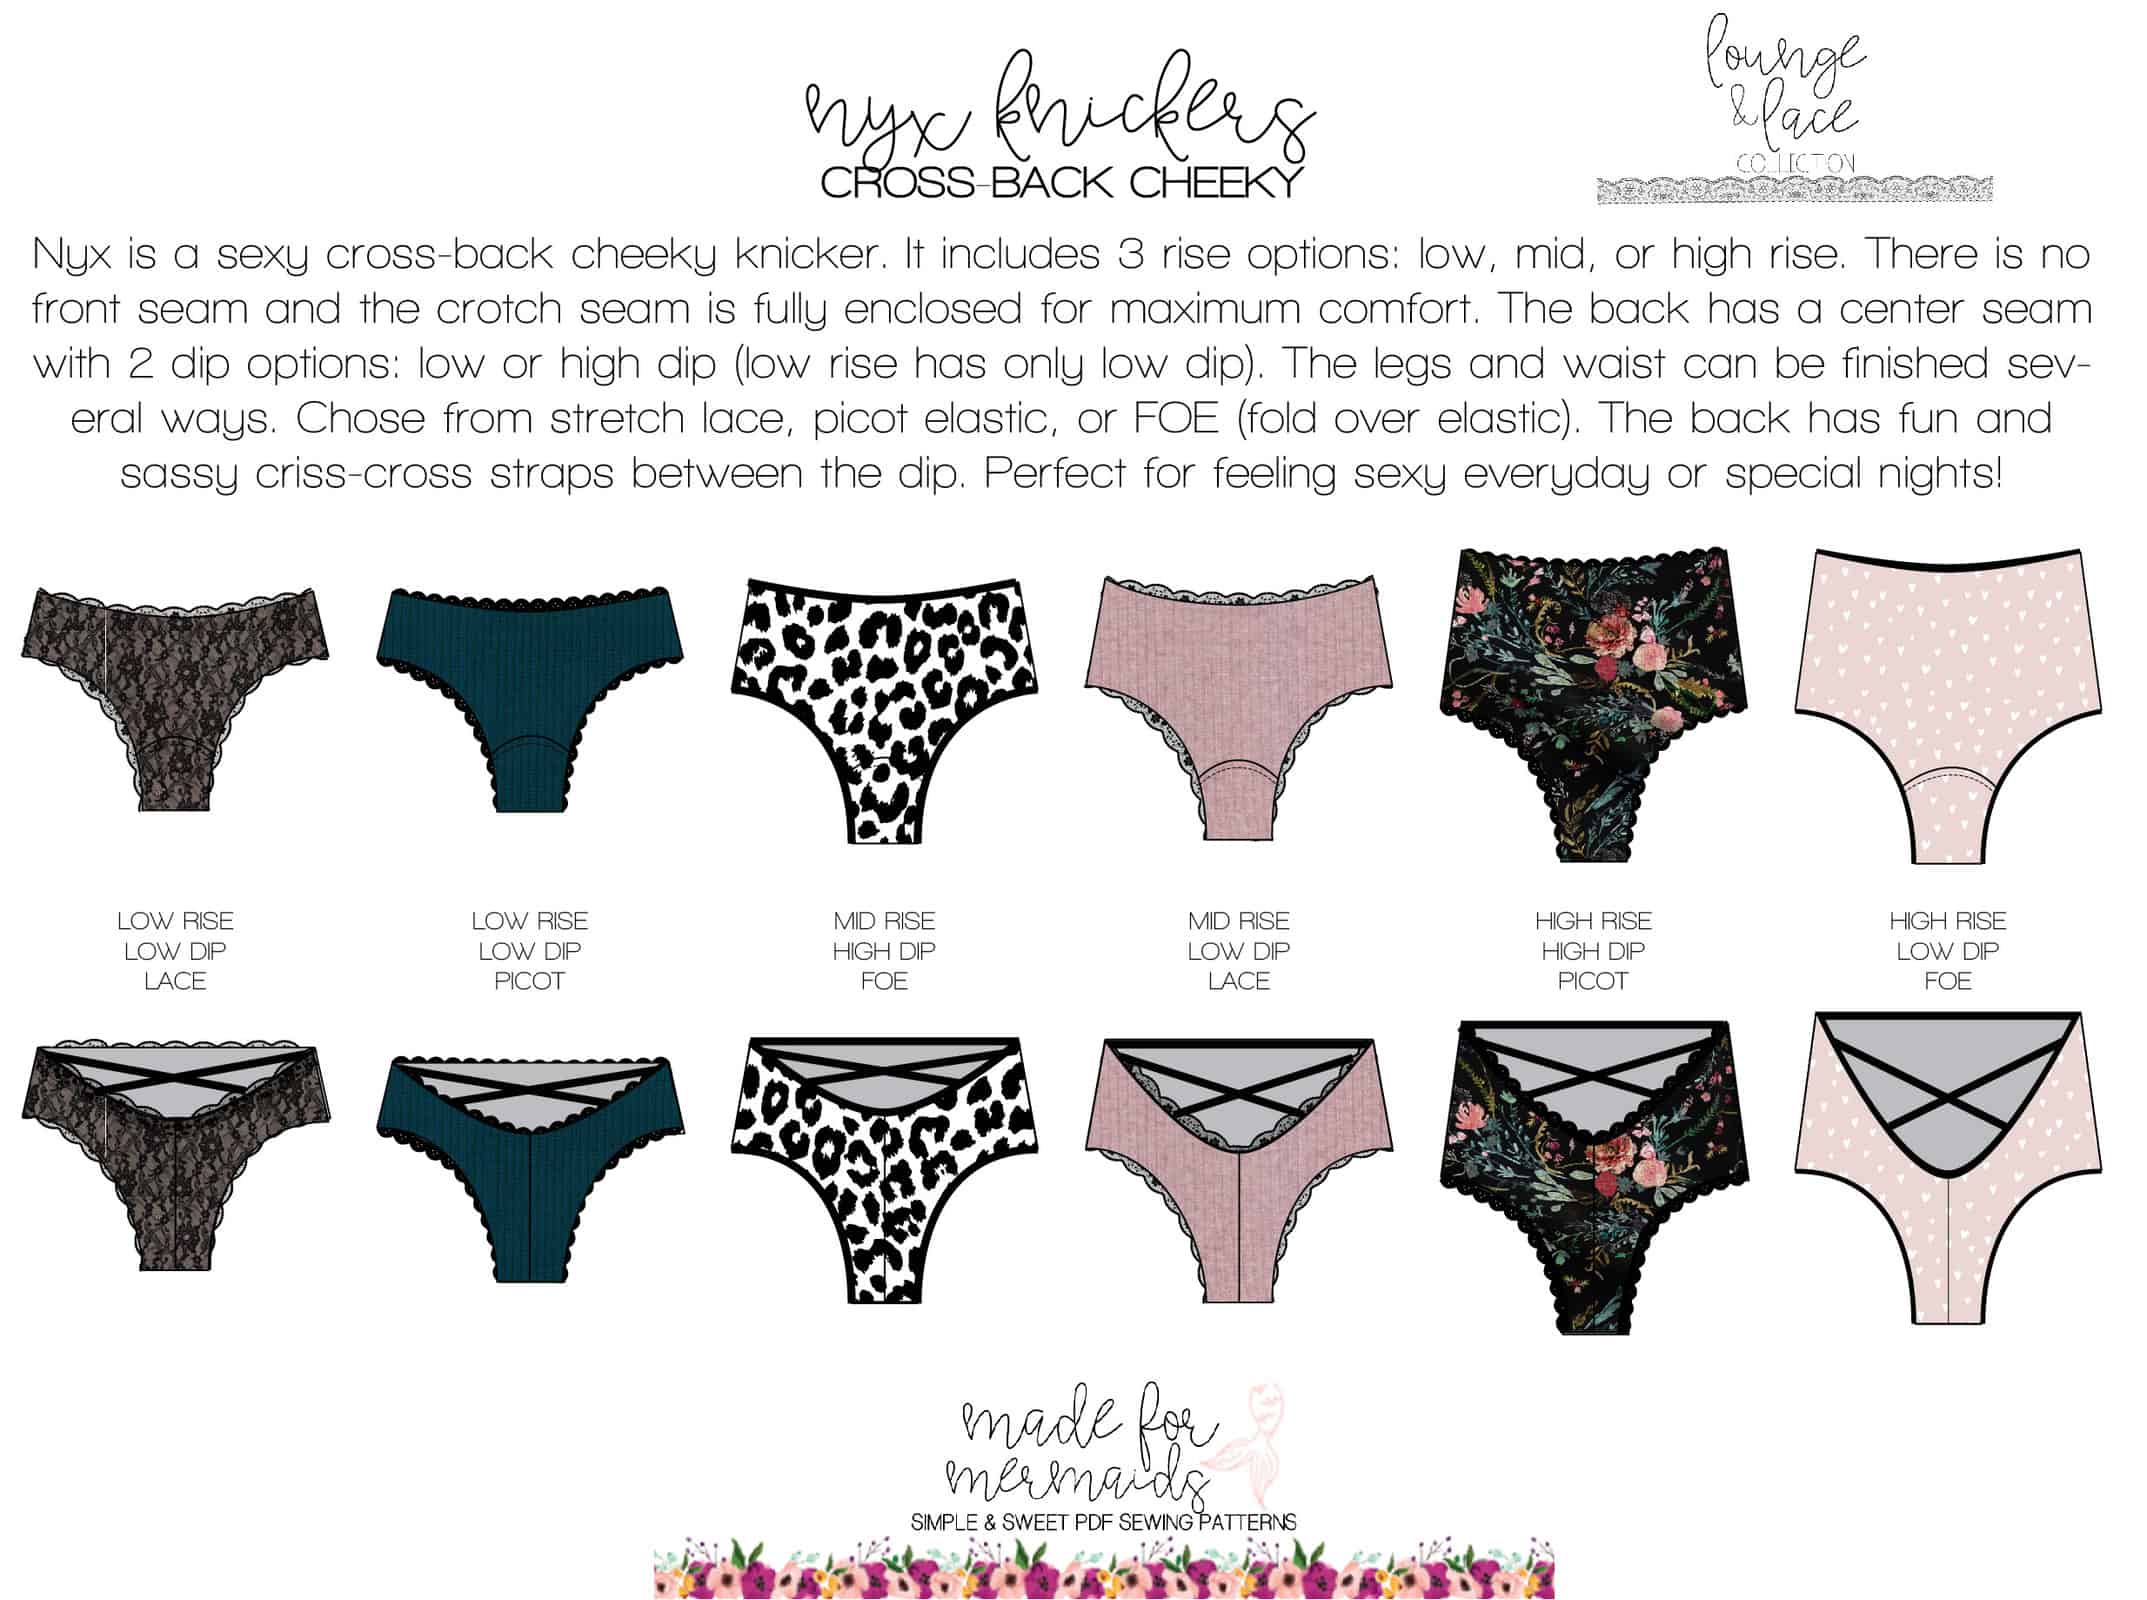
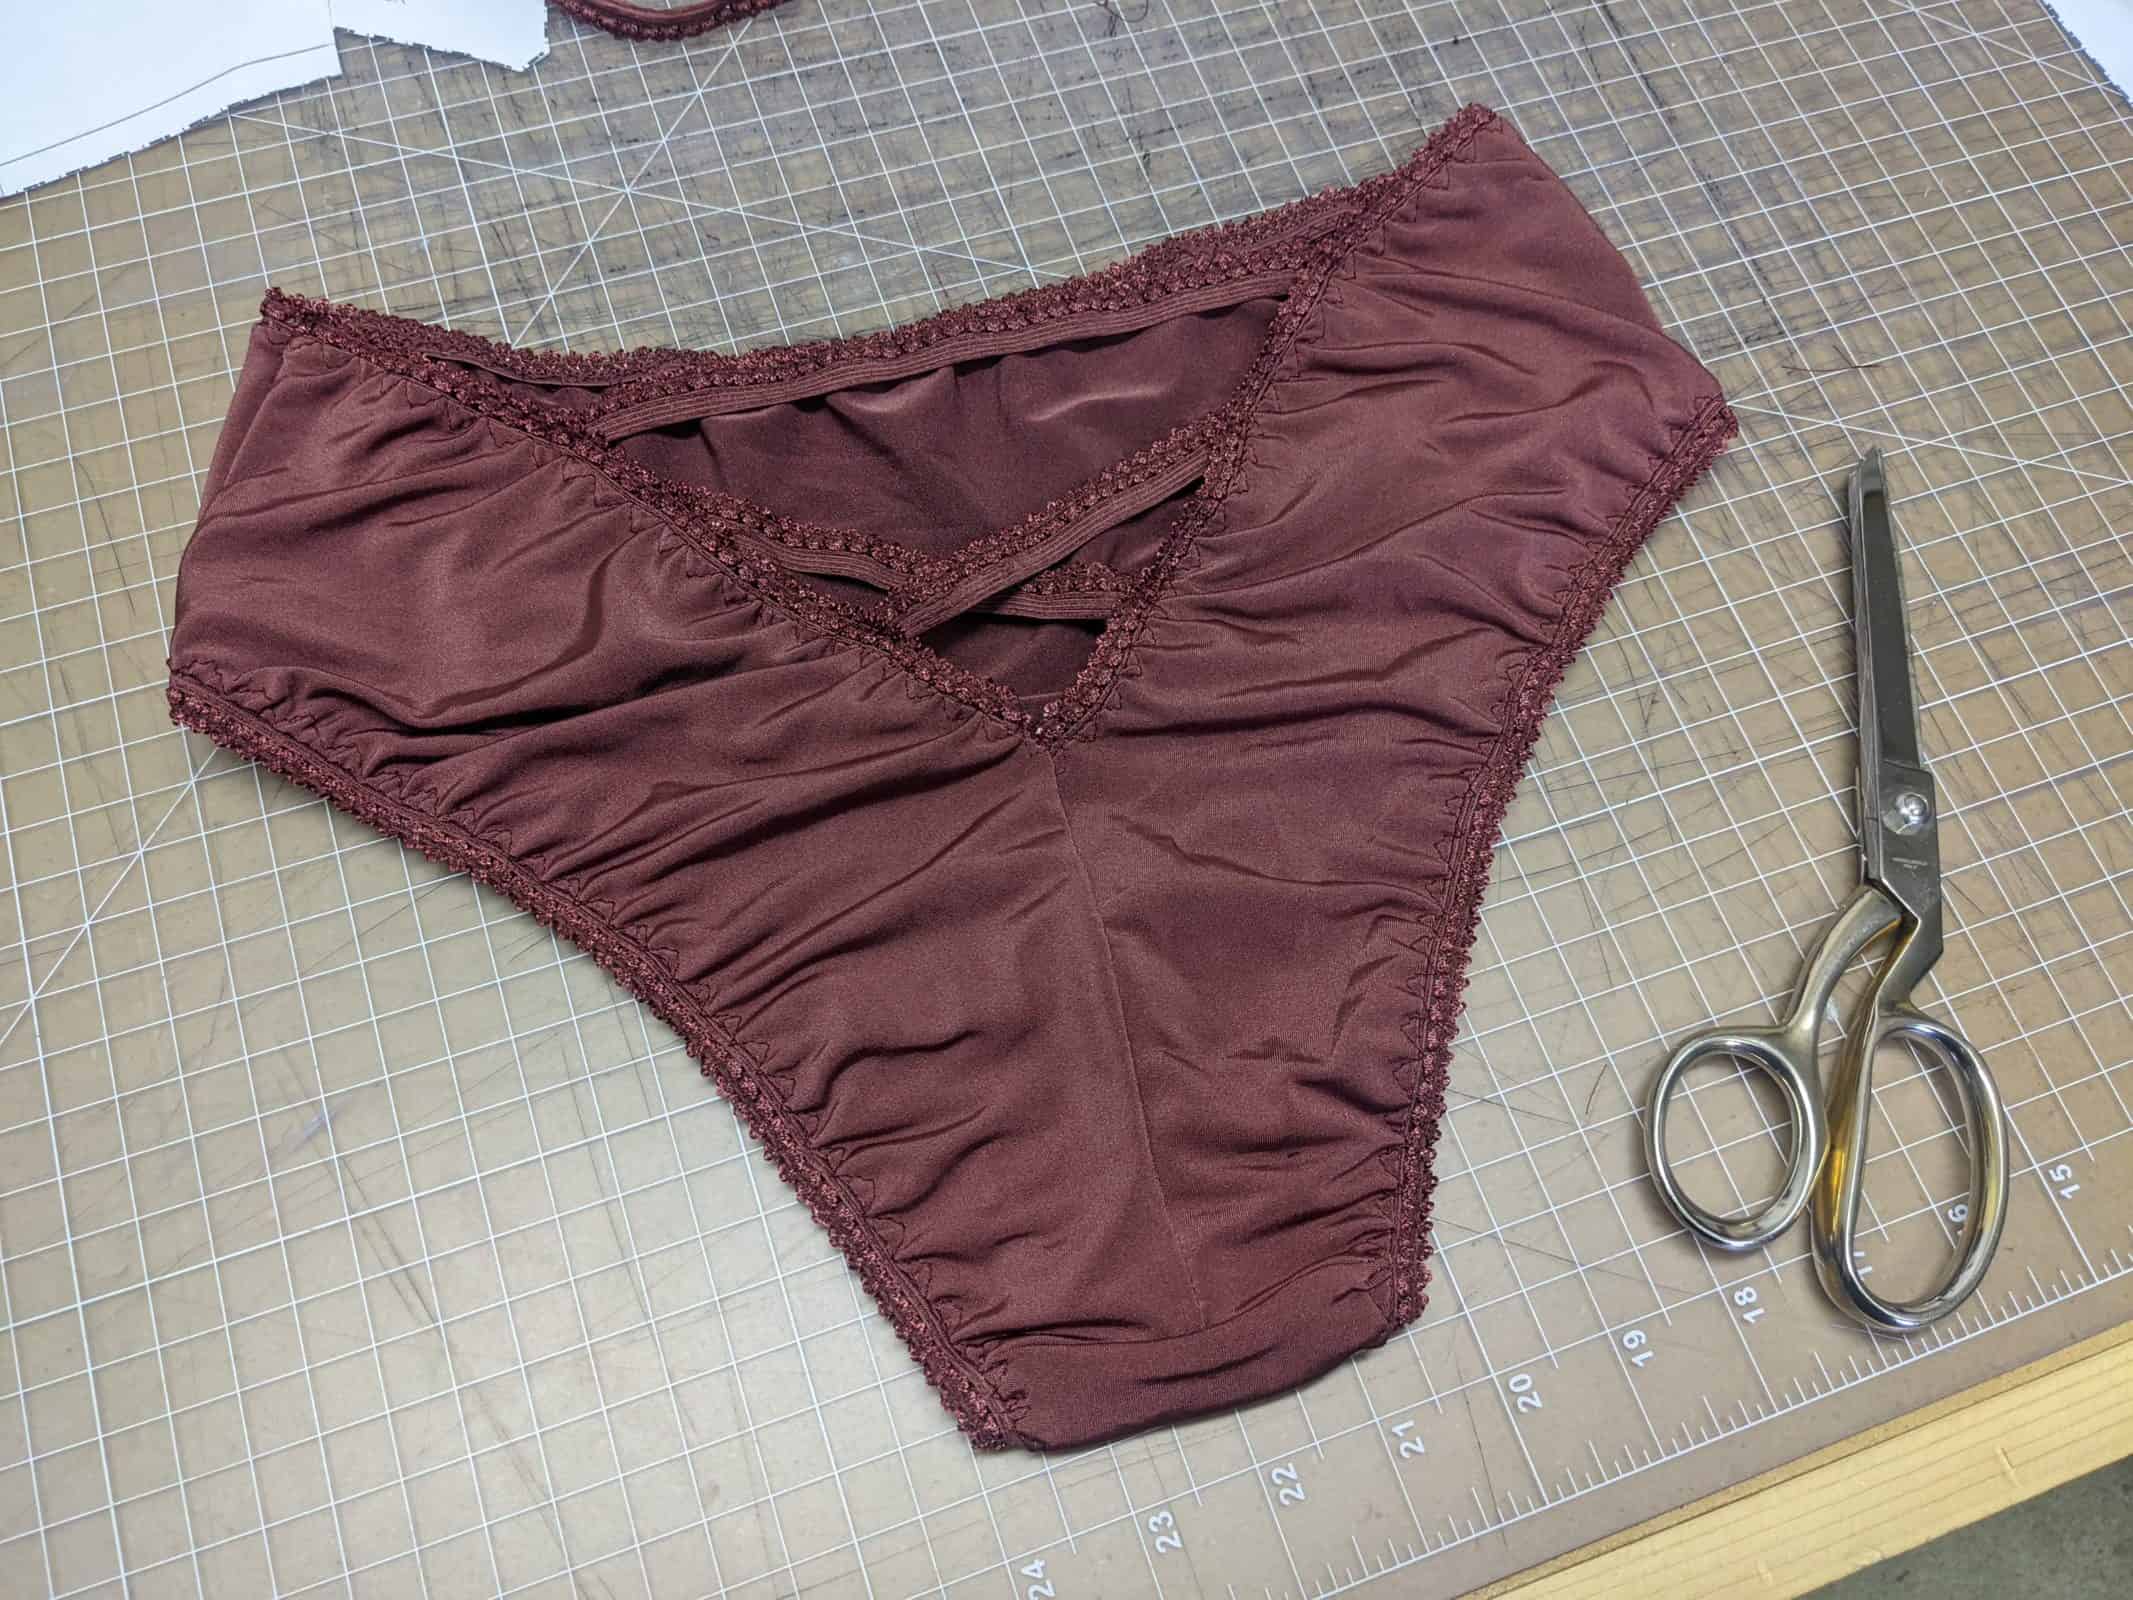
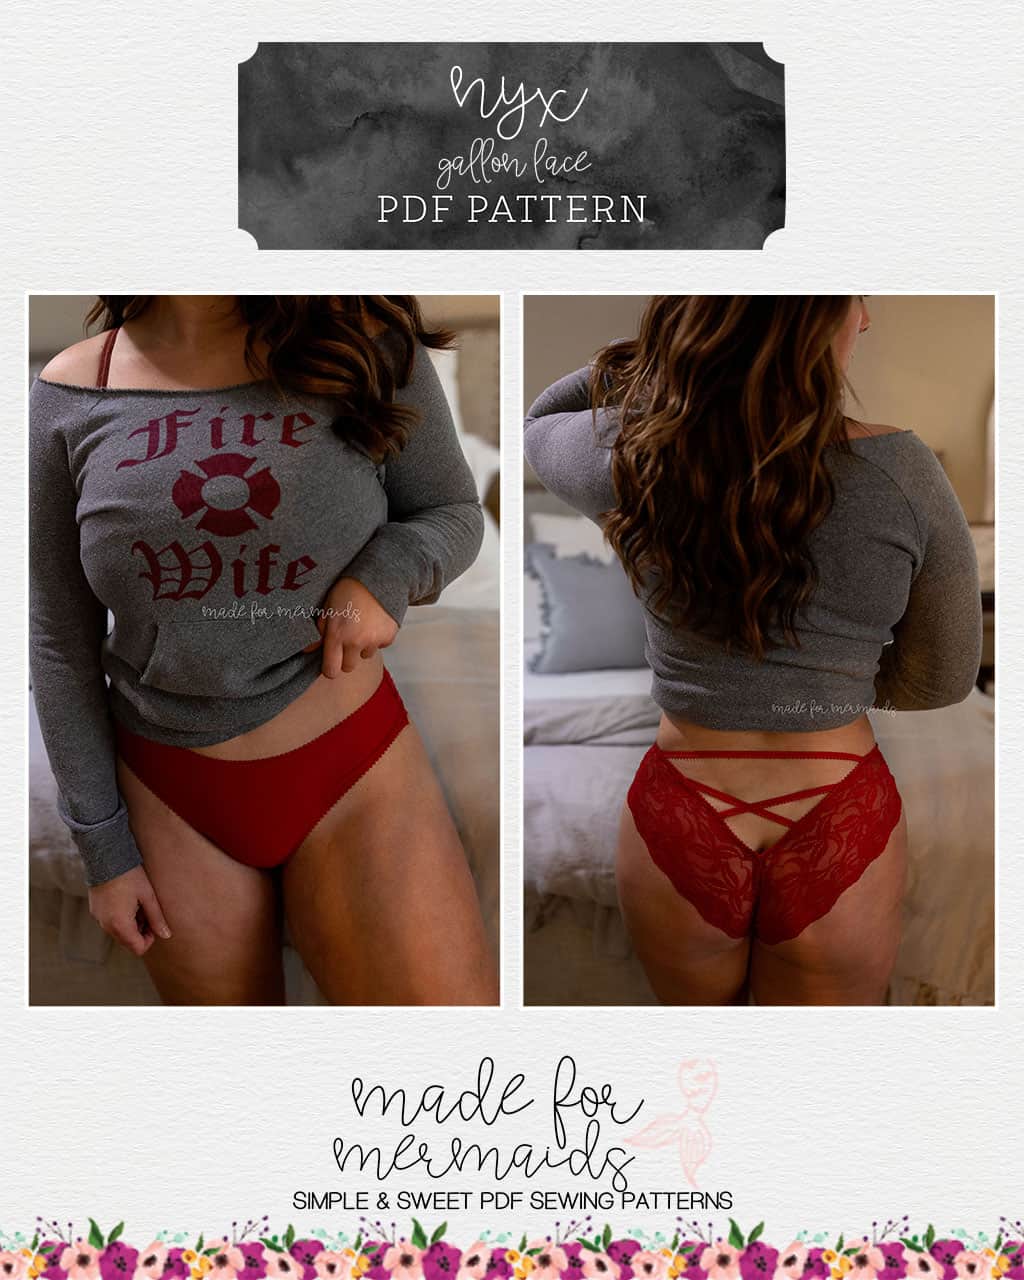
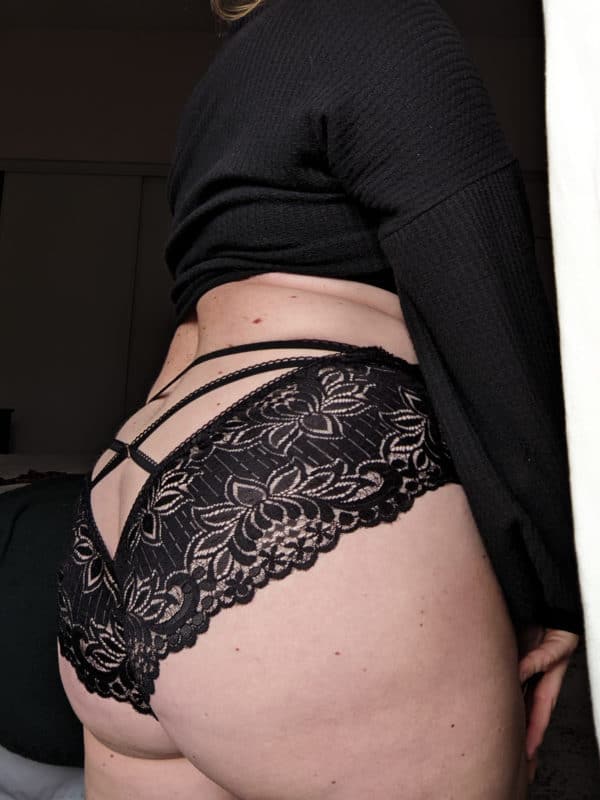
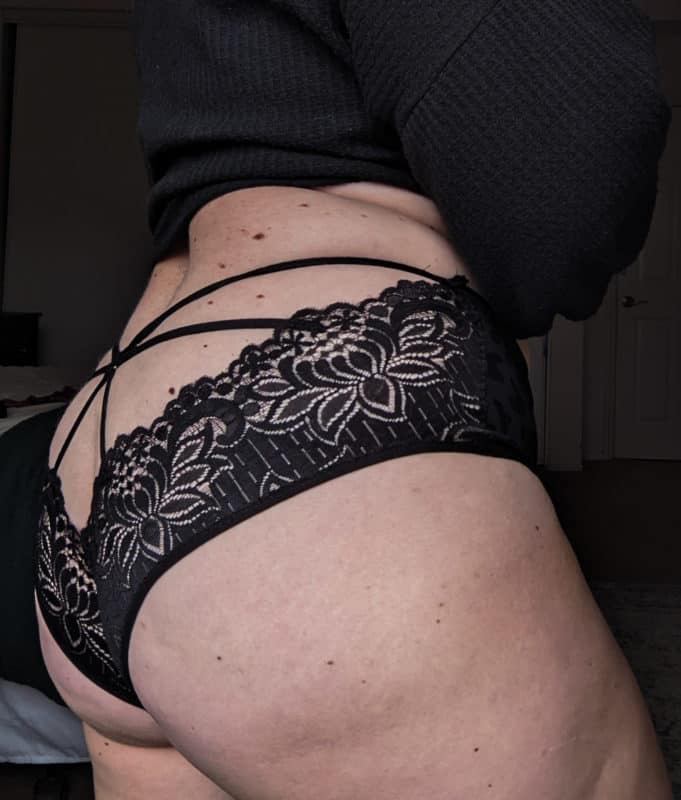
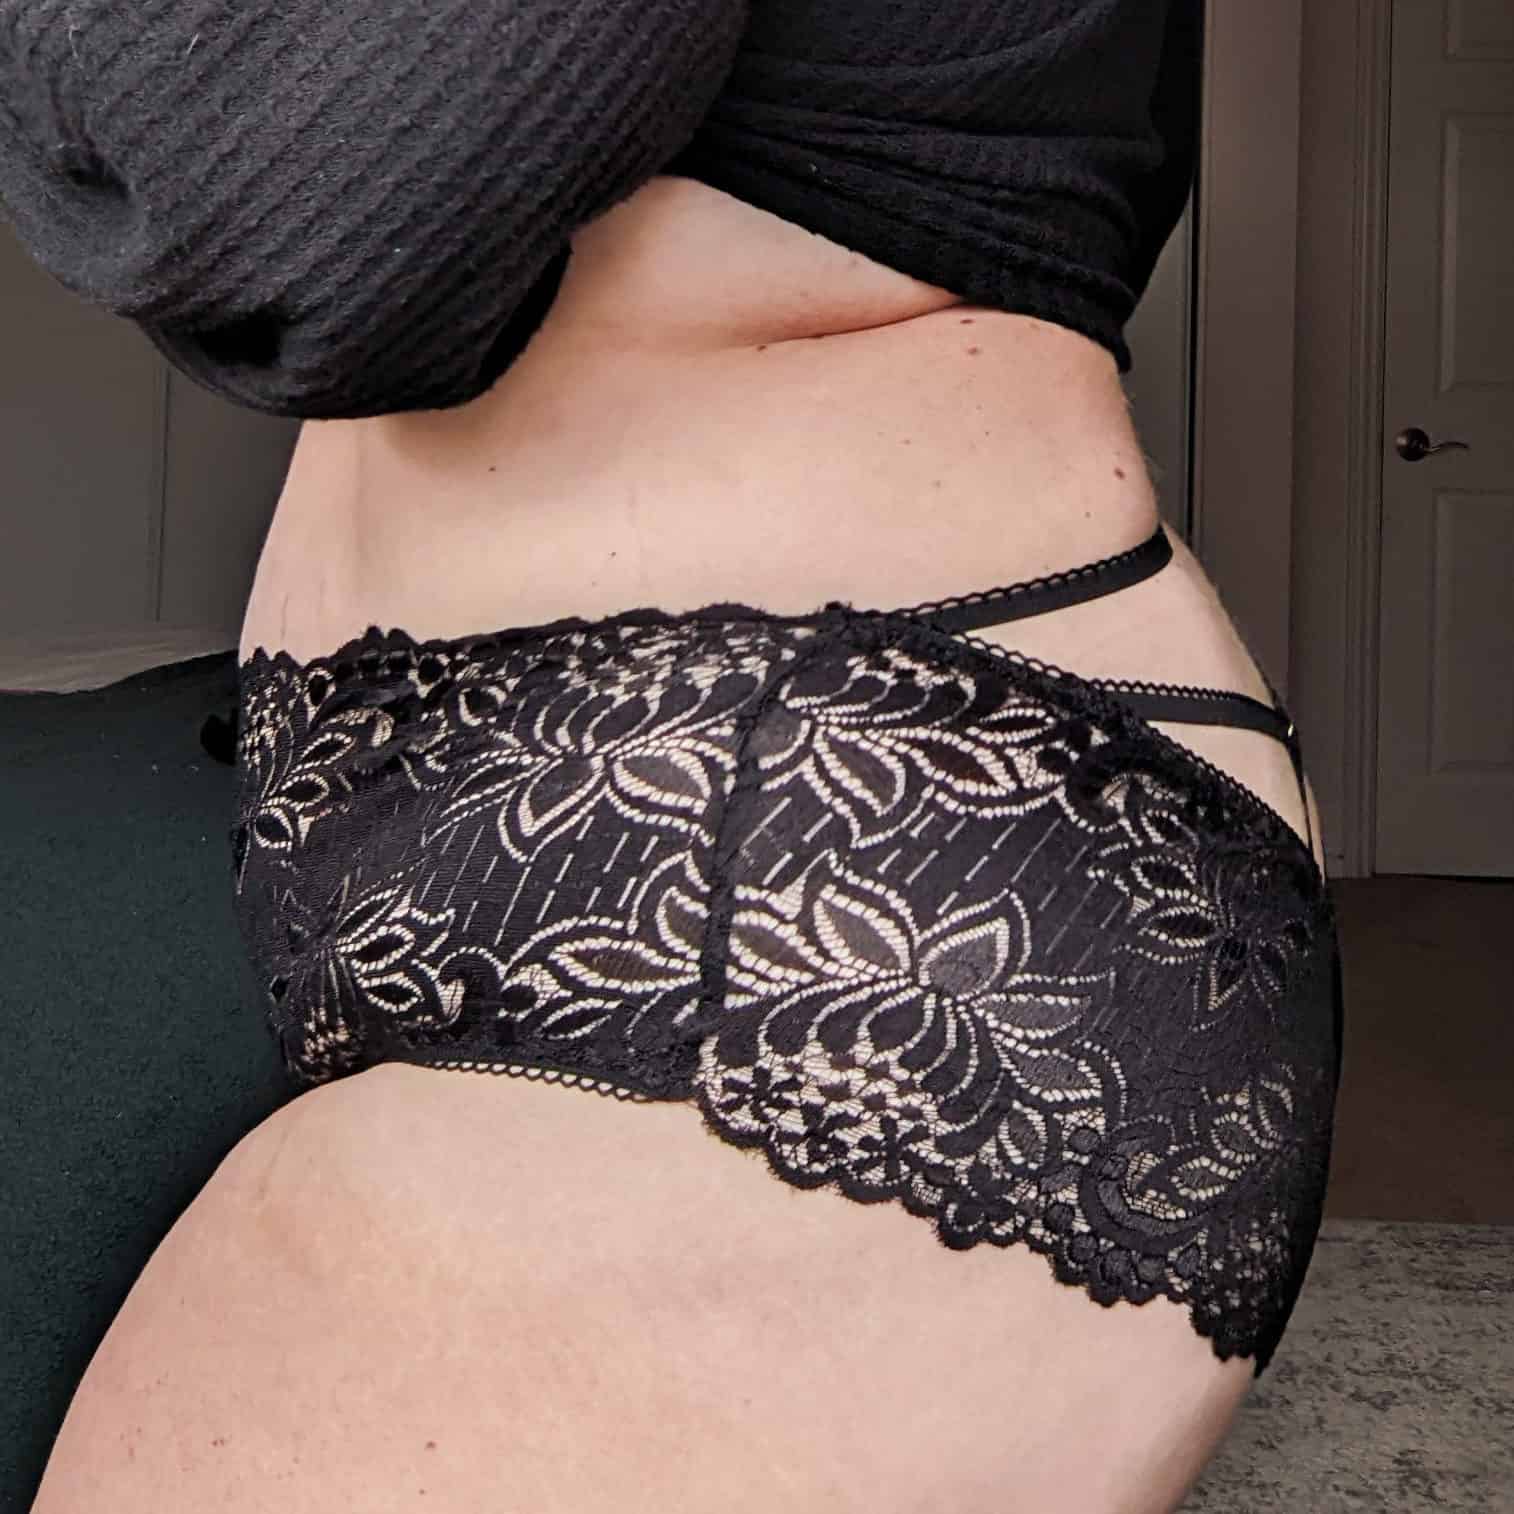
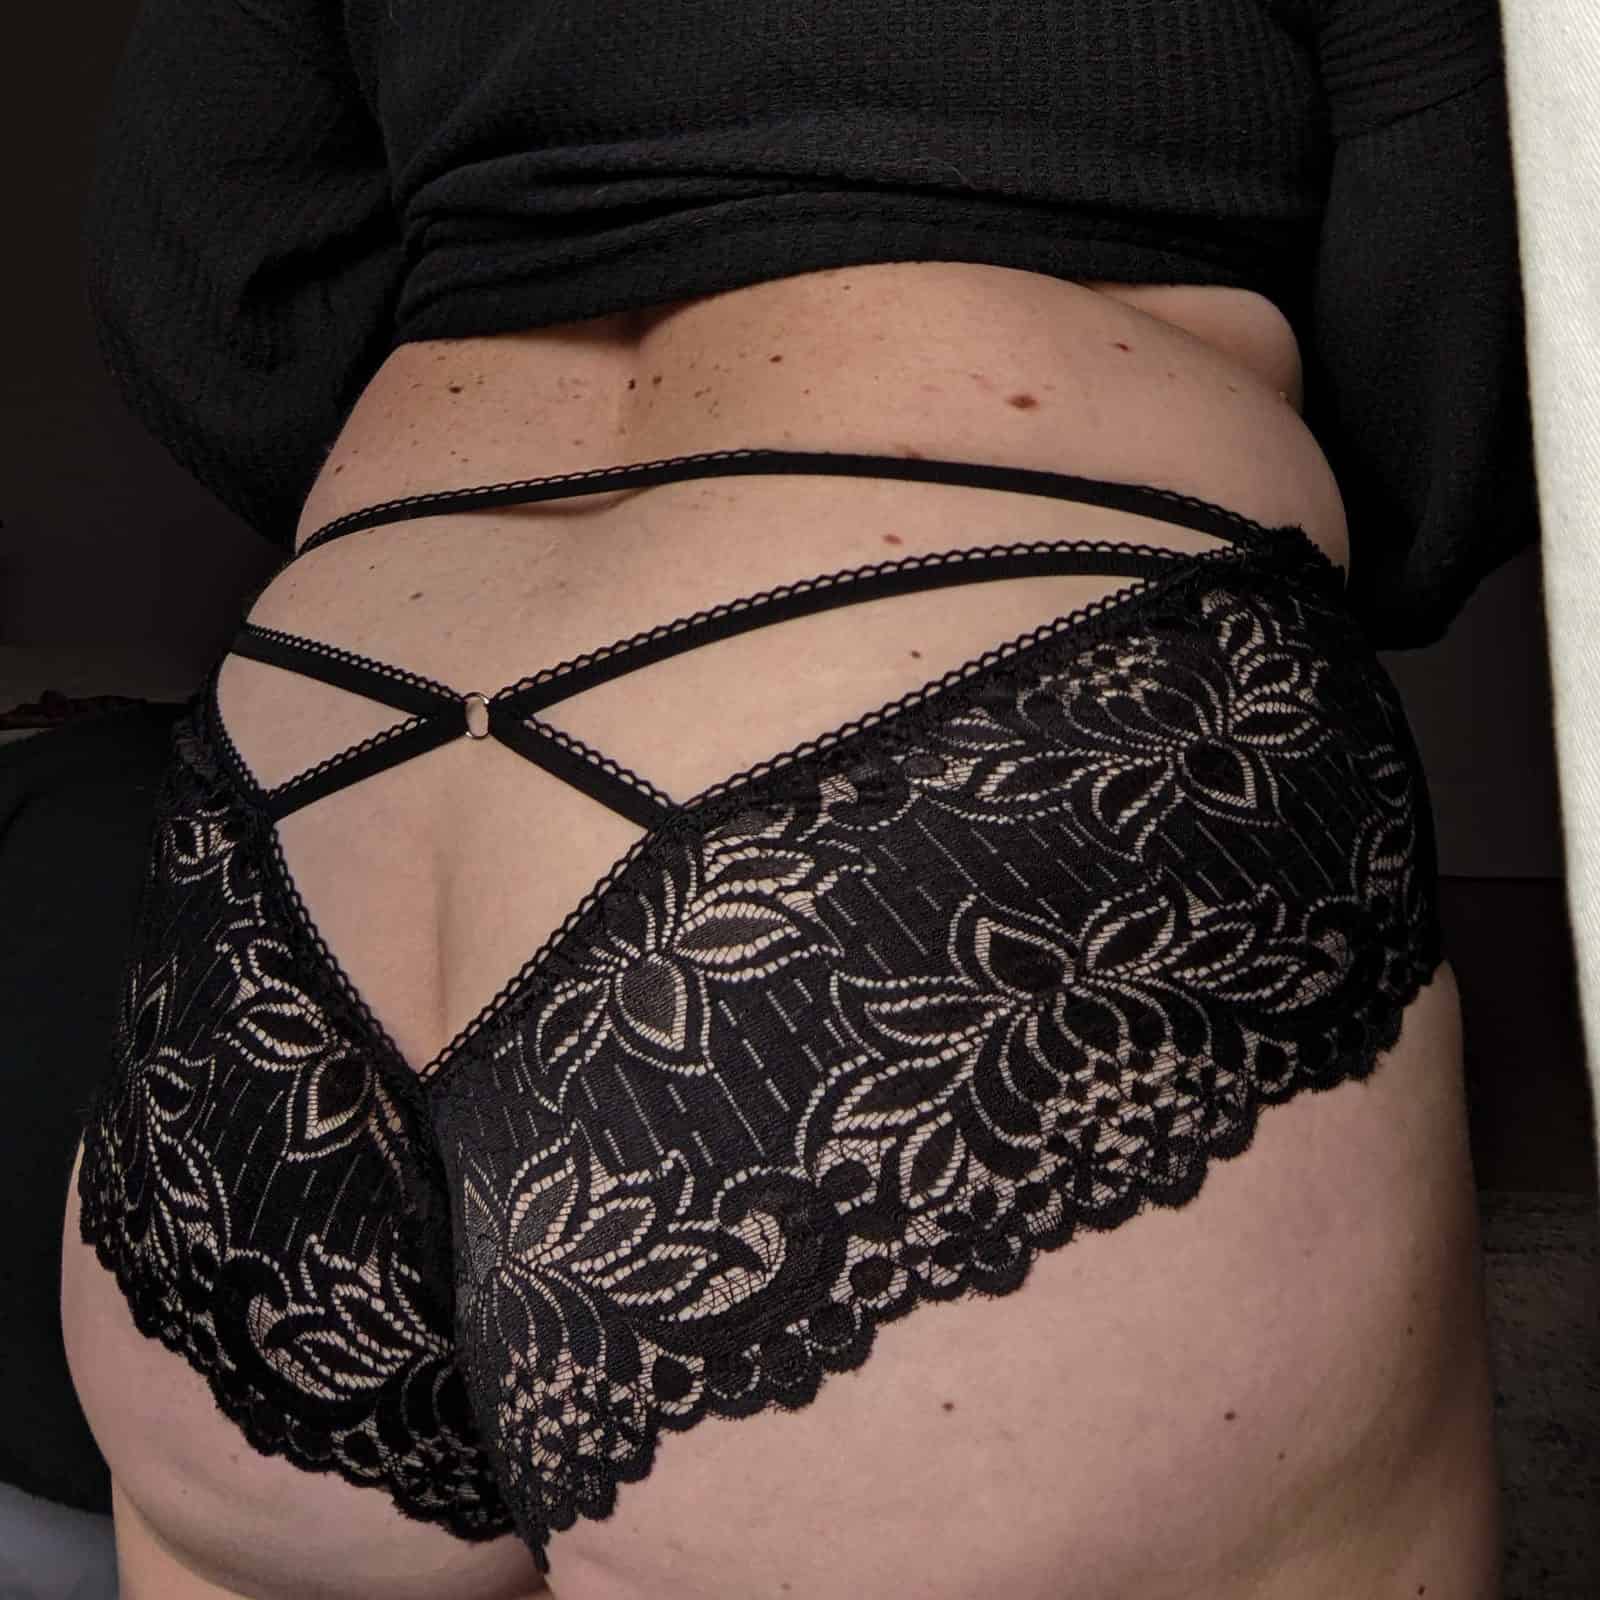
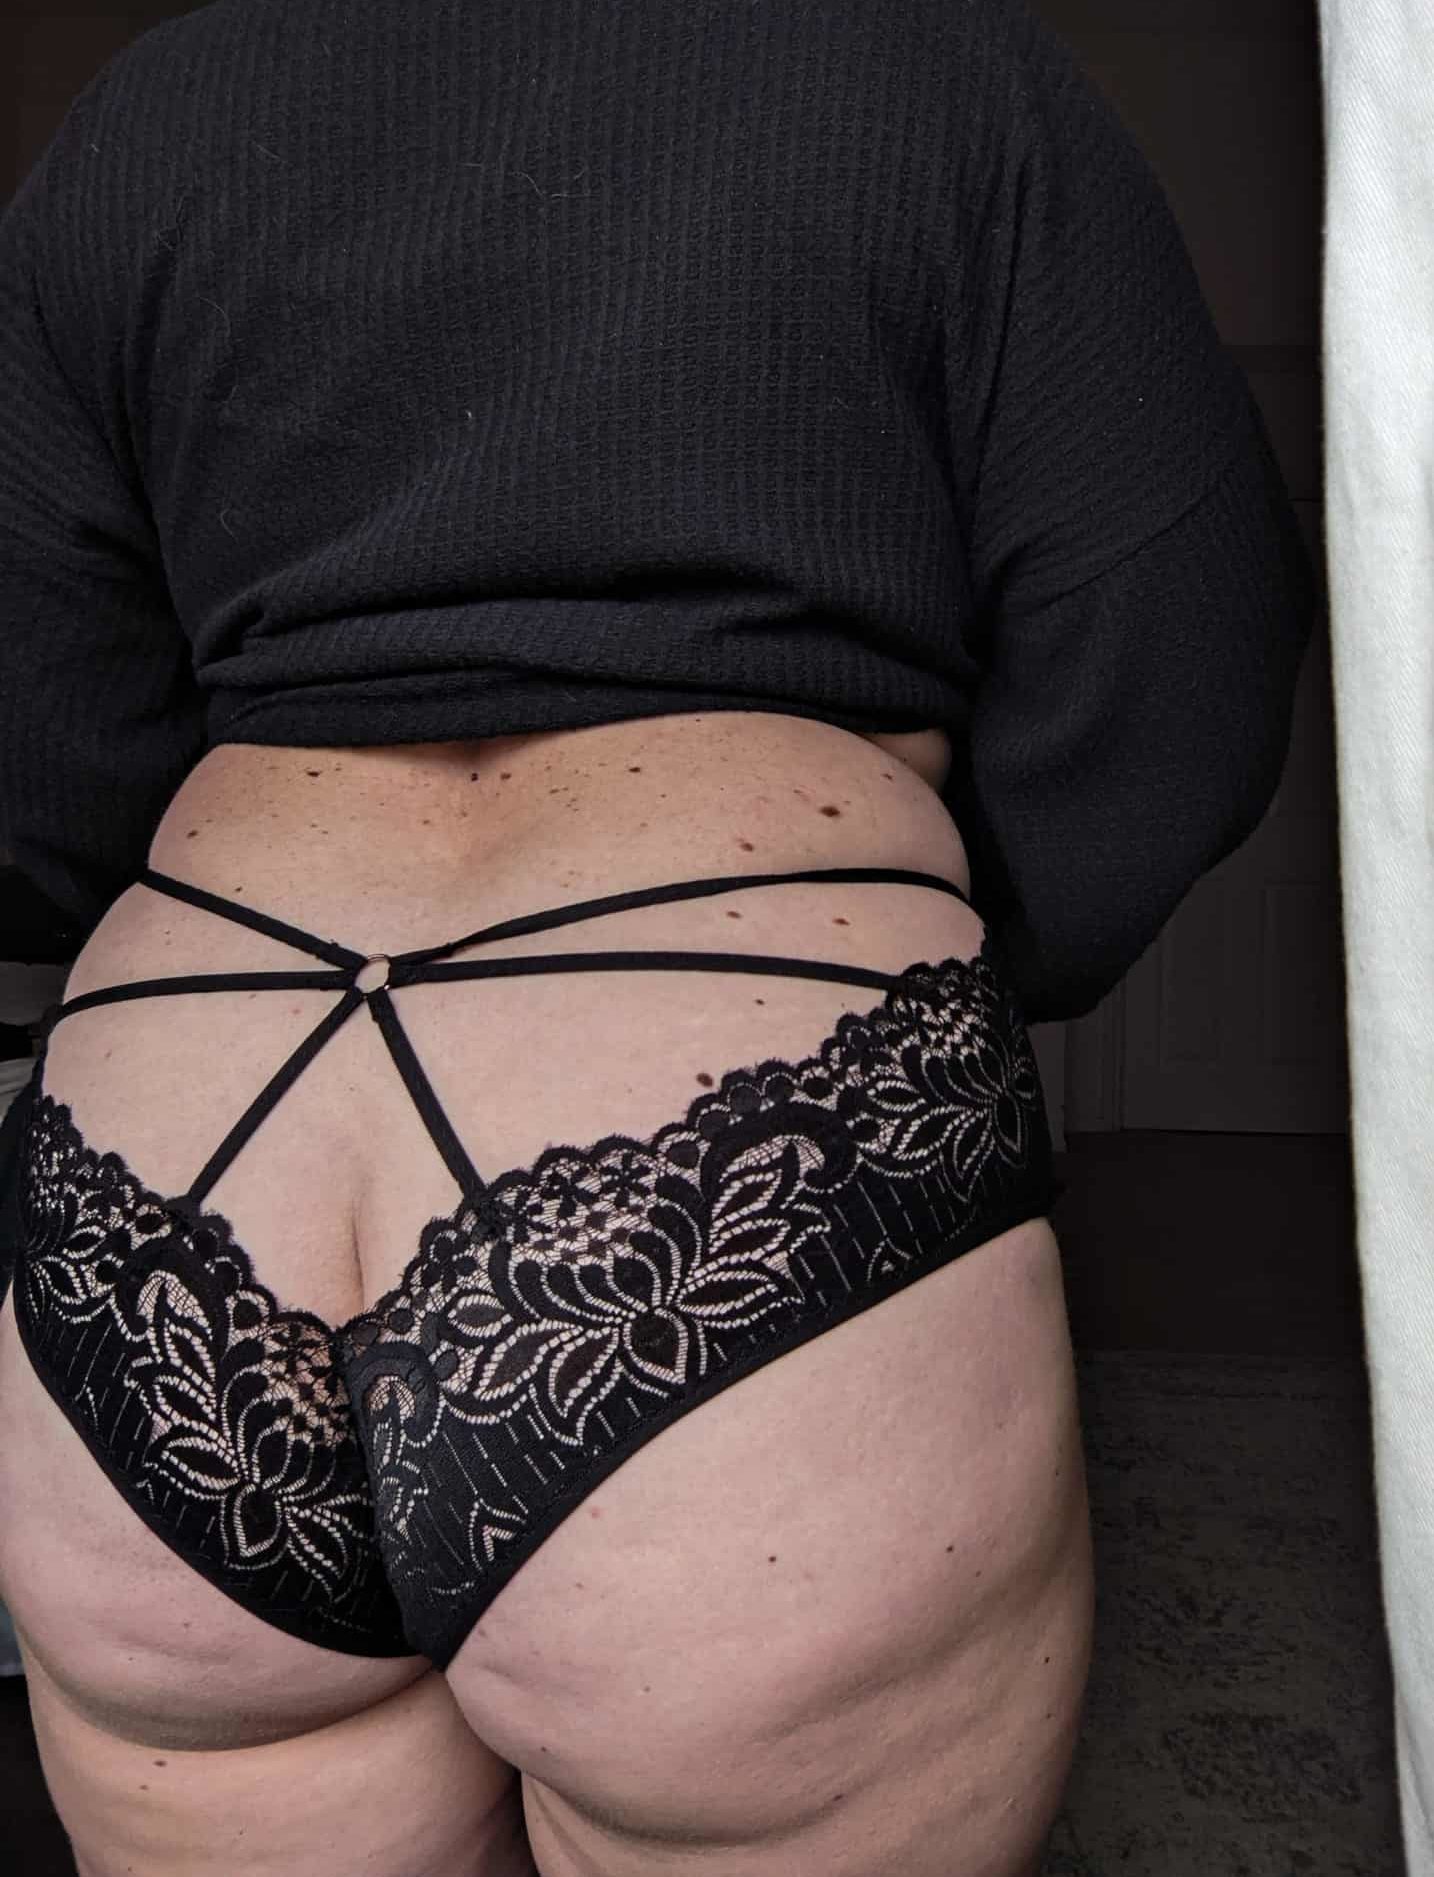
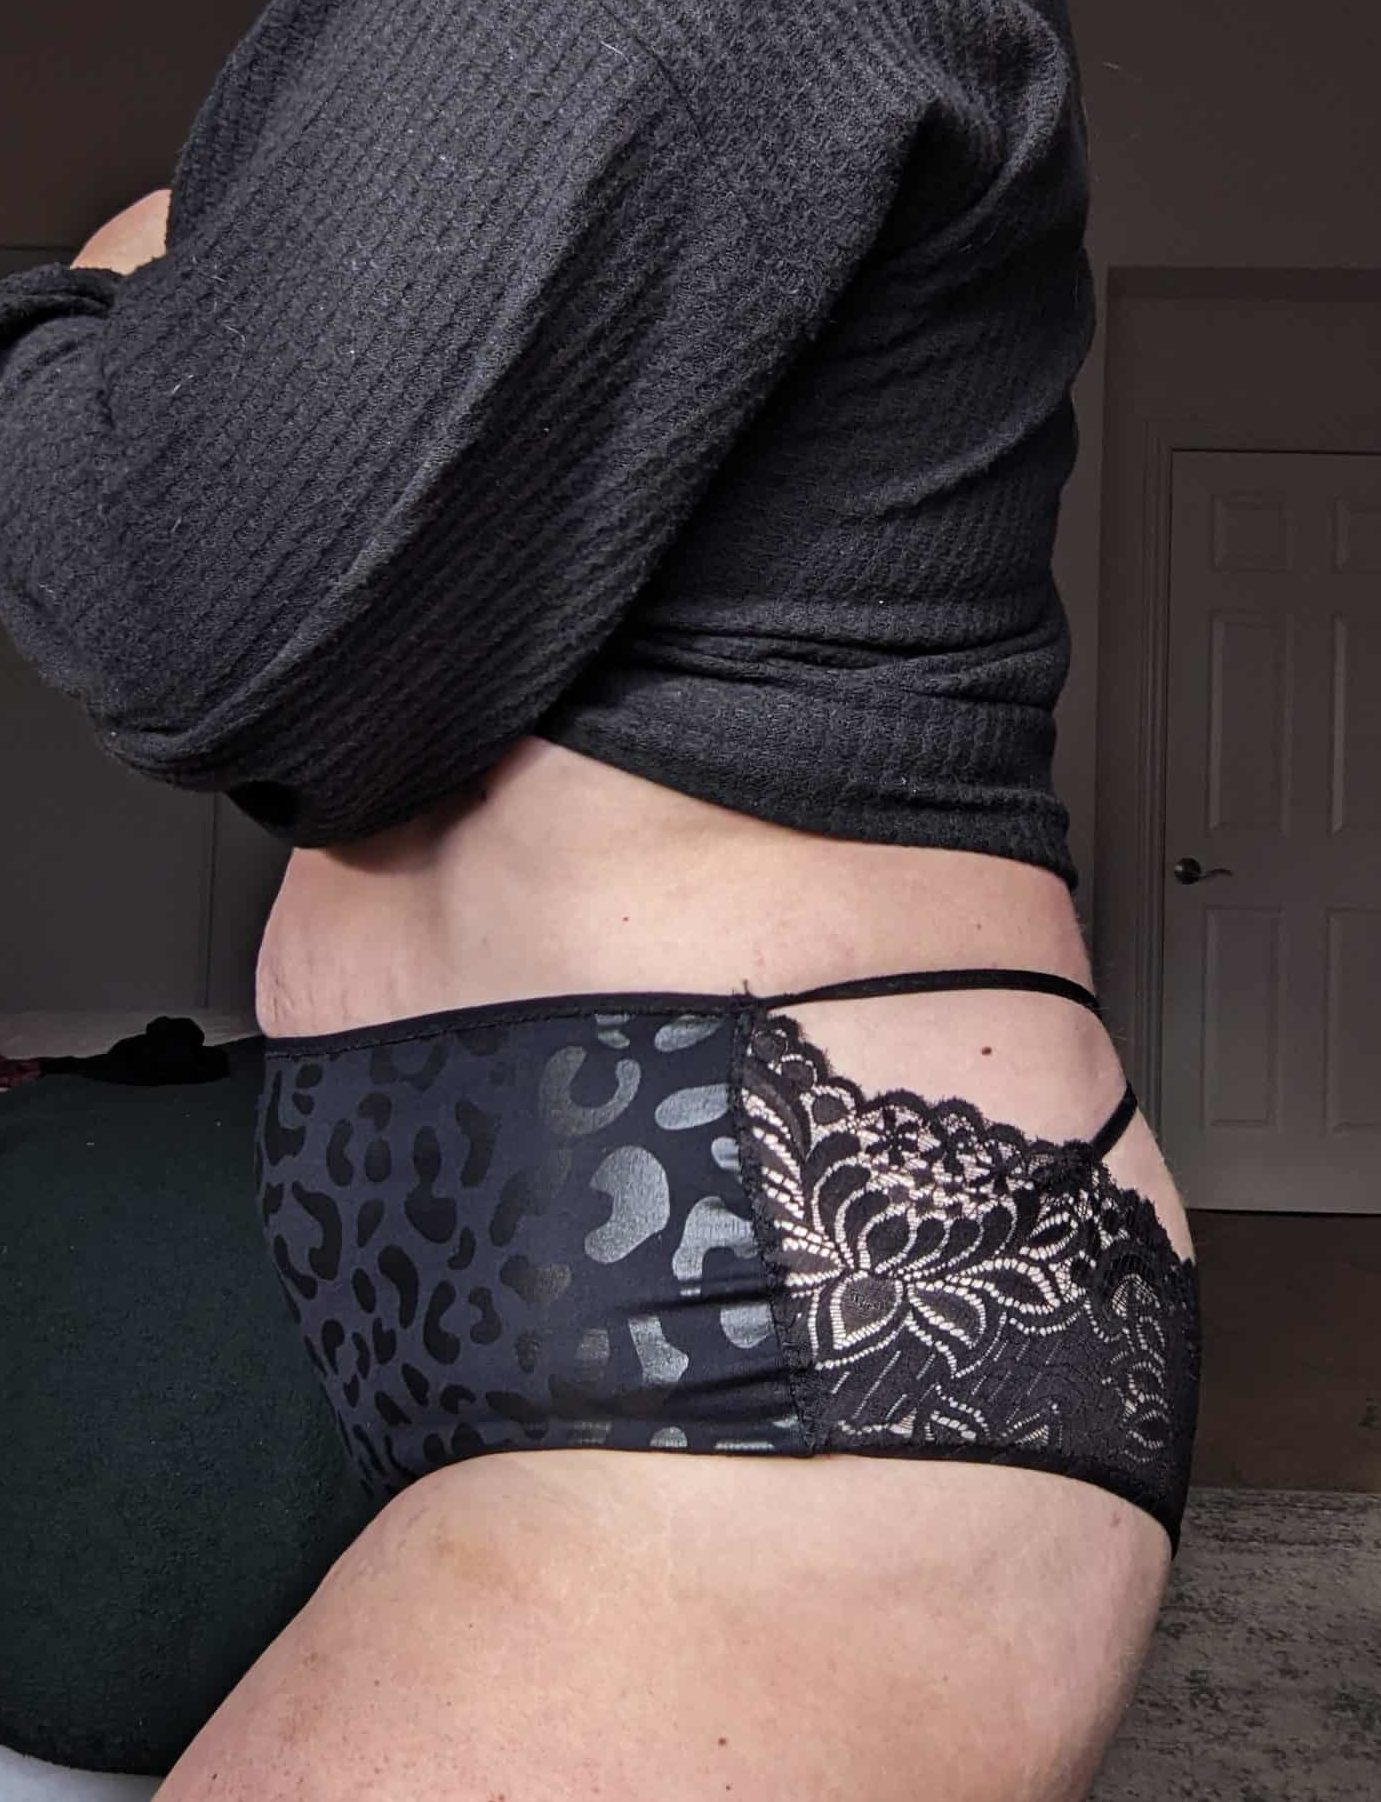
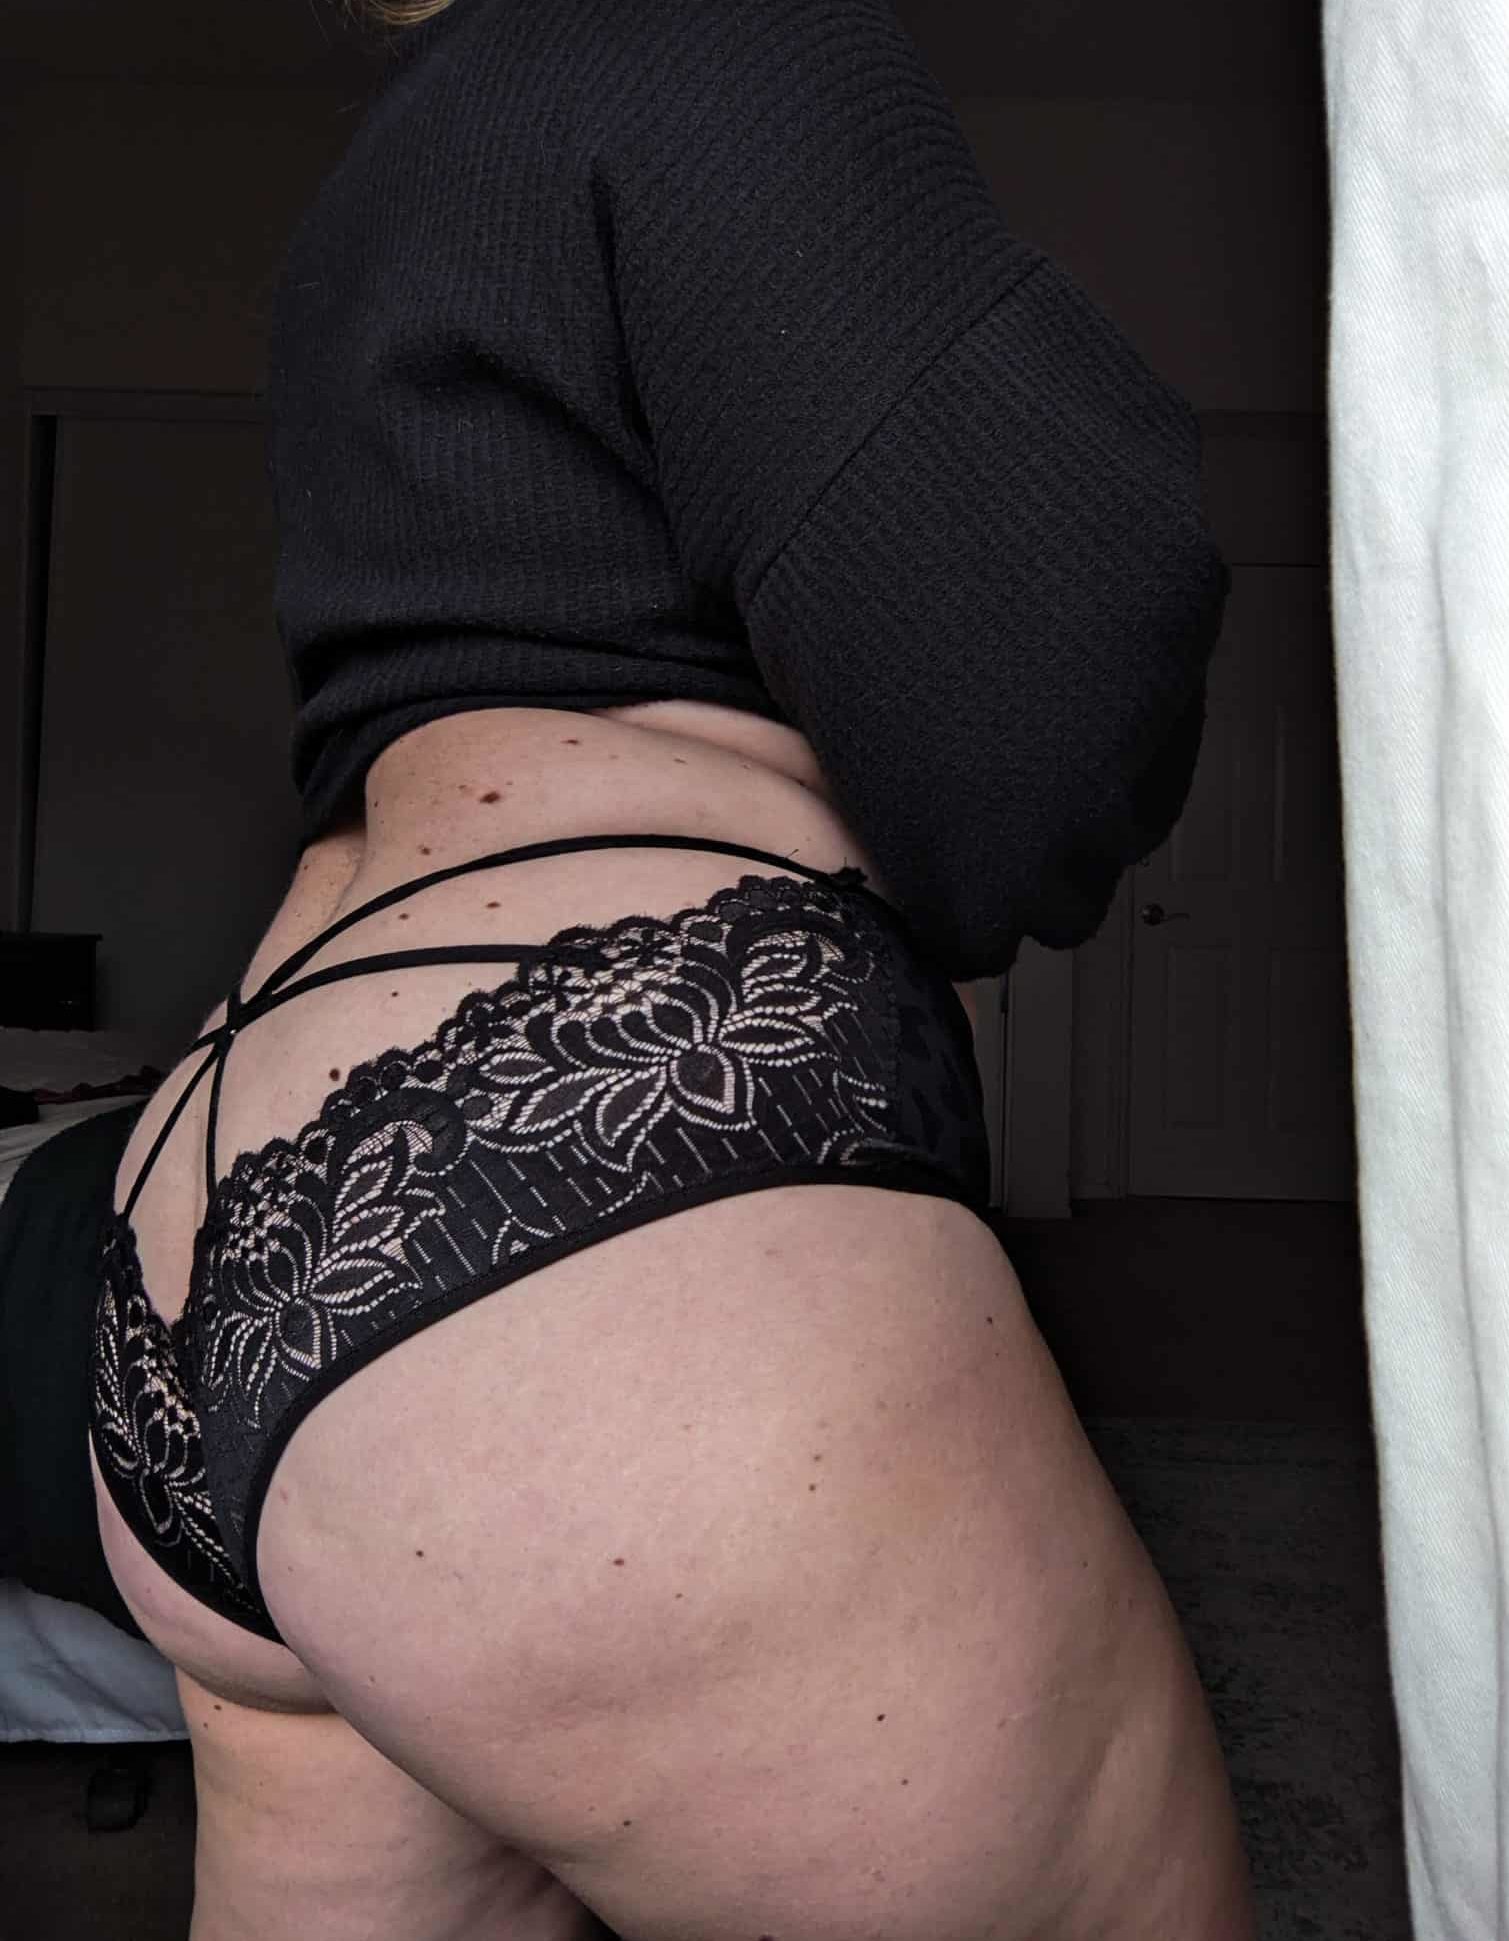
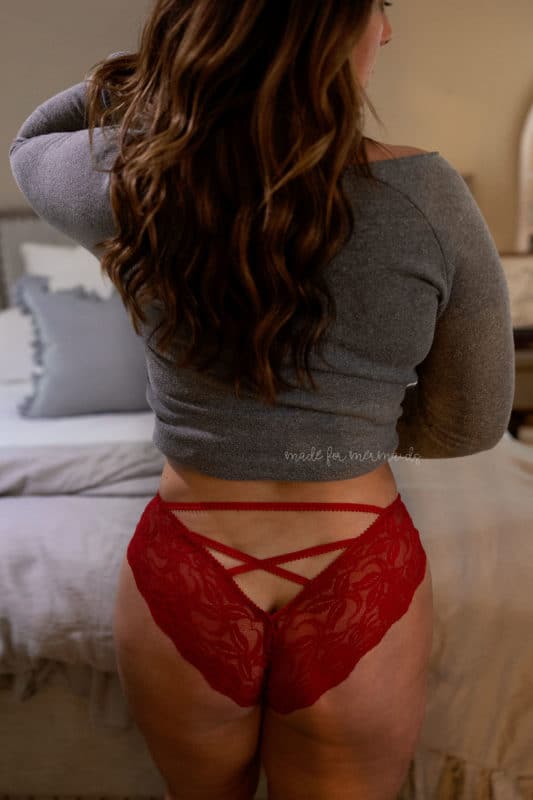
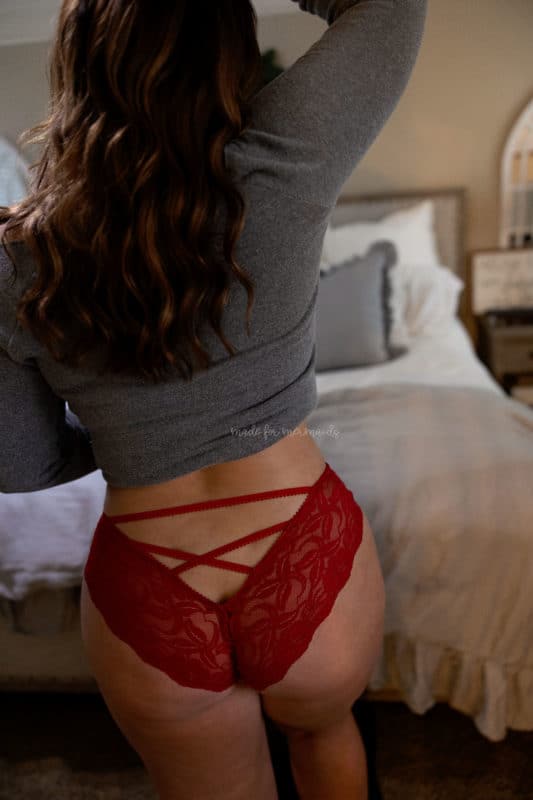
Our Lounge and Lace Collection just keeps growing! The Nyx Knickers Cross-Back Cheeky (in Low, Mid, and High Rises) pattern releases today, and whewwwwww, it is SPICY!!! We are loving the different rises and the fun back straps. There is no front seam, and the crotch seam is fully enclosed for maximum comfort. The back has a center seam with 2 dip options: low or high dip (low rise only has the low dip option). The legs and waist can be finished in several ways; choose from stretch lace, picot elastic, or FOE (fold over elastic). The back features fun and sexy criss-cross straps between the dip. Nyx is great for special occasions, or for normal, everyday wear too!
Looking for something to pair with Nyx? You can check out the whole Lounge and Lace Collection of course, but some of our favorites have been: Bryn, Remi, Lana, Dani, and the Rita Robe. We also have two fun hacks for the Nyx Knickers, just in case you need some more ideas 🙂
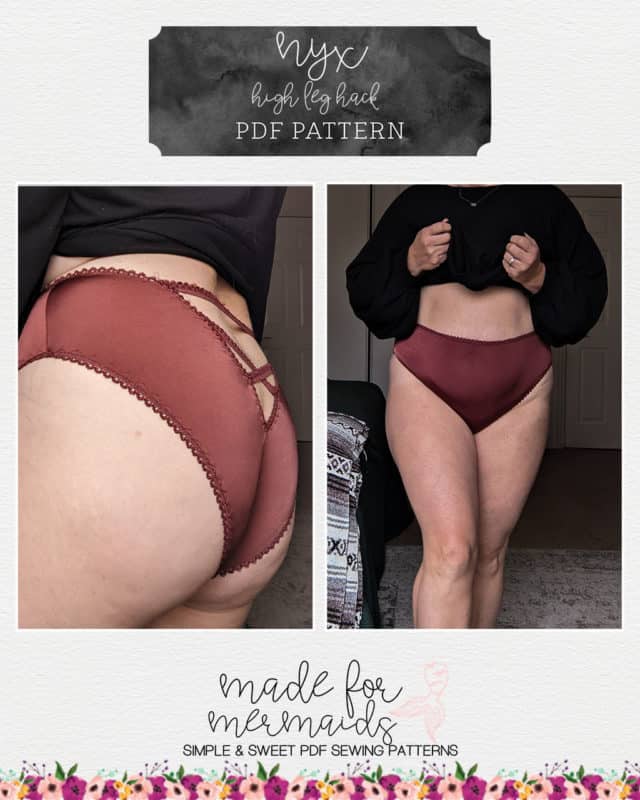
High Legline Hack
I’m loving all the high leg cuts in ready-to-wear lingerie. Let’s bring a little extra leg to the new Nyx Pattern. We primarily need to alter the front legline, and then adjust the back piece to match. This will be an easy and fun way to learn how to adjust style lines on patterns, giving you more versatility with every pattern.
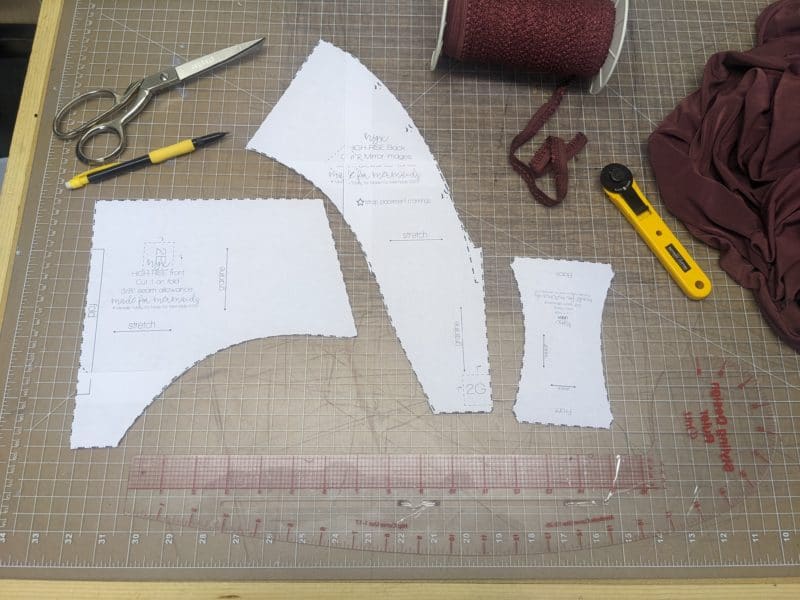
For this hack you will need:
- printed pattern
- curved ruler
- pencil
Begin by drawing in your 3/8″ seam allowance at the side seam.
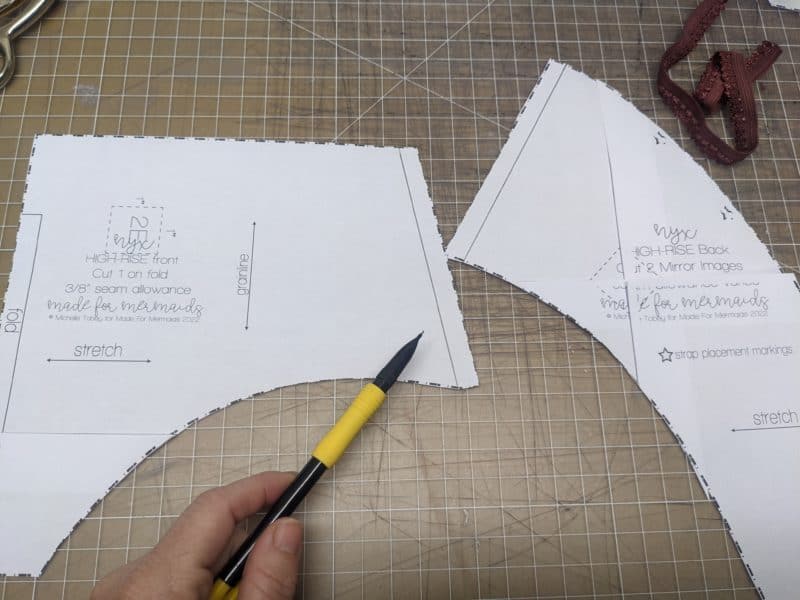
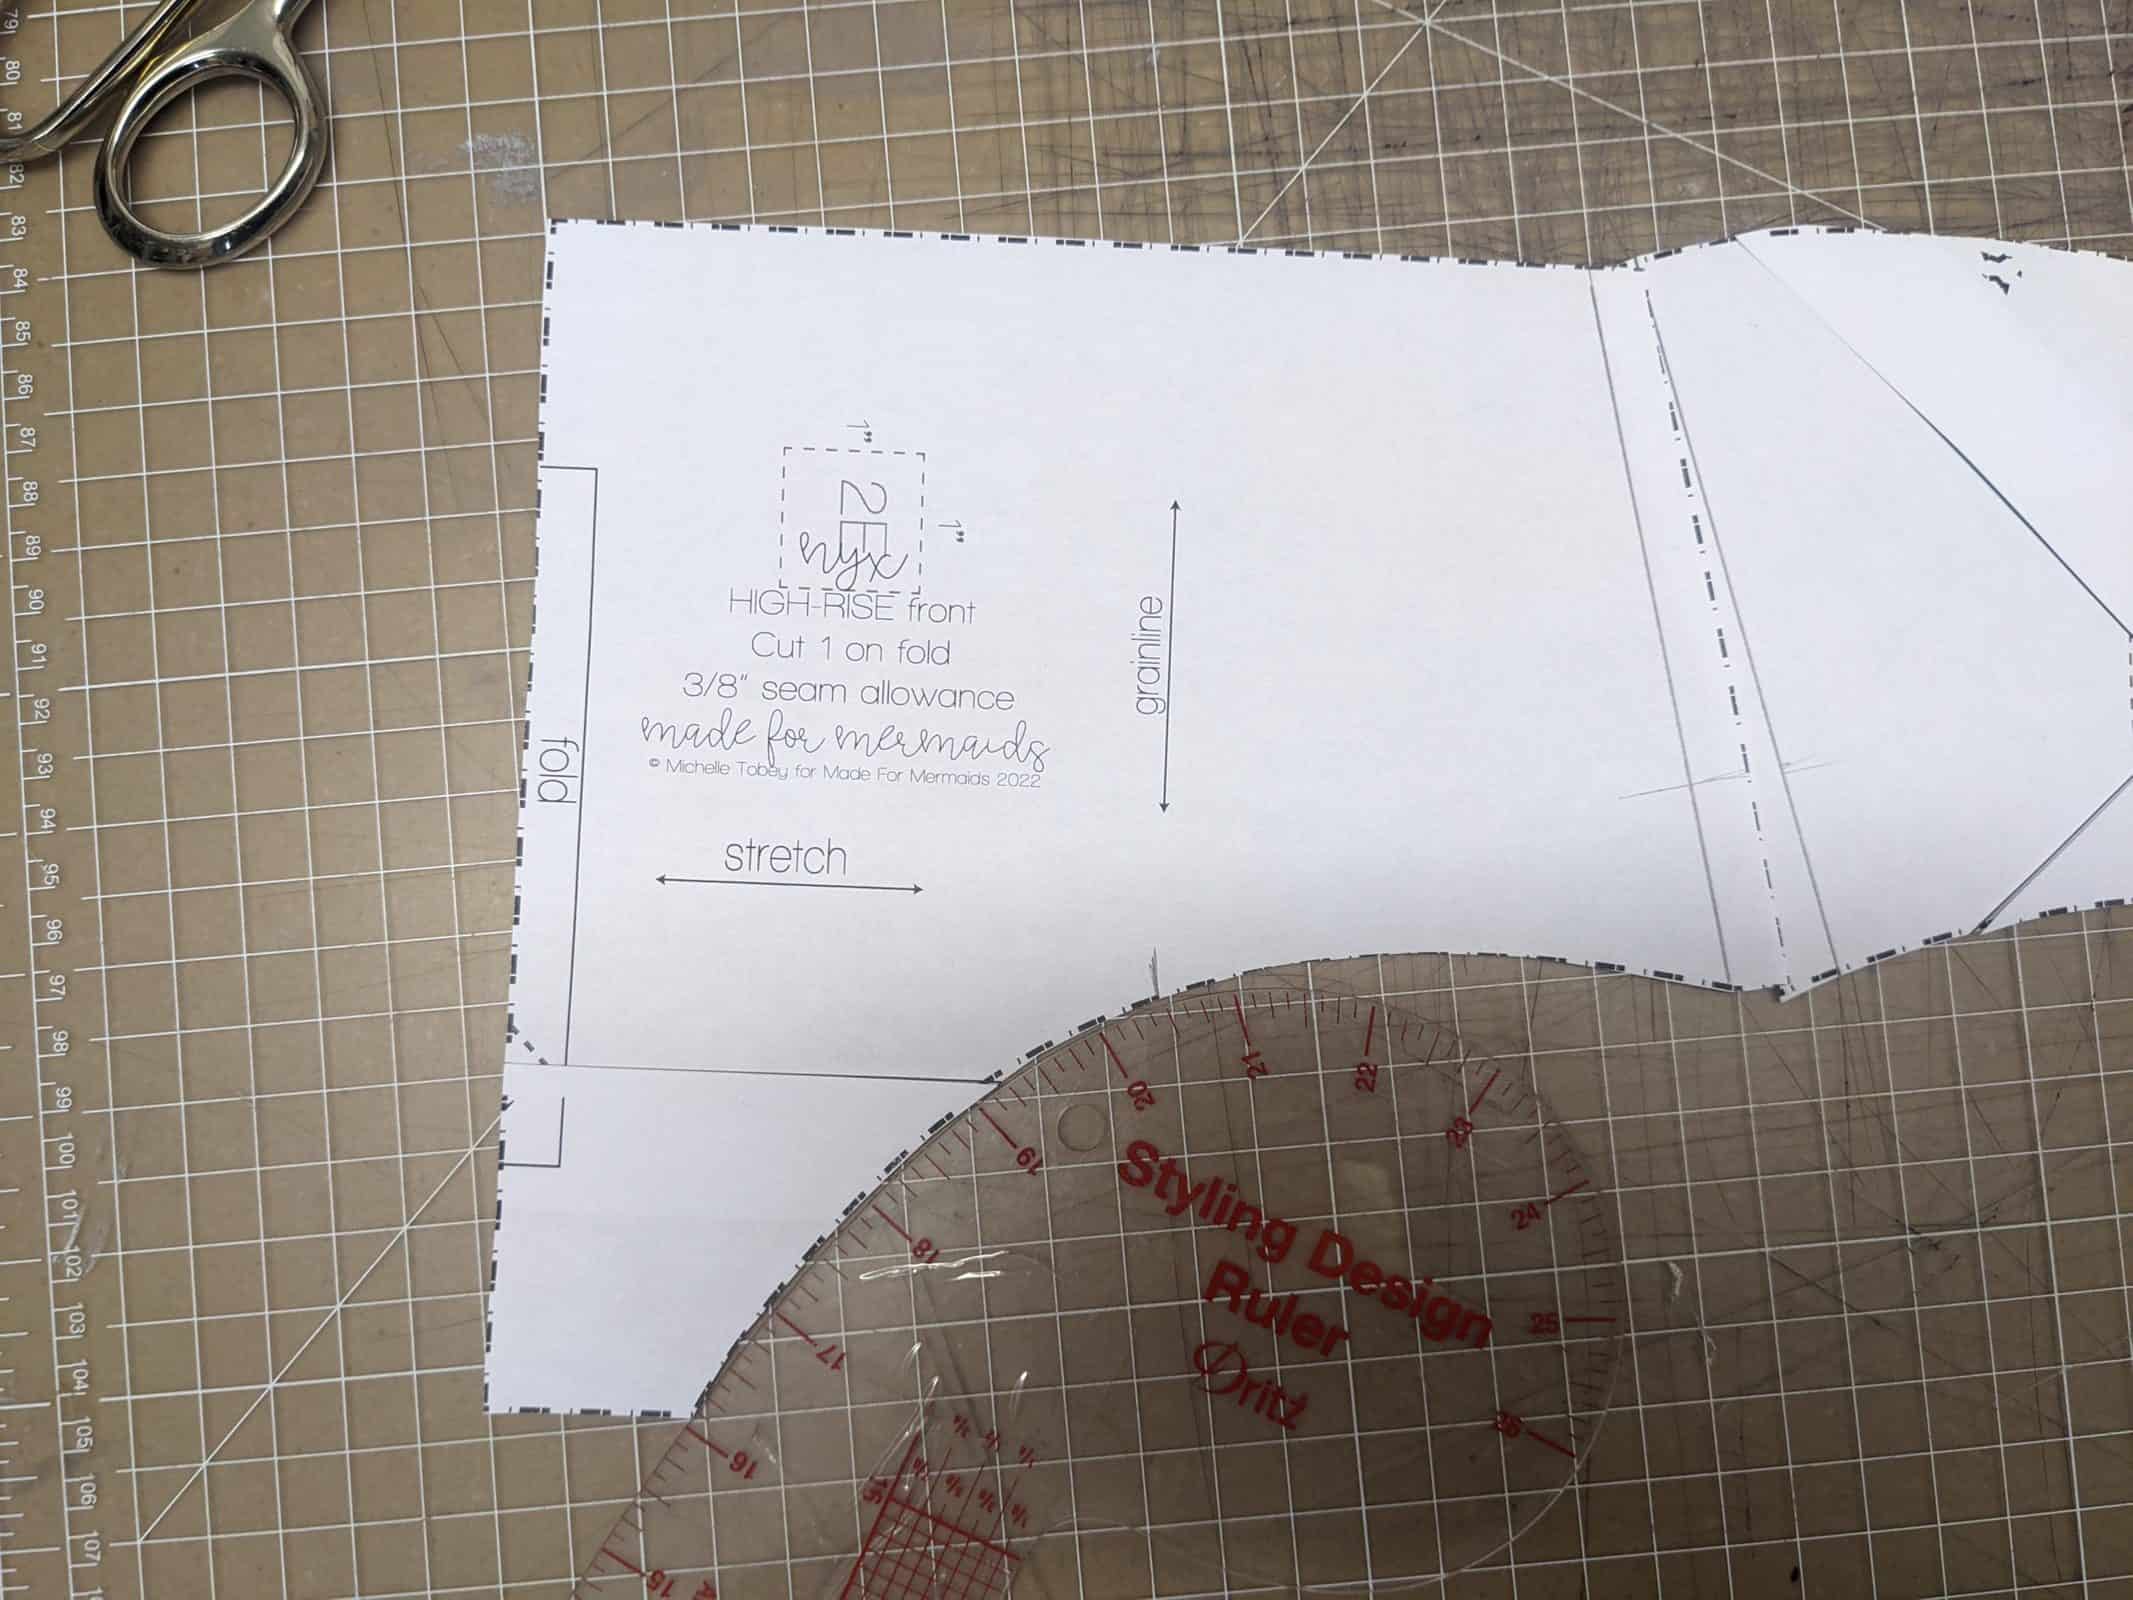
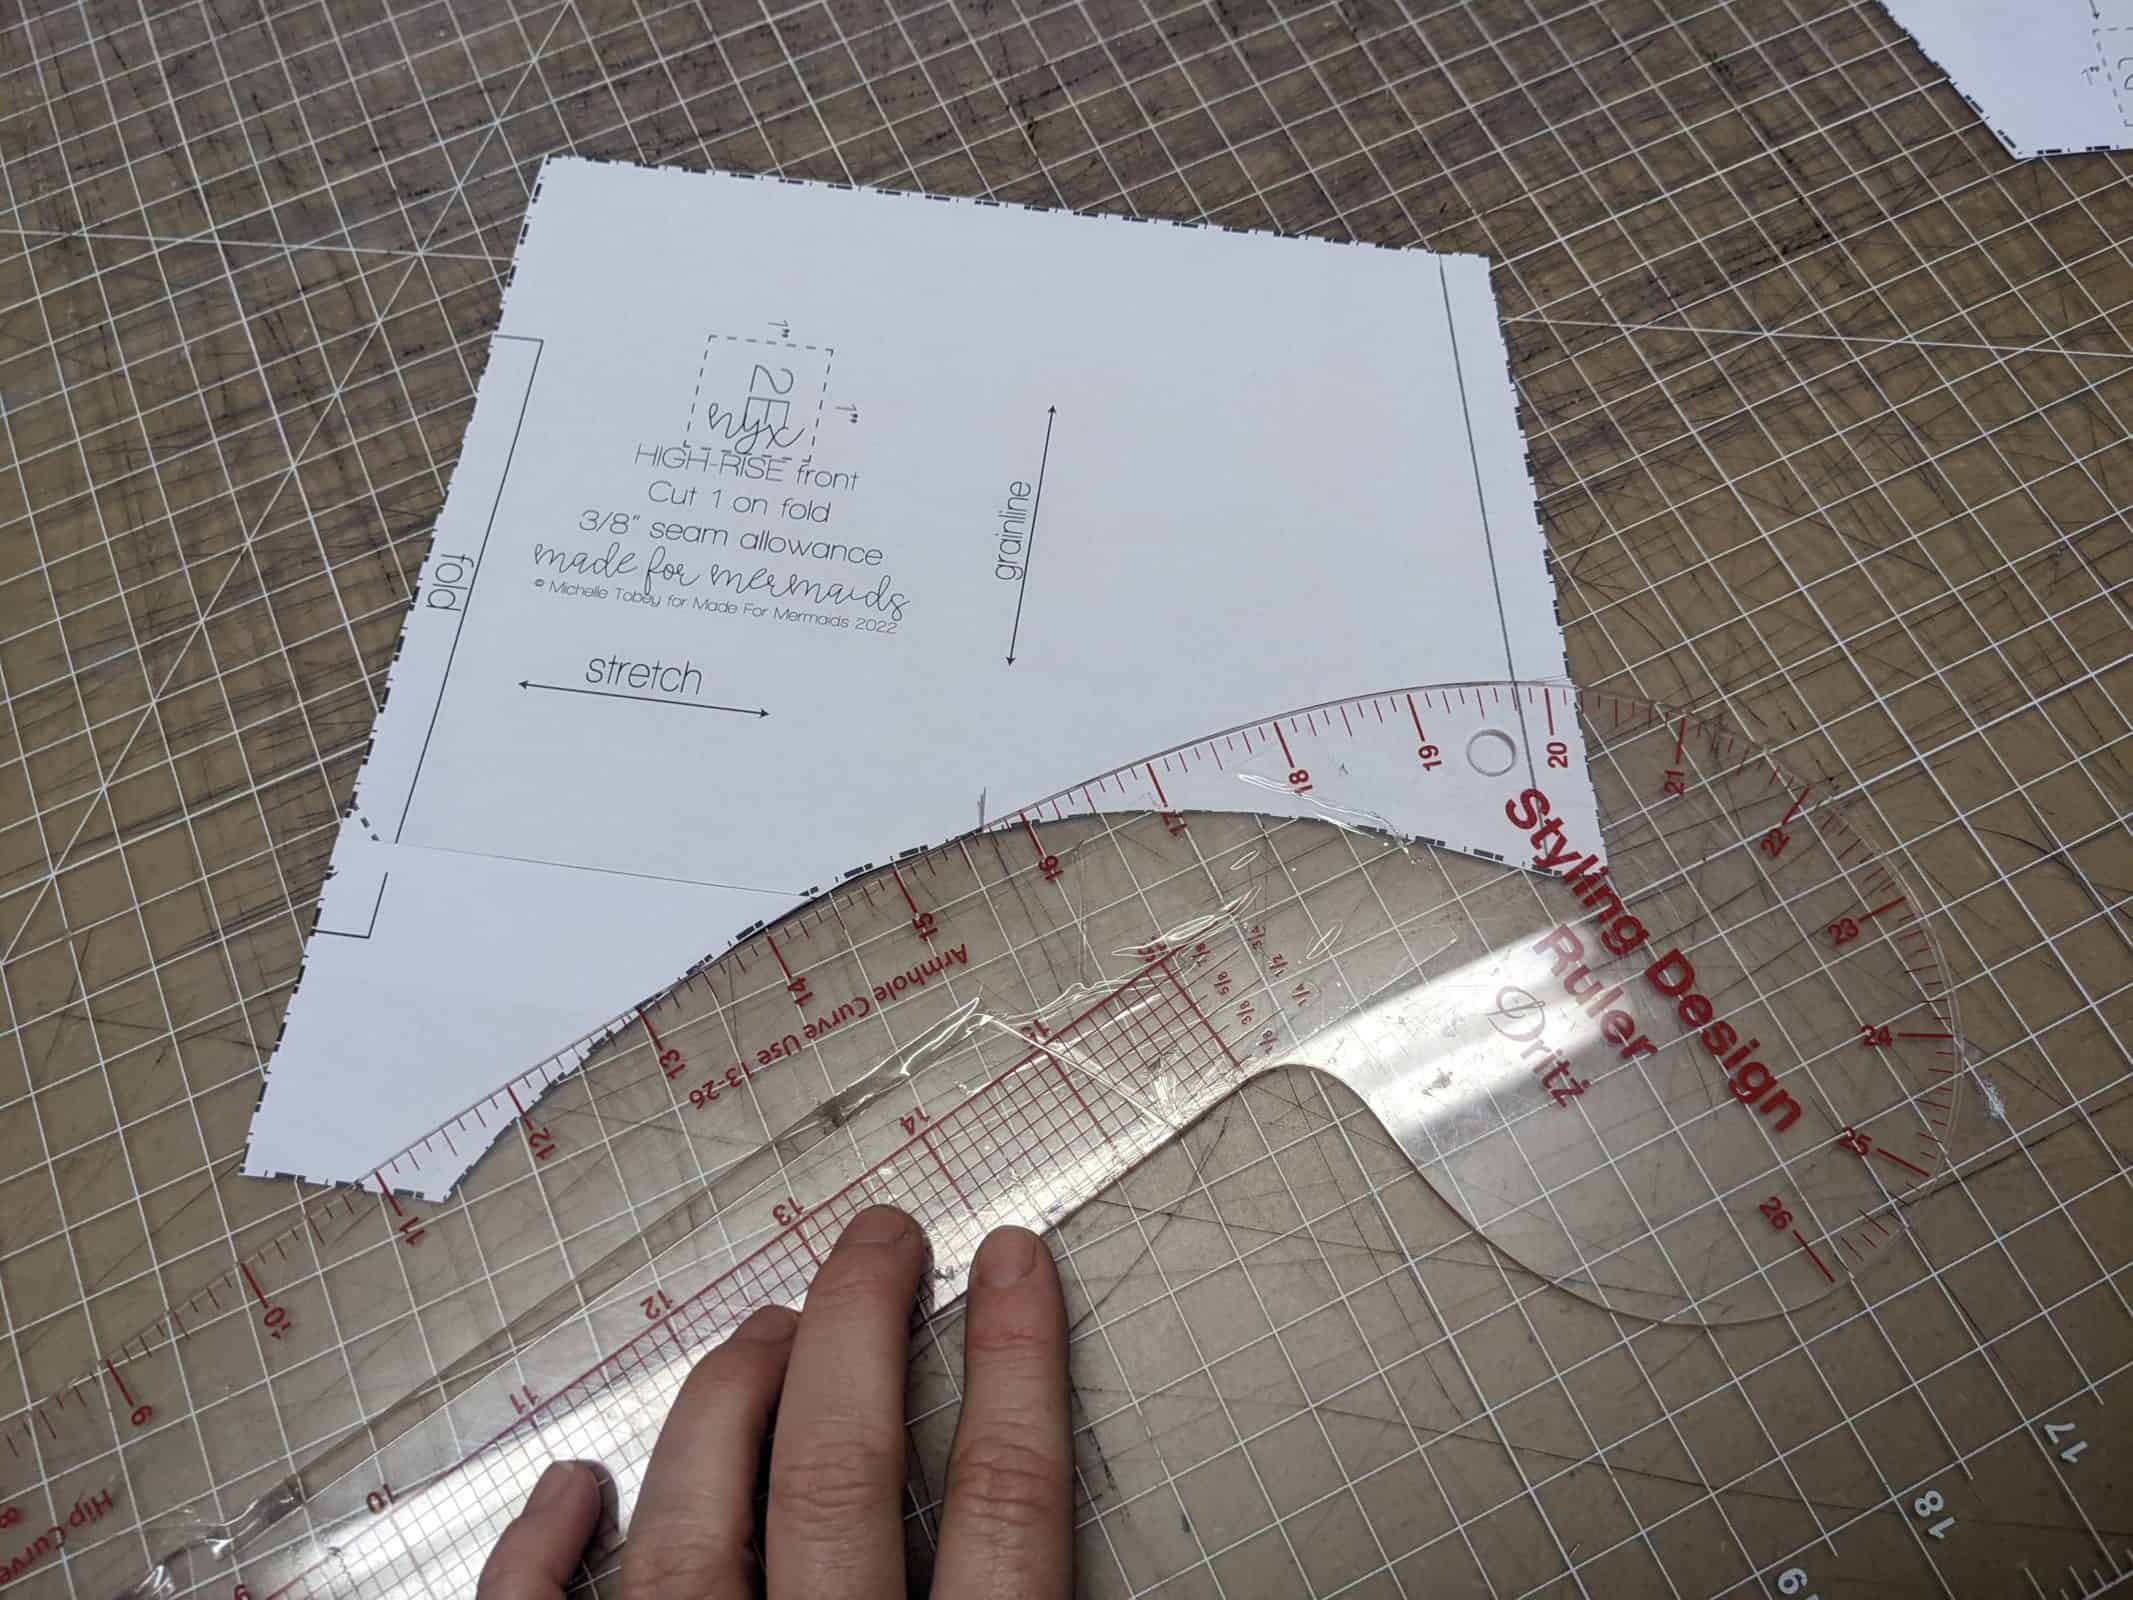
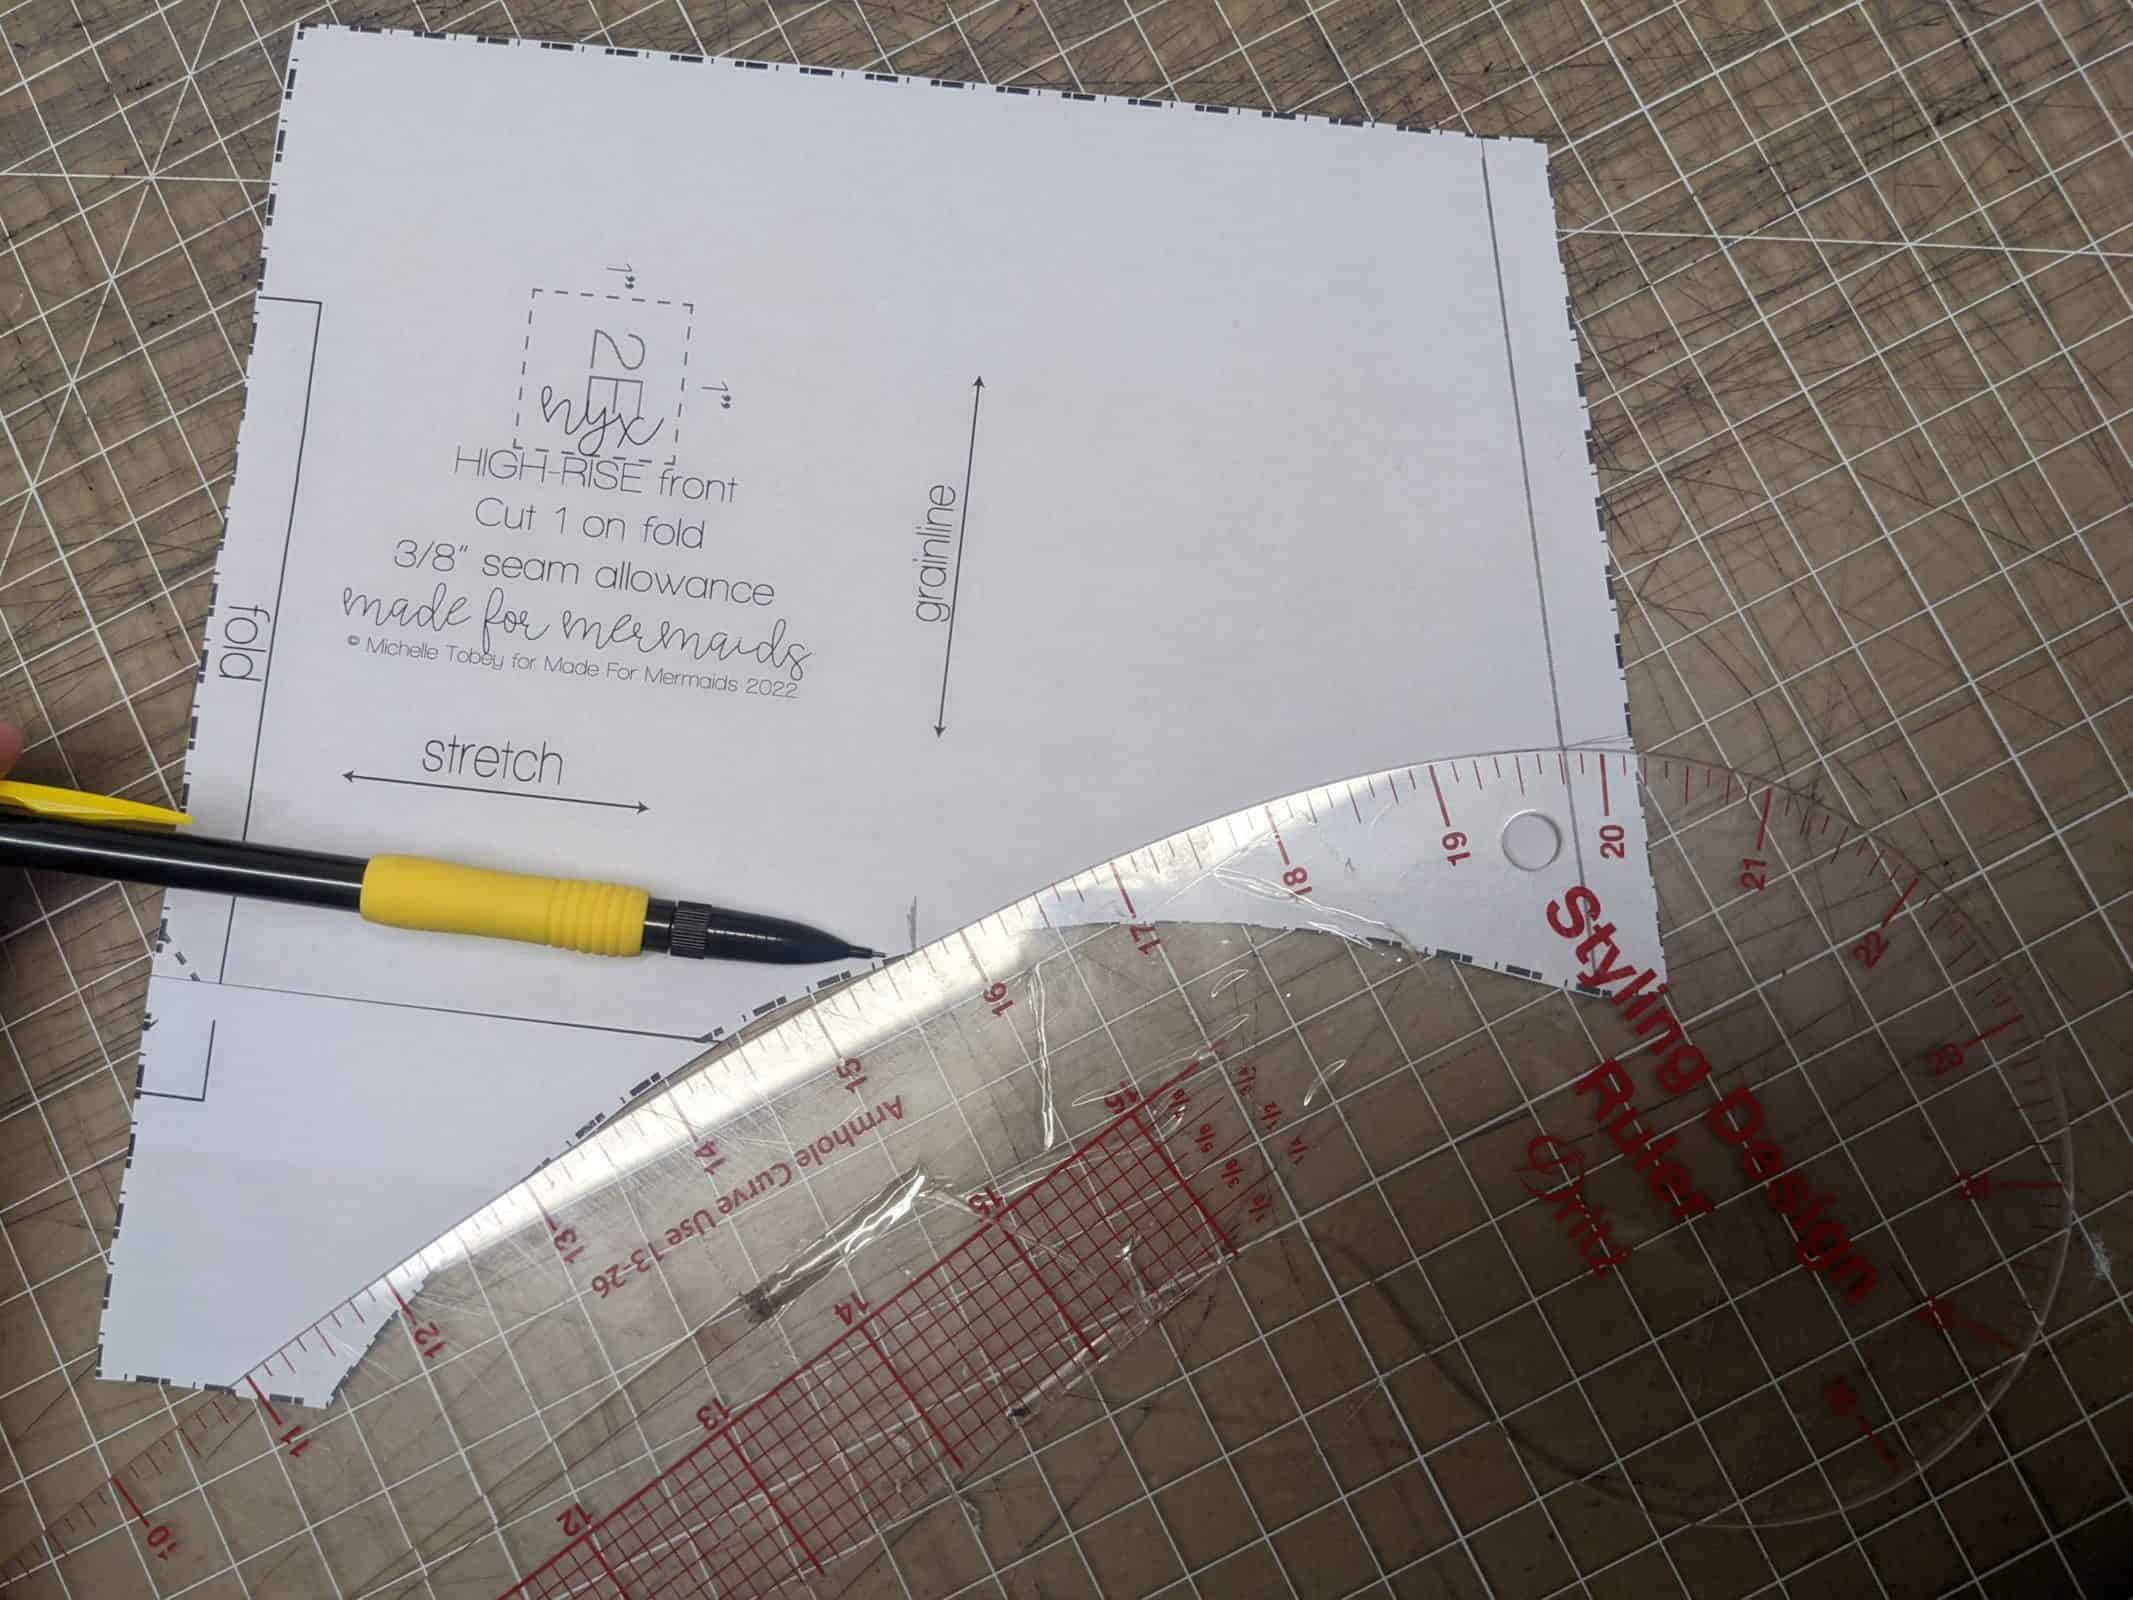
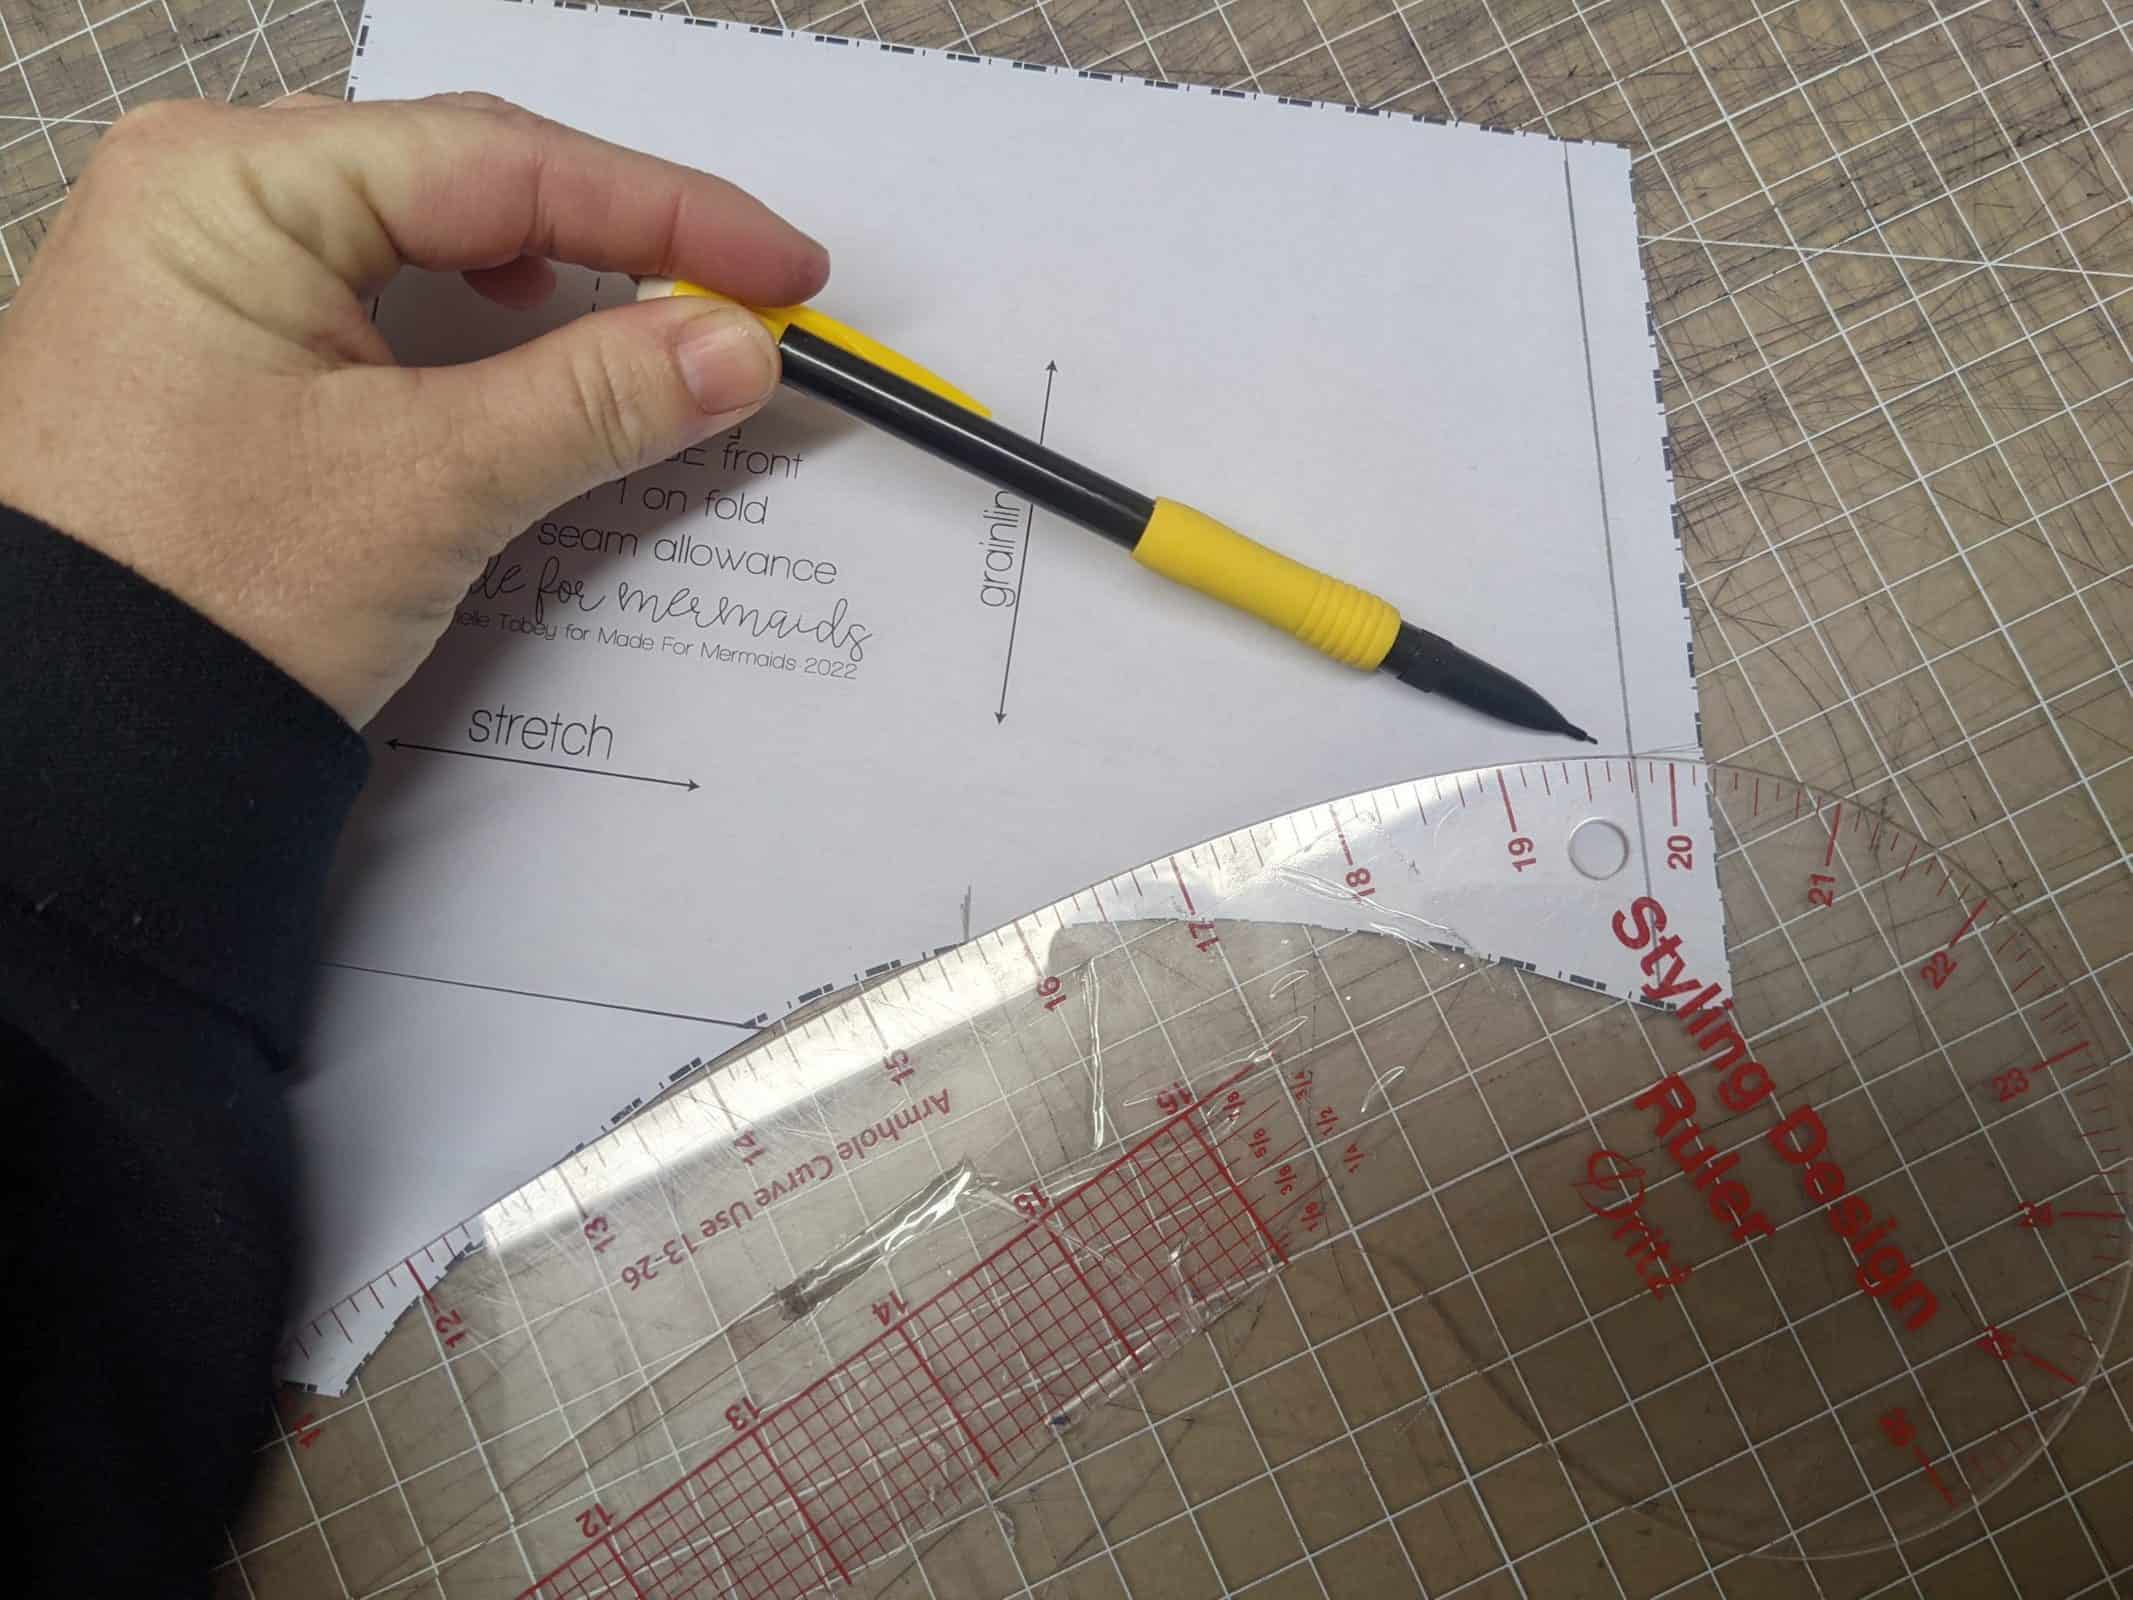
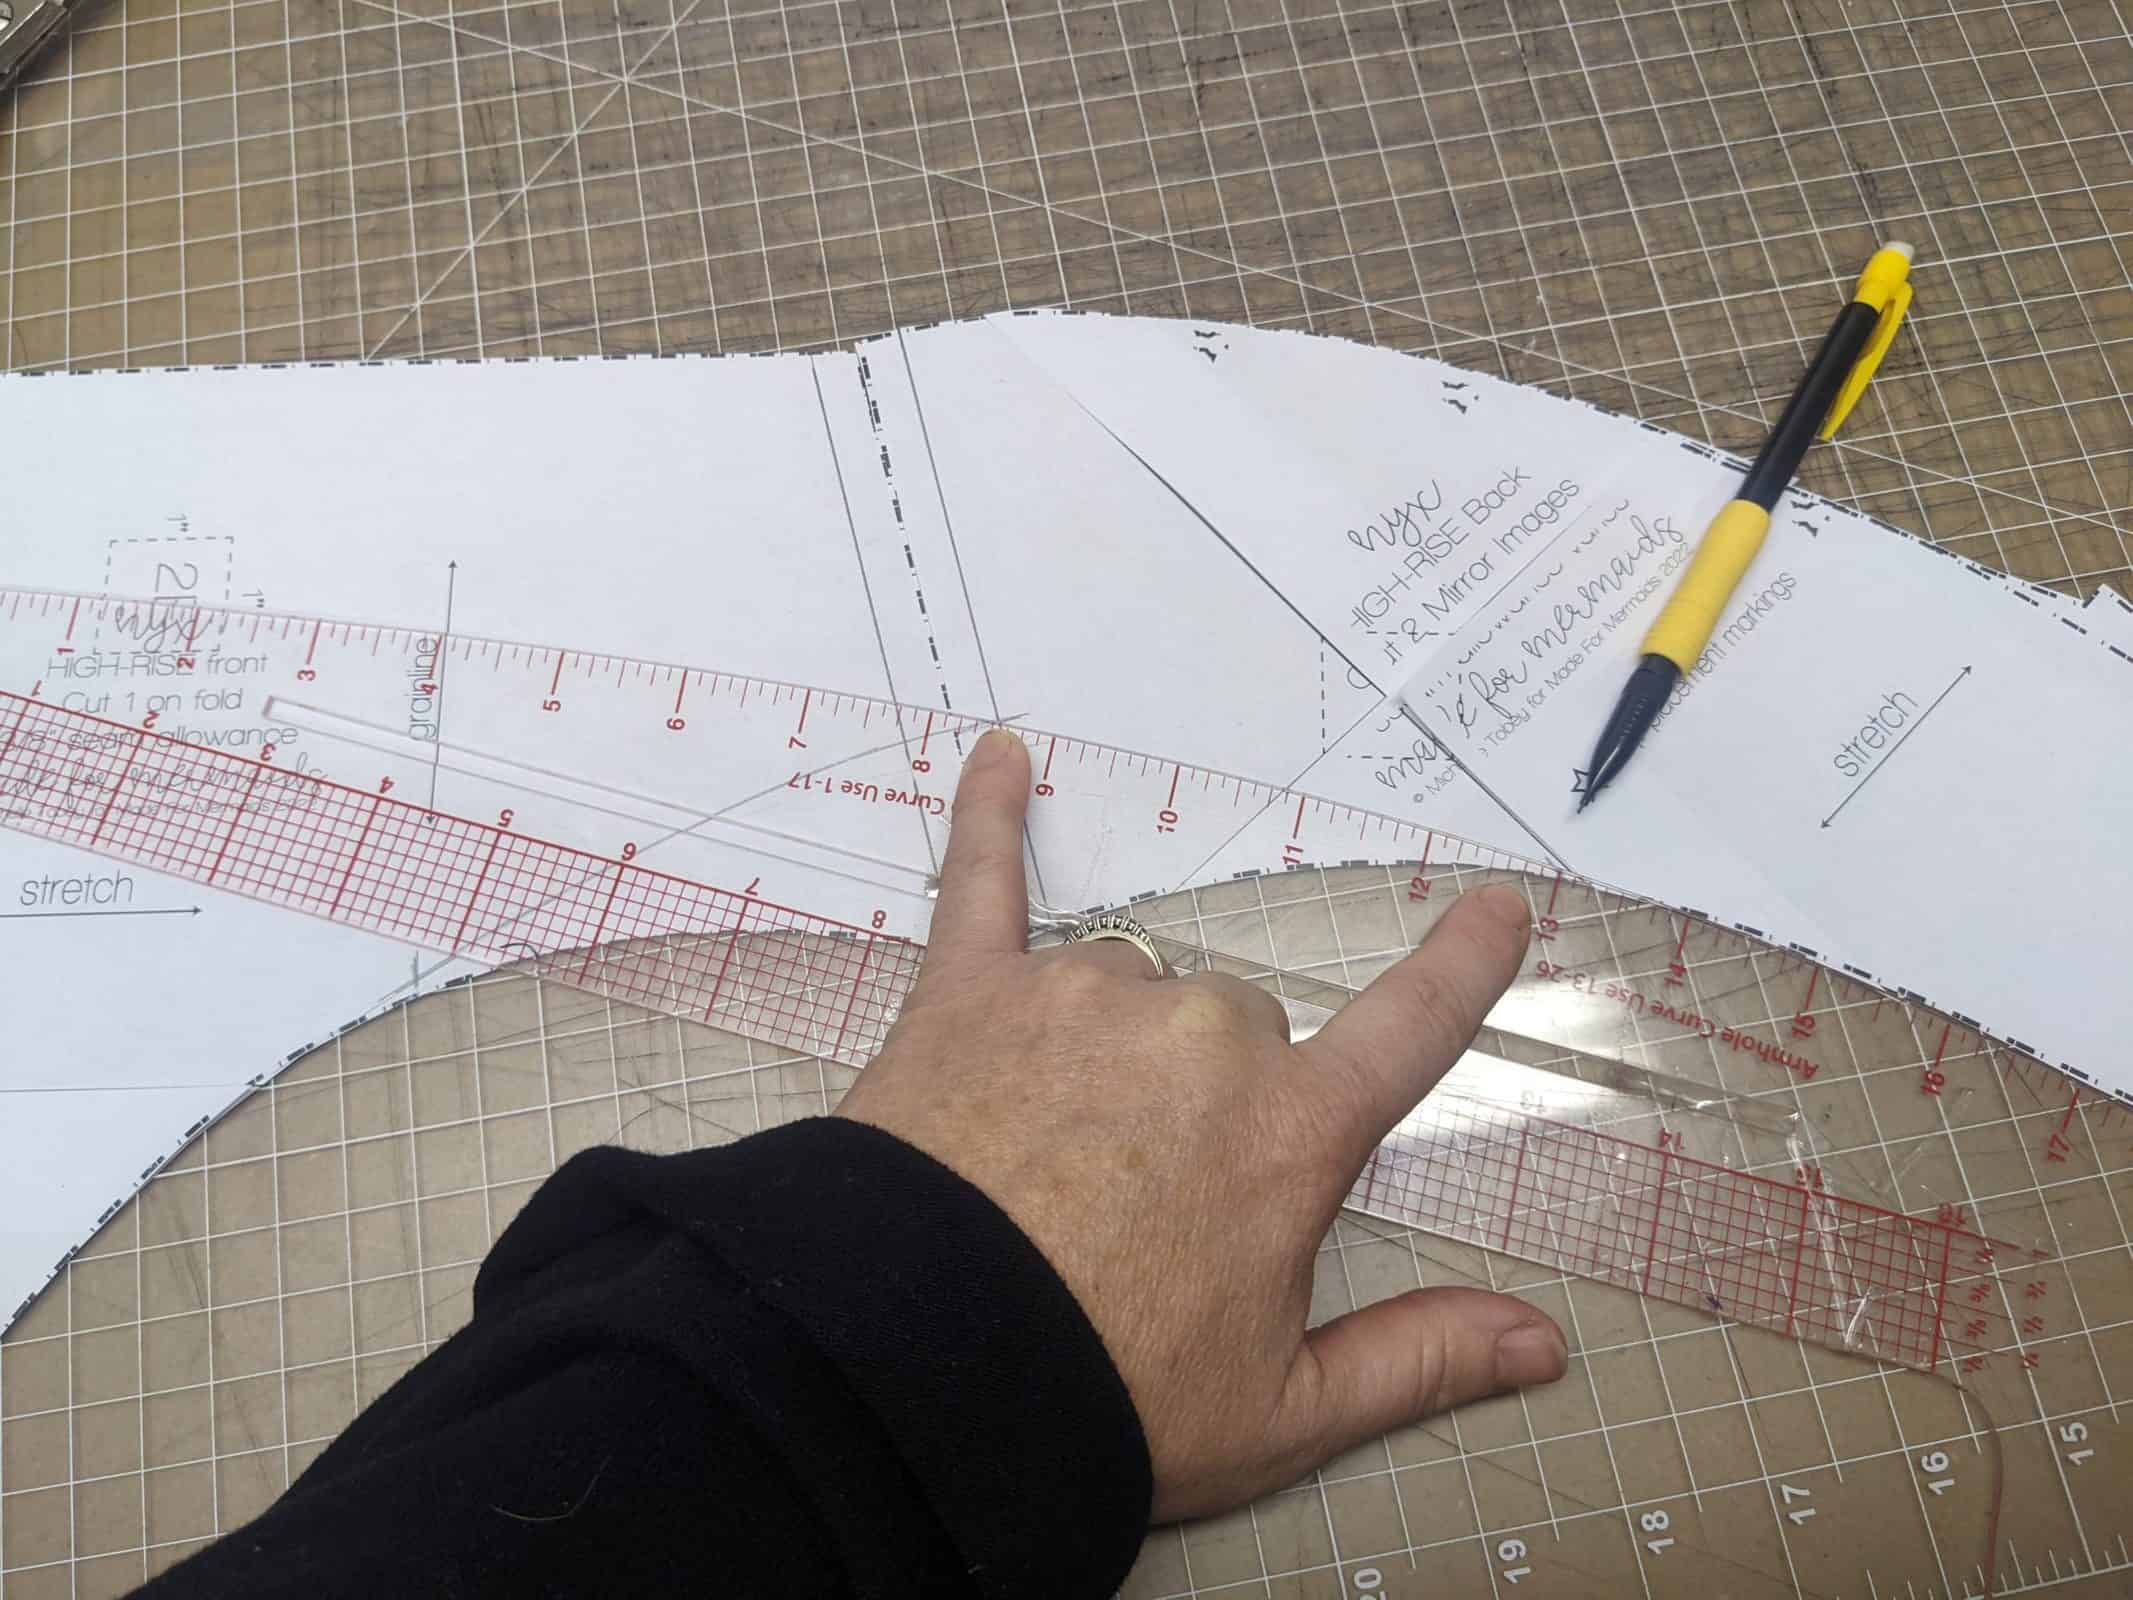
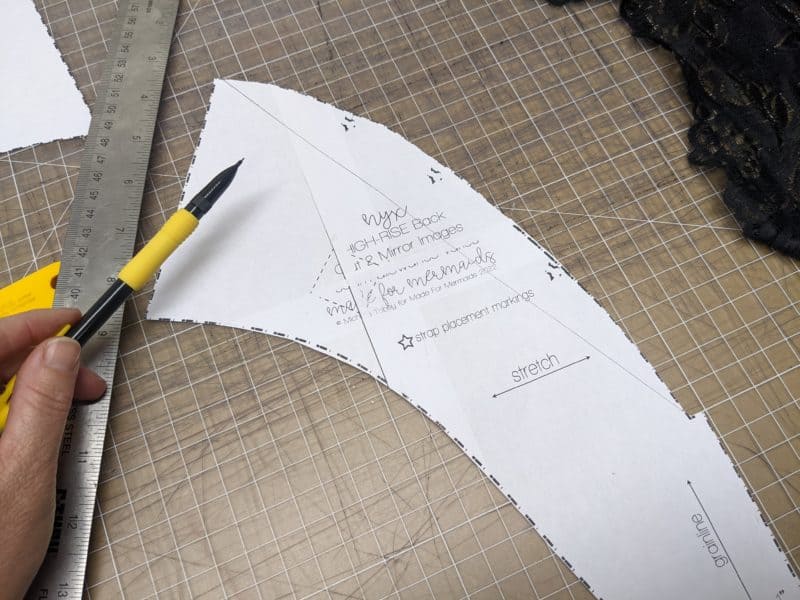
Now we will adjust the leg line on the front. Using my curved ruler I determined the area where the crotch curve breaks away into the leg line. I shifted my curved ruler along this line until I could see the pattern curved away from my ruler line. I made a mark.
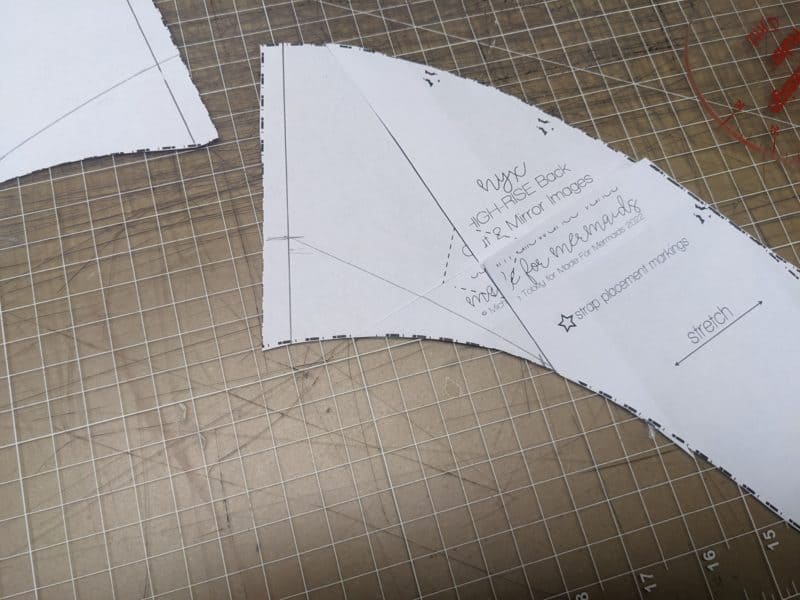
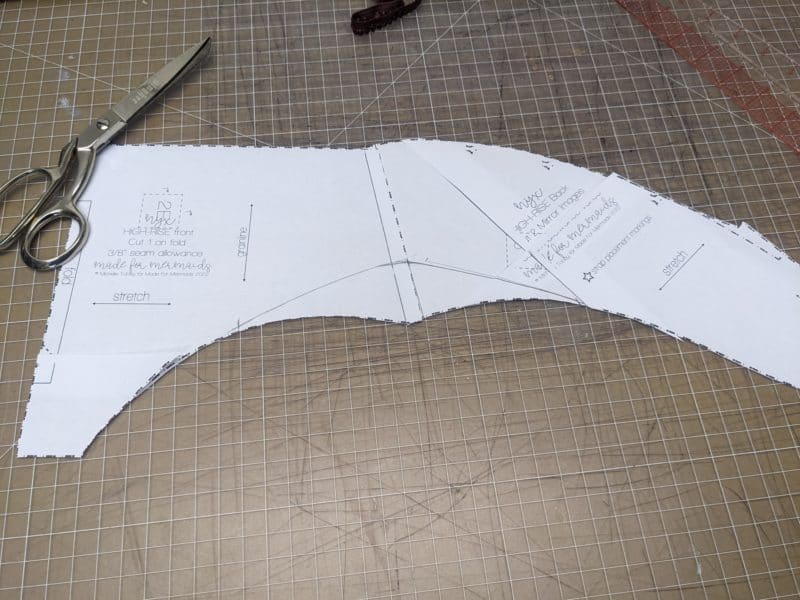
NOTE: We are focusing on the area of the pattern piece that is coming up and over your leg and you can ignore the crotch seam area that connects to the liner. Notice in the second and third photos that the curved ruler and the pattern do not match at the crotch.
If you find that the ruler is not helpful for you, not to worry! Just eyeball it and mark.
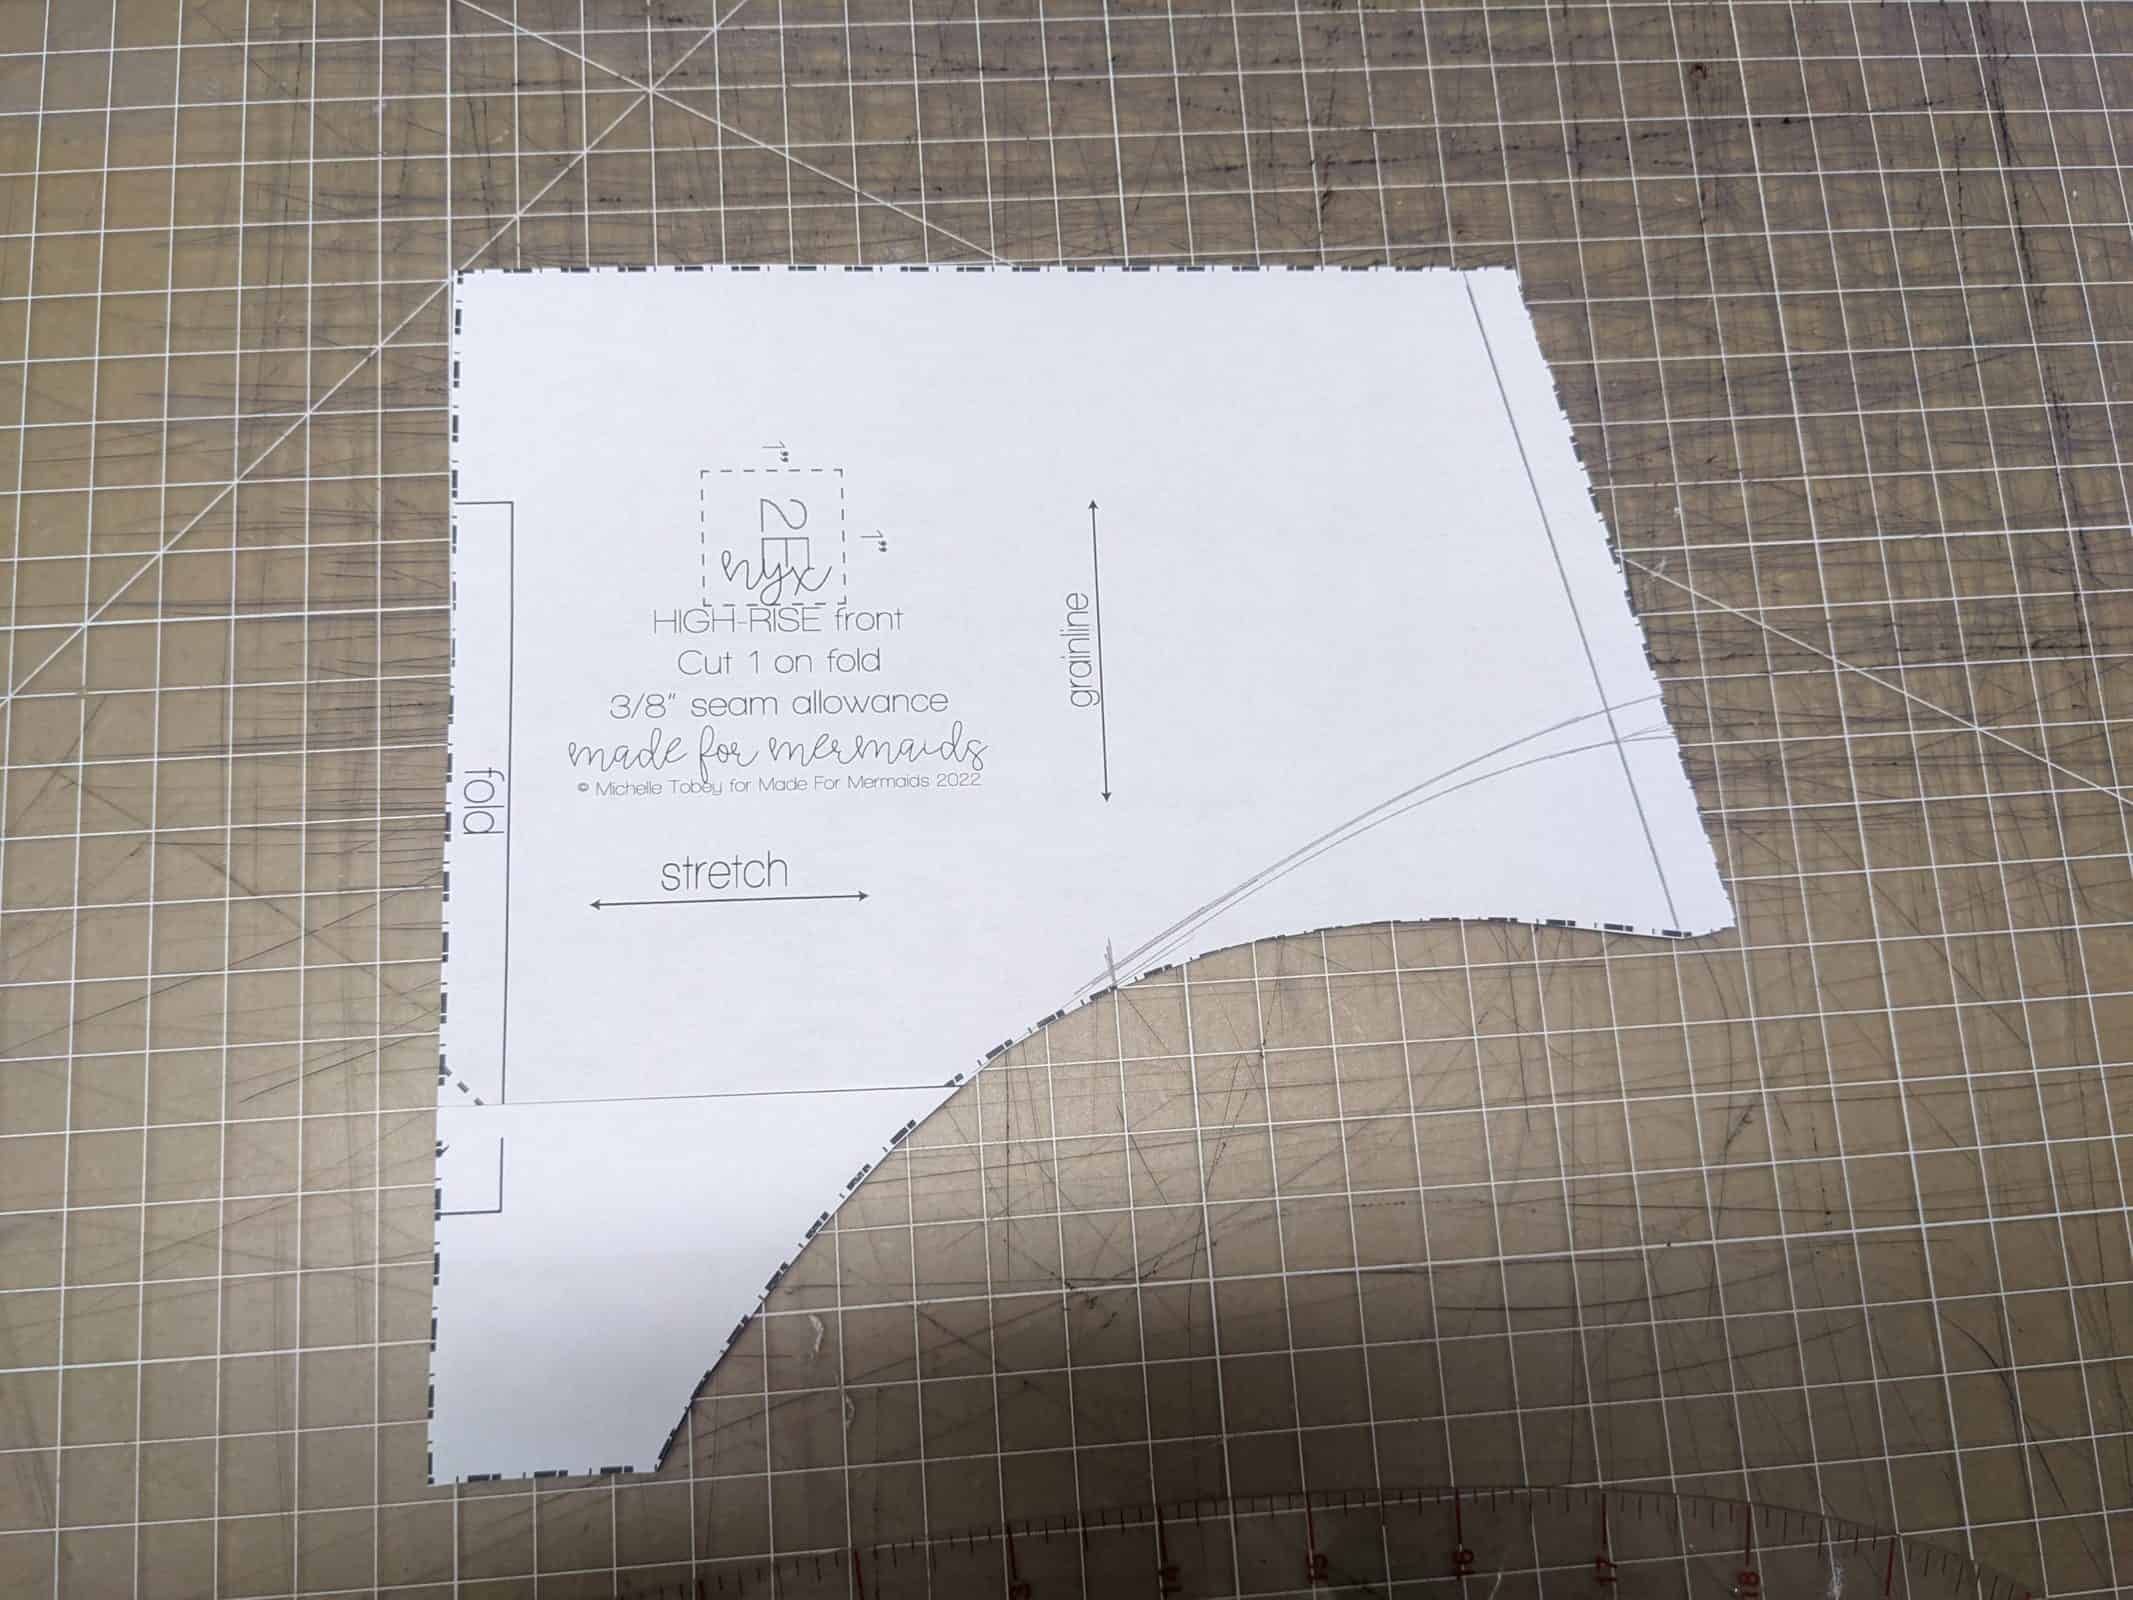
- Now determine how much higher you would like the legline and mark with pencil at the seamline. (I went with 1.5″).
- Use the curve of the ruler to draw in your new legline
- I decided that I didn’t love this curve and wanted my legline a little higher. Using my curved ruler I raised my side seam to 1.75″ and re-drew the line.
- Using a pencil while making alterations is helpful because you can easily erase any un-needed lines.
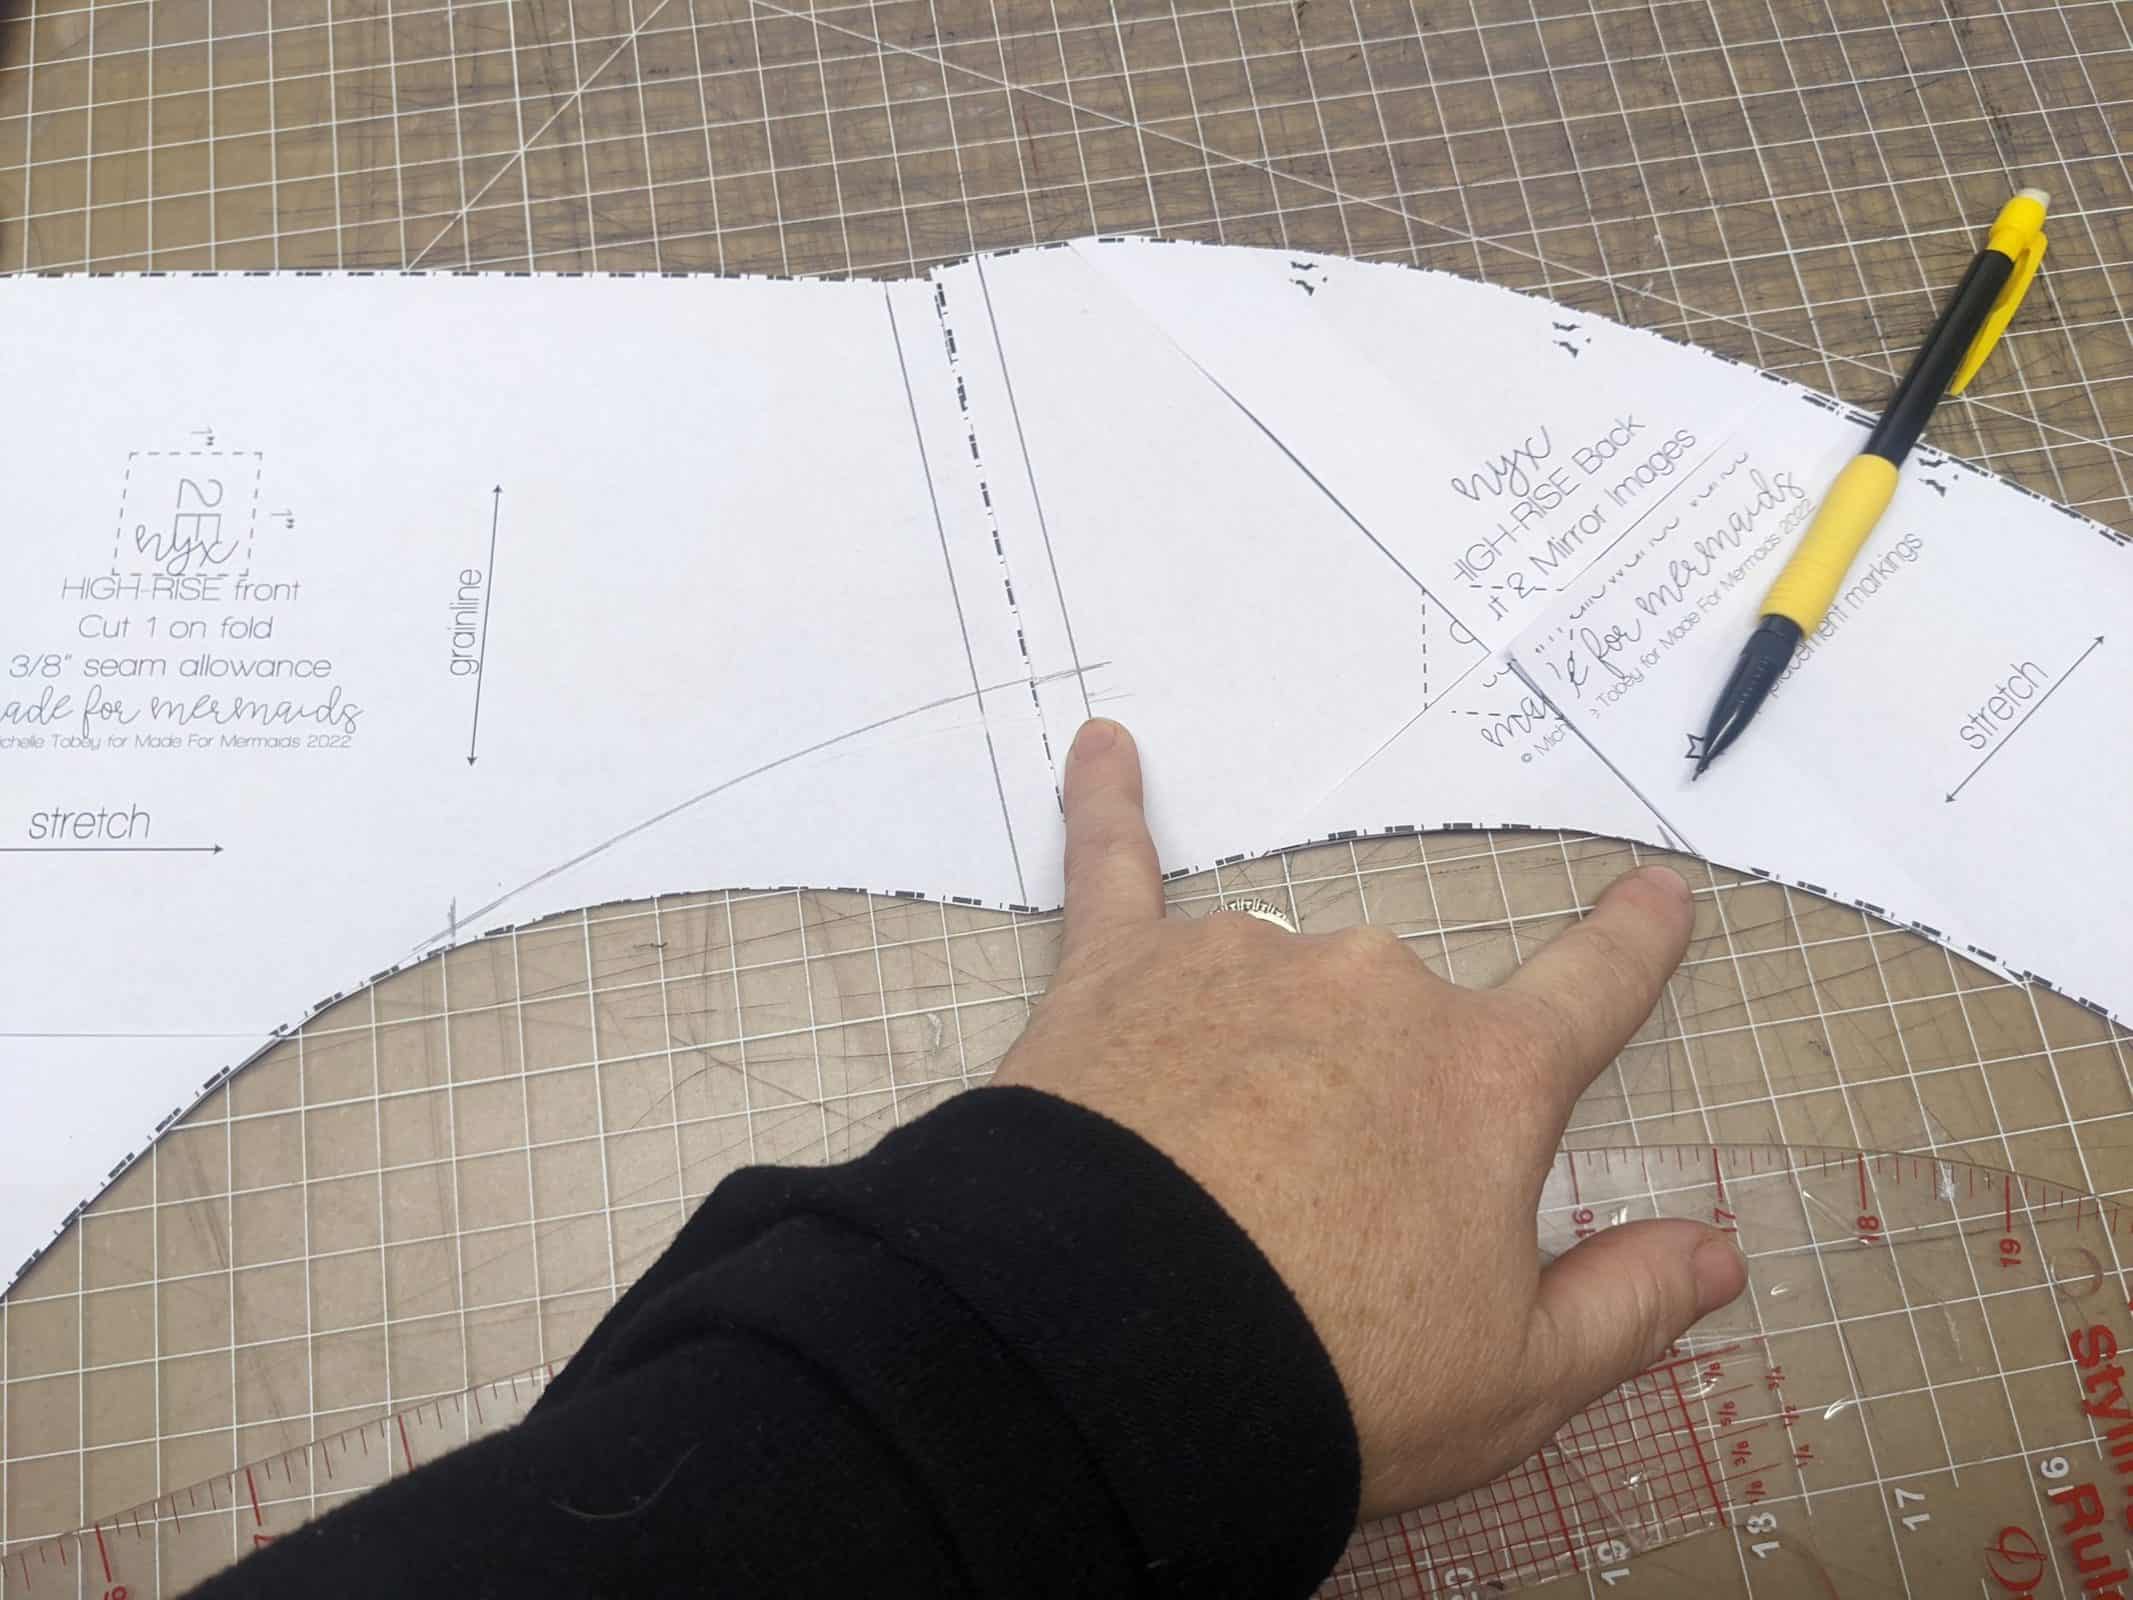
- Now grab your back piece, lining up at the seams, mark the new legline, being sure the markings match at the seamline.
- With your ruler, match the curve of the lower legline and adjust the ruler to meet the new legline marking at the seamline.
- draw in the new line
- At this time, I laid my pieces together to get a visual of what the complete alteration will look like. If you find the new curve not pleasing, you may chose to adjust and smooth it out.
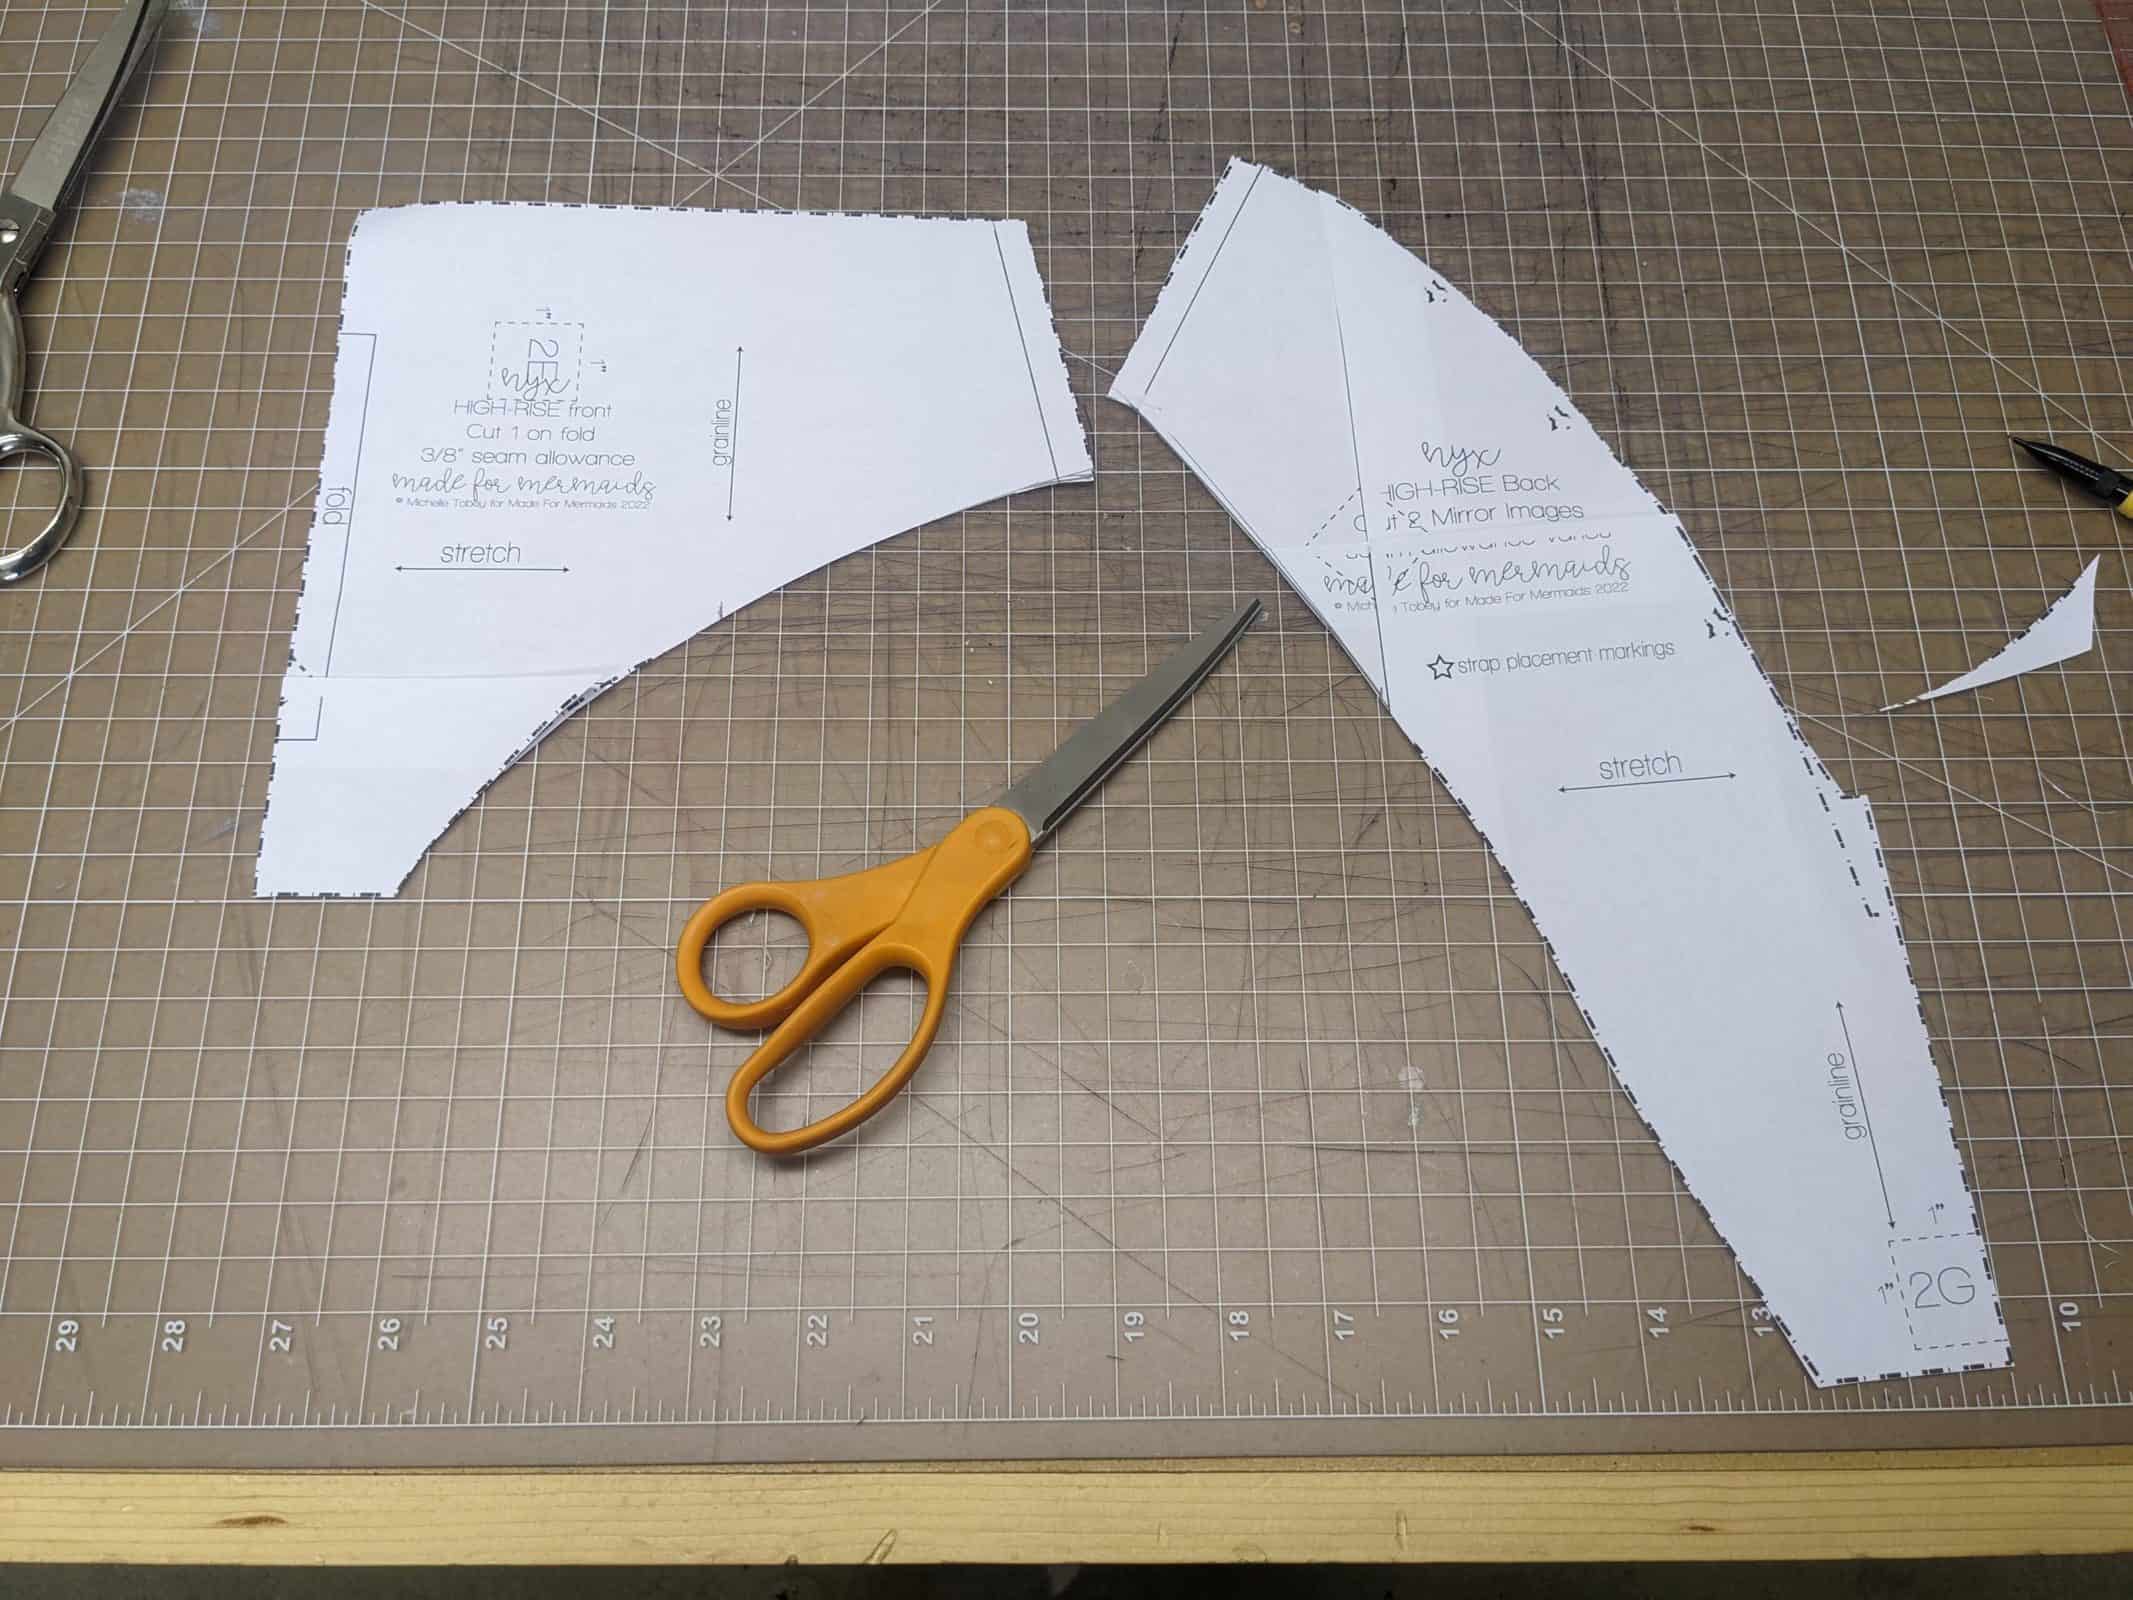
- Trim pieces
- You are now ready to cut out your pattern and
- proceed with the tutorial.
*Adjust the length of your leg elastic as necessary. You may do this by measuring and comparing the lengths of the leg line before and after the alteration. However, lingerie elastics come in all different qualities and I personally prefer to not measure my leg line elastic. I just give the elastic a very slight stretch while attaching. (except for the crotch area, try to sew the elastic without stretching there. This will be more comfortable) By using this method my underwear always fits perfectly.
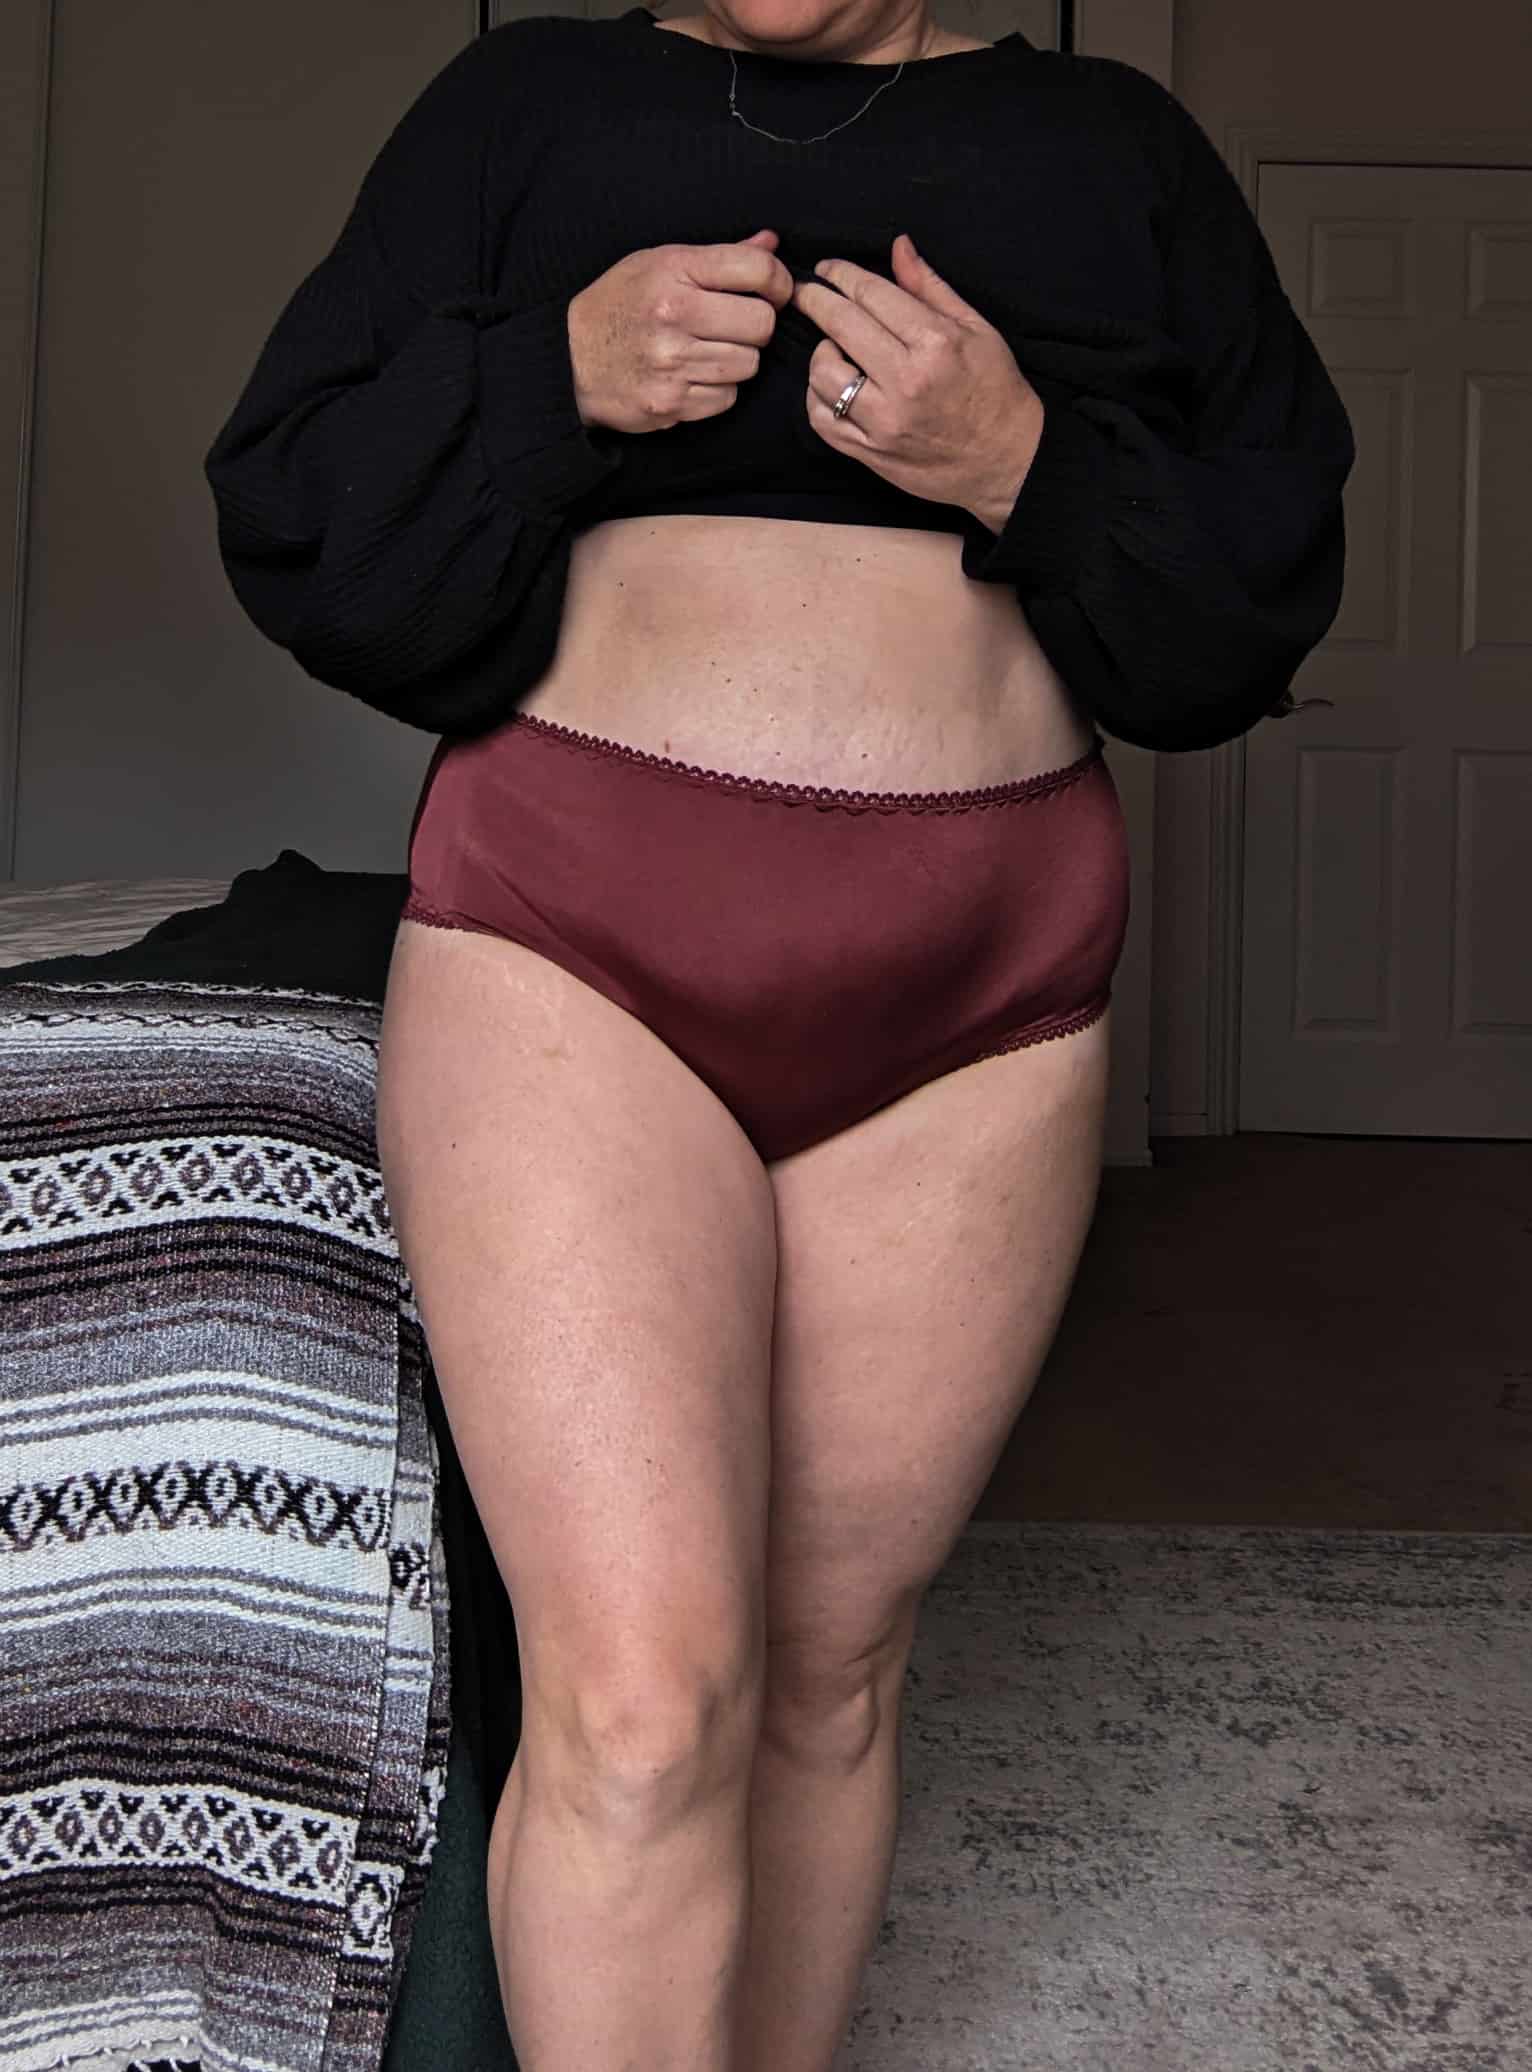
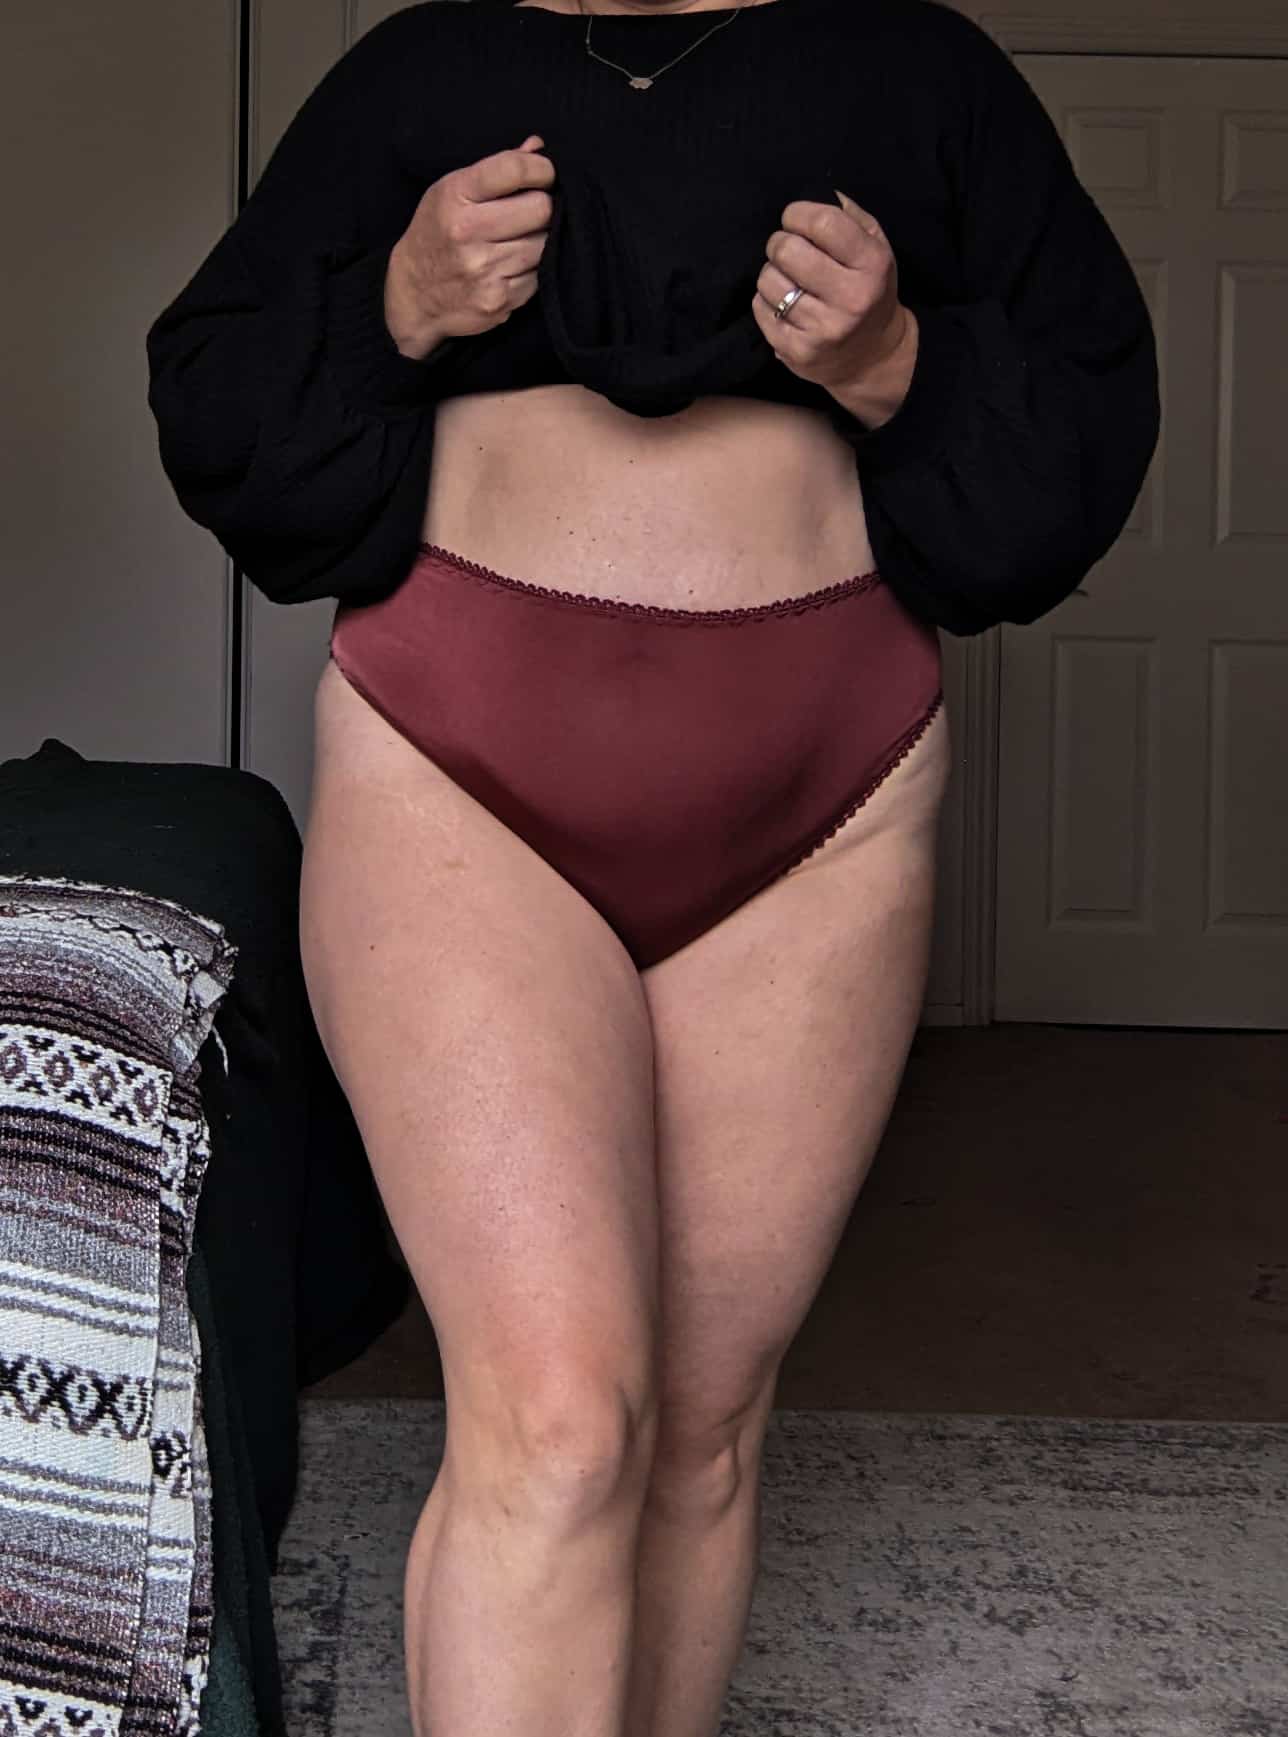
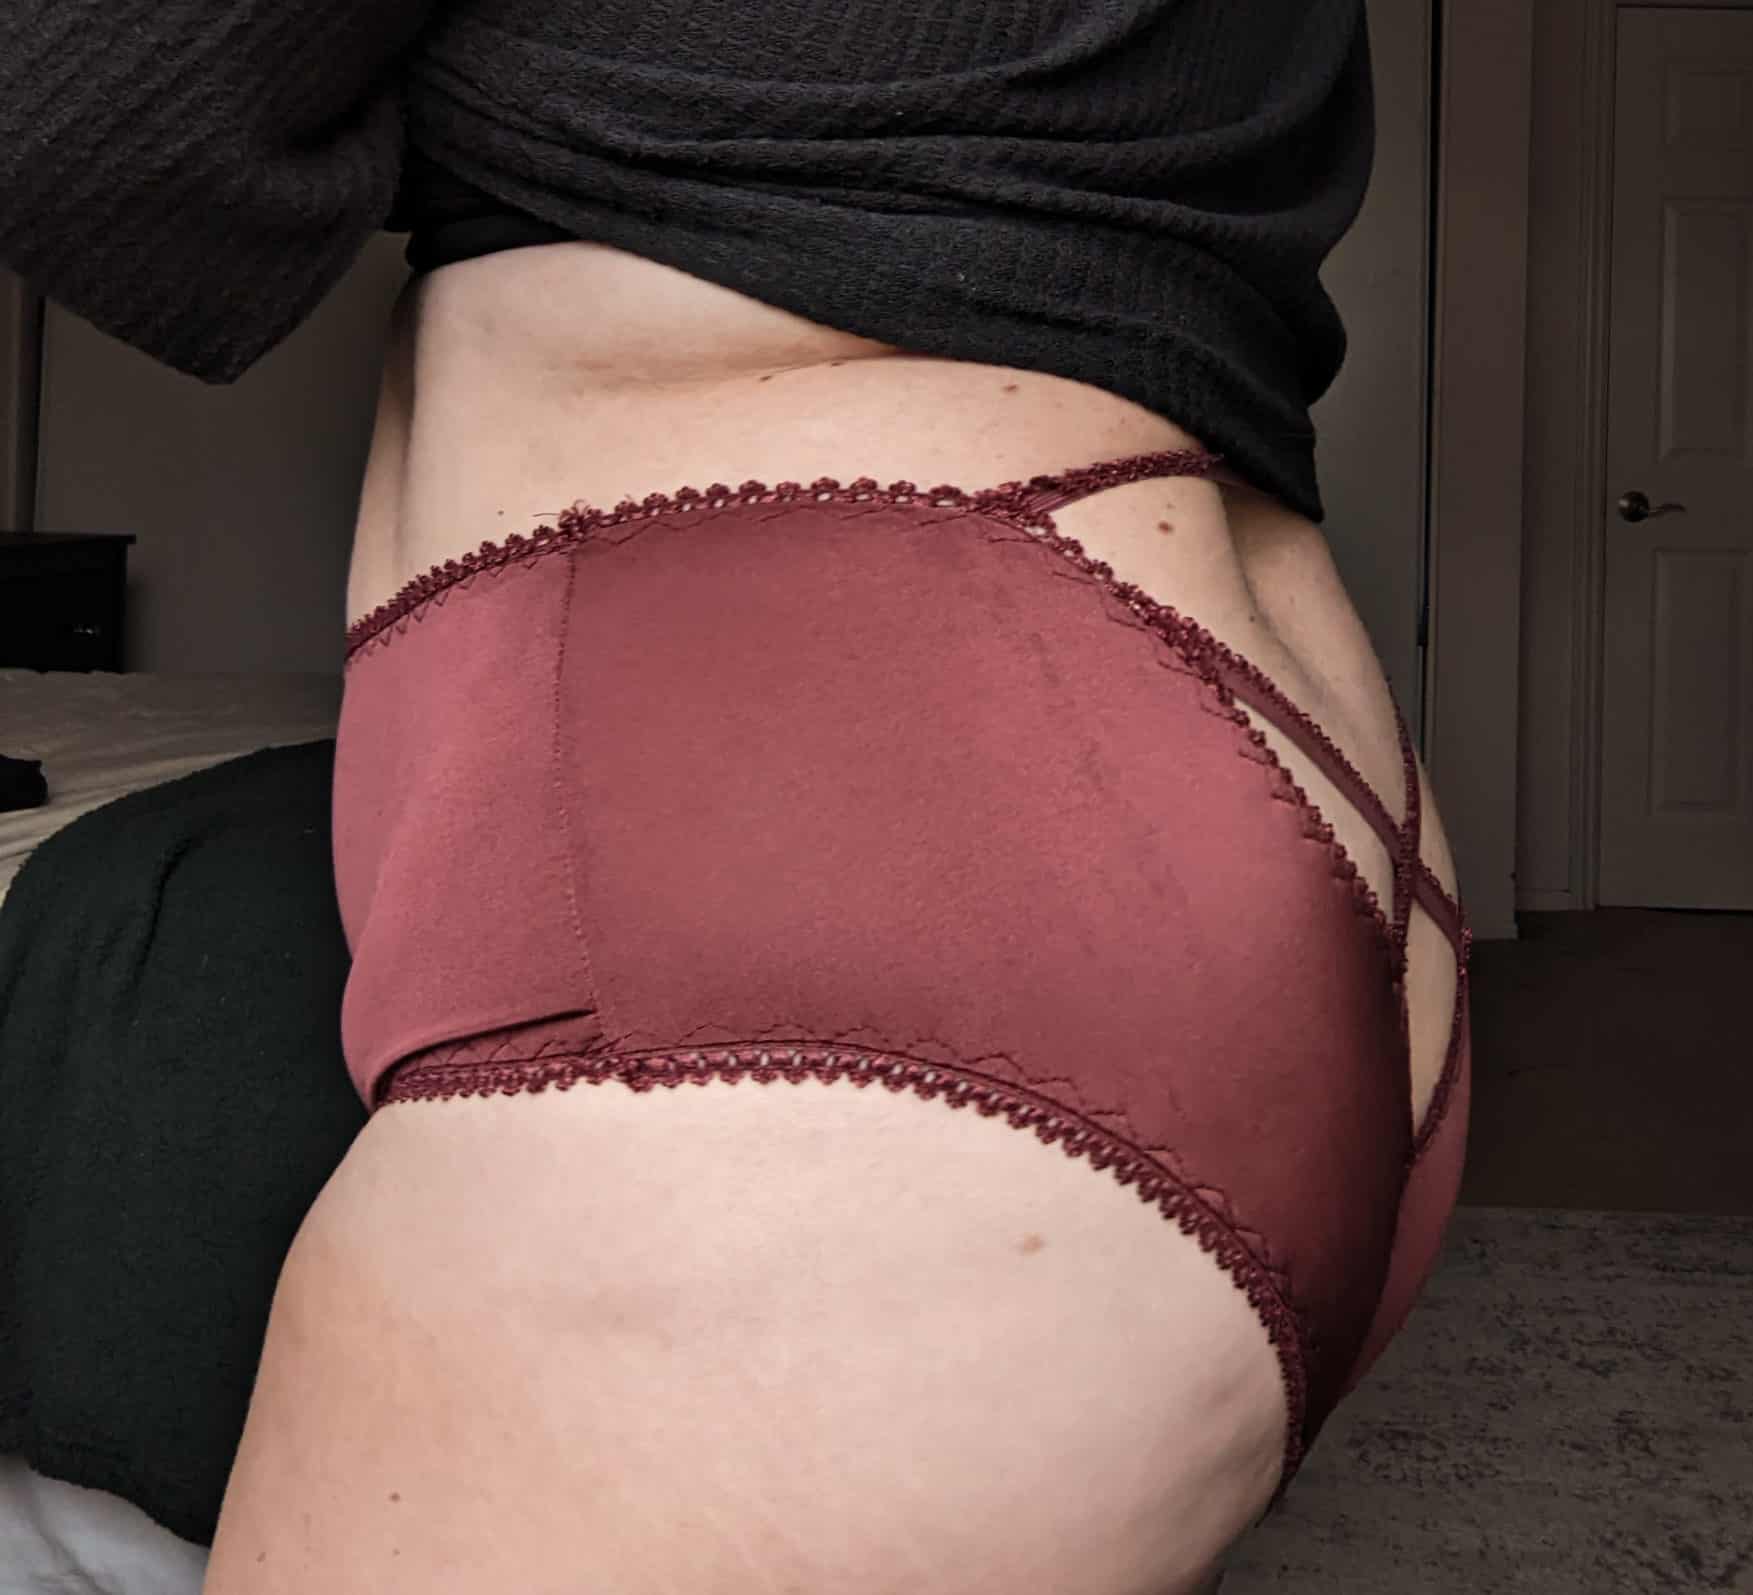
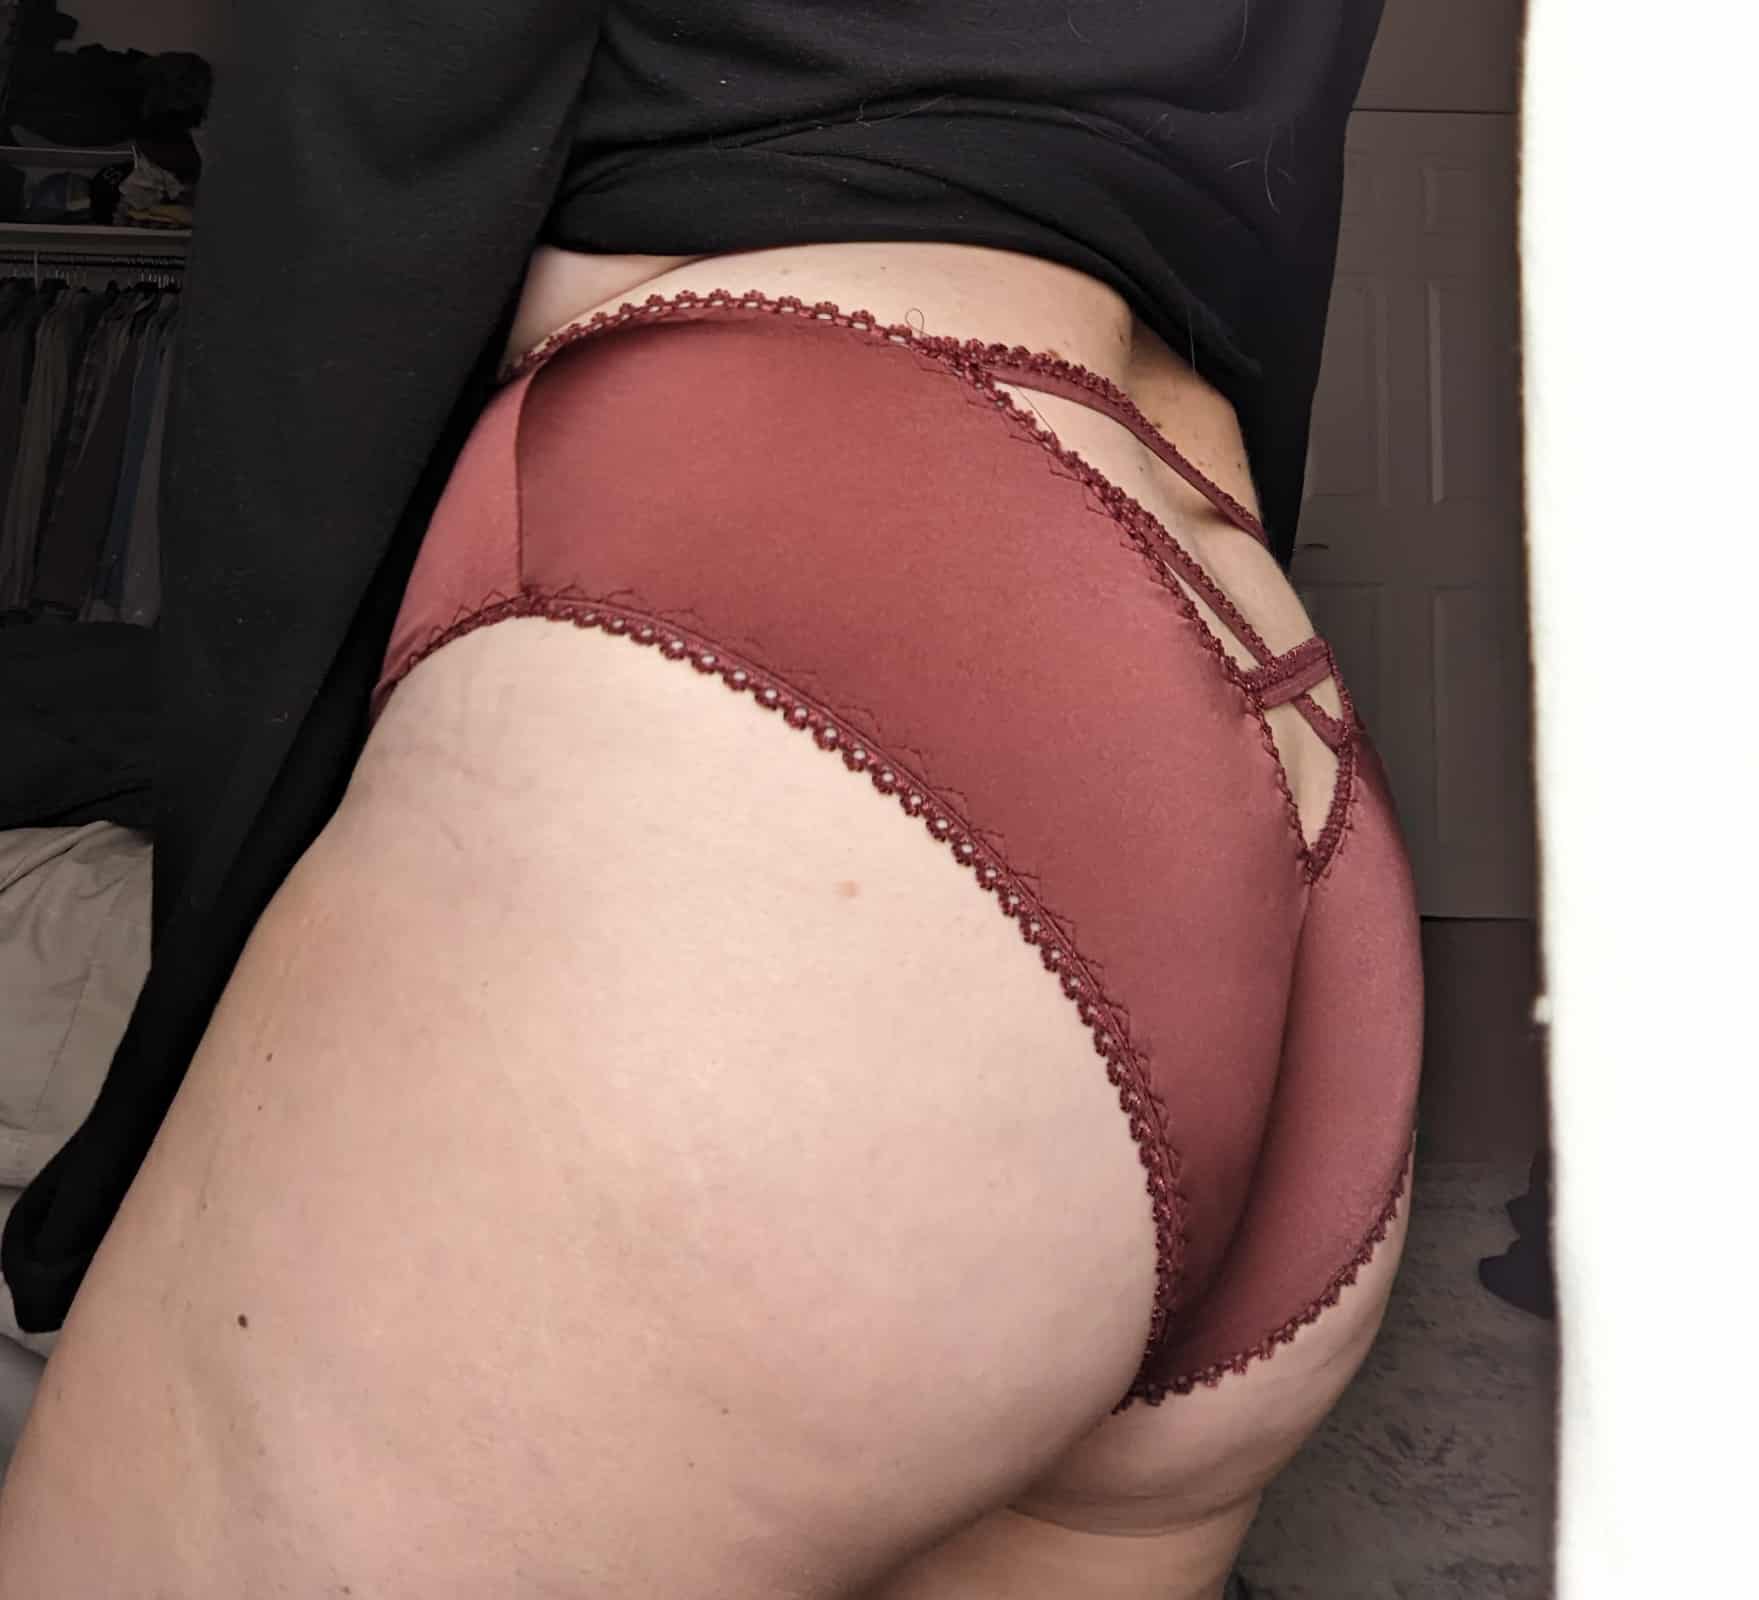
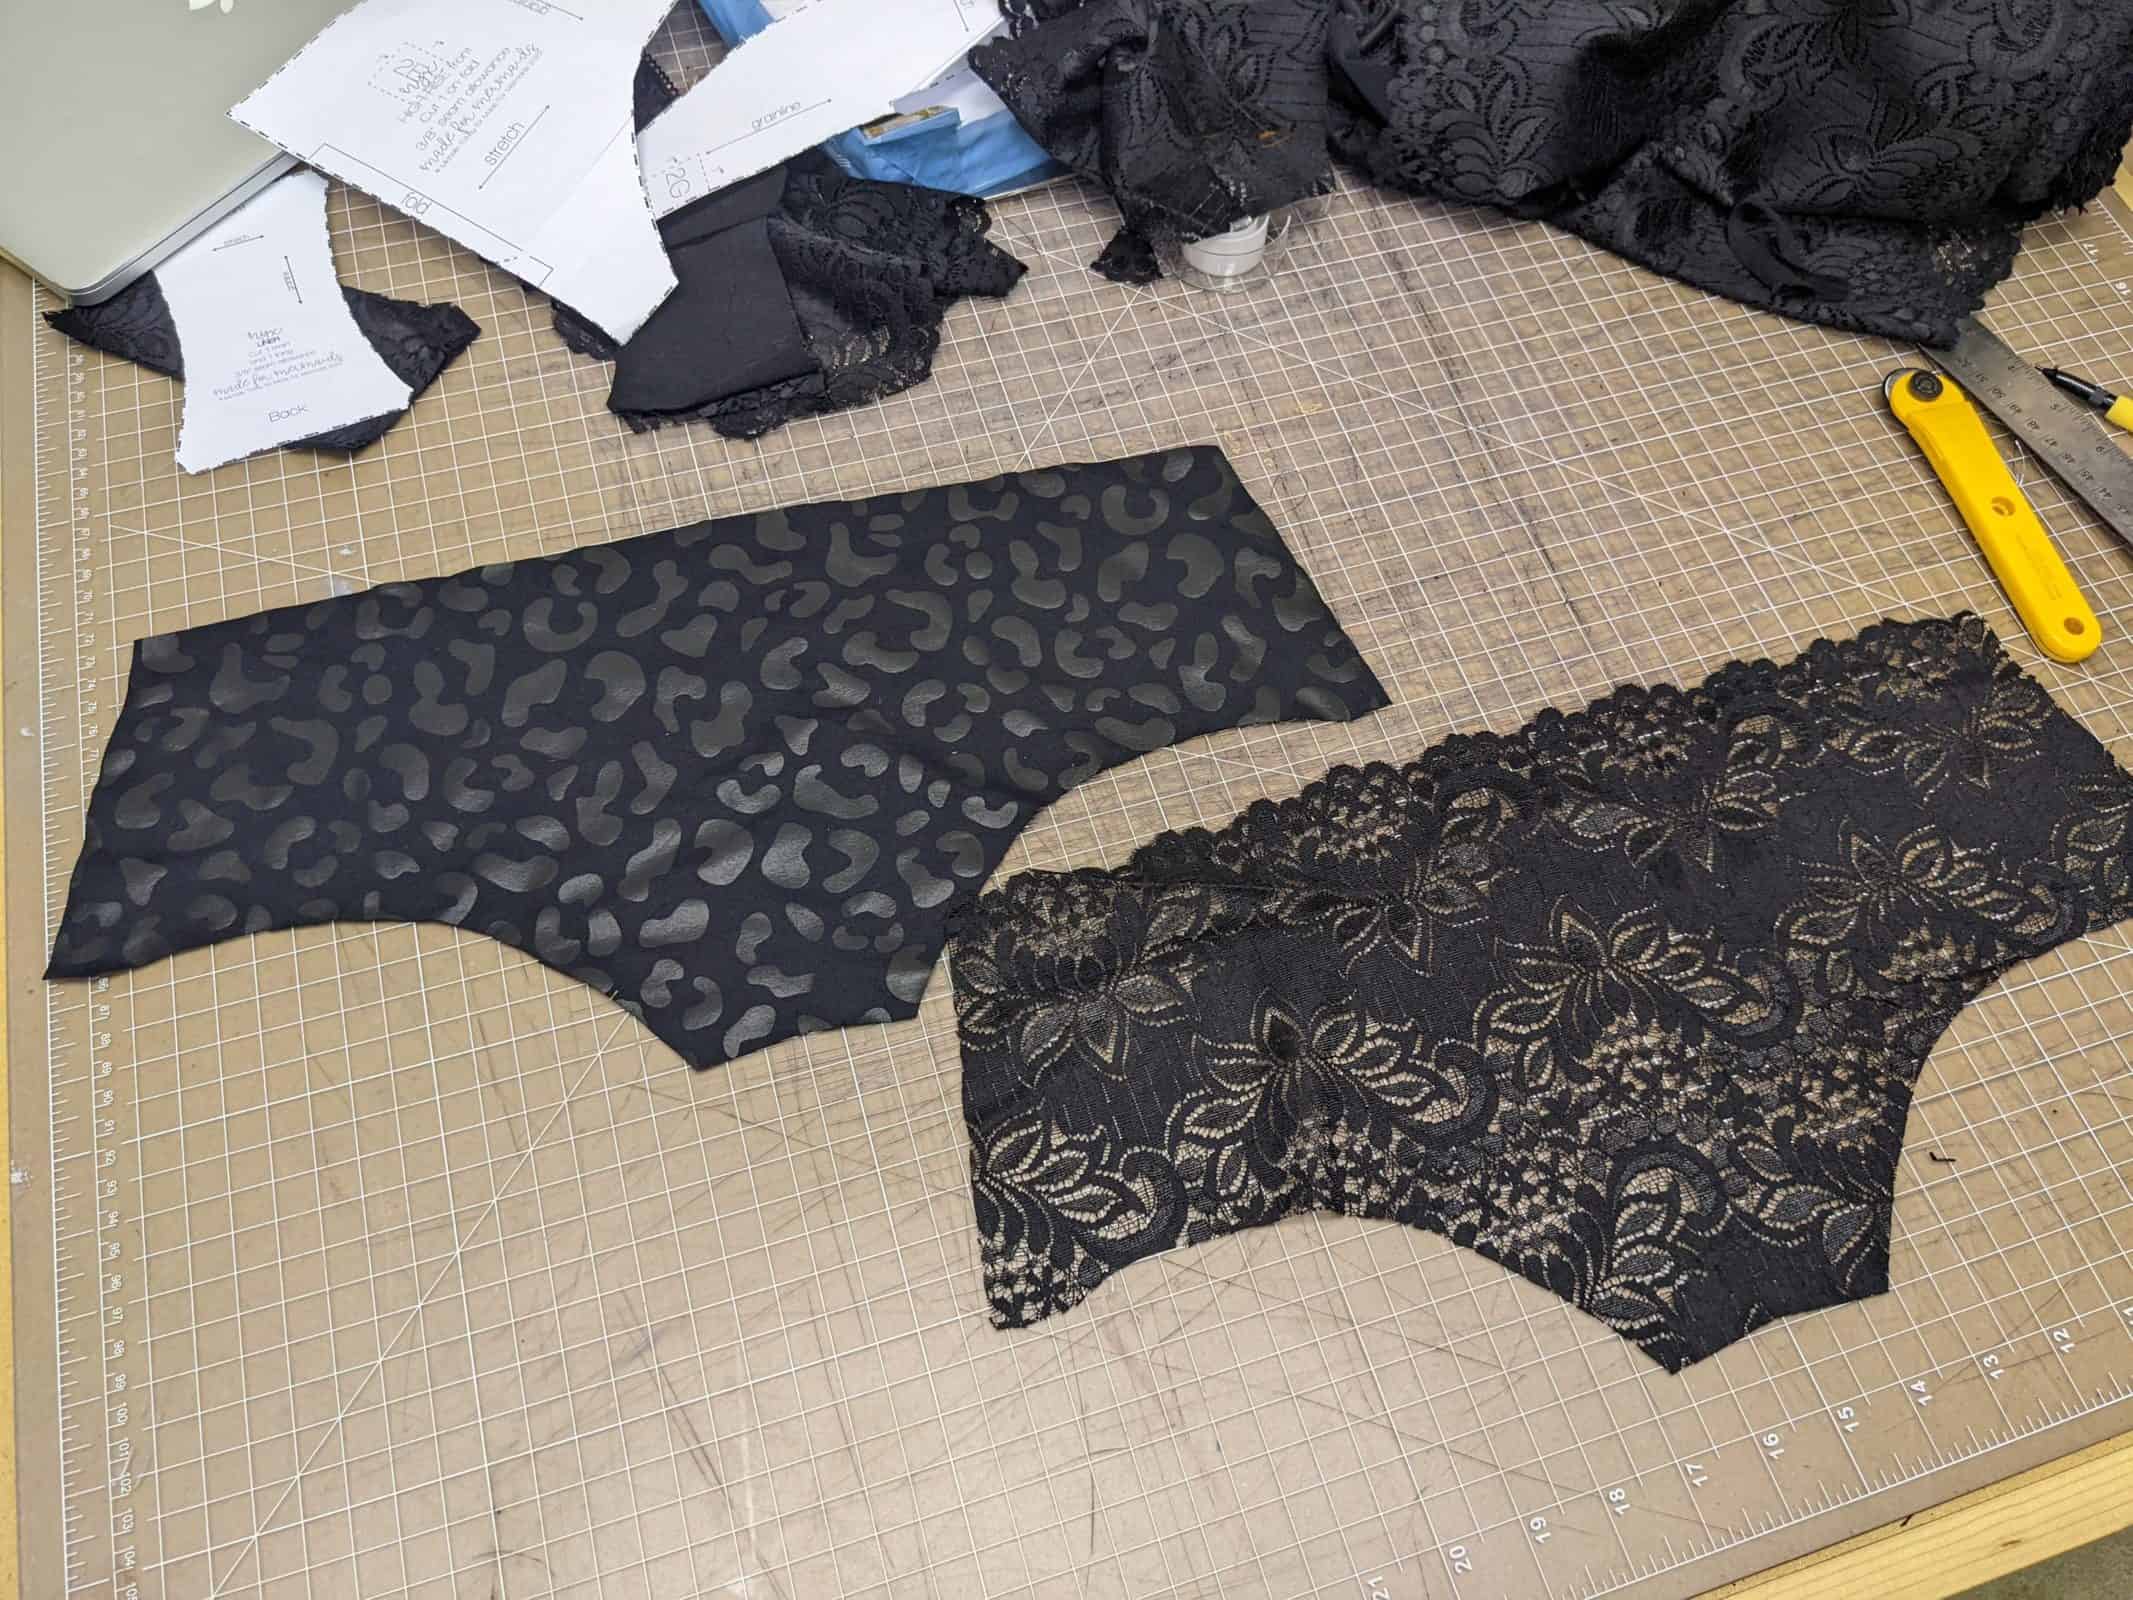
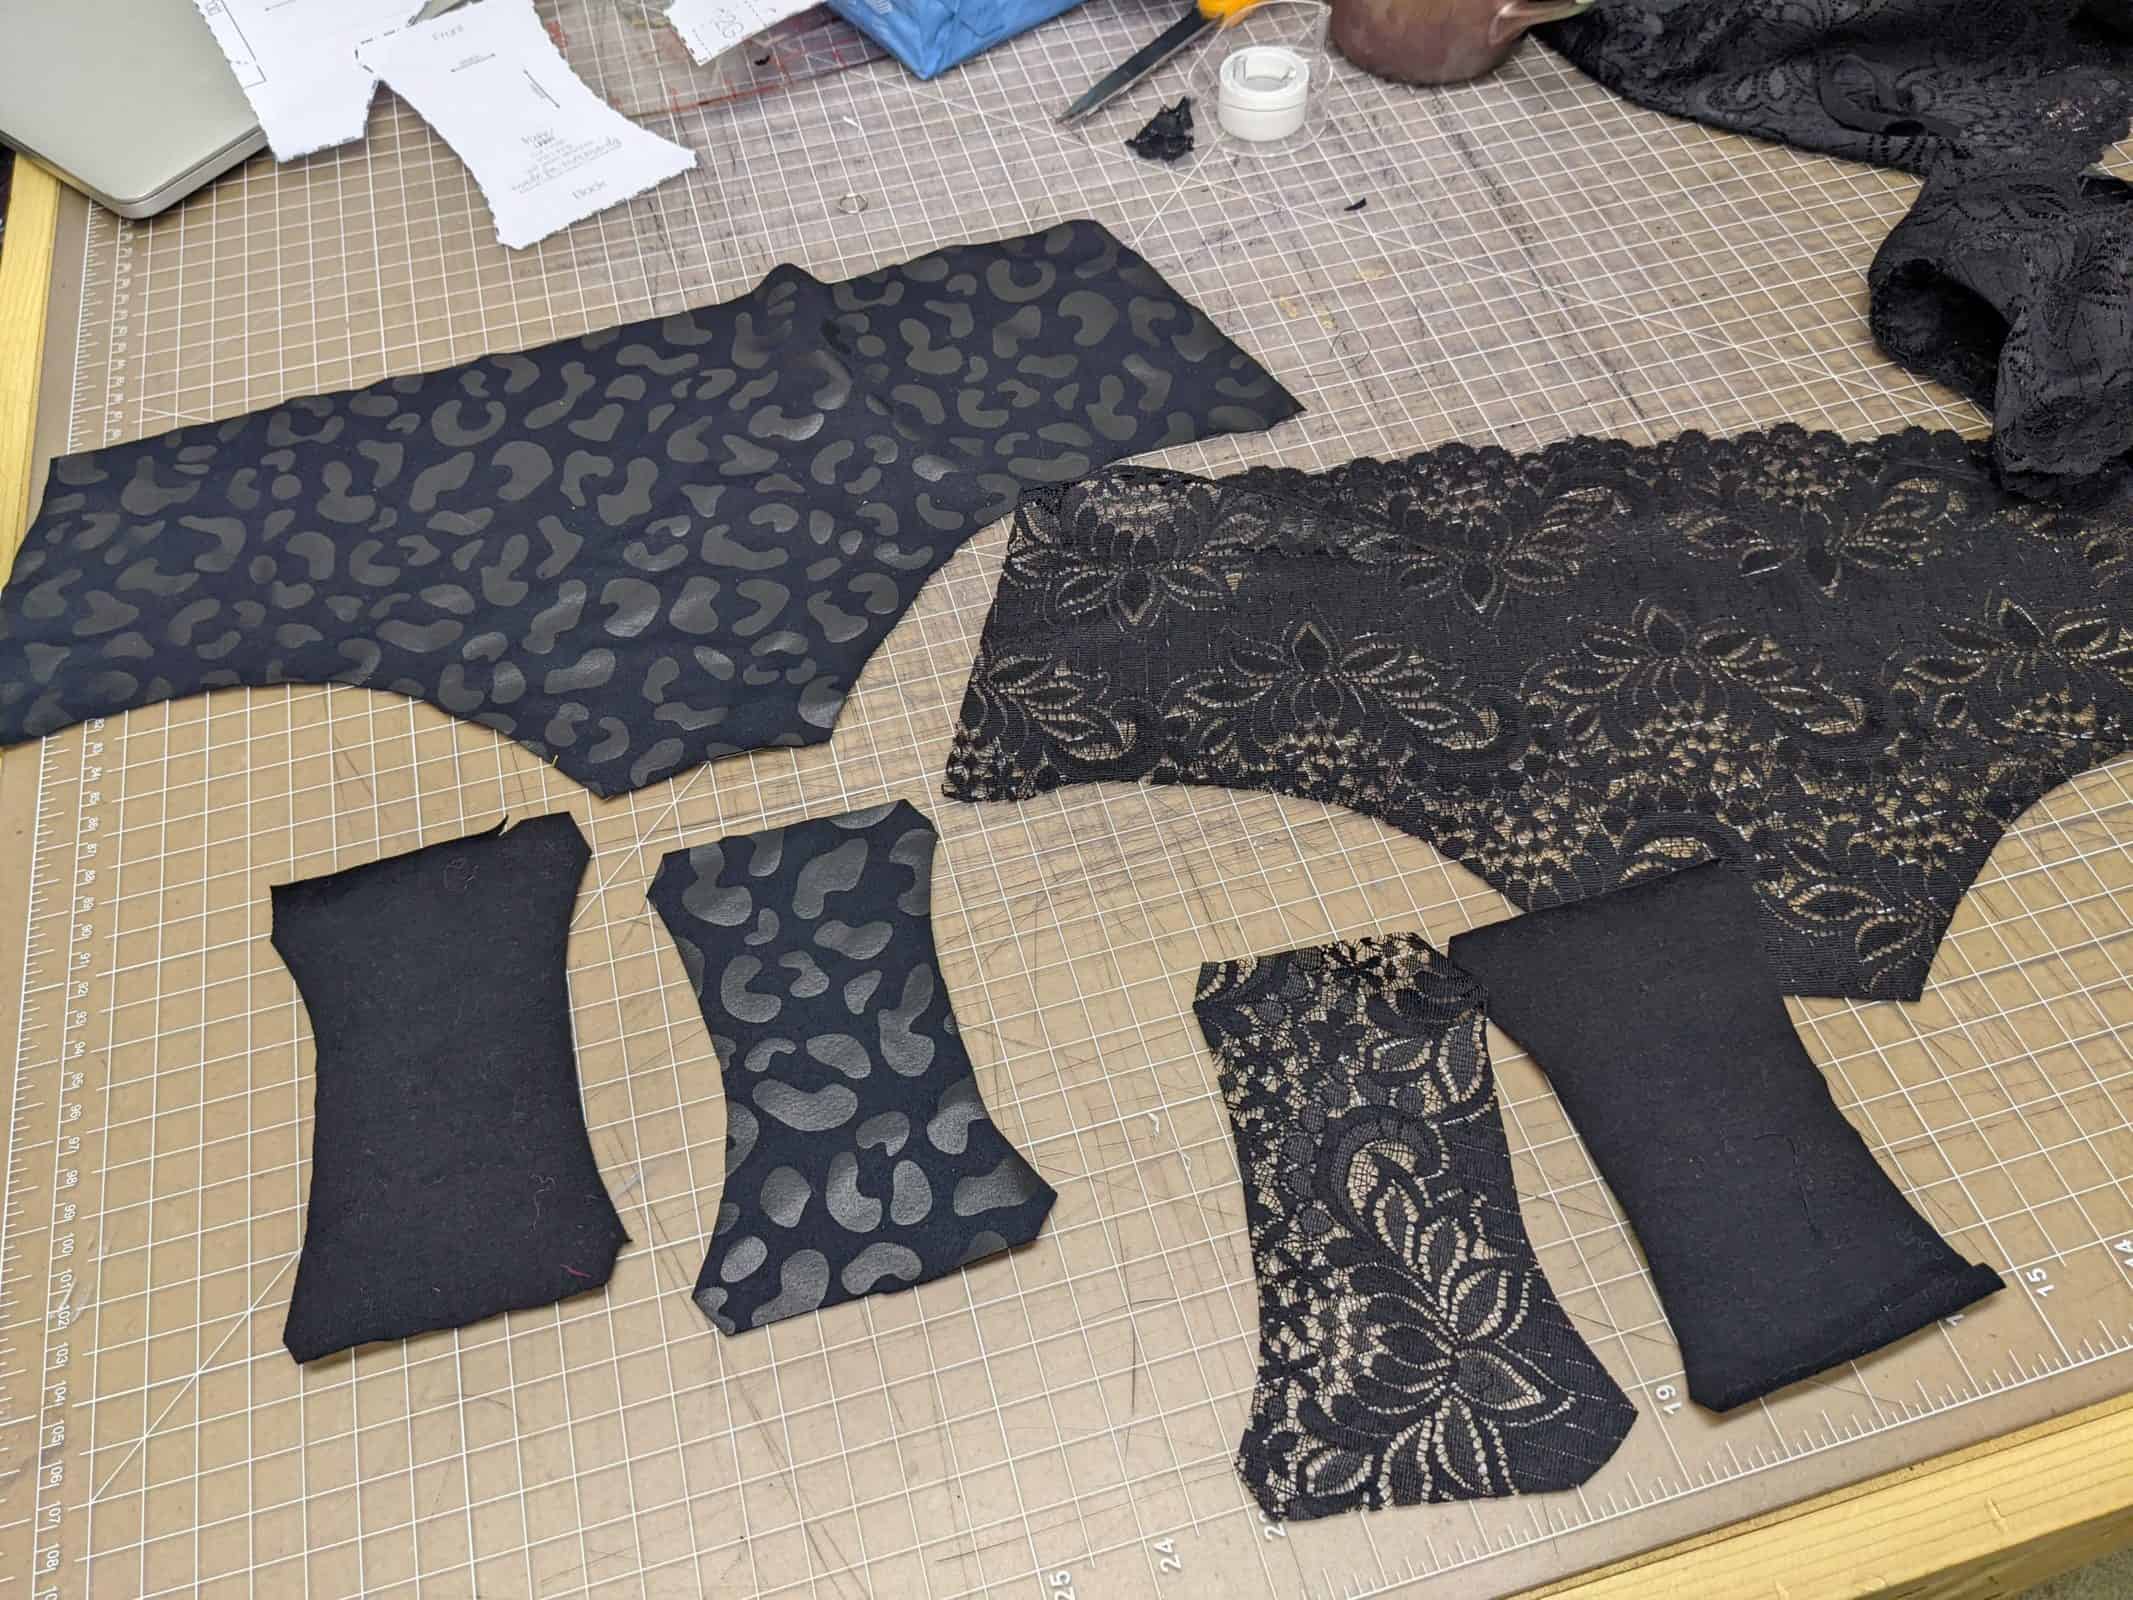
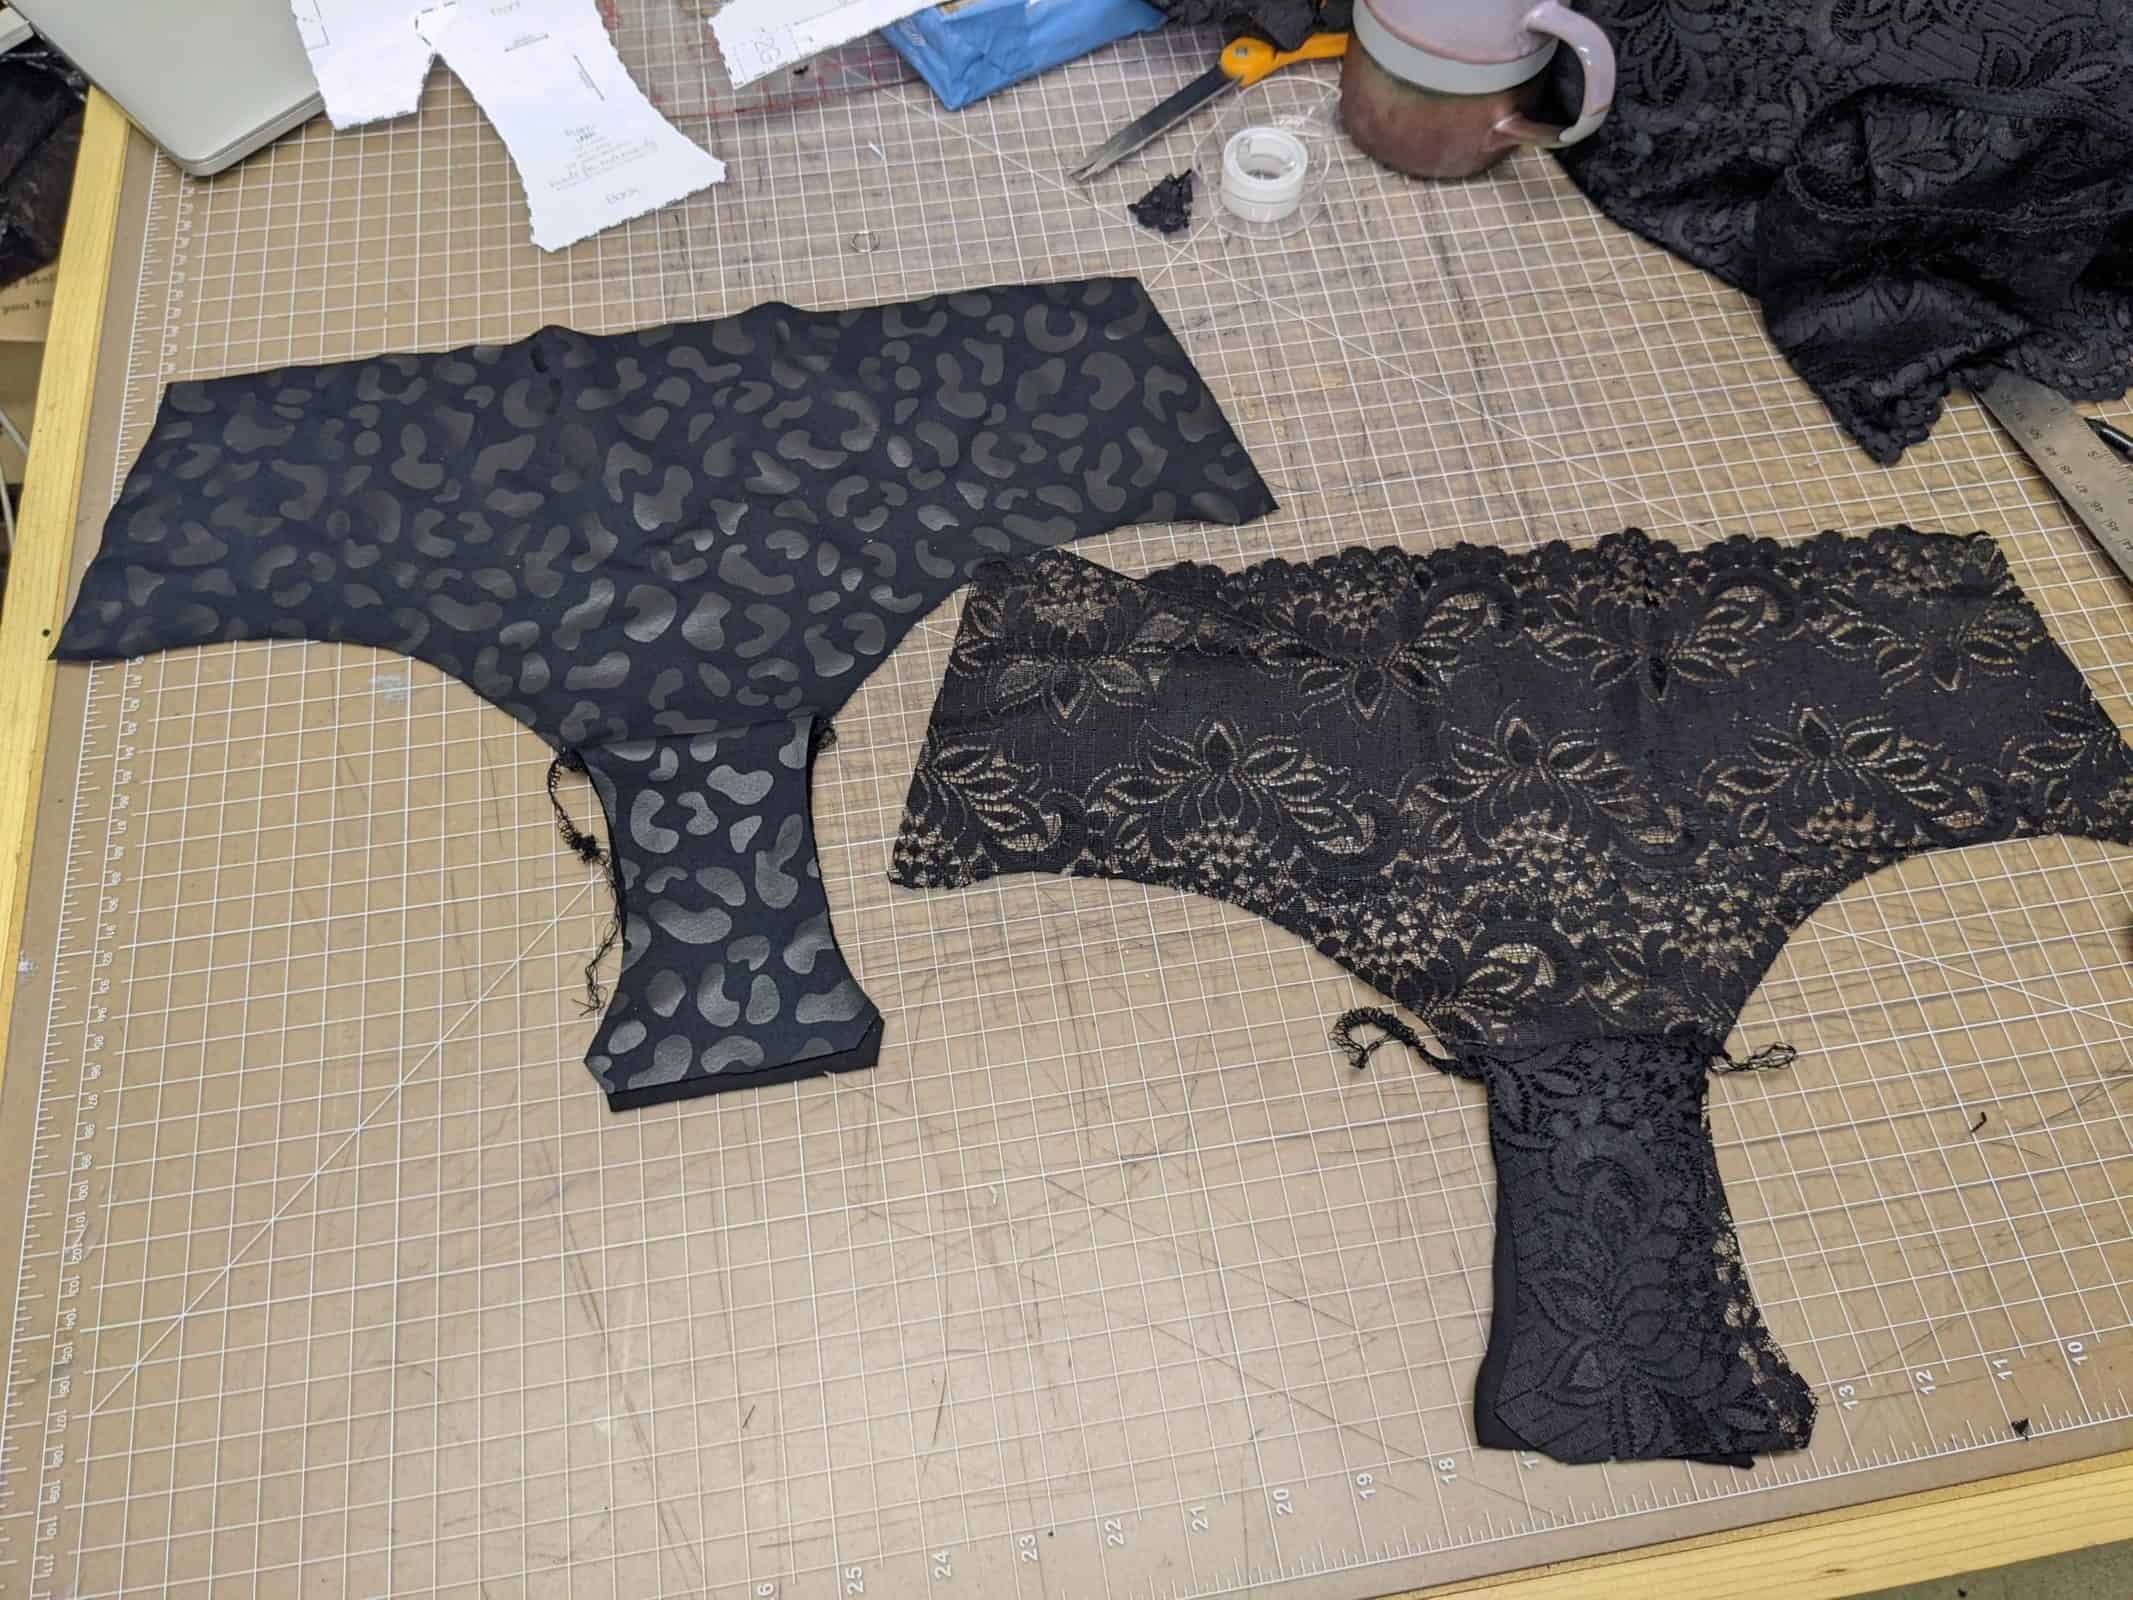
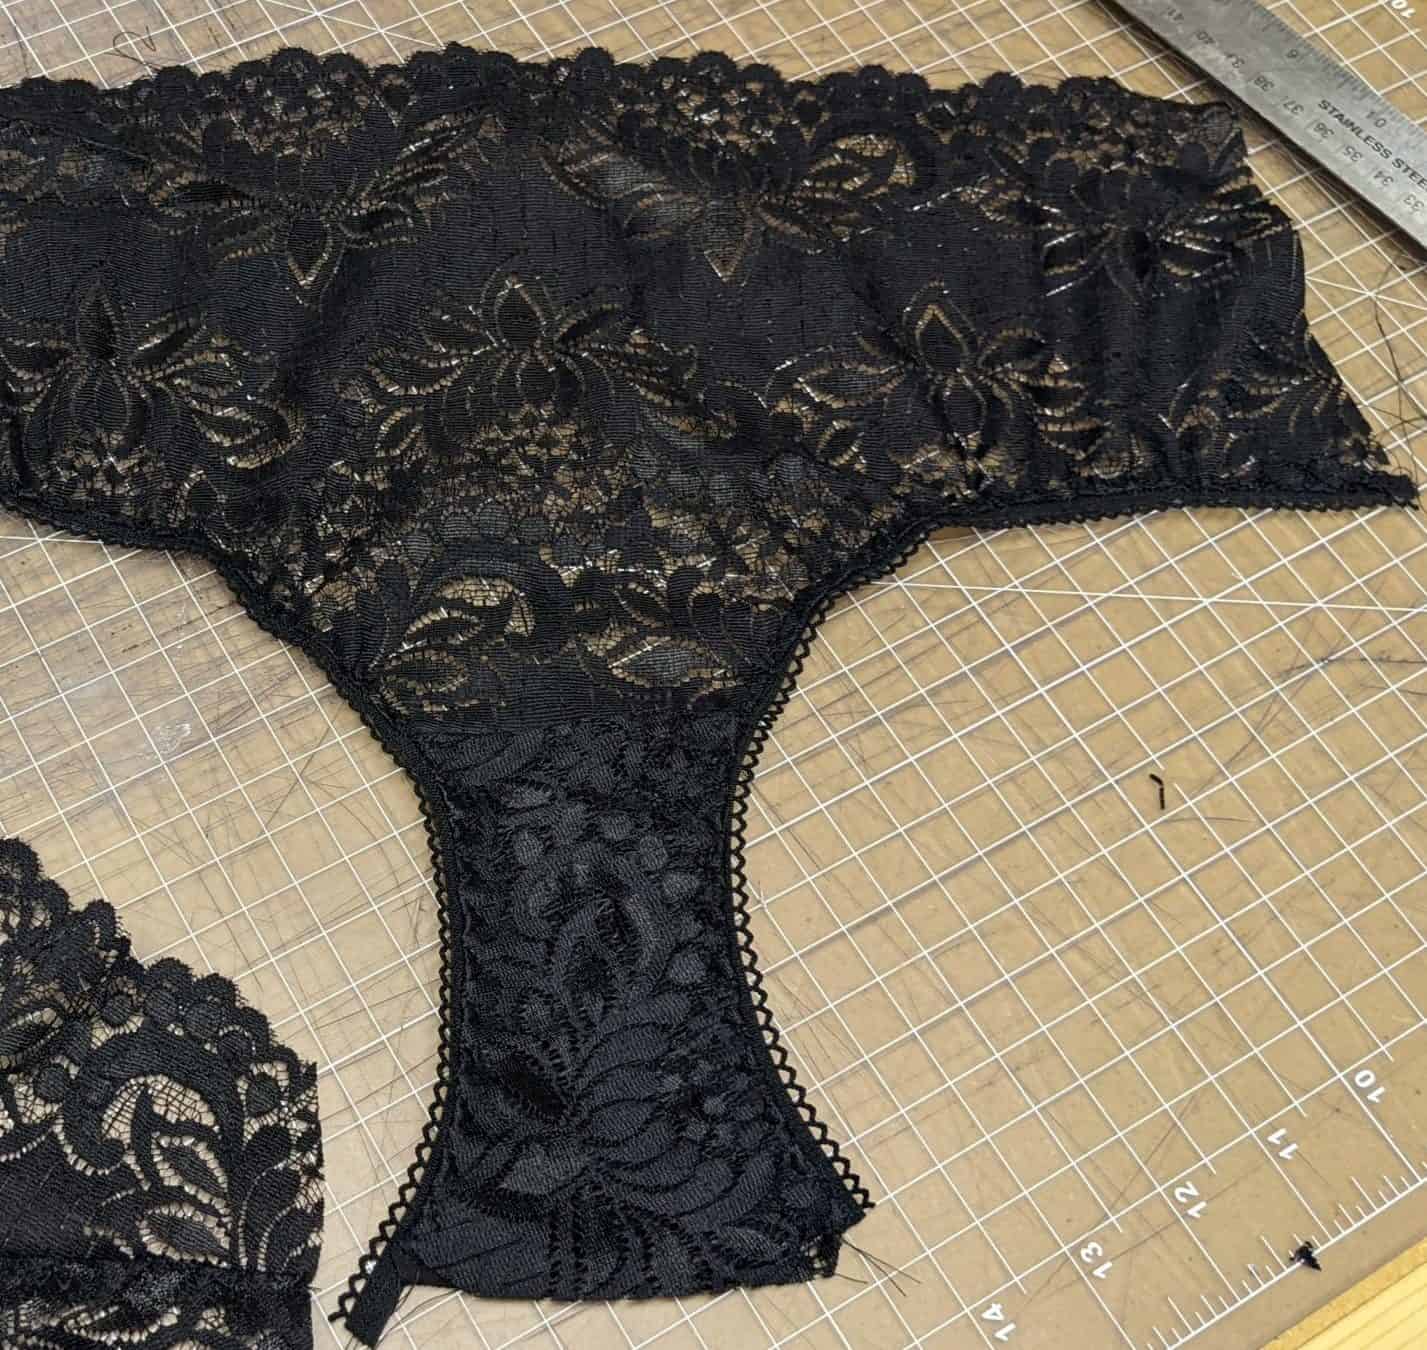
- Original Nyx
- Altered Legline Nyx
- Original Nyx
- Altered Legline Nyx
NOTE: For these garments, I used ITY Fabric and Picot Elastic.
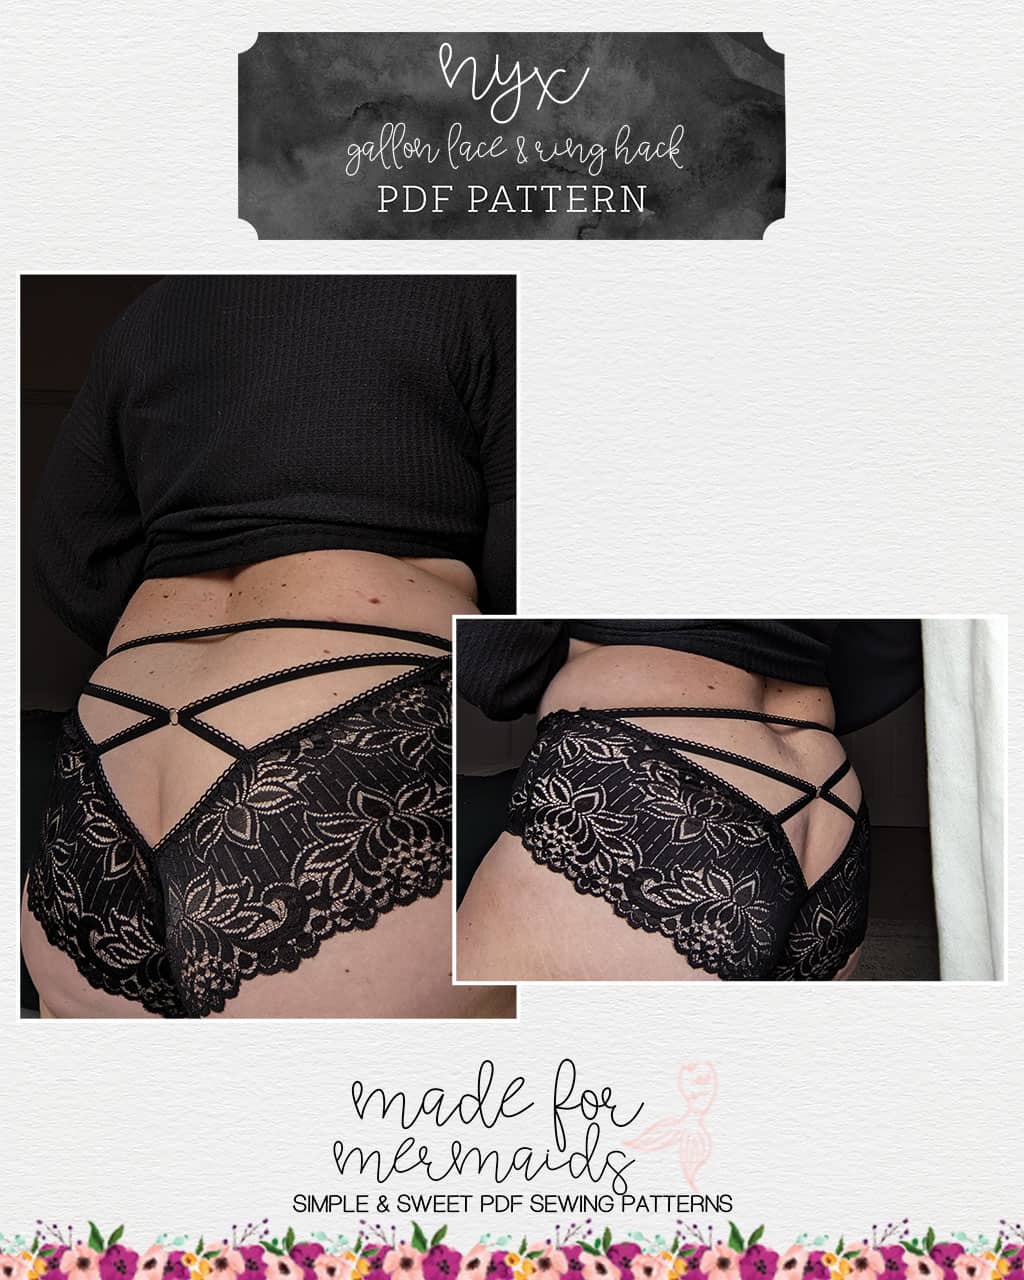
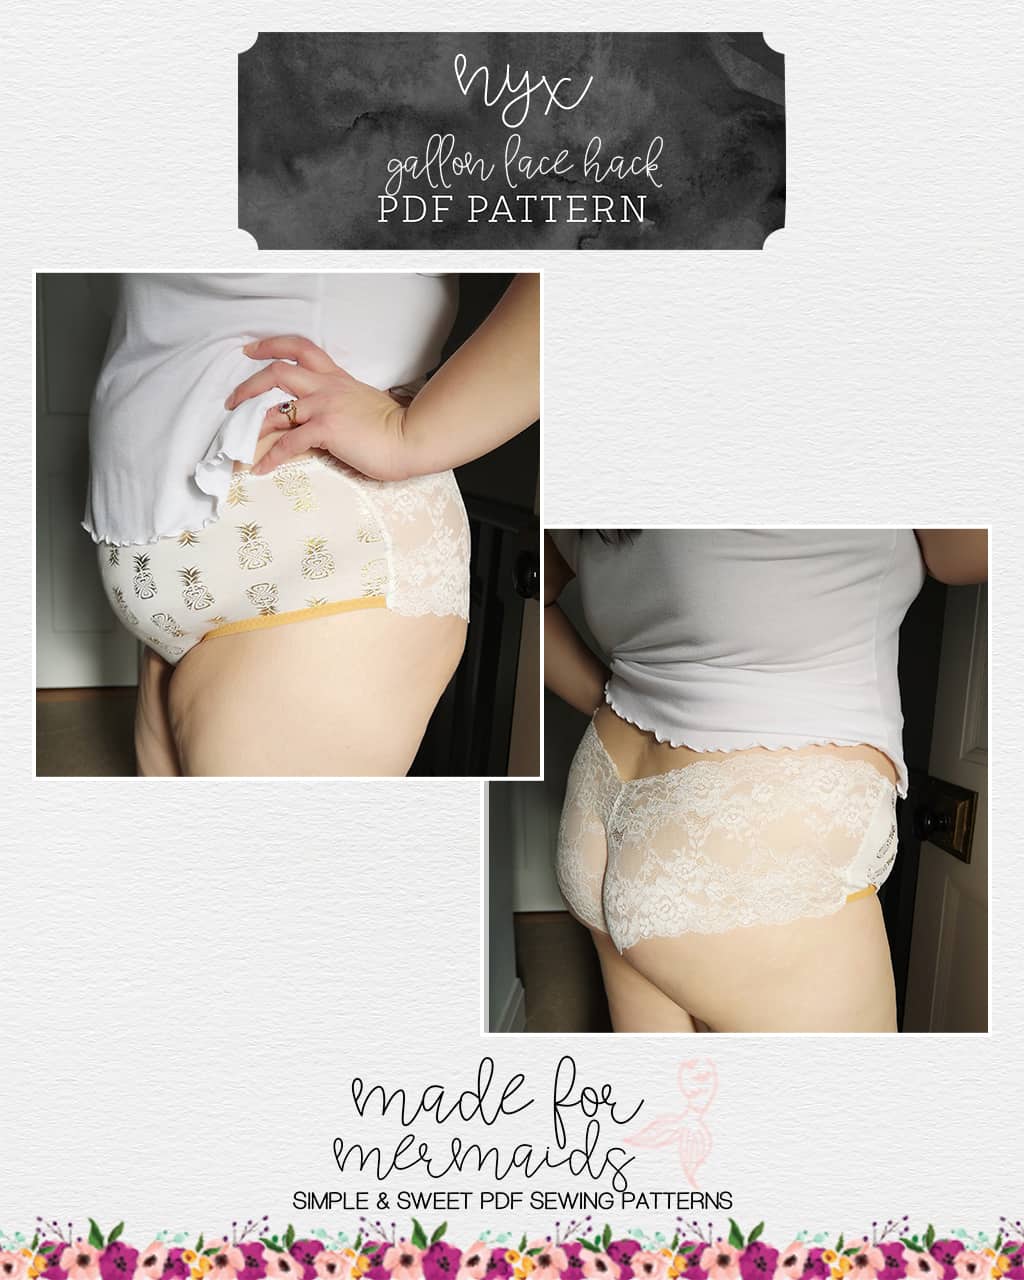
Galloon Lace Hack & Ring Finish
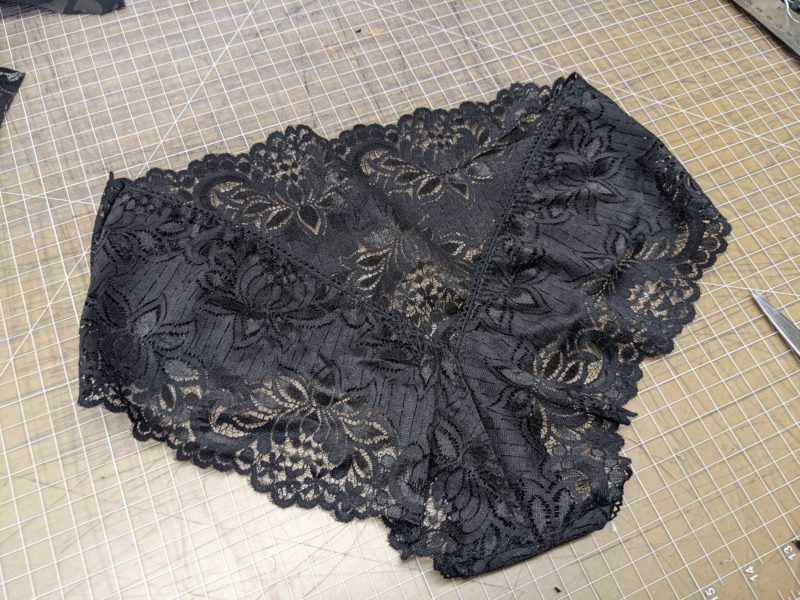
As new patterns release, I like to search Pinterest for inspiration when it comes to fabric choices and pattern options. I came across this ready-to-wear pair of underwear with galloon lace and a strappy ring finish, and I knew that I needed to try it with the new Nyx Pattern.
When playing with the Nyx Pattern and my supplies, I ended up making 2 different galloon lace and ring finish options. I will walk you through those so you can easily make them for yourself.
- Galloon Finish A
- Galloon Finish B
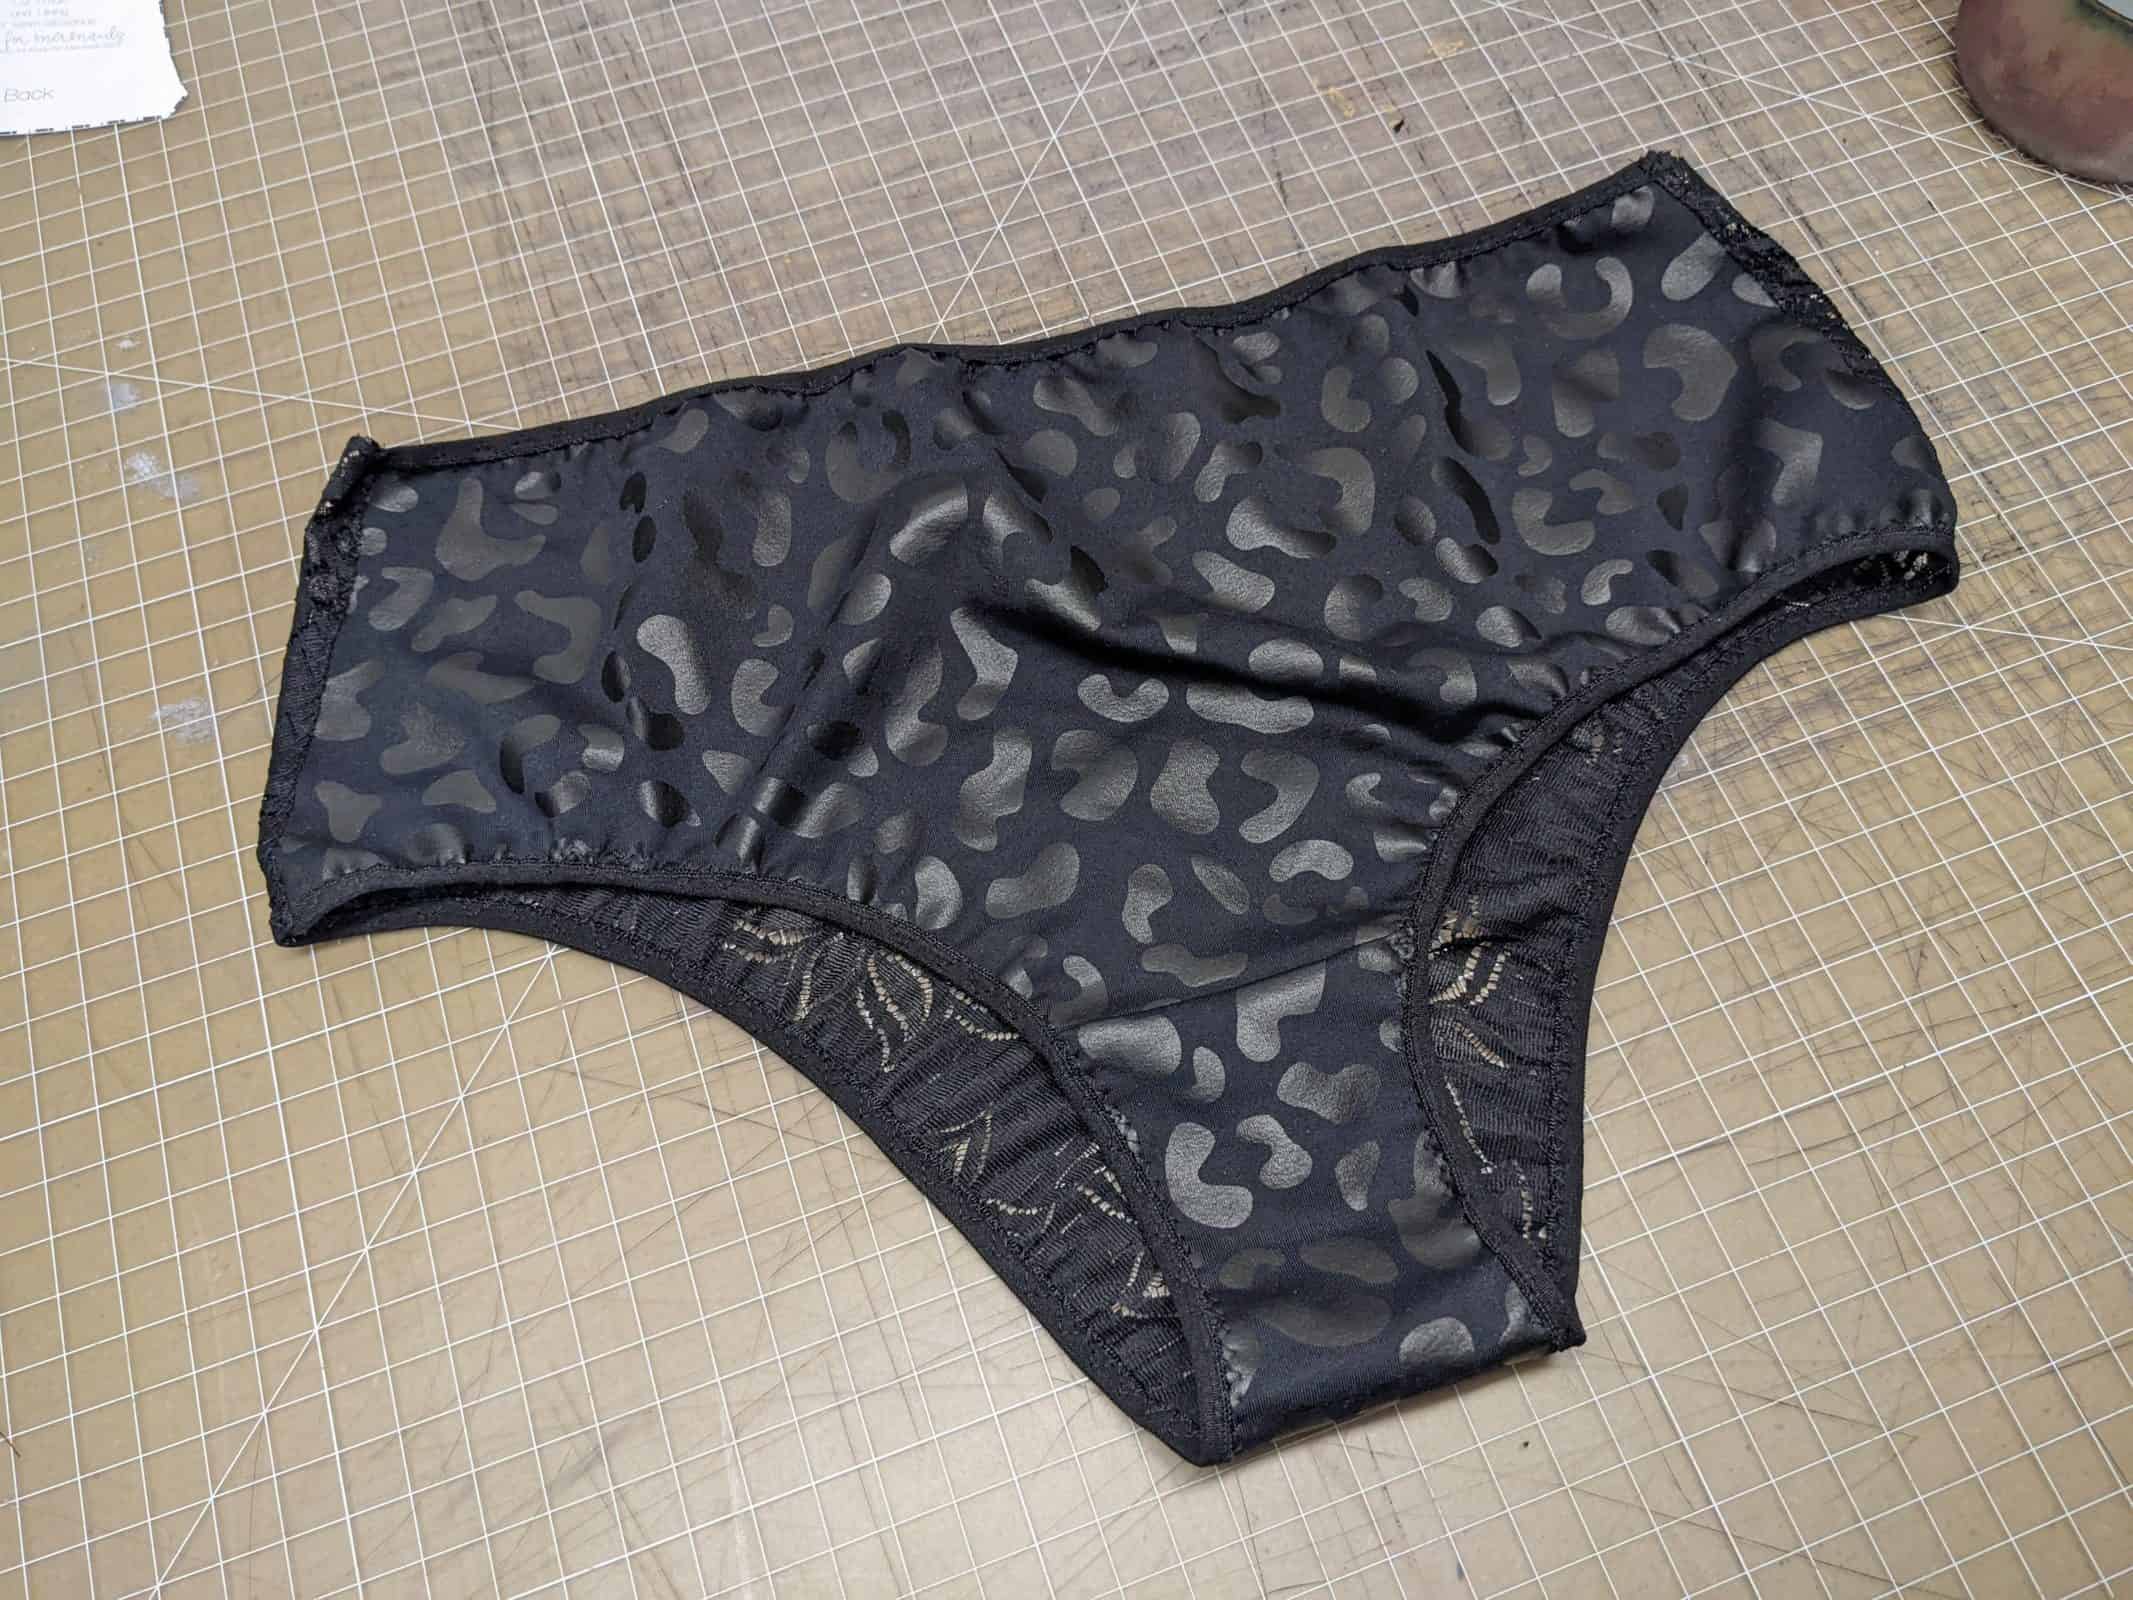
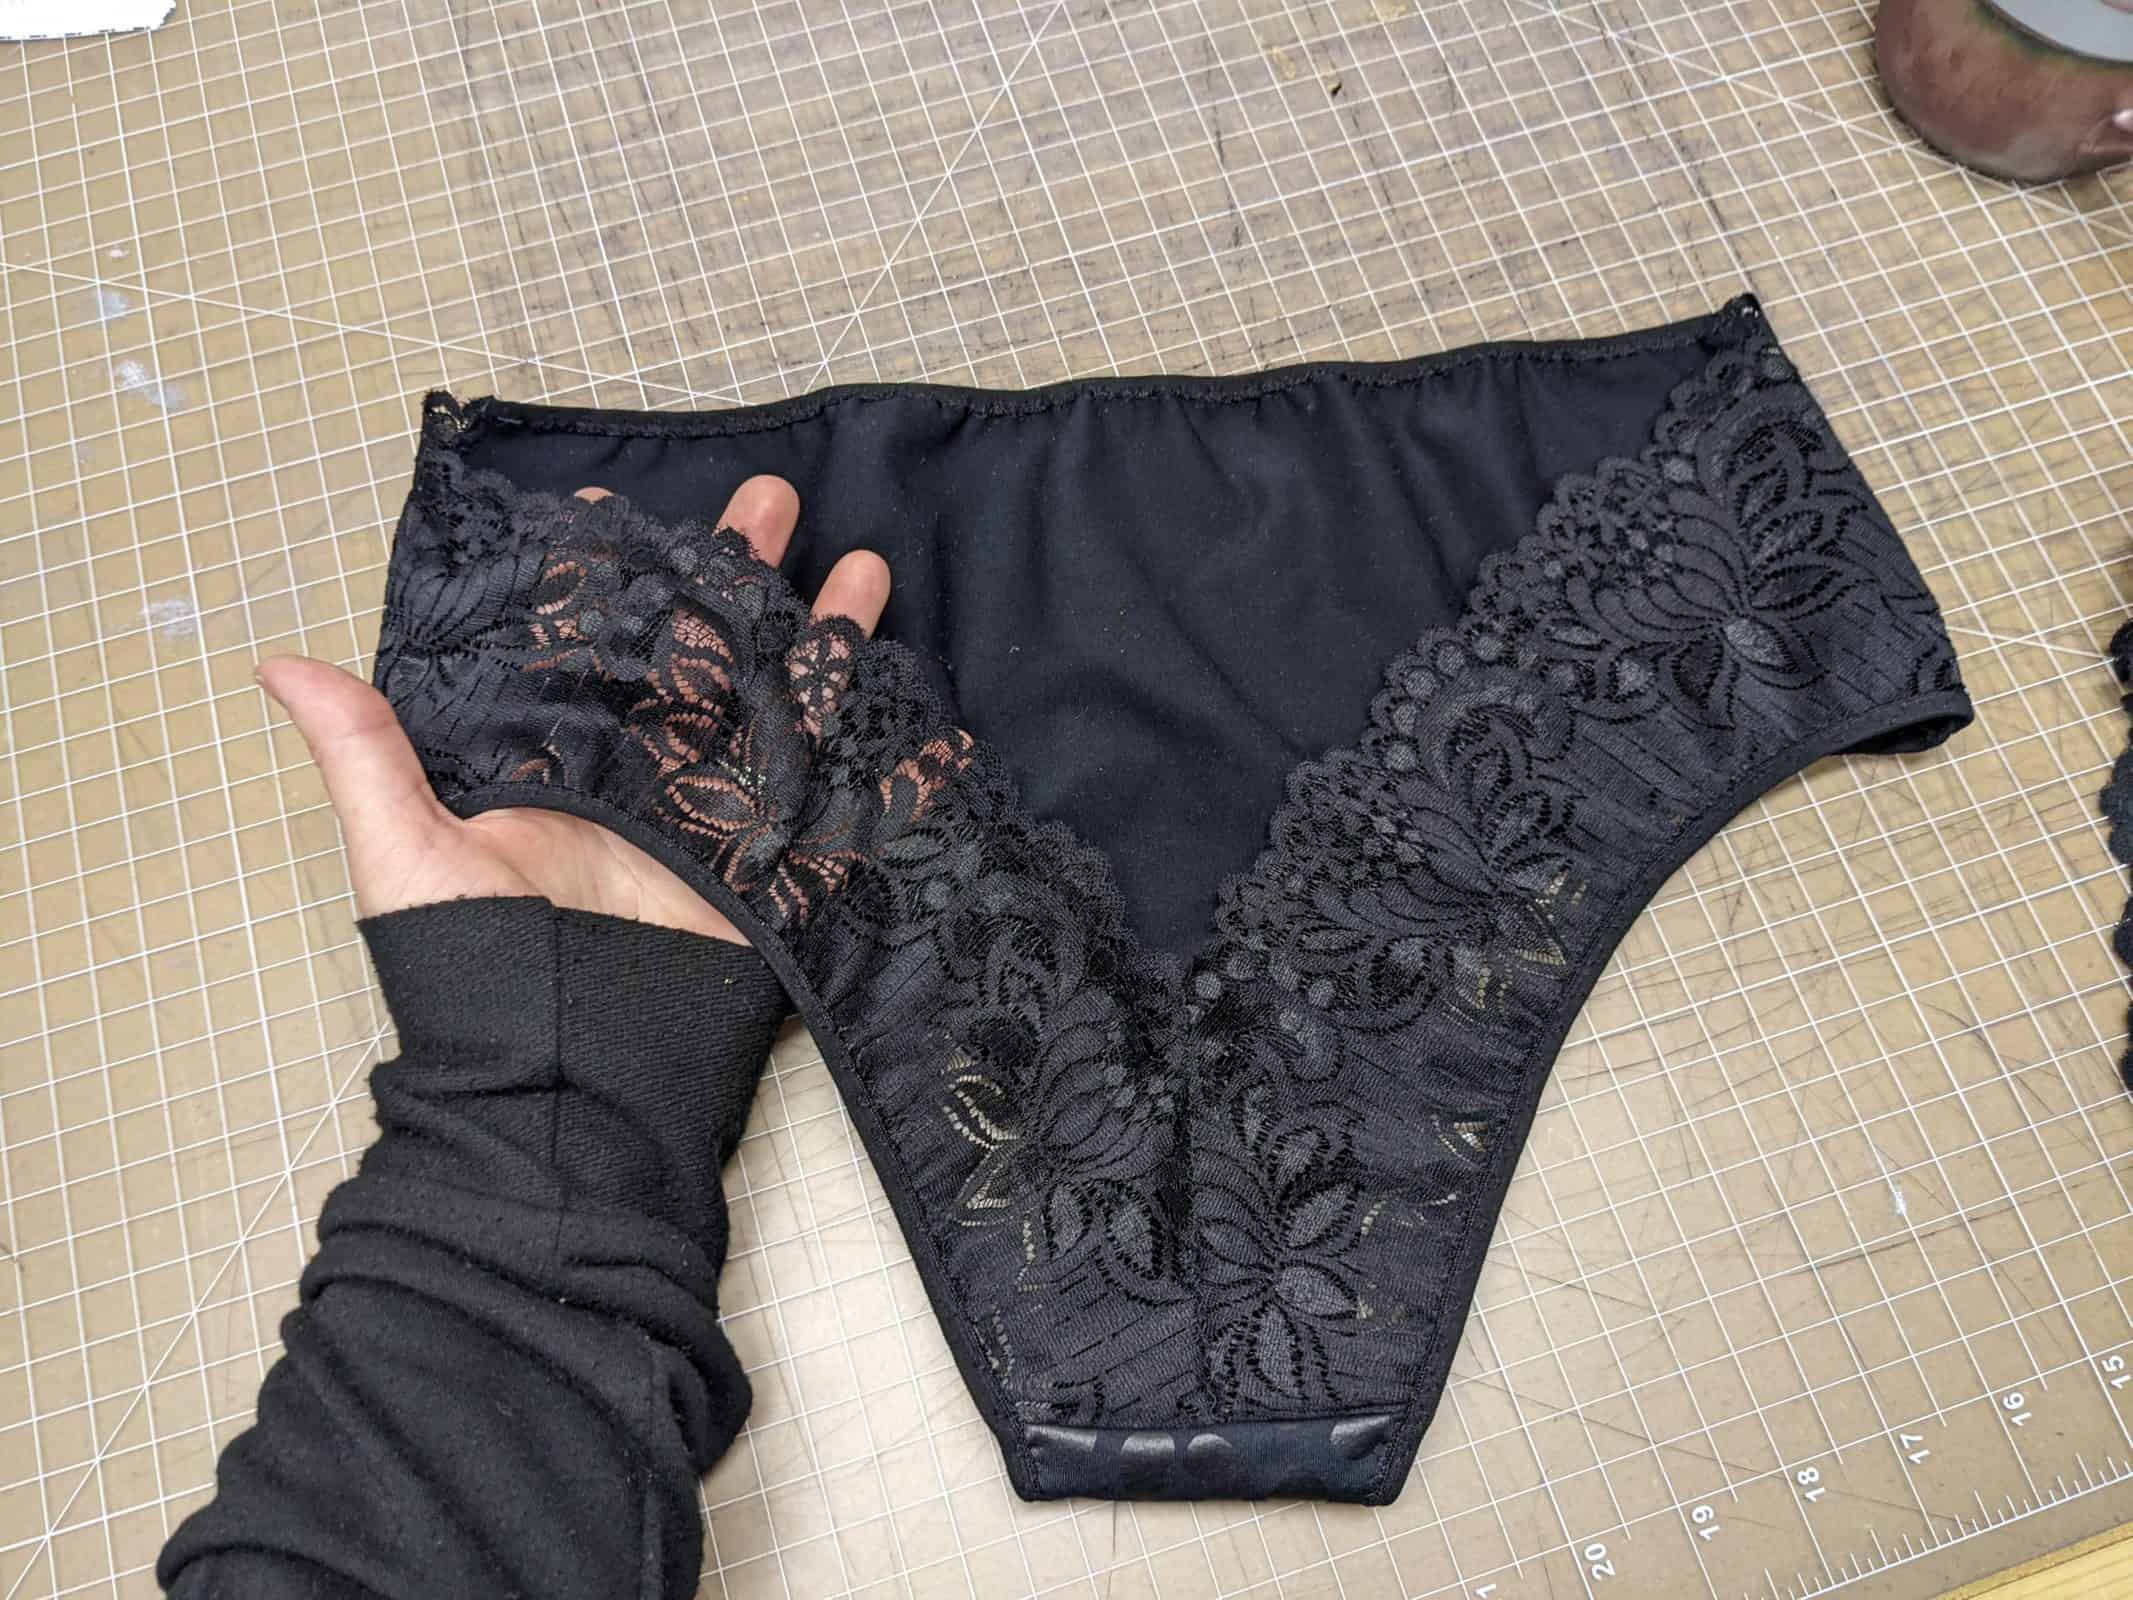
Galloon Finish A: will have a galloon finished front waistline and lower leg line and will also have a criss-cross ring finish.
Galloon Finish B: will have a back waistline galloon finish and a sunburst ring finish.
NOTE: You may choose to skip the rings and complete the straps as per pattern.
For each of these hacks, you will need:
- Printed Nyx pattern
- Stretch Galloon Lace
- Metal Lingerie Ring (bra strap ring)
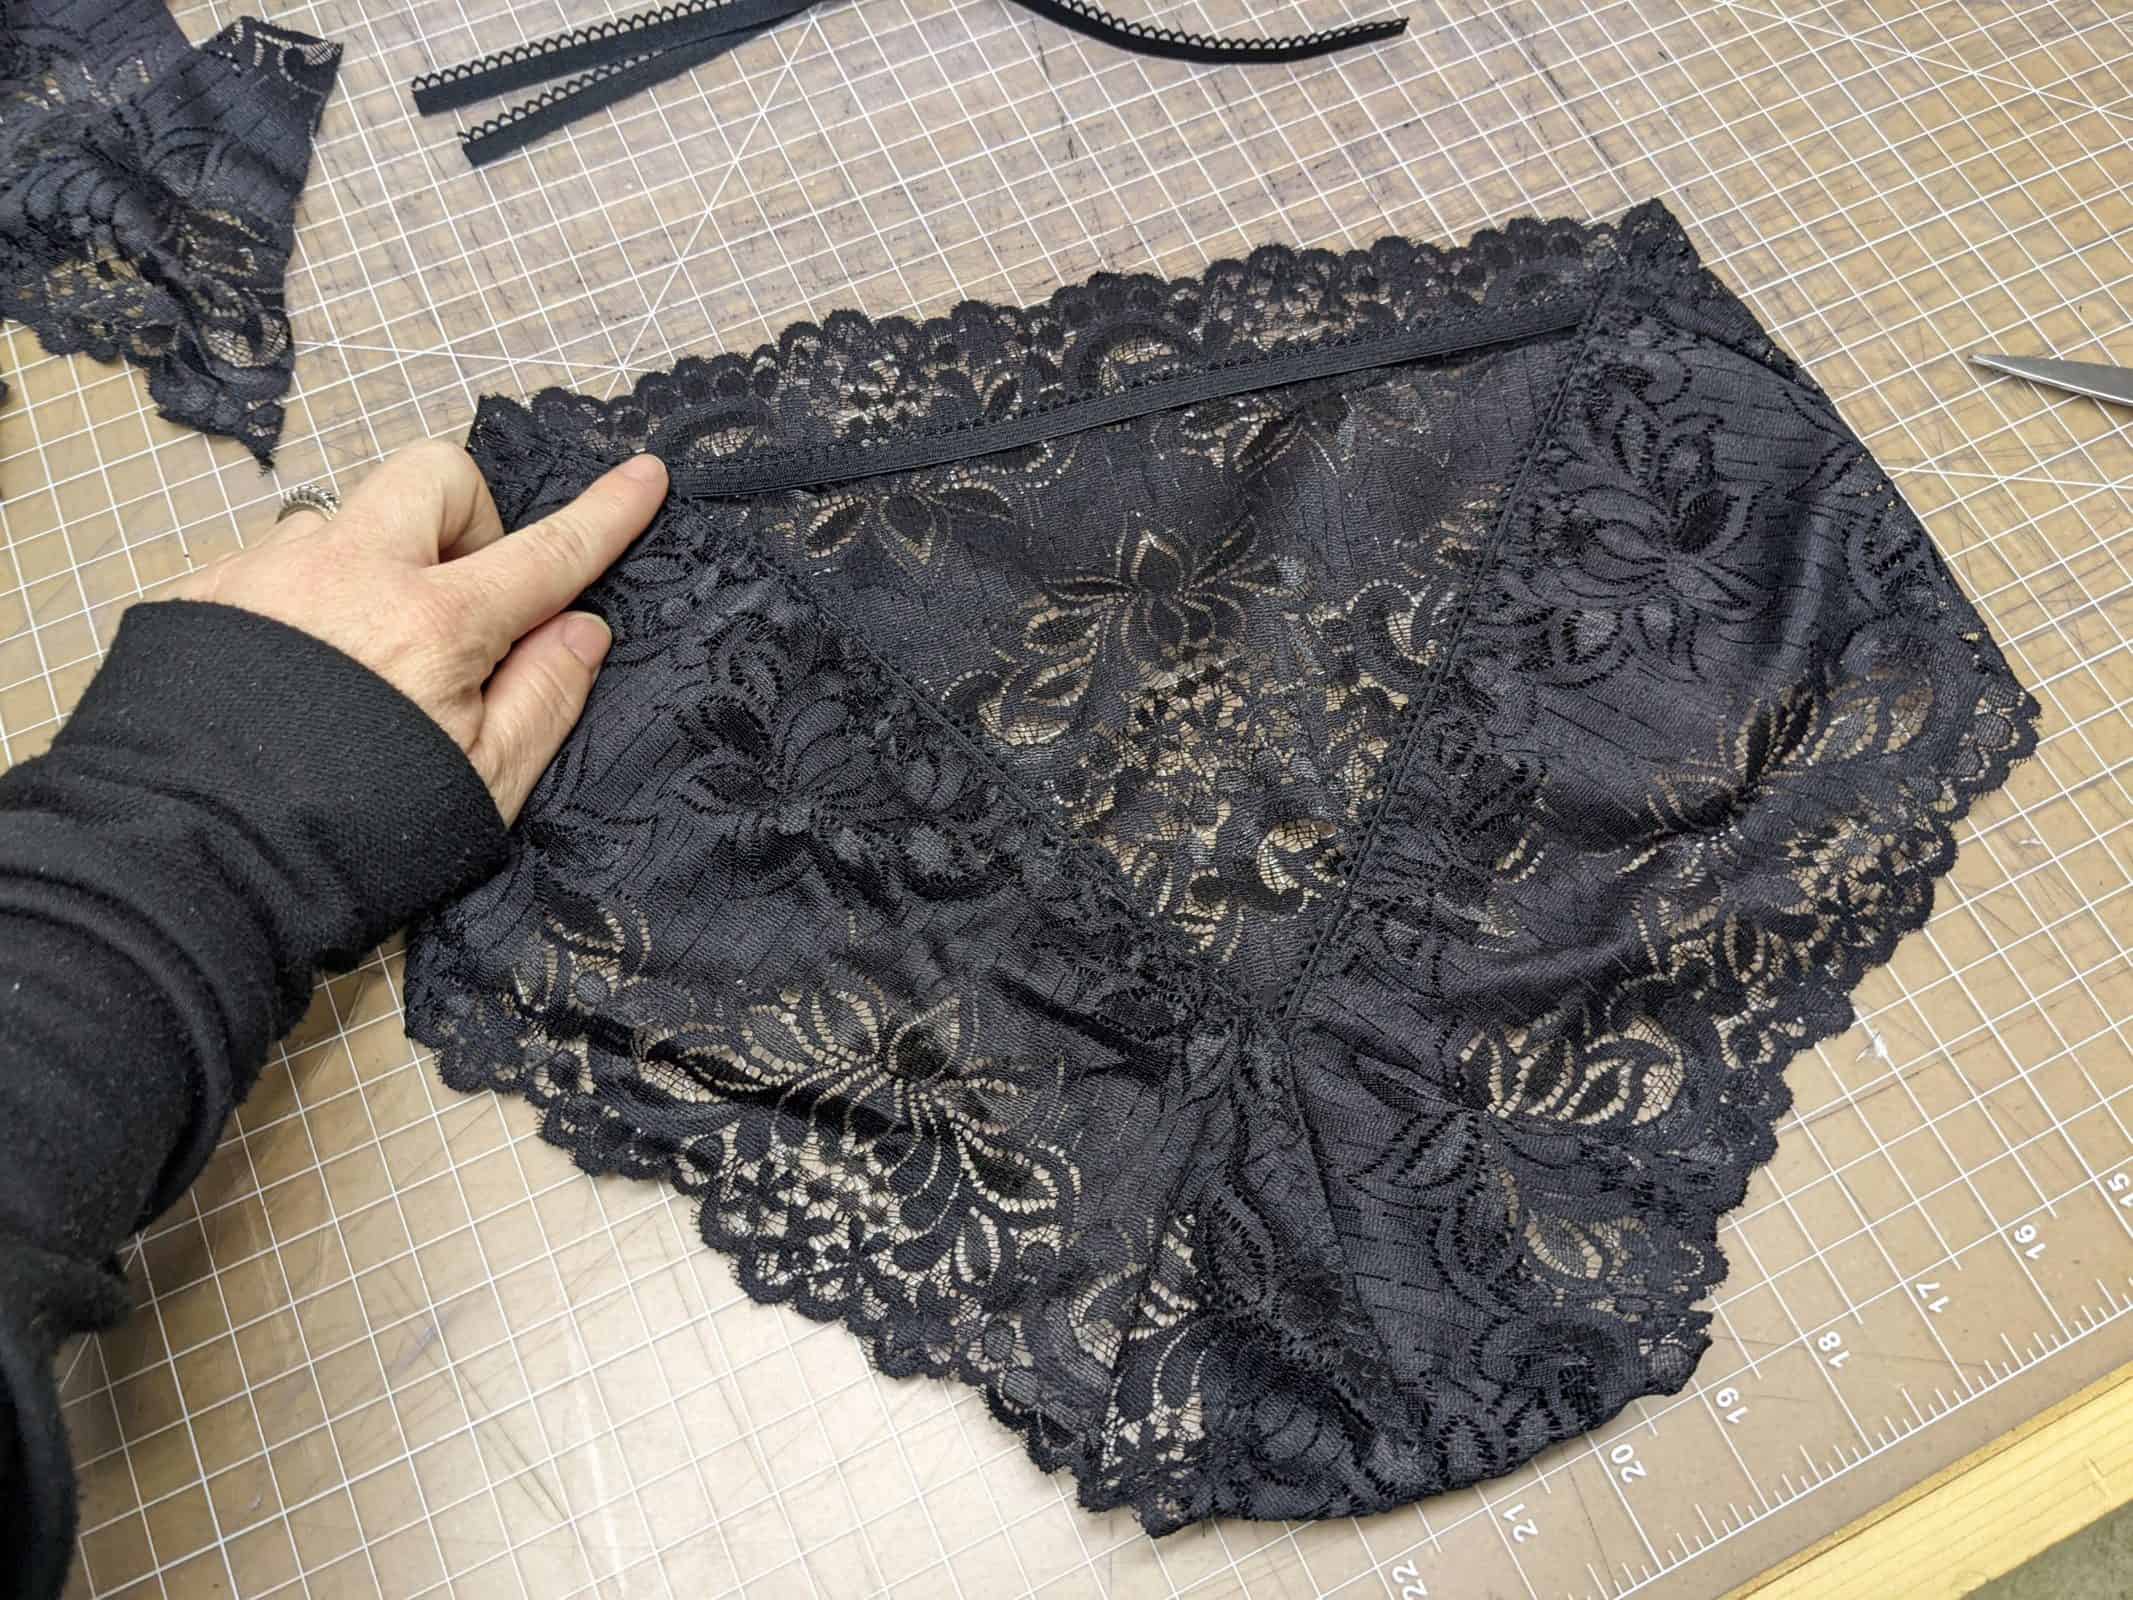
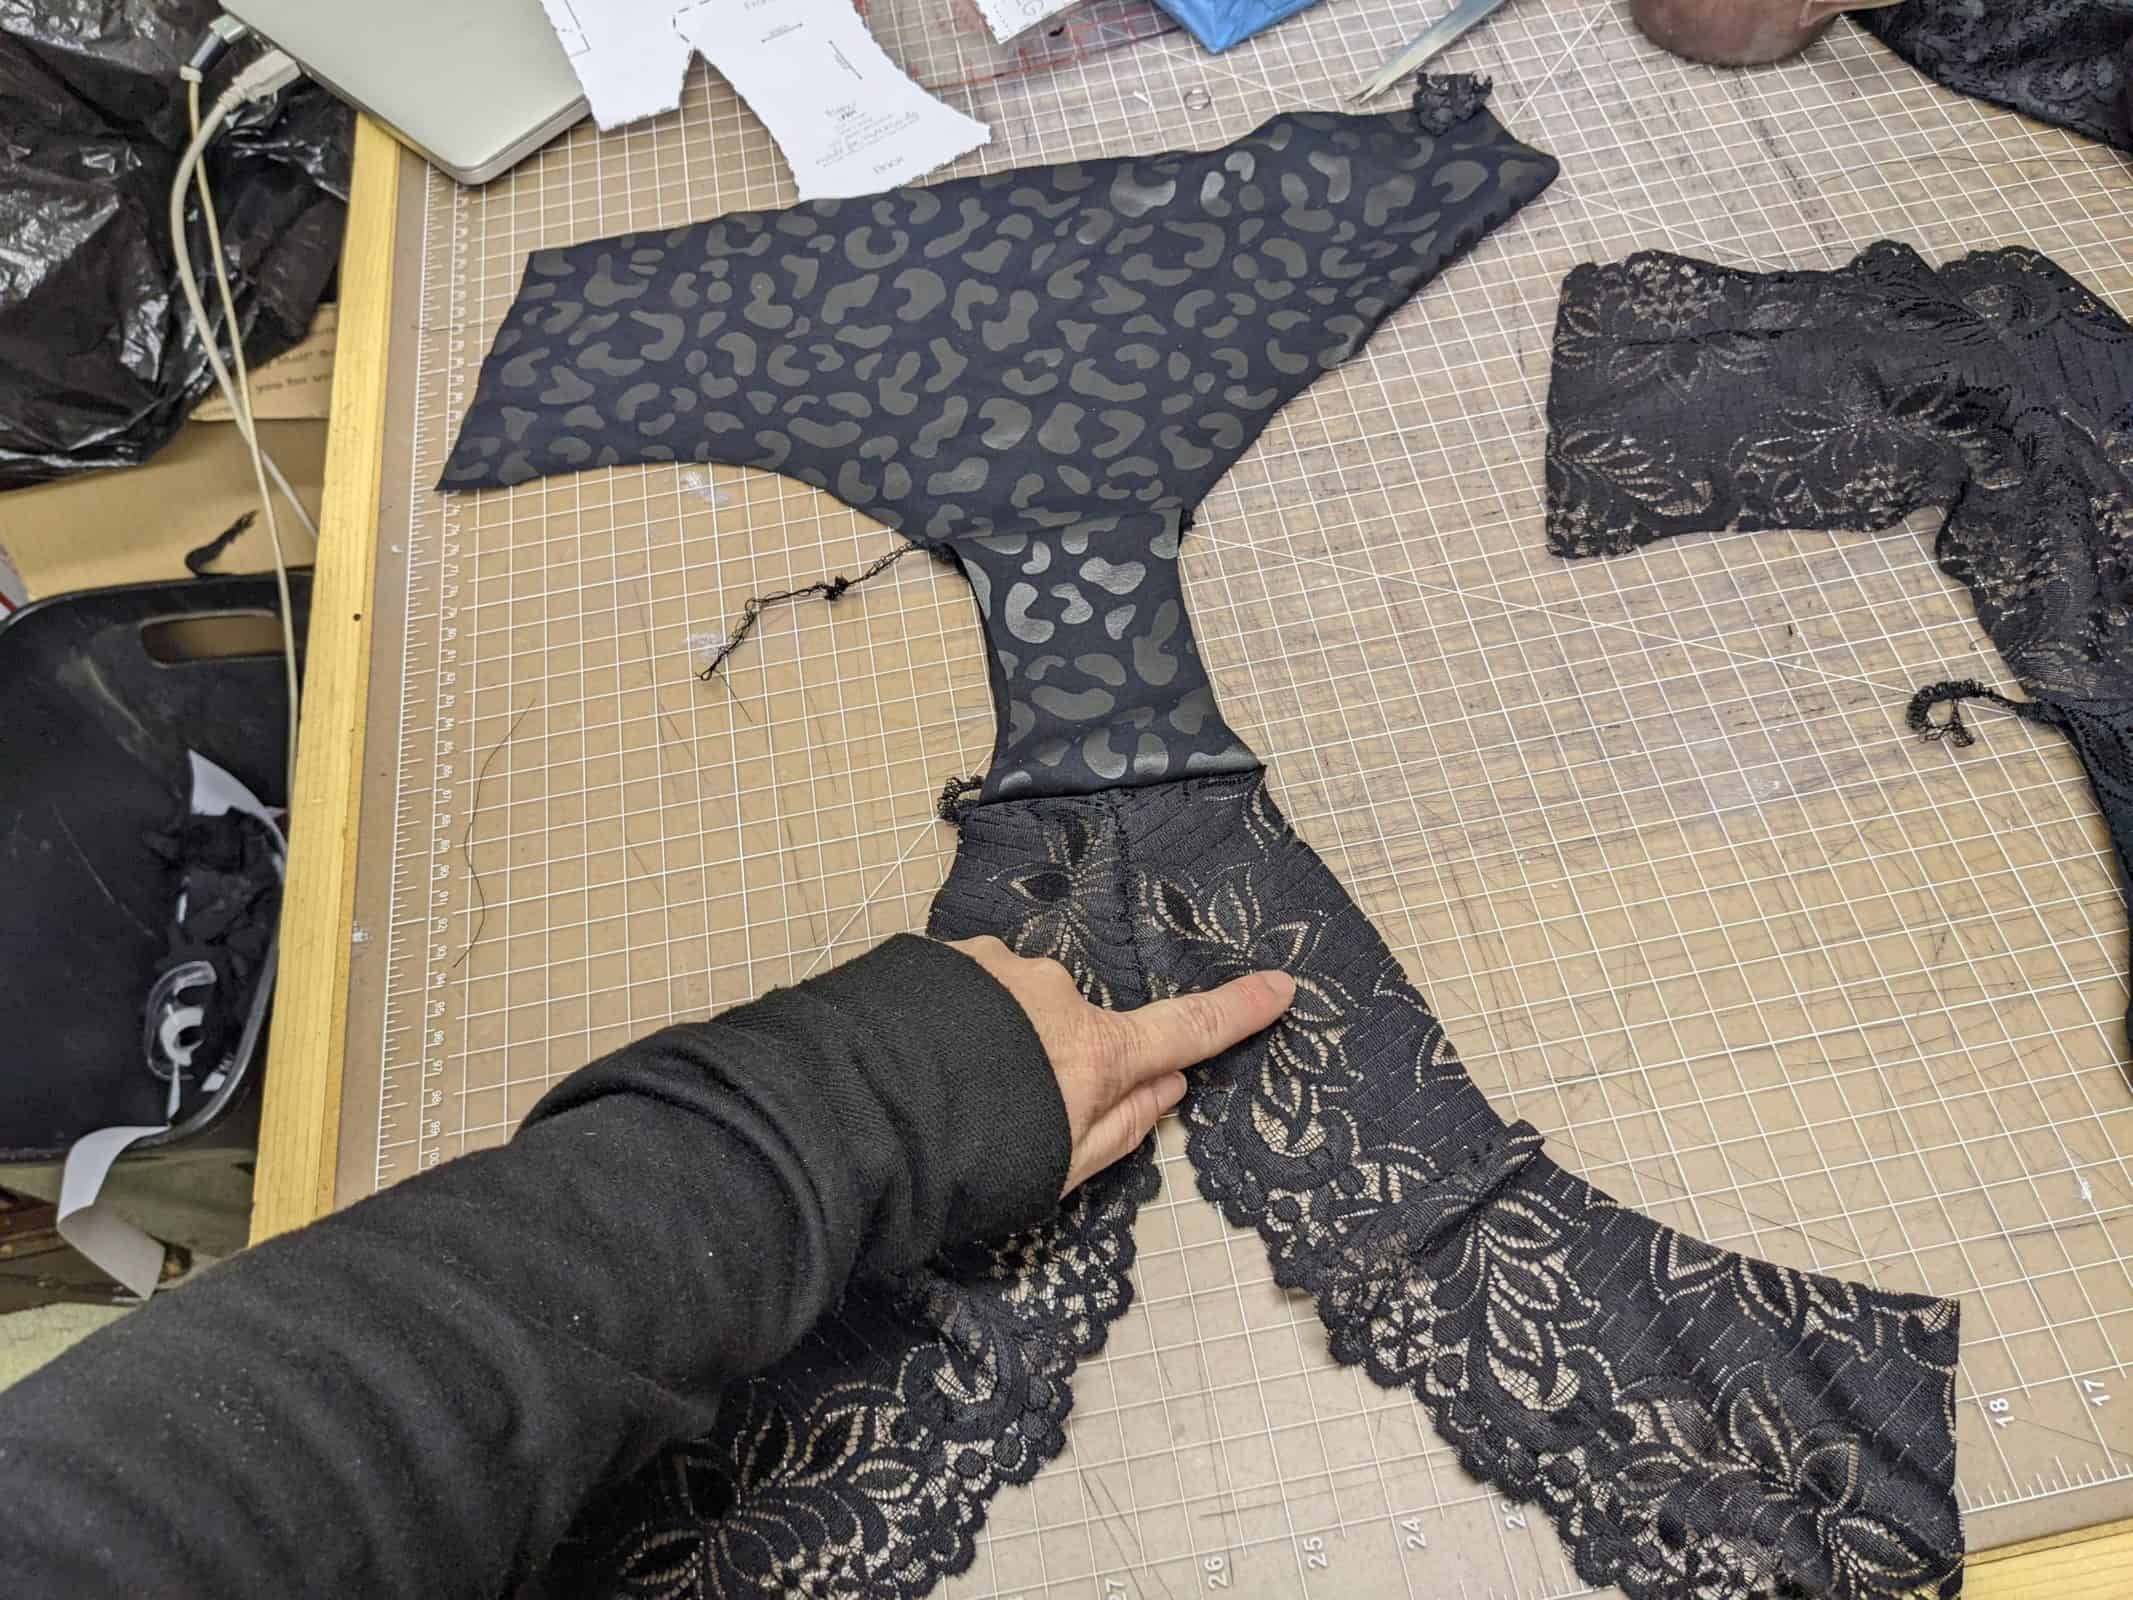
Galloon Finish A: (Galloon Finished Legline+Front+Criss Cross Ring Straps)
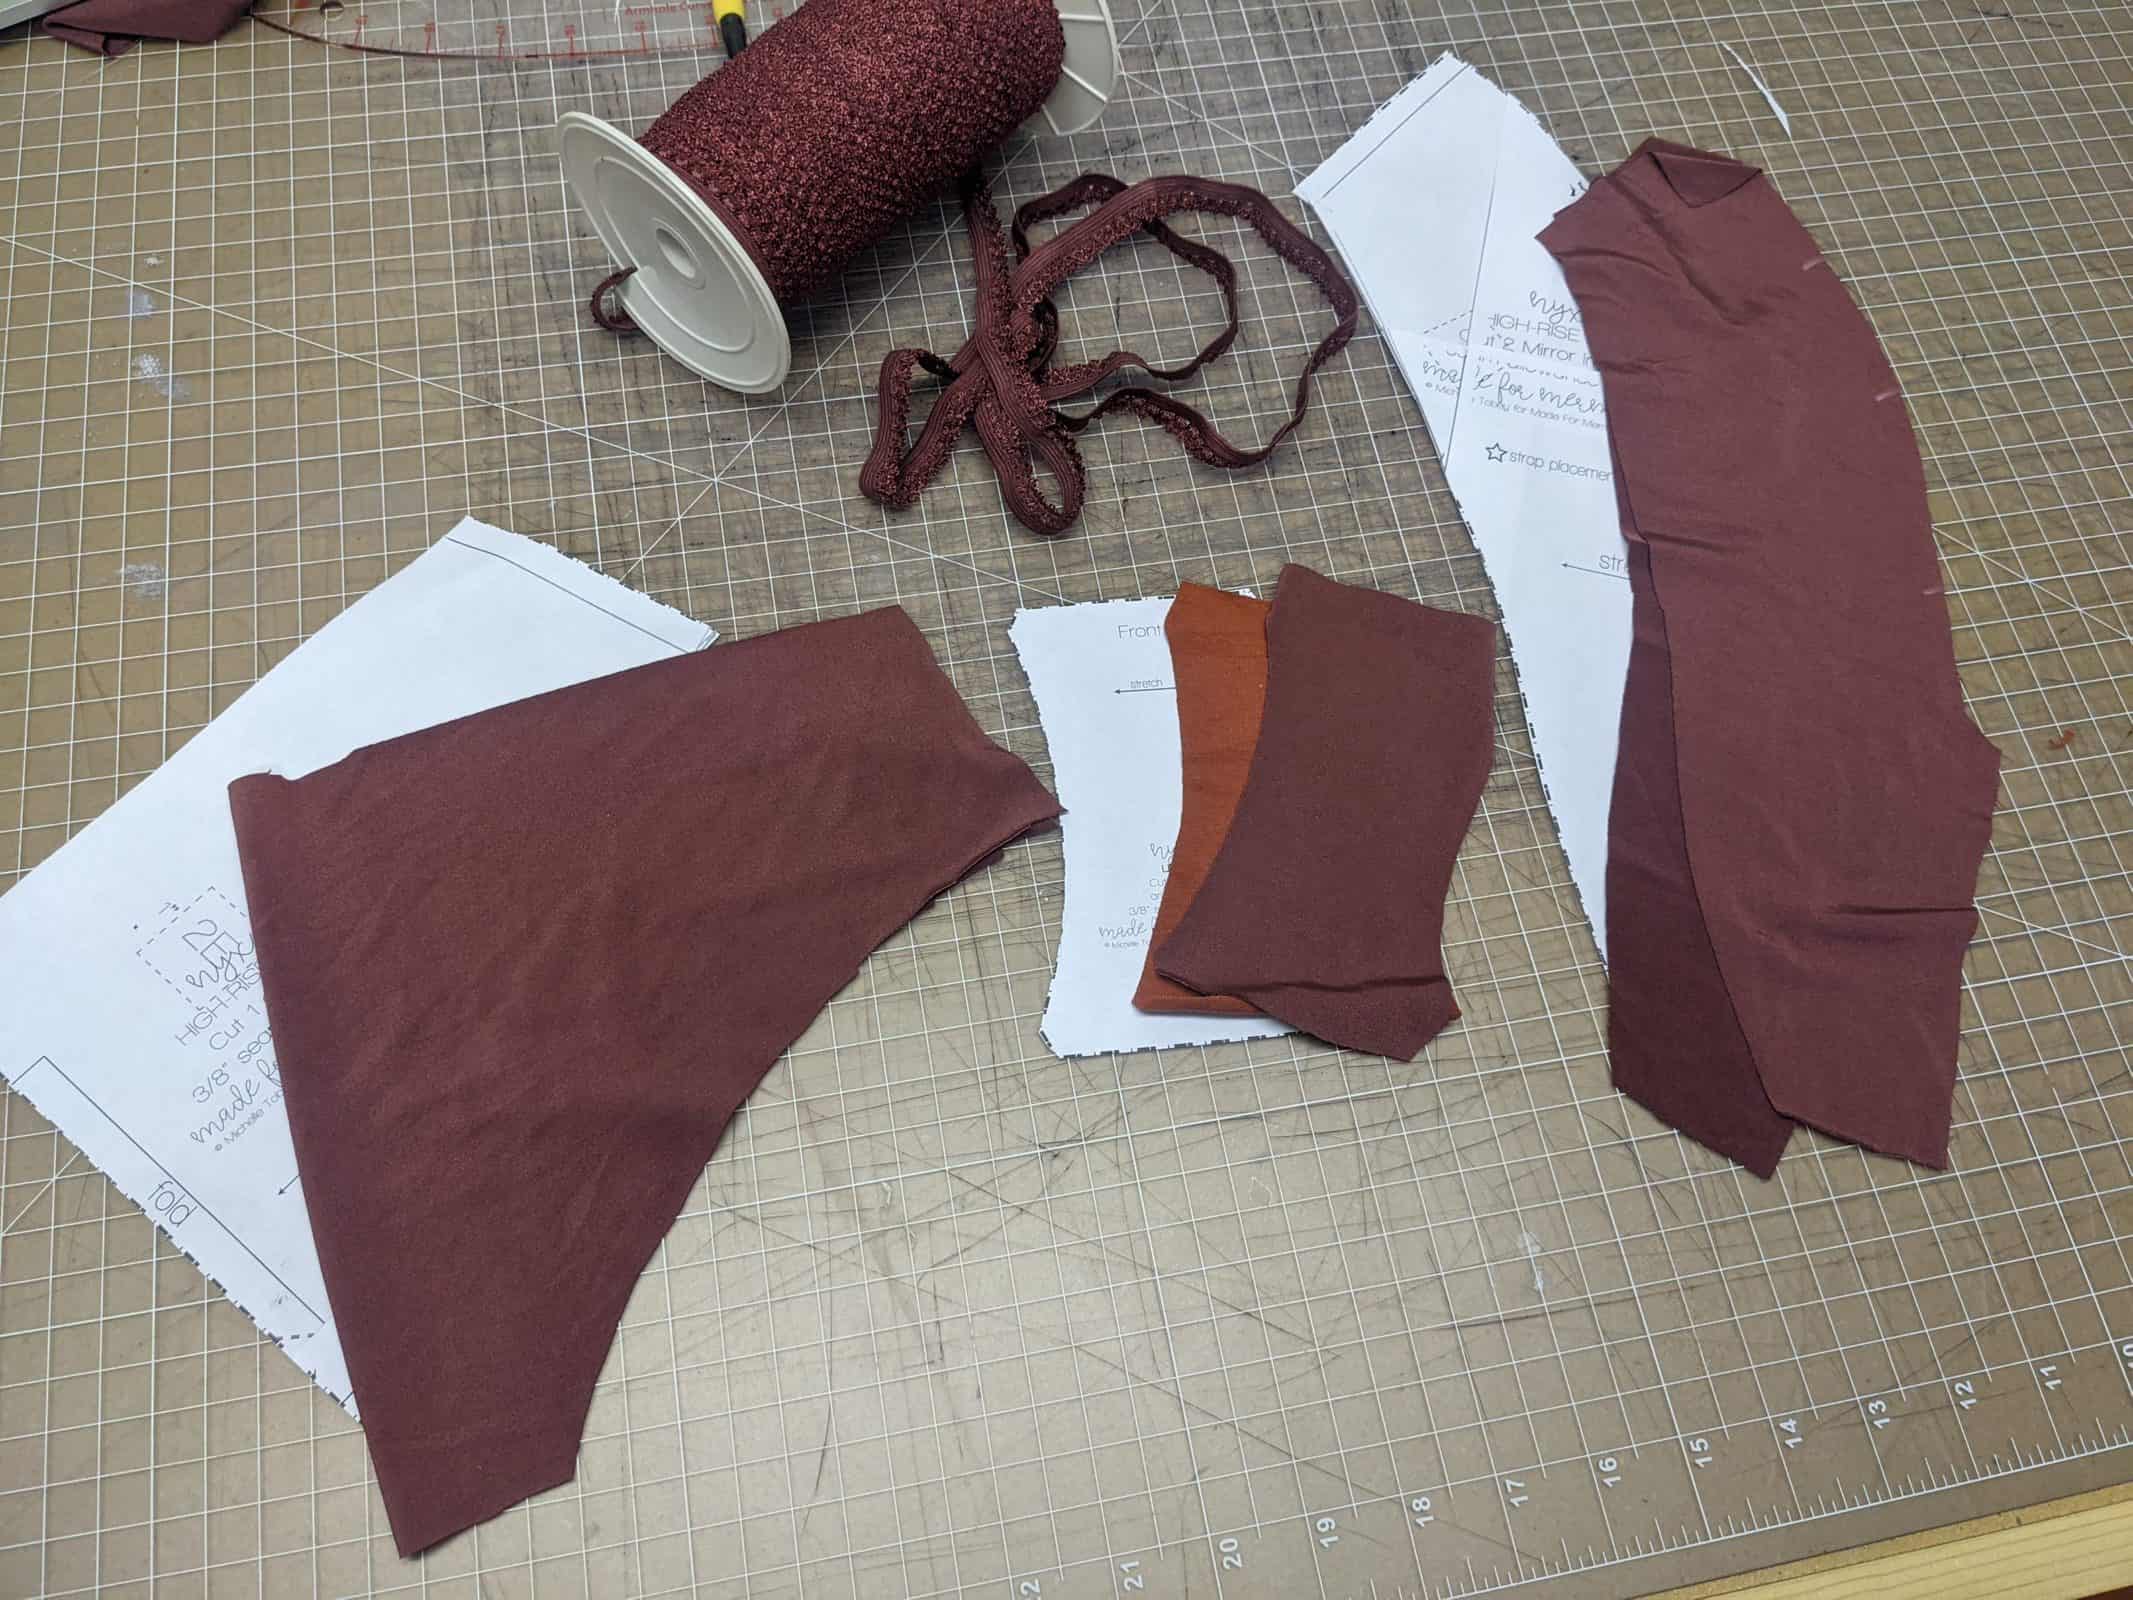
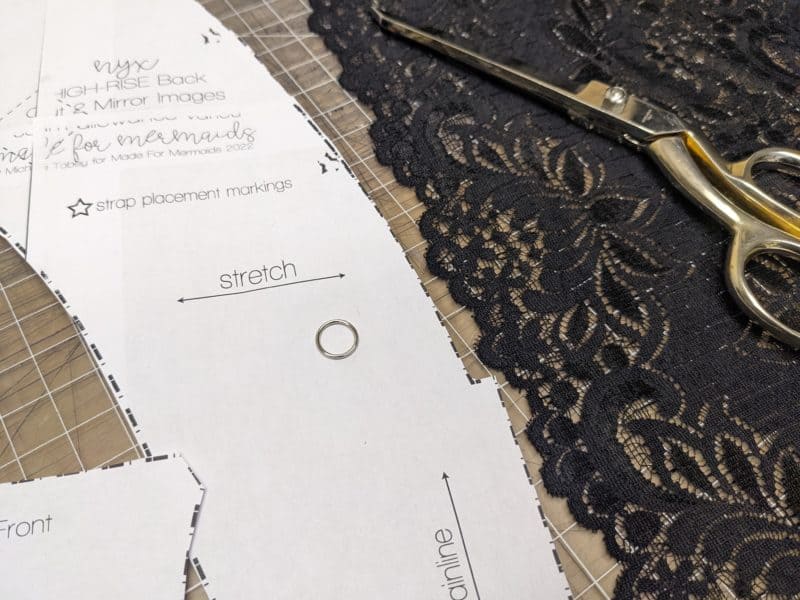
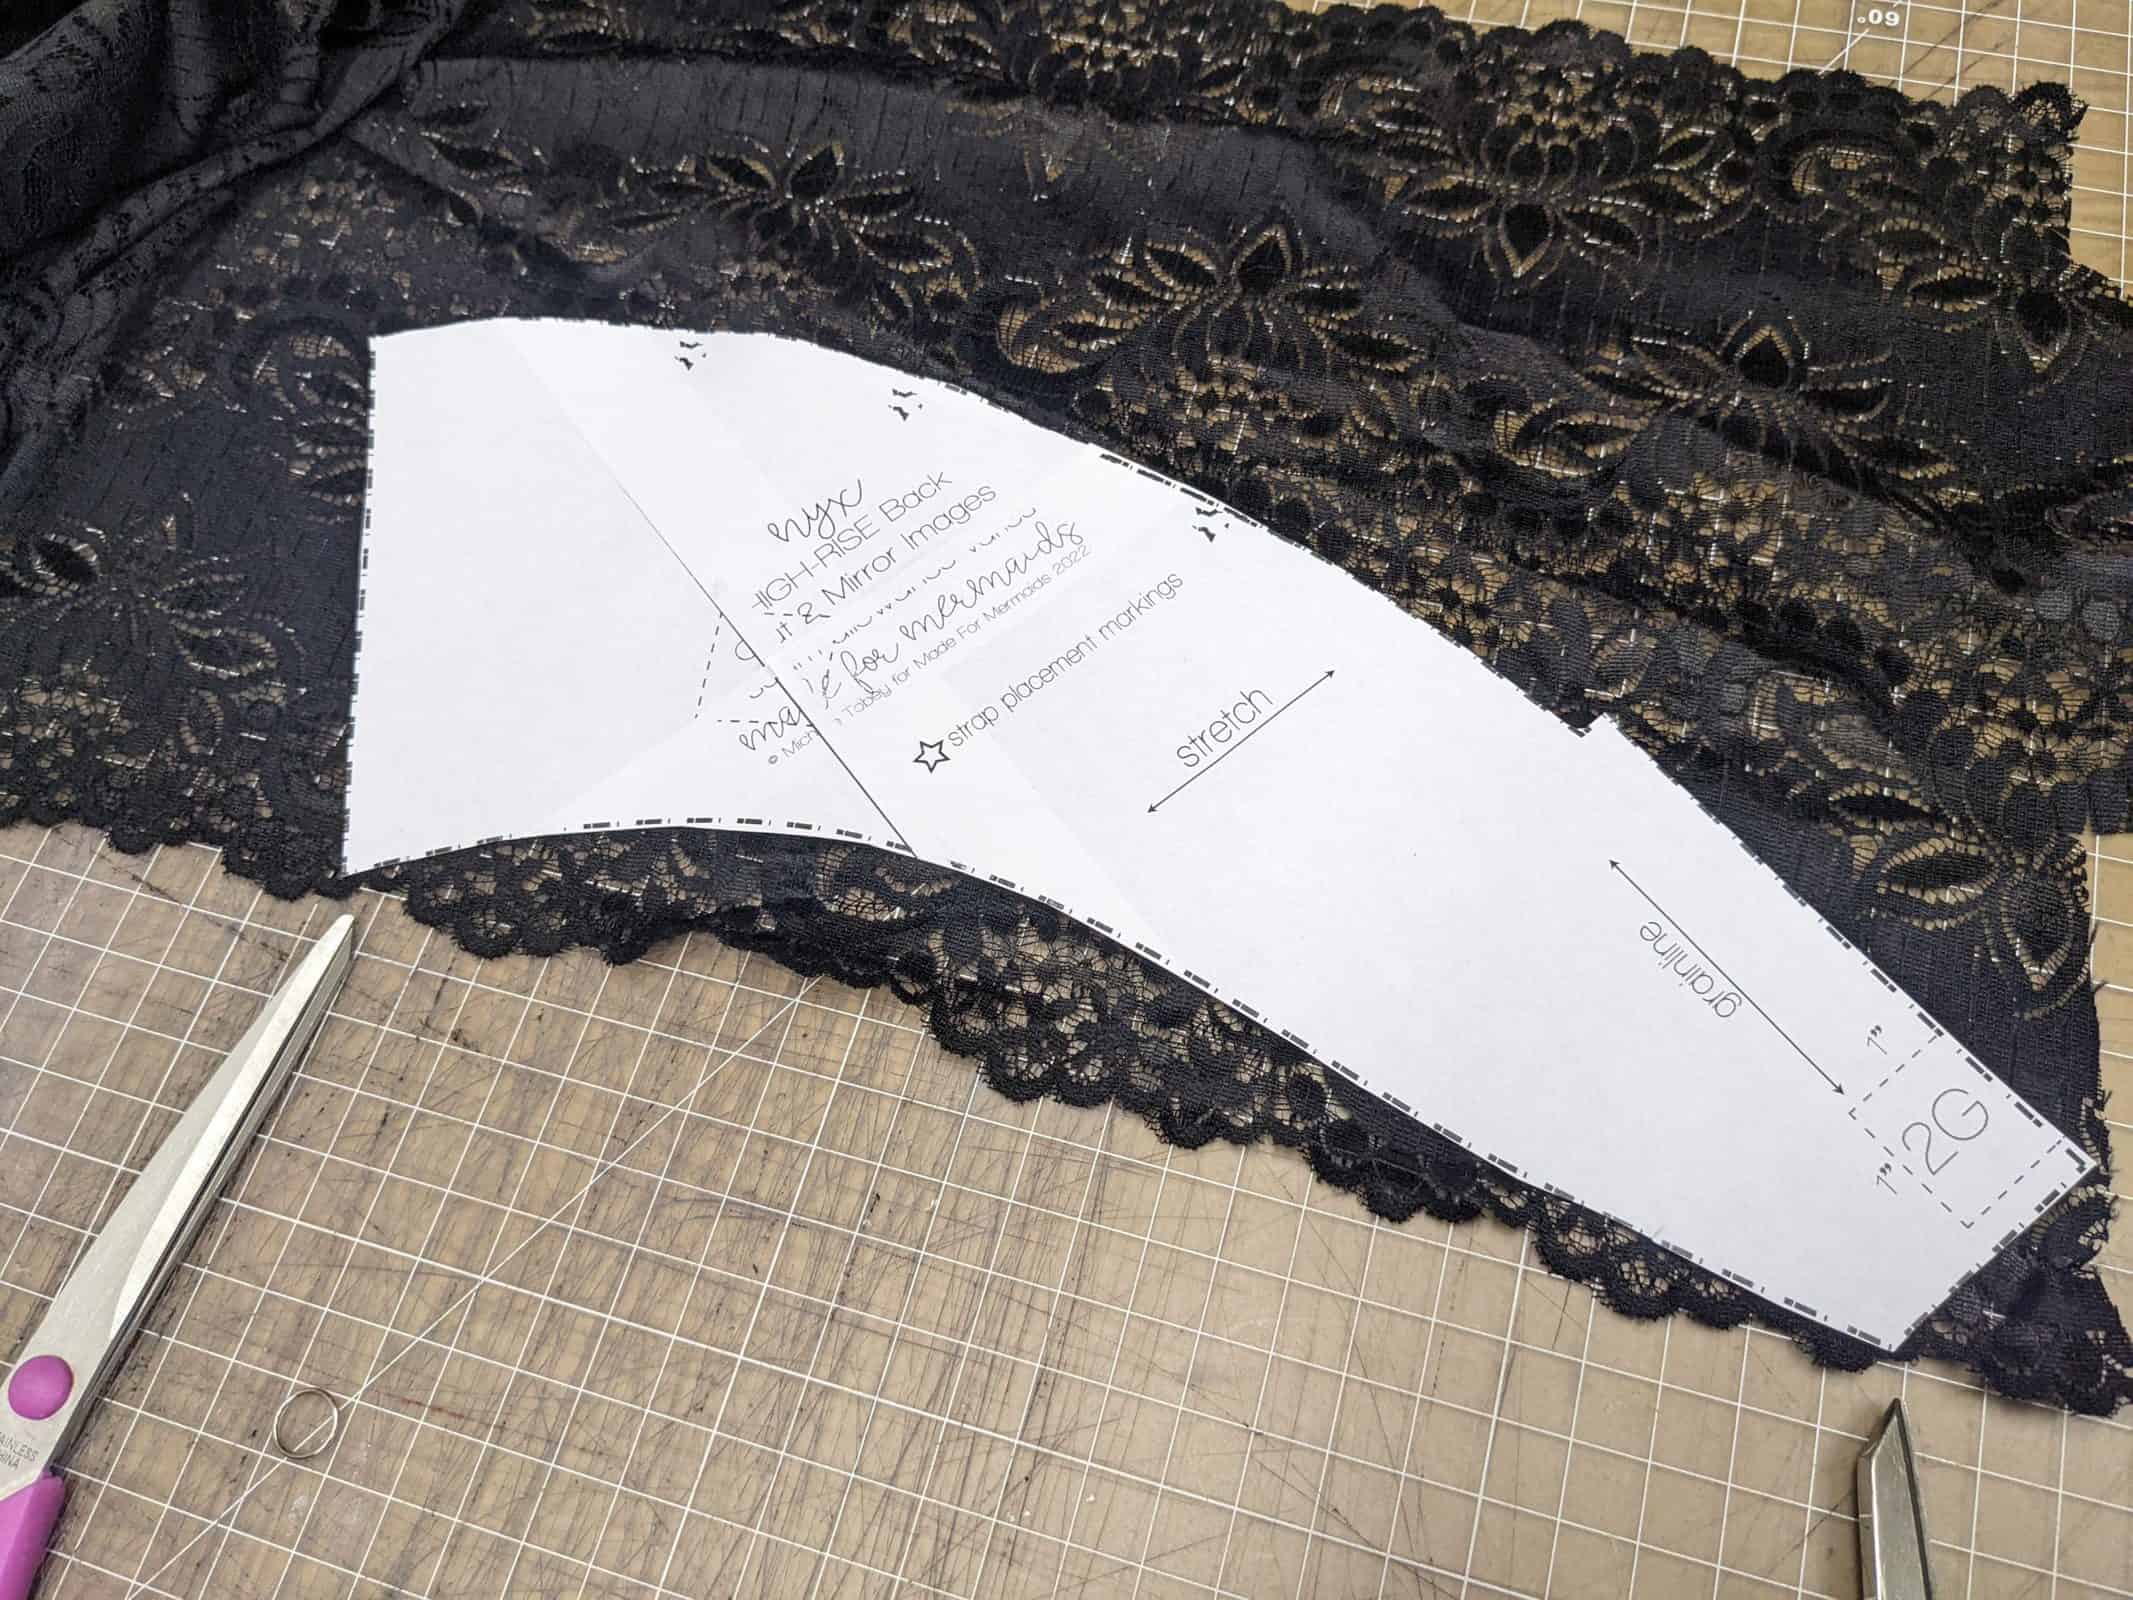
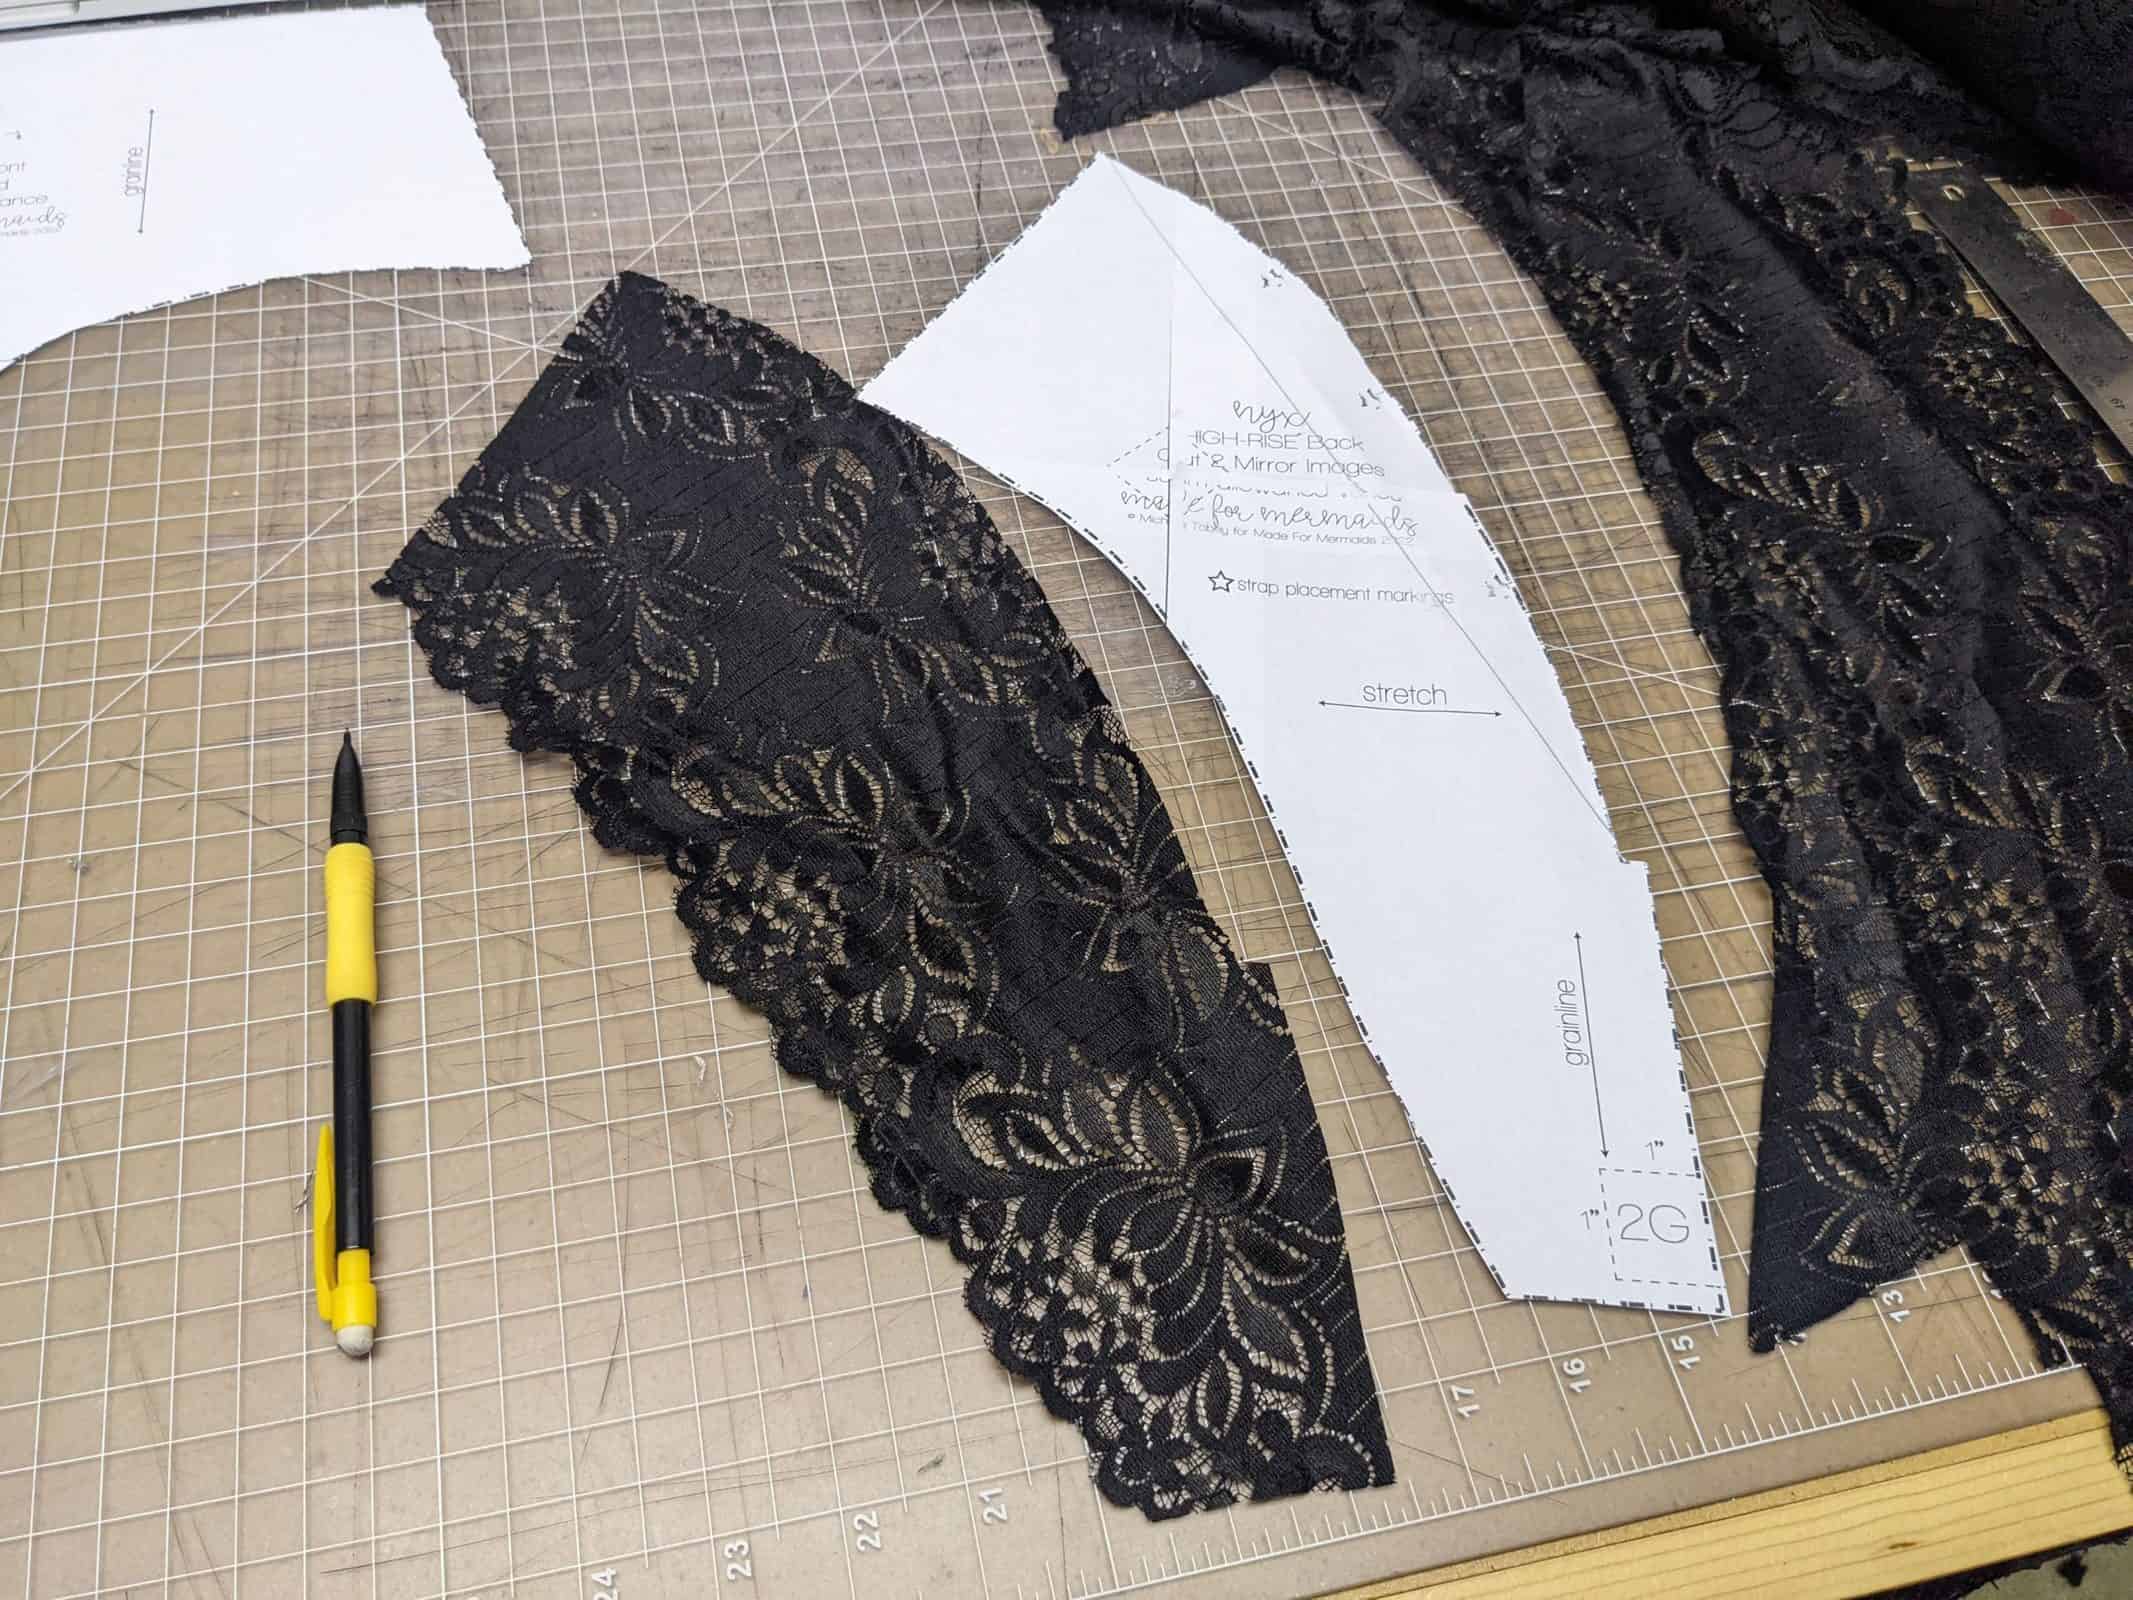
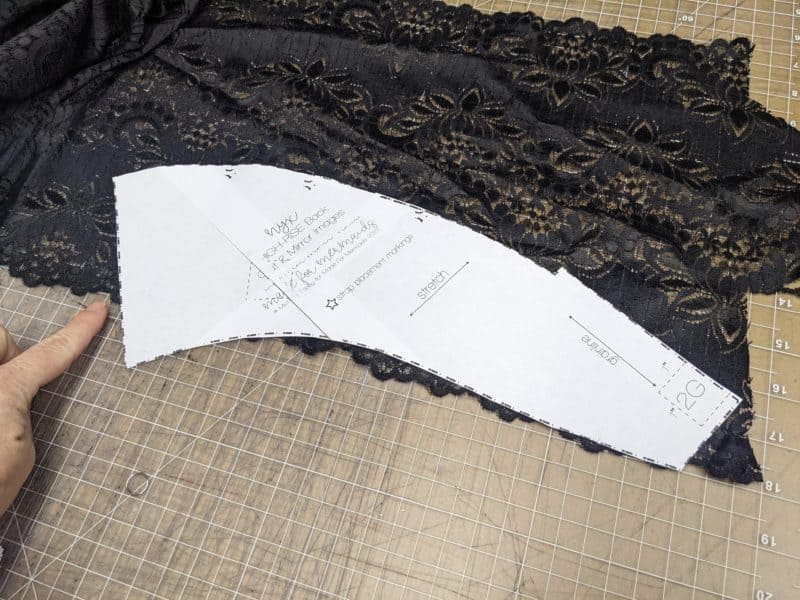
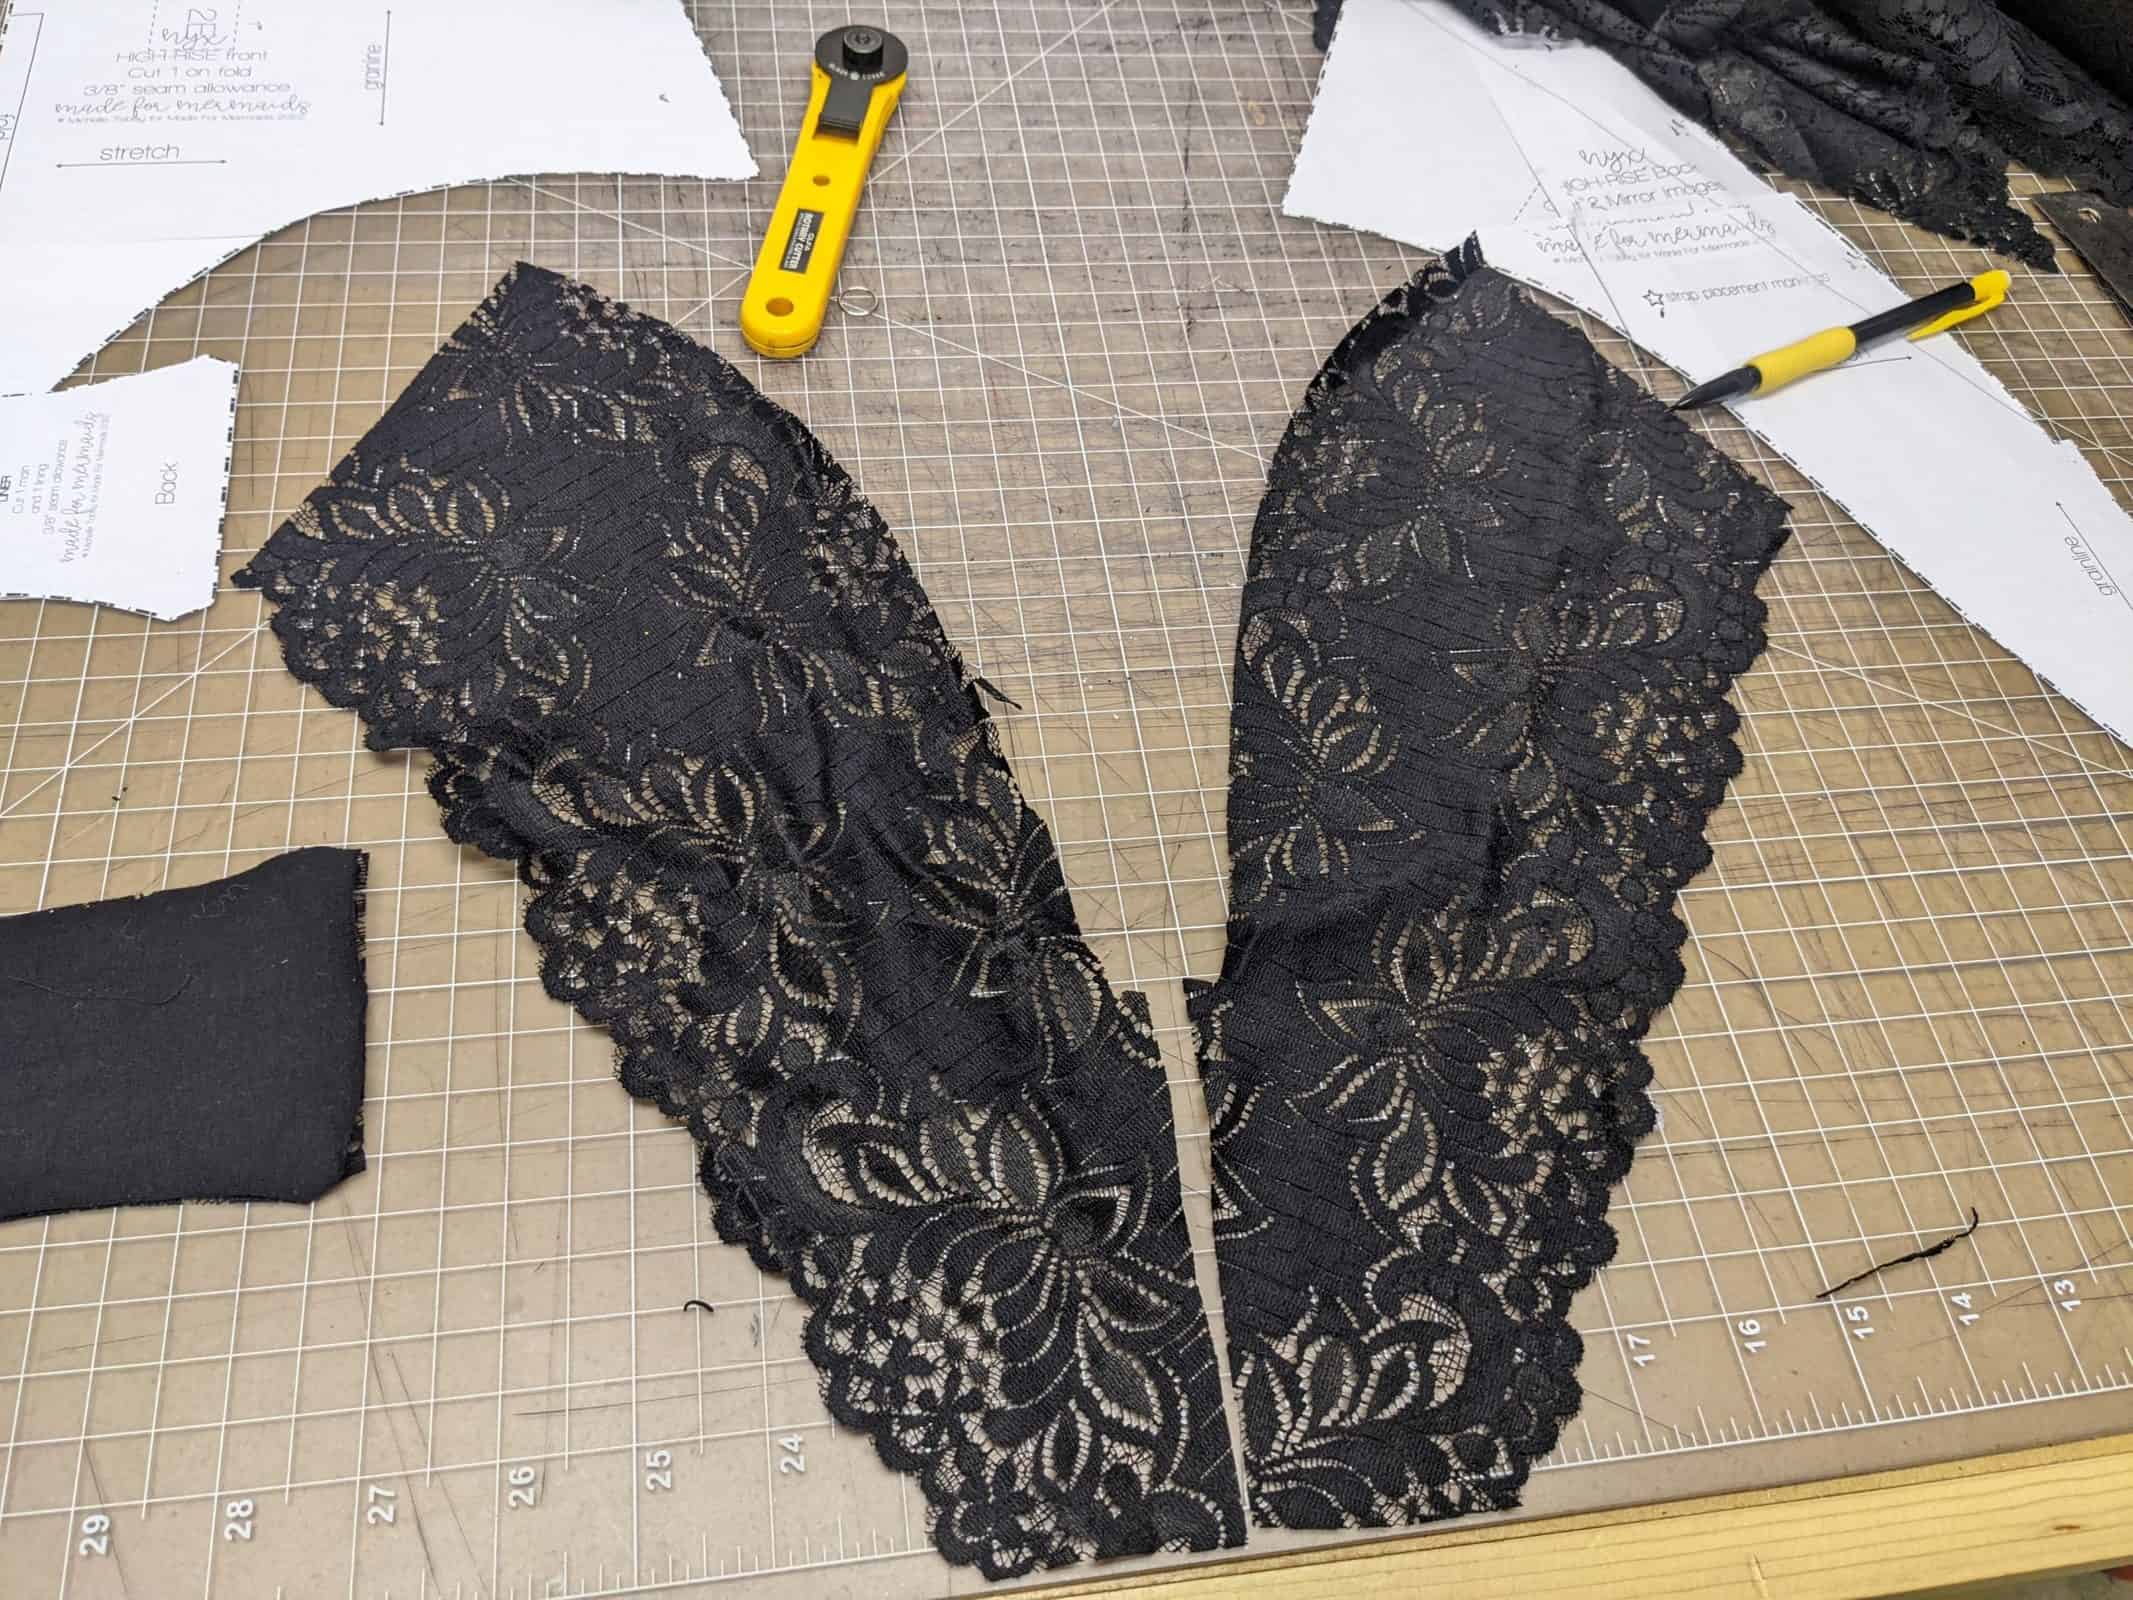
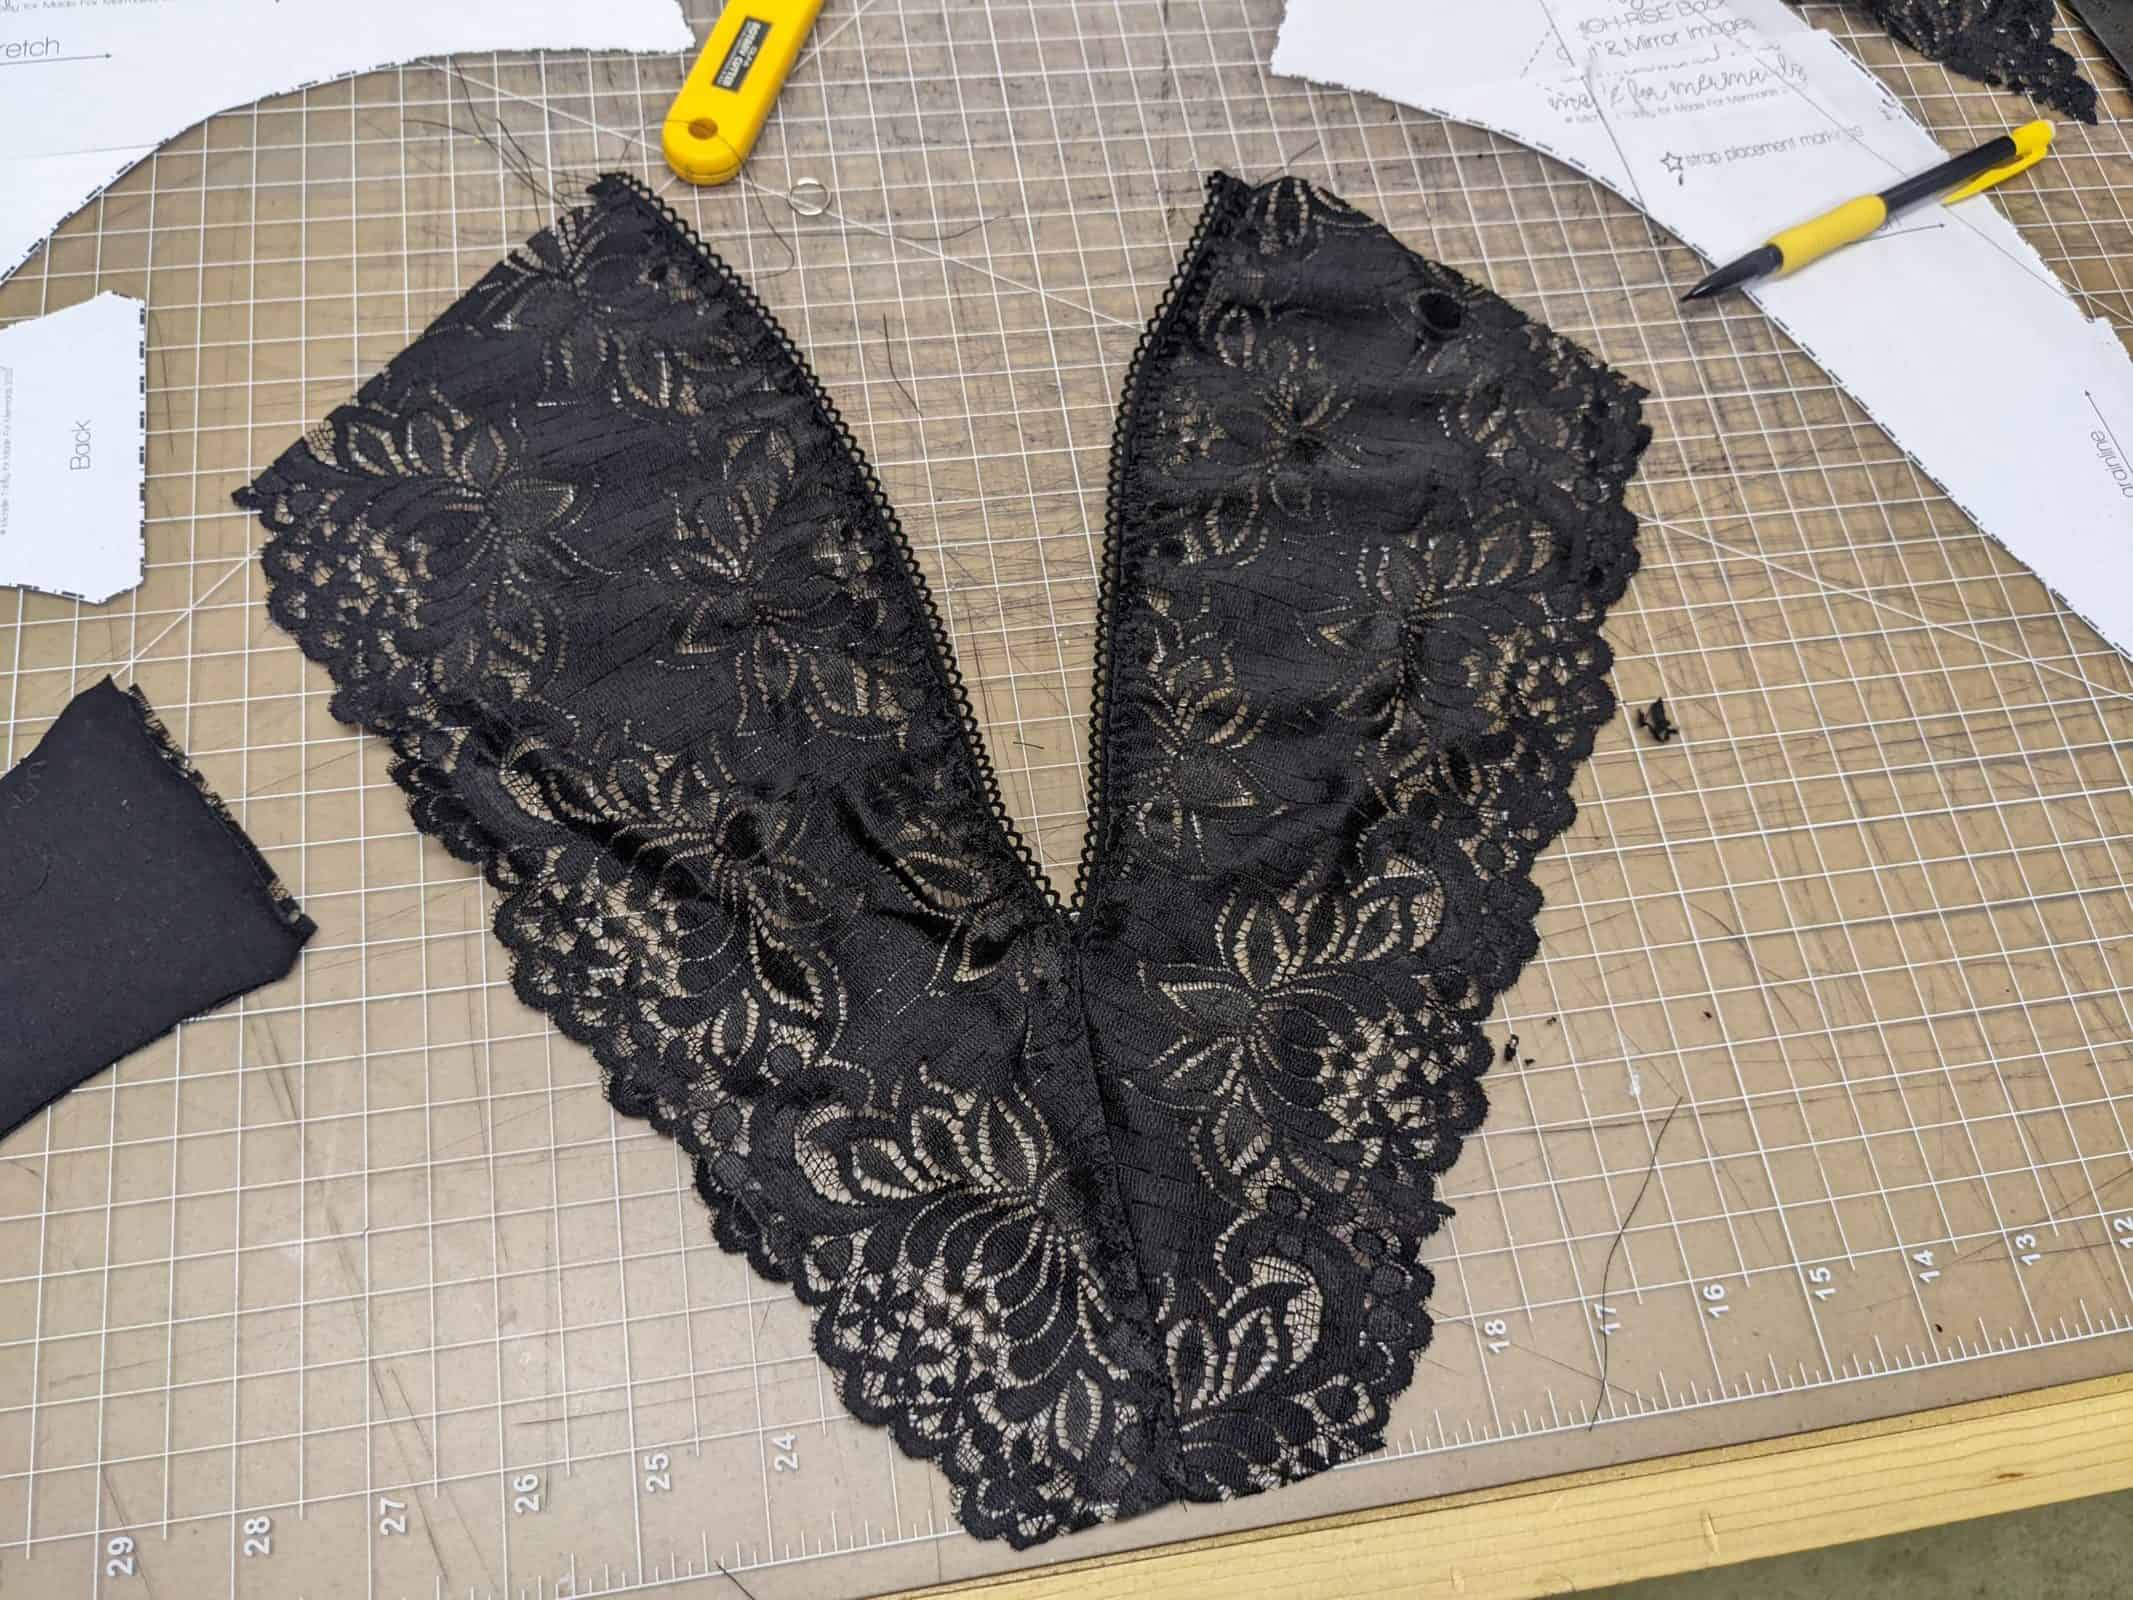
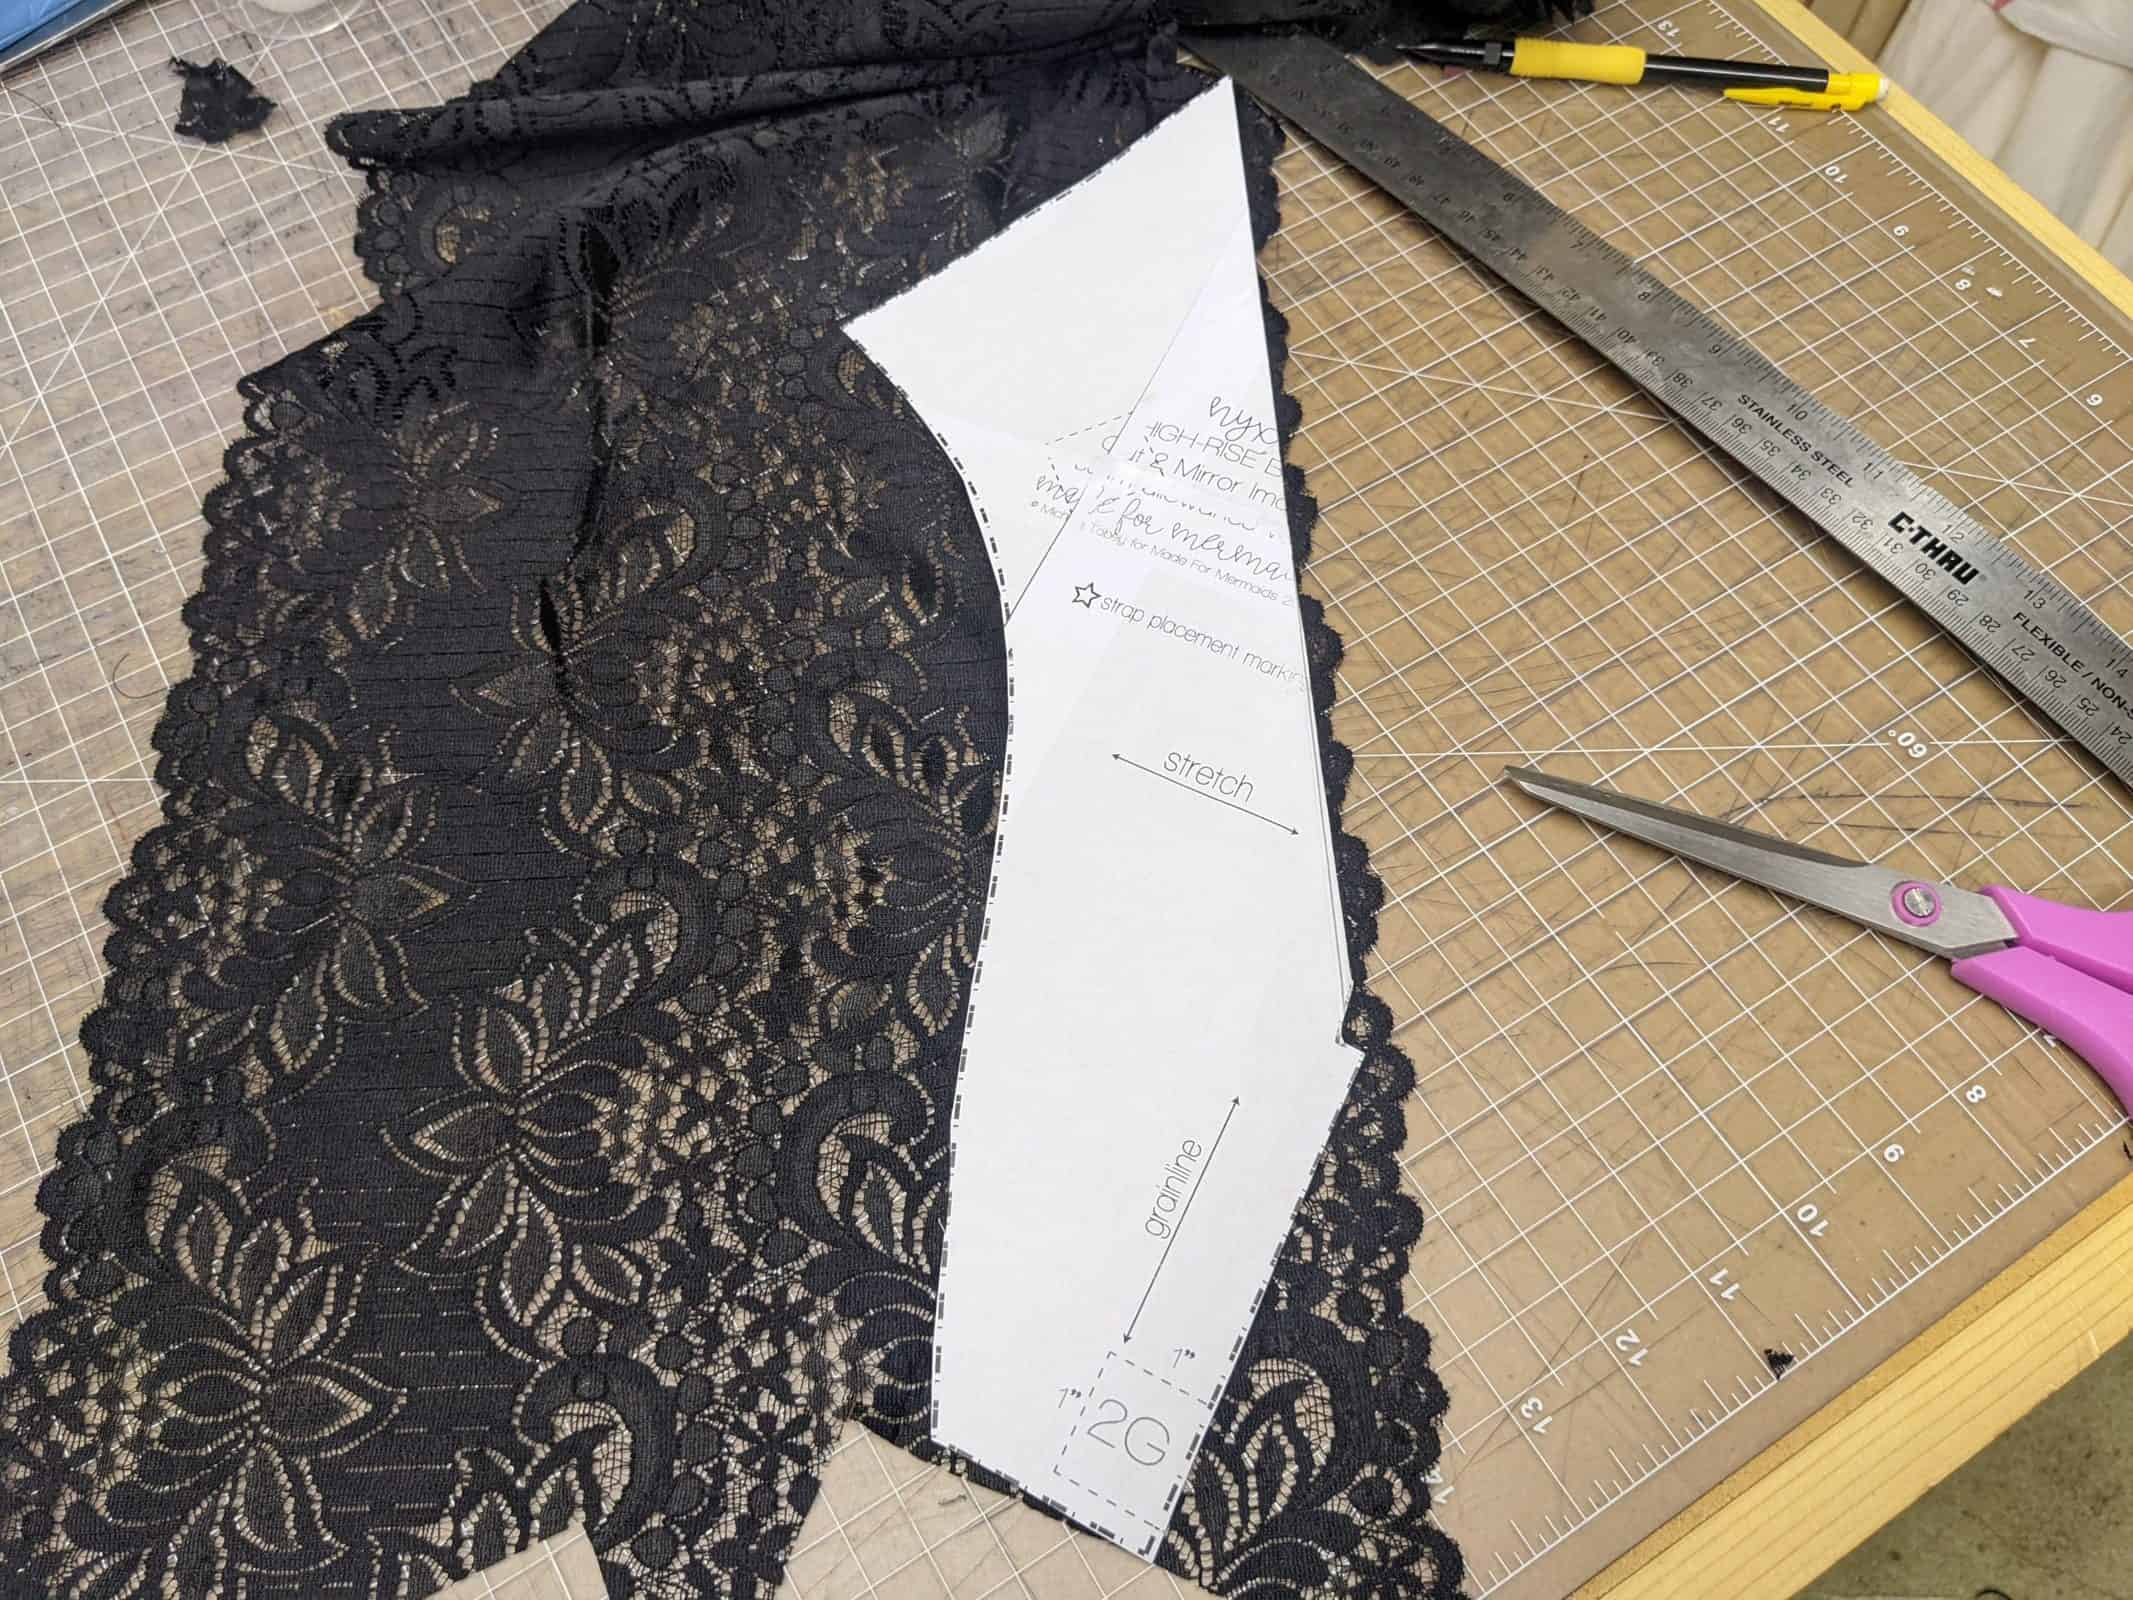
Lay back pattern piece on top of galloon lace, the corners of the leg line need to touch the edge of the galloon lace. (this will add a small amount of fabric to the lower leg line) Cut out this new pattern piece. Repeat with the other side.
- lay back pattern piece with corners touching edge of gallon lace
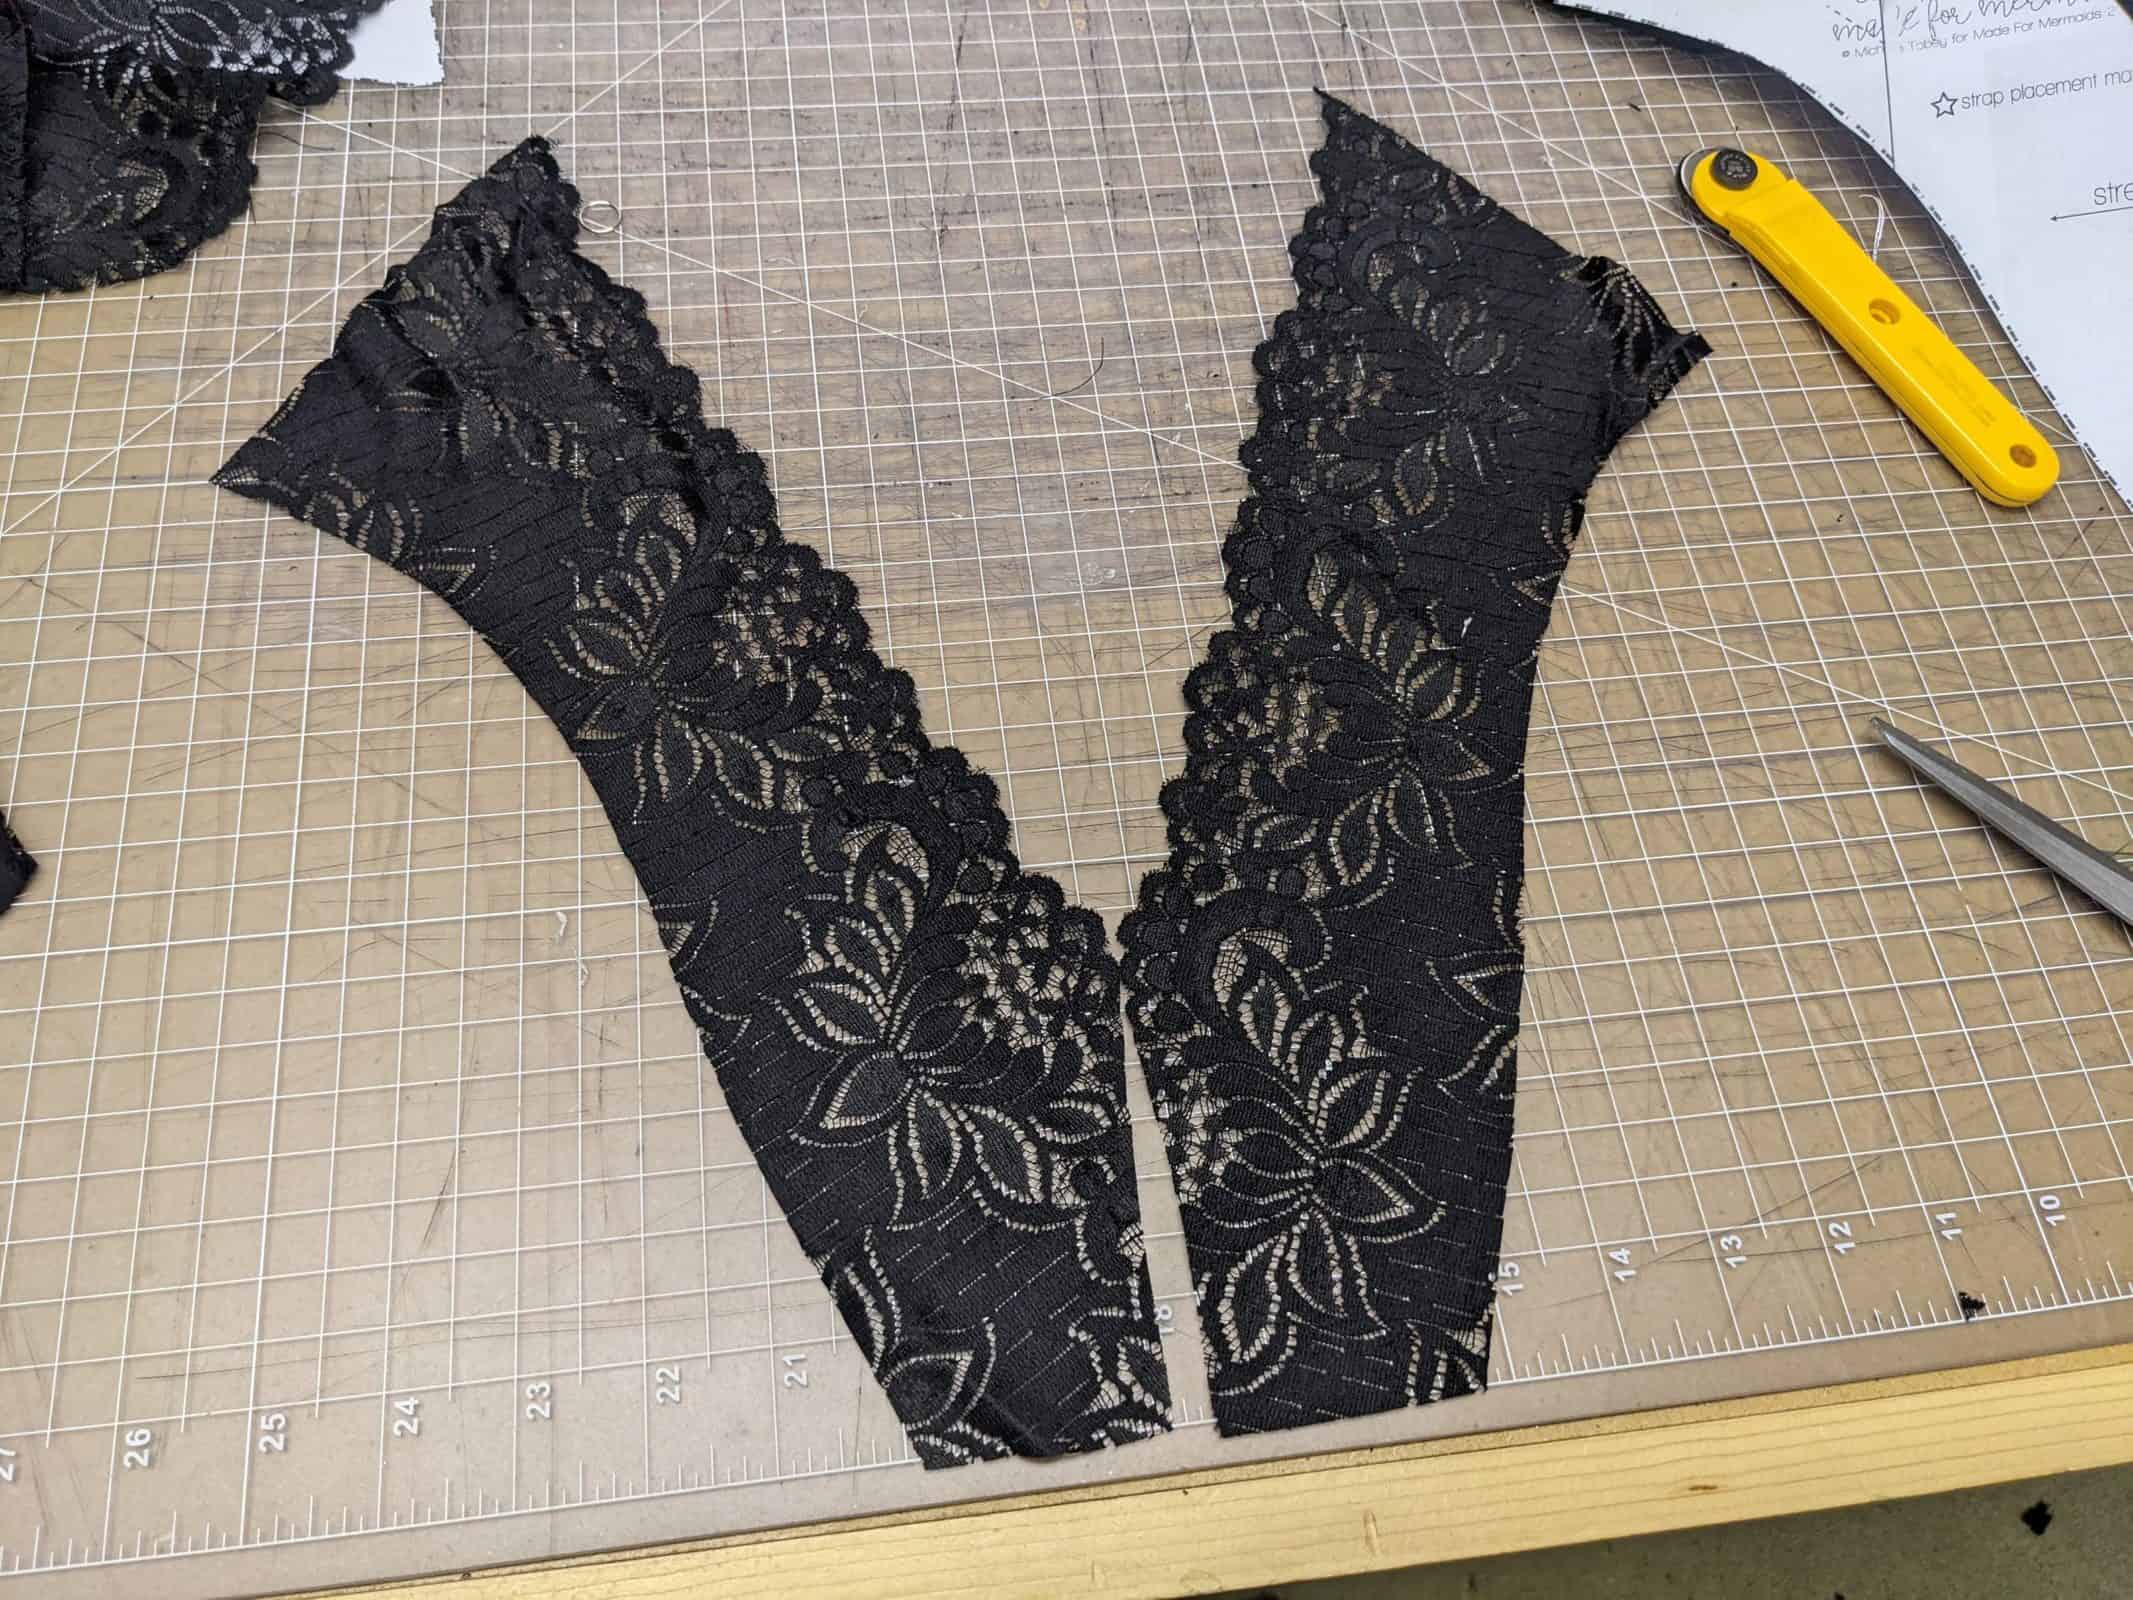
- cut out
Alternatively, you may wish not to add that small amount of fabric. You could line up your galloon lace in this manner and then follow the higher leg line Nyx hack to raise the front leg line:
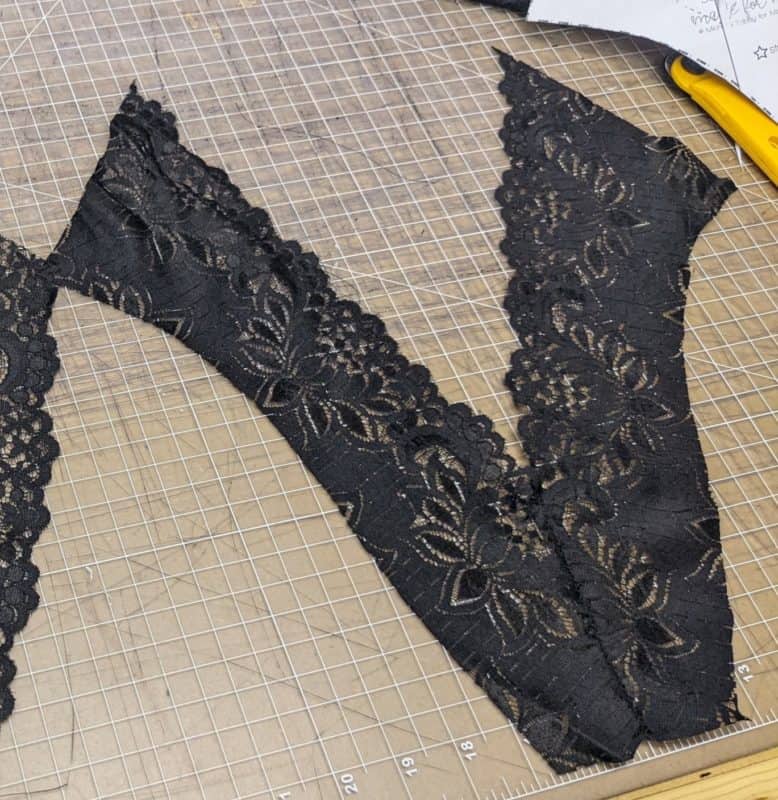
- cut a mirrored piece for the other side
- Finish the back piece as described in the pattern instructions.
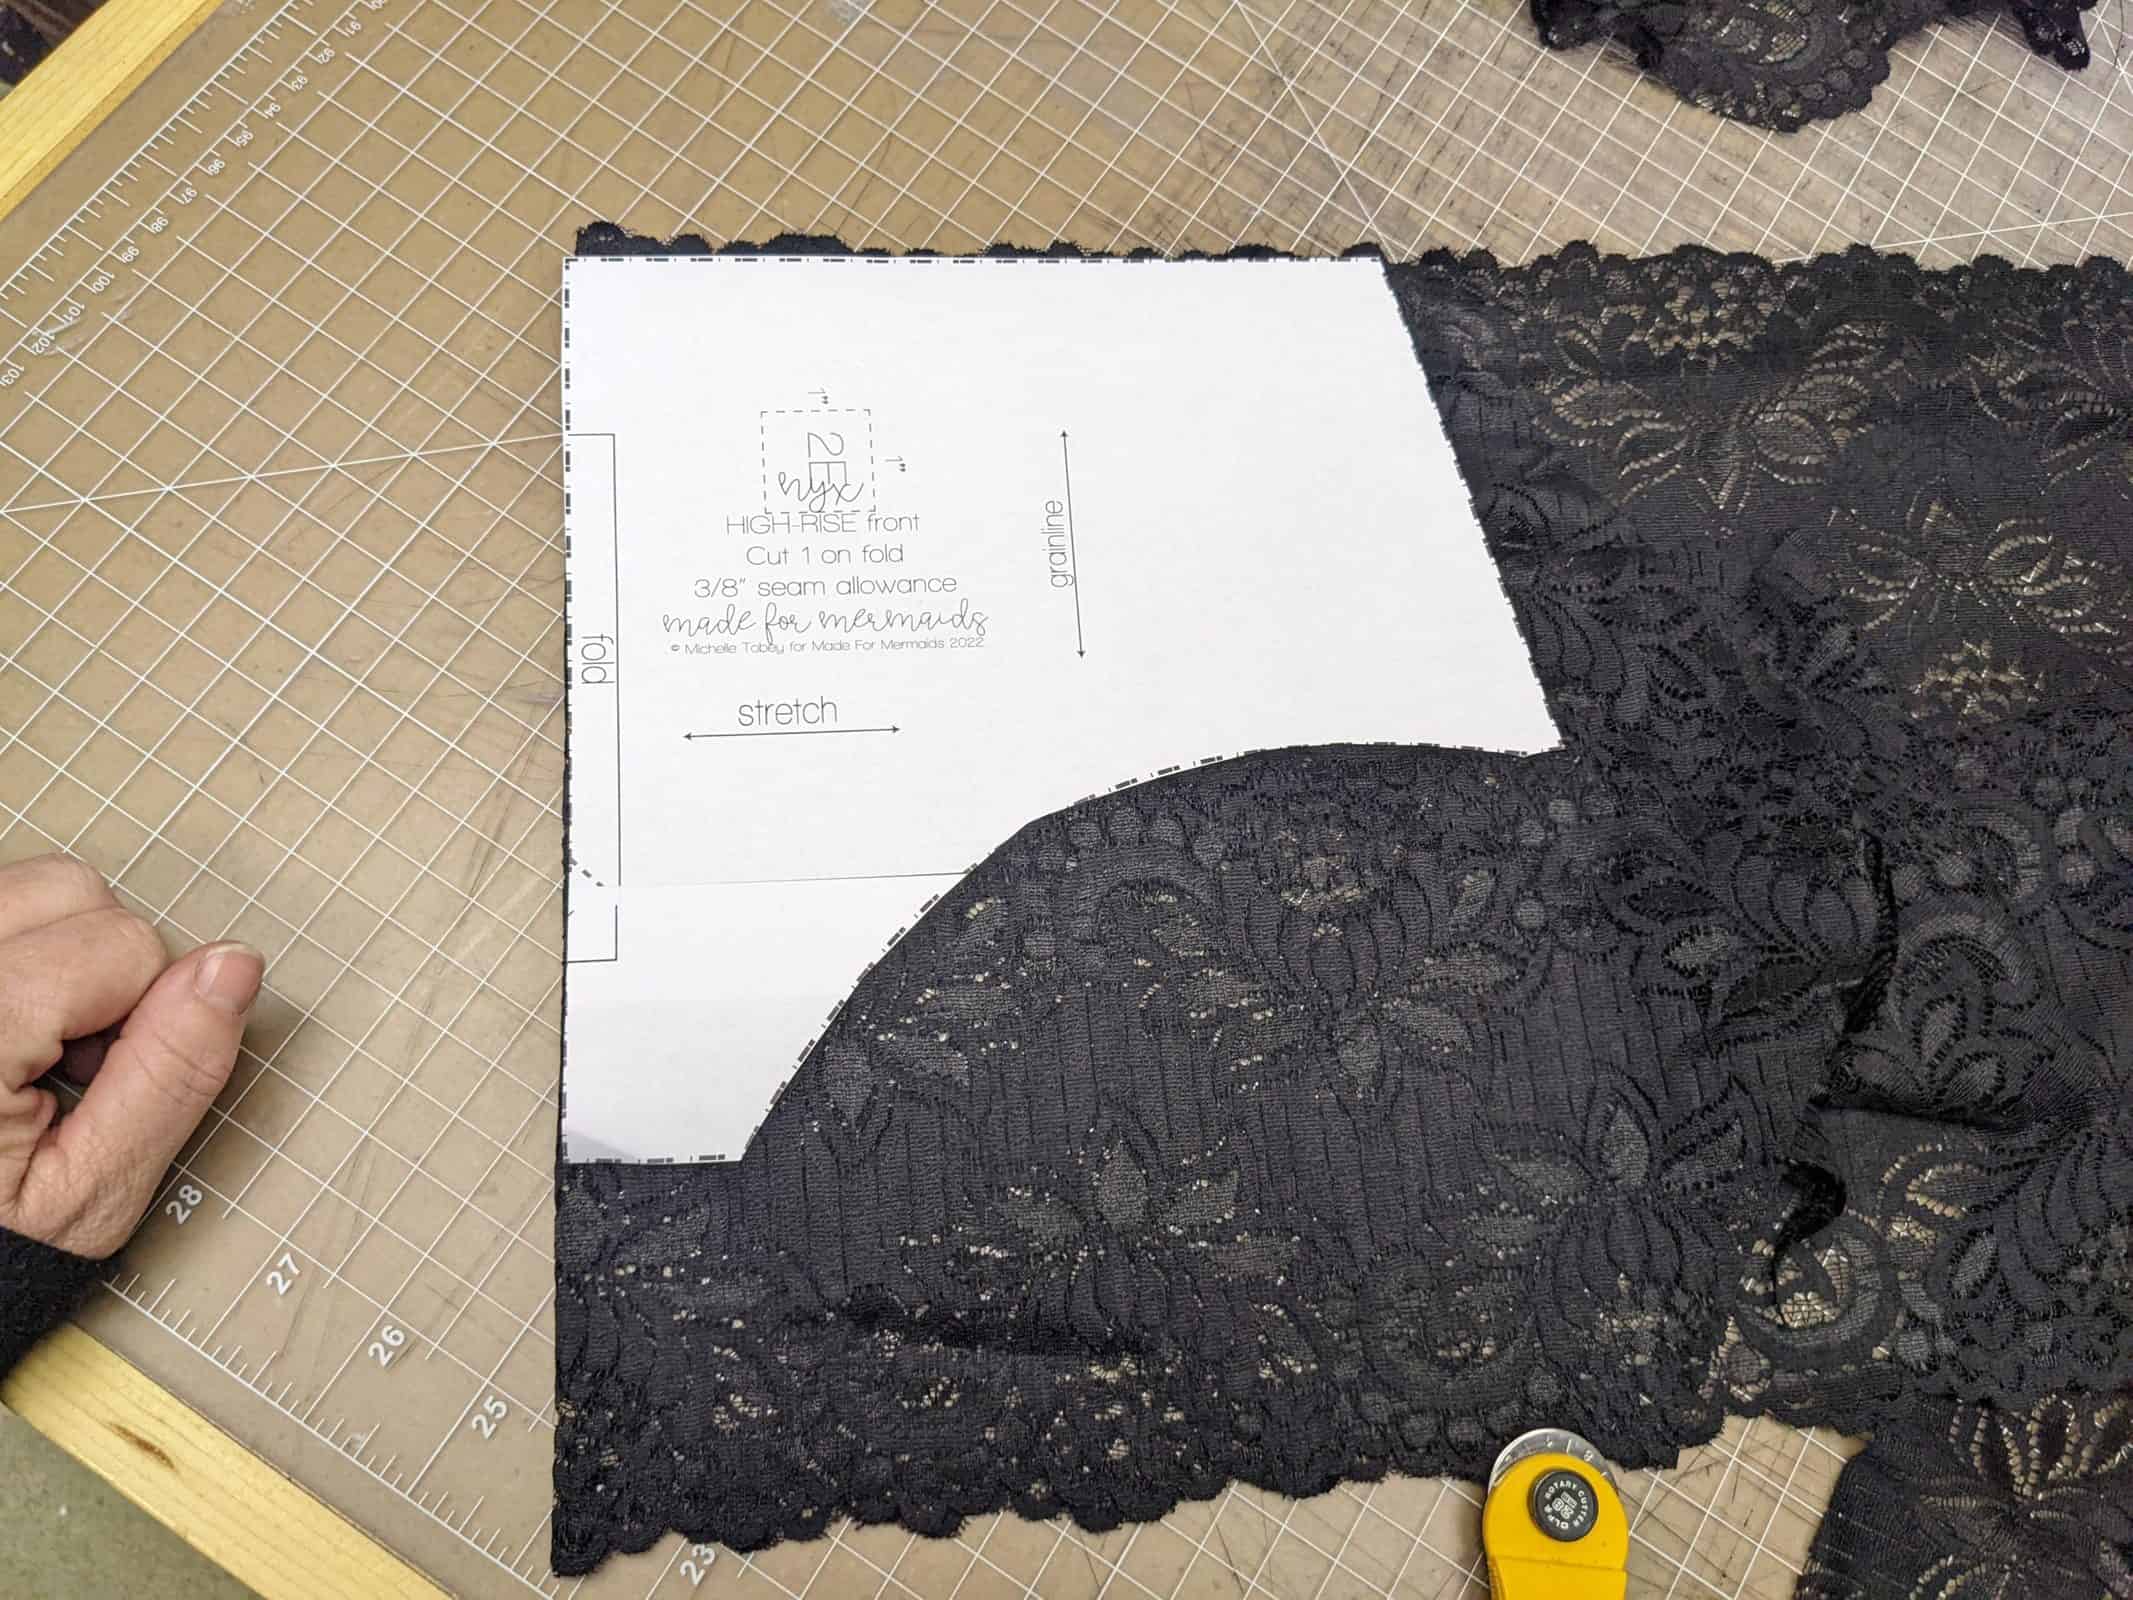
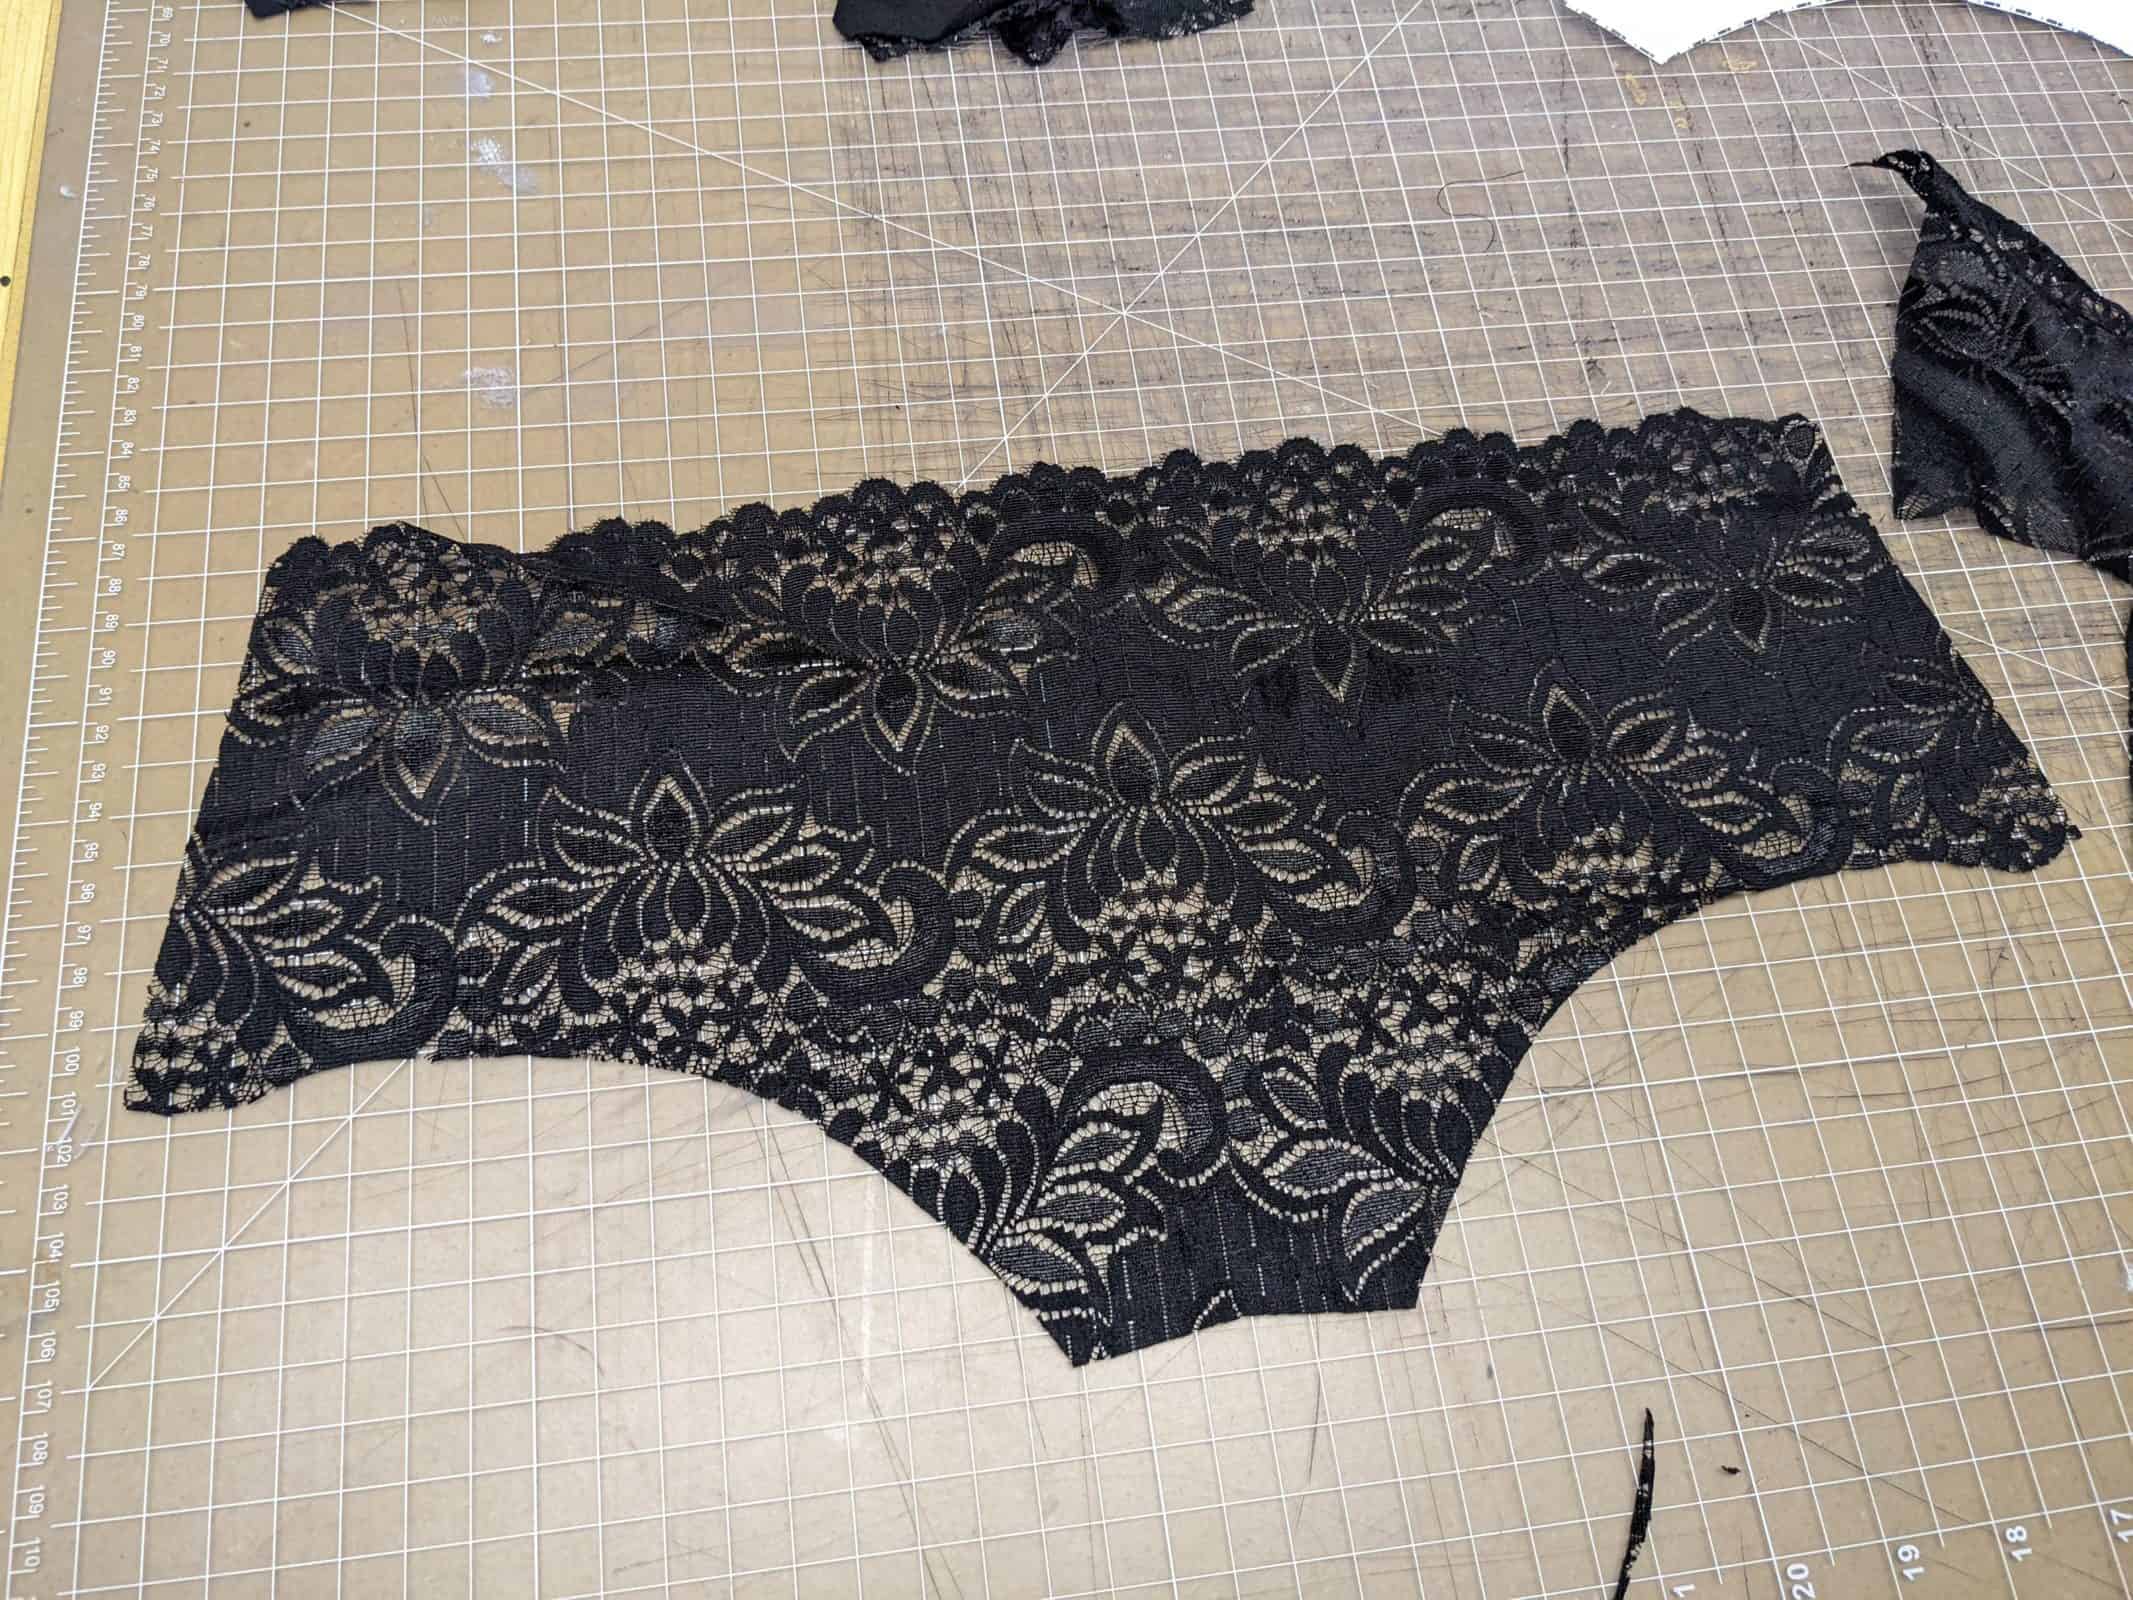
If your lace is wide enough, you have the option to cut the front piece out of galloon lace.
- cut out the front piece. You may use regular fabric or galloon lace
- sew to liner pieces as per pattern instructions
Whether you used a regular fabric or a galloon lace, follow the pattern instructions and sew the liner pieces to the front piece.
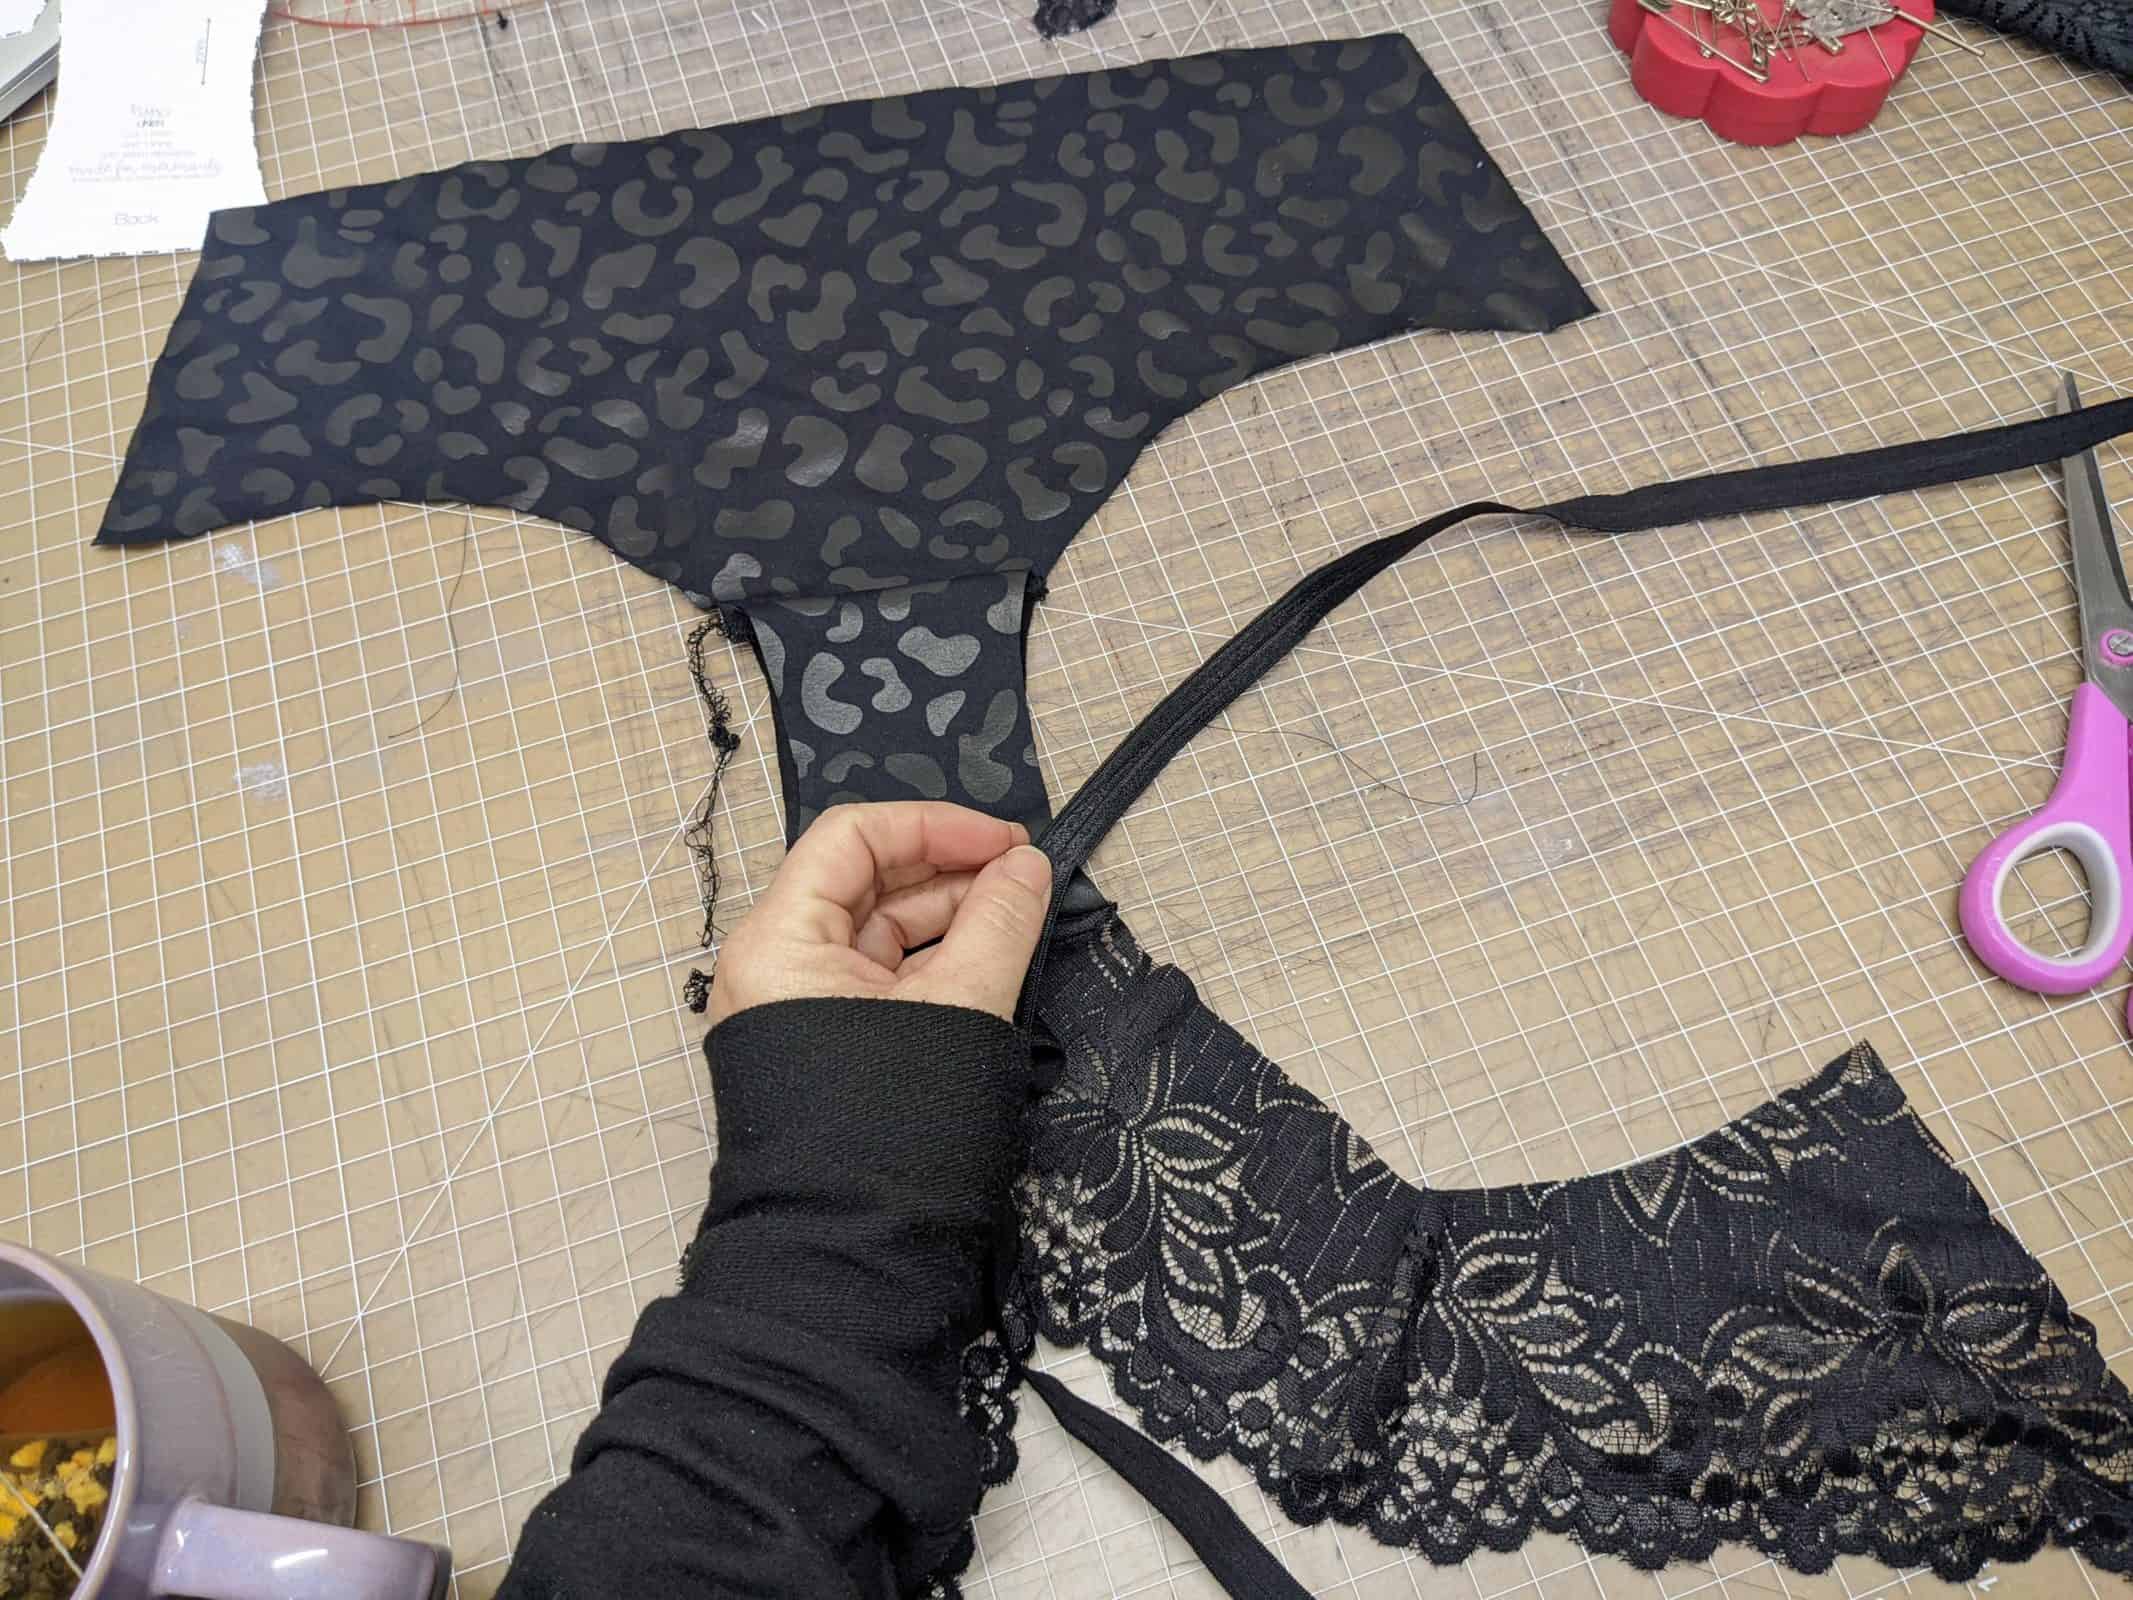
- In this option our back legline is already finished (with the galloon lace edge). So at this time you will need to finish the legline with elastic on the front/liner piece.
- Instead of measuring my elastic, I attach it while giving the elastic a slight tug (except in the area of the liner)
- Now you will finish the back piece and liner seam. Stitch right sides together.
- Top stitch this seam to give the lace more support.
If using galloon lace front, you will now finish your sides seams as per pattern (if you used a regular fabric for the front you will need to follow the pattern instructions and add the elastic to the front waistband before finishing the side seams).
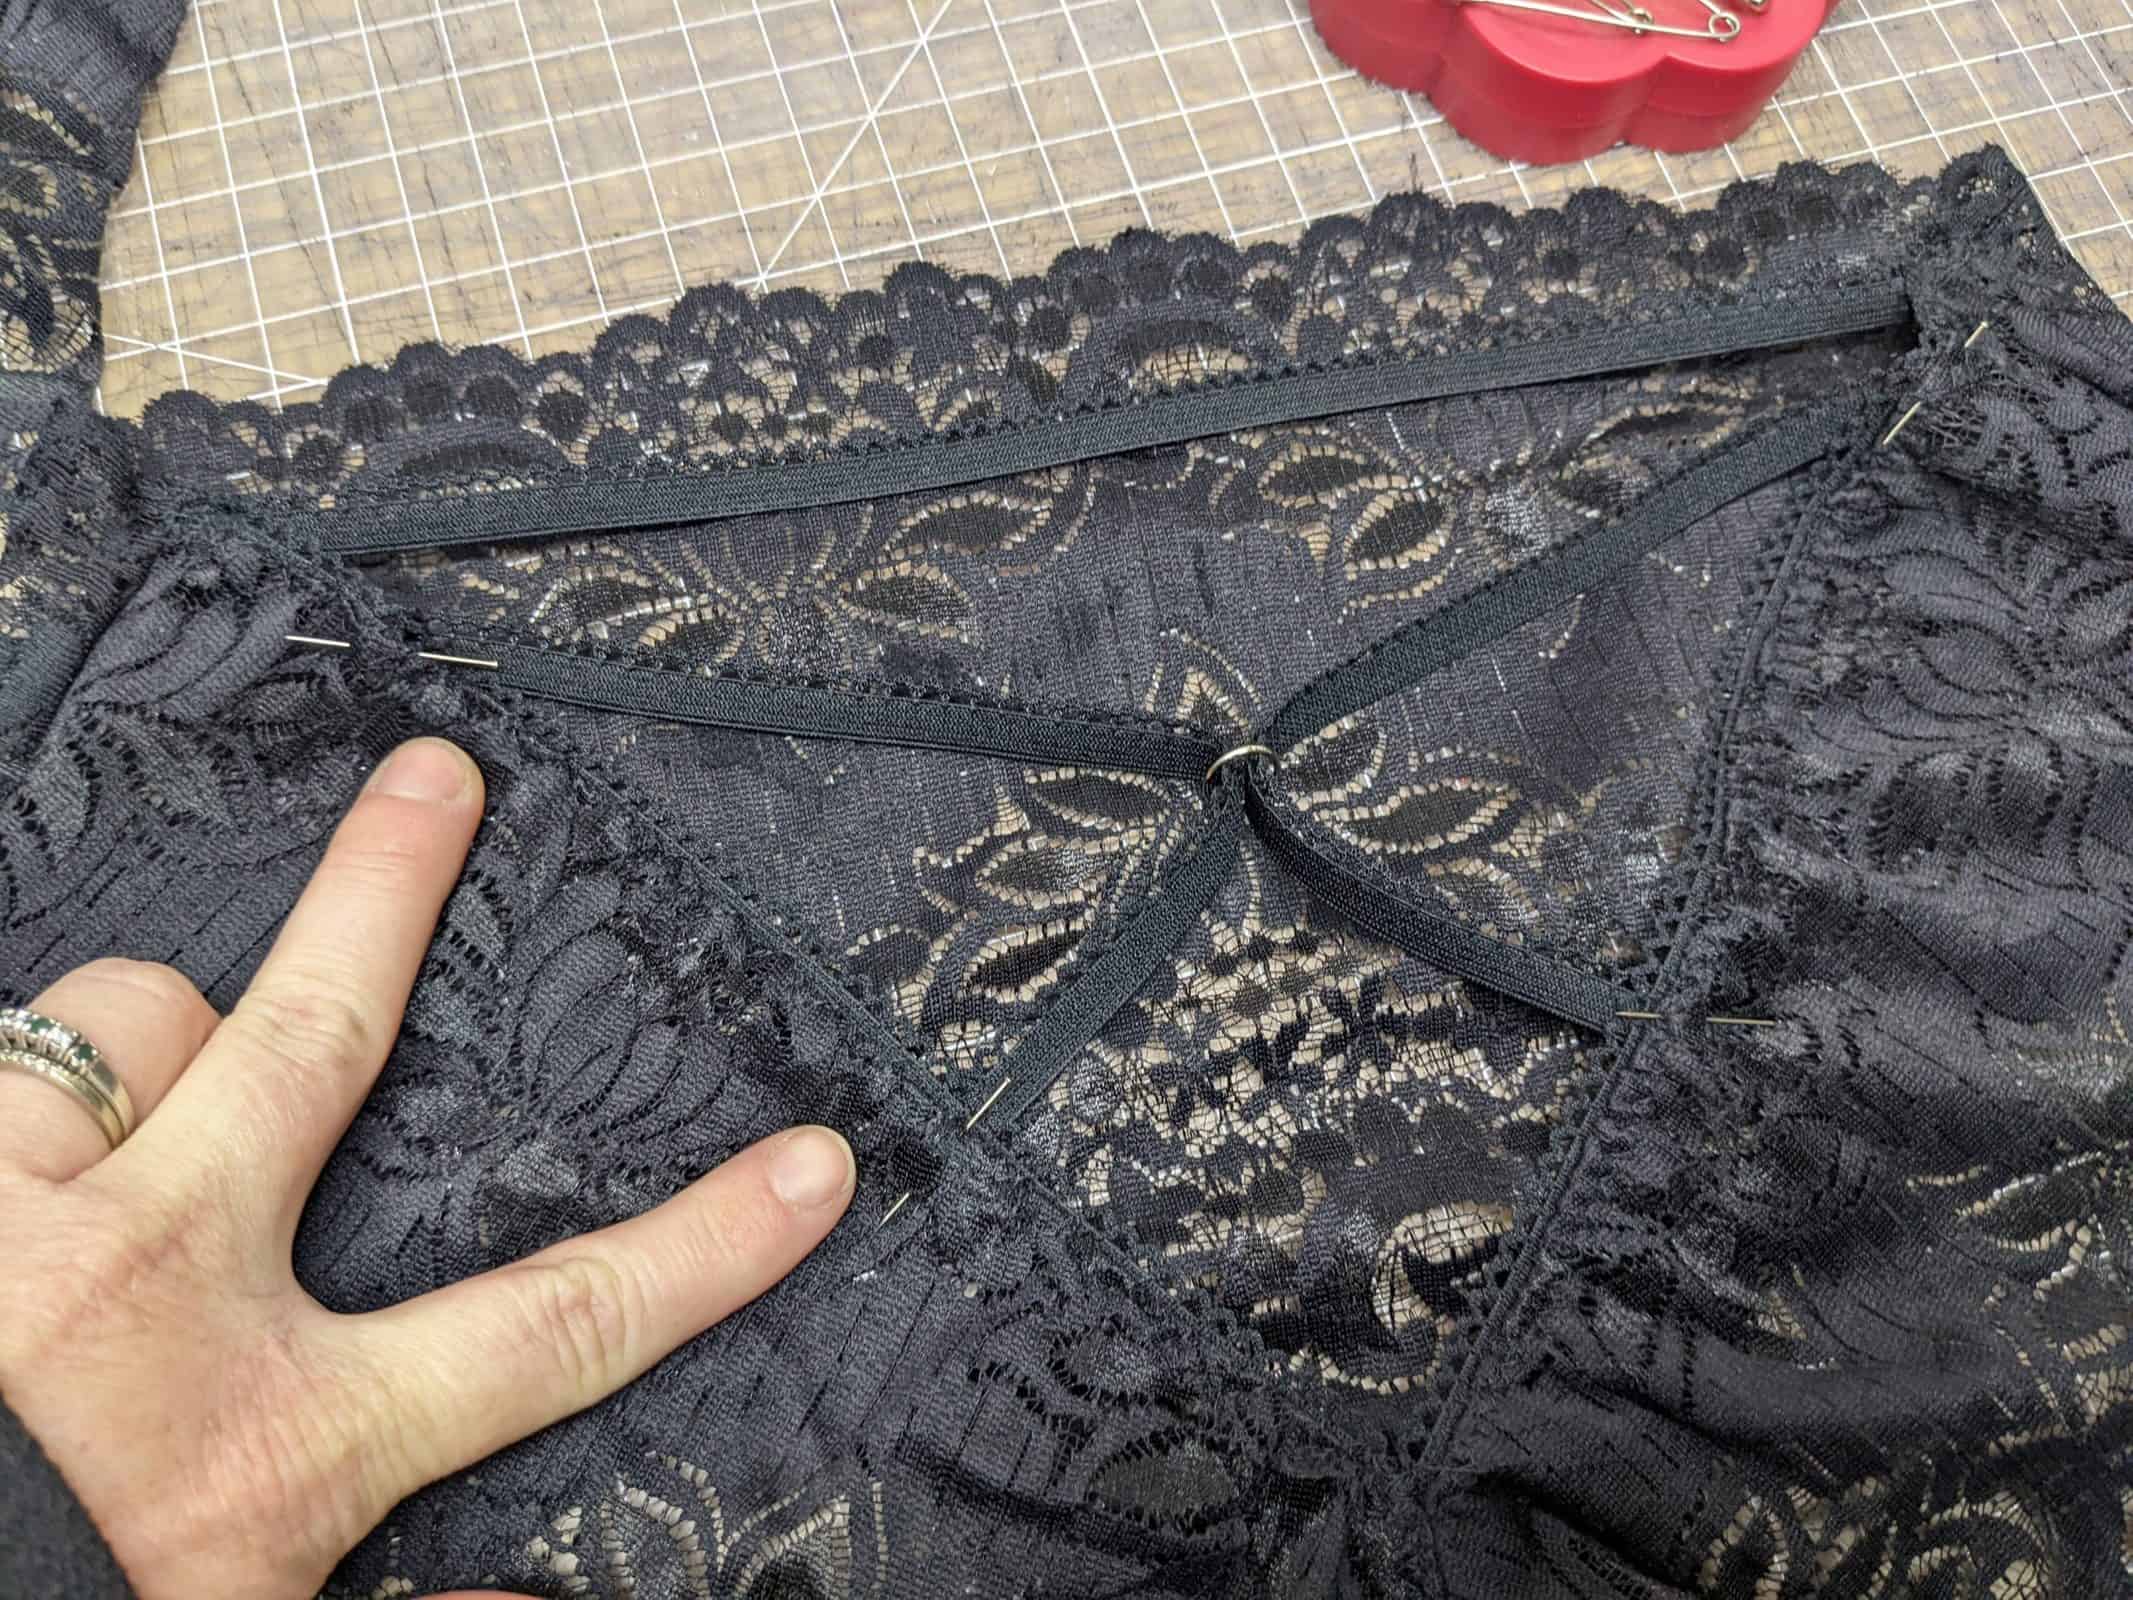
For the criss-cross ring finish:
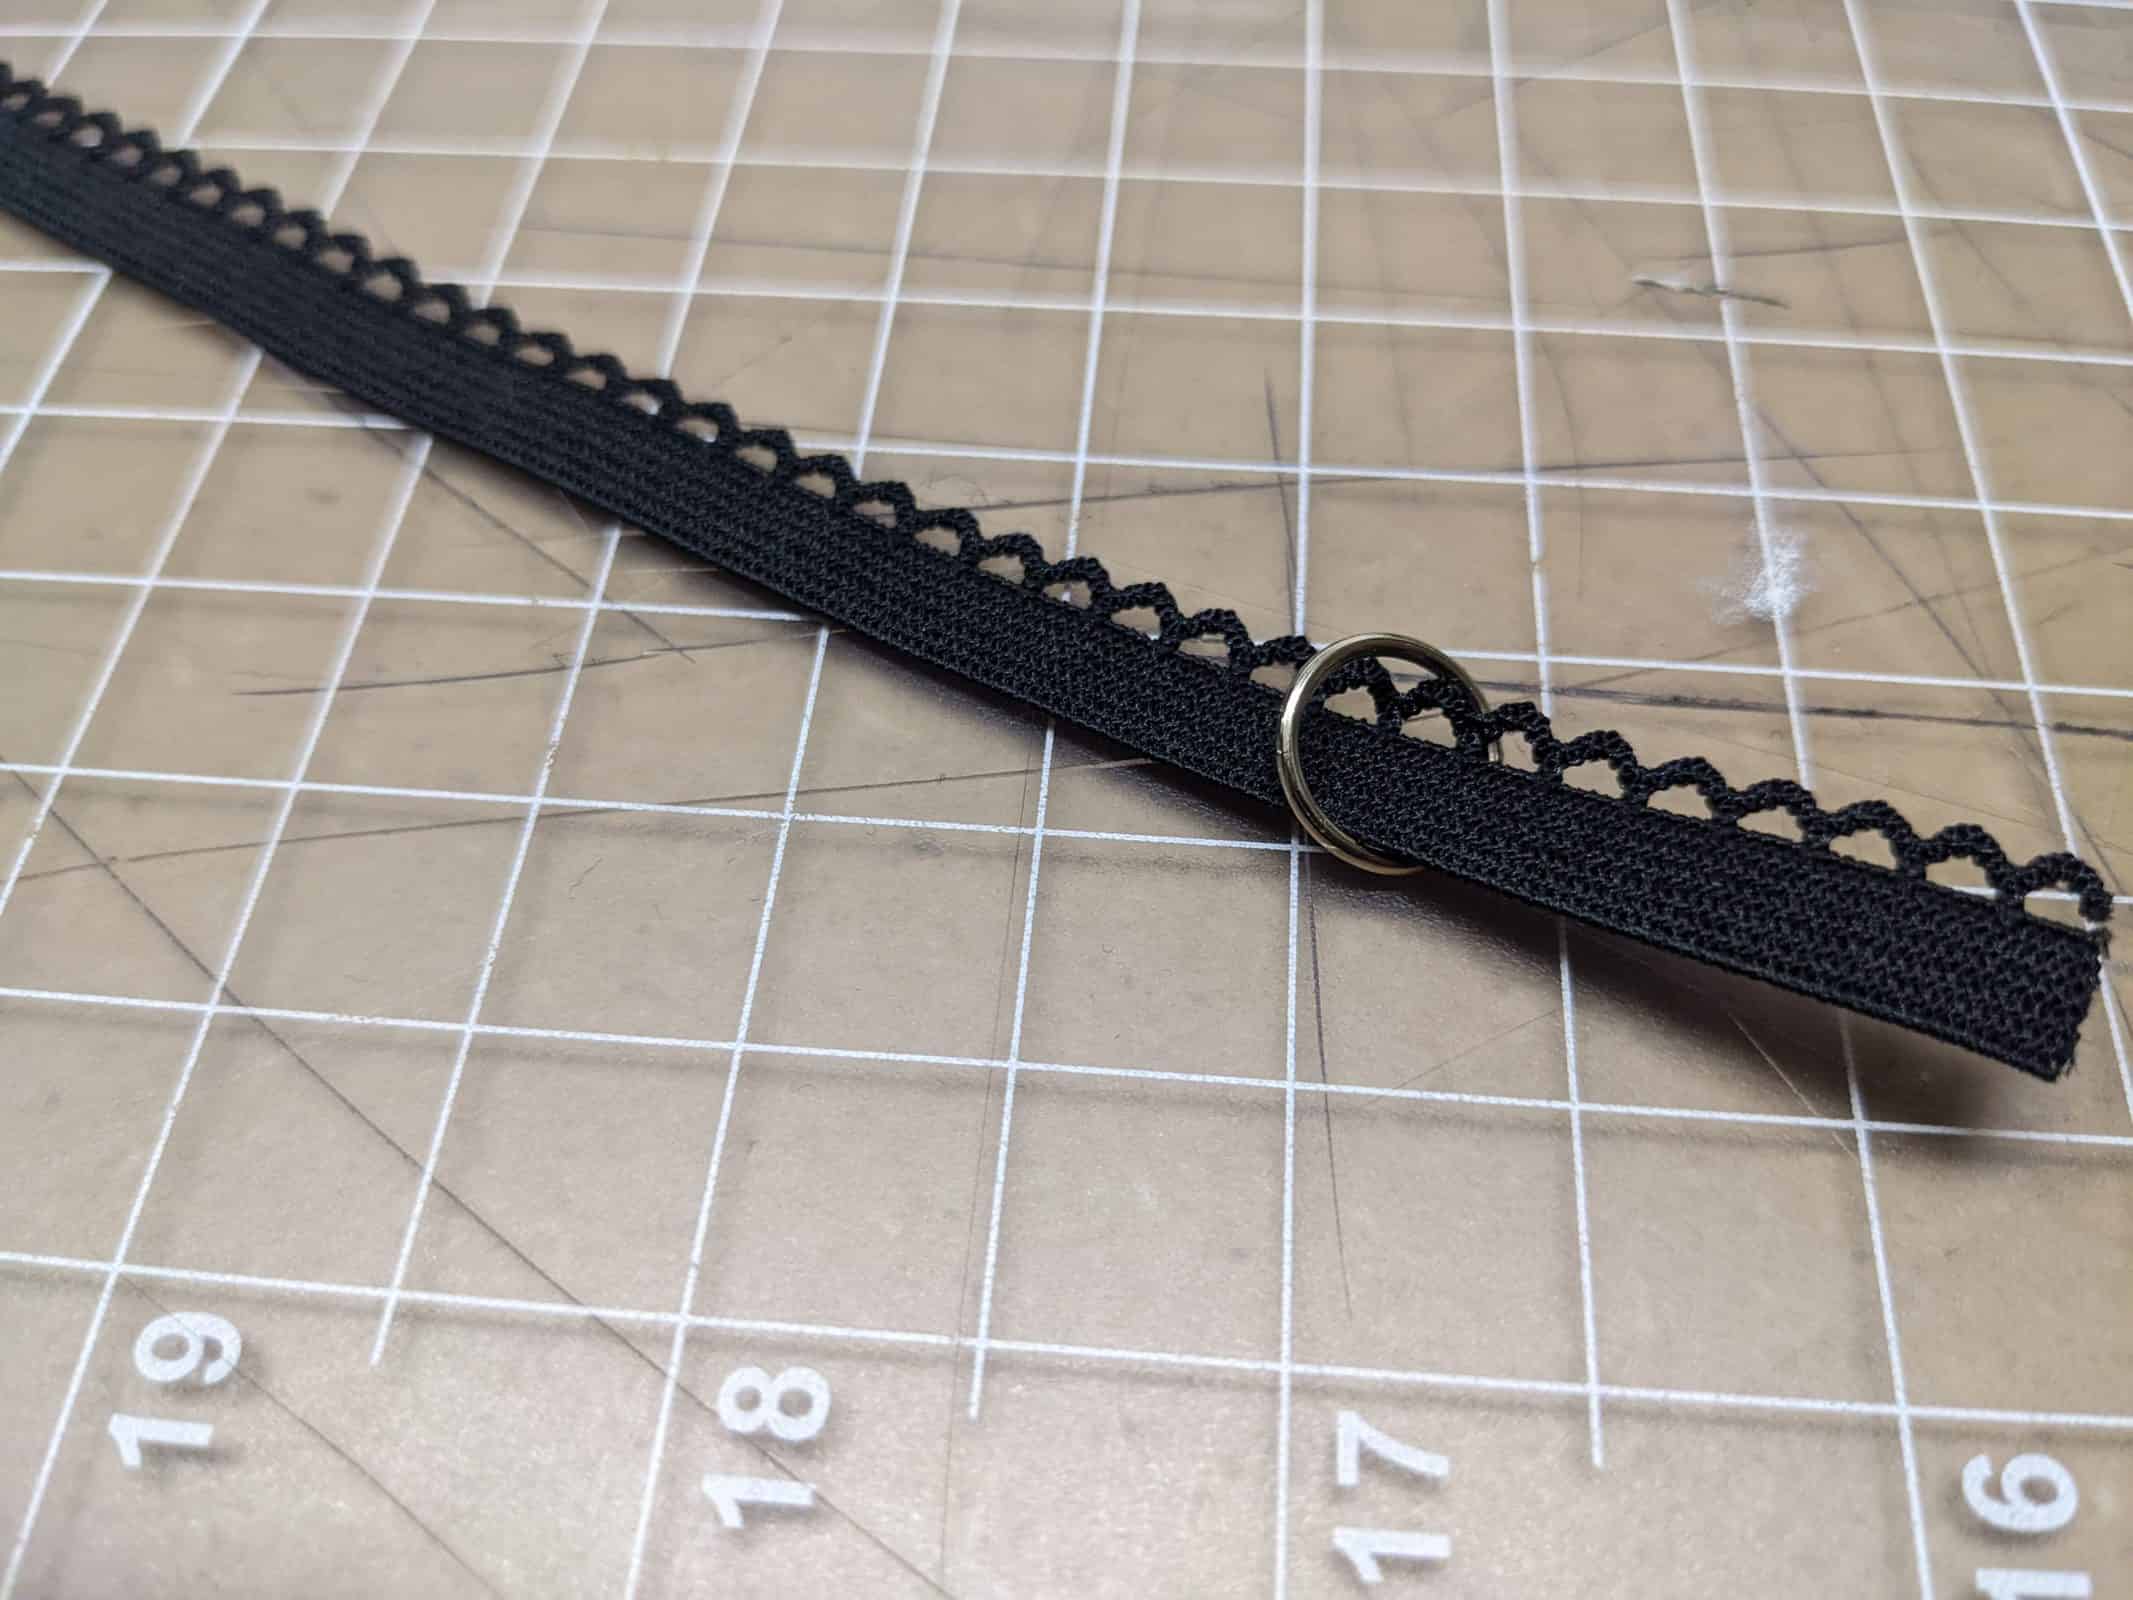
Instead of calculating a new length for the elastic, I cut three pieces the same length as the top elastic piece and it worked out. Cut them long if unsure (or do the maths if you are wise)
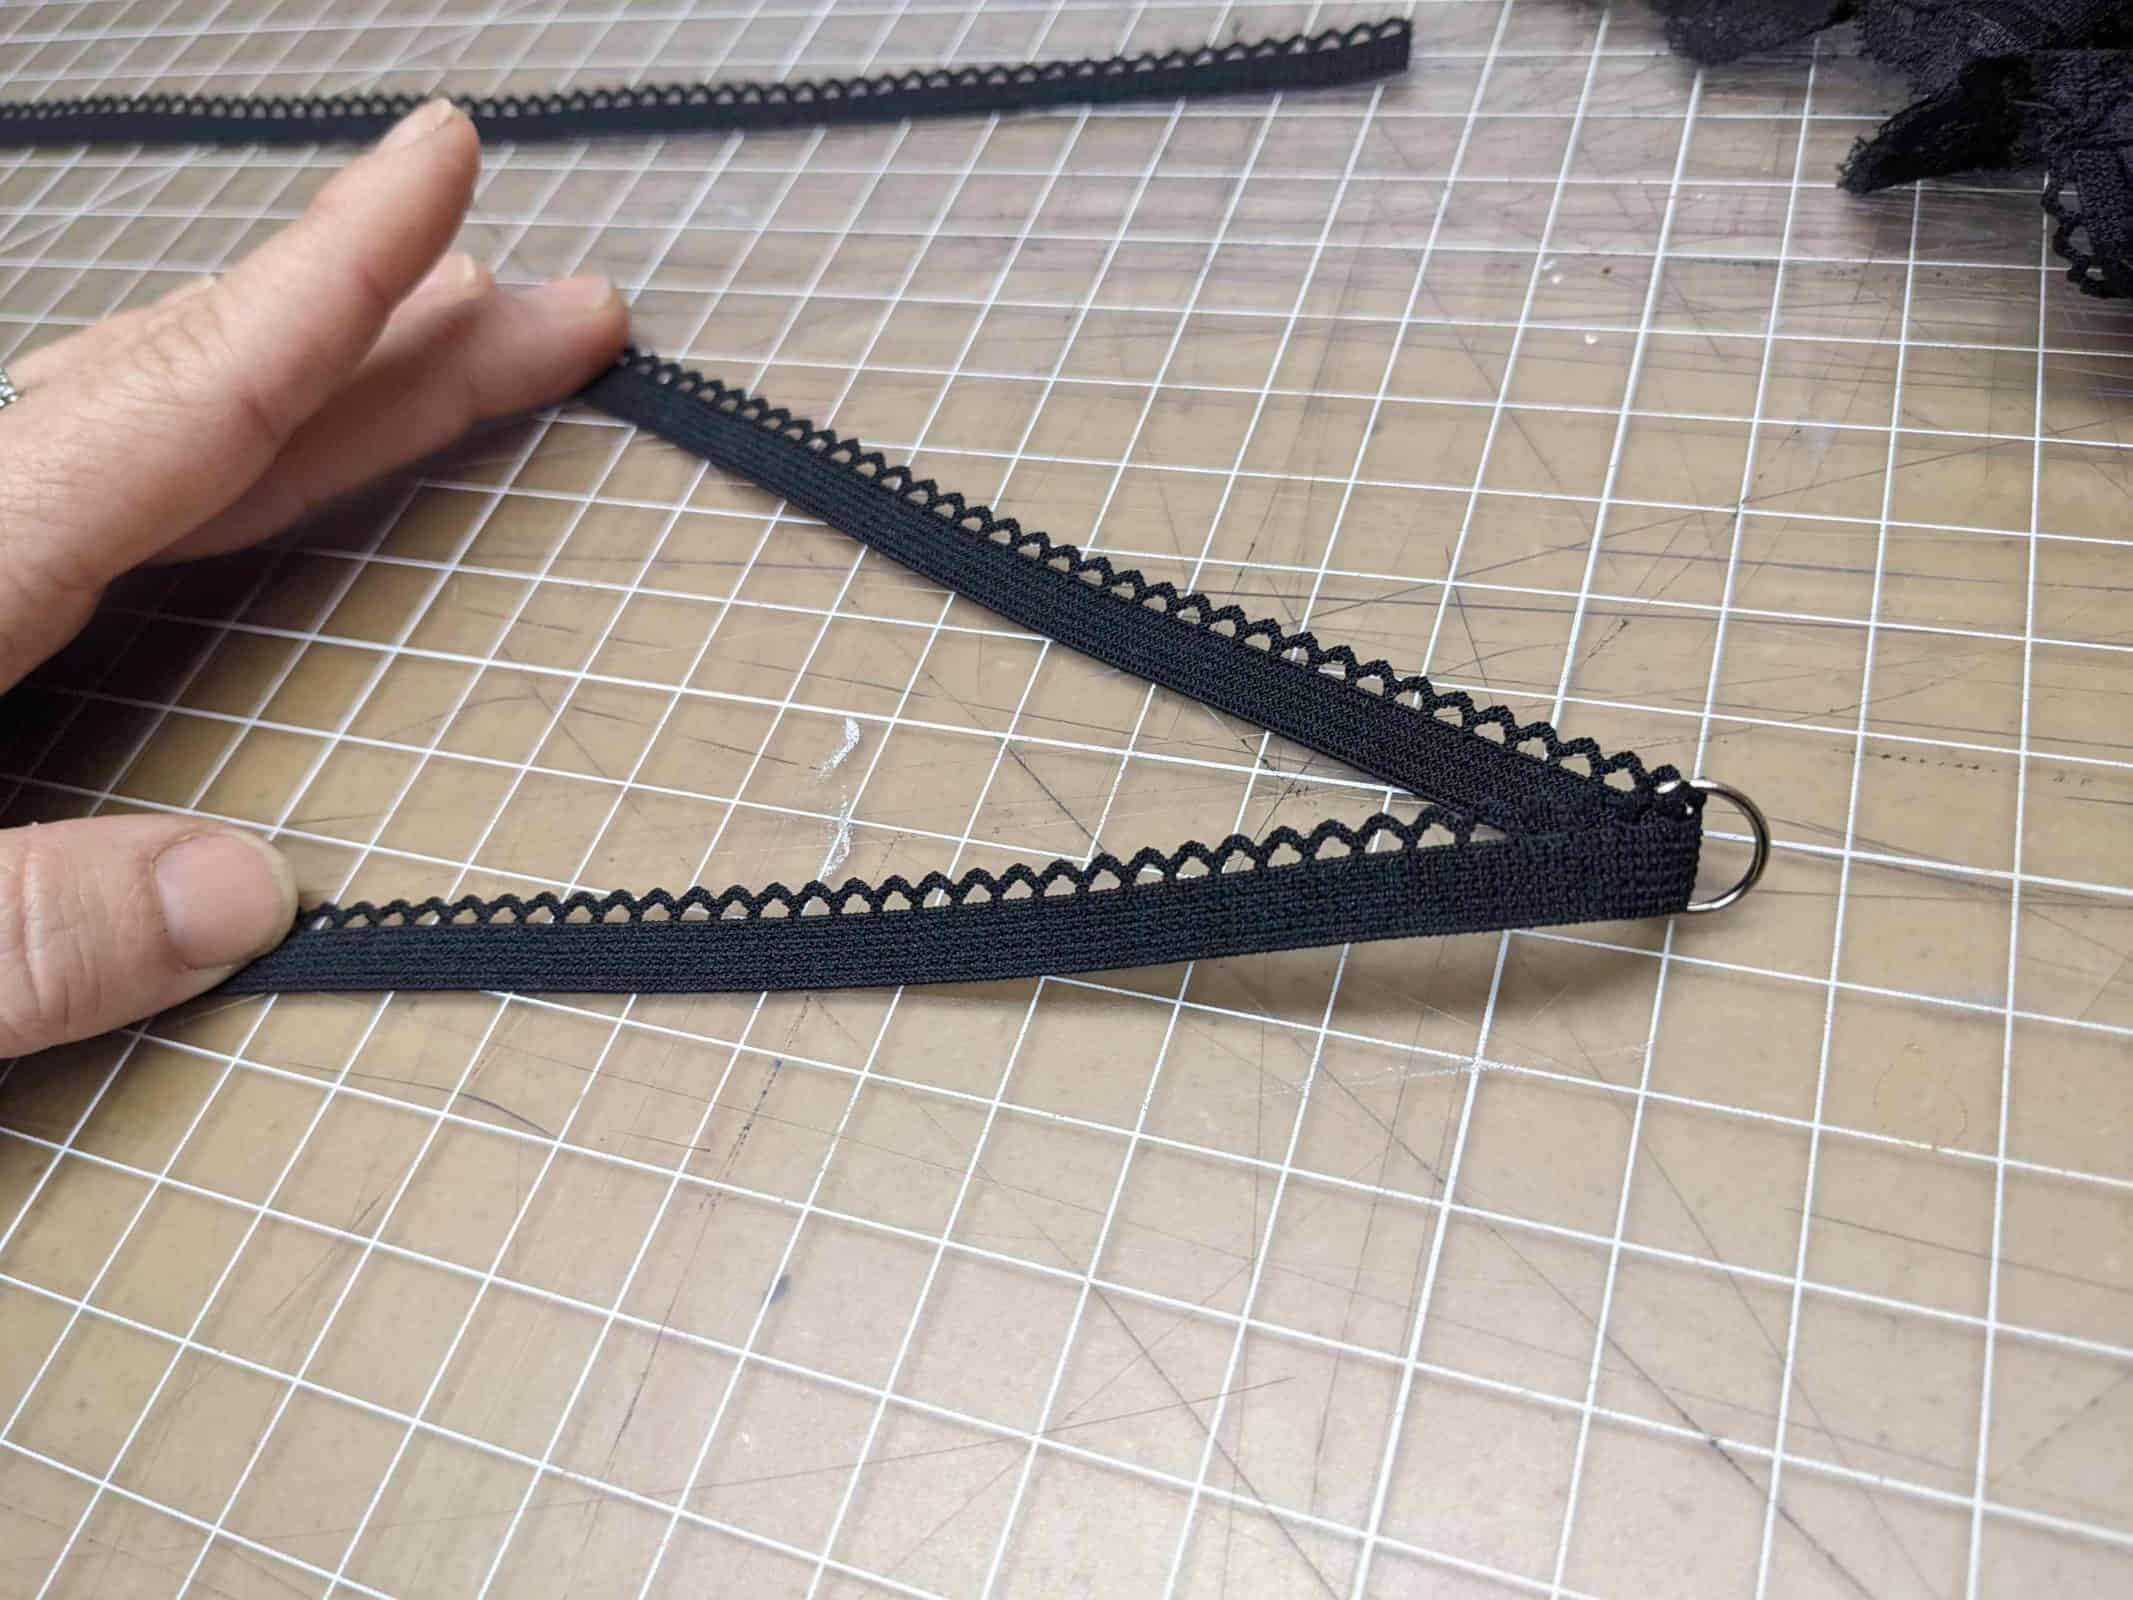
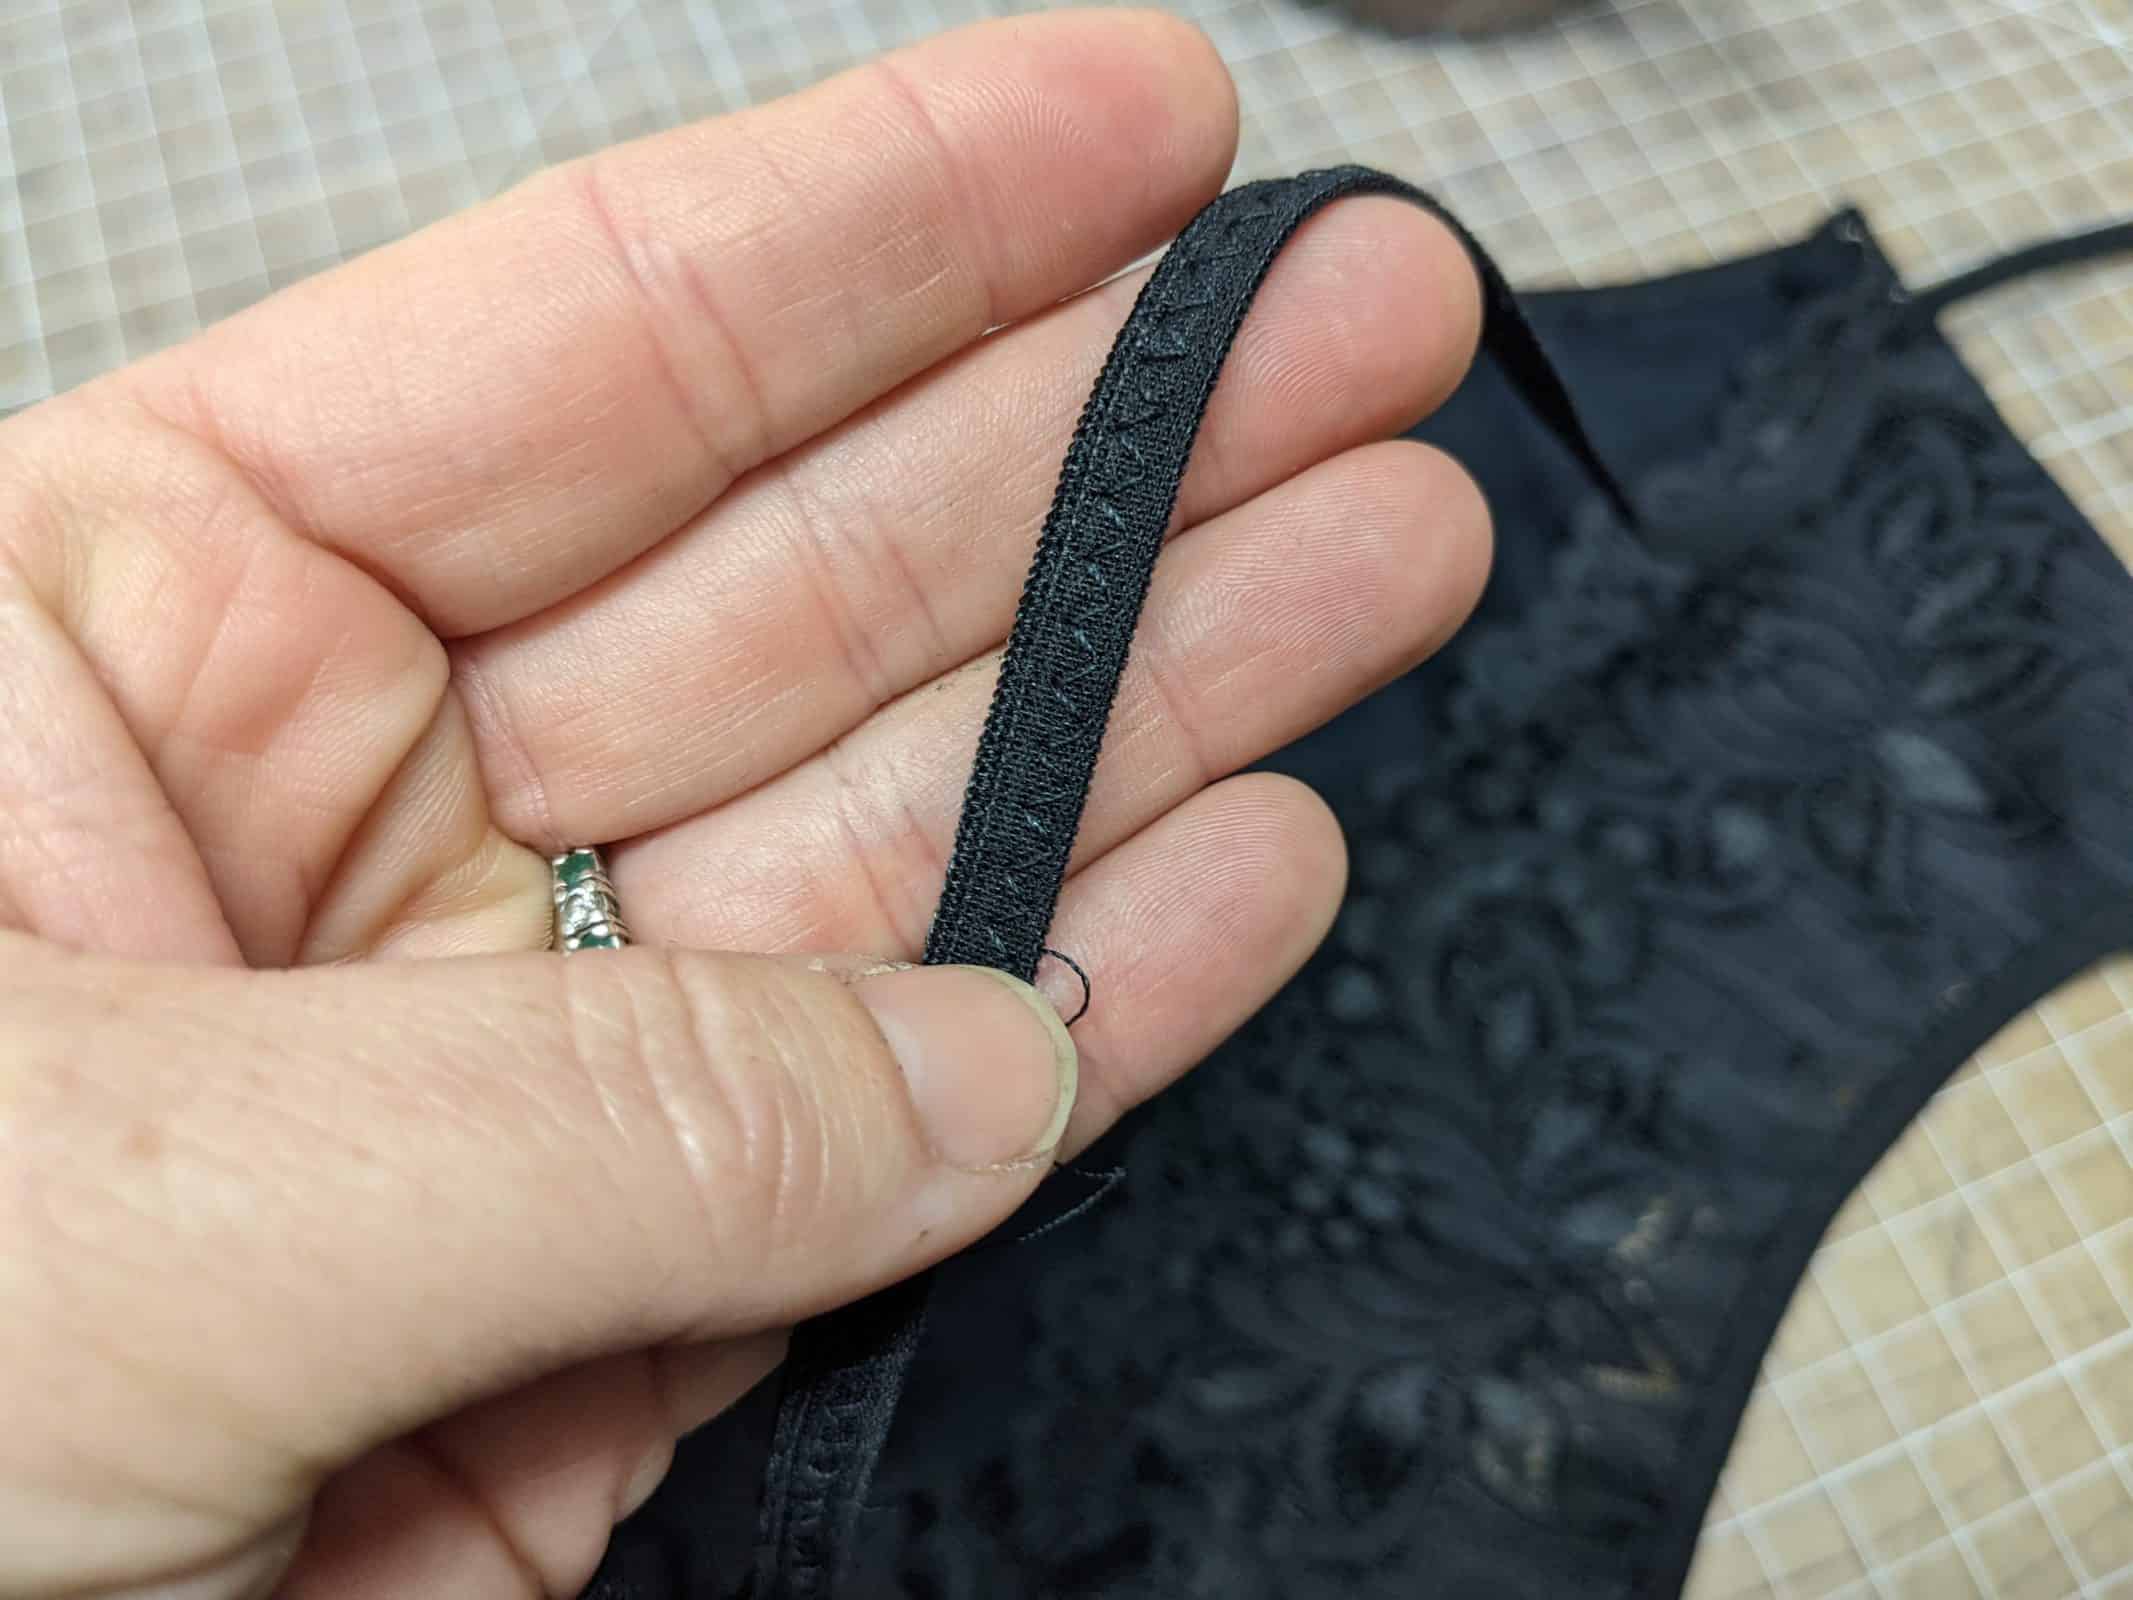
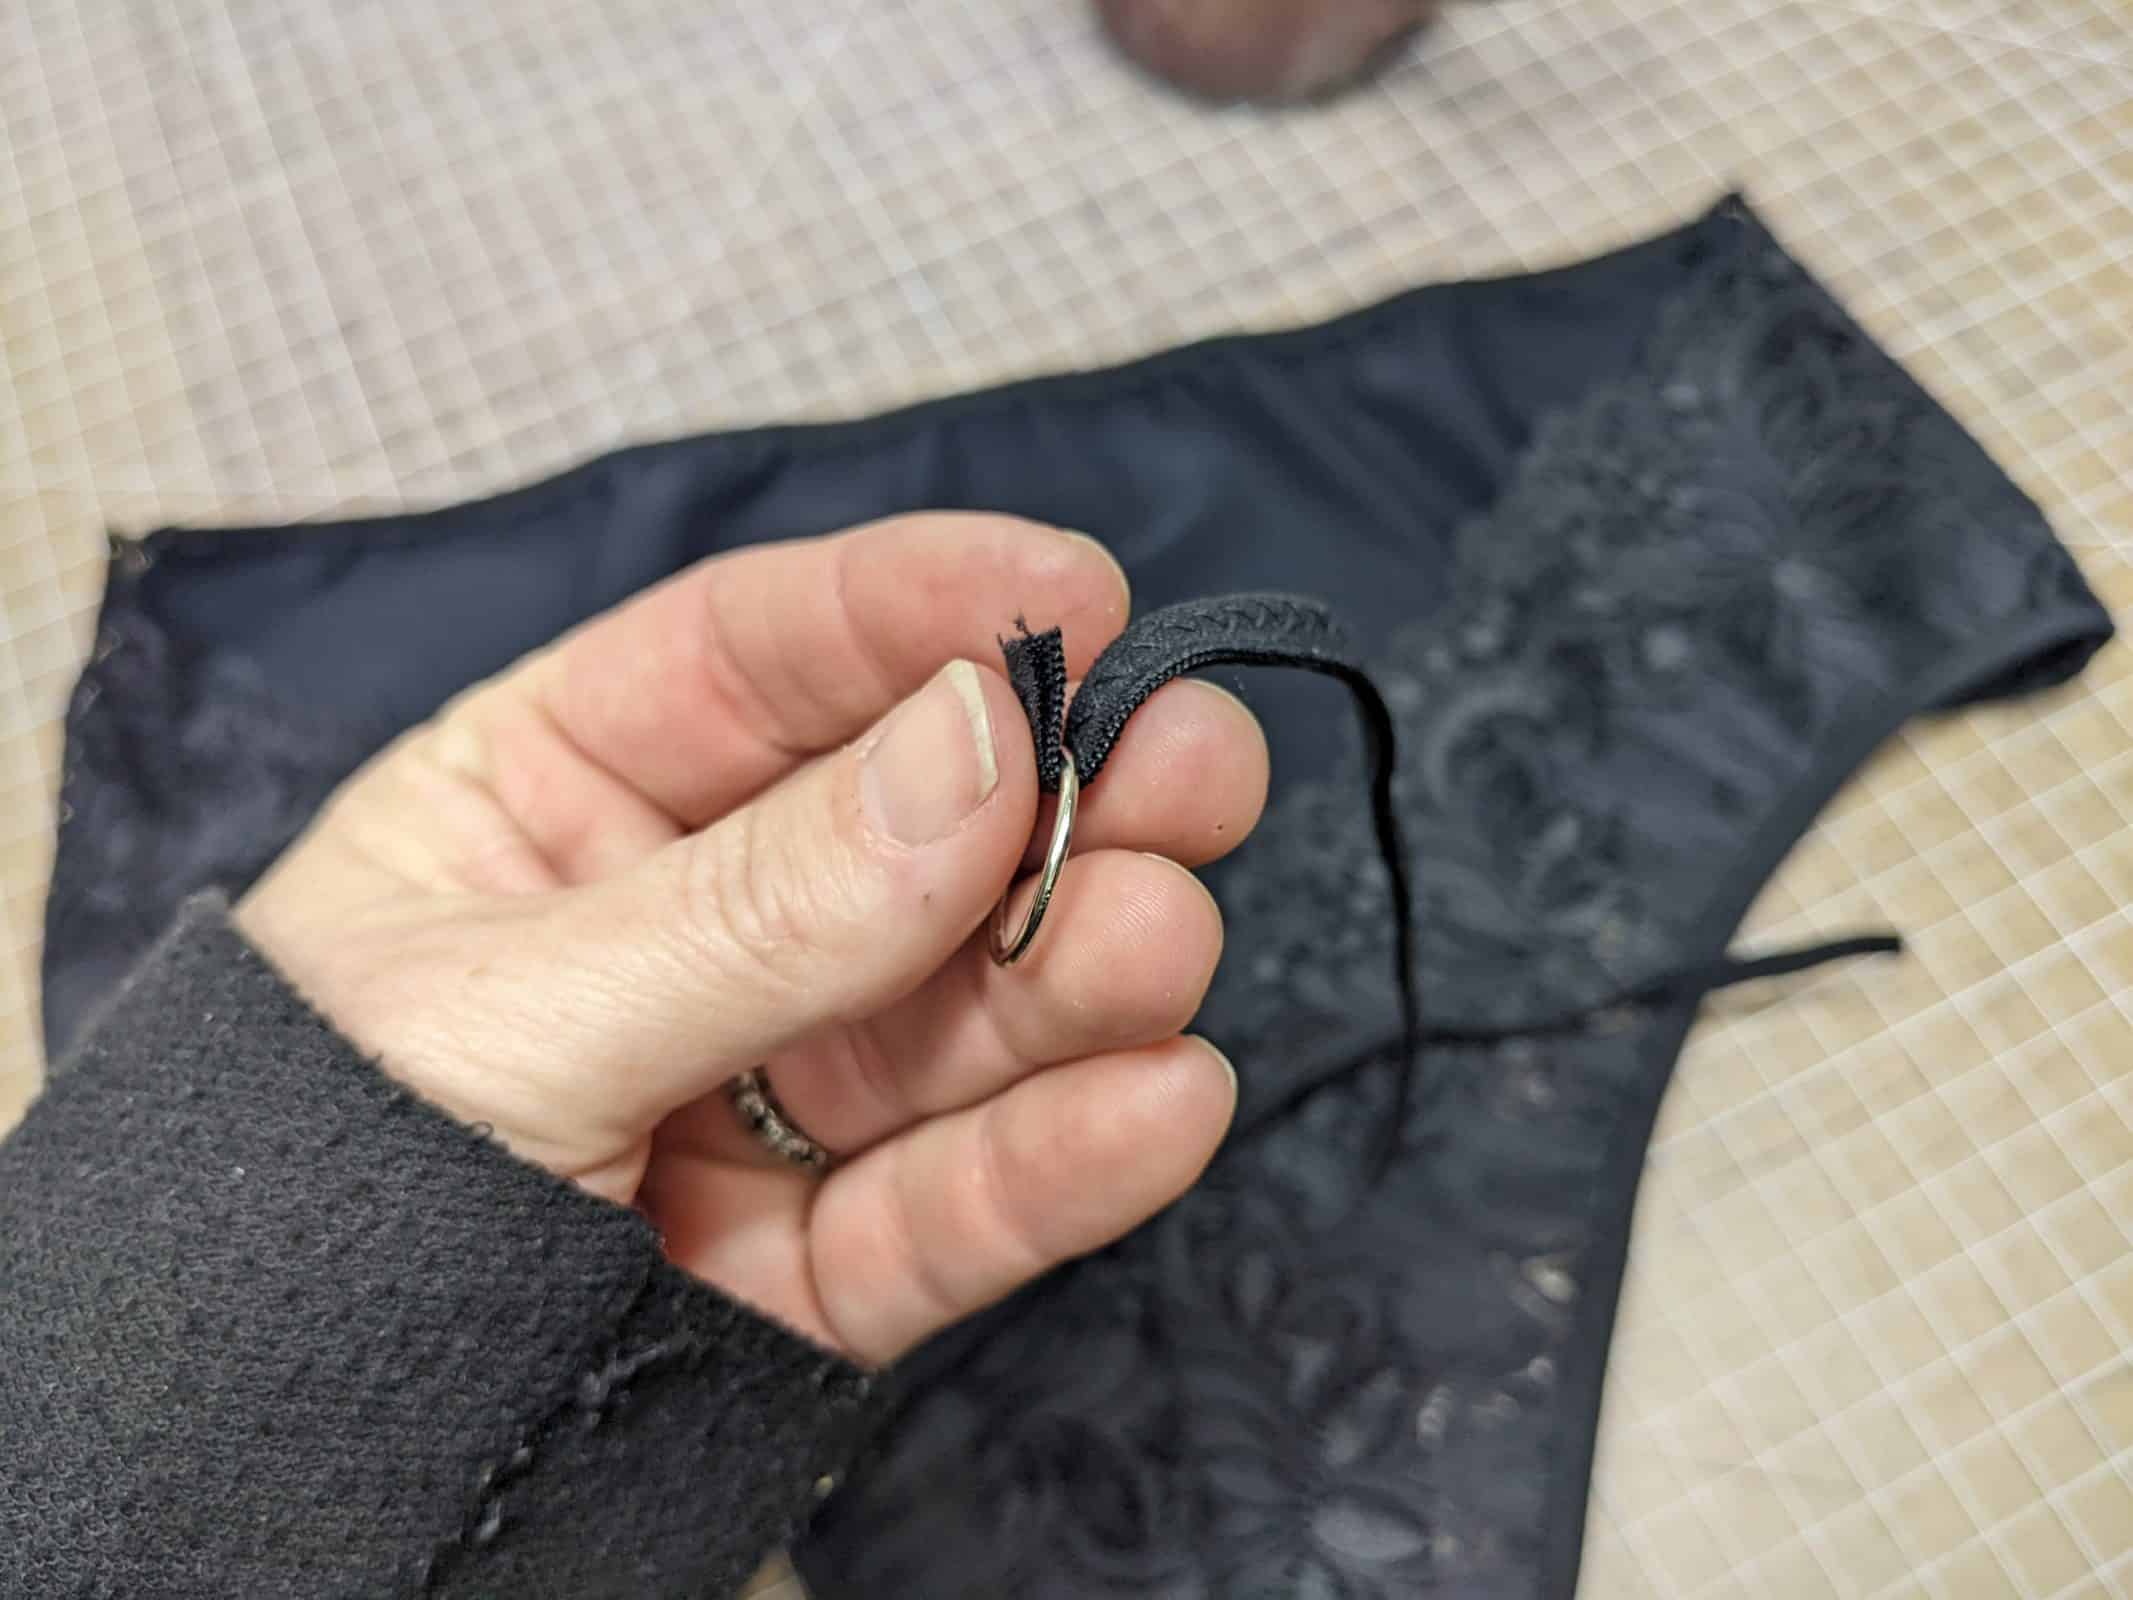
- thread the ring through one piece of elastic
- fold the elastic back
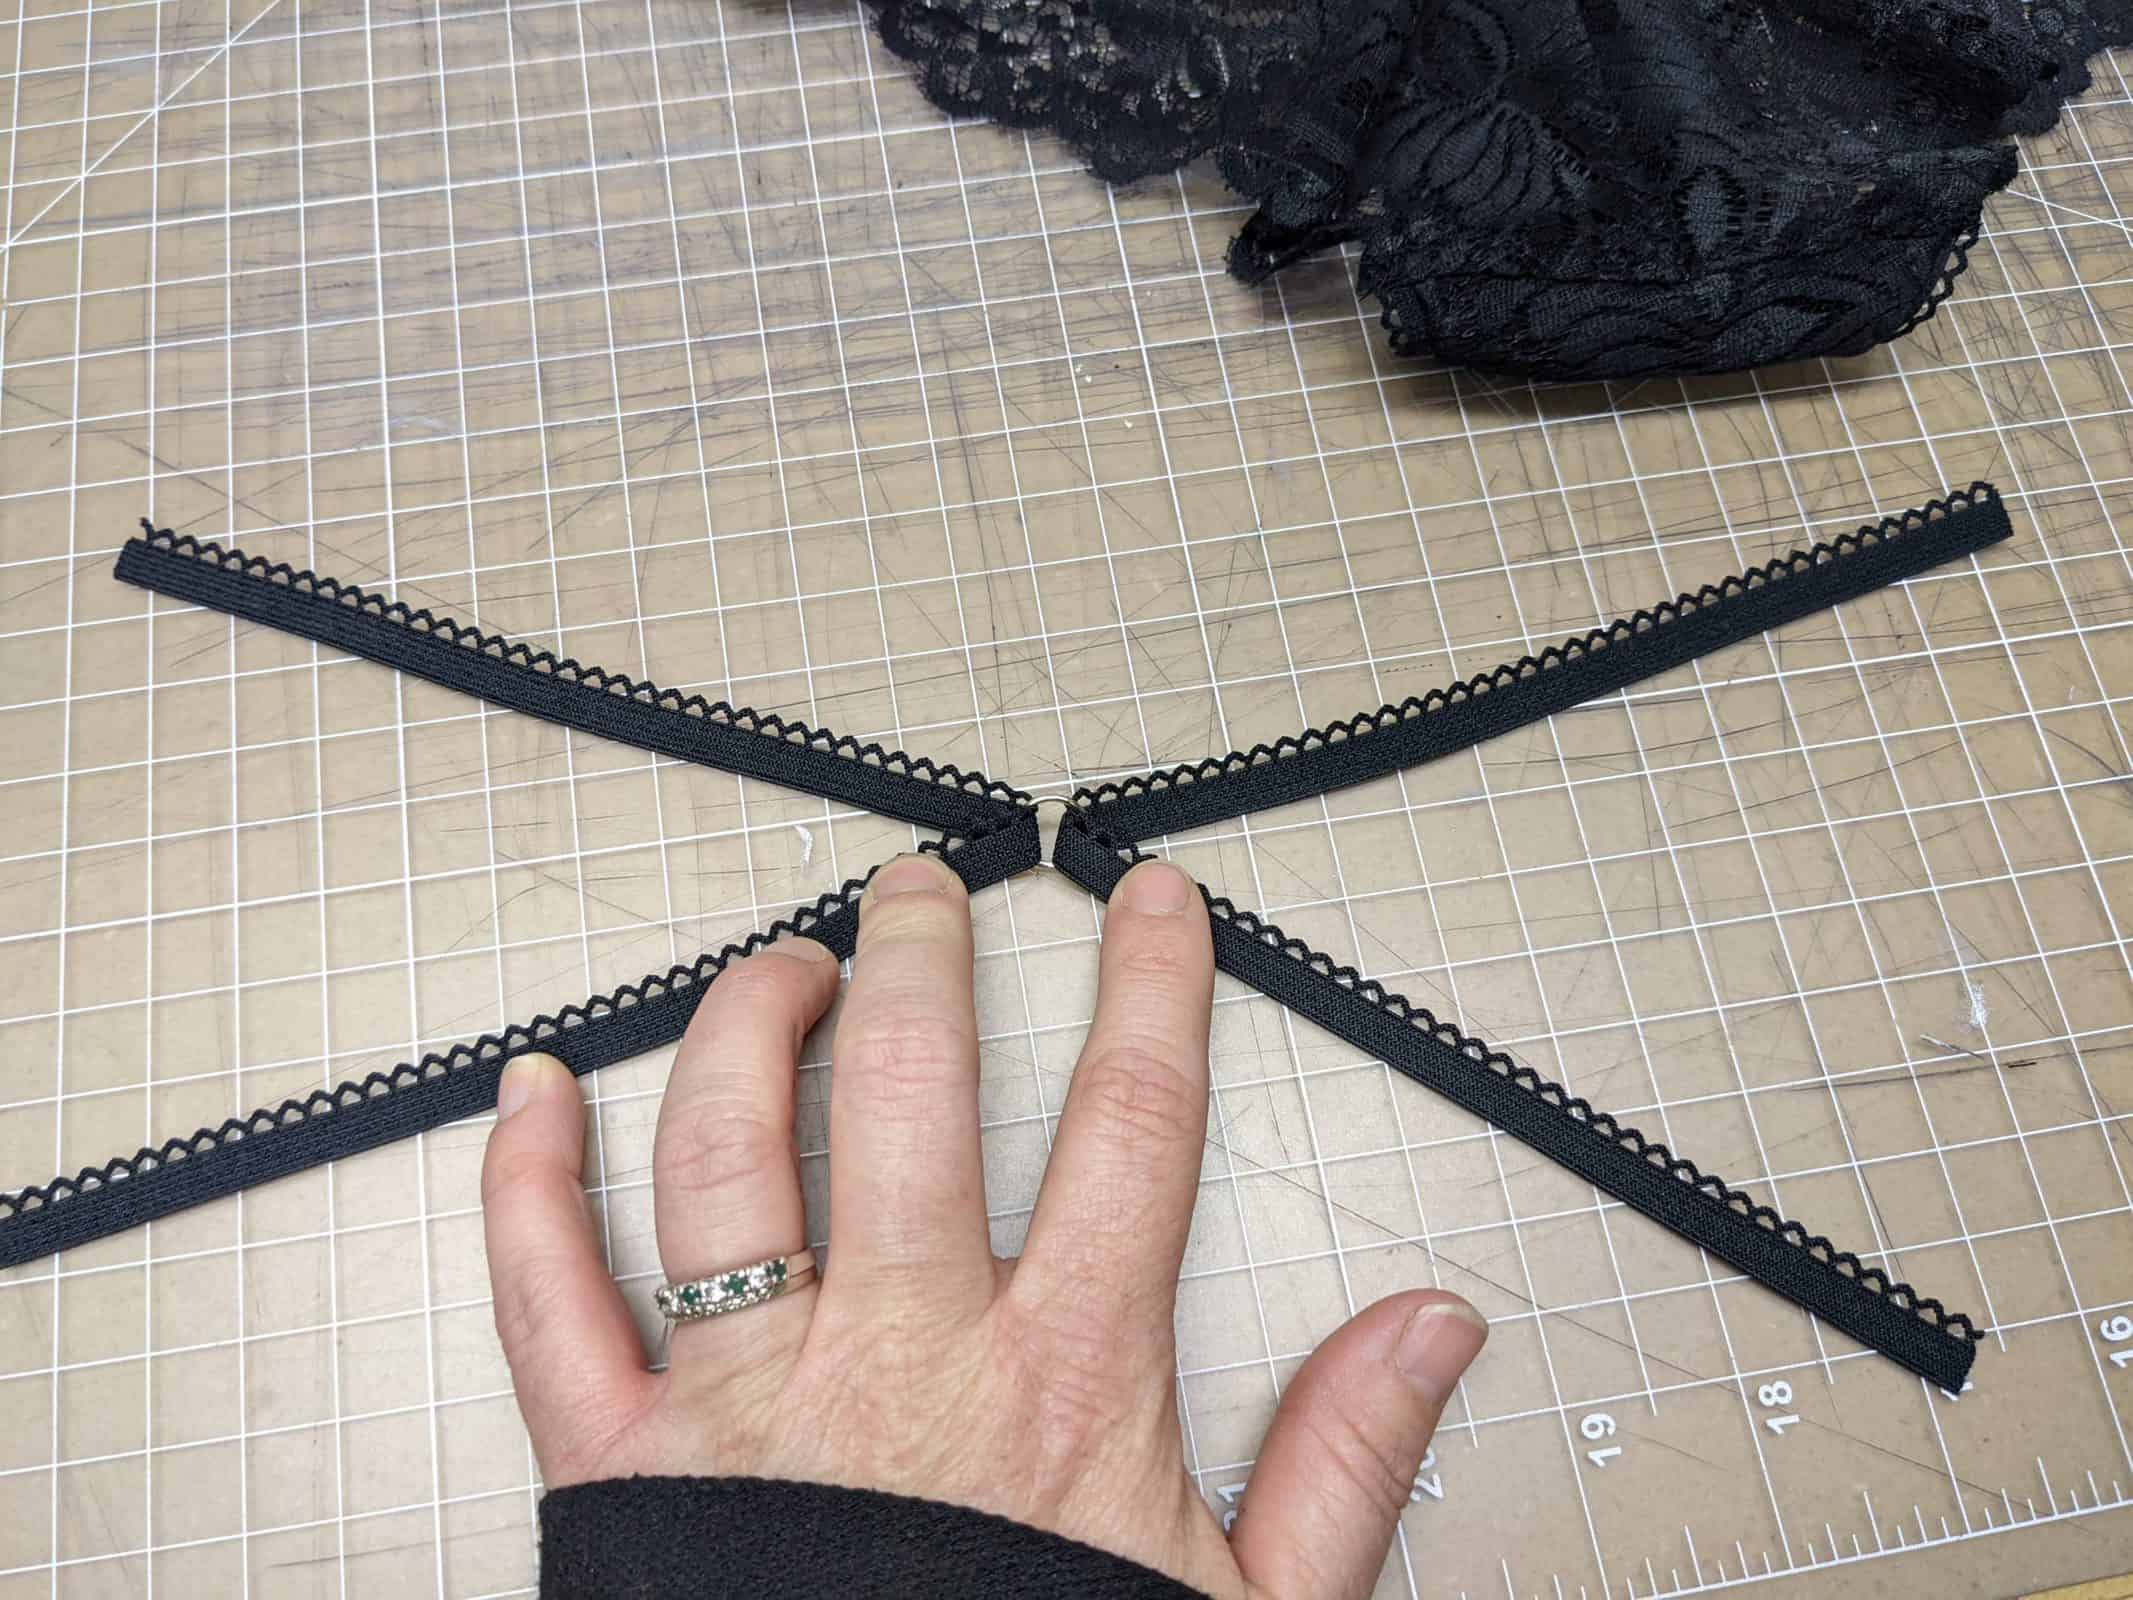
- repeat with other side
- Pin in the top elastic
- Pin in the middle elastics and adjust length of elastics as needed for the garment to lay flat
Topstitch the elastics straps in place and you are done.
Galloon Finish B: (Galloon Finished Back Waist+Sunburst Strap Finish)
Draw a straight line from the top corner down to the seam line (you may use the cut line for either more or less booty cleavage):
Trim the curved excess away leaving a straight line.
- Lay back pattern piece on top of galloon lace with your straight edge lining up with the galloon edge and cut out
- cut a mirror piece for the other back
- cut out the front piece. You may use regular fabric or galloon lace
- sew to liner pieces as per pattern instructions
- attach back to liner as instructed in pattern. The entire legline will be unfinished.
- finish the front waistband (if using regular fabric) and leg line with elastic as instructed in the pattern
- finish side seams
- If using FOE for your straps, as I am, fold it over and top stitch.
- I finished a long length of FOE and cut straps from it as needed (instead of measuring each strap). I also used a larger ring for this finish.
- feed the strap through the ring, fold it over and top stitch.
- Find the correct length for the strap by laying the ring down in the center position and trim the strap. Repeat 5 times for six straps.
- I used the original Nyx markings to place the straps, you may place them wherever you like.
- Leave an extra .5″+ of strap when topstitching to better support your delicate lace.
- topstitch this extra bit of strap to spread out the area of stress on the lace and to protect it from tearing
*a note on galloon lace. It will be a little more delicate than other fabrics. To extend the life of your garments you may consider underlining your pieces with a stretch mesh that matches your skin tone or supporting any galloon lace edges with a clear elastic.*
We hope you love your new Nyx Knickers! As always, feel free to share on Insta, FB, and TikTok. 🙂 Happy sewing!
-Bekah













Leave a Reply