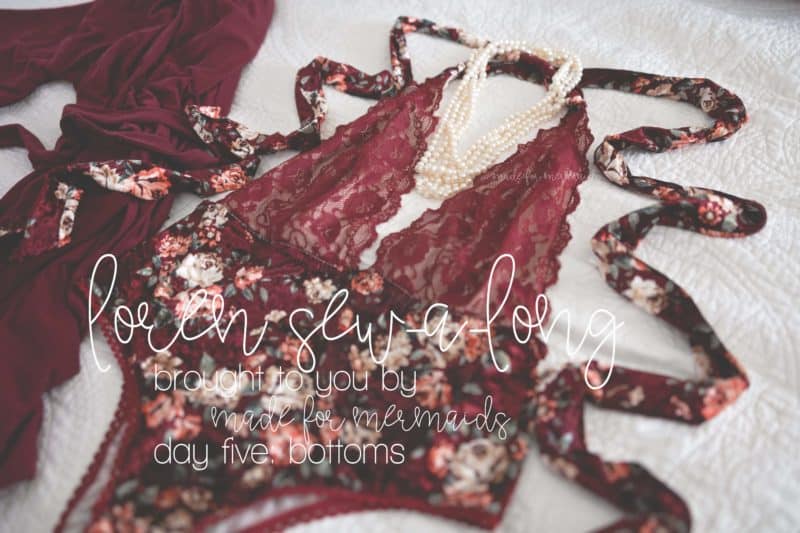
Day 5 is here! Today we’re sewing up the bottoms. Whether you’re doing the cheeky version or the thong version, the steps are essentially the same. If you’re having trouble distinguishing between right side and wrong side of your lingerie fabrics, you are not alone! It can be really tricky with laces especially, but also with lining, nylon spandex, etc. For the nylon spandex I’m sewing with today, and the lace I used for my cup pieces, I hold them to the light because the right side has more of a sheen than the wrong side. The stitches look a bit different on the lace too, but I find the sheen is the easiest to look for.
- Thong Version
- Cheeky Version
First, we’ll sew up the side seams. Don’t forget to use a stretch stitch! If you’re using a stretch stitch, we recommend a narrow zig zag stitch of 0.5 W and 2.0 L (see pages 8 and 9 of your written tutorial for more information).
Then, finish the top edge of your liner piece. Next, place your liner with wrong side facing the wrong side of back bottom piece. Baste the sides and bottom of the liner piece. Before either sewing the crotch seam OR attaching your hook and eye closure, attach your leg elastic. Remember to match raw edge of legline with the smooth (not picot) edge of the elastic. We’ll attach the elastic with a 3/8″ seam allowance (right sides together), fold the elastic toward the wrong side, and then topstitch. For topstitching elastic, we recommend a wider 3 step zig zag stitch of 5.0 W and 1.6-2.0 L.
Finally, after topstitching your leg elastic, sew your crotch seam together OR attach hook and eye tape. For hook and eye tape photos and directions, check out pages 19 and 20 of the written tutorial.
Don’t forget:
- Seam allowances vary throughout the pattern
- Use a stretch stitch for construction AND topstitching
Want to sew along with me? Check out today’s video:
If you have questions about constructing your cups, you are always welcome to post in our SAL group so we can help you! Be sure to check in each day during the SAL, and look for daily posts to enter our giveaways. We can’t wait to see what you create this week!

DAY 1: Tips + Measuring
DAY 2: Cutting + Prep
DAY 3: Straps
DAY 4: Cups
DAY 5: Bottoms
DAY 6: Waist Seam
DAY 7: Winners!
ABOUT OUR SPONSORS:
Surge Fabric Shop offers fabrics and elastics that are PERFECT for Loren, in addition to carrying lots of other quality products and fabrics.
Leave a Reply