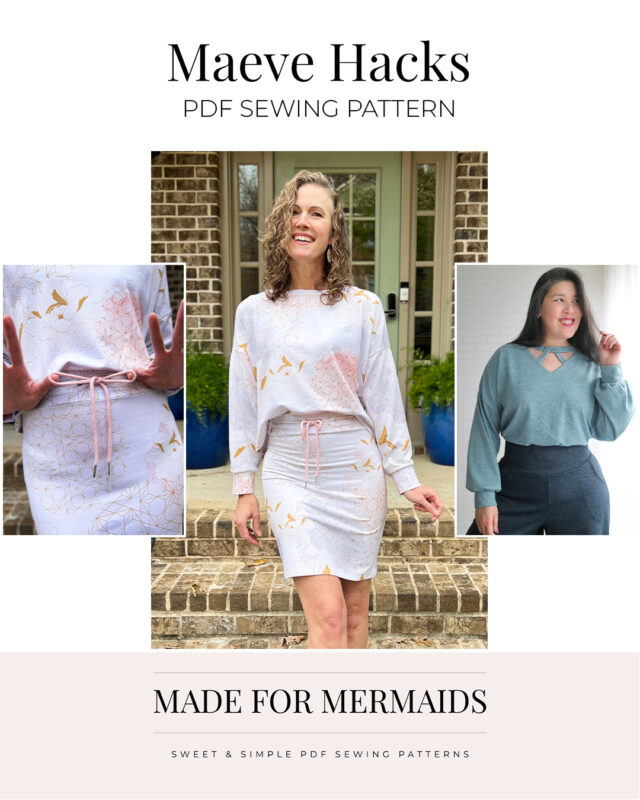
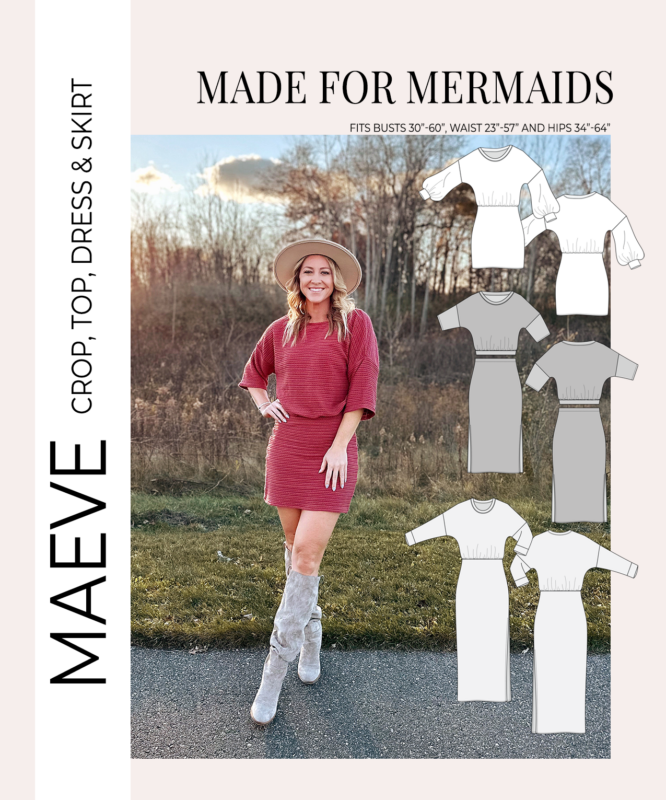
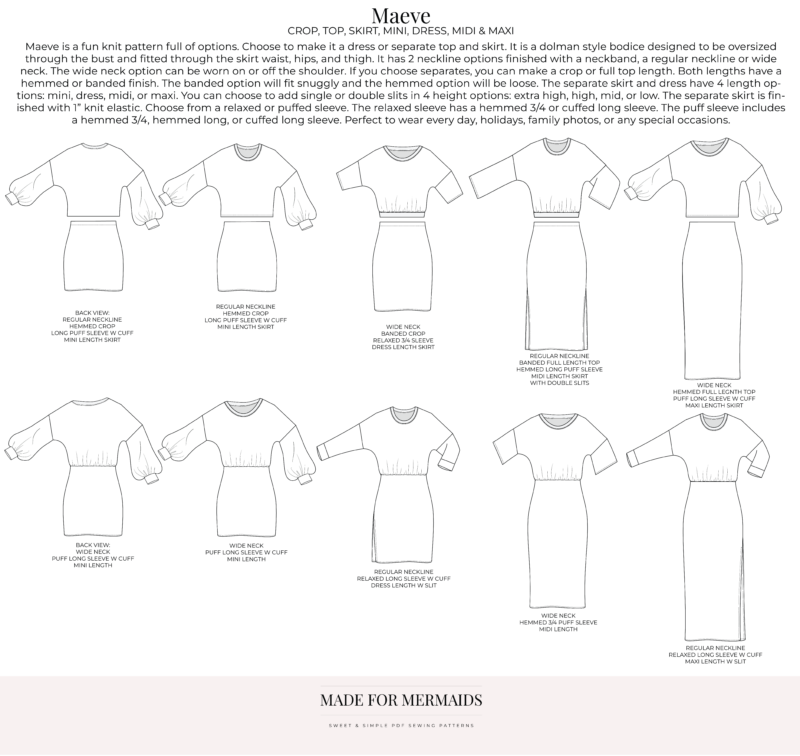
Maeve she’s born with it, or maybe it’s our newest pattern!! Maeve is a fun knit pattern full of options.We love it as a dress AND as separates. Maeve is a dolman style bodice, designed to be oversized through the bust and fitted through the skirt waist, hip, and thigh. It has two neckline options, both of which are finished with a neckband. The wide neck option can be worn on or off the shoulder. If you choose separates, you can make a crop or full length top. Both lengths have a hemmed or banded finish option. The banded option will fit snuggly, while the hemmed option will be a looser fit. The separate skirt and dress have four length options – mini, dress, midi, or maxi. You can choose to add single or double slits in four height options (extra high, high, mid, or low) depending on the level of coverage you’d prefer. The separate skirt is finished with 1″ knit elastic. Choose from a relaxed or puffed sleeve, both featuring multiple lengths. Maeve is PERFECT to wear every day, for holidays, family photos, or any special occasions you have coming up. NYE dress inspo, anyone????
Getting Started
Before you purchase your patterns, there is a ton of helpful beginner information between the M4M and P4P blogs, in case you are new to knits, or new to PDF patterns in general:
- New to PDF patterns? Check out our helpful tips here
- New to sewing with knits? Brittany has some great info here
- Not quite sure how to measure yourself accurately? Don’t worry; check out the post here!
- Having issues printing? Most issues can be resolved by using our FAQs/troubleshooting tips
- Join our Facebook group here.
- Looking for help with “tricky knits” like gorgeous sweater knits? Caitlin has tips for you here.
- We also have a new Height Adjustment 101 post for you! Check it out here.
Choosing Your Options
We have lots of tester photos in our FB group and on the site if you want to see a variety of photos of each option before you decide! Here is a quick snapshot of the different options:
Fabric + Notions
Maeve is drafted for medium weight knits with at least 40% stretch, good drape, and good recovery. Fabrics with a softer drape and more vertical stretch, like a very lightweight sweater knit, rayon spandex, or waffle knits tend to grow with wear and feel looser/longer than the intended fit. You want something with good recovery for the neckband and sleeve cuffs.
You may also need:
- Separate skirt option will need 1″ elastic for the waist
- 1/4″ clear elastic for added support at the seams; I highly recommend adding the clear elastic to the waist seam of the dress option.
- 1/2″ interfacing or knit hem tape for hemming
Maeve Hacks
We love Rachel’s Winnie mash and Livia’s v neck hack!!
Winnie Waistband Mash
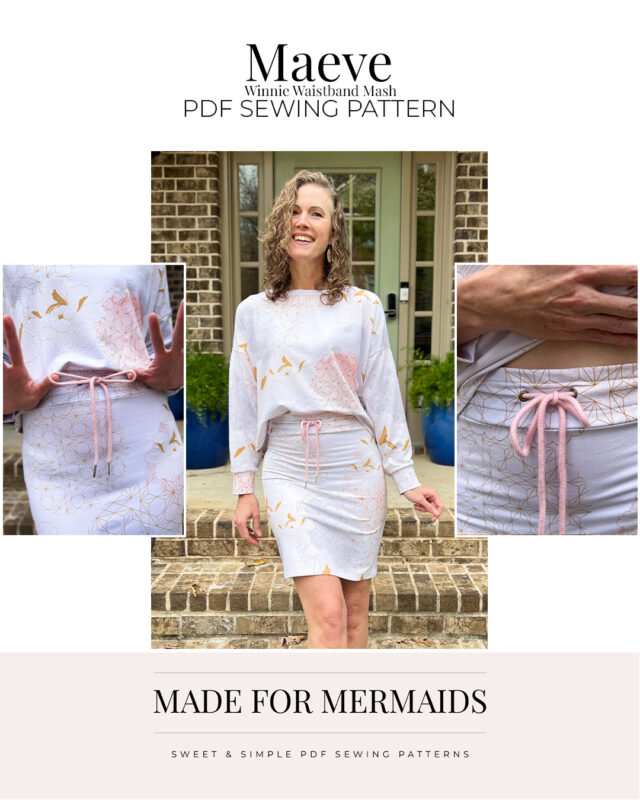
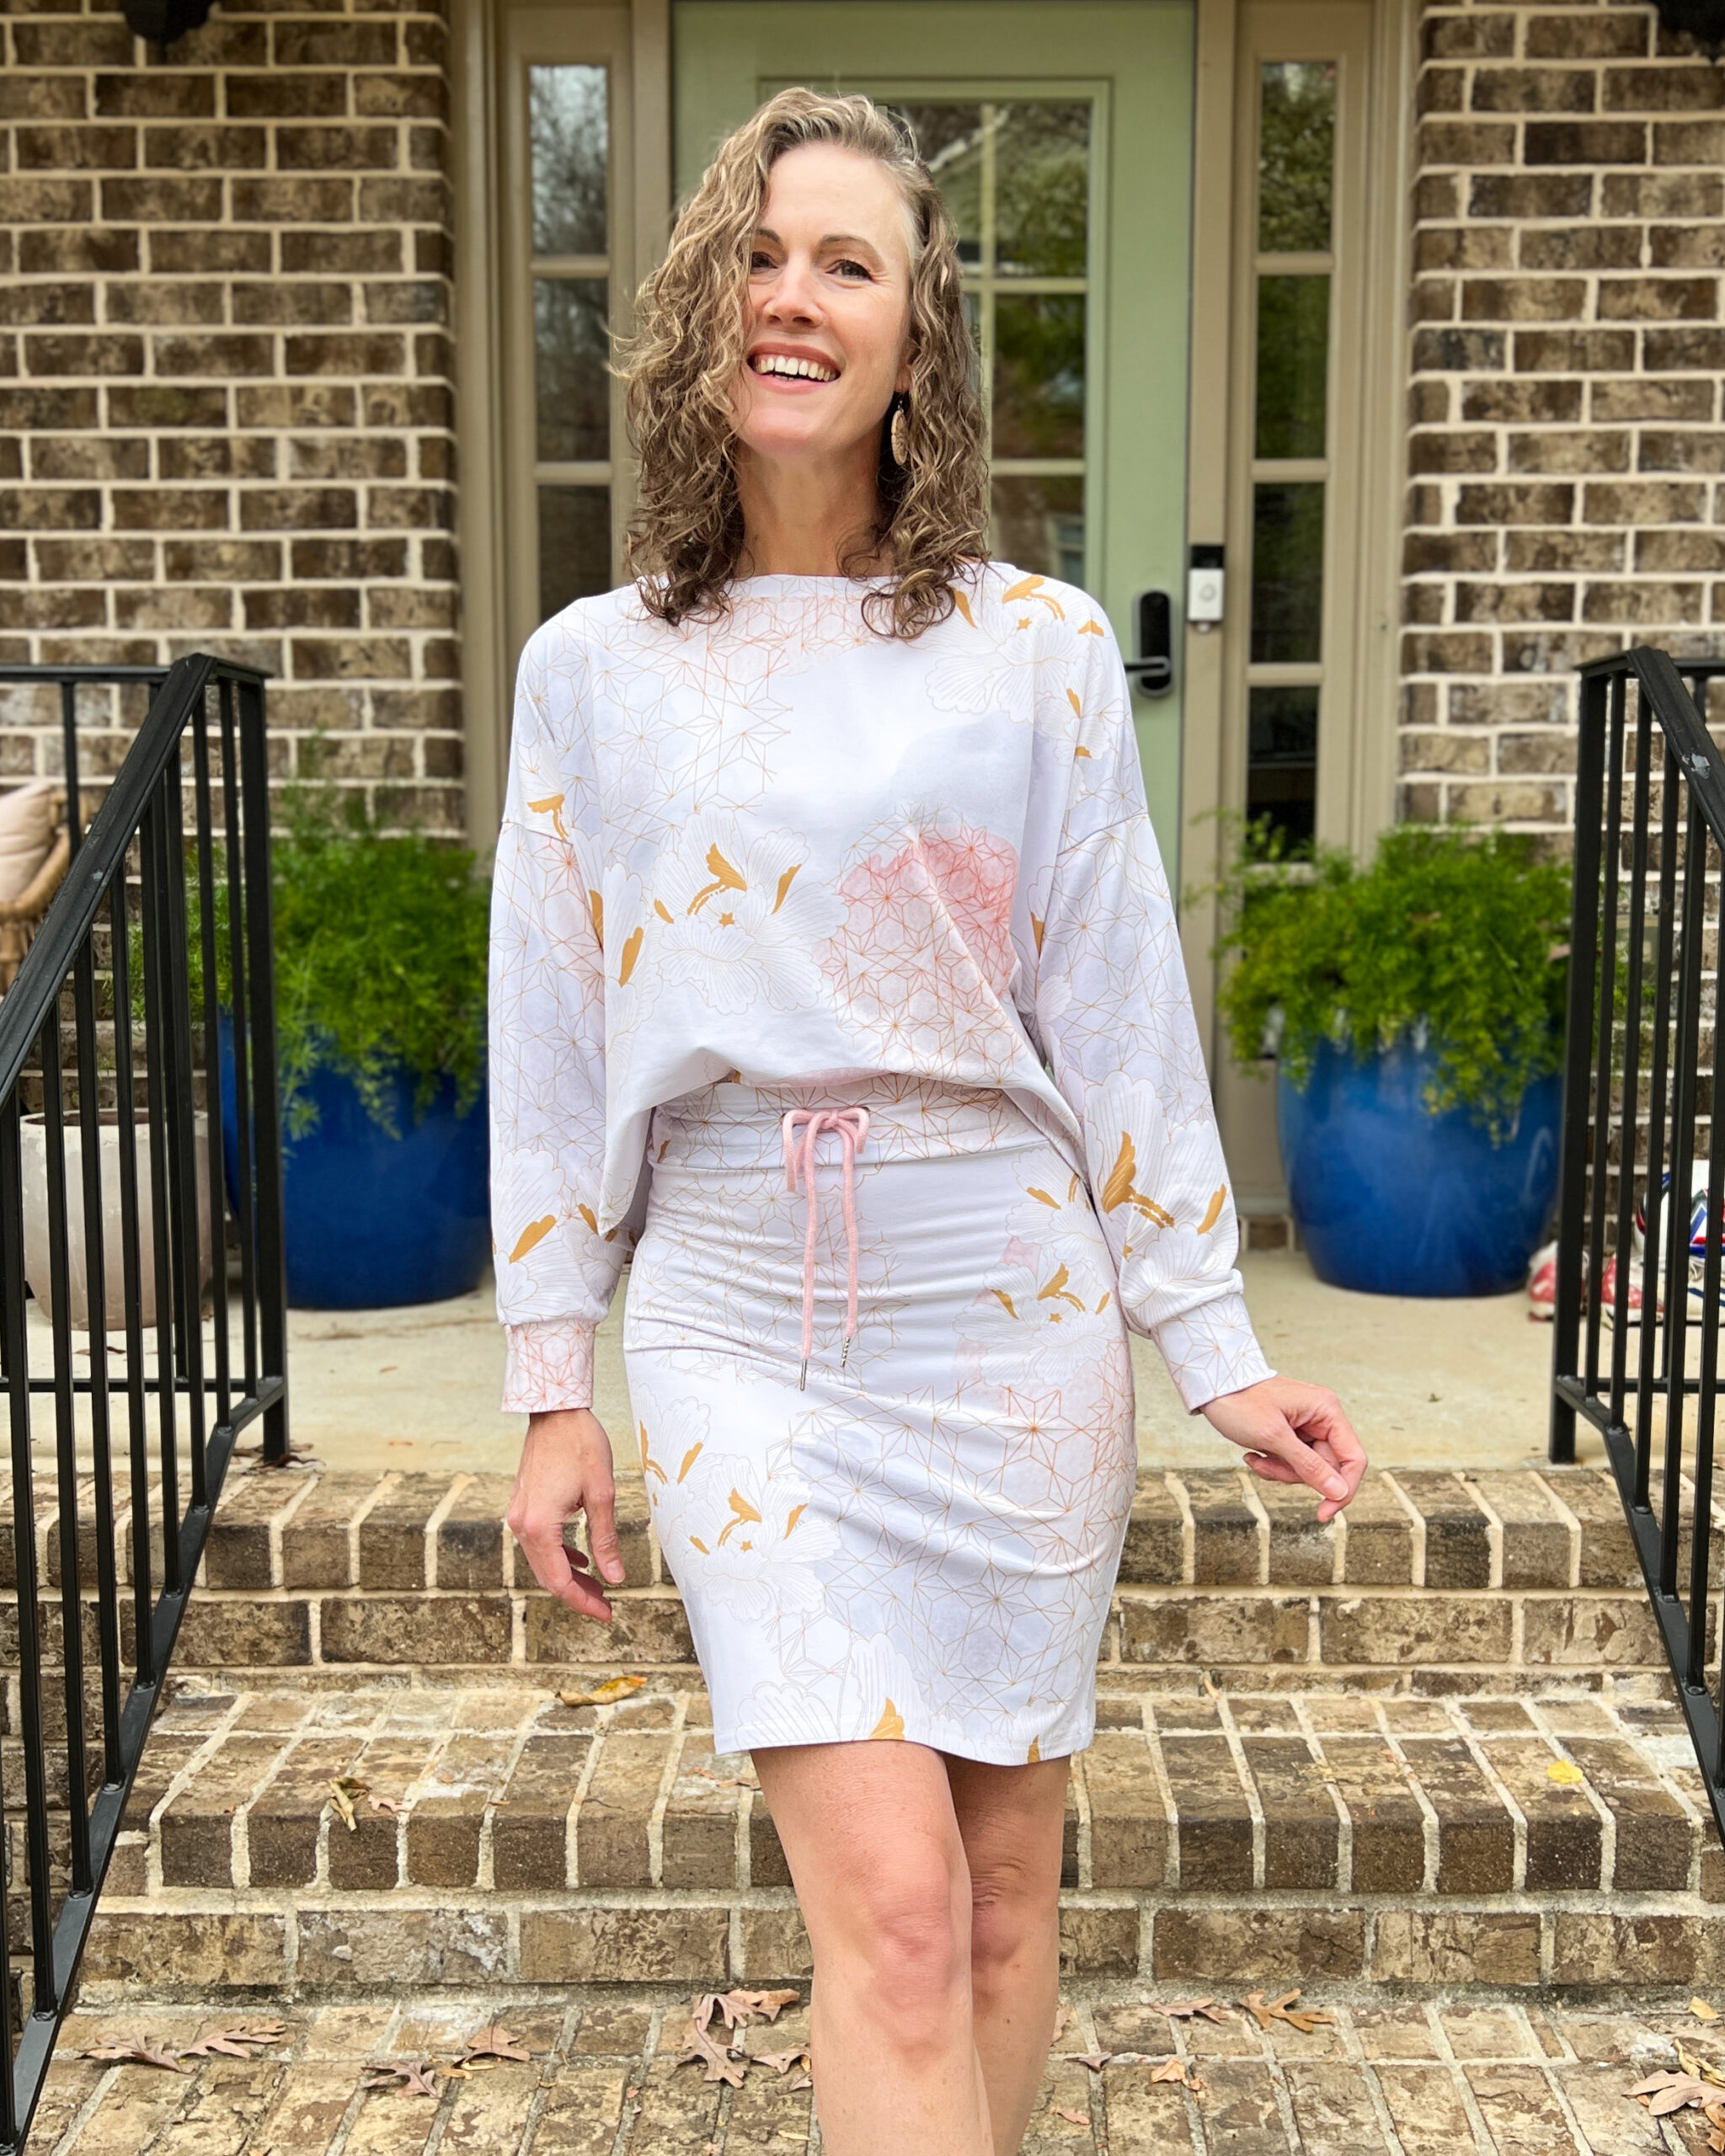
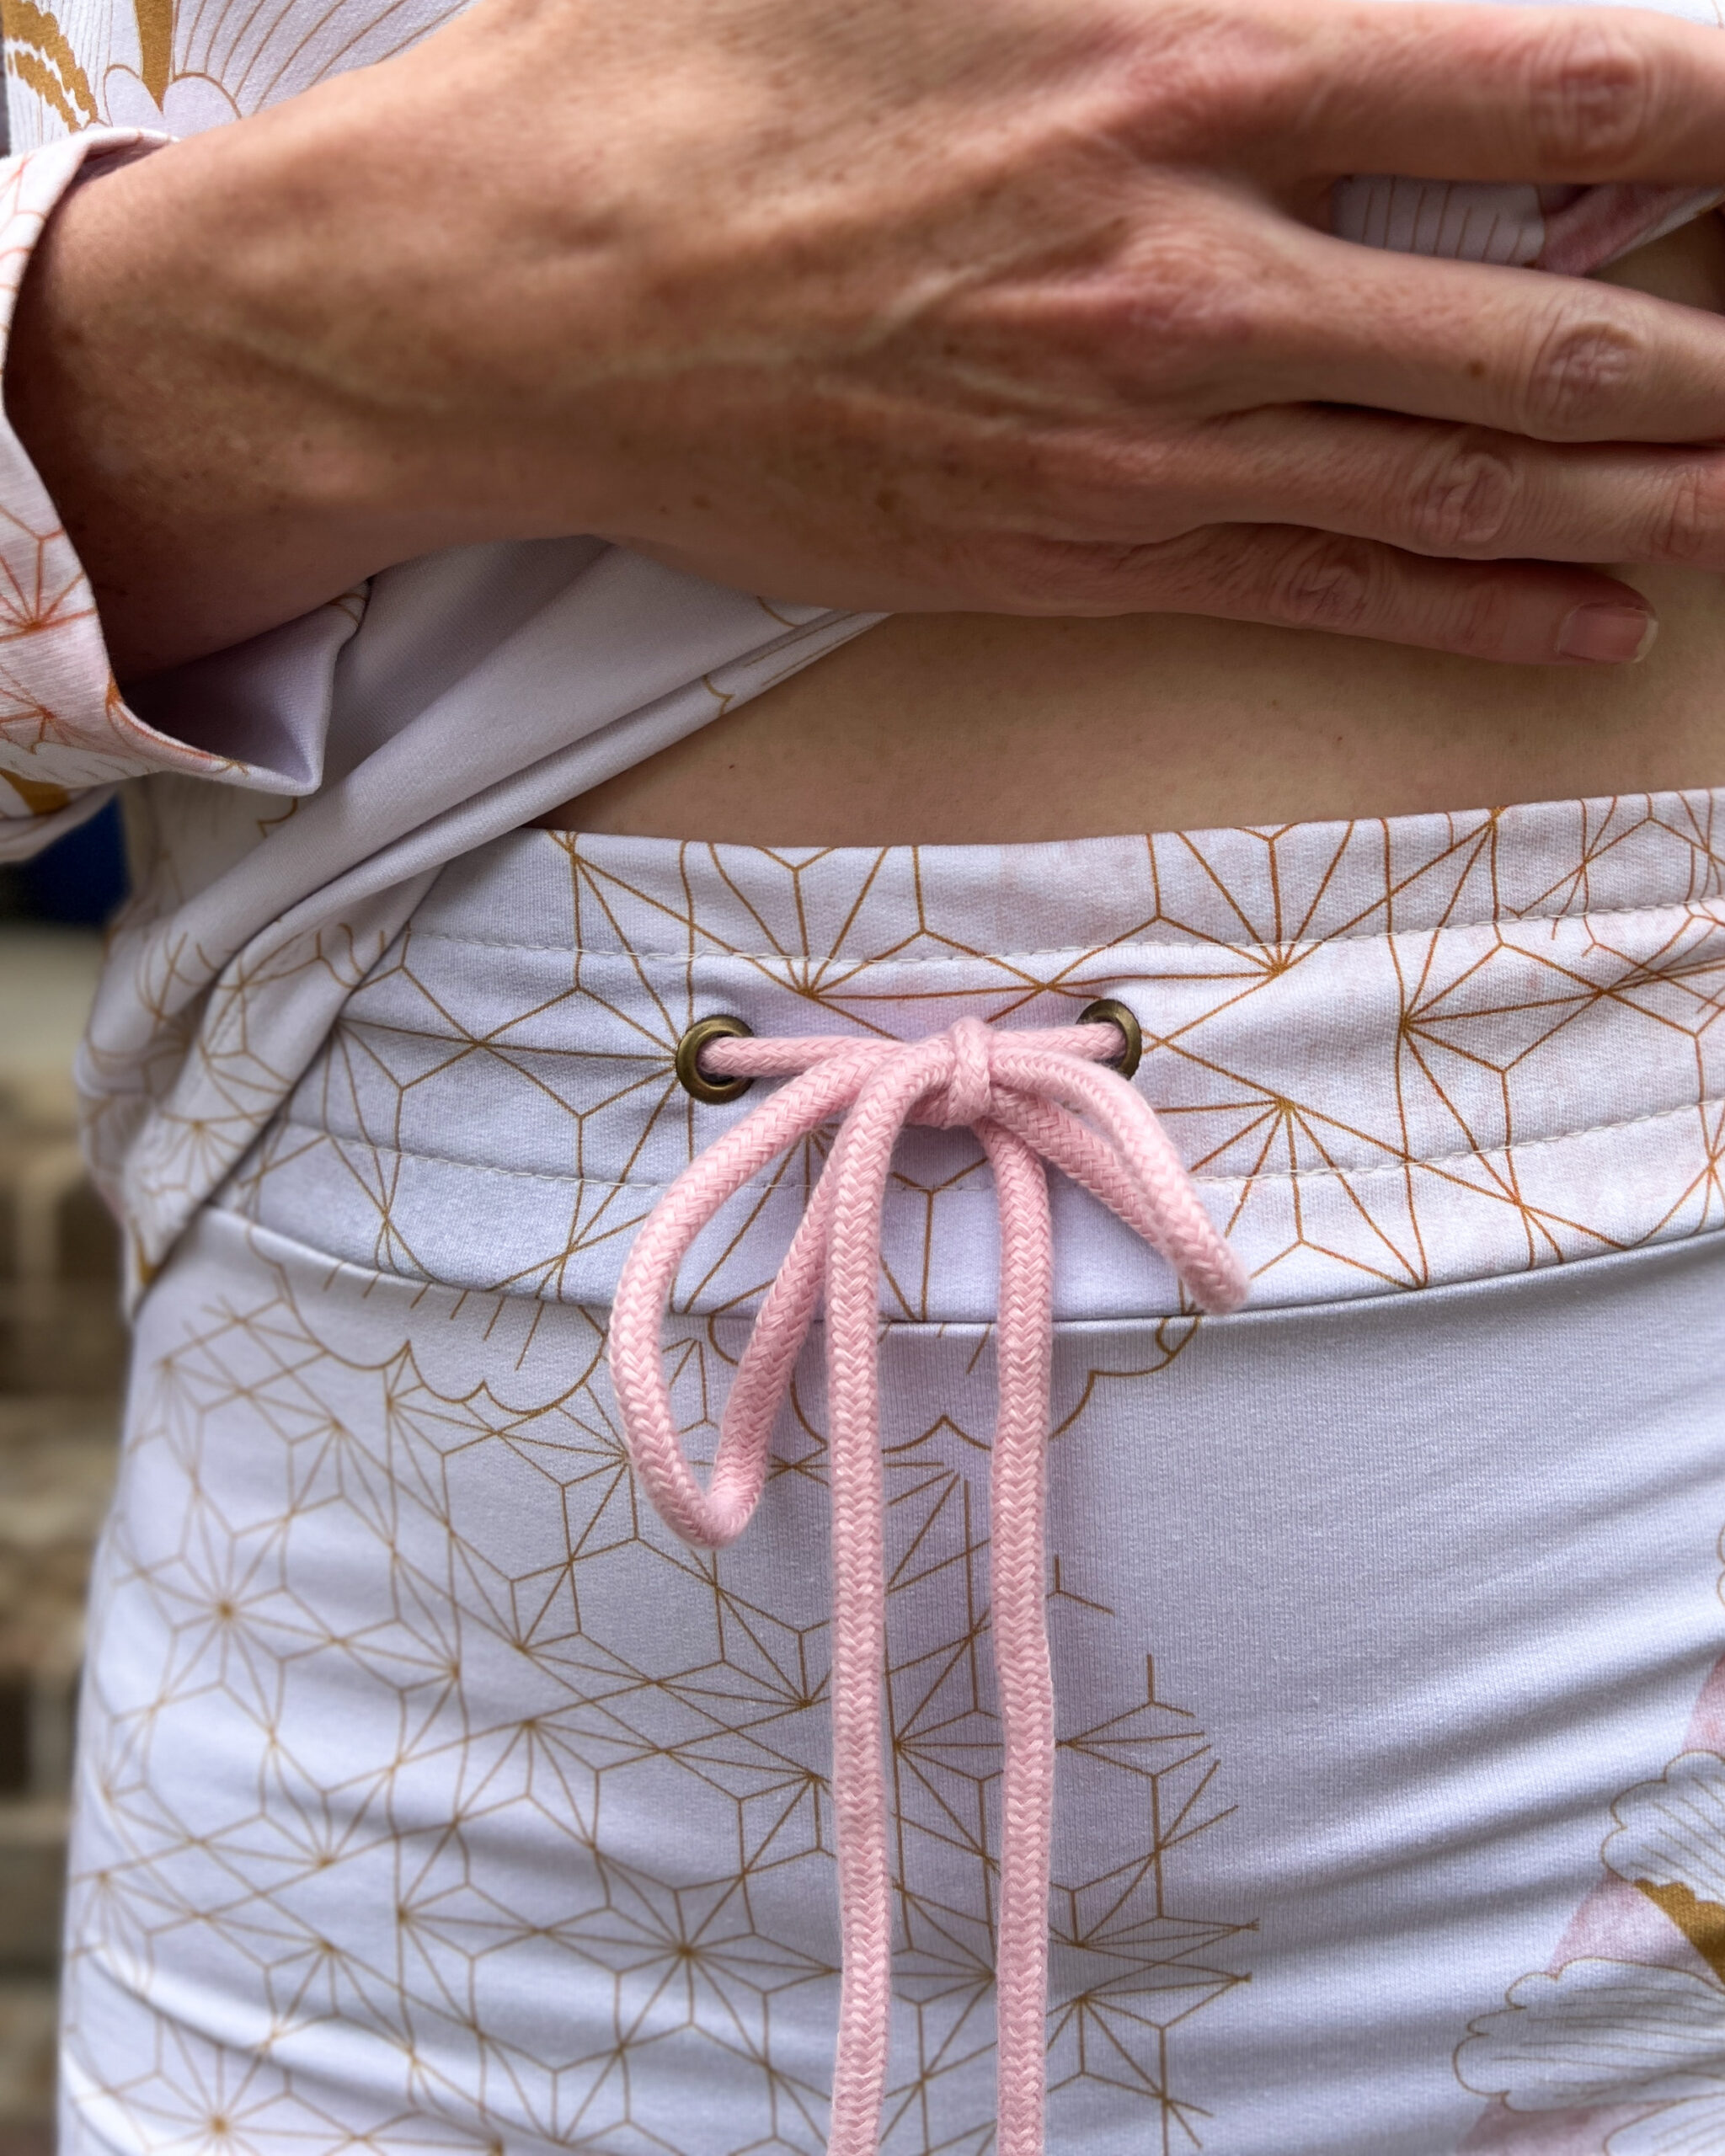
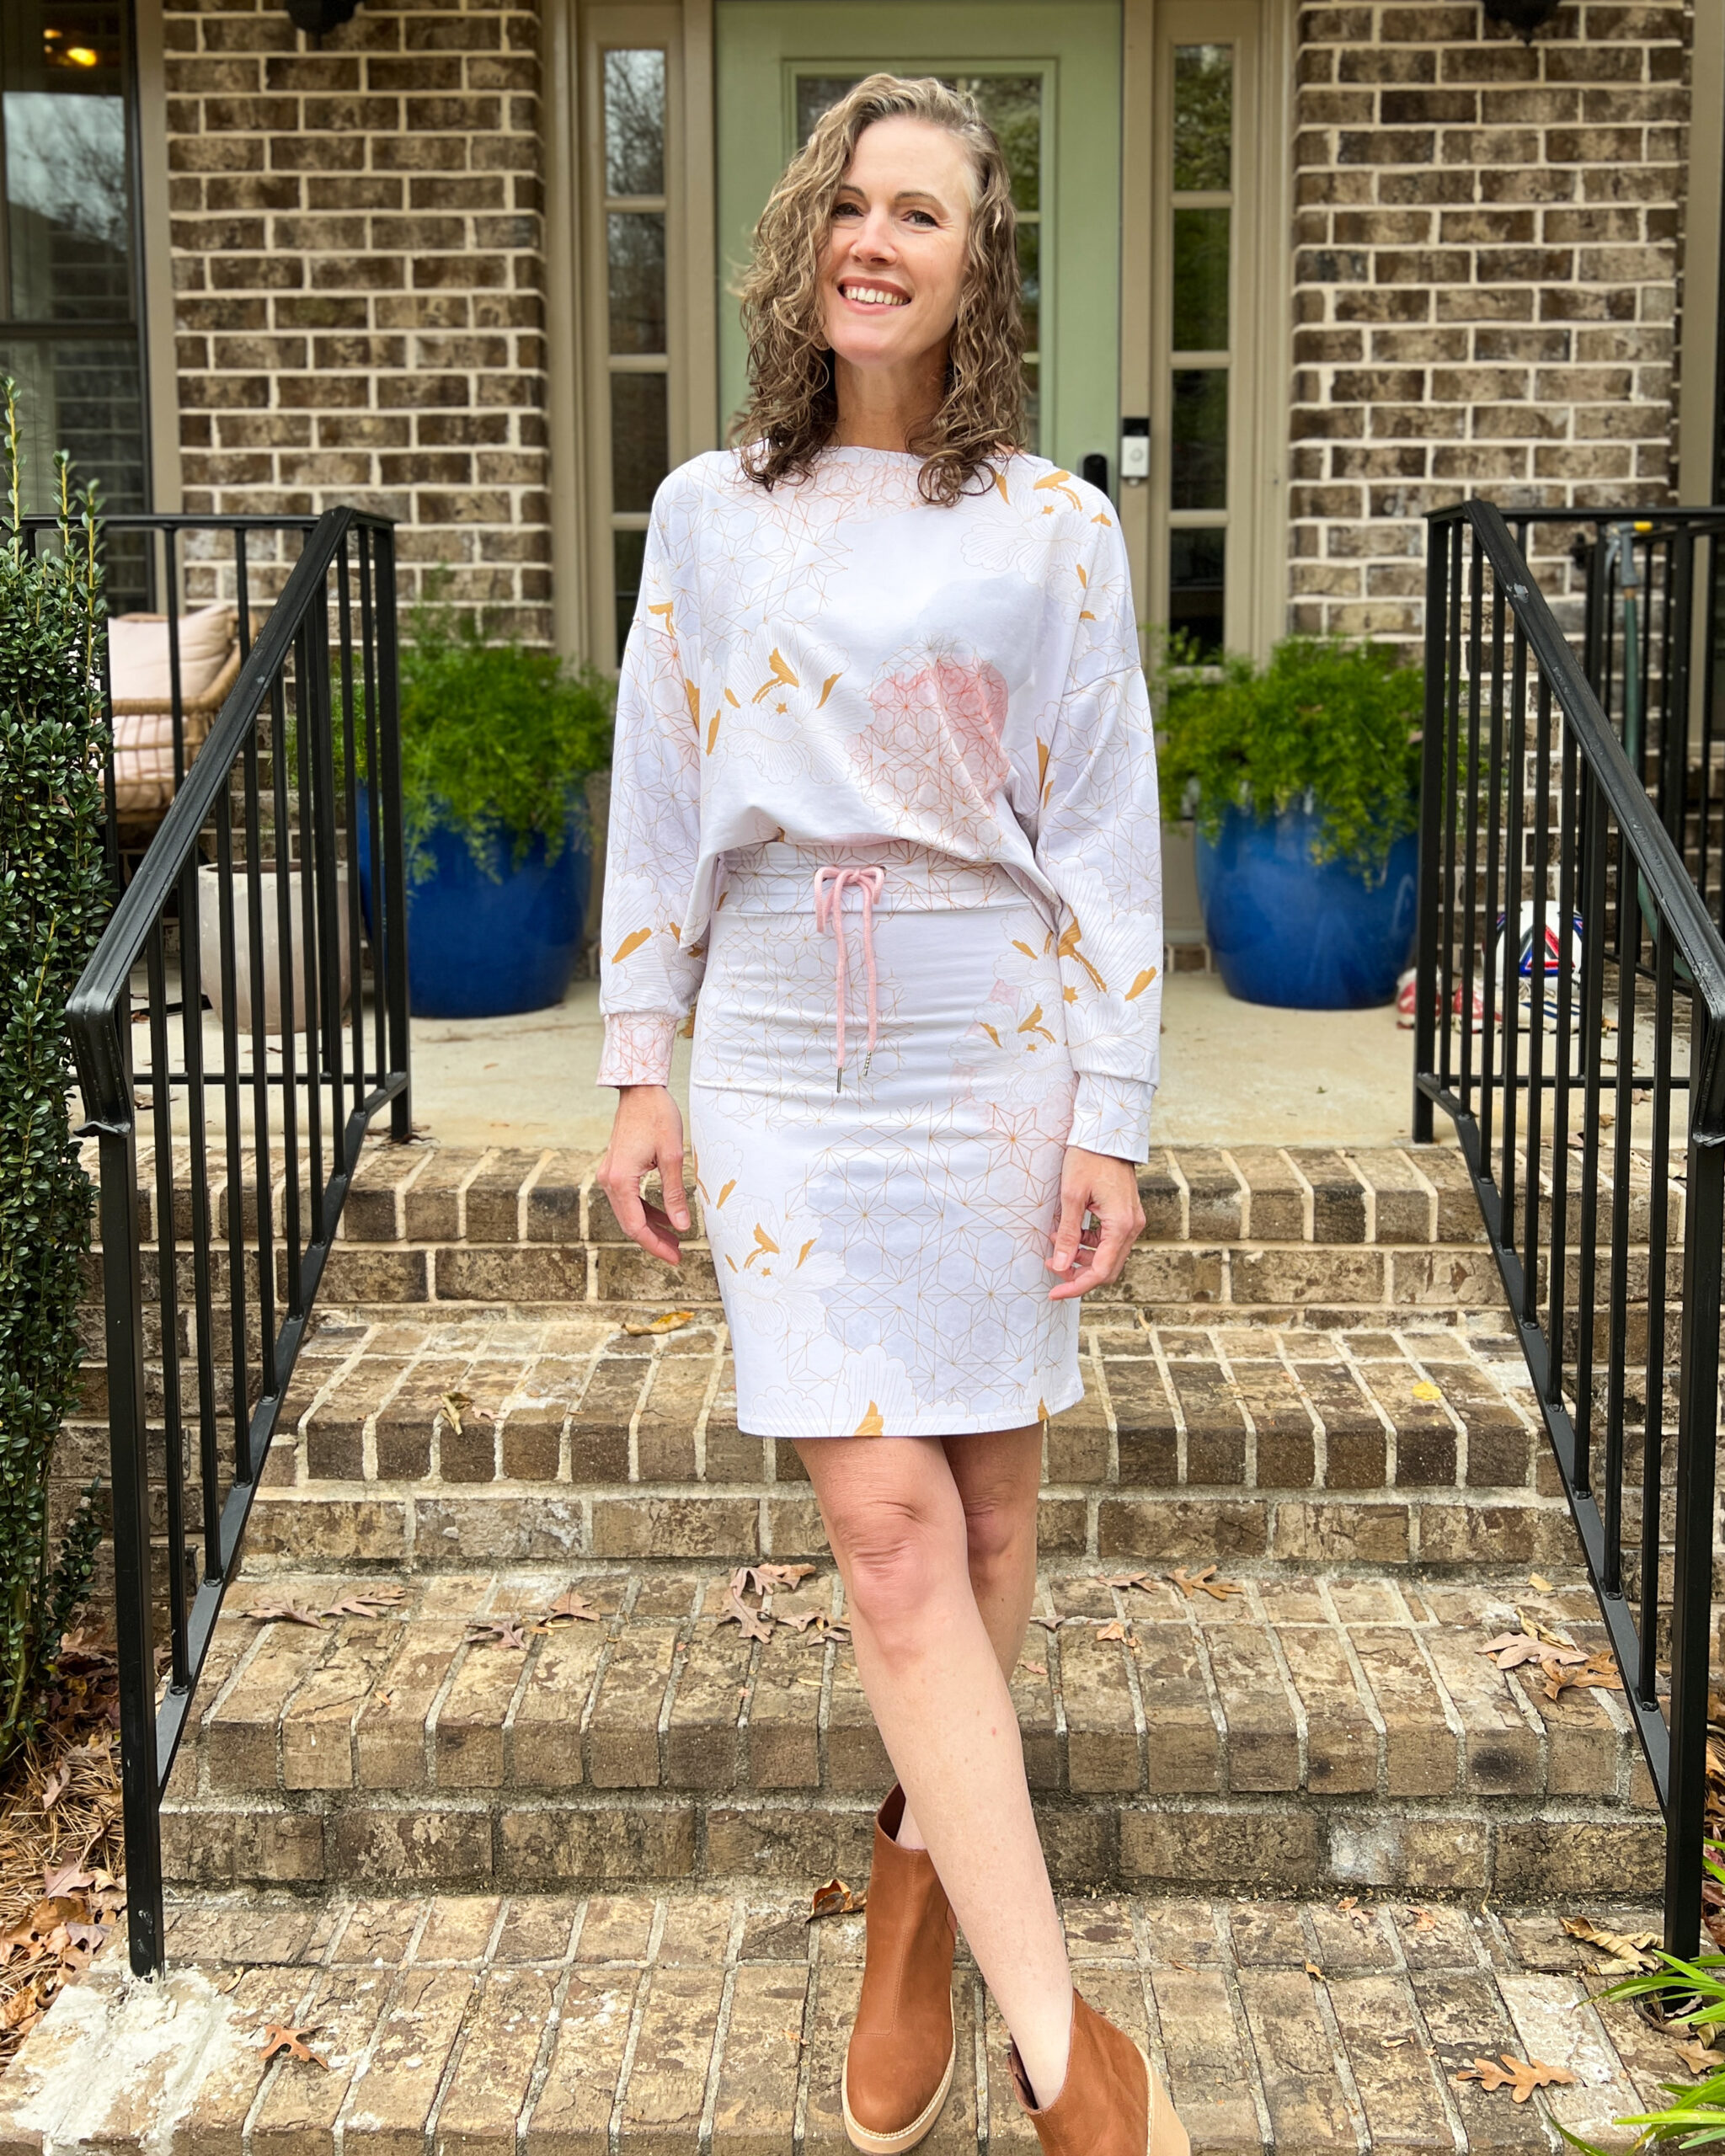
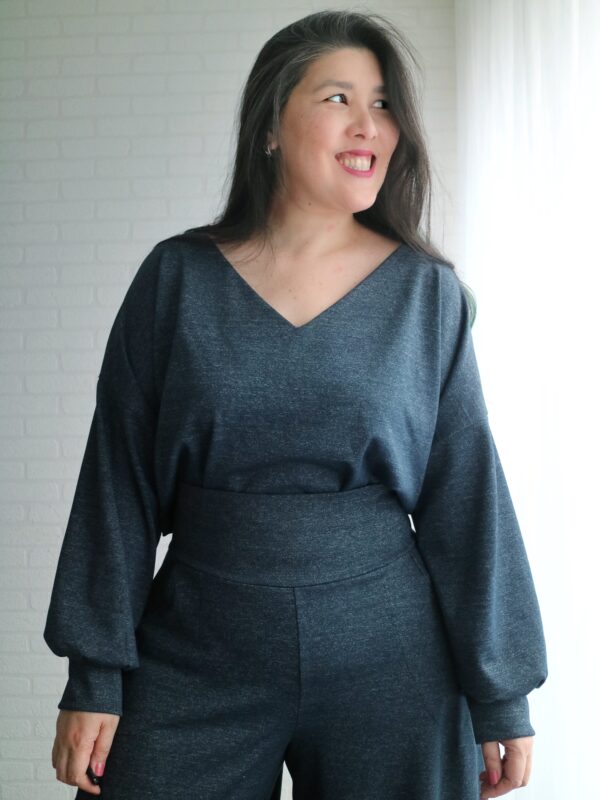
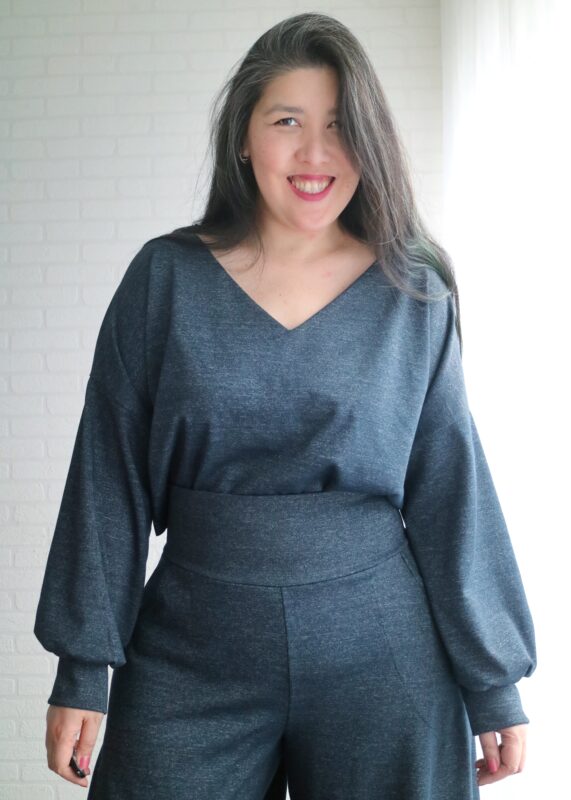
Adding a simple drawstring waistband is a great way to give your Maeve separates a more casual look – and the high-waisted Winnie waistband is a perfect match!
Go for the fitted waistband (no elastic required!) or the elastic gathered waistband. Both provide a super cute and sporty look!
Assemble your preferred length of Maeve skirt, per the pattern instructions, and your preferred high-waisted Winnie waistband. I used the fitted waistband for this particular make.
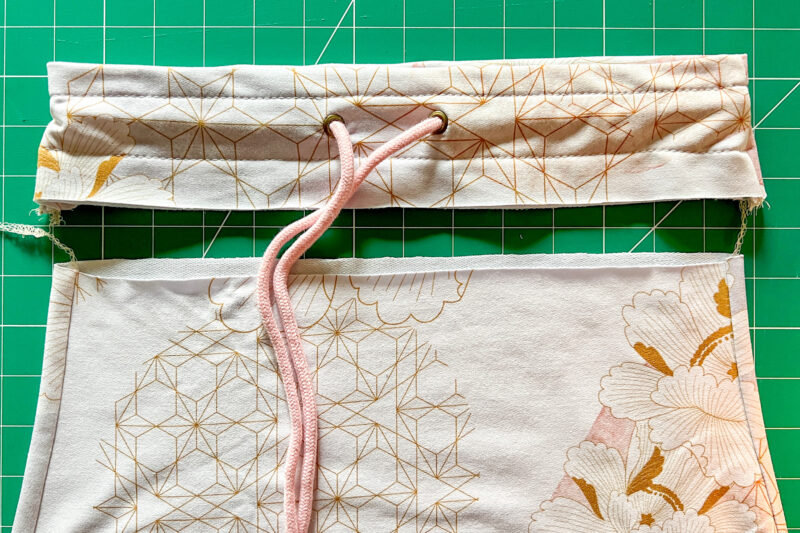
Sew the waistband on to the skirt, right sides together, taking care to use your serger or a stretch stitch. The Maeve skirt is very form fitting so you’ll need enough elasticity to pull it over your hips.
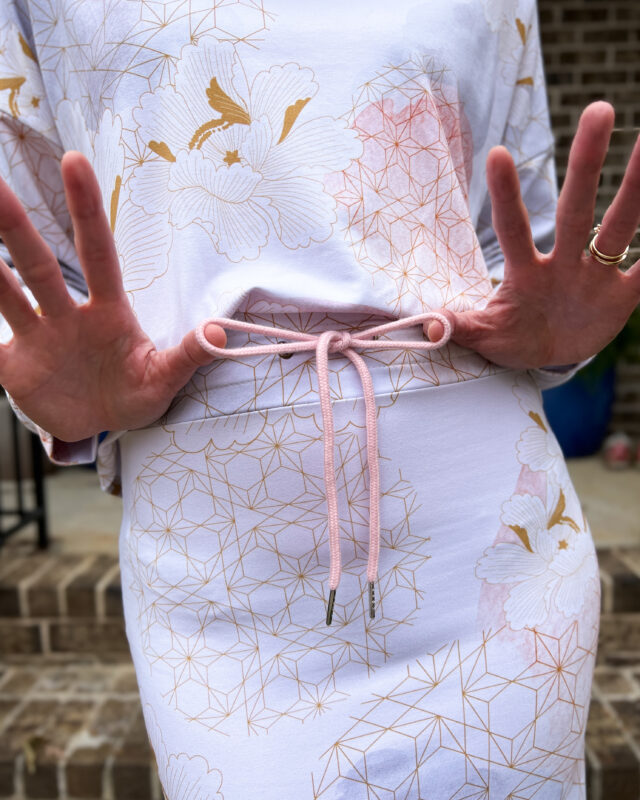
It’s that simple!
xxoo,
Rachel
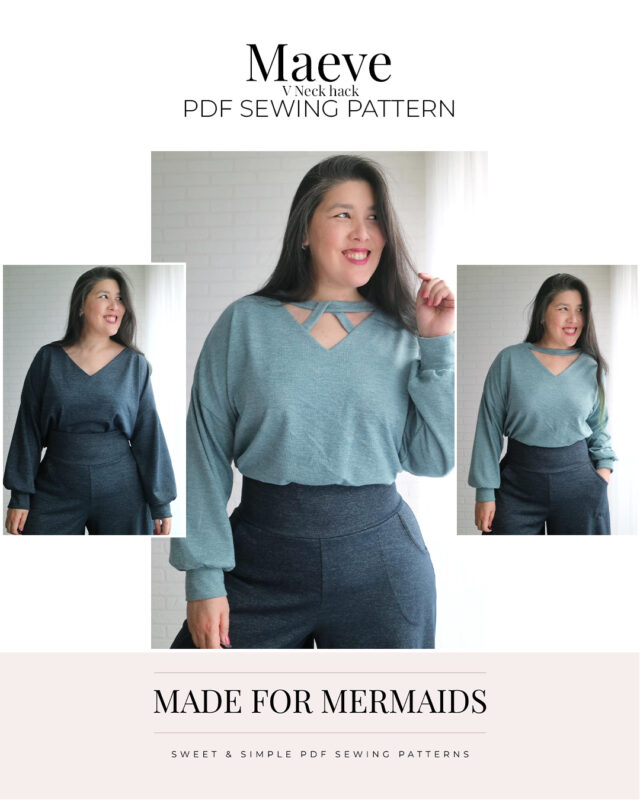
V Neck Hack
Cozy season is here and Maeve comes in checking all the boxes: it’s comfy, cute, trendy, and versatile.
I’m loving all the looks from the testers!
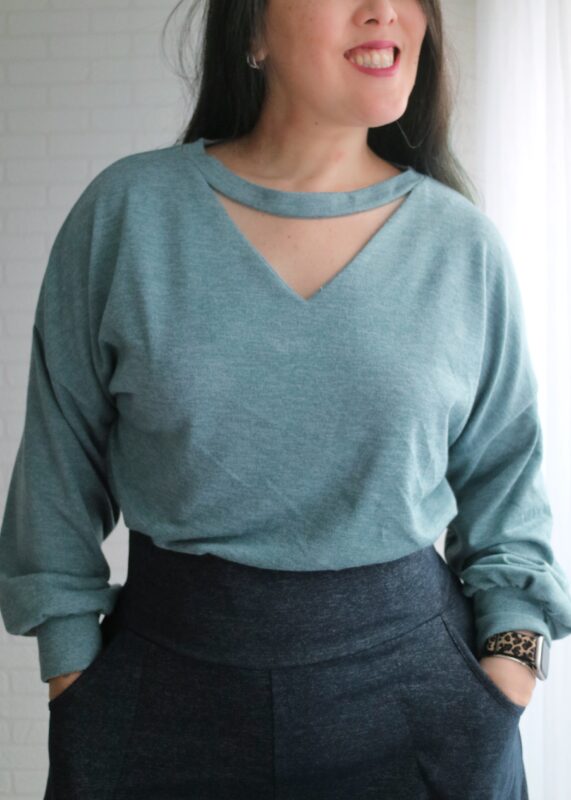
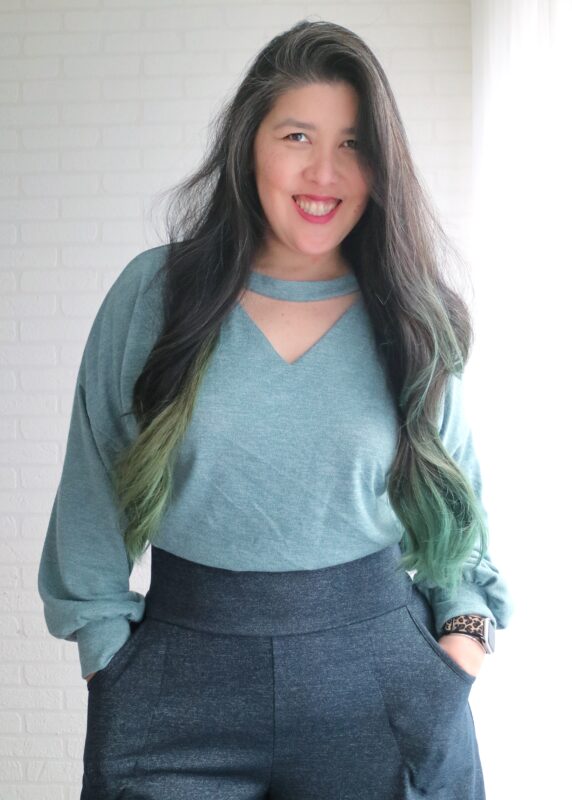
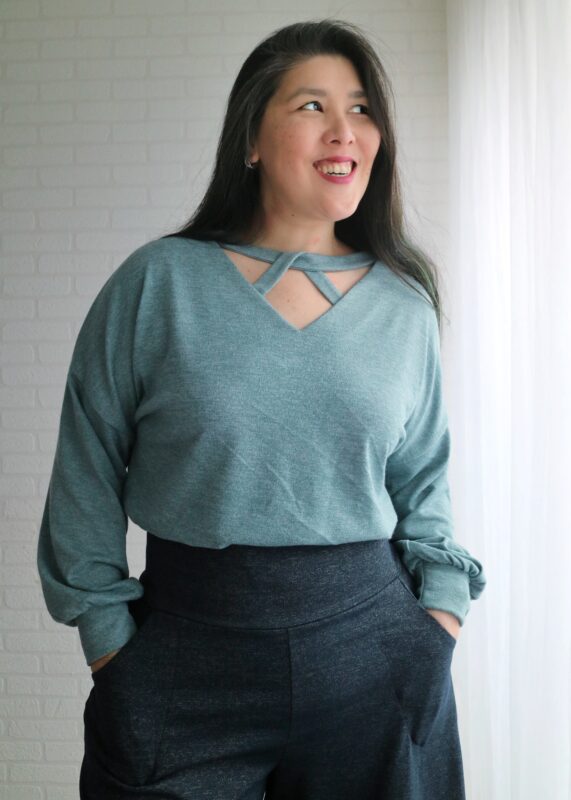
Today I’ll be sharing how to add a fun little neckline detail if you’d like to spice it up a little bit, a V-neck cut-out with an optional criss-cross strap.
IMPORTANT: This one is an easy mod to make but will take a little bit of trying it out, so I suggest you make a muslin first. A lot of the measurements I’ll mention will depend on how you want your cutout to look and on your fabric choice (drape and recovery).
On my first try, I used a strong Ponte and it wasn’t the best choice for this hack. The collar was a bit too stiff and it didn’t sit well on the neck, but it was perfect for an extra variation of this hack that I’ll show you at the end of the post. 😉
The fabric I used for the tutorial is a medium-weight sweater knit with good recovery. This is what the measurements mentioned are based on.
What you’ll need:
– Maeve pattern cut with the regular neckline.
– Neckline piece with 1.5″ inches added to the length cut on the fold, if you’re using a projector and cut the whole piece flat, add 3″.
Once you have all your pieces cut out. Let’s start!
Cutting the V-neck
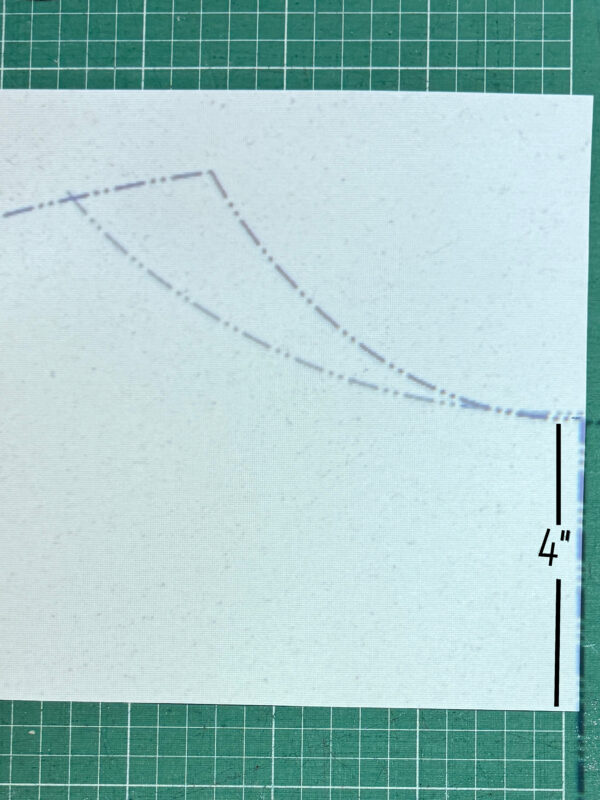
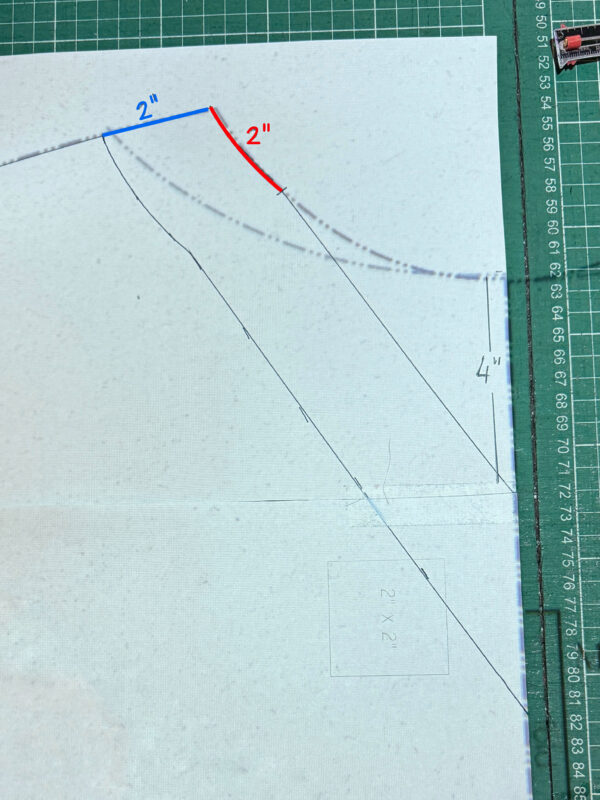
First thing you need to determine is how deep you want your neckline to be. For mine I measured 4 inches down from the original neckline.
Then you’ll measure 2 inches from the shoulder, make a notch, and from there make a diagonal line straight to that 4 inch mark. That will be your new neckline.
For a clean finish, we’ll be using a facing.
To create that pattern piece, measure another 2 inches going from neckline to armscye and create a parallel line to the new neckline.
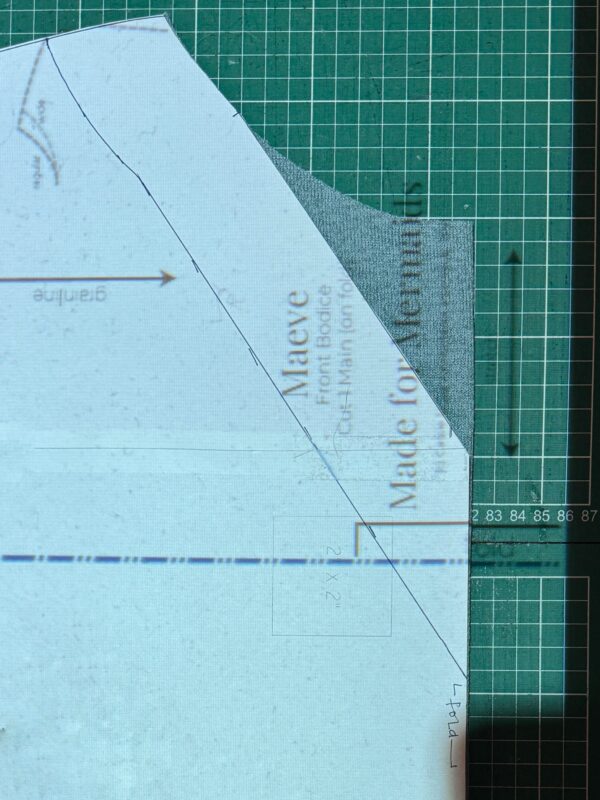
Layer the new neckline pattern piece over your front bodice and trim it accordingly.
Snip the notch 1/2 inch deep (to match the seam allowance).
Cut a facing piece.
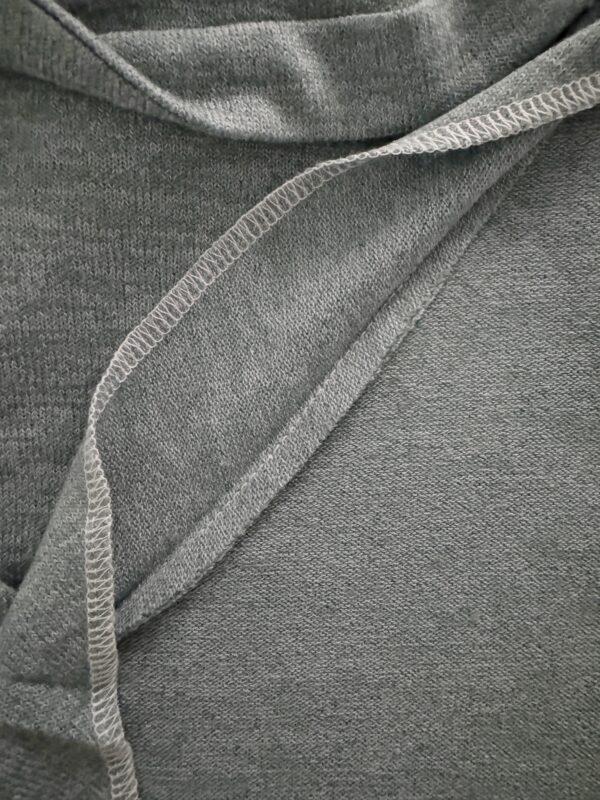
Now we’ll sew the facing to the front bodice. If your fabric frays, finish the edges with a serger or zigzag stitch.
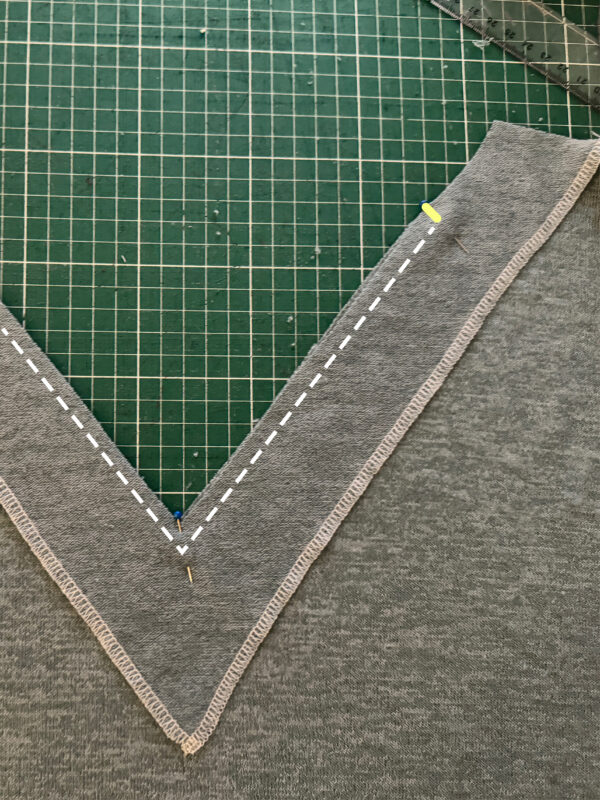
With right sides together sew from notch to notch, making sure to pivot at the point of the V for a clean finish. I suggest you use the sewing machine for this step, especially if you plan on adding the criss-cross strap.
Turn the facing to the inside and give it a good press. You should now have a bit of the seam allowance sticking out on those 2 extra inches on each side.
Now finish your Maeve by following the instructions, we’ll finish the neckband last.
Don’t forget to catch the facing when sewing the shoulder seams.
Finished and ready for the neckband?
Now, this bit can be a bit finicky. We want to attach the neckband to the back bodice with the same proportion as the original pattern and keep the extra length we added for the front.
Here’s how I did it:
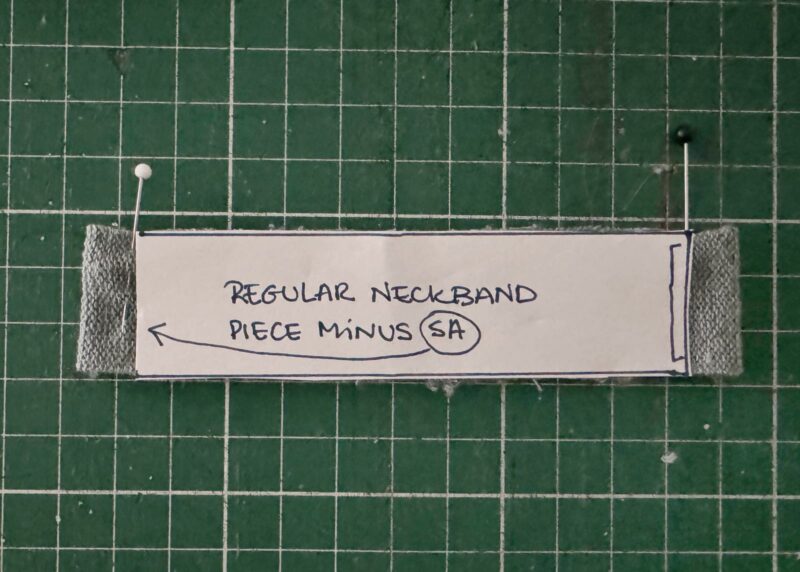
- Sew the short ends of the neckband piece, closing the circle.
- Remove the seam allowance from the neckband pattern piece.
- Place the neckband on the table with the center seam in the middle, facing up.
- Lay the neckband pattern piece on top of the neckband.
- Mark where the pattern piece ends on both sides, that’s where you’ll match to the shoulder seams when attaching the neckband.
(this is a sample, not done exactly to scale, for illustrative purposes only)
Attach the neckband as you would a binding.
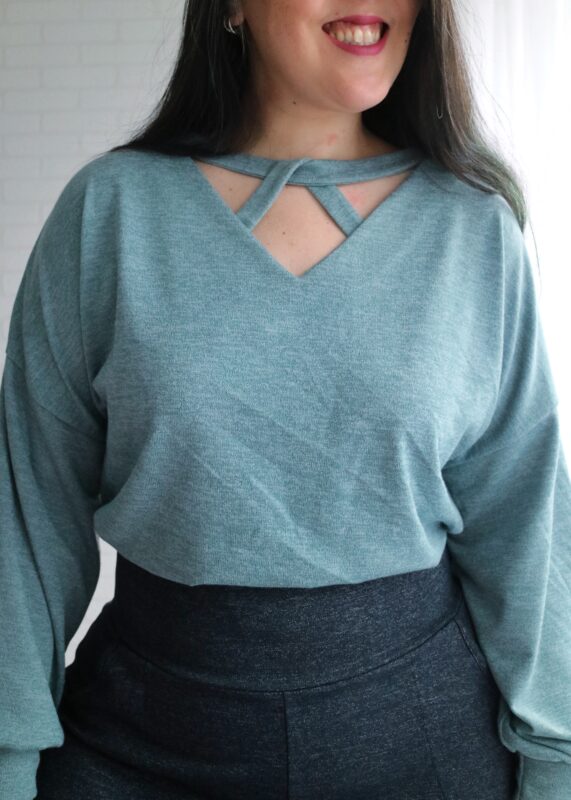
A fun alternative to this look is to add an extra strap crossing over the neckline.
I simply cut an extra neckband and cut to size after my top was done and I could measure it after checking placement.
To sew this on, the cleanest way is to have it sandwiched between front panel and facing.
You CAN measure, cut, and place it before sewing the facing, but IMO, it’s a lot more work that way and I’m all for nice and easy. lol
So my favorite method is:
- Unpick a few stitches where you want the strap to be placed.
- Slide the strap between the facing and the top.
- Re-stitch with the strap in place.
This is the reason I suggested using the sewing machine for this step. 😉
Now… remember the Ponte one I mentioned before?
The fabric was too stiff for the “floating” collar, so I removed the neckband and made a facing for the back as well.
The V of this one is a bit deeper (5 inches down, instead of 4), and I widened the neckline a little bit (somewhere between regular and wide).
So there you go, one hack 3 ways! 🙂
I hope you liked it and if you have any questions, feel free to reach out!
Now go on, have fun filling up your closet with all the cozy Maeves! <3
Happy sewing!
xxx, Livia.

Leave a Reply