
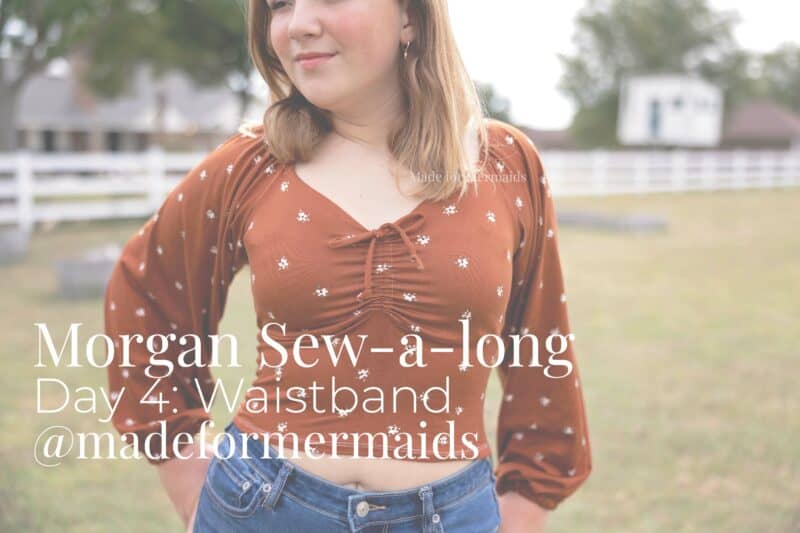
Day 4:
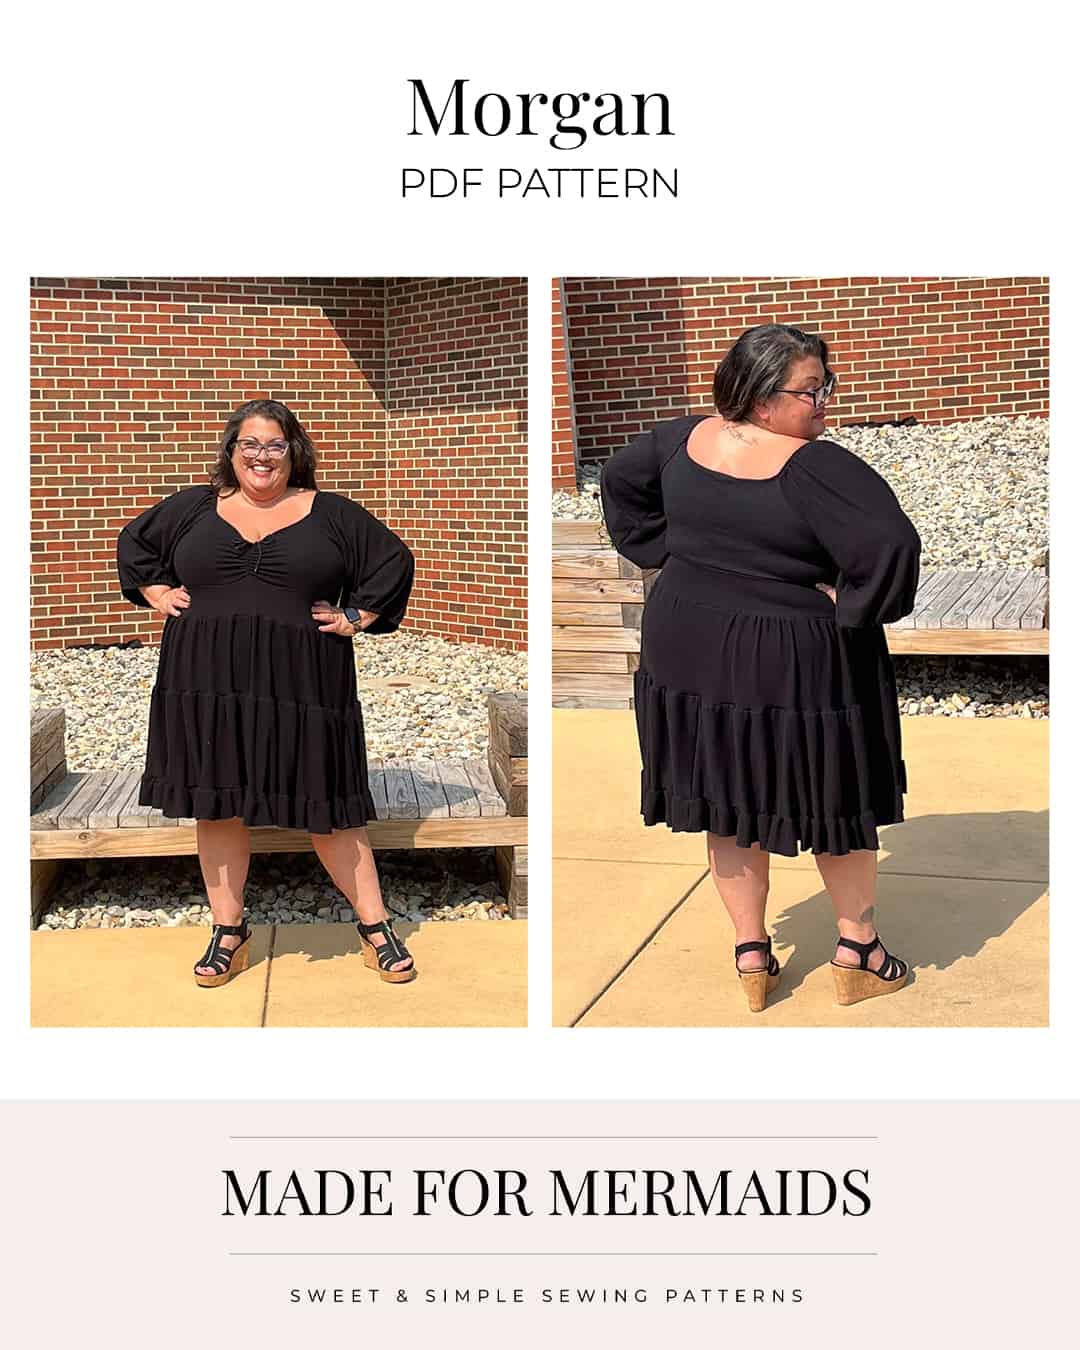
Today is a quick and easy day! We’re just going to attach our waistband. I’m sewing a dress version, so depending on your options, your steps may look just a bit different.
Remember if you are sewing any of the tiered versions, or using a fabric like rayon spandex that tends to “grow” with wear, stabilizing the waist seam is SO important! I went ahead and stabilized the waist seam in my daughter’s dress that I’m sewing up this week just for reference. I used 3/8″ clear elastic, and that elastic gets enclosed in the seam allowance if you’re using a serger. I just used a sewing machine, but as long as you use a 1/2″ seam allowance as instructed in the tutorial, the elastic will not be visible from the right side of the dress.


Don’t forget:
- Make sure you are taking an accurate and consistent seam allowance; seam allowance is already included on all pattern pieces. For this pattern, seam allowances DO vary!
- Stabilize your waist seam!
- One end of the waist band is wider; make sure that you attach the wider part to the waist opening, and the narrower side to the skirt when we get to that step.
Want to sew along with me? Check out today’s video!
If you have questions about attaching your waistband, you are always welcome to post in our SAL group so we can help you! Be sure to check in each day during the SAL, and look for daily posts to enter our giveaways. We can’t wait to see what you create this week!


DAY 1: CUTTING + PREP
DAY 2: BODICE
DAY 3: SLEEVES
DAY 4: BAND
DAY 5: SKIRT
DAY 6: HEM
OUR SPONSORS:

Leave a Reply