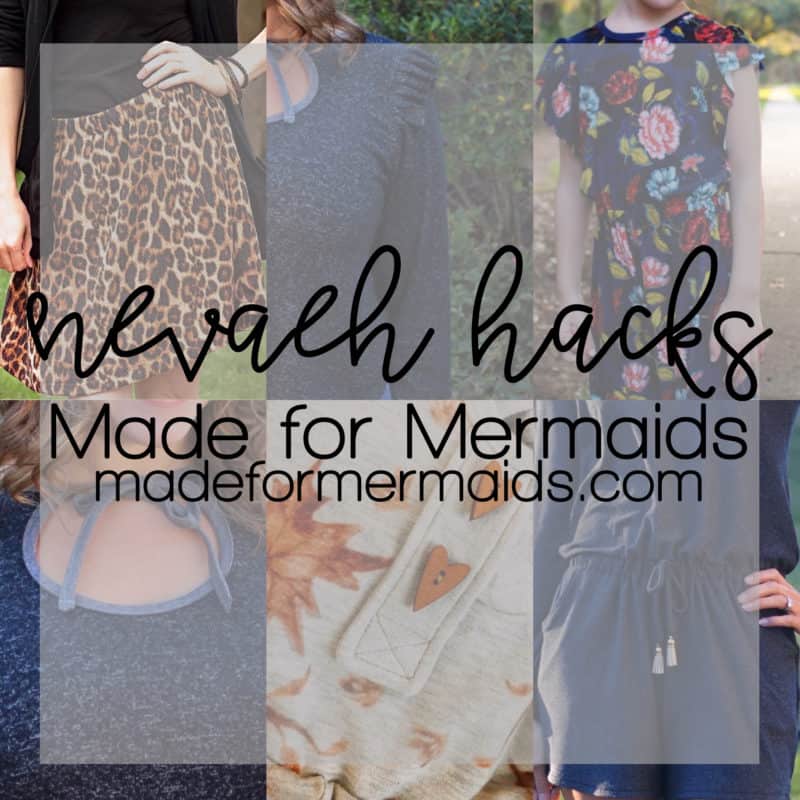
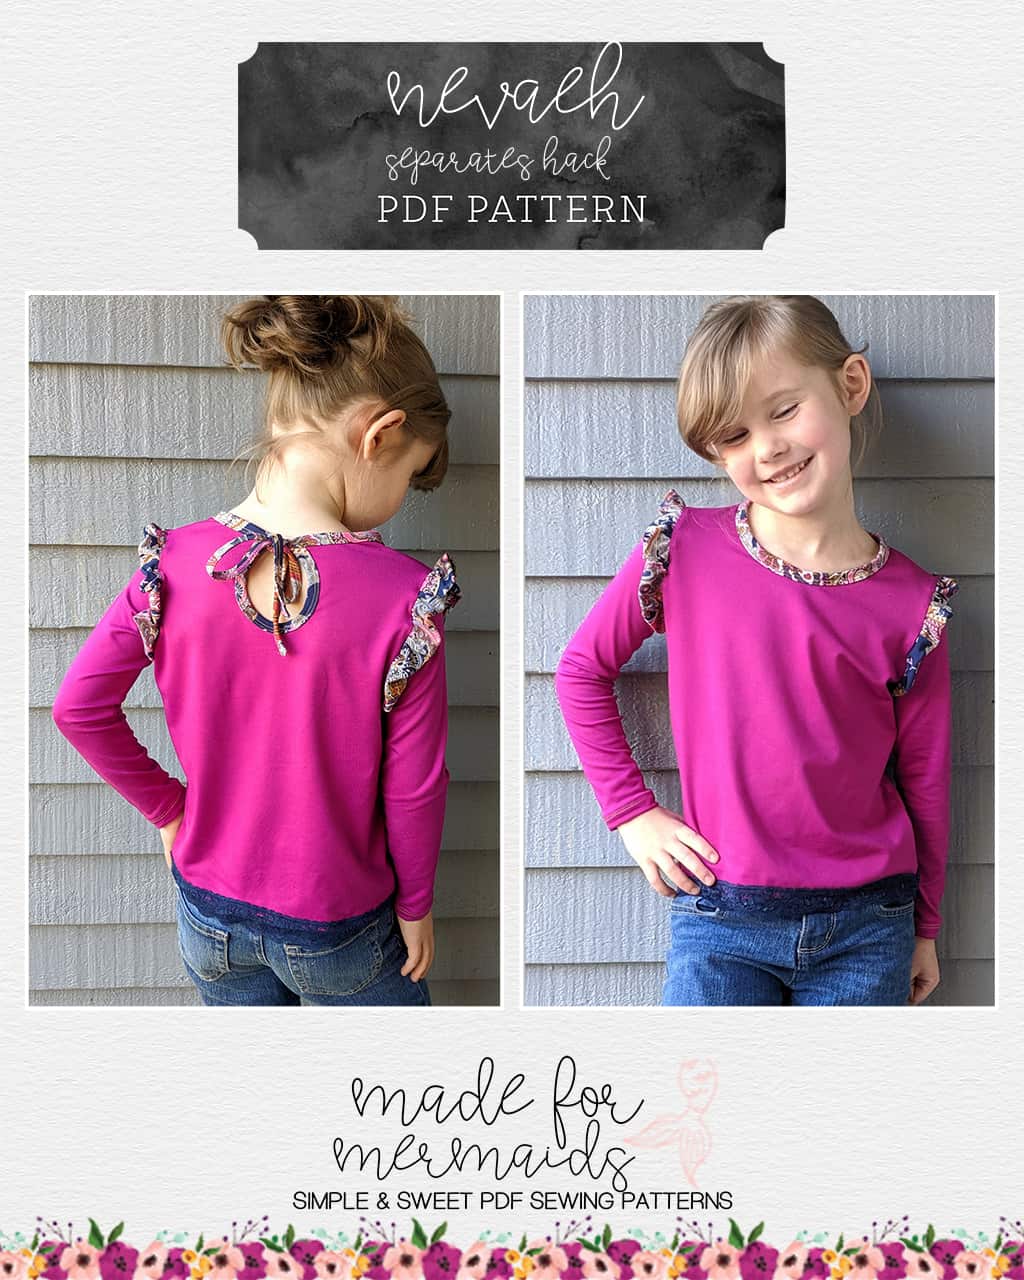
The Nevaeh patterns are our newest release! It’s extra special because it is our first release to include our three new sizes (Ruby, Lilac, and Navy), AND we’ve included metric and imperial charts in all three patterns!

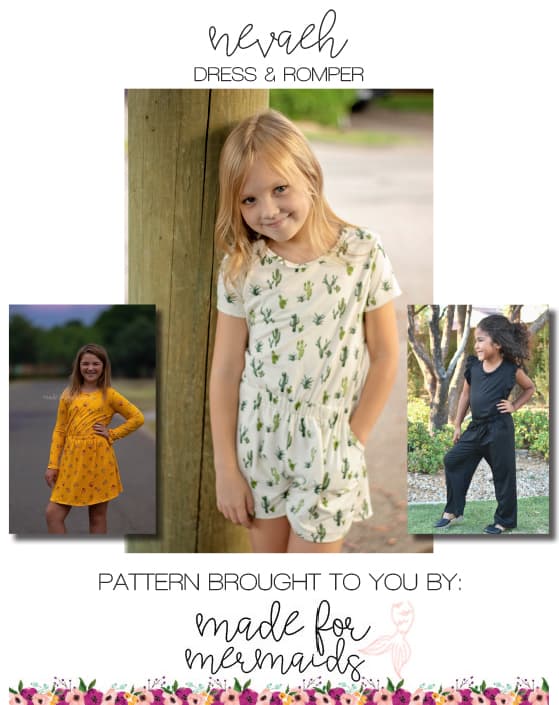

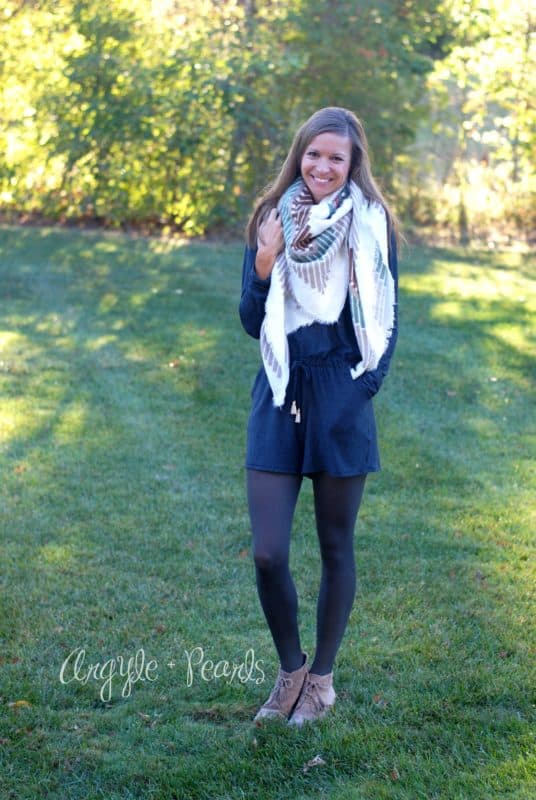
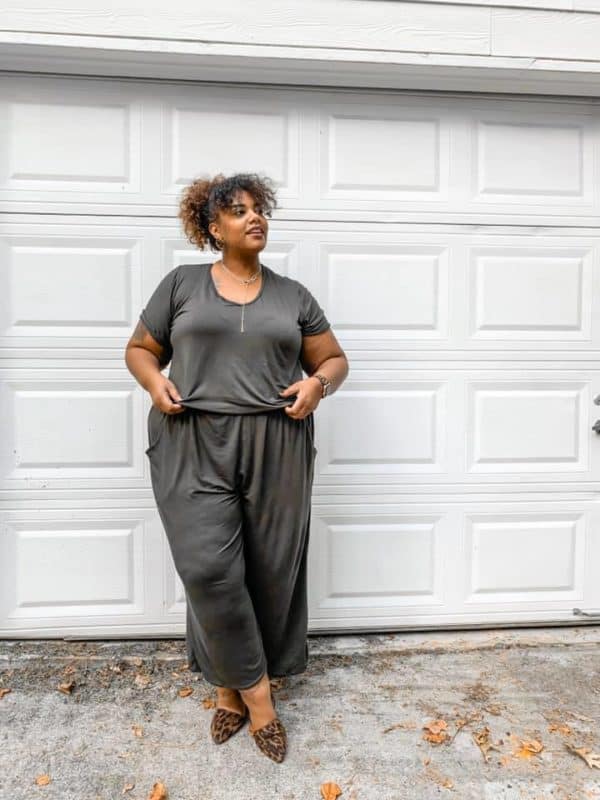
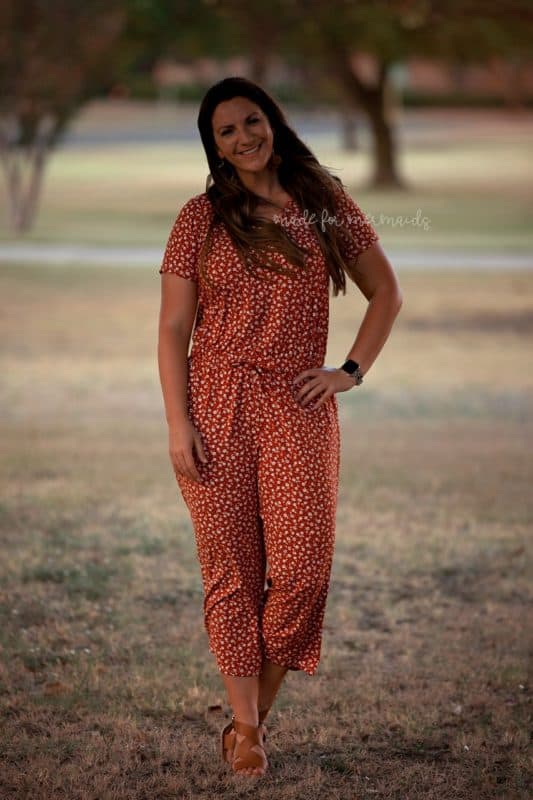
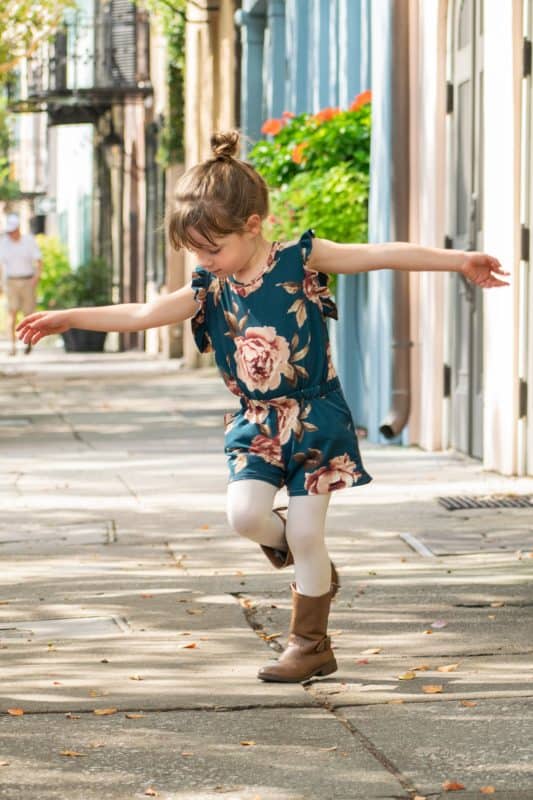
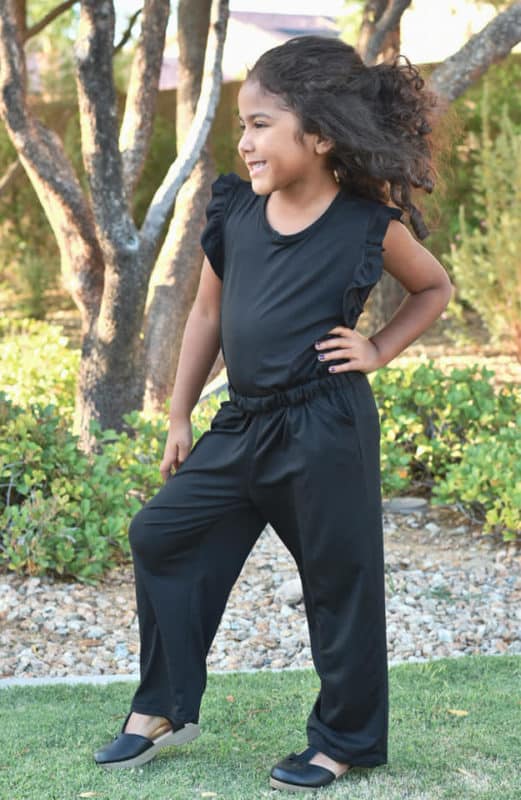
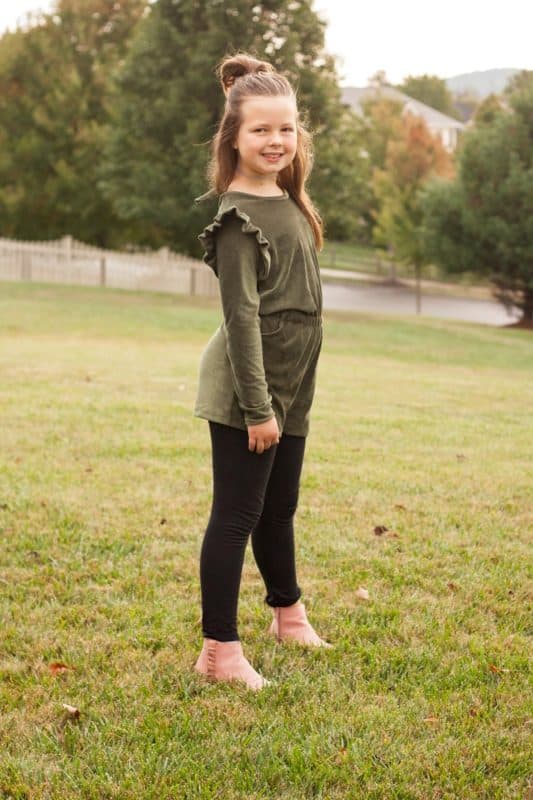
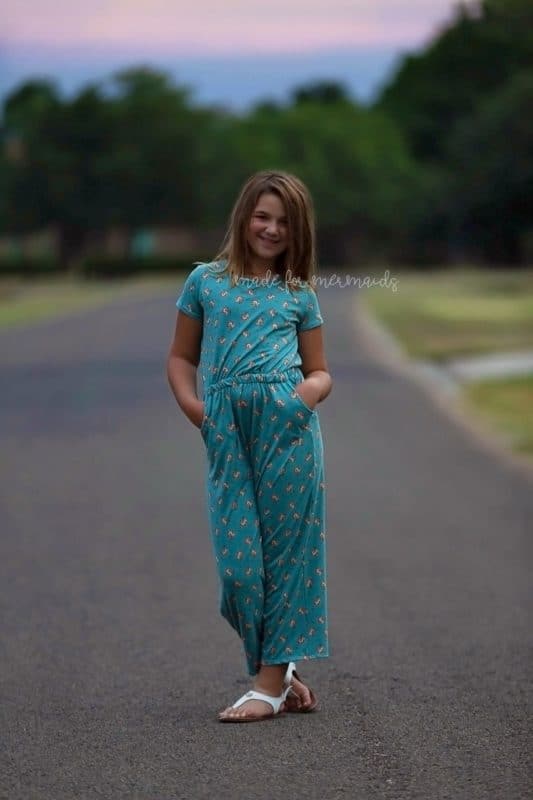
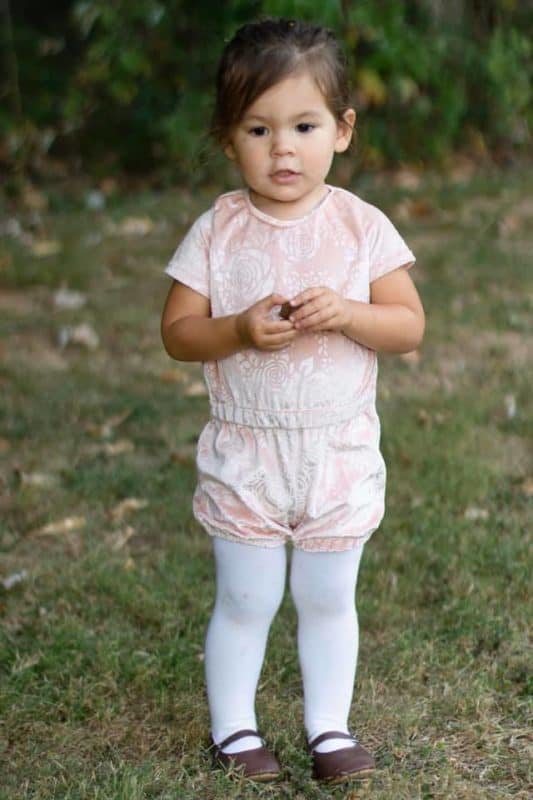
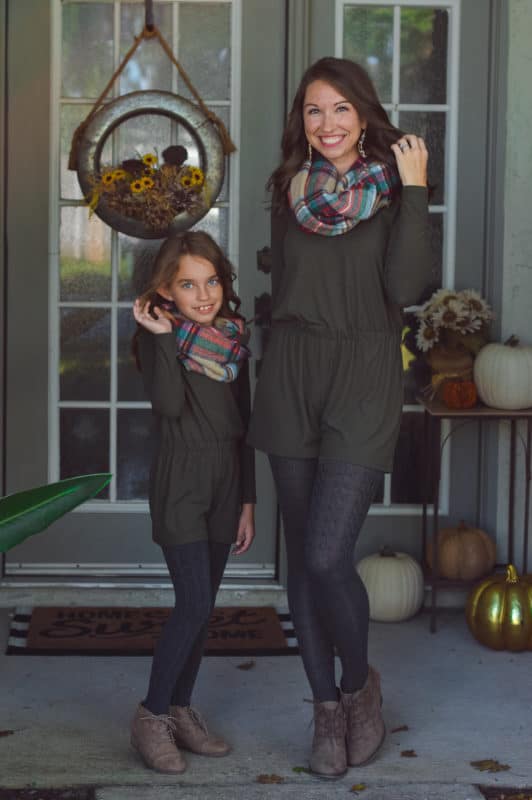
With TONS of options, it’s the perfect transition piece as we head in to fall! Many of our testers are still sweating it out in their parts of the world, but you’ll still see lots of layering in the tester photos! The shorts option is perfect paired with tights and booties, the short sleeve option looks great with your favorite cardi or blazer, and the dress options will be perfect year round too!
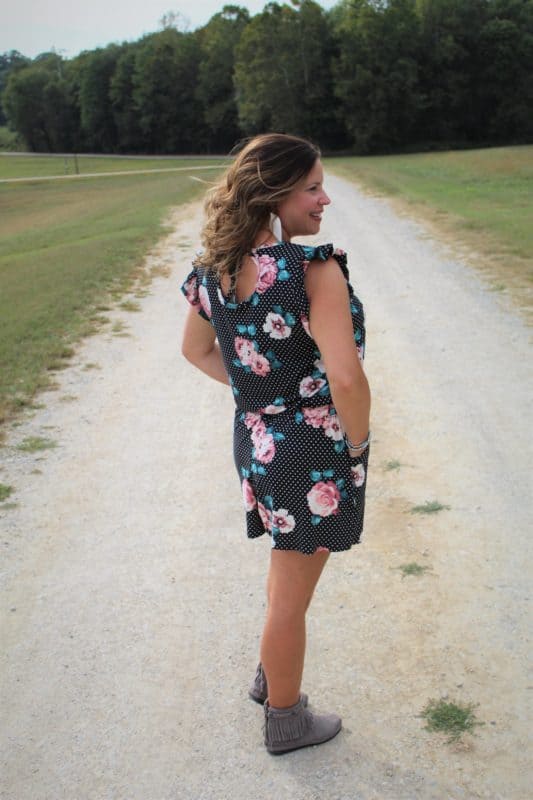
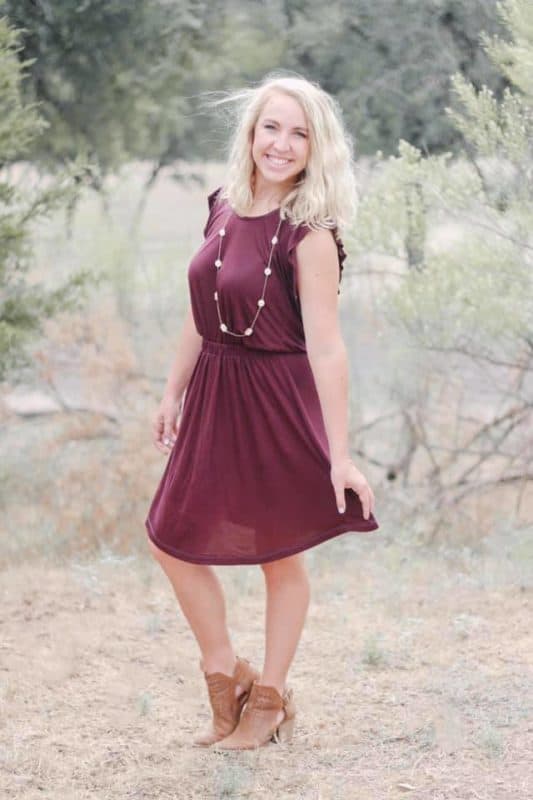
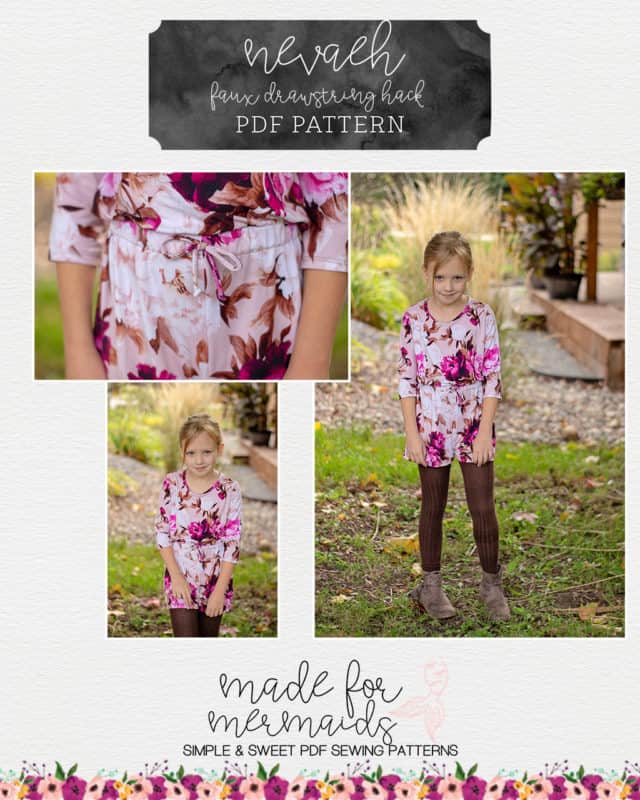
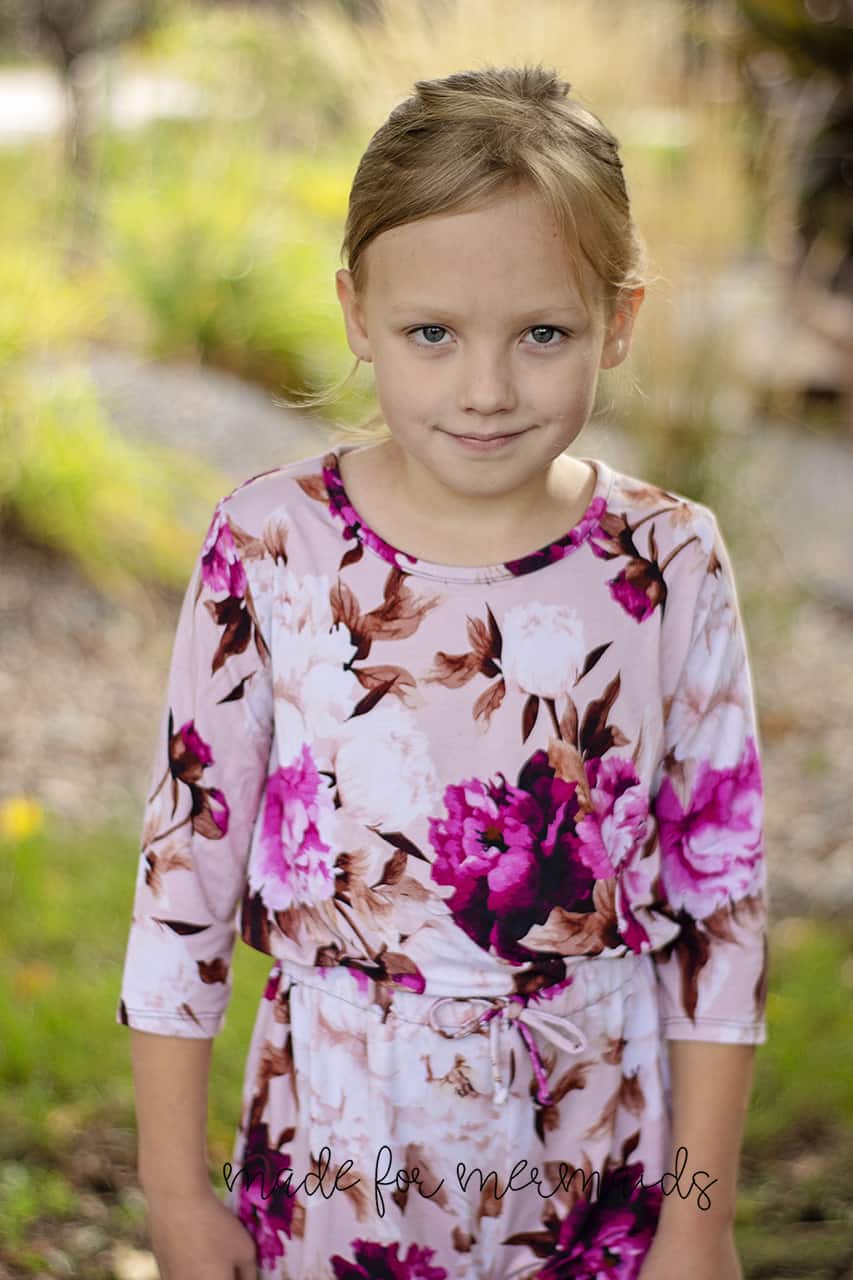
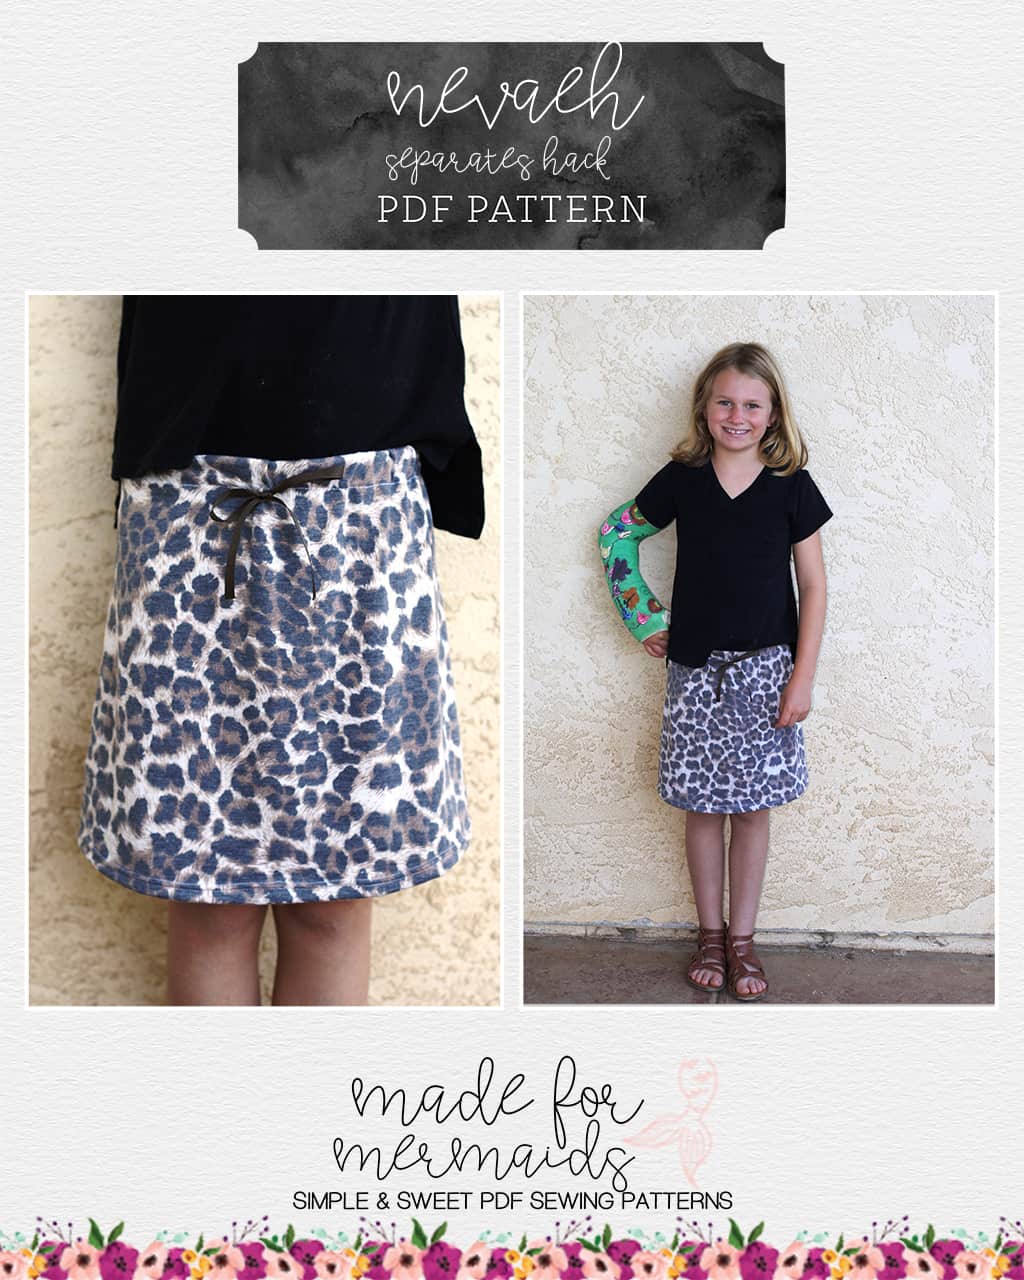
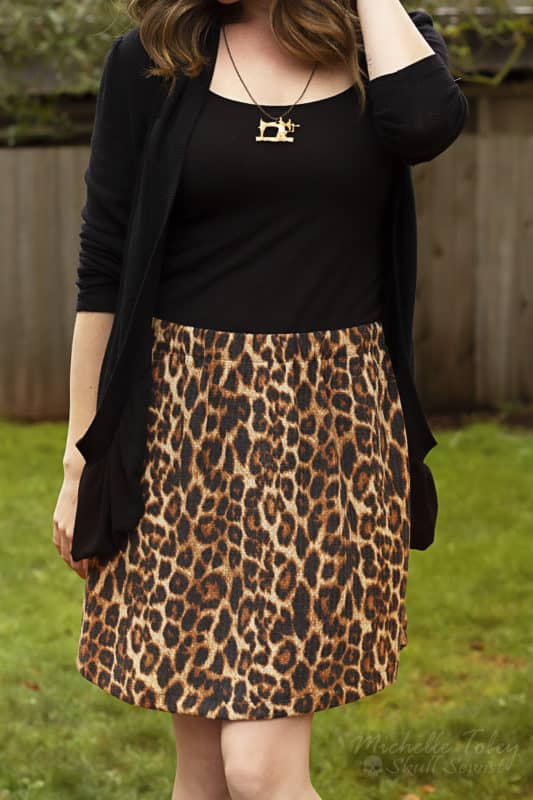
Check out some of our favorite looks for women, youth, and baby:


As always, you can see more photos from our gorgeous testers in our Facebook group!
We love all of the Nevaeh options that are already included, but can never resist an opportunity for a hack or two! We have several simple hack ideas for you below, to make sure you get the most out of your new patterns!
Drawstring & Faux Drawstring
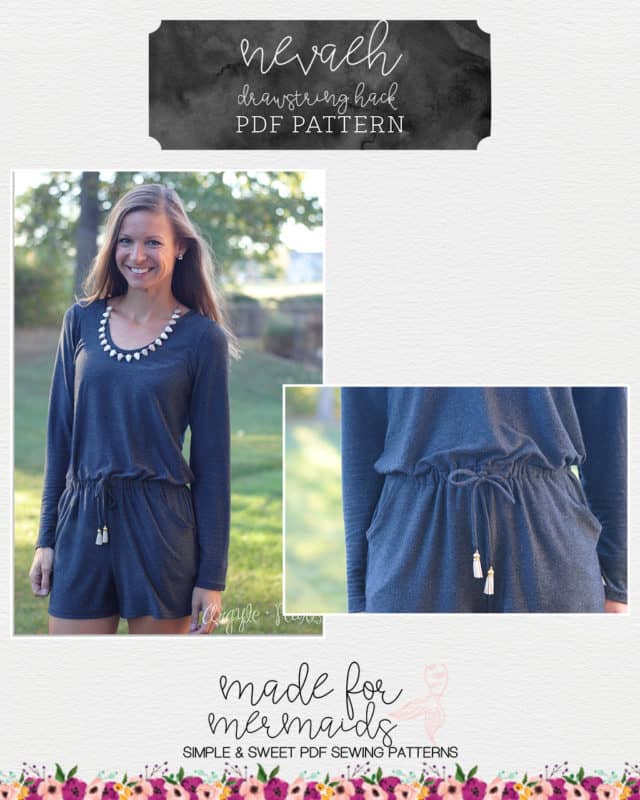
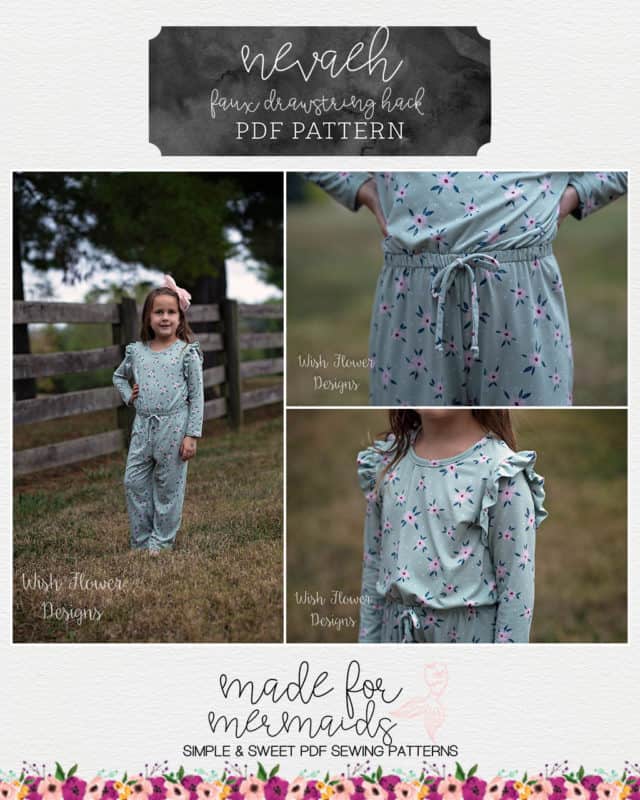
Love the look of a drawstring waist? Well, the Nevaeh pattern is perfect for adding add hack to adding either a faux or functional drawstring!
Faux Drawstring
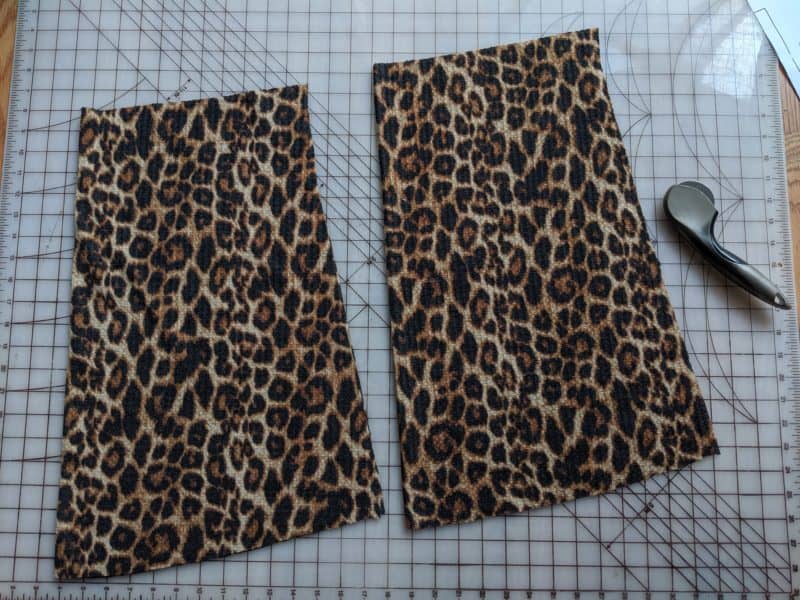
First, we are going to cut a strip of fabric 1″ by about 16″. The 16″ is approximate, and if you would like your faux drawstring longer or shorter ,you can cut to size. I made a size 7, and found 16″ to be the perfect length for my faux drawstring.
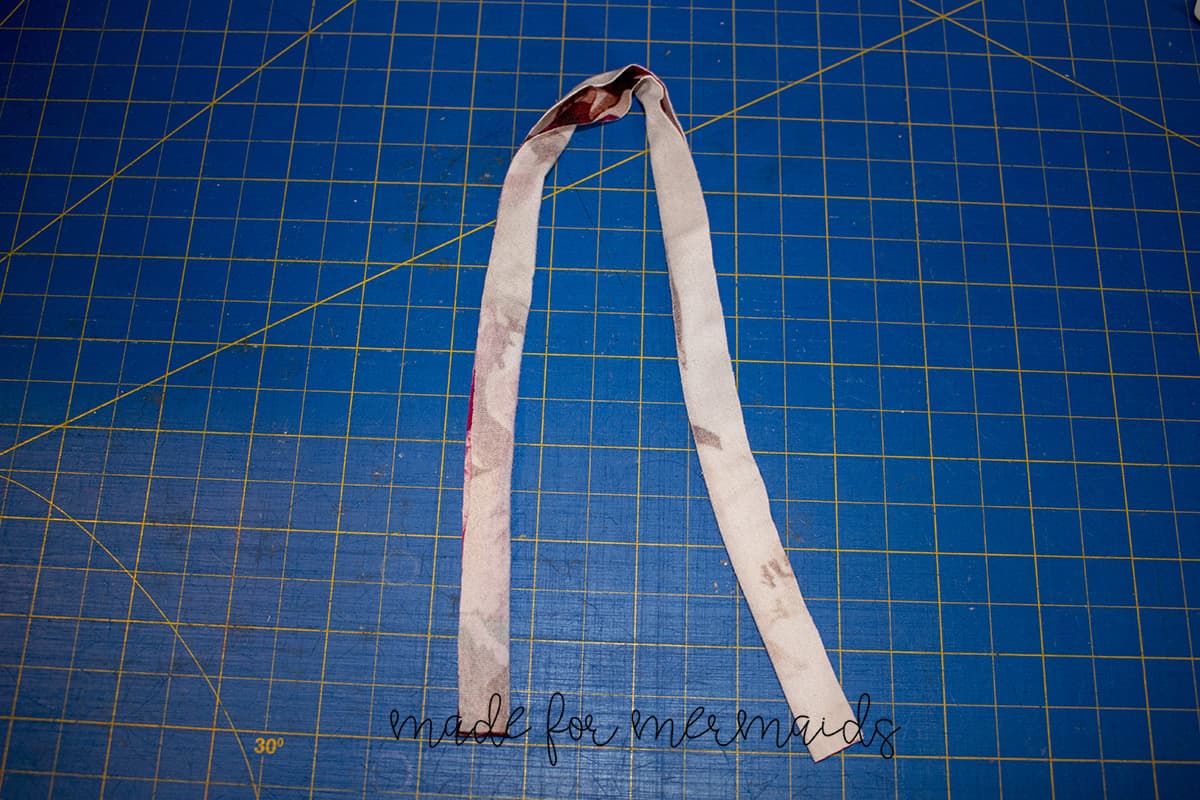
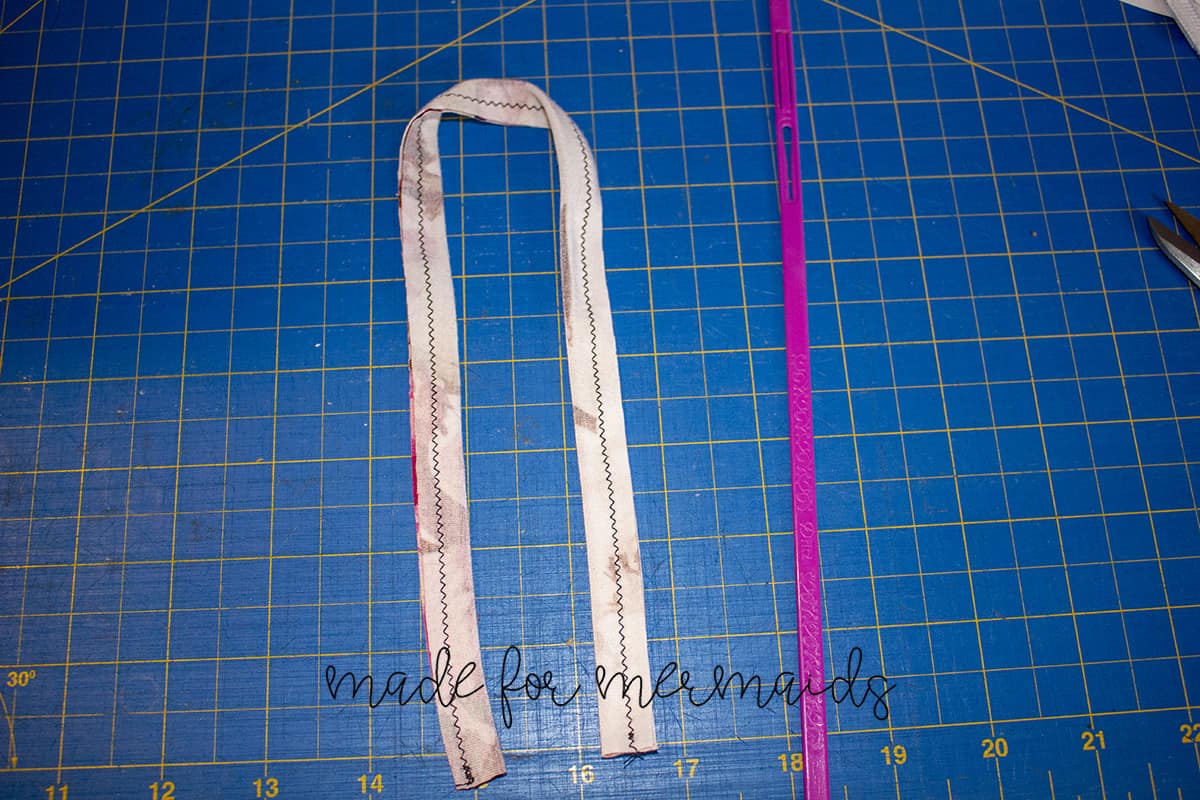
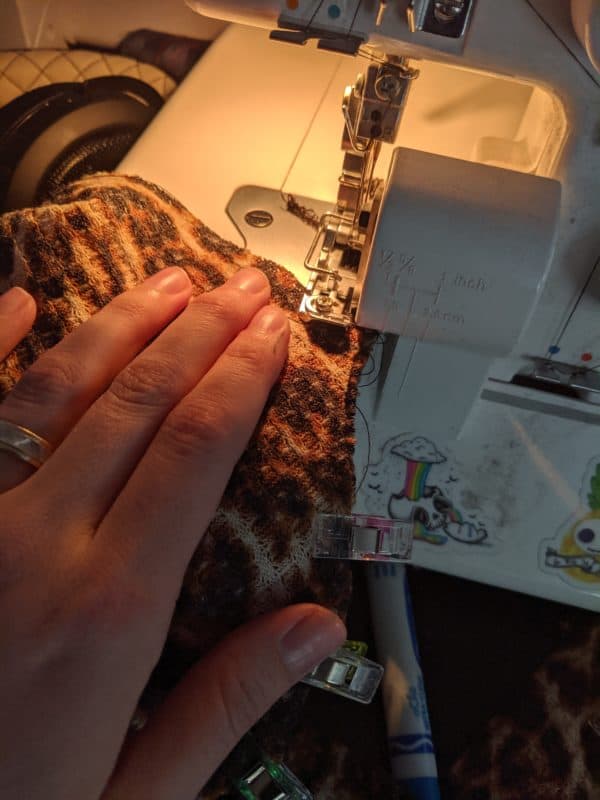
Next, you will fold your strip of fabric along the long edge, with right sides together. Sew with a 1/4″ seam allowance. I like to use my sewing machine rather then my serger for this step, as you can then trim your seam allowance down after stitching to make it easier to turn inside out.
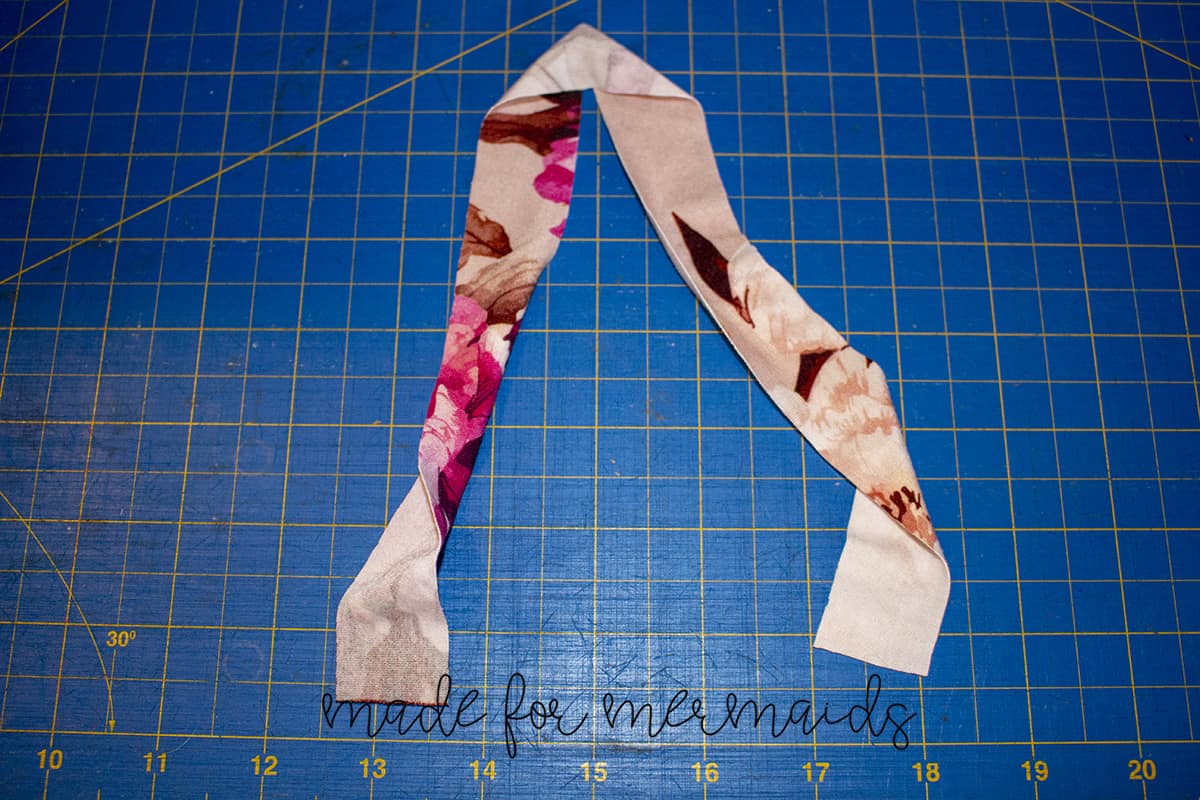
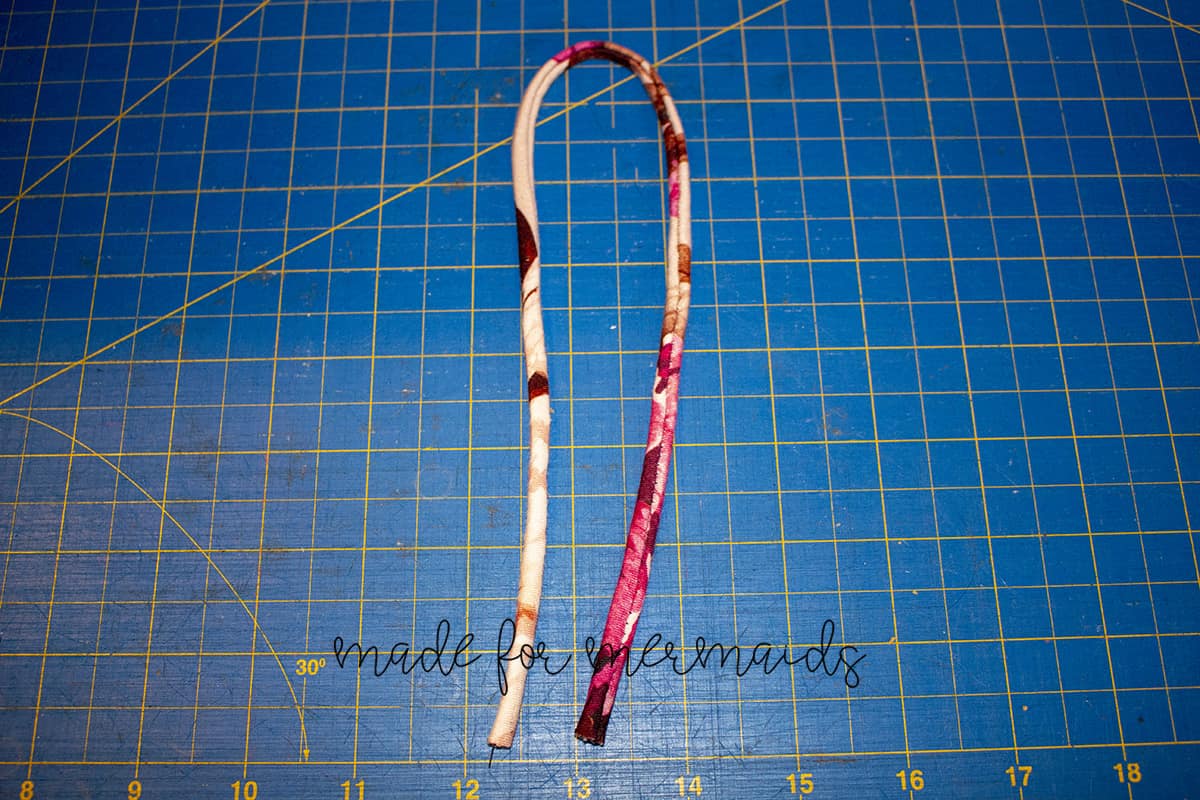
Once you have sewn your long edges, turn your tube of fabric right side out. You can use any method you like for this step; I tend to just grab a safety pin and turn my tube with it.
-

- Cut strip 1″ by however long you would like it; I did mine 16 inches
-
- Fold in half wrong sides together, long raw edges aligned and sew with 1/4 inch seam allowance along long raw edge
-
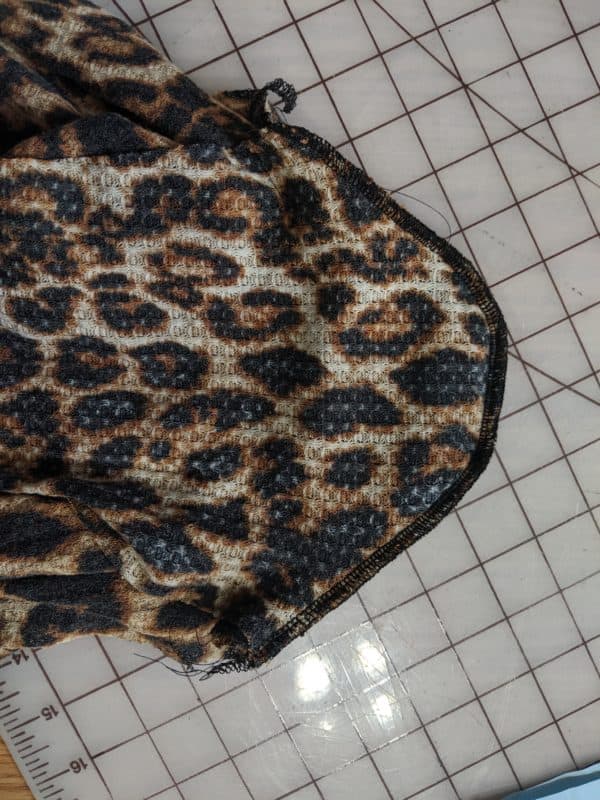
- Trim seam allowance if needed and turn tube
-
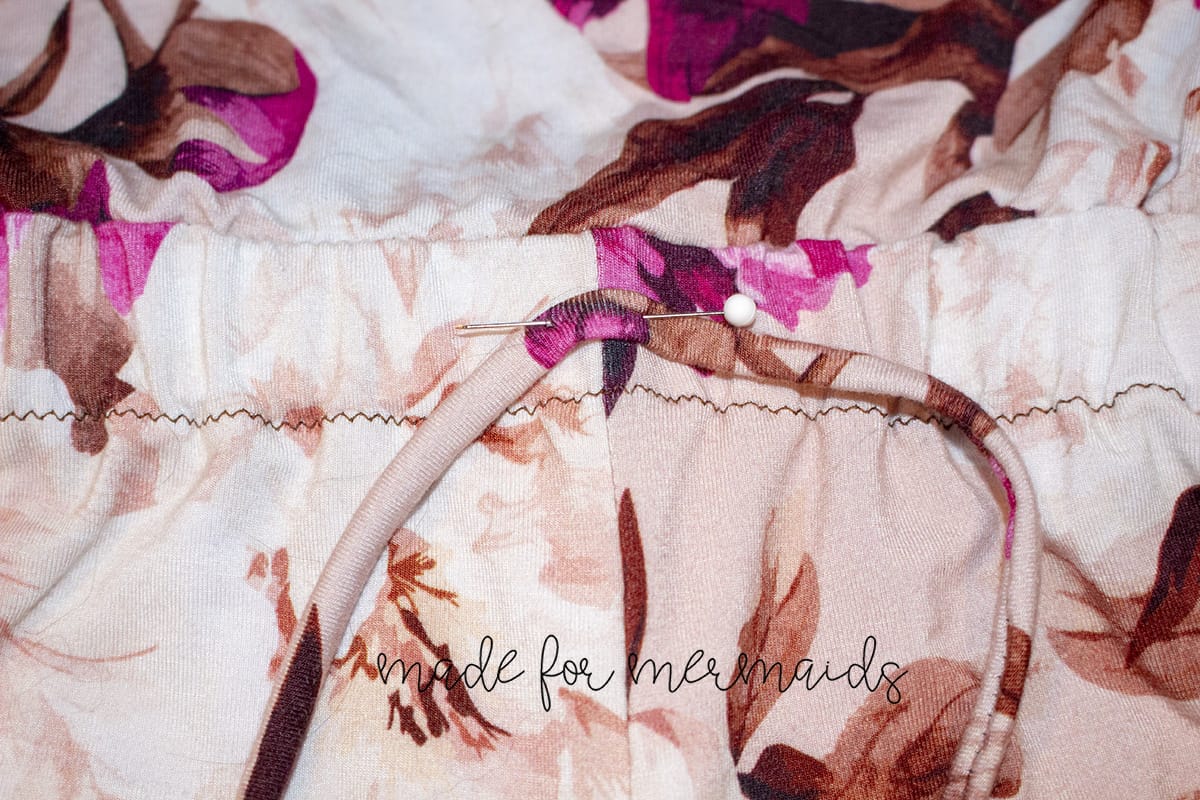
- Turned tube ready to attach
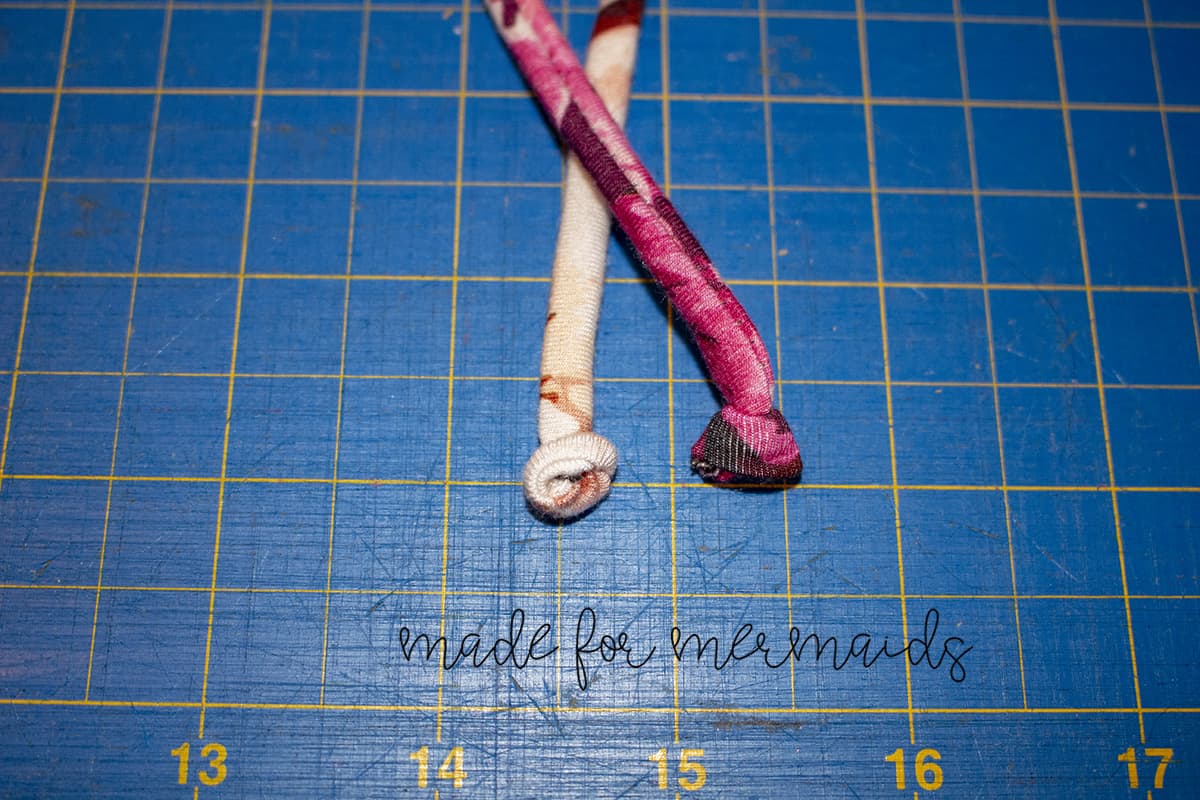
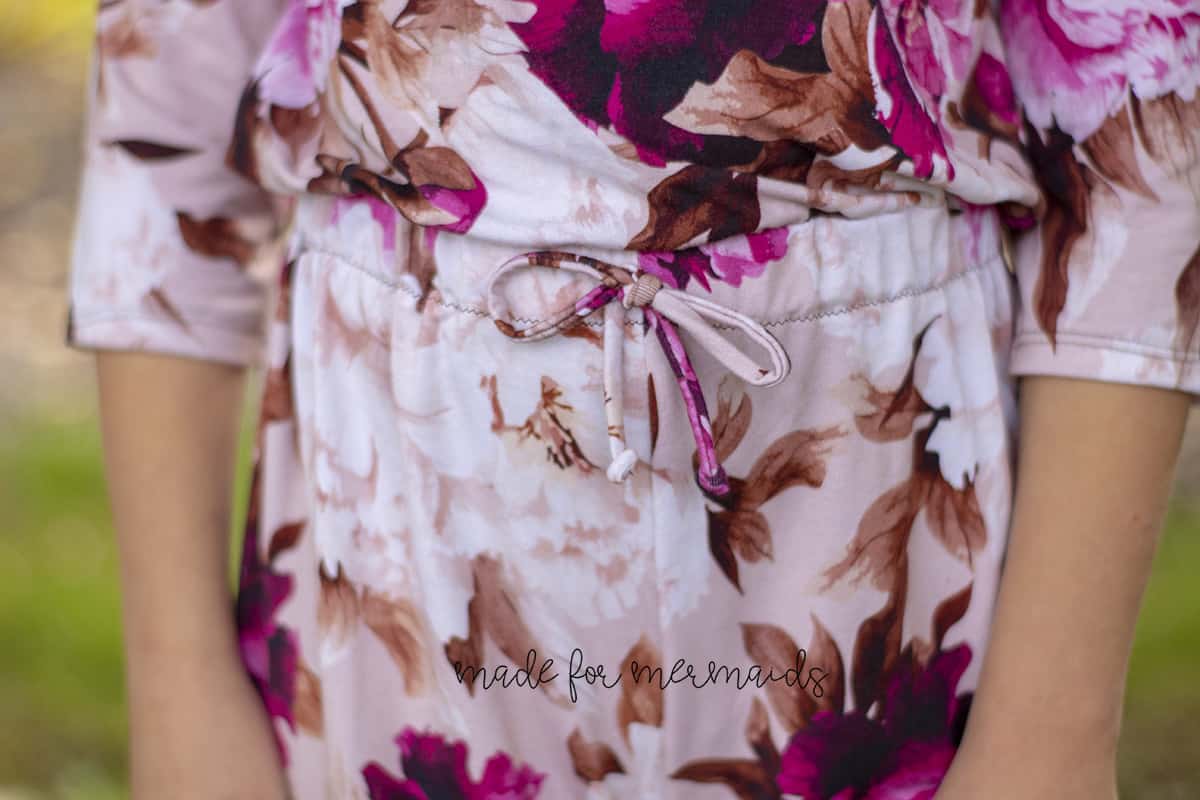
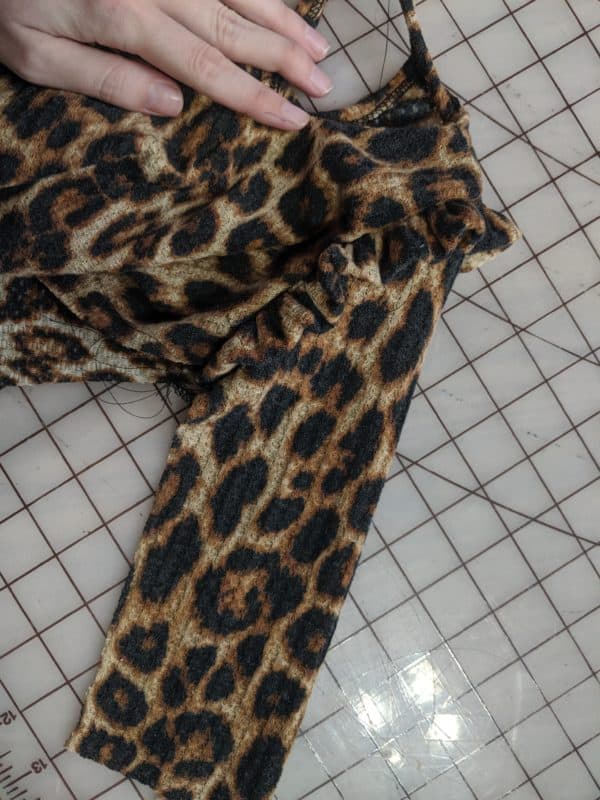
As knits don’t fray, you don’t really need to finish the ends; however, if you want to you certainly can! I usually just tie the ends of my drawstring into little knots for a cute, casual look.
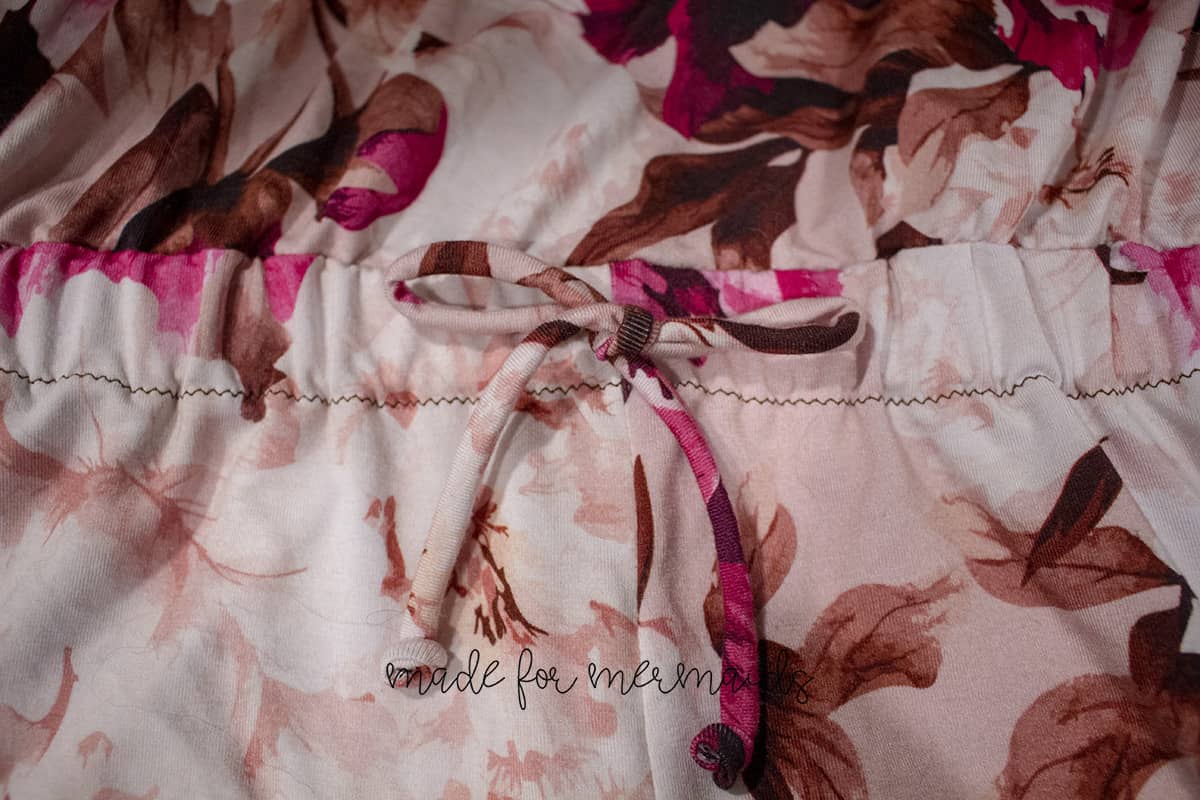
Finish your entire romper as directed in the pattern tutorial, and then your very last step will be to attach your drawstring. You will center your drawstring on the center front seam, right over top of the elastic waist. You can sew the drawstring in place with a couple of stitches, or hand sew it on. I sewed a few stitches on my machine to attach. Tie a bow, and you are done!
Functional Drawstring
Do you prefer a functional drawstring? You can follow the directions here or for more details check out our Lucy post here! One quick little tip for buttonholes on knits is to add some interfacing on the wrong side to give the knit some stability while sewing your buttonholes!
-

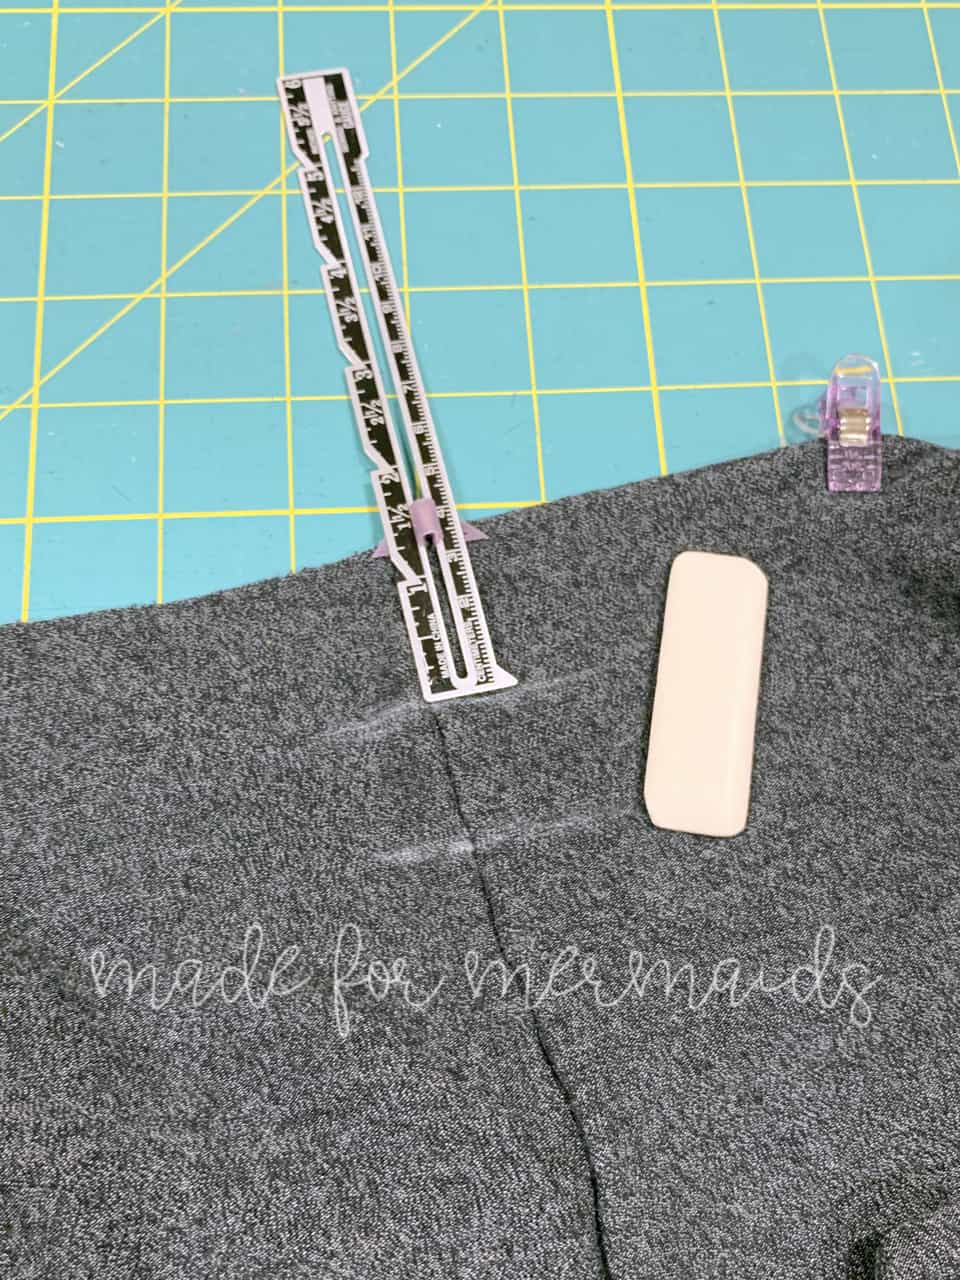
- Mark your seam allowances, then mark where you would like your button holes making sure that they are a bit below where you marked your seam allowance,
-
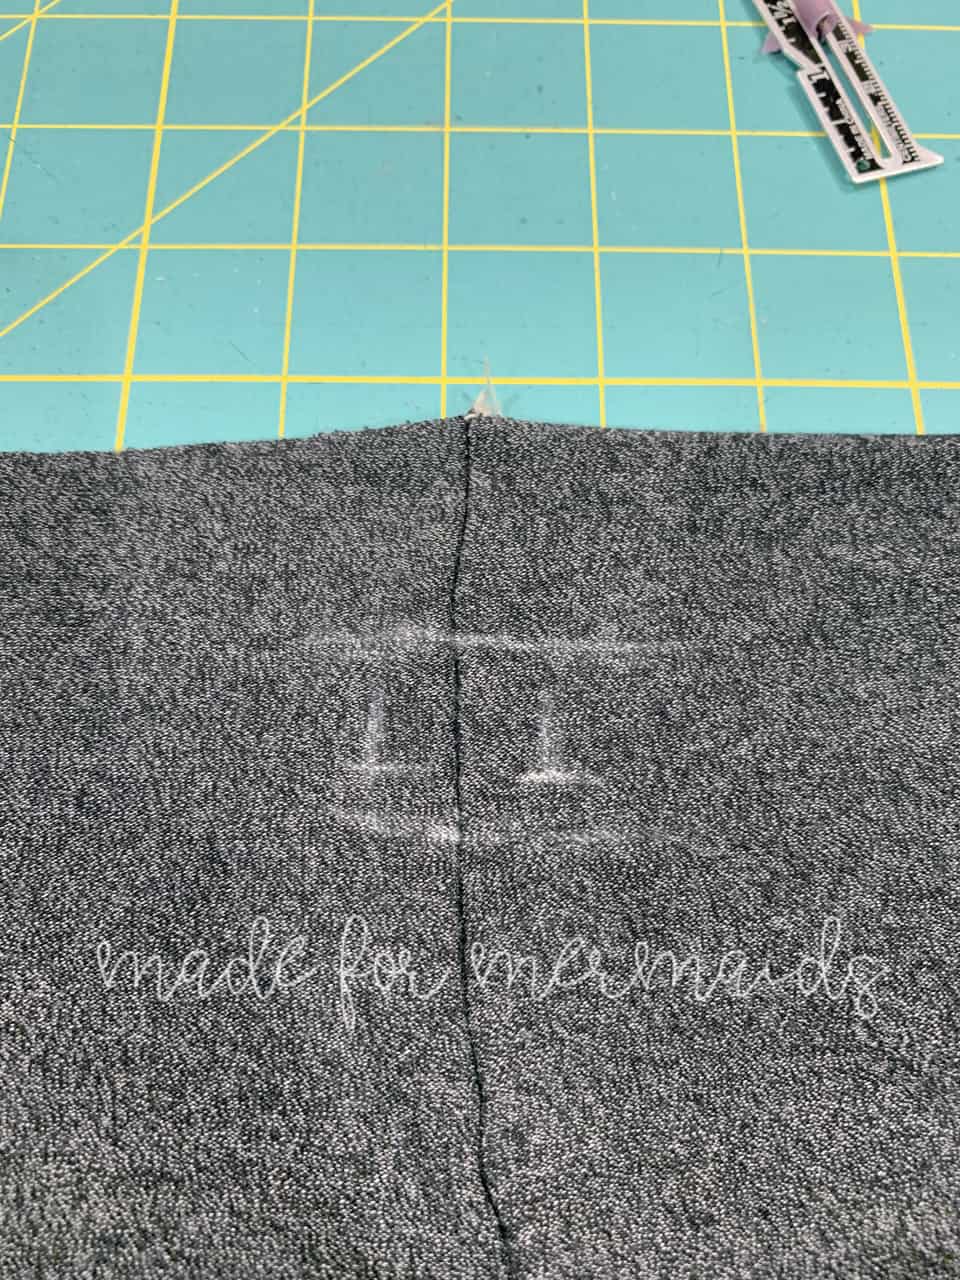
- Draw where you would like your buttonholes, make sure they are within your casing
-
- Sew your buttonholes
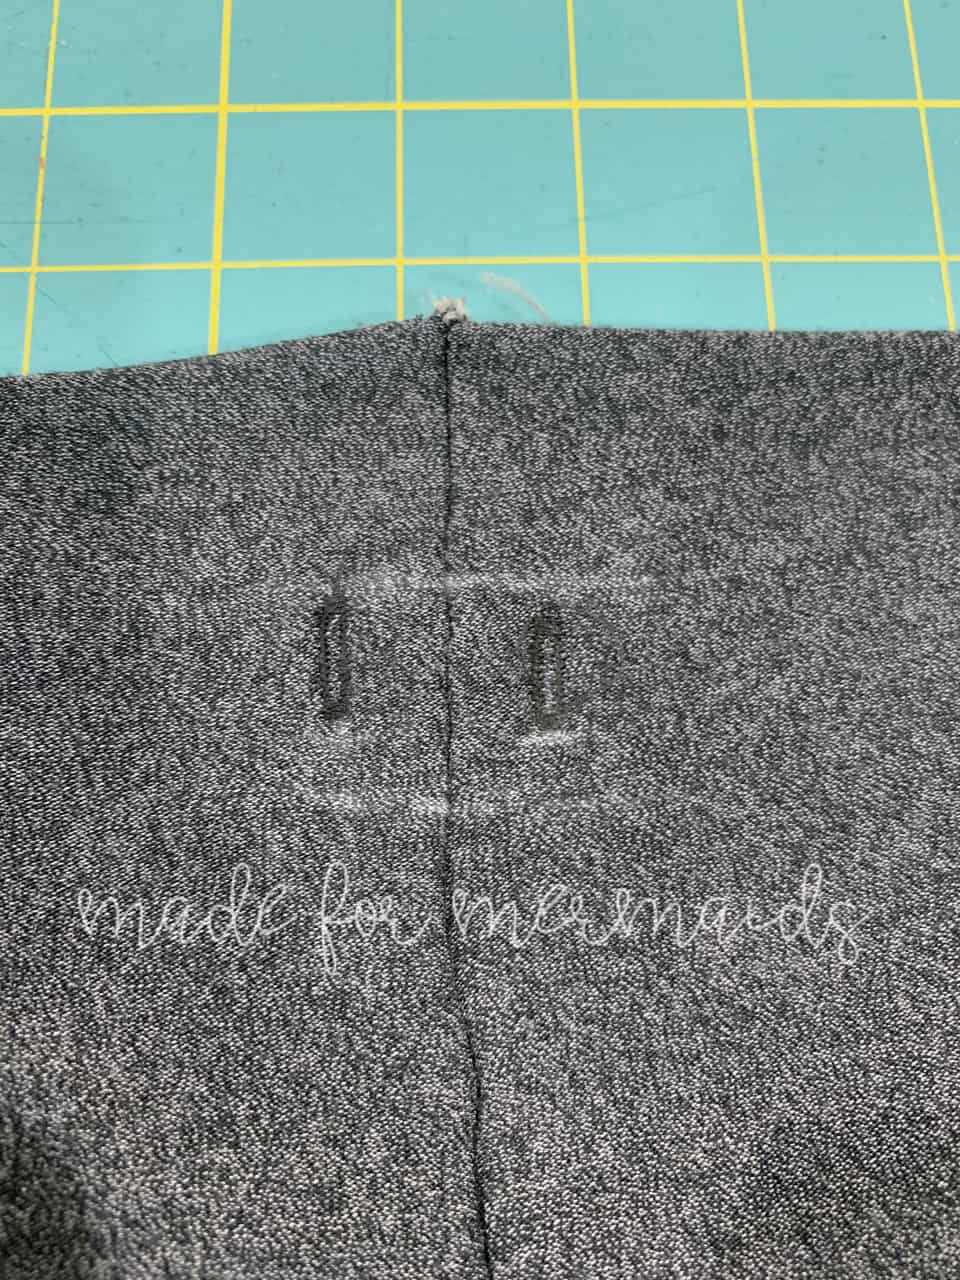

All done! Quick and easy!
Angela
Separates
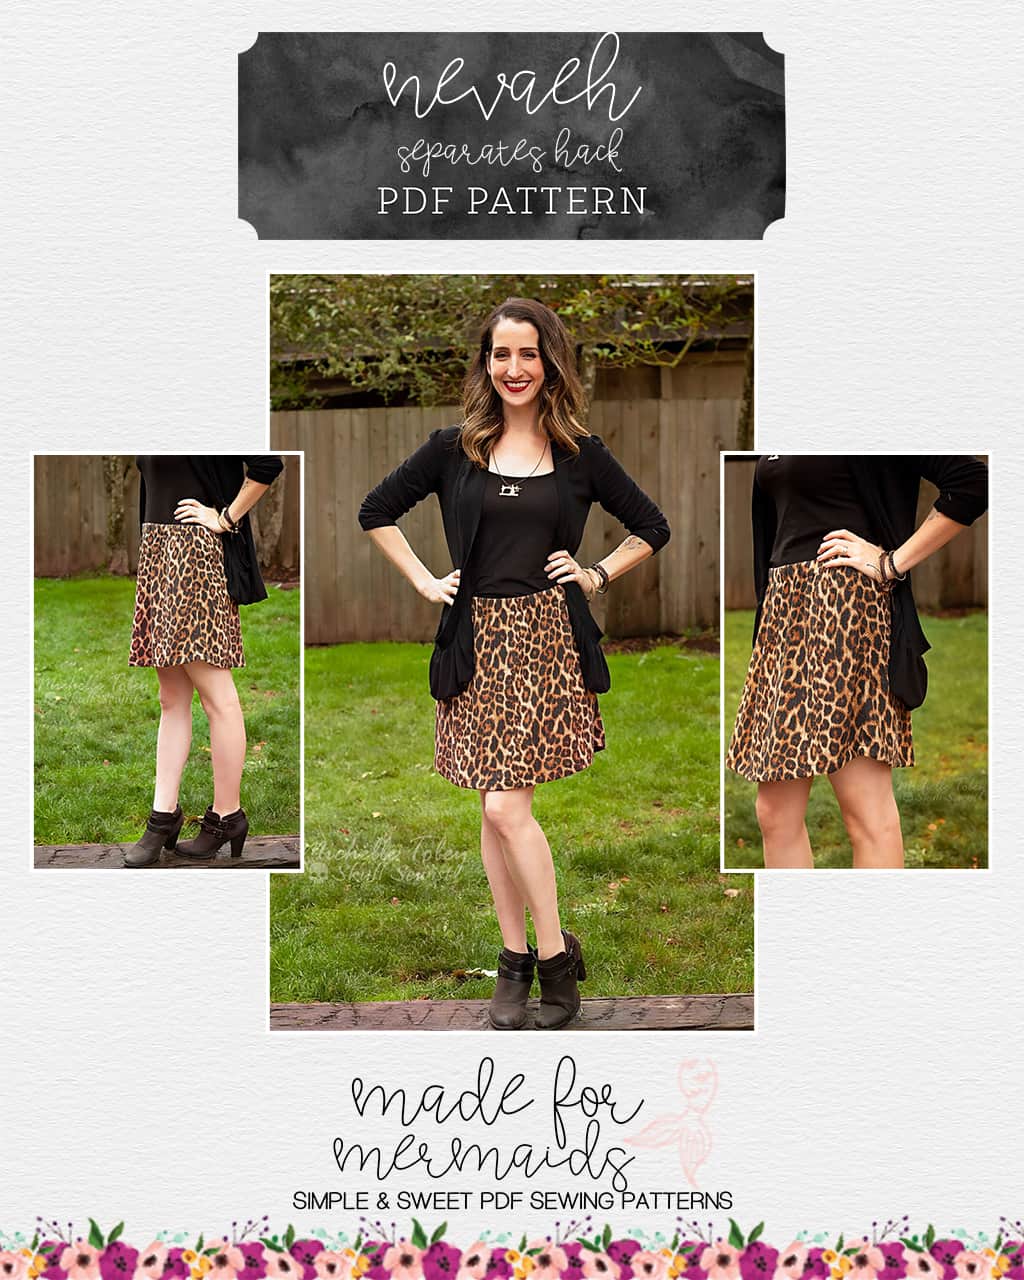
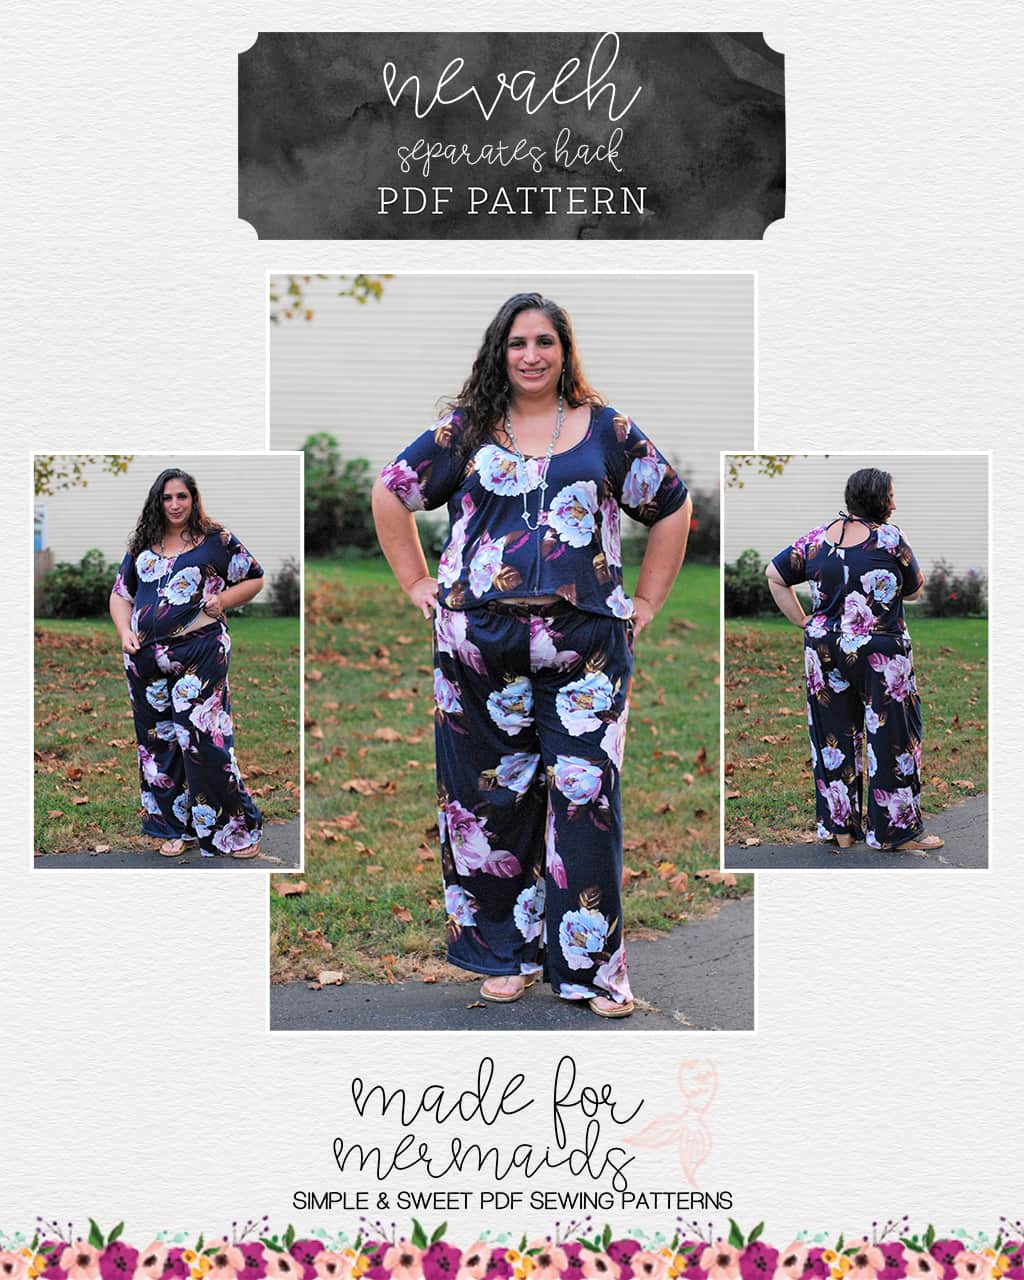
One of the best parts about the Nevaeh is how easy it is to hack into separates, which means that many more clothing options for you!
Let’s start with the top. You’ll follow the directions all the way up to attaching the bottom. Instead of attaching, you’ll just hem your top! I’d recommend putting on your top prior to hemmin,g to see if you’d like to take the full 1.25″ hem (1″ for kids/baby), or keep your top a little longer. That’s it for the top portion!
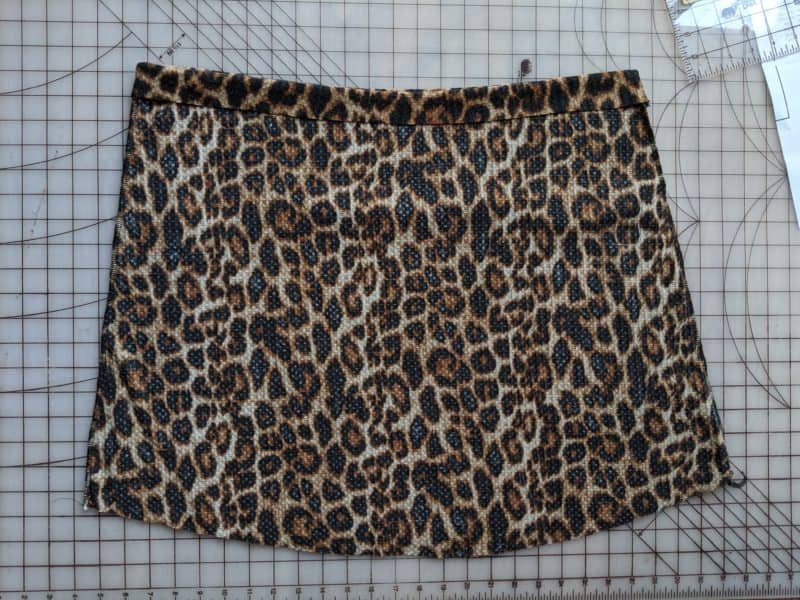
Now, on to the skirt! It’s such a cute, fun cut, and the perfect separates option for dressing up or down. It’s very easy as well! Cut your skirt and sew the side seams as directed in the pattern. For the waistband, you’ll turn it down towards the skirt bottom, either 1.25″ for women or 1″ for kids and baby. Press.
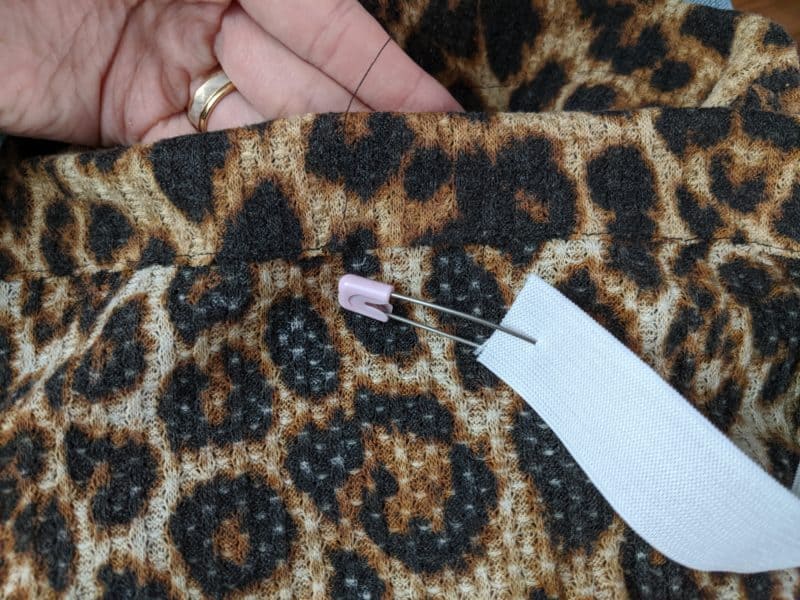
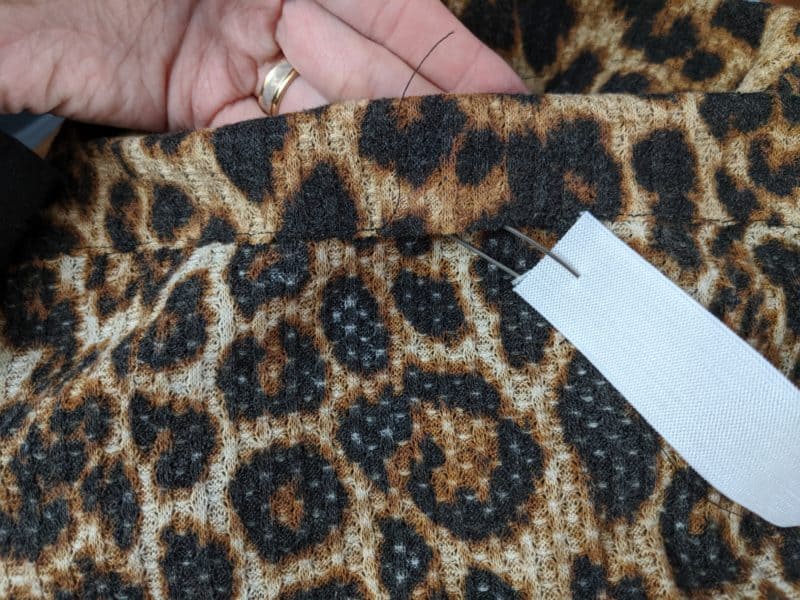
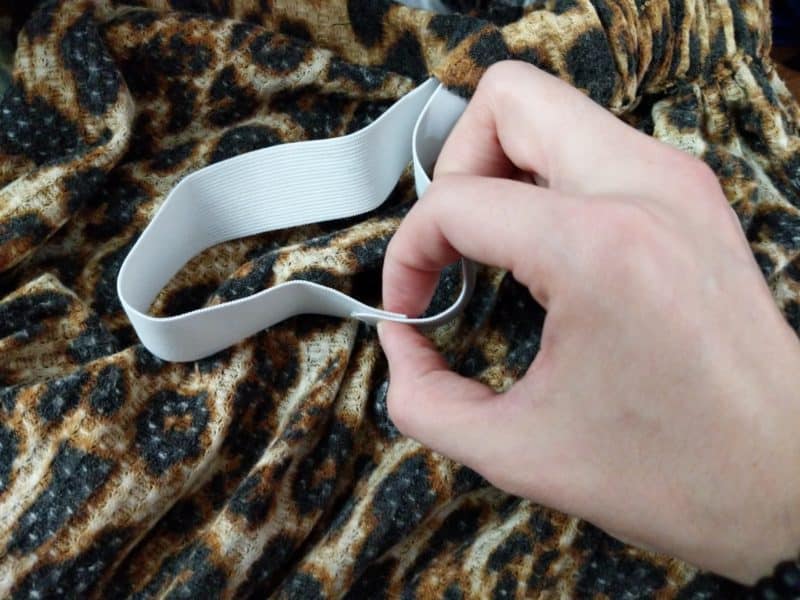
Edgestitch along the bottom leaving a 1-2″ opening for elastic threading. Cut your elastic to size, and with your favorite threading tool ( I use a safety pin), thread your elastic through the casing you just created making sure to leave one end of the elastic out of the beginning of the casing. Pull out the other side of the elastic out of the casing and overlap the two ends .5 inch and stitch together with a zig zag stitch.
I recommend trying on your skirt now to see if you need to take your elastic in at all and what hem length you’d like. The traditional hem is .5″, but if you’d like to take it a little shorter, you can hem to your preference. Hem your skirt and edgestitch your elastic casing closed, and you are done!

Happy Sewing! – Michelle
Faux Button Placket
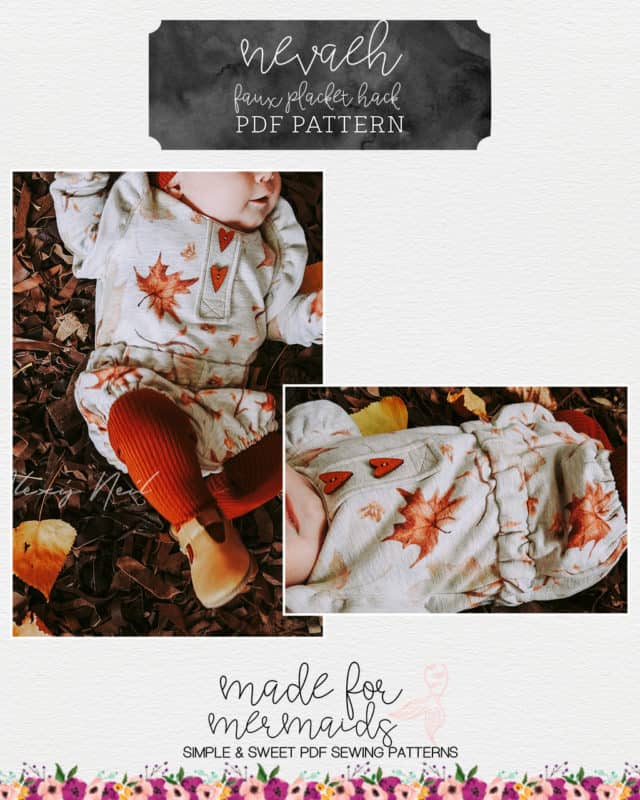
I love the look of a button placket, but don’t usually have the time to put into making a functional one. Hello, mom life! A faux button placket is a quick way to add a unique touch to your project with no buttonholes required! Today I’m going to show you how to add a faux button placket to the Nevaeh. Let’s get started.
To add a button placket to your Nevaeh, start by following the tutorial, but stop before you attach the neck binding.
Once at that point, you’ll need to decide the length and width you’d like your placket to be. The easiest way to do this is to lay out your front pattern piece and measure from the top middle to where you’d like it to hit. Remember that you will lose an inch from the bottom of the bodice for the waistband.

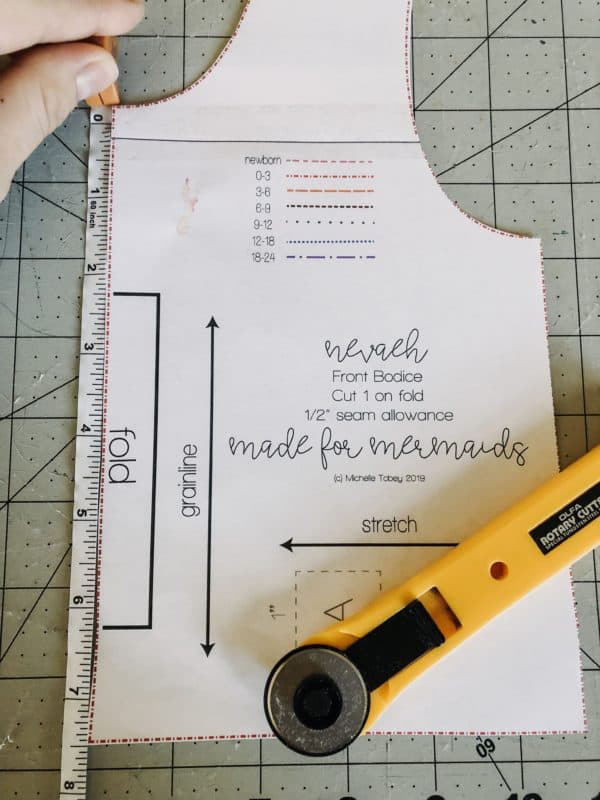
Once you’ve decided the length and width, add an inch to your width and a 1/2 an inch to your length measurements to account for a 1/2 inch seam allowance. Cut two from your fabric of choice. If you are using a thin knit, I recommend cutting a third piece out of a featherweight fusible interfacing, and ironing it to one of your placket pieces to help add a little stability.
*For reference, on this 0-3m Nevaeh, I used a placket that was 4 1/2″ by 2″.
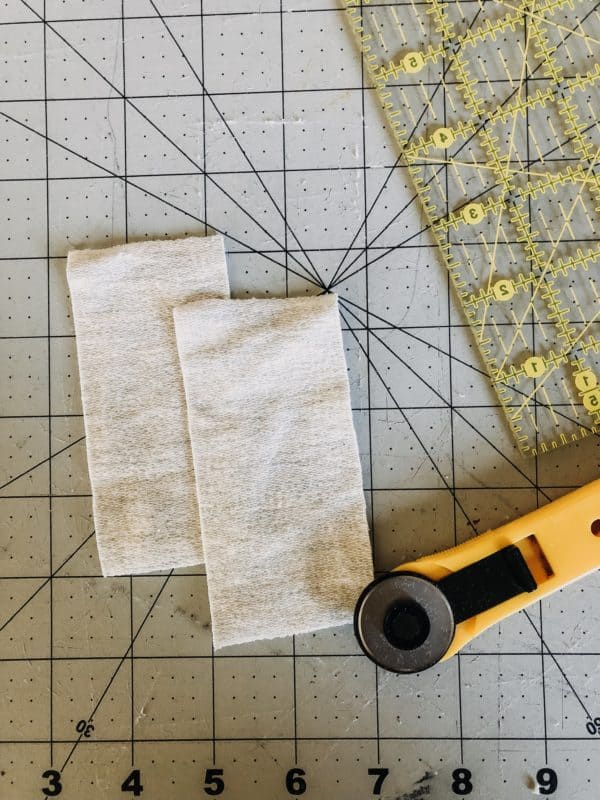
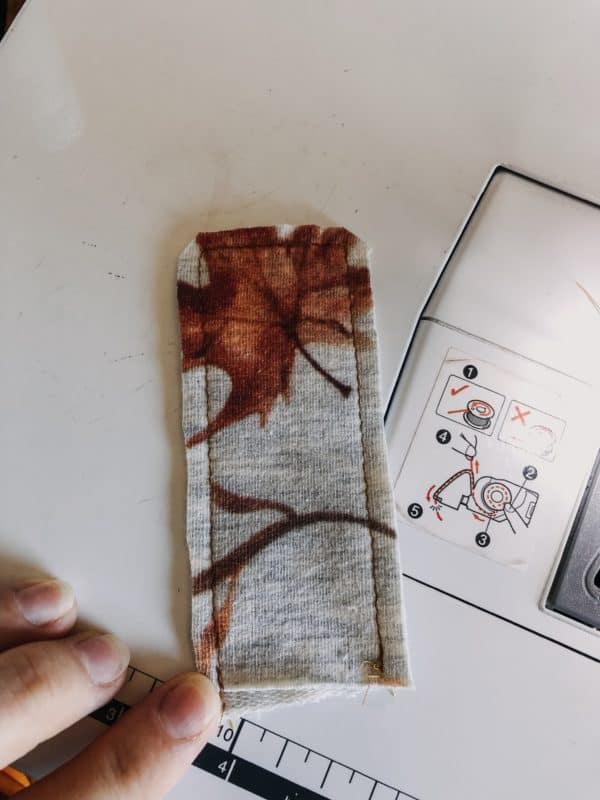
Next, place your placket pieces right sides together and pin or clip in place. You will then sew around three sides of your placket with a 1/2 inch seam allowance, making sure to leave one end open for turning. Once done, trim the seam allowance and clip the corners to reduce bulk. Then turn your placket right side out and press to get those edges crisp.
After pressing, line the center of your placket up, with the center of the front bodice. Make sure the open end is towards the top of the bodice by the neckline. Pin into place.
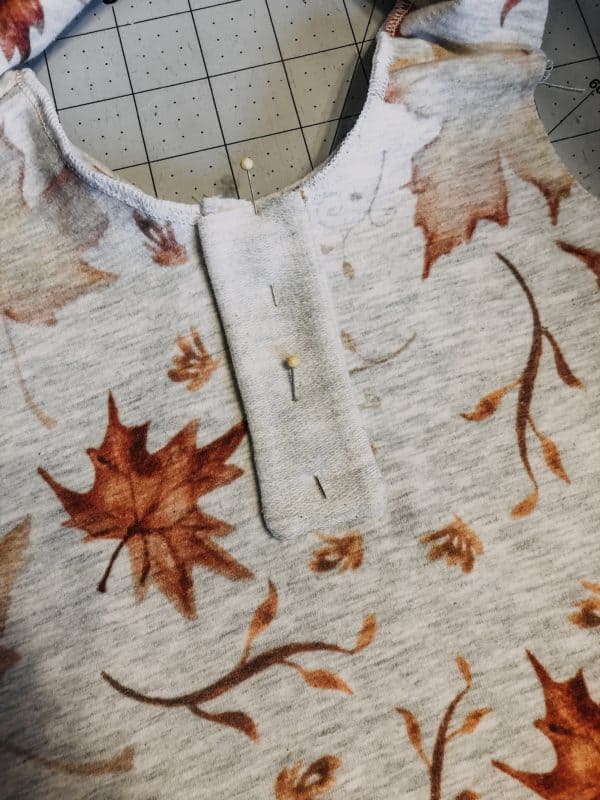
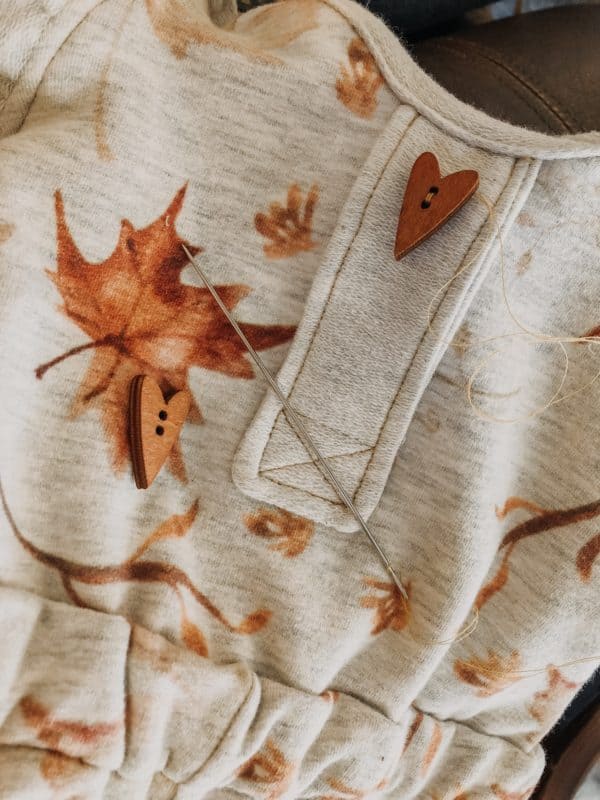
Sew around the three edges of your placket using a 1/4″ seam allowance. You can add a little decorative box at the bottom like I did if you’d like but it’s not necessary. Once you’ve sewn your placket onto the bodice, you will continue following the Nevaeh’s instructions to sew your neck binding onto the bodice, enclosing the open end of your placket under the binding. Once done, choose and sew your buttons onto your faux placket, and finish following the tutorial to complete your Nevaeh! -Alexis
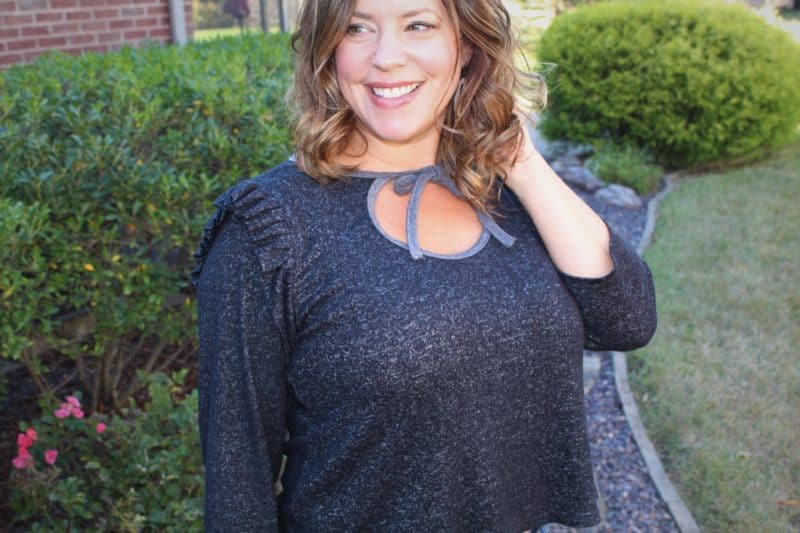
Keyhole Front
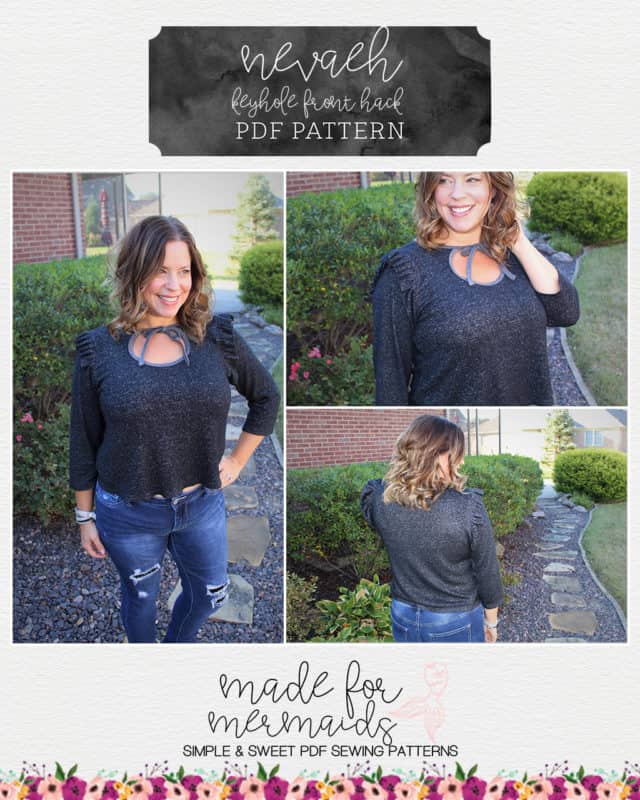
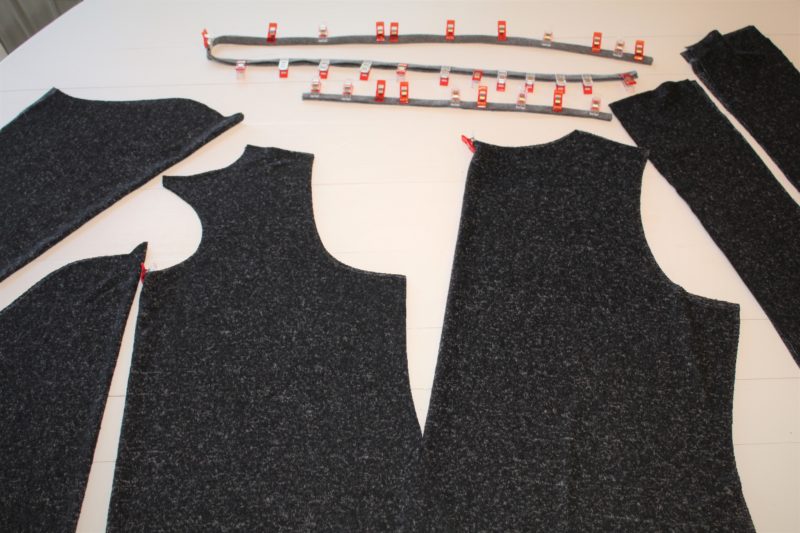
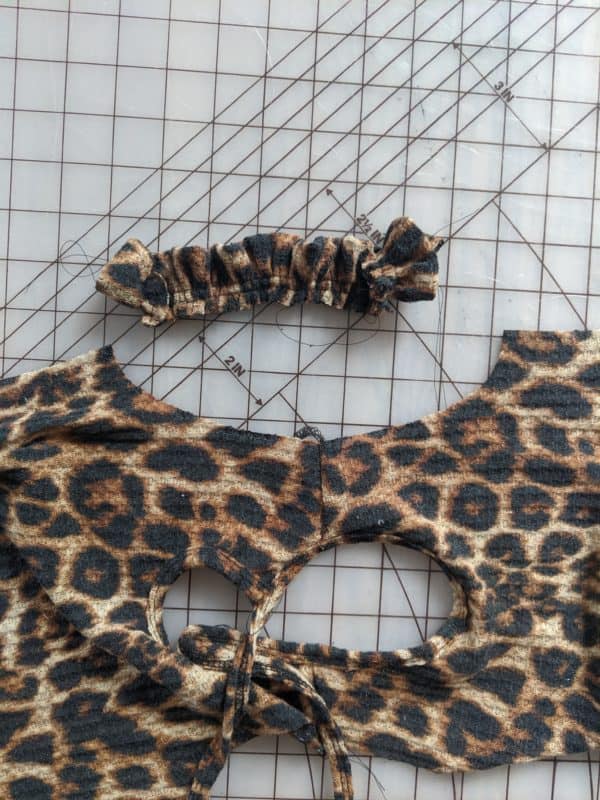
Adding the keyhole opening to the front instead of the back is super easy! First, cut your back piece out, omitting the keyhole opening.
Next, trace the keyhole opening on to your front pattern or fabric piece.
Note: you will not get as good of a fit if you decide to just swap front and back. Tracing the keyhole onto the actual front bodice piece will ensure the best fit for your body.
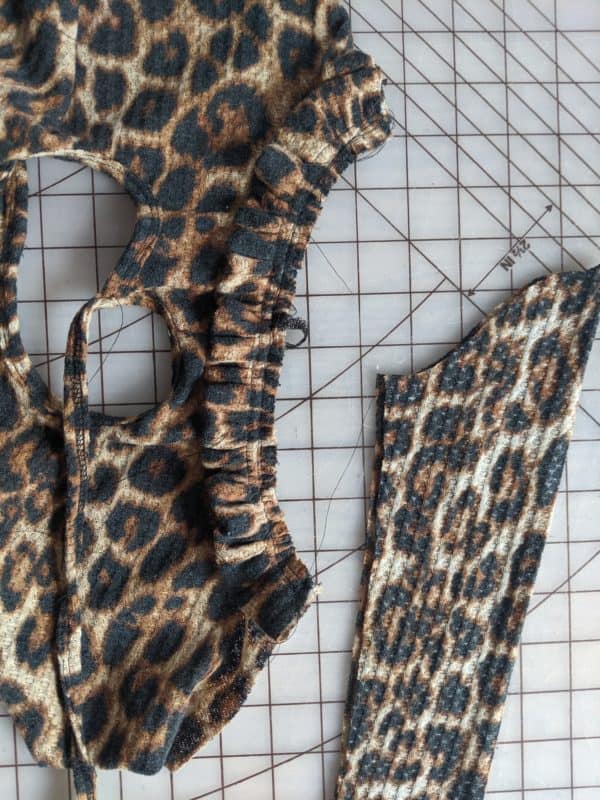
Construct shoulder seams per the pattern tutorial.
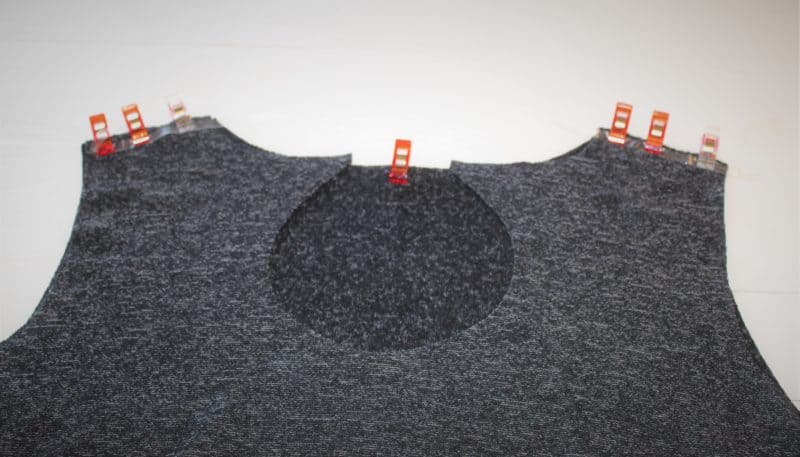
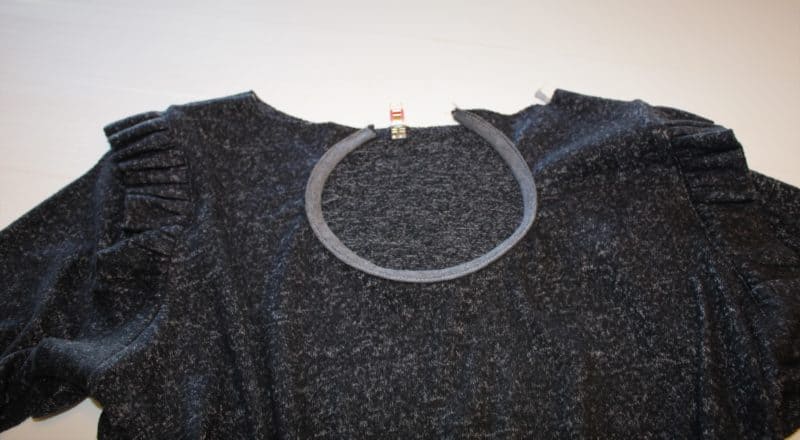
Attach sleeves and binding per the pattern tutorial. The difference will be finding the center back rather than the center front when you are attaching your binding piece, but the construction itself will remain the same!

That’s it! Enjoy! – Amy
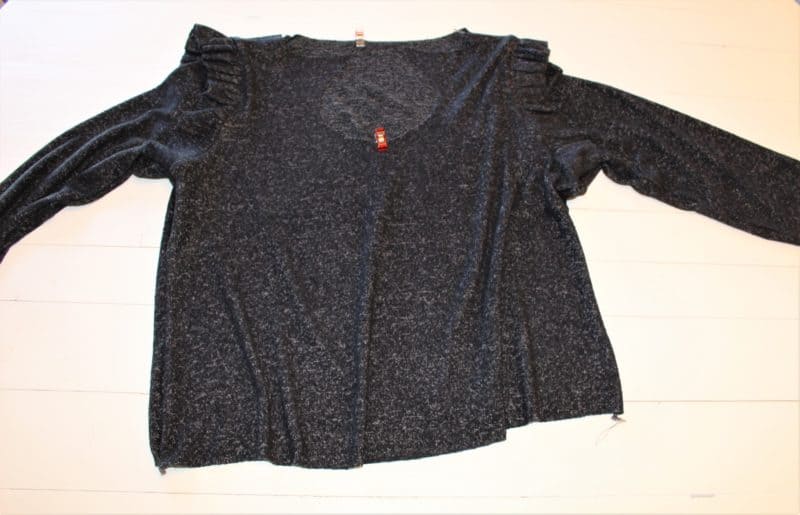
Flutter Sleeve

The flutter is sleeve is a super easy hack! You will use the same ruffle sleeve piece from the original pattern. Instead of folding in half prior to gathering, you will omit the fold and gather a single layer.
After gathering, attach per the pattern tutorial. You could hem the flutter if you prefer; just keep in mind that it will finish 1/2″ shorter than shown above.

Layered Sleeve – Women’s
(youth and baby is already included in the tutorial!)
Construct bodice and ruffles per the written tutorial. You will be sandwiching the ruffle in between the bodice and the sleeve, with right side of sleeve to right side of bodice. Attach the ruffle to the bodice per the tutorial. With right sides together, match center sleeve notch to shoulder seam.
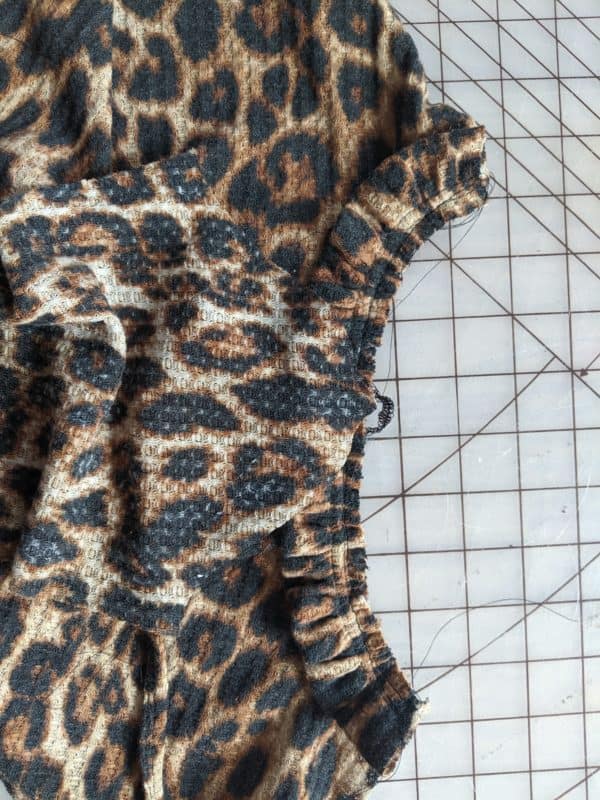
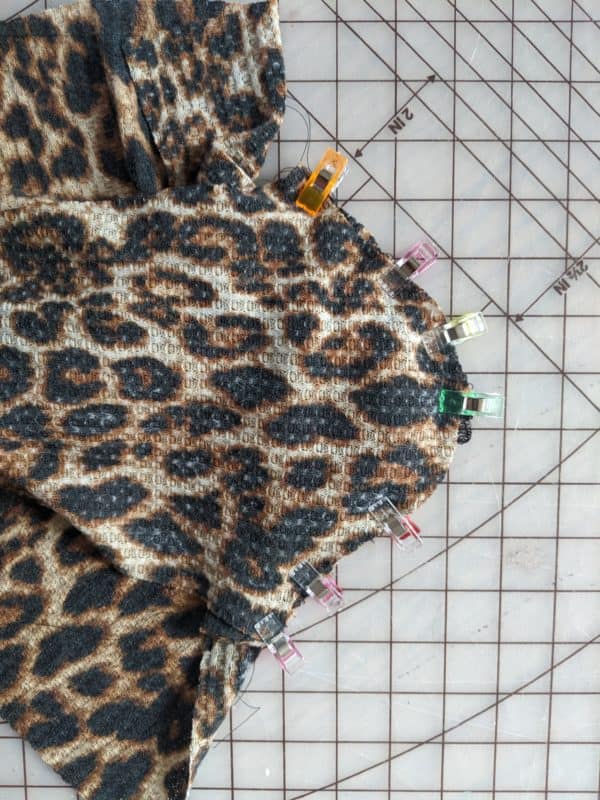
Match the front sleeve edge to the front bodice edge. Match the back sleeve edge to back bodice edge. Ease the rest of the sleeve into place along armscye. Pin. Sew sleeve to bodice. Be sure not to catch any of your ruffle in the seam allowance when attaching the traditional sleeve piece. Repeat with other sleeve.
Continue with the tutorial as written.
Don’t forget to share your Nevaeh makes over in our Facebook group! We love to see what you come up with!

Leave a Reply