I’ve been so excited to start the Hudson Hoodie sew-a-long! I’m hoping if I sew enough hoodies this week, fall will finally arrive! It has been getting cooler at night at least, but I’m still not sure I’m ready for a hoodie!
Don’t have your copies yet? Grab them over here! This month’s sew-a-long is sponsored by Q|A Fabrics, Thread & Grain, and of course, M4M and P4P.
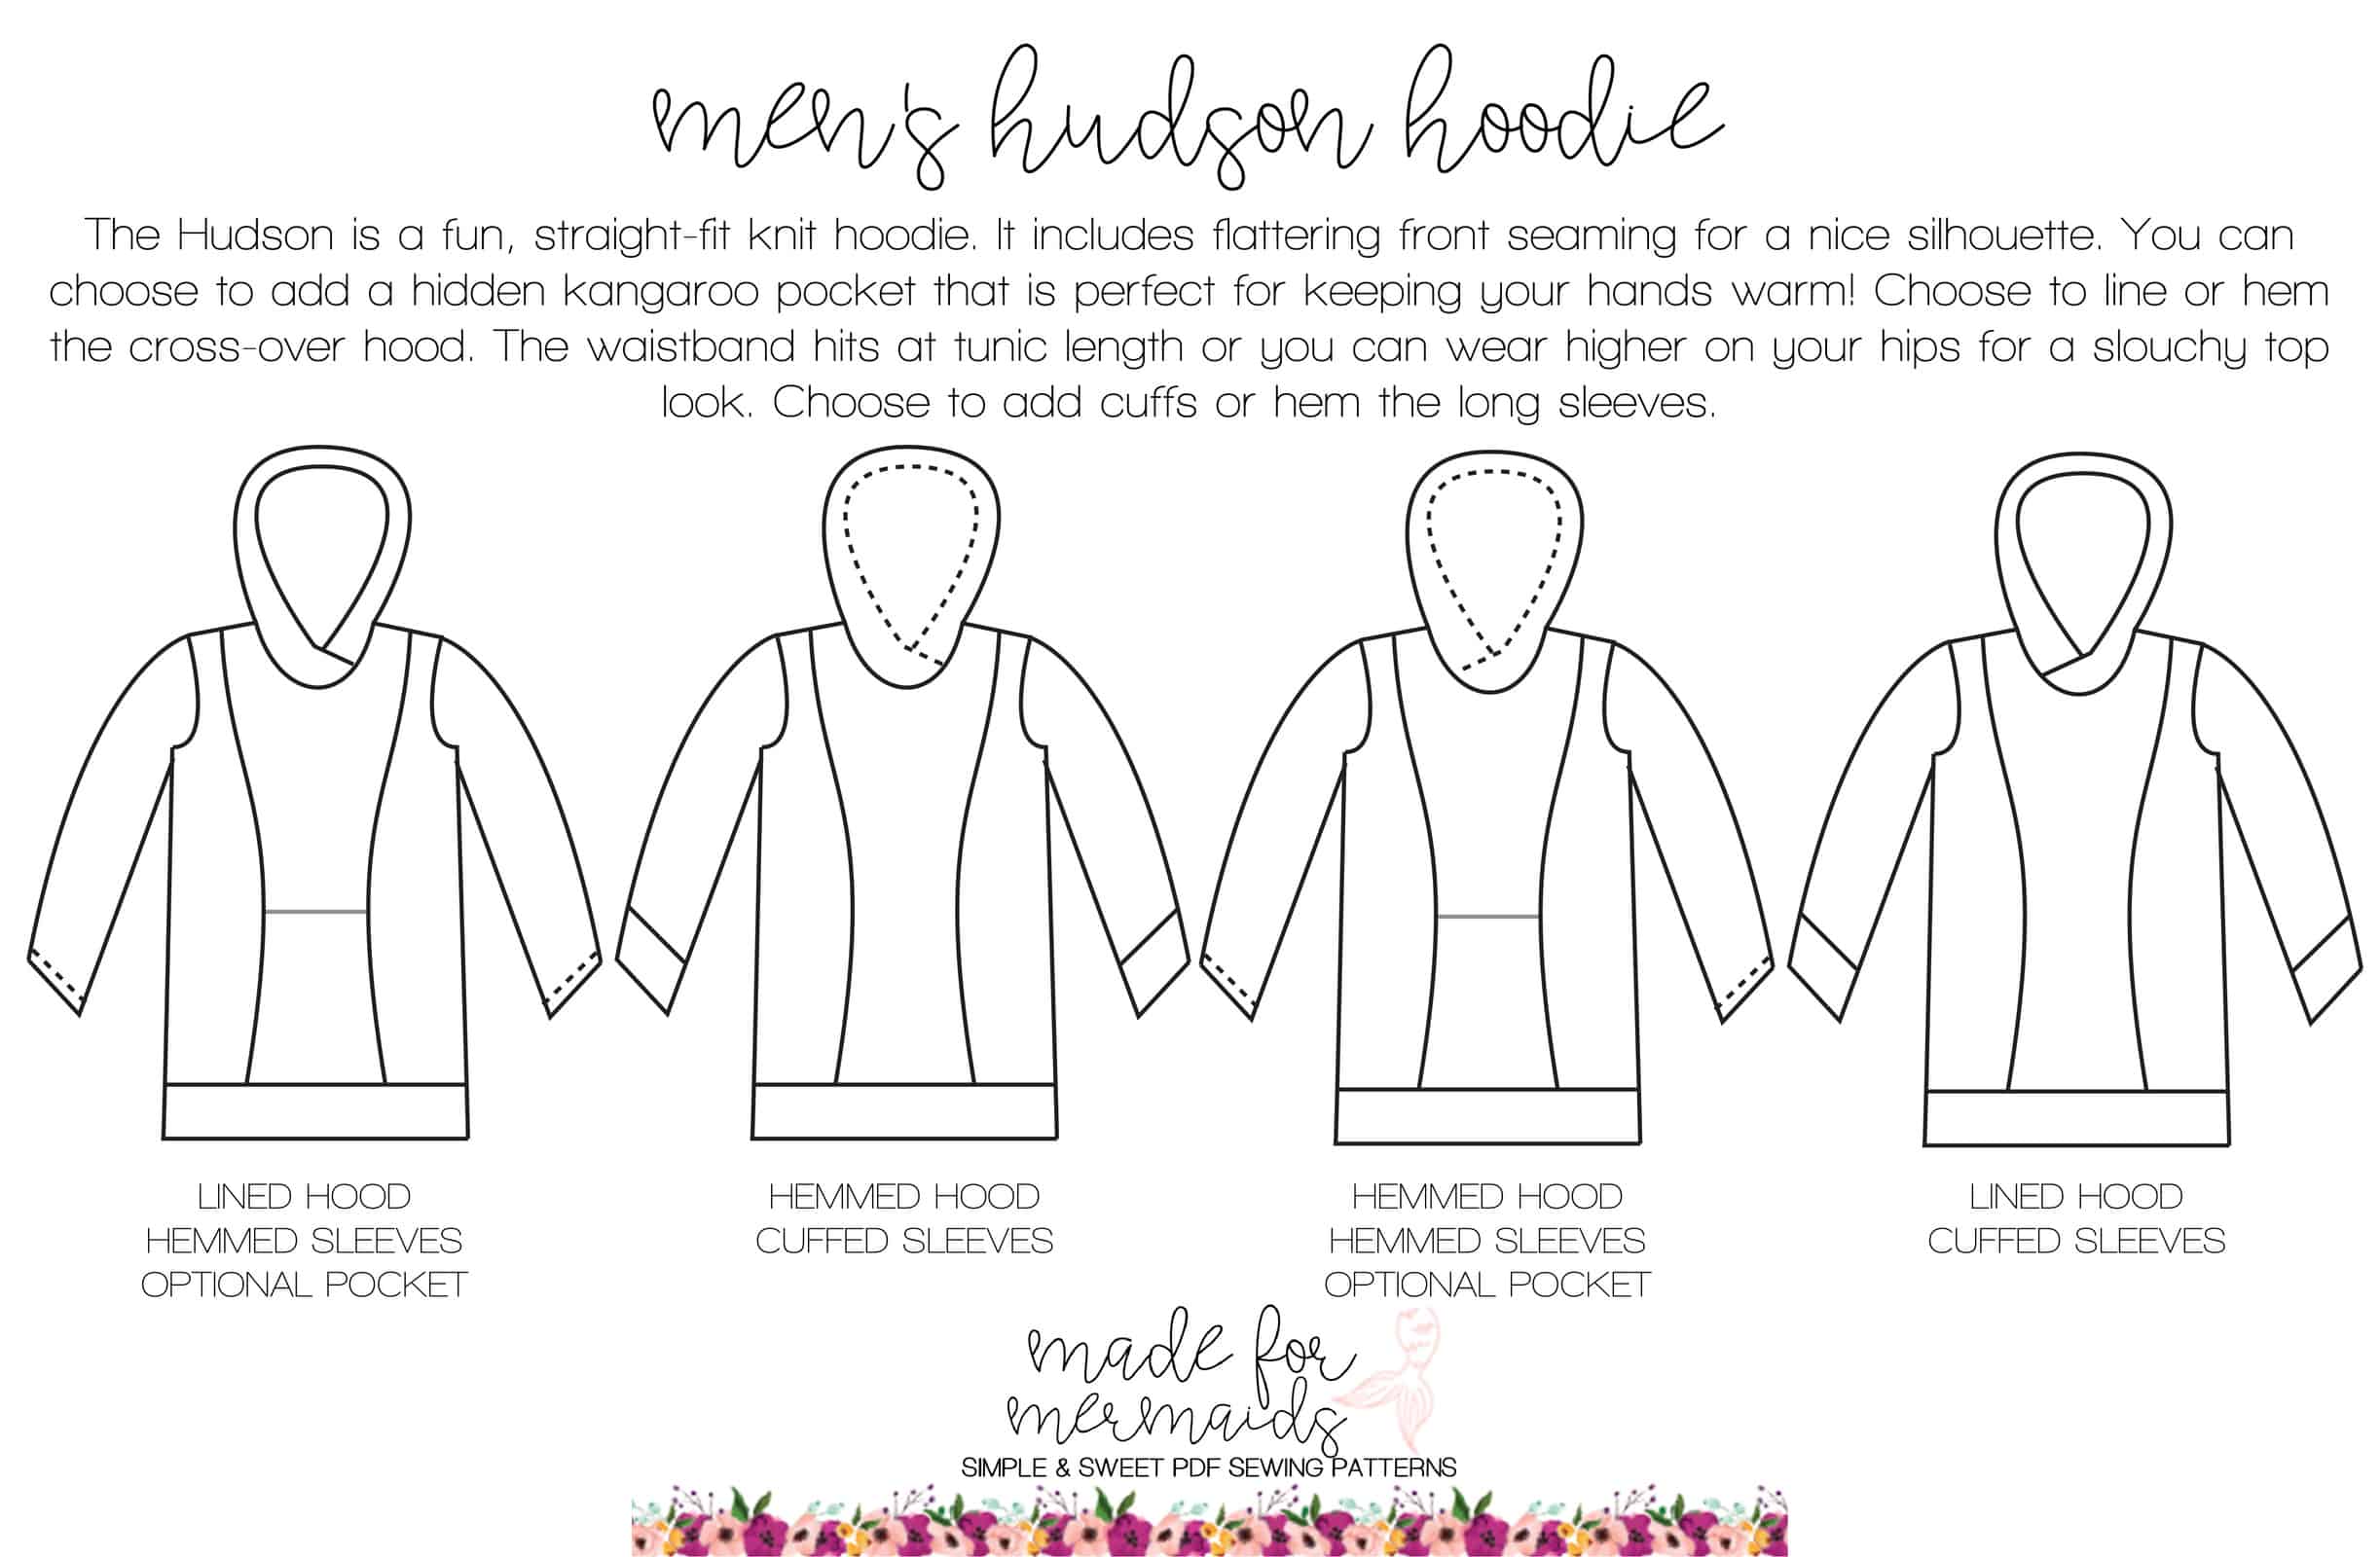
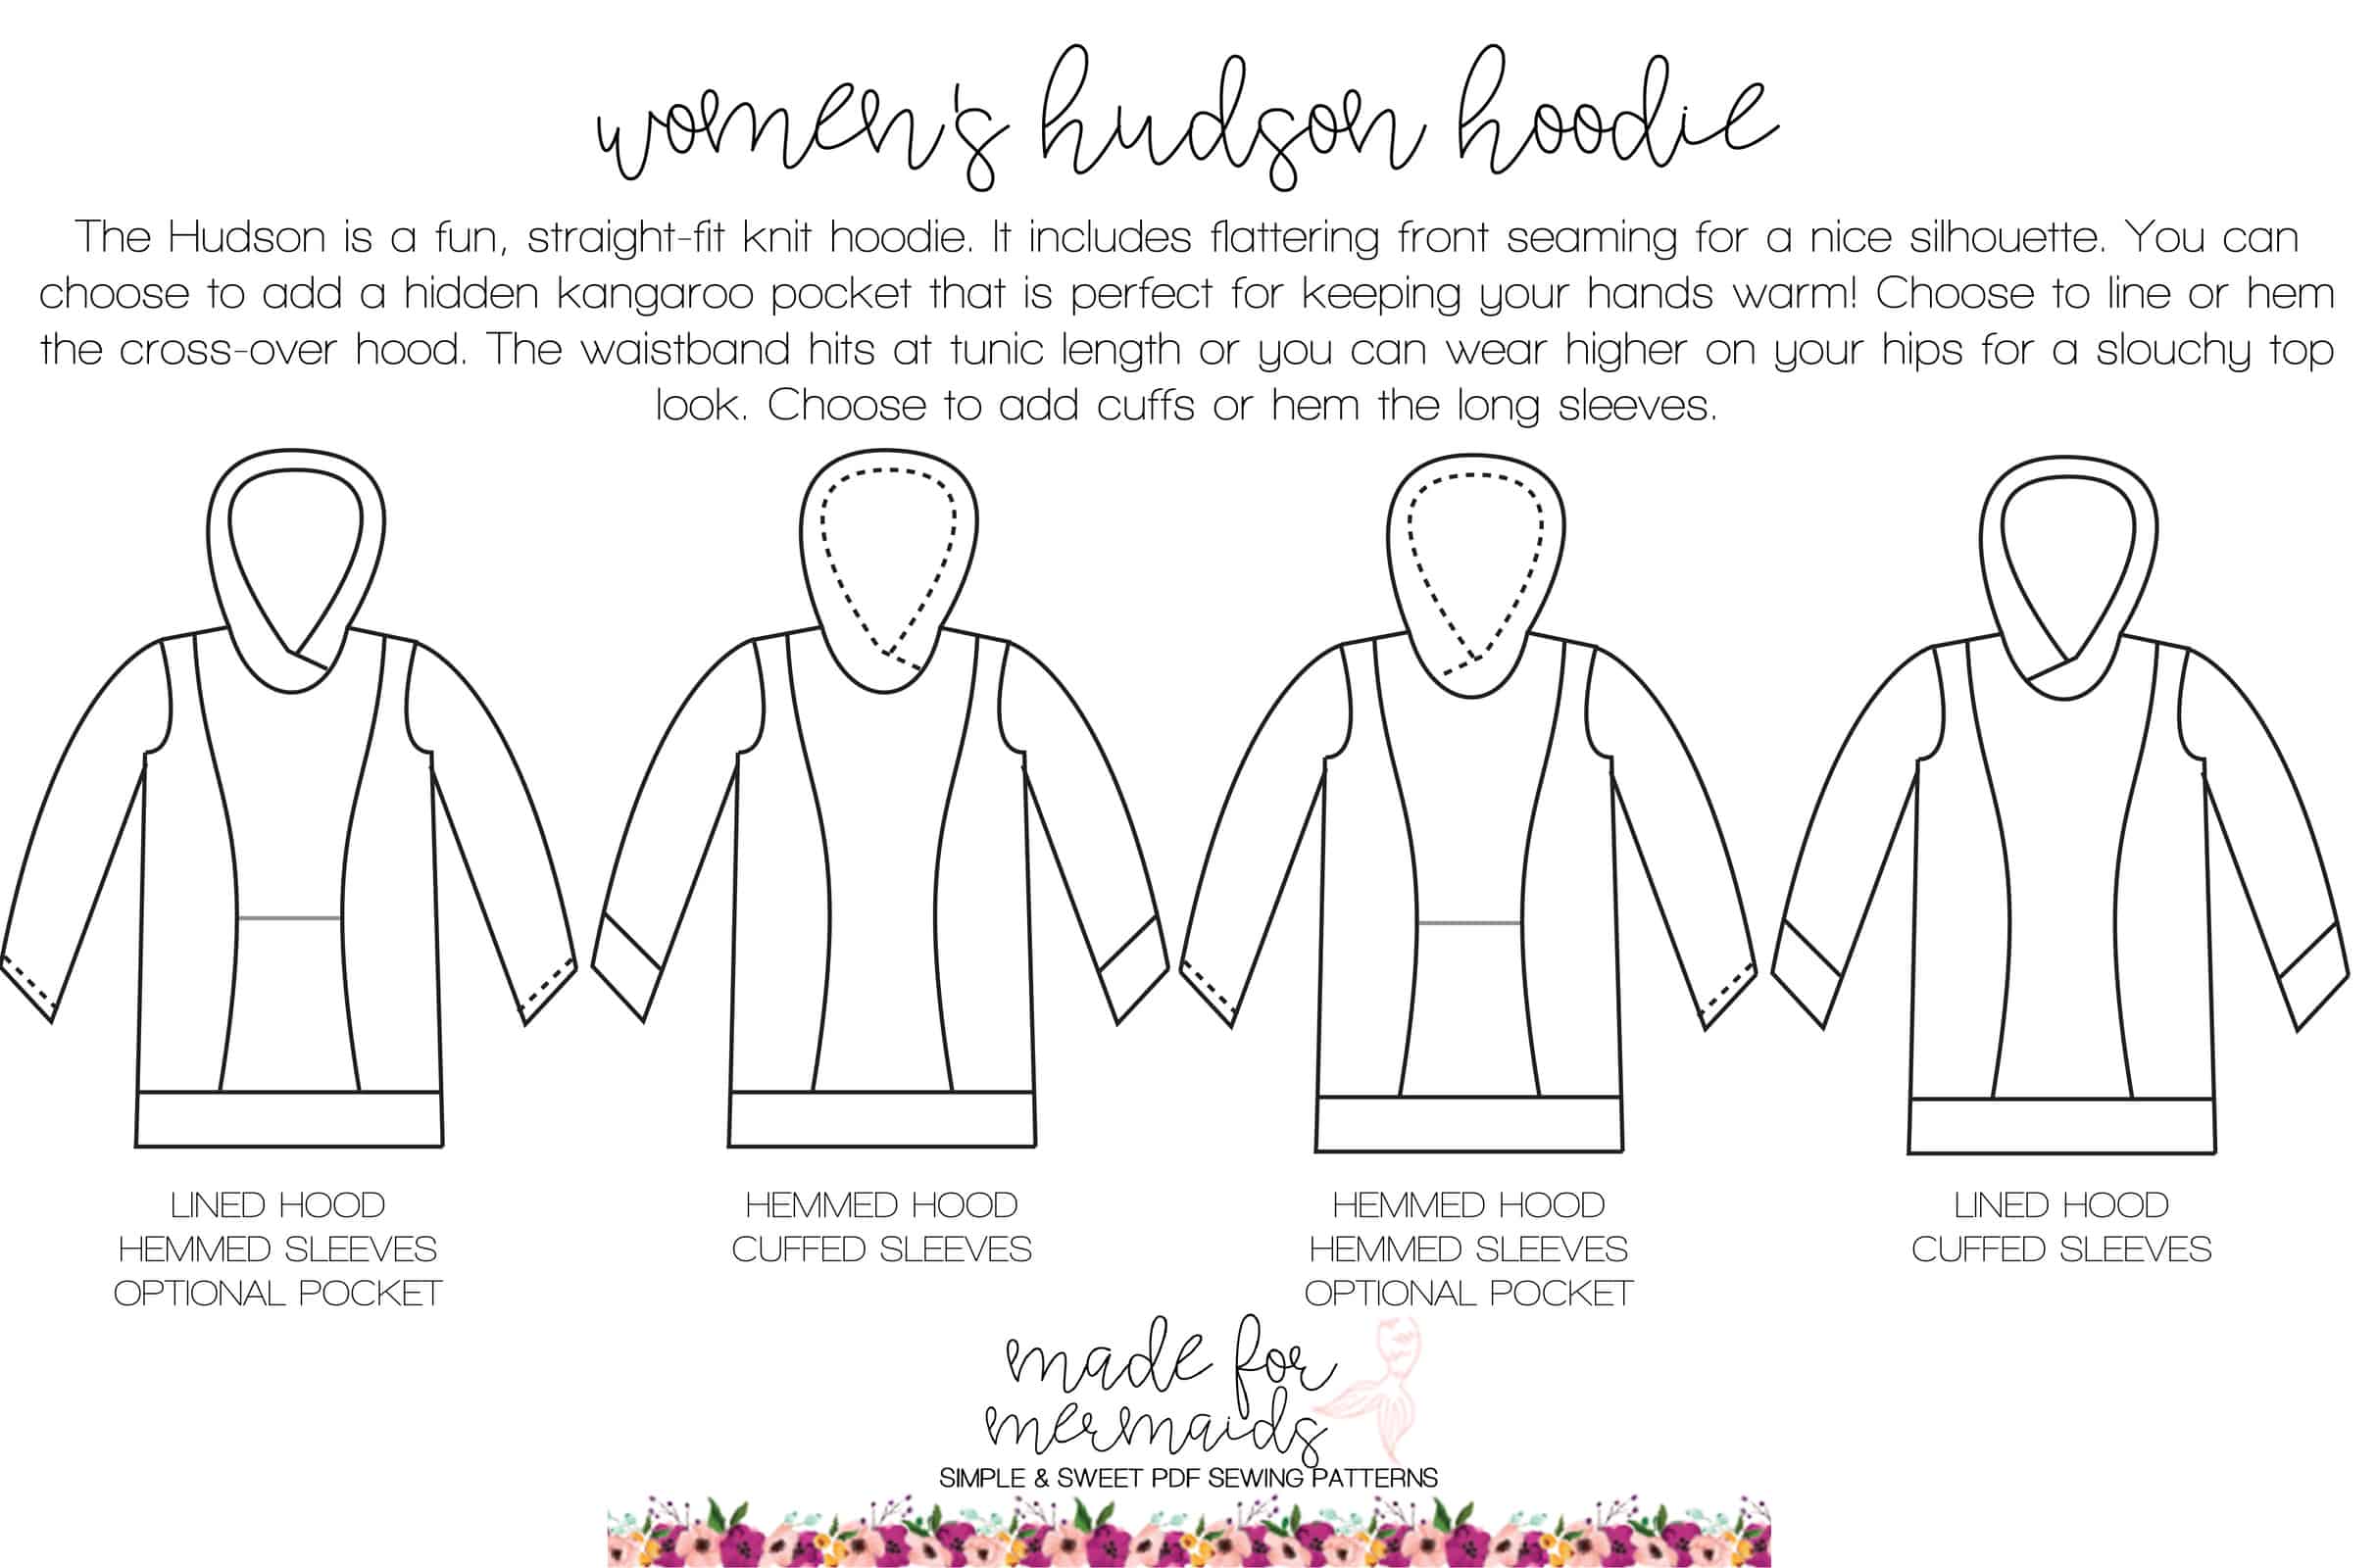
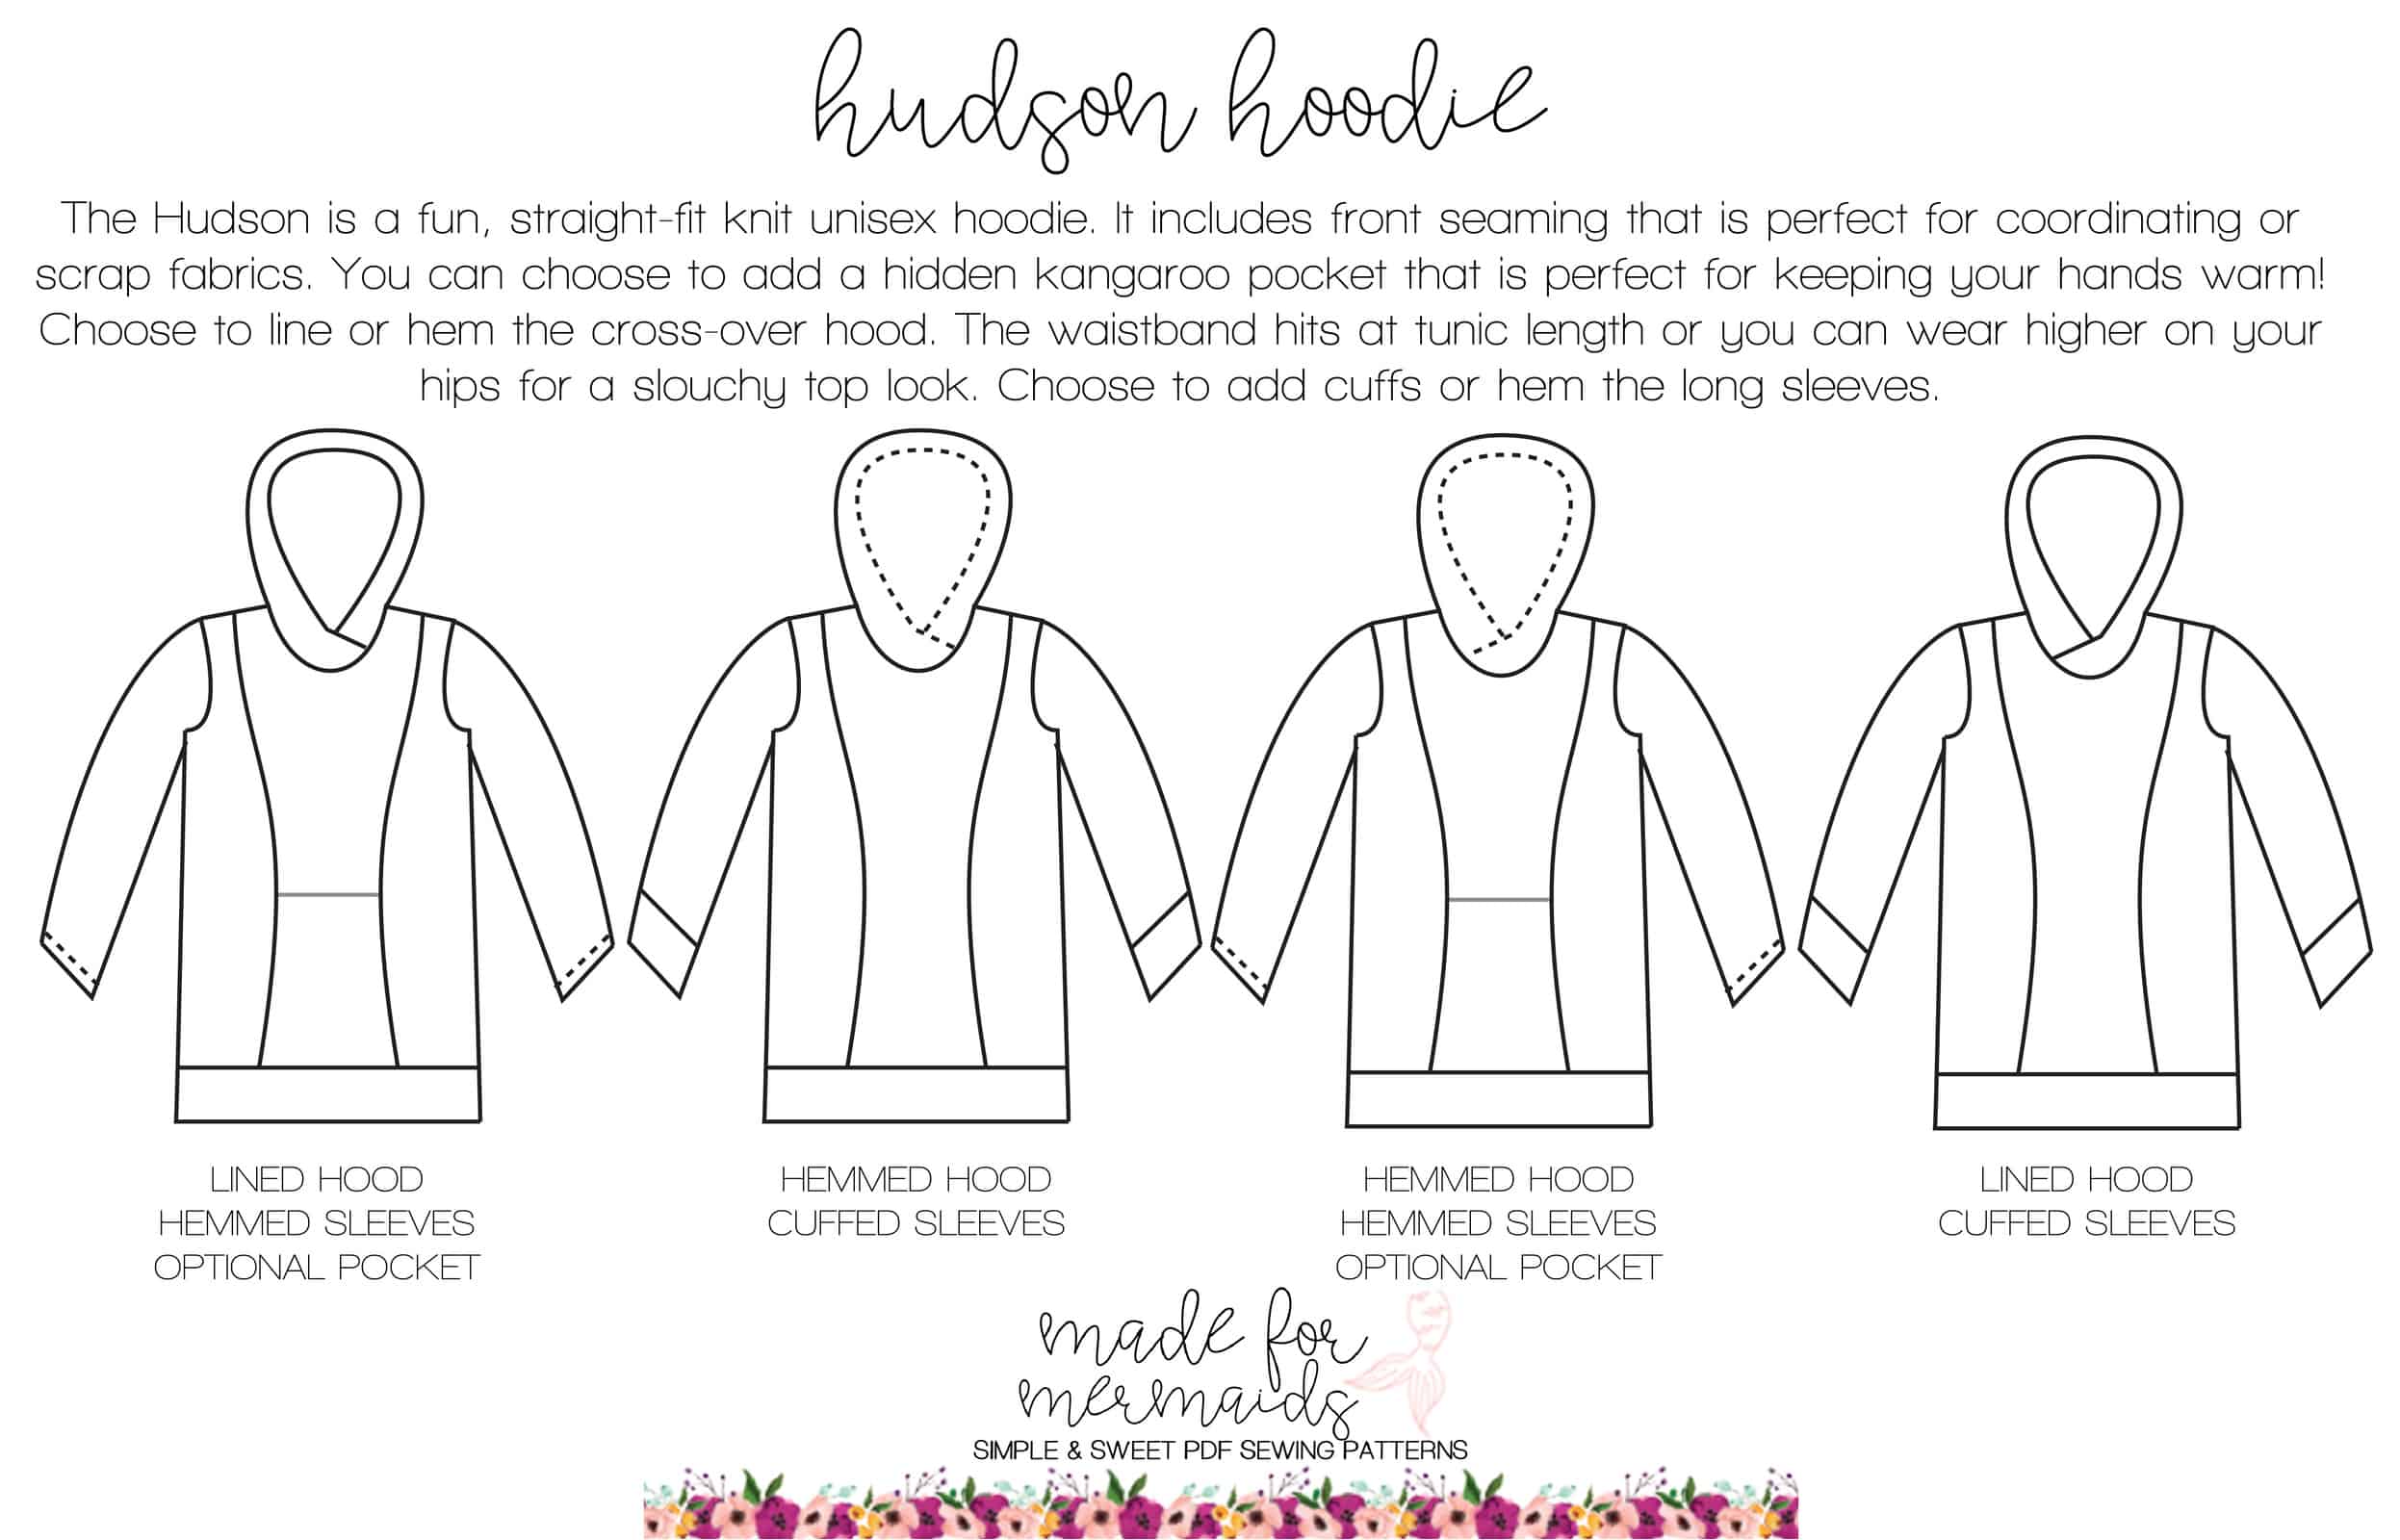
The Hudson patterns (women’s, youth, and men’s) are the perfect hoodie for cold weather! The front panels and cuffs are great for scrap busting, custom prints, pattern mixing, or even making coordinating family outfits!
Before we get started, there is a ton of helpful beginner information between the M4M and P4P blogs, in case you are new to knits, or new to PDF patterns in general:
- New to PDF patterns? Check out our helpful tips here
- New to sewing with knits? Brittany has some great info here
- Not quite sure how to measure yourself accurately? Don’t worry; check out the post here!
- Having issues printing? Most issues can be resolved by using our FAQs/troubleshooting tips
- Looking here for more extensive grading help!
- Not in our official SAL group yet? Join here 🙂
Typically, our first day is all about prep work, but today I’m also including an easy hack for lining your Hudson hoodie! We see that question quite a bit in our main Facebook group, so I thought the sew-a-long would be a perfect time to show how! In addition to written steps below, I also show a quick demo in today’s video.
Before you cut anything, be sure to measure yourself (or the person/people that you are sewing for) accurately. The tutorial includes information about grading and mashing, but you can also check out the blog linked above! I mash sizes for both of my kids, and have to grade a bit for myself as well most of the time! I always like to get fresh measurements before I sit down to sew anything, especially for the kids, because they change so often.
After you’ve measured, you’ll want to choose your fabric and gather your supplies. I LOVE French Terry for this pattern. Be sure to check out the fabric recommendations in the written tutorial, as well! TIP: I made matching hoodies for my kids last fall, but lined the hoods with two different fabrics in the same color. I lined my daughter’s with a gold crushed velvet, and my son’s with a gold cotton lycra. Since they are close in size, I knew they would need something obvious to keep track of which hoodie belonged to which kid! It worked out perfectly.
Decide if you want to create your Hudson pattern per the written tutorial, or if you want to use one of our Hudson hacks.
Next, go ahead and print your pattern! Be sure to print a test page and measure your 1″ square before you print the whole pattern. I know it doesn’t seem like a big deal if your 1″ square is off slightly, but remember that even 1/16″ of an inch difference adds up quickly by the time you’ve cut an entire garment out! Every inch of the pattern will be off by 1/16″, not just the inch you measured 🙂
Once you’ve got your pattern pieces printed and assembled, go ahead and cut out your fabric. Then you’re all ready for Day 2!!
Don’t forget:
- Mark your pocket pieces and center panel piece using the paper pattern piece as a guide
- Lining your Hudson? See the hack below!
LINING YOUR HUDSON HOODIE
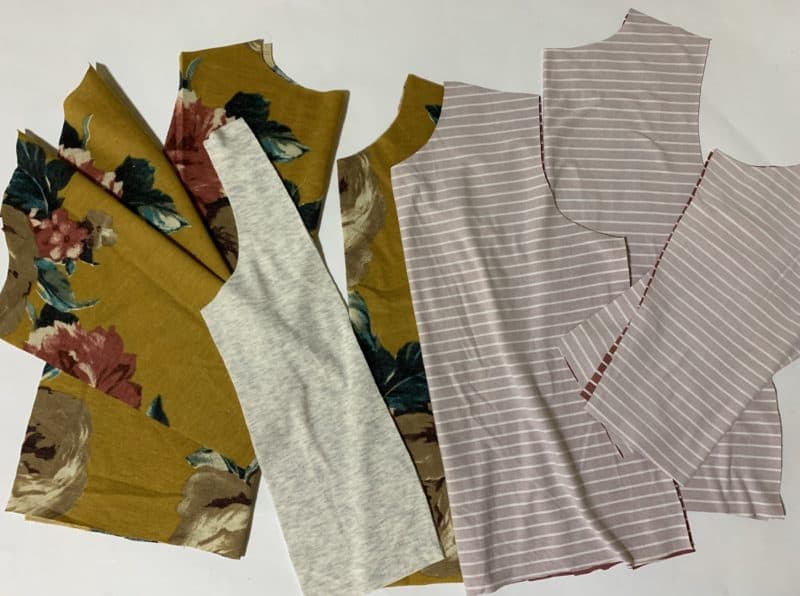
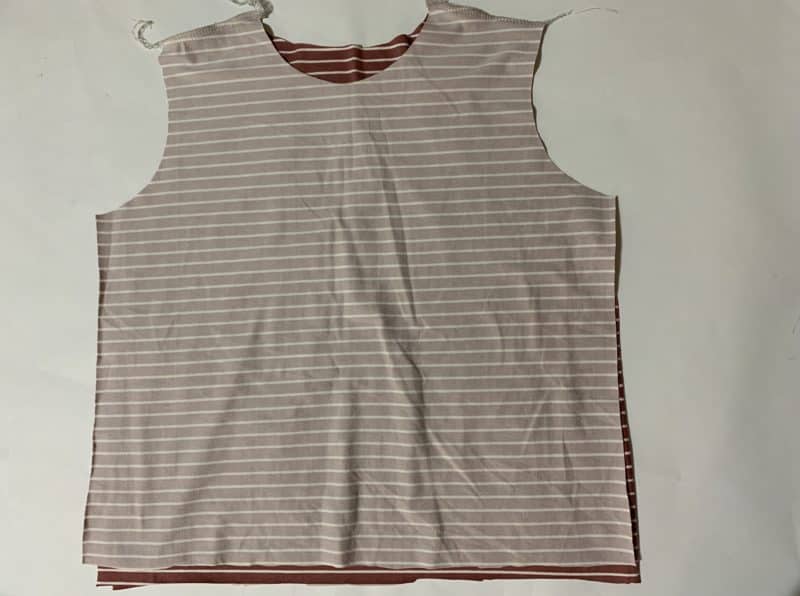
Lining the Hudson is a super quick and easy hack, and is great for adding an extra layer of warmth! To begin, cut all pieces as described in the original written tutorial. In addition, you will need 2 sleeves for the lining, 1 back piece for the lining, and 1 front piece for the lining. There are two simple ways to create a front piece!
First, if you like the look of the seams, you can cut two side panels and one center panel for the lining, and stitch together using a 1/2″ seam allowance. Then, treat as one piece.
Alternatively, you can overlap your pattern pieces to remove the seam allowance. You can fold each paper pattern piece back 1/2″ and butt them against each other, if you prefer that to overlapping. You will need to overlap by 1″, or fold each paper piece back 1/2″. Cut 1 on fold.
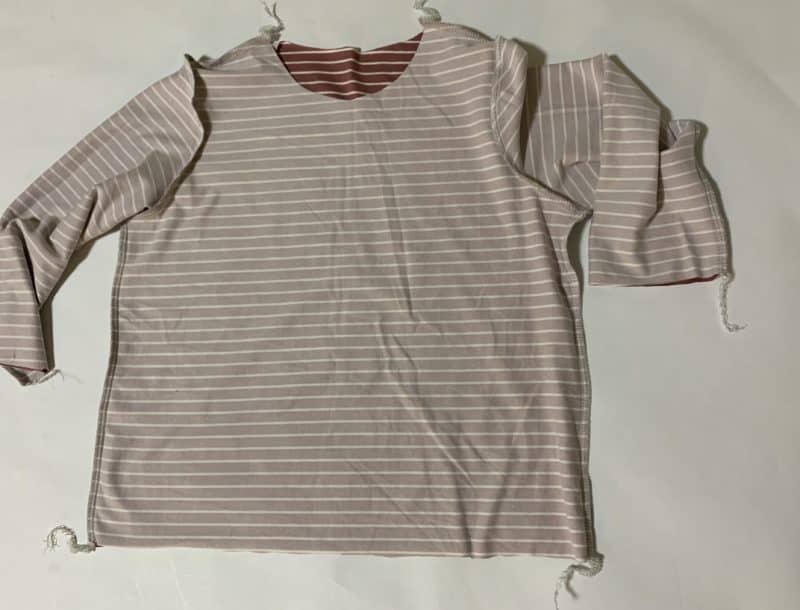
Once you have your front piece cut, stitch together at the shoulder seams with 1/2″ seam allowance. Next, attach sleeves and stitch side seams as you normally would (you can refer to the written Hudson tutorial for these steps as needed).
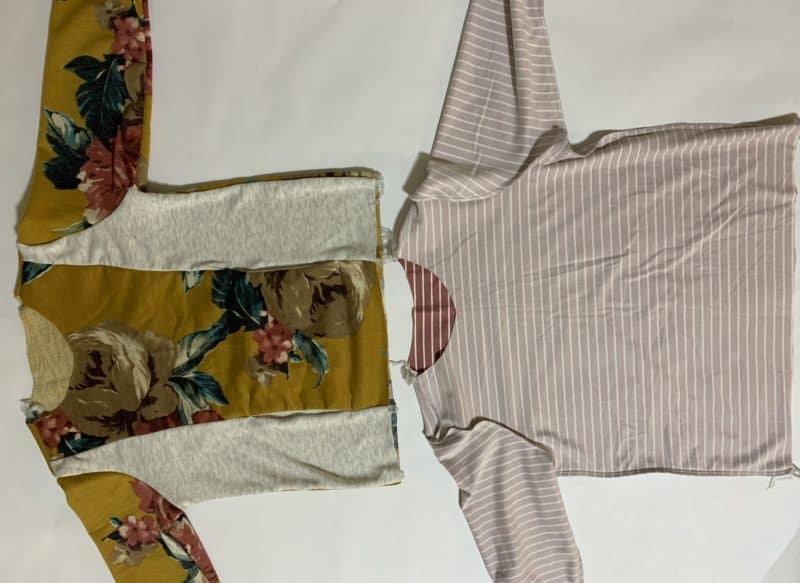
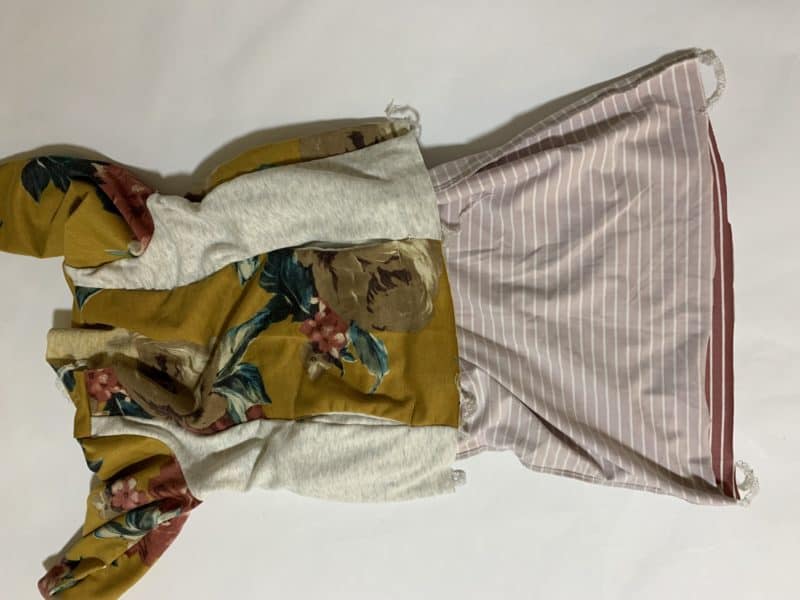
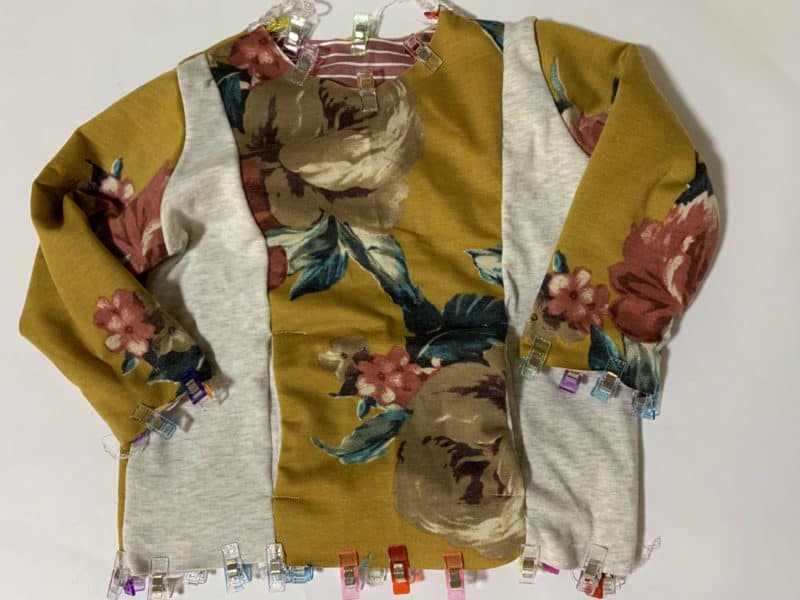
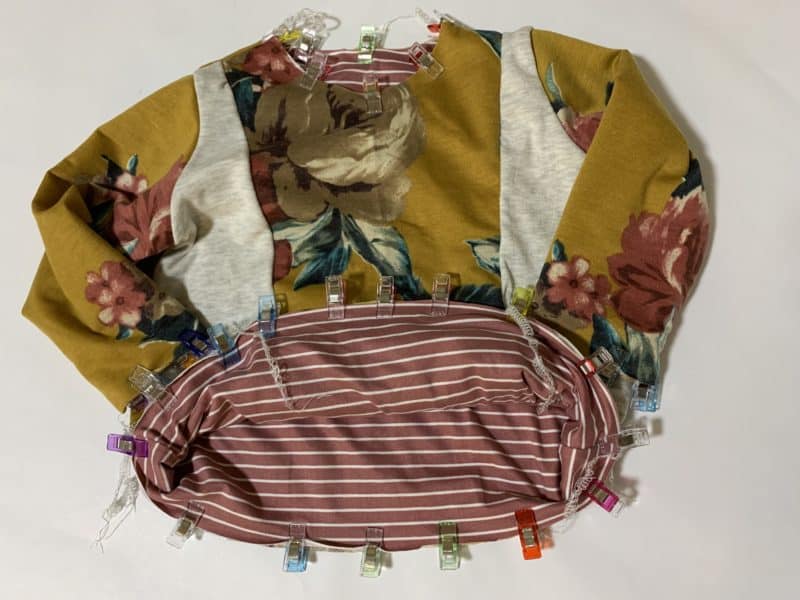
With the lining layer inside out, and the outer layer right side out, place the lining inside of the outer layer.
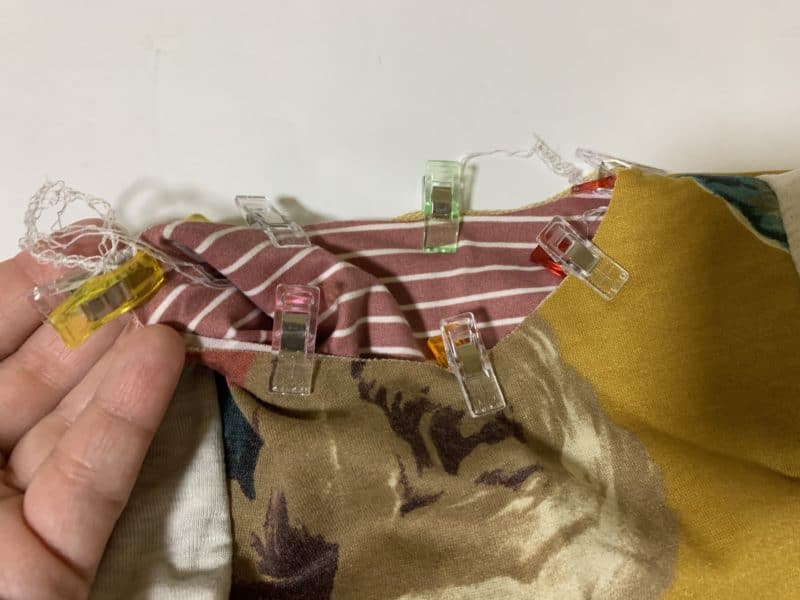
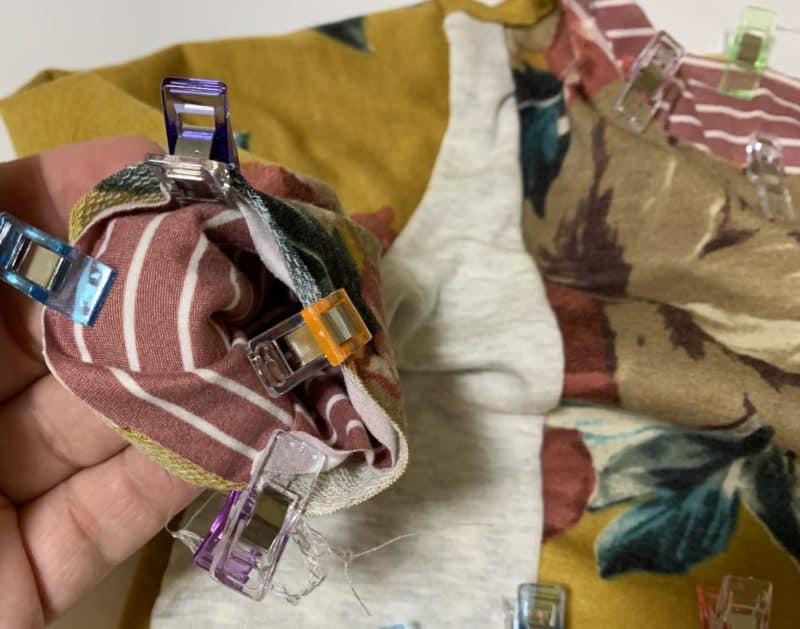
Pull the lining sleeves through the outer layer sleeves, and then match up all raw edges. You will need to match up side seams, bottom hem, neckline, and sleeves. Pin in place. Baste together, and then treat as one layer for the remainder of the Hudson tutorial. Easy peasy!
Want to sew along with me? Check out today’s video!
If you have questions about measuring yourself, printing, putting your pattern together, or cutting your fabric, you are always welcome to post in our SAL group so we can help you! Be sure to check in each day during the SAL, and look for daily posts to enter our giveaways. We can’t wait to see what you create this week!

HUDSON SEW-A-LONG
DAY 1: PRINT, CUT, & PREP
DAY 2: POCKET & SHOULDER SEAMS
DAY 3: SLEEVES
DAY 4: SIDE SEAMS
DAY 5: BANDS
DAY 6: HOOD
DAY 7: WINNERS ANNOUNCED
ABOUT OUR SPONSORS:

Q|A Fabrics – Here you will find carefully curated fabrics featuring characters with brown/black skin tones, lively patterns, and fun prints that represent the beauty that is melanin. Please make sure you check out their Facebook group, and their website to learn more about the “why” behind Q|A Fabrics. PSST, there’s also a little bit of retail left from previous rounds that you should scoop up ASAP! 🙂
Handcrafted goods. Digital designs. Made in West Virginia.






Leave a Reply