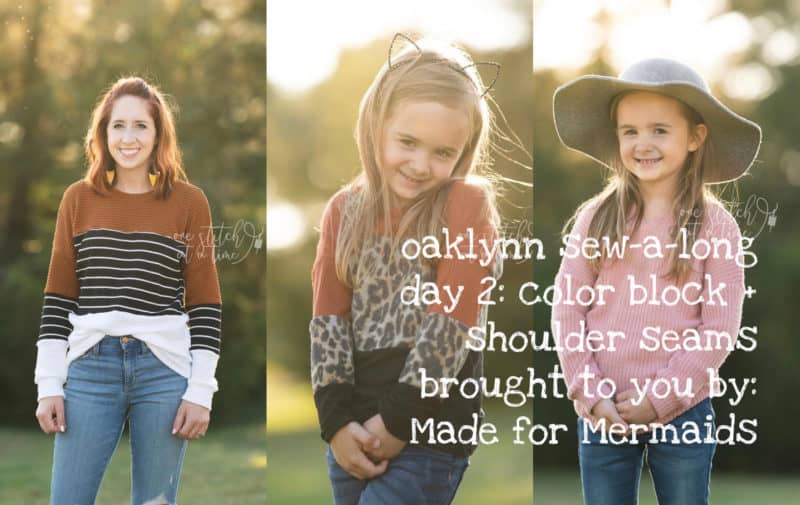
Today is the second day of our Oaklynn sew-a-long! It’s not too late to jump in and join 🙂 Before we go too much further, I hope you’ve had a chance to take a look at our tester album in our FB group, for inspiration and to overwhelm yourself with how ridiculously adorable our testers and their families are. I mean, come on!!!
Today’s steps will be super quick for solid options, and slightly more involved if you’re doing the color blocked options.
For solid options, just sew up your shoulder seams with 1/2″ seam allowance, and you’re all set! Be sure to sew with right sides together.
For the color blocked options, here are a few helpful tips for decreasing the waviness of your seams:
BEFORE SEWING
- Work with fabrics of similar weight and stretch percentage; this is the easiest way to reduce some of those waves! Not sure if you’ve picked a good combo? Before you start sewing, cut a few scraps and serge/sew together to see how the seams look!
- If you do work with fabrics that have slightly different stretch percentages or weights, make sure the heaviest fabric/least stretchy fabric is at the top
- Clip or pin more than you normally would
- For the bodice pieces, don’t clip all of your color block pieces together at once; this will add extra weight and can pull on your fabric while you’re sewing
- Ensure that your fabric is not hanging off of your work space
- Check your machine’s tension settings; YouTube usually has great videos and resources for just about every machine out there!
WHILE SEWING
- Sew slowly; this will help you stay in control and reduce stretching/pulling while you work
- Reinforce with 3/8″ clear elastic if desired; if you opt to use elastic, you’ll need to sew the seam with your sewing machine (use a stretch stitch!) and you can then finish the seam with a serger, being sure to disengage your knife
AFTER SEWING
- Press seams; if the waviness doesn’t seem to go away, don’t keep pressing over and over! This can overwork the seams. Instead, I usually will toss the garment in the washer and tumble dry on low, then try to press/steam again
- You may also wish to top stitch your seams using a cover stitch; just be aware that sometimes this can make the waviness appear worse, so you need to be extra careful of tension, not stretching while you sew, etc.
Don’t forget:
- Make sure you are taking an accurate and consistent seam allowance; seam allowance is already included on all pattern pieces.
- Double check that you are attaching your color block pieces with right sides together.
Want to sew along with me? Check out today’s video!
If you have questions about sewing up your color block pieces or your shoulder seams, you are always welcome to post in our SAL group so we can help you! Be sure to check in each day during the SAL, and look for daily posts to enter our giveaways. We can’t wait to see what you create this week!

DAY 1: PREP
DAY 2: ASSEMBLING COLOR BLOCK PIECES + SHOULDER SEAMS
DAY 3: SLEEVES + SIDE SEAMS
DAY 4: SLEEVE CUFFS + WAIST BAND
DAY 5: NECKBAND + HOOD
DAY 6: HEMMING + CATCH UP
OUR SPONSORS:
We LOVE Mily Mae Fabrics, and there are so many perfect fabric choices for Oaklynn! Head on over to Mily Mae to check out their selection.




Leave a Reply