We’re so excited to be celebrating 50k members in our Facebook group! THANK YOU, THANK YOU for being part of our Made for Mermaids community, whether you’ve been around since the beginning or you’re a brand new face in our group! It’s always such a pleasure to see what our members are creating. We hope you’ll celebrate this milestone with us by grabbing your copy of the Paige Piko top, and if your fabric stash needs a little update, check out our 50k sponsors (Knitpop, Pretty Posh Prints, Sincerely Rylee Fabric, Raspberry Creek Fabrics & Custom Printing, and Sly Fox Fabrics). We hope you love this fun and trendy freebie as much as we do!
The Paige and Mama Paige Piko Top, Tunic (high low), and Dress is the perfect addition to your wardrobe. It’s designed for light to medium weight knits; lighter knits with more drape will fit a little looser, while heavier weight knit will have a tighter, boxier fit. The piko is a dolman style sleeve, and is intended to be relaxed and loose throughout the chest and waist. It is semi-fitted at hips with tighter sleeves. There are two necklines to choose from, both finished with binding. There are four sleeve options – short sleeve (no extra pattern piece – easy!!), flounce, half, and long.
Waist Ties
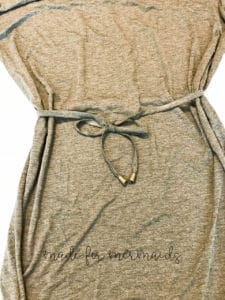
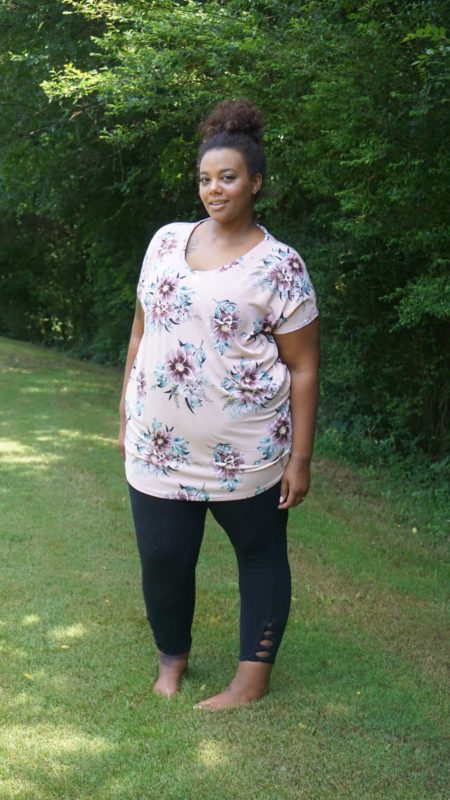
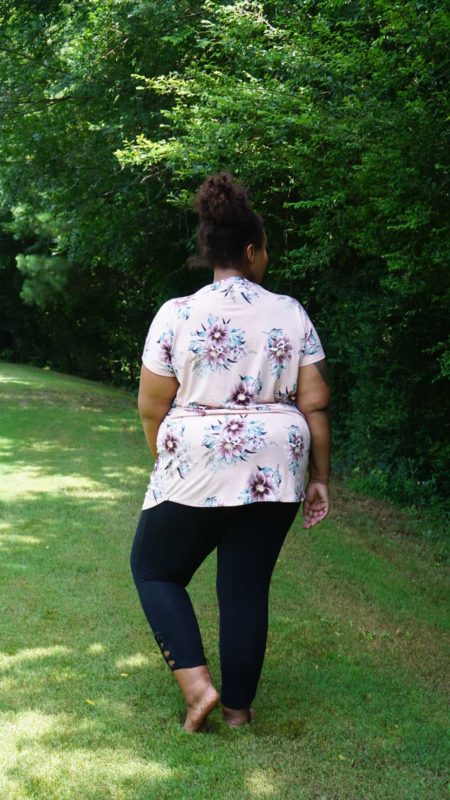
I LOVE the fit of Mama Paige, but sometimes it’s nice to be able to modify just a bit without changing the whole pattern! I love the fitted look the waist ties give; I added mine to the dress length Mama Paige, but you could really add it to any length!
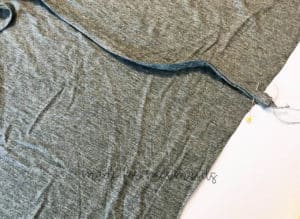
First, mark where you want your ties on your front shirt piece. I measured 7″ down from the bottom of the sleeve for mine, and cut a small notch away from the shirt piece. I did this while cutting on the fold, so that it was easy to line up the notch for both sides.
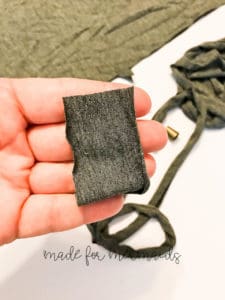
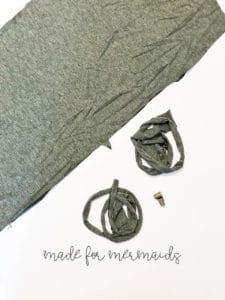
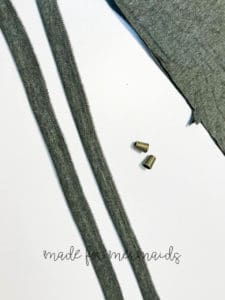
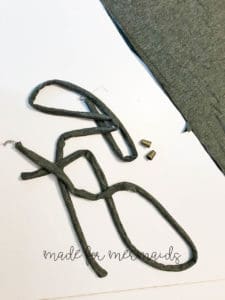
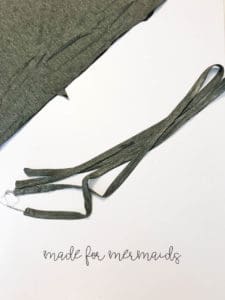
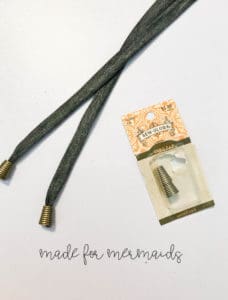
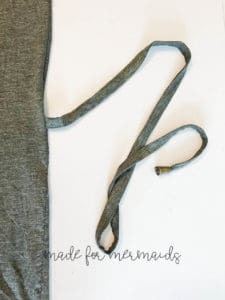
Next, cut your ties. I cut mine 1.5″ by 30″, but it’s entirely up to your personal preference! I wanted my ties to wrap around my back and then tie in the front, so I made sure I had plenty of length. After cutting your two ties, fold in half with right sides together, and press. Serge or stitch (being sure to use a stretch stitch) along the long edges with a 1/4″ seam allowance, leaving both short ends closed. If you prefer wider ties, your tie width and/or your seam allowance may vary 🙂 Once you’ve made your long “tubes”, use your favorite turning method to turn your ties. You don’t need anything fancy; sometimes I just use a safety pin to pull it through!
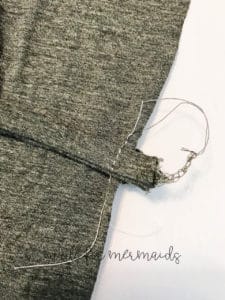
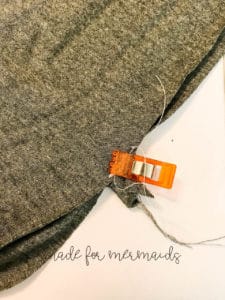
After turning your ties, give them another press. Pin or clip the ties to the notch on each side of the shirt front, making sure to pin/clip to the right side of the fabric. Using a basting stitch, stitch the tie to the shirt front, then repeat for the opposite side. Sandwich the ties in between the front and back shirt pieces, and finish construction per the Mama Paige tutorial.
I love these little cord caps from Hobby Lobby as an extra touch, but you certainly don’t need them! – Colleen
Curved Front Hem
I am LOVING the ease of the Mama Paige! If you’re a fan of the double curved hem (curved hems on both front and back), I have an easy treat for you! This simple modification will give you a little more coverage in the front.
Directions:
1. Cut the back of your Paige top out first.
2. Cut the curved hem portion off of the paper pattern piece, cutting along the straight tunic line.
3. Tape the curved pattern piece to the front, at the straight tunic line. Make sure that you keep the side seam the same.
4. Cut out your front piece and assemble per tutorial instructions.
So easy, right? –Aaronica
Mama Kourtney Knot
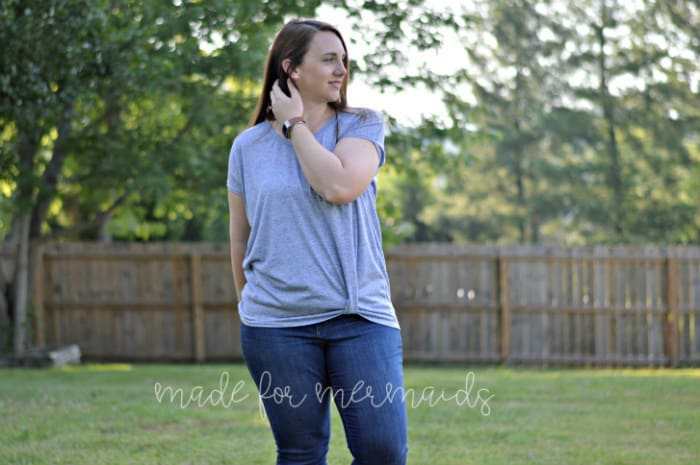
You really can’t go wrong with a basic dolman style top, especially when you are in a time crunch. I feel like I specialize in quick sews because my sewing time is often limited. The Paige Piko is a great pattern as is, but why not add a little flare?
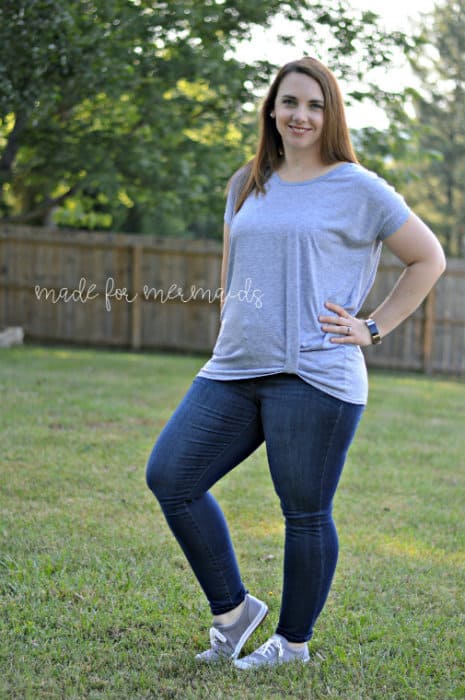
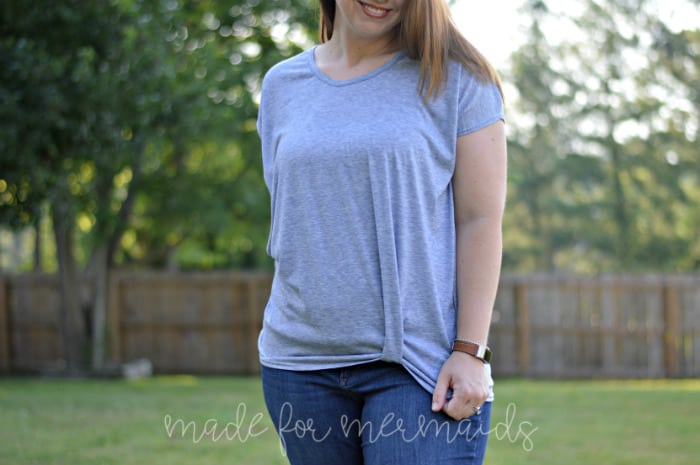
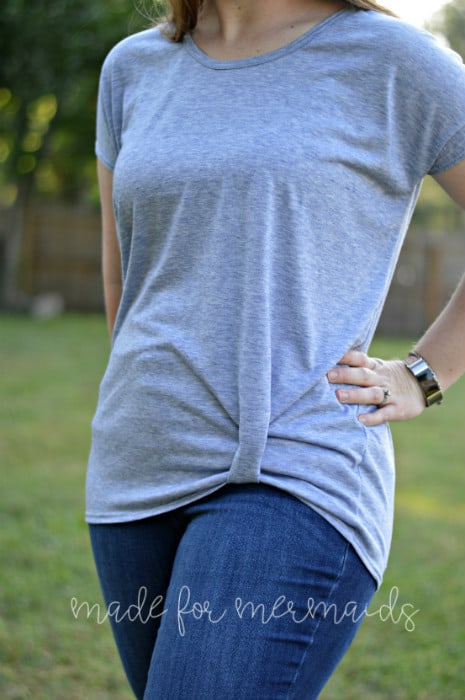
I added the knot hem from the Mama Kourtney to my solid tunic length Mama Paige, and I was amazed at how fast the construction was, even with the knot. For those of you who don’t already own the Kourtney patterns, now is the perfect time! Grab your copy of Kourtney here and let’s go.
I cut out all of my pieces for my Mama Paige without altering the original pattern pieces, and then set aside everything except the front piece. I left the front piece on the fold. I placed the Kourtney knot template three inches from the center fold line. Then, I constructed the knot per the directions from the Kourtney patterns. Please do not be afraid of the knot! It is seriously so easy. Plus, a link to a video with Megan G. explaining the process comes with the Kourtney patterns, making it even easier!
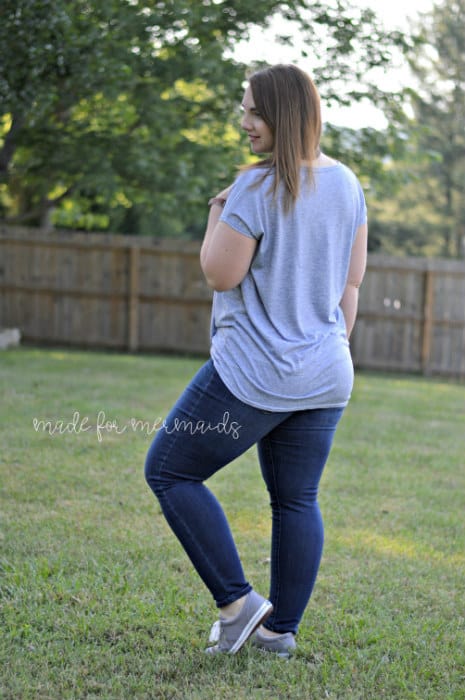
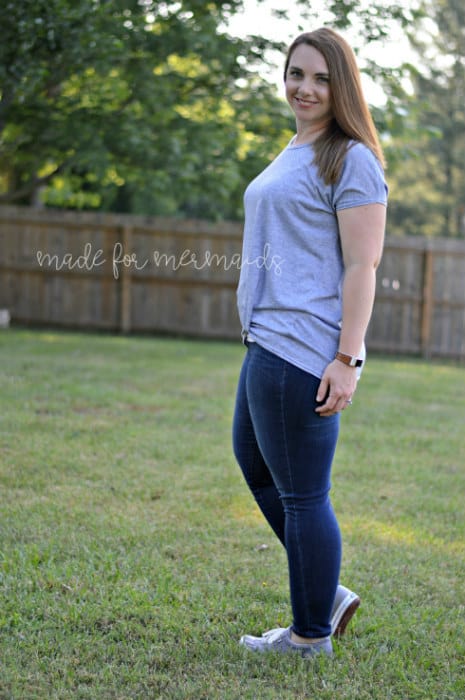
Once my knot was complete, I sewed up the tunic following the Mama Paige directions without any further changes. After hemming, I adjusted my knot to the perfect height for me and secured the knot per the pattern instructions. I love that the knot does not take away any of the length on the backside on the tunic, allowing for some good booty coverage! That simple! Now to add the Kourtney knot to all of my tops. – Stacey
Split Sleeve

Hey everyone, I’m here with a really quick and simple split sleeve hack for Paige today. Split sleeves and cold shoulders are a huge trend this year, and I have seen ready-to-wear shirts everywhere with cold shoulders. Paige is the perfect style to quickly alter to have a cute cold shoulder. Let’s get started!
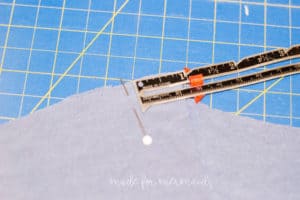
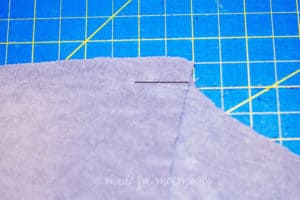
First you are going to cut all you pieces as normal no changes required to the pieces at all. I went with a short sleeve version of Paige for mine but this will work with any of the sleeve options as well. Next we are going to match our shoulder seams and mark 1 inch in from both the sleeve side and the neckline.
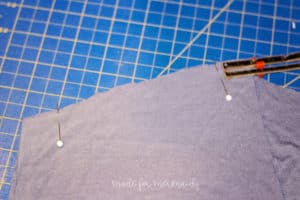
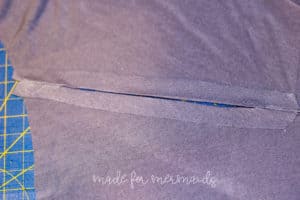
Now we are going to sew just those two sections, 1 inch on each side. DO NOT SERGE, this has to be sewn on your sewing machine. Once you have those sections sewn on both shoulder seams you are going to press your 1/2 inch seam allowance open all the way across the shoulder.
Next just edge stitch your seam allowance down on both sides, I used my coverstitch but this can also be done on a regular sewing machine. You will now continue as per the pattern, you can add sleeves or hem to have a short sleeve version, nothing else changes at all, easy right?! This hack will work on any of our dolman style patterns, Mama Claire and Mama Lea would both work really well with this hack too and ofcourse it will work on the girls versions of the patterns too! Don’t forget to show off your creations in our facebook group here. – Angela
Color/Pattern Blocking
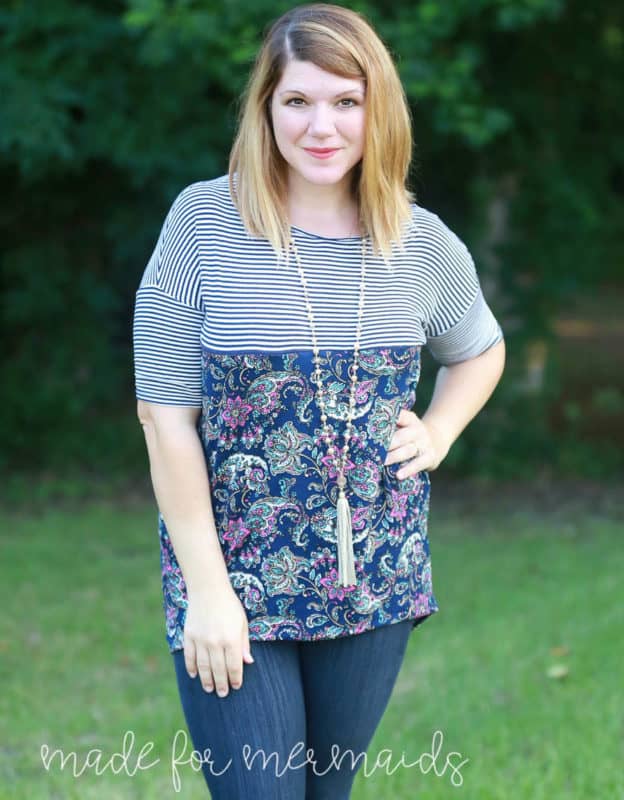
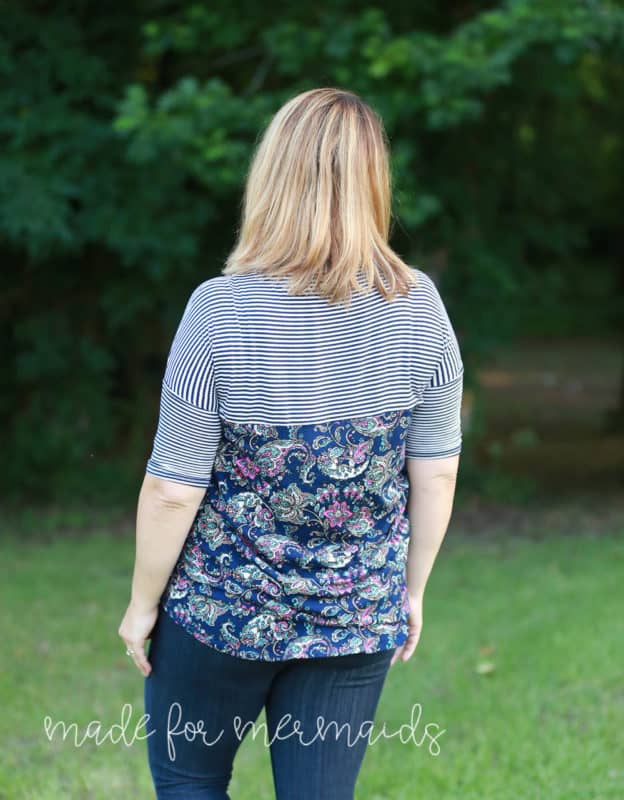
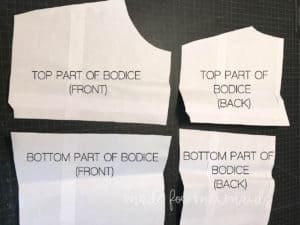
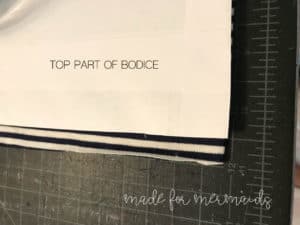
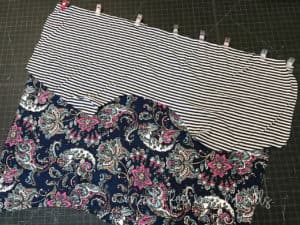
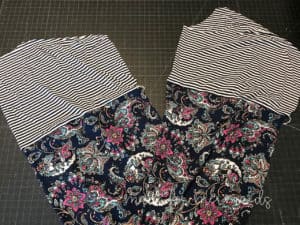
I wanted to use up this paisley I’ve been hoarding for a little too long, but I didn’t have quite enough for a whole Mama Paige! I sized down two sizes to make sure I could get most of the front and back pieces, and used a coordinating stripe for the sleeves and the top of the bodice. You can use this easy color/pattern blocking hack with virtually any pattern! For this version, I physically cut my paper pattern pieces, but I often will just fold my pieces instead. On the front piece, mark where you want your fabrics to change on the paper pattern pieces, and then cut or fold in a straight line. Mark in the same spot on the back piece. My recommendation is to have the blocking start above or below your bust instead of straight across the middle if you are blocking a more fitted garment, but I wasn’t too worried since Mama Paige is a more relaxed fit.
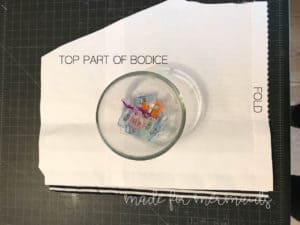
After you cut your paper pattern pieces, you’ll cut out your fabric. When you cut your fabric, be sure you add 1/2″ to the bottom of both the “top part of bodice” and the “bottom part of bodice” for your seam allowance. Repeat for both front and back pieces.
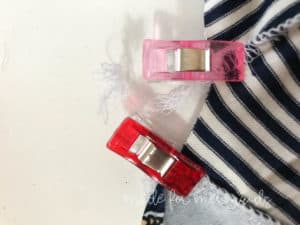
Clip or pin the front top and bottom bodice pieces together. Using either a serger or a stretch stitch on your sewing machine, sew together using a 1/2″ seam allowance. Repeat for back pieces. You’ll then construct following the Mama Paige tutorial as written; just be sure to match up your “blocking seams” in addition to your normal clipping/pinning points. *Note – The intended fit of Mama Paige/Paige is relaxed/blousey through the body and semi-fitted at hips. I sized down twice for this one, but love the intended fit as is!*
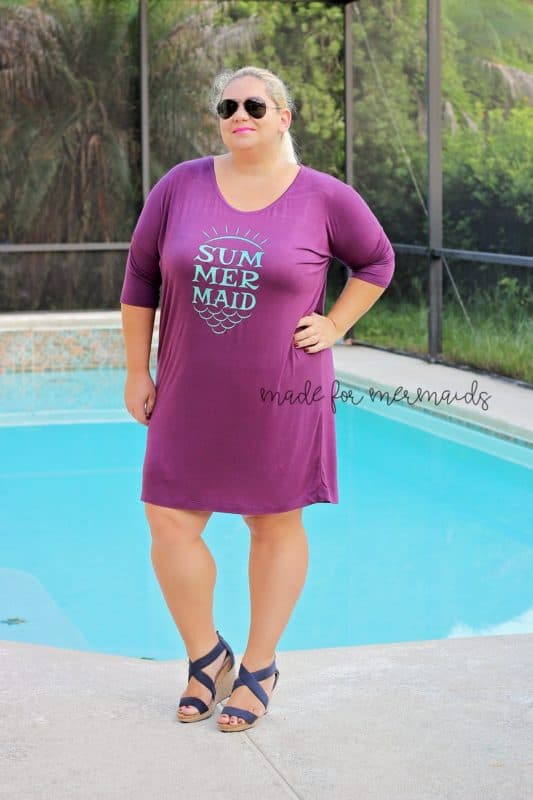
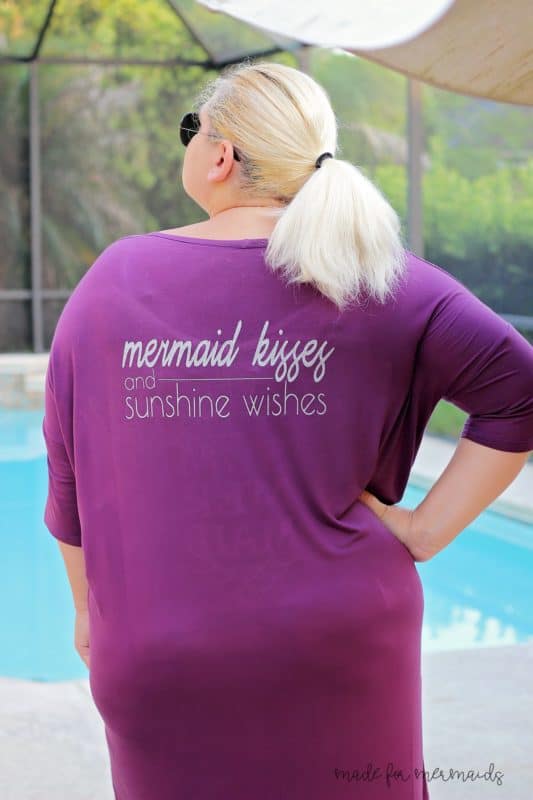
Mama Paige with Vinyl
Mama Paige is a great canvas for all those fun, summery vinyl cut files! Make sure you check out all of the cut file freebies on the site. *Note – Alex added a bit of length to her Mama Paige dress length*
Looking for other ways to change up your Mama Paige/Paige look? Try adding:
- a double flounce
- a flounce over a long sleeve
- Mama Ella’s flutter sleeves
- a chest pocket (you can borrow the Mama Nina pocket if you’re not comfortable creating your own!)
- color/pattern blocking
- even some on-trend embroidery designs! Megan T. used her embroidery machine for this cute floral design:
Thanks for celebrating 50k with us! Don’t forget to share all of your new Mama Paige and Paige Piko Tops in our Facebook group. While you’re at it, grab a couple patterns while they’re on sale, AND download the {free} updated Chloe and Bonny patterns!








Leave a Reply