Say Hello to Persephone: Your New Sewing Summer Obsession!
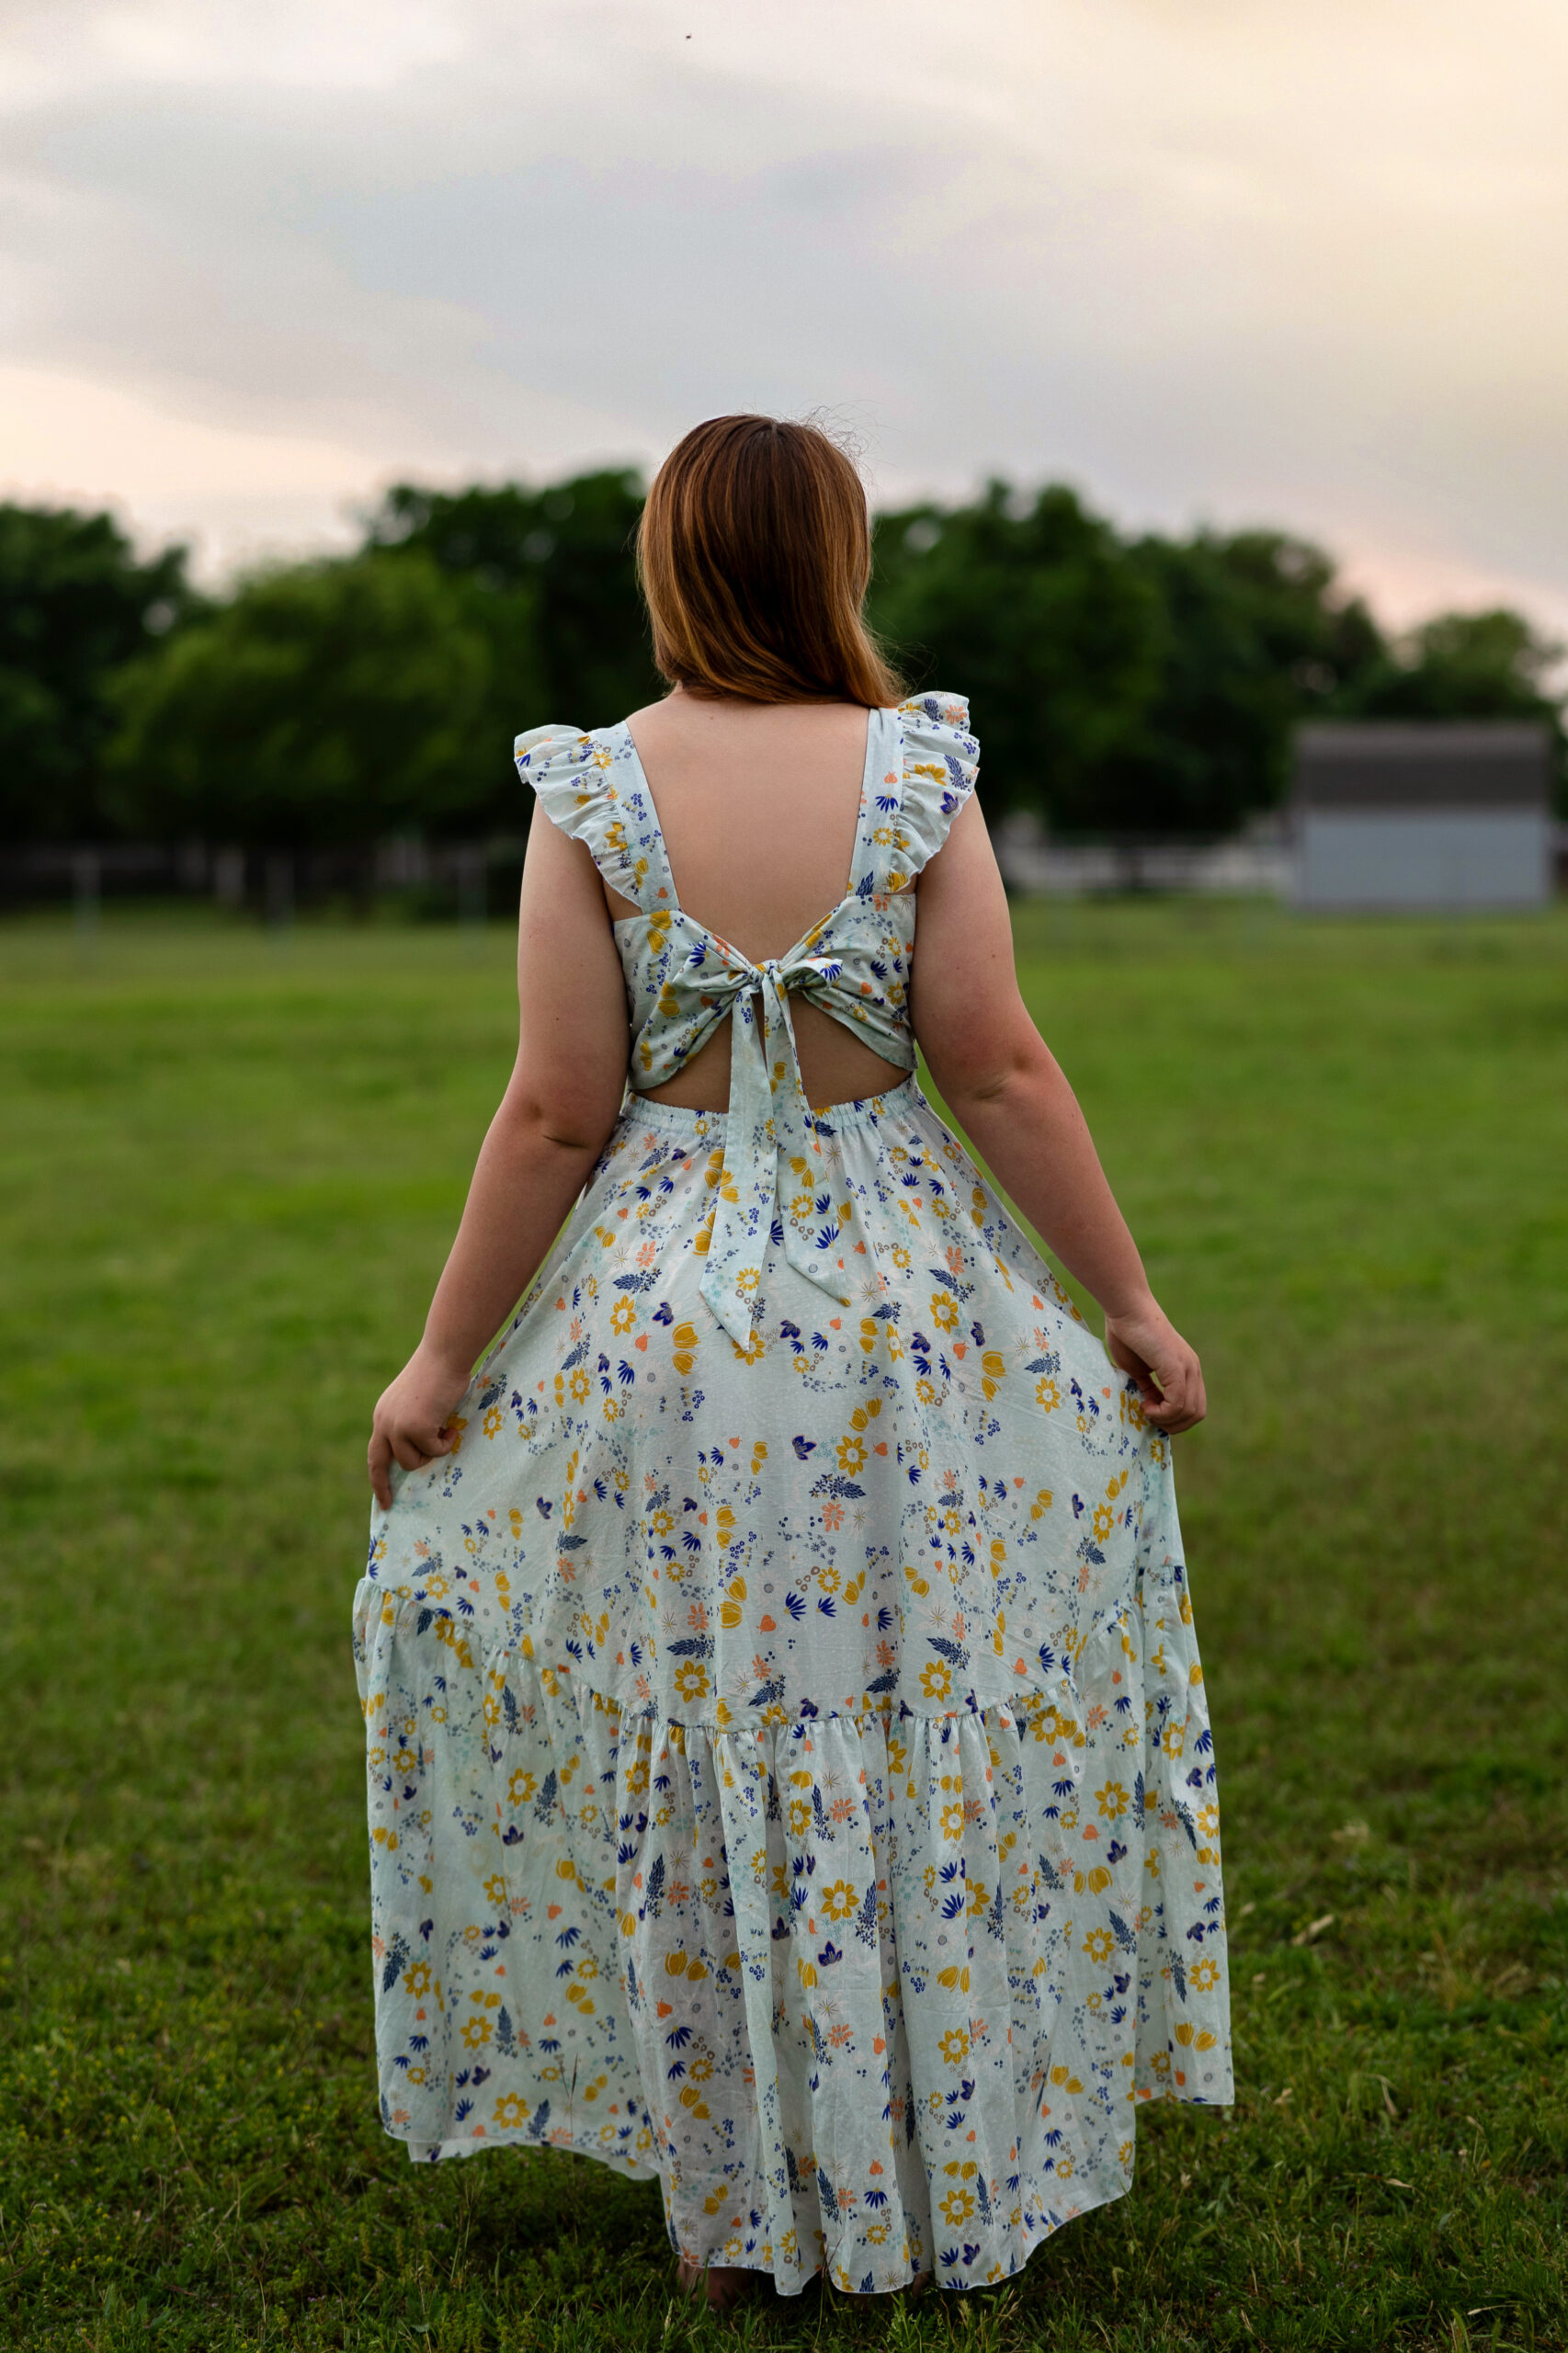
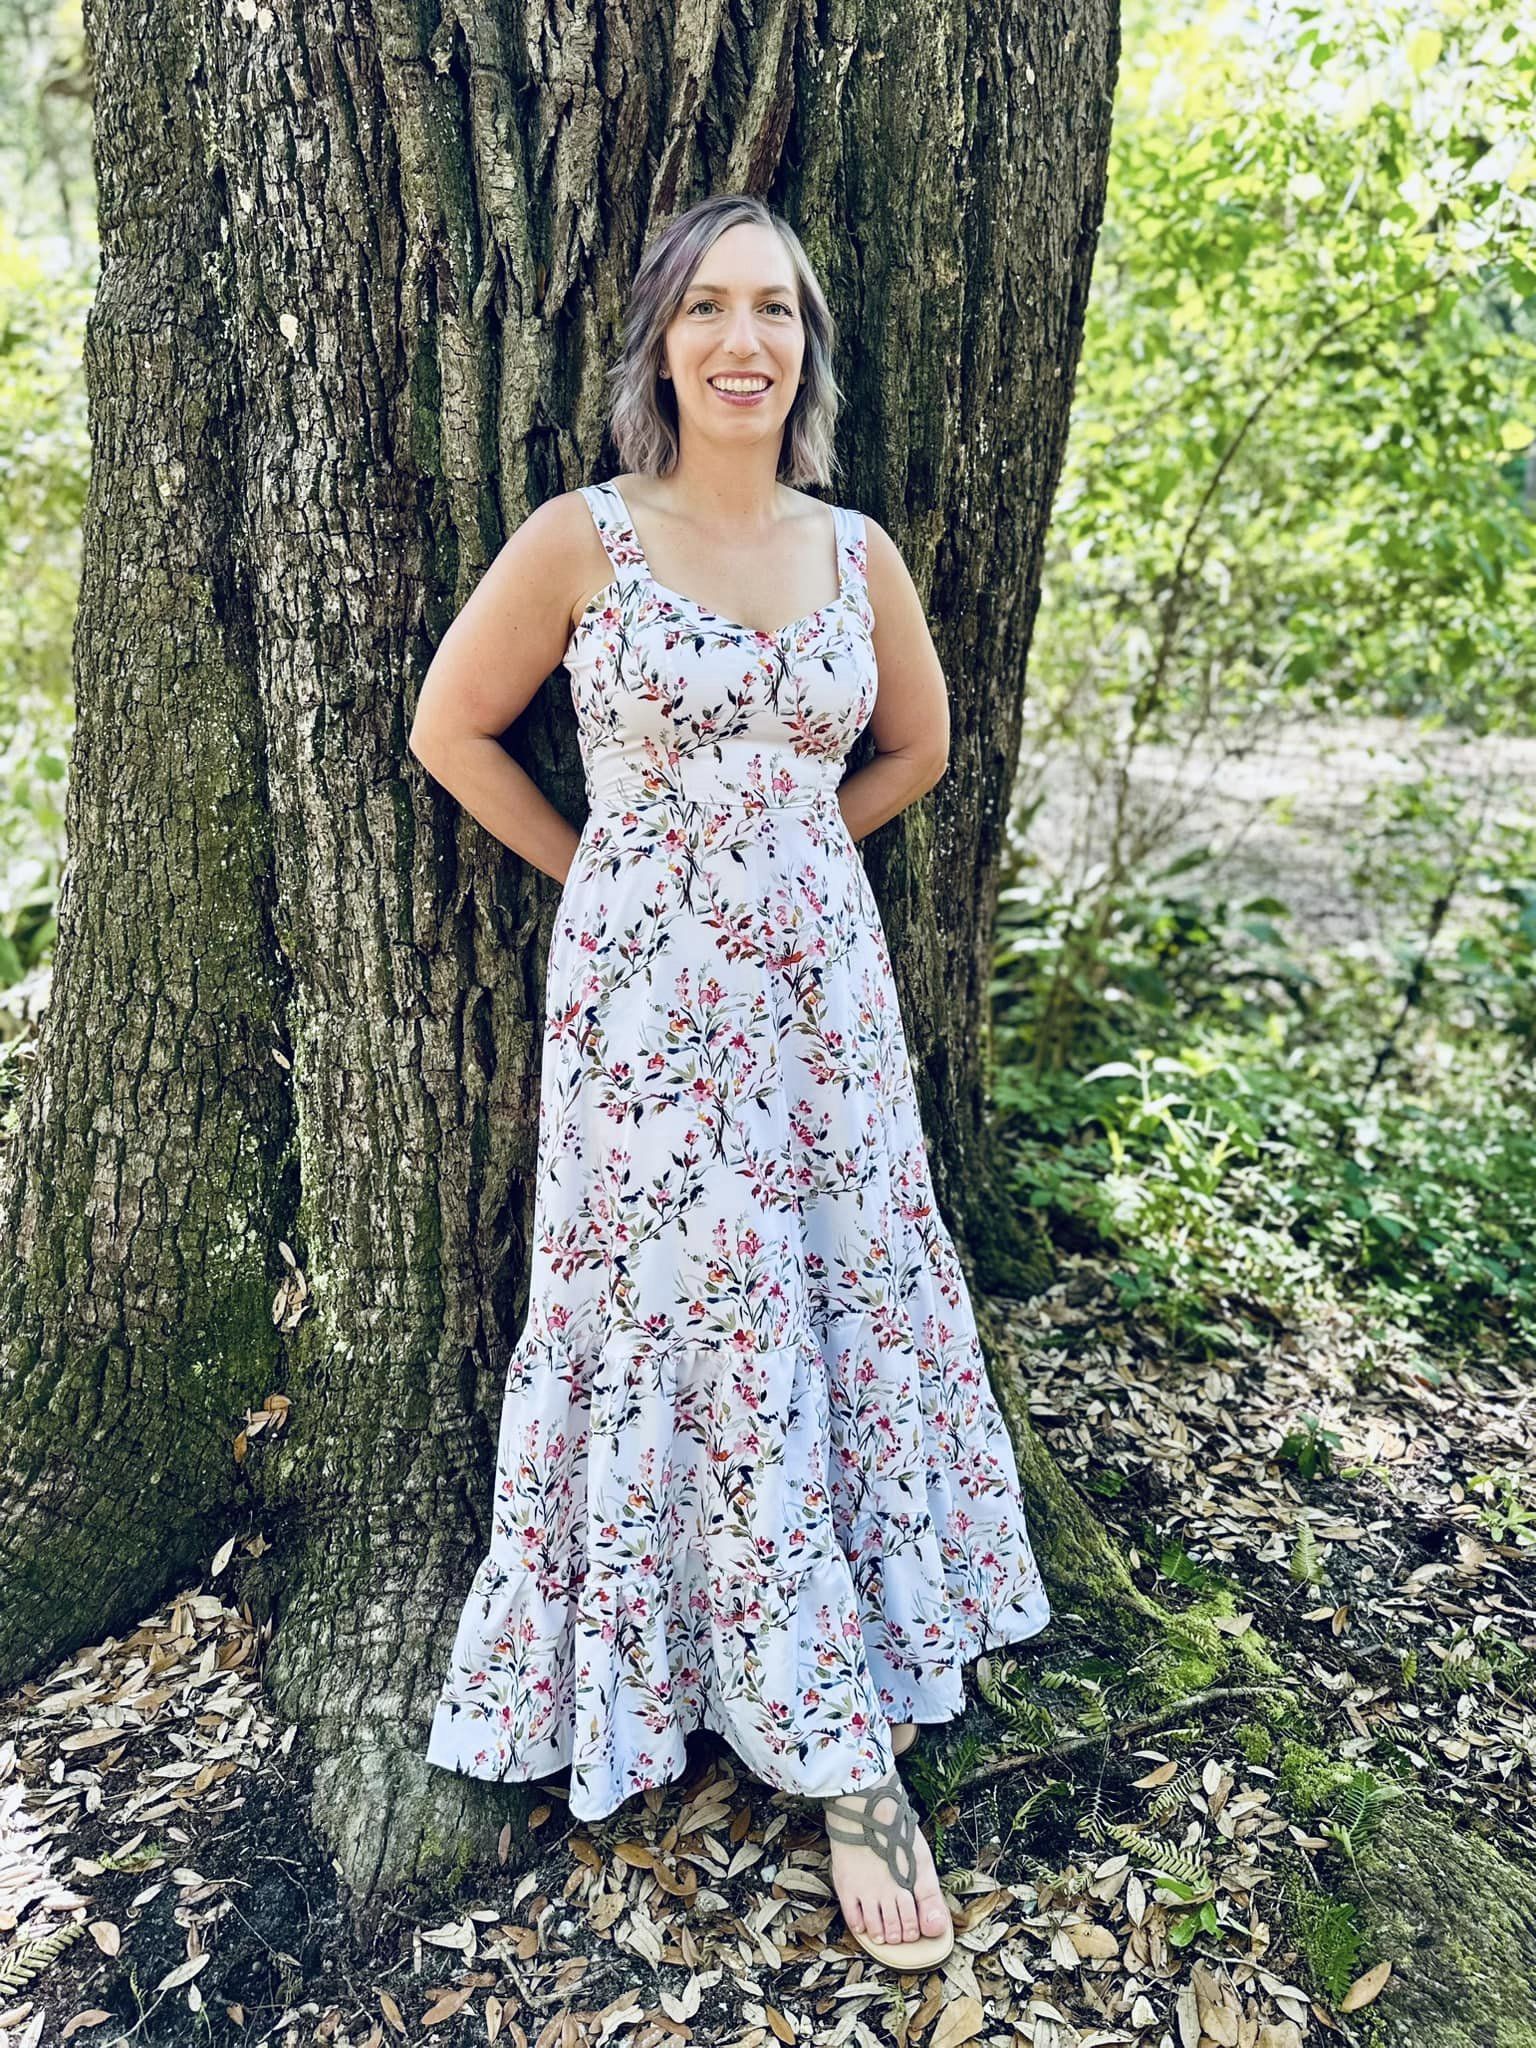
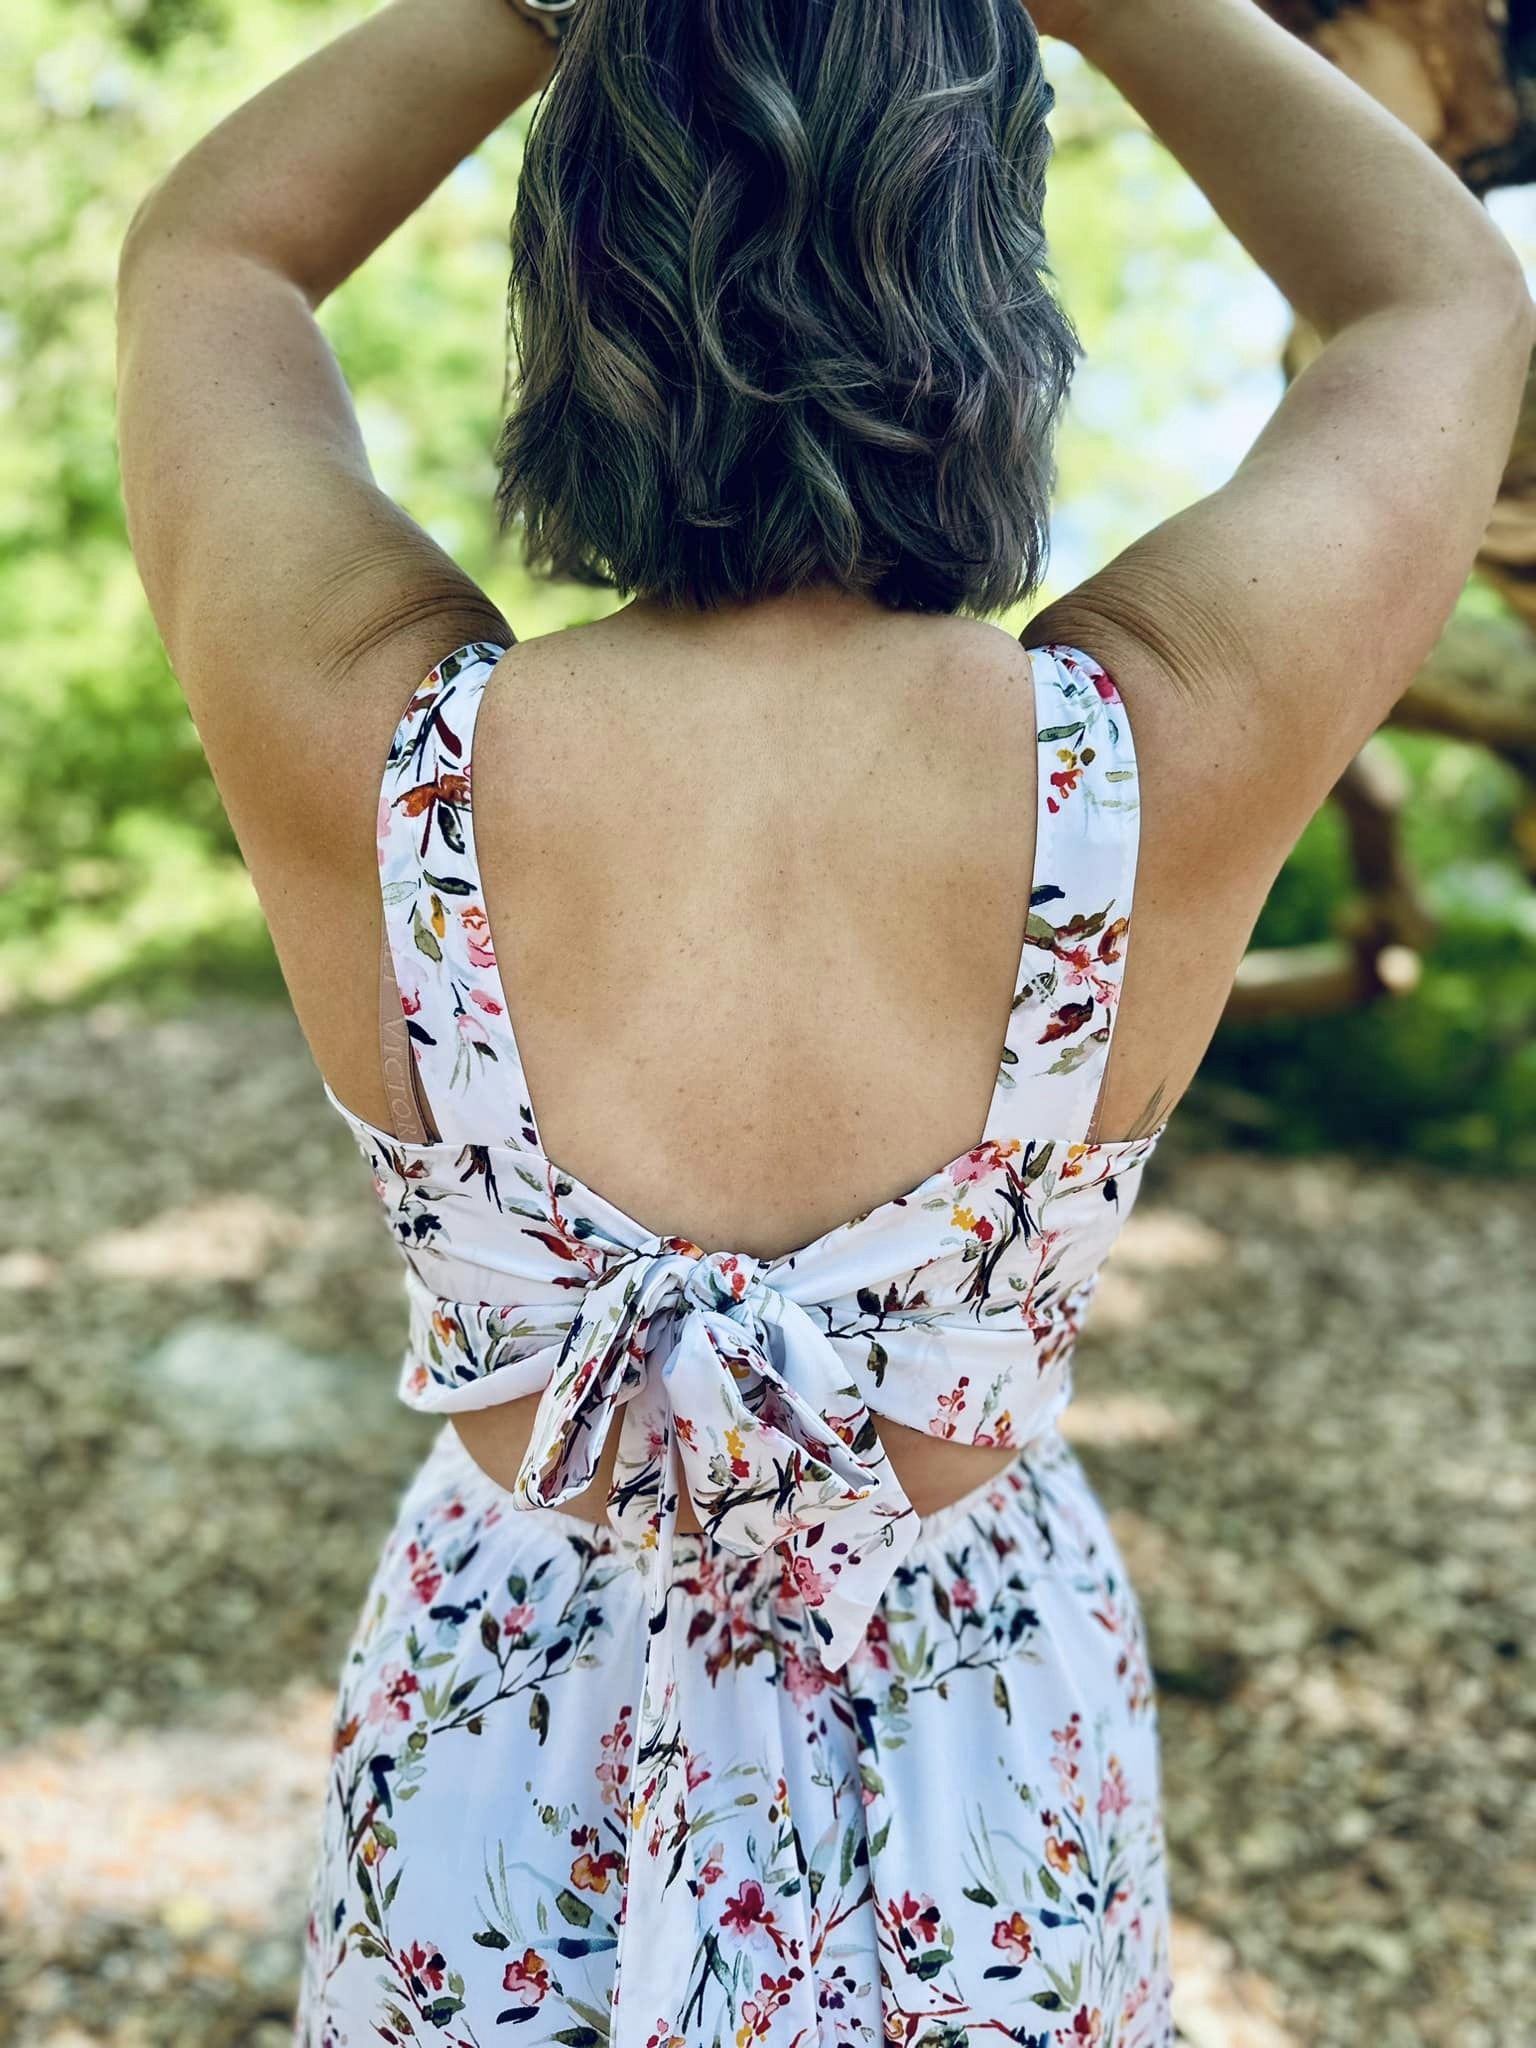
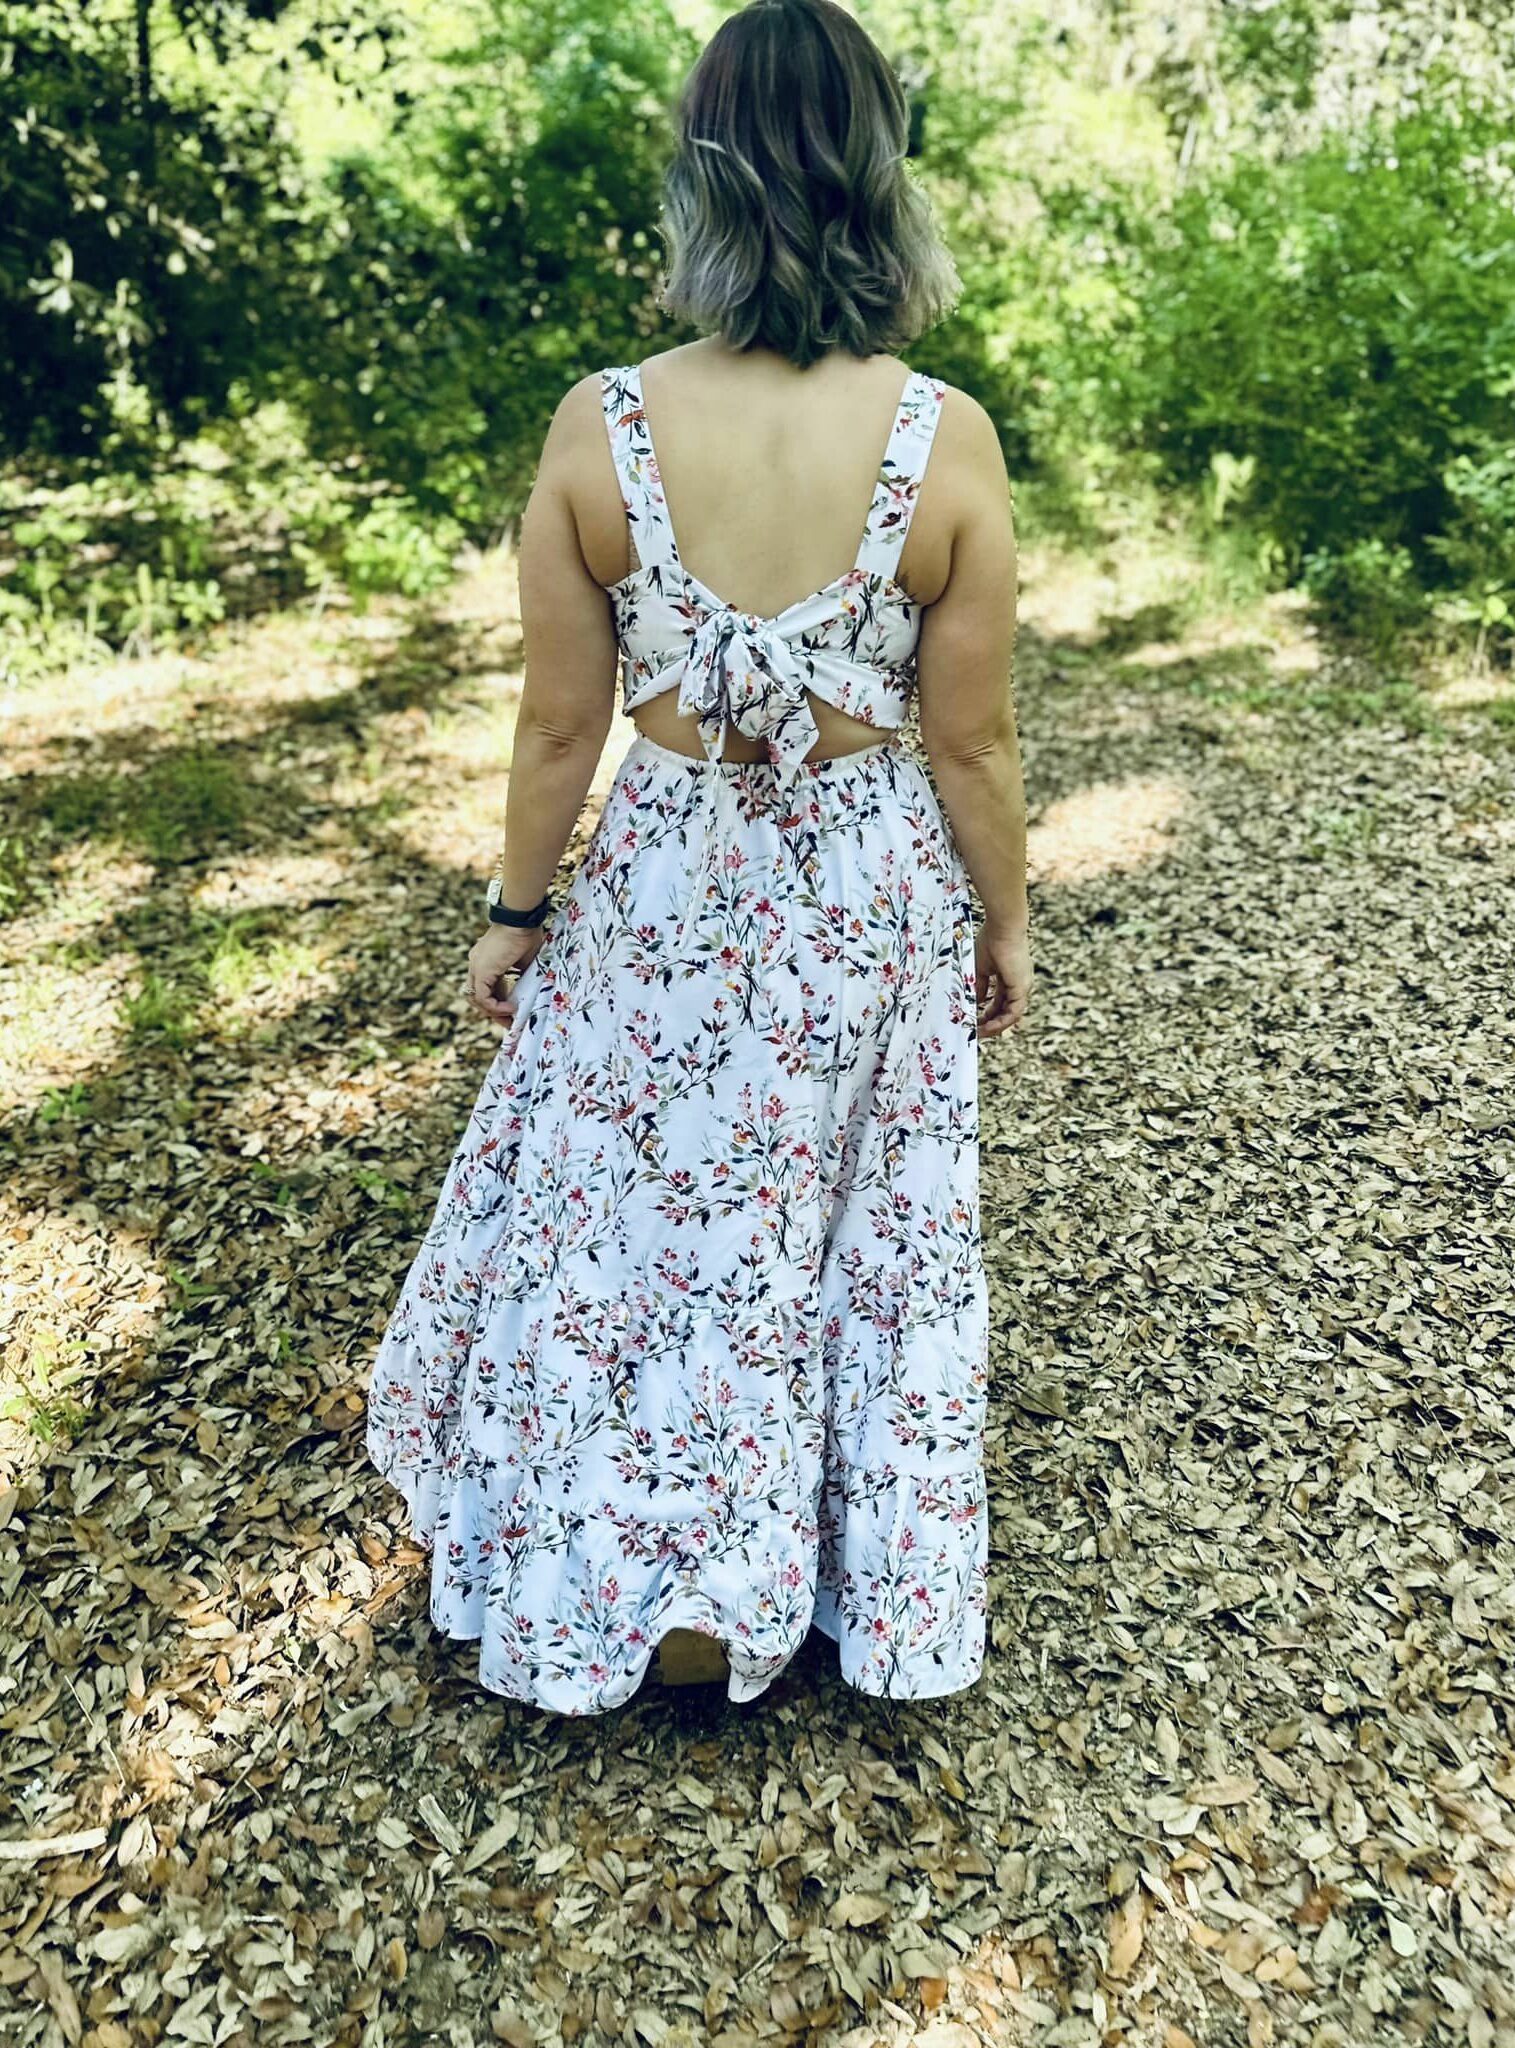
Prepare to turn heads with our latest release, PERSEPHONE! This showstopping pattern is right on trend with its stunning tie back detail and is available in both Youth & Adult sizing. Whether you’re capturing family memories, jet-setting on vacation, or simply embracing everyday elegance, Persephone is your go-to choice for effortless style and sophistication.
Crafted for apparel or garment woven fabrics, Persephone boasts:
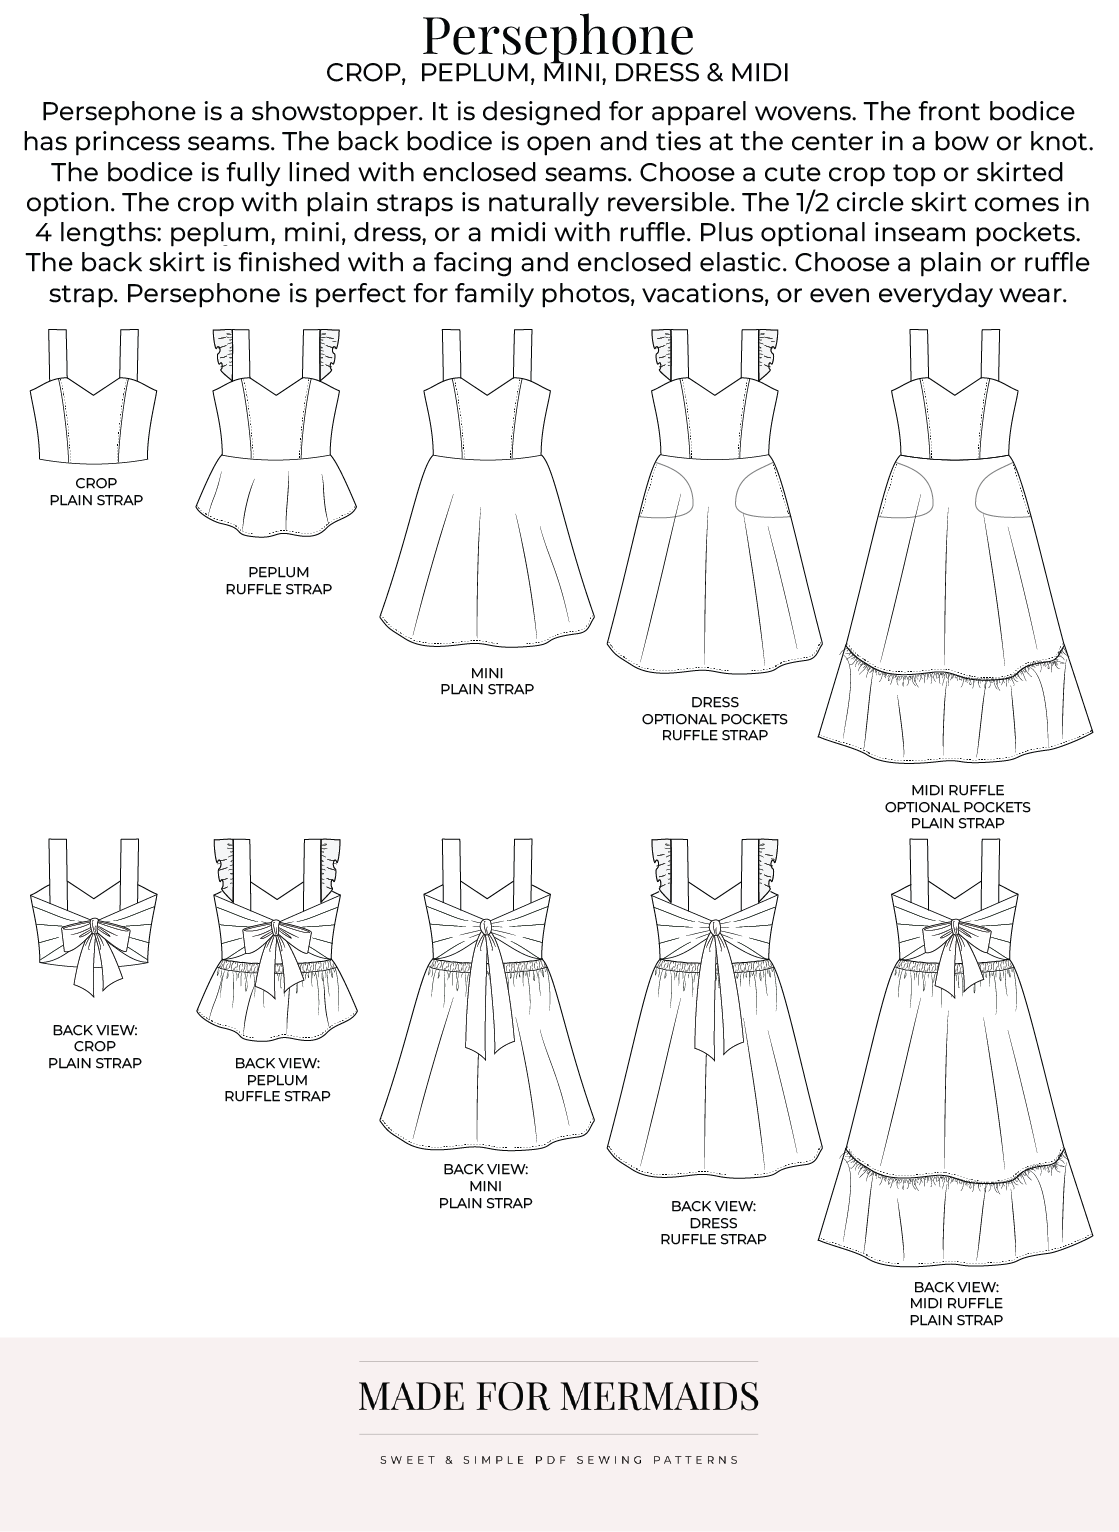
- A chic v front design complemented by princess seams for a beautiful fit
- Fully enclosed bodice seams ensure a polished finish
- An irresistible open back bodice that ties for a touch of allure
- The skirt back finished with elastic and facing for maximum comfort
- Your choice of plain or ruffle straps to suit your style
- Versatile hemline options include crop (adult only), peplum, mini/vintage, dress, and midi with ruffle detailing
- Optional pockets for added convenience
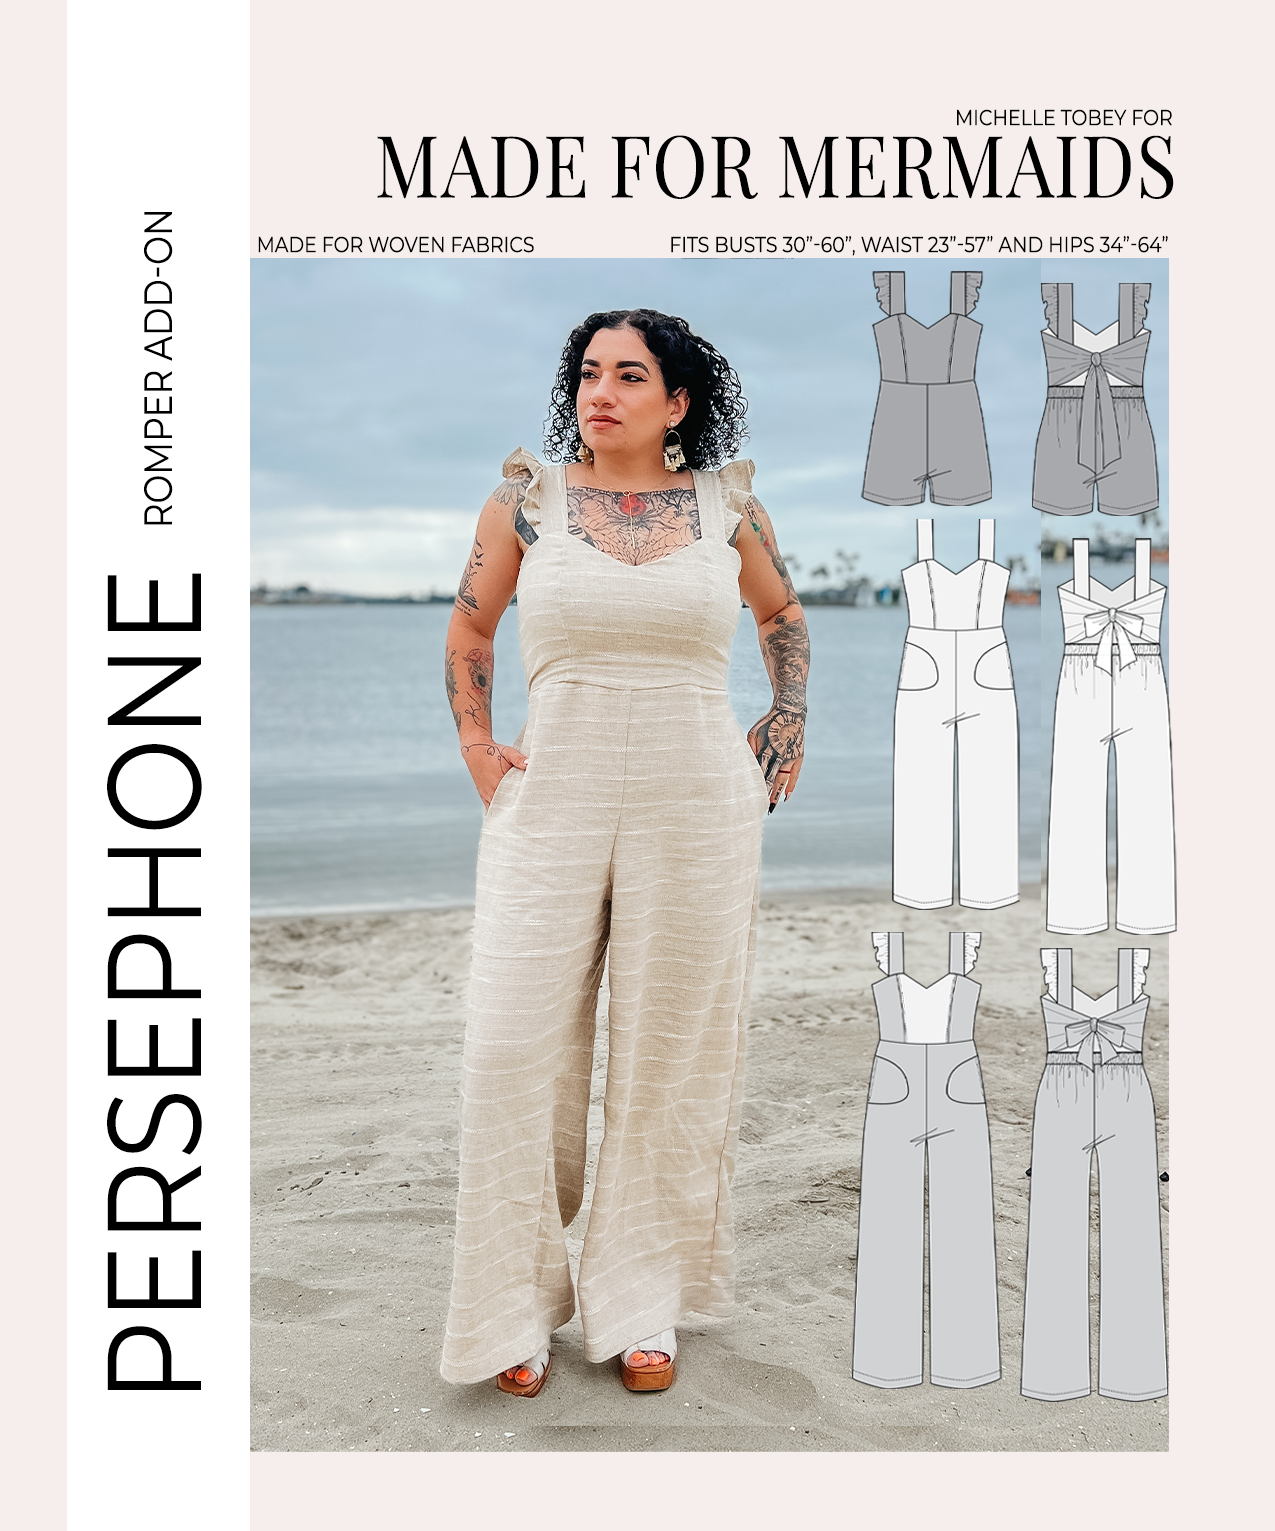
But wait, there’s more! For the romper-loving adults, we’ve included a fun Persephone Romper Add-On featuring:
- Wide-leg pants in 5 inseam lengths: shorts, cropped, or pants (28″, 30″, or 32″) for endless styling possibilities
- The front pants are flat with no gathering and the romper back is finished with elastic
- Optional pockets for both functionality
- Note- You will need the Persephone pattern to complete the add-on pattern. There are no bodice pieces; only romper bottom pieces and instructions are included.
Whether you’re sewing for yourself or your little ones, Persephone promises to elevate your wardrobe with its undeniable charm and versatility.
Getting Started
Before you purchase your patterns, there is a ton of helpful beginner information between the M4M and P4P blogs, in case you are new to wovens, or new to PDF patterns in general:
- New to PDF patterns? Check out our helpful tips here
- Not quite sure how to measure yourself accurately? Don’t worry; check out the post here!
- Having issues printing? Most issues can be resolved by using our FAQs/troubleshooting tips
- Join our Facebook group here.
- For help with wovens and gathering, check out Wovens 101, Gathering 101, Elastics 101 and Fabric Choice 101.
- We also have a new Height Adjustment 101 post for you! Check it out here.
Choosing Your Options
We have lots of tester photos in our FB group and on the site if you want to see a variety of photos of each option before you decide! Here is a quick snapshot of the different options:
Fabric + Notions
Persephone is drafted for woven apparel fabrics that drapes. Apparel wovens are made for garment sewing, not quilting cotton. You may use fabrics with less drape, such as 100% cotton, but it will have a stiffer, more vintage feel and may not be as comfortable. Our favorite fabrics are rayon challis, voile, lawn, batiste, silk crepe, rayon crepe, chiffon, chambray, linen, etc.
You will also need:
- either 1/2″ or 1″ elastic for the Adult Persephone
- 1″ elastic for the Youth & Romper Add-On
- fusible interfacing (optional)
Persephone Hacks
Dana and Sarah are on the blog today with a few cute hacks for you!
Maxi Hack
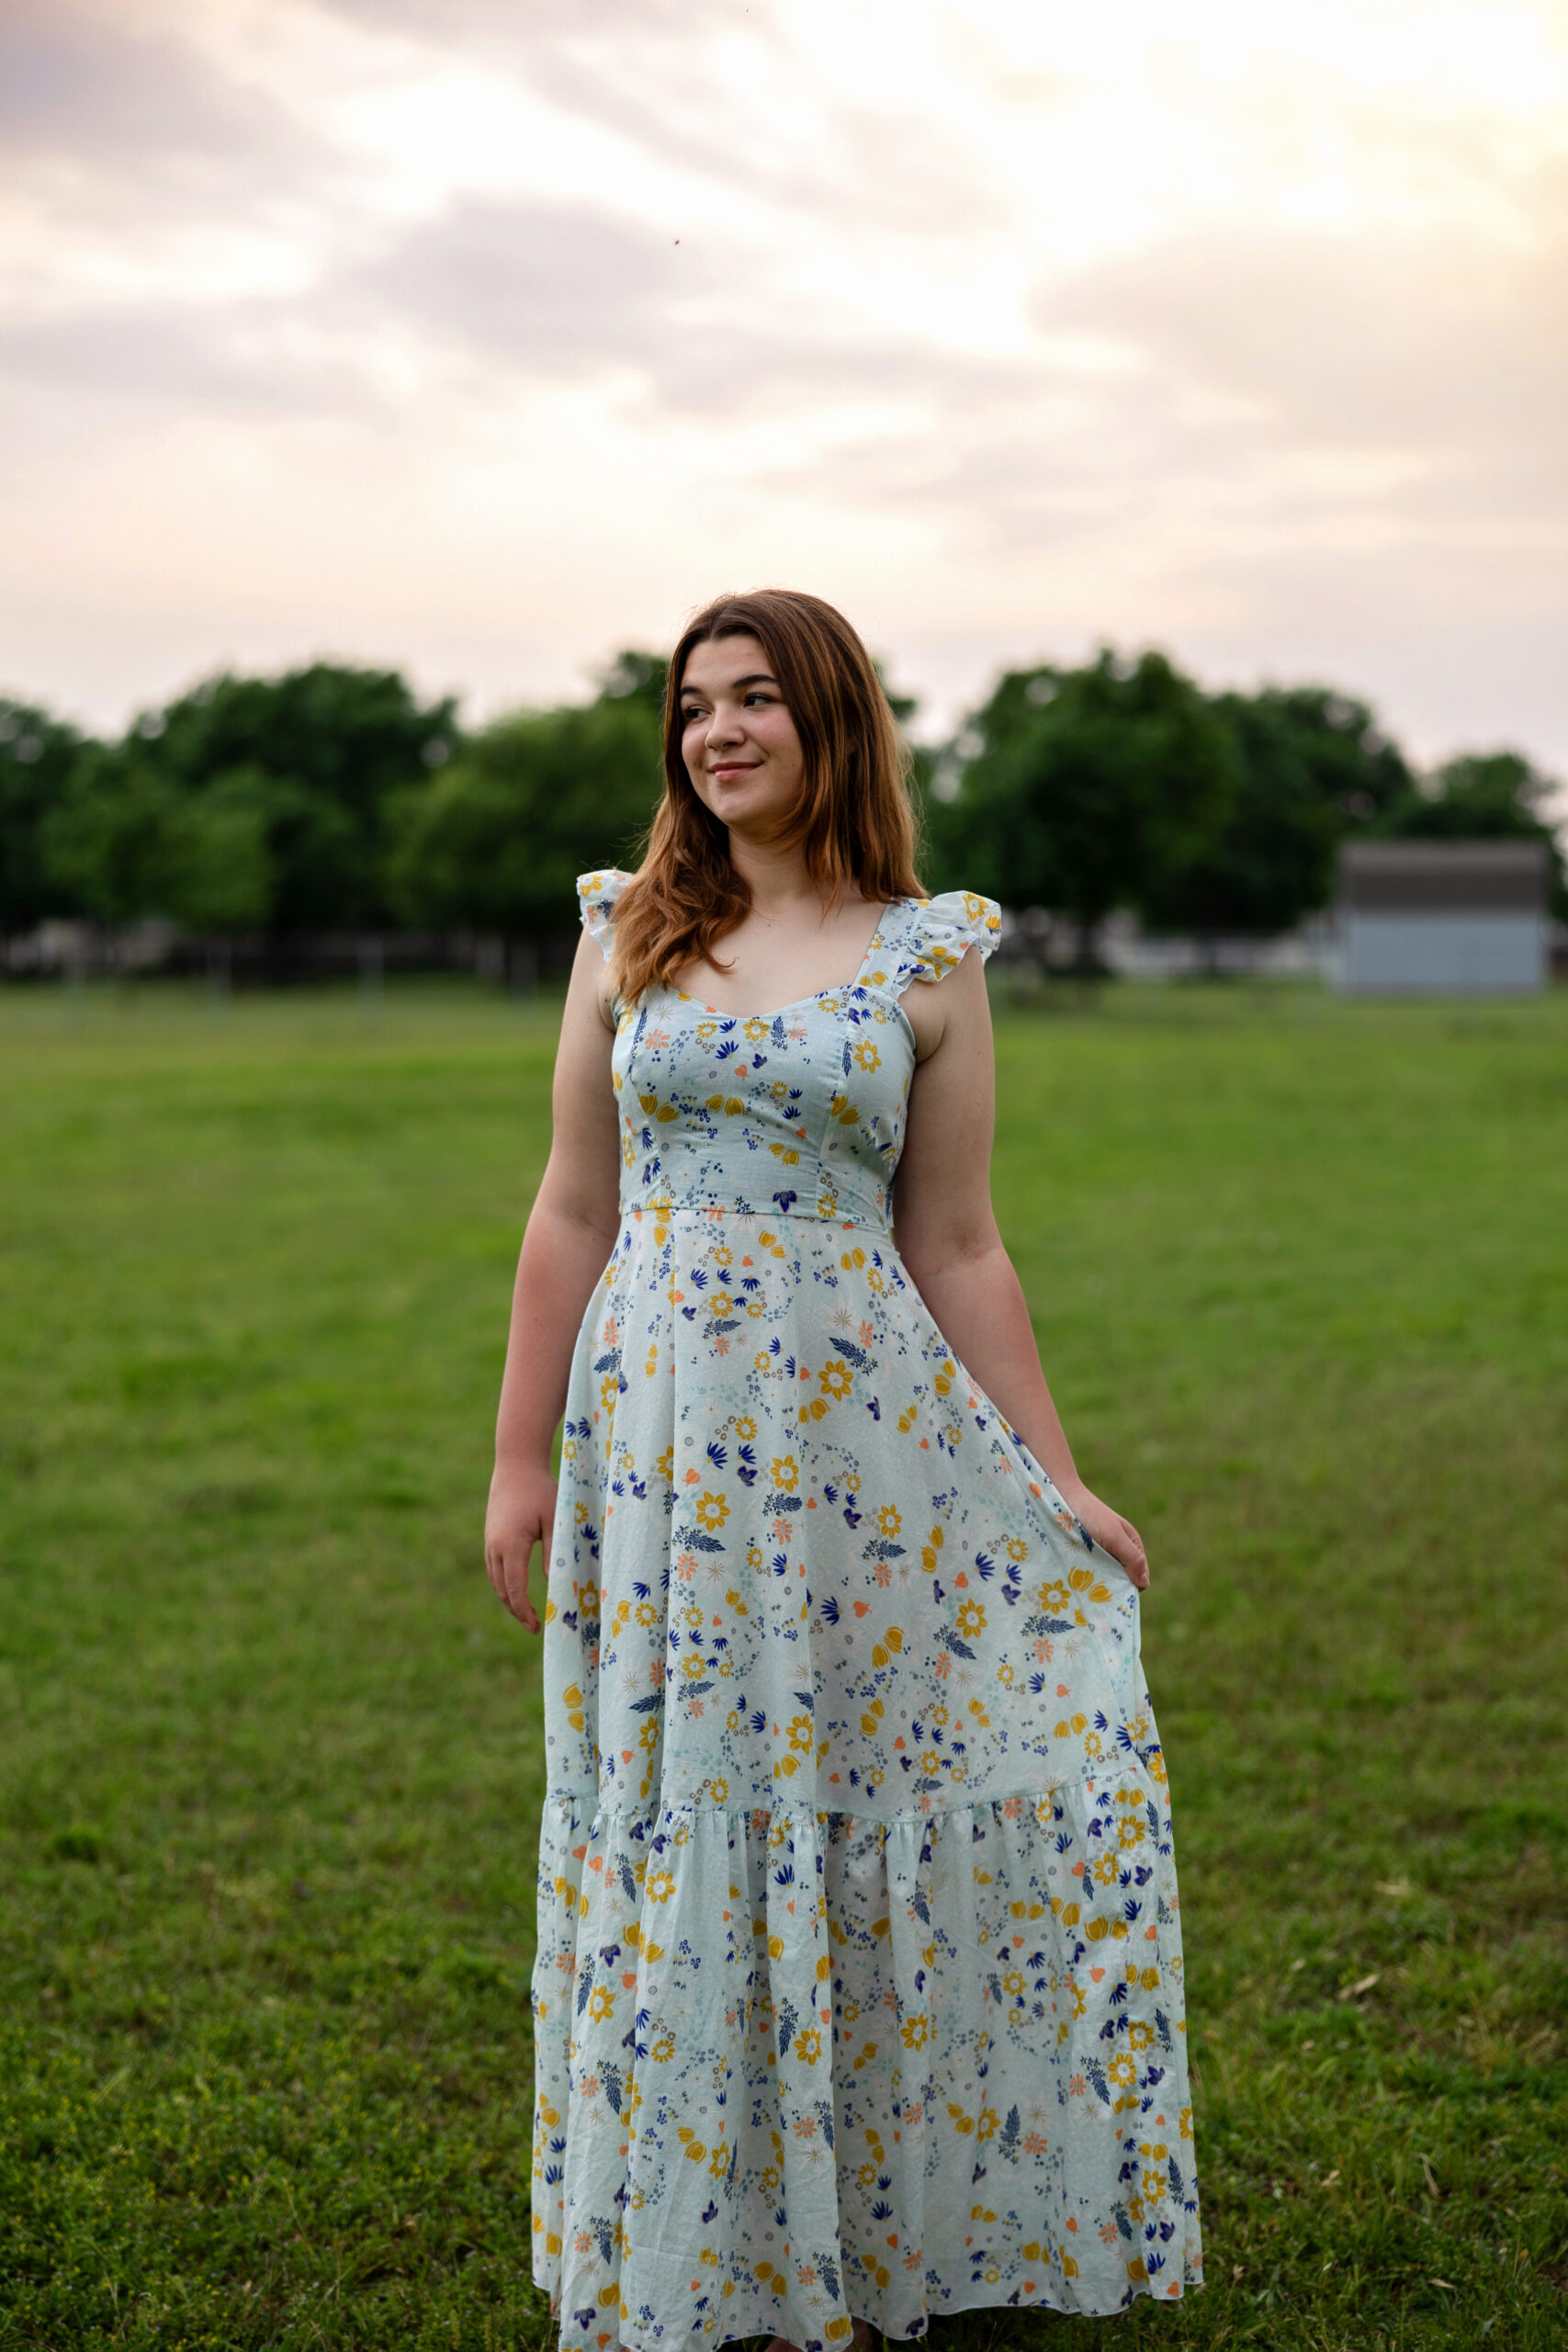
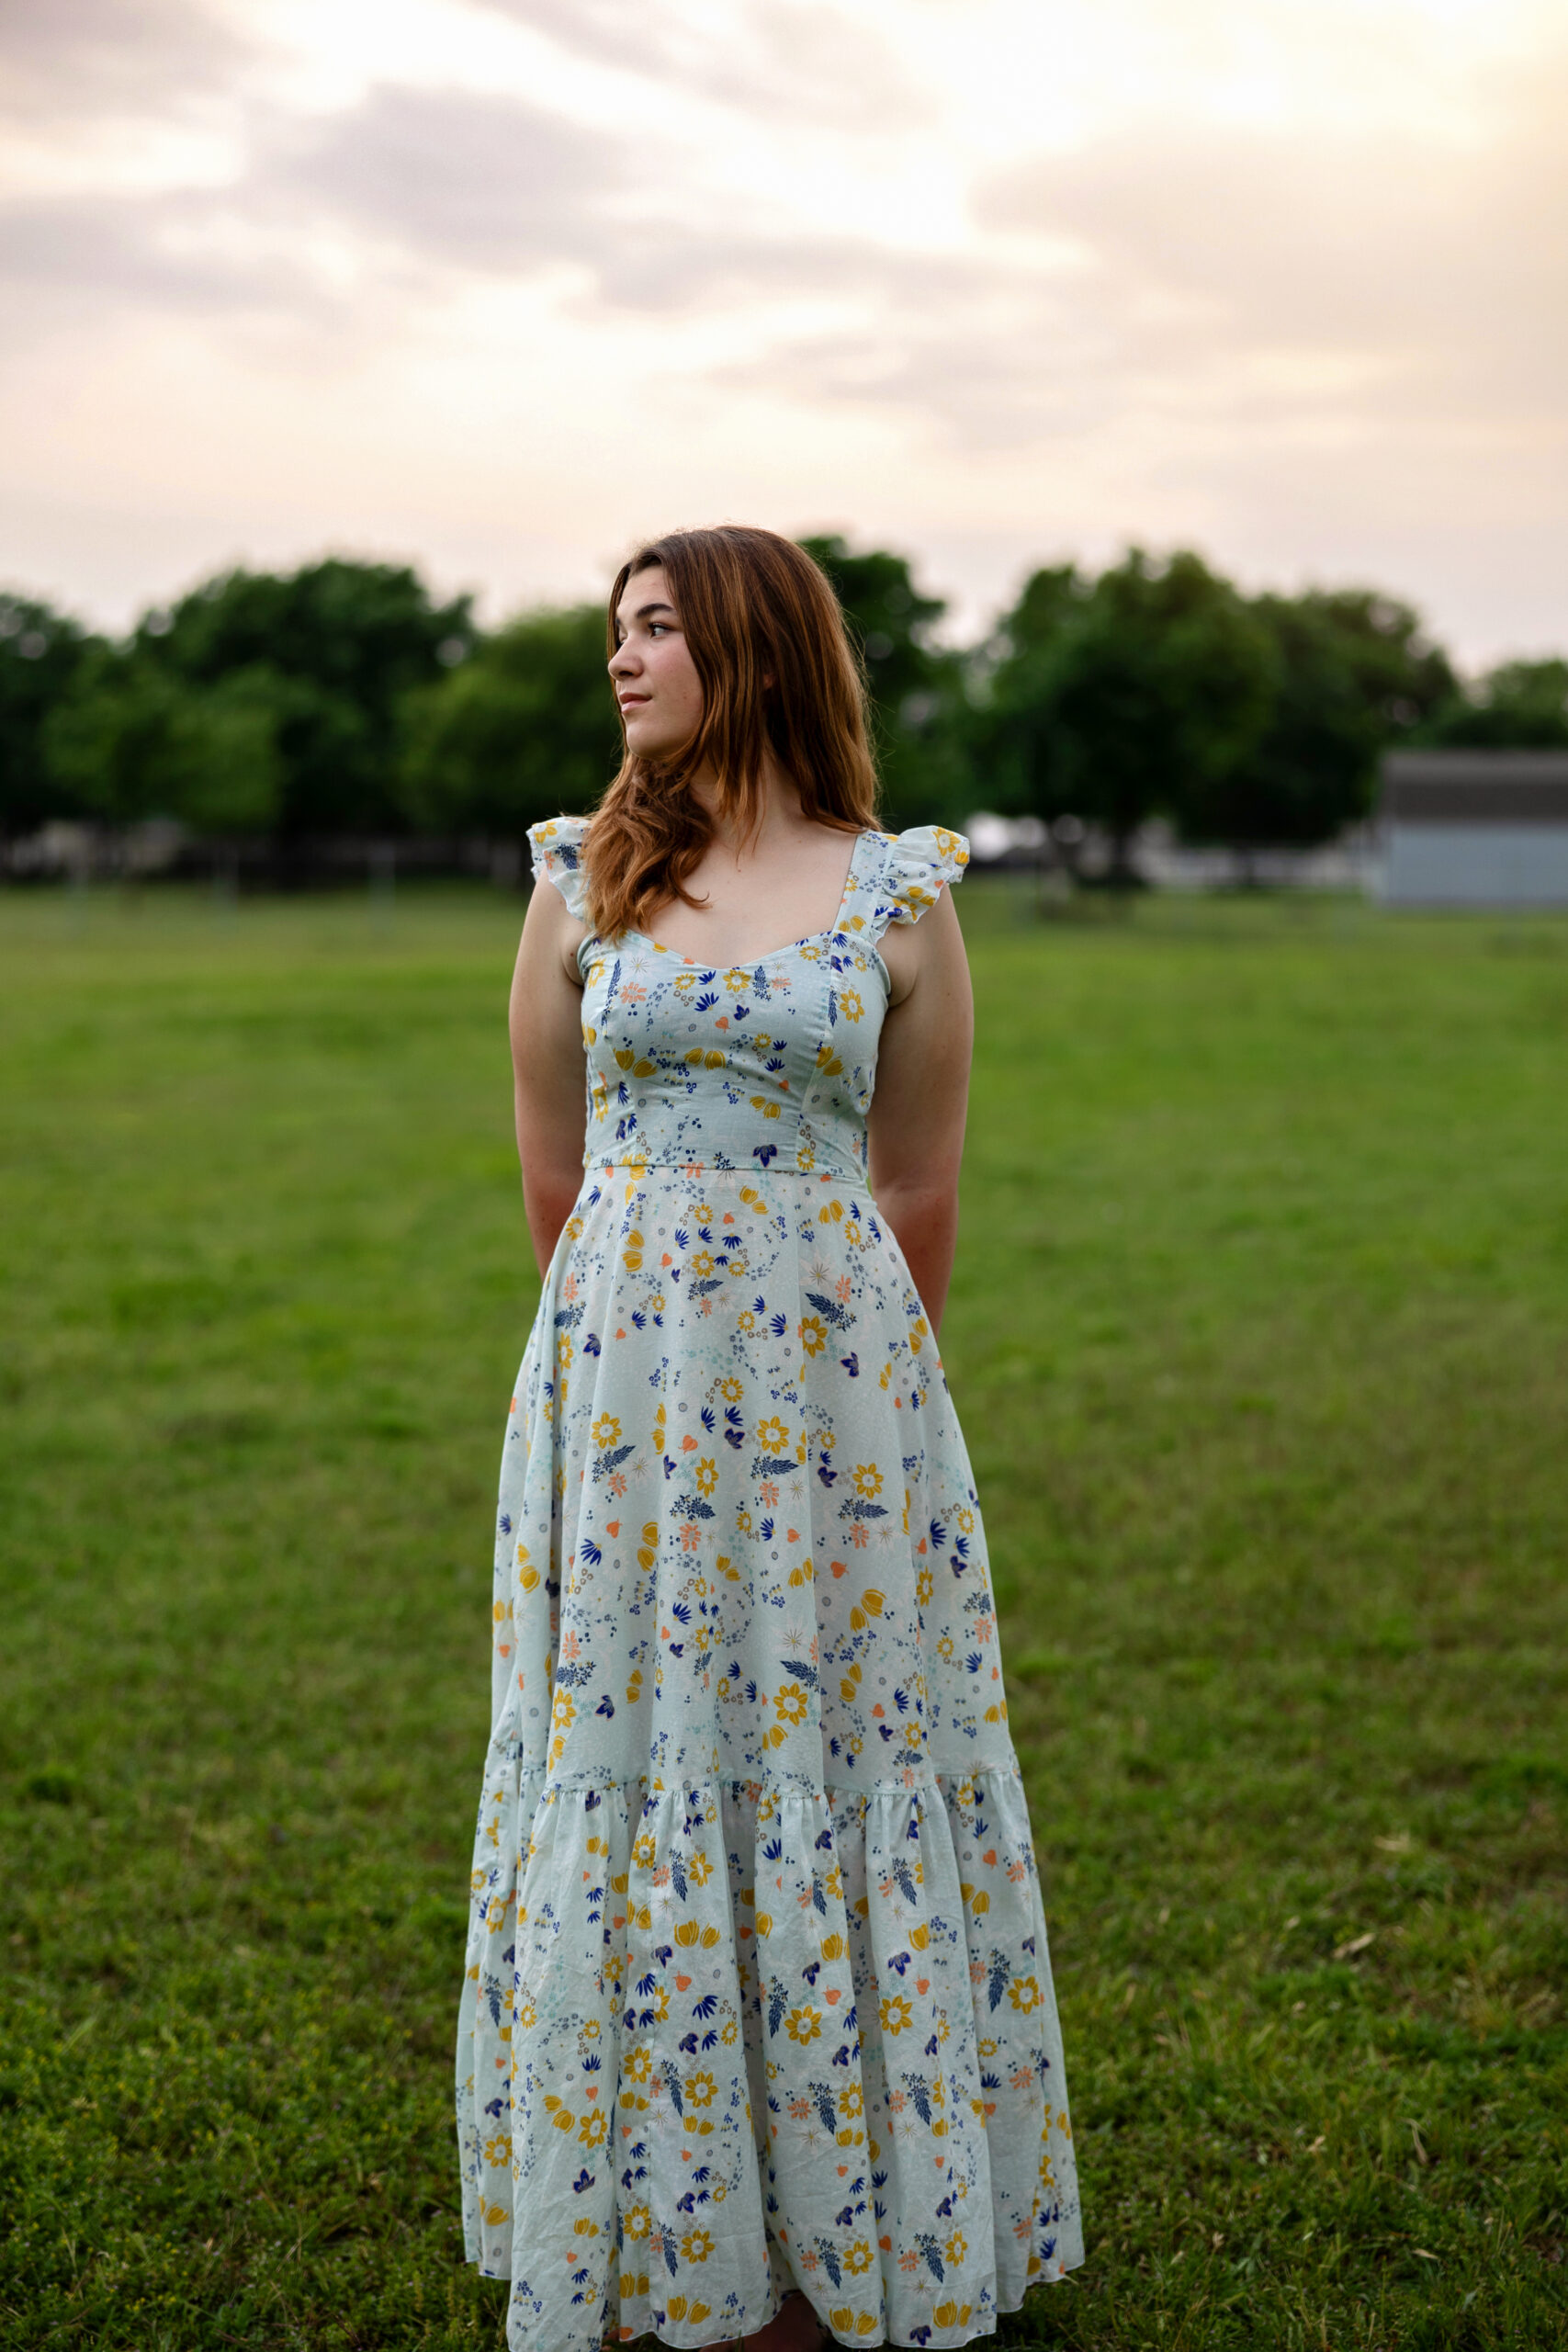
Need a little added drama? Add length to the midi ruffle to create a super easy maxi dress hack! Simply add your desired length to the existing ruffle piece.
The desired maxi finished length is MINUS midi finished length, then add that amount to the midi ruffle piece.
For example- I want my maxi to finish 48.5″. The Persephone midi finished 36.75″ in my size. 48.5-36.75=11.75. I will add 11.75″ to the midi ruffle.
Alternatively, you could add another tier to the midi ruffle to create a maxi as Sarah did below.
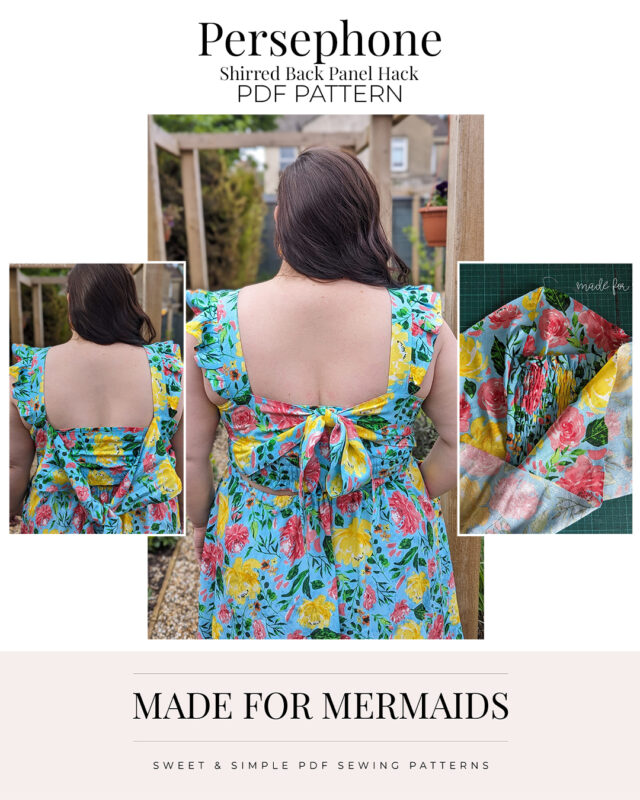
Shirred Back Panel Hack
![]()
I love the pretty, feminine details of the new Persephone Dress pattern, but I wanted a little more coverage over my back. I had a good think about what would be the best way to achieve this, and decided that a shirred panel added to the lining would be the most comfortable solution. Follow along for a quick tutorial to show you how to do this yourself. You can follow the pattern tutorial as normal until you get to the bodice lining. Do not attach your back lining panels to your bodice front lining.
First you need to decide on the size of your panel. I used a few measurements and a bit of guesstimation to decide on mine. First I measured the length of the front bodice at the side seam. For my size, orange, this was 8.5″.
![]()
Then I had to determine how wide I wanted to make my panel. You can either measure across your back, from underarm to underarm or double the width of your front bodice panel to get an idea of width. My front bodice panel measured 10″ across, and I doubled that and used a measurement of 20″. Cut 2 panels by these measurements.
- 10″ across front bodice
- panel measuring 20 x 8.5″
Then lay the panels right sides together and sew along one long edge, down one short edge and then back along the other long edge using a 1/2″ seam allowance. Trim your seam allowances and clip your corners. I used pinking shears for this.
![]()
Turn your fabrics right sides out and press. You will then need to draw lines 3/4″ apart across the length of your panel. I used a heat erasable Frixion pen for this.
![]()
Then you will shirr the lines along the panel. You can use THIS TUTORIAL if you need a refresher on how to shirr your fabric. I started and stopped 1/2″ from either end and made sure to reverse to lock my stitches.
Next we will sew the shirred panel into our bodice lining at the side seam. Bodice lining facing up, shirred panel facing up, back panel facing down, lining up your raw edges. Sew using 1/2″ seam allowance. Topstitch if desired.
![]()
Sew the other back panel onto the other side of your bodice lining as usual and then construct your bodice as per your pattern tutorial.
Finally you will want to hand sew some snaps on. I used these Prym 11mm snaps, and carefully sewed them just through the lining.
![]()
I sewed the male side of the snaps onto the edge of the shirred panel, and the female side of the snaps to the back bodice lining on the opposite side, just past the straps.
![]()
That’s it, you’re all done. Here’s what it should look like when you’re finished.
![]()
Enjoy your beautiful new dress.
![]()
Happy Sewing!
Dana xx
We hope you love the new Persephone & Romper Add-On patterns, no matter who you sew for! We can’t wait to see how you style yours.
#PERSEPHONEPATTERN #MADEFORMERMAIDSPATTERNS







Leave a Reply