
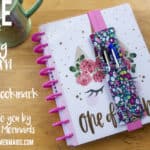
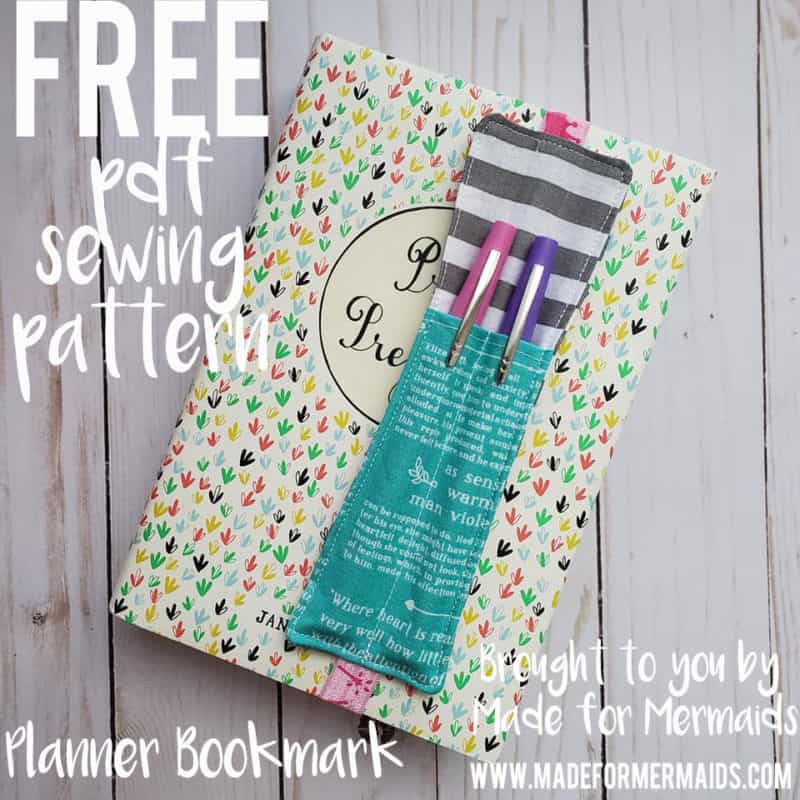
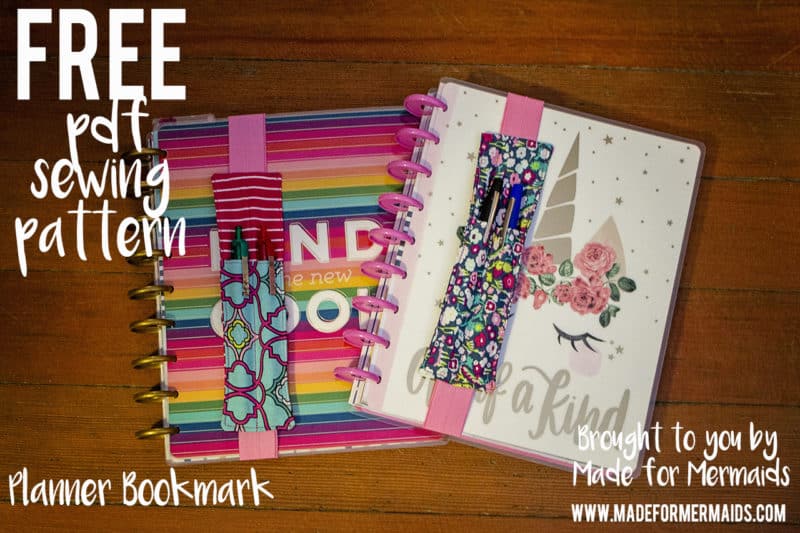
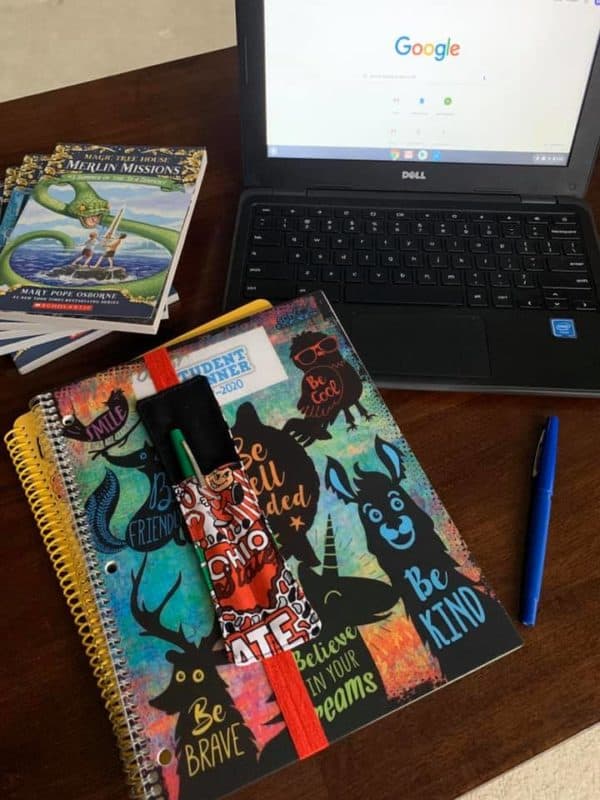
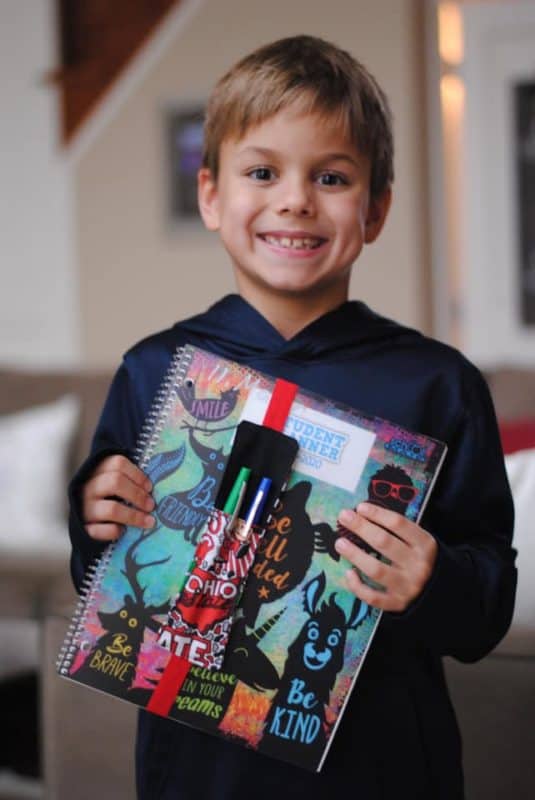
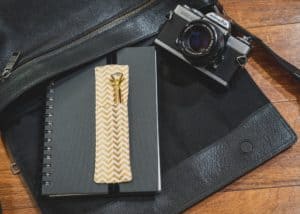
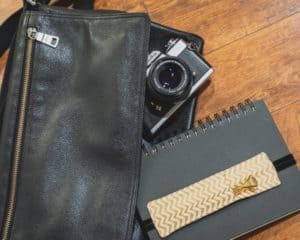
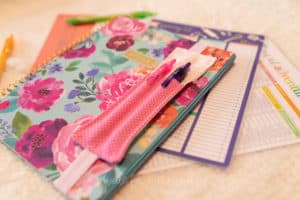
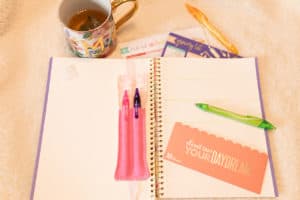
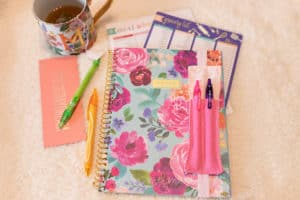
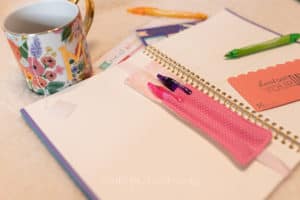
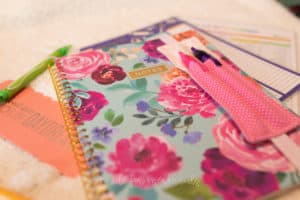
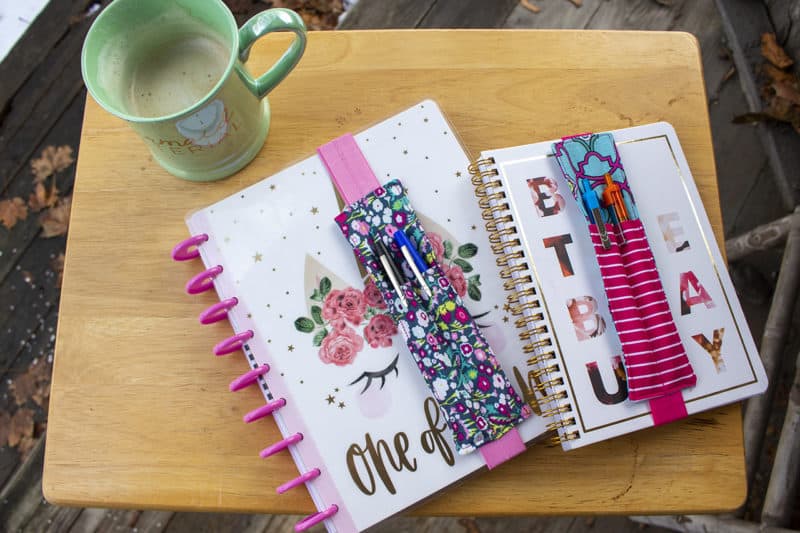
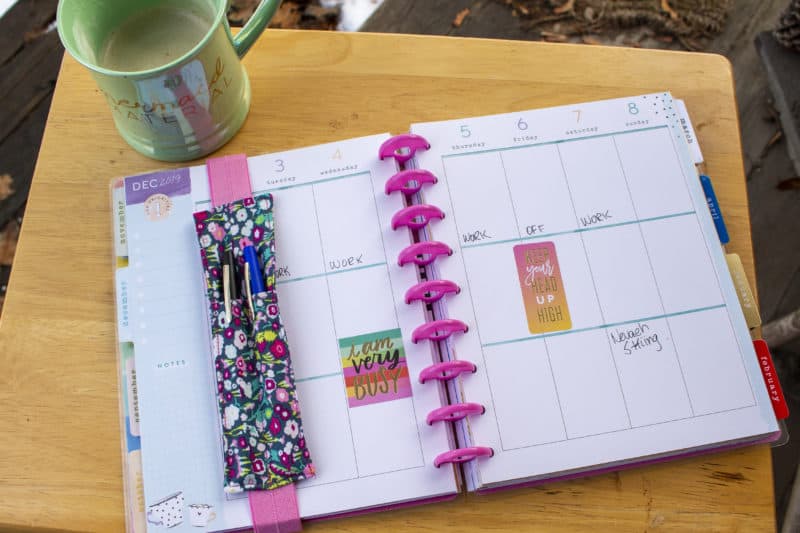
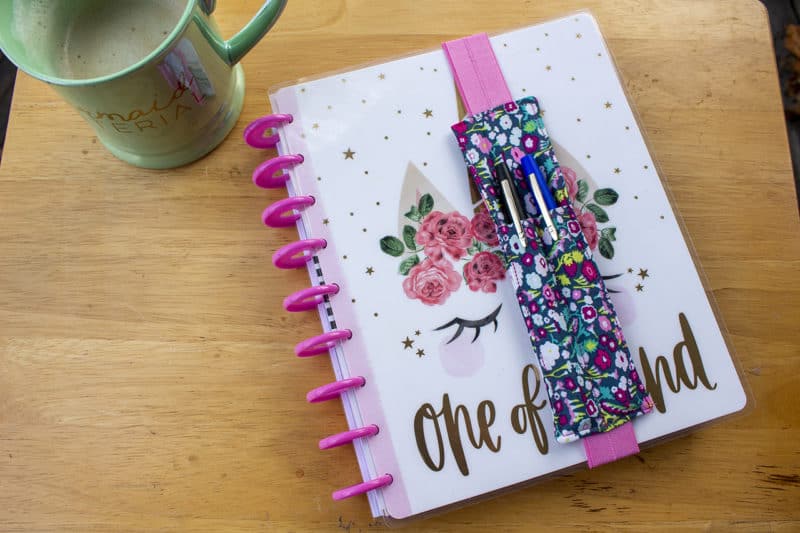
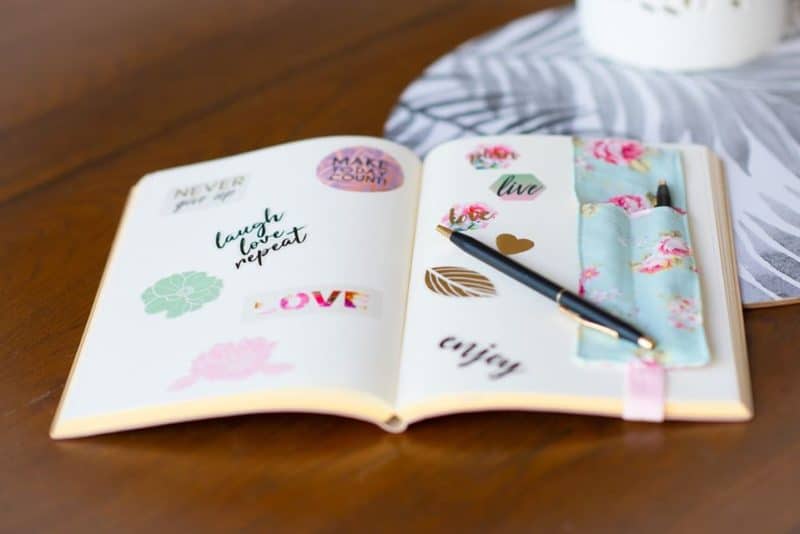
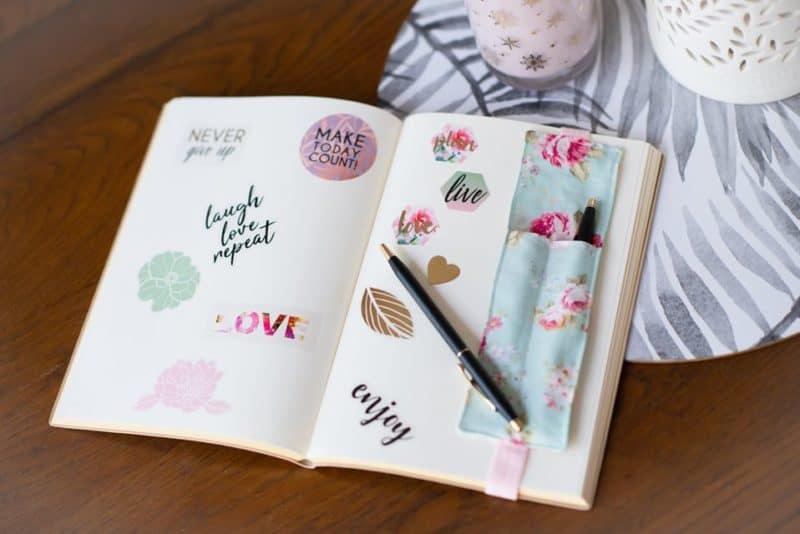
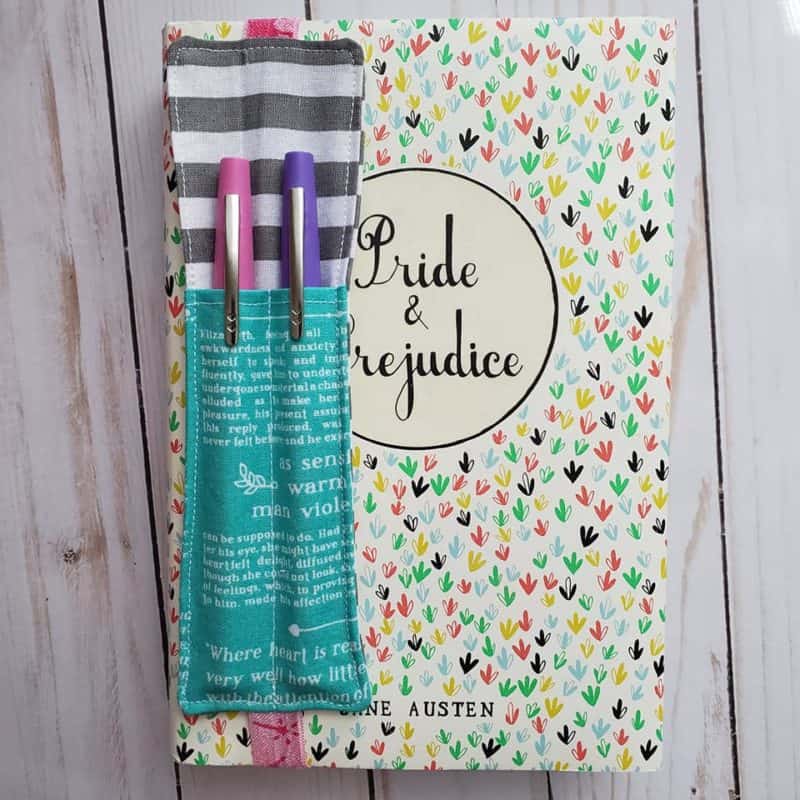
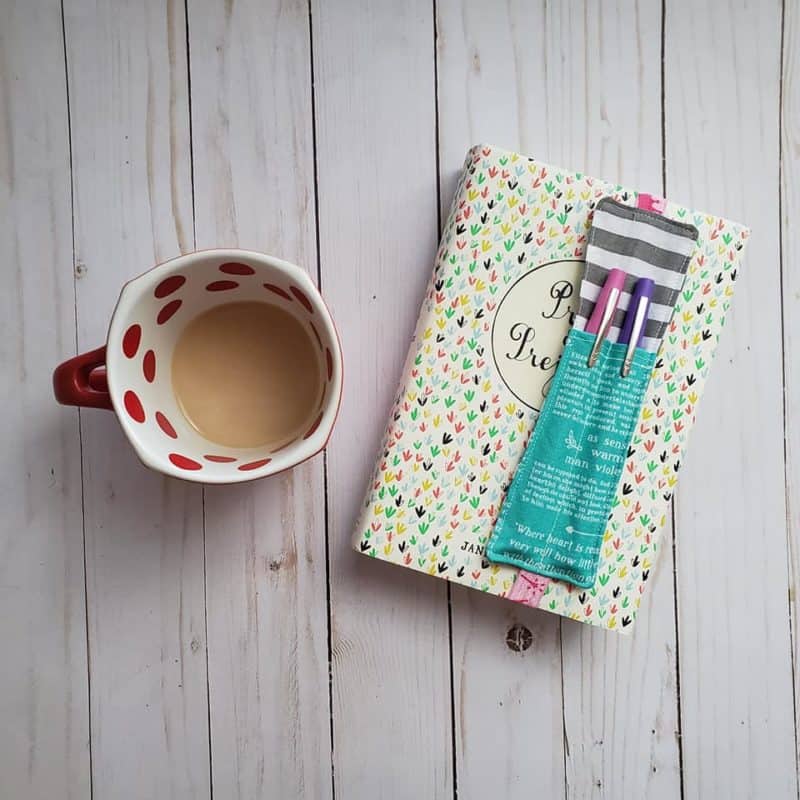
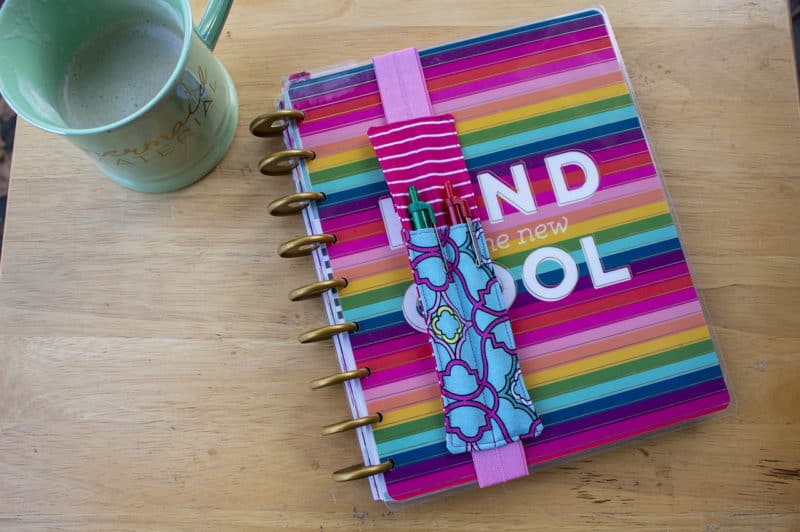
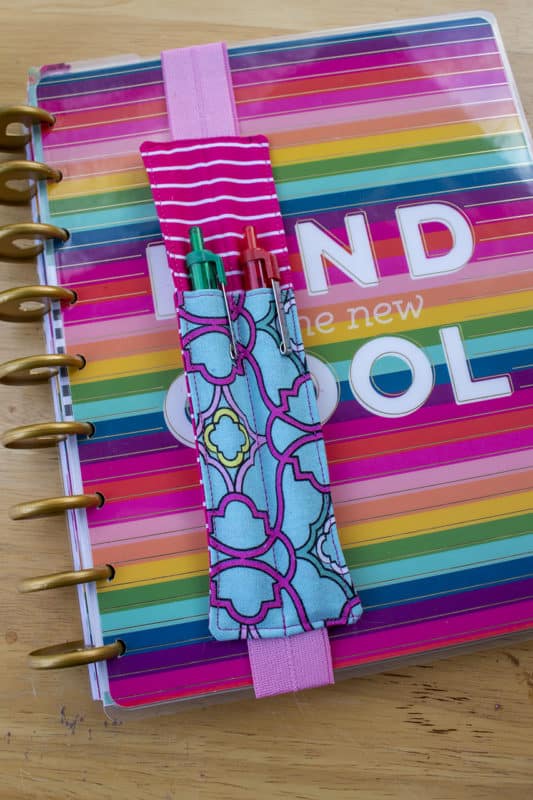
On the fifth day of Christmas, Made for Mermaids gave to me……a bookmark to make my planner happy! This little pen holder bookmark is great for planners, reading books, text books, journals, and more! It’s an easy gift for teachers, kids, avid readers, and of course, your planner-obsessed friends and loved ones!!
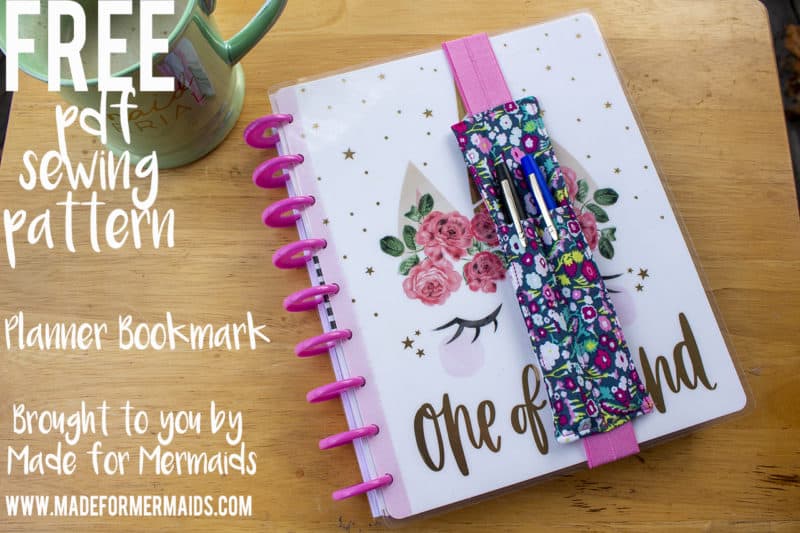
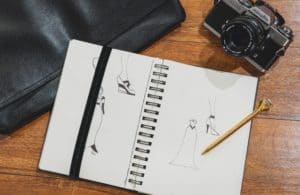
I don’t know about anyone else, but my pens are constantly missing. I go to write something down and every time I go to grab my pen, it’s gone. I think they have all disappeared to some magical place along with all of the missing socks! Well, not any more, because this quick little bookmark will keep them right where I need them; attached to my planner. Not a planner user? That’s OK! These can easily be adjusted for a sketchbook or any other notebook!
SUPPLIES:
- Scraps of quilting cotton or light weight canvas
- Fold over elastic (FOE) or elastic of your choice
- 5/8″ to 1″ wide recommended
- 1 yard maximum for the largest size
LET’S GET STARTED!
1/2″ seam allowances included.
Step 1: PREPPING
Go grab the pattern here! The pattern is 100% free, but you do need to add it to your cart and checkout. Then, it will always be available to download from your account. The pattern is a no trim pattern; if you need help putting the pattern together, pop over to the faqs and troubleshooting page or ask in our Facebook group .
Print and assemble the pattern. There is 1 page to print out.
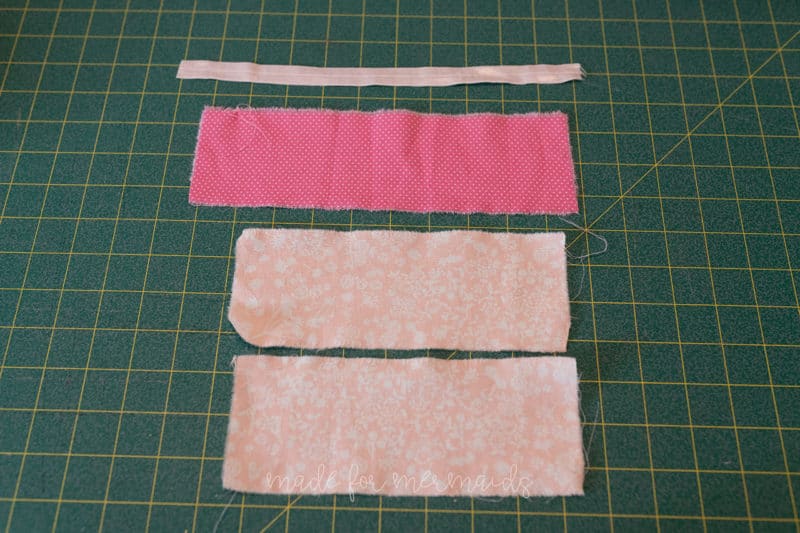
If you don’t want to print the pieces, cut 2 main pieces 3″ x 8″.
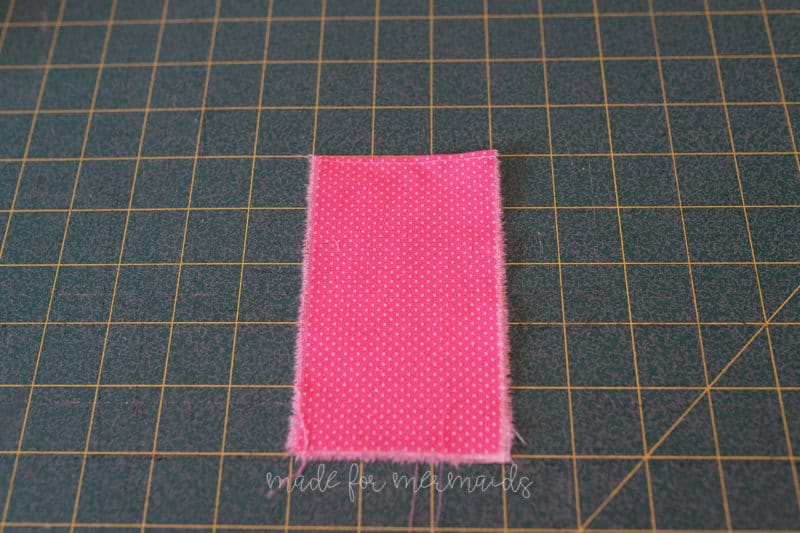
Cut one pocket piece 3″ x 10″.
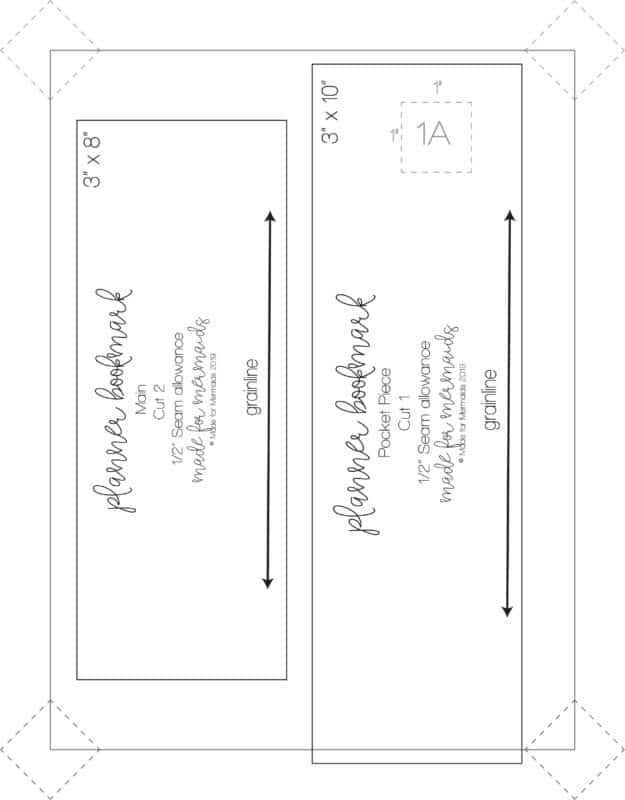
Cut 2 main pieces and one pocket piece.
If you don’t want to print the pieces, cut 2 main pieces 3″ x 8″.
Cut one pocket piece 3″ x 10″.
Cut 1 piece of fold over elastic. Measurements given below are for 3 standard size planners/notebooks, but you can modify the elastic length as needed!
SMALL NOTEBOOK (8″ tall) – 7.25″ of elastic
CLASSIC HAPPY PLANNER (11.75″ tall) – 11″ of elastic
LARGE SKETCHBOOK/NOTEBOOK (18.75″ tall) – 18″ of elastic
Step 2: CONSTRUCTING POCKET
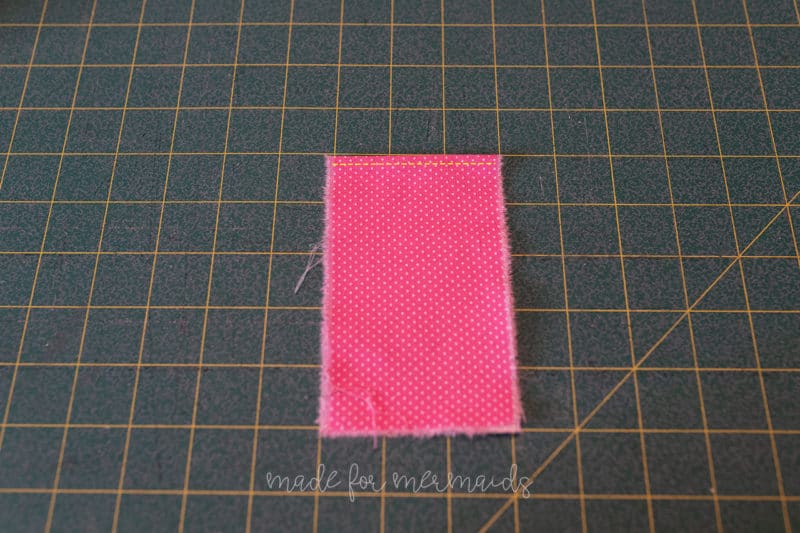
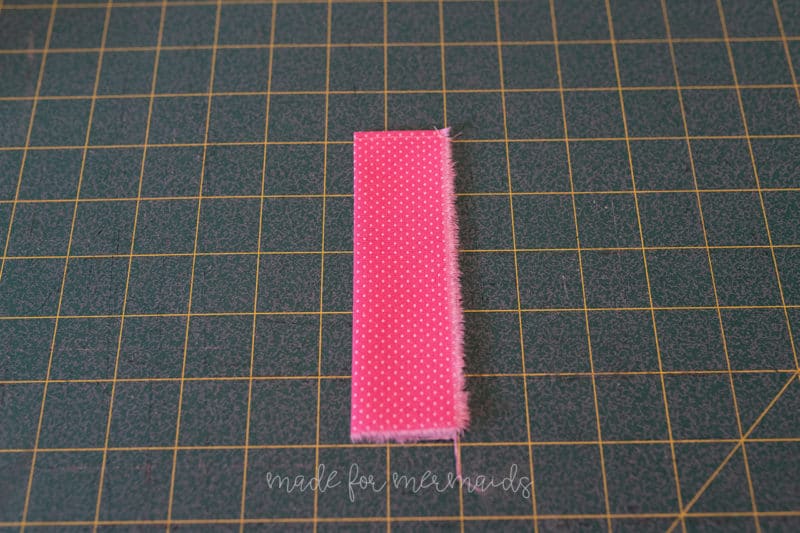
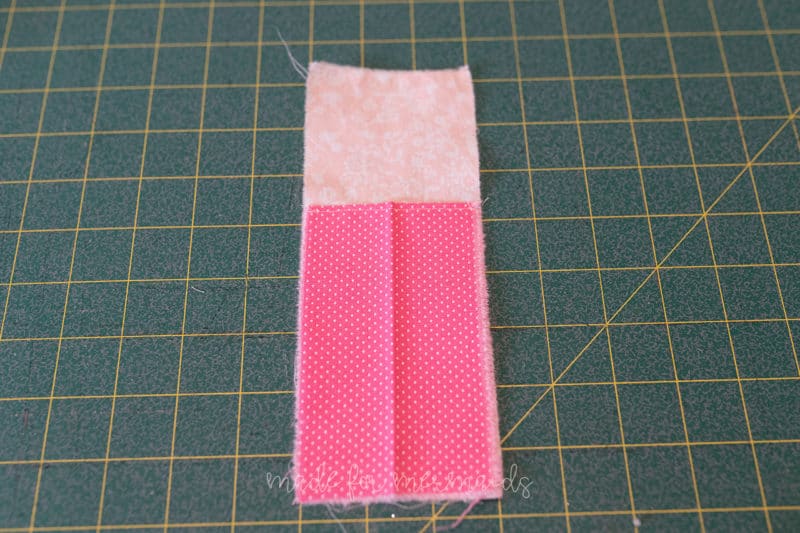
Fold pocket piece in half lengthwise, with wrong sides together. Topstitch along the top folded edge, leaving the raw open edges unsewn.
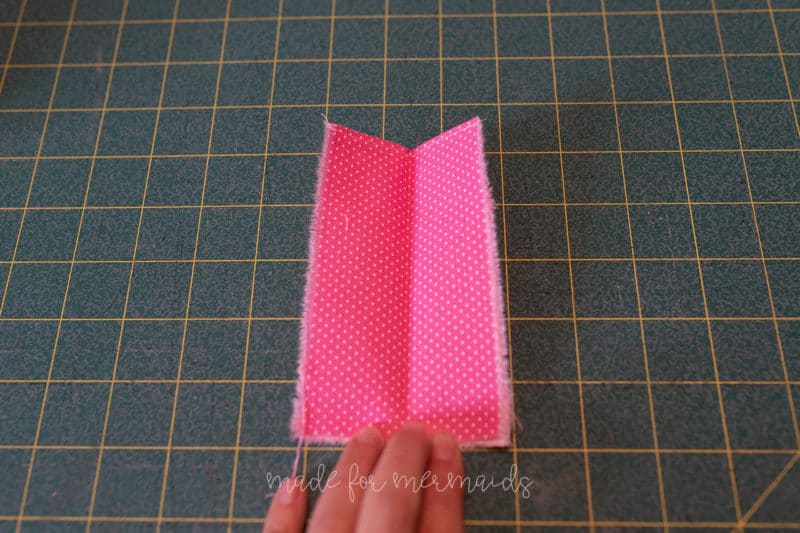
Now, press pocket piece in half widthwise to create a center crease.
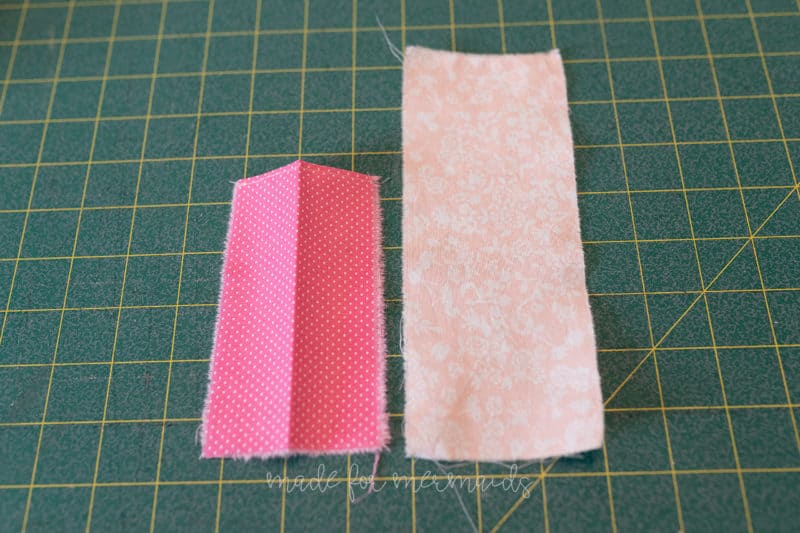
Layer the pocket piece on top of the right side of the main bookmark piece. Optional – baste pocket in place.
Step 3: ATTACHING ELASTIC
We are ready to attach our elastic! The measurements given below for 3 standard size planners/notebooks:
SMALL NOTEBOOK (8″ tall) – 7.25″ of elastic
CLASSIC HAPPY PLANNER (11.75″ tall) – 11″ of elastic
LARGE SKETCHBOOK/NOTEBOOK (18.75″ tall) – 18″ of elastic
If your planner is not one of the sizes listed above, you can easily customize your elastic to fit your planner/notebook! I like to cut my elastic about 3/4″ shorter than the length of the planner.
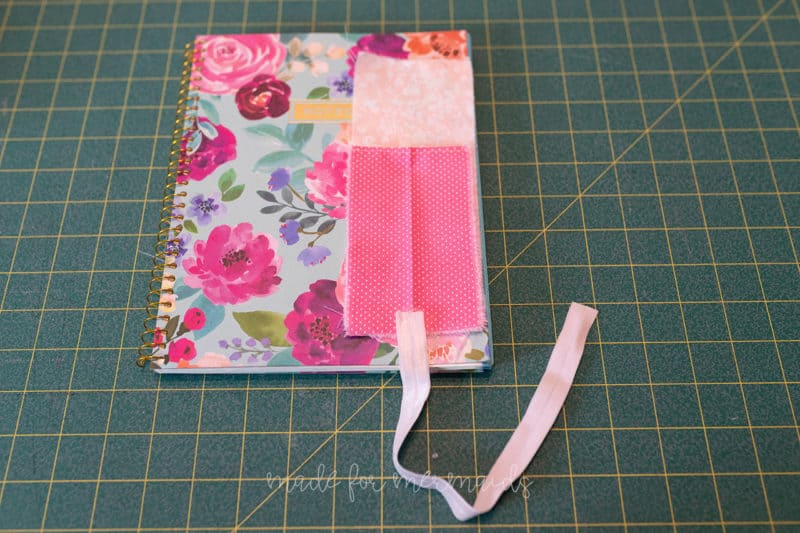
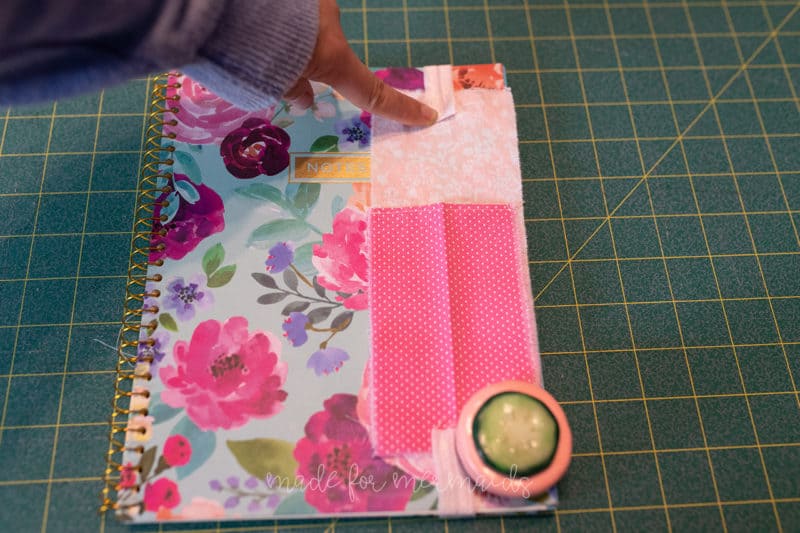
Not sure about size? Before cutting your elastic, you can lay your bookmark across the front of your planner (or notebook). Overlap the elastic by 1/2″ along the bottom edge of your bookmark piece, then wrap it around the back of the cover, and overlap by 1/2″ along the top edge of the bookmark piece. The elastic should stretch a bit. Cut your elastic to fit.
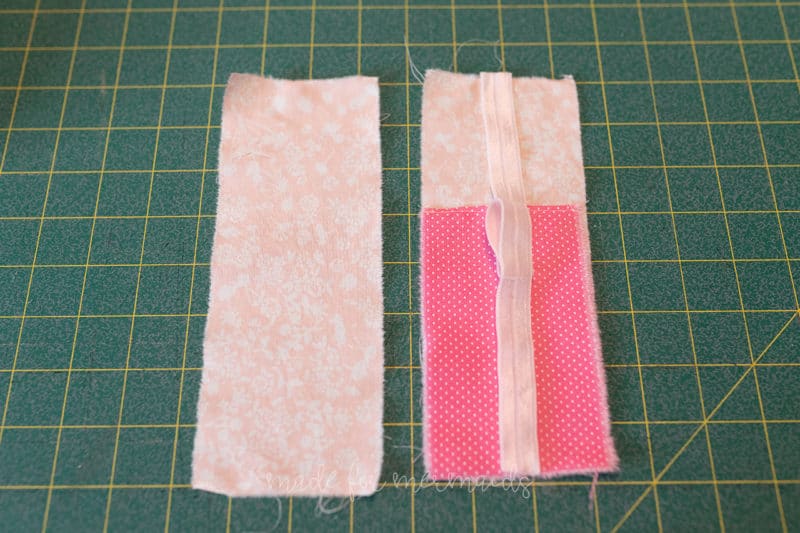
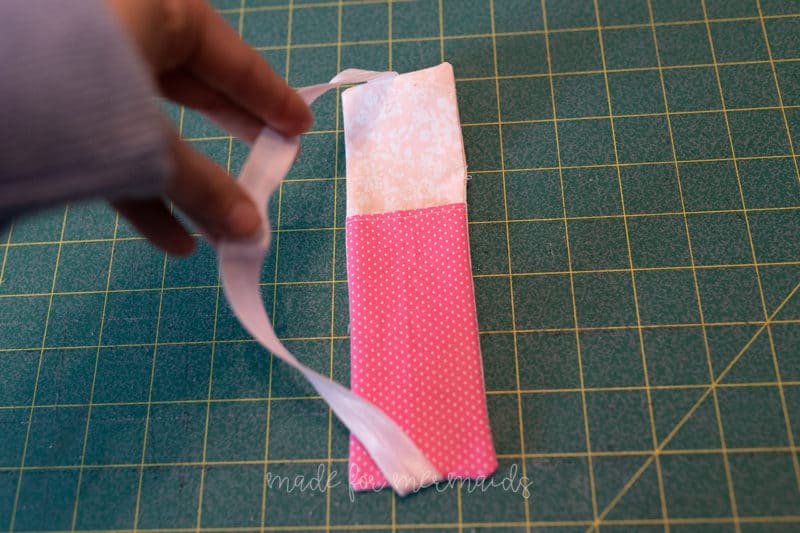
Place one short raw edge of the elastic centered on top edge of the main bookmark piece. Repeat with the other short raw edge of the elastic, this time centering it on the bottom edge of the main bookmark piece. Baste along top and bottom to hold elastic in place.

Step 4: CONSTRUCTING BOOKMARK
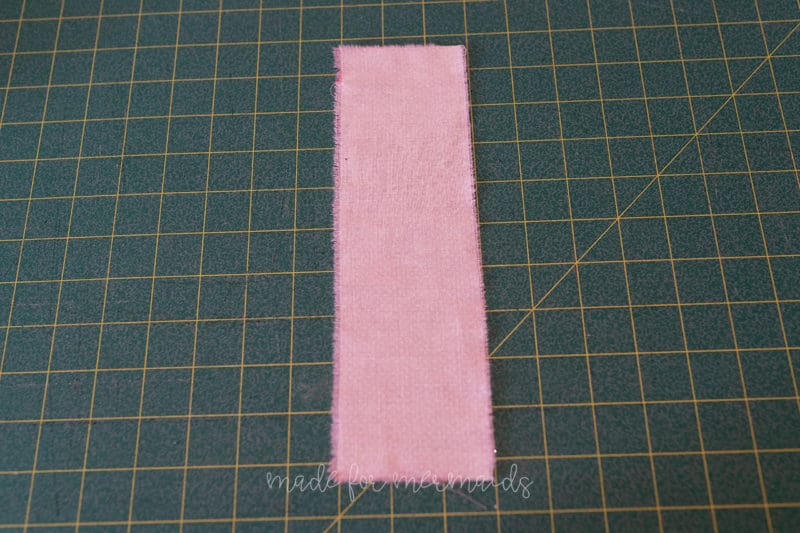
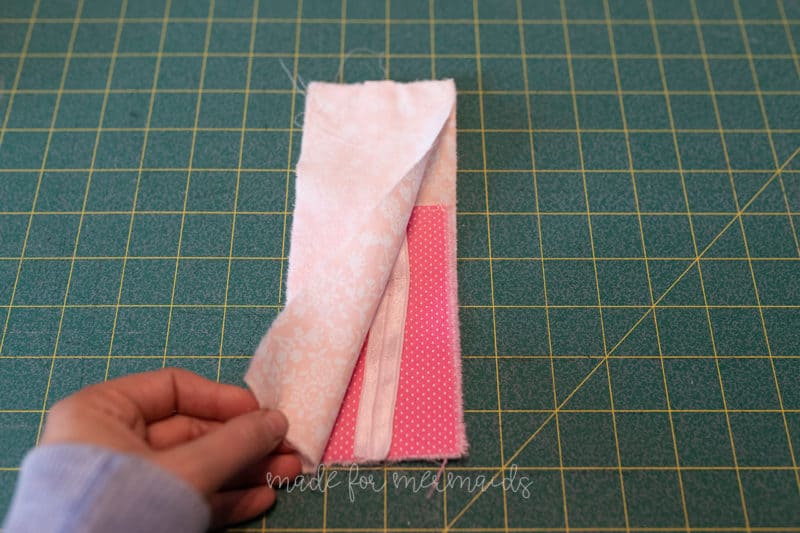
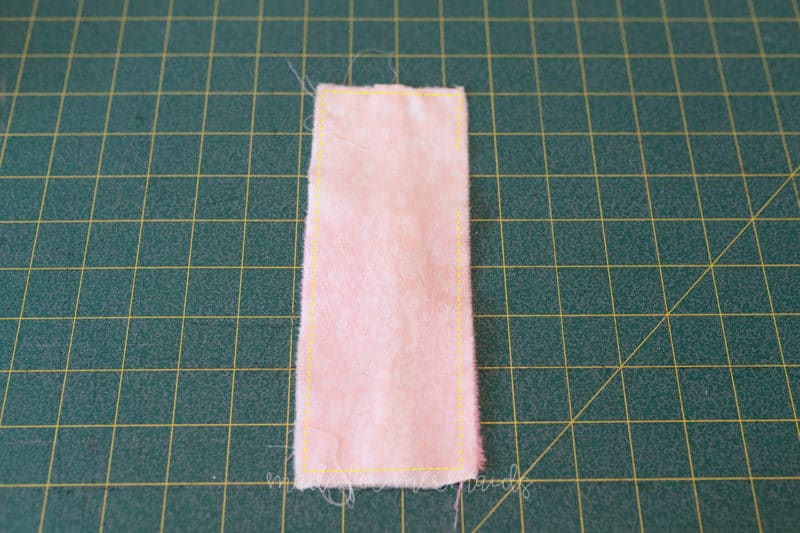
With right sides together, layer the other main bookmark piece on top, sandwiching the elastic and pocket in the middle. With a 1/2″ seam allowance, stitch together along all of the edges, Leaving a 1.5″-2″ opening to turn. Note- make sure your elastic is in the center and out of the way of the seam allowances.
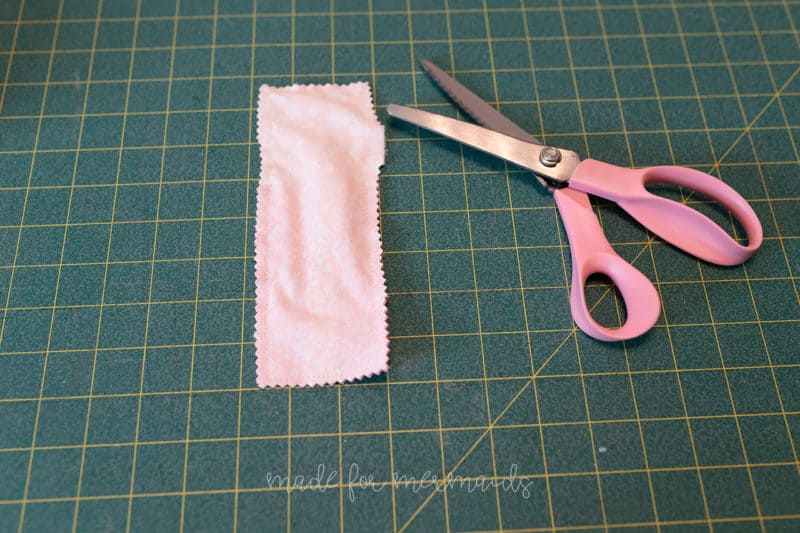
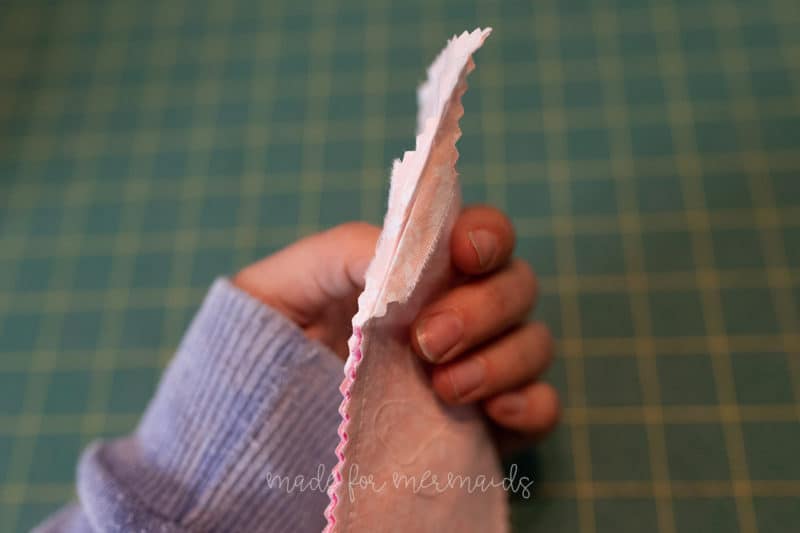
Trim the seam allowance to 1/4″, and clip your corners. I like to use pinking shears for this step. Press unsewn seam allowance open.
Turn inside out and press well, making sure you still have your crease line down the center of your pocket piece. If you lost your crease line, fold the bookmark in half widthwise and press to create a crease again. Note – make sure not to iron your fold over elastic; it may melt!
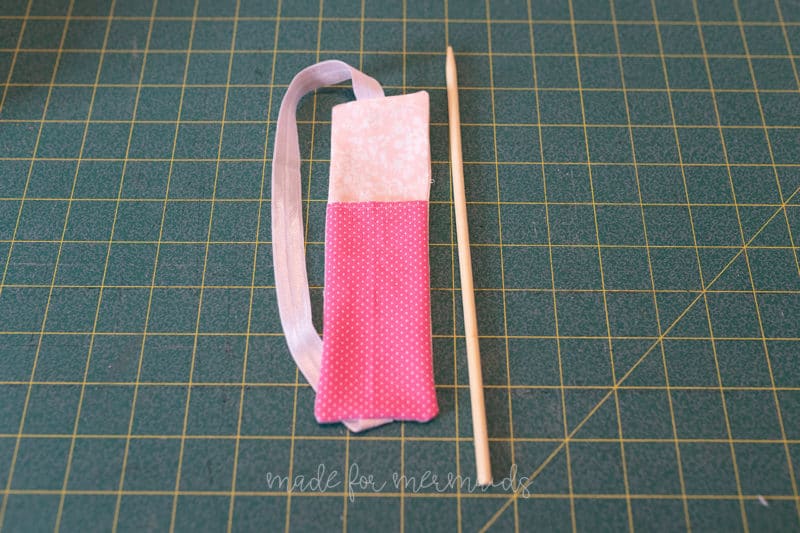
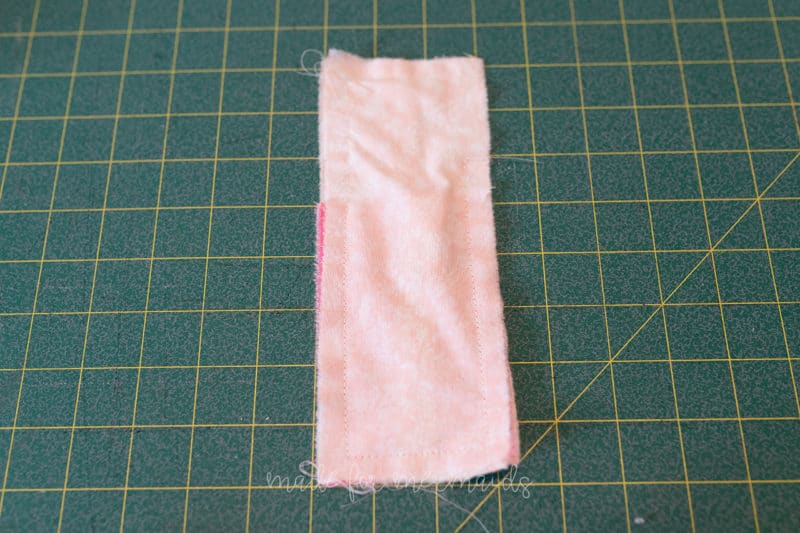
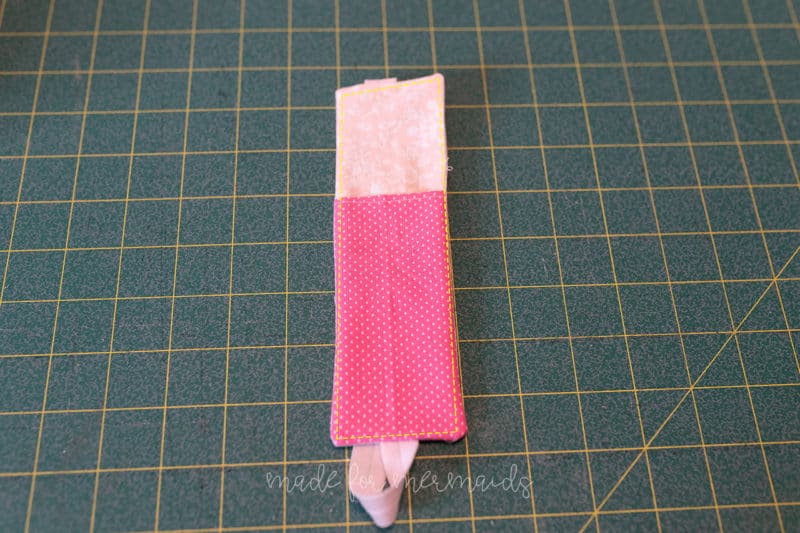
Topstitch along outside edge of bookmark, closing the opening. Make sure your elastic is out of the way.
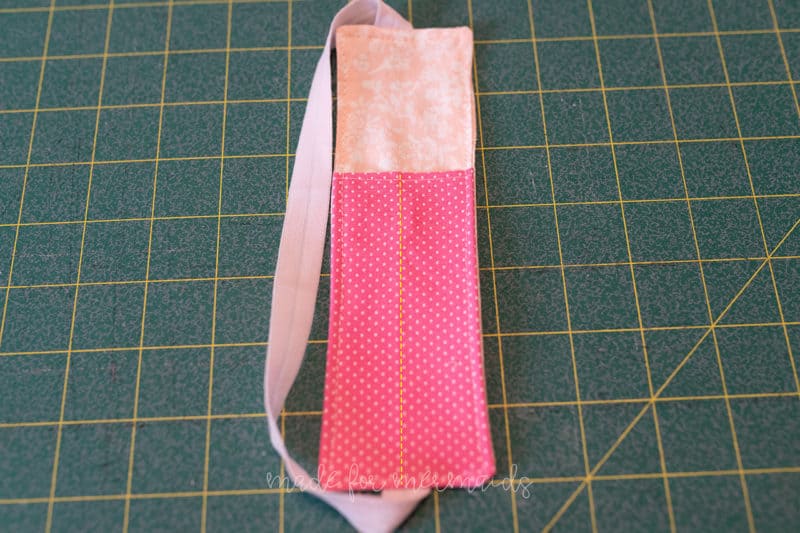
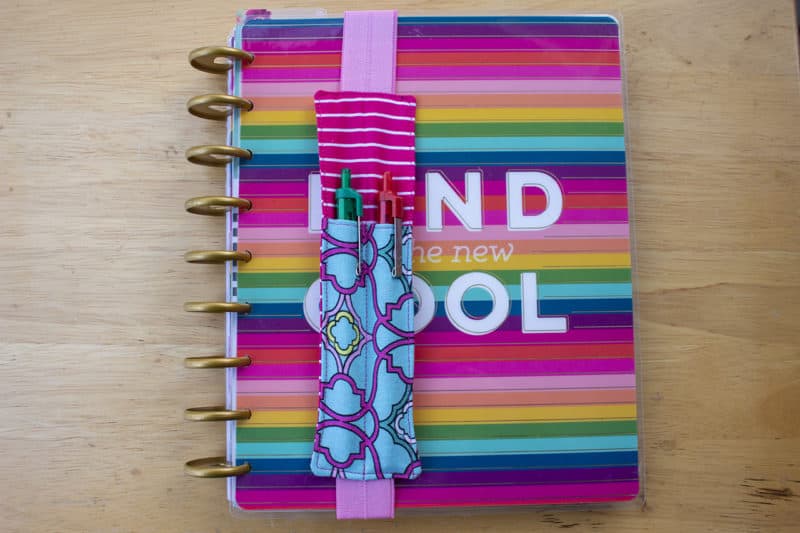
Finally, topstitch along the center crease line to create the pen pockets. All done! Now, throw your pens in there, and attach to your planner, so you never lose them again!
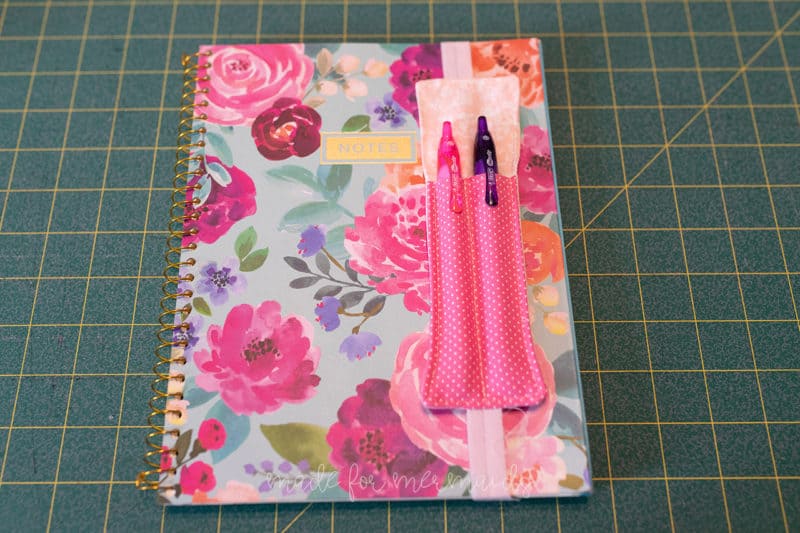


Thank you so much for this free pattern! I’ve had it for a while and made one, but now I’m making them in hoards! They are quick and easy and SO useful!