Day 3:
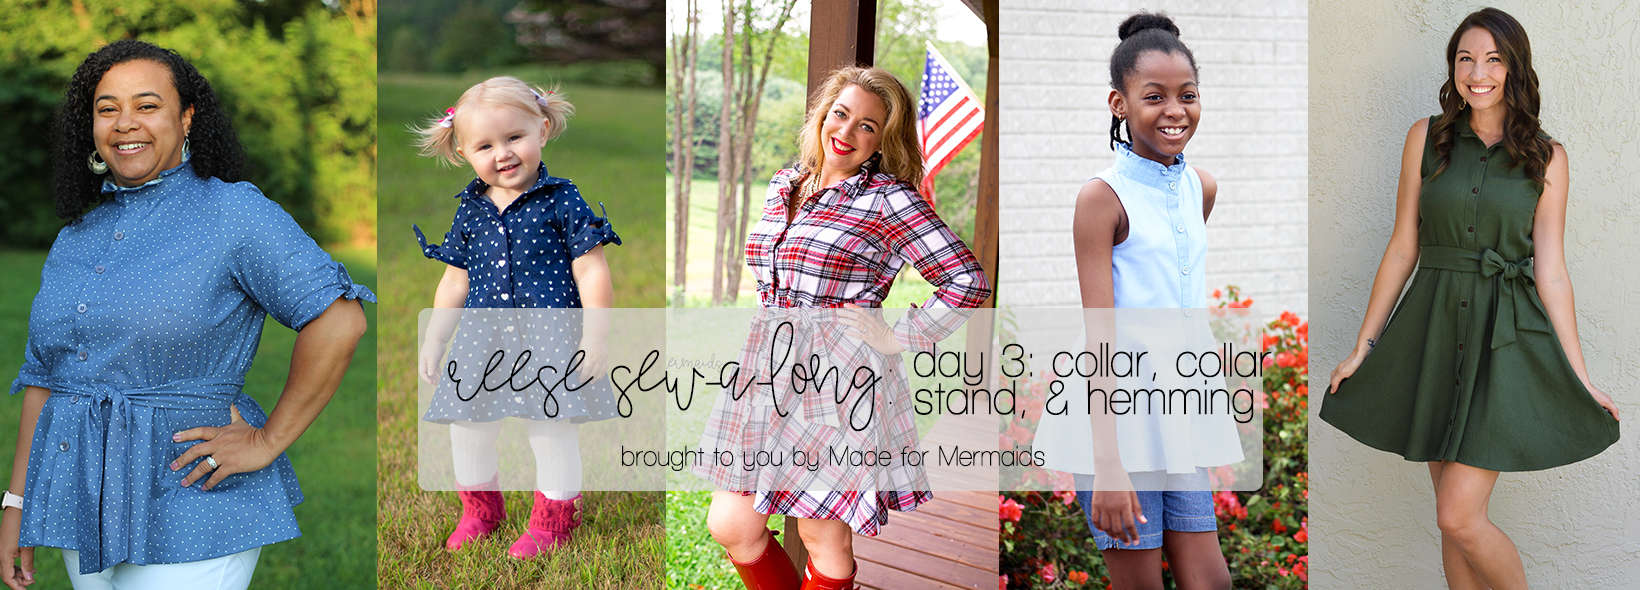
We’re halfway through our Reese Sew-a-long! I hope you’re hanging in there okay 🙂 Today we’re going to be constructing and attaching our collar pieces, and hemming our garment. In today’s video, I’m doing a traditional collar, but I’ve included some tips below for the military style ruffle collar.
Traditional Collar:
- Four fabric pieces total – one collar main, one collar lining, one collar stand main, one collar stand lining NOTE: The “lining” will be visible as that is the part of the collar that will fold down. You may wish to use the same fabric for both.
- Two interfacing pieces
- Interfacing is pressed to the lining pieces with wrong sides together
- Collar and collar stand widths are not the same; you will need this “overhang”
- Do not skip pressing your collar stand lining 1/2″ toward the wrong side!
Ruffle Collar:
- Three fabric pieces total – one collar stand main, one collar stand lining, one ruffle piece
- One interfacing piece
- For gathering tips, check out our blog post here
Attaching Collar to Neckline:
- Attachment to the neckline will be the same for both collar options
Hemming:
- Serge bottom raw edge (optional)
- Press 1/4″ toward the wrong side, then another 1/4″ to enclose the raw edge
Once your bodice side seams are sewn up, sew your skirt side seams.
Don’t forget:
- Make sure you are taking an accurate and consistent seam allowance; seam allowance is already included on all pattern pieces.
- Get friendly with your iron; pressing often will make a big difference in how polished your garment looks
- Your collar and collar stand/ruffle and collar stand will NOT be the same width; this is important!!!
- Match up notches while pinning/clipping
Want to sew along with me? Check out today’s video:
If you have questions about the collar pieces or hemming, you are always welcome to post in our SAL group so we can help you! Be sure to check in each day during the SAL, and look for daily posts to enter our giveaways. We can’t wait to see what you create this week!

DAY 1: PREP + SHOULDER SEAMS
DAY 2: BODICE SIDE SEAMS, SKIRT SIDE SEAMS, ATTACHING SKIRT, + PLACKET
DAY 3: COLLAR + HEMMING
DAY 4: SLEEVE PLACKET, SLEEVE TIES, + ATTACH SLEEVES
DAY 5: BUTTONS + BUTTONHOLES
DAY 6: OPTIONAL: OPTIONAL WAIST TIE + CATCH UP
OUR SPONSORS:
So Sew English has some great woven fabric options for Reese! Head on over to So Sew English to check out their selection.


Leave a Reply