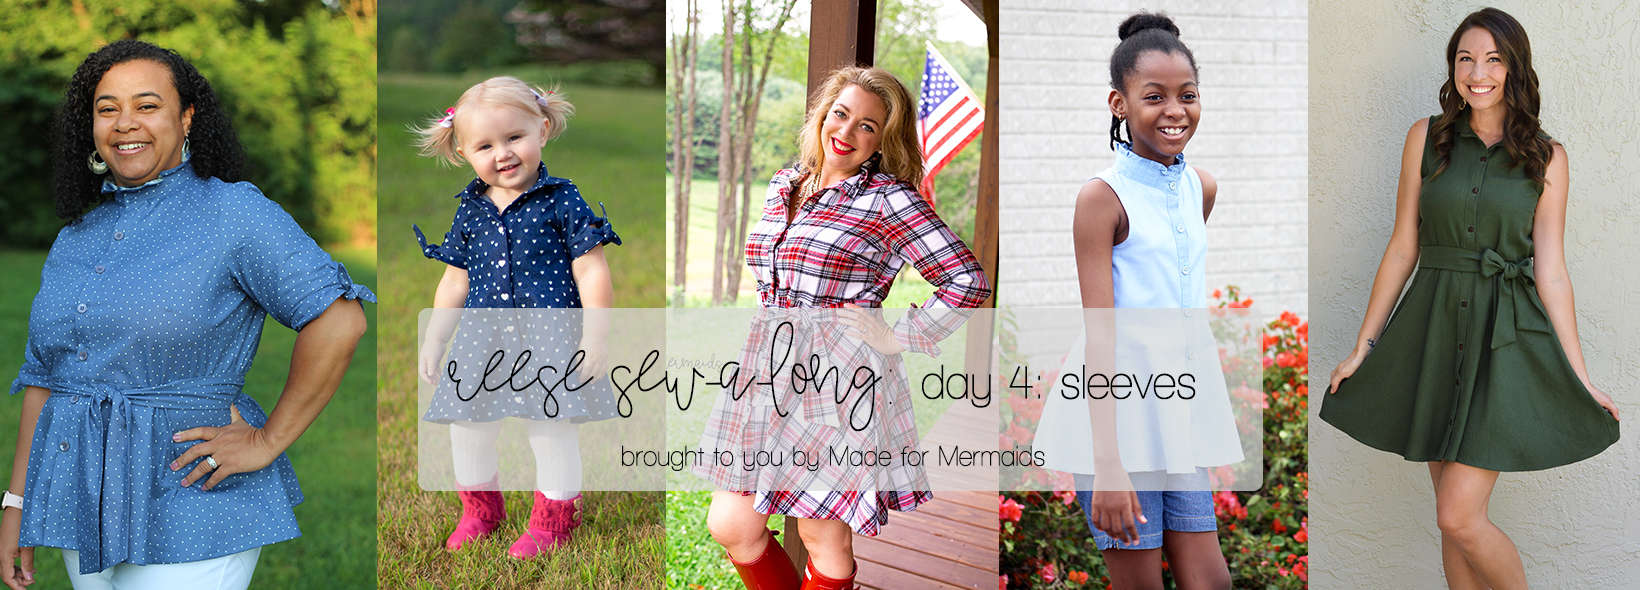
Day 4:
Today we’re going to knock out our sleeves! This includes all sleeve pieces – plackets, binding, ties, cuffs, etc., as well as attaching our sleeves to the dress.
Sleeveless/Flutter Sleeve:


- No sleeve pieces needed, but you *will* need 1.2″ single fold bias tape.
- OPTIONAL: Flutter piece x 2
- TIP: start bias tape on back side of arm hole
- For flutters, place RIGHT side of bias tape against WRONG side of flutters
- Attach to armhole with 1/8″ seam allowance
- Clip around armscye; be careful not to clip through stitches
- Bias tape should not be seen from outside of garment
Hemmed Sleeve:
- No placket needed for this option!!
- Fold/press 1/4″ toward wrong side, then another 1/4″, then stitch in place to hem
Sleeve Ties:
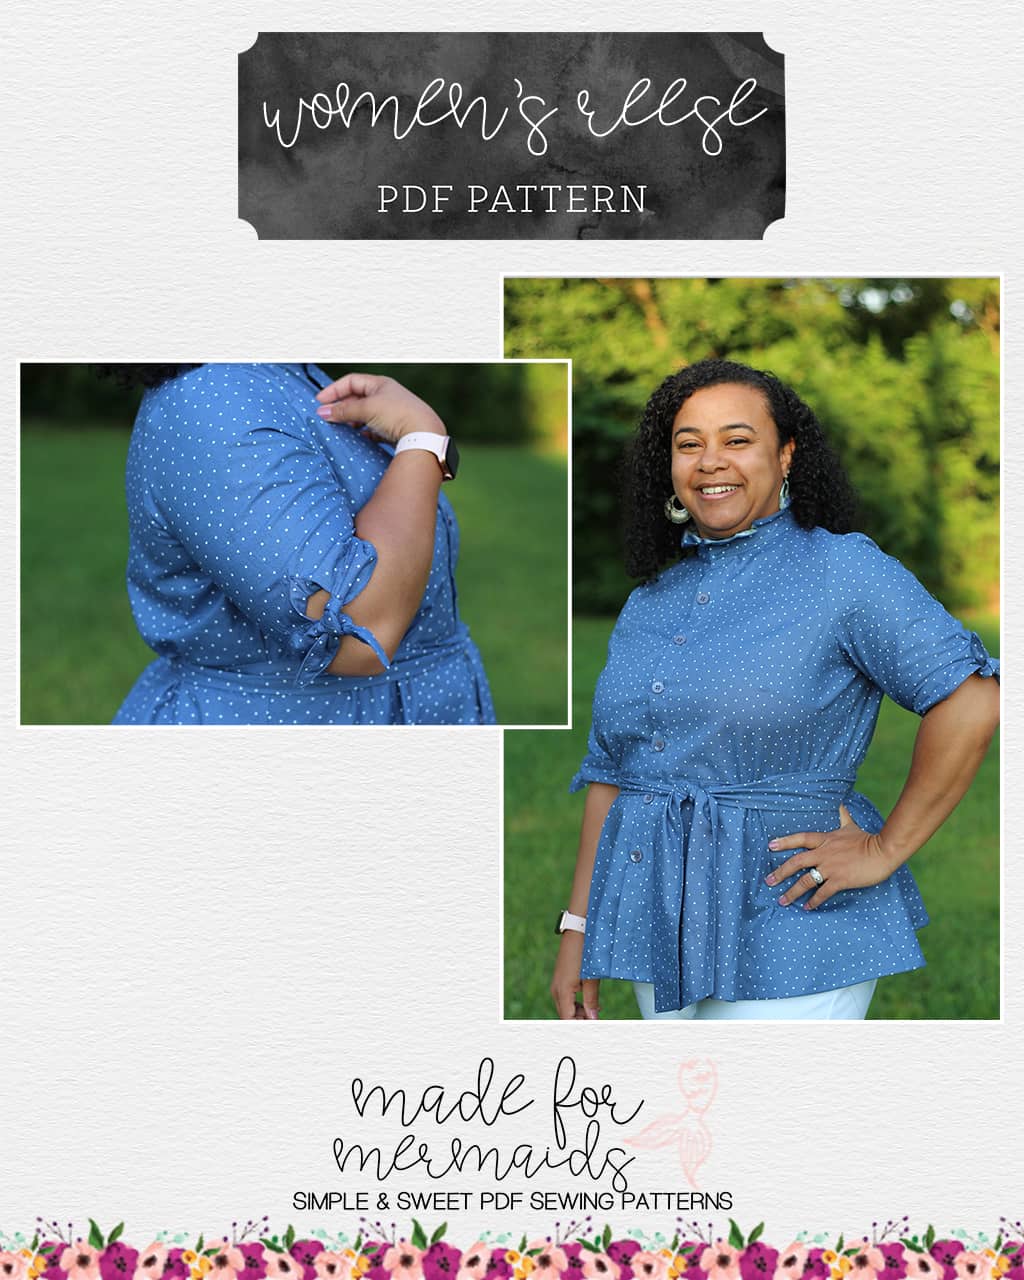
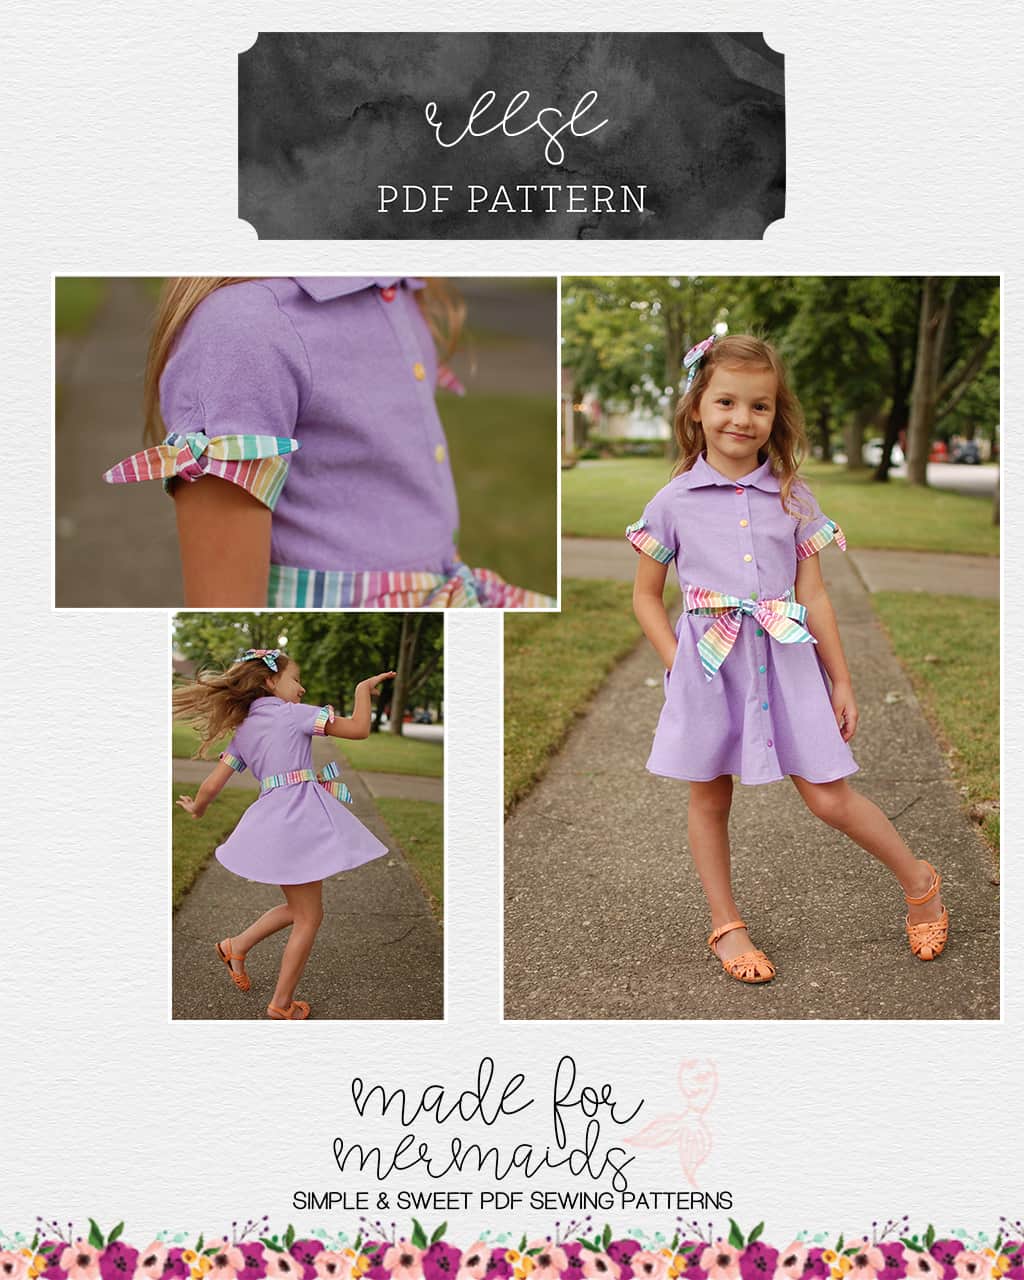
- You will need – two sleeves (mirror), four ties (cut on fold), two plackets
- Be sure to mark/cut the “V” on both sleeves
- Edgestitch placket in place to help keep it “hidden”; see written tutorial for detailed photos
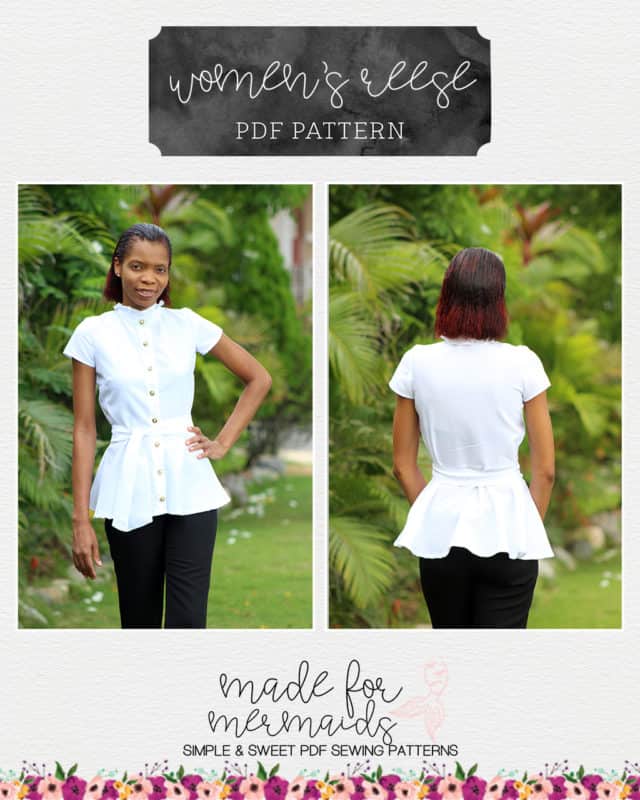
Cuffed Sleeve:
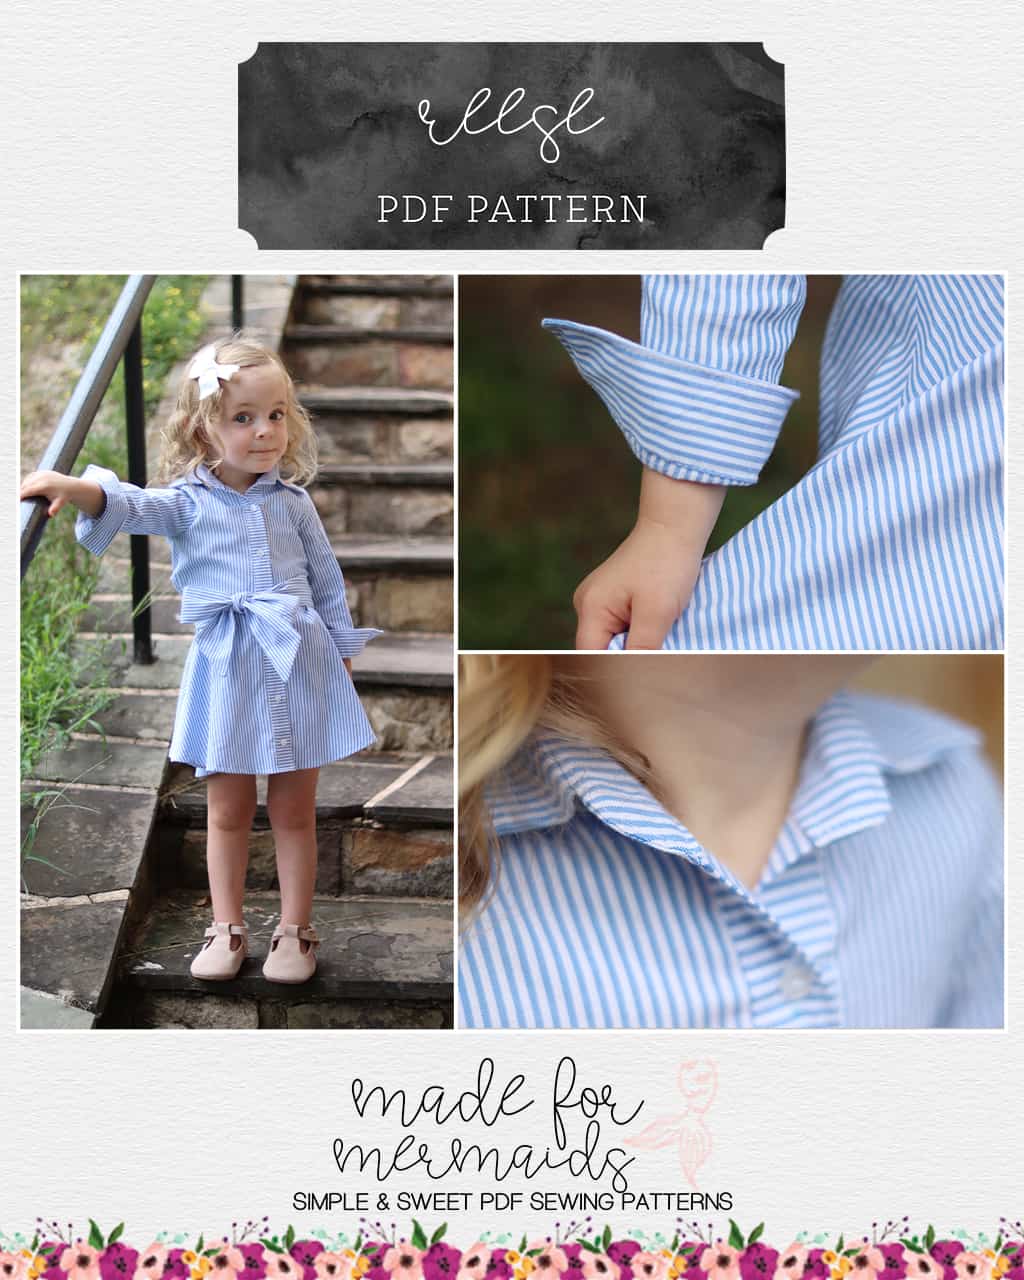
- Cuffed option also requires a placket!
- You will need: two sleeves (mirror), interfacing, two cuff main, two cuff lining, and two placket pieces + two buttons/snaps
- Do not skip the memory press step
- Button/buttonhole for cuff should be centered on the cuff, and 1/2″ in from the cuff opening
- Buttonhole should be toward the front of the sleeve, and button toward the back
Don’t forget:
- Make sure you are taking an accurate and consistent seam allowance; seam allowance is already included on all pattern pieces.
- Get friendly with your iron; pressing often will make a big difference in how polished your garment looks
- Pay attention to notches
- Basting stitch along sleeve cap should not create gathers in the sleeve itself; you should only see a very slight gather in the seam allowance
Want to sew along with me? Check out today’s video:
If you have questions about your sleeves, you are always welcome to post in our SAL group so we can help you! Be sure to check in each day during the SAL, and look for daily posts to enter our giveaways. We can’t wait to see what you create this week!

DAY 1: PREP + SHOULDER SEAMS
DAY 2: BODICE SIDE SEAMS, SKIRT SIDE SEAMS, ATTACHING SKIRT, + PLACKET
DAY 3: COLLAR + HEMMING
DAY 4: SLEEVE PLACKET, SLEEVE TIES, + ATTACH SLEEVES
DAY 5: BUTTONS + BUTTONHOLES
DAY 6: OPTIONAL: OPTIONAL WAIST TIE + CATCH UP
OUR SPONSORS:
So Sew English has some great woven fabric options for Reese! Head on over to So Sew English to check out their selection.
Leave a Reply